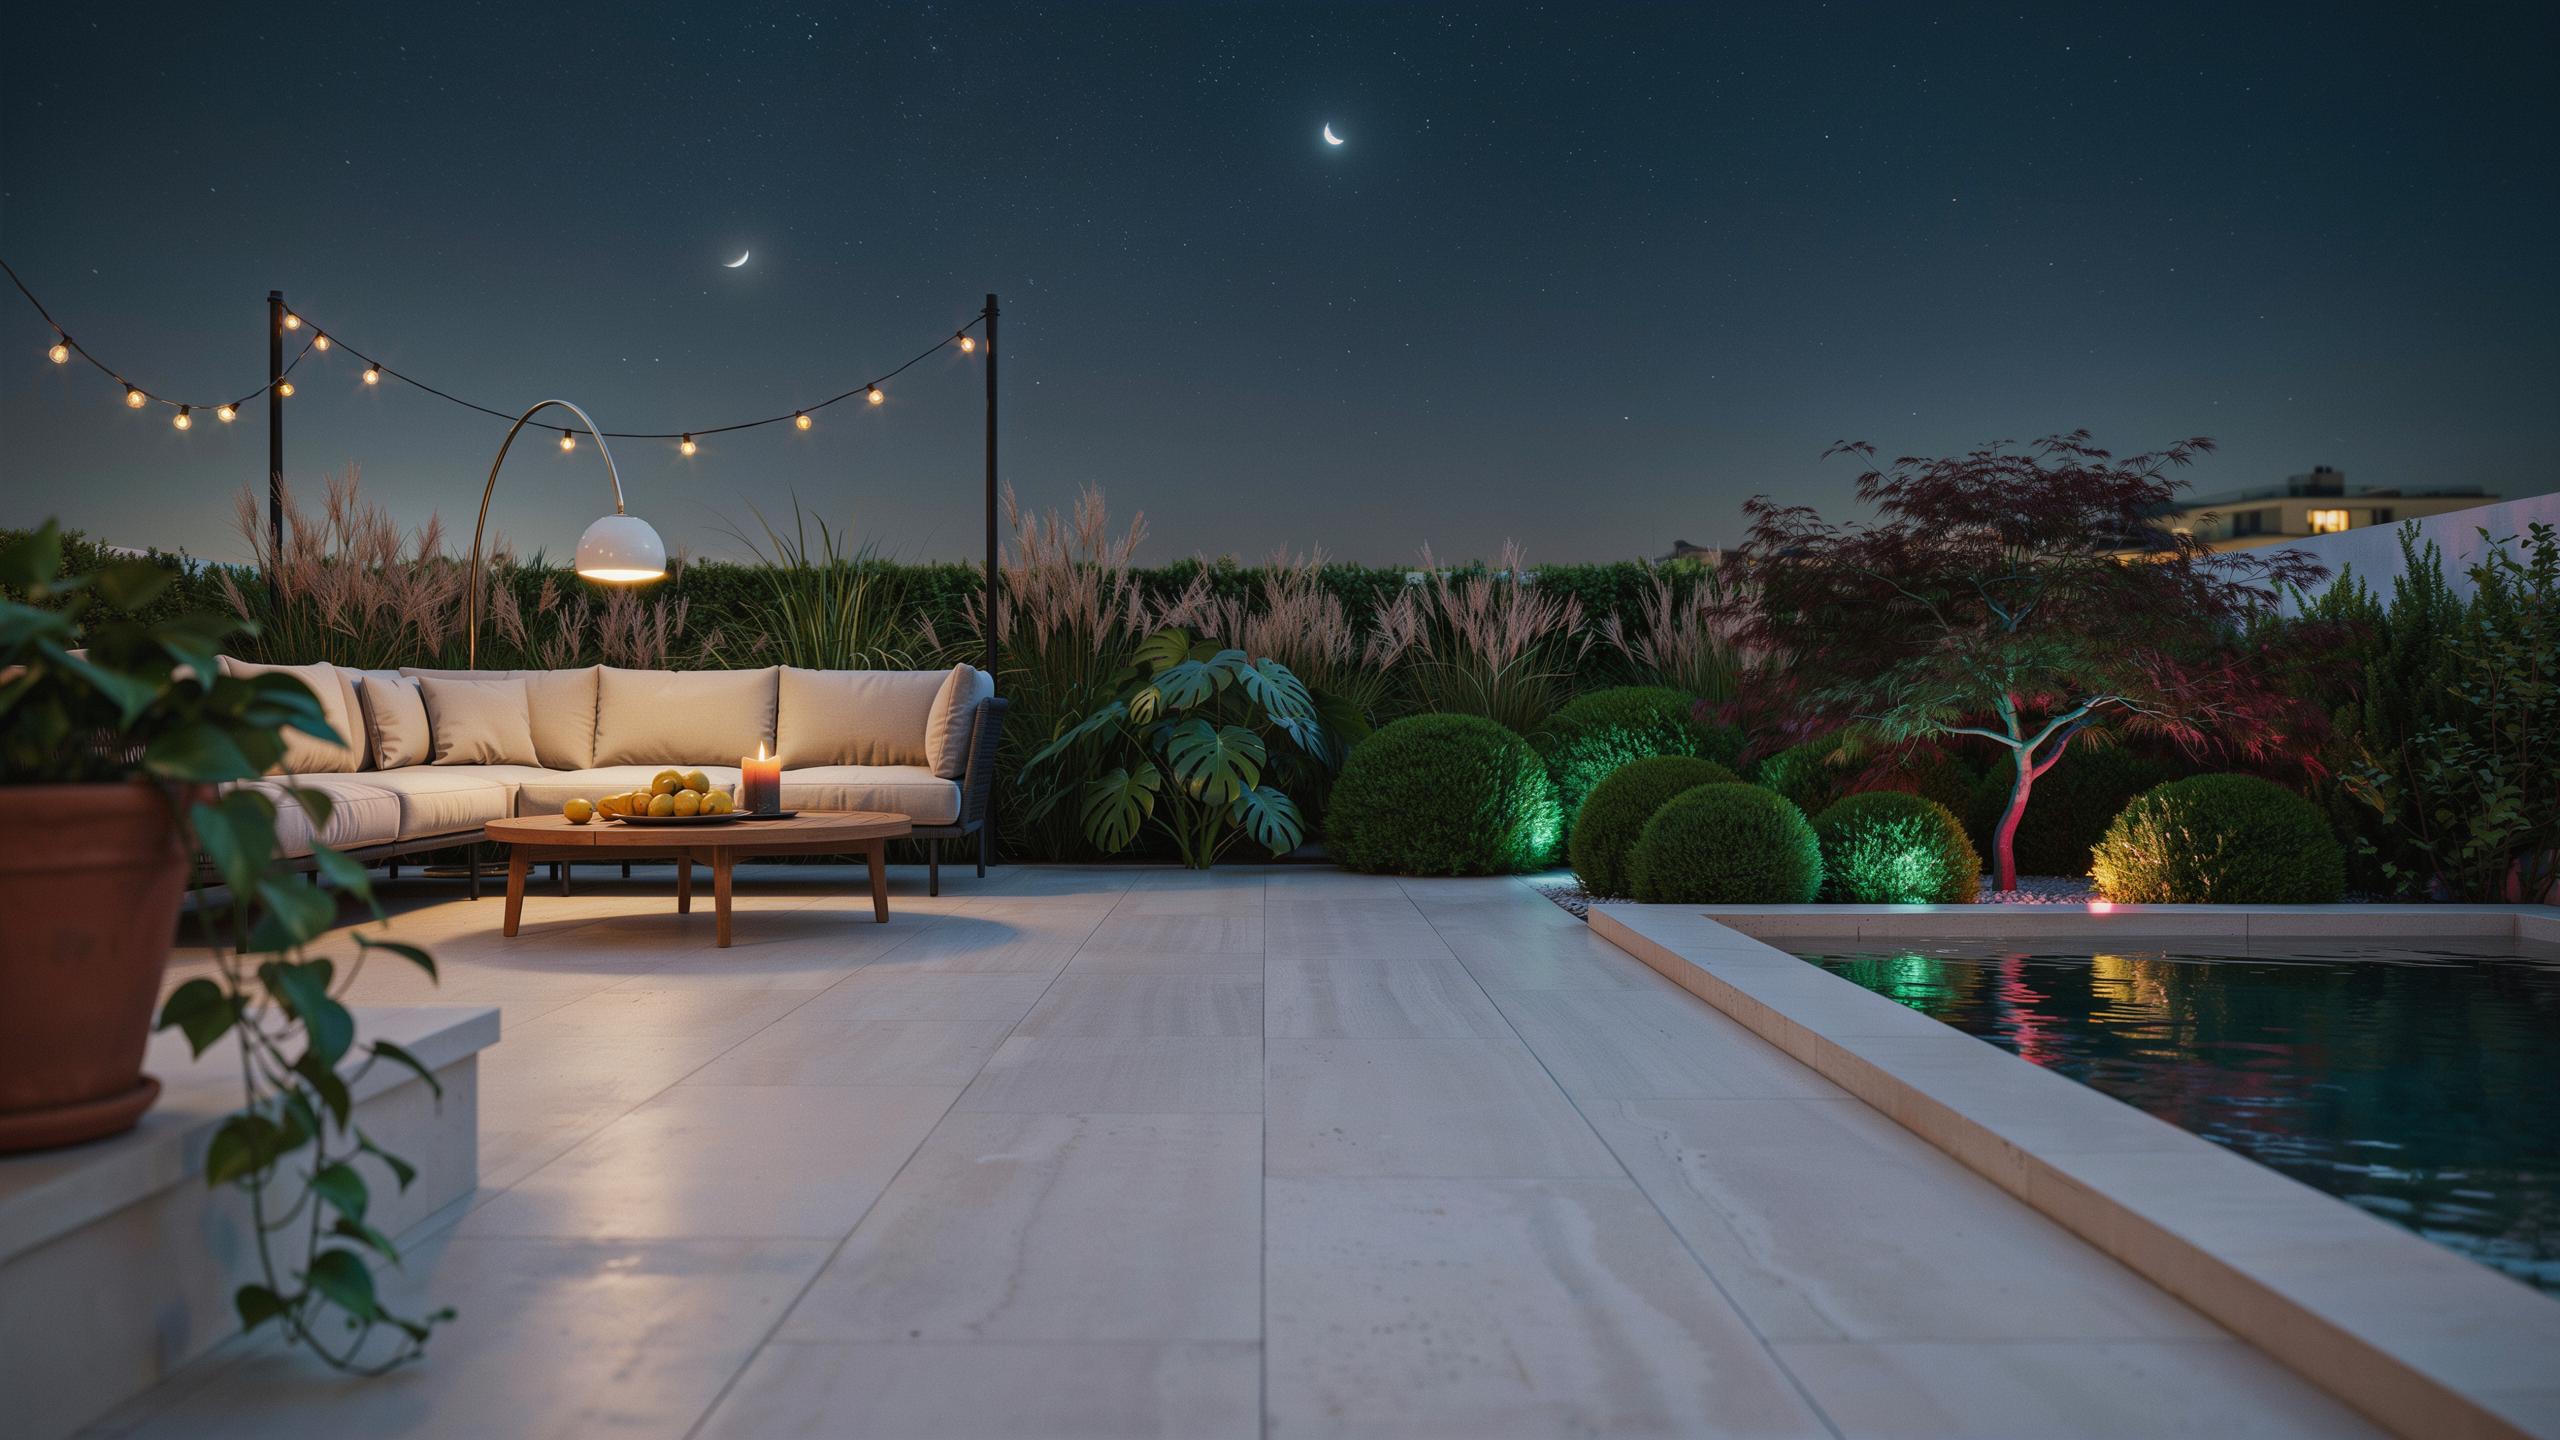
The Magic Of A Night Garden Aesthetic
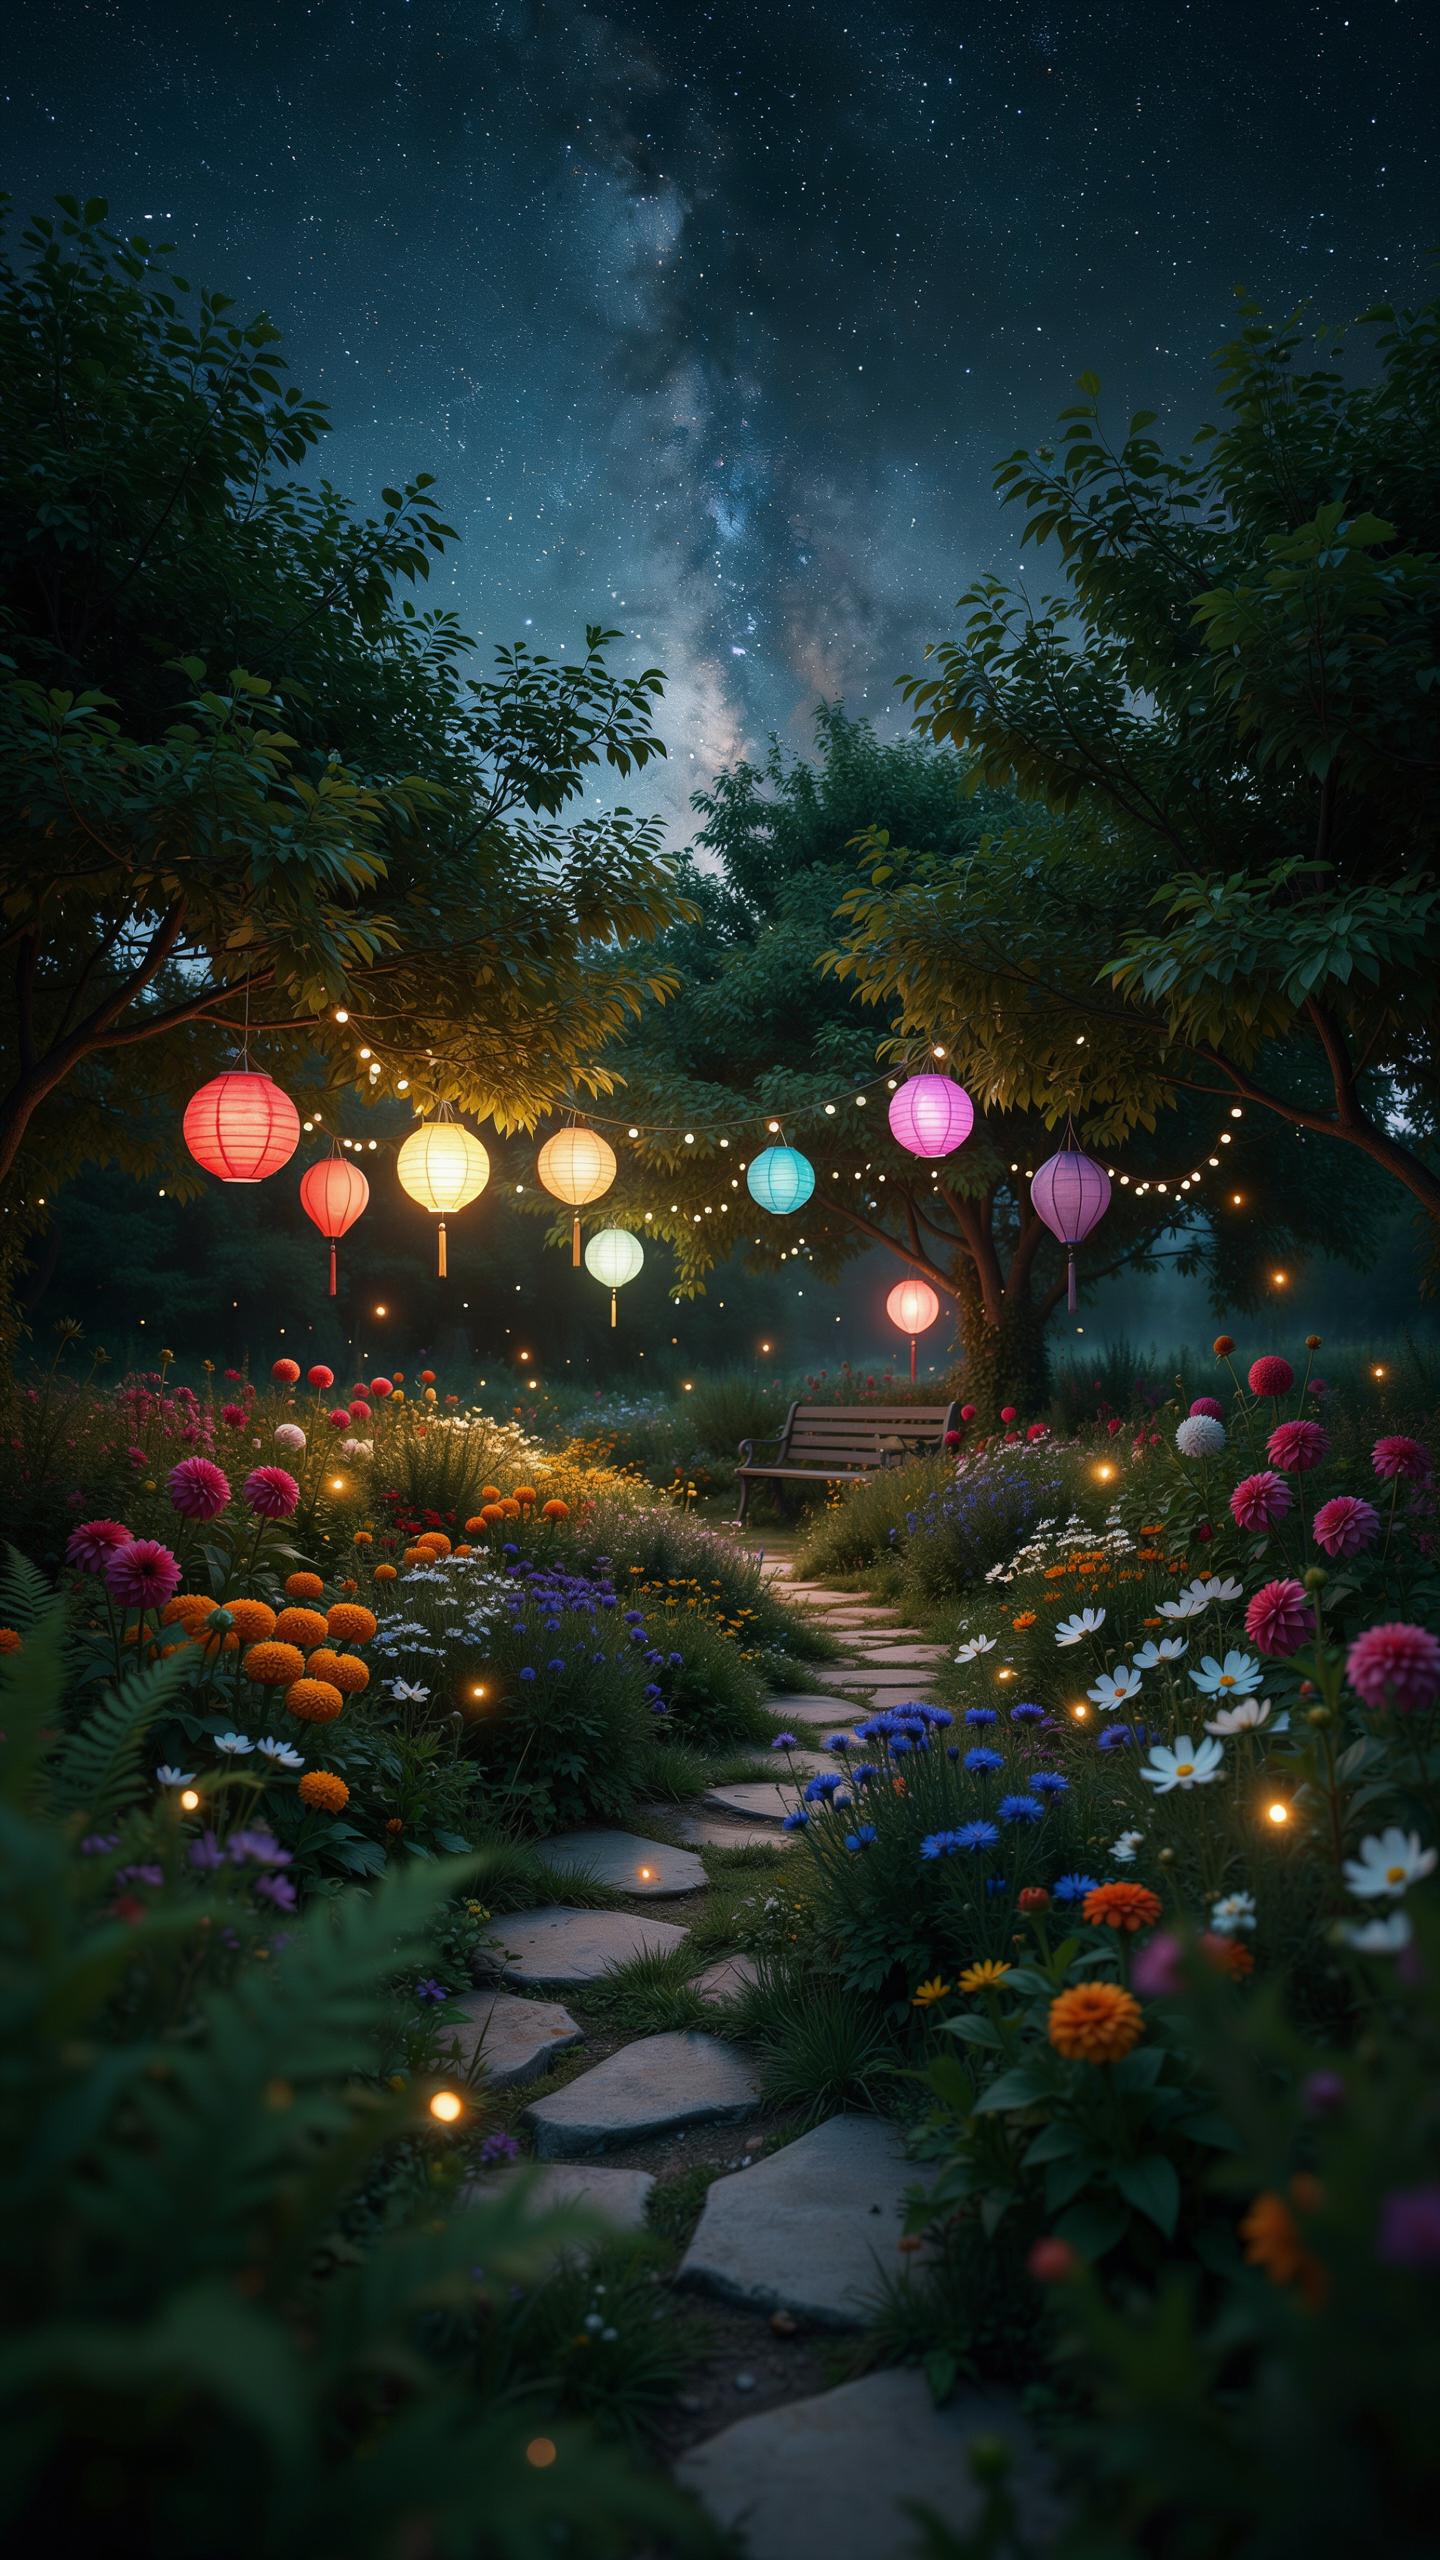
Creating Atmosphere And Ambiance Using Warm Color Temperatures
Warm color temperatures between 2700K and 3000K create the foundation for functional night gardens. These lower color temperatures mimic incandescent light and feel natural to human eyes during evening hours. Your brain interprets warm light as safe and calming, which shifts how you experience outdoor space after dark. This temperature range also suppresses melatonin disruption compared to cooler 5000K+ lighting, meaning you won’t sabotage your sleep cycle with your garden lights.
Position warm fixtures to layer light across different zones. Use uplighting on trees and structures to create depth, then add path lighting at ground level for navigation. Downlighting from overhead fixtures illuminates seating areas without glare. The combination of these techniques using consistent warm temperatures produces balanced illumination that feels intentional rather than accidental, making your garden functional and visually cohesive throughout the evening.
Defining Boundaries And Visual Flow In Midnight Landscapes
Boundaries in lit gardens direct eye movement and establish spatial hierarchy. Lighting fixtures positioned along edges, pathways, and transitions between zones create clear visual corridors that guide movement without confusion. A well-lit garden appears larger and more organized than an unlit one because viewers can mentally map the space. Strategic boundary lighting prevents disorientation and makes guests feel secure navigating your outdoor area.
Use lighting intensity to control flow patterns. Brighter zones draw attention and signal destination points like seating areas or water features. Dimmer perimeter lighting recedes visually, expanding perceived space. This contrast principle works across all garden styles. Maintain consistent fixture placement along boundaries to establish rhythm and predictability. These tactical placements eliminate dead zones where people feel uncertain and create natural gathering points through illumination rather than physical barriers.
Essential Landscaping Lighting Design Principles
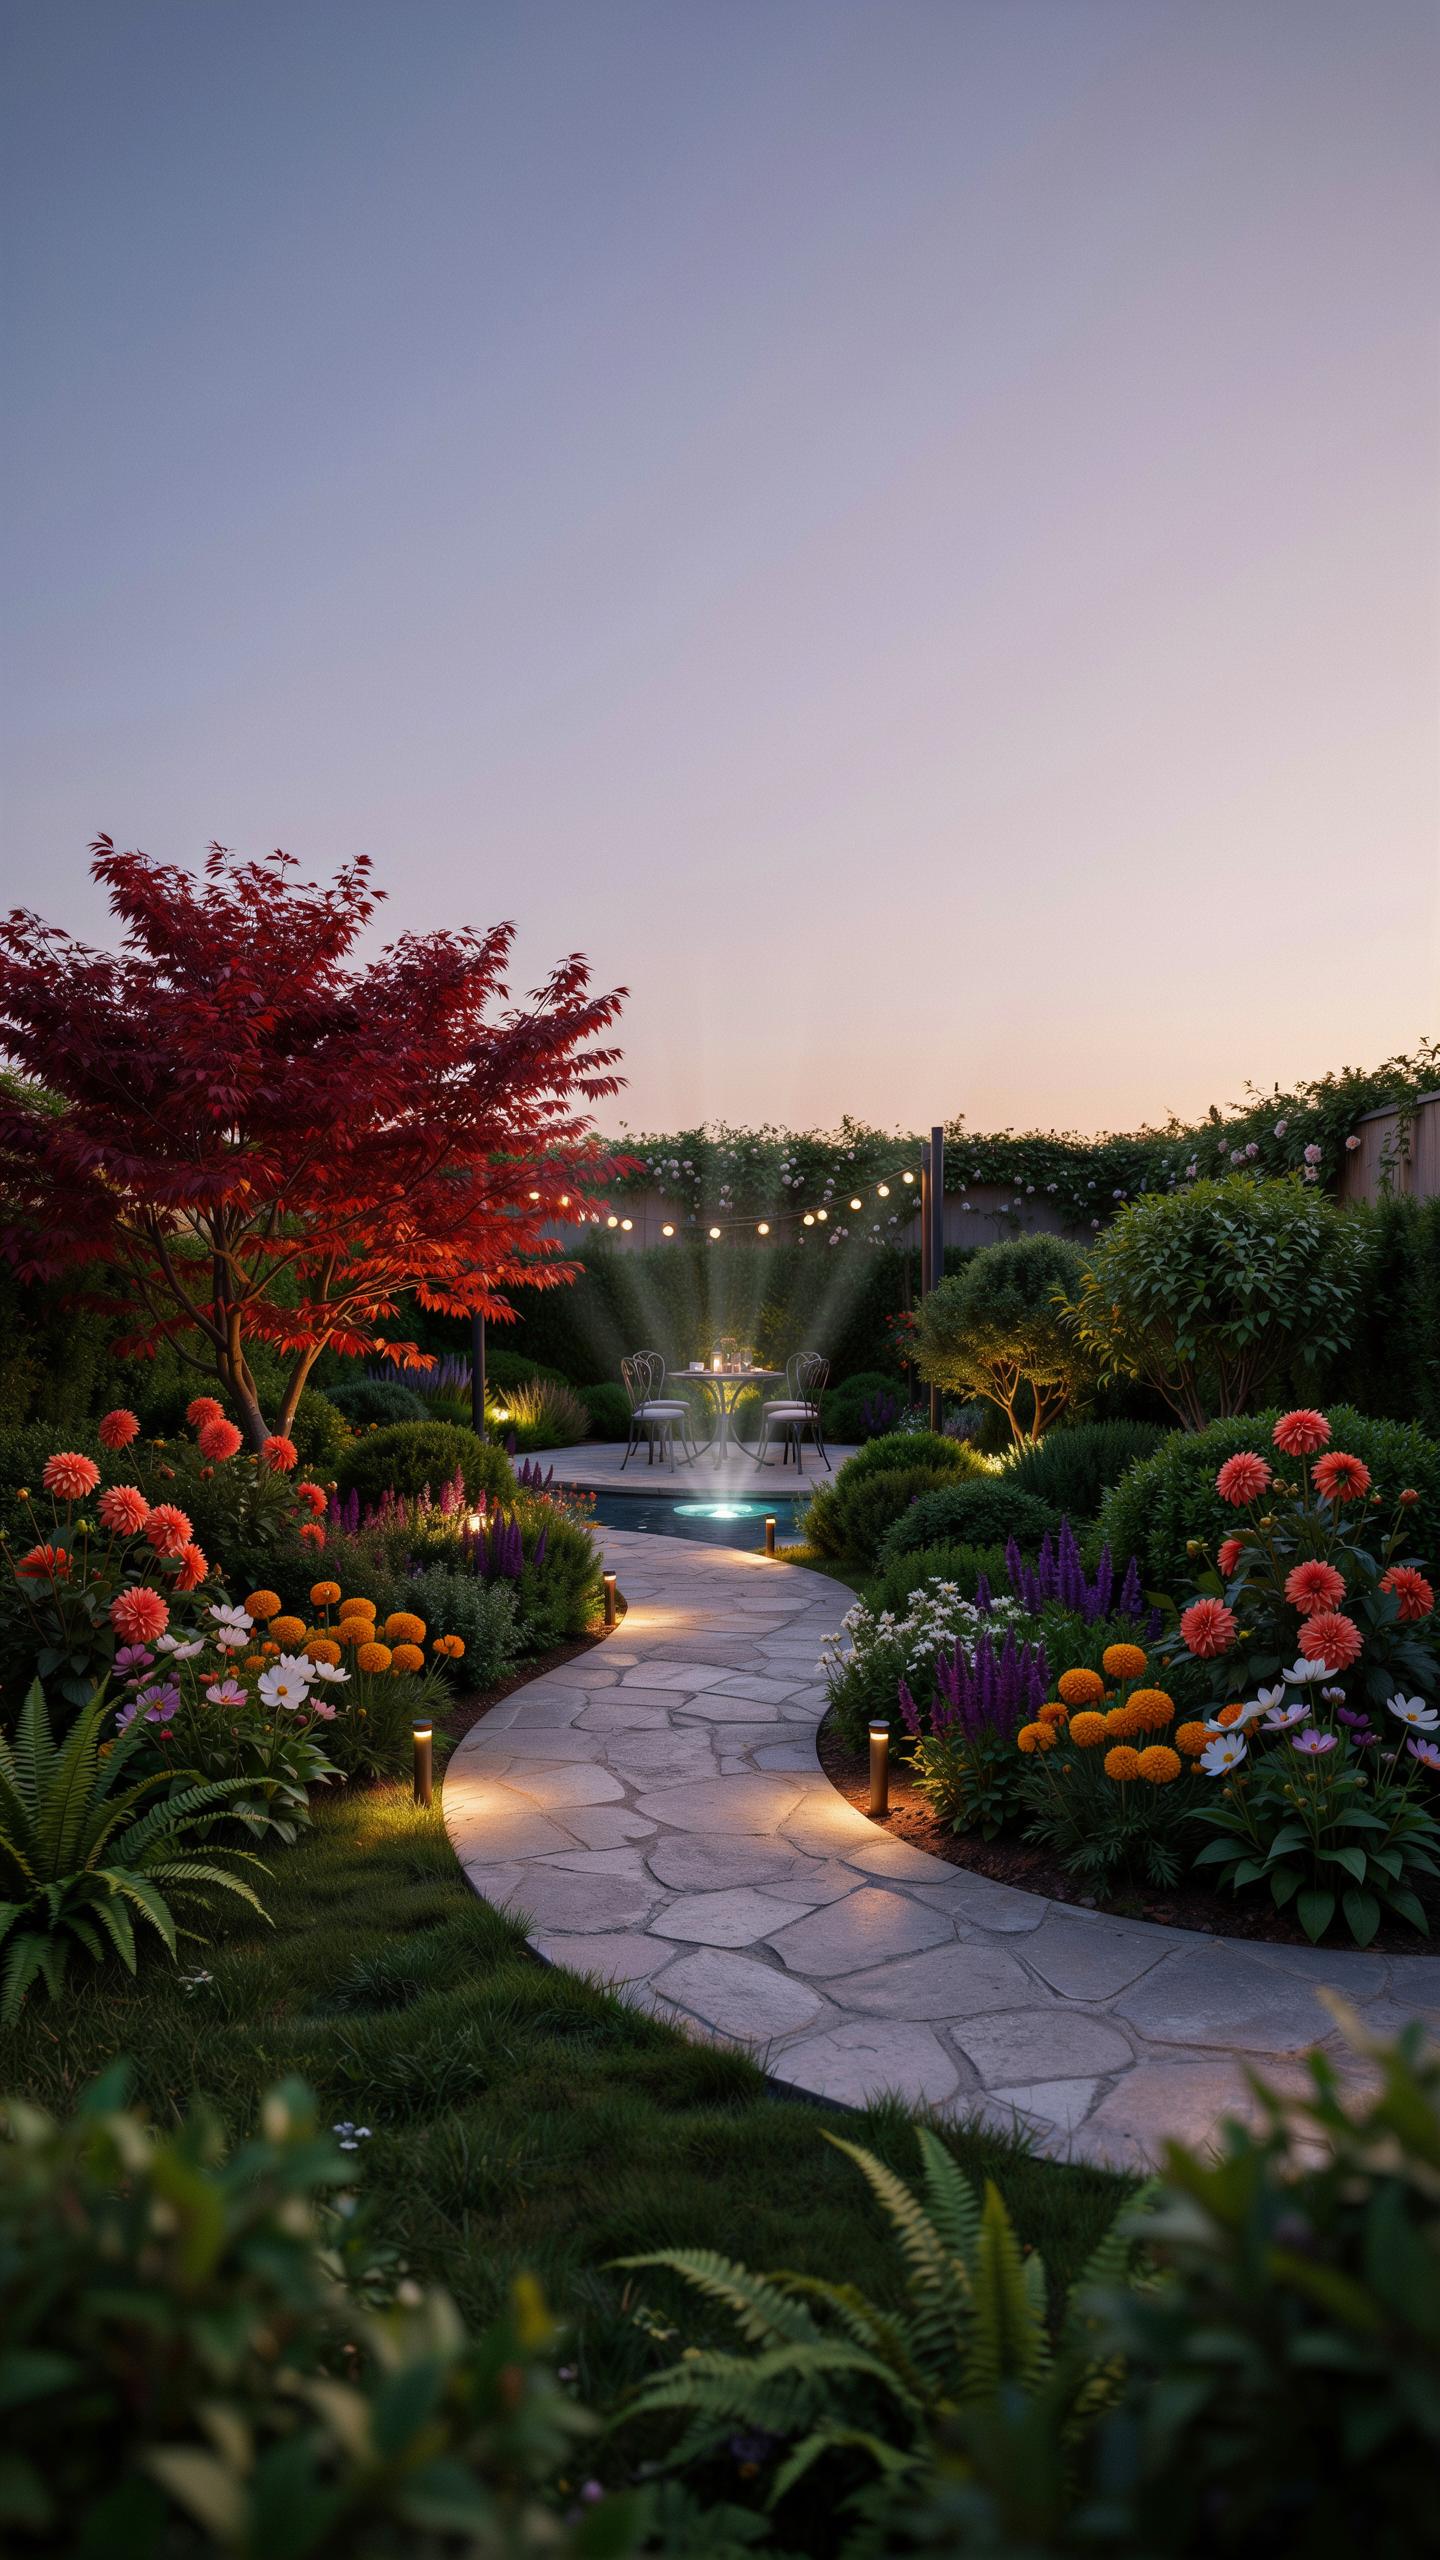
Understanding Beam Angles And Light Spread For Sculptural Plants
Beam angle determines how light spreads across your plants. Narrow beams between 15 and 30 degrees create focused pools of light on single specimens. Wide beams from 40 to 60 degrees wash larger areas with illumination. Choose your angle based on plant size and distance from the fixture. A narrow beam on a small ornamental tree creates drama. A wide beam lights multiple shrubs at once.
The distance between fixture and plant affects perceived light intensity. Place lights closer for brighter illumination on delicate foliage. Move lights back to soften intensity on dense canopies. Test positioning during evening hours to verify coverage matches your design intent. Most landscape fixtures sit 6 to 10 feet from target plants. Adjust based on your specific plants and desired visual effect.
Balancing Light And Shadow For A Sophisticated Contrast
Shadow plays an equal role as light in modern garden design. Positioned correctly, light creates defined shadows that add depth and dimension. Avoid lighting every surface uniformly, as this flattens your landscape visually. Directional lighting from one side produces stronger shadow definition than diffused lighting. This contrast draws the eye toward your best features.
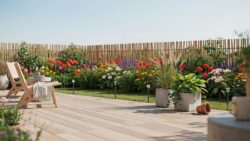
Strategic darkness creates breathing room in your garden composition. Leave some areas unlit to provide visual rest between illuminated zones. This approach prevents visual fatigue and highlights your intentional design choices. Alternate lit and dark sections creates rhythm throughout the space. The interplay between light and shadow transforms ordinary plants into focal points.
Creative Outdoor Lighting Garden Fixtures
Incorporating Sleek Modern Bollards And Pathway Markers
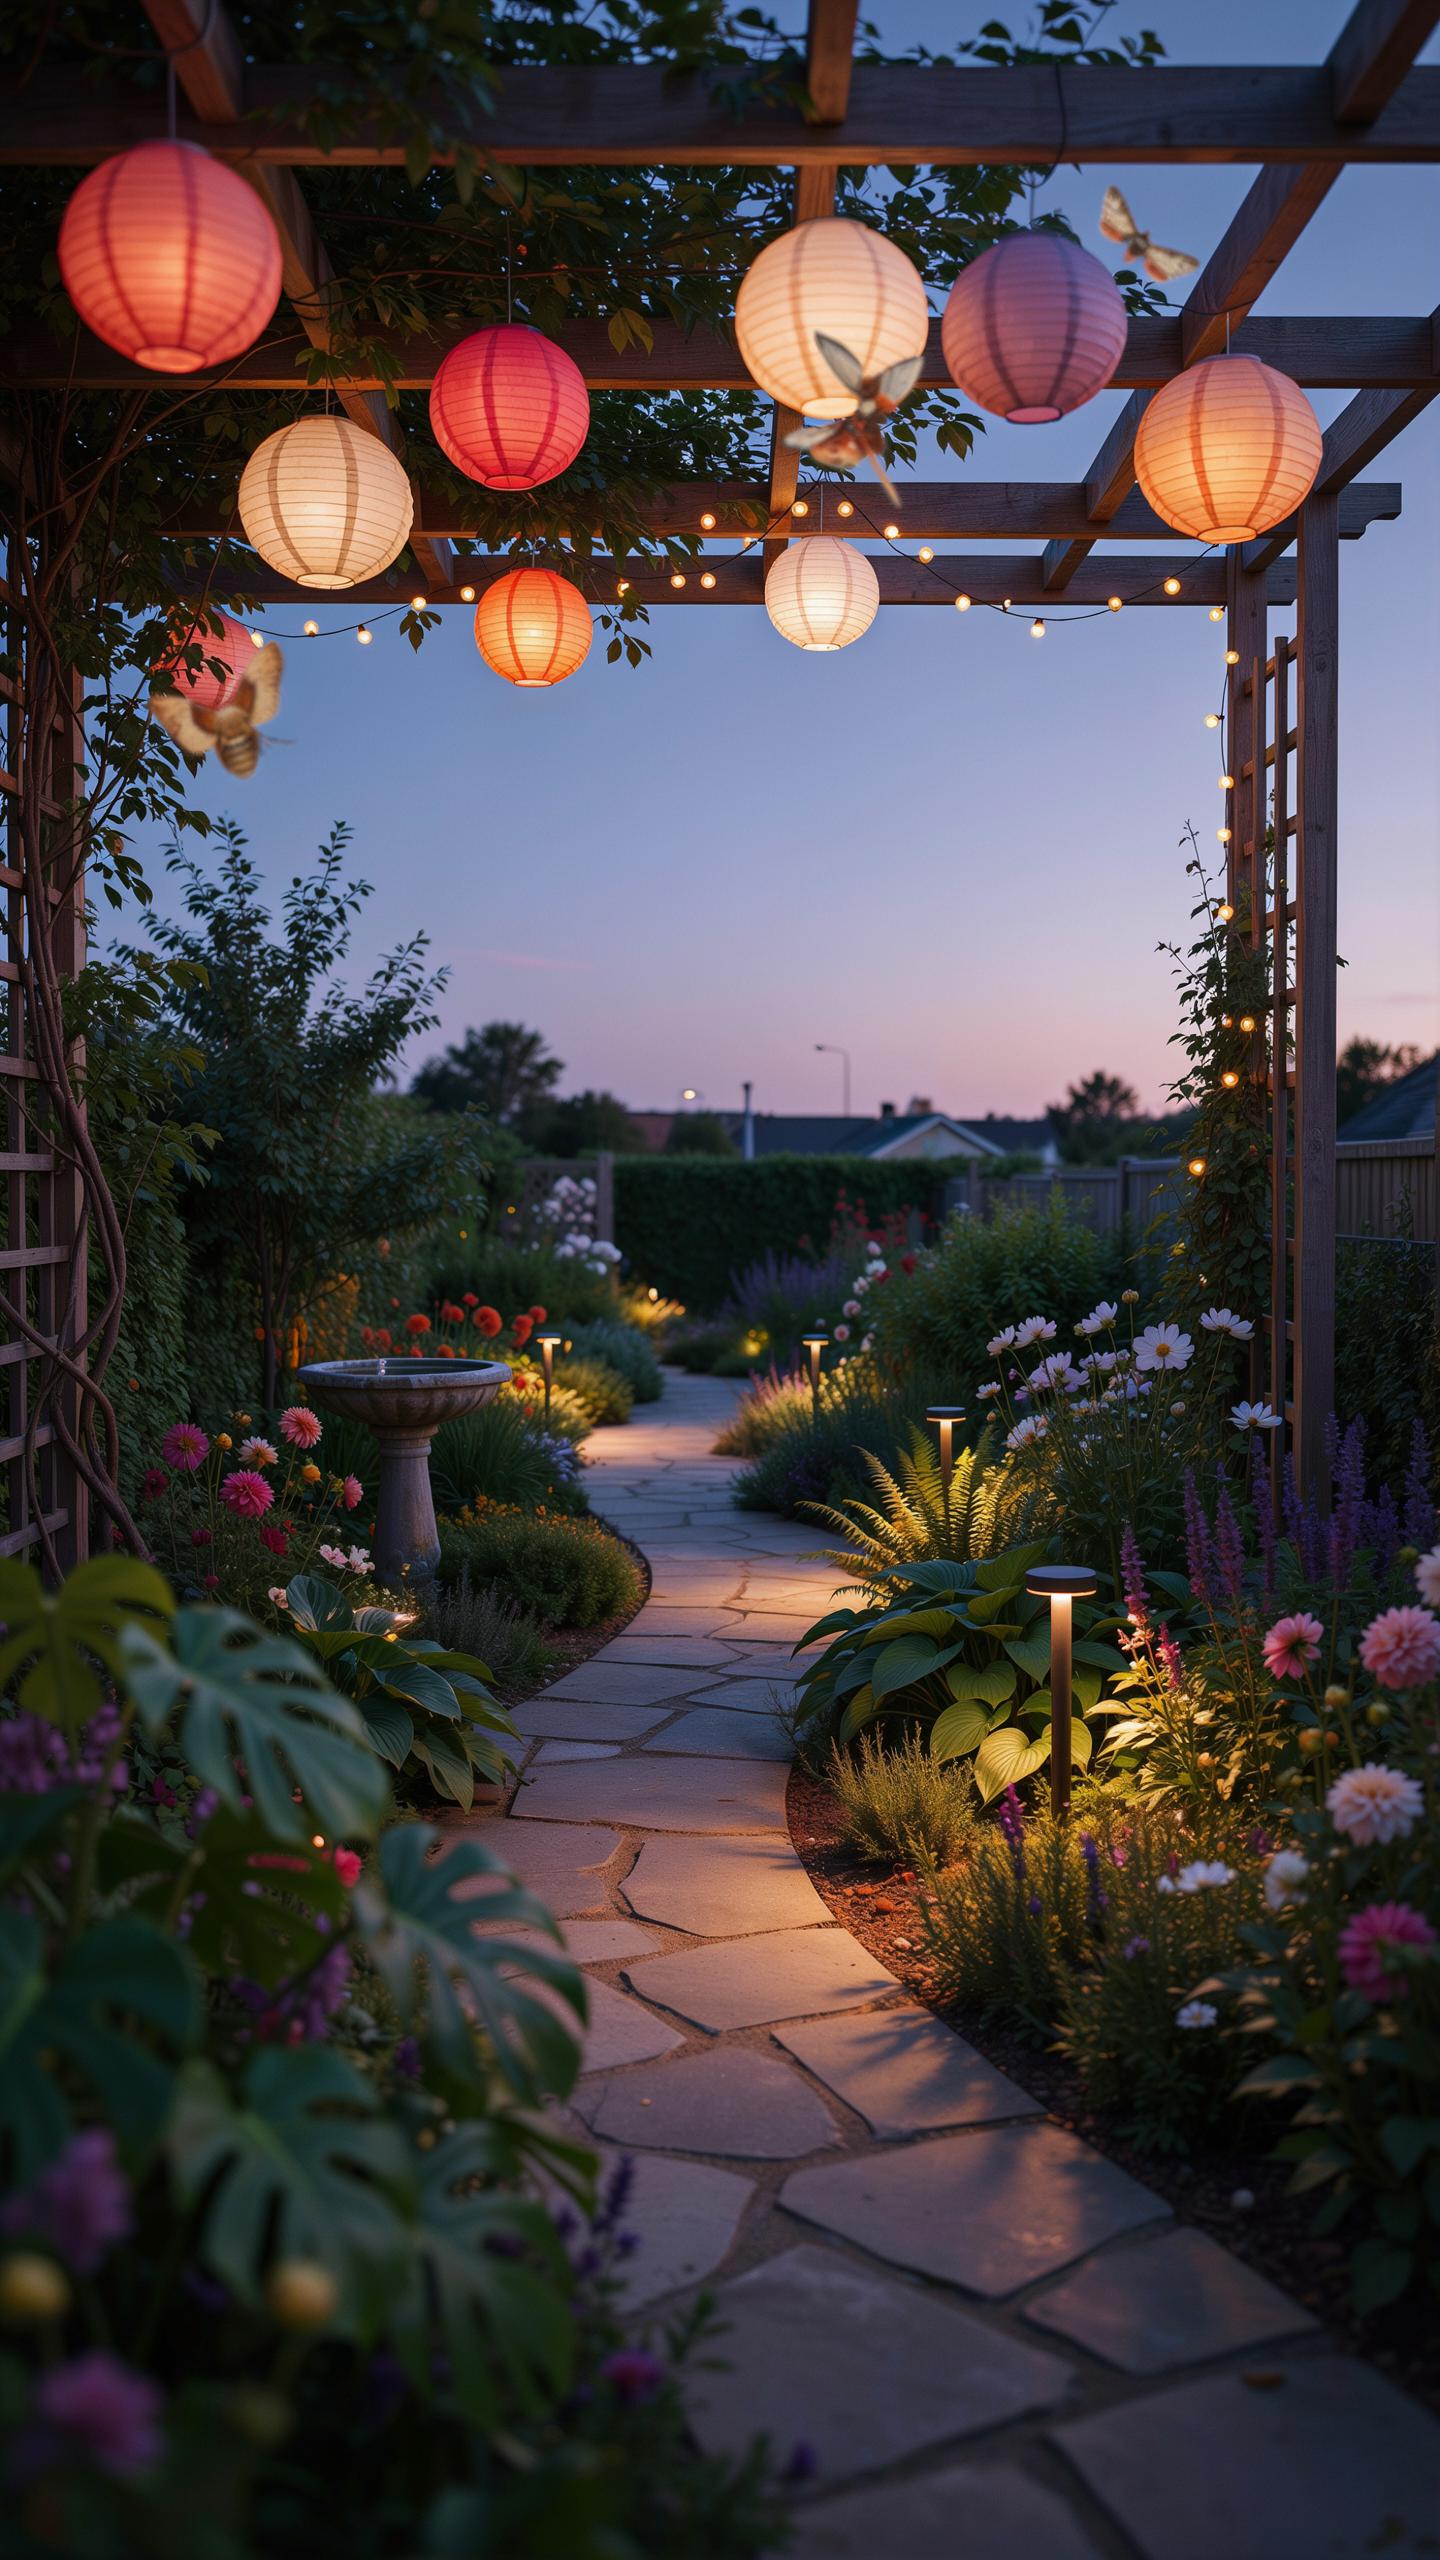
Bollards serve a dual function in modern gardens: they light walkways while defining space boundaries. These vertical posts stand 24 to 48 inches tall and emit light downward or omnidirectionally. Materials like aluminum and stainless steel resist corrosion and match contemporary architecture. Their geometric form eliminates visual clutter compared to traditional landscape lights.
Pathway markers work differently than bollards. They sit low to the ground, typically 4 to 12 inches high, and guide foot traffic without creating sight line obstructions. LED technology makes these fixtures energy efficient and long-lasting. Position them 4 to 6 feet apart along walkways for consistent illumination and safety without creating harsh shadows.
Must Have Minimalist Fixtures For Contemporary Backyards
Minimalist fixtures prioritize function over decoration, reducing visual elements to their essentials. This approach aligns with contemporary design principles that emerged from mid-20th century modernism. Clean lines, neutral colors, and hidden mounting systems characterize these products. They integrate into landscapes rather than dominate them.
- Recessed Ground Lights: Flush-mounted fixtures that light upward from soil level. They create subtle illumination for trees and architectural features without protruding above grade.
- Wall Mounted Linear Fixtures: Straight LED strips attached to building facades or fences. They provide ambient light and define vertical planes using minimal hardware.
- Adjustable Spot Lights: Compact directional lights on slim stems or mounts. They highlight focal points like sculptures or vegetation with precise beam control.
- Pendant Lights With Minimal Frames: Hanging fixtures with simple geometric shapes and thin cables. They create focal points over seating areas while maintaining clean aesthetics.
- Low Profile Step Lights: Embedded fixtures for deck edges and raised planter borders. They prevent tripping hazards while emitting unobtrusive light downward.
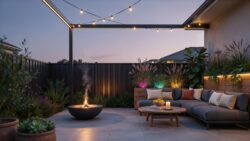
Select fixtures made from powder coated aluminum or stainless steel for durability. These materials withstand moisture and UV exposure without degradation. Opt for warm white LED bulbs between 2700K and 3000K to maintain visual comfort during evening hours. Avoid oversized or ornamental designs that contradict minimalist principles.
Elevate Your Patio With Luxury Landscape Lighting
Integrating High End Uplighting Under Specimen Trees
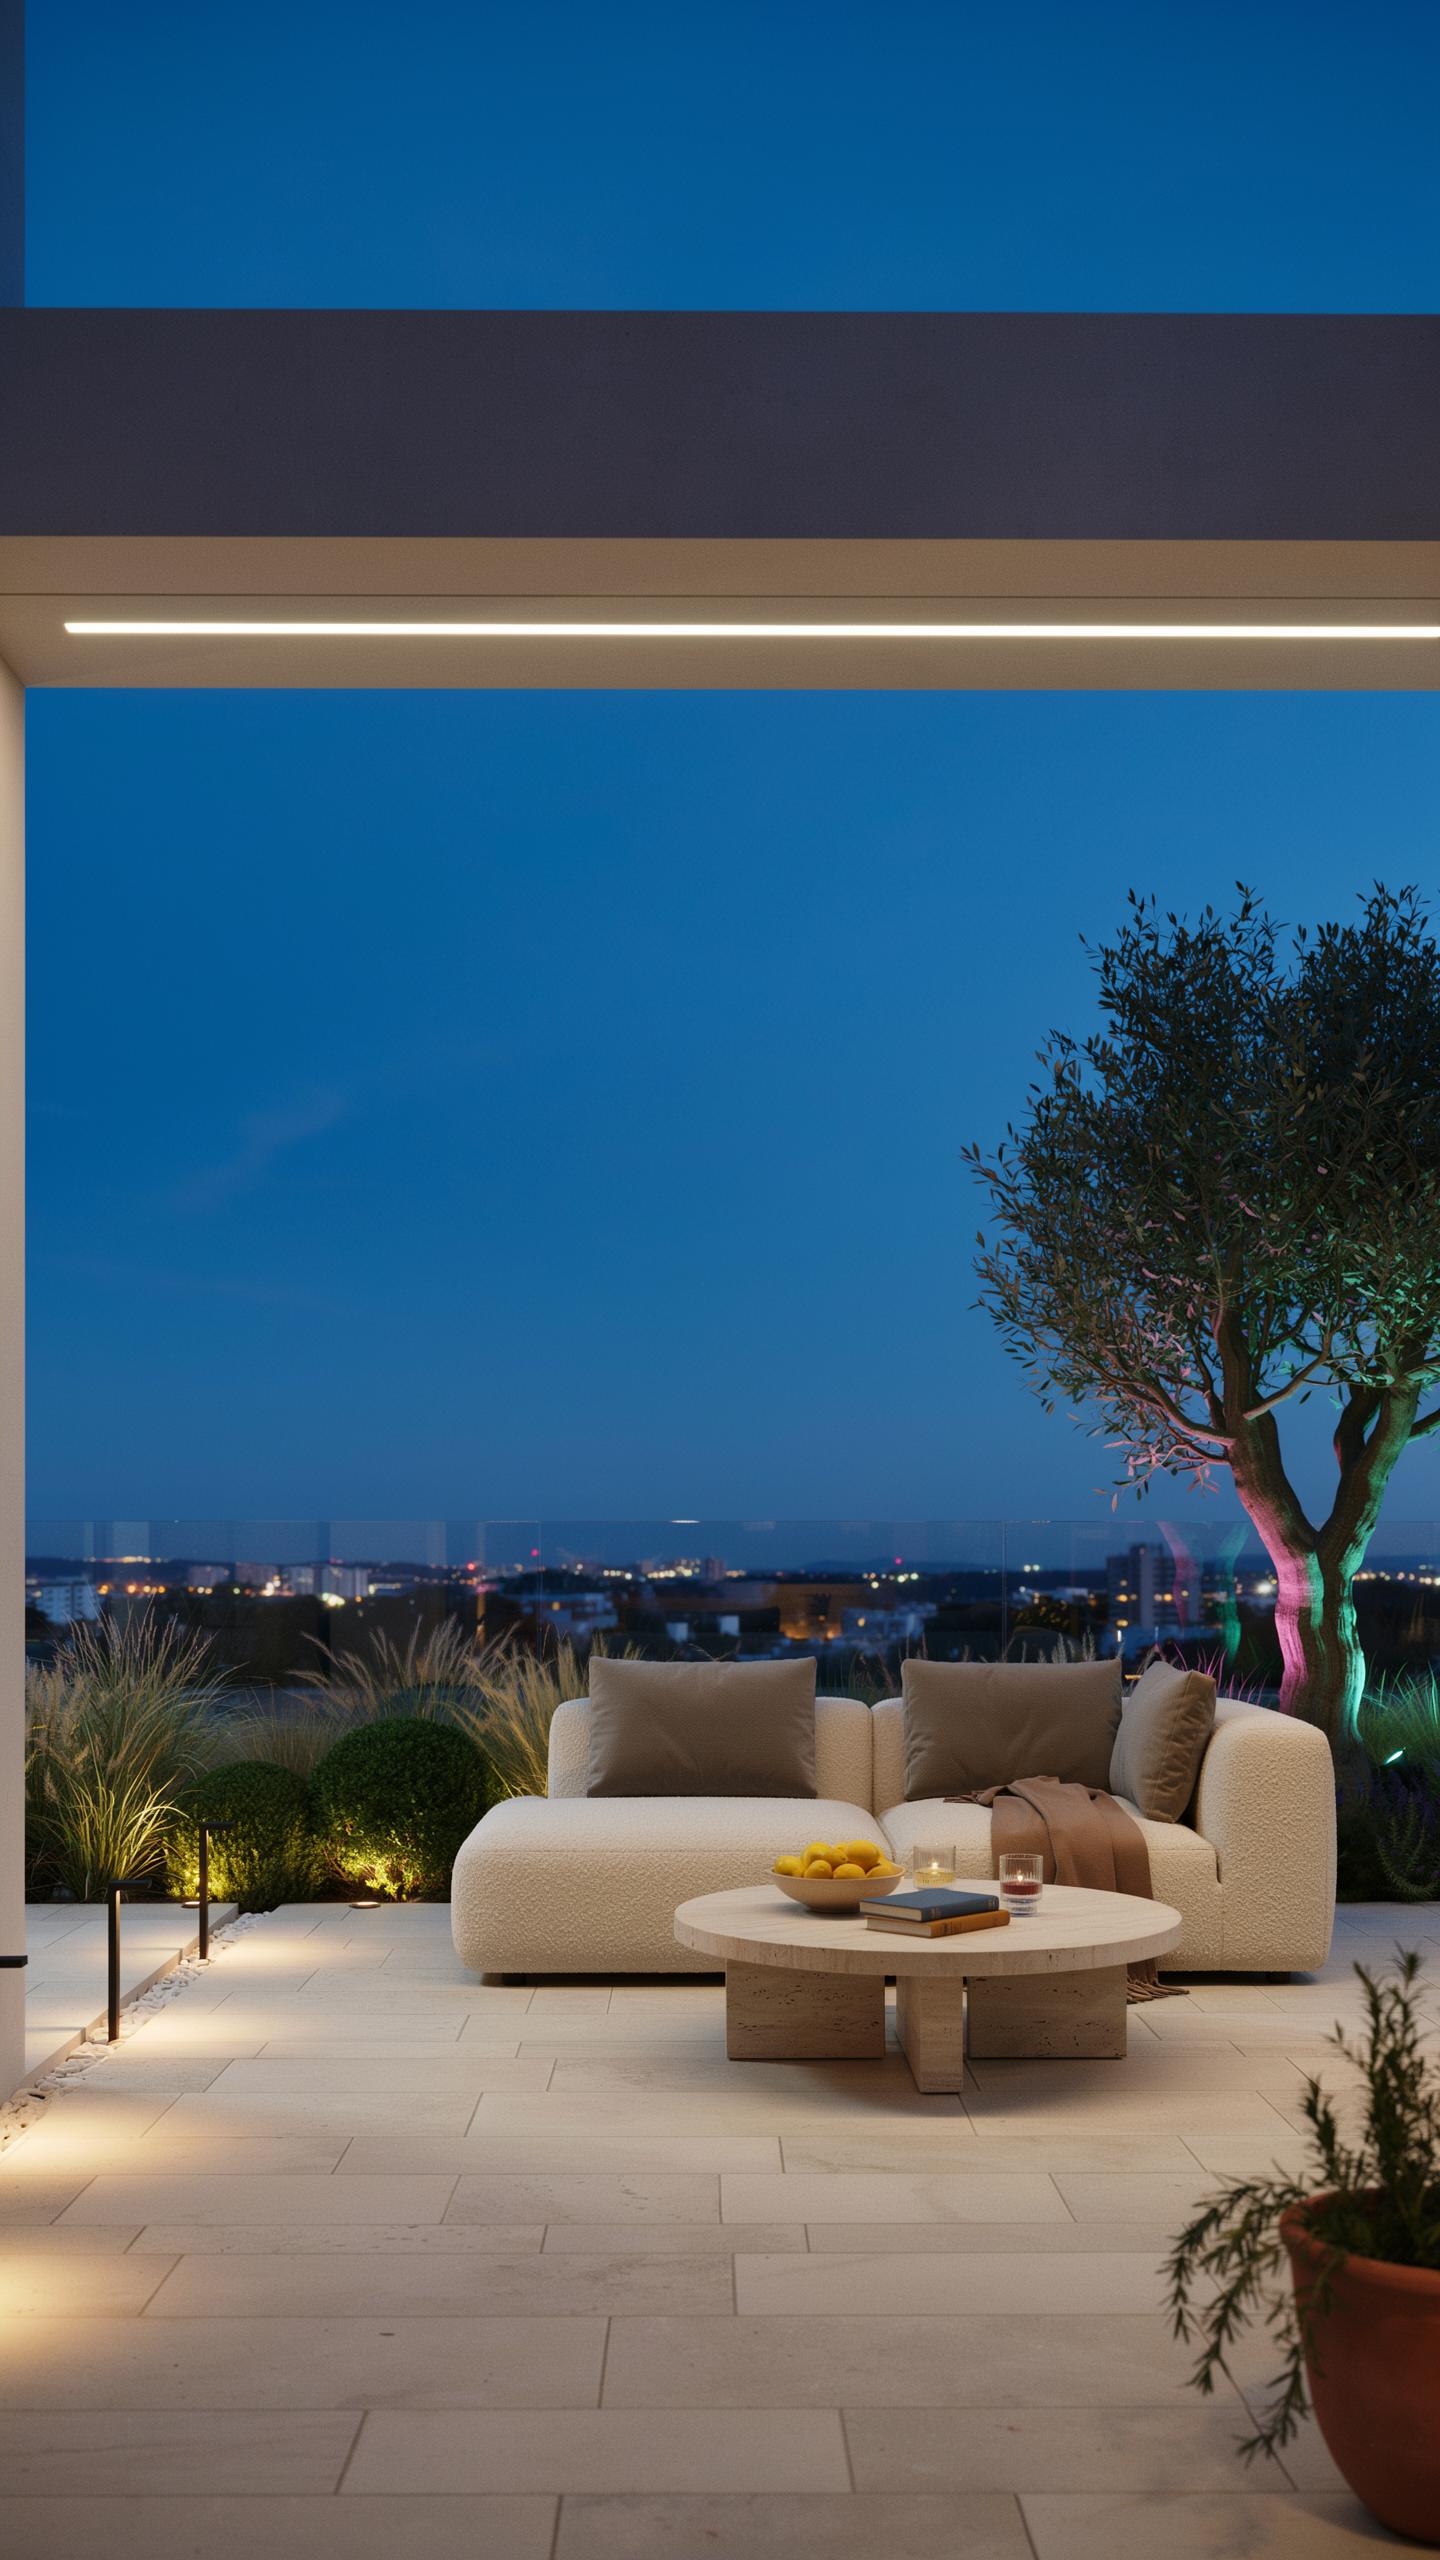
Uplighting positions fixtures at ground level and directs light upward onto tree canopies. This technique reveals texture in bark, highlights branch structure, and creates visual depth in your garden. Specimen trees like Japanese maples, ornamental grasses, and mature oaks respond well to uplighting. The effect transforms trees into focal points after sunset without relying on overhead illumination.
Install uplights 3 to 5 feet from the tree base and angle them 30 to 45 degrees upward. Use warm color temperatures between 2700K and 3000K to maintain a natural appearance. Position multiple fixtures around larger trees to avoid harsh shadows and ensure even coverage. Bury wiring in conduit to protect it from foot traffic and garden maintenance. Test fixture placement during daylight to confirm sight lines and avoid light spill onto neighboring properties.
Smart Automation And Dimming Systems For Ultimate Control
Dimming systems let you adjust light intensity throughout the evening without manual fixture changes. This control reduces energy consumption during early hours when ambient light remains useful. Smart controllers connect to your smartphone or tablet, enabling remote adjustments from anywhere on your property. Most systems accept voice commands through common platforms like Alexa or Google Home.

Scheduling features automate lighting sequences based on sunset times and your daily routine. Install motion sensors to activate lighting only when movement triggers detection, cutting unnecessary run time. Integrate multiple zones so your patio, pathways, and accent lighting operate independently. Quality smart systems maintain consistent color temperature and brightness across all fixtures regardless of electrical fluctuations.
Innovative Garden Lighting Ideas Landscaping Options
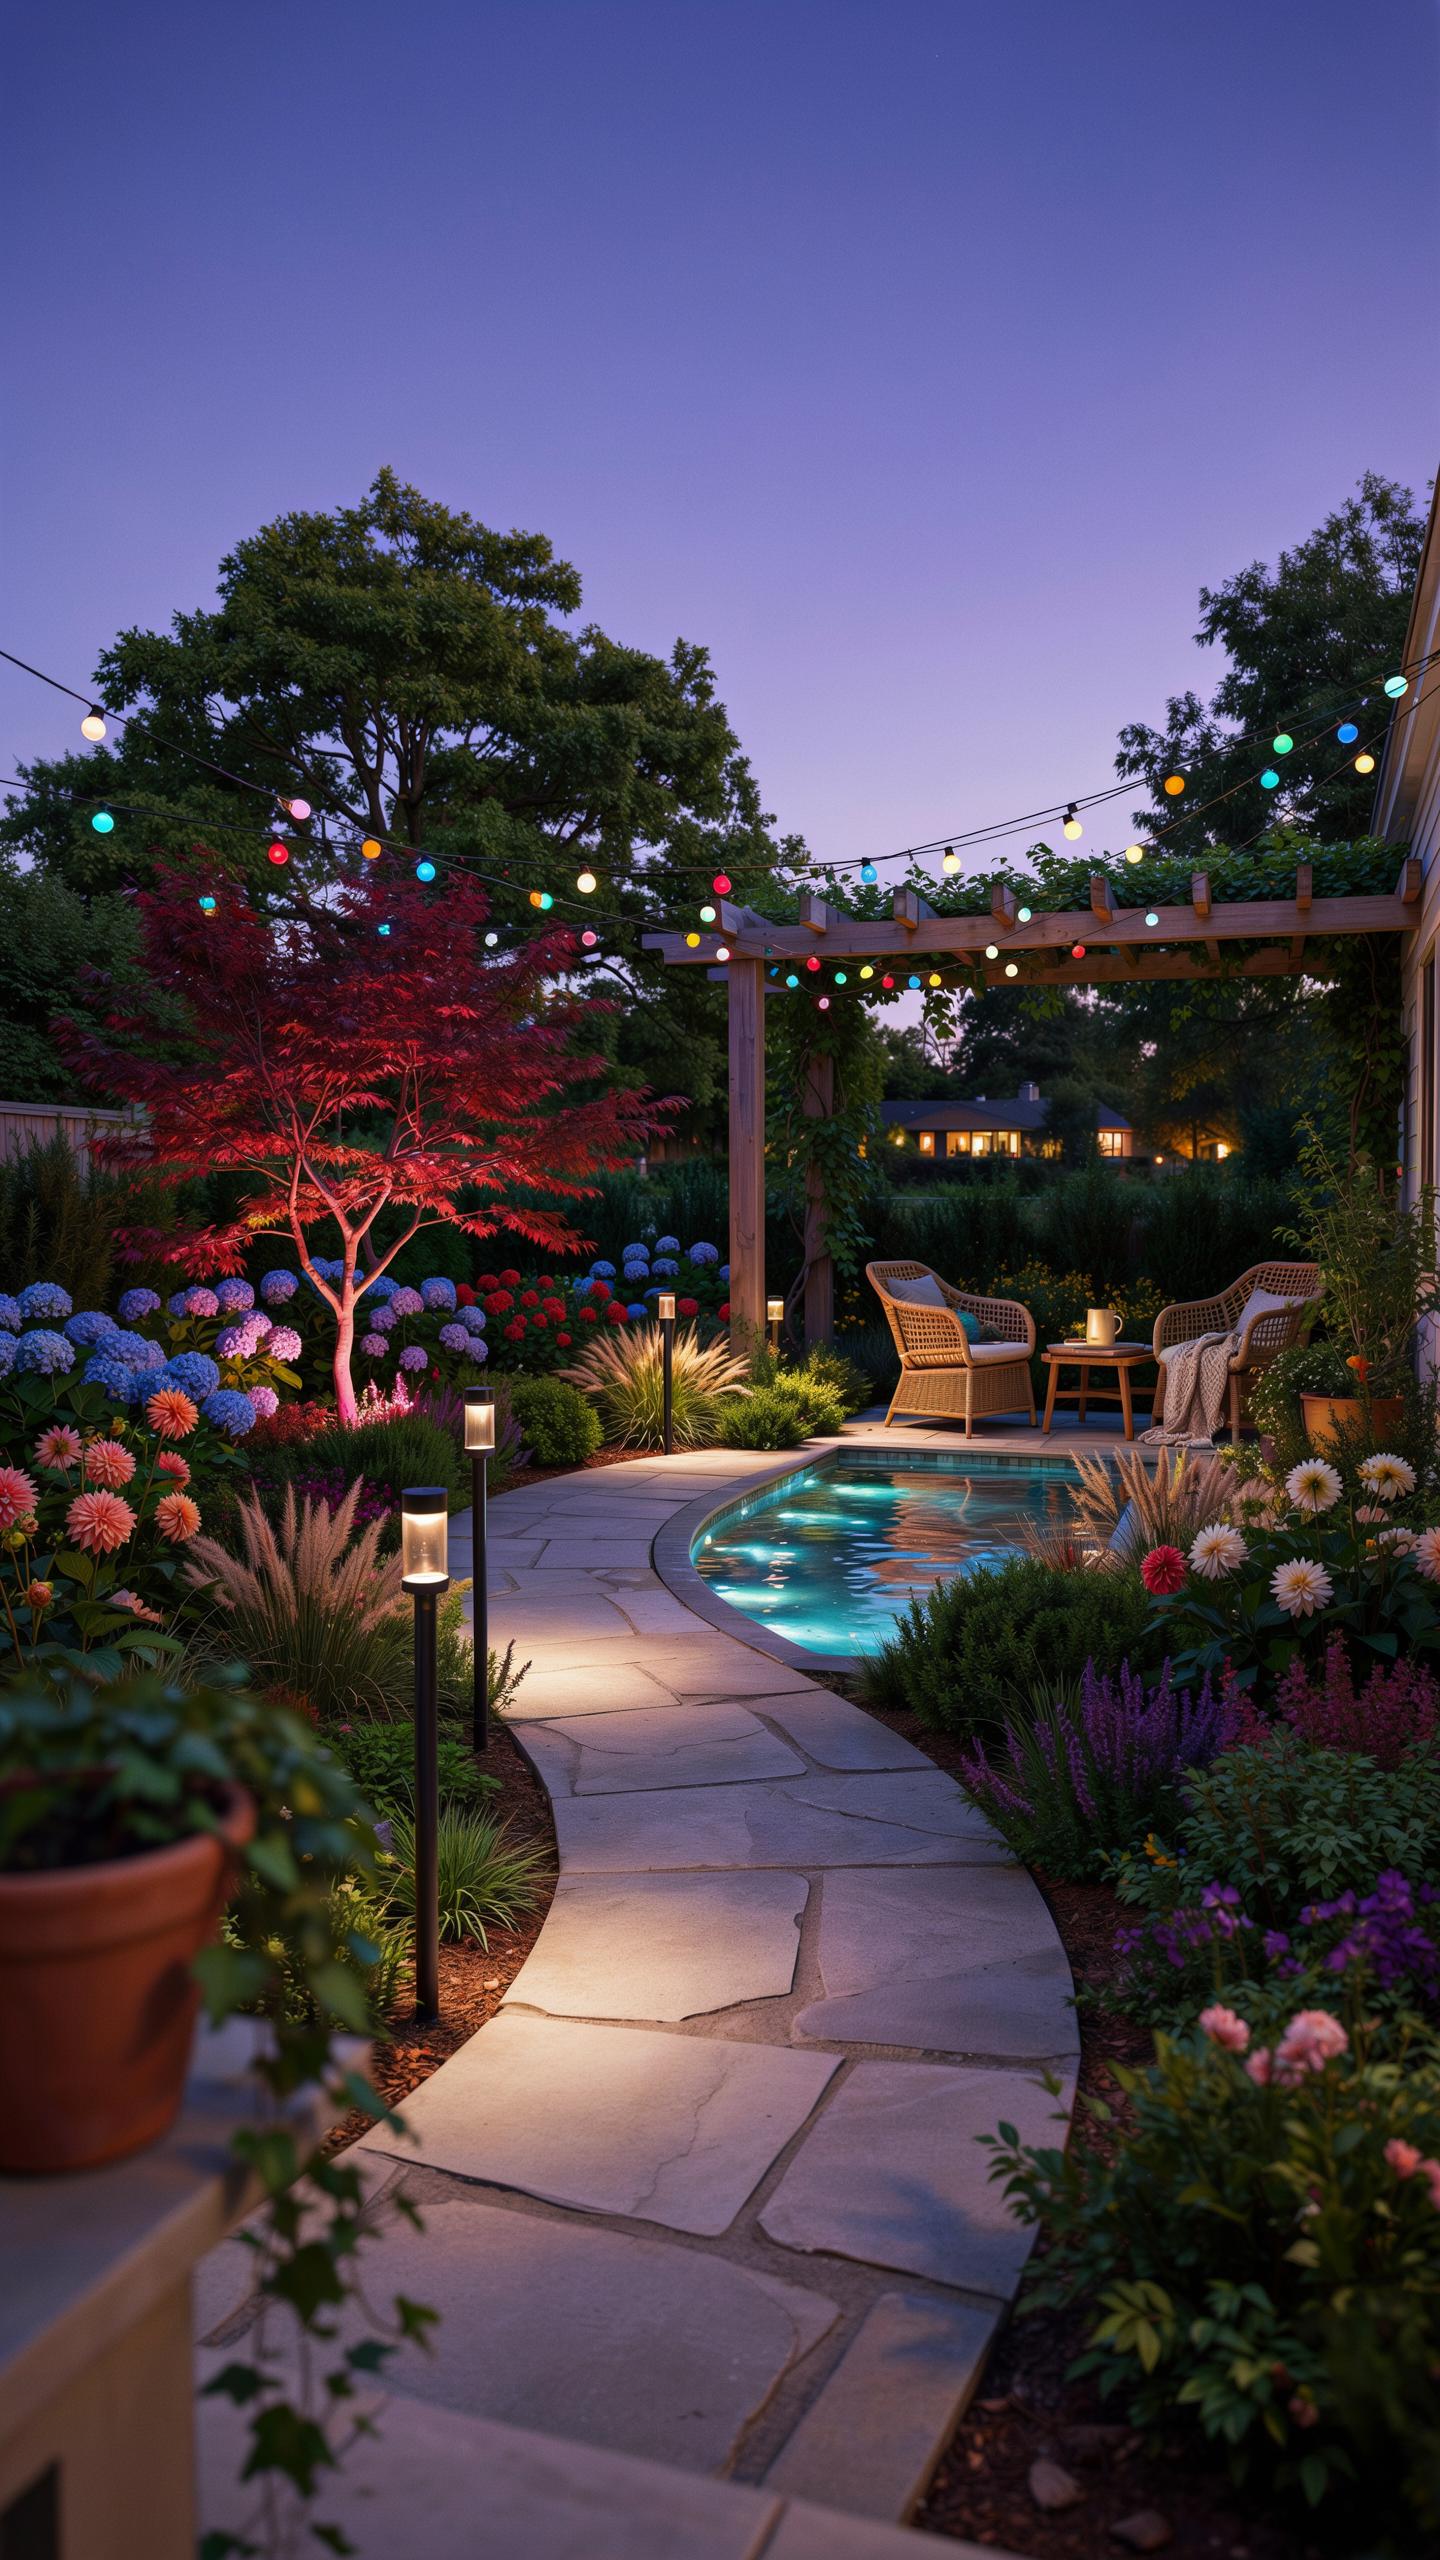
Silhouetting And Shadowing Architectural Plant Species
Silhouetting places light behind plants to create dark outlines against bright backgrounds. This technique works best with plants that have distinct shapes: columnar junipers, ornamental grasses, or structured shrubs. Position uplights or backlights low and behind the specimen. The viewer sees only the plant’s profile, not detail. This creates dramatic visual impact with minimal fixture visibility.
Shadowing differs from silhouetting. It places light in front of plants to cast their shapes onto surfaces behind them. Use a light source positioned between the plant and a wall, fence, or hedge. The technique emphasizes texture and form through shadow projection. This approach adds depth to garden spaces and makes small yards feel larger by extending visual interest across hard surfaces.
Illuminating Water Features And Soft Pools Of Reflection
Water reflects light, amplifying its effect throughout the garden. Submerged fixtures in ponds or fountains create glowing effects that spread across surface areas. Position these lights low and angled upward to prevent direct glare. Underwater lighting highlights water movement and adds visual continuity to the nighttime landscape. The reflection doubles the perceived brightness without increasing fixture count.

Soft pools of reflection emerge when light grazes water surfaces at shallow angles. Place fixtures near water edges, aimed toward the water plane rather than above it. This creates gentle pools of illumination that define garden zones without harsh shadows. The reflected light bounces to nearby plants and hardscaping, creating layered visual depth. This method produces sophisticated results with strategic fixture placement and lower wattage requirements.
Strategic Placement Of Lights In Garden Beds
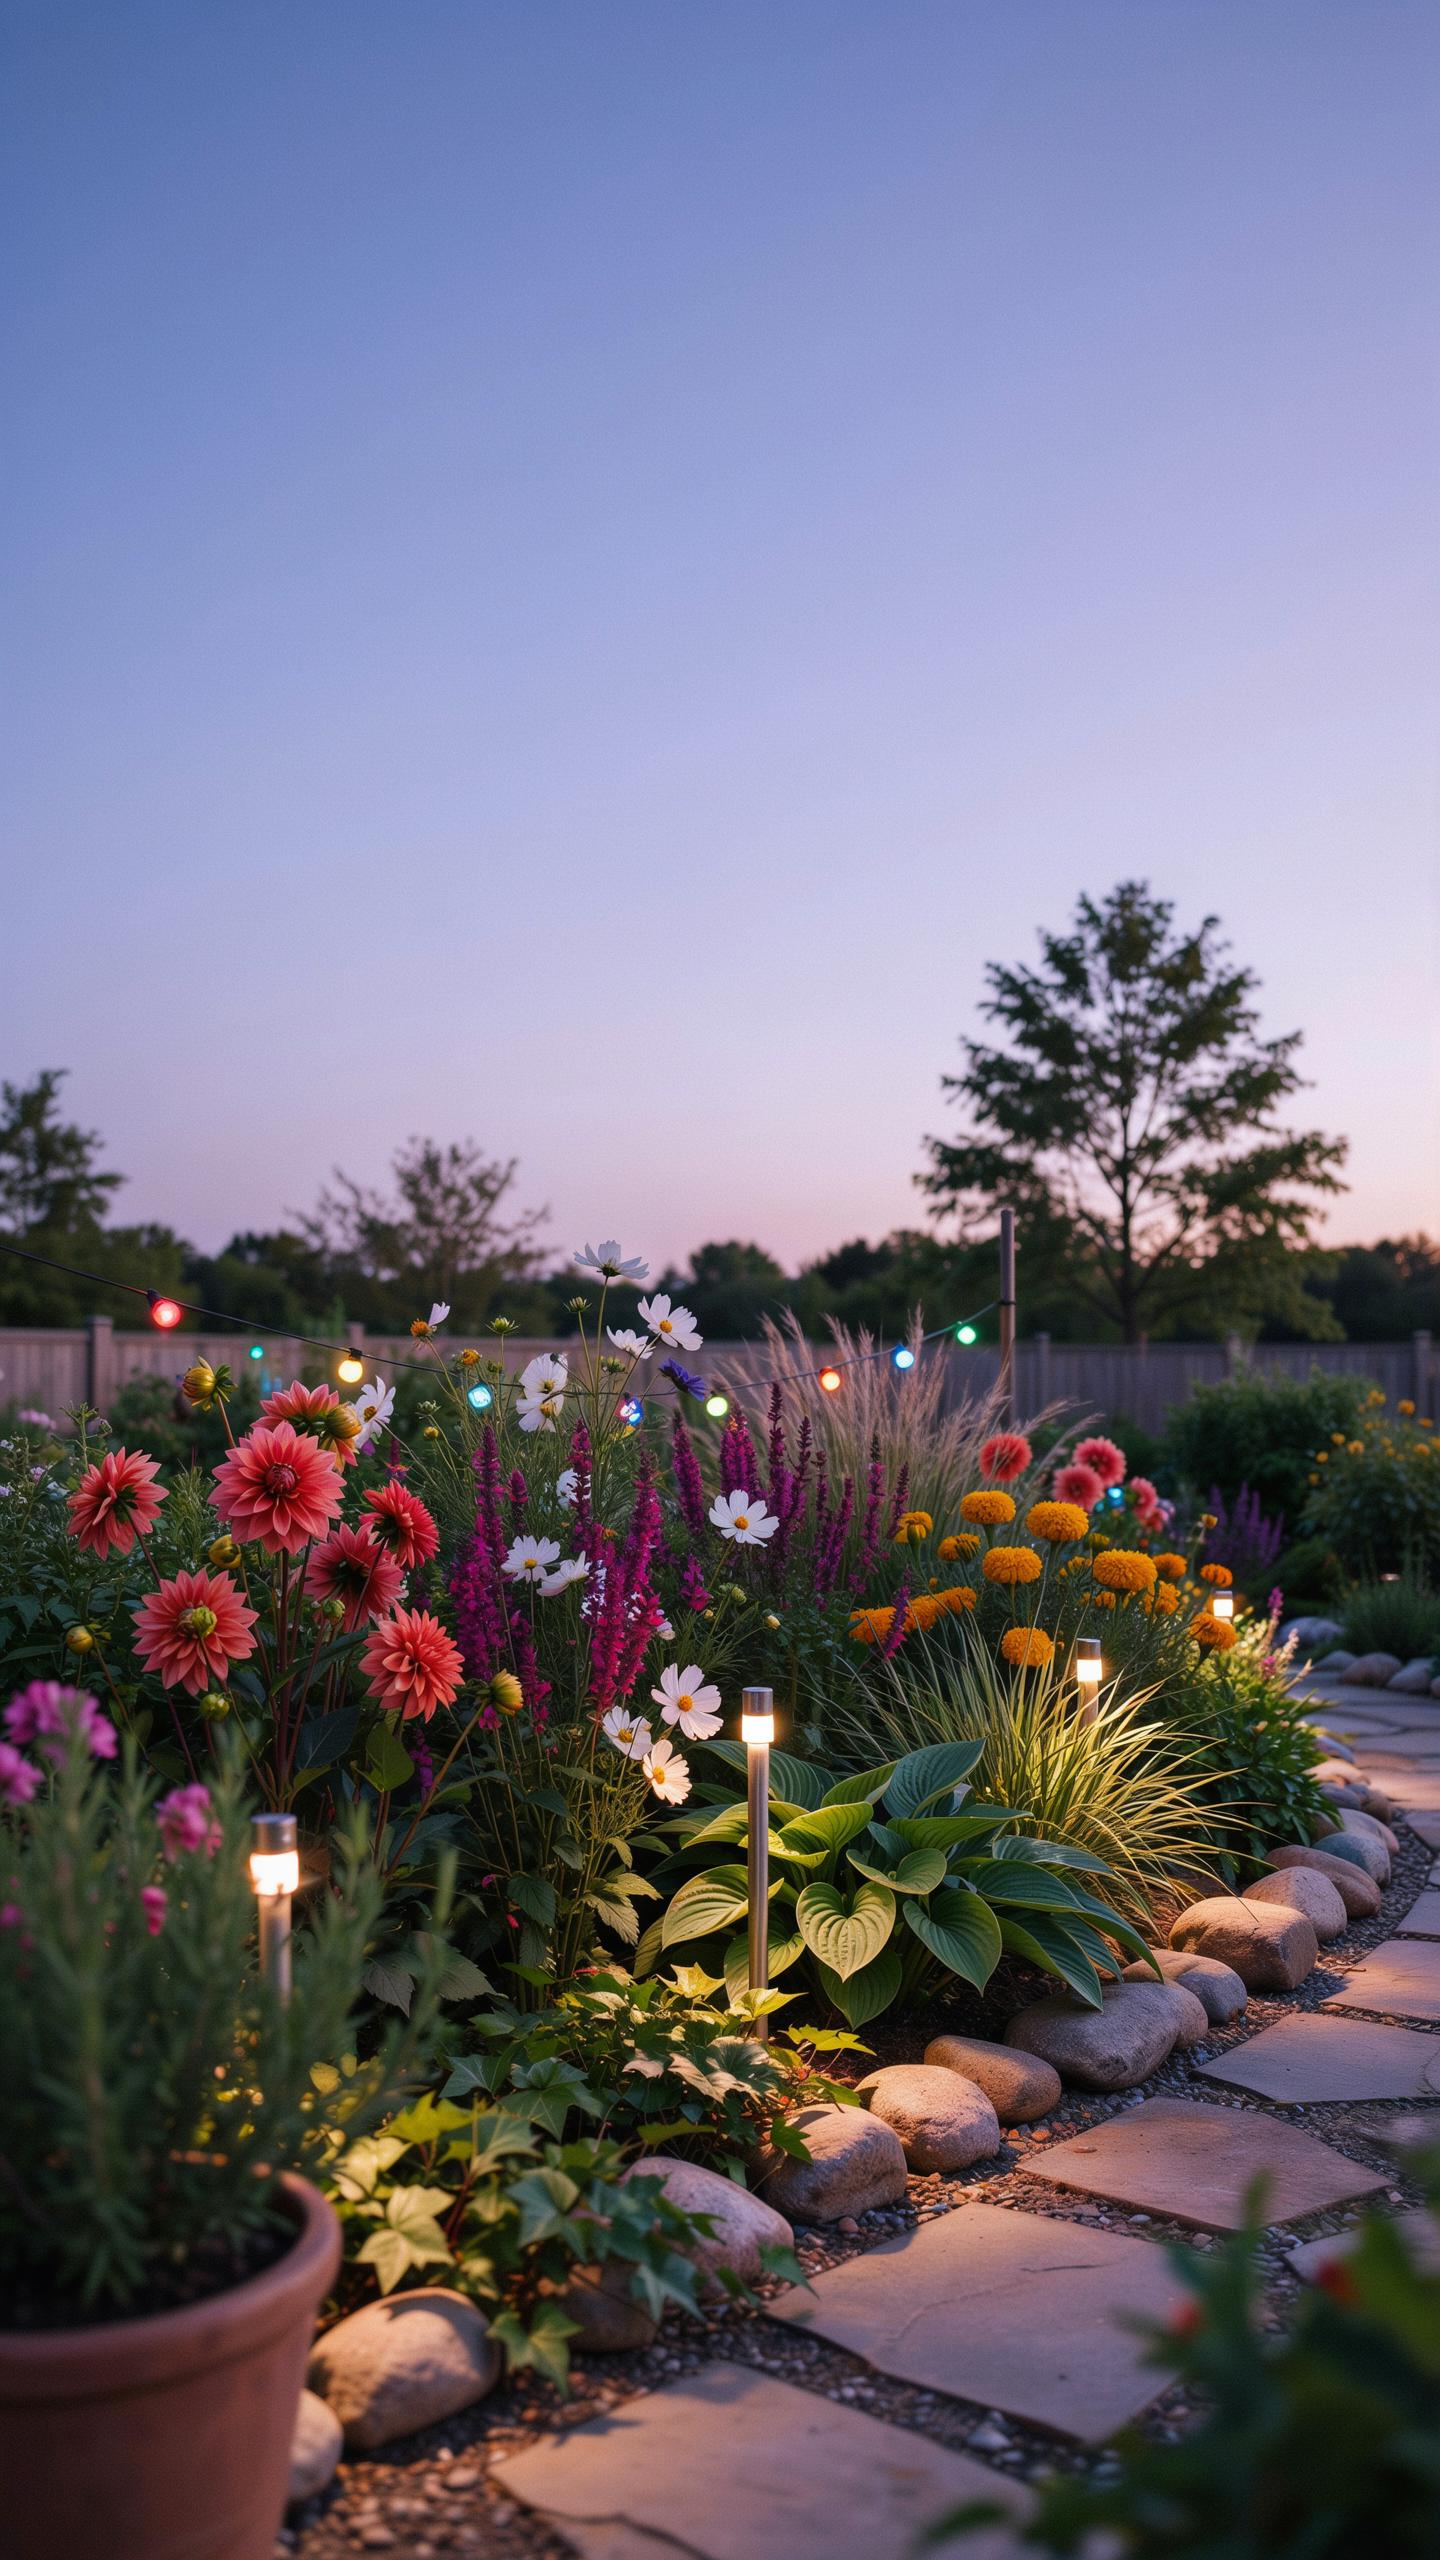
Positioning Stake Lights Among Low Growing Perennials
Place stake lights at the perimeter of planting beds rather than in the center. This approach illuminates plant forms without creating harsh shadows or obscuring foliage. Space fixtures 4 to 6 feet apart along bed edges. Angle lights upward at 45 degrees to graze plant textures and highlight architectural interest. This positioning creates depth while keeping fixtures visible during daylight hours.
Install stake lights before planting or during initial bed design. Moving them later disturbs roots and soil structure. Low-voltage LED stakes consume minimal power and generate negligible heat, reducing plant stress. Position them to backlight specimen plants or underlight flowering perennials. This technique reveals plant silhouettes and creates visual separation between beds.
Protecting Fixtures From Moisture And Seasonal Foliage Growth
Corrosion resistance matters in outdoor lighting. Specify fixtures with stainless steel or powder-coated aluminum components rated for ground contact. Avoid bare copper wiring and unpainted steel stakes that oxidize rapidly in wet soil. Check connector ratings for submersion tolerance, particularly in areas with standing water after rain or irrigation cycles.
Prune foliage quarterly to prevent overgrowth from burying fixtures. Dense plant coverage blocks light output and traps moisture against casings. Schedule pruning in spring and late summer. Clear debris around fixture bases to enable water drainage and air circulation. Inspect stakes annually for tilting or frost heave, which indicates soil movement or poor anchoring depth.
Practical Yard Lighting Ideas For Safety And Style
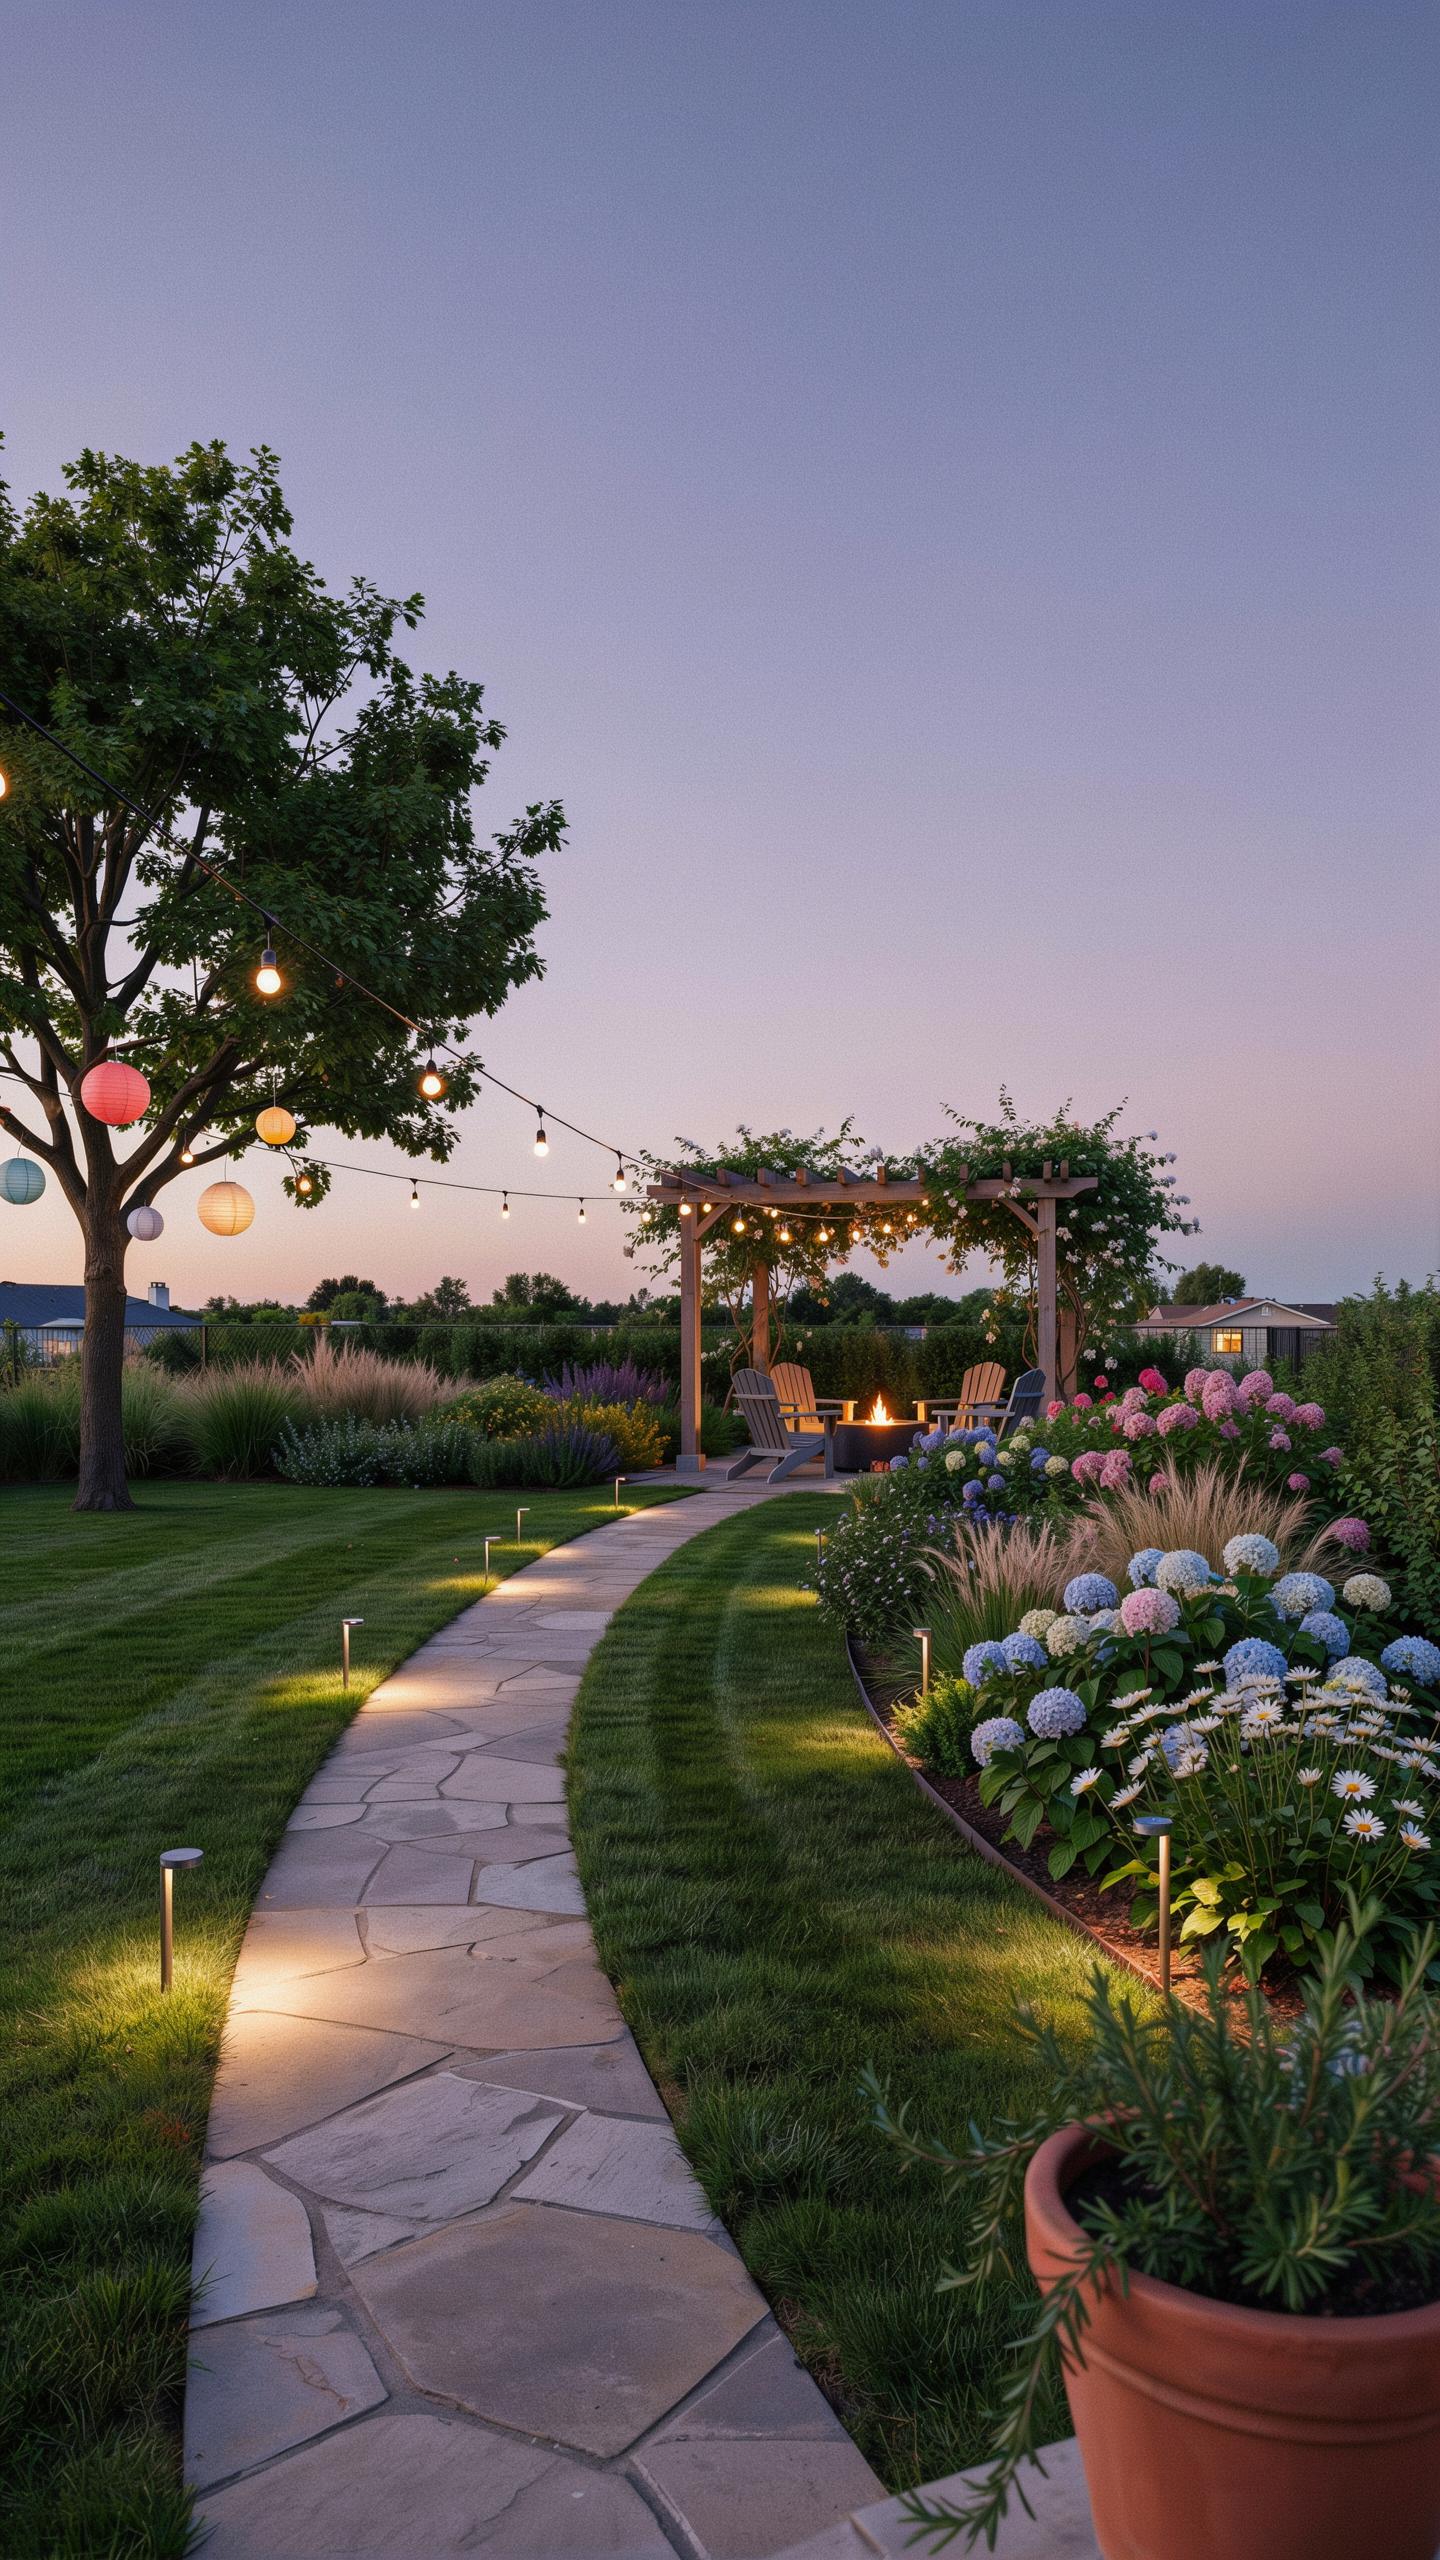
Top Tips For Illuminating Walkways Steps And Entryways
Pathway lighting serves two functions: navigation and security. Install fixtures at ground level or low-mounted positions along walkways to create sight lines without glare. Space lights 8 to 10 feet apart for consistent illumination. This spacing prevents dark zones where accidents occur while reducing fixture count and energy use.
- Step lights: Mount recessed or surface-mounted fixtures directly on steps or risers to mark elevation changes and prevent trips.
- Bollard lights: Place these post-style fixtures 2 to 3 feet high along pathway edges to define boundaries and guide foot traffic.
- Uplighting at entries: Position lights below to illuminate entry doors, gates, and architectural features for visibility and visual interest.
- Motion sensors: Add detection to walkway fixtures to activate lights only when needed, reducing energy consumption and maintenance cycles.
- Color temperature matching: Use 2700K to 3000K warm white lights at entries to match residential ambiance while maintaining visibility.
Entryways demand higher lumen output than pathway sections. Focus intensity at access points, including front doors, side gates, and deck stairs. Position fixtures to eliminate shadows on treads and landings. Test layouts before permanent installation to catch sight lines you missed during planning.
The garden at night is a place of memory, where soft light transforms the simple architecture of nature into a sanctuary for the soul.
Selecting Durable And Low Voltage LED Systems For Longevity
Low-voltage systems operate at 12 volts or less, reducing electrical hazards and installation complexity. They require transformers to step down standard 120-volt household current. LED technology within these systems generates minimal heat, extends lifespan to 25,000 to 50,000 hours, and cuts energy consumption compared to halogen alternatives.

Copper or aluminum wire gauge matters for performance. Undersized wire causes voltage drop, dimming lights at distant fixture points. Use 12-gauge wire for runs under 100 feet and 10-gauge for longer distances. IP ratings indicate water resistance, so select IP65 or higher for outdoor fixtures exposed to rain and moisture. Quality transformers feature surge protection and automatic shutoff features that prevent damage during power fluctuations.
Transformative Home Backyard Ideas For Evening Living
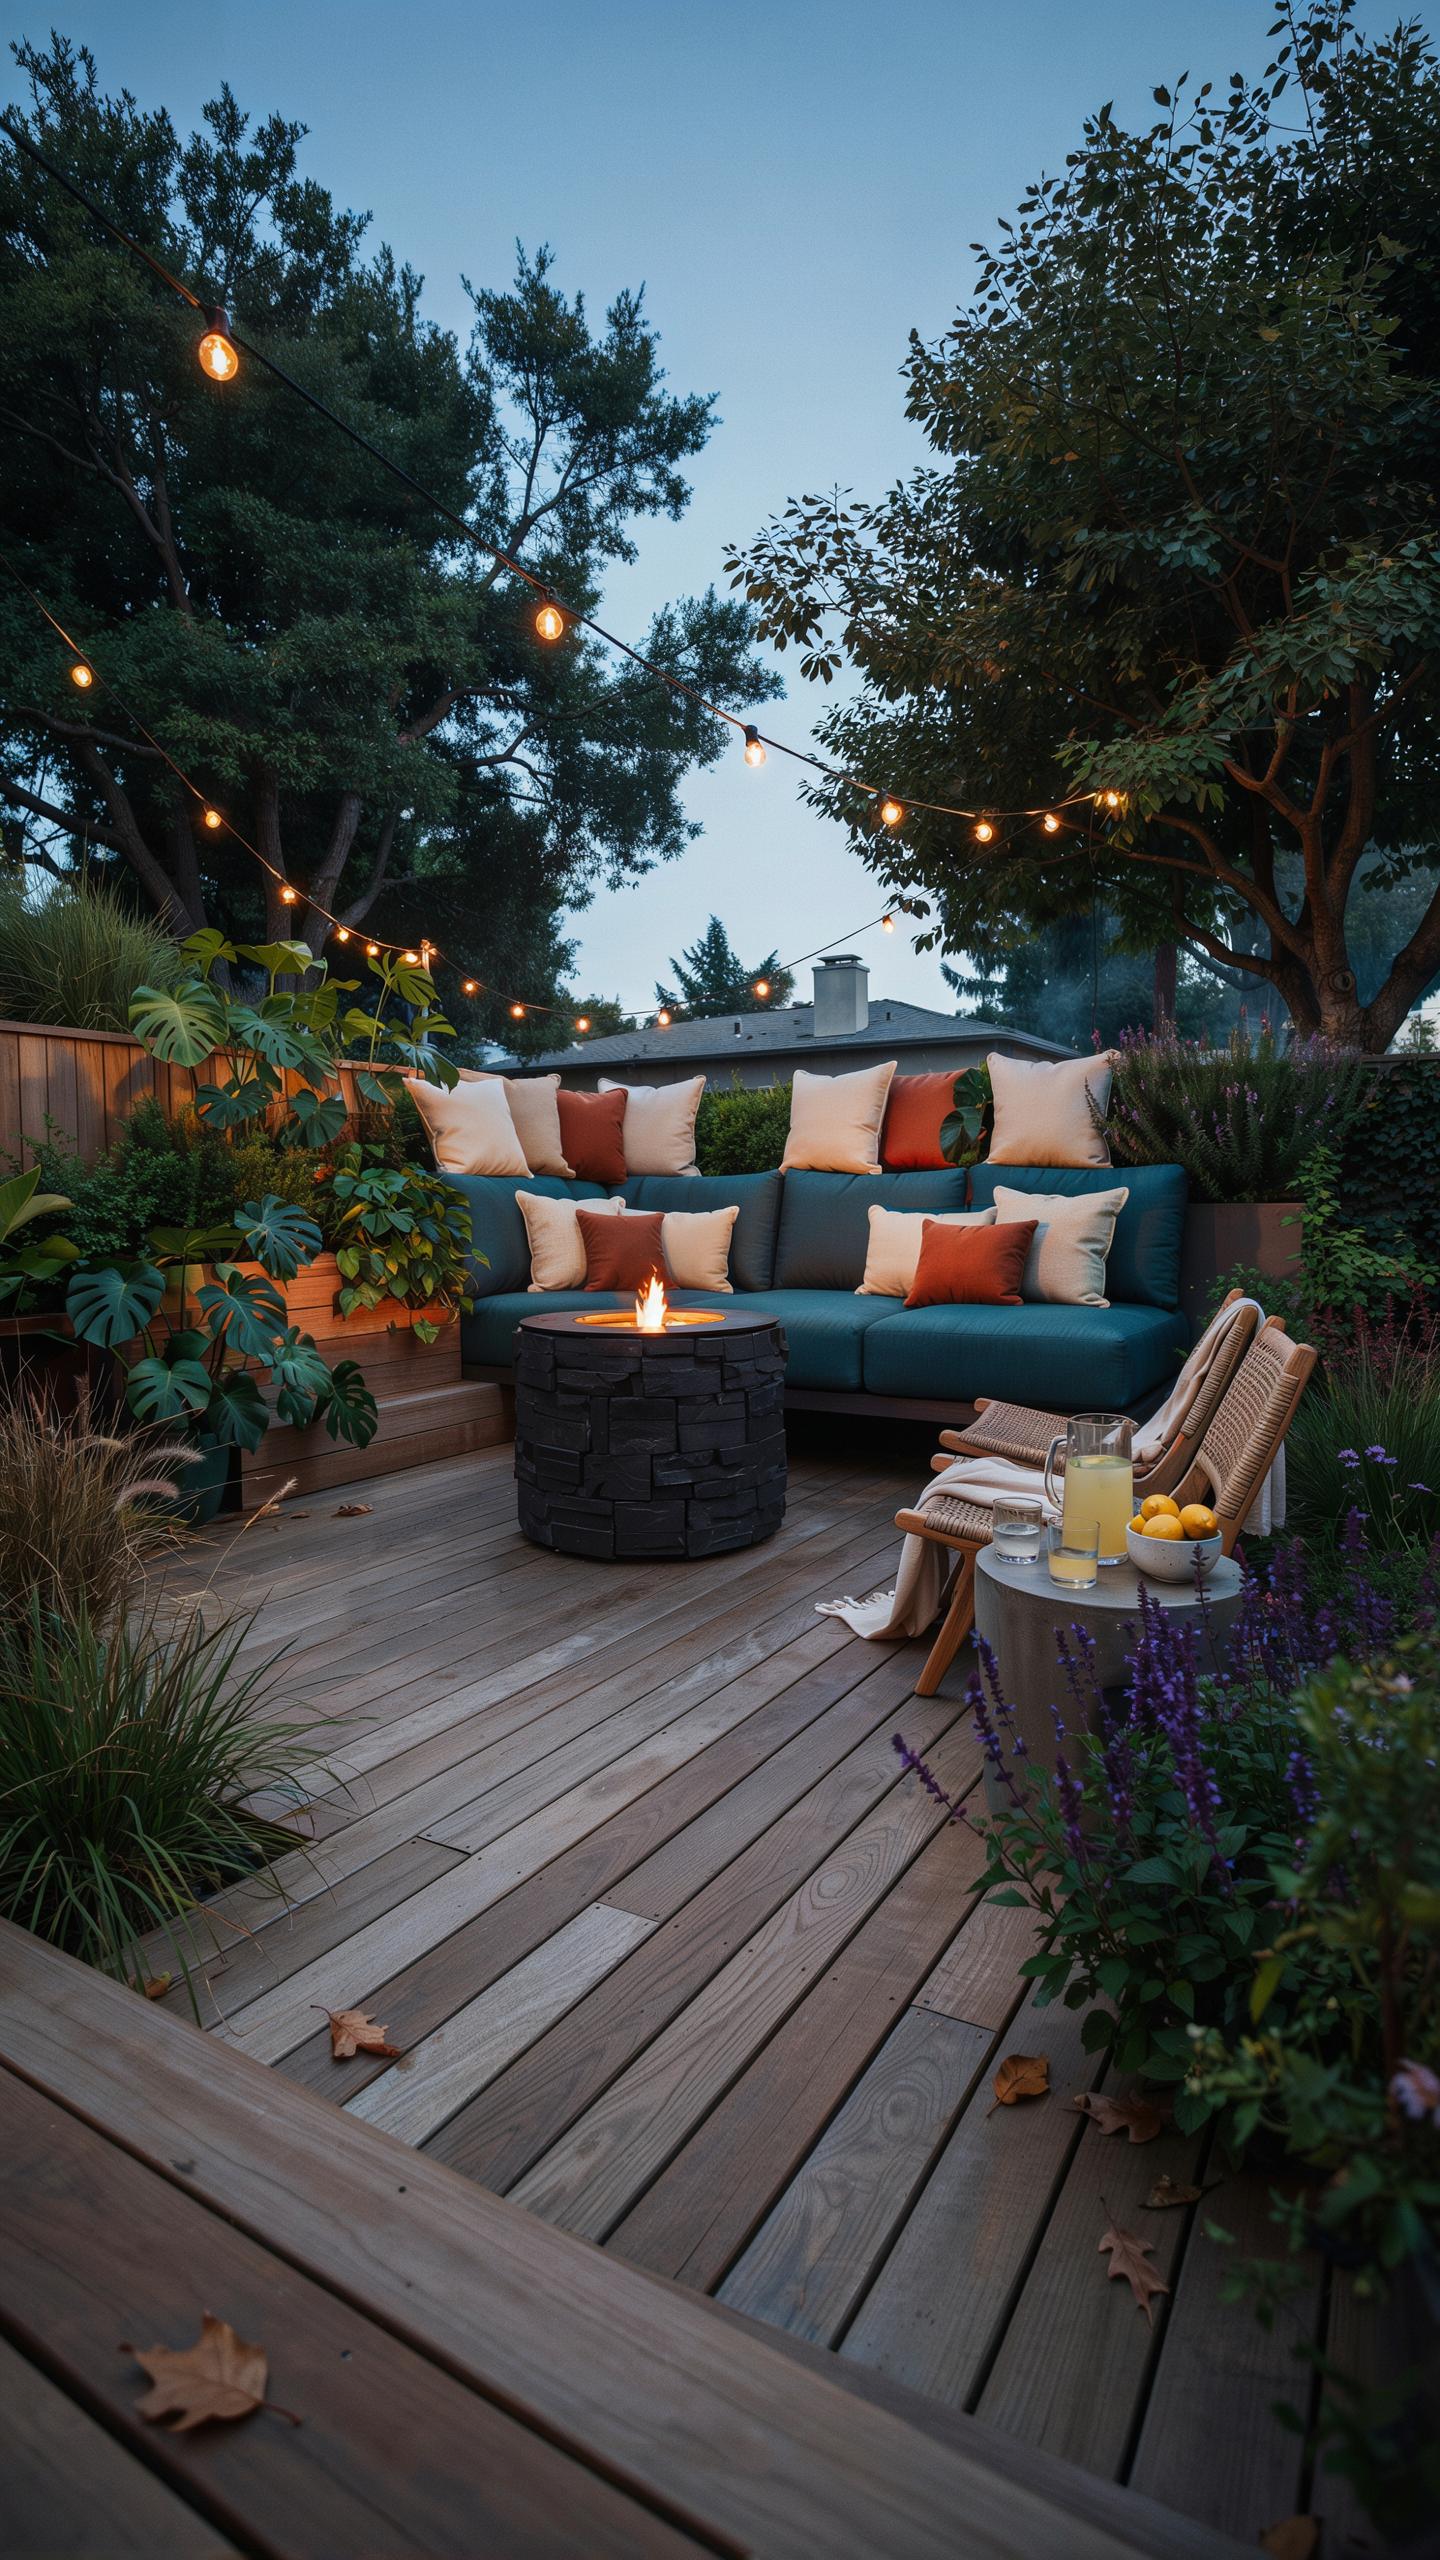
Creating Cozy Outdoor Lounges With Soft Recessed Lighting
Recessed lighting in outdoor lounges requires strategic placement to eliminate shadows where people sit. Install fixtures into soffit lines, deck edges, or pergola structures at 4-6 foot intervals. This spacing prevents glare while maintaining 15-20 foot candles of illumination. Aim lights downward at 45 degrees to direct light onto seating surfaces without creating harsh pools.
Soft recessed lighting works because it mimics interior ambient lighting standards. Use warm color temperatures between 2700K and 3000K for relaxation zones. Dimmable LED fixtures give you control over intensity throughout the evening. This approach transforms backyards into functional living spaces that people actually use after dark.
Extending Indoor Living Aesthetics Into Your Open Air Oasis
Modern garden aesthetic night lighting bridges interior and exterior spaces through consistent design language. Match your outdoor color temperature and fixture styles to indoor accent lighting. Use the same dimming systems so transitions between spaces feel seamless. This continuity makes outdoor areas feel like natural extensions of your home.

Material consistency matters more than most realize. If you use brushed aluminum fixtures indoors, repeat that material outside. Your eye recognizes patterns and materials instantly. When outdoor lighting echoes interior design choices, it elevates the entire property’s cohesion. This strategy makes small yards feel intentional and larger yards feel unified.
Frequently Asked Questions

What are the best light fixtures to create a modern garden aesthetic night lighting look?
To achieve a sleek look, focus on minimalist fixtures like recessed LED pavers, slim bollard lights, and subtle black matte spotlights. The key to successful modern garden aesthetic night lighting is choosing fixtures with clean lines that blend into the landscape during the day. Opt for warm white bulbs to create an inviting glow that highlights architectural plants and textures without overwhelming your outdoor living space with glare.
How do I layer different types of lights to refresh my backyard’s atmosphere?
Effective layering involves combining three types of illumination: ambient, task, and accent lighting. Start by hanging globe string lights for a soft overhead wash, then use path lights for safety along walkways. Finally, incorporate modern garden aesthetic night lighting by placing small uplights at the base of trees or structural walls. This contrast between light and shadow adds professional depth and visual interest to your nighttime garden sanctuary.
Can I achieve a high-end modern lighting look on a limited budget?
Absolutely! You can refresh your space affordably by utilizing solar-powered LED stakes and battery-operated lanterns. Many modern designs now feature high-quality solar panels that mimic the look of expensive hardwired systems. Focus your budget on “hero” areas like a seating nook or a beautiful focal tree. Simple DIY additions, such as placing inexpensive waterproof strip lights under bench seating, can instantly elevate your garden’s evening ambiance.



