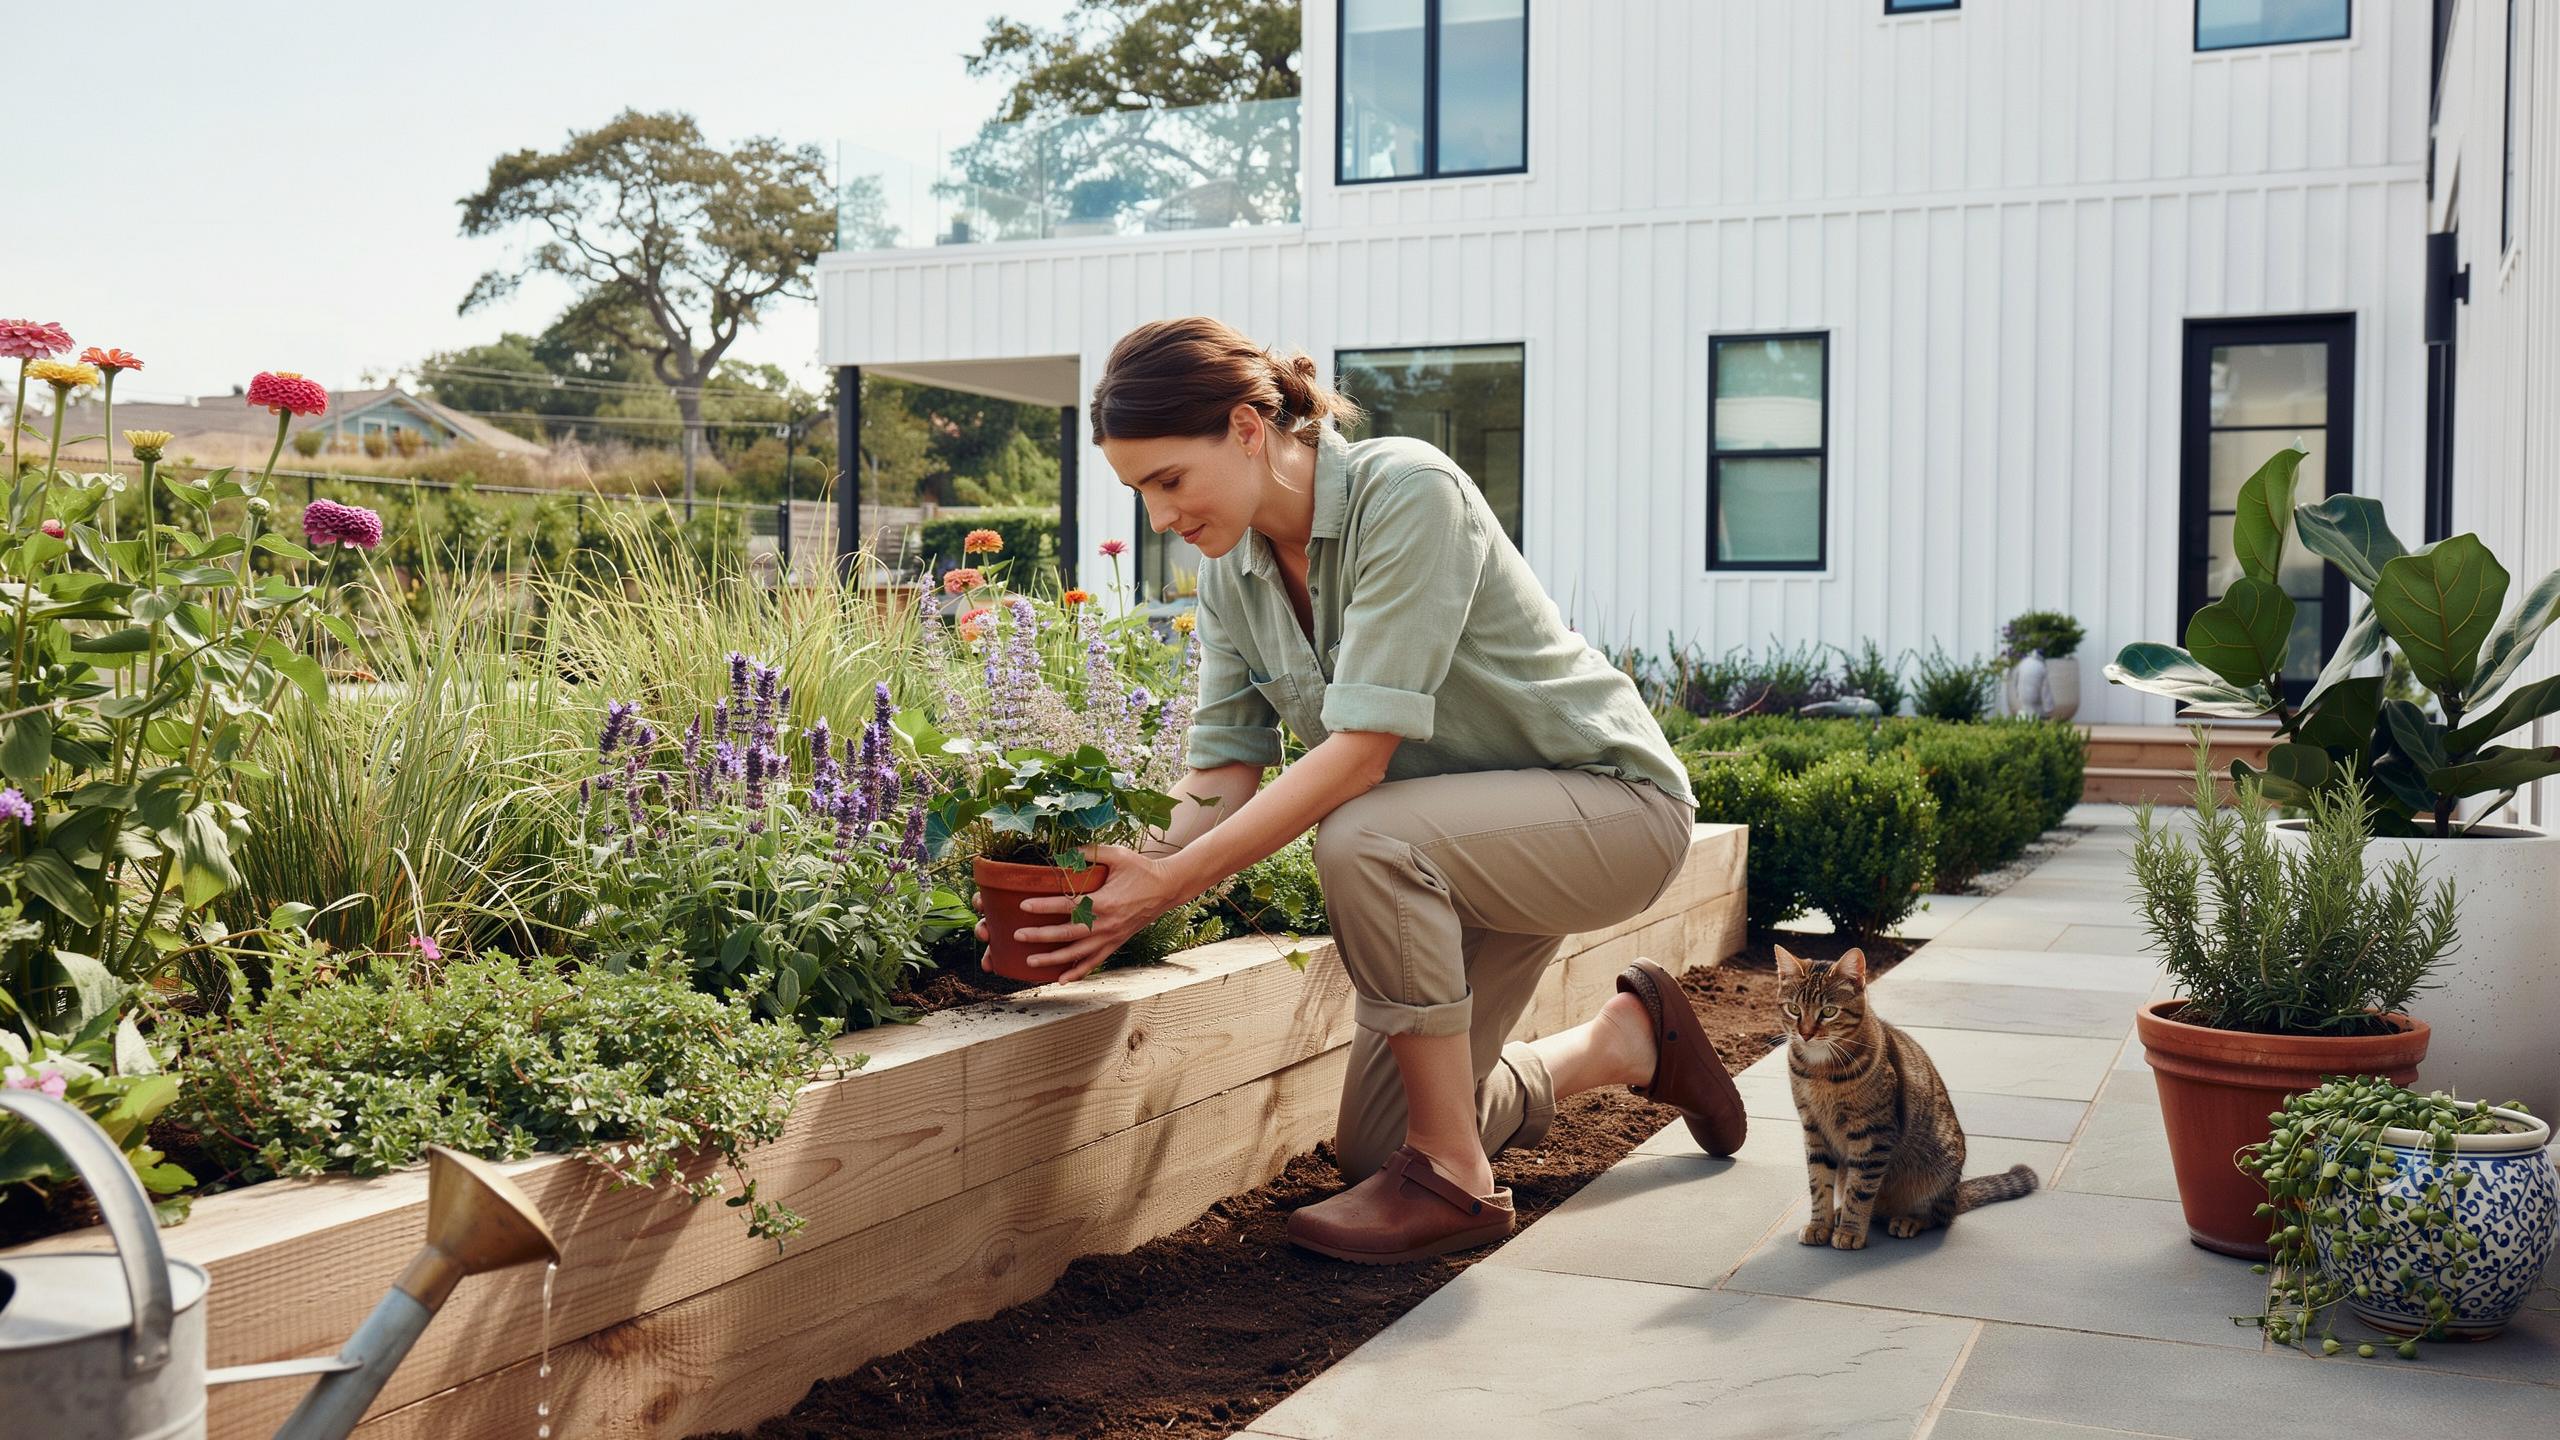
Mastering Modern Garden Aesthetic Plant Spacing With Garden Design Architecture
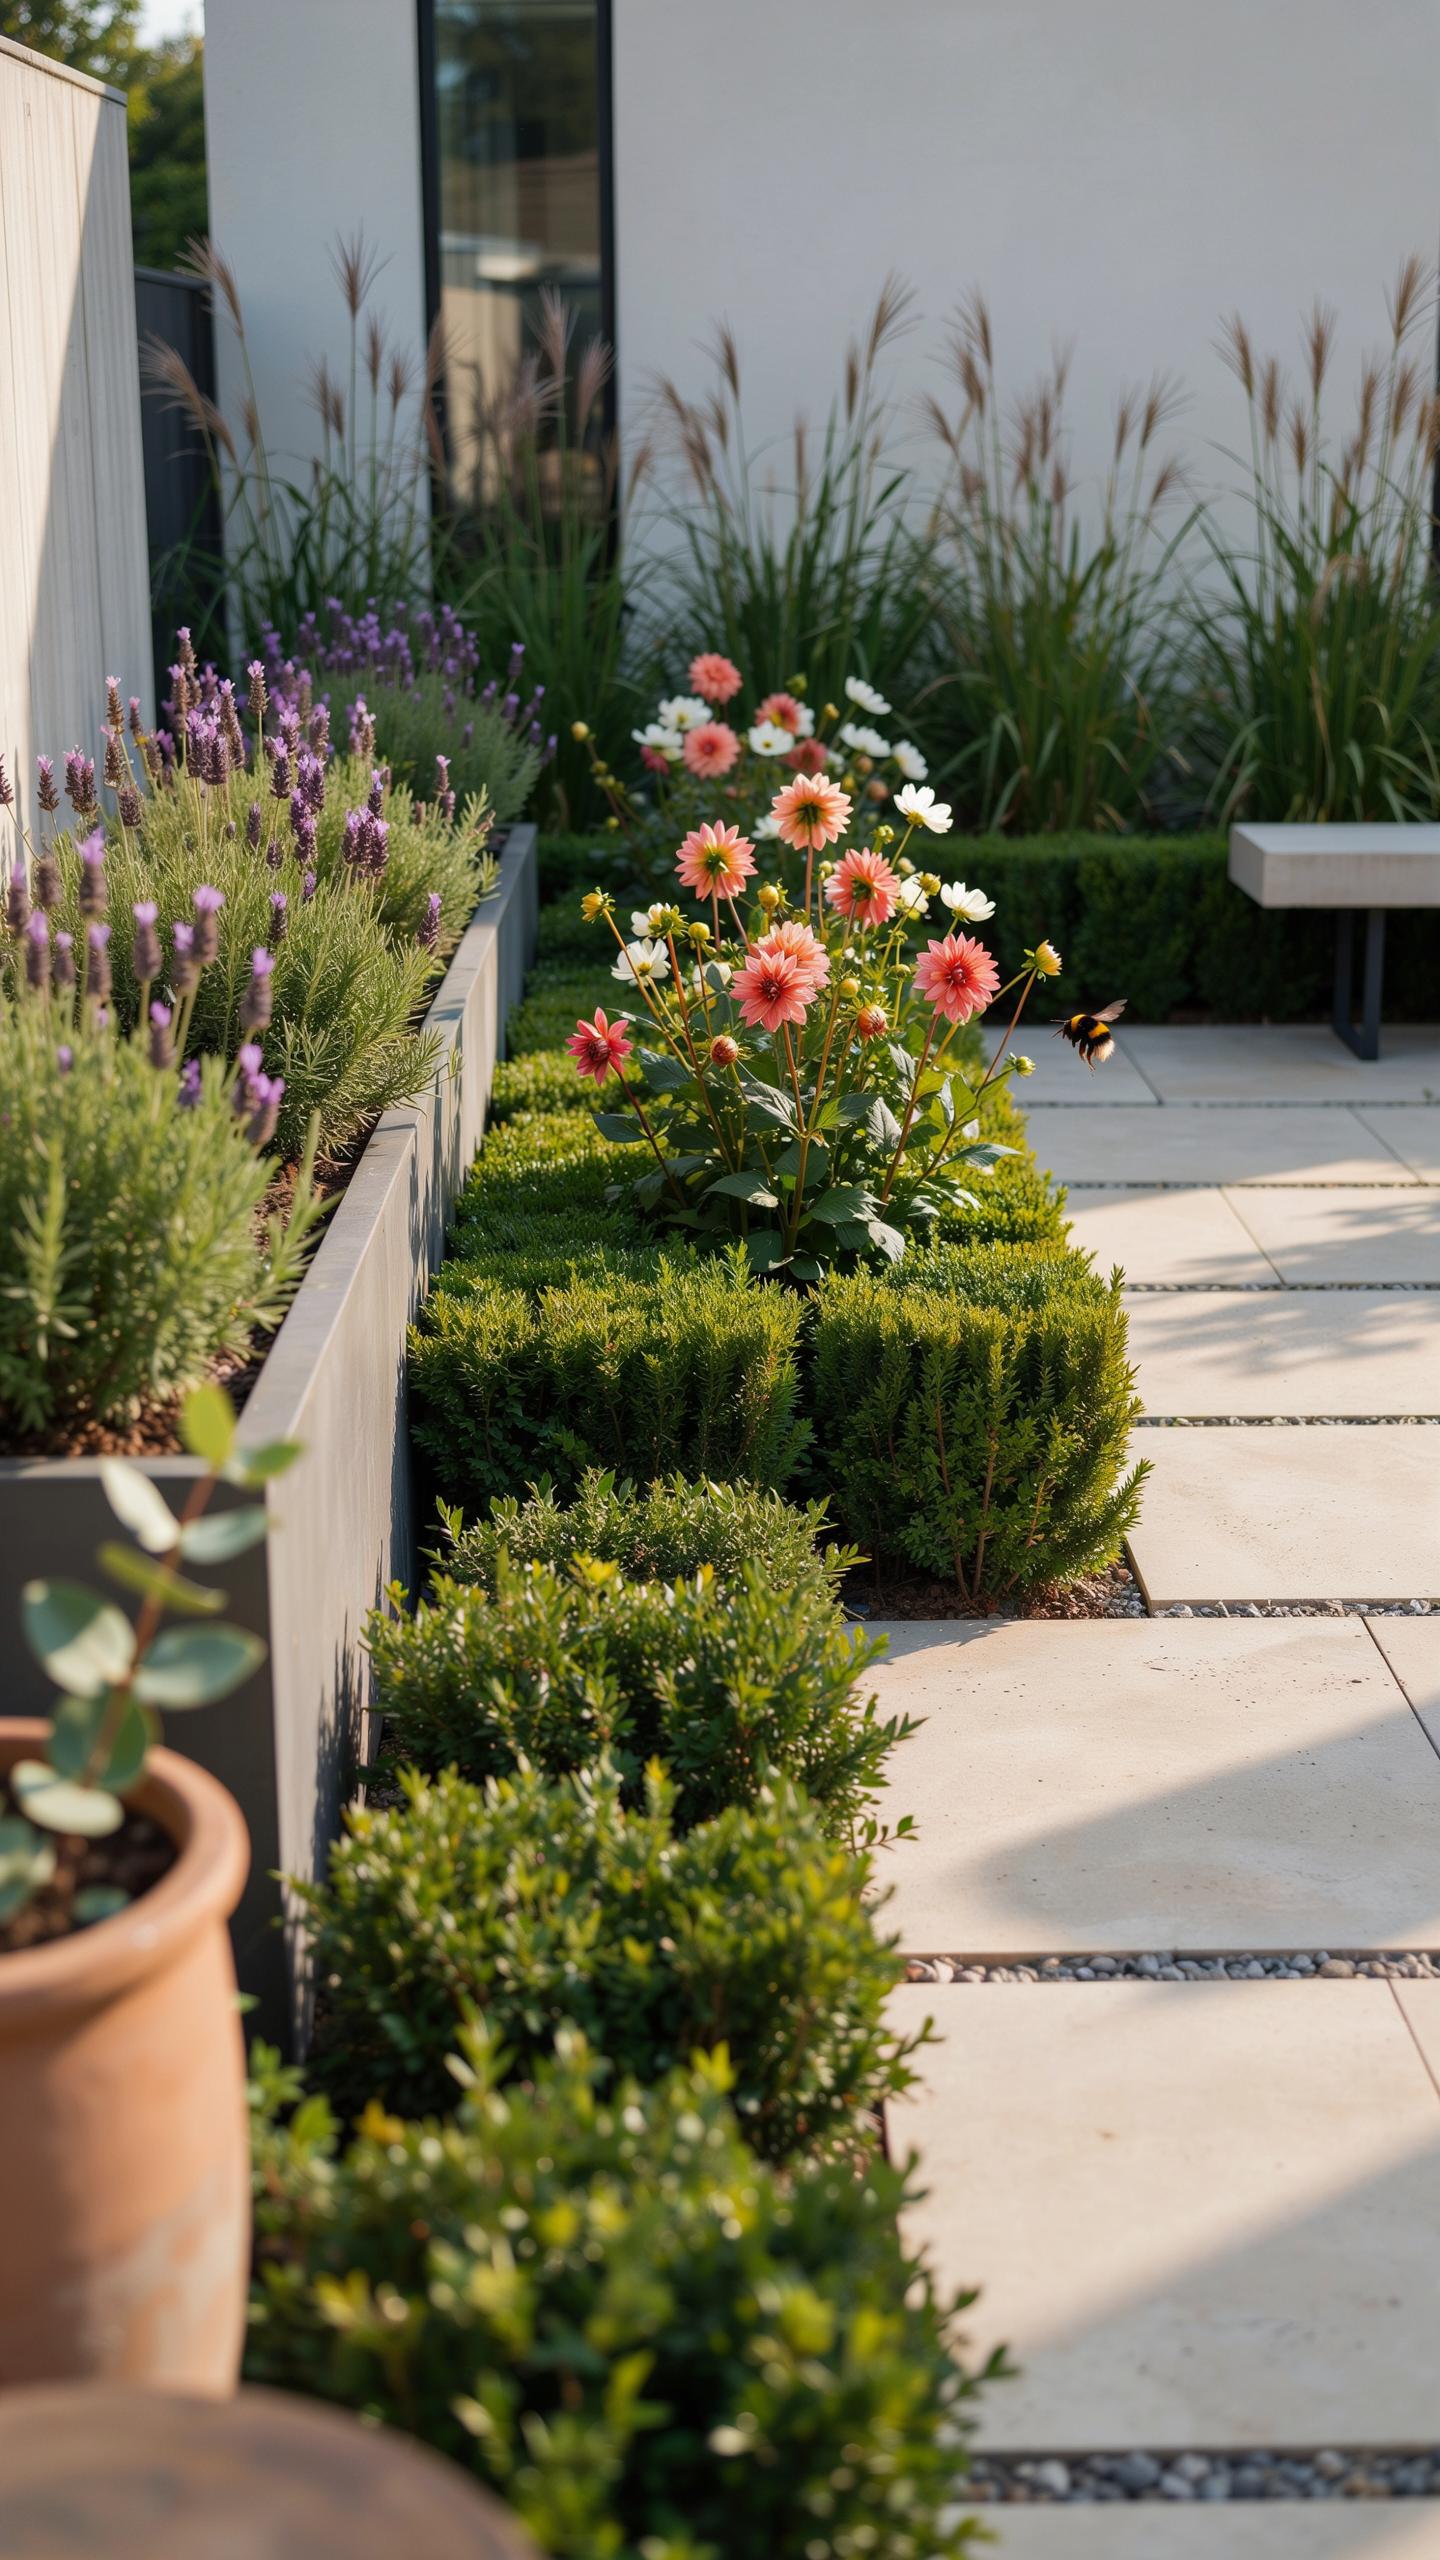
Rule Of Thirds In Contemporary Plant Placement
The rule of thirds divides your garden into nine equal sections using two horizontal and two vertical lines. Place focal plants and specimen trees along these lines or at intersections to create visual interest without symmetry. This technique comes from compositional art and applies directly to garden layouts. Modern designers use it to avoid centered, predictable arrangements that feel static and dated.
Position your tallest or most distinctive plants one-third from either edge of your viewing area. Repeat this spacing with secondary plantings to establish rhythm across the garden. This method works in small courtyards and large landscapes equally well. The result feels intentional and balanced without rigid formality that dominates traditional garden design.
Using Negative Space To Create Clean Visual Boundaries
Negative space is the empty area between plants where air and light move freely. Modern gardens use generous negative space to showcase individual plant forms rather than crowd beds. This approach reduces visual clutter and allows each plant’s architecture to stand out. Dense plantings hide structure and create a chaotic impression that contradicts contemporary design principles.
Define boundaries with minimal plantings along pathways and edges. Leave sight lines open between plant groupings to emphasize depth and dimension. This spacing strategy also improves air circulation and reduces disease pressure on foliage. The strategic use of emptiness becomes as important as what you plant.
How To Sketch A Garden Diagram For Strategic Plant Spacing
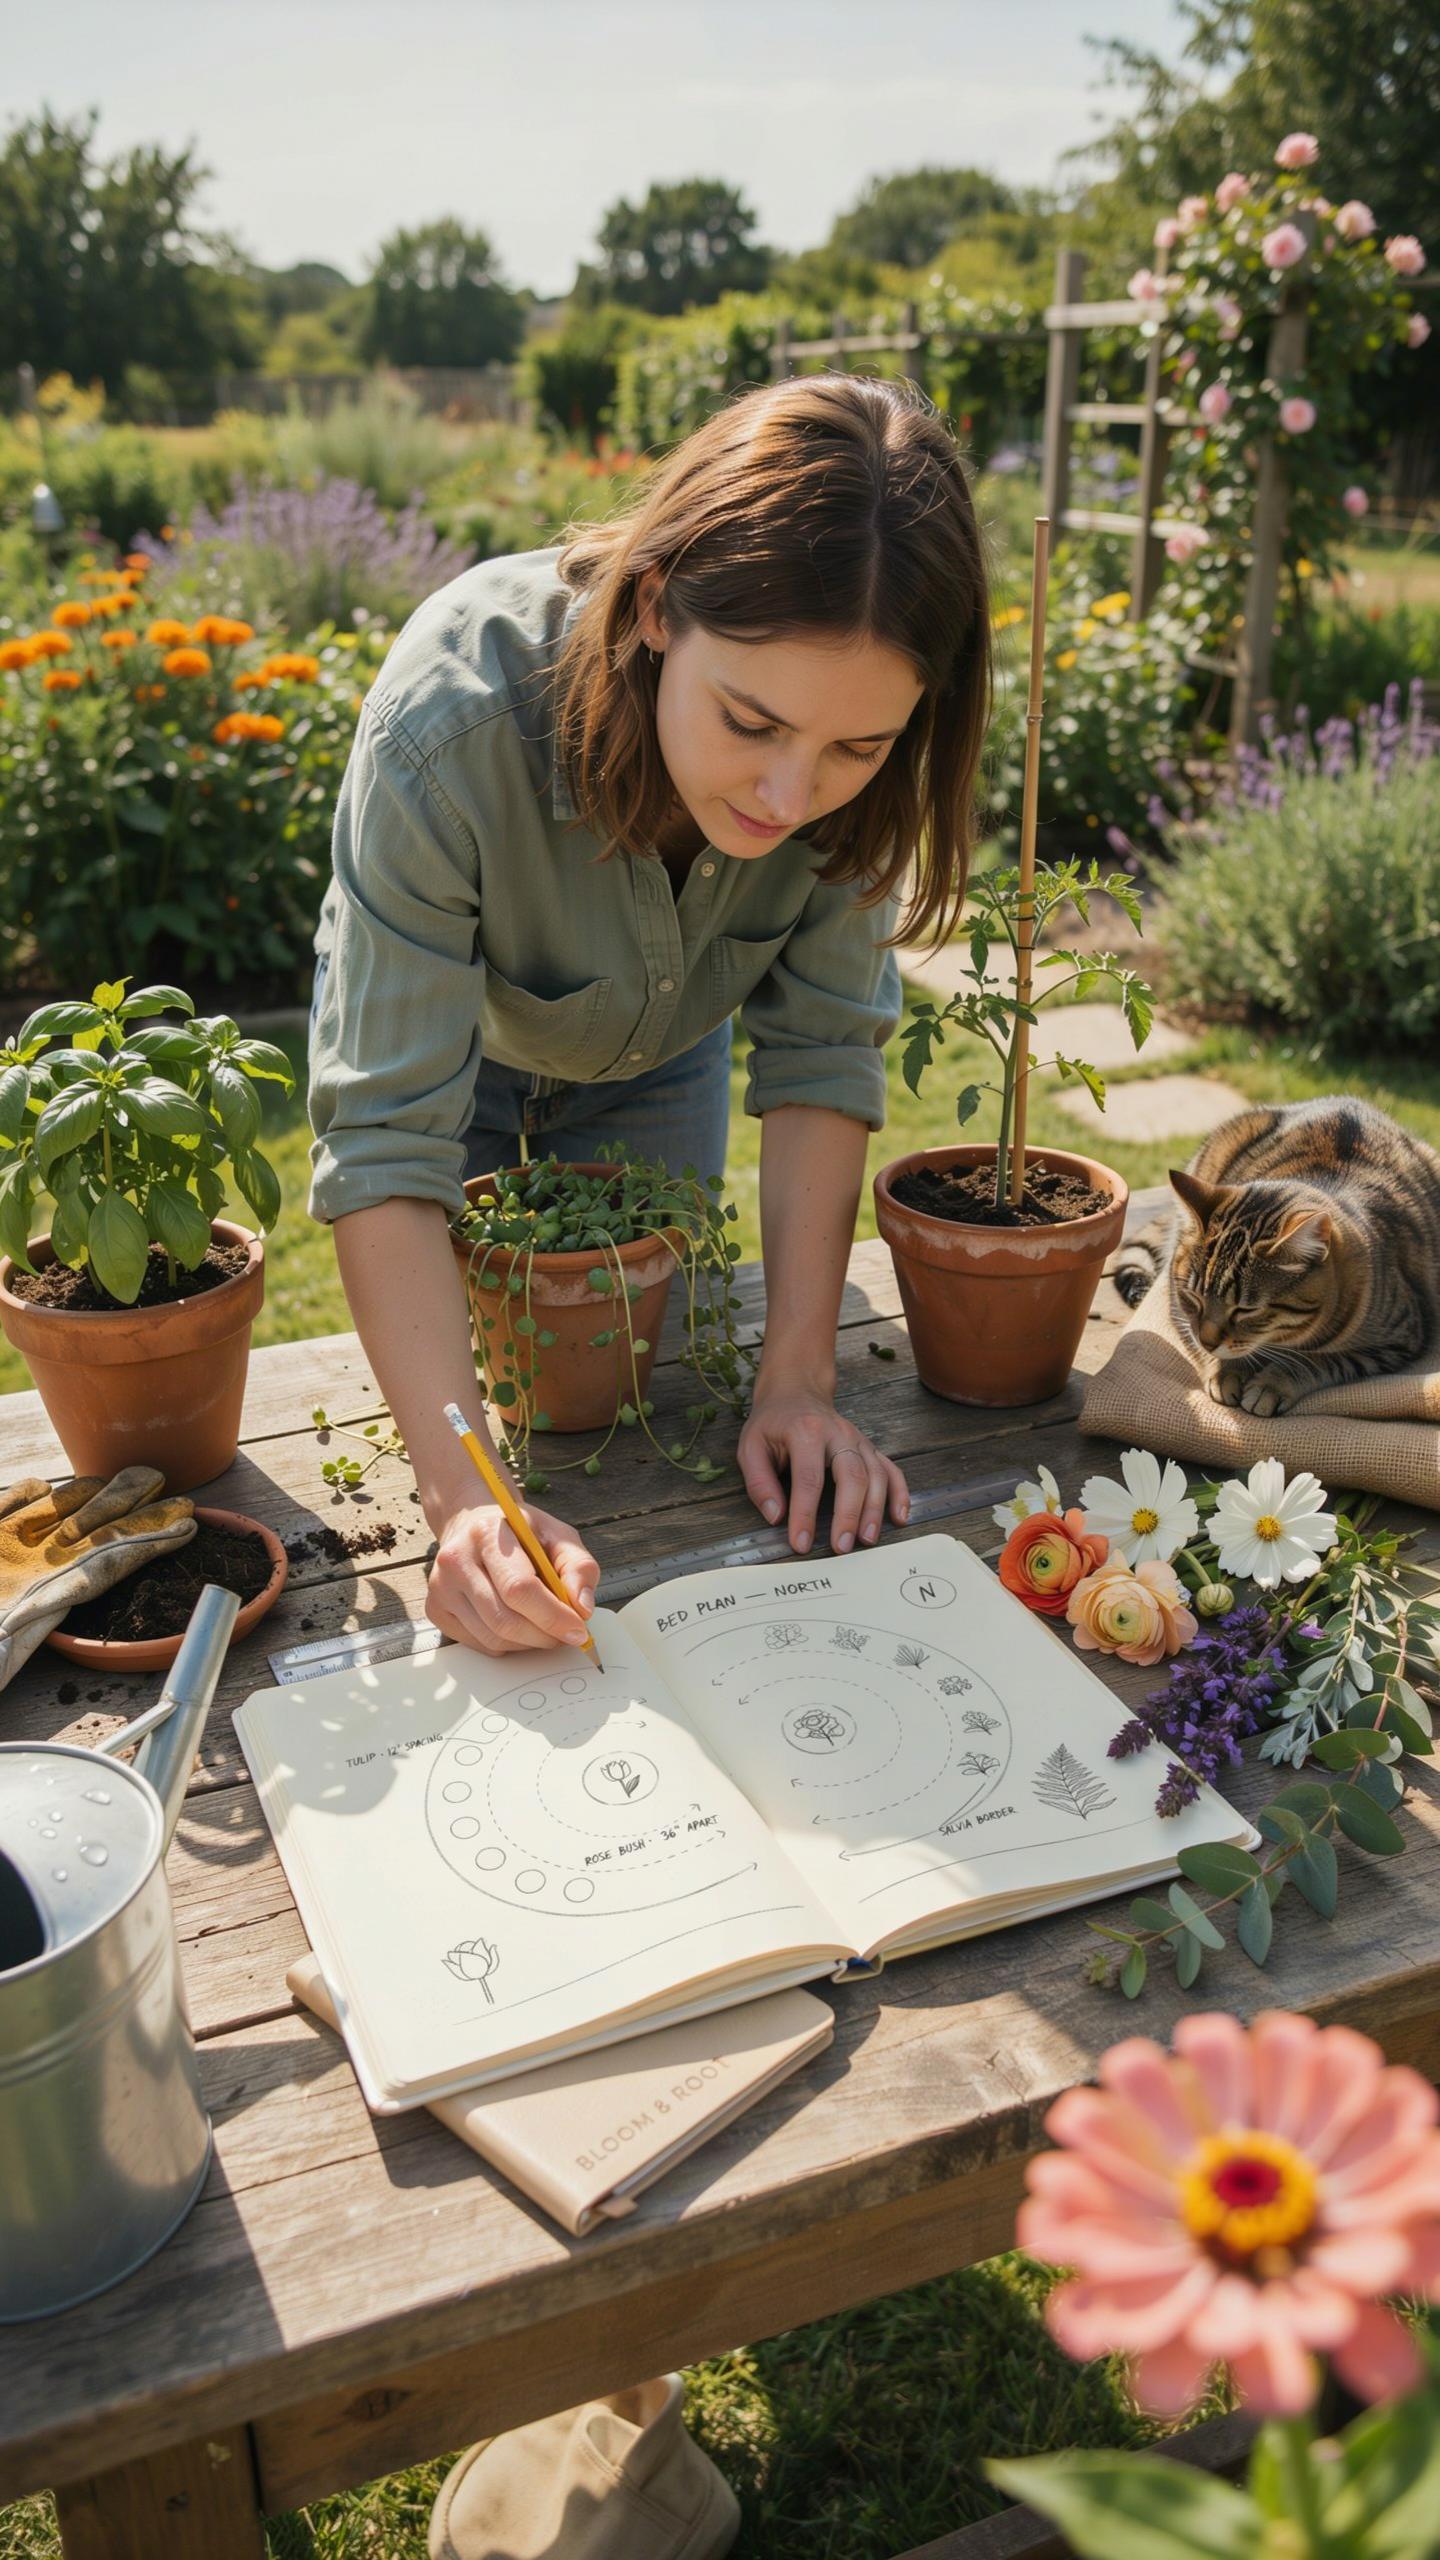
Essential Tools And Grids For Mapping Your Planting Zones
Start with graph paper scaled to your garden’s actual dimensions. A standard approach uses one square to represent one foot of space. This forces you to work within real constraints and prevents mental math errors that lead to crowded plantings.
- Graph paper or grid software: Provides fixed measurement increments that keep spacing consistent and eliminate guesswork during the planning phase.
- Measuring tape: Confirms actual garden bed dimensions before you sketch anything, ensuring your diagram matches physical reality on the ground.
- Pencil with eraser: Allows rapid adjustments as you test different plant arrangements and spacing combinations without permanent mistakes.
- Ruler or straightedge: Maintains clean lines and accurate spacing intervals, making the diagram readable and useful for actual installation.
- Plant spacing reference chart: Lists mature width and height for each species you plan to use, eliminating reliance on memory or guesses.
- Compass or protractor: Helps map sun exposure patterns and sight lines when positioning plants for visual balance and functional light access.
Mark sun patterns, water access points, and existing structures on your grid before placing any plants. These elements constrain your spacing decisions more than aesthetics do. A diagram without this context wastes time during installation.
Calculating Mature Plant Widths To Avoid Overcrowding
Pull the mature width measurement for each plant species you want to use. This number, not the current nursery pot size, determines correct spacing. Most homeowners space plants based on how they look at purchase, then watch them collide after two years.
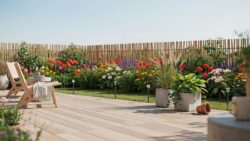
Divide the mature width by two to find the distance each plant needs from its neighbors. A shrub with a mature width of four feet needs two feet of space on all sides from adjacent plants. This calculation works for all woody plants and perennials. Enter these distances on your grid, then mark where each plant’s center point will sit. If circles overlap, move plants until they clear. If large gaps appear, your spacing is correct. Gaps close within two to three years as plants reach mature size.
Spacing Techniques For Your Veg Garden In A Modern Theme
Linear Row Spacing Vs Grid Block Planting
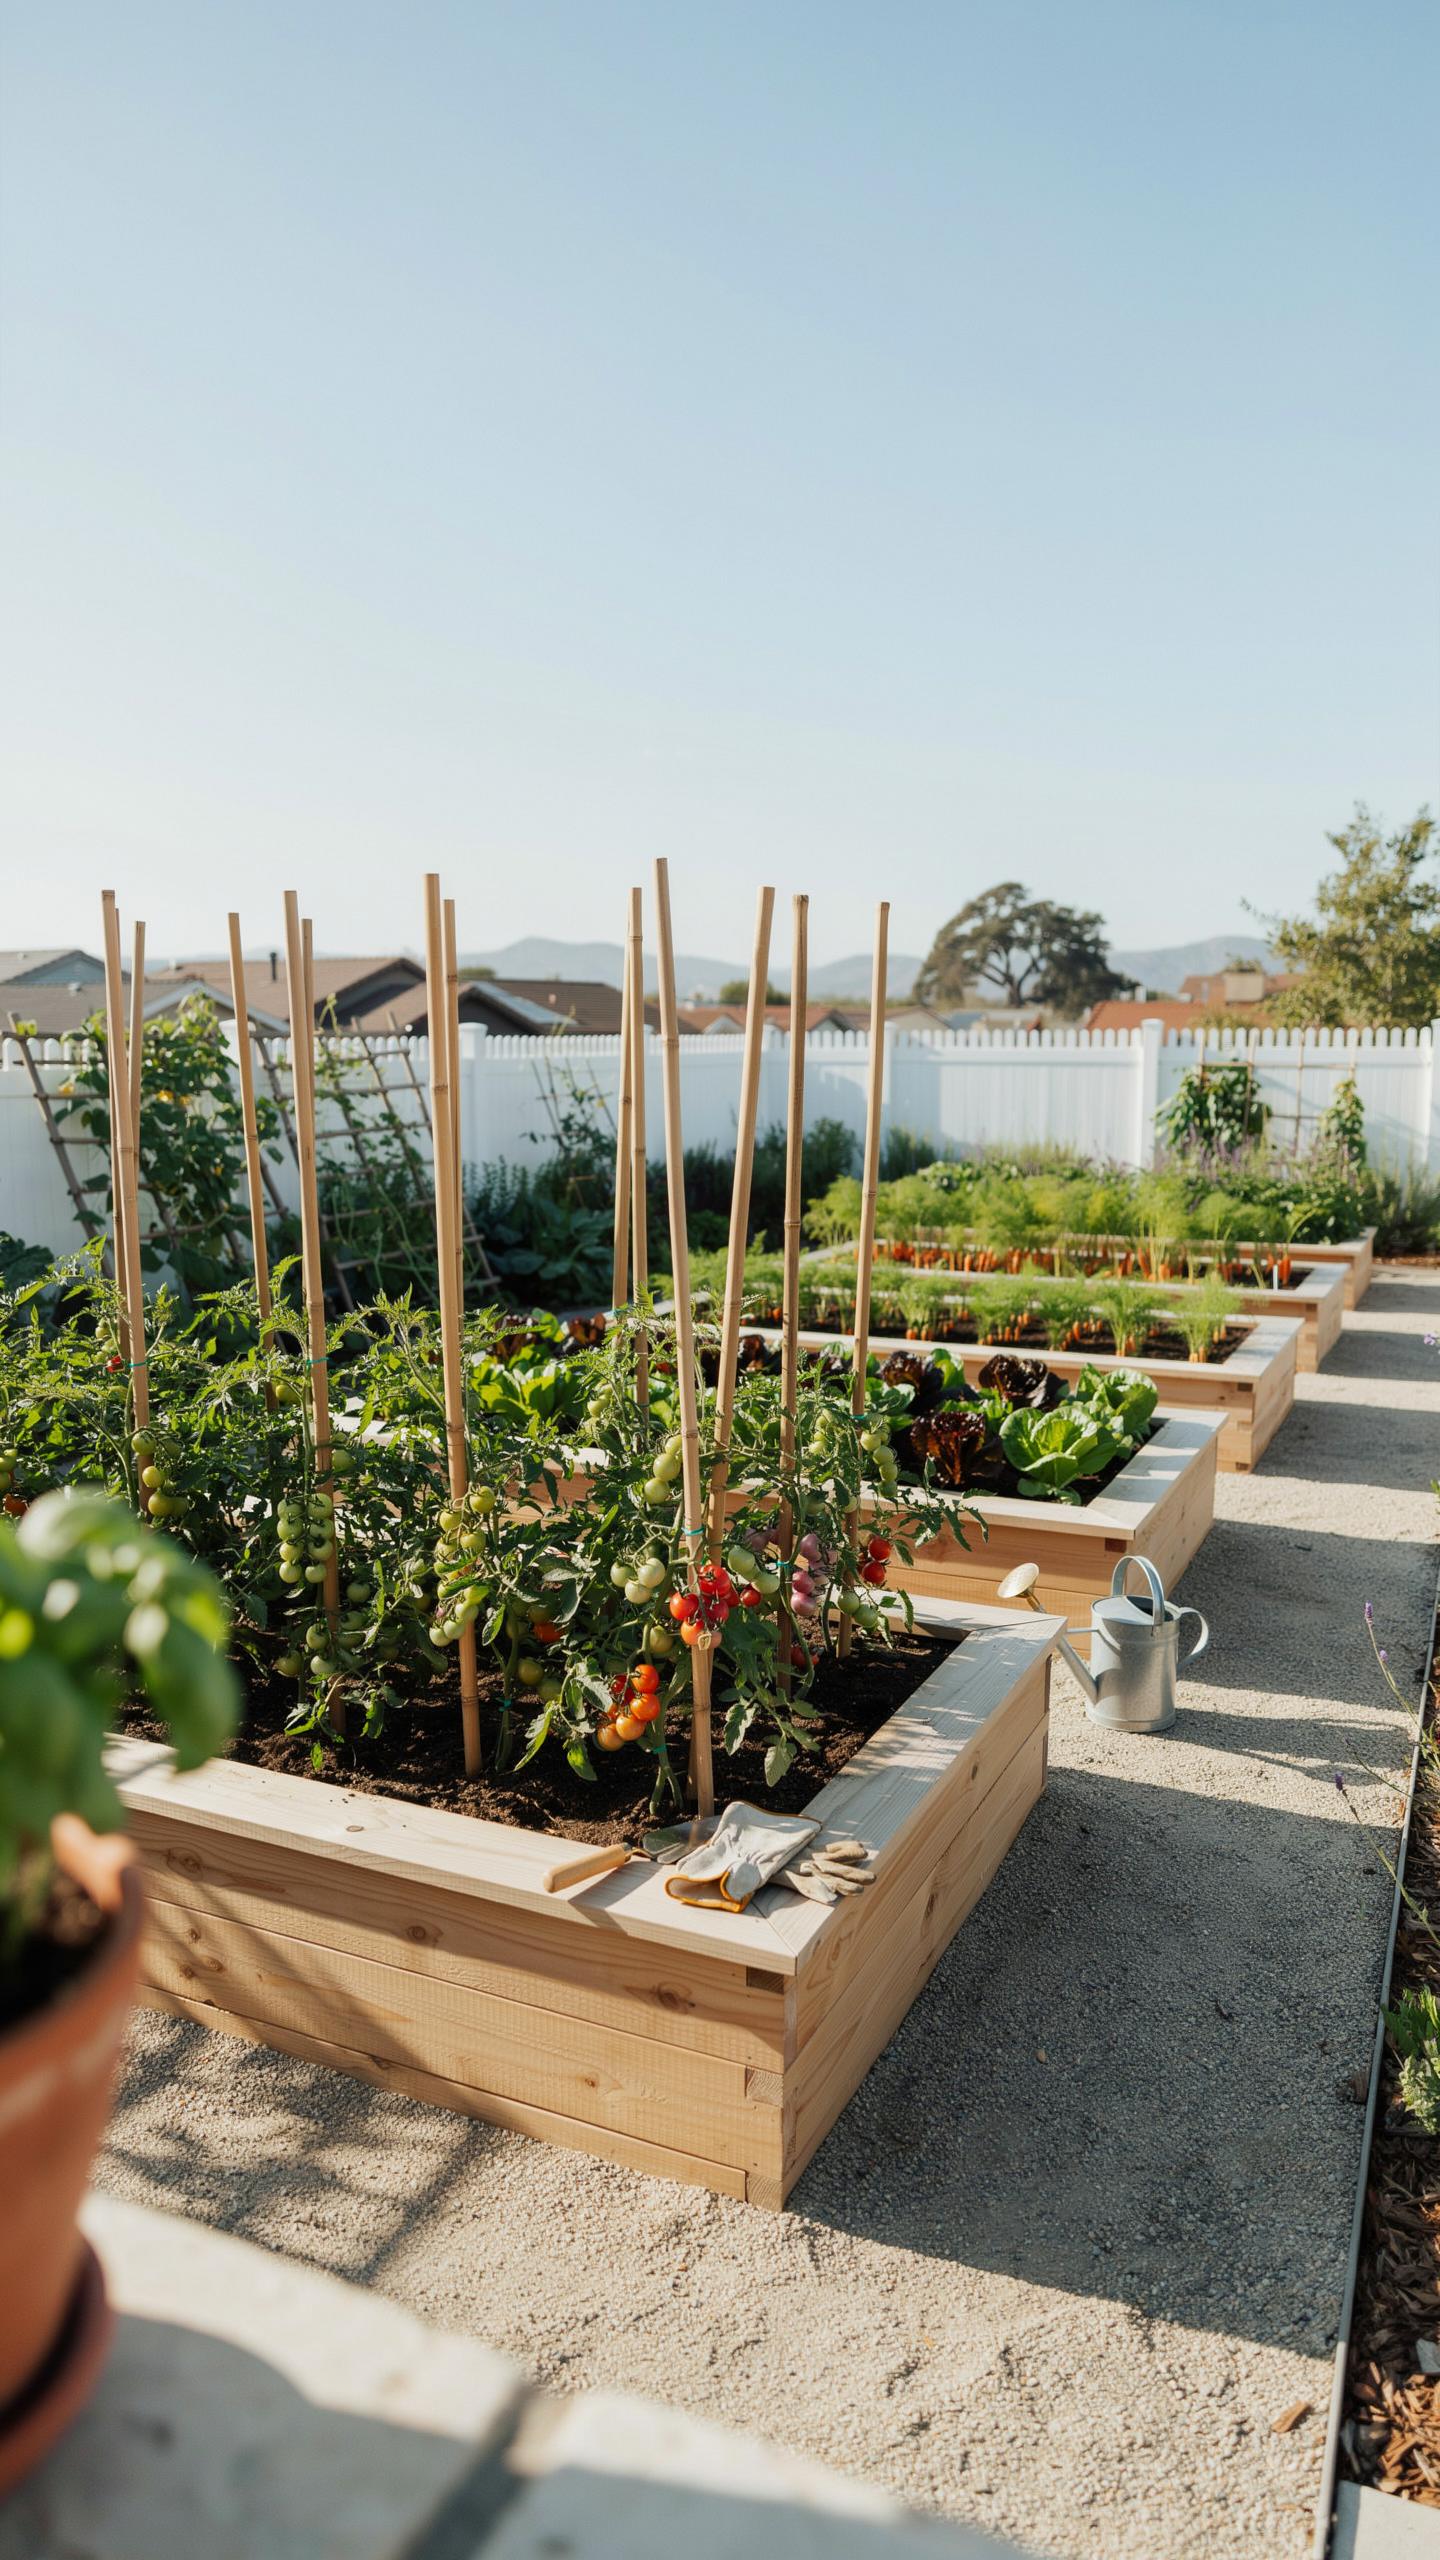
Linear row spacing arranges plants in straight lines running the length of your garden bed. This method works well for tall crops like tomatoes, beans, and corn that need vertical support. Rows create clear pathways for maintenance and harvesting. The spacing depends on mature plant width. Tomatoes need 24 to 36 inches between plants. Beans require 4 to 6 inches. This approach maximizes visual order and fits the clean lines of modern garden design.
Grid block planting positions plants in square or rectangular blocks within defined zones. You space plants equidistant from neighbors in all directions rather than along single lines. This system works for leafy greens, root vegetables, and compact herbs. Grid layouts use space more efficiently and reduce wasted ground area. Modern gardens favor grid patterns because they create geometric precision and allow denser planting without compromising air circulation or light penetration.
High Yield Companion Planting Spacing Guidelines
Companion planting pairs crops that benefit each other through nutrient sharing, pest control, or structural support. Tomatoes and basil occupy the same 18 to 24 inch spacing zone without conflict. Carrots and onions coexist at 3 to 4 inch intervals because their root depths differ significantly. Beans add nitrogen to soil while occupying space that leafy greens can exploit. Spacing adjustments happen based on mature sizes, not arbitrary rules. Plan three dimensional spacing by considering root depth, canopy spread, and growth rate to extract maximum yield from fixed square footage.

Proper spacing between companion groups prevents overcrowding and disease. Leave 12 to 18 inches between different companion clusters to allow air movement. Wet foliage from poor airflow triggers fungal problems that reduce harvests. Stagger planting times so companion crops mature in overlapping phases rather than simultaneously competing for water and nutrients. This staged approach maximizes productivity while maintaining the visual coherence that defines modern garden aesthetics.
Implementing Feature Garden Ideas Through Geometric Layouts
Creating Focal Points With Focal Specimen Groups
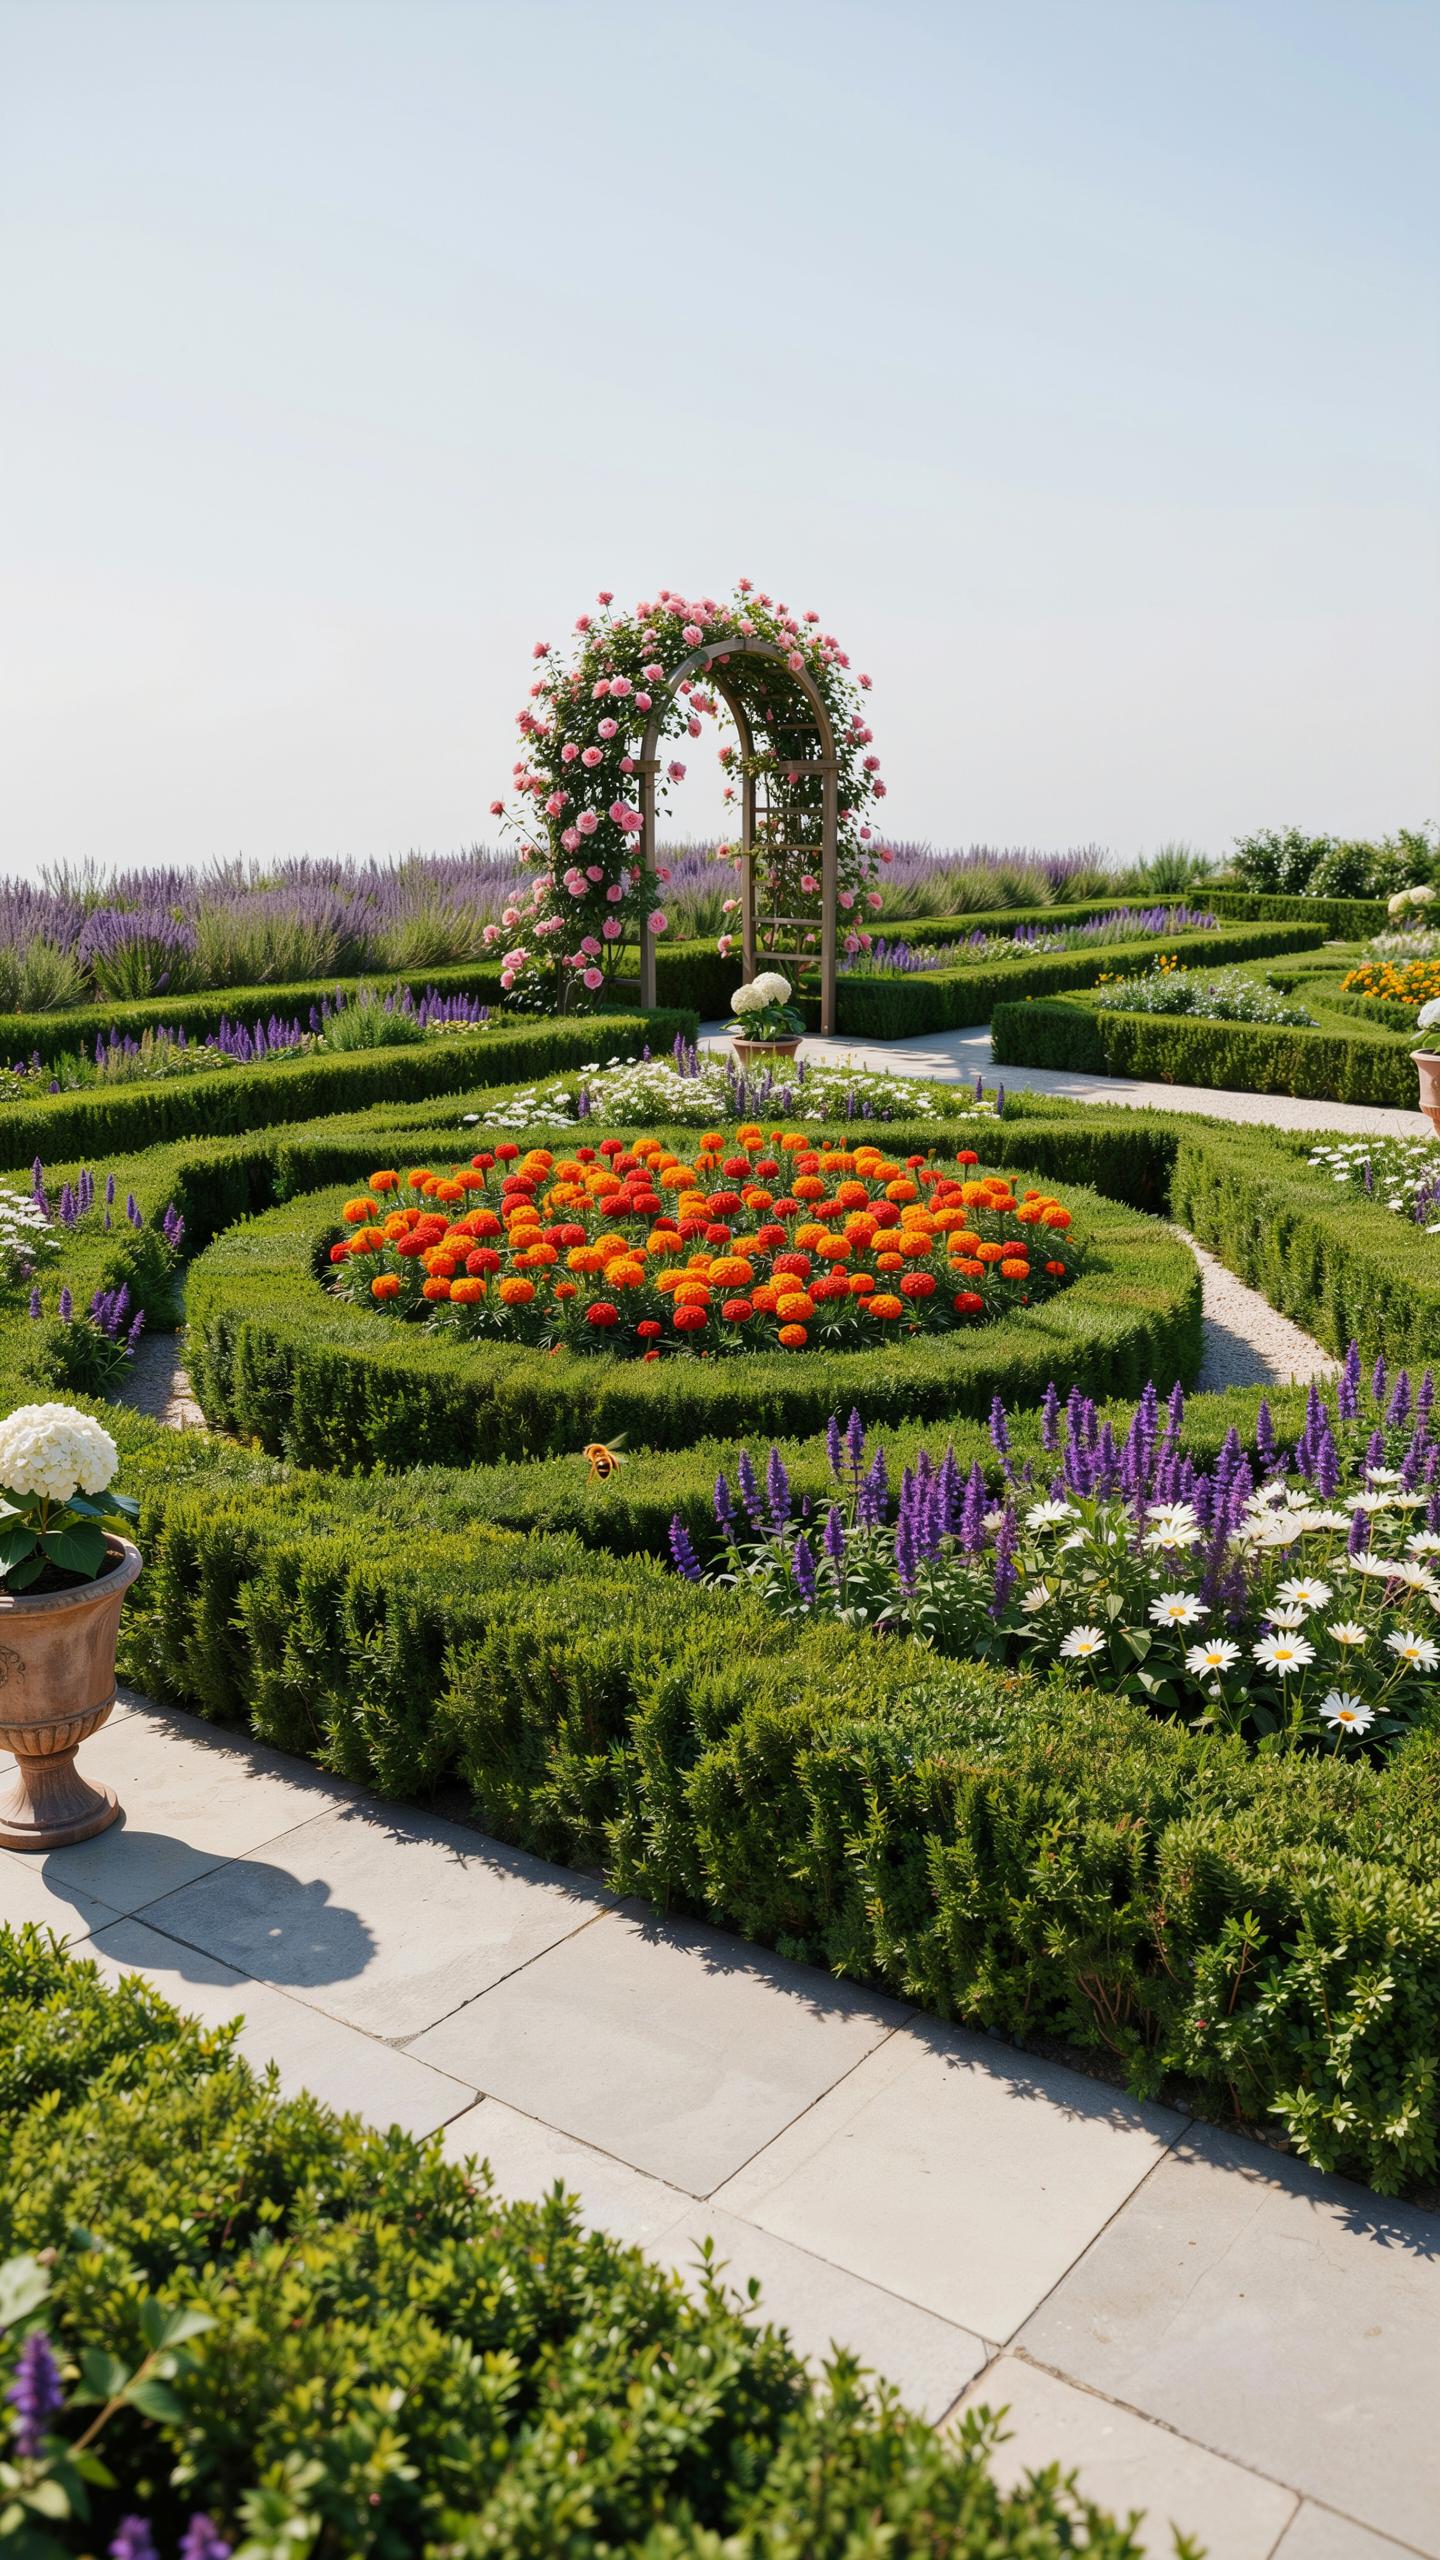
Focal specimen groups anchor your garden layout. Position one dominant plant or tight cluster at a key viewing point. Space this group 8 to 12 feet from where people naturally look when entering the space. The specimen becomes the visual target that controls how eyes move through the garden.
Supporting plants should sit 3 to 5 feet away from your focal group. This distance creates clear separation without disconnecting the elements. Repeat this spacing pattern throughout the garden to build rhythm. Consistency in spacing makes the geometric layout read as intentional rather than random.
Give your plants the room to breathe that your soul craves, for a garden is a grand conversation between space and light. In the rhythm of thoughtful spacing, we find the quiet harmony of home.
Repeating Plant Clusters For Modern Visual Balance
Repeating clusters in sets of three or five creates visual weight distribution. Space identical groupings 6 to 10 feet apart depending on mature plant size. This rhythm makes small gardens feel larger and large gardens feel structured. The repetition signals design intent to the viewer’s brain.
Alternate cluster heights and textures while maintaining consistent spacing intervals. A low cluster, then medium, then tall creates visual movement without chaos. Space these height variations 4 to 8 feet apart to prevent cramping. Geometric precision combined with textural variety achieves modern balance without appearing sterile.
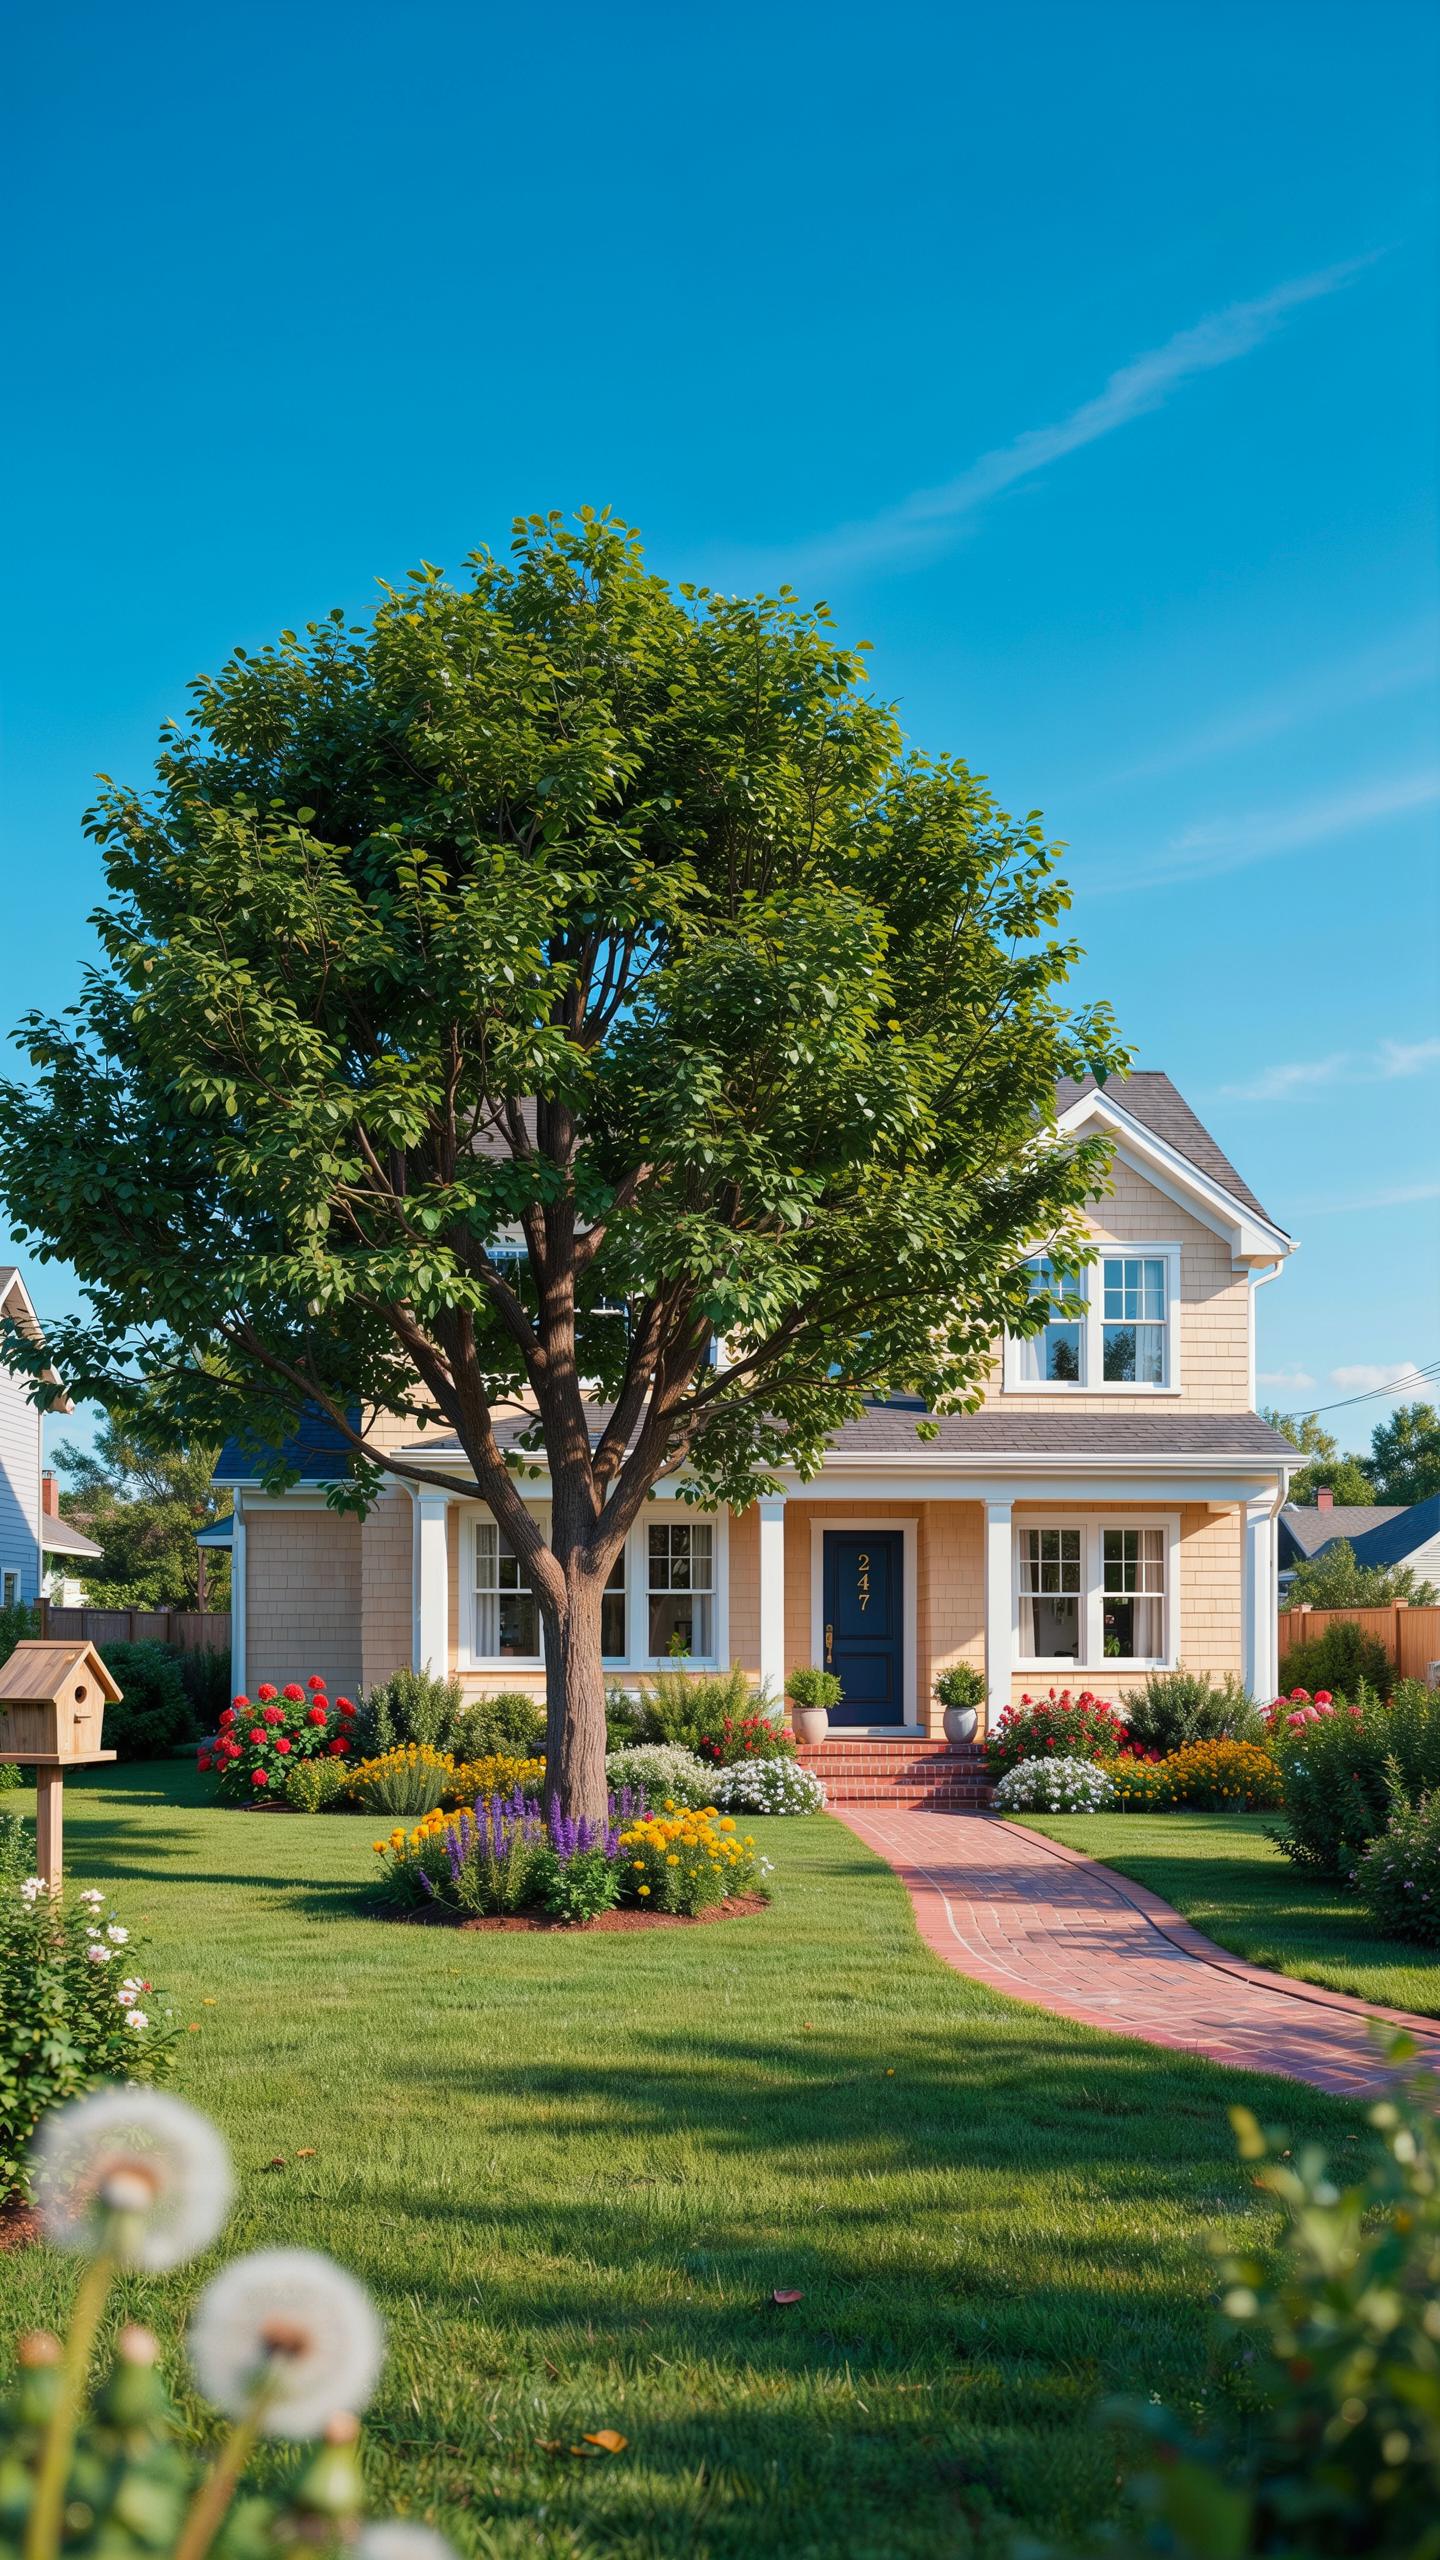
Balancing A Big Tree In Front Of House With Proper Scale And Distance
Calculating Undercanopy Spacing Shade Tolerant Plants
Large front trees create shade zones that demand strategic plant placement. Measure the tree’s canopy drip line, the outer edge where branches end. Plants positioned directly under this zone receive 50 to 75 percent less light than open areas. Space shade-tolerant plants 3 to 5 feet apart under the canopy, depending on their mature width. This accounts for root competition and allows adequate air circulation.
Shade tolerance varies by species and your climate zone. Hostas, ferns, and coral bells tolerate dense shade in northern regions. In southern zones, these same plants may need dappled shade rather than full undercanopy coverage. Test your specific microclimate before committing to a full planting scheme. Adjust spacing tighter if plants mature smaller, or wider if they spread aggressively.
Protecting Foundation Root Barriers With Strategic Setback Distances
Tree roots threaten foundations when planted too close to your house. Large trees require 1.5 times their mature height in distance from structures. A 40-foot mature oak needs minimum 60 feet of setback. If your front tree sits closer, install root barriers at 24 to 36 inches deep between the tree and foundation. Barriers redirect roots away but don’t stop all growth.
Position undercanopy plants 5 to 8 feet from your foundation wall. This zone keeps smaller roots from affecting concrete slabs and drainage systems. Avoid planting directly against the house where moisture concentration damages siding and promotes rot. Space plants to maintain visual balance with the tree while protecting your structural integrity. Document all root barrier installations for future homeowners and landscape maintenance crews.
Smart Plant Spacing Tips For Flat Yard Landscaping
Creating Dimensional Layers With Slanted Groundcover Spacing
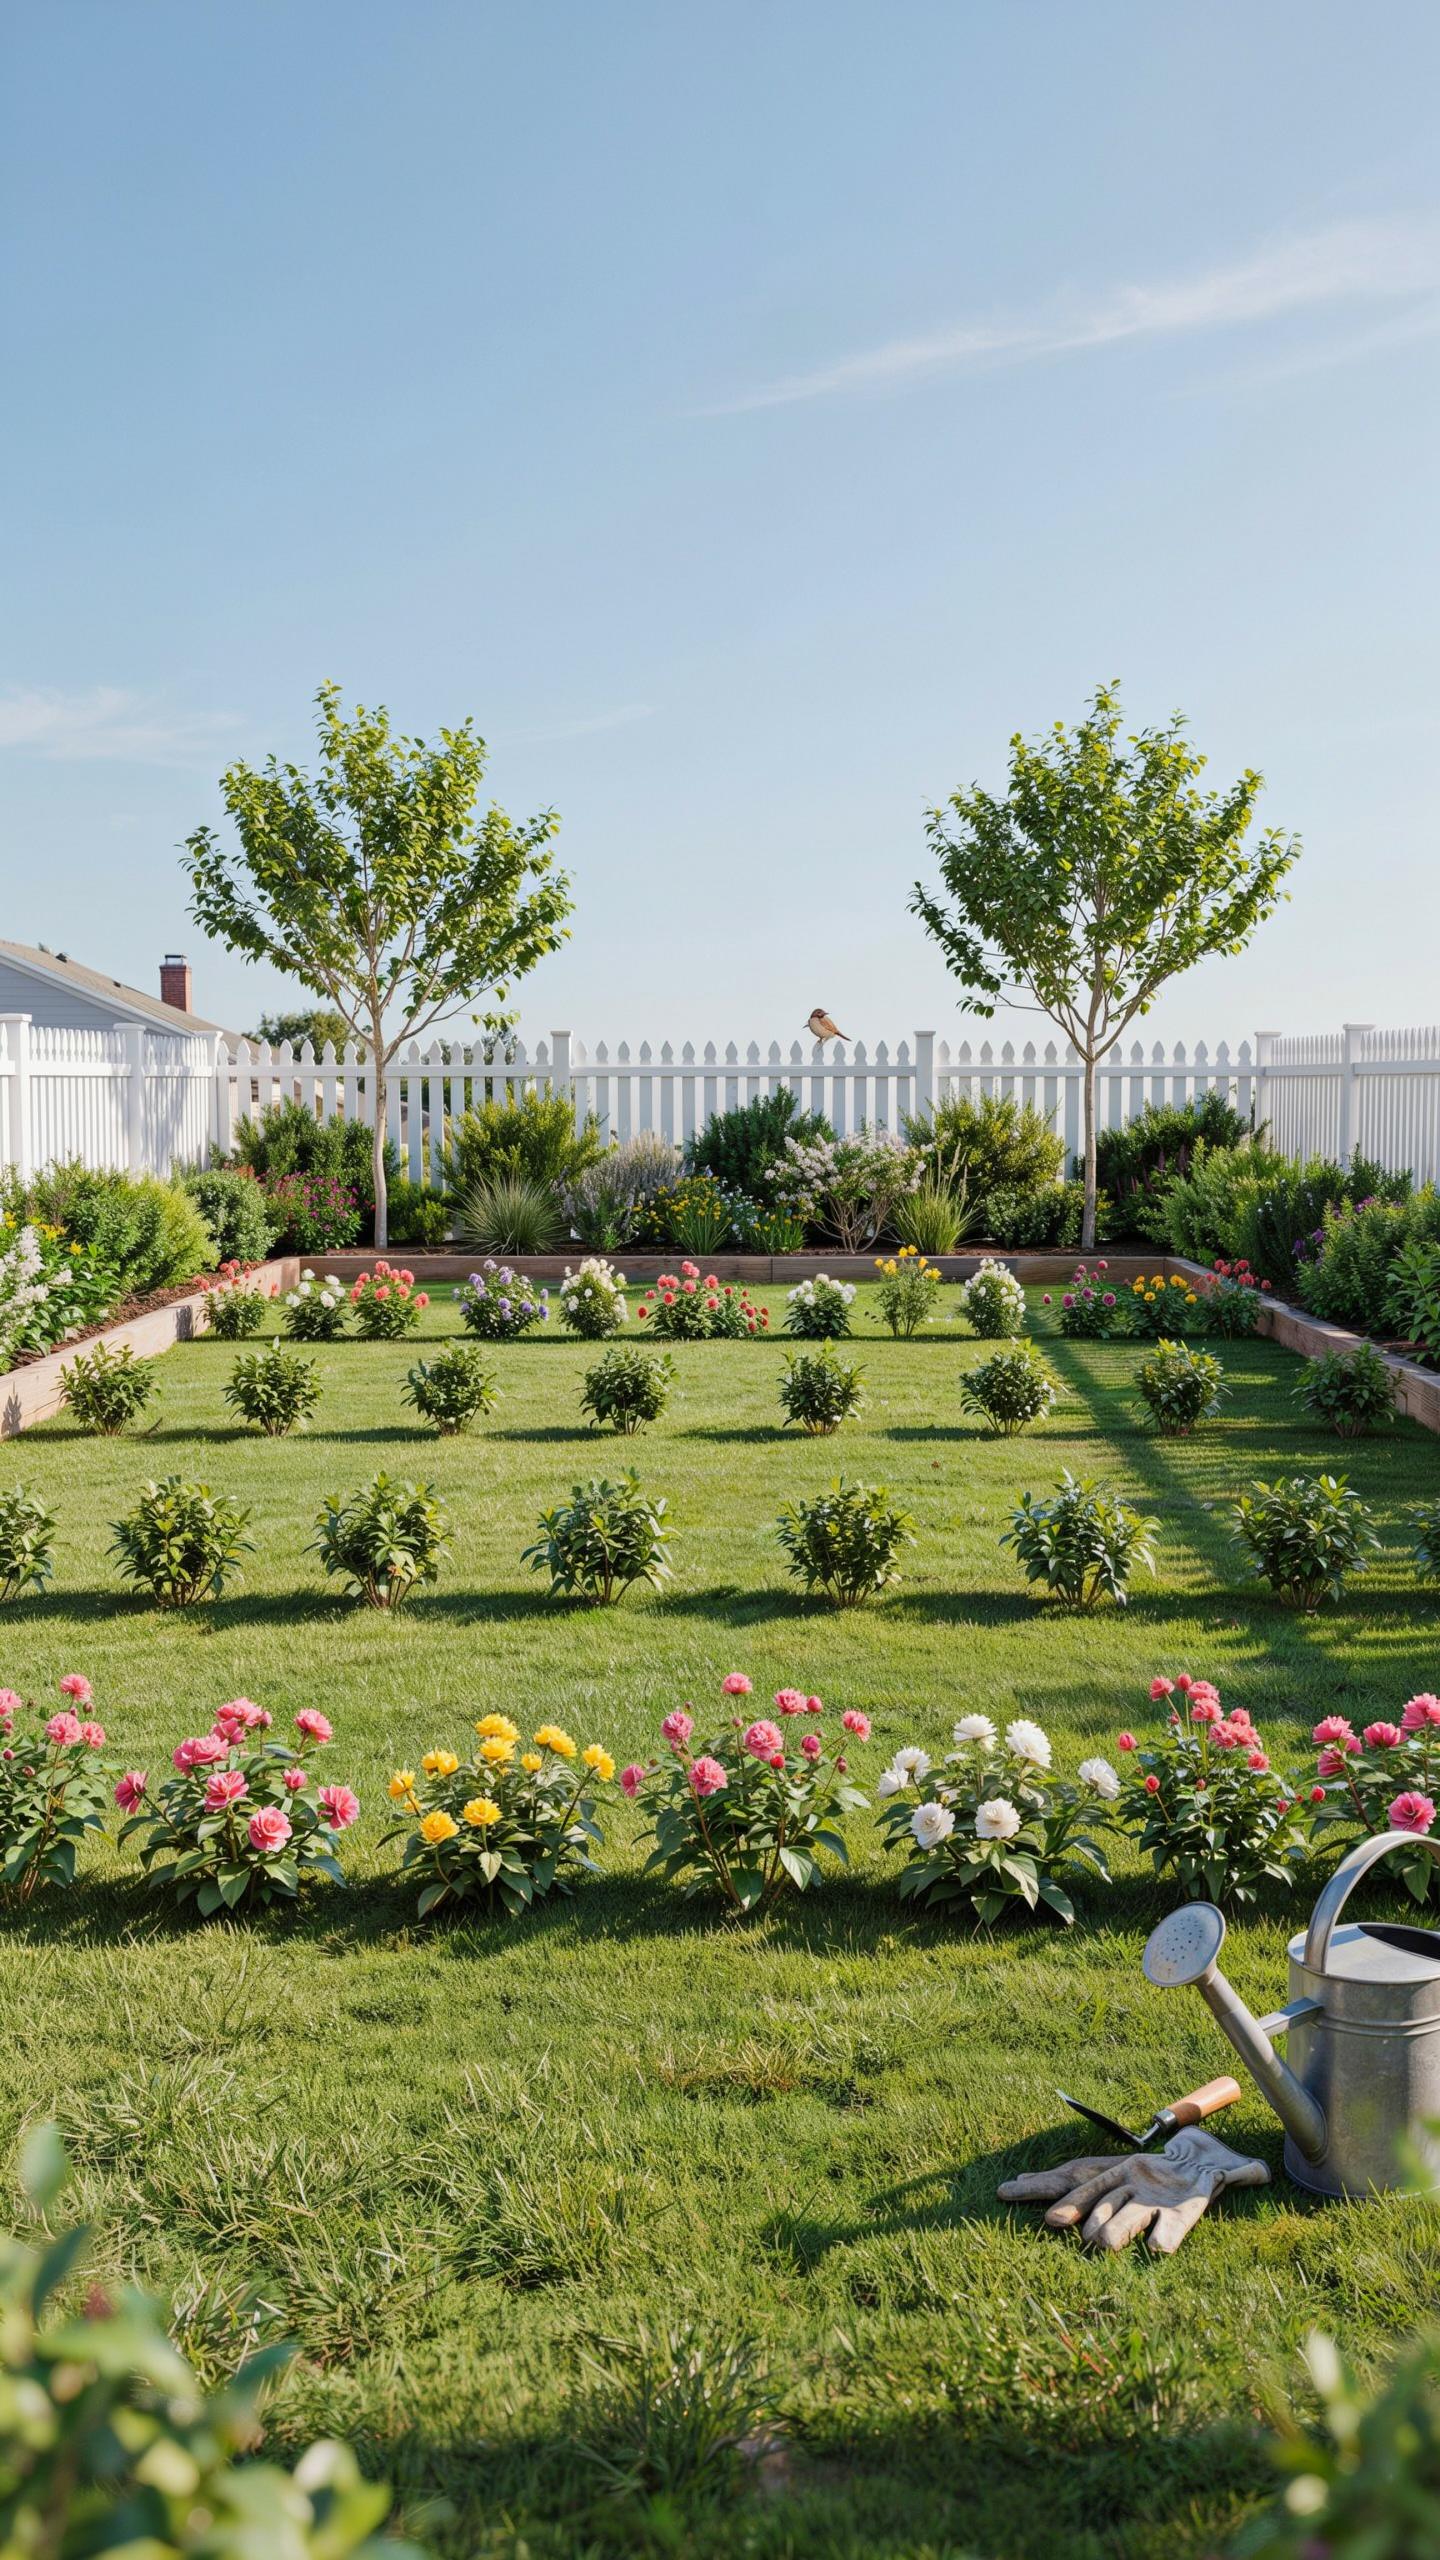
Flat yards lack natural elevation changes, so you must engineer depth through plant placement. Slant groundcover plantings at 45-degree angles across the yard rather than parallel to edges. This diagonal orientation tricks the eye into perceiving greater distance and movement. Stagger heights progressively as you move away from viewing points. Use groundcovers as base layers, then layer shrubs and trees behind them to build visual separation between zones.
The spacing formula for groundcover in slanted patterns depends on mature width. Space plants at 60 to 75 percent of their full width to allow for growth without overcrowding. For example, a groundcover reaching 2 feet wide needs 15 to 18 inches between plant centers. Tighter spacing fills gaps faster but increases maintenance density. Looser spacing reduces upkeep but requires longer establishment periods before the design reads as intentional.
Step By Step Installation Rules For Low Maintenance Borders
Start by marking your border edge with chalk or string before planting anything. Measure from your reference point outward to establish consistent spacing. Remove existing turf or weeds in a 12 to 18 inch strip along the border line. This prevents grass competition for water and nutrients during the critical establishment phase. Prepare soil by mixing in compost to improve drainage and structure before placing plants.
- Mark the edge line: Use a string or garden hose to establish a straight or curved border edge before digging begins.
- Space in triangular patterns: Position plants in offset rows rather than straight lines to create visual flow and better coverage.
- Install drip irrigation first: Run lines parallel to the border before backfilling soil to ensure even watering without hand watering labor.
- Apply mulch barrier: Lay 2 to 3 inches of mulch around plants to suppress weeds and reduce watering frequency by 30 percent.
- Stake taller plants: Install stakes at planting time for any border plant exceeding 2 feet in height to prevent wind damage during establishment.
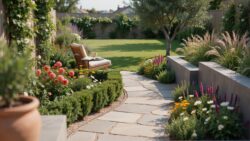
Plant installation timing matters for establishment success. Spring and fall offer ideal conditions when temperatures moderate soil stress. Water immediately after planting and maintain consistent moisture for the first growing season. Skip fertilizer at planting time as it forces soft growth that stresses young plants. Return to maintenance watering once the border enters its second year of growth.
Maximizing Depth And Flow In Your Landscape Backyard
Implementing The Golden Ratio For Large Backyard Scapes
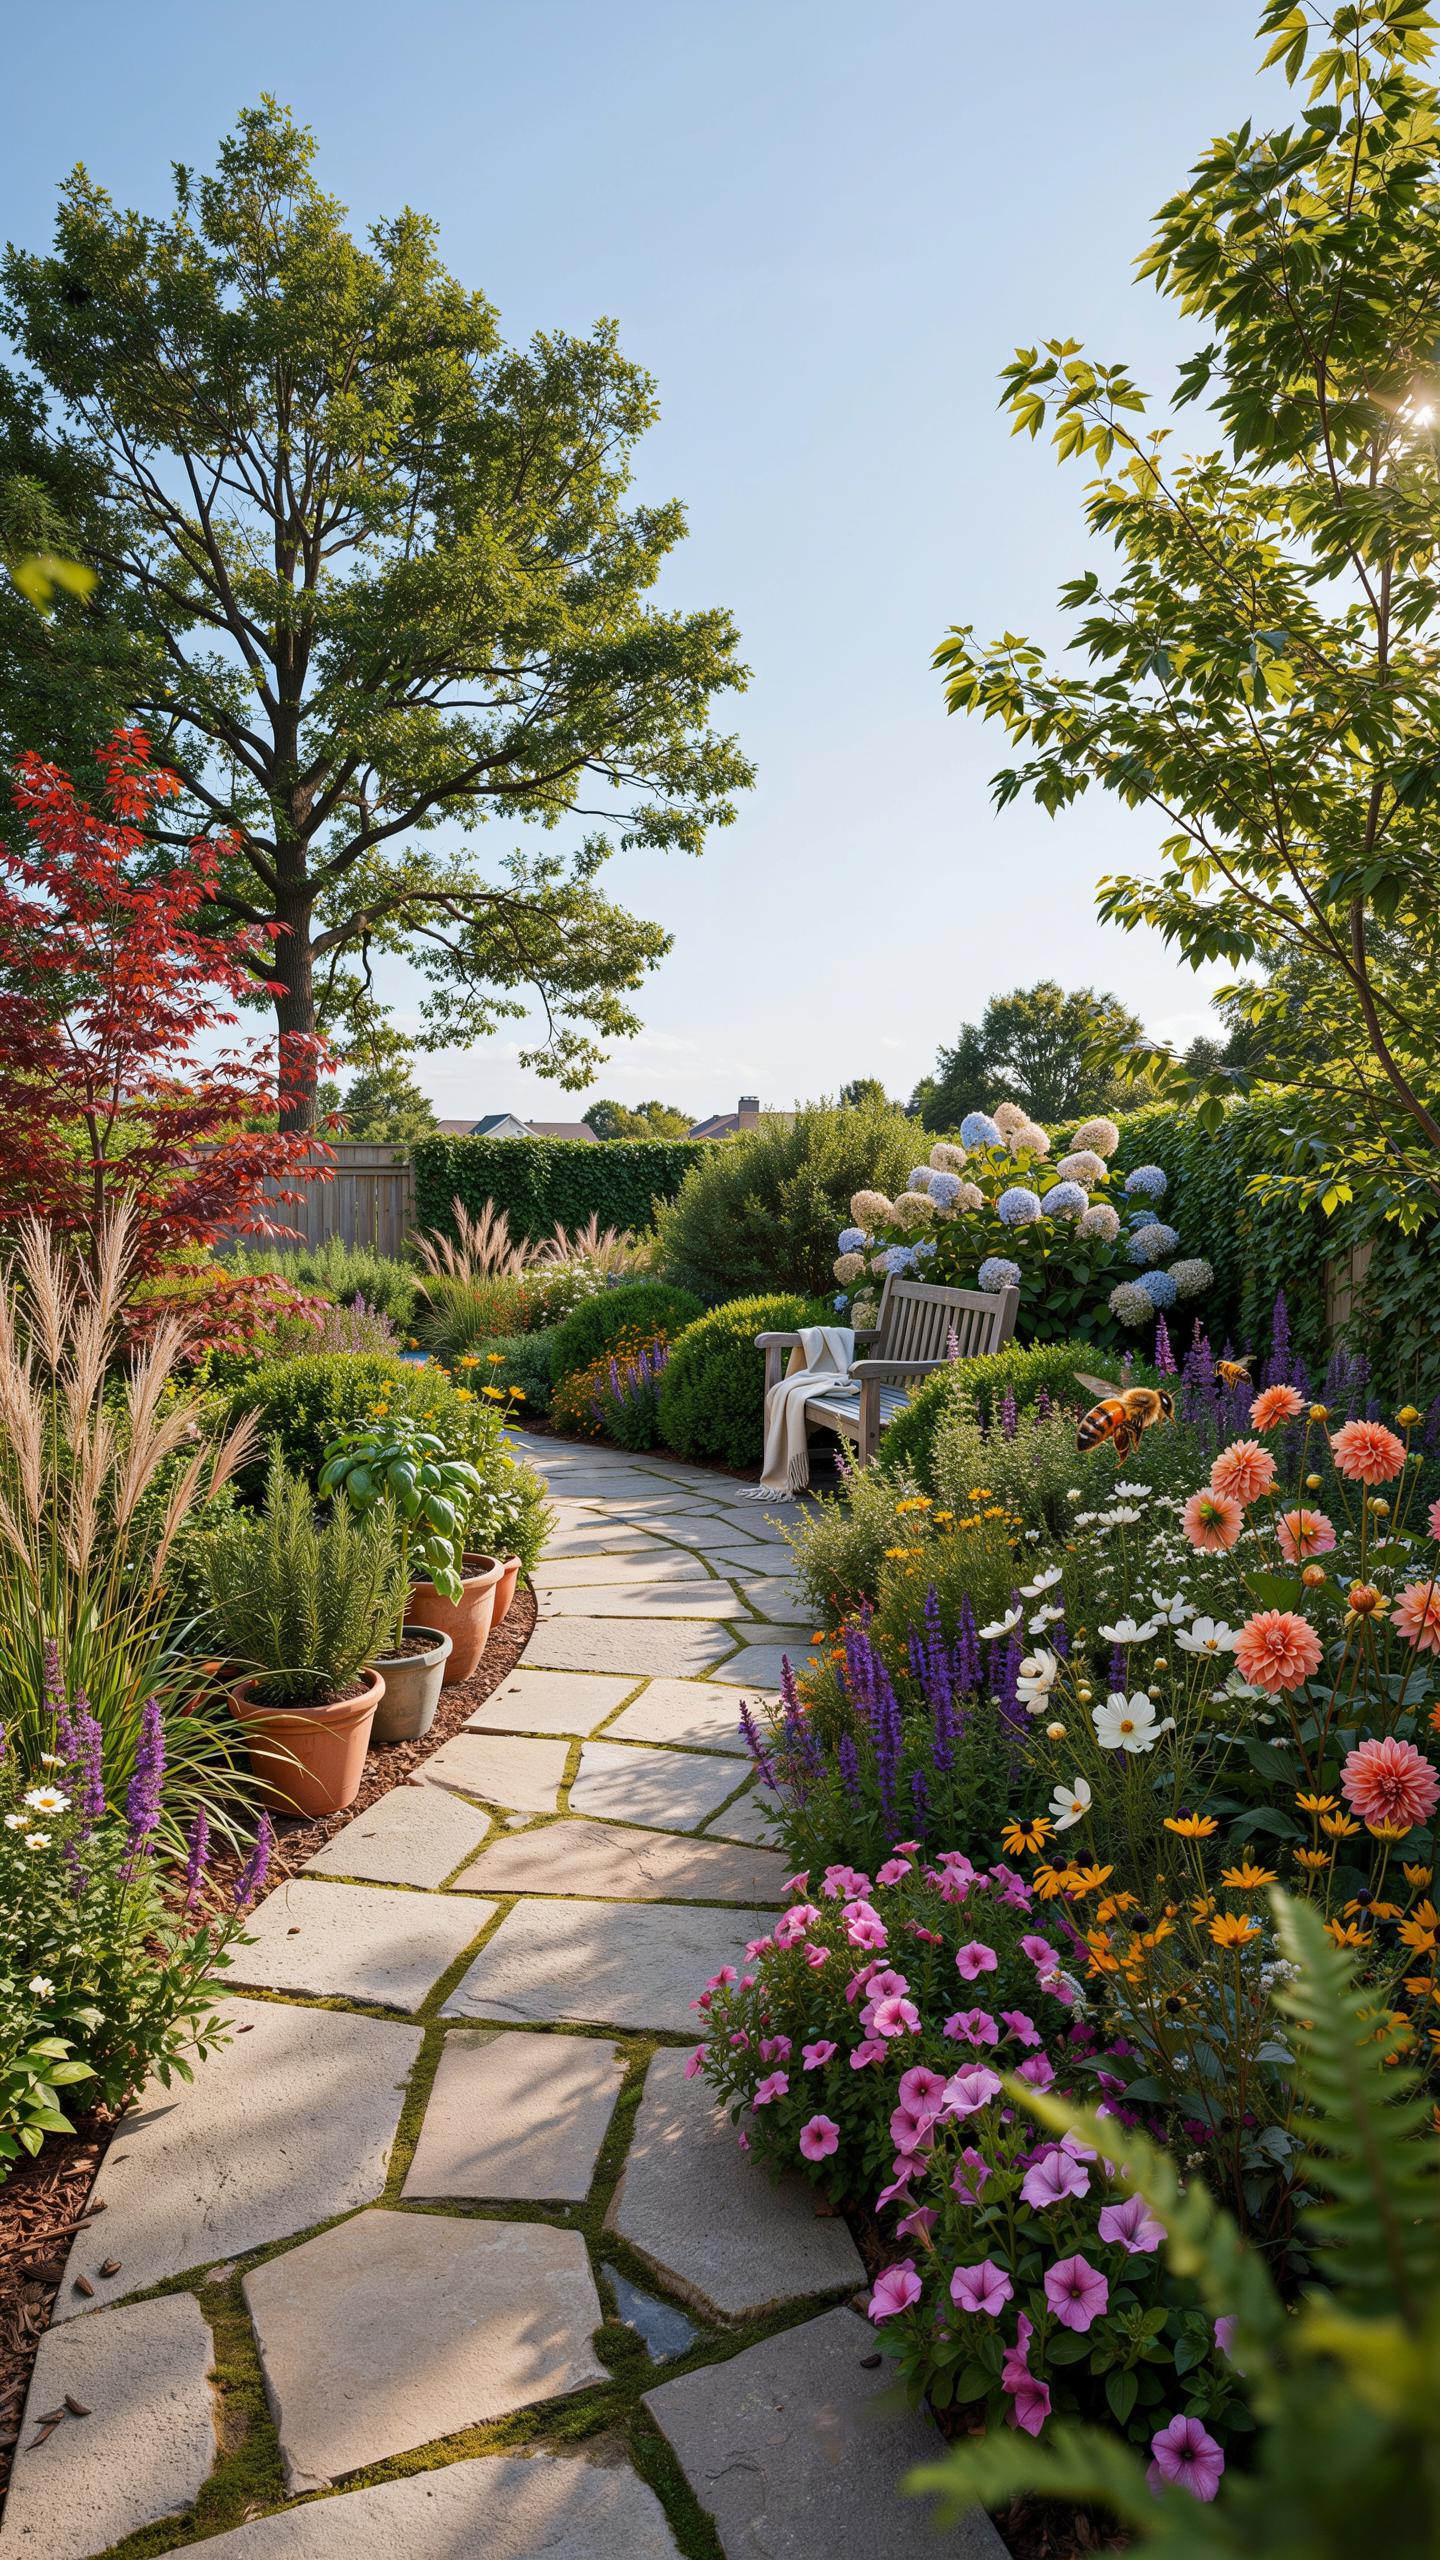
The golden ratio, approximately 1.618 to 1, creates visual balance in landscape design. Apply this proportion to spacing between plant groupings, bed widths, and focal points. Divide your backyard into zones using this ratio rather than equal sections. Large spaces benefit from asymmetrical layouts that follow this mathematical principle. This approach prevents monotonous, grid-like arrangements that waste visual potential. Measure your yard dimensions, then calculate spacing intervals using the ratio to guide plant placement decisions.
Plant clusters should occupy roughly 38 percent of your visible space, with 62 percent devoted to pathways, hardscape, and open areas. This distribution creates intentional breathing room that modern gardens demand. Position larger specimen plants at golden ratio points along sightlines from entry areas. Secondary plantings fill remaining zones without overwhelming the design. The result is a landscape that feels purposeful rather than crowded or sparse.
Textural Transitions For A Seamless Indoor Outdoor Flow
Textural transitions bridge indoor and outdoor environments by repeating material qualities across the threshold. Choose plants with foliage that echoes interior design elements like leaf shape, color tone, or surface finish. Place fine-textured plants closer to the house, then gradually shift to bolder foliage as you move outward. This gradual shift creates visual continuity and guides movement naturally through spaces. Spacing these transitions 8 to 12 feet apart maintains the gradient without jarring changes.
Hard landscaping materials should match in scale and tone as you approach doors and windows. Stone pathways connecting interior flooring types reinforce this textural story. Use ground covers and low plantings to soften hardscape edges while maintaining the transition logic. Plants with similar leaf size to interior furnishings create psychological flow between spaces. This deliberate spacing strategy makes your yard feel like an extension of your home rather than a separate zone.
Get Creative With Outdoor Design Inspiration And Layered Planting
Combining Structural Shrubs And Soft Grasses
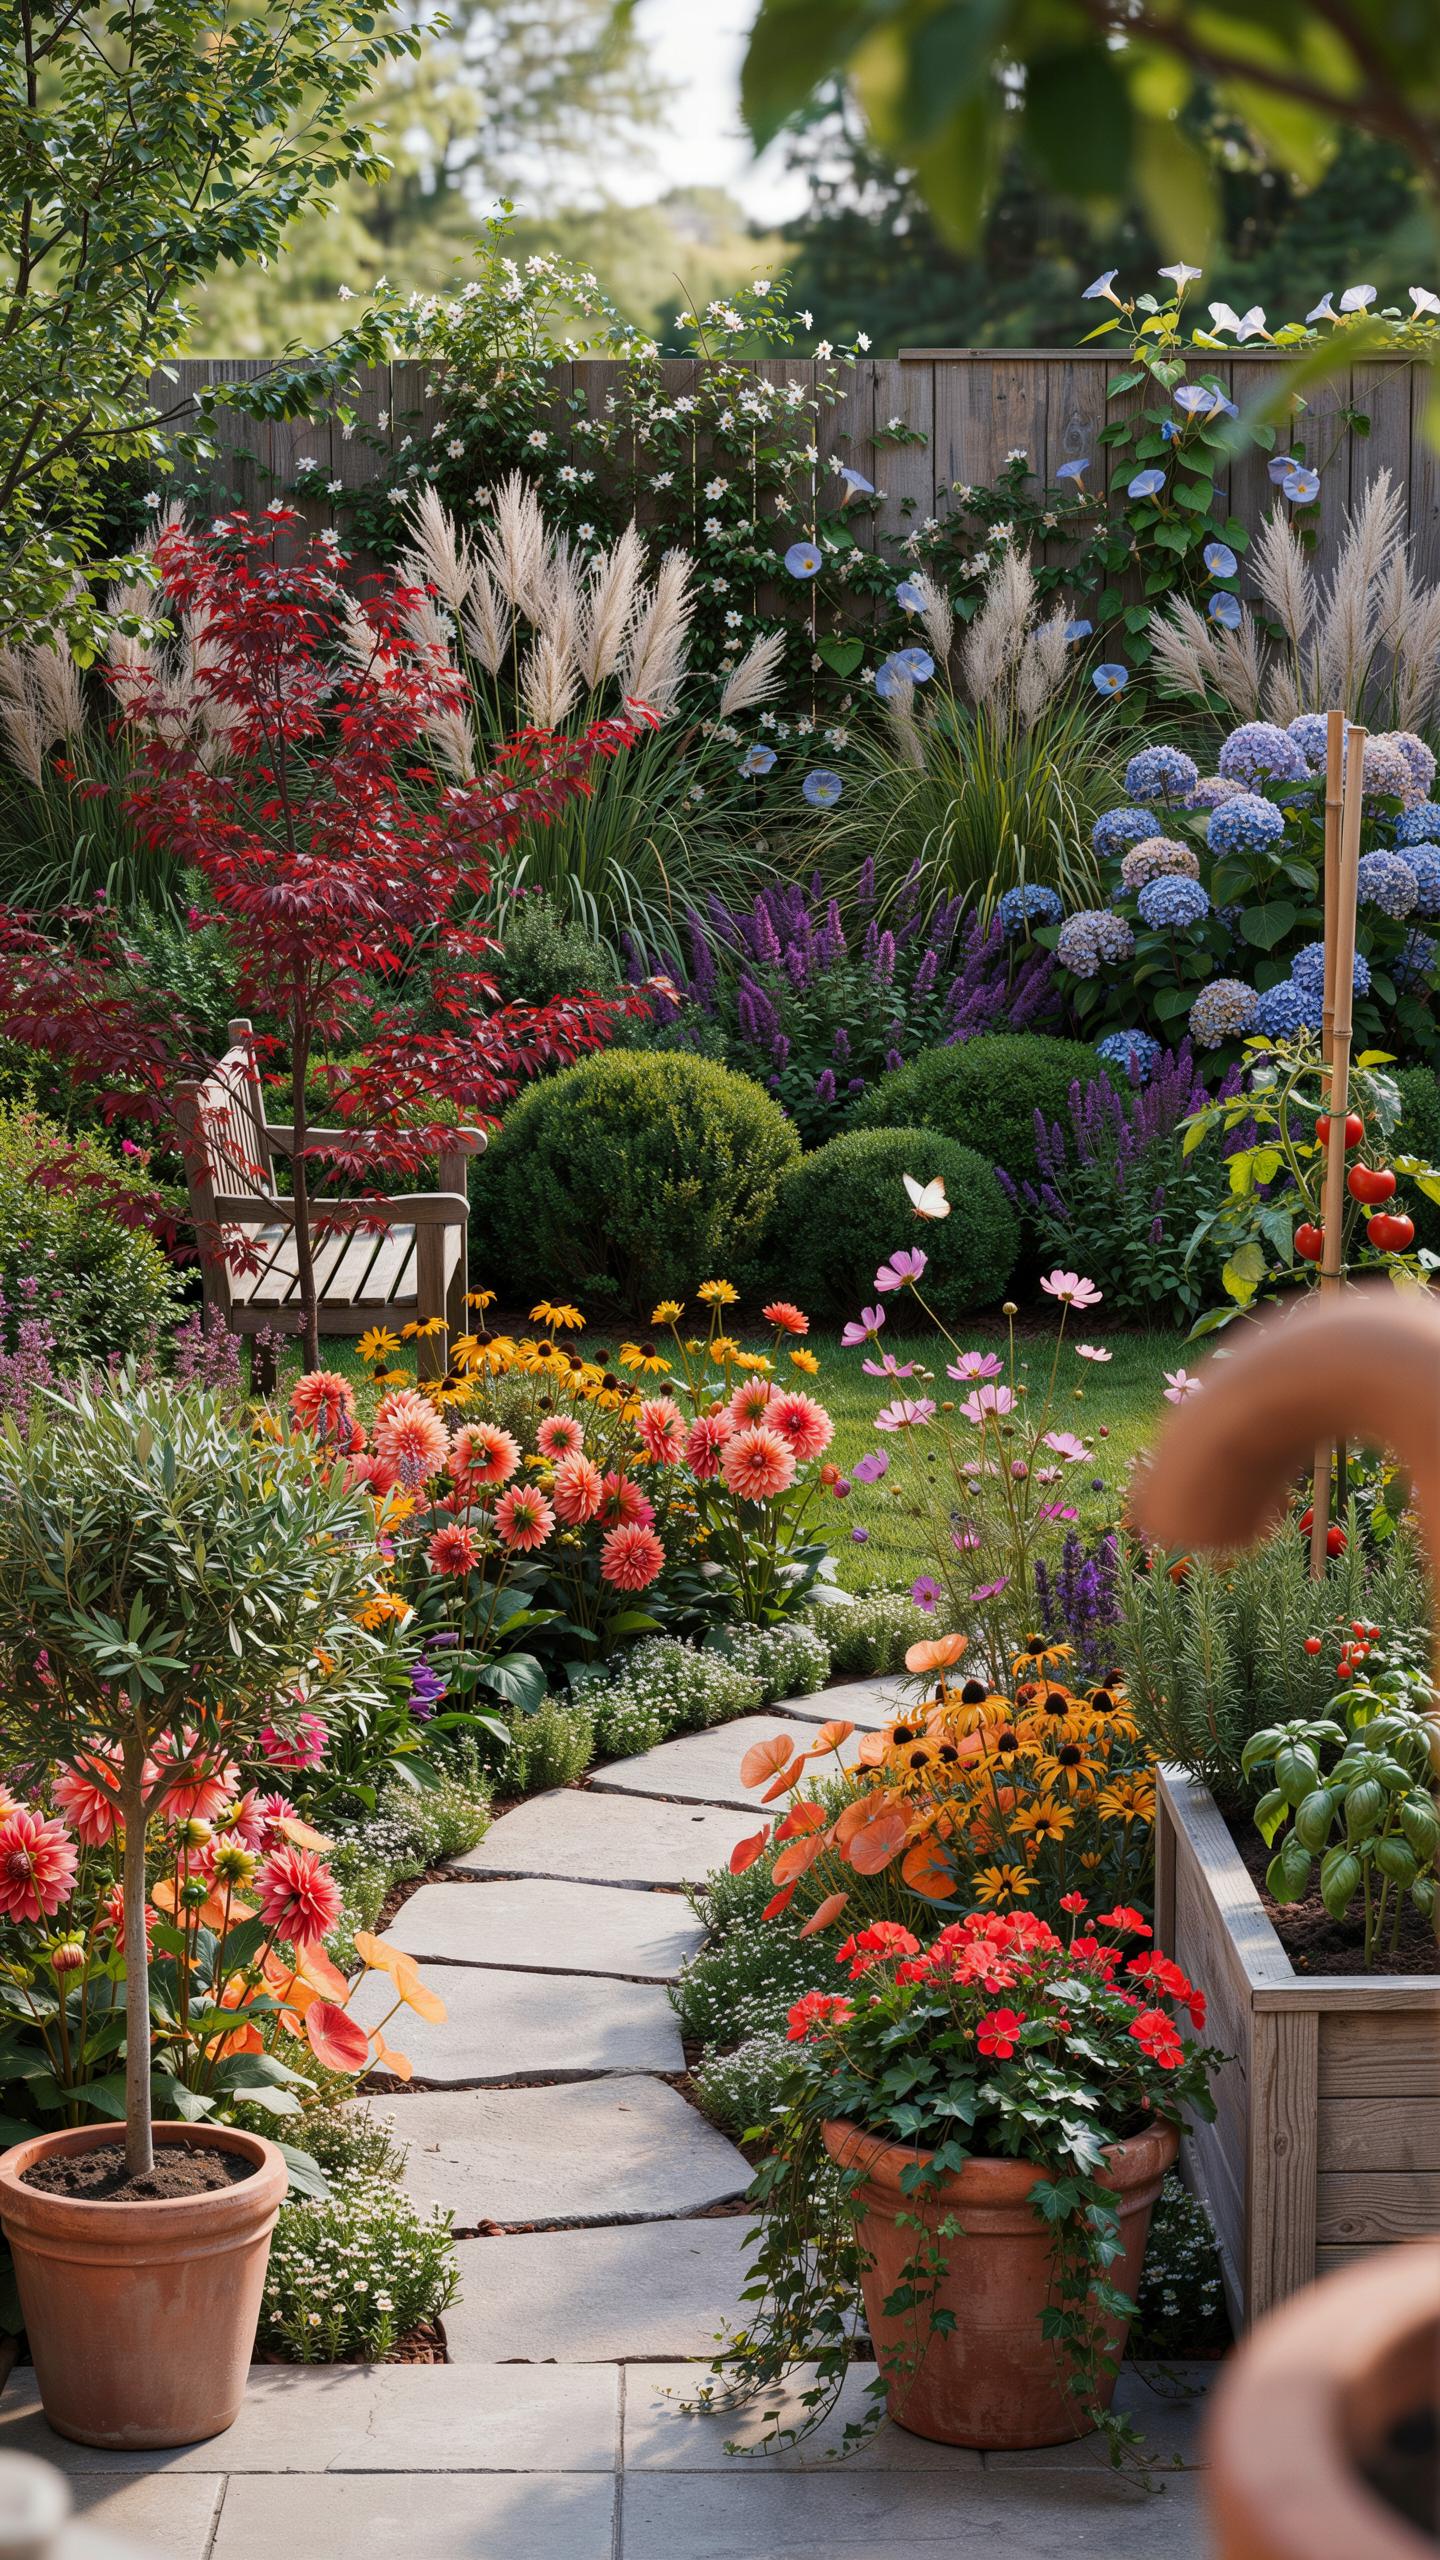
Structural shrubs anchor modern garden layouts. They provide year-round form and establish clear spatial boundaries. Pair them with soft ornamental grasses to create contrast and movement. Space shrubs at least 4 to 6 feet apart to allow mature width. Plant grasses between shrubs in clusters of three or five for visual rhythm. This combination reduces maintenance while delivering clean, contemporary aesthetics that work across seasons.
Grasses add texture without demanding frequent pruning. Their airy structure softens hard shrub lines and creates depth perception. Position taller grasses like Miscanthus behind shorter shrubs to frame views properly. Space grass clumps 18 to 36 inches apart depending on variety maturity size. The interplay between solid forms and delicate foliage defines modern garden character effectively.
Dynamic Color Grouping For Year Round Modern Visual Appeal
Modern gardens rely on strategic color repetition across seasons, not random placement. Group plants with matching bloom times and foliage colors in odd numbers for visual impact. Space matching plants 2 to 4 feet apart to read as unified blocks from a distance. Select evergreen and deciduous varieties that deliver color shifts from spring through winter dormancy. This approach eliminates dead zones and maintains design cohesion throughout the entire year.
Color grouping works best when you commit to limited palettes. Choose three to four dominant colors and repeat them across the space at intervals. Stagger plantings so color blooms and fades in sequence, maintaining visual interest continuously. Spacing matters because plants must fill enough ground to register as color blocks rather than scattered specimens. Dense groupings at proper intervals create the polished, intentional look modern aesthetics demand.
Where To Have Inspiration For Your Next Eco Friendly Spacing Project
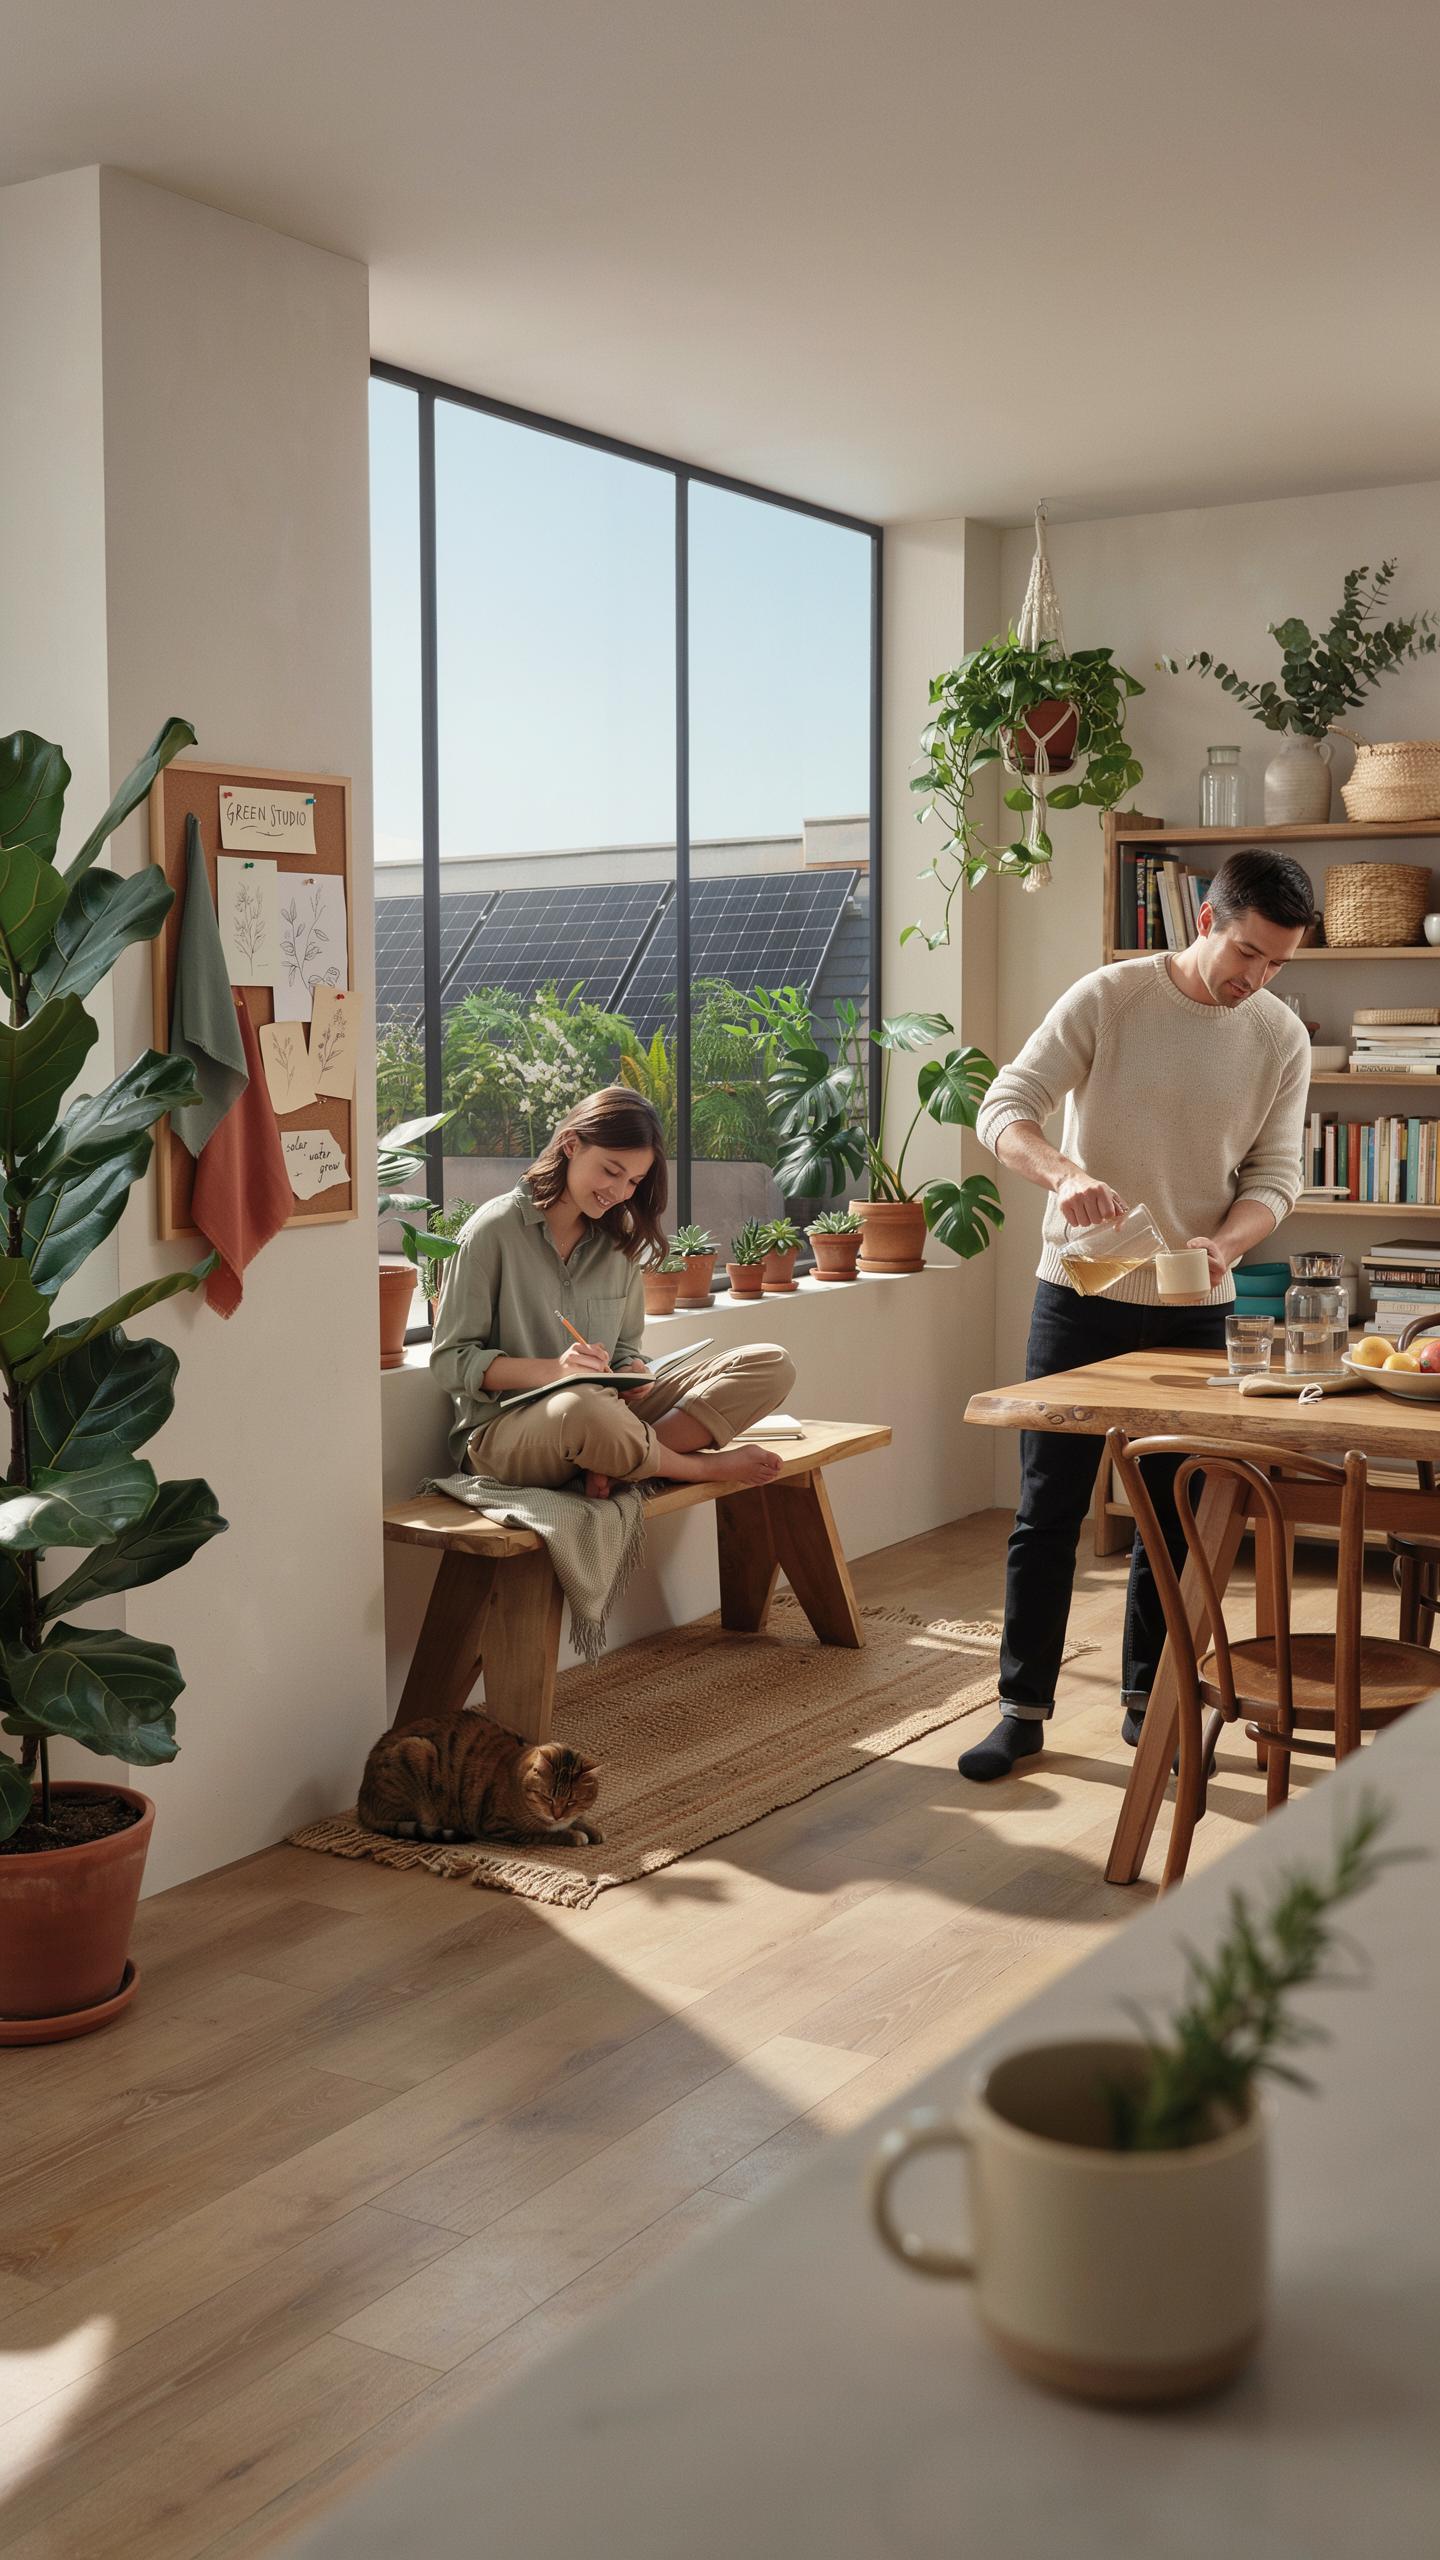
Sourcing Design Ideas From Local Botanical Conservatories
Botanical conservatories function as living laboratories for plant spacing. Staff curators maintain plants at specific distances based on light requirements, root spread, and mature sizes. Visit during growing seasons to observe how professionals handle density and air circulation. Document spacing patterns that work for your climate zone. Take photographs of sections matching your garden conditions.
Conservatories reveal spacing failures you should avoid. You see stunted growth from overcrowding and disease patterns from poor air movement. Ask curators about spacing adjustments they make seasonally. Most facilities welcome questions about their maintenance protocols. This direct knowledge saves you seasons of trial and error in your own garden.
Emulating Natural Ecosystems To Conserve Water And Resources
Natural plant communities teach efficient spacing through survival patterns. Forest floors display layered spacing: tall trees create canopy, medium shrubs fill mid-story, ground covers occupy soil level. This vertical structure reduces competition and water demand. Rocky outcrops show how plants space themselves to access limited moisture. Wetland edges demonstrate density thresholds before disease pressure increases.
Study local ecosystems matching your garden’s conditions. Observe how native plants actually distance themselves from neighbors. Note which species cluster together and which remain isolated. This reveals competitive relationships and resource requirements. Replicate these patterns to reduce watering needs and pest problems. Natural spacing models require less intervention than imposed geometric arrangements.
Frequently Asked Questions

Why is plant spacing so important for achieving a modern garden look?
Proper spacing is the foundation of a clean, intentional landscape. In a modern garden aesthetic, plant spacing allows each architectural shape to stand out rather than becoming a cluttered mess. By giving your greenery room to breathe, you highlight the structural beauty of individual species. This deliberate arrangement prevents overcrowding, ensures adequate airflow for plant health, and creates the minimalist, high-end feel that defines contemporary residential outdoor design.
How do I calculate the ideal distance between plants for a structured layout?
To master modern garden aesthetic plant spacing, always check the “mature spread” listed on the plant tag. For a seamless mass planting look, space them slightly closer than their maximum width so they eventually touch. For a minimalist grid, space them exactly at their mature width plus six inches. This mathematical approach ensures your garden looks organized and professional as it grows, maintaining clean lines without constant heavy pruning.
Can I achieve a high-end modern garden look on a limited budget?
Absolutely! You don’t need expensive specimens to create impact. The secret lies in using affordable, repetitive plantings like ornamental grasses or boxwoods. By focusing on precise modern garden aesthetic plant spacing, even common, budget-friendly shrubs look like a custom designer installation. Start with smaller containers to save money; as long as you space them correctly from day one, they will fill the gaps beautifully and create that luxury feel.



