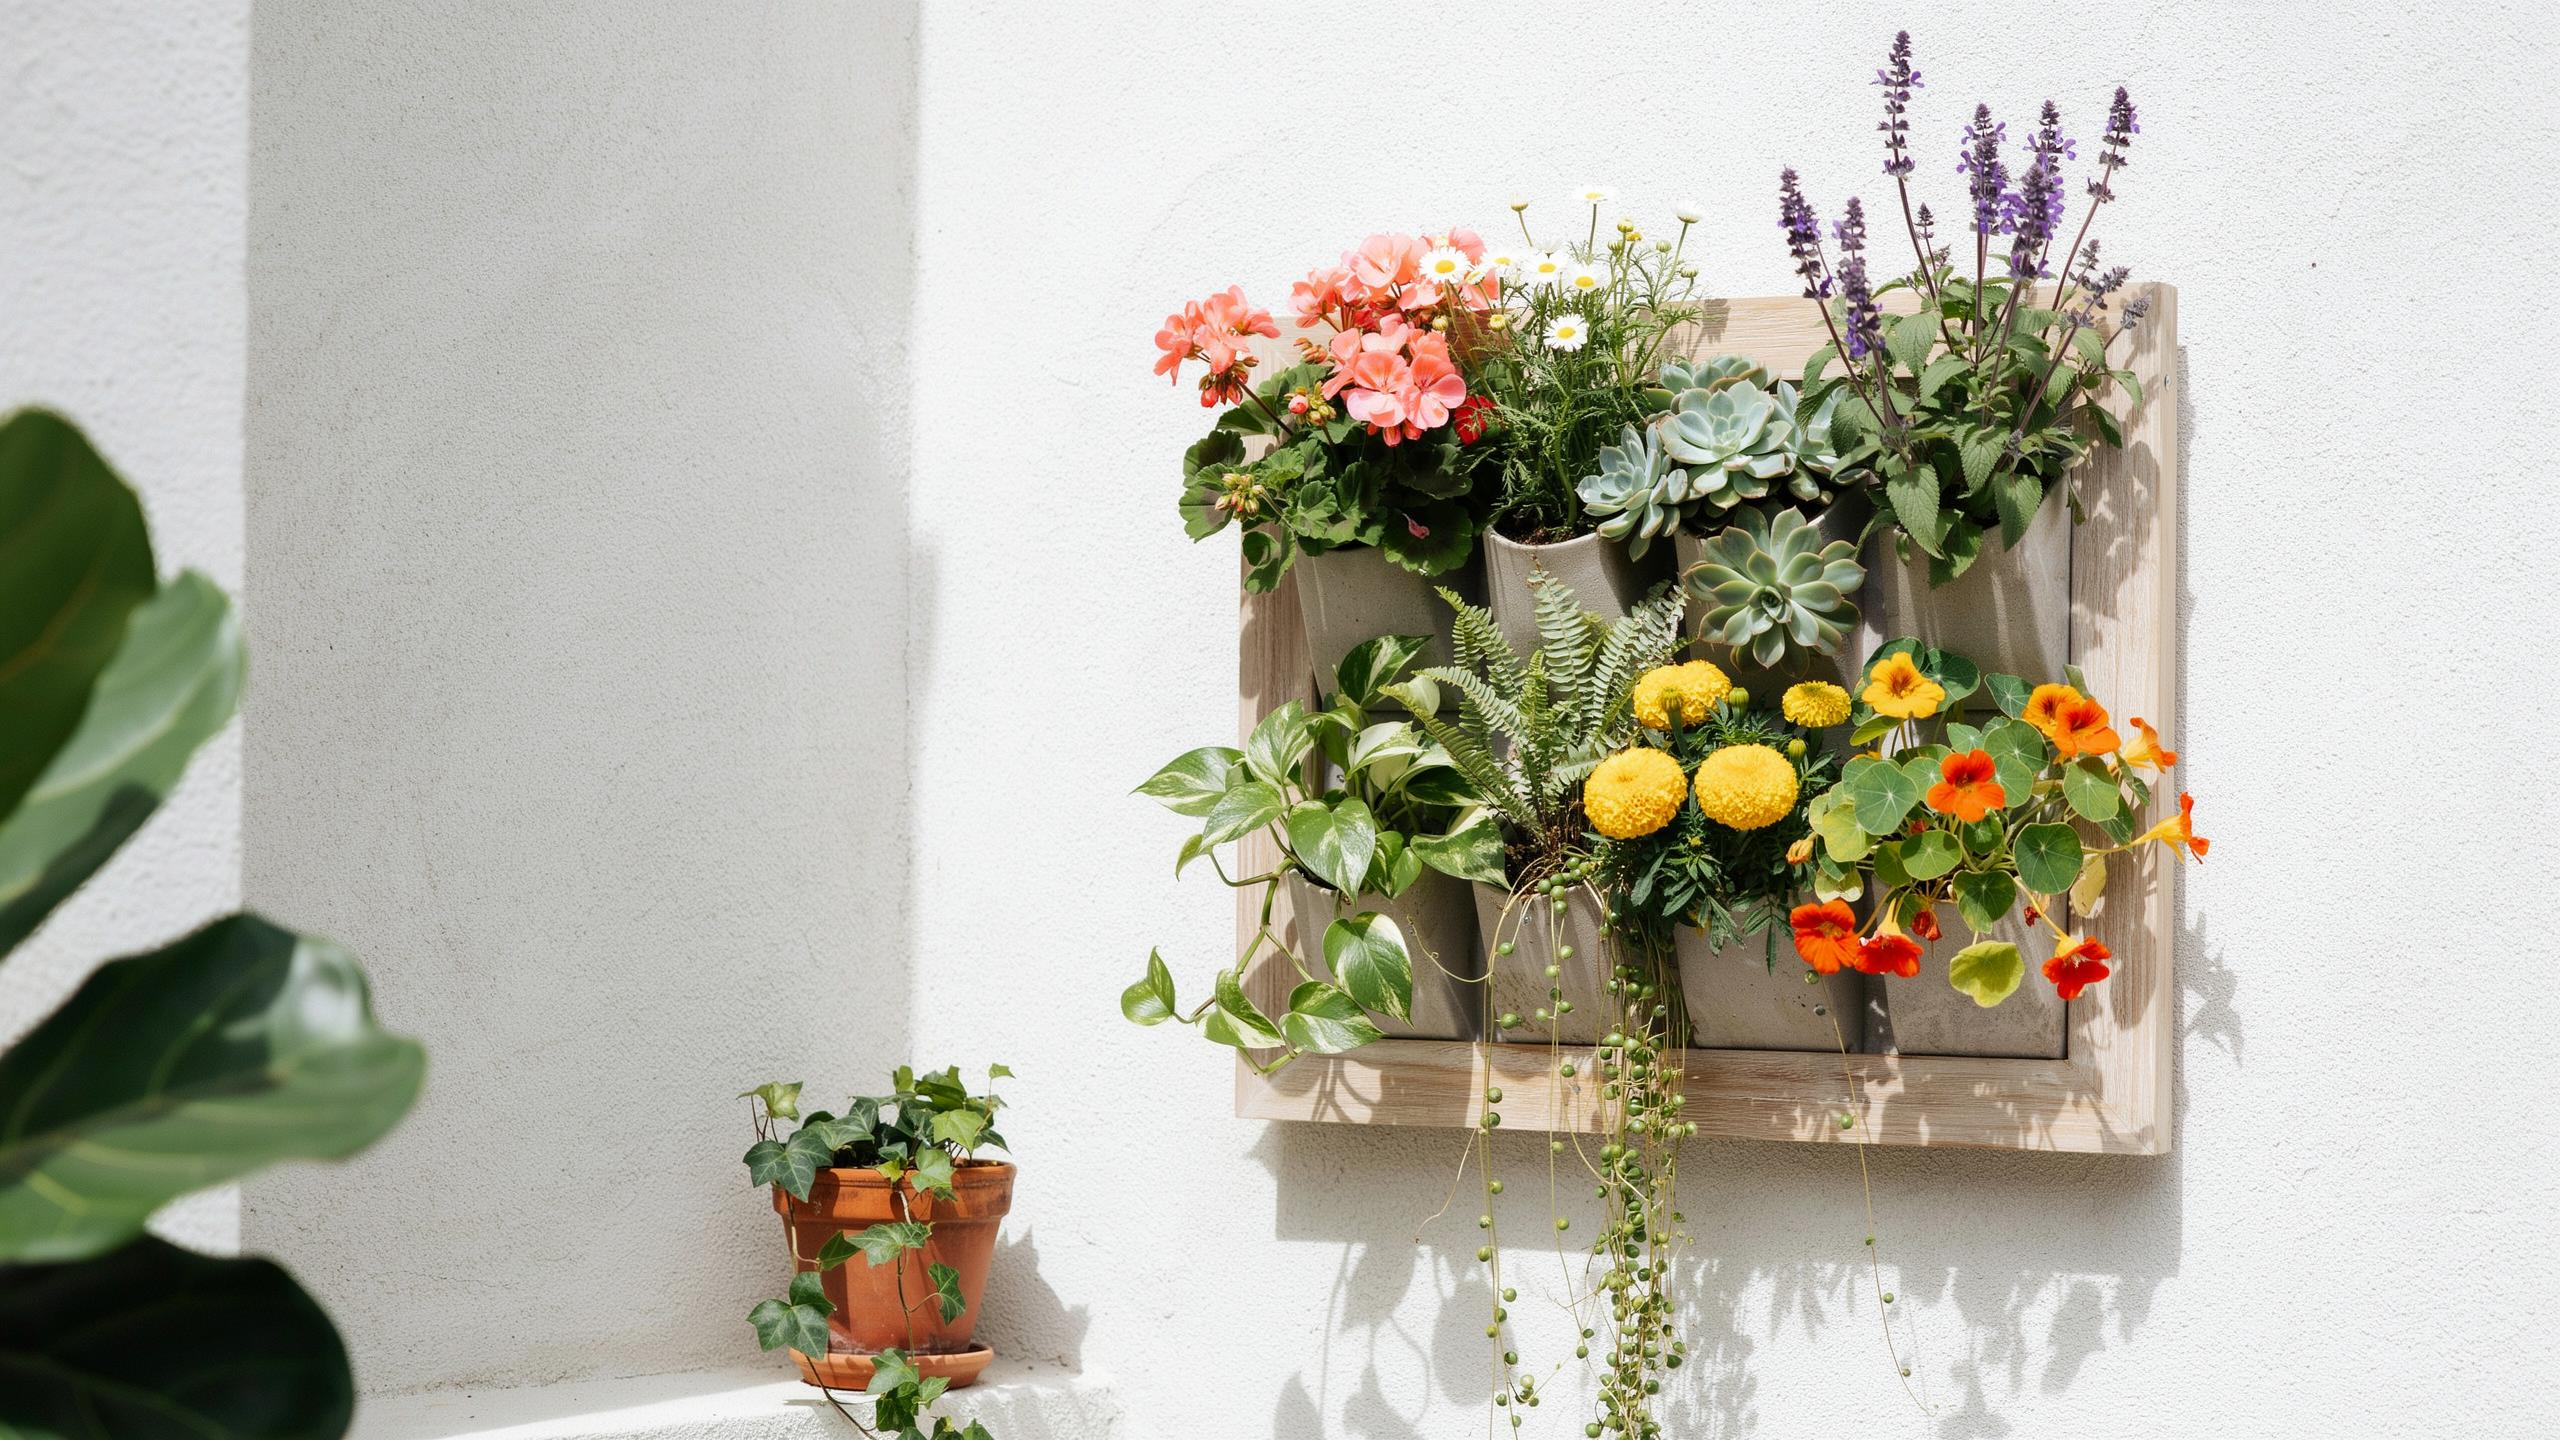
What Is A Vertical Garden Structure And Why It Matters For Modern Spaces
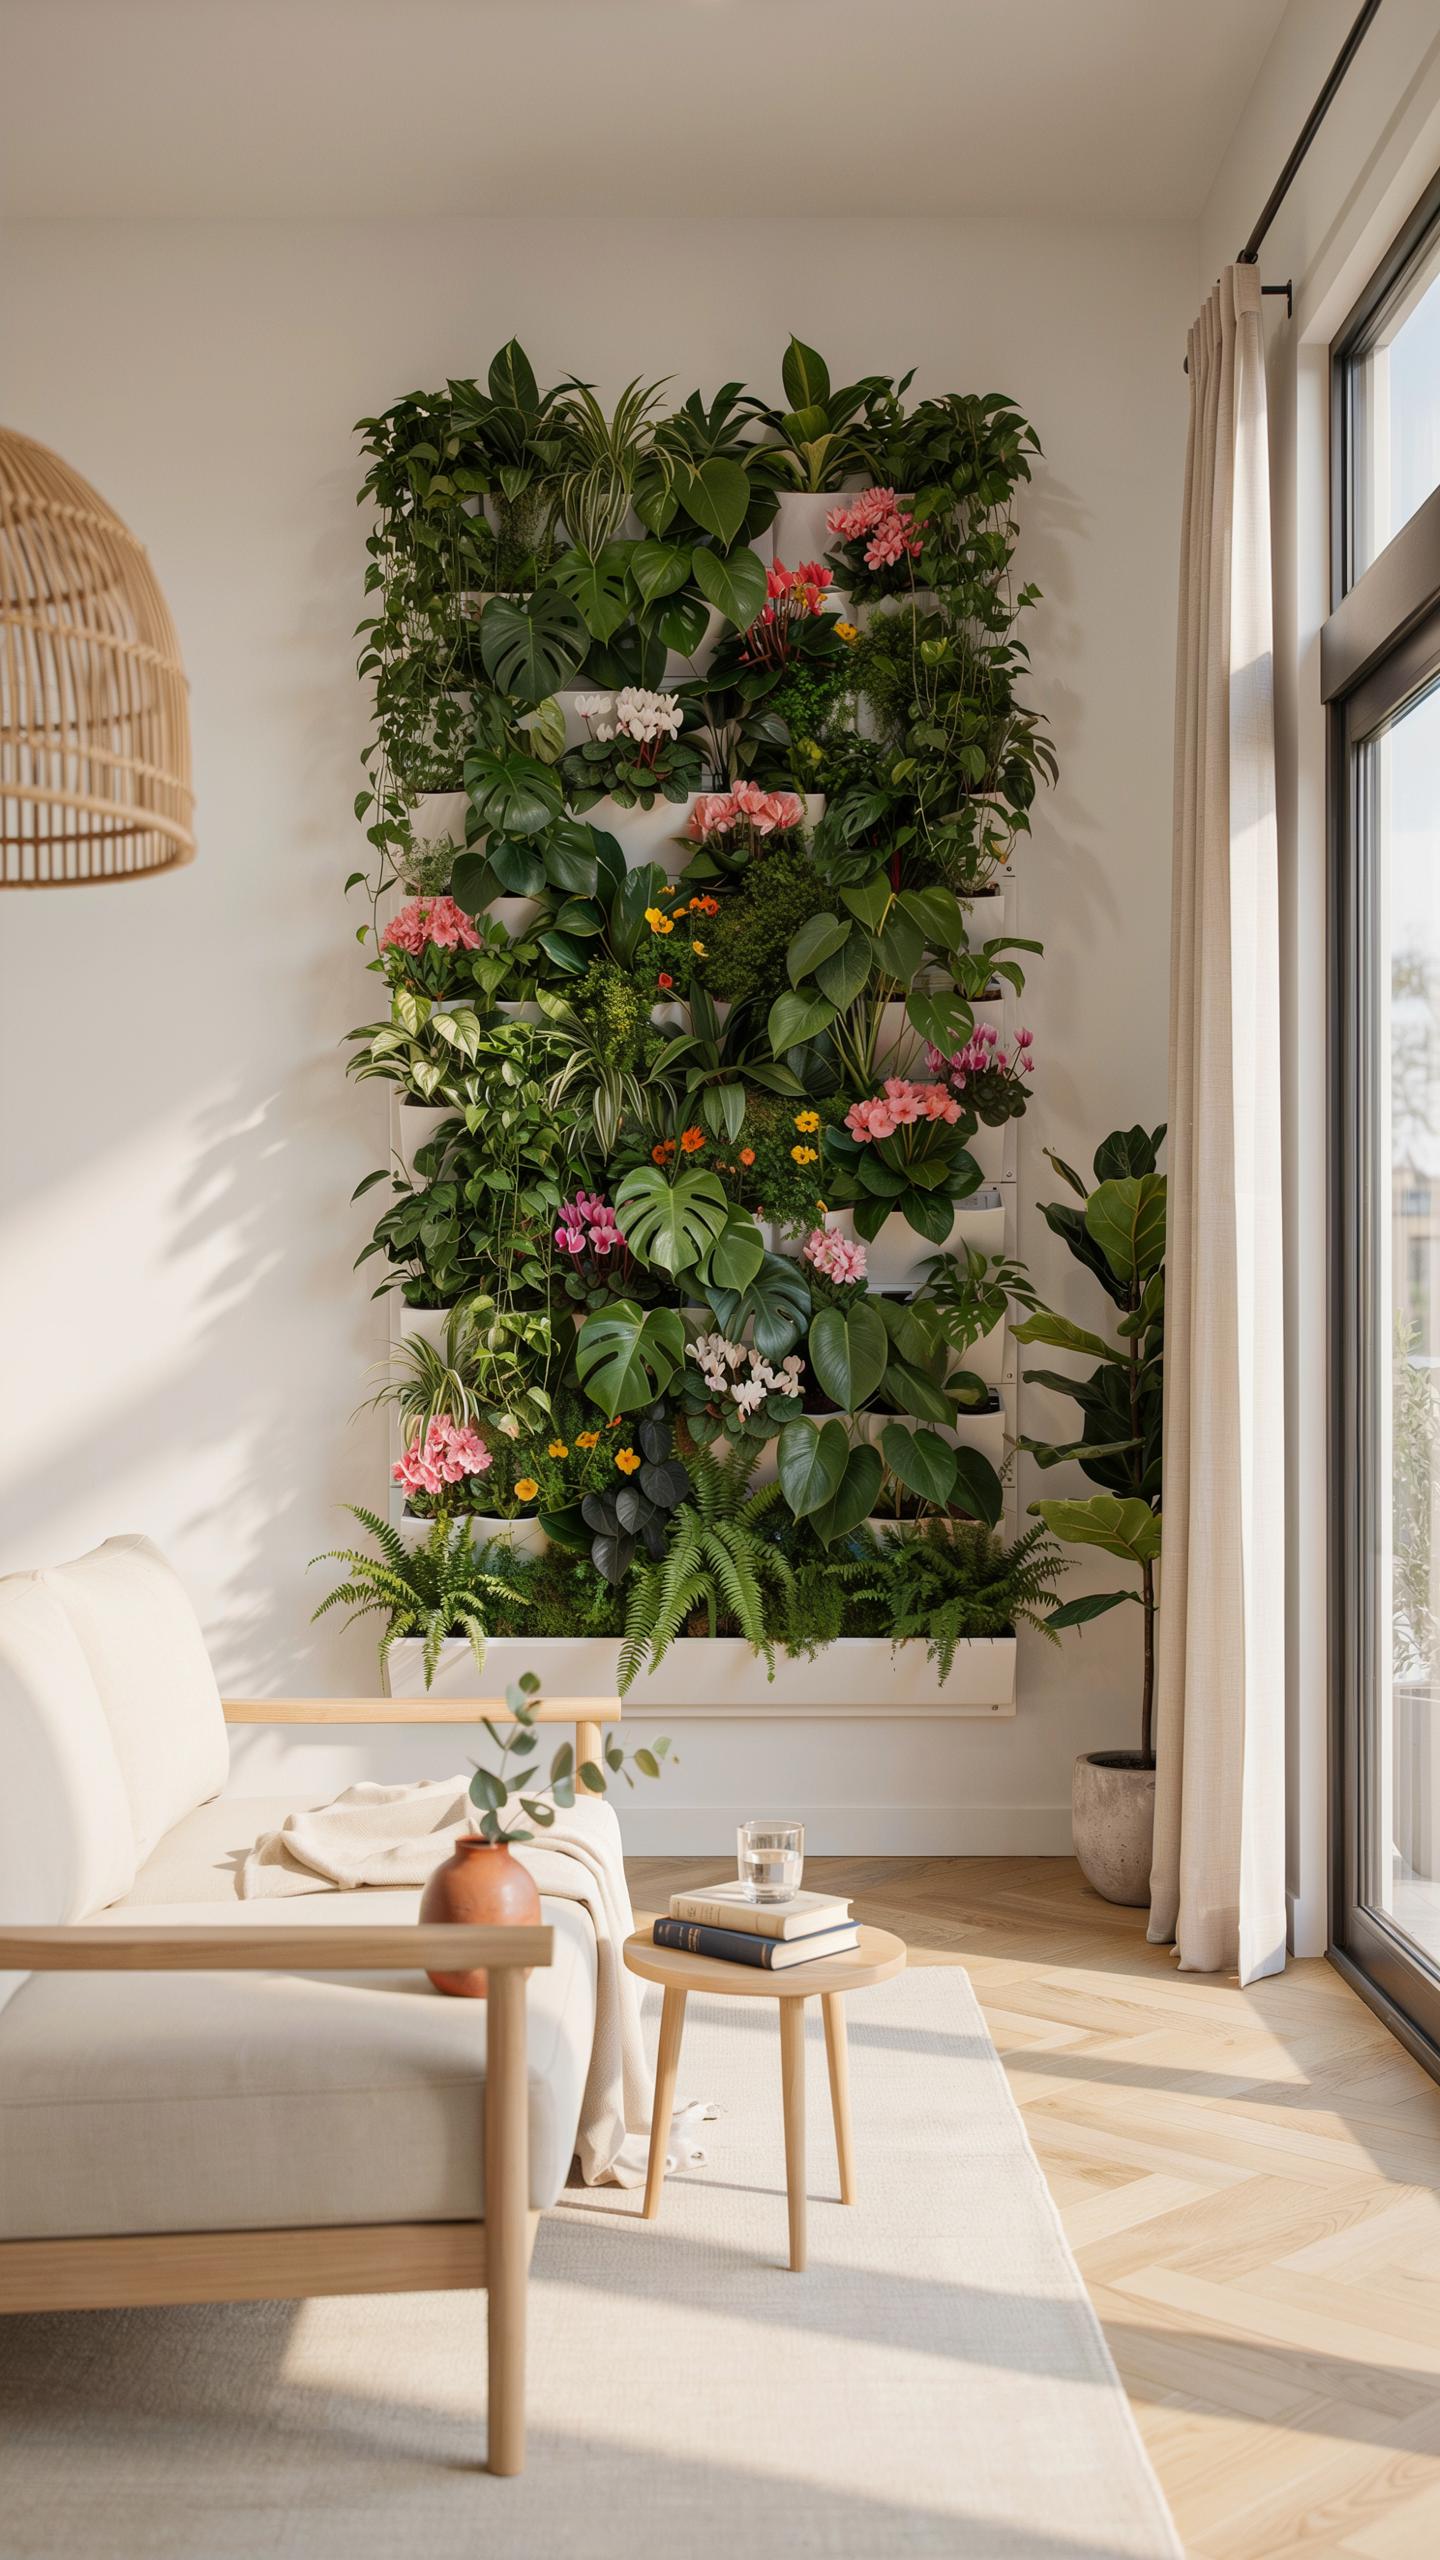
Defining The Vertical Garden Structure And Its Role In Urban Greening
A vertical garden structure is a rigid system designed to support plant life on a non-horizontal plane. It consists of a load-bearing frame, a backing board for moisture protection, and a growth medium. These systems move beyond simple potted plants by integrating vegetation directly into the architecture of a wall. This approach maximizes limited square footage in dense urban areas where ground space is expensive.
Vertical garden frame construction relies on precise engineering to manage weight and water. Designers use materials like aluminum or treated wood to prevent rot and structural failure. These installations improve urban environments by cooling exterior surfaces and capturing airborne particulate matter. They represent a shift toward functional green infrastructure. This move helps cities combat the heavy heat island effect caused by concrete and asphalt surfaces in metropolitan hubs.
Key Benefits Of Integrating A Vertical Garden Into Your Home Or Office
Living walls offer immediate thermal benefits by acting as natural insulators. They block direct sunlight from hitting building surfaces, which reduces internal cooling costs significantly. In office settings, these structures dampen sound by absorbing high-frequency noises that usually bounce off hard walls. This creates a quieter and more focused work environment. Practical utility drives the installation of these frames rather than mere visual appeal.
Indoor air quality improves as plants filter toxins like carbon dioxide and volatile organic compounds. Strategically placed frames increase humidity in dry, climate-controlled spaces, which helps protect human respiratory health. Choosing the right vertical garden frame construction ensures long-term durability and prevents leaks. A well-built system provides a high return on investment by protecting the building envelope while enhancing the overall utility of the interior space.

Understanding The Green Wall Detail Section Before You Begin Building
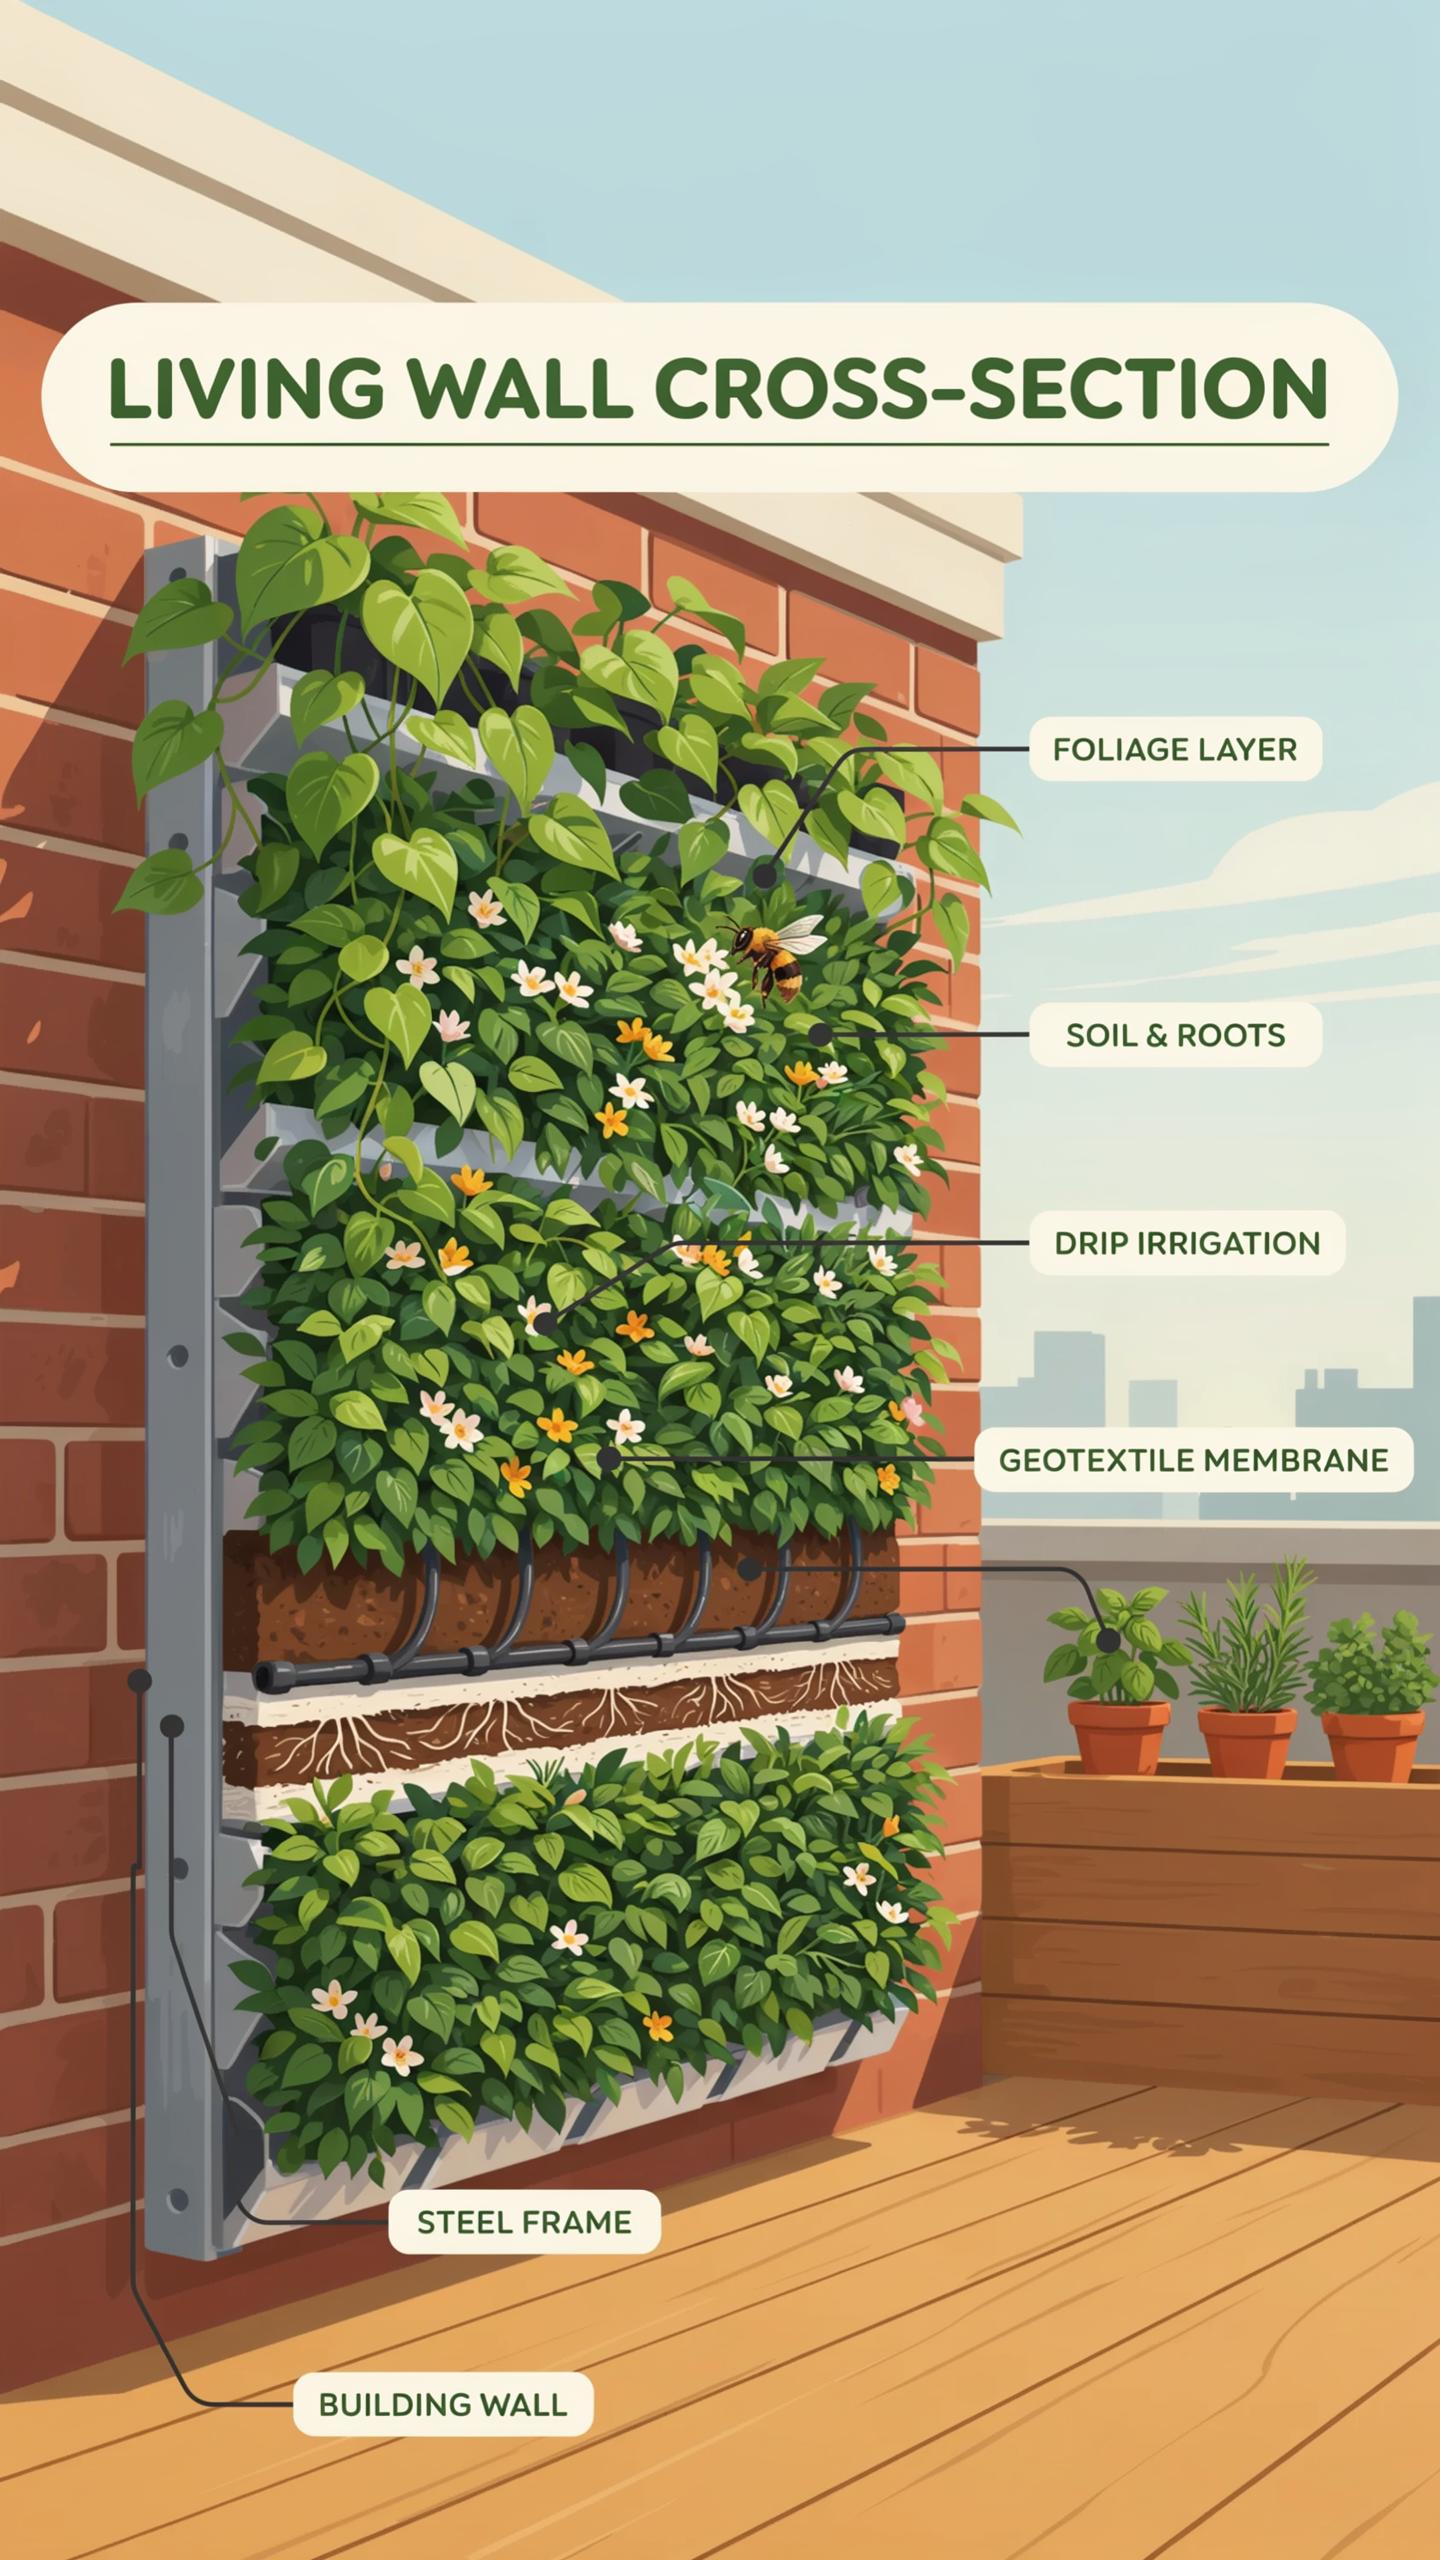
Breaking Down The Layers: What Every Green Wall Detail Section Must Include
A standard vertical garden frame construction relies on four critical layers. The base layer is the structural frame made of treated wood or metal. This skeleton supports the weight of saturated plants. Next comes the moisture barrier to prevent rot. Then you attach the growth medium layer. This holds the root systems in place and distributes water throughout the entire vertical surface.
Designers must account for air gaps between the wall and the frame. This space stops mold growth by allowing ventilation. The final layer is the irrigation line. It runs along the top or through the middle of the structure. High-quality systems use pressure-compensating drippers. These ensure that every plant gets the same amount of water regardless of its height on the wall.
How Waterproofing And Drainage Elements Protect Your Wall Structure Long Term
Moisture is the primary enemy of vertical garden frame construction. You must seal the backer board with high-density polyethylene or liquid rubber. These materials create an impermeable shield. This shield keeps water from seeping into your drywall or siding. Without this barrier, structural rot happens within months. Even small leaks will cause expensive property damage and compromise the integrity of the frame.

Efficient drainage systems prevent water from pooling at the base of the frame. You need a dedicated collection tray or gutter to catch runoff. This water should move directly into a drain or a recirculating tank. Proper slope and gravity play key roles here. Controlling the exit path of water keeps the area clean and safe. It also helps manage humidity levels around the structural anchor points.
Reading And Creating A Vertical Garden Architectural Plan For Your Project
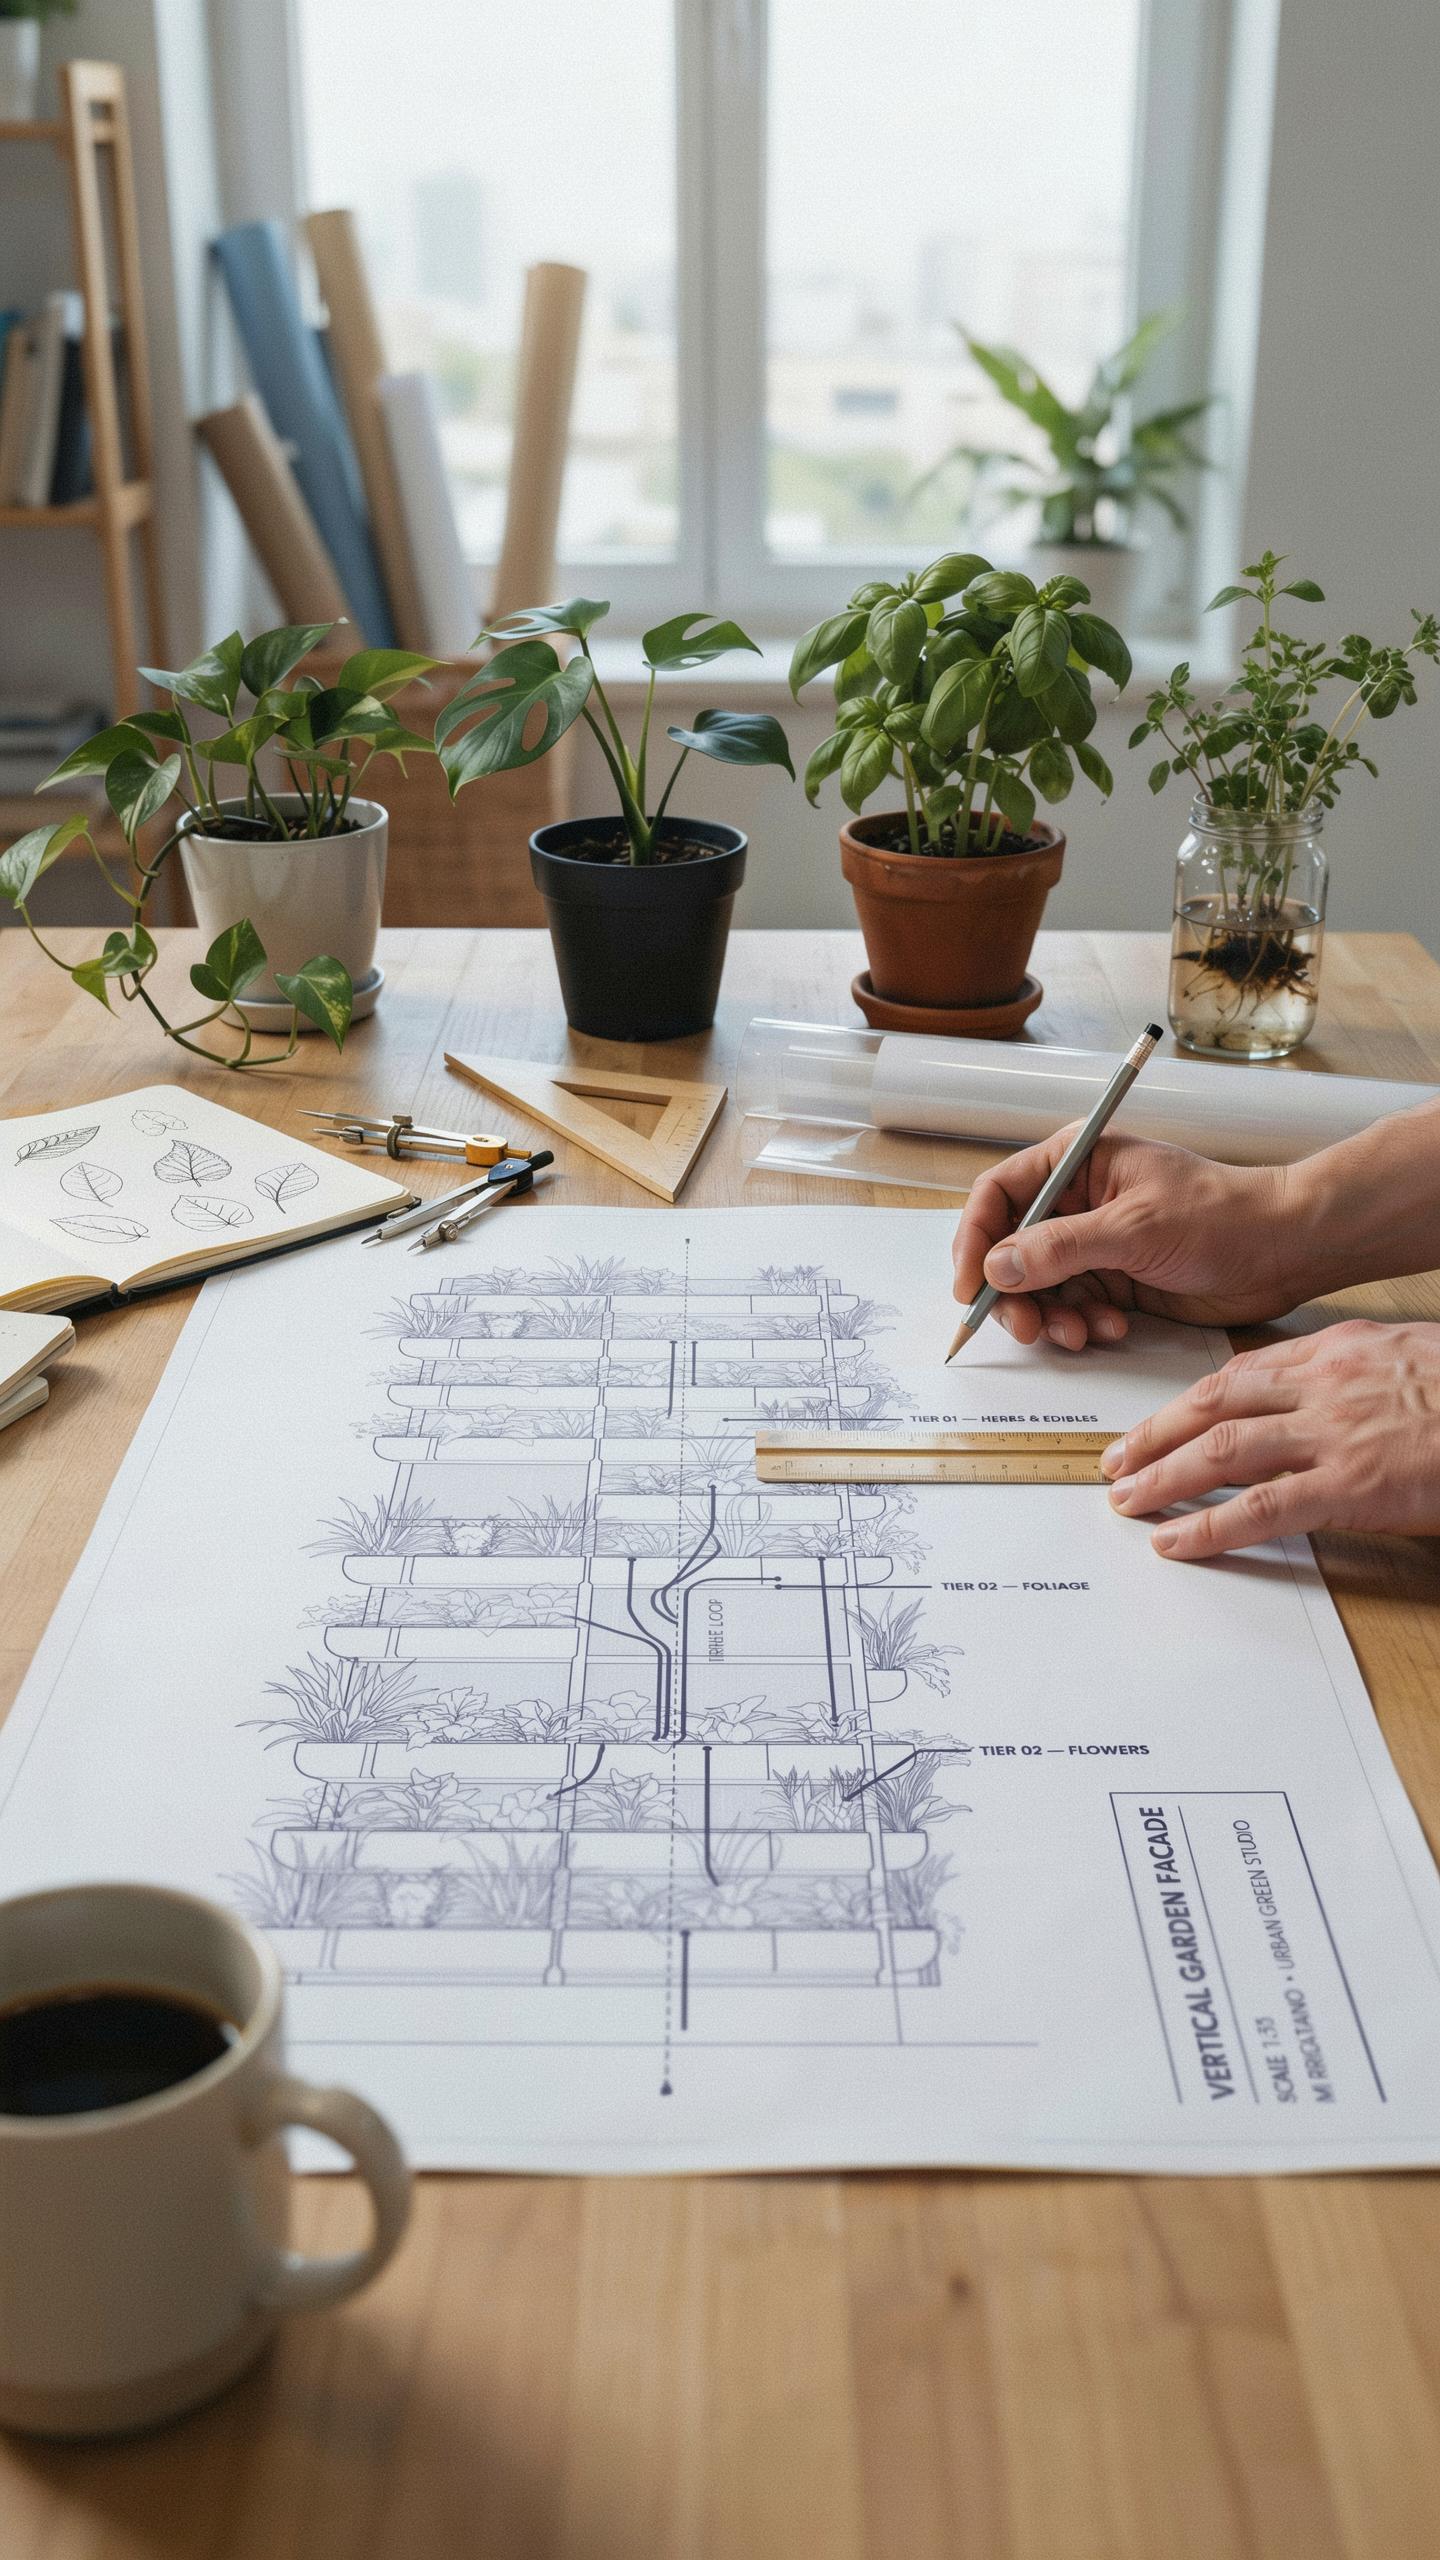
How To Draft A Vertical Garden Architectural Plan That Suits Your Space
Drafting a plan requires exact measurements of the installation site. Start by mapping the wall or area where the frame will sit. Identify every stud location behind the drywall if working indoors. Mark the locations of electrical outlets and water sources near the frame. These elements dictate where your irrigation lines and pumps will live. Precise sketches prevent costly repositioning later.
Your plan must account for airflow and moisture barriers. Draw a technical cross-section showing the gap between the wall and the frame. Use 1:10 scale for accuracy in small spaces. Effective plans detail the mounting hardware and the spacing of horizontal support beams. These drawings ensure the structure aligns with the weight-bearing points of your building. This step eliminates structural failure before construction starts.
Scaling Your Design: Matching Plant Load And Frame Capacity In Your Plan
Scaling requires calculating the total wet weight of your system. Soil and saturated felt hold significant water mass. Design your frame to support three times the estimated dry weight of the plants. Use steel or pressure-treated wood for large installations to prevent bowing. Your plan must specify the gauge of metal or the grade of lumber. This data ensures the frame handles the stress.
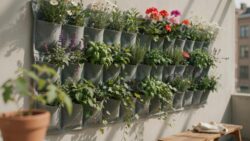
Capacity planning also involves vertical spacing between rows. Taller plants need more clearance to avoid shading smaller species below. Map the light requirements for each zone on your architectural plan. Match the frame depth to the root ball size of your chosen plants. A deep frame supports larger root systems but increases the pull on wall anchors. Balance these forces to maintain a safe, stable vertical structure.
Vertical Garden Wall DIY How To Build A Step By Step Structural Overview
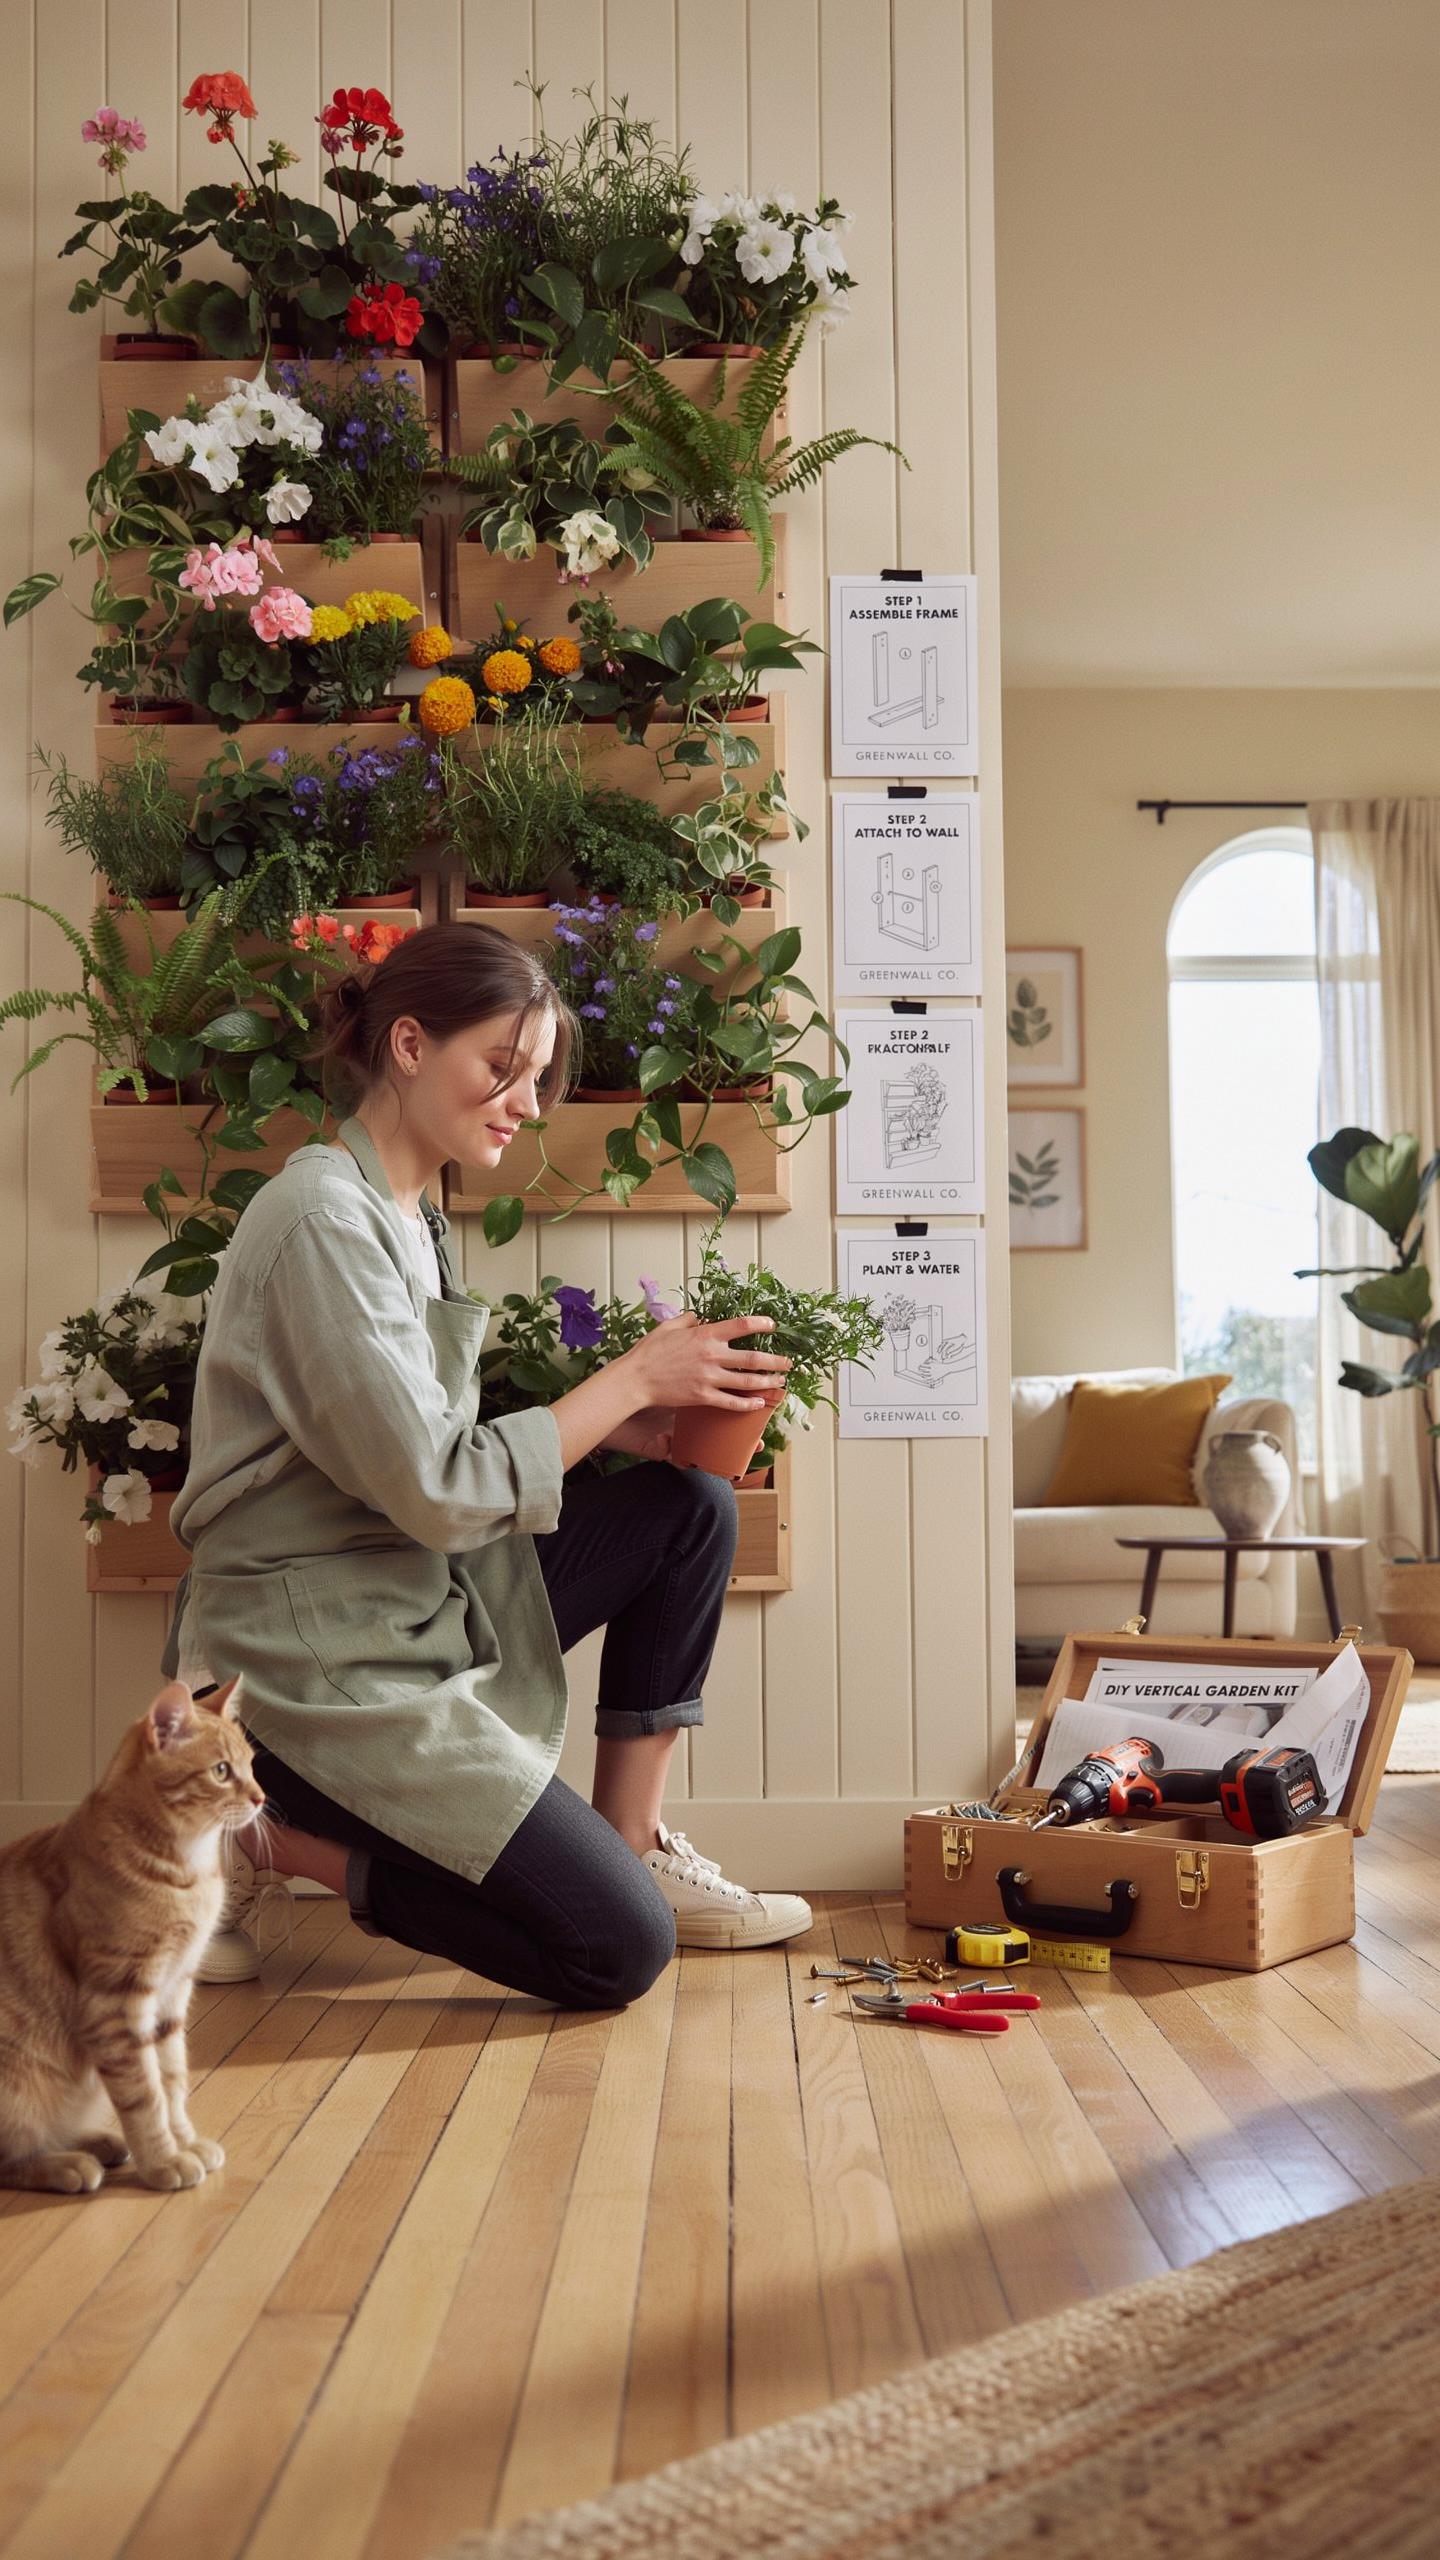
Preparing Your Wall Surface And Anchoring Points Before Frame Installation
Assess the structural integrity of your mounting surface before you begin. Most residential vertical gardens fail because owners ignore weight loads. Wet soil and mature plants exert significant downward pressure on the wall. Identify the studs or masonry anchor points. You must install a waterproof vapor barrier between the wall and the frame. Use heavy-duty plastic sheeting or marine grade plywood to prevent moisture rot and mold growth.
Check the alignment of your anchoring points with a level tool. Uneven frames stress the fasteners and cause structural warping over time. If you mount to brick or concrete, use expansion anchors or sleeve bolts for maximum grip. For wood siding, drive galvanized lag bolts directly into the interior wall studs. Proper spacing of these anchors ensures the frame remains flush against the wall despite any environmental changes or wind.
Step By Step Guide To Assembling The Frame For Your DIY Vertical Garden Wall
Select high-quality materials such as cedar, redwood, or pressure-treated pine for the outer frame. These woods resist decay and insect damage naturally. Measure and cut your vertical and horizontal members to create a rigid box structure. Use stainless steel screws to prevent rust streaks on your wall surface. A solid frame provides the necessary tension for the irrigation lines and planting pockets you will install later.
- Cut the Perimeter Rails: Measure the height and width of your designated space. Use a miter saw to cut your 2×4 or 2×2 lumber to the exact dimensions. Ensure all corners are square to avoid mounting issues during the final installation phase.
- Assemble the Outer Box: Lay the pieces on a flat surface. Pre-drill holes to prevent the wood from splitting. Drive three-inch stainless steel screws through the corners to secure the rectangular shape. Check for squareness by measuring the diagonals of the box.
- Install Interior Support Ribs: Place horizontal or vertical braces every sixteen inches. These ribs provide the essential backing for the irrigation system and planting containers. They distribute the weight evenly across the entire frame and prevent the wood from sagging under heavy loads.
- Apply Protective Sealant: Coat all wood surfaces with a non-toxic water sealant. Focus on the end grains where moisture absorption is highest. This step extends the life of your frame by several years and prevents the wood from warping in high humidity.
- Attach the Rear Barrier: Staple a thick polyethylene sheet or PVC board to the back of the frame. This creates a dedicated air gap between the garden and the building. It ensures that water stays within the growth medium and never touches the primary wall.
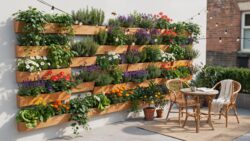
Secure the completed frame to your prepared wall anchors using a socket wrench. Tighten each bolt until the frame is immovable. Test the stability by applying downward pressure on several points of the structure. If the frame shifts even slightly, add more fasteners at the load points. A rigid frame is the only way to ensure your vertical garden remains safe for the long term.
Choosing The Right Materials For Your DIY Vertical Garden Frame
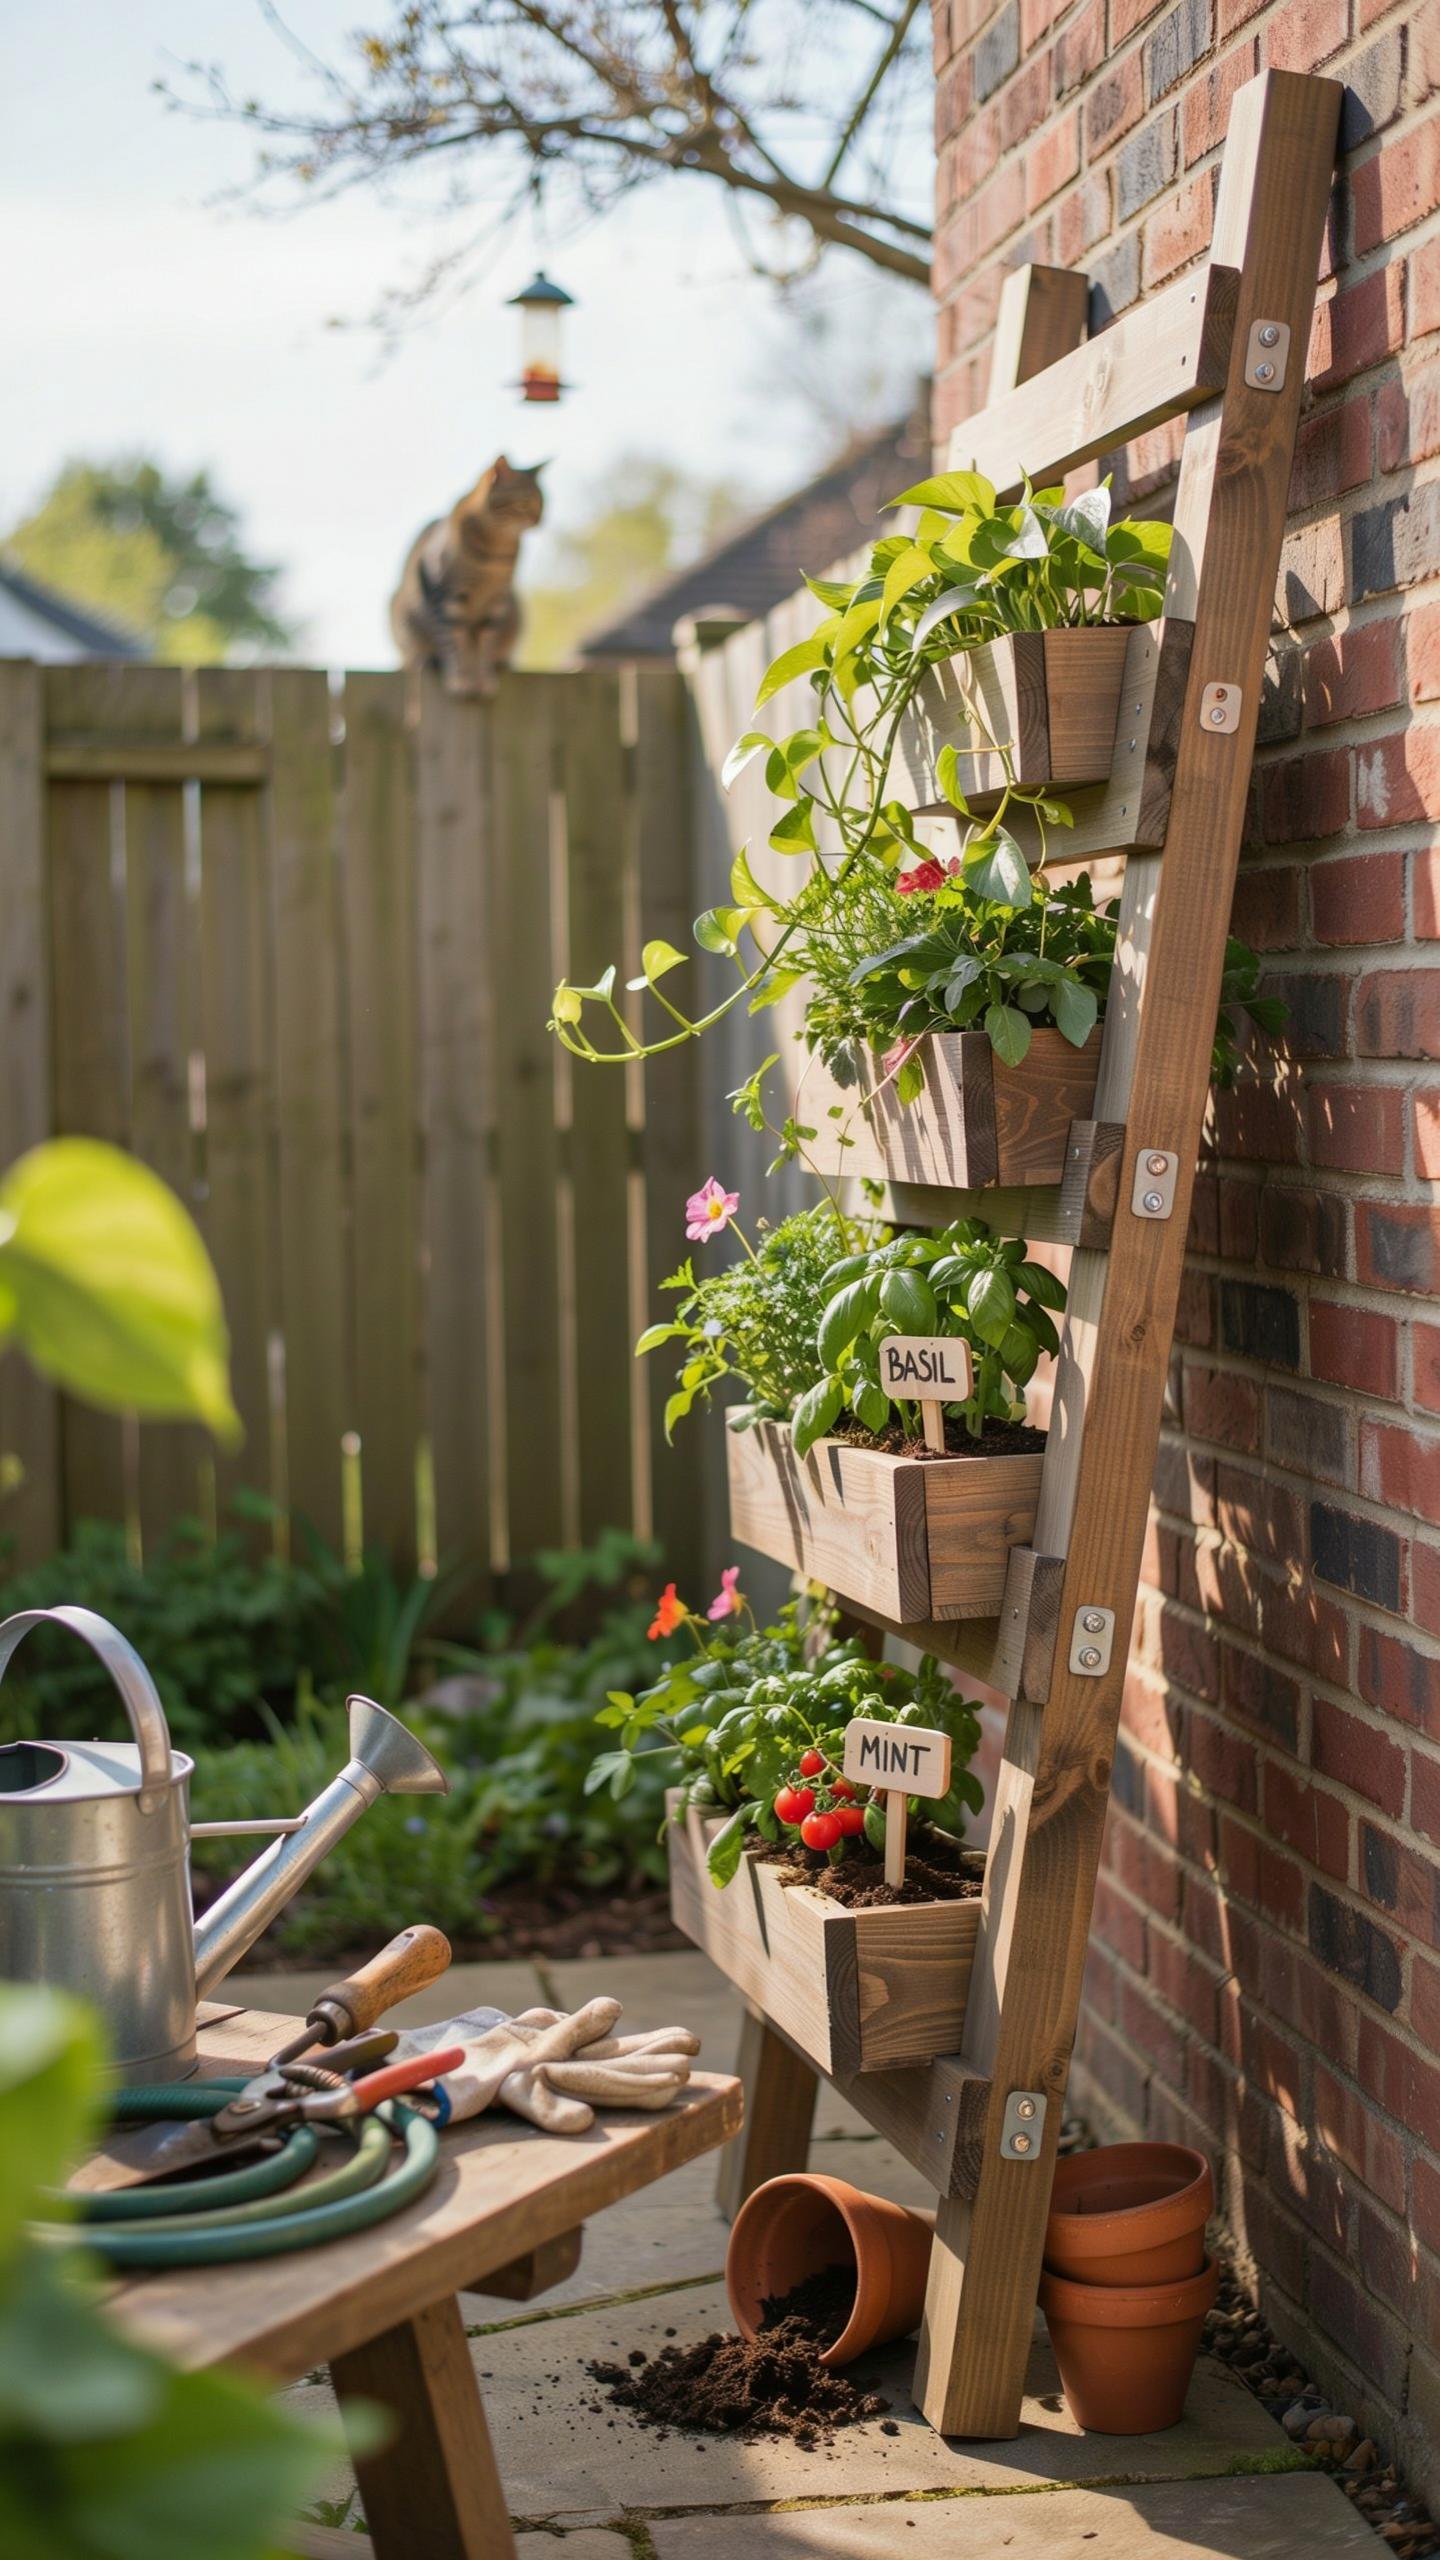
Wood Vs. Metal Vs. PVC: Comparing Frame Materials For A DIY Vertical Garden
Wood offers structural rigidity and aesthetic warmth but remains susceptible to rot. Use cedar or redwood for natural resistance to moisture and insects. Pressure treated lumber is another option but requires a liner to protect soil from chemicals. Standard pine will fail quickly in high humidity environments. Ensure your wood choice can support the heavy weight of wet soil and mature plants.
Metal frames provide the highest level of durability and a modern industrial look. Aluminum is lightweight and naturally resists rust. Steel is stronger but requires powder coating or galvanization to prevent corrosion over time. PVC is the most affordable and lightweight option available for small builds. However, PVC degrades under direct sunlight and can sag if carries too much weight without support.
Essential Tools And Fasteners You Will Need Before Starting Construction
Vertical garden frame construction requires specific mechanical fasteners to handle constant moisture and high tension. Standard interior screws will rust and fail within one season. You must select hardware rated for outdoor use to ensure the structure remains safe and upright. Using the correct tools prevents splitting wood or stripping metal during assembly. Gather your equipment before you begin your build.
- Stainless Steel Screws: Use these fasteners to prevent rust streaks and structural failure. They withstand constant exposure to water and fertilizer better than galvanized options. Ensure the length penetrates at least half the thickness of the support post.
- Impact Driver: This tool provides the necessary torque to drive long screws into dense hardwoods or metal. It prevents user fatigue and minimizes the risk of stripping screw heads. It is more efficient than a standard drill for frame assembly.
- Spirit Level: Accurate leveling is vital for drainage and weight distribution. An unlevel frame causes water to pool in one corner, leading to root rot and localized stress. Check both horizontal and vertical planes during every step.
- Heavy Duty Staple Gun: Use this tool to secure pond liners or landscape fabric to the frame interior. It keeps the barrier tight against the structure. Choose stainless steel staples to ensure they do not corrode when touching wet soil.
- Speed Square: This tool ensures every corner of your frame is exactly ninety degrees. Internal corners must be square to support the weight of planting containers. It also serves as a guide for making straight cuts with a saw.
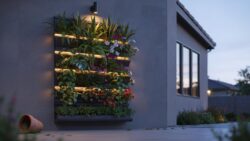
Properly pre-drilling holes prevents wood from splitting near the ends of your boards. This step is critical when working with cedar or redwood. Apply a waterproof sealant to any cut edges before final assembly. This protects the raw grain from soaking up water. Taking these steps ensures your vertical frame lasts for many years without needing repairs or a full replacement.
Inspiring Vertical Garden Ideas To Guide Your Frame Design Choices
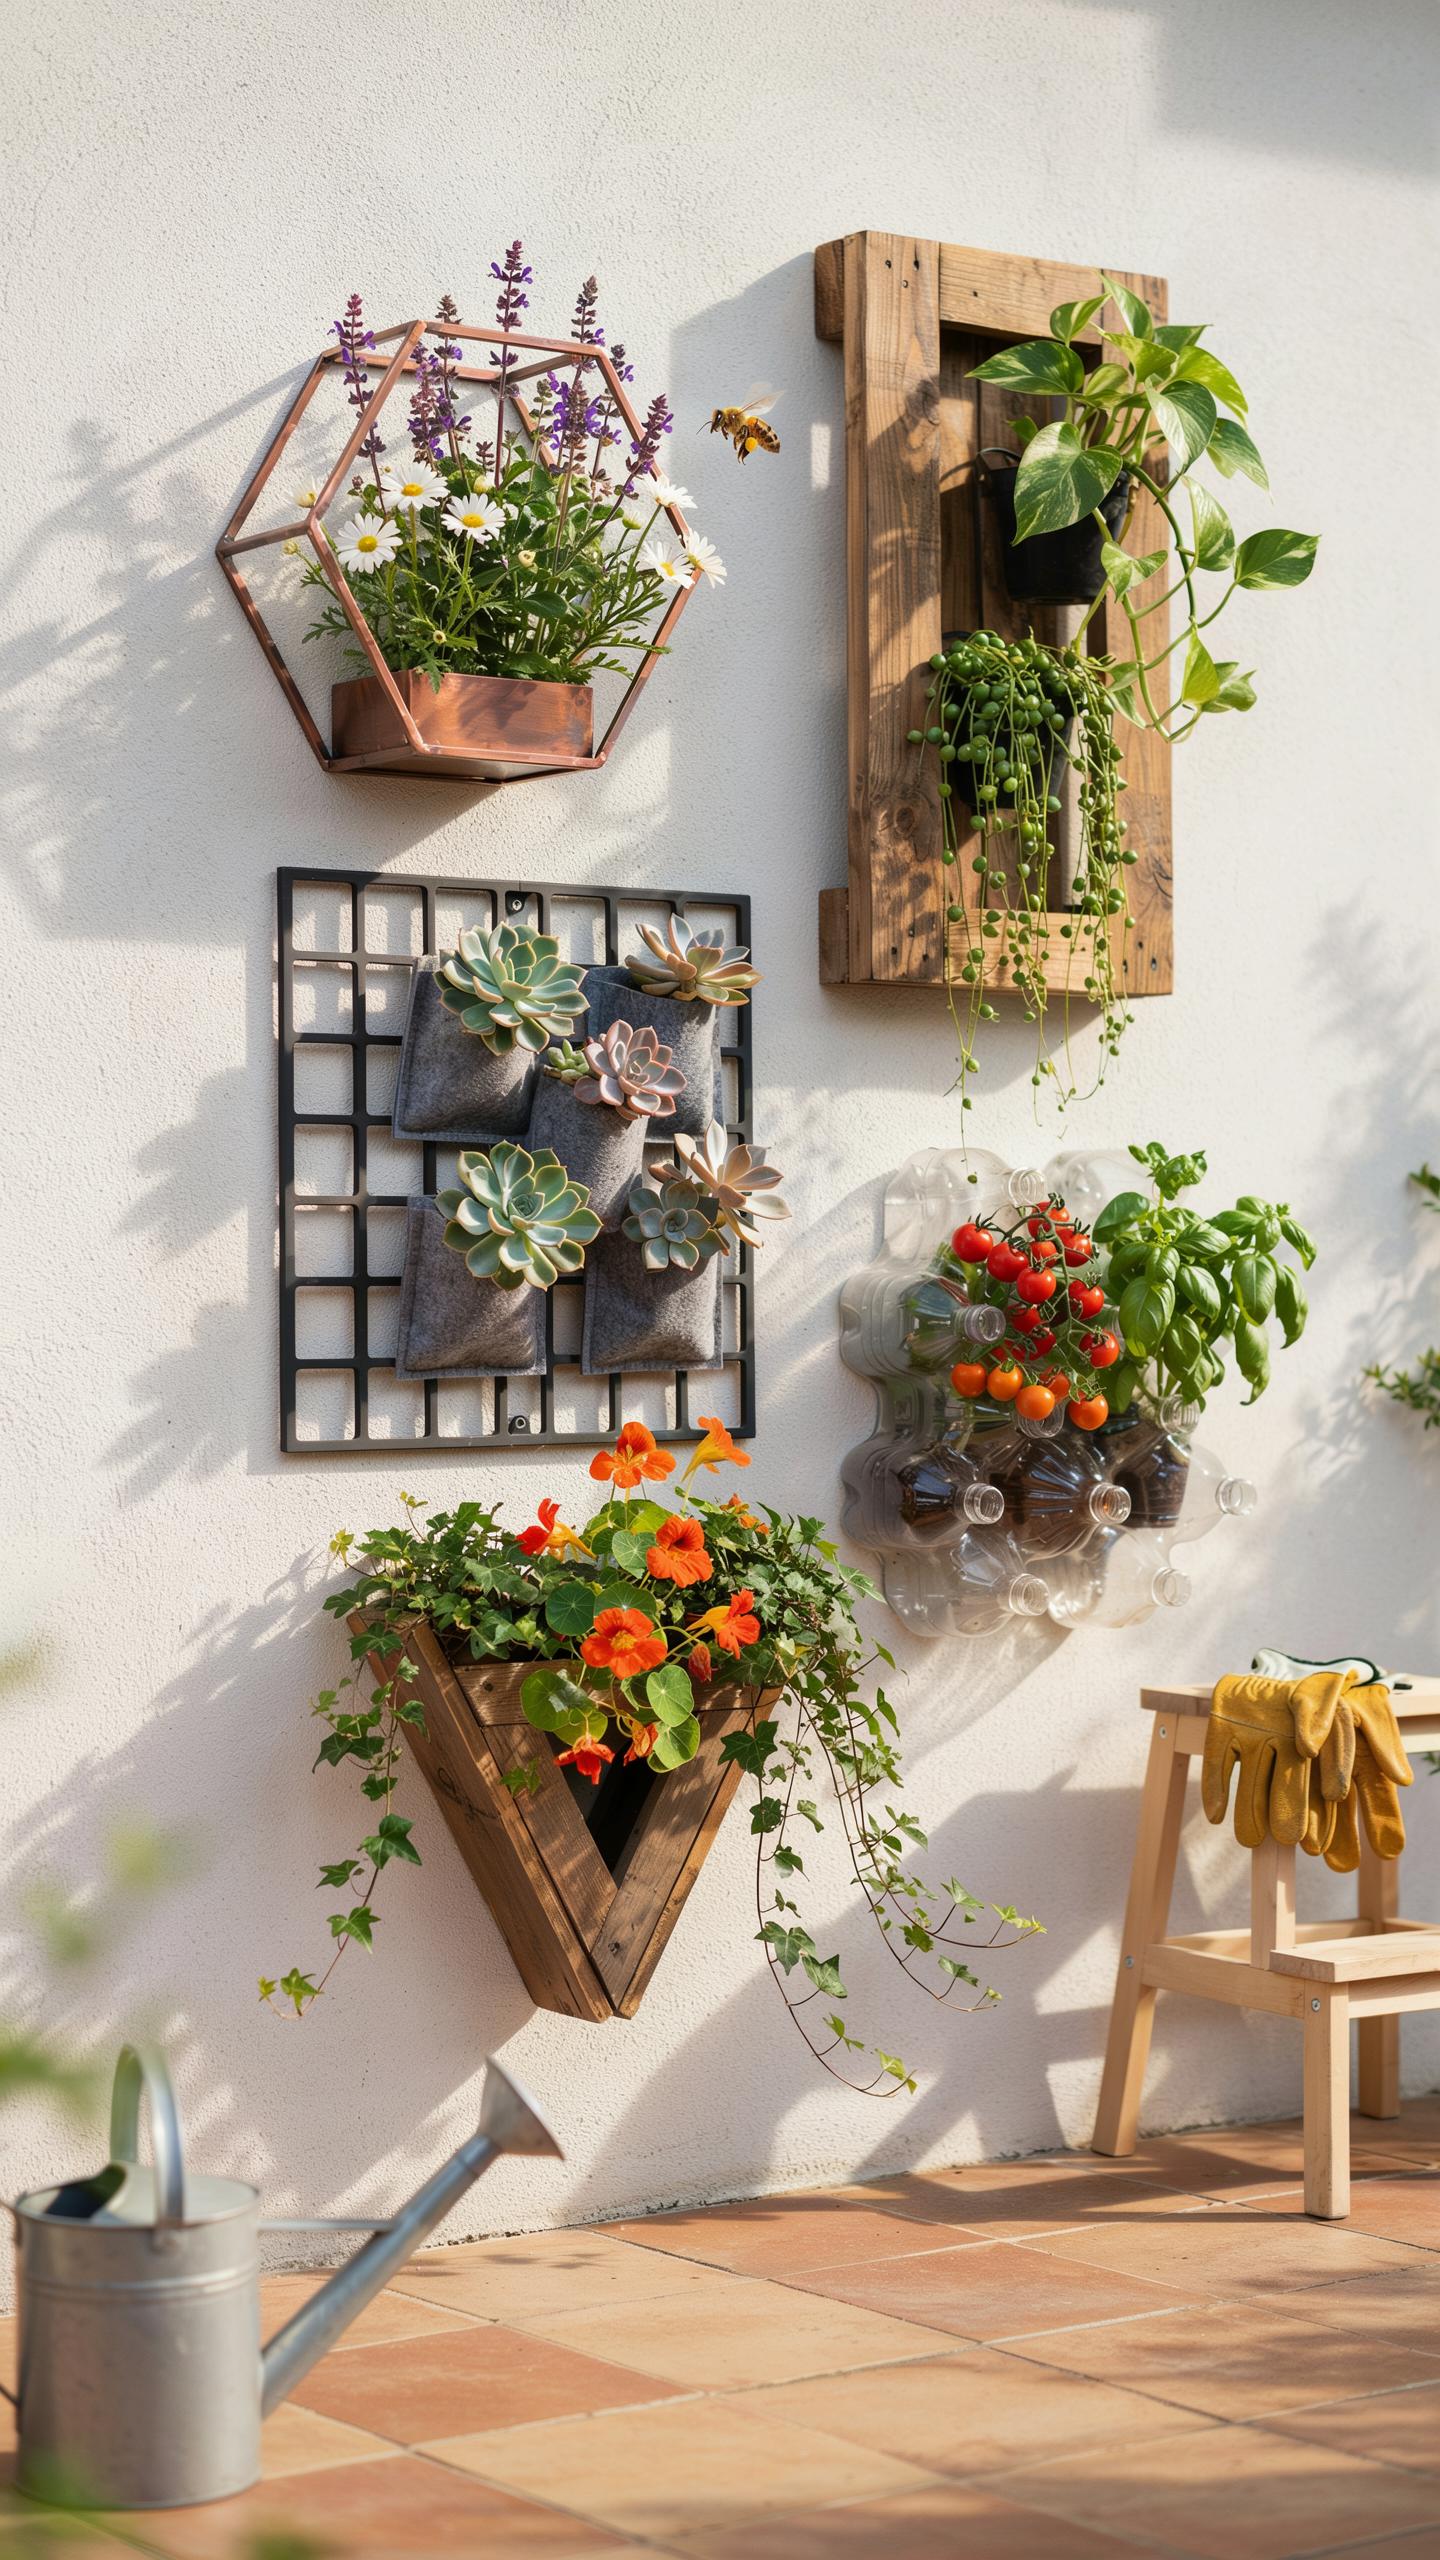
Indoor Vertical Garden Ideas That Work For Small Apartments And Living Rooms
Indoor vertical garden frame construction requires a focus on weight management and moisture control. Small apartments benefit from wall-mounted frames using lightweight aluminum or rot-resistant cedar. These materials prevent structural damage and handle humidity well. Designers often use modular felt pockets or plastic inserts to hold soil. These systems allow for easy plant replacement. Proper frame design ensures air flows behind the structure to prevent mold growth on drywall.
Light placement dictates the success of indoor frames in dark living rooms. Integrated LED grow lights provide the specific spectrum plants need for photosynthesis. You must mount these lights directly to the frame or the ceiling above. Use waterproof liners between the frame and the wall to protect your interior surfaces. Drip trays at the base of the frame catch excess water. This setup keeps the maintenance clean and manageable for high-traffic indoor areas.
Outdoor Vertical Garden Ideas That Elevate Fences, Patios, And Balconies
Outdoor frames must withstand wind loads and temperature changes. Builders use pressure-treated lumber or galvanized steel for long-term durability. These materials resist decay from rain and sun exposure. Attach vertical frames directly to load-bearing fences or masonry walls for stability. Large patio installations often use freestanding A-frame designs. This approach avoids drilling into rental property walls. Use stainless steel fasteners to prevent rust streaks from ruining the frame appearance.
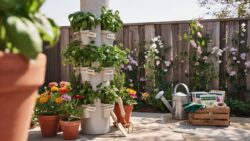
Smart irrigation integration is vital for outdoor vertical garden frame construction. Gravity-fed systems use elevated reservoirs to deliver water without electricity. Solar-powered pumps offer a high-tech solution for remote balcony locations. Choose deep planting troughs for sun-exposed areas to prevent roots from drying out too fast. Use mesh or wire grids for climbing plants like ivy or jasmine. These structures provide the physical support necessary for vertical growth. This strategy turns plain barriers into functional green privacy screens.
Developing A Solid Vertical Garden Design Plan For Long Term Success
How To Organize Plant Placement Within Your Vertical Garden Design Plan
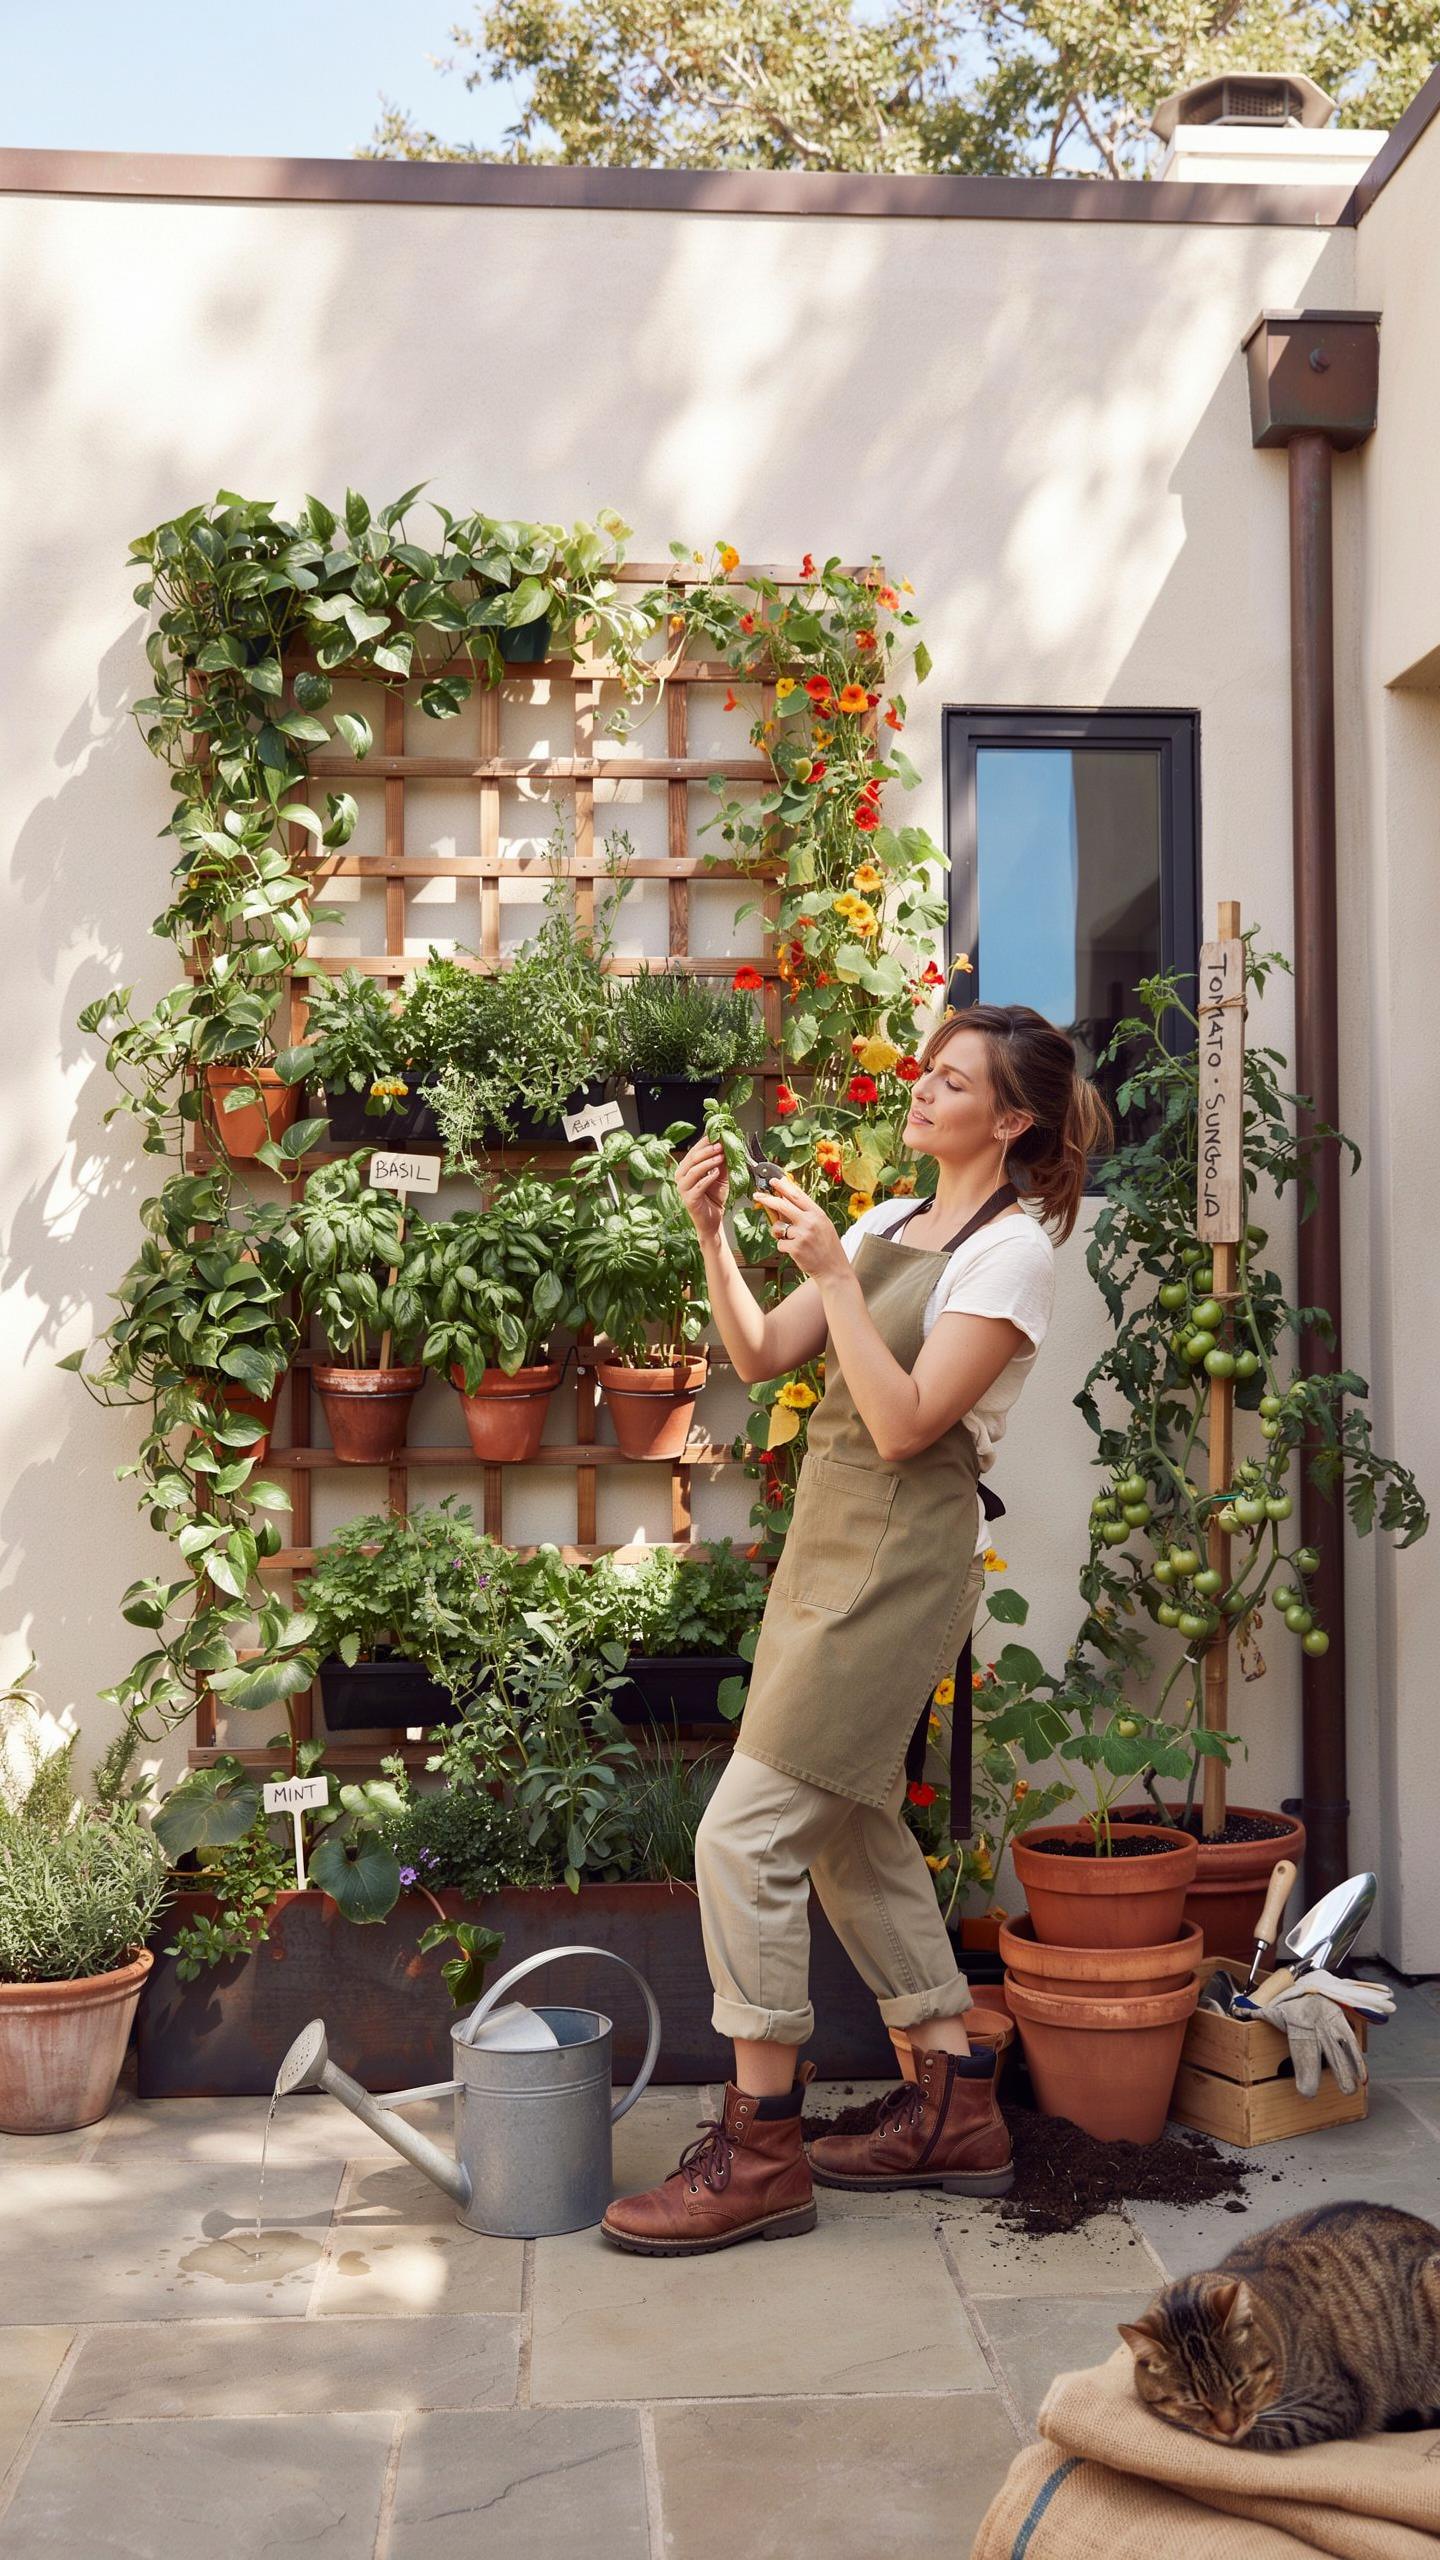
Success in vertical garden frame construction depends on grouping plants by their physiological needs. Place species with high water requirements at the bottom of the frame. Water naturally pulls downward due to gravity. This creates a moisture gradient within the structure. Grouping plants with similar light needs ensures uniform growth rates across the panel. Failure to organize by water and light needs results in localized plant death.
Weight distribution is the secondary factor in your layout strategy. Place larger or trailing species in the lower sections to avoid shading out smaller plants. Use top sections for drought-tolerant varieties that handle increased air circulation and heat. This strategy mimics natural cliffside ecosystems where drainage is rapid at the peak and slow at the base. High-density planting prevents soil erosion and suppresses weed growth within the vertical substrate.
To plant a garden is to believe in tomorrow, framing nature’s grace to breathe new life into every corner of your home.
Incorporating Irrigation And Lighting Into Your Overall Vertical Garden Design Plan
Modern vertical garden frame construction requires integrated irrigation systems for long-term survival. Drip lines must run horizontally across the top of the frame. Pressure-compensating emitters ensure every plant receives the same amount of water regardless of height. Use a dedicated timer to automate delivery cycles based on evaporation rates. Do not rely on manual watering for large-scale vertical installs. It leads to uneven hydration and structural stress.

Proper lighting keeps vertical gardens healthy in indoor or low-sun environments. Use full-spectrum LED fixtures mounted at a forty-five-degree angle to the frame surface. This angle provides even coverage from the top row to the bottom row. Keep the light source close enough to prevent leggy growth but far enough to avoid leaf burn. Measuring photosynthetically active radiation at various points on the frame confirms that the lighting design is sufficient.
What Green Wall Construction Details PDF Documents Reveal About Professional Builds

Key Technical Specifications Found In Green Wall Construction Details PDF Resources
Professional blueprints emphasize structural load limits and moisture management. These documents specify the dead load of saturated growing media and mature plants. Engineers calculate these figures to prevent wall collapse. High-end plans require stainless steel or marine-grade aluminum frames to resist corrosion. They also detail precise air gaps between the garden frame and the building facade. This gap prevents mold growth and structural rot.
Waterproofing layers receive the most attention in technical drawings. Designers use thick ethylene propylene diene monomer liners or liquid-applied membranes. These barriers must remain intact under constant hydrostatic pressure. Specification sheets also define drainage collection systems at the base of the frame. These systems capture excess runoff to protect flooring and foundations. Proper drainage prevents salts from building up in the growing medium over time.
How To Apply Professional Construction Standards To A Residential Vertical Garden
Residential builds should mimic commercial standards for safety and longevity. Use heavy-duty fasteners like lag bolts to secure frames into wall studs. Avoid relying on drywall or light masonry for support. Homeowners must treat the rear of the frame with a non-porous material to block moisture. Cement board provides a more stable backing than standard plywood. This step mimics the industrial rainscreen principle used in skyscrapers.
Select plumbing components that withstand constant pressure. Use professional-grade pressure regulators and backflow preventers on irrigation lines. This setup prevents leaks and protects your home drinking water. Install a dedicated drainage tray connected to a floor drain or exterior outlet. Professionals never leave water disposal to chance. Mimicking these technical details ensures your vertical garden remains a permanent asset rather than a maintenance liability.
Installing And Customizing The Vertical Garden Panel For Maximum Visual Impact
Understanding How A Vertical Garden Panel System Works As A Modular Unit
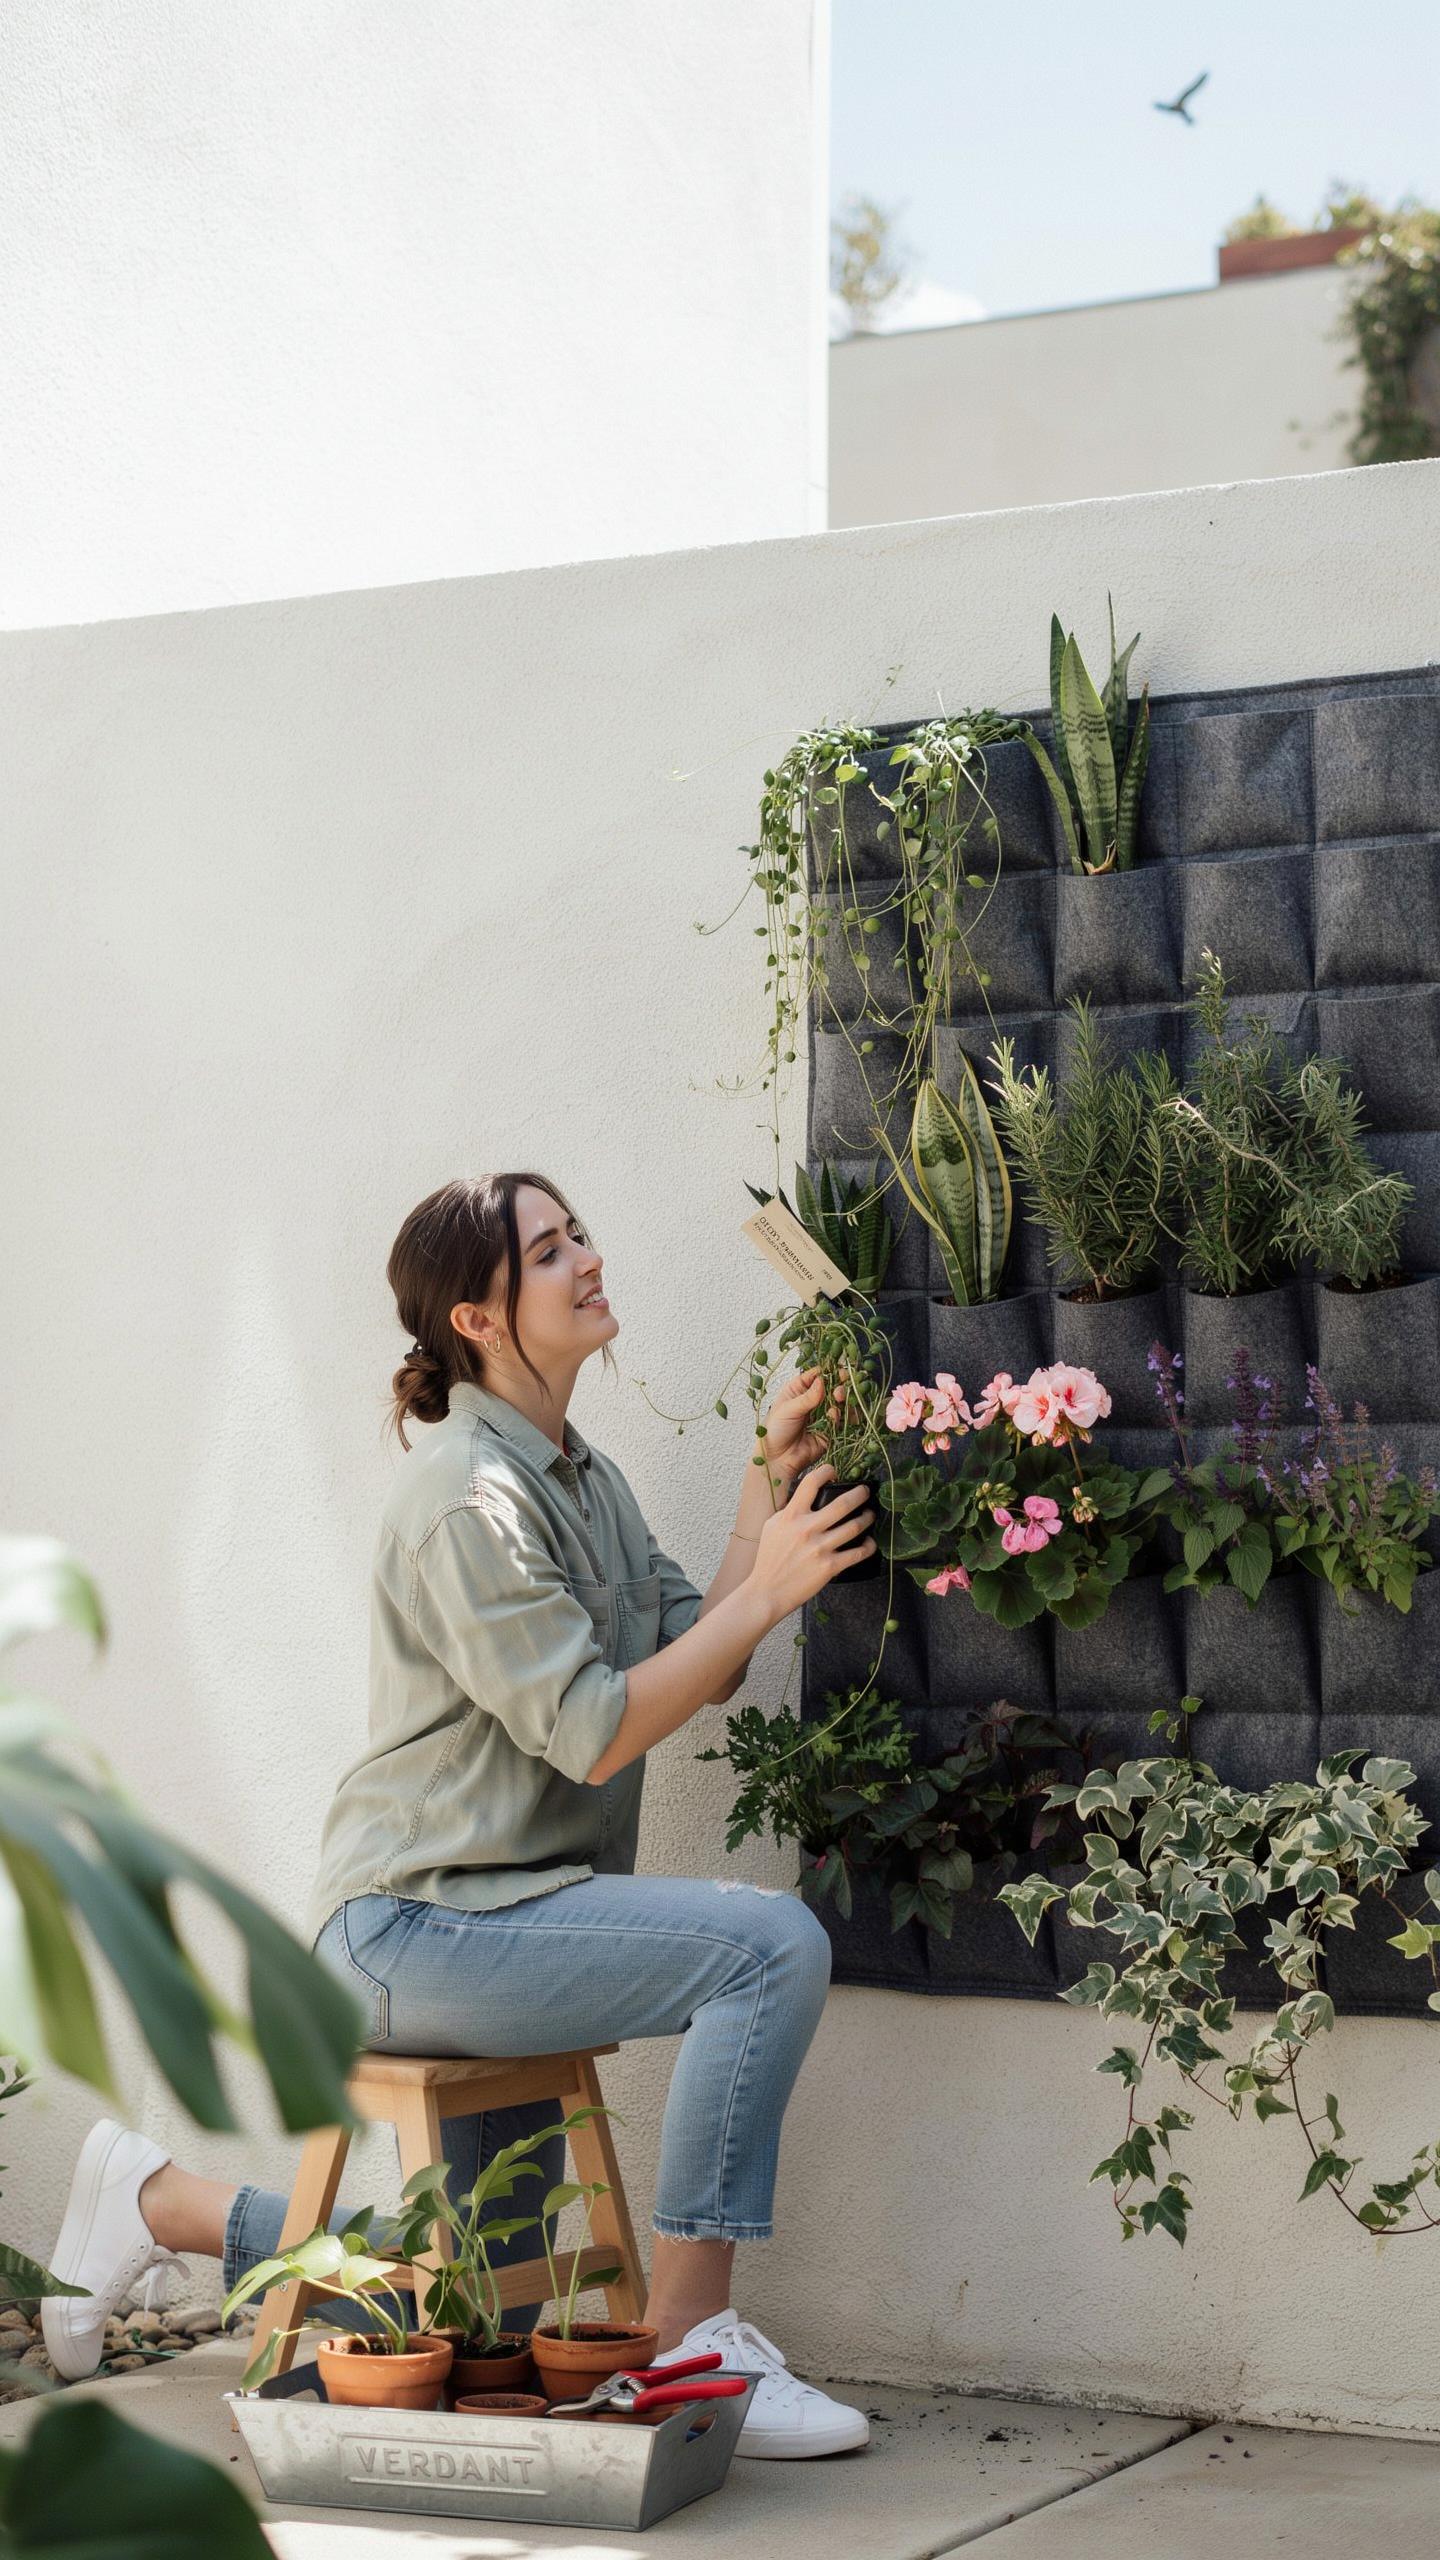
A vertical garden panel serves as the primary structural interface between the plant and the frame. Modern modular systems use high-density polyethylene or powder-coated steel grids to hold growth media. These units standardize the planting area to ensure even weight distribution across the frame. You must treat each panel as an independent cell that connects to a larger network for irrigation and drainage.
Modular units simplify maintenance by allowing you to swap out individual sections without dismantling the entire wall. This design follows the principles of green wall pioneer Patrick Blanc. He used synthetic materials to create lightweight systems that mimic natural cliff environments. Using these panels reduces the structural load on your building. They provide a predictable environment for root systems to thrive within the vertical garden frame construction.
Tips For Arranging And Securing Vertical Garden Panels To Your Finished Frame
Mechanical fasteners are the only reliable way to secure panels to your frame. Use stainless steel screws and washers to prevent rust and material failure over time. You must align the panels perfectly to prevent gaps in the foliage. Start from the bottom of the frame and work upward. This method ensures that the weight of the upper panels does not crush the lower units during the installation.
Focus on the spacing between panels to allow for thermal expansion. Materials like plastic and metal grow and shrink with temperature changes. Leave a small gap between each unit to prevent warping. Once you secure the panels, verify that the irrigation lines sit flush against the back of the grid. Proper positioning ensures that water reaches every plant module evenly. This creates a professional and high-impact visual result.
Maintaining Your Vertical Garden Frame Construction For Lasting Beauty
Routine Inspection And Care Practices That Keep Your Frame Structurally Sound
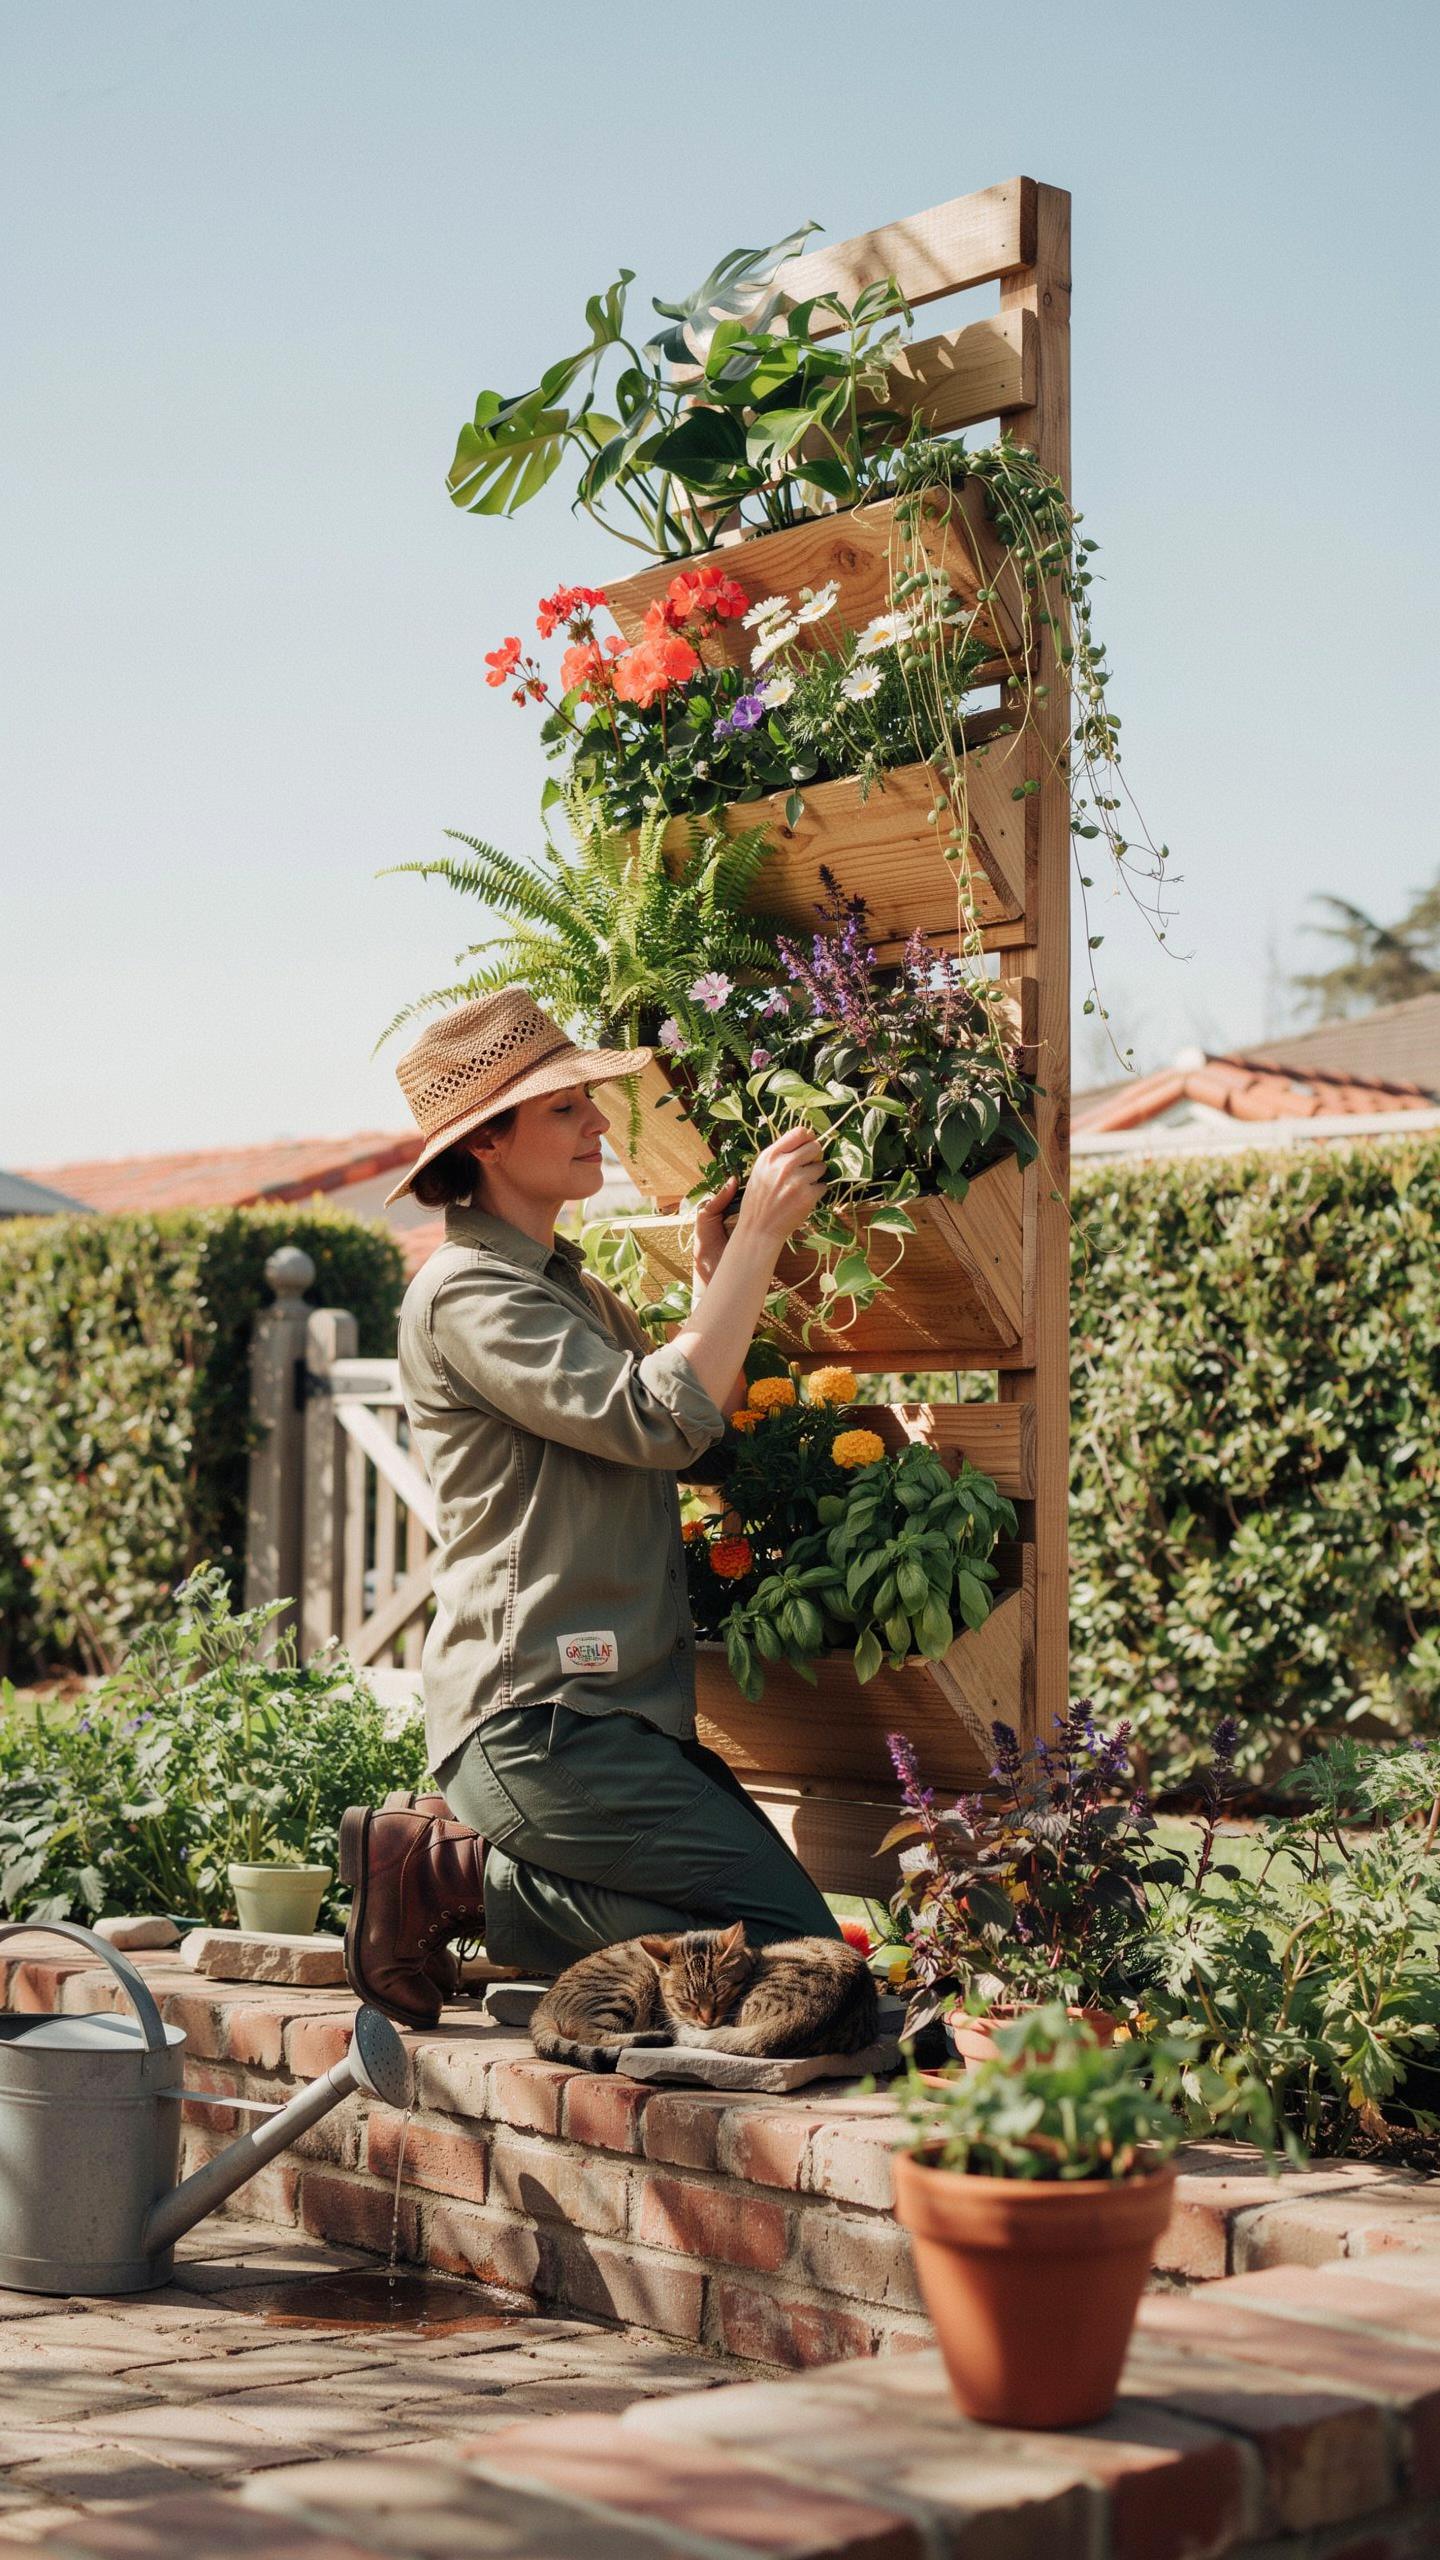
Structural integrity depends on regular hardware checks. Examine all load-bearing fasteners and wall anchors every three months. Gravity and water weight put constant stress on these points. Look for signs of oxidation on metal components or splitting in timber posts. Tighten loose screws to prevent the frame from sagging. A shifting frame damages irrigation lines and stresses the wall beneath it.
Moisture management prevents long-term decay. Check the waterproof membrane behind the frame for punctures or leaks. Standing water causes wood rot and rust in steel supports. Clear any debris from the drainage channels to ensure water flows away from the building. Inspect the irrigation emitters for clogs or salt buildup. Consistent maintenance ensures the vertical garden remains a safe and stable architectural feature.
Seasonal Plant Swapping And Frame Upkeep Strategies To Keep Your Garden Fresh
Seasonal transitions require tactical plant removal to protect the frame. Extract dead root balls carefully to avoid damaging the felt or plastic modules. Retained roots can rot and provide a breeding ground for pests that weaken the structure. Use the dormant season to sanitize the frame surfaces. This prevents fungal growth from spreading across the fabric or wood panels during the next cycle.
Update the planting plan to match current sun exposure levels. Remove overgrown species that add excessive weight to the upper tiers. Balance the load across the frame to prevent lopsided stress. Apply a fresh coat of sealant to wooden frames during the spring. This barrier protects the material from intense UV rays and moisture infiltration. Strategic upkeep keeps the system functional and visually sharp.
Frequently Asked Questions

What are the best materials for a beginner to use in vertical garden frame construction?
For those new to DIY projects, cedar and redwood are excellent choices because they are naturally rot-resistant and aesthetically pleasing. Using lightweight materials is essential for successful vertical garden frame construction, especially if you plan to mount the structure on an interior wall. Alternatively, you can repurpose old wooden pallets or use PVC piping if you prefer a more modern, industrial look for your first garden.
How do I ensure proper drainage and moisture protection for my wall-mounted garden?
Proper moisture management is the most critical stage of vertical garden frame construction to prevent wall damage. You should always line the back of your frame with a waterproof membrane, such as pond liner or heavy-duty plastic sheeting. Additionally, ensure there are small drainage holes at the bottom of each planter tier and use a high-quality moisture-wicking felt or coco coir to keep the soil hydrated without causing over-saturation.
Is it possible to build a beautiful vertical garden on a limited budget?
Absolutely! You can create a stunning living wall without spending a fortune by using upcycled materials like scrap lumber, mason jars, or even hanging shoe organizers attached to a simple timber lattice. Focus on fast-growing, affordable plants like pothos or herbs to fill the space quickly. With a little creativity, DIY construction allows you to customize a high-end look that perfectly fits your home’s style for a fraction of the retail cost.



