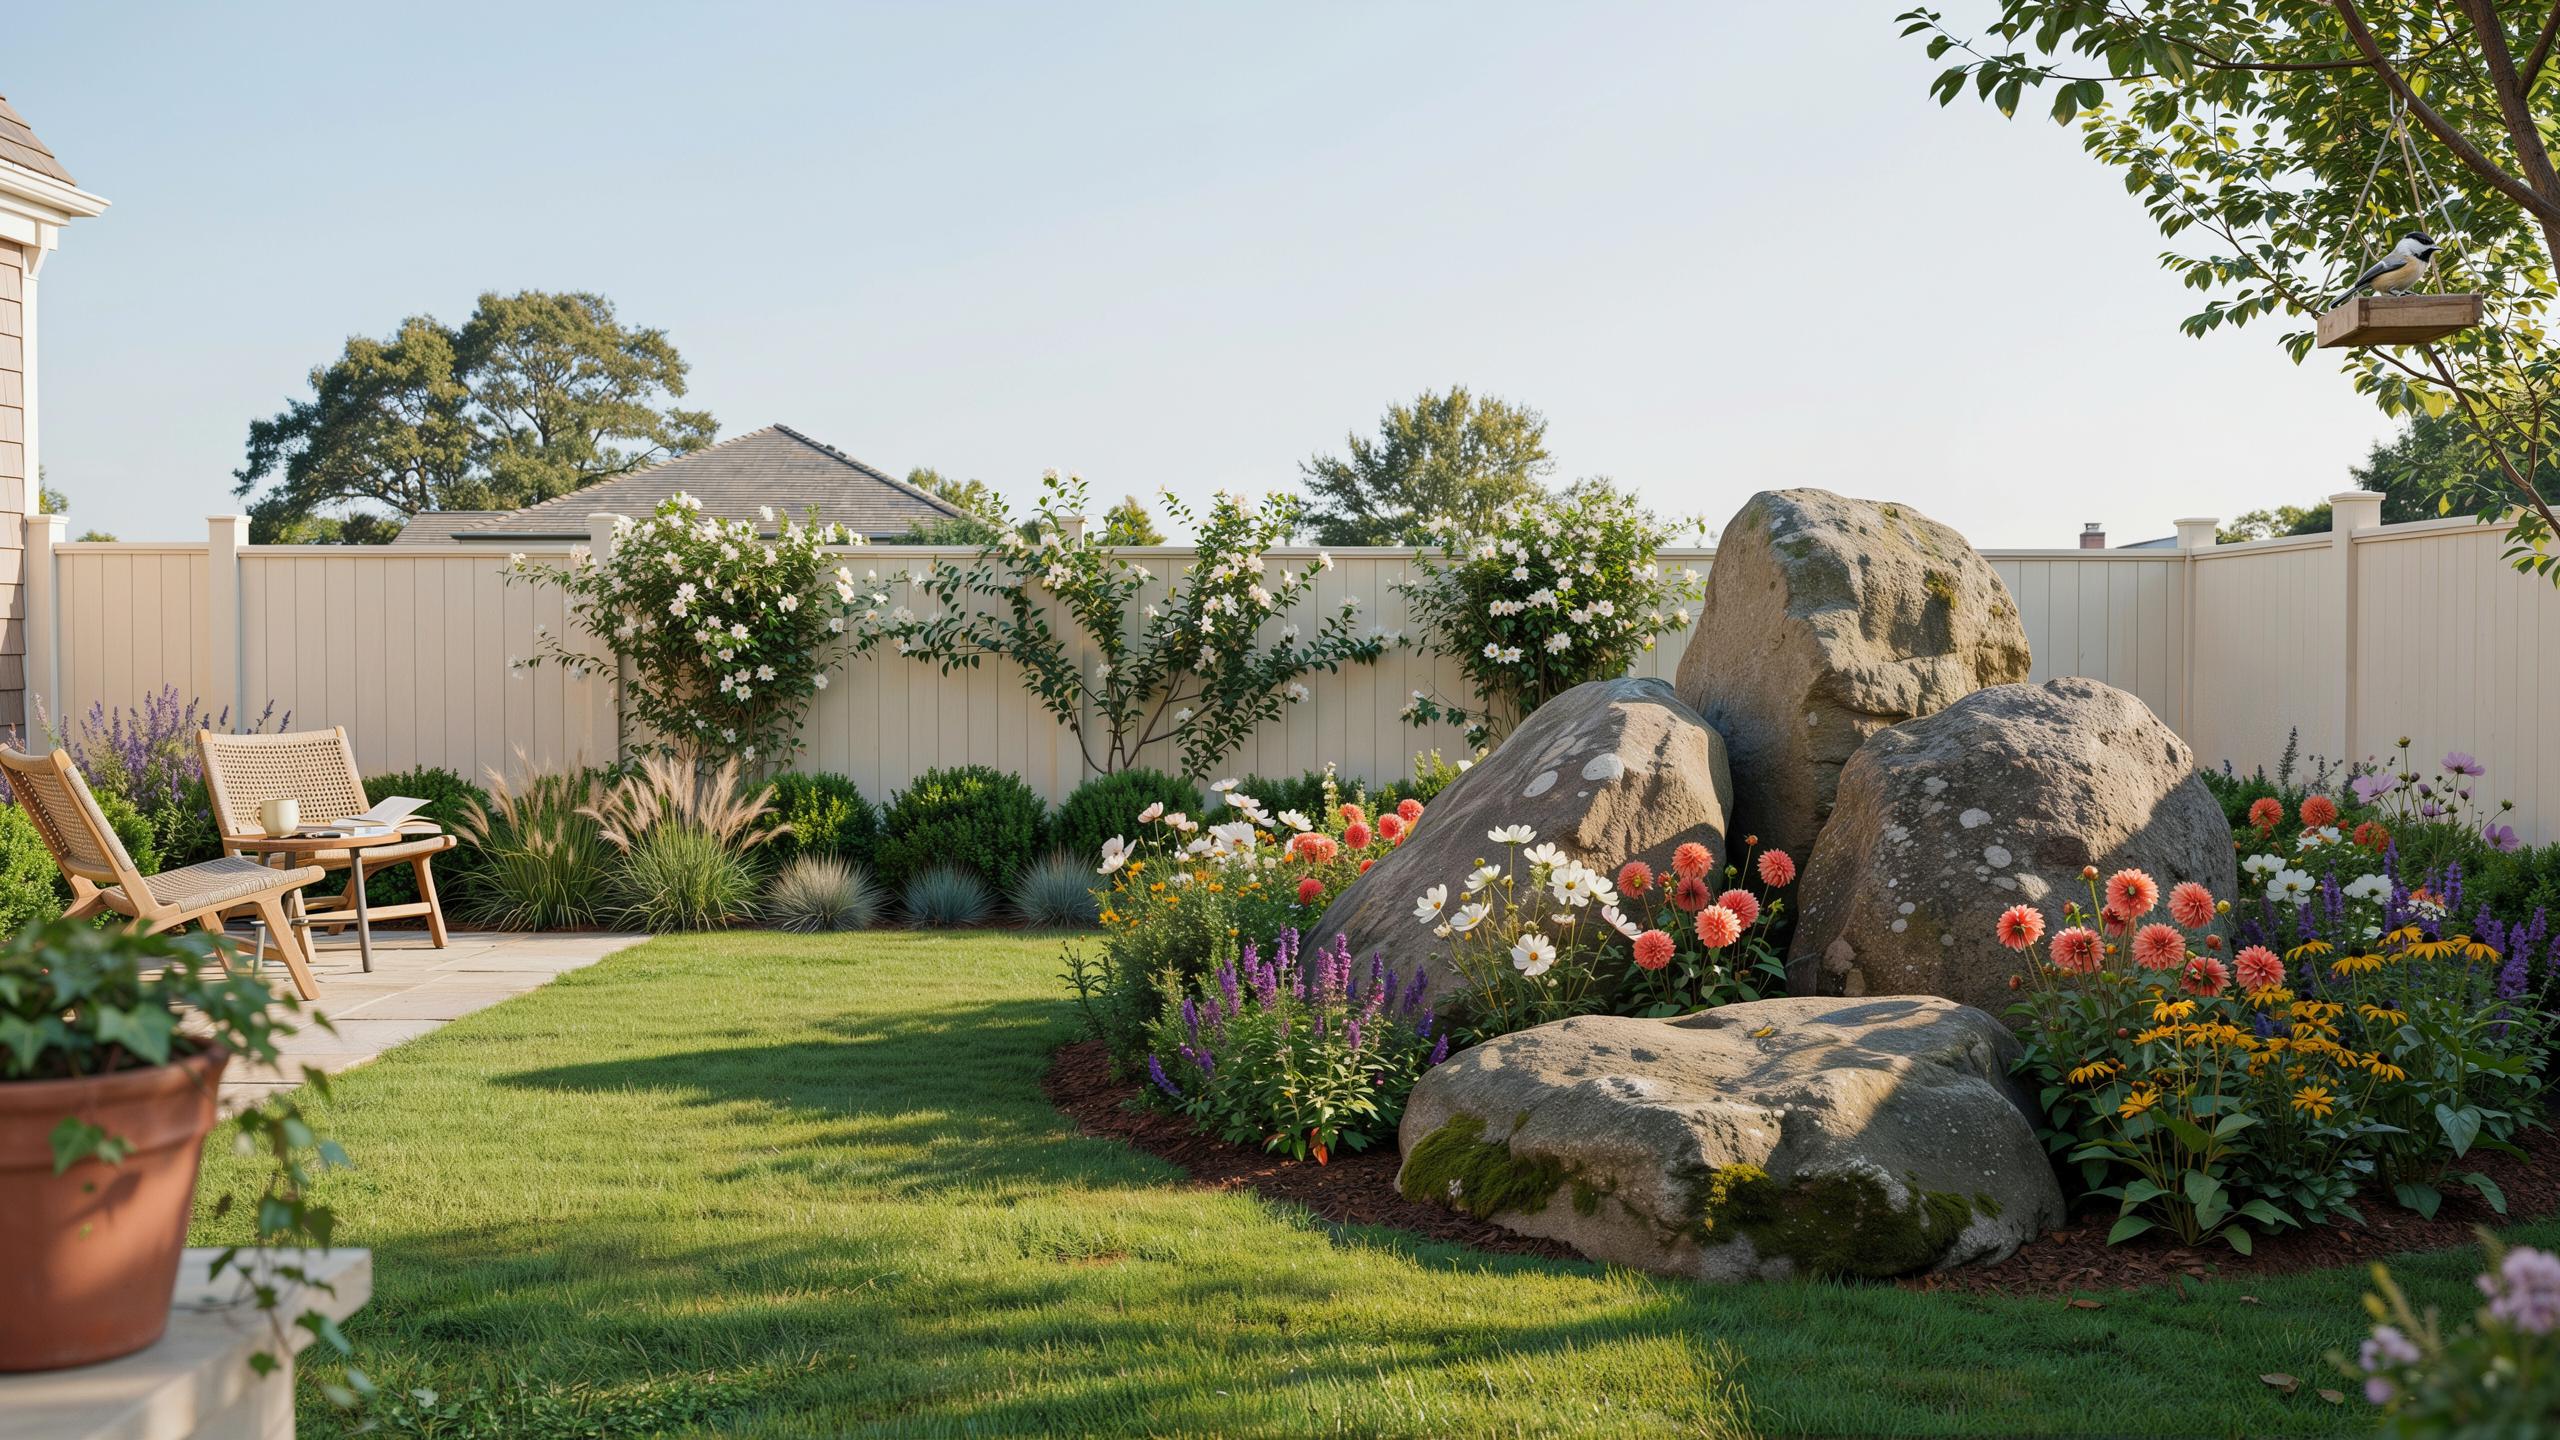
What Are Landscaping Boulders And Why Homeowners Love Them
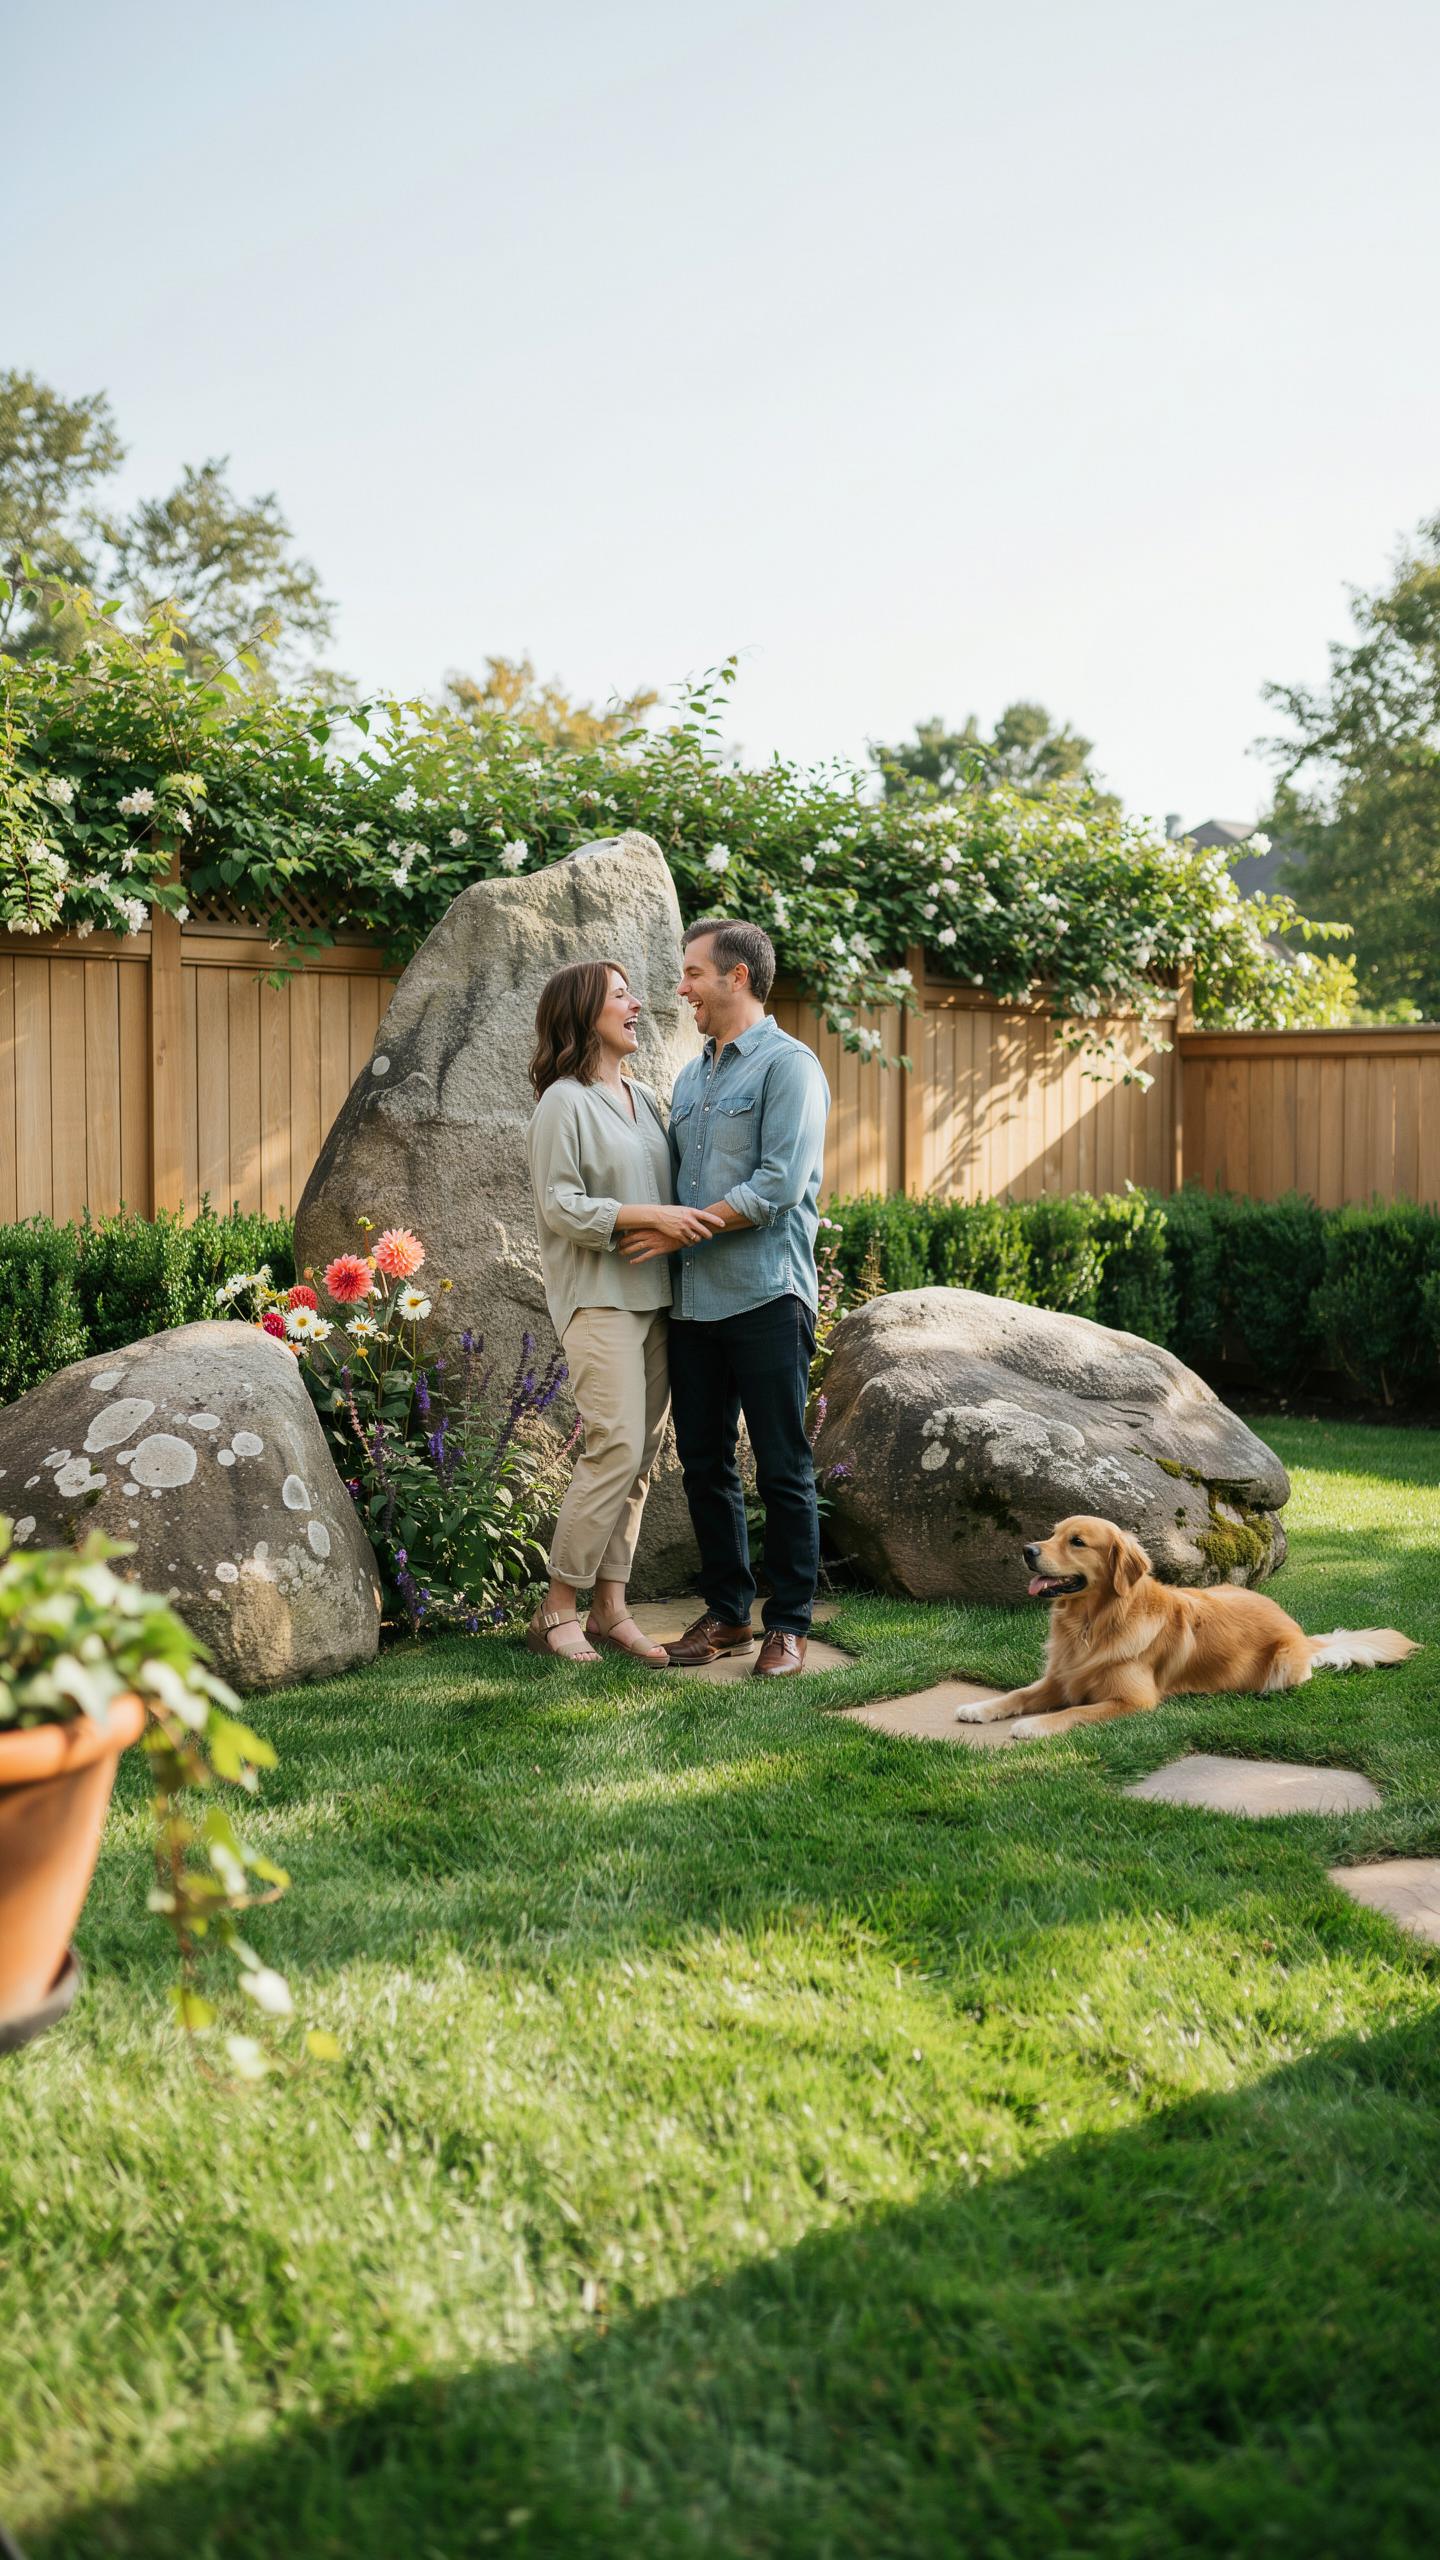
The Definition And Natural Origins Of Landscaping Boulders
Landscaping boulders are large rocks measuring over sixteen inches in diameter. Geologists classify these stones based on their mineral content and formation process. Igneous boulders like granite form from cooled magma. Sedimentary rocks like limestone consist of compressed organic matter. Metamorphic stones like quartz change under intense heat and pressure. Suppliers categorize them by shape into two main types: angular and round.
Angular boulders have sharp edges and flat faces. These occur when rock breaks away from cliffs or quarry walls. Rounded boulders feature smooth surfaces shaped by water or glacial movement over thousands of years. Contractors select specific types based on the local geology and the intended structural use. These stones serve as permanent anchors in a landscape. They do not rot or lose their color over time.
Why Boulders Have Become A Staple In Modern Backyard Design
Modern designers use boulders to solve drainage and topographical issues. These stones create instant elevation changes in flat yards. They act as natural retaining walls that require zero mortar. Homeowners choose them to reduce maintenance needs in large areas. One boulder can fill the space of twenty smaller plants. This strategy lowers water bills and eliminates the need for constant weeding or mulching.
Boulders also provide a visual foundation for high-end gardens. They offer a sense of age and permanence that softscape elements cannot match. Tactical placement hides unsightly utilities like well heads or electrical boxes. The Mid-Century Modern movement popularized the use of large rocks as sculptural focal points. Today, they remain essential for creating rugged, low-impact environments. Boulders increase property value by providing a finished, professional look to any outdoor space.

Choosing The Right Boulders For A Garden With Boulders That Truly Stands Out
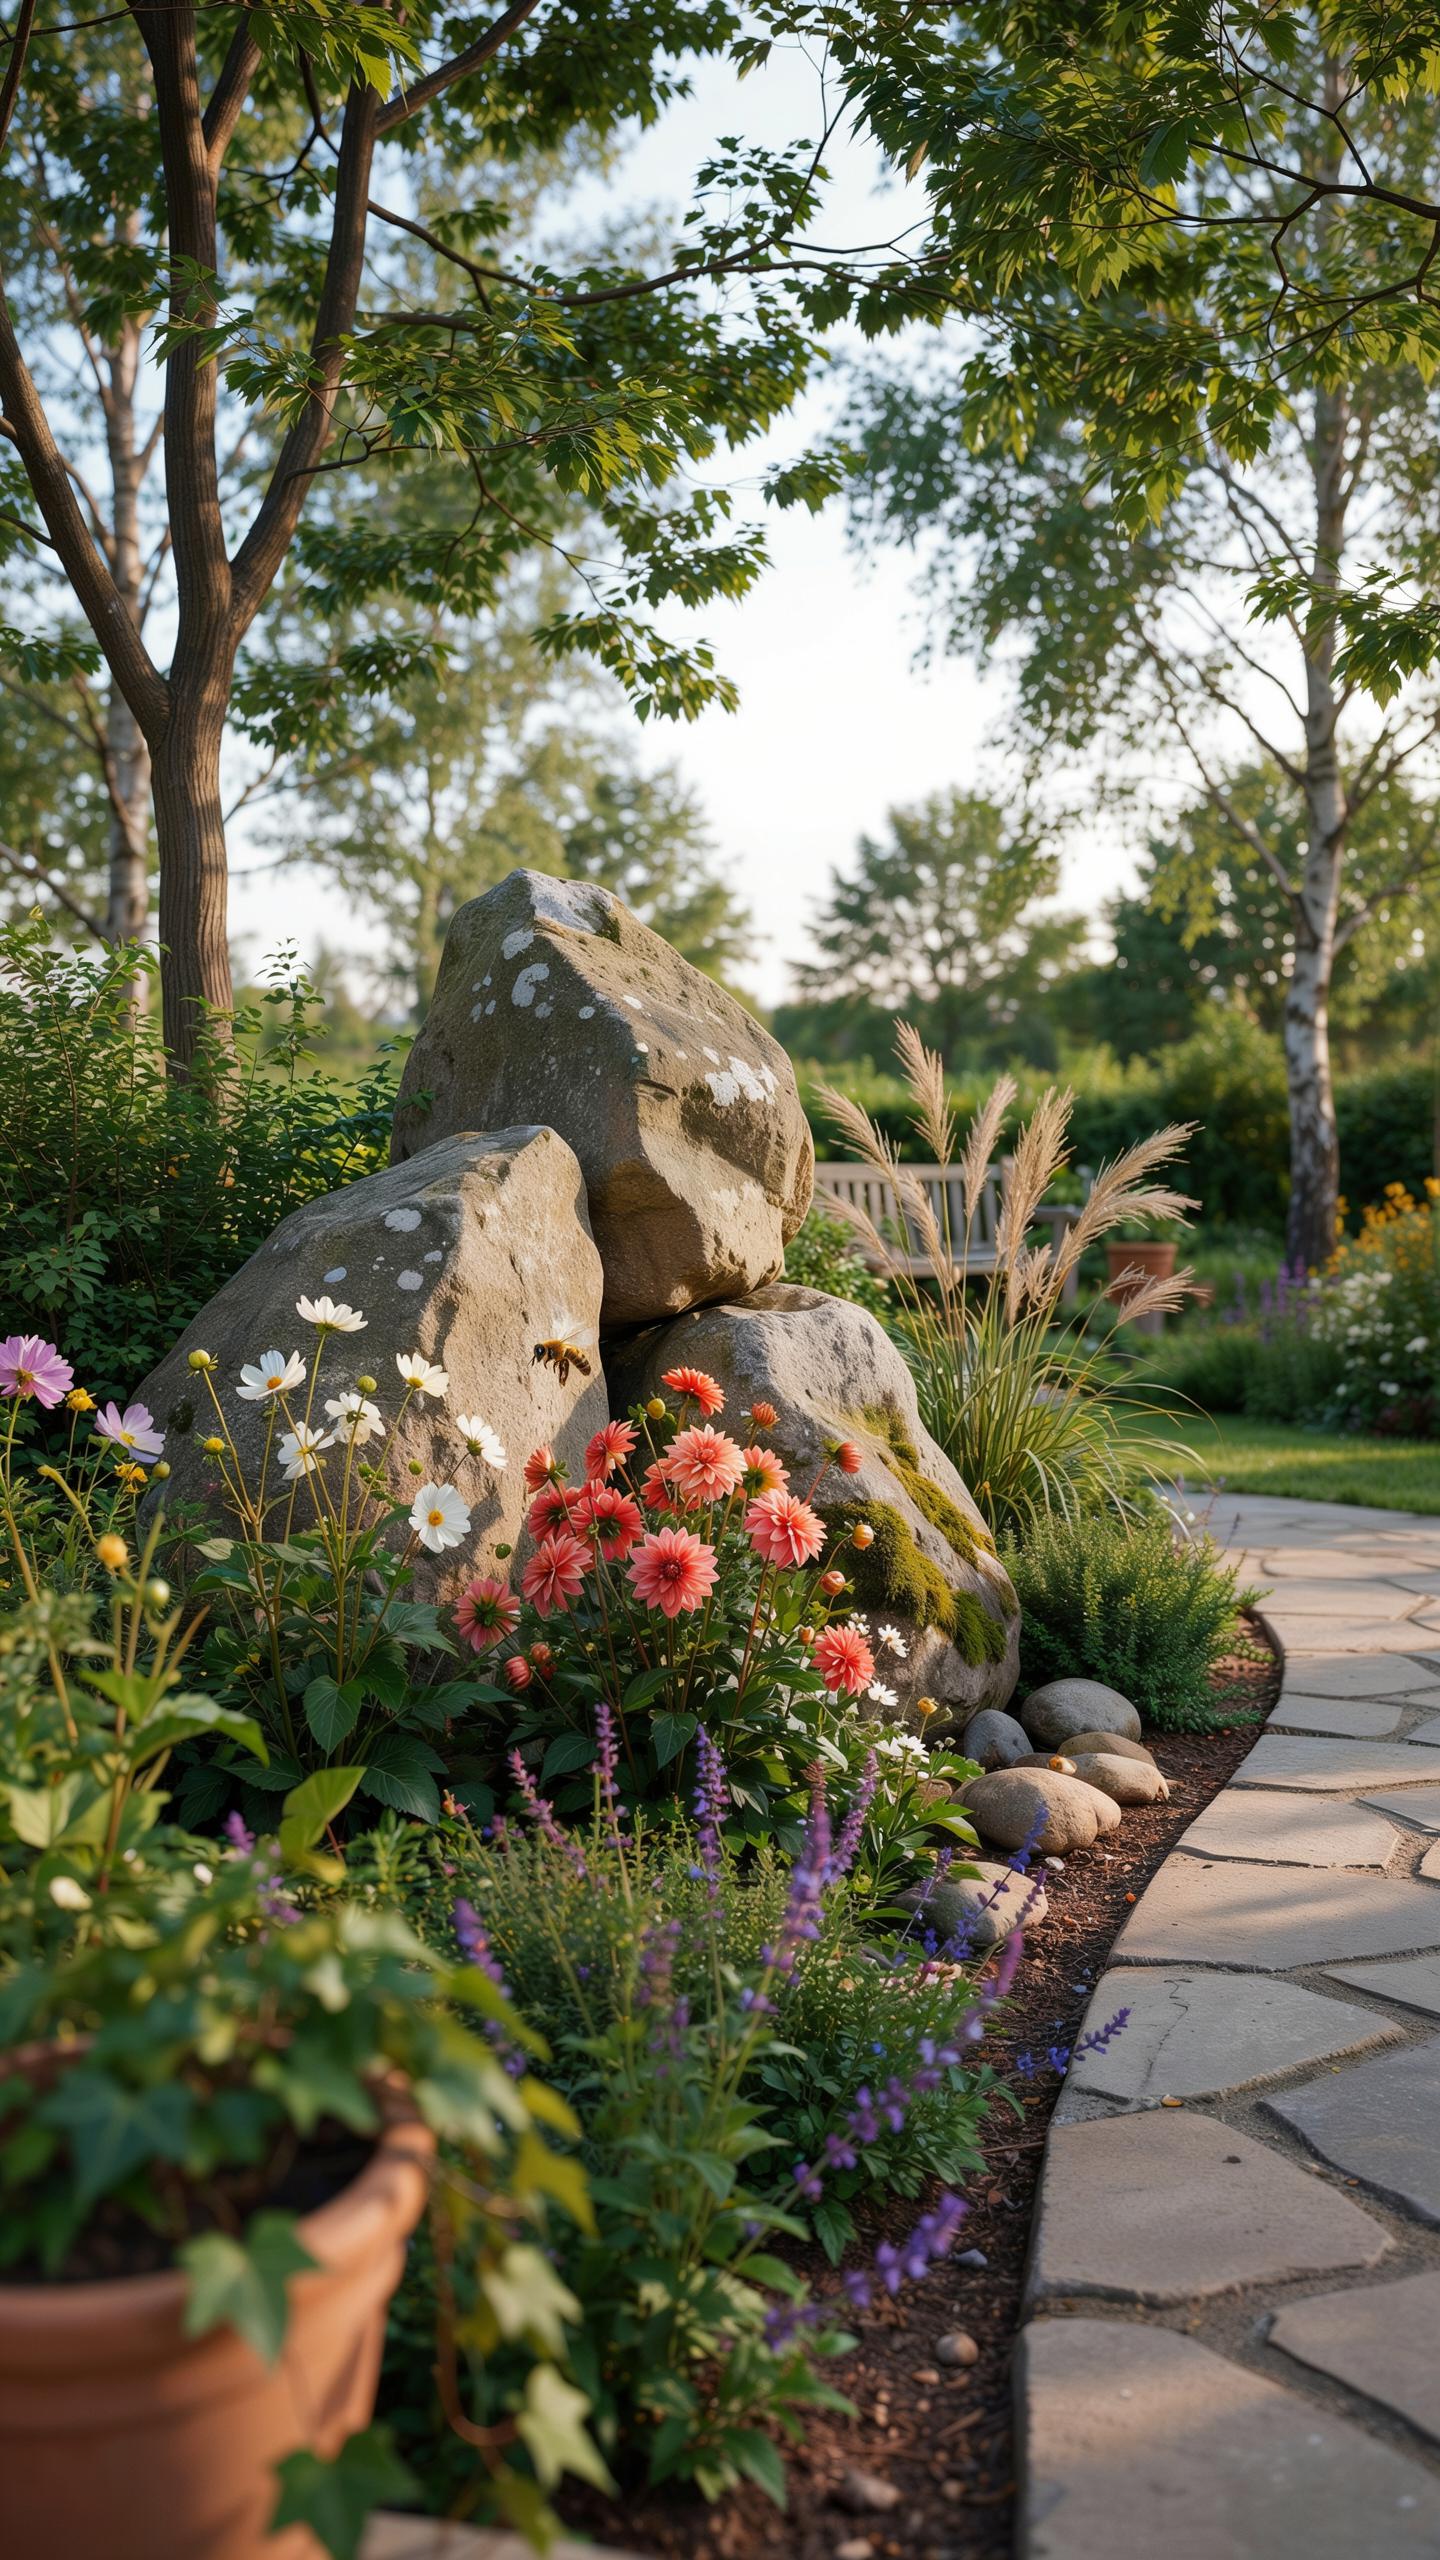
Matching Boulder Type And Color To Your Existing Landscape
Select boulders that mirror the local geology of your region. Matching stone types to the natural environment creates instant visual cohesion. Look at the native rock outcroppings near your home. If your area has gray bedrock, avoid importing red desert stones. Mismatched colors scream amateur installation. Successful backyard landscaping with boulders requires a focus on geological honesty to ground the design.
Analyze the color temperature of your home exterior and hardscape. Warm-toned stones like tan or rust-colored sandstone complement beige siding or wooden decks. Cool gray stones like granite or slate pair well with white or blue houses. Wet the stone before buying to see its true colors. Rainfall will change the appearance of the rock. Choose colors that look good in both dry and wet conditions.
Common Boulder Materials: Granite, Basalt, Sandstone, And Limestone Explained
Granite is the standard for durability. It resists weathering and handles freezing cycles without cracking. Basalt offers a darker palette with unique hexagonal shapes common in the Pacific Northwest. Both are igneous rocks that provide a sense of permanence. Use these materials for structural retaining walls or focal points that must last for decades. They offer high density and low water absorption rates.
Sandstone and limestone are sedimentary rocks with distinct layers. Sandstone offers earthy tones and grainy textures but can erode over time in wet climates. Limestone often contains fossil imprints and provides classic light gray or white hues. These stones are softer and easier to stack. Ensure your choice matches the soil pH requirements of nearby plants. Limestone can leach calcium into the soil and change its acidity.
Boulder Garden Rock Landscaping How To Plan Your Layout Like A Pro
Mapping Your Backyard Space Before Placing Any Boulder
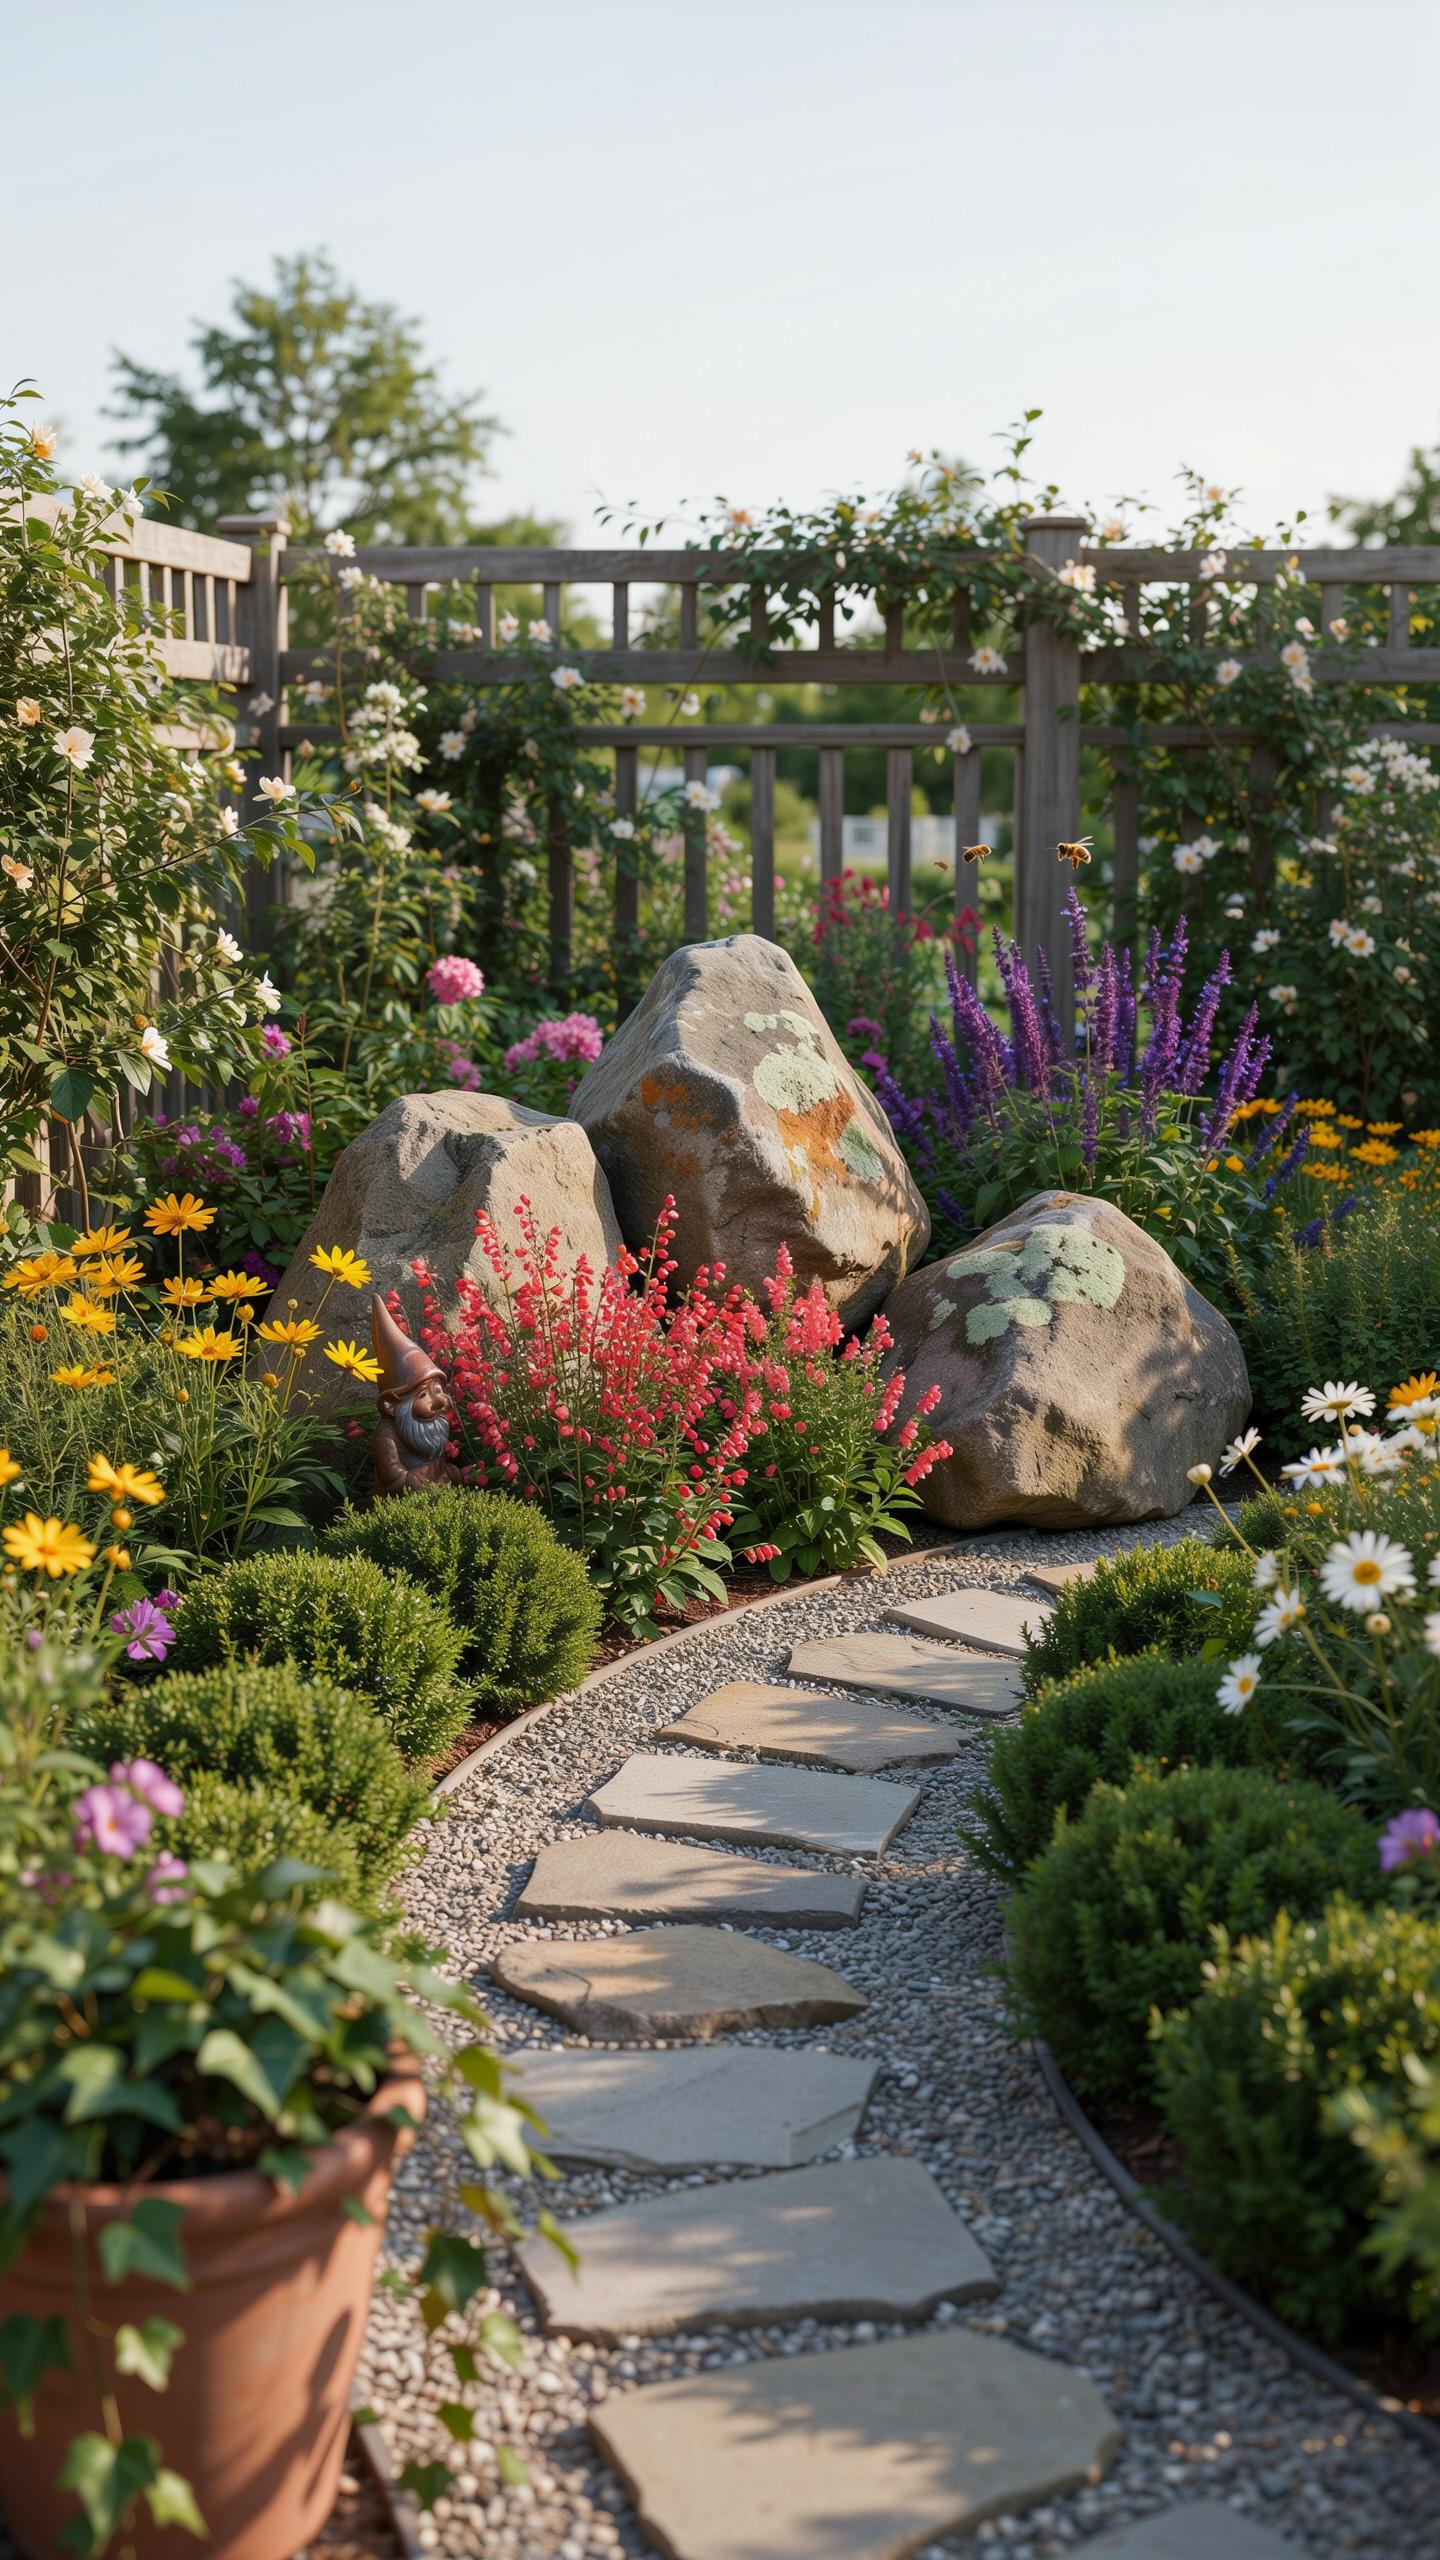
Effective mapping prevents costly mistakes during installation. Start by marking underground utility lines to avoid structural damage. Measure the grade of your land to identify natural drainage paths. Boulders disrupt water flow and can cause pooling if placed incorrectly. Use spray paint or flags to outline the footprint of each stone. This visual guide ensures the scale matches your overall yard dimensions.
Analyze your primary sightlines from inside the house and the patio. A boulder must look intentional from every angle. Consider the soil density before choosing a location. Heavy rocks will sink into soft ground over time without proper base preparation. Establish a solid foundation of crushed stone or compacted soil. This preparation ensures the boulders remain level and secure for decades of use.
Using Odd Number Groupings And Varying Sizes For A Natural Look
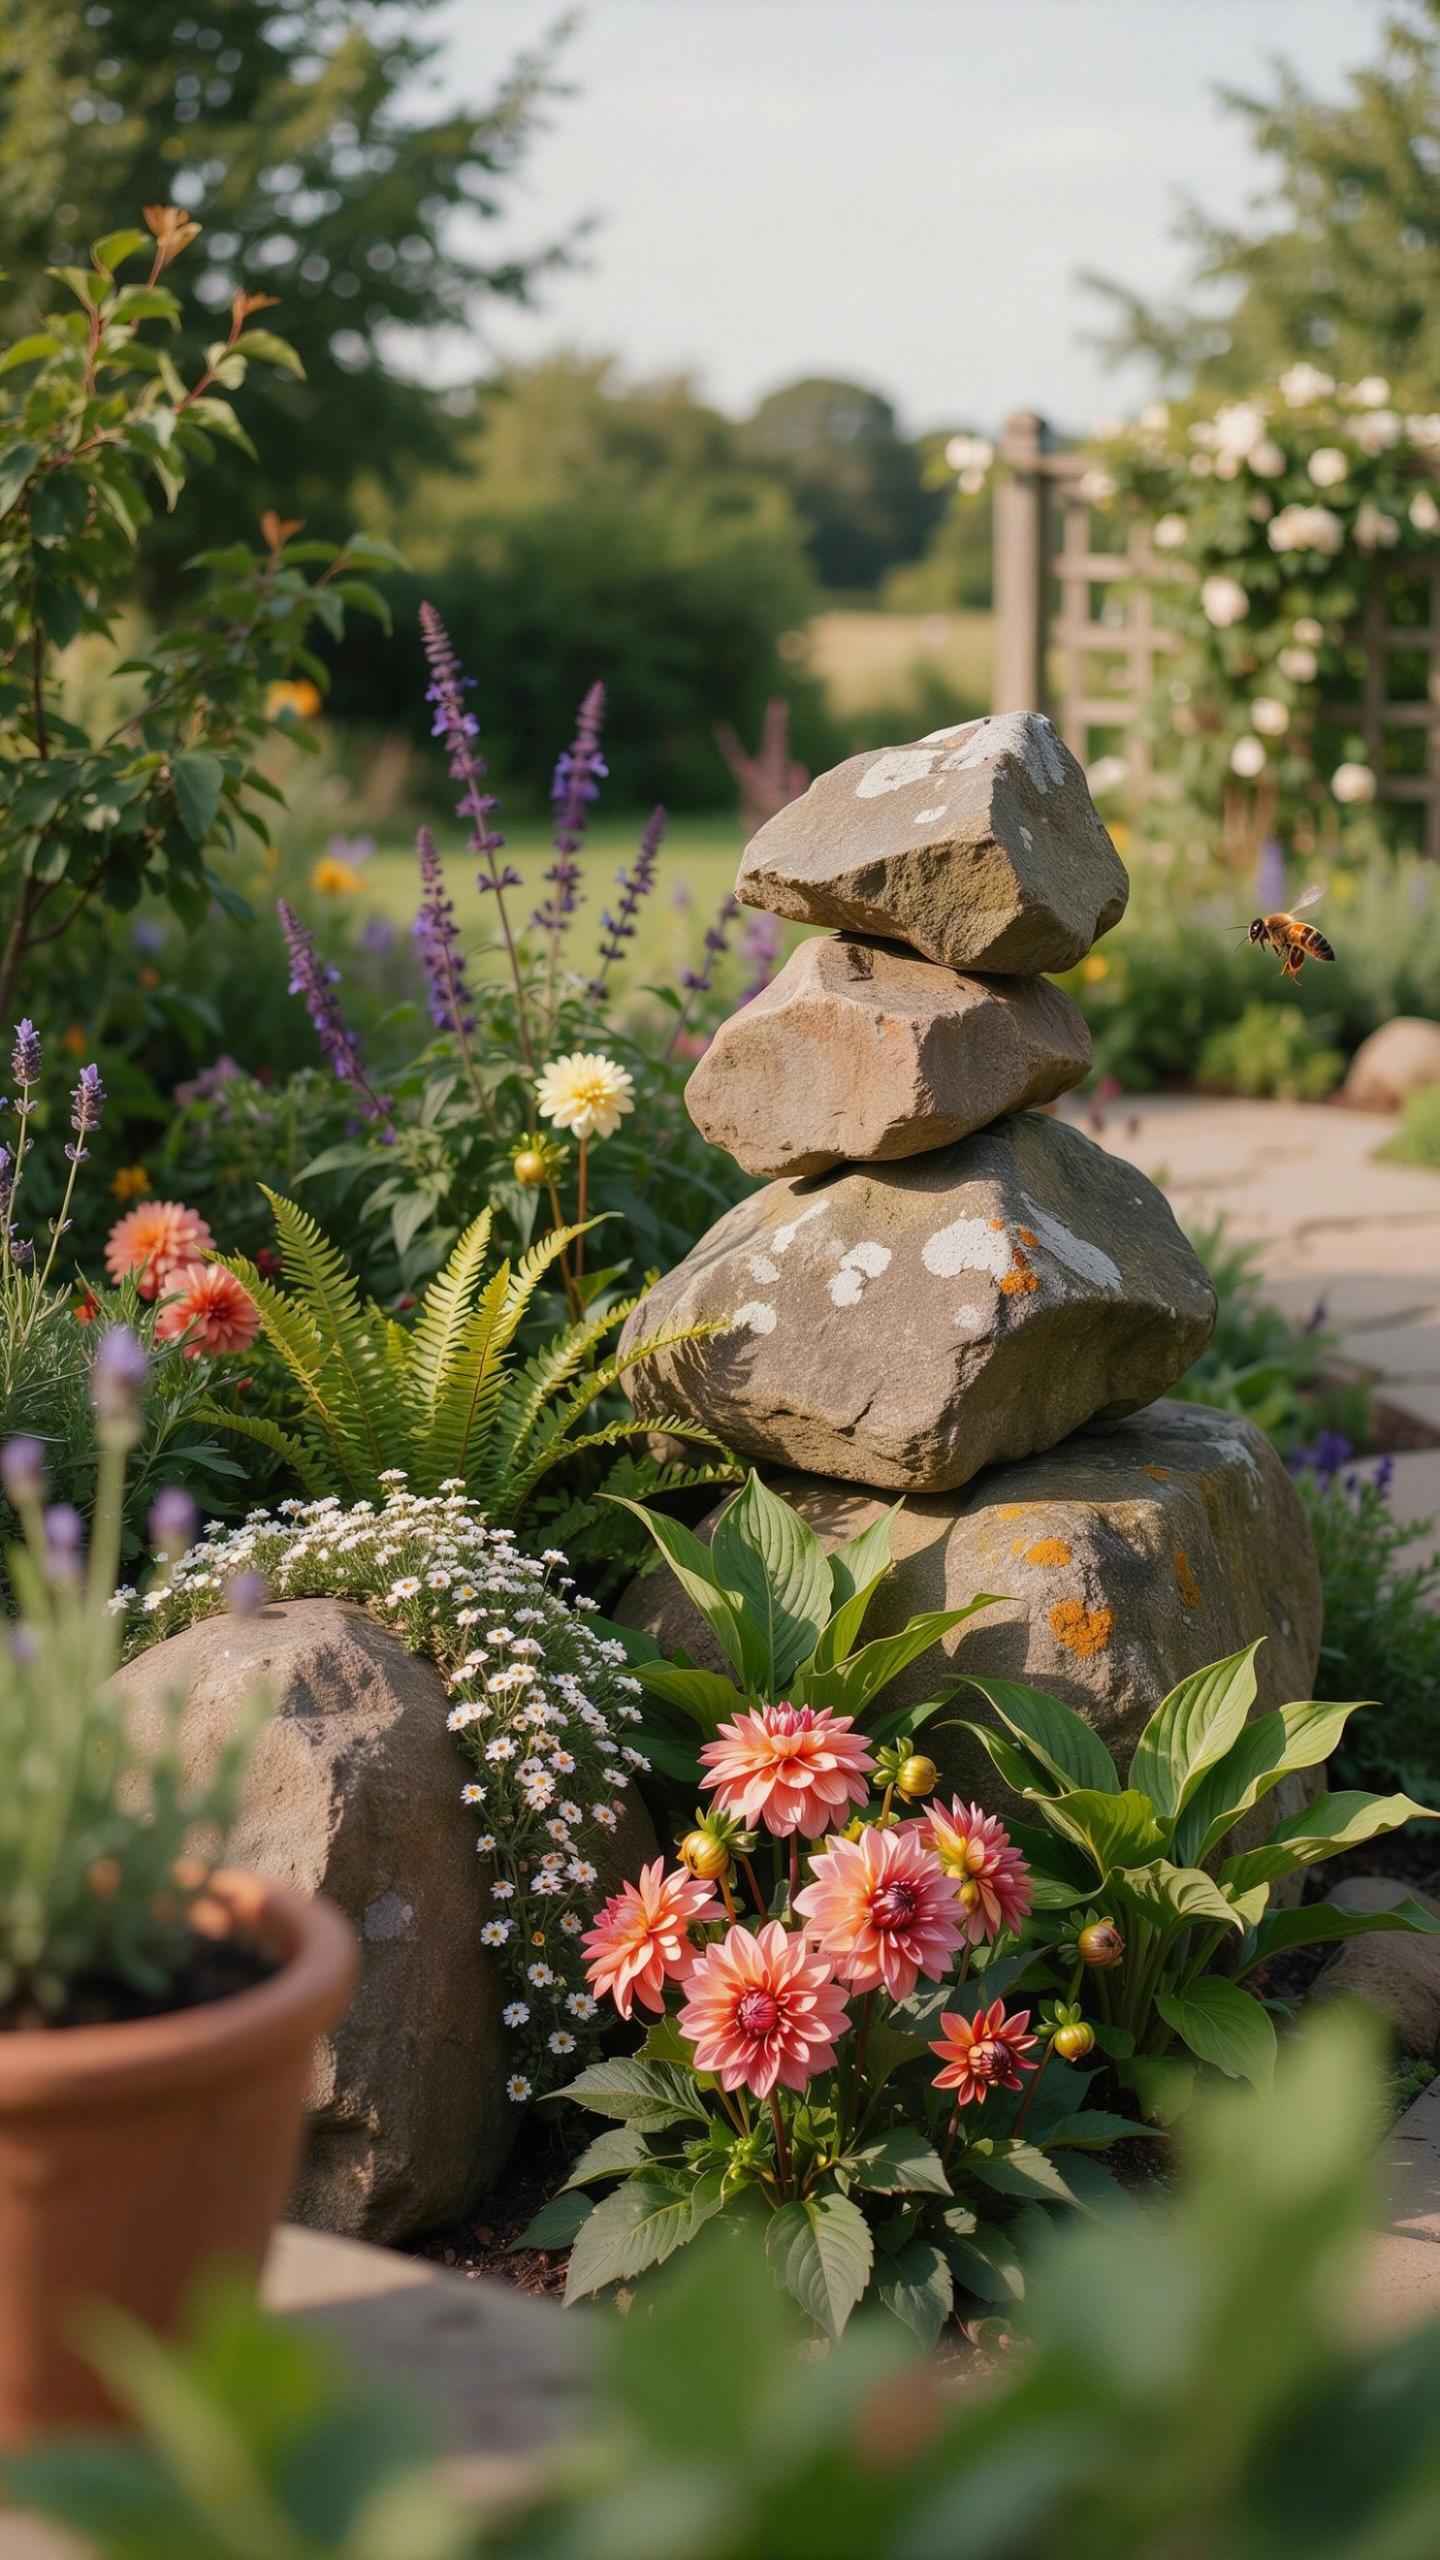
Symmetry looks artificial in stone landscapes. Professionals use odd-numbered groupings of three or five to mimic natural geological formations. This technique creates a focal point that directs the eye across the garden. Arrange the stones so they do not sit in a straight line. Avoid using rocks of the same size. Uniformity signals human interference and ruins the rugged aesthetic.
Select one large anchor stone to serve as the primary feature. Place smaller secondary rocks around it to build depth. Vary the heights and widths of each stone in the cluster. This strategy replicates the appearance of a surfacing bedrock vein. Bury the bottom third of each rock into the ground. This “setting” technique makes the boulders look like they belong to the earth.
Creative Garden Boulder Ideas To Inspire Your Next Outdoor Project
Using Boulders As Focal Points, Seating, And Retaining Features
Strategic boulder placement creates an immediate visual anchor in any landscape. You must bury one-third of the stone below the ground level. This technique mimics natural outcroppings found in the wild. Large stones break up flat areas and direct the eye toward specific zones. Select rocks with weathered faces to add instant age and character to a new garden install.
Boulders serve as durable structural elements for slope management and utility. Use heavy stones to create low-profile retaining walls that resist soil pressure better than thin timber. Flat-topped rocks like basalt or flagstone types offer permanent outdoor seating without the need for maintenance. Set these stones near fire pits or along pathways. They provide a rugged look while performing critical tasks.
Top Garden Boulder Ideas That Combine Function With Visual Appeal
Effective design merges utility with aesthetics by selecting stones that serve specific environmental roles. You should choose materials that match the local geology to ensure a cohesive look. Properly scaled boulders manage drainage issues while providing a backdrop for delicate plants. Use varying sizes to create a realistic mountain aesthetic. These features require zero water and last forever.
- Natural Steps: Use large flat stones to navigate elevation changes. This method replaces high-maintenance wooden stairs with a permanent slip-resistant solution. Ensure you set each stone on a compacted gravel base to prevent shifting over time.
- Water Feature Accents: Place smooth river boulders around ponds or waterfalls to mask pond liners. These stones direct the flow of water and create naturalistic splashing sounds. Choose non-porous rocks like granite to withstand constant moisture and prevent erosion.
- Specimen Groupings: Arrange stones in odd numbers to create a balanced focal point. Mix different heights and textures to mimic a natural rock scree. This tactic fills large empty spaces in the yard without increasing your monthly water bill.
- Edging Borders: Define garden beds using medium-sized rocks instead of plastic or metal edging. This creates a hard barrier that stops grass from creeping into planting zones. It also provides a clear visual transition between the lawn and the mulch.
- Dry Creek Beds: Line shallow trenches with various sized boulders to manage heavy rainwater runoff. This functional feature prevents soil erosion during storms while looking like a natural stream. Use larger stones at bends to slow down the water velocity effectively.
Position boulders before you install irrigation lines or small plants. Moving heavy stone later is difficult and costly. Place the largest “anchor” rocks first to establish the main structure. Surround these with smaller cobbles and groundcover to soften the edges. This layered approach creates a dense professional look. Solid installation ensures your landscape remains stable for decades.
Working With Small Boulders In Landscape Design For Compact Backyards
How Small Boulders Define Pathways, Borders, And Planting Zones
Small boulders act as permanent anchors in tight spaces. You use them to create visual breaks without building high walls. Place these rocks at the corners of paths to prevent foot traffic from crushing plants. Strategic placement forces the eye to follow a specific line. This technique organizes a small yard into distinct functional areas. It provides structure that remains through every season.
Boulders between one and two feet in diameter work best for borders. Bury the bottom third of each stone into the soil. This prevents them from looking like they just fell onto the grass. Stable rocks create clear physical boundaries between mulch beds and turf. You gain a clean edge that lasts longer than plastic or wood edging. Proper spacing ensures the design looks intentional rather than cluttered.
Landscaping with boulders is like placing the punctuation marks in a poem, grounding your garden with the timeless strength of the earth. Every stone tells a story of permanence and grace that turns a simple backyard into a sanctuary for the soul.
Mixing Small Boulders With Ground Cover And Mulch For A Polished Finish
Texture contrast is the primary goal when mixing stone with soft materials. Place small boulders directly into ground cover like creeping thyme or sedum. The foliage grows around the rock base to soften the hard edges. This mimics how rocks appear in natural mountain environments. Dark wood mulch makes light colored granites or limestones pop. Use this visual contrast to highlight specific plants or focal points in the yard.
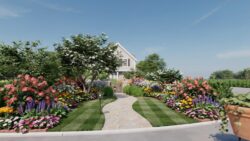
Proper drainage requires careful coordination between stones and mulch layers. Position boulders first before spreading any ground cover. This ensures the stone sits on solid earth. Avoid over-stuffing the area with too many rocks. Leave enough gaps for plants to spread and breathe. Consistent mulch depth keeps weeds down around the rock bases. A clean transition between stone and organic matter creates a professional look. This method reduces long term maintenance for the homeowner.
Landscaping Around Boulders Plants Soil And Spacing Done Right
The Best Native And Drought Tolerant Plants To Grow Around Boulders
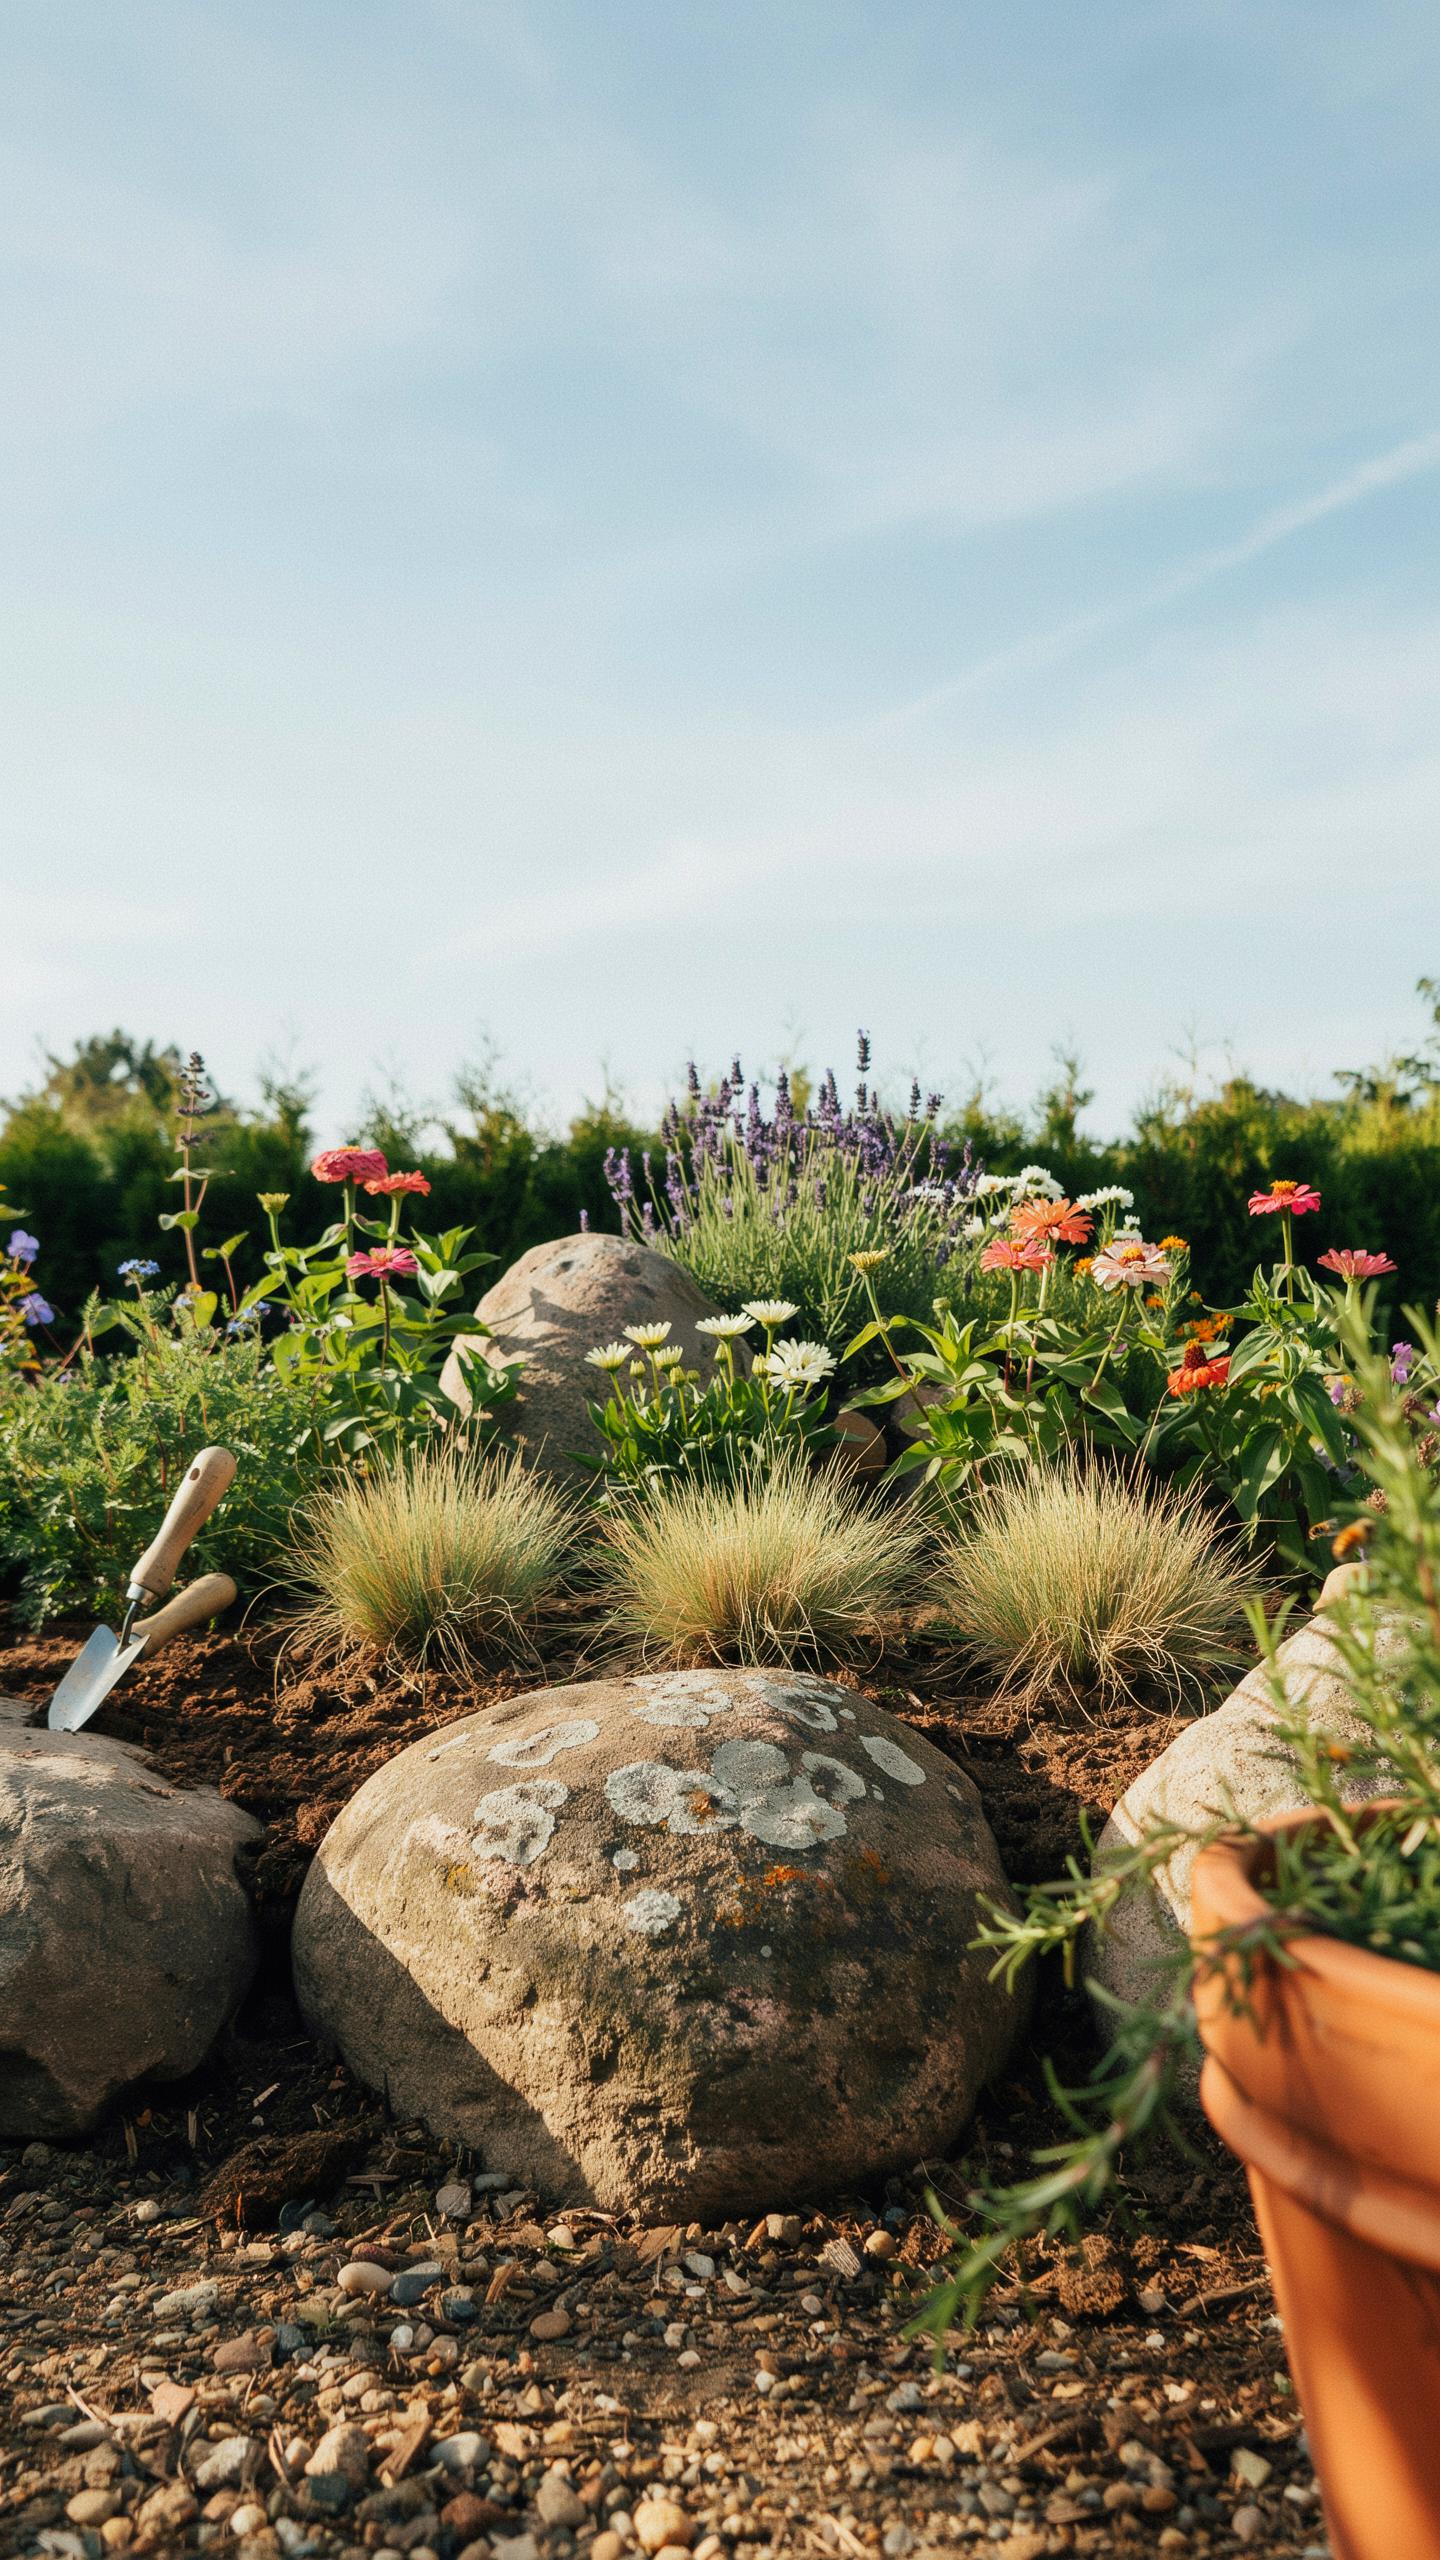
Boulders absorb sun heat during the day and release it at night. This create a microclimate that benefits specific plant species. Select native perennials and ornamental grasses that thrive in rocky terrain. Use blue fescue or fountain grass to soften the hard edges of the stone. These plants require little water once established. They mimic natural mountain or desert landscapes found in the wild.
Groundcovers provide the best visual transition between the stone and the soil. Choose woolly thyme or stonecrop sedum to fill gaps at the base of the rock. These drought-tolerant options prevent soil erosion. They also suppress weeds from growing in the tight crevices. Space plants according to their mature width. Overcrowding creates moisture traps that lead to fungal growth on the stone surface.
Soil Preparation And Drainage Considerations When Landscaping Around Boulders
Proper drainage prevents boulders from sinking or tilting over time. You must excavate the area and install a sub-base of crushed stone. This layer provides a stable foundation and allows water to move away from the rock base. Do not place boulders directly on top of lawn or loose dirt. Compaction will eventually cause the stone to settle unevenly and ruin the design.

Soil quality dictates plant health near the rock. Boulders often cause water to runoff into specific zones. Mix organic matter with gritty sand to improve drainage for moisture-sensitive plants. Ensure the soil slopes away from the boulder to prevent pooling. Standing water rots roots and stains the rocks with mineral deposits. Use a weed barrier and mulch to maintain consistent soil temperatures around the stone.
Boulder Landscape Design Principles Every Homeowner Should Understand
Balance, Scale, And Proportion: The Core Rules Of Boulder Landscape Design
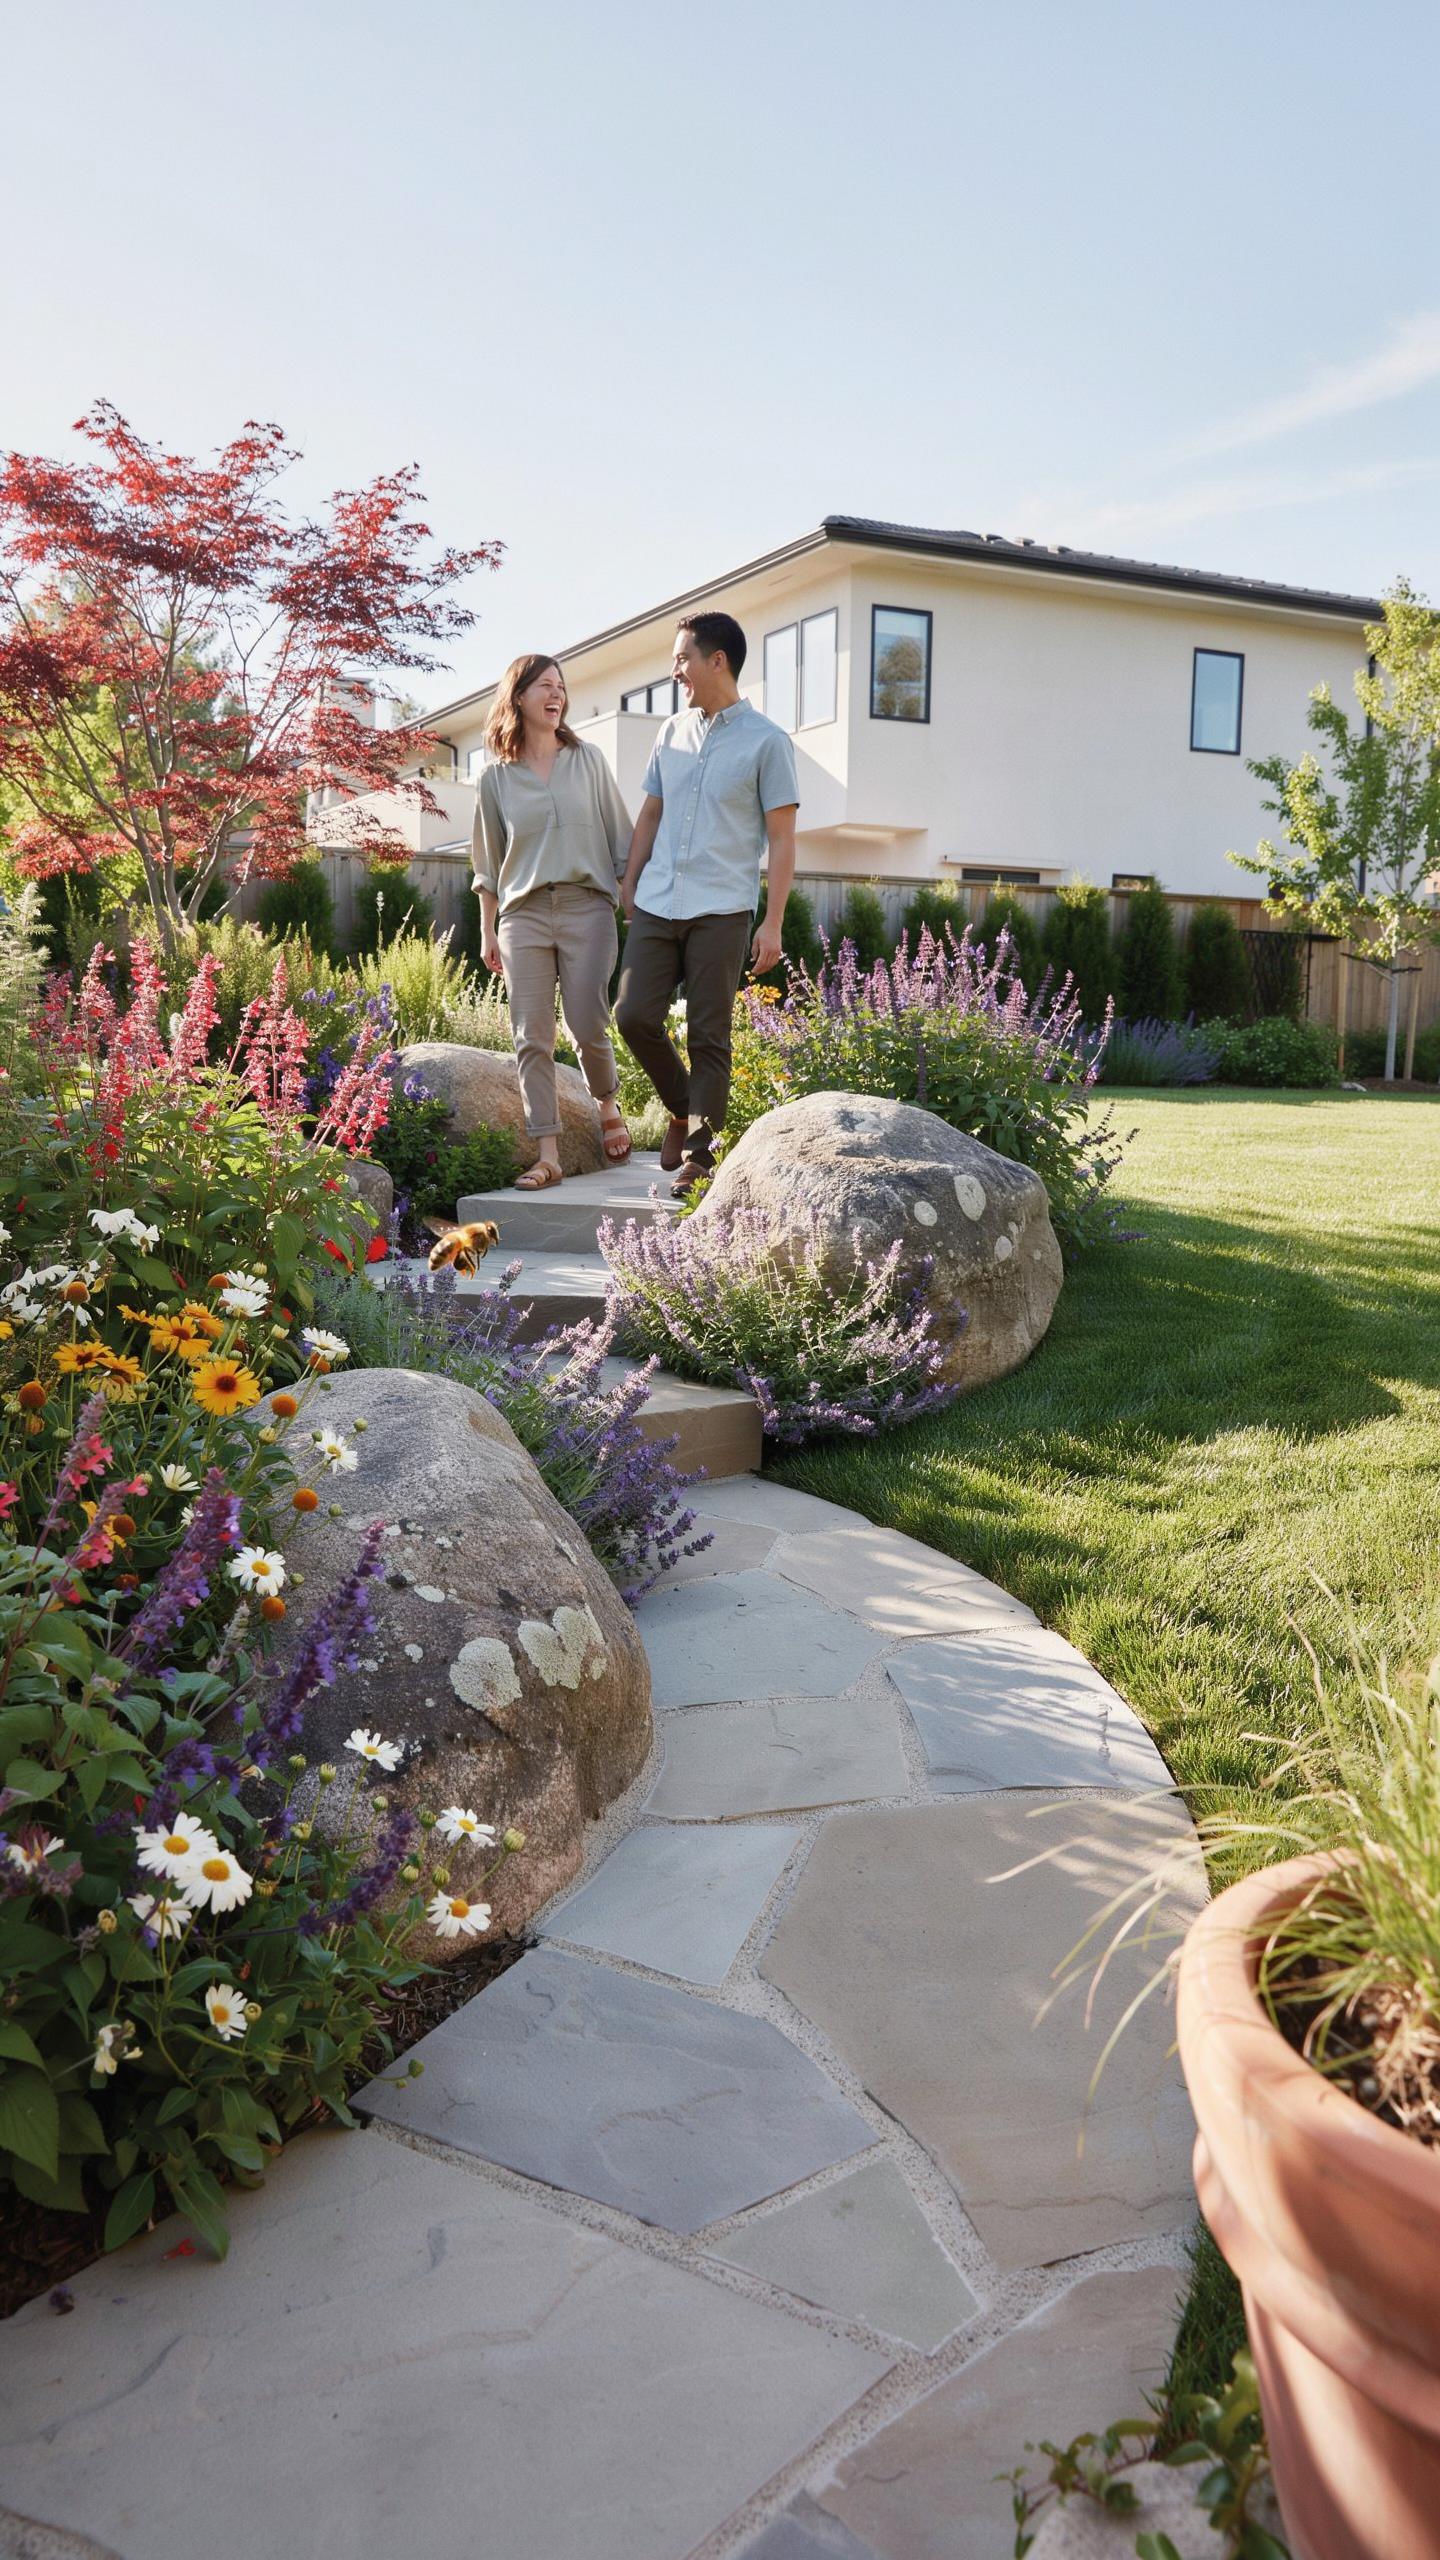
Scale dictates how a boulder interacts with its surroundings. Small rocks in a wide yard look like debris. Large boulders in a cramped space feel claustrophobic. You must match the rock size to the house and yard dimensions. Professional designers use the rule of thirds to place stones. This creates a natural look instead of a forced symmetrical pattern.
Balance does not mean symmetry in backyard landscaping with boulders. Use asymmetrical balance to mimic nature. Place one massive boulder on one side of a path. Balance it with a cluster of three smaller rocks on the opposite side. This technique distributes visual weight evenly without looking artificial. Proper stone selection ensures the hardscape does not overwhelm the softscape or architectural features.
How To Use Boulders To Create Visual Flow And Depth In Your Backyard
Visual flow guides the eye through the landscape. Arrange boulders in lines that follow the natural contours of the land. This leads the viewer toward a specific focal point like a pond or a large tree. Use consistent rock types to maintain a unified theme. Mixing different geological sources creates a cluttered look that breaks the visual rhythm of the yard.
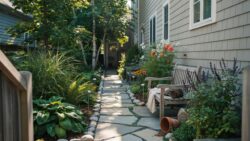
Depth requires Layering stones at different distances from the viewer. Place larger, darker boulders in the background to ground the space. Use smaller, brighter rocks in the foreground to pull the eye forward. Partially bury every boulder to make it look like an outcropping. Buried stones feel permanent and heavy. Rocks sitting on top of the grass look like they dropped there by accident.
The Practical Side Of Using A Boulder In Landscaping Installation And Safety
How Boulders Are Sourced, Delivered, And Safely Placed In A Backyard
Sourcing begins at local stone yards or quarries to minimize transport costs. Weight determines the price and the equipment required for delivery. Heavy boulders require flatbed trucks with mounted forklifts or separate skid steers. Professionals select stones based on geological hardness to prevent cracking during transit. You must confirm site access for large machinery before ordering any material.
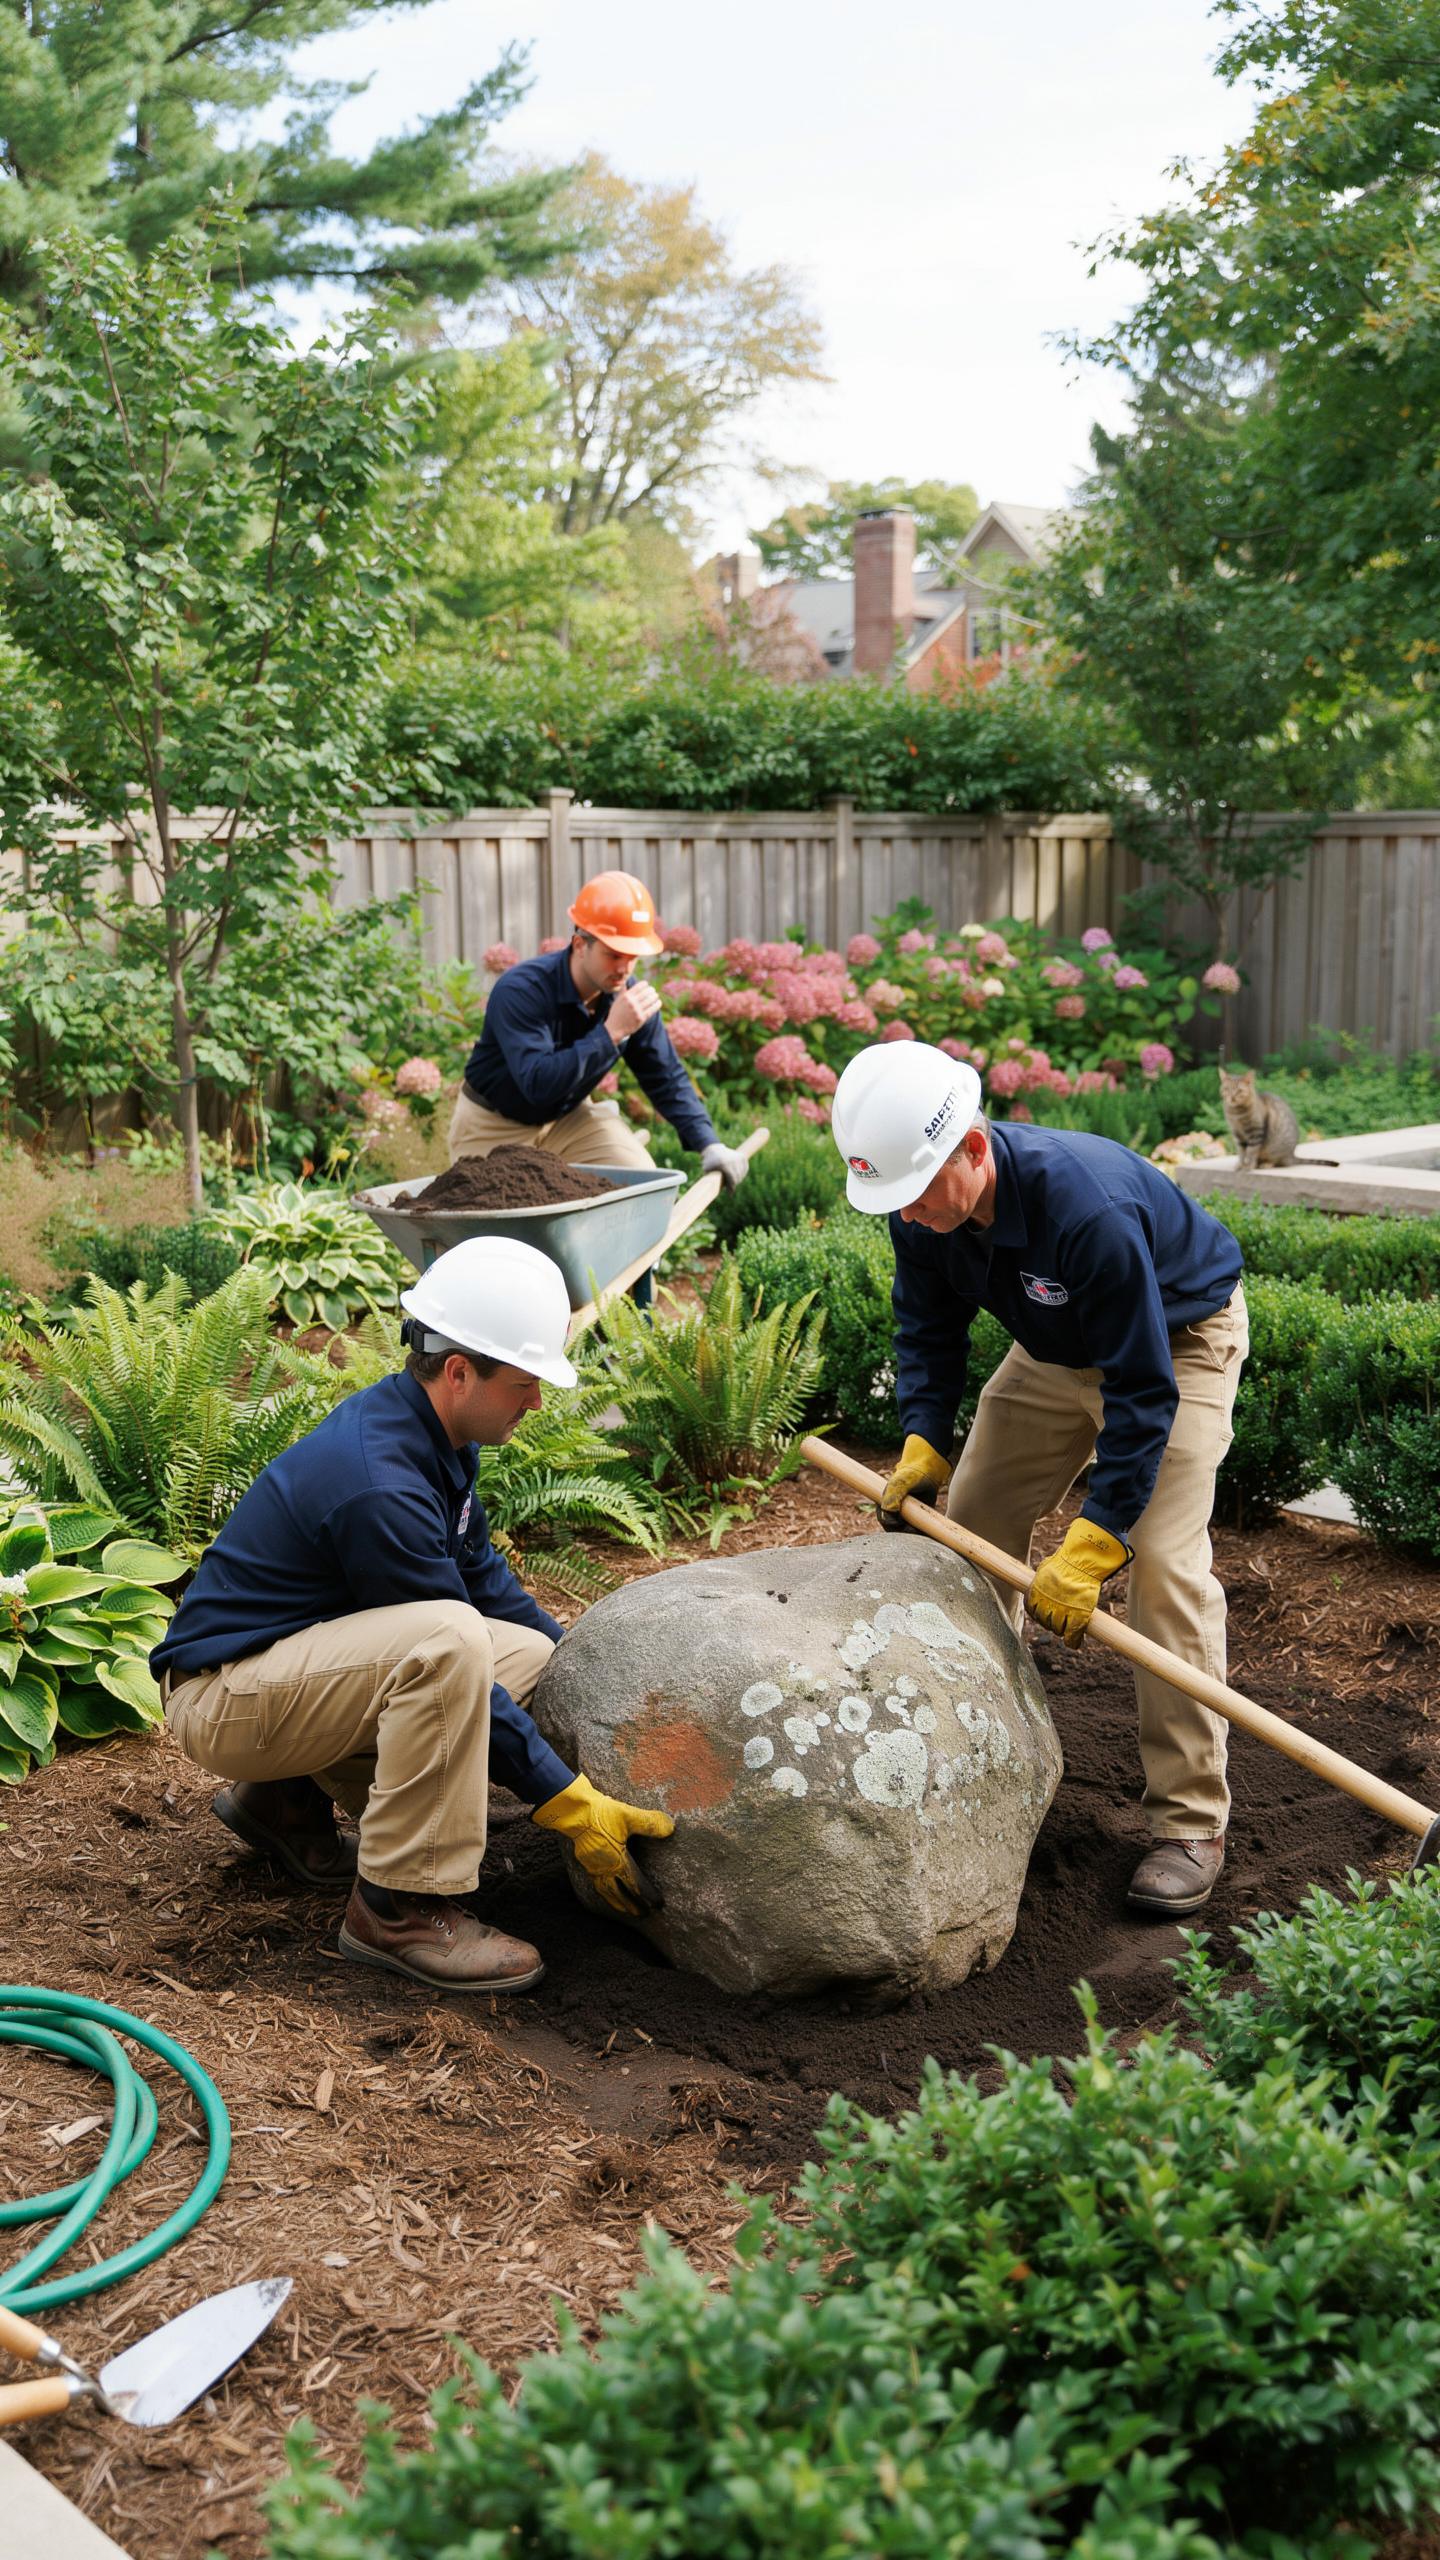
Placement requires a crane or a mini-excavator with a thumb attachment. Operators use heavy-duty nylon slings to hoist the stone into position. You must dig a shallow pit to set the base. This technique makes the boulder look natural and prevents shifting. Proper orientation hides drill marks from the quarry. Strategic positioning ensures the grain of the stone matches the surrounding landscape features.
Essential Safety And Structural Tips For Anchoring Boulders On Slopes Or Soil
Gravity and erosion are your primary enemies on sloped terrain. Large stones will slide if you do not secure them properly. You must evaluate the soil density before placement. Loose or sandy soil requires a compacted gravel base to prevent sinking. Stability depends on the center of gravity. Always rotate the heaviest side of the boulder toward the downward slope.
- Subsurface Burial: Bury at least one-third of the boulder below the finished grade. This anchoring technique prevents the stone from rolling down slopes and creates a stable foundation against soil pressure.
- Compacted Base: Use a six-inch layer of crushed stone or road base beneath the boulder. This layer provides drainage and prevents the heavy mass from settling unevenly into soft topsoil over time.
- Deadman Anchors: Use secondary buried rocks or concrete blocks for extremely steep inclines. Secure the main boulder to these anchors to provide extra resistance against heavy rain or seismic shifts in the backyard.
- Tiered Placement: Arrange multiple boulders in a staggered pattern on hillsides. This configuration breaks up water runoff and uses the weight of upper stones to help pin the lower stones into the hillside.
- Soil Inspection: Identify the soil type before installation. Clay holds weight well but expands when wet, while sand shifts easily. Adjust your base depth and width based on these specific load-bearing capacities.
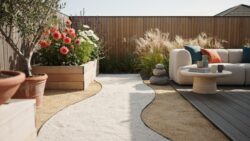
Safety remains the top priority during the final anchoring phase. Never stand downhill from a boulder during the installation process. Use a metal pry bar for small adjustments rather than your hands. Once set, pack the soil tightly around the base to eliminate air pockets. Proper backfilling prevents water from pooling at the base and undermining the structural integrity of the slope.
How To Landscape With Boulders While Staying On Budget
Where To Source Affordable Boulders: Local Quarries, Suppliers, And Salvage Yards
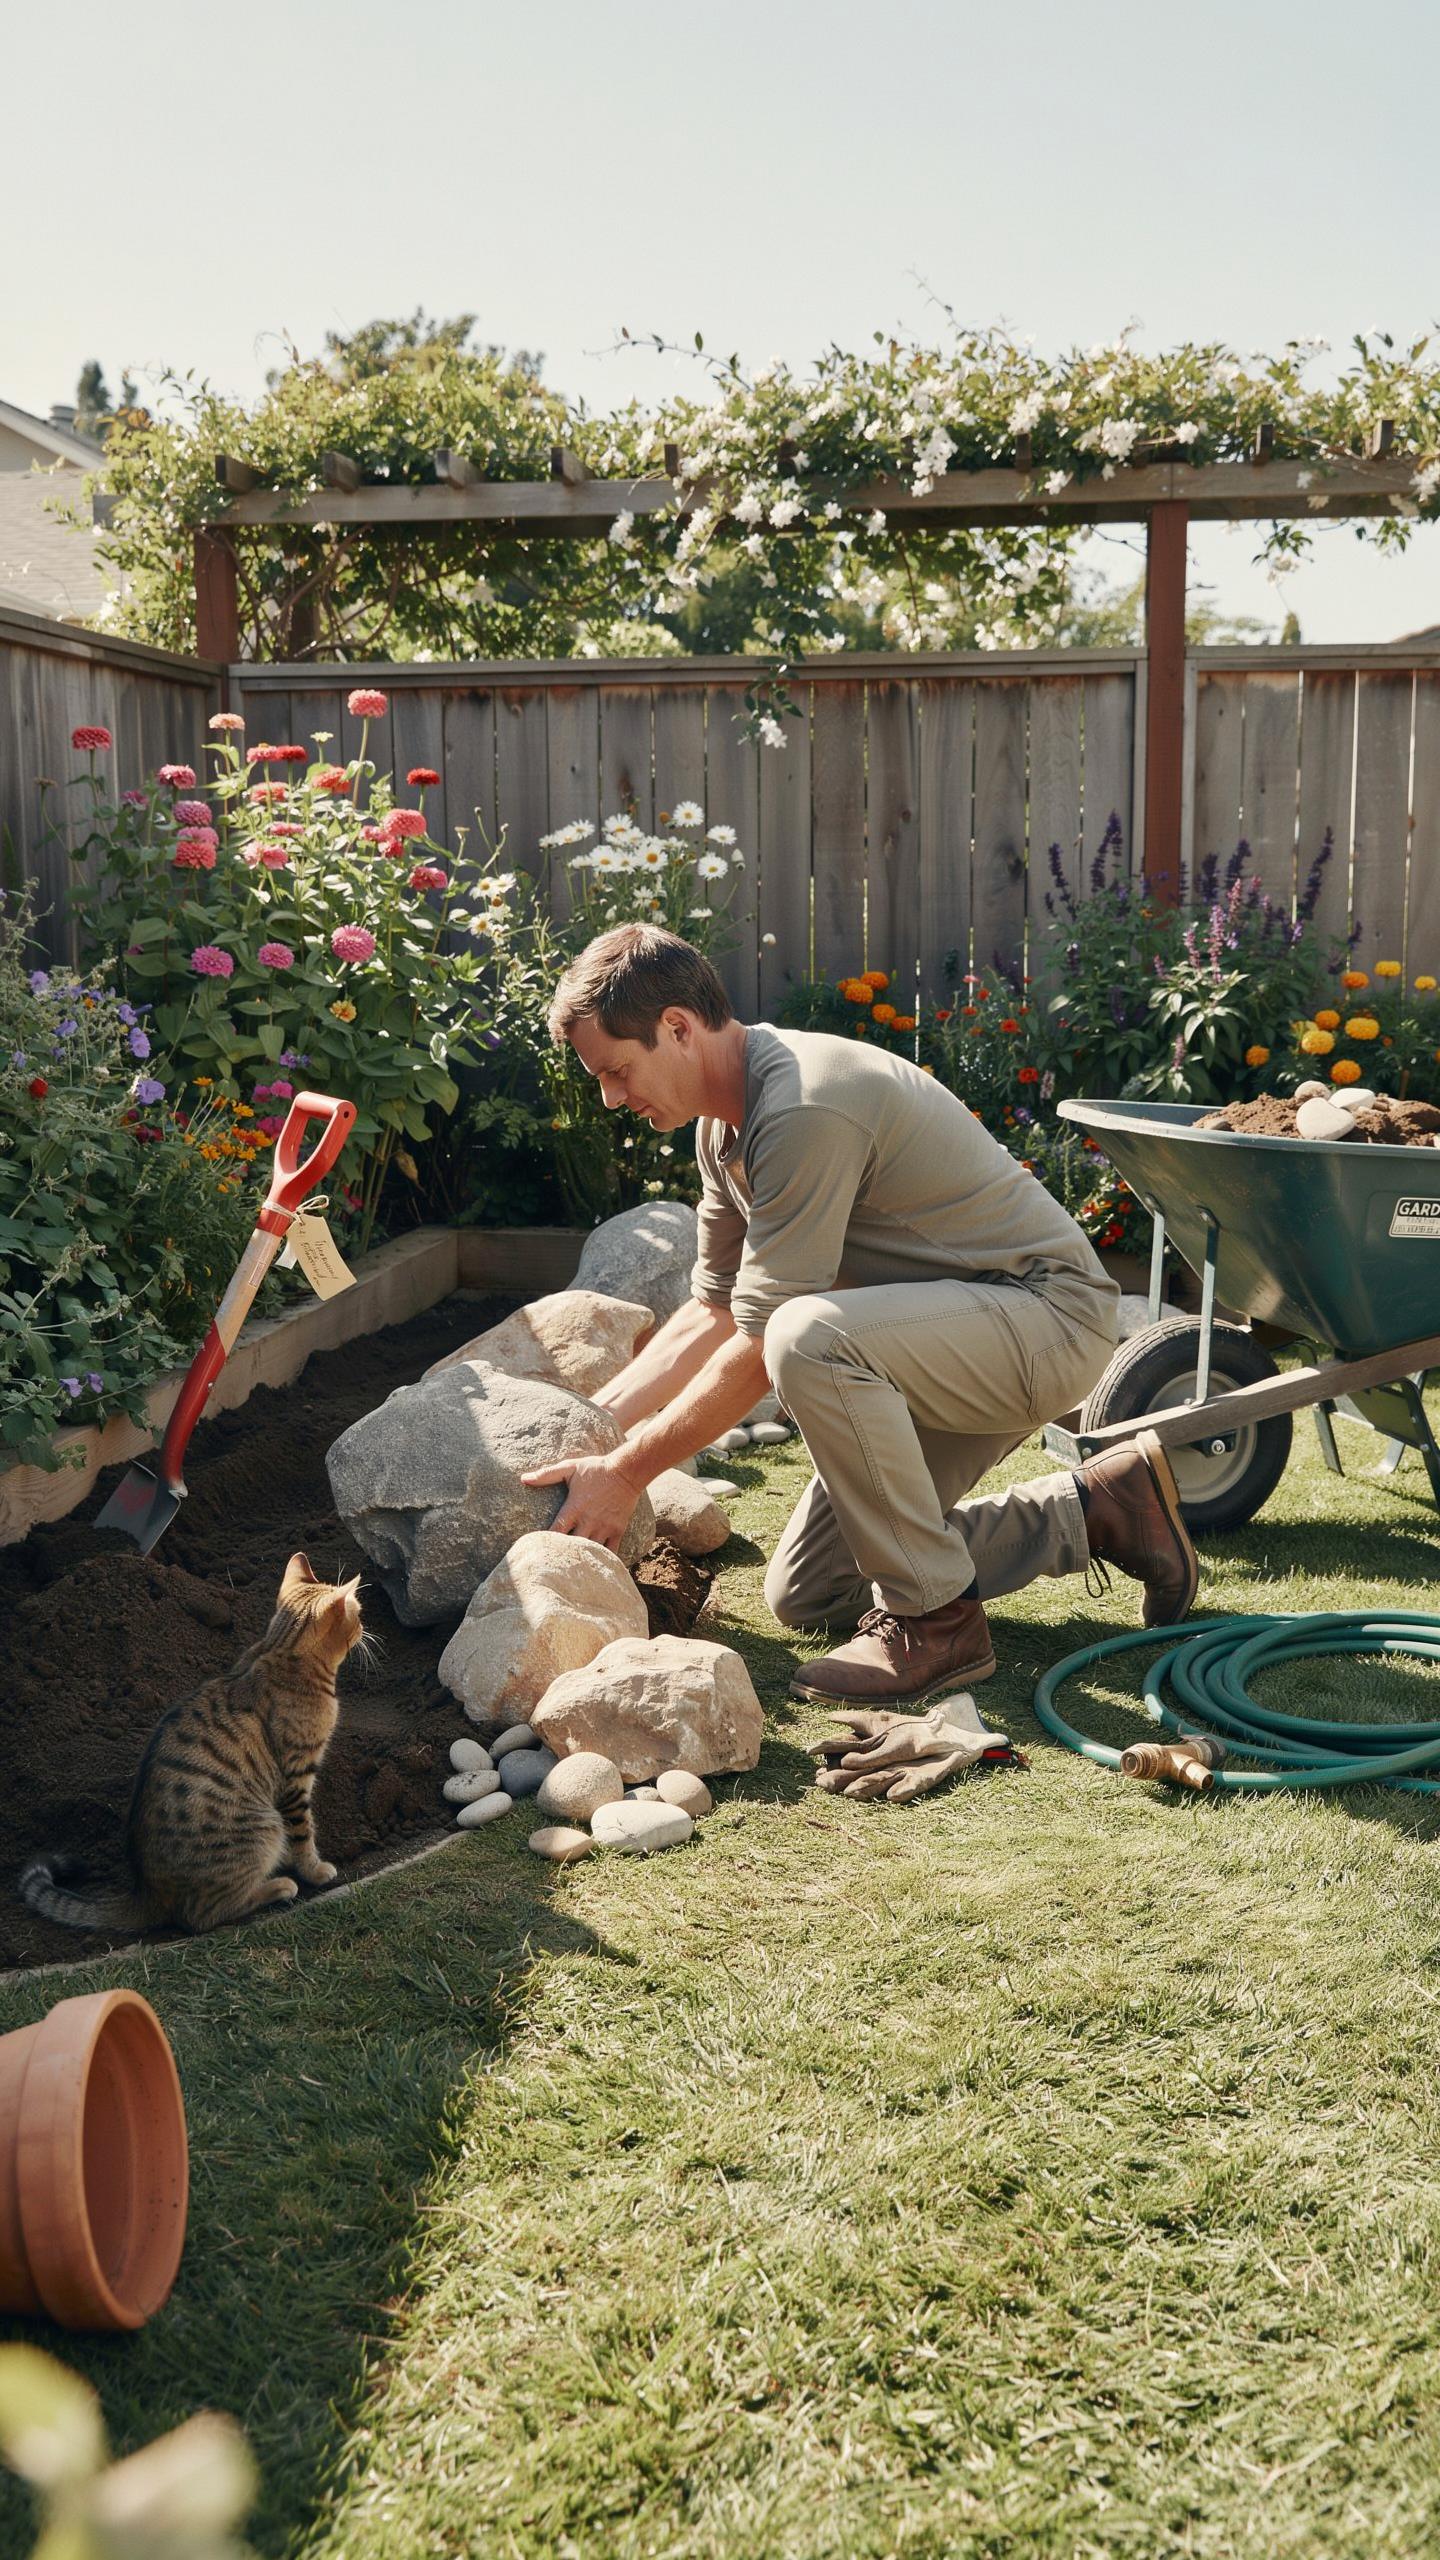
Local quarries provide the lowest price points by eliminating retail markups and middleman fees. You pay the wholesale rate based on weight, usually measured in tons. Buying direct also ensures the stone matches the local geology of your region. This creates a natural look that fits the environment. Always ask for fieldstone or blast rock for the most significant savings.
Landscape supply yards offer convenience but charge more for sorting and transport. You can find deals by looking for remnant piles or odd lots that yards want to clear out. Salvage yards and construction sites are often overlooked sources. Developers frequently pay to haul away large rocks during excavation. Offering to take these boulders for free can save hundreds of dollars in material costs.
Cost Saving Strategies When Planning A Boulder Landscaping Project
Transportation is the largest hidden cost in backyard landscaping with boulders. Minimize delivery fees by grouping your orders or renting a heavy duty trailer for smaller hauls. Place boulders near the drop site to reduce labor hours. Every foot a machine moves a rock adds to the final bill. Proper planning ensures you only move each heavy stone one time.
Size selection impacts your budget more than stone type. Choose a few massive focal boulders rather than many medium stones to save money. Large rocks fill more volume for less total weight than small ones. Use local gravel or mulch to fill gaps between stones instead of buying more rock. This technique stretches your budget while maintaining a professional appearance. Simple designs require less equipment time and lower fees.
Long Term Care And Maintenance Of Your Backyard Boulder Landscape
How To Clean, Preserve, And Maintain The Appearance Of Landscape Boulders
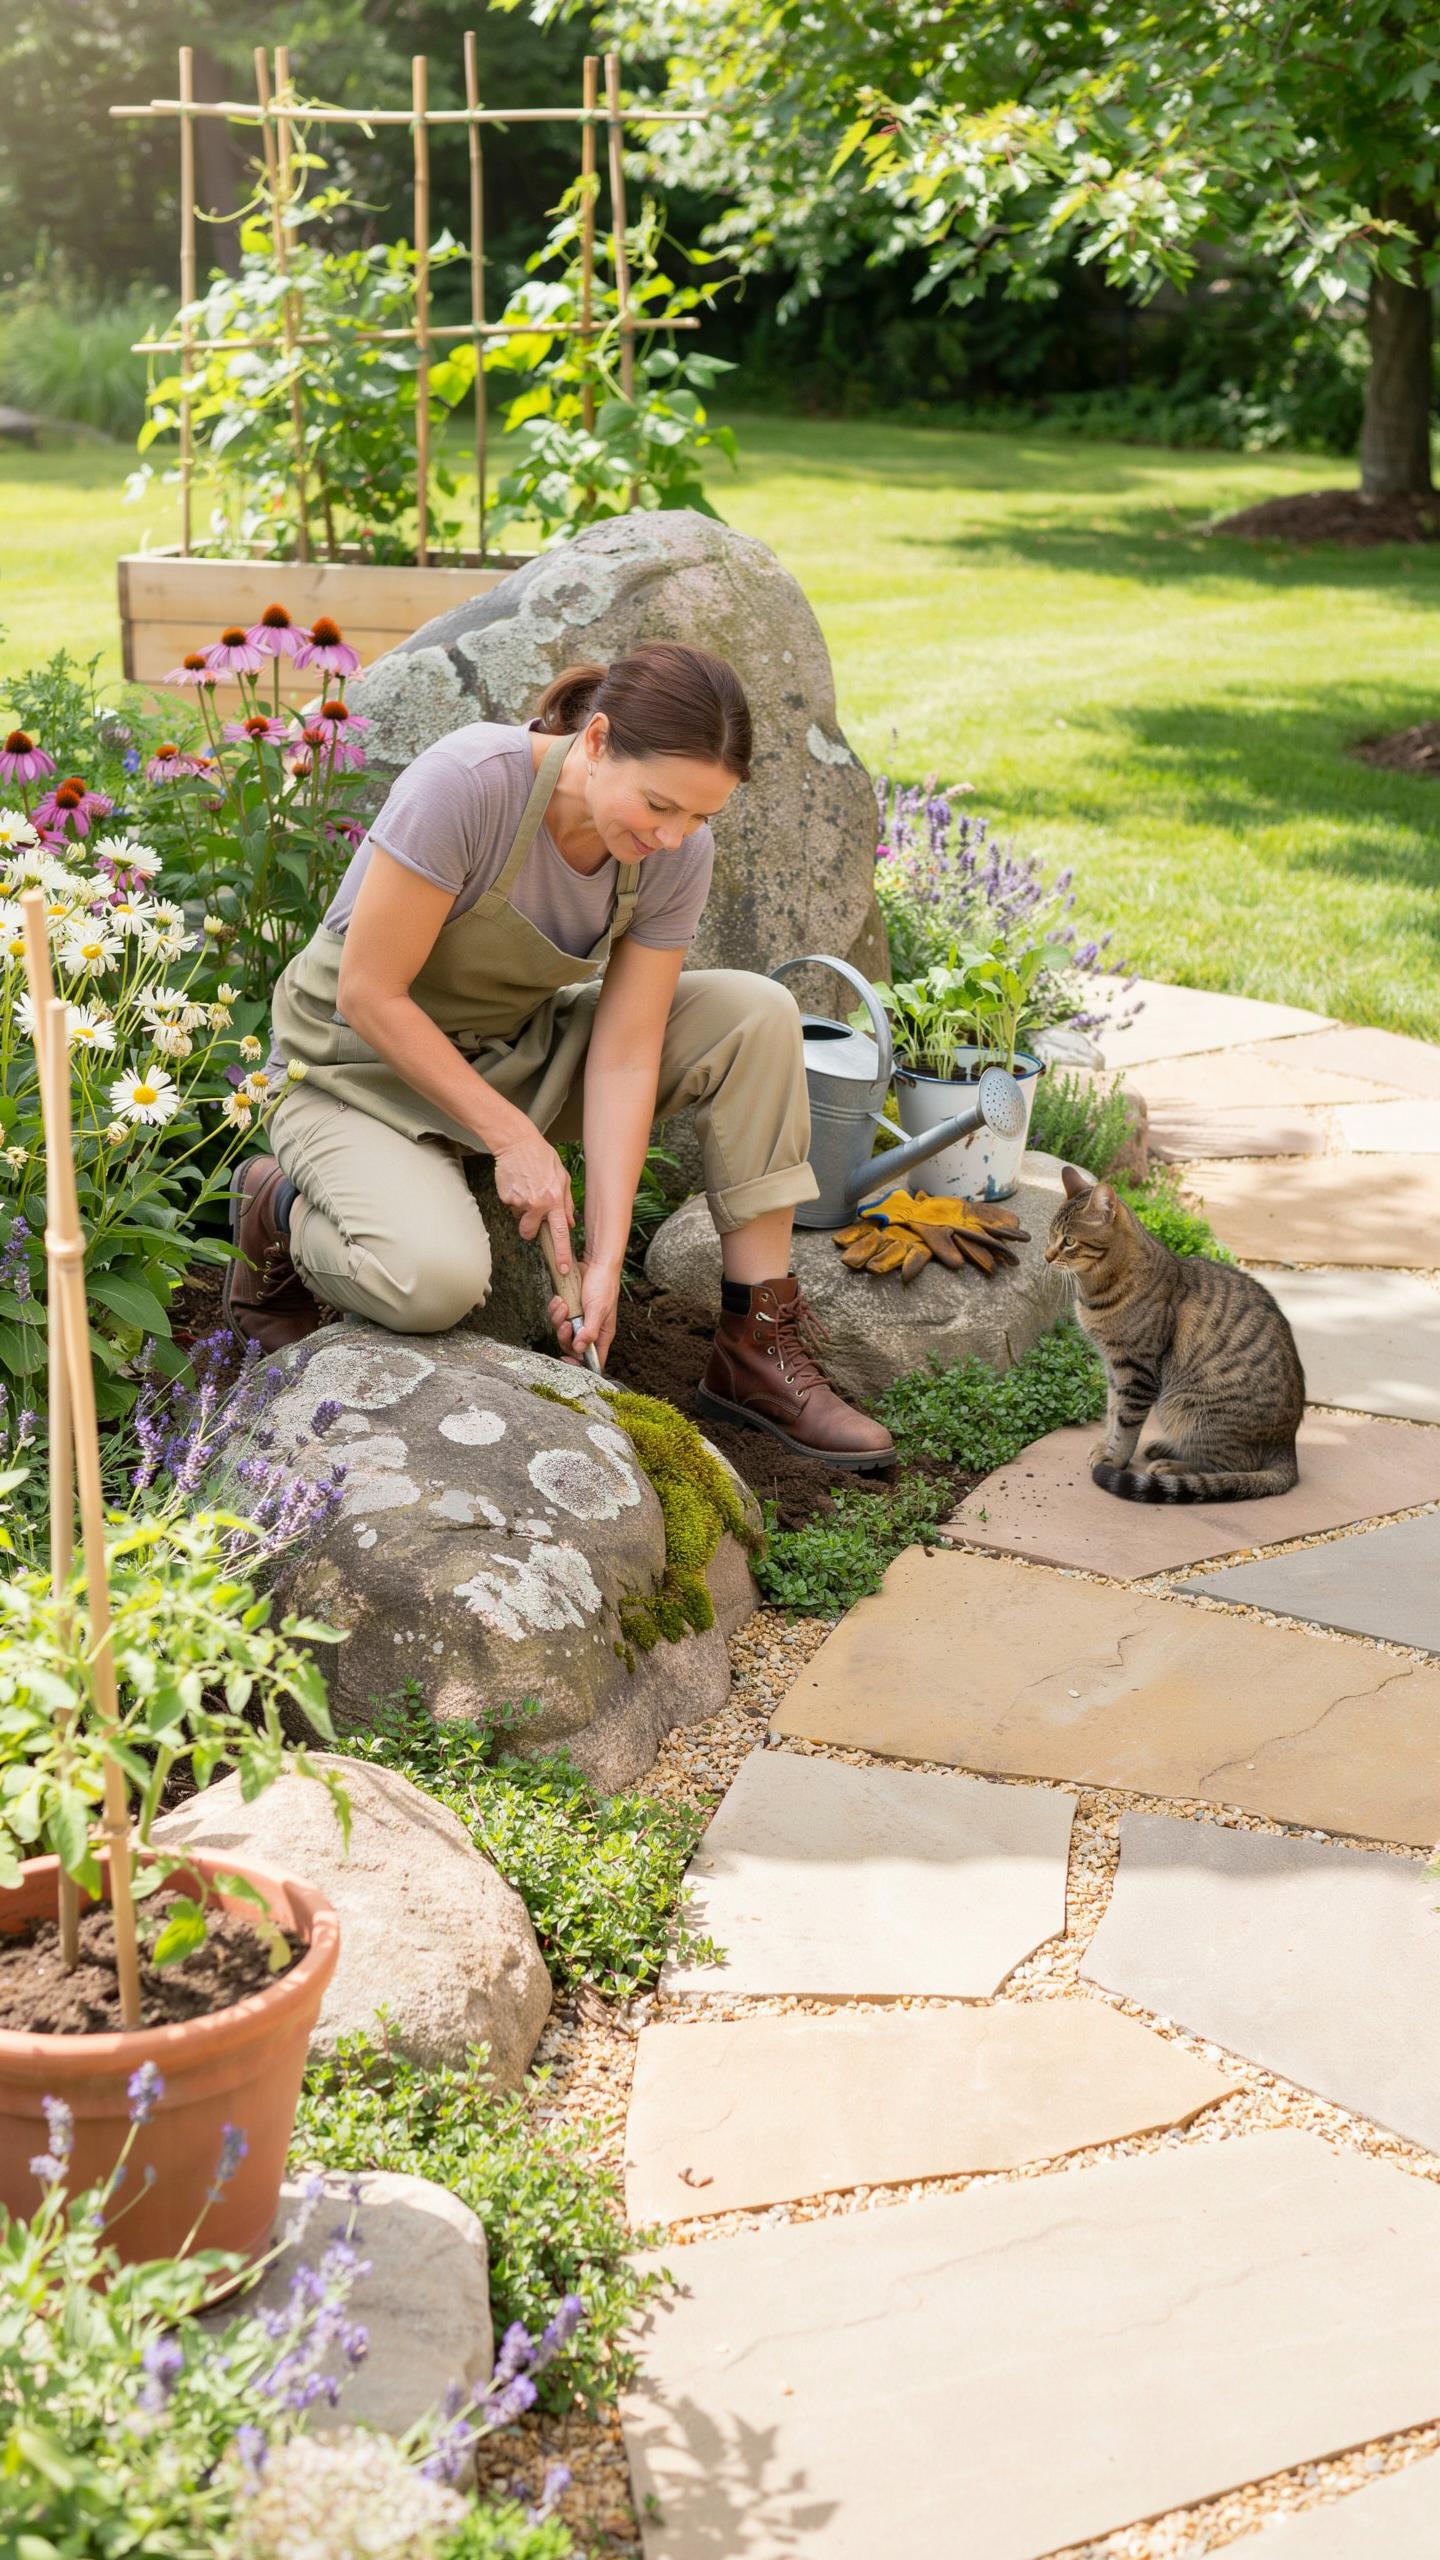
Boulders require minimal but specific care to maintain their structural integrity and visual appeal. Dirt and organic debris trap moisture against the stone surface. This moisture promotes the growth of invasive lichen, moss, and algae. You must remove this buildup to prevent surface degradation over several decades. Use a stiff nylon brush and plain water for general cleaning. Avoid wire brushes because they leave metal fragments that rust and stain.
Chemical cleaners often damage the natural patina of the rock or harm surrounding soil chemistry. If you encounter stubborn organic growth, use a diluted vinegar solution or specialized pH-neutral stone cleaner. Rinse the area thoroughly with low-pressure water after scrubbing. High-pressure washing can open pores in softer sedimentary rocks like sandstone. This increases the rate of erosion and allows dirt to penetrate deeper into the stone over time.
Seasonal Upkeep Tips To Keep Your Boulder Garden Looking Its Best Year Round
Temperature fluctuations cause rocks to expand and contract. In winter, water enters small crevices and freezes. This expansion can cause exfoliation or cracking in layered rocks. Ensure the ground slopes away from the base of each boulder to prevent water pooling. Excessive moisture at the base weakens the soil. This leads to shifting or sinking which ruins your original design layout. Check the stone stability after every heavy thaw.
Spring maintenance involves managing the surrounding vegetation. Plants grow quickly and can obscure the boulders or trap moisture against them. Trim back overhanging branches and aggressive groundcovers to maintain clear sightlines and airflow. Add fresh mulch or gravel around the base to prevent soil splash-back during rainstorms. This keeps the stones clean and maintains the defined edges of your landscaping. Replace any shifted foundational gravel to ensure the boulders remain securely anchored.
Frequently Asked Questions

Why should I consider using boulders in my garden design?
Incorporating boulders is an excellent way to add instant texture, height, and a focal point to your outdoor space. Unlike plants that require seasonal care, backyard landscaping with boulders provides year-round structure and a timeless, organic aesthetic. These natural elements act as anchors for your flower beds, helping to define specific zones while mimicking the rugged beauty of a natural landscape with very little long-term maintenance required.
How do I properly set a boulder so it looks natural?
To achieve a professional look, avoid simply placing the rock on top of the grass. For successful backyard landscaping with boulders, you should dig a shallow hole and bury at least one-third of the stone underground. This technique makes the boulder appear as though it is an outcropping emerging from the earth rather than a stray rock. Nestling smaller stones and groundcover plants around the base further enhances this realistic, integrated appearance.
Is it possible to landscape with large rocks on a tight budget?
Absolutely! You can save significantly by sourcing rocks locally from construction sites or farms where owners often want them removed for free. If buying retail, choose a few high-impact “character” stones rather than many small ones to get the most visual value for your money. Focus on strategic placement in high-visibility areas like the front entryway or near a patio to create a luxury look without the high price tag.



