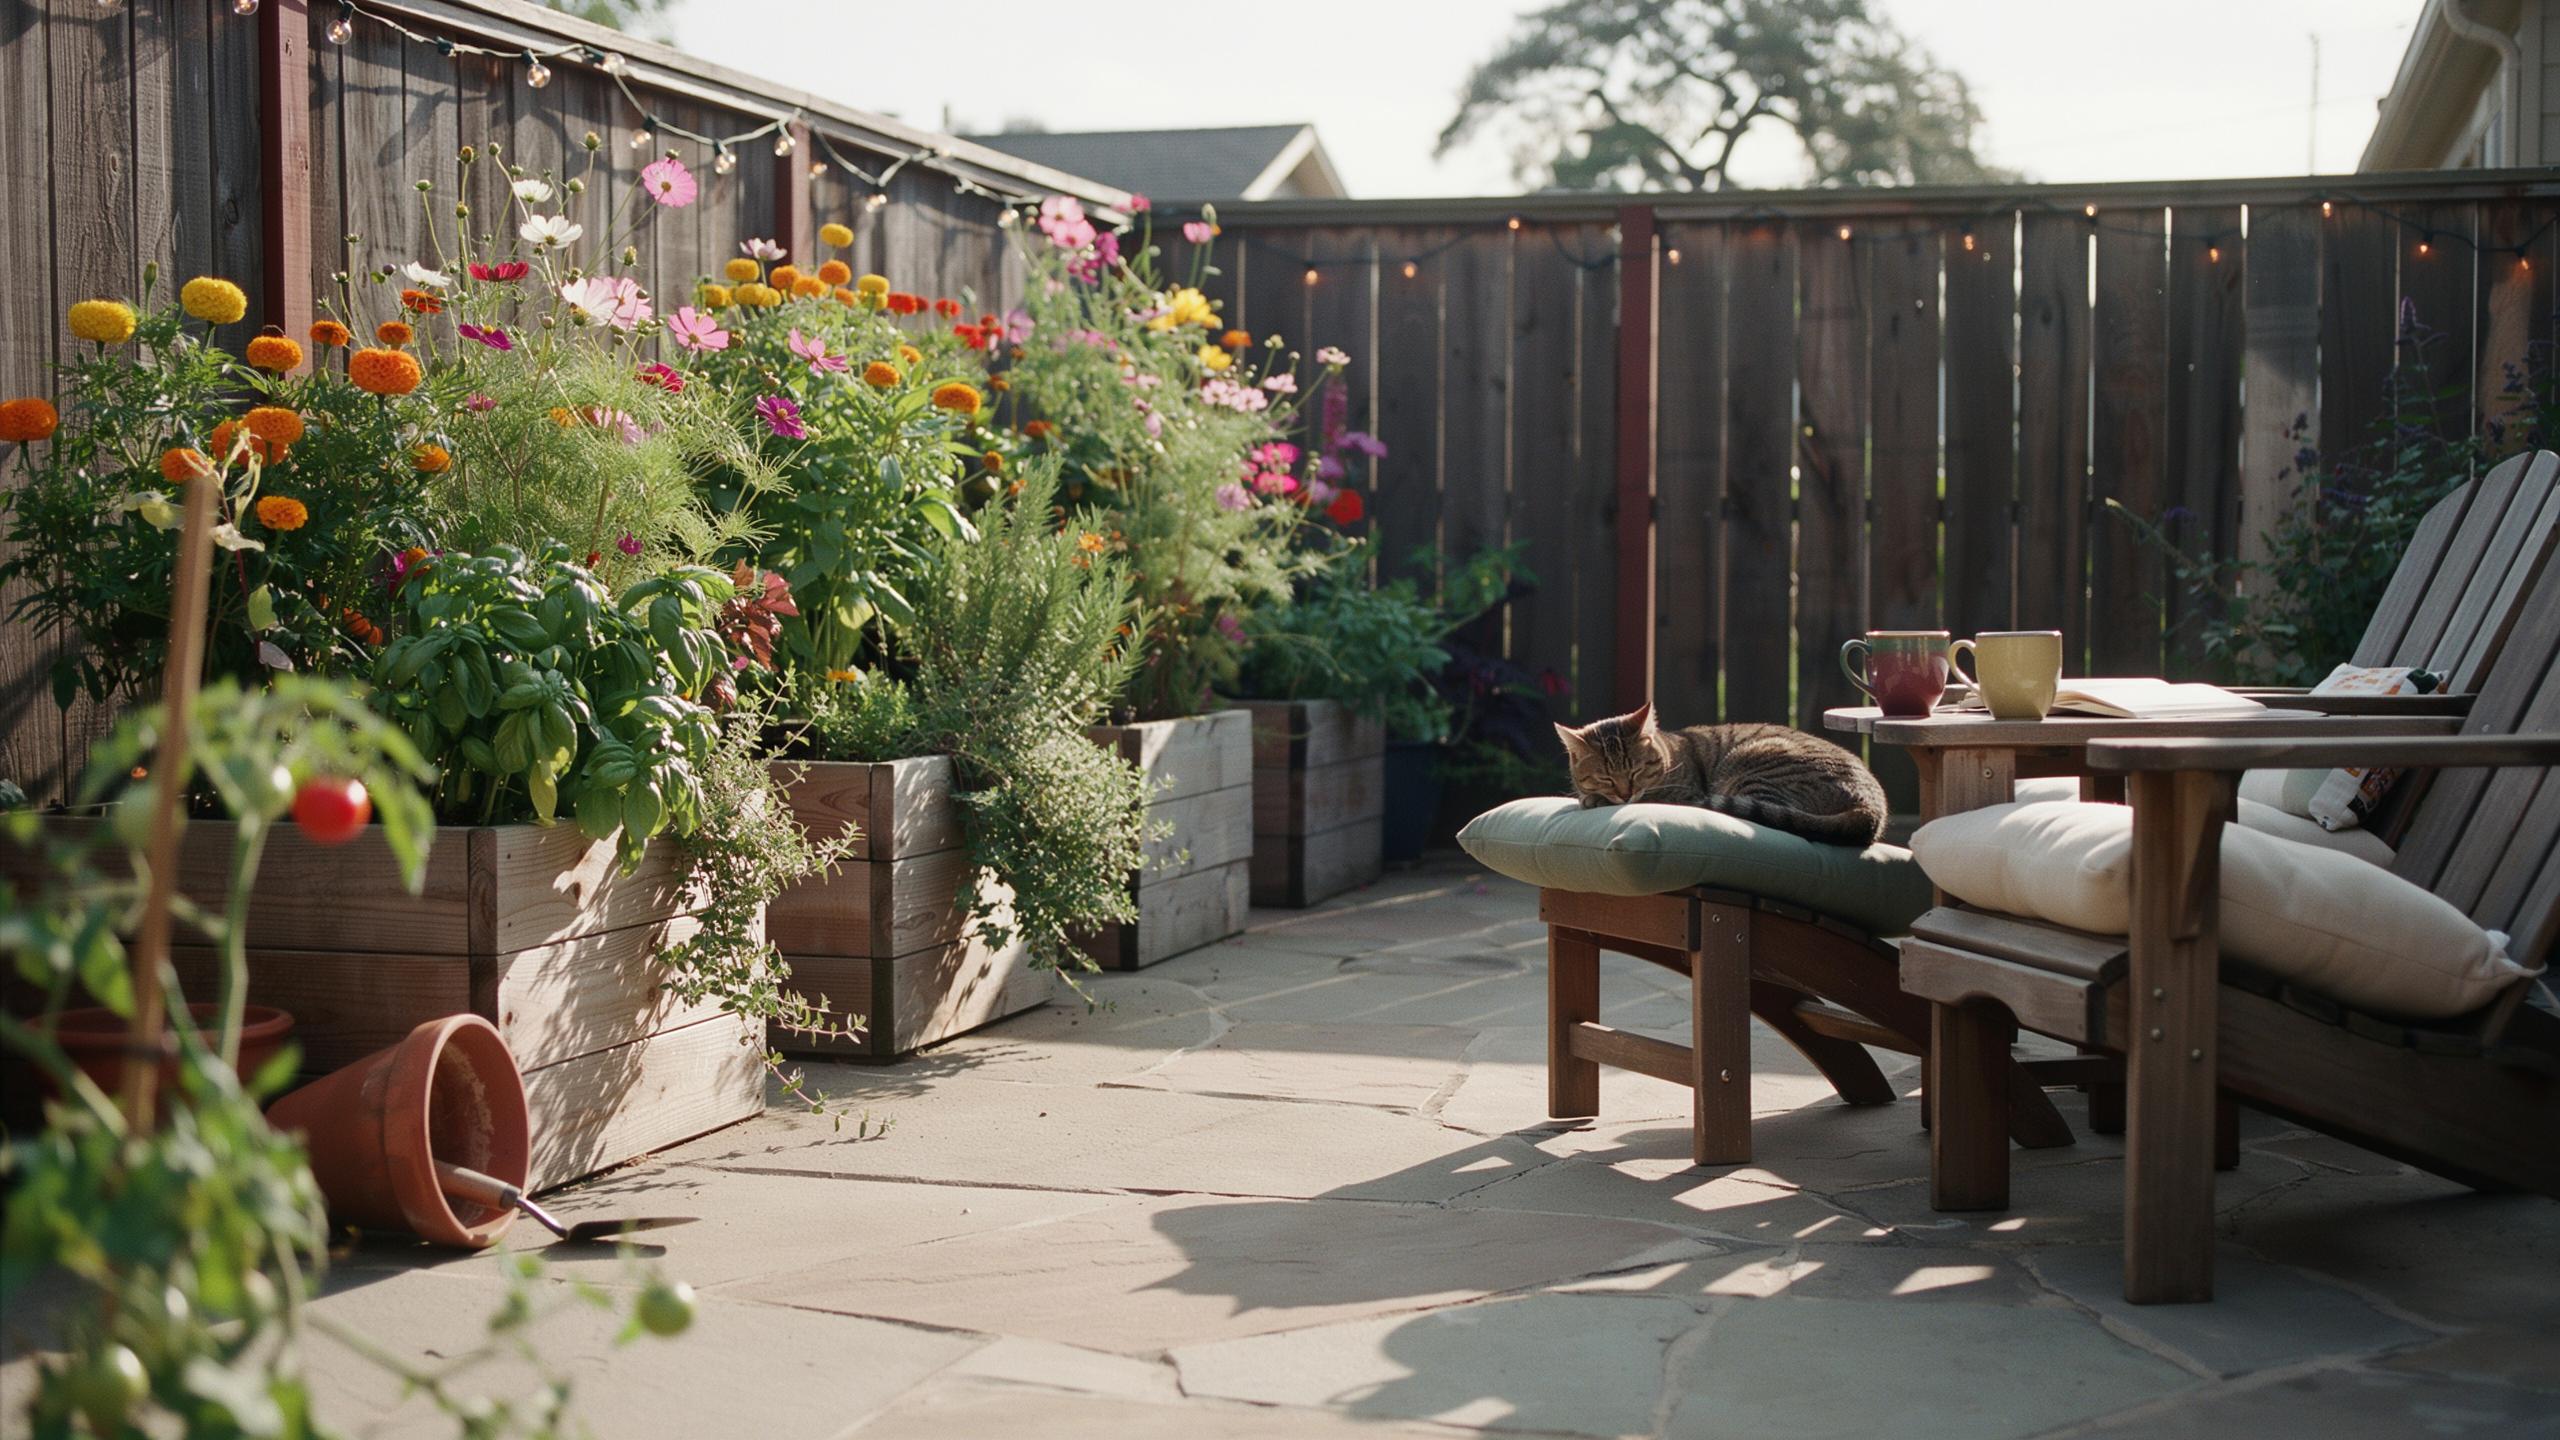
What Are Raised Planter Box Plans And Why Every Home Gardener Needs One
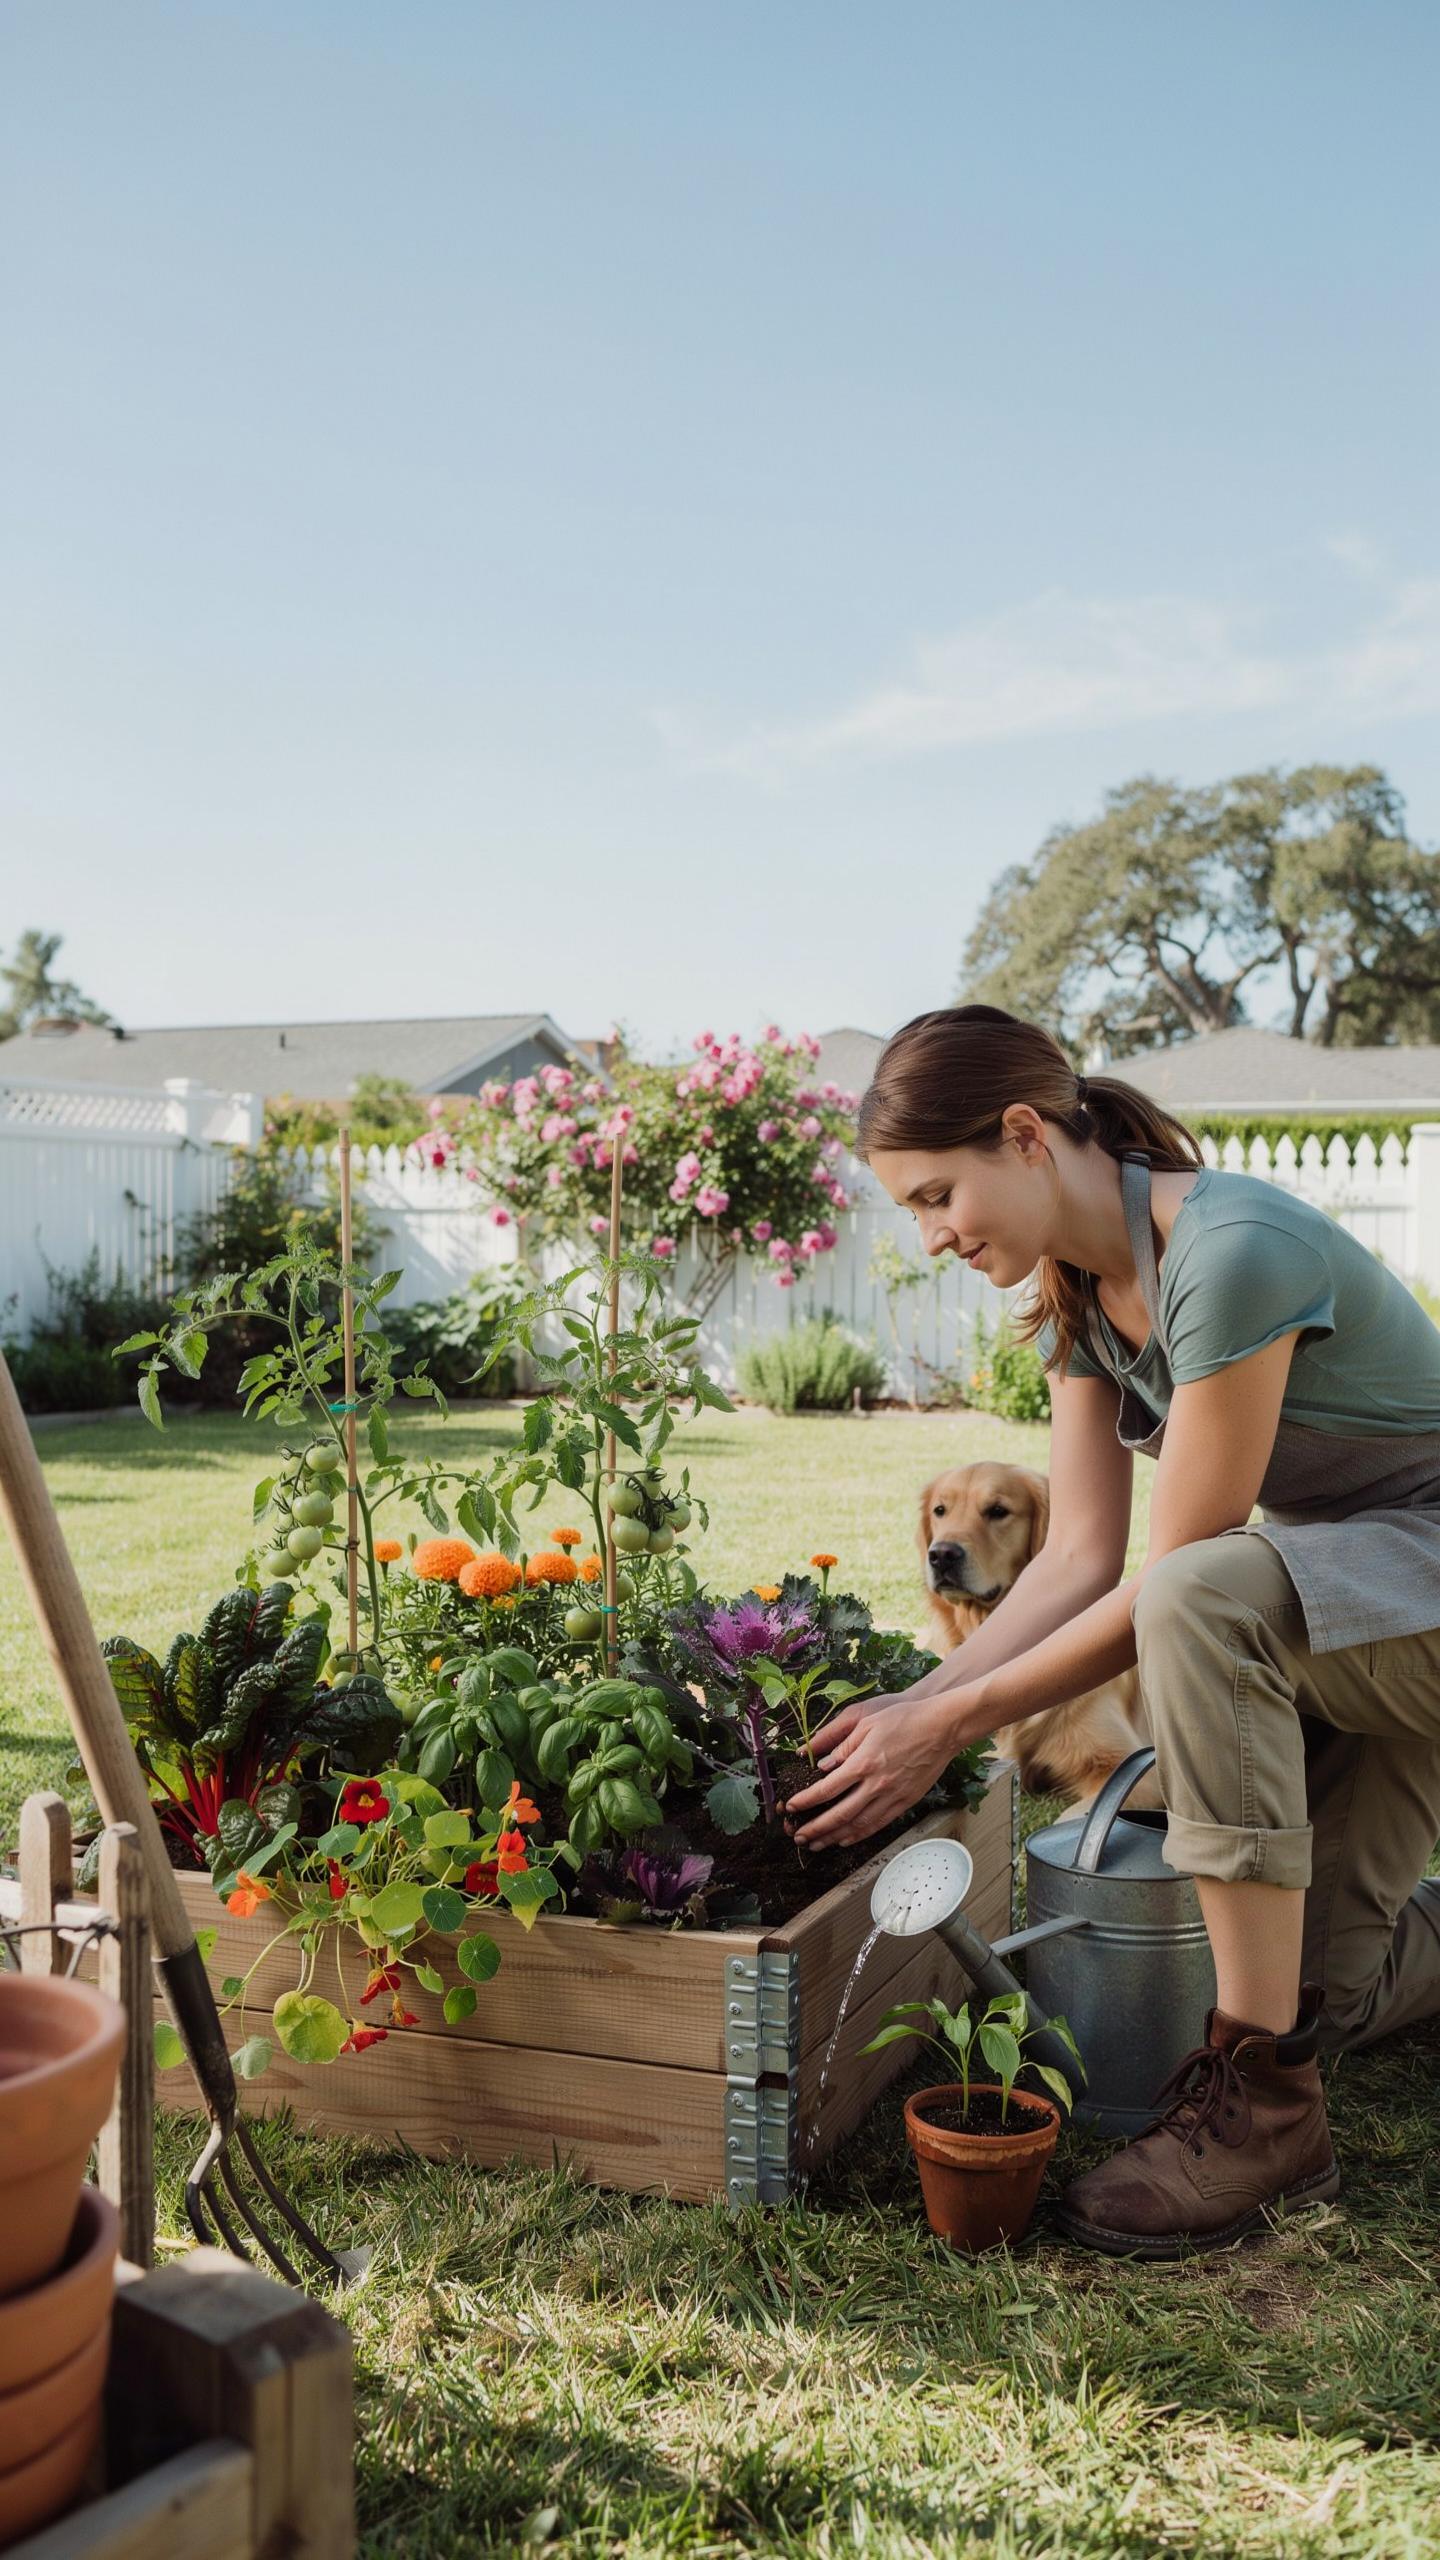
Understanding The Purpose And Benefits Of A Raised Planter Box
Raised planter box plans act as a tactical blueprint for elevated gardening. These structures solve the primary problem of poor soil quality by allowing gardeners to control the growing medium entirely. You skip the struggle with heavy clay or rocky earth. By lifting the garden above the ground, you also improve drainage significantly. This prevents root rot and ensures plants receive the right oxygen levels.
Accessibility is the second major driver for using these plans. Traditional gardening requires constant bending and kneeling which strains the back and joints. Elevated designs bring the work surface to a comfortable height for the operator. This ergonomic advantage extends the growing season for elderly or physically limited gardeners. You achieve higher yields with less physical cost. These boxes also create a physical barrier against many common garden pests.
How Raised Planter Boxes Differ From Traditional In Ground Garden Beds
In-ground beds rely on the existing soil profile and local geology. This often leads to compaction from foot traffic during maintenance. Raised boxes eliminate this issue because people do not walk on the growing surface. The soil stays loose and crumbly for years without heavy tilling. You save time on labor while maintaining better soil structure. Loose soil allows roots to spread faster and deeper for stronger plant growth.
Temperature control is a technical distinction that favors raised designs. In-ground soil stays cold deep into the spring season. Wood or stone walls in a raised bed absorb solar heat and warm the soil sooner. This allows you to plant weeks before your neighbors. Precise water management is also easier in a contained box. You direct moisture exactly where it is needed without wasting resources on pathways or non-productive areas.
Choosing The Right Materials For Your DIY Wood Raised Planter Boxes
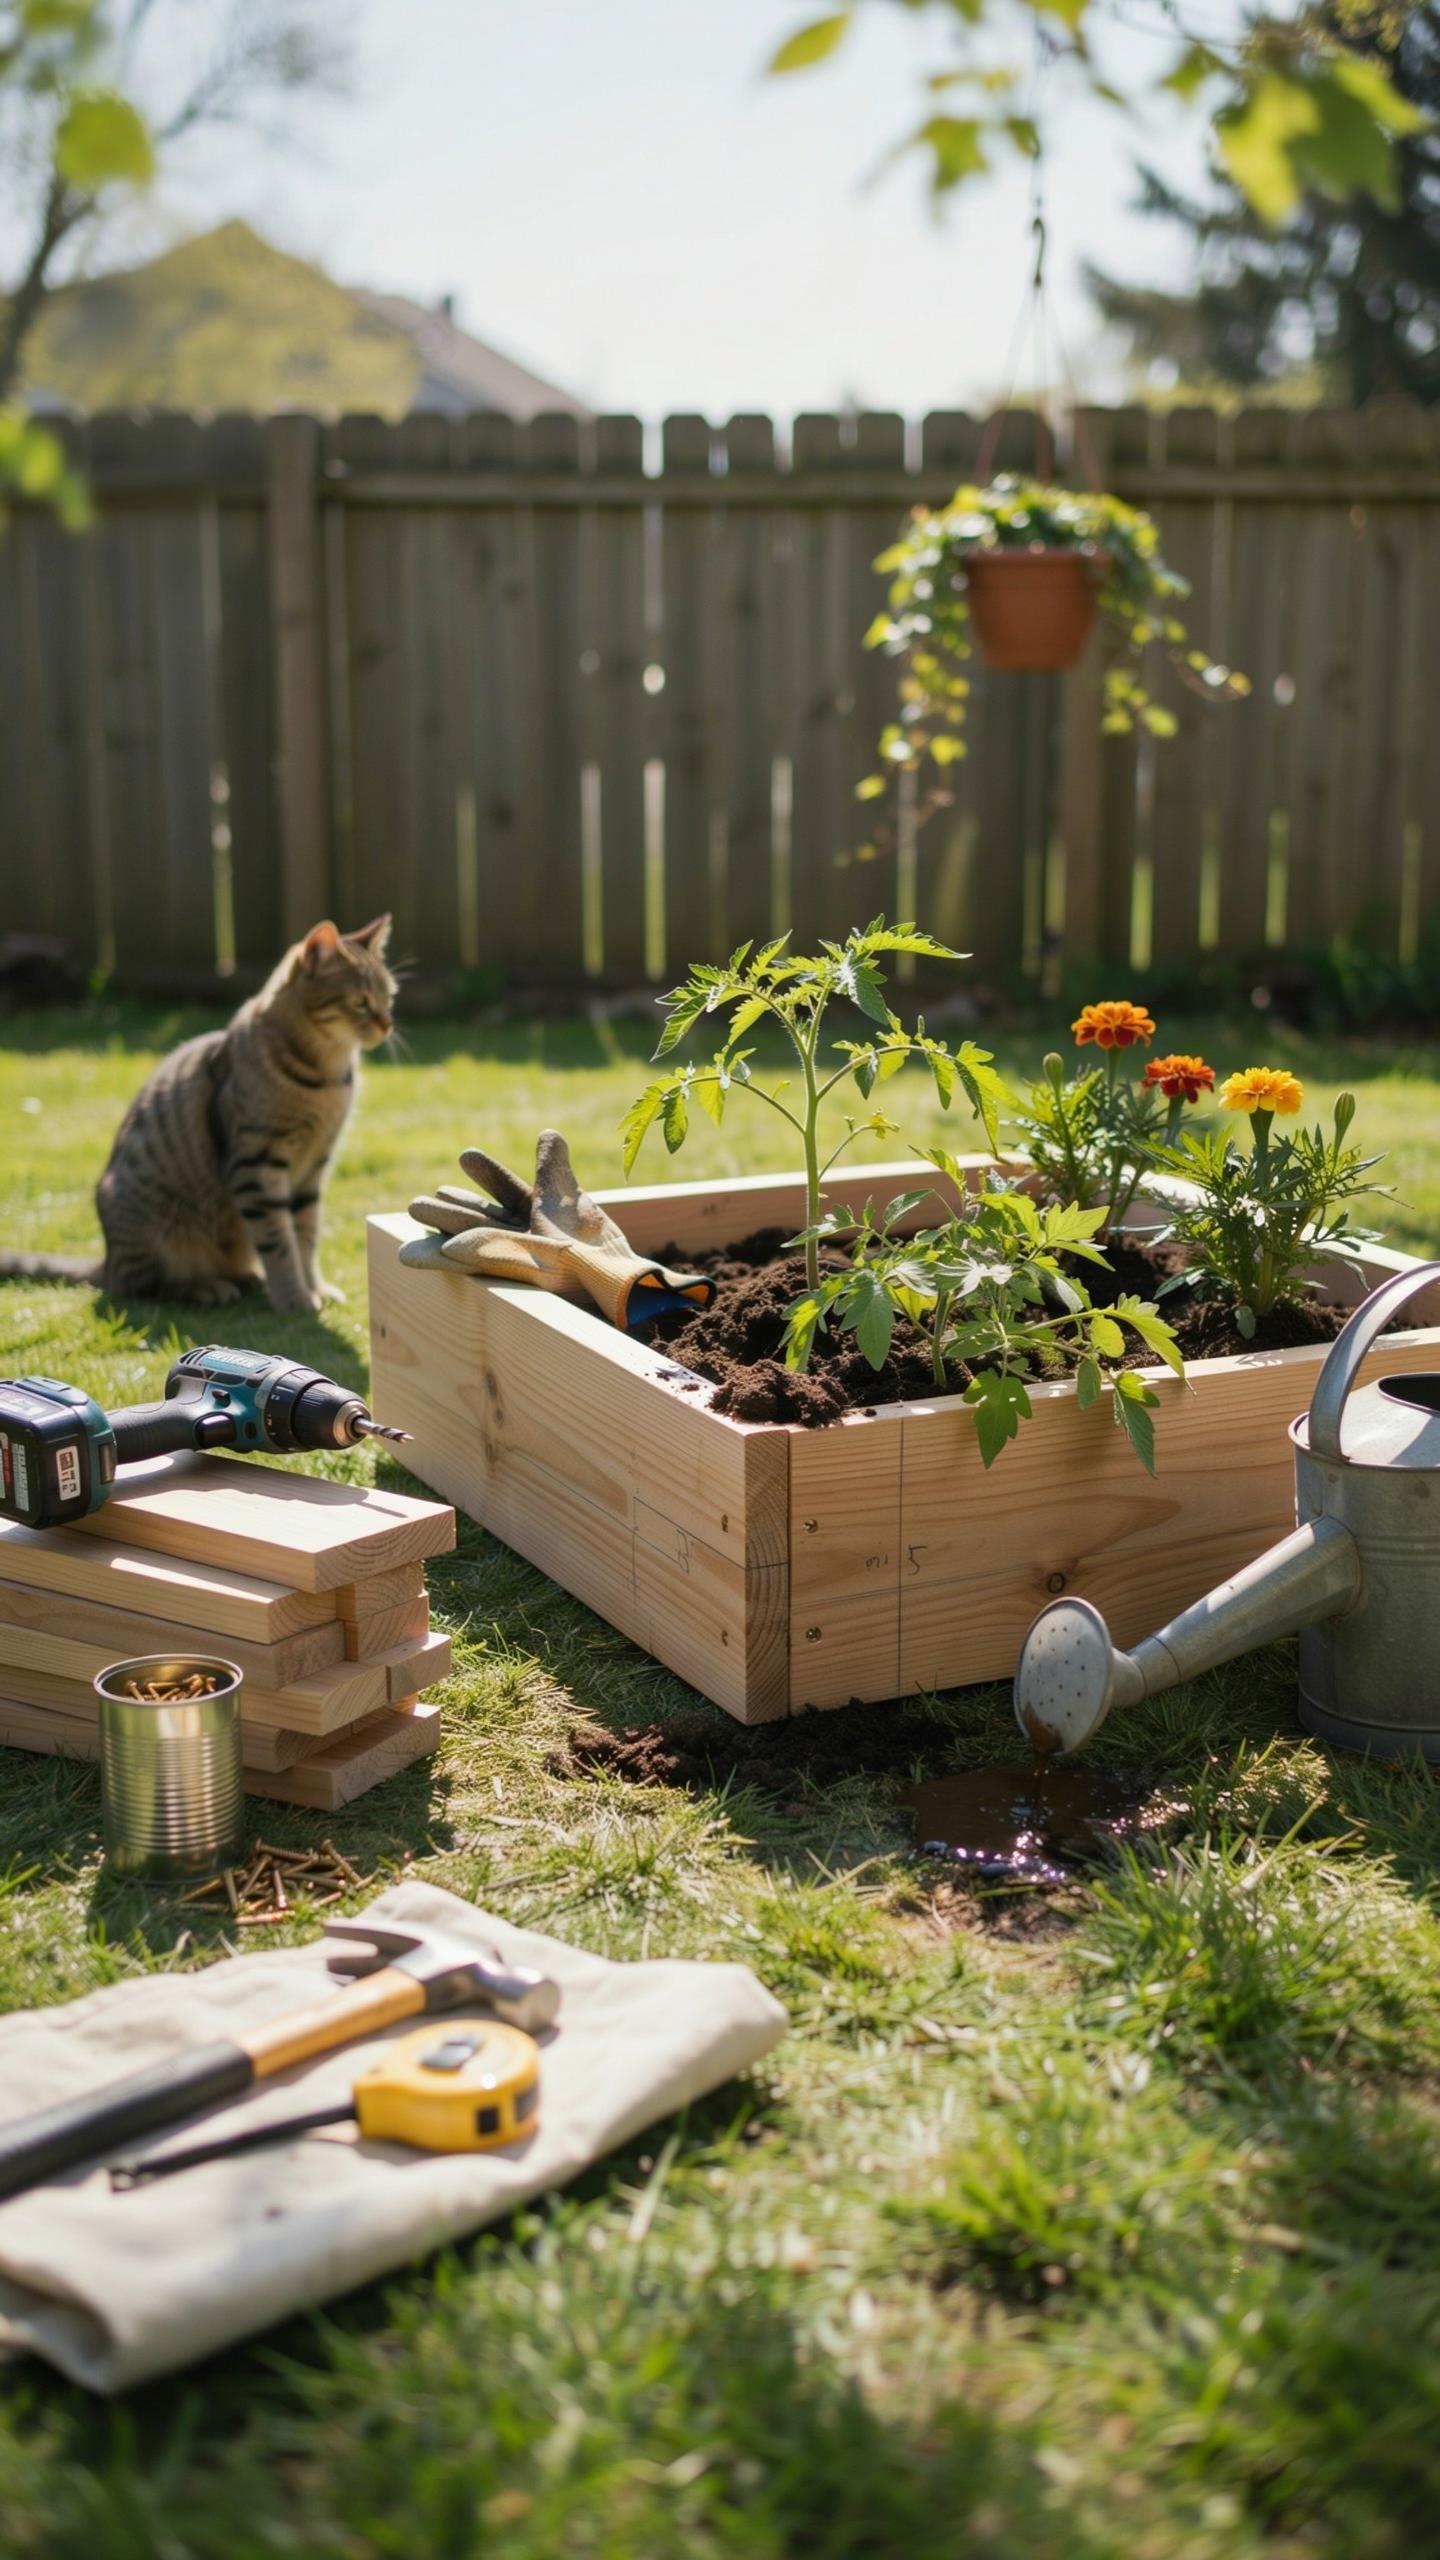
Best Types Of Wood To Use For Long Lasting Outdoor Planter Boxes
Western Red Cedar and Redwood represent the industry standard for durability. These species contain natural tannins and oils that resist rot and insect attacks. You do not need chemical treatments for these woods to last a decade outdoors. They remain stable in changing humidity levels. This prevents the boards from warping or twisting after you assemble the planter box.
Select rot-resistant hardwoods like Ipe or Black Locust if your budget allows for premium materials. These woods offer extreme density and survive in direct ground contact longer than softwoods. Avoid using pressure-treated lumber manufactured before 2004 because it contains arsenic. Modern alkaline copper quaternary treated wood is safer but still requires a liner to prevent chemical leaching into your soil.
Essential Tools And Hardware You Will Need Before You Start Building
Efficiency depends on having the correct mechanical advantages ready. A miter saw ensures every cut stays square for tight joints. Impact drivers provide the necessary torque to sink heavy-duty fasteners without stripping heads. You must use specific outdoor hardware to prevent rust streaks and structural failure. Use a speed square to verify every corner remains exactly ninety degrees during the assembly process.
- Corrosion Resistant Screws: Use stainless steel or high-quality ceramic coated screws designed for exterior use. These fasteners withstand the corrosive nature of tannins in cedar and redwood. Standard zinc screws will rust and fail within two seasons of exposure to wet soil.
- Power Miter Saw: A miter saw allows you to make repeatable and precise crosscuts. High accuracy ensures your box corners align perfectly without gaps. This tool saves significant time when you need to cut multiple structural posts and side boards to identical lengths.
- Impact Driver: This tool drives long screws into dense wood easier than a standard drill. The internal hammering mechanism prevents the bit from slipping out of the screw head. It reduces physical strain when you assemble large frames that require dozens of deep fasteners.
- Geotextile Fabric: Line the interior of your planter box with heavy-duty landscape fabric before adding soil. This material allows water to drain while keeping the dirt inside the structure. It protects the wood from constant dampness and prevents fine particles from washing out through the gaps.
- Speed Square: Use this tool to mark straight lines and check the squareness of your corners. Accurate layout prevents the planter from looking skewed once you finish the build. It also serves as a guide for your circular saw if you lack a miter saw.
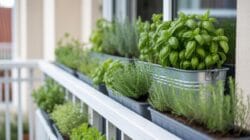
Assemble all components on a flat surface to maintain structural integrity. Use waterproof wood glue in combination with screws for the strongest possible joints. Pre-drilling holes is a critical step that prevents the wood from splitting at the ends. This tactic preserves the aesthetic finish and ensures the fasteners grab the grain tightly for a box that lasts years.
Free Raised Planter Box Plans Simple Designs Anyone Can Build On A Budget
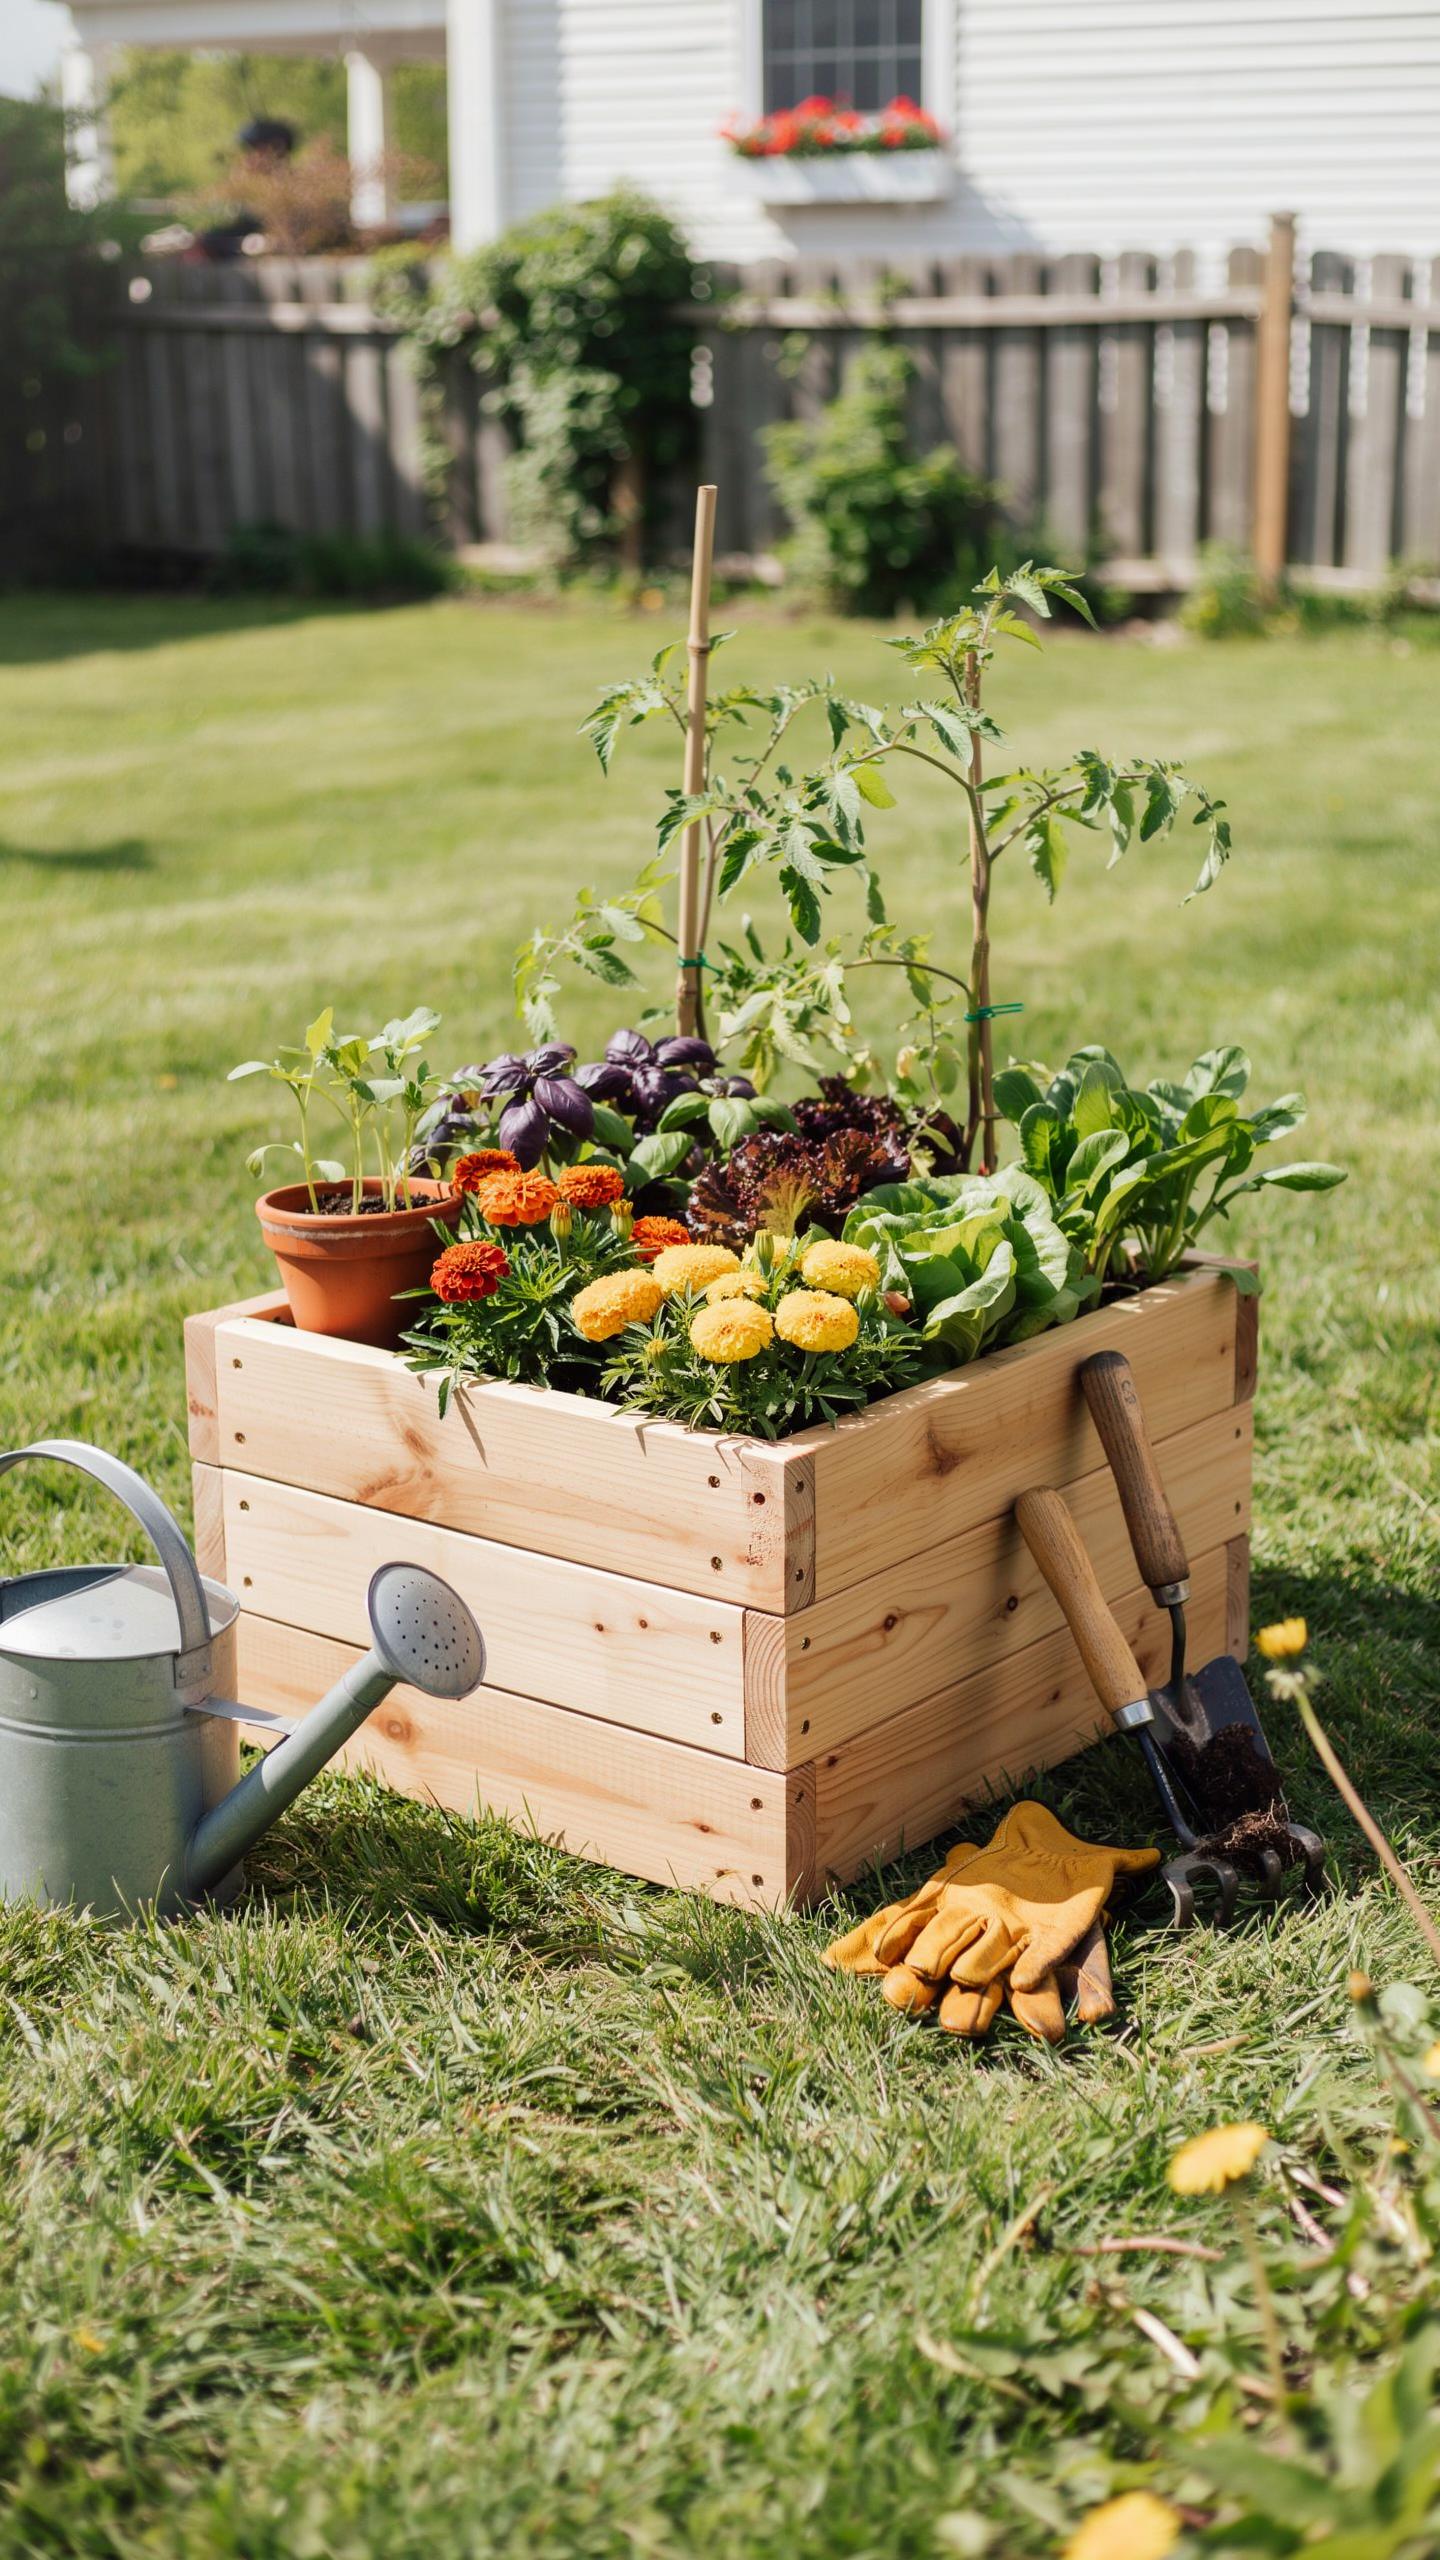
Where To Find Reliable Free Raised Planter Box Plans Online And Offline
University extension offices provide the most reliable free blueprints. These institutions offer research-based designs that prioritize structural integrity and soil health. Government agricultural programs also publish schematics for community garden initiatives. These documents include precise cut lists and material specifications. They ensure your build withstands soil pressure and weather. Using these sources avoids the technical errors found in hobbyist blogs.
Local lumber yards often stock printed plan sheets for common backyard projects. Physical hardware stores provide these to encourage material sales. You can also find reliable archives through public libraries and historical woodworking journals. These older designs focus on joinery techniques that do not require expensive power tools. Look for plans with clear exploded views and step-by-step assembly instructions to minimize waste and errors.
How To Read And Adapt A Basic Planter Box Plan To Fit Your Space
A standard plan serves as a structural guide rather than a rigid rule. You must identify the primary frame members first. These pieces carry the weight of wet soil and plants. You can shorten or lengthen side boards to fit your specific yard dimensions. Always maintain the specified post thickness to prevent bowing. Simple math allows you to scale the volume without losing the structural logic.
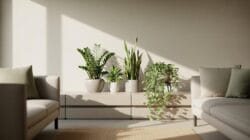
Examine the fastener schedule to understand the load path. If you expand the length of a box, add mid-span bracing to reinforce the walls. Standard lumber comes in fixed lengths like eight or twelve feet. Adjust your blueprints to utilize these lengths fully and reduce scrap. Check your local soil type before choosing a depth. Deeper boxes require thicker wood or internal steel ties to stop the sides from splitting.
DIY Planter Boxes Outdoor Designing For Your Patio Deck Or Backyard
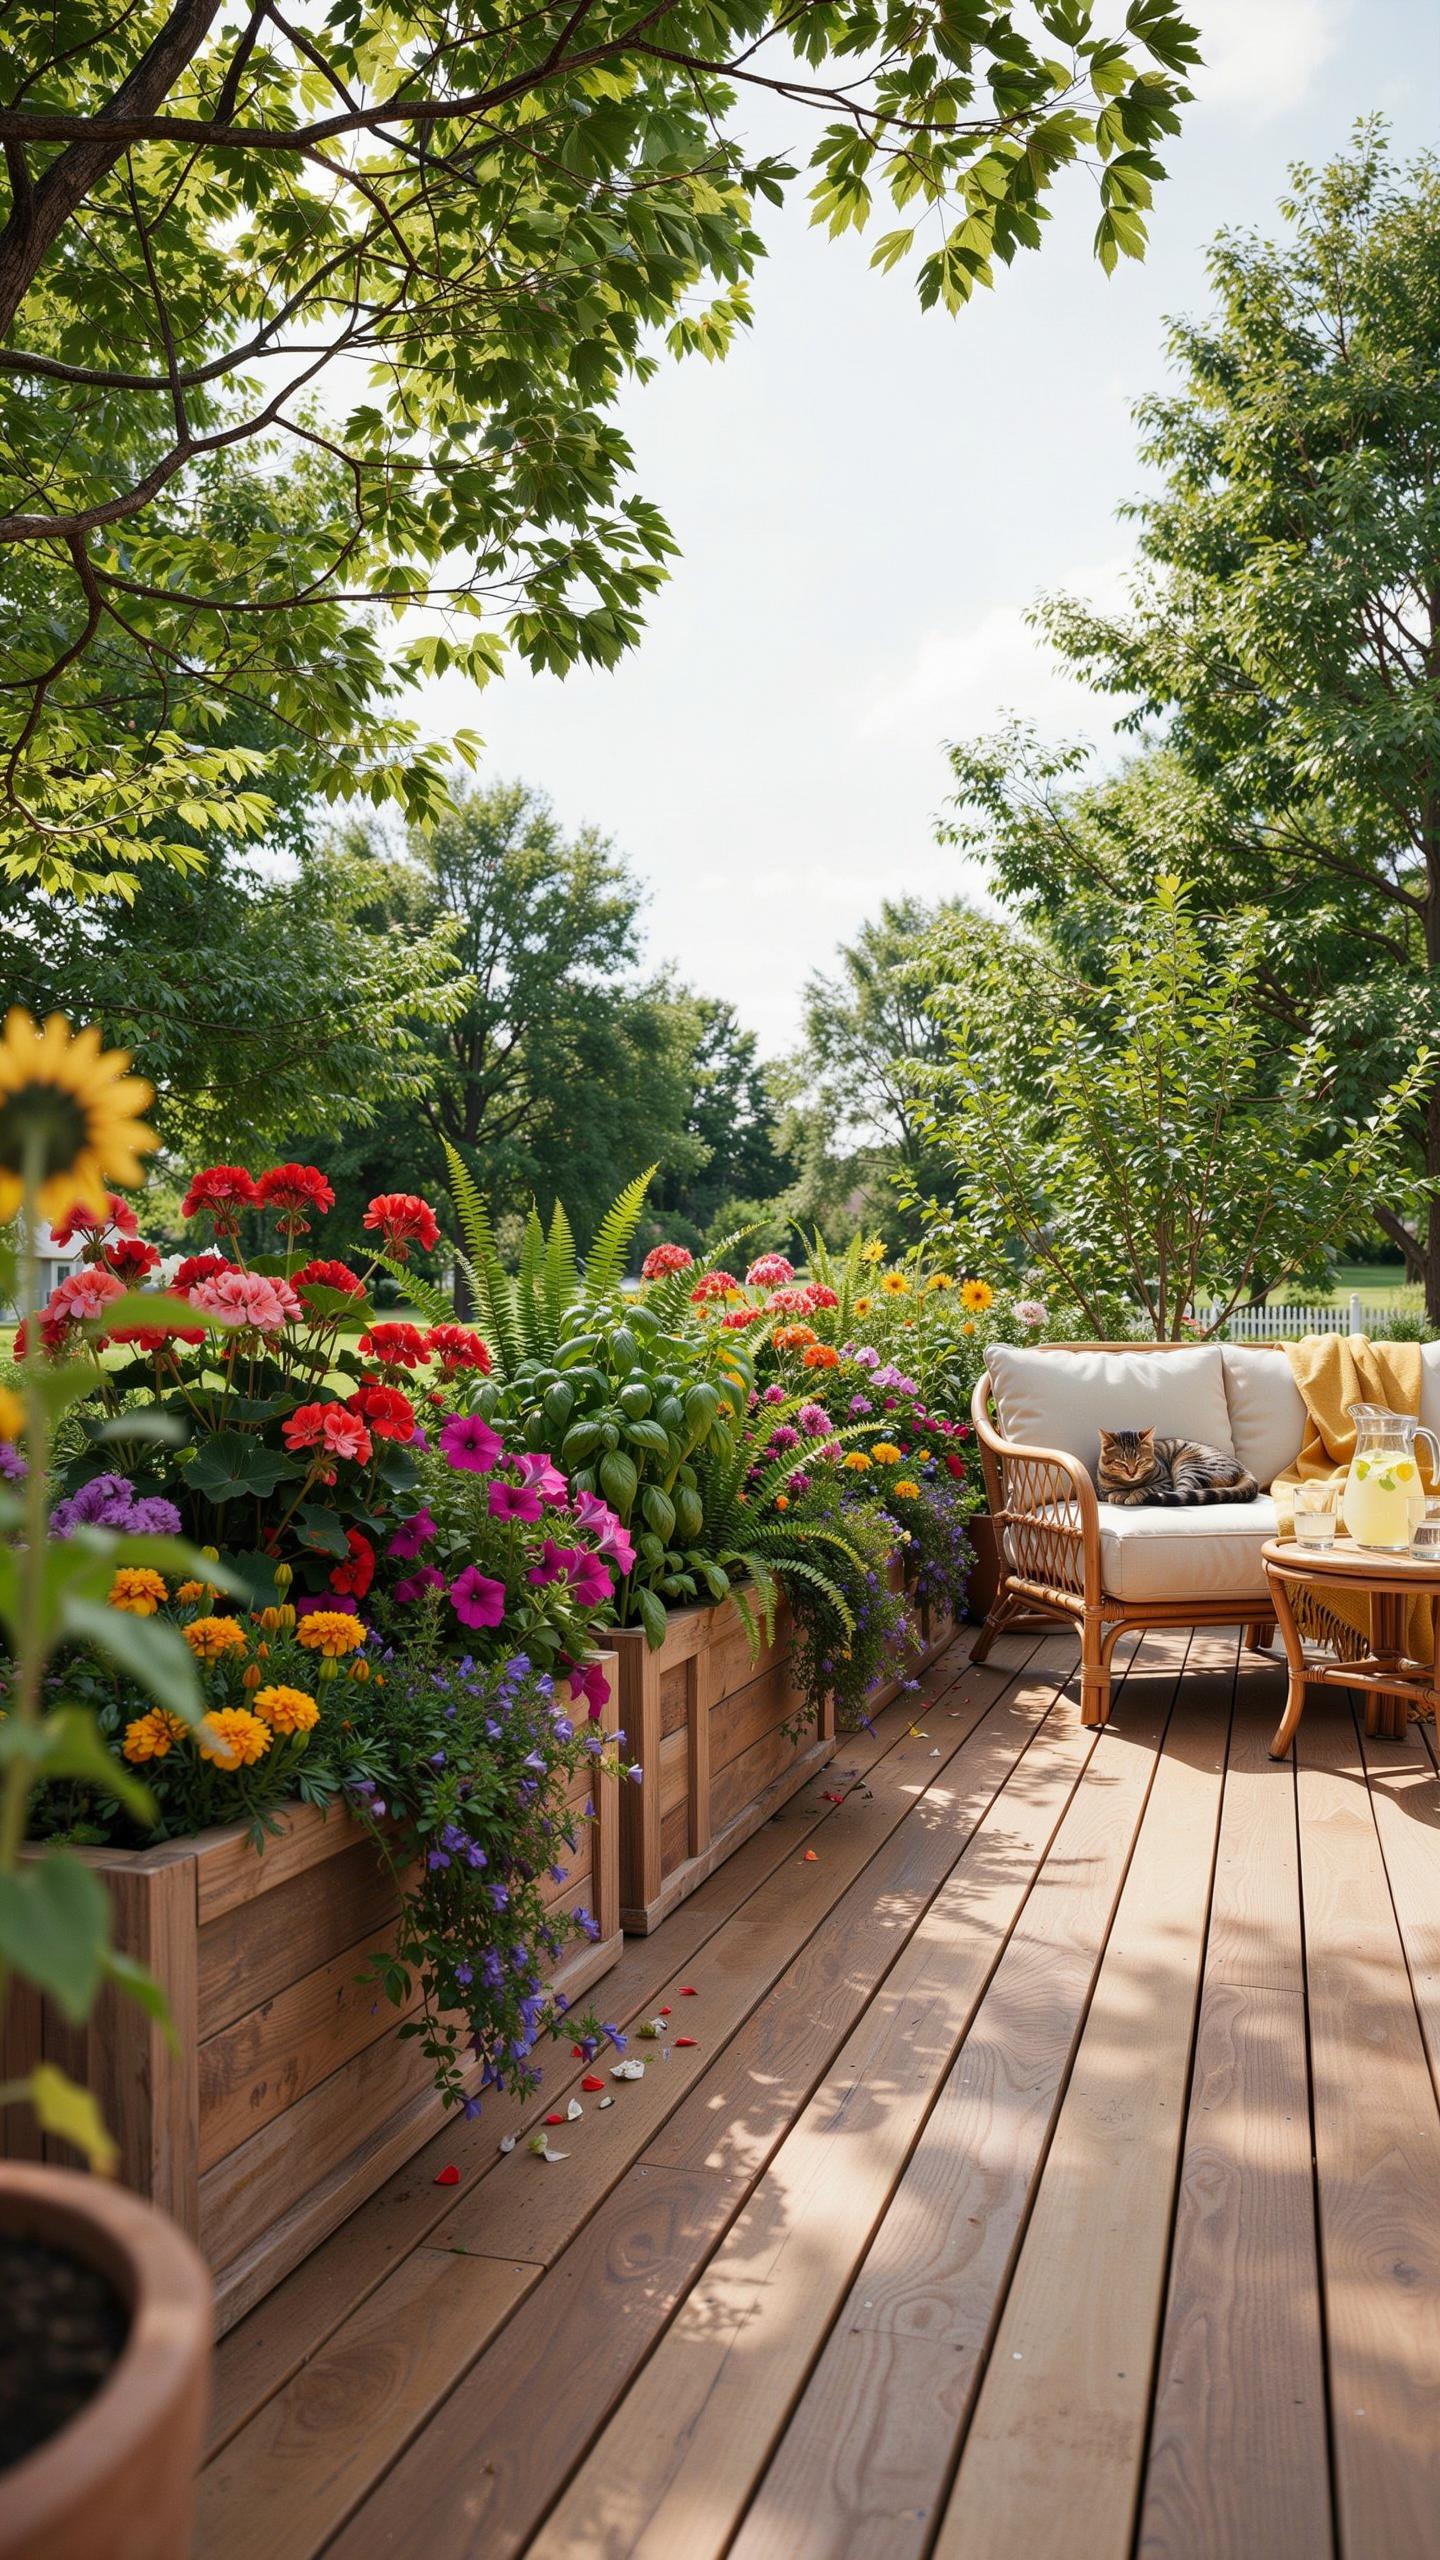
How To Choose The Best Location For Your Outdoor Planter Box
Assess solar exposure before you build. Most edible plants require six to eight hours of direct sunlight. Place your box in an area with a southern or western orientation to maximize light. Avoid low spots where water pools after heavy rain. Ensure you have a nearby water source to simplify irrigation tasks. Dragging hoses across large distances wastes time and increases physical strain.
Check the structural integrity of your deck or patio surface. Wet soil is heavy and exerts significant downward pressure. A standard planter box weighs roughly one hundred pounds per square foot when fully saturated. Align the box over support beams if you use an elevated deck. Keep the box away from exterior walls to prevent moisture damage and wood rot on your home. Proper airflow prevents fungal growth.
The glory of gardening: hands in the dirt, head in the sun, at heart with nature. To nurture a garden is to feed not just the body, but the soul.
Sizing Your DIY Planter Boxes Outdoor To Match Your Available Space
Select dimensions based on human ergonomics and plant root requirements. Standard heights range from twelve to thirty inches. A taller box reduces bending and back strain for the gardener. Ensure the width does not exceed four feet if the box is accessible from both sides. This limit allows you to reach the center without stepping on the soil. Stepping on soil causes compaction and ruins root aeration.
Measure your pathway clearances to maintain safe traffic flow. Leave at least three feet of space around the perimeter for walking and maintenance. Small patios benefit from vertical designs or tiered boxes. These configurations maximize square footage in tight areas. Depth matters for specific crops. Root vegetables need at least twelve inches of soil. Leafy greens thrive in six inches. Match your depth to your intended harvest.
Planter Boxes DIY Step By Step Guide To Building Your First Raised Box
Cutting, Assembling, And Securing The Frame Of Your Planter Box
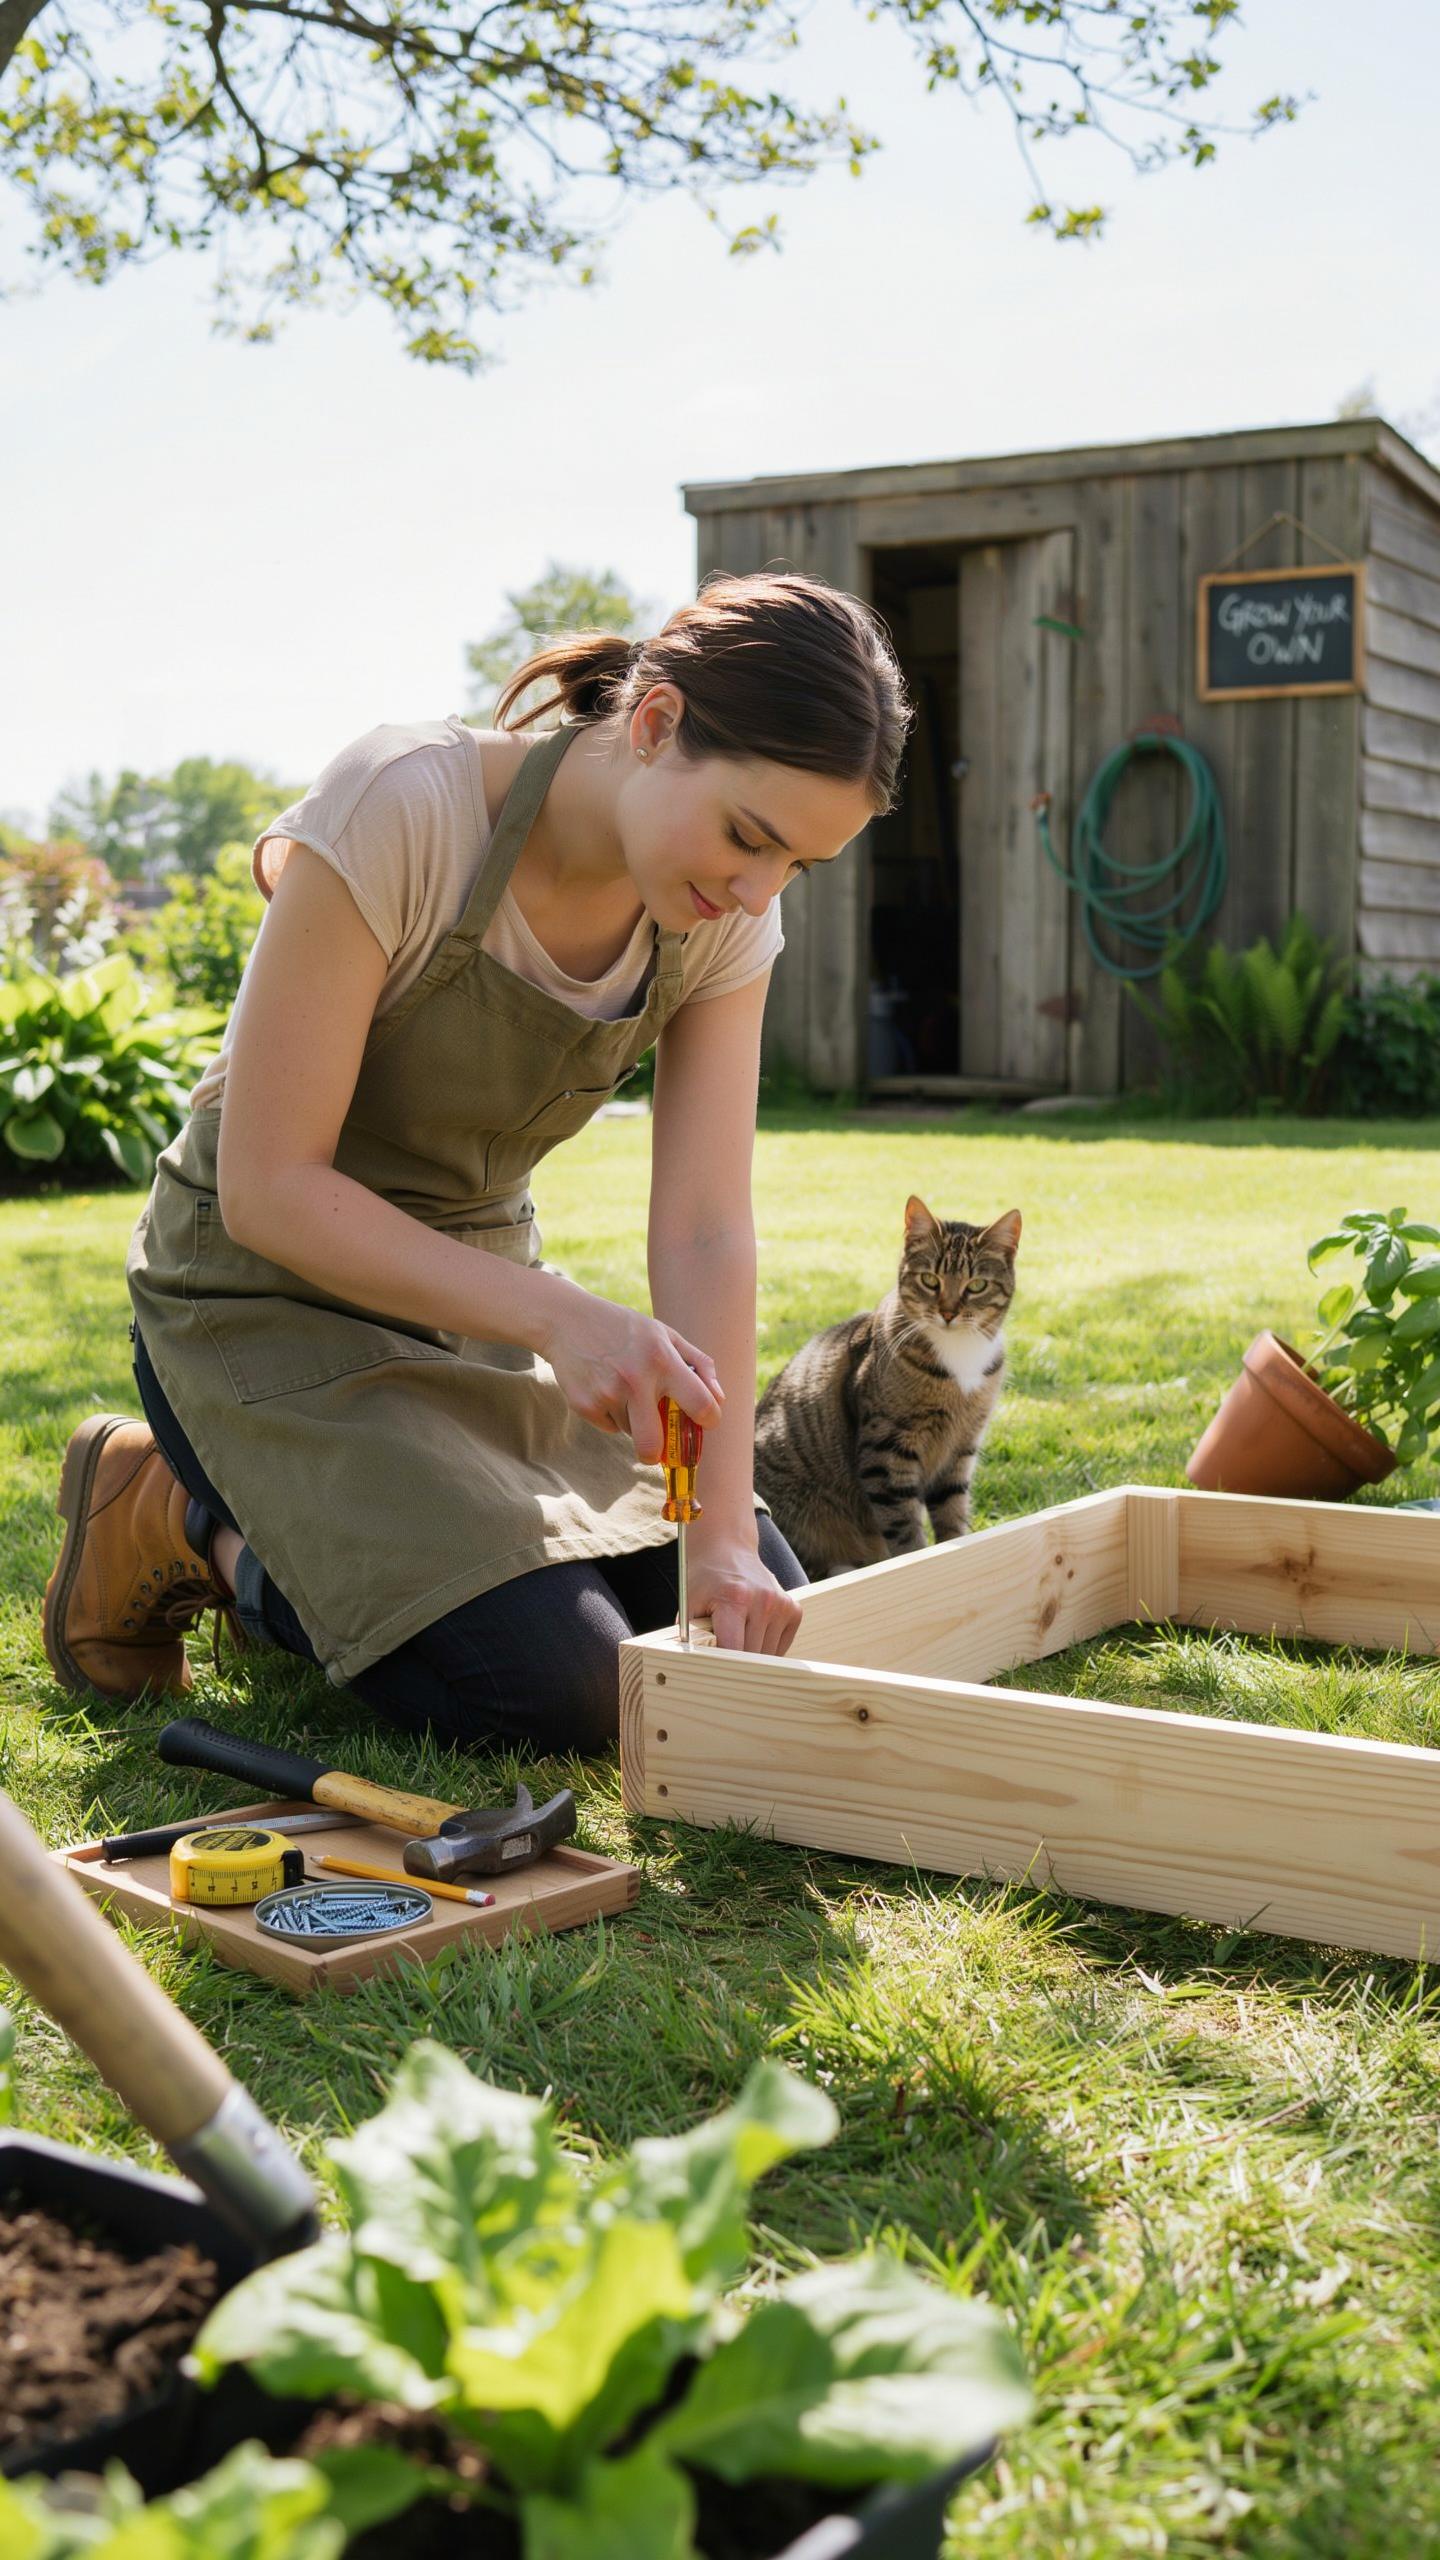
Begin by cutting your lumber to the exact dimensions specified in your blueprint. Use a miter saw for clean 90-degree angles to ensure tight joints. Cedar and redwood offer natural rot resistance and remain the gold standard for outdoor builds. Lay your boards on a flat surface to check for warping before assembly. Straight cuts allow the frame to sit level on the ground.
Fasten the side walls to your corner posts using three-inch stainless steel screws. Pre-drill pilot holes to prevent the wood from splitting near the edges. Use a speed square to keep every corner perfectly aligned during the fastening process. Drive screws through the exterior boards and into the structural posts. This method creates a rigid box that can withstand the outward pressure of heavy wet soil.
Adding A Liner, Drainage Holes, And Soil To Prepare For Planting
Proper containment and drainage determine the lifespan of your raised planter. A high-quality liner protects the wood from constant moisture contact while allowing the structure to breathe. You must ensure excess water can exit the base to prevent root rot. This stage bridges the gap between a wooden shell and a functional growing environment. Precision here prevents future structural failure and plant death.
- Geotextile Fabric: Line the interior walls with permeable landscape fabric. This material allows water to pass through but keeps fine soil particles inside the box. It prevents the wood from rotting prematurely by creating a slight barrier between the damp earth and the timber.
- Drainage Channels: Drill half-inch holes every six inches if your box has a solid wooden floor. Space these holes evenly across the entire bottom surface. Gravity pulls excess water down through these openings to keep the soil oxygenated and prevent stagnant water buildup.
- Coarse Base Layer: Place two inches of washed gravel or river stone at the bottom of the planter. This layer speeds up drainage by preventing soil from clogging the exit holes. It acts as a mechanical filter that keeps the water moving away from the root systems.
- Organic Soil Mix: Fill the box with a blend of sixty percent topsoil and forty percent finished compost. Avoid using standard garden soil which contains clay and compacts too easily in containers. This specific ratio provides the necessary nutrients and pore space for aggressive root growth.
- Leveling and Settling: Fill the container to within two inches of the top rim. Water the soil thoroughly to help it settle and remove large air pockets before you plant. You may need to add more soil after the first watering to maintain the desired height.
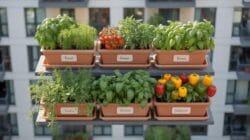
Finalize the preparation by tamping the soil lightly with a hand rake. Do not pack the soil down hard as this destroys the structure required for air circulation. Check that the box remains level after the weight of the water and soil is added. A well-prepared planter provides a stable medium for vegetables and flowers to thrive for several seasons without major maintenance.
DIY Elevated Planter Boxes Bringing Comfort And Accessibility To Gardening
Why Elevated Planter Boxes Are Ideal For Seniors And Gardeners With Limited Mobility
Elevated planter boxes eliminate the need for bending or kneeling. This design reduces back strain and knee pain during planting and harvesting. Waist-high structures allow gardeners to work while standing or sitting in a chair. This ergonomic approach keeps gardening accessible for people with chronic pain or mobility aids. Universal design principles prioritize this height to ensure everyone can participate in outdoor activities easily.
Strategic placement of these boxes near walkways improves safety. These units function well on flat surfaces like patios or decks. Good design prevents the mess associated with traditional ground plots. Senior living communities often utilize these structures to maintain resident engagement with nature. This transition from ground level to waist level preserves independence. It allows users to manage their crops without physical overexertion or assistance from others.
Structural Considerations When Building A Sturdy DIY Elevated Planter Box
Weight management is the primary challenge for elevated designs. Wet soil is heavy and exerts significant pressure on the floor of the box. You must use thick lumber for the legs and frame. 4×4 posts provide the necessary vertical support to prevent collapsing. Reinforce the bottom with heavy duty cleats or steel brackets. These components must withstand hundreds of pounds of saturated planting medium without sagging or breaking.
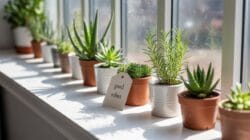
Water drainage requires precision to prevent wood rot. Drill holes in the bottom board and cover them with landscape fabric to retain soil. Use rot-resistant wood like cedar or redwood for longevity. Avoid chemical treatments that might leach into edible plants. Fasten every joint with high quality exterior screws rather than nails. Proper fastening ensures the structure remains stable through seasonal temperature shifts. A well built frame lasts for many years.
DIY Outdoor Raised Planter Creative Styles That Complement Your HomeS Aesthetic
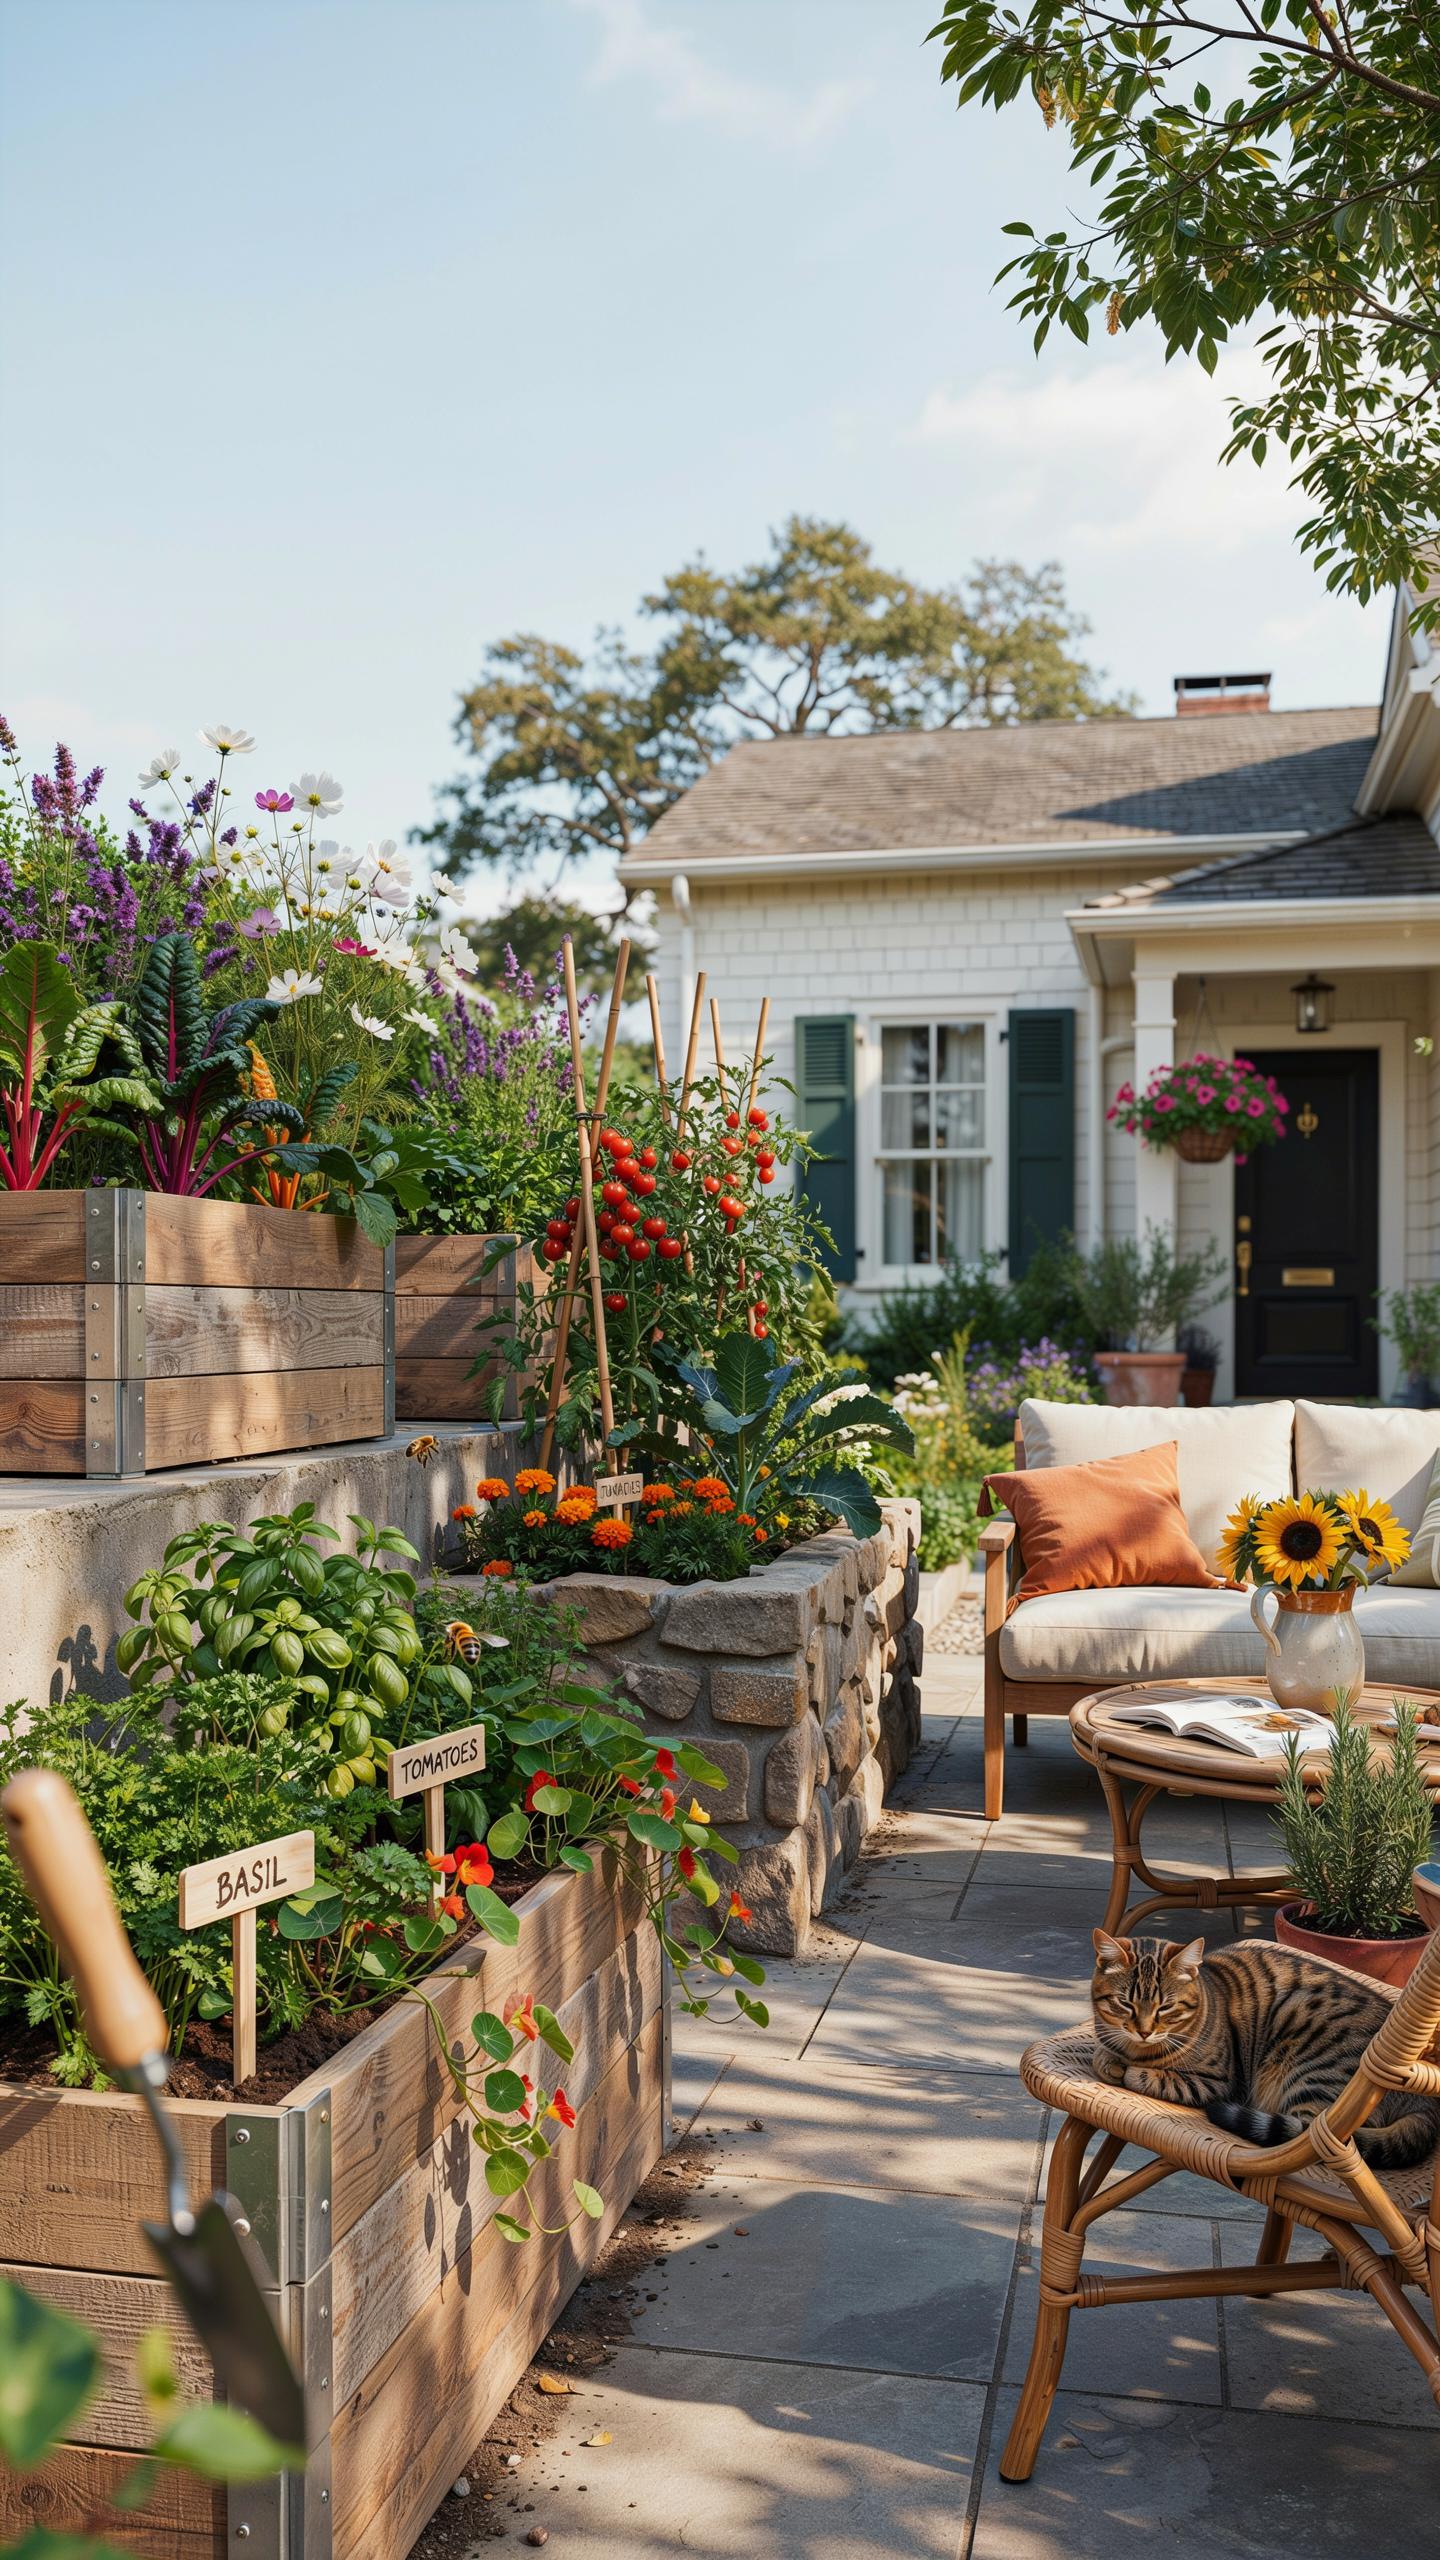
Rustic, Modern, And Farmhouse Styles For Your DIY Outdoor Raised Planter
Design your planter to match your home architecture. Rustic styles use rough-sawn cedar or reclaimed wood to create a weathered look. These designs prioritize thick boards and visible wood grain. Modern styles focus on clean lines and minimalism. Use smooth surfaces and hidden fasteners for this look. Sharp angles and dark colors define the contemporary aesthetic. Ensure the wood choice reflects these specific style goals.
Farmhouse styles blend utility with traditional charm. Use white-painted wood or corrugated metal panels for this effect. Cross-buck designs on the sides provide structural support and visual interest. These planters usually feature wide top rails for seating or holding tools. Choose hardware that matches the style. Black iron bolts suit farmhouse designs well. Stainless steel screws work better for modern builds. Always prioritize function alongside the visual style.
How To Finish, Stain, Or Paint Your Planter Box For A Polished Look
Finishing your planter protects the wood from rot and UV damage. Use food-safe stains if you plan to grow edible crops. Pure tung oil or raw linseed oil provide natural protection without toxic chemicals. Apply these finishes in thin layers to ensure deep penetration. Sand the wood surface before applying any liquid coating. This step opens the wood grain for better absorption. Proper preparation extends the life of the structure.
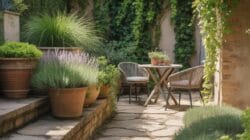
Paint offers the most versatility for color matching. Use exterior-grade latex paint for durability against the elements. Prime the wood first to prevent tannins from bleeding through the finish. If you prefer the look of natural wood, use a clear sealer with UV blockers. Reapply these coatings every two years to maintain protection. Line the interior with heavy-duty plastic to keep wet soil away from the finished wood. Proper maintenance prevents warping and decay.
DIY Raised Planter The Best Plants To Grow For A Cozy And Relaxing Garden
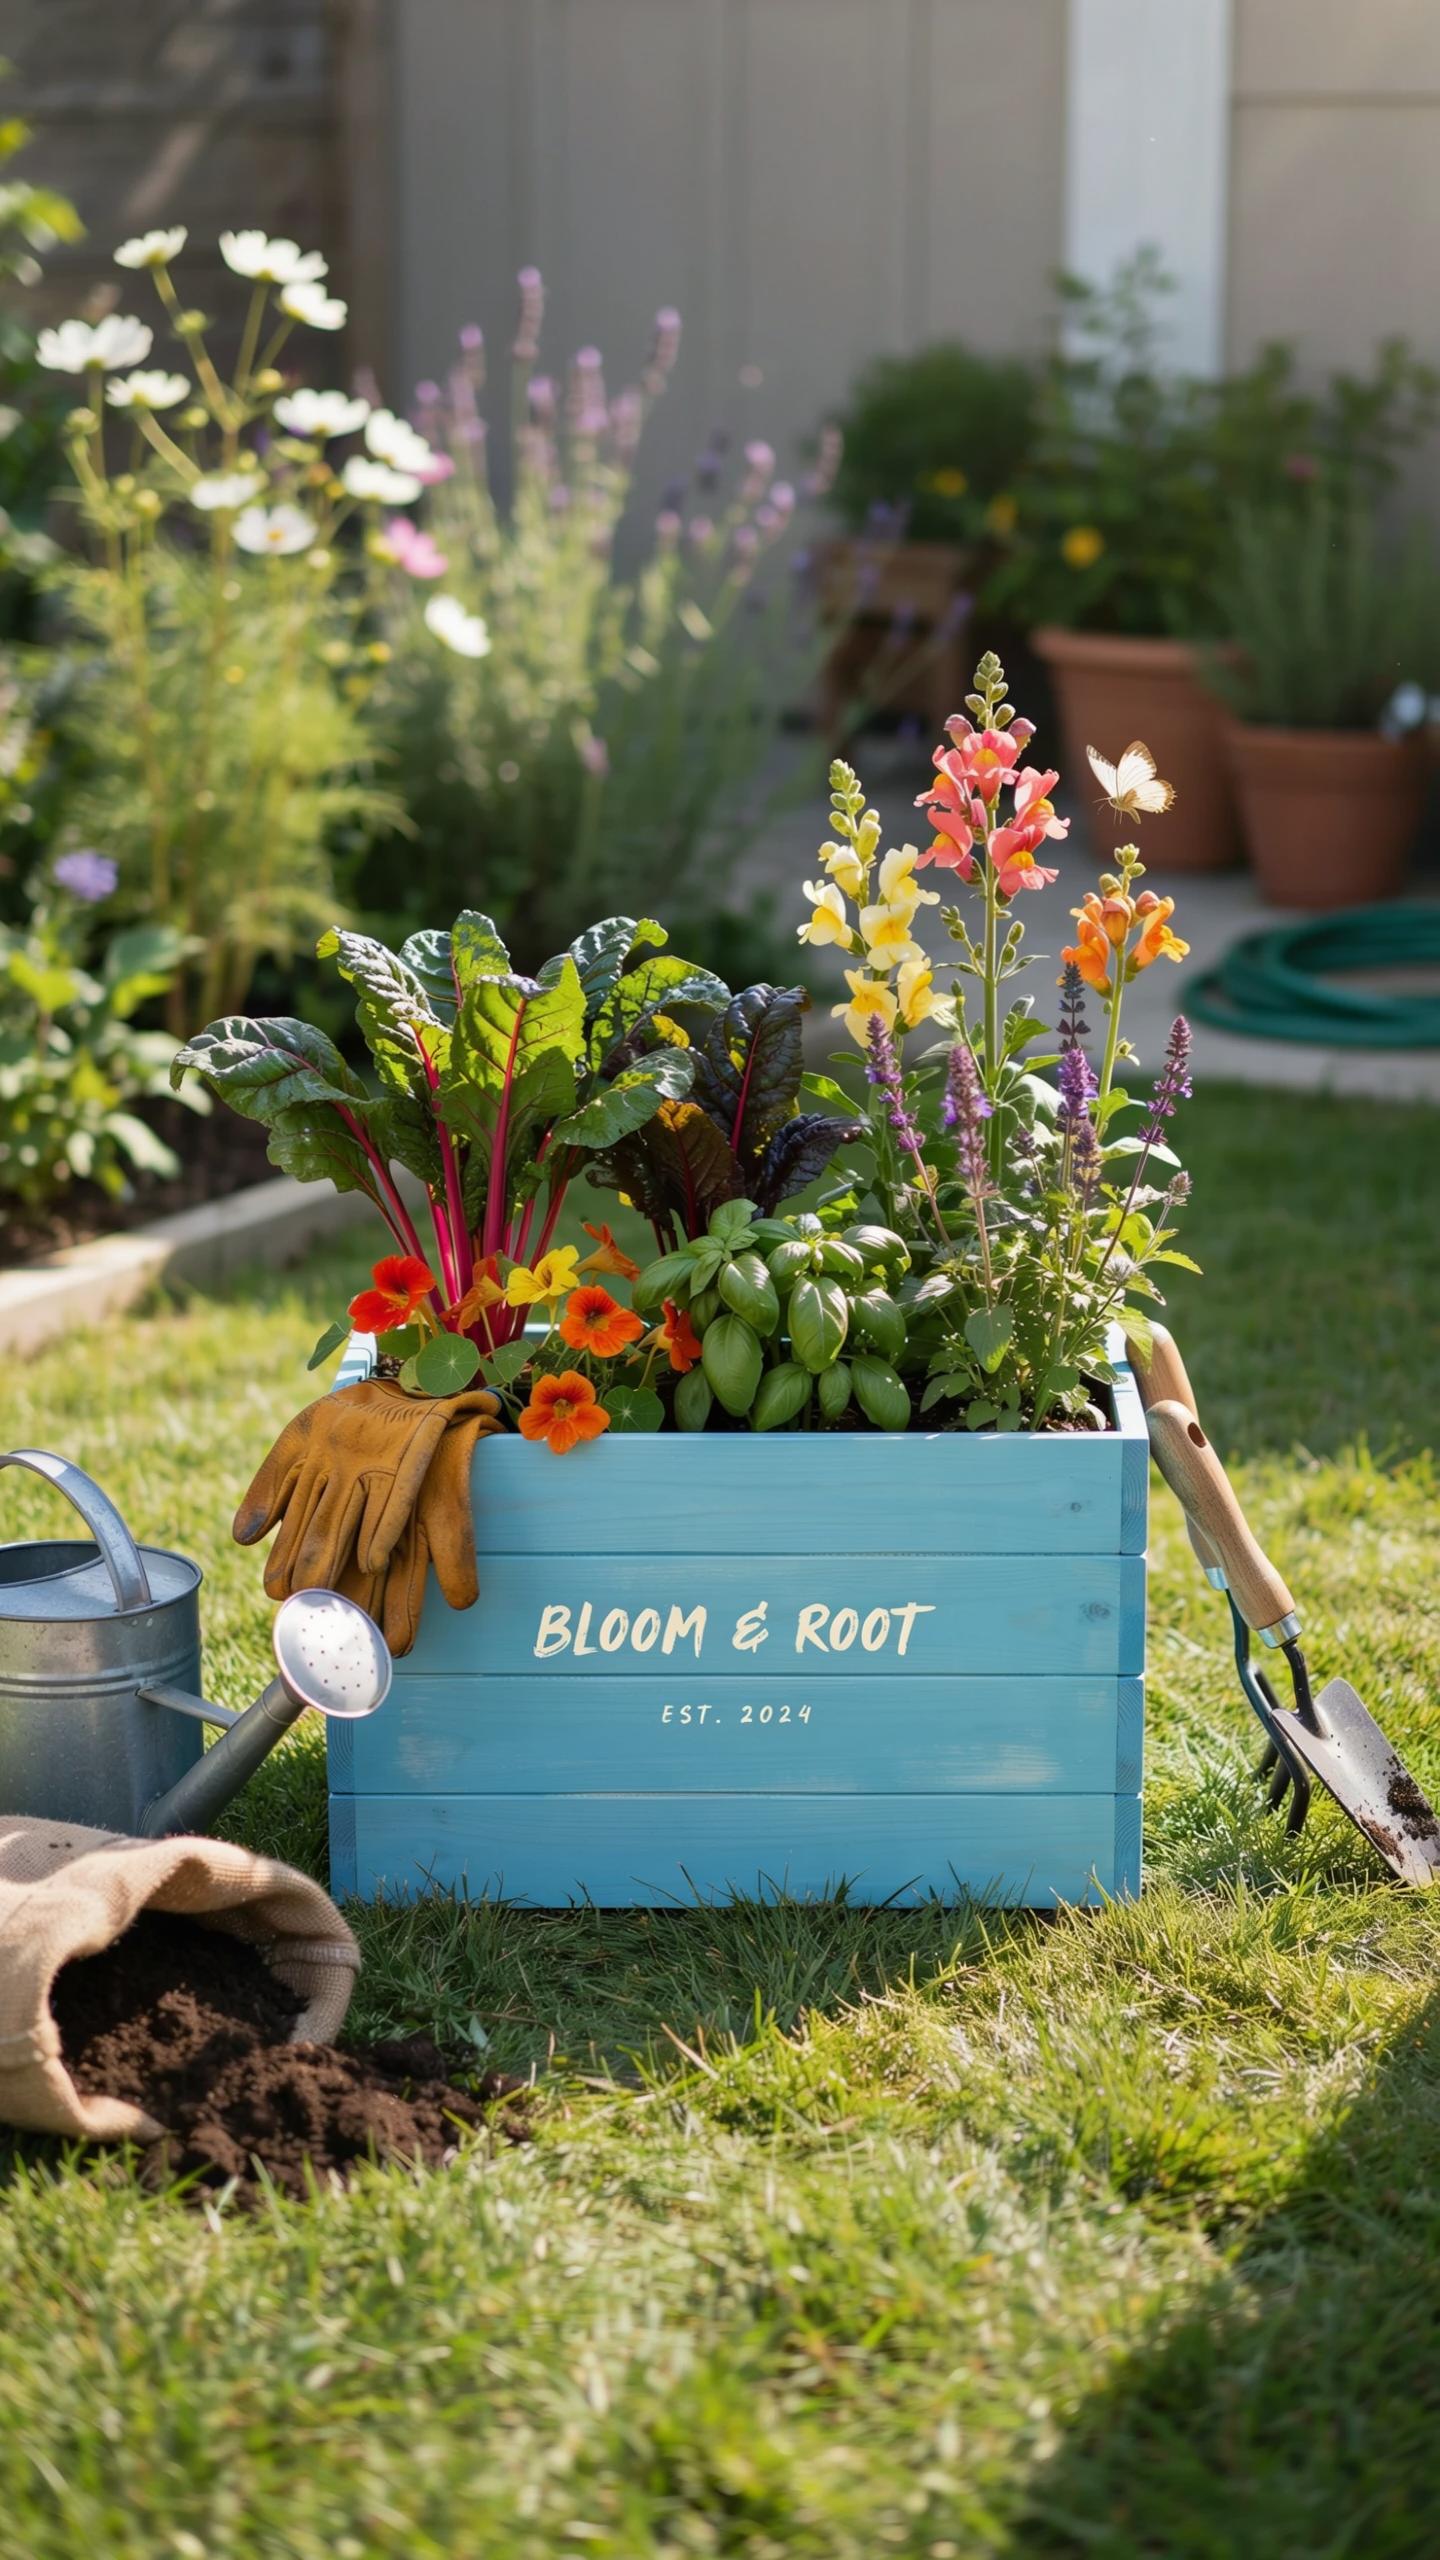
Herbs, Vegetables, And Flowers That Thrive In A DIY Raised Planter
Select plants based on sunlight and root habits. Leafy greens like spinach and kale thrive in shallow containers. Mediterranean herbs like rosemary and thyme prefer the superior drainage found in elevated beds. Compact vegetable varieties, often labeled as bush or patio types, maximize yield in small areas. These specific species prevent overcrowding and reduce the risk of fungal diseases in your garden.
Integrate companion planting to improve health and aesthetics. Marigolds and nasturtiums provide natural pest control while adding color. Lavender and chamomile offer aromatic benefits and attract pollinators. Root vegetables like radishes and carrots grow straight in the loose soil of a raised bed. Avoid aggressive spreaders like mint unless you contain them in separate pots. Proper selection ensures a balanced and productive ecosystem.
How Soil Depth And Quality Affect Plant Growth In Raised Planter Boxes
Soil depth dictates what you can successfully grow. Shallow boxes of six inches work for lettuce and herbs. Root crops and large tomatoes require at least twelve to eighteen inches for proper stability. Insufficient depth stunts root development and leads to weak plants. Ensure your design matches the biological needs of your chosen species to prevent crop failure and wasted effort.
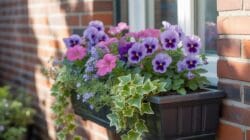
Soil quality in containers differs from ground soil. Never use standard garden dirt because it compacts and kills roots. Use a mix of peat moss, vermiculite, and high-quality compost. This blend ensures aeration and moisture retention. Proper drainage holes prevent waterlogging and root rot. Tight control over the growing medium allows you to bypass poor local ground conditions and increase growth rates.
Planter Box Ideas Unique And Inspiring Builds To Spark Your Creativity
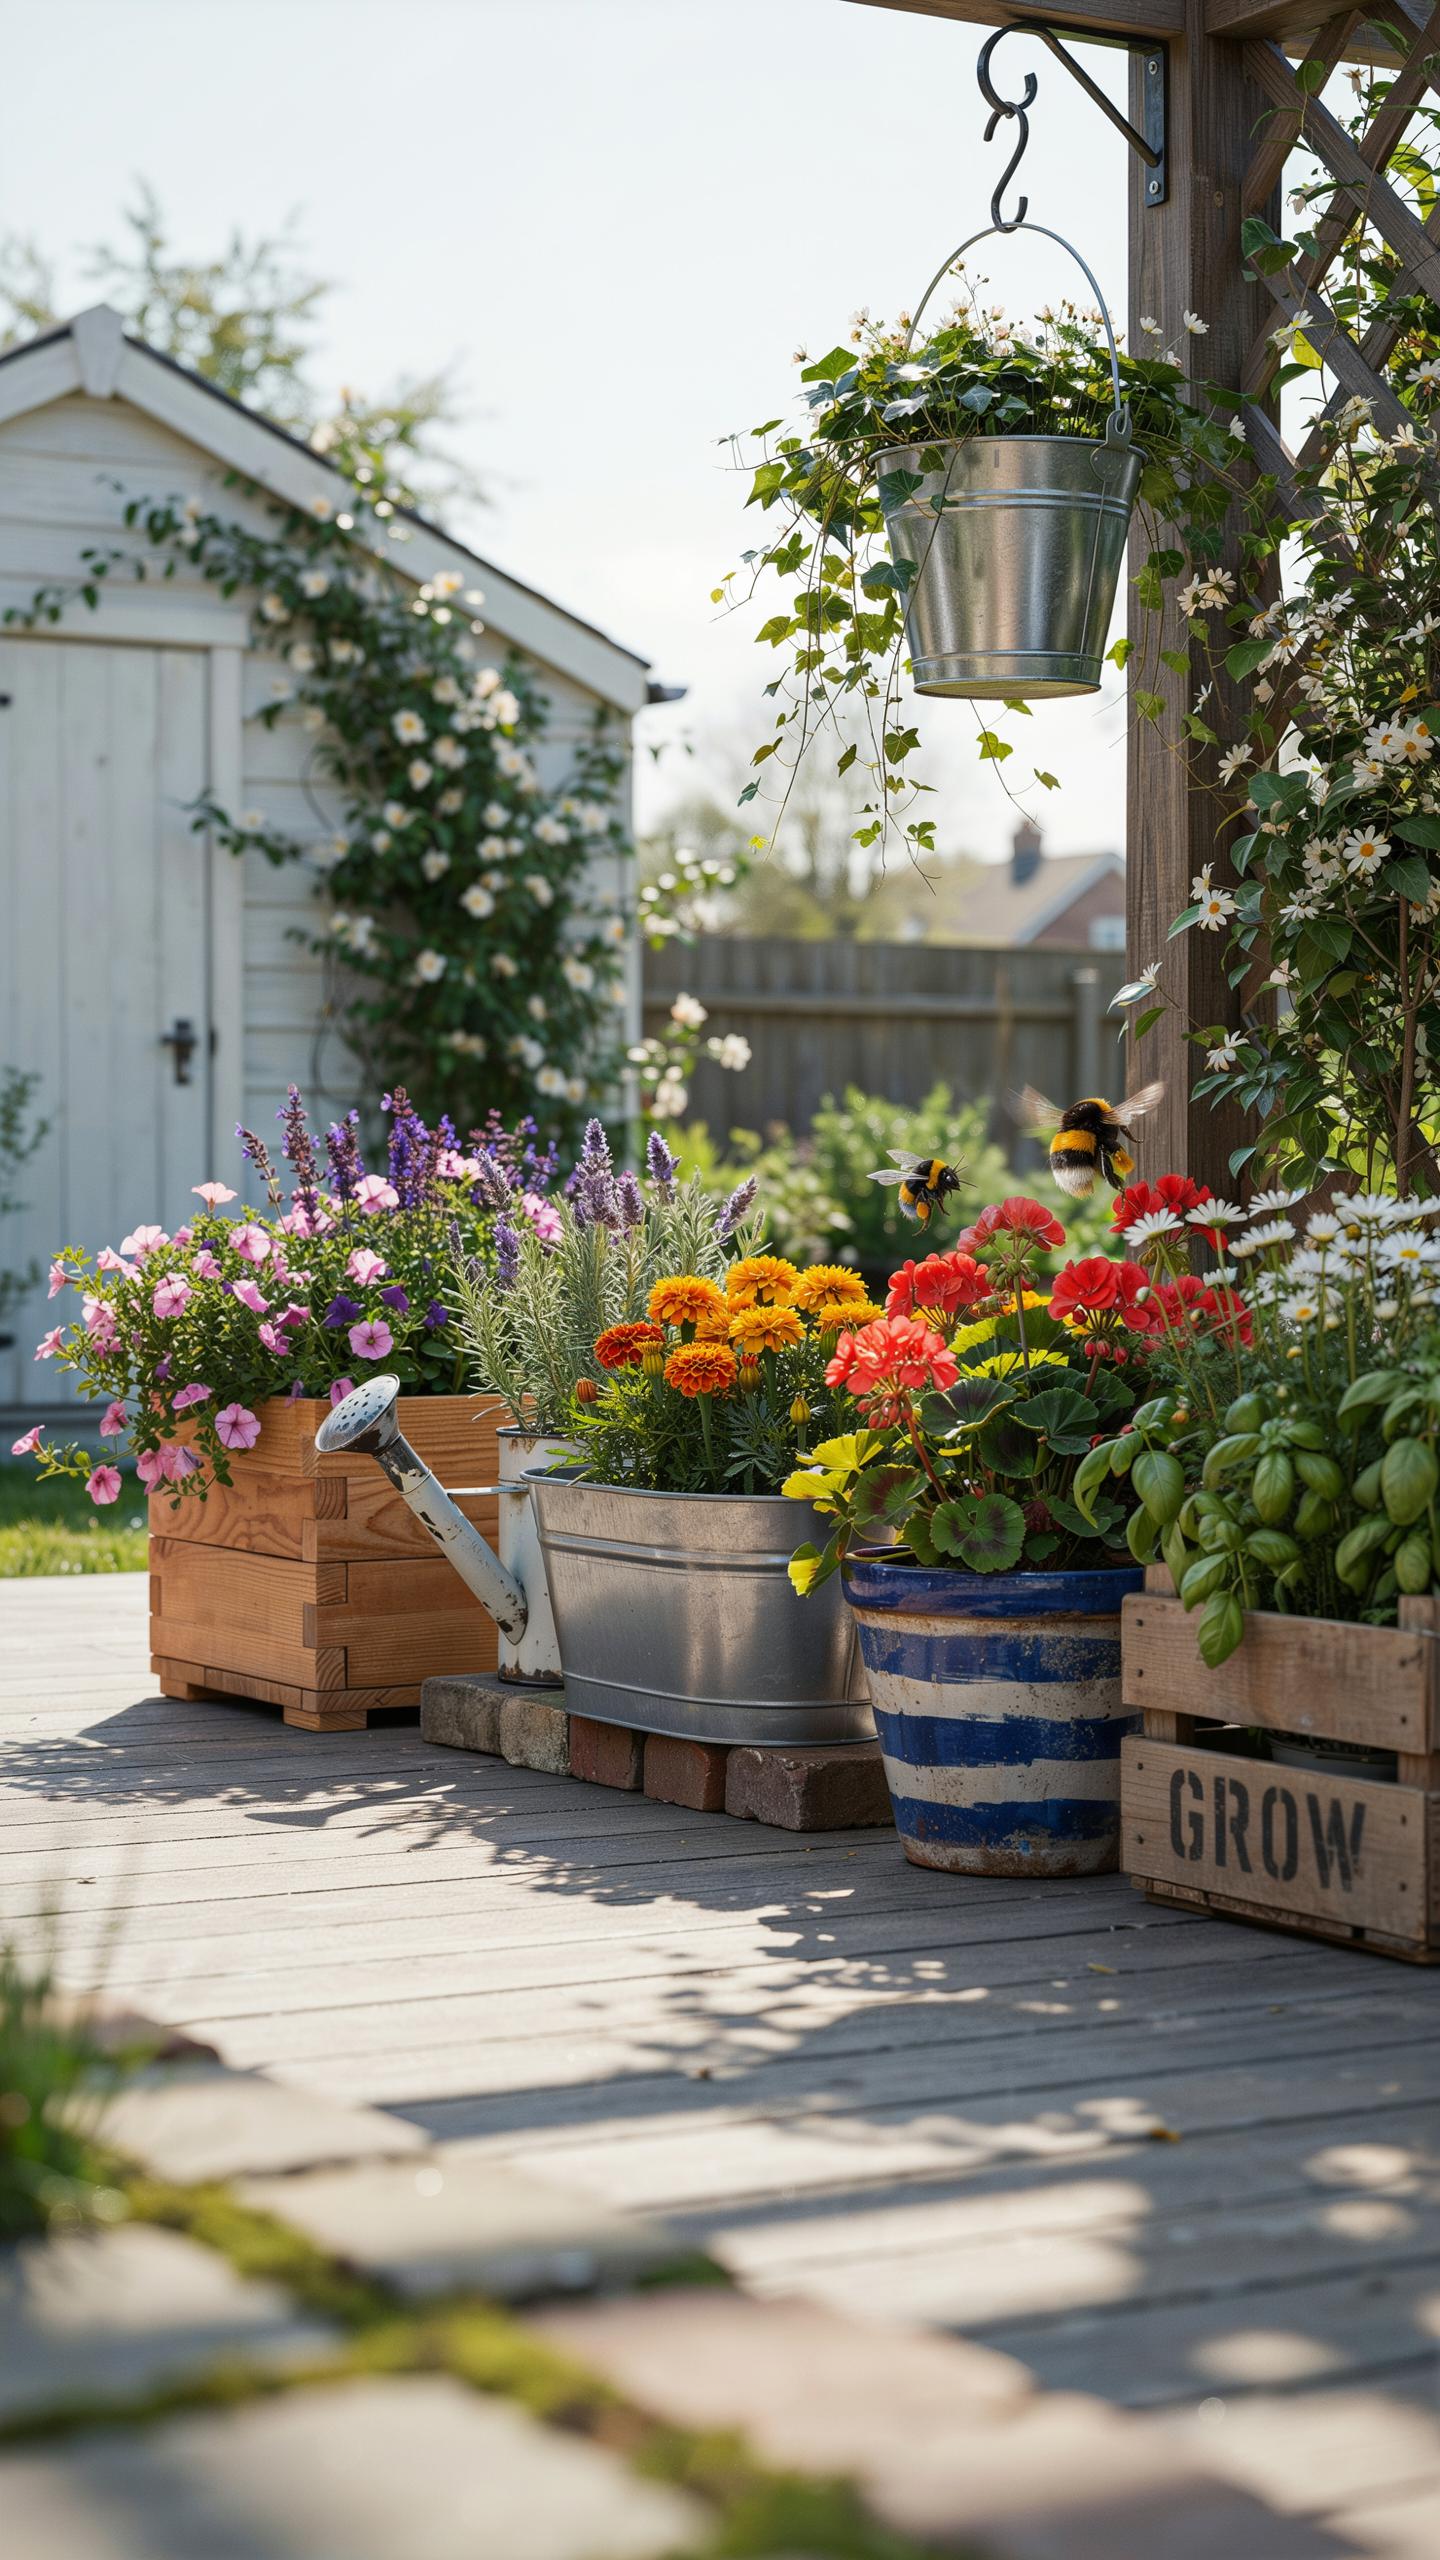
Tiered, Corner, And Vertical Planter Box Ideas For Small Outdoor Spaces
Tiered raised planter box plans maximize yield on small footprints. Designers use a stepped approach to ensure every plant receives adequate sunlight. This method prevents taller crops from shading shorter ones. Use rot-resistant cedar or redwood for these builds. Structural stability requires reinforced corners to handle the soil weight. Tiered systems work well for herb gardens near kitchen doors.
Vertical planters utilize wall space to clear floor area. You can secure heavy-duty felt pockets or wooden troughs to existing fences. Irrigation becomes easier with a gravity-fed drip system installed at the top. Corner units stabilize the structure by locking two planes together. This geometry reduces the need for deep ground anchors. It is a tactical choice for urban balconies and tight patios.
How To Combine Multiple Planter Boxes To Create A Cohesive Garden Layout
Align multiple boxes along a single axis to create visual order. Professional landscapers call this a formal layout. You must leave at least three feet of space between boxes. This allows wheelbarrow access and comfortable movement. Use the same wood species across all units for a unified look. Uniform heights make the irrigation piping easier to install and hide.
Group different box heights to create a windbreak or privacy screen. Place taller 30-inch boxes on the perimeter to block views. Use lower 12-inch boxes in the center for high-visibility crops. This staggered depth accommodates various root systems. Connect the boxes with gravel or heavy mulch paths to suppress weeds. A planned layout improves drainage and simplifies yearly soil maintenance tasks.
Maintaining Your DIY Raised Planter Boxes Outdoor For Seasons Of Enjoyment
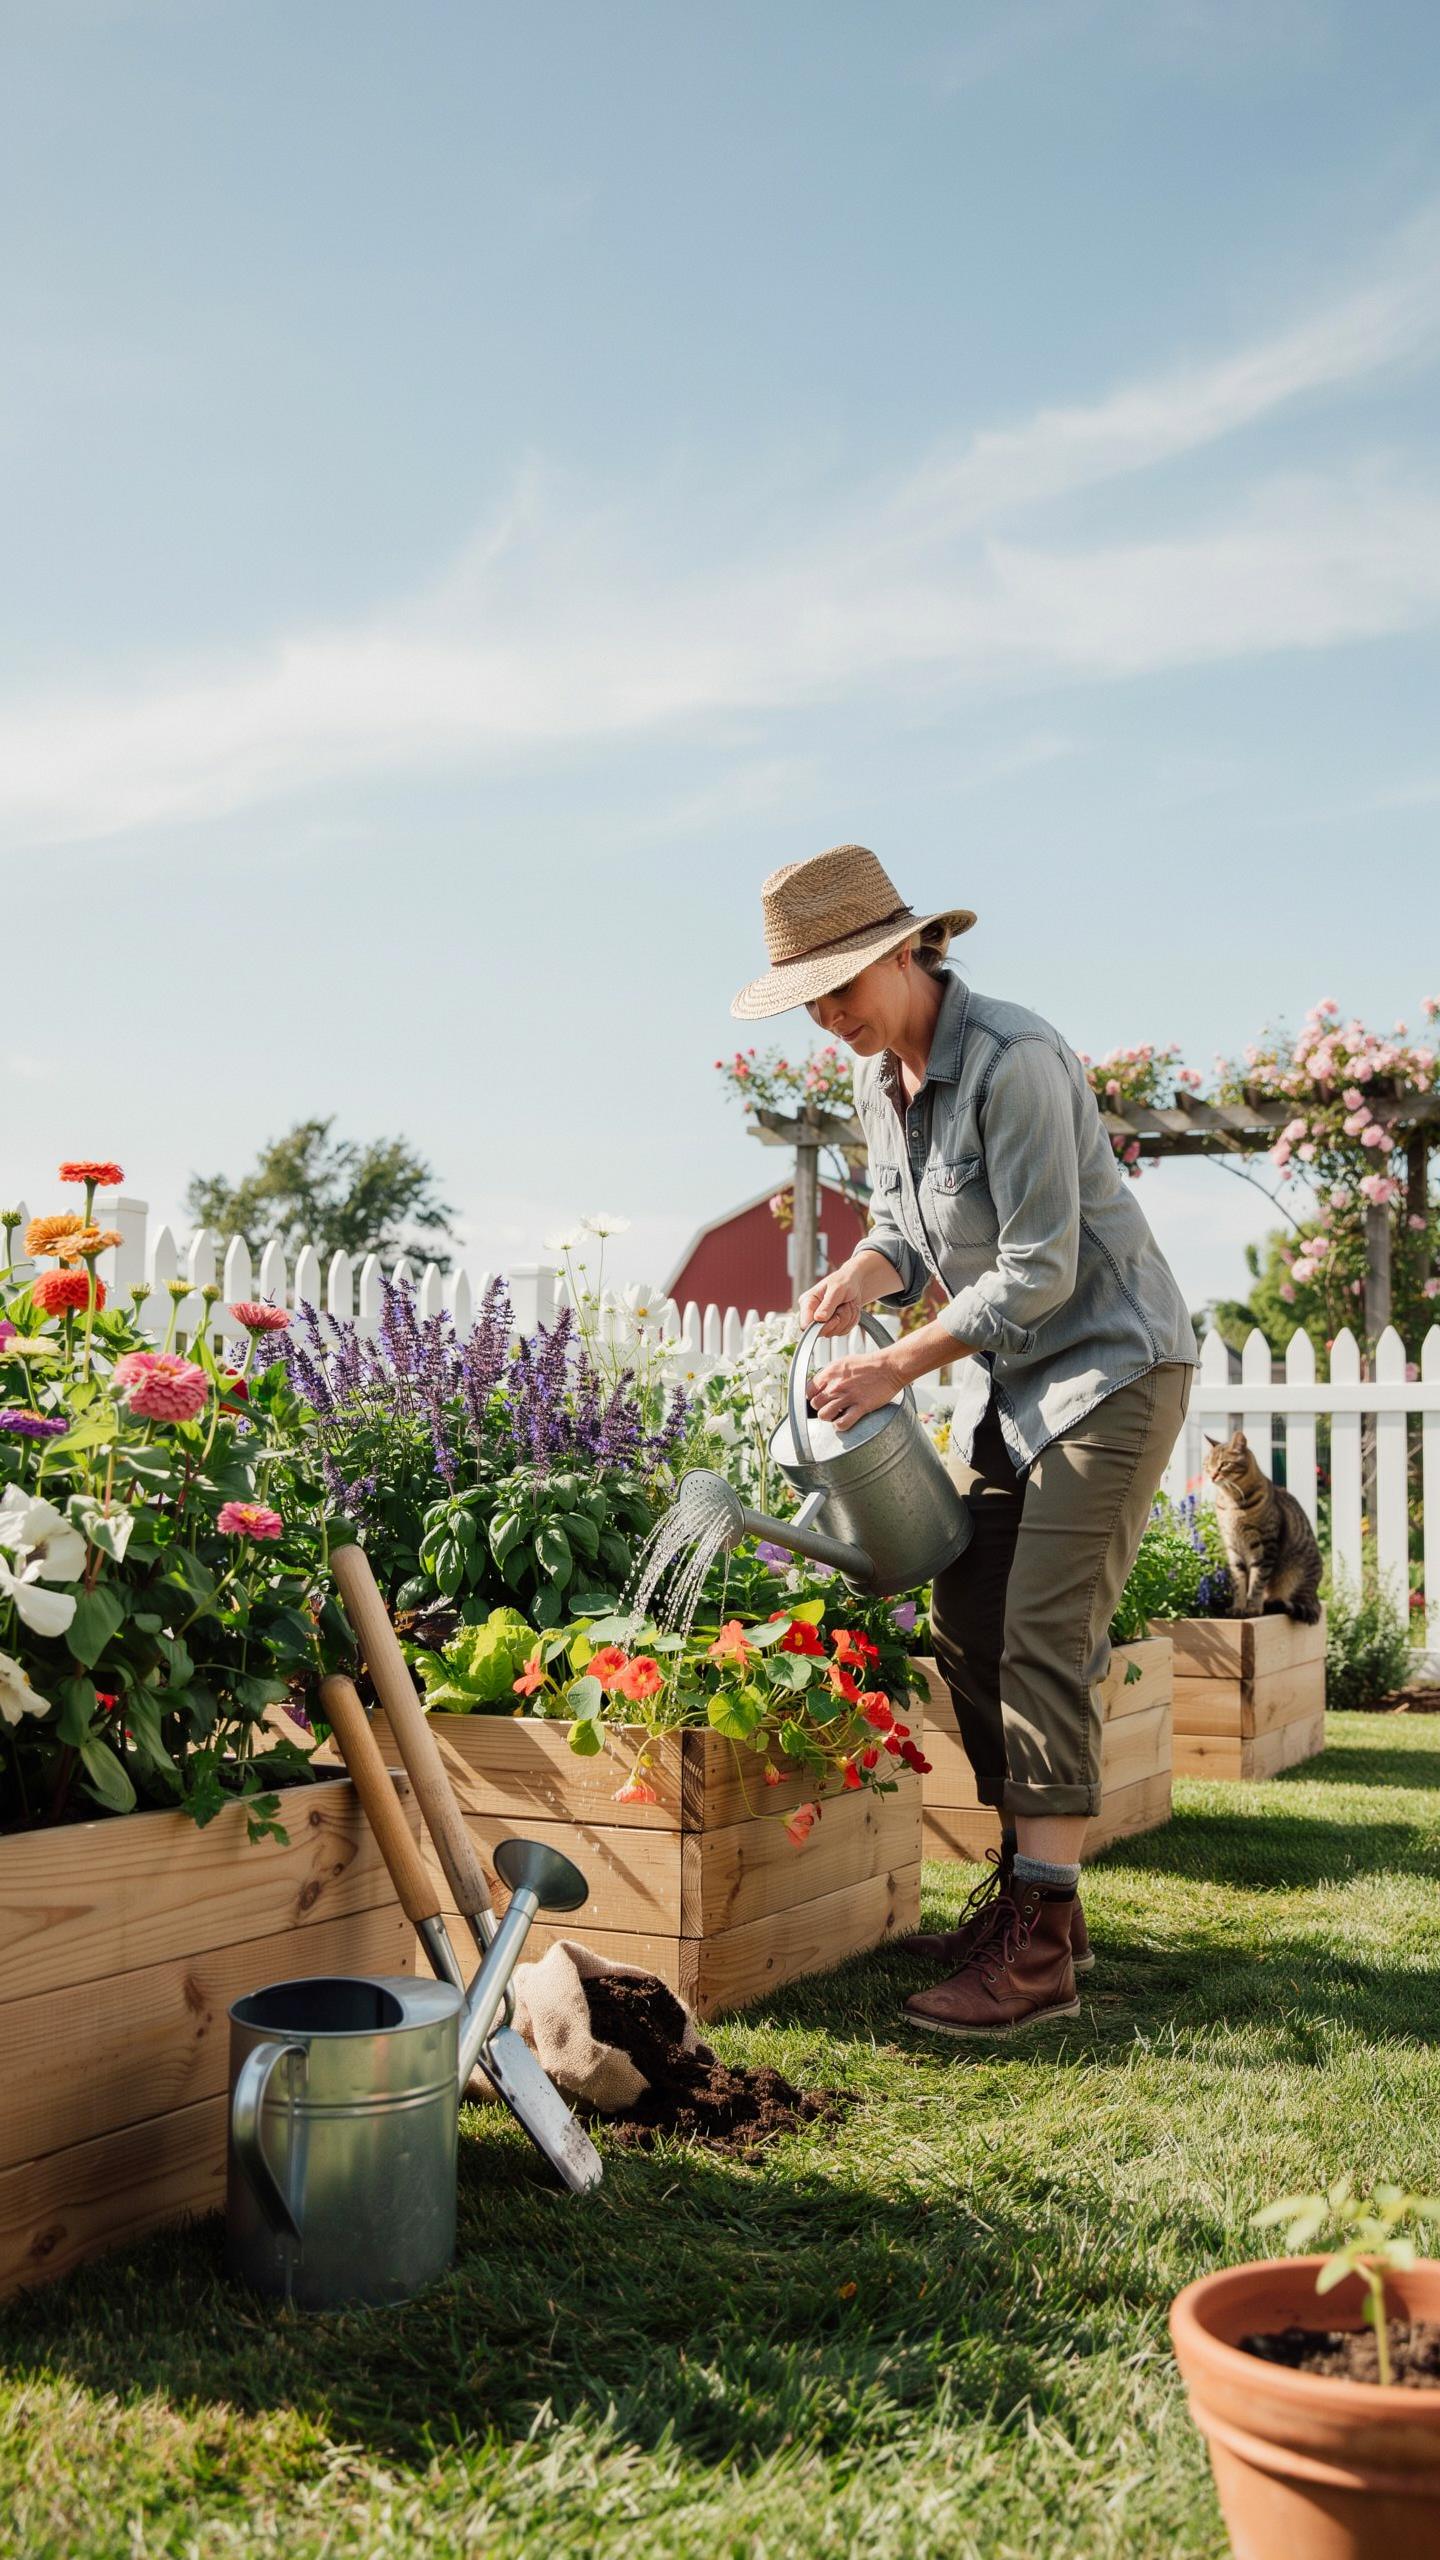
Seasonal Care Tips To Protect Your Planter Boxes From Weather And Rot
Wood rot occurs when moisture remains trapped against cellulose fibers. You must apply a food-safe sealer to the exterior of cedar or redwood every two years. Clear sealants prevent UV rays from graying the wood while maintaining breathability. Check the joints for gaps where water pools. Use stainless steel fasteners to prevent rust streaks and structural failure over time.
Winter weather creates freeze-thaw cycles that crack stone and shift timber. Drain irrigation lines before the first hard frost to prevent pipe bursts inside the soil. Cover the top of the wood with a waterproof tarp if the box stays empty. Elevate the base of the planter slightly off the ground. This improves airflow and stops bottom boards from sitting in stagnant mud.
How To Refresh Soil And Replant Each Season To Keep Your Garden Thriving
Soil loses essential minerals like nitrogen and phosphorus after one growing season. You must replenish these nutrients to maintain plant health. Remove the top four inches of old soil every spring. Mix in fresh organic compost and aged manure to restore the structure. This process aerates the bed and breaks up compacted layers. Loose soil allows roots to penetrate deeper.
Crop rotation prevents the buildup of pathogens and pests in your planter boxes. Avoid planting the same family of vegetables in the same spot two years in a row. For example, swap tomatoes for beans to fix nitrogen back into the earth. Test the pH levels annually with a simple probe. Adjust the acidity using lime or sulfur based on your specific plant needs.
Frequently Asked Questions

Are raised planter box plans suitable for someone with no woodworking experience?
Absolutely! Most raised planter box plans are designed with beginners in mind, focusing on simple joinery and standard lumber sizes. These projects are a fantastic way to learn basic DIY skills while creating a functional piece for your outdoor living space. By following a clear set of instructions, you can build a sturdy, beautiful home for your favorite herbs or flowers in just a single afternoon without needing expensive professional tools.
What is the best type of wood to use when following DIY planter blueprints?
When you are executing your raised planter box plans, durability is key. Cedar and redwood are the top choices because they are naturally resistant to rot and insects without the need for harsh chemical treatments. If you are on a tighter budget, heat-treated pine is a safe alternative. Always ensure you choose rot-resistant materials to ensure your cozy garden structure withstands the elements and provides a relaxed growing environment for years.
How can I build a functional garden bed on a very limited budget?
Creating a beautiful garden doesn’t have to be expensive. You can save money by repurposing untreated shipping pallets or using reclaimed scrap wood found at local construction sites. To keep costs low, look for simplified designs that minimize waste. Focus on small-scale projects that require fewer materials, and remember that a coat of eco-friendly stain can make even the most affordable timber look like a high-end designer piece for your patio.



