Understanding The Realities Of A Raised Bed Gardening Cost Breakdown
Why Upfront Costs Exist And How To Manage Them Effectively
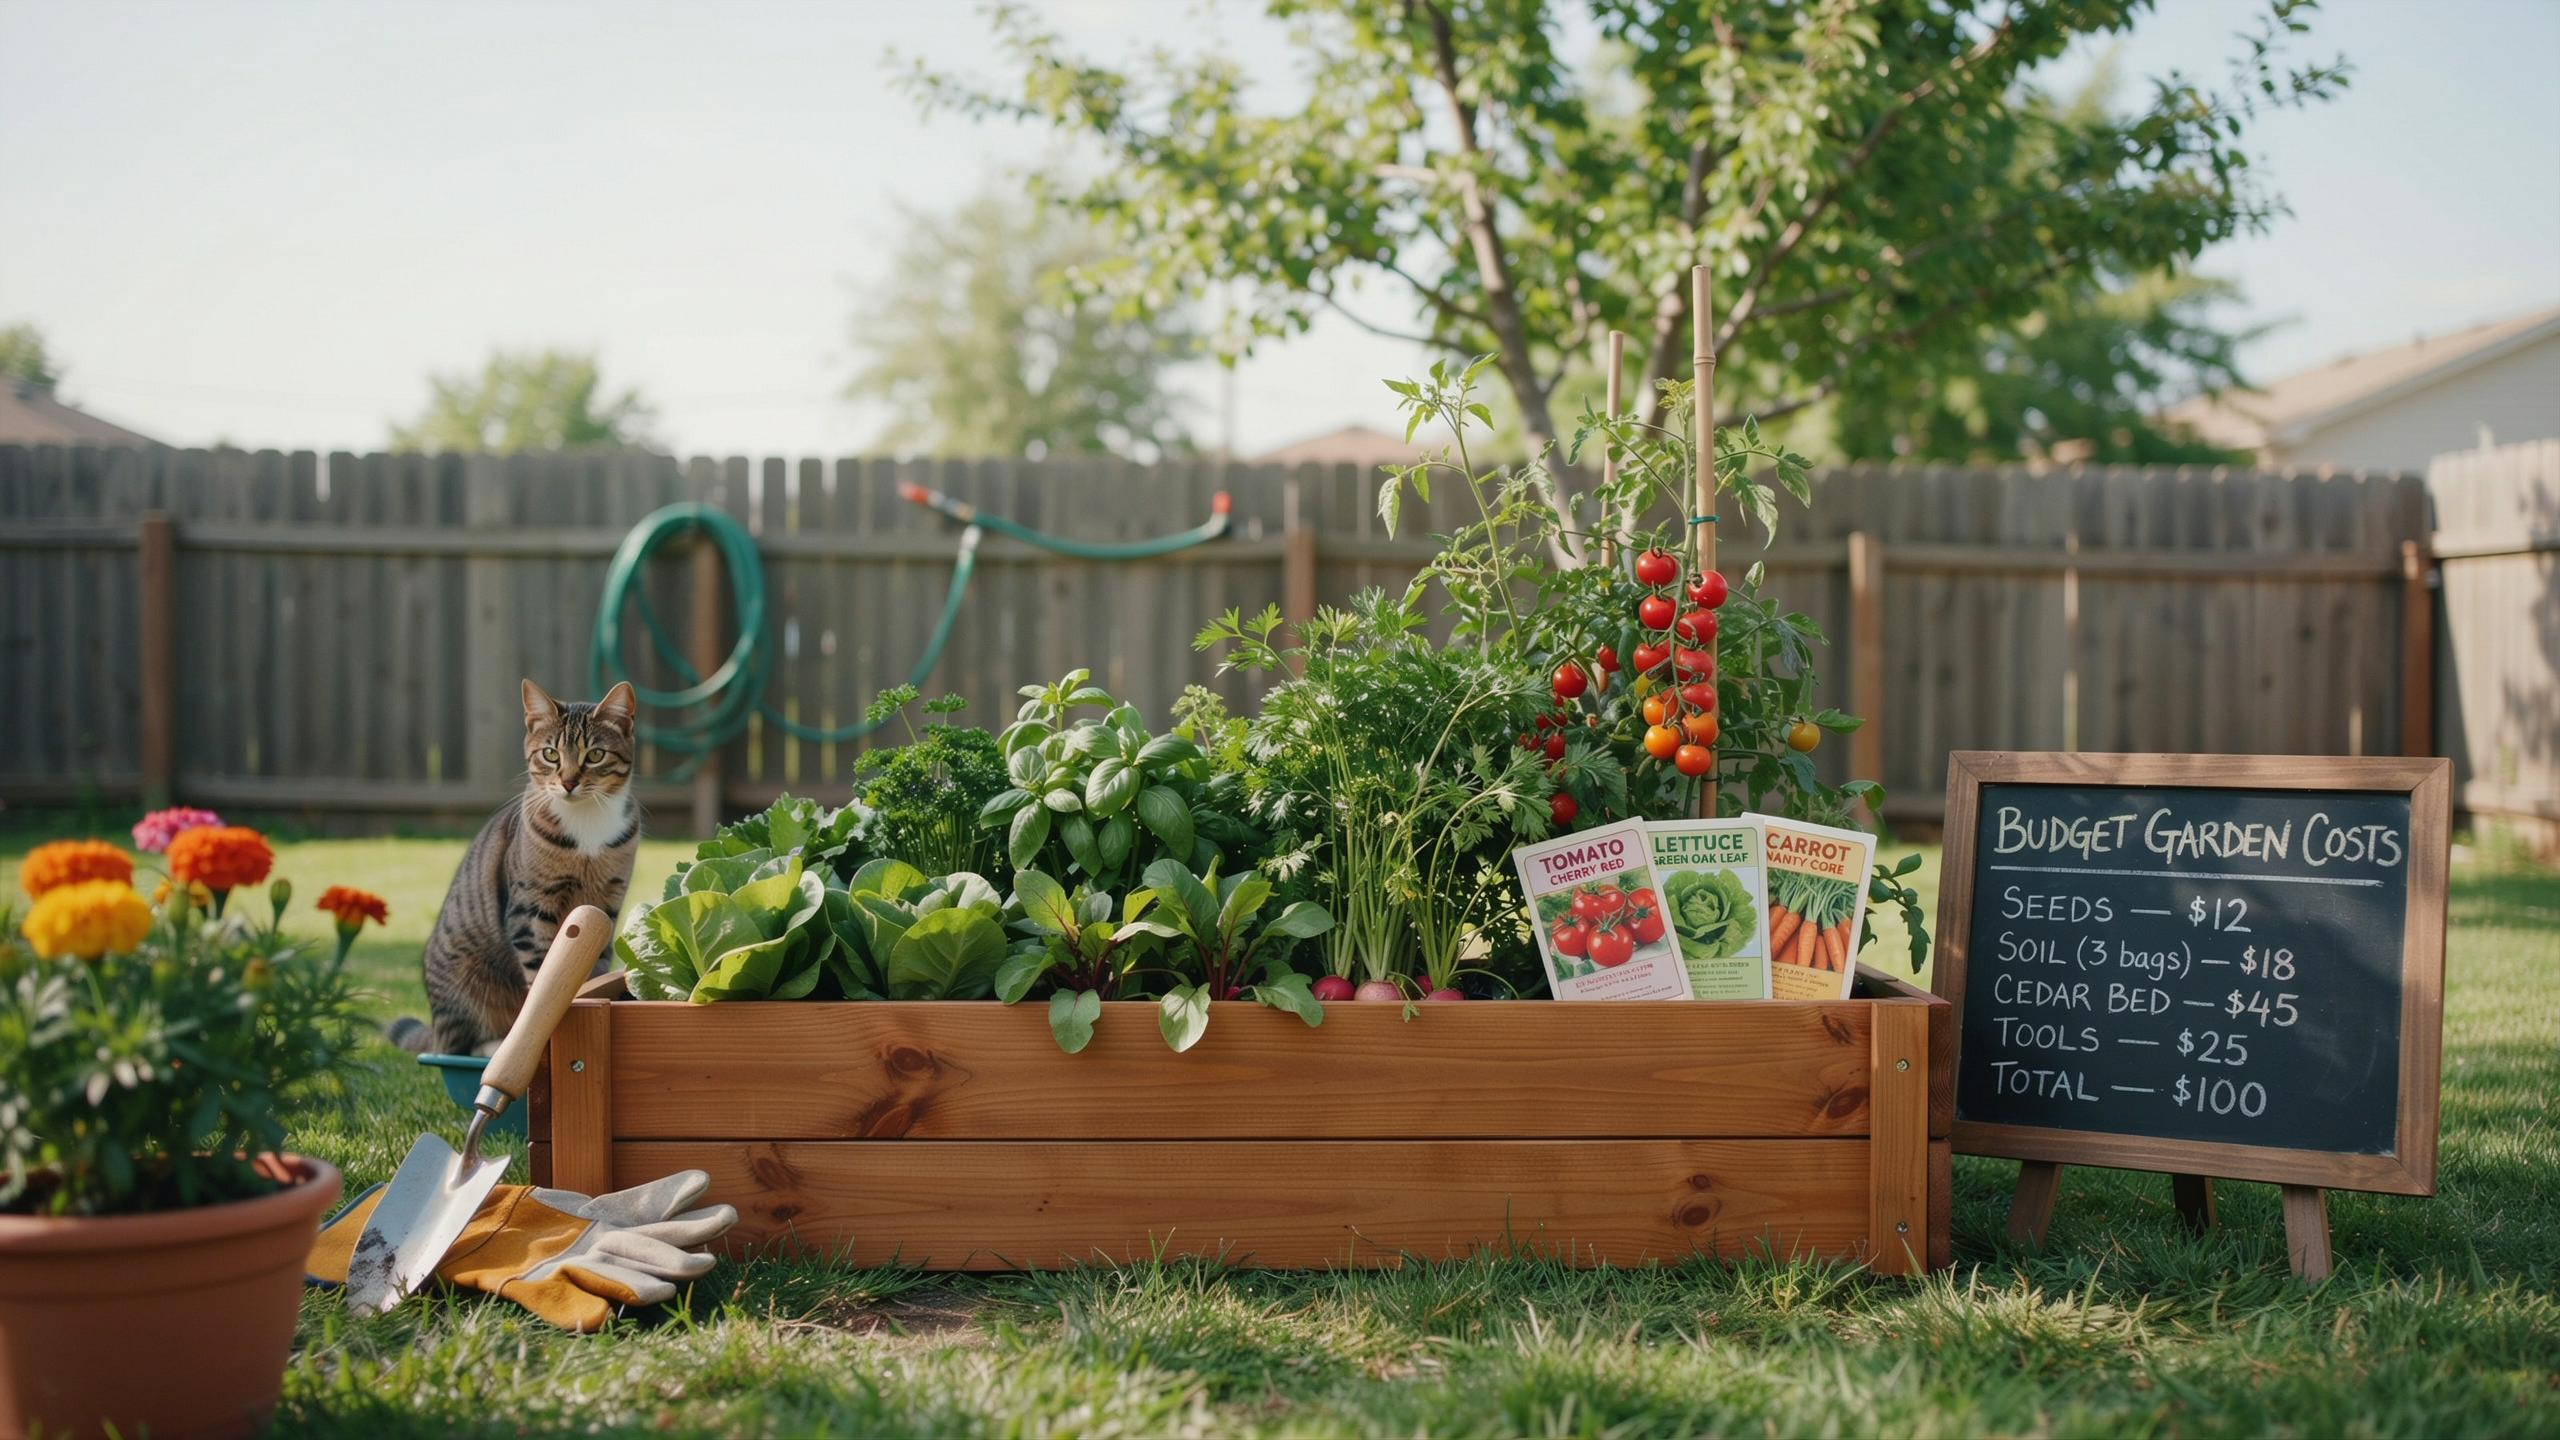
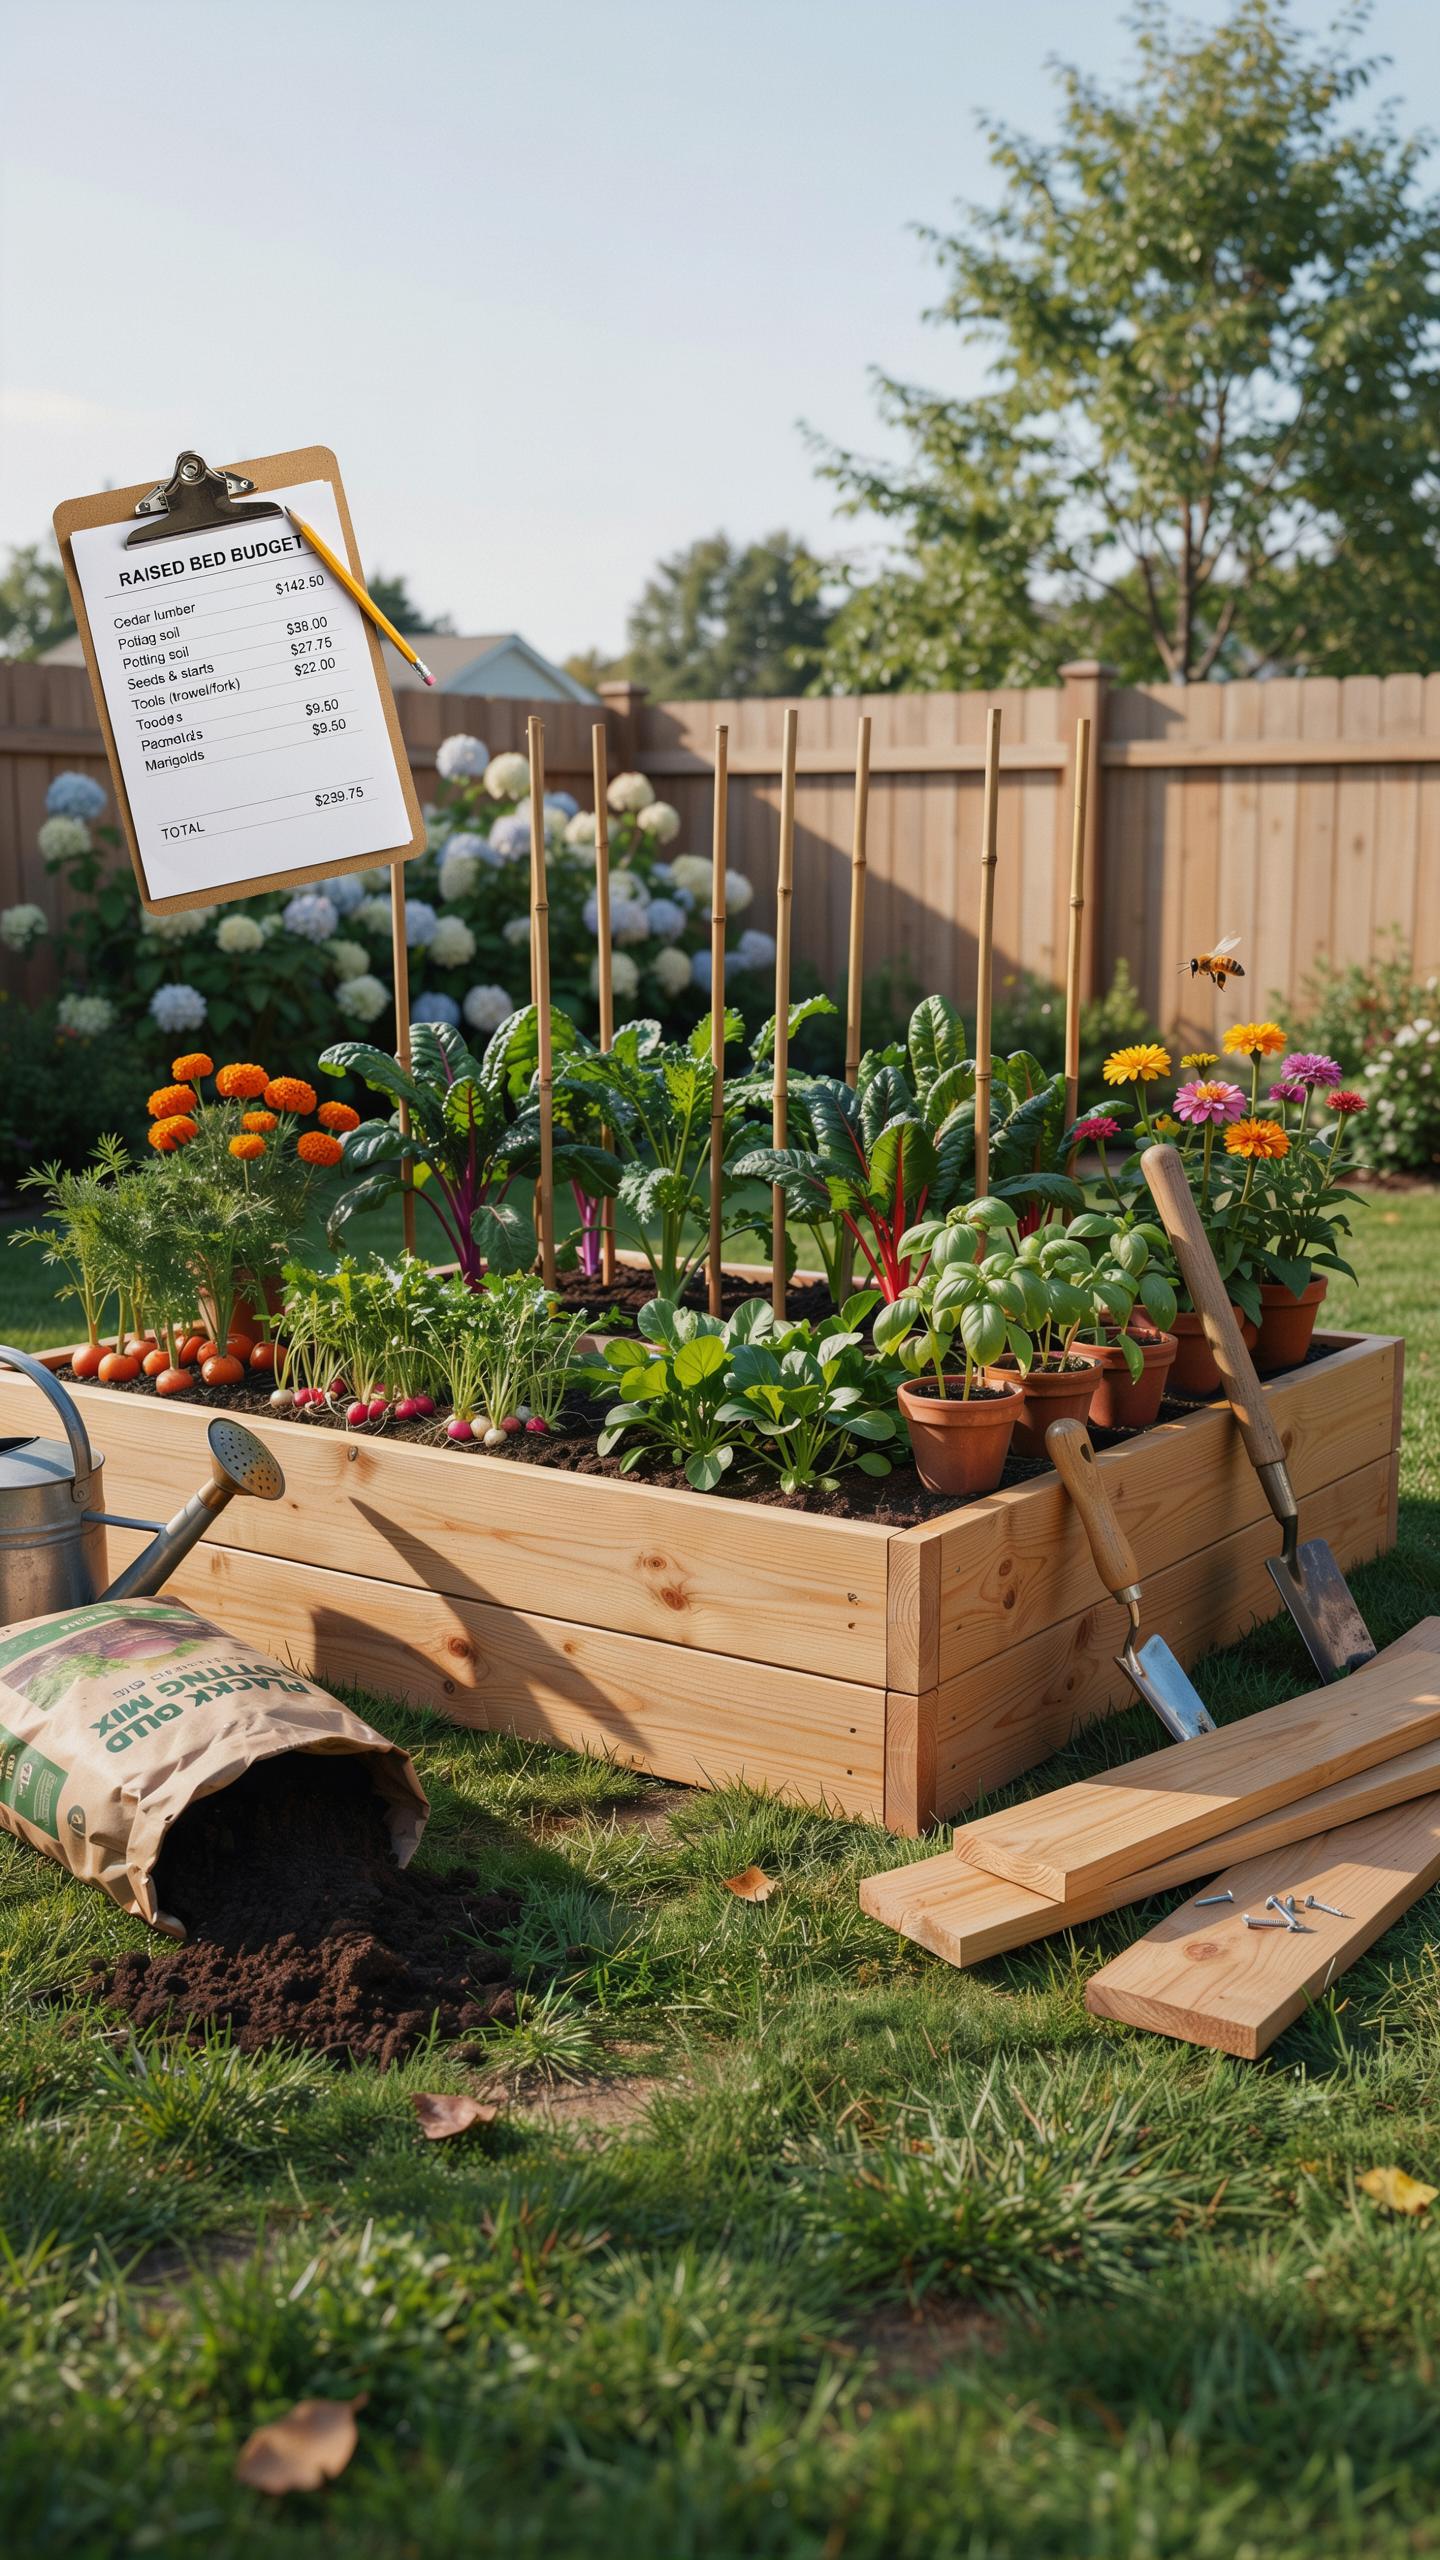
Raised bed gardening requires initial capital investment because you need materials, soil, and tools before planting begins. Wood, metal, or composite materials for the frame cost between 50 and 300 dollars depending on size and quality. Soil fills represent another major expense, ranging from 100 to 500 dollars for a standard garden setup. Understanding these costs upfront prevents budget surprises and helps you prioritize spending based on what matters most to your operation.
You manage upfront costs by starting small and expanding gradually. Build one or two beds instead of five. Buy soil in bulk during off-season sales. Recycle materials when possible. Use untreated wood or recycled composite materials rather than premium options. Phase your purchases across multiple months to spread the financial impact. This approach reduces immediate spending while establishing a functional garden that produces results in year one.
Long Term Financial Savings Of Growing Your Own Produce
A raised bed produces vegetables consistently for five to ten years with minimal maintenance after year one. Once established, annual costs drop to soil amendments and seeds, totaling 50 to 150 dollars per bed yearly. Store-bought organic vegetables cost 2 to 4 dollars per pound on average. A productive bed yields 20 to 40 pounds of vegetables annually depending on what you grow. This means direct savings of 40 to 160 dollars per bed per season in produce value alone.
Your total investment breaks even within one to three growing seasons for most home gardeners. Year two and beyond shift the financial equation dramatically in your favor. You avoid grocery store markups, transportation costs, and packaging waste. Reduced pesticide exposure adds health value that money cannot measure directly. Once amortized across multiple seasons, raised bed gardening delivers measurable financial returns while providing fresher produce than retail alternatives.
Choosing The Right Materials For Budget Friendly Raised Beds
Top Cost Effective Materials For Constructing Your Garden Frames
Wood remains the standard choice for raised bed construction. Cedar and redwood offer natural rot resistance but cost more upfront. Untreated pine works fine for three to five years before degrading. Composite materials blend wood fibers with plastic for durability. Metal frames last decades but require initial investment.
- Untreated Pine: Affordable option costing 30 to 50 percent less than cedar. Lasts three to five years before replacement becomes necessary due to rot and weather exposure.
- Cedar: Naturally resists decay and insects without chemical treatment. Higher cost offset by eight to ten year lifespan in most climates.
- Composite Materials: Blend recycled plastic with wood fibers for extended durability. Costs more initially but eliminates replacement cycles for fifteen plus years.
- Galvanized Metal: Steel frames with zinc coating prevent rust effectively. Extremely durable option lasting twenty years or more with minimal maintenance required.
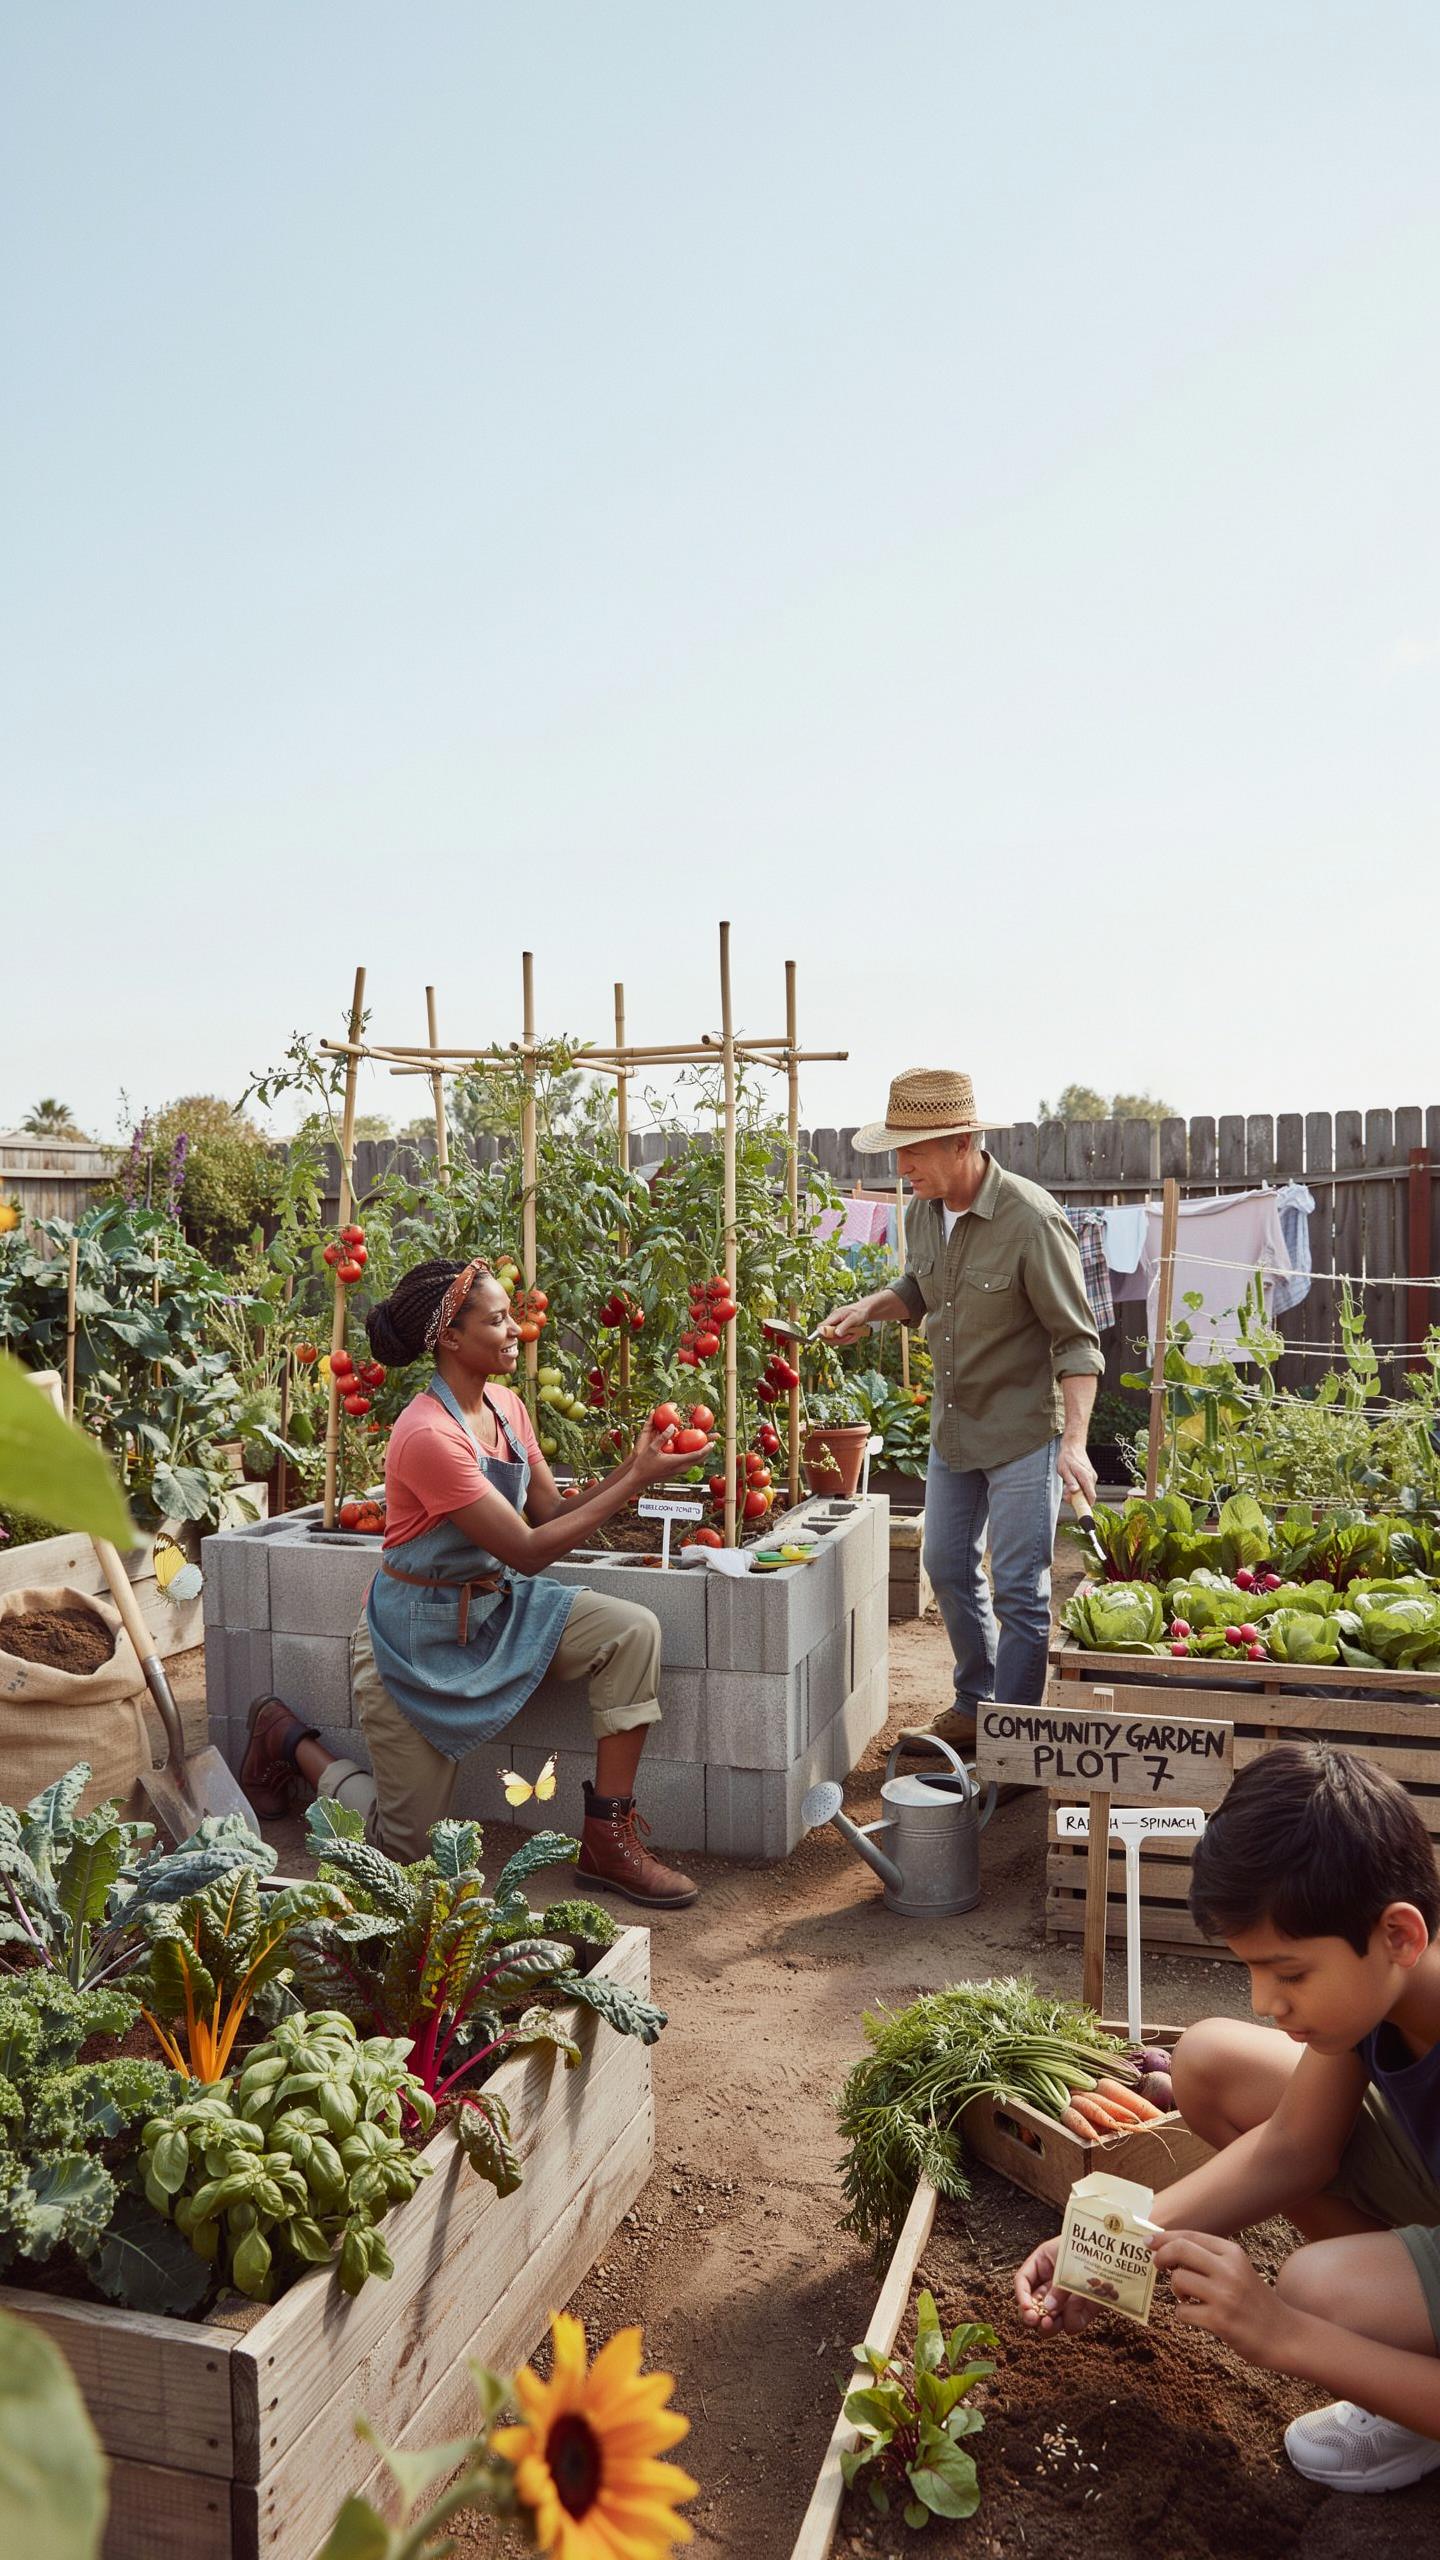
- Concrete Blocks: Stack without mortar to form sturdy permanent frames. Low cost per unit and weather resistant, though heavier to position than wooden alternatives.
Calculate your true cost per year by dividing material expense by expected lifespan. Untreated pine becomes cheapest when replaced every few seasons. Cedar and composite materials justify higher prices through extended use. Metal and concrete require no replacements, eliminating future expenses from your budget equation.
Sourcing Free Or Upcycled Materials Safely And Legally
Scrap lumber from construction sites and demolition projects costs nothing if sourced properly. Contact local contractors and builders who often dispose of usable wood. Verify materials contain no asbestos, lead paint, or chemical treatments before bringing them home. Untreated salvaged wood works directly in raised beds without concerns.
Pallets provide free frame material but require vetting for prior use. Pallets marked HT were heat treated and are safe. Avoid pallets marked MB, indicating methyl bromide chemical treatment. Check each pallet for chemical stains, excess nails, or damage. Craigslist, Facebook Marketplace, and local community groups list free materials daily from people clearing property.
How To Build A DIY Raised Garden Bed On A Shoestring Budget
Essential Tools And Supplies For An Affordable Build
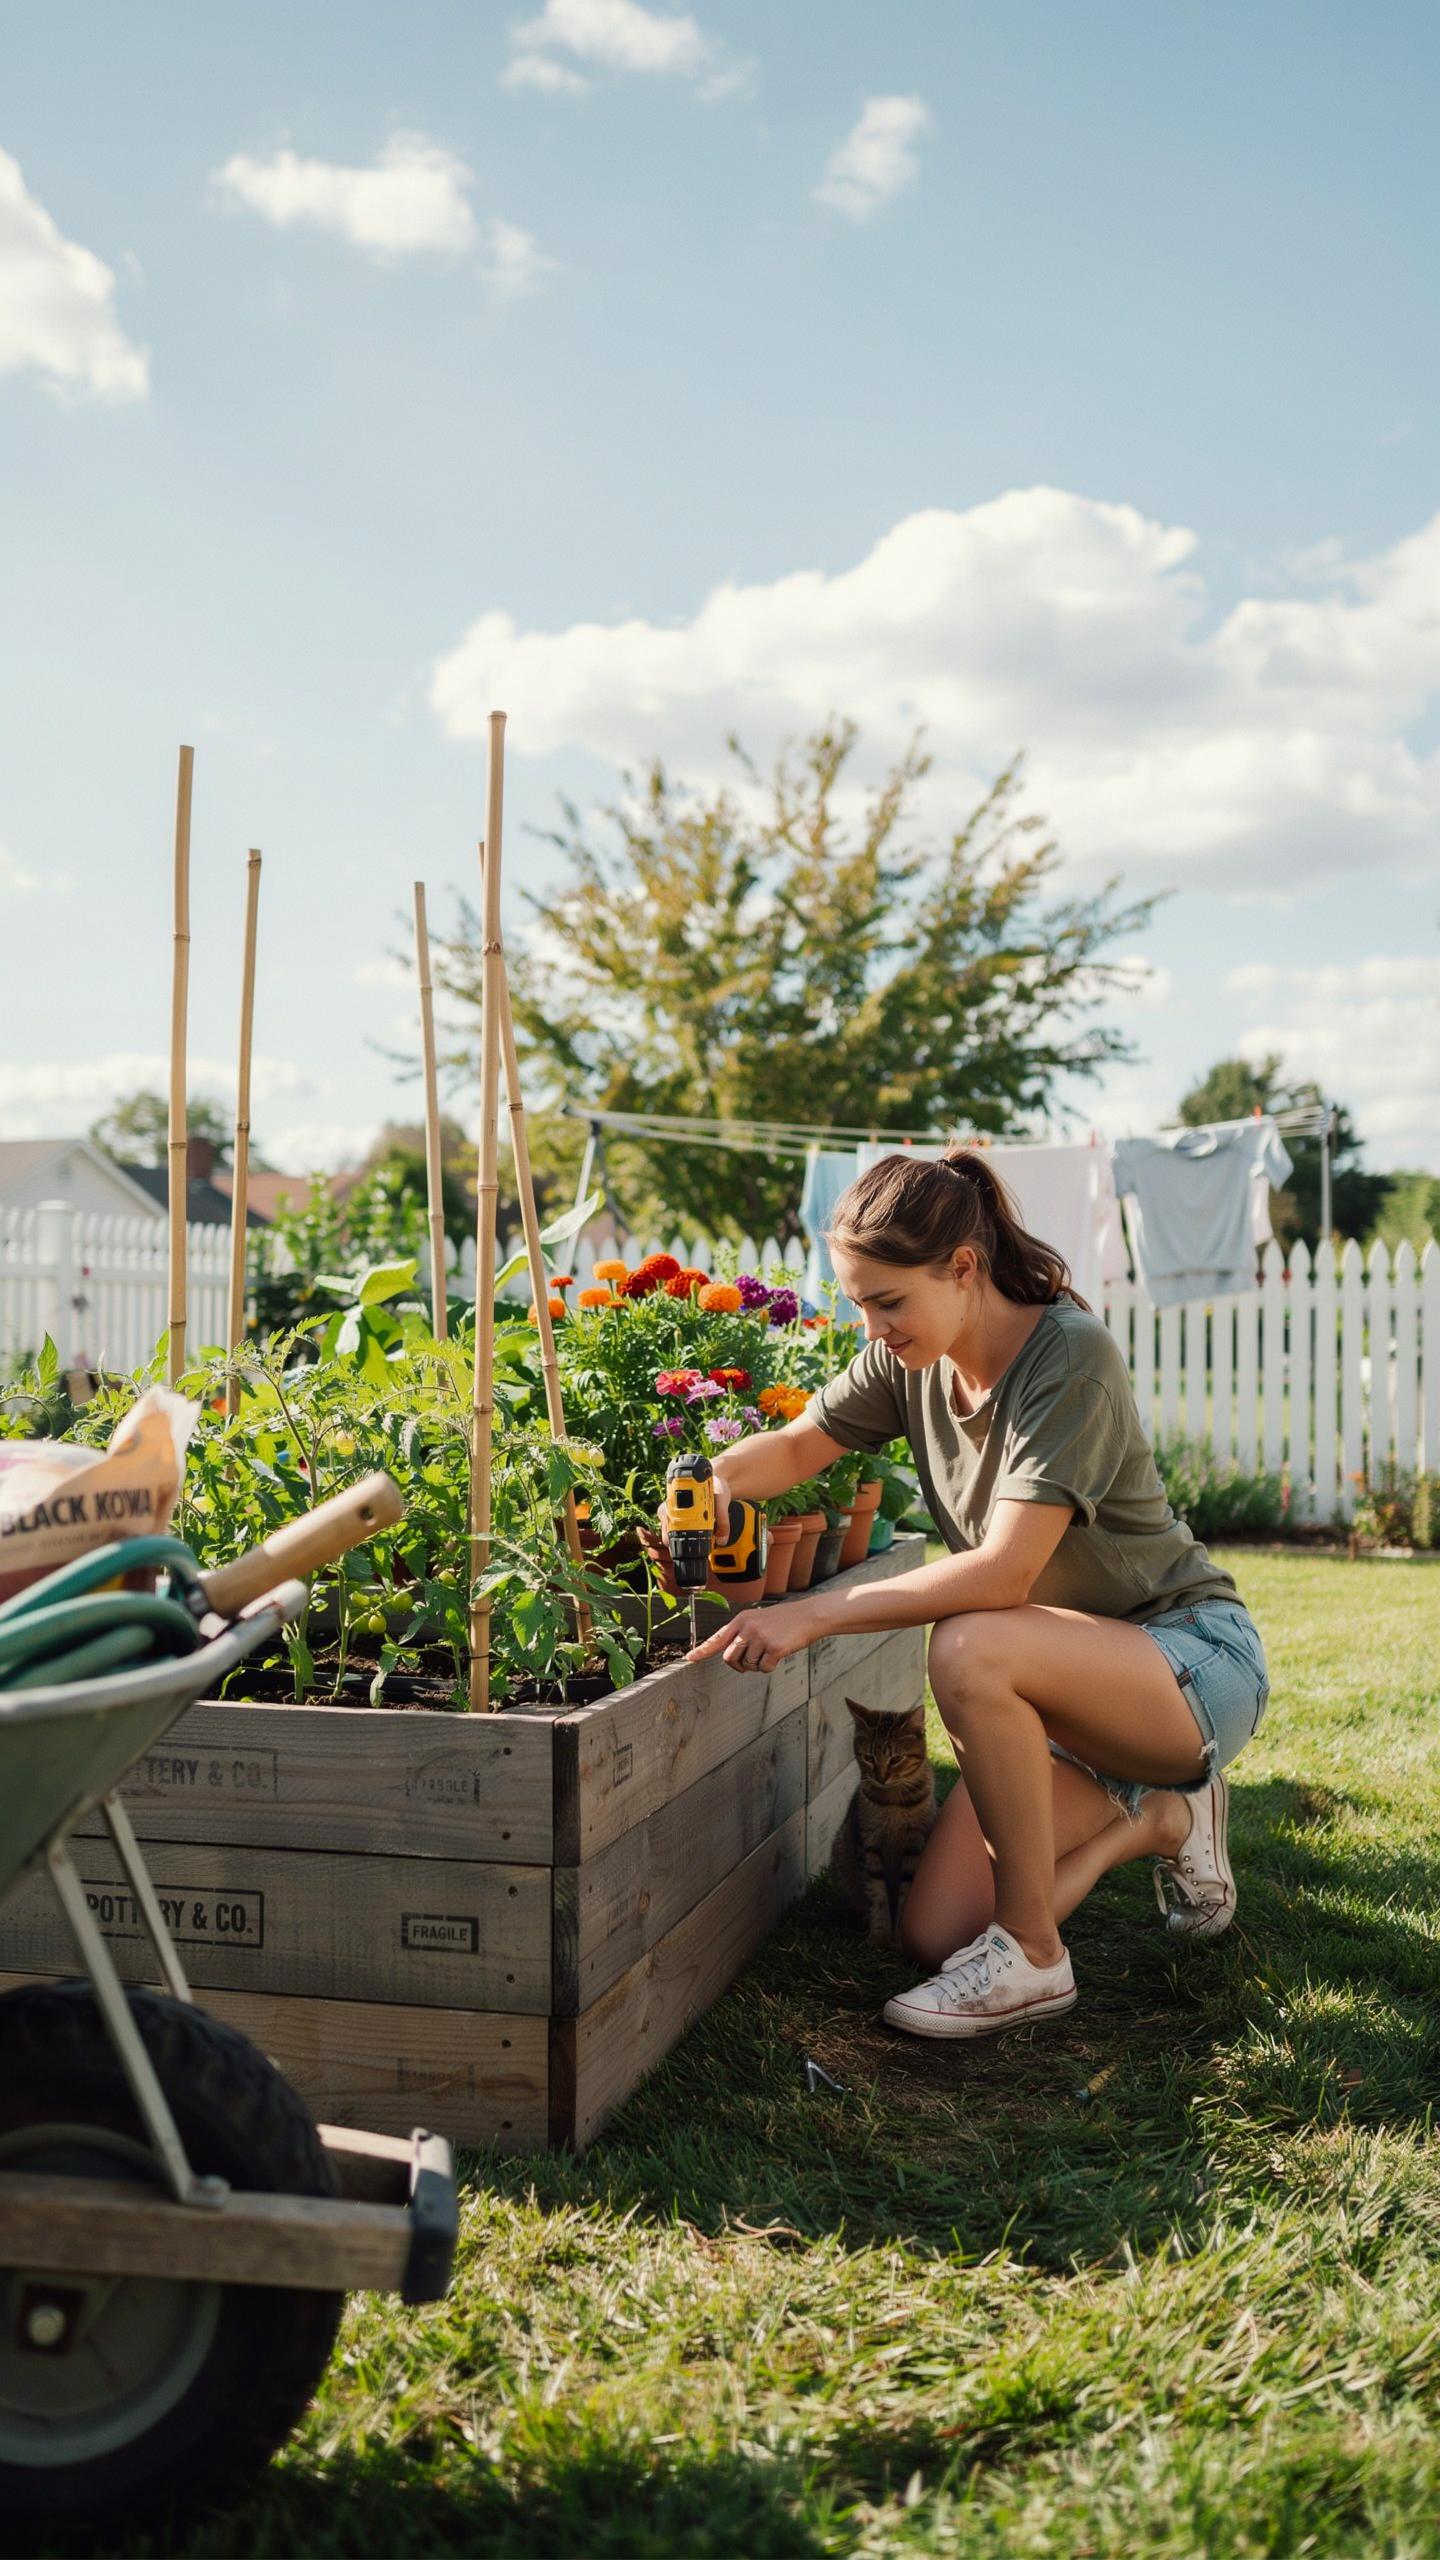
You need specific tools and materials to build a raised bed without wasting money on unnecessary items. Focus on what delivers results. Skip the premium brands and specialty equipment. Basic hand tools work fine for most builds. Source materials locally to avoid shipping costs that inflate your budget.
- Hammer or Drill: A basic hammer handles most fastening jobs. A cordless drill speeds up assembly but isn’t mandatory. Either tool costs under 30 dollars used.
- Circular Saw or Hand Saw: Cuts lumber to size. Hand saws cost five to fifteen dollars. Circular saws run thirty to fifty dollars used.
- Measuring Tape: Essential for accurate dimensions. Standard 25-foot tapes cost three to eight dollars. Accuracy prevents material waste.
- Wood for Frame: Use untreated cedar, pine, or reclaimed lumber. Avoid pressure-treated wood for vegetables. Budget ten to forty dollars depending on bed size and lumber prices in your area.
- Fasteners: Three-inch exterior-grade screws cost five to ten dollars per box. Use screws instead of nails for durability and easier adjustments.
- Soil: This is your largest expense. Budget fifty to two hundred dollars for quality soil based on bed dimensions and local pricing.
Hardware stores sell everything you need in one trip. Craigslist and Facebook Marketplace offer reclaimed wood that cuts material costs by half. Check local lumber yards for bulk deals on standard dimensions.
Step By Step Assembly Instructions For Beginners
Start with a level spot in your yard that receives six to eight hours of sunlight daily. Clear vegetation and debris from the ground. Measure your desired bed dimensions, typically four feet by eight feet for manageability. Cut your lumber to length using your saw. Four boards make a basic rectangle: two long sides and two short sides.
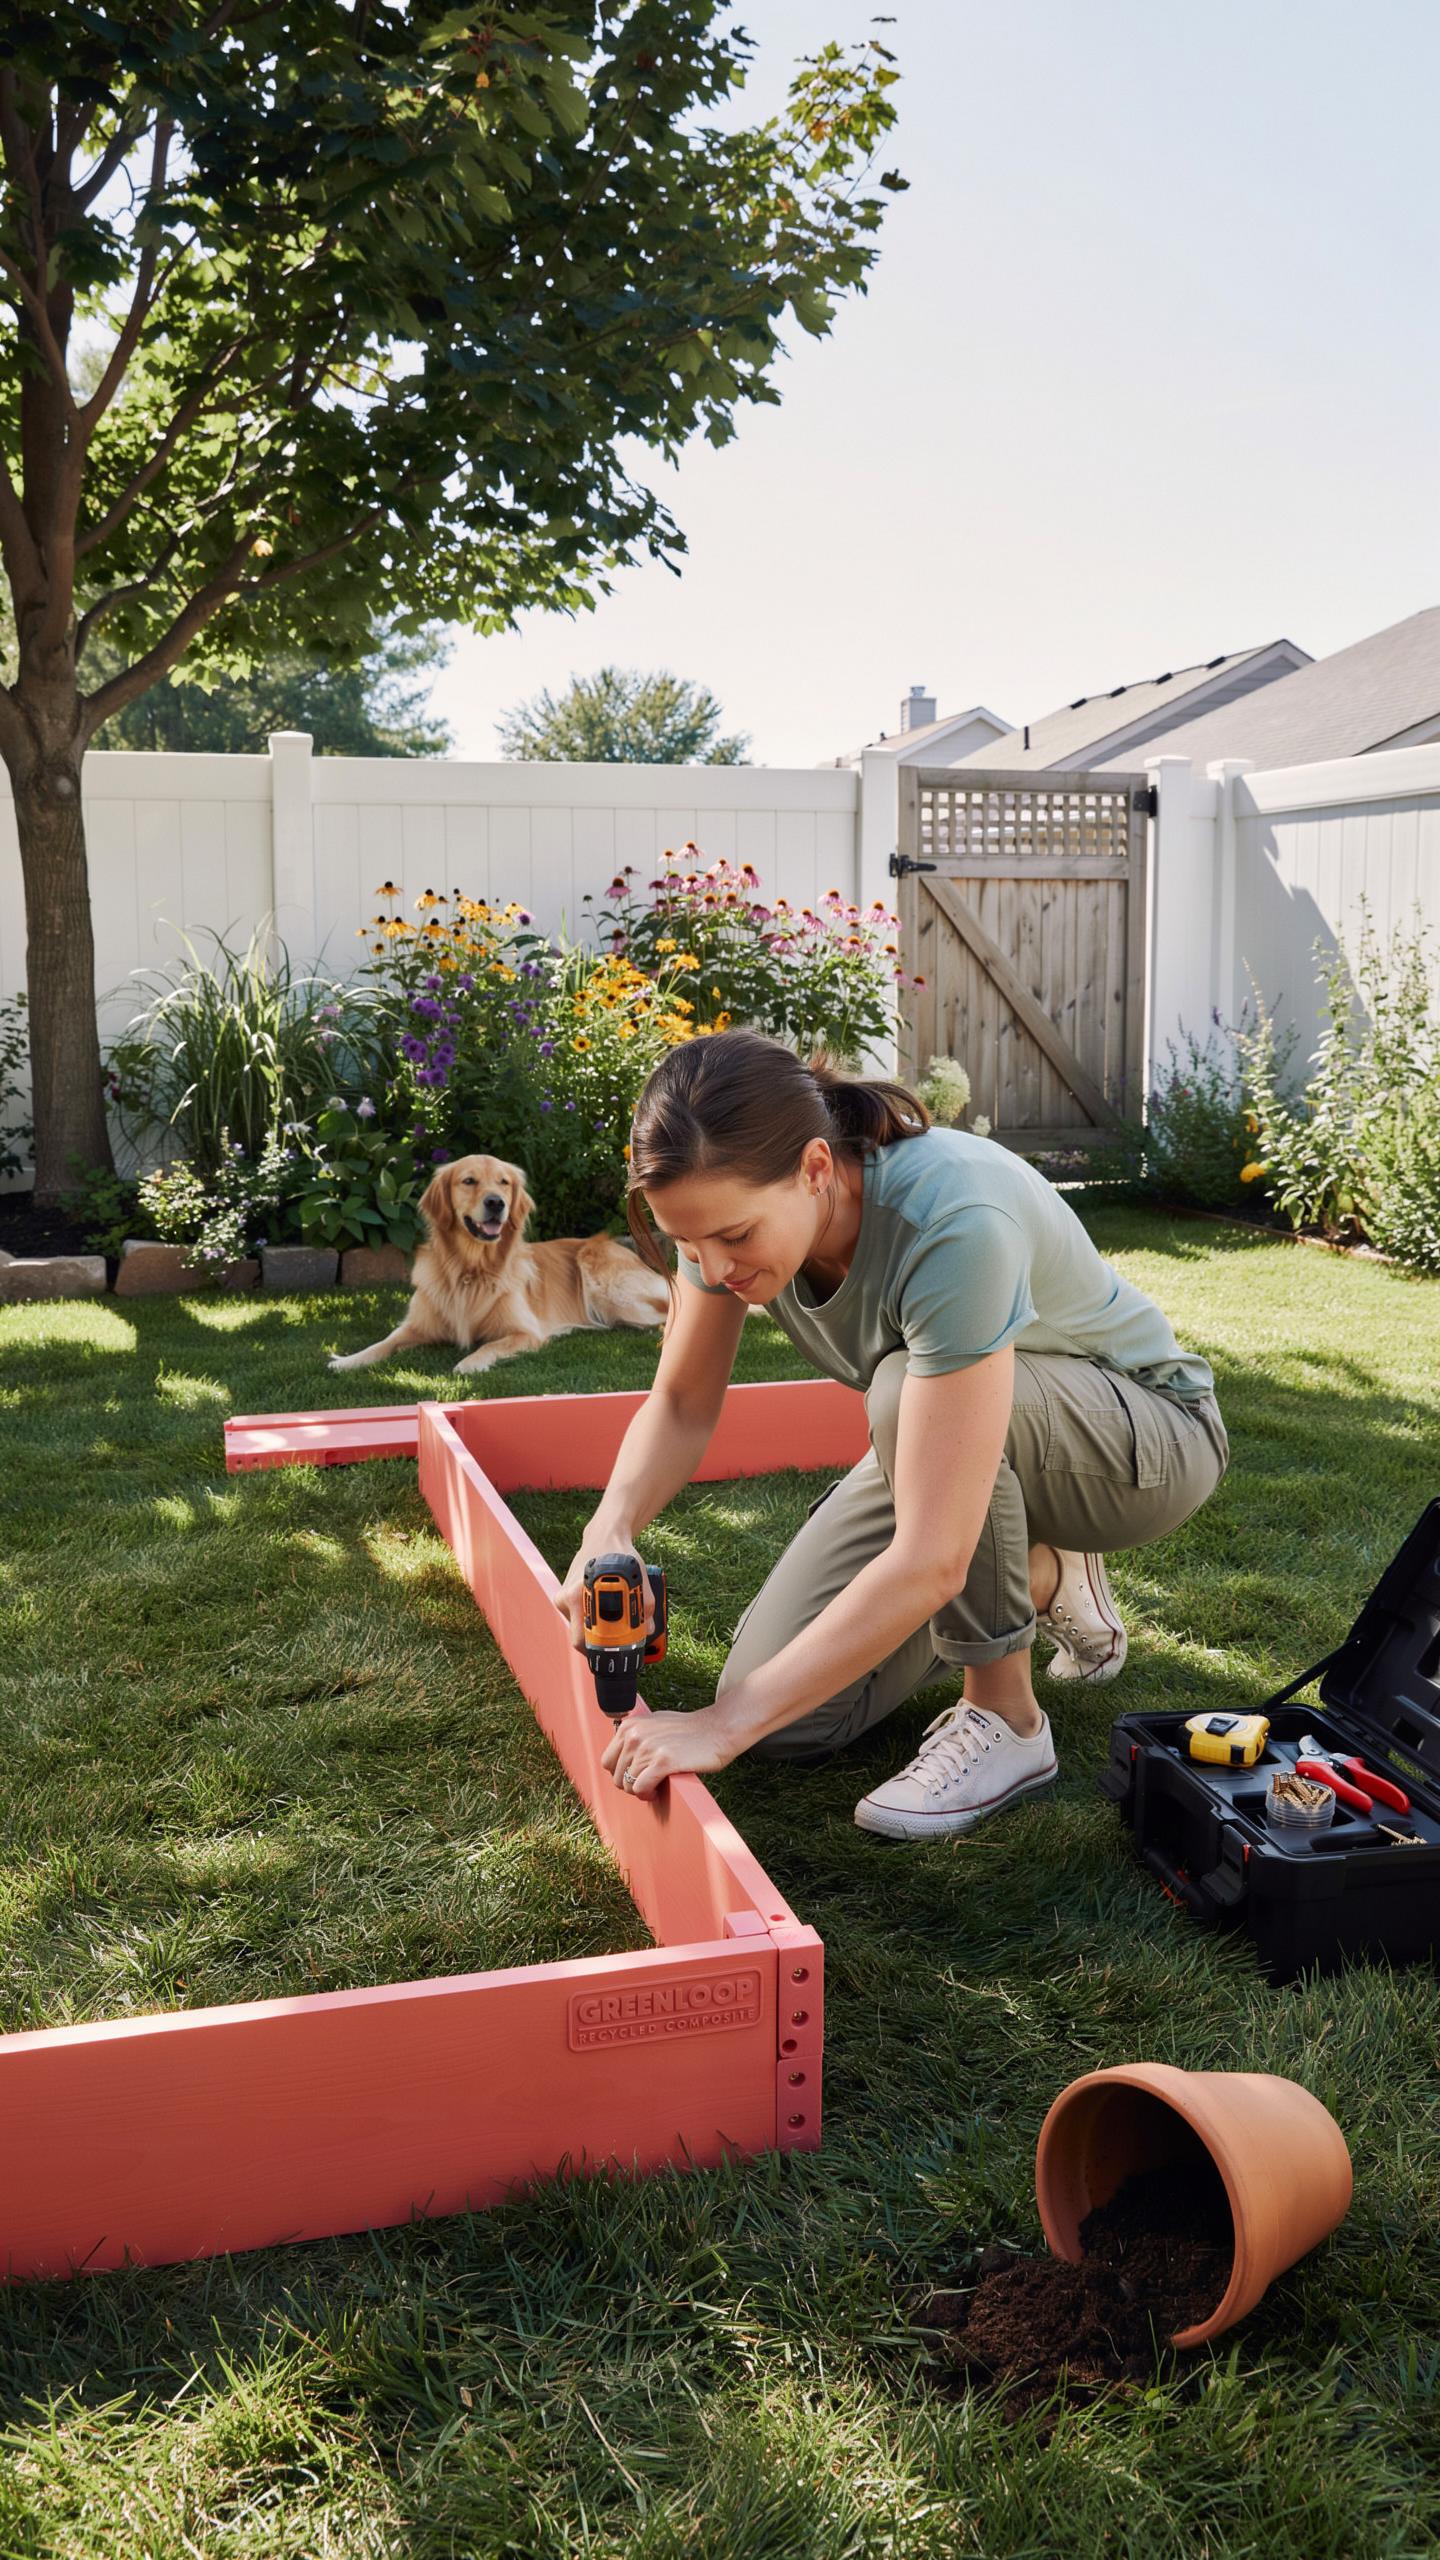
Lay boards flat on the ground in rectangle formation. Check corners with a measuring tape by measuring diagonals, which should be equal. Drill pilot holes at each corner to prevent wood splitting. Drive three-inch screws through one board into the end grain of the adjacent board. Use two screws per corner for stability. Fill with soil after verifying the frame sits level using a basic level tool. Add your plants and start growing.
Designing Your Ideal Kitchen Garden And Layout Plan
Maximizing Available Space With An Efficient Garden Bed Layout
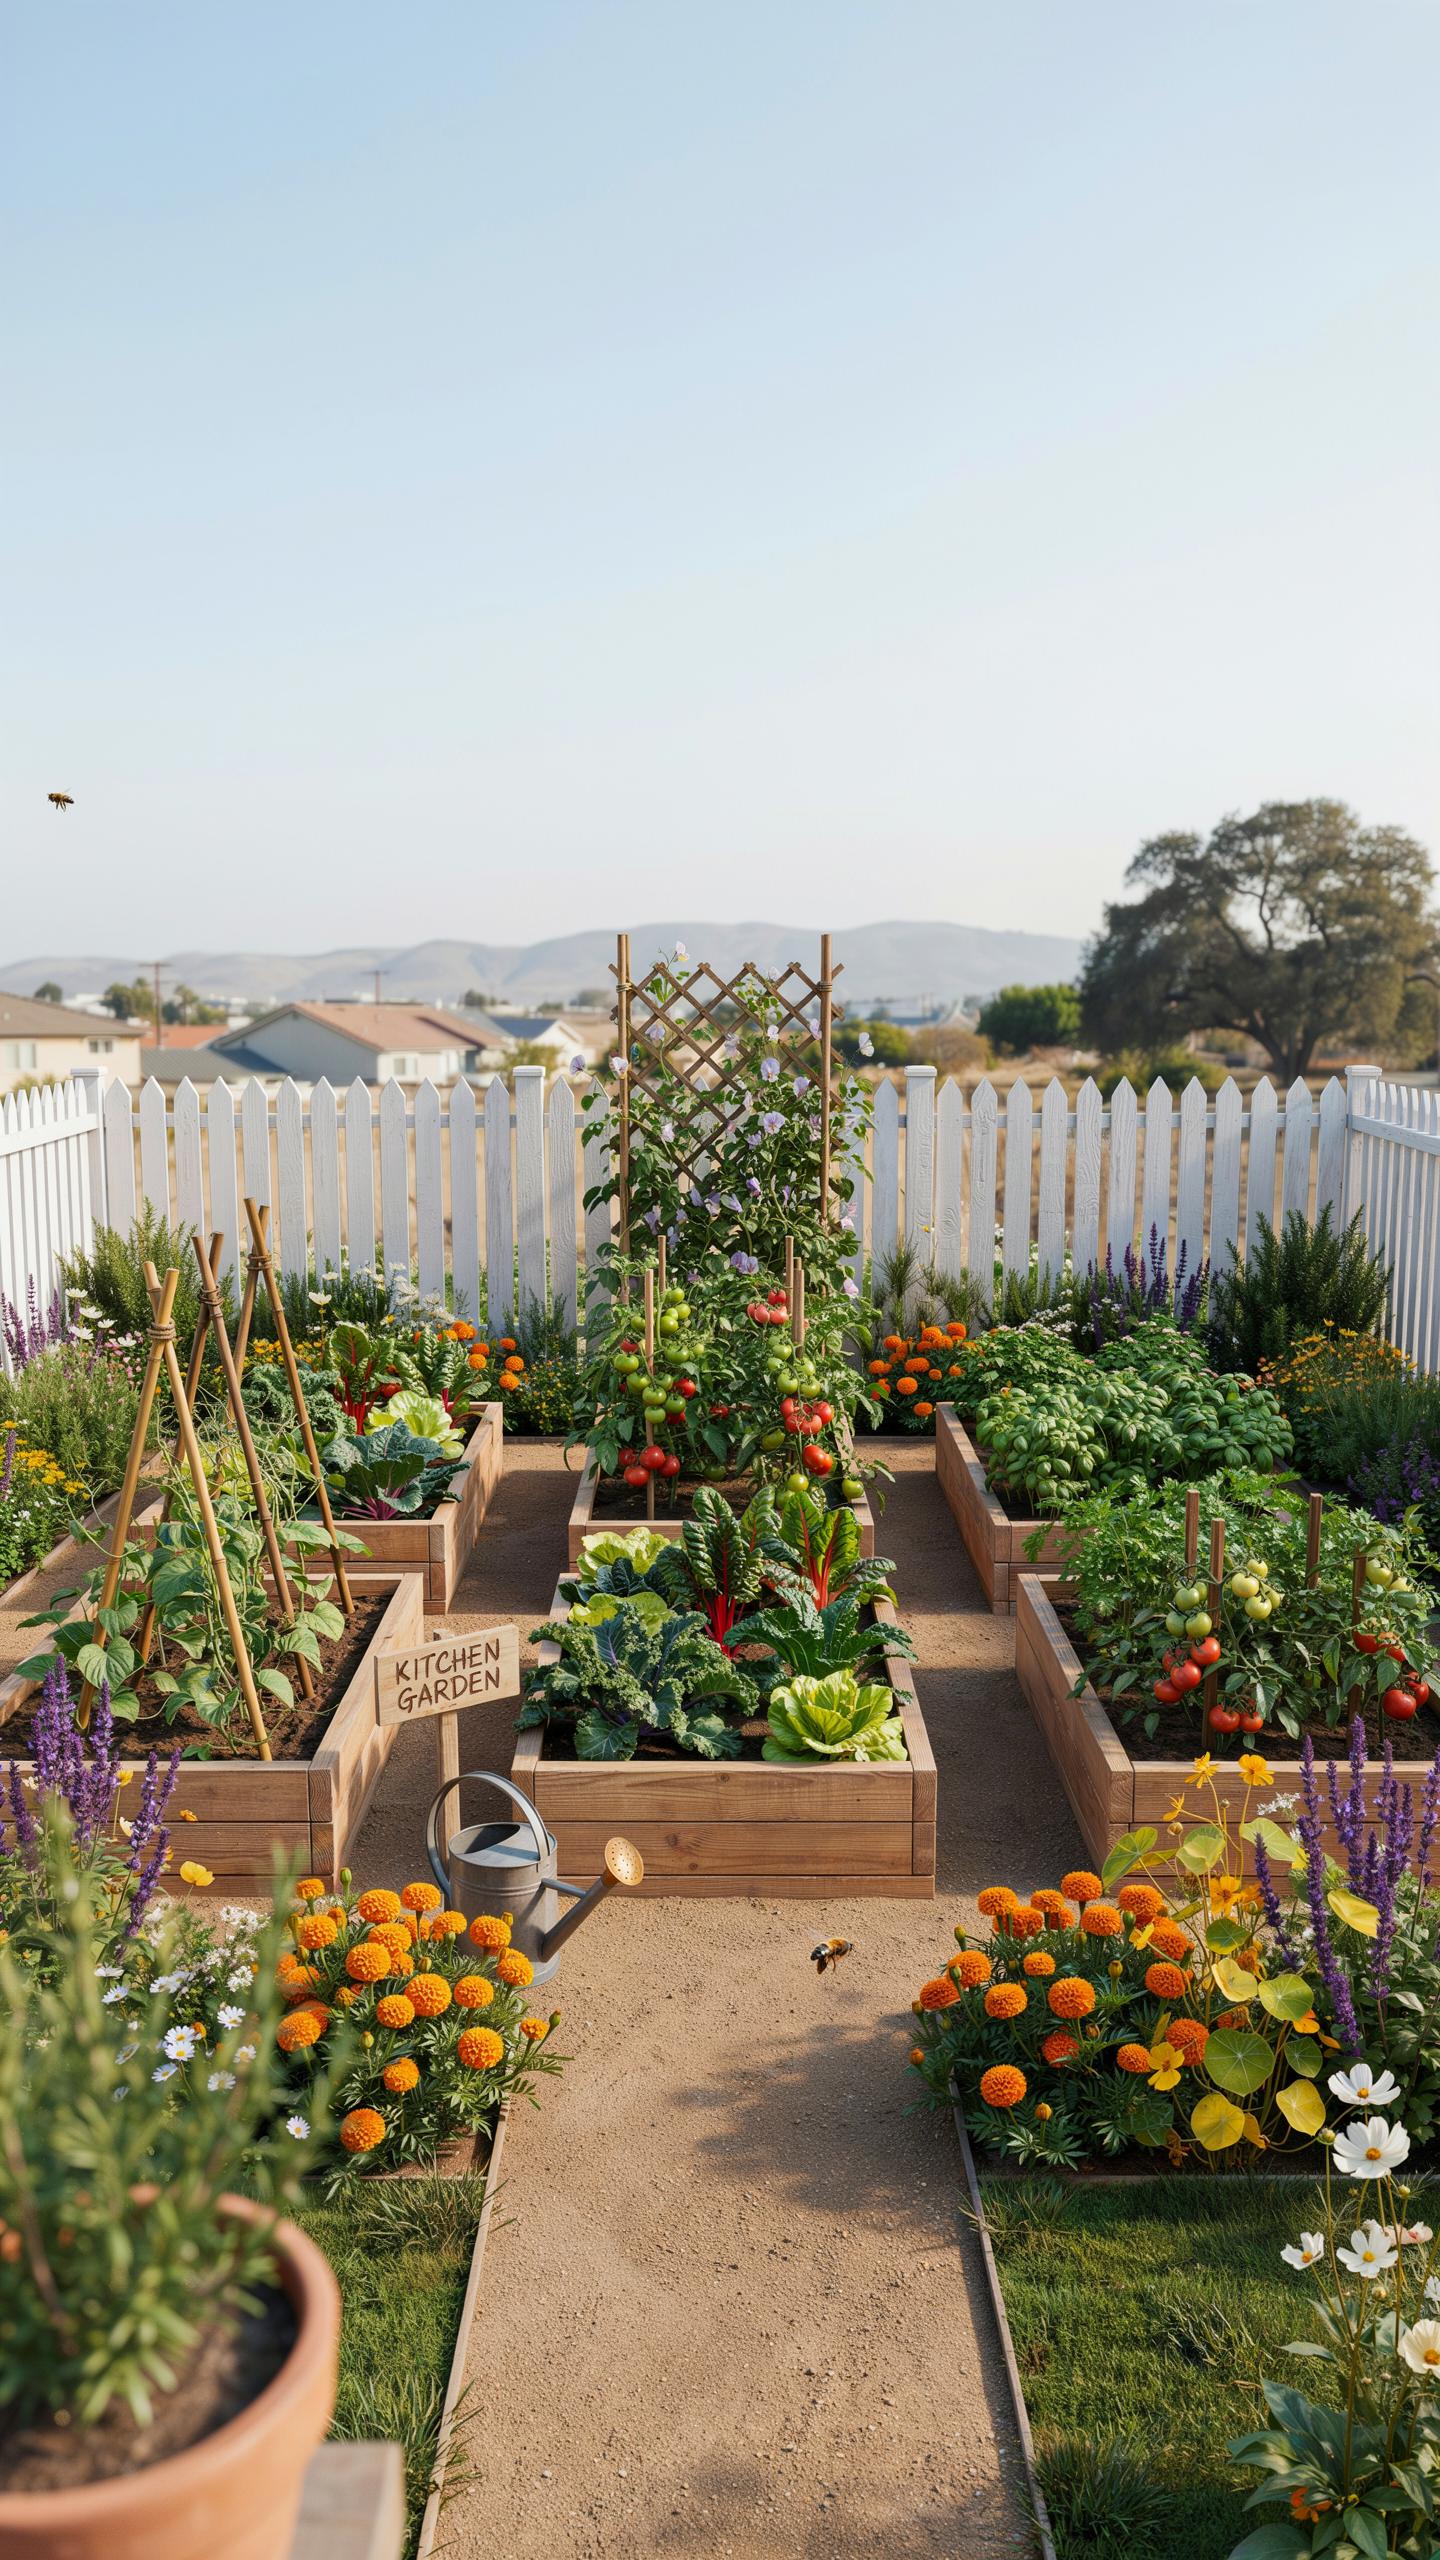
Garden bed placement determines your yield and maintenance burden. Situate beds where they receive six to eight hours of direct sunlight daily. Align beds north to south to prevent taller plants from shading shorter ones. Space beds two to three feet apart for wheelbarrow access and harvesting room. This spacing reduces labor costs and prevents crop damage during maintenance work.
Your layout should reflect the actual space you control. Measure your area and sketch it to scale before building beds. Account for water source proximity because hauling water wastes time and money. Position beds on level ground to prevent water runoff and uneven soil settling. Poor planning forces expensive relocations or bed modifications later.
The glory of gardening: hands in the dirt, head in the sun, and a heart at peace with what little it takes to begin. Feeding ourselves from the earth is a simple inheritance that costs far less than the joy it yields.
Companion Planting Strategies To Enhance Yield And Repel Pests
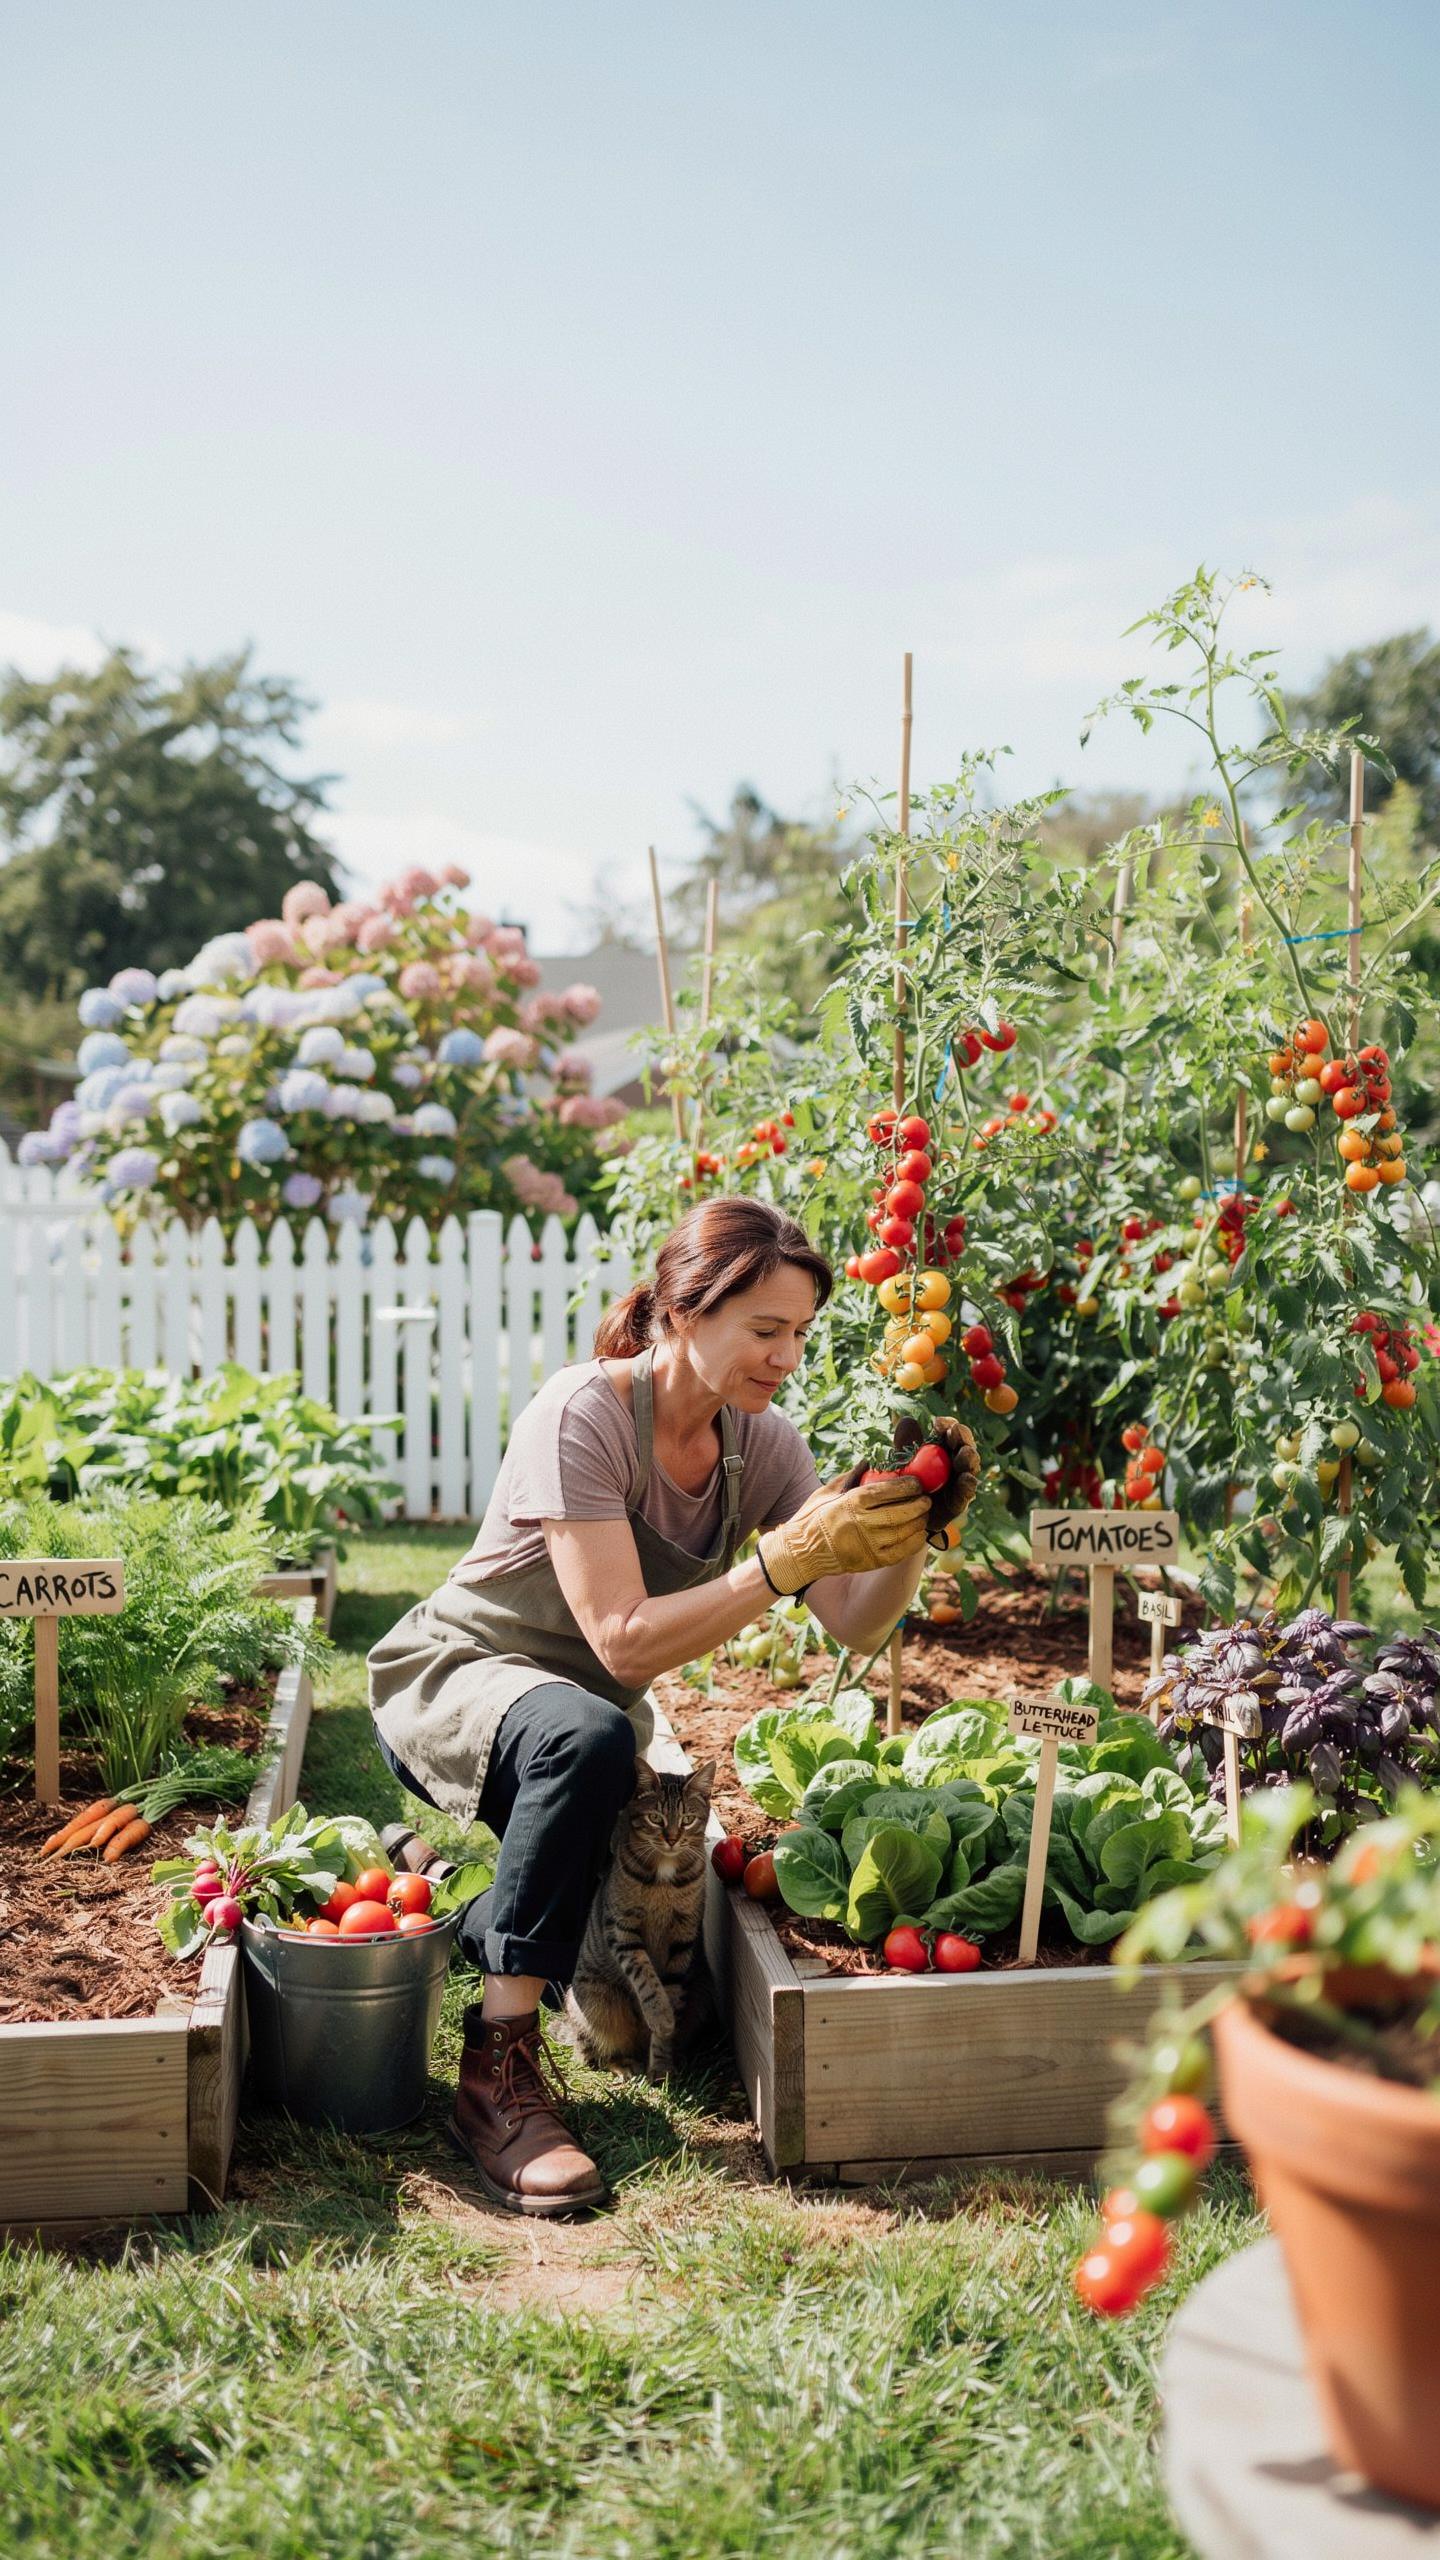
Companion planting uses plant relationships to reduce pest damage and increase production. Certain plant combinations repel insects naturally, cutting your need for expensive treatments. Basil planted near tomatoes deters flies and improves flavor. Marigolds deter aphids from beans and cucumbers. Nasturtiums trap insects away from main crops. These combinations cost nothing beyond seed packets.
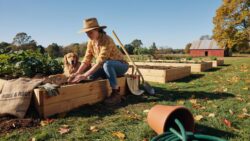
Strategic plant spacing maximizes your raised bed productivity per square foot. Three tomato plants per 4×8 bed prevents disease spread. Lettuce tolerates partial shade from taller plants, saving space. Root crops like carrots and beets grow below leafy greens in the same bed. These layering techniques increase output without expanding your physical footprint or budget.
The Art Of Budget Friendly Filling Garden Beds Explained
The Hugelkultur Method: Using Logs And Organic Material To Save Money
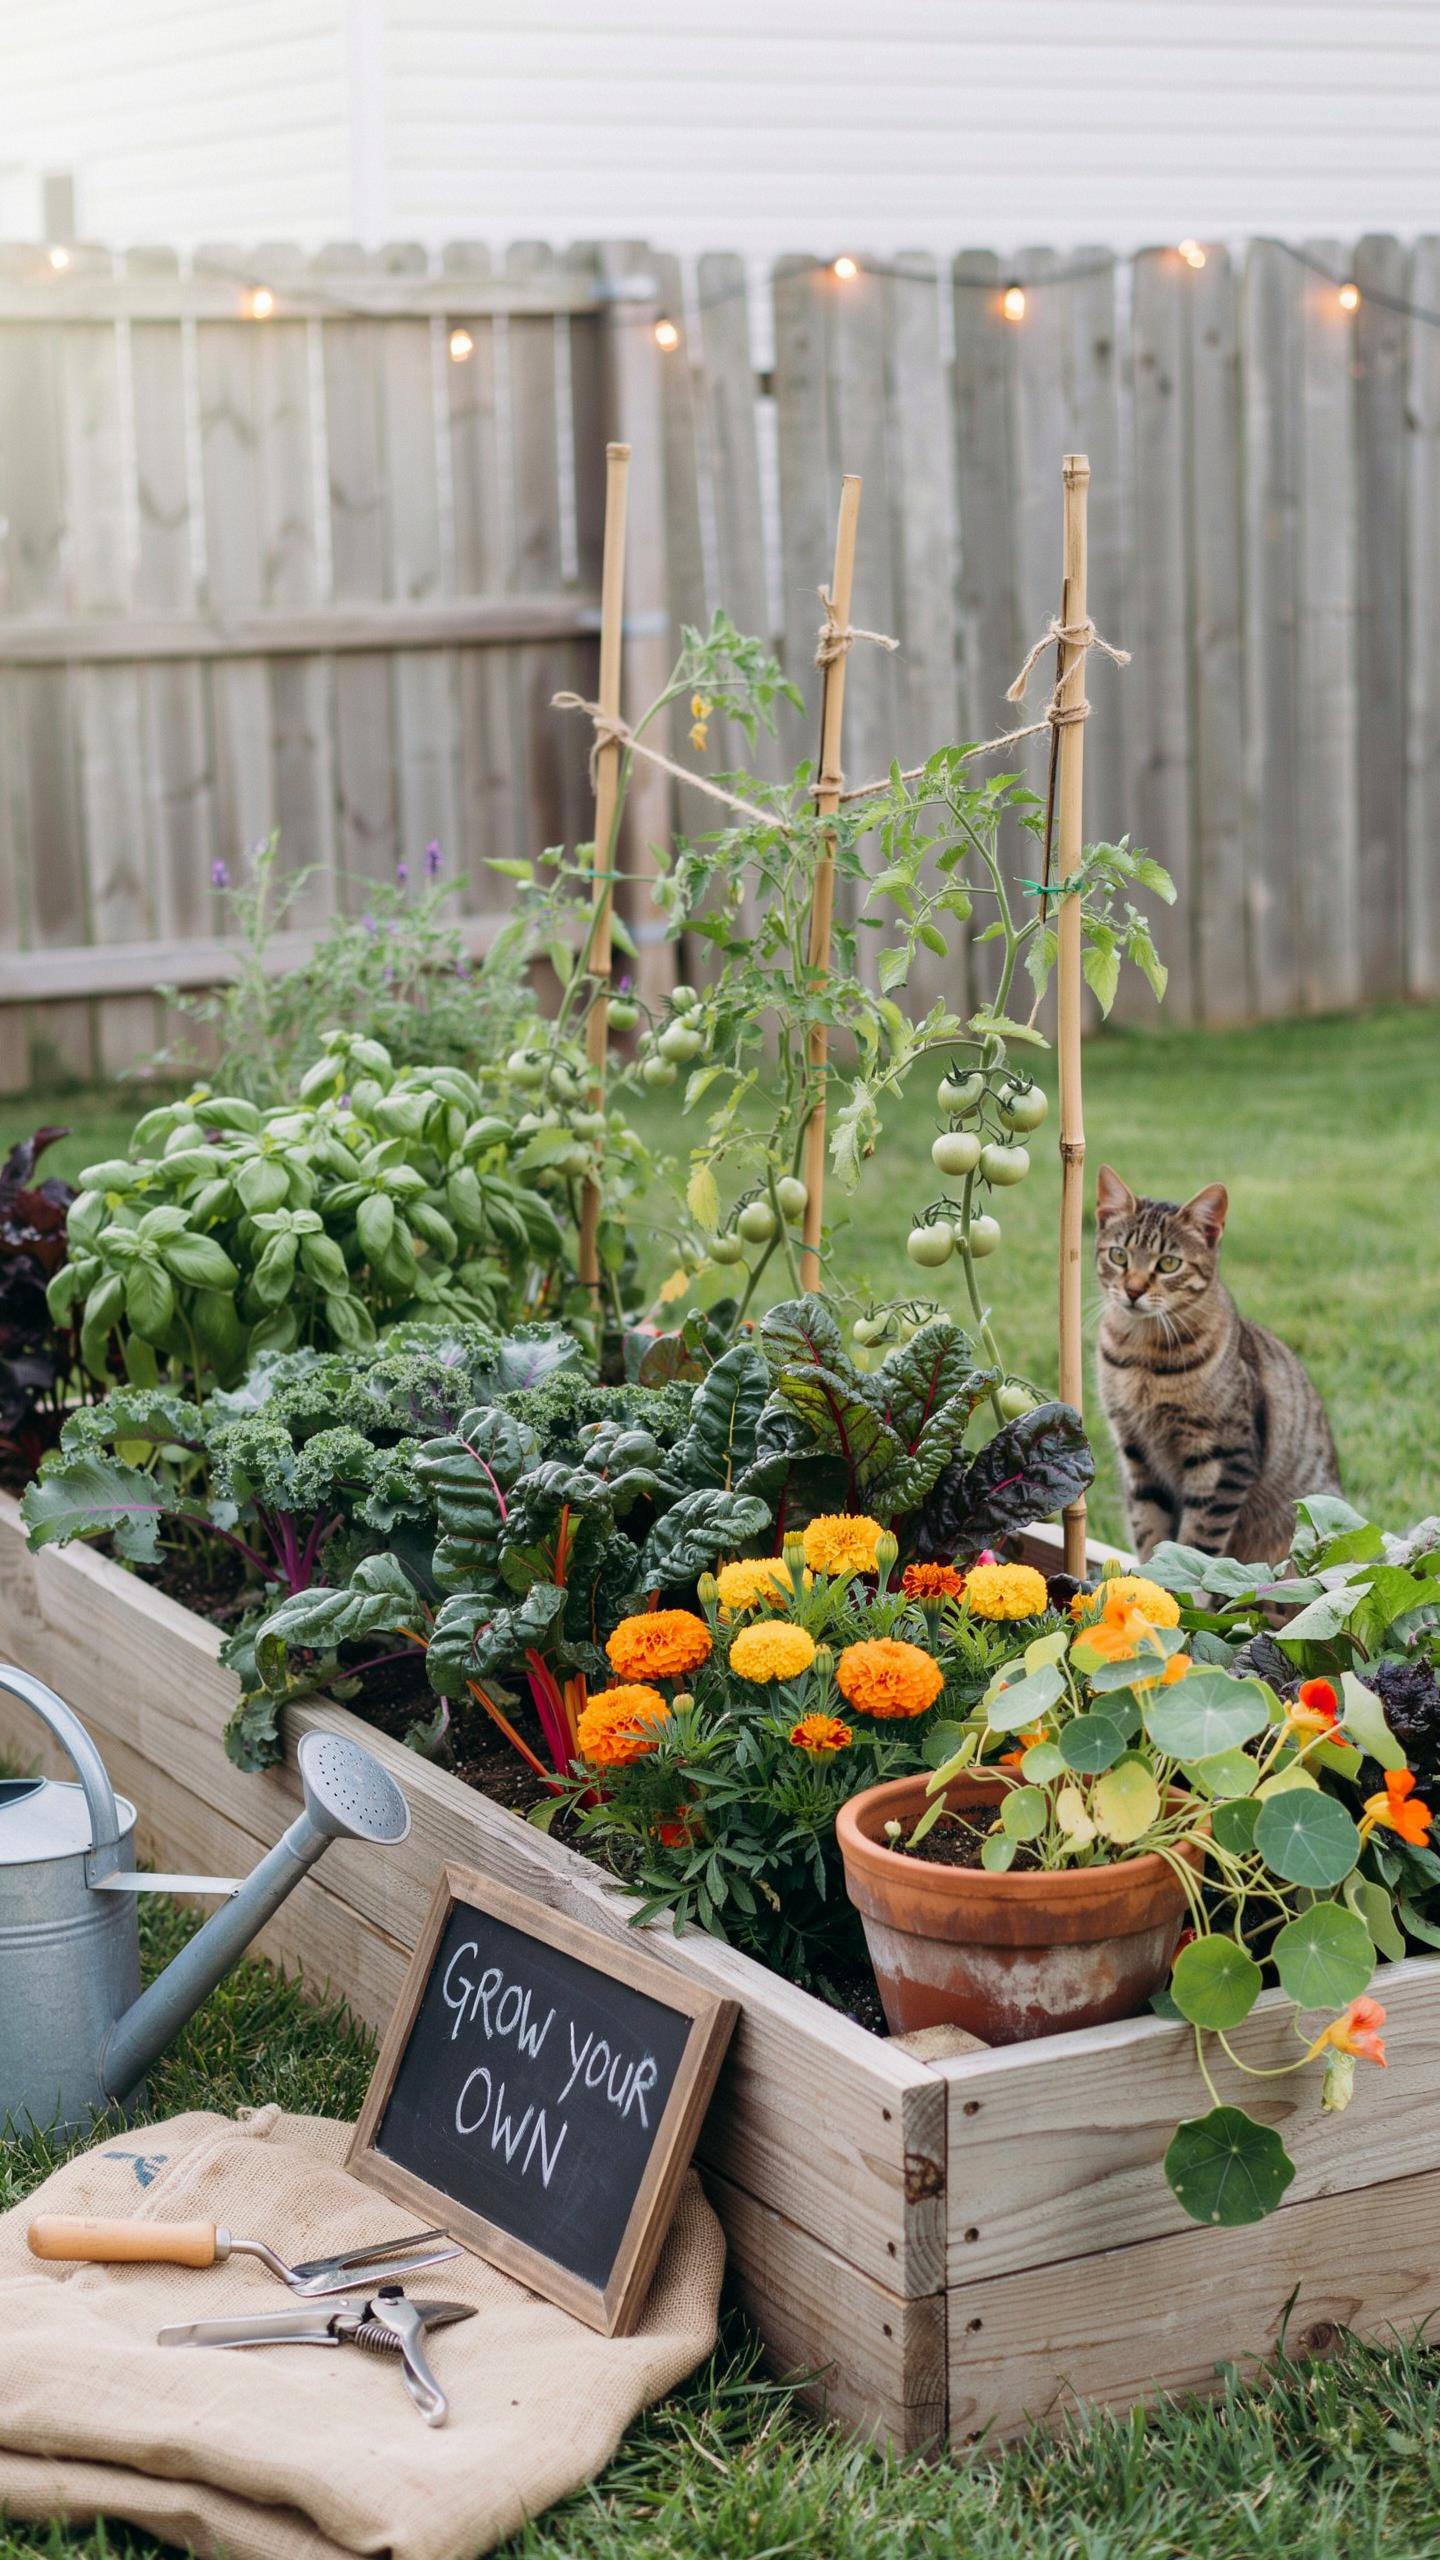
Hugelkultur originated in Central Europe as a practical method for managing wood waste while building productive garden beds. The technique layers logs, branches, and organic debris to create raised structures that decompose over time. This approach cuts soil costs significantly because you use less purchased topsoil. The decomposing wood generates heat and retains moisture, reducing your need for irrigation and fertilizer inputs during the first growing seasons.
The setup process is straightforward. Collect logs and woody debris from tree trimming, storm cleanup, or local arborists who often give material away free. Stack larger logs at the bottom, add smaller branches and twigs above, then layer grass clippings, leaves, and compost on top. Cover with 6 to 12 inches of finished soil or a compost and soil mix. Your bed costs drop because you’ve replaced 40 to 50 percent of traditional soil volume with free organic material that feeds your plants as it breaks down.
Creating The Perfect Soil Mix Without Spending A Fortune
Building quality soil mix without commercial premium bags requires mixing three base components in the right ratio. Combine one part finished compost, one part aged bark or wood chips, and one part coconut coir or peat moss. This formula drains properly while holding moisture and nutrients. Buy these materials in bulk from landscape suppliers rather than garden centers. Bulk pricing cuts costs by 30 to 50 percent compared to bagged options for identical materials.
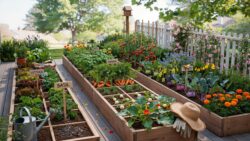
Source free or low cost amendments from your own yard and community resources. Collect fallen leaves in autumn and shred them with a mower, add grass clippings and kitchen scraps to build compost piles, or ask neighbors for their yard waste. Many municipalities offer free compost made from community green waste. Mix your bulk base materials with these free amendments to stretch your purchased soil budget further. This approach delivers the same nutrient density and drainage as expensive premixed potting soil at a fraction of the cost.
Selecting Quality Top Soil And Soil Amendments Affordably
Sourcing Bulk Topsoil Versus Bagged Options For Direct Savings
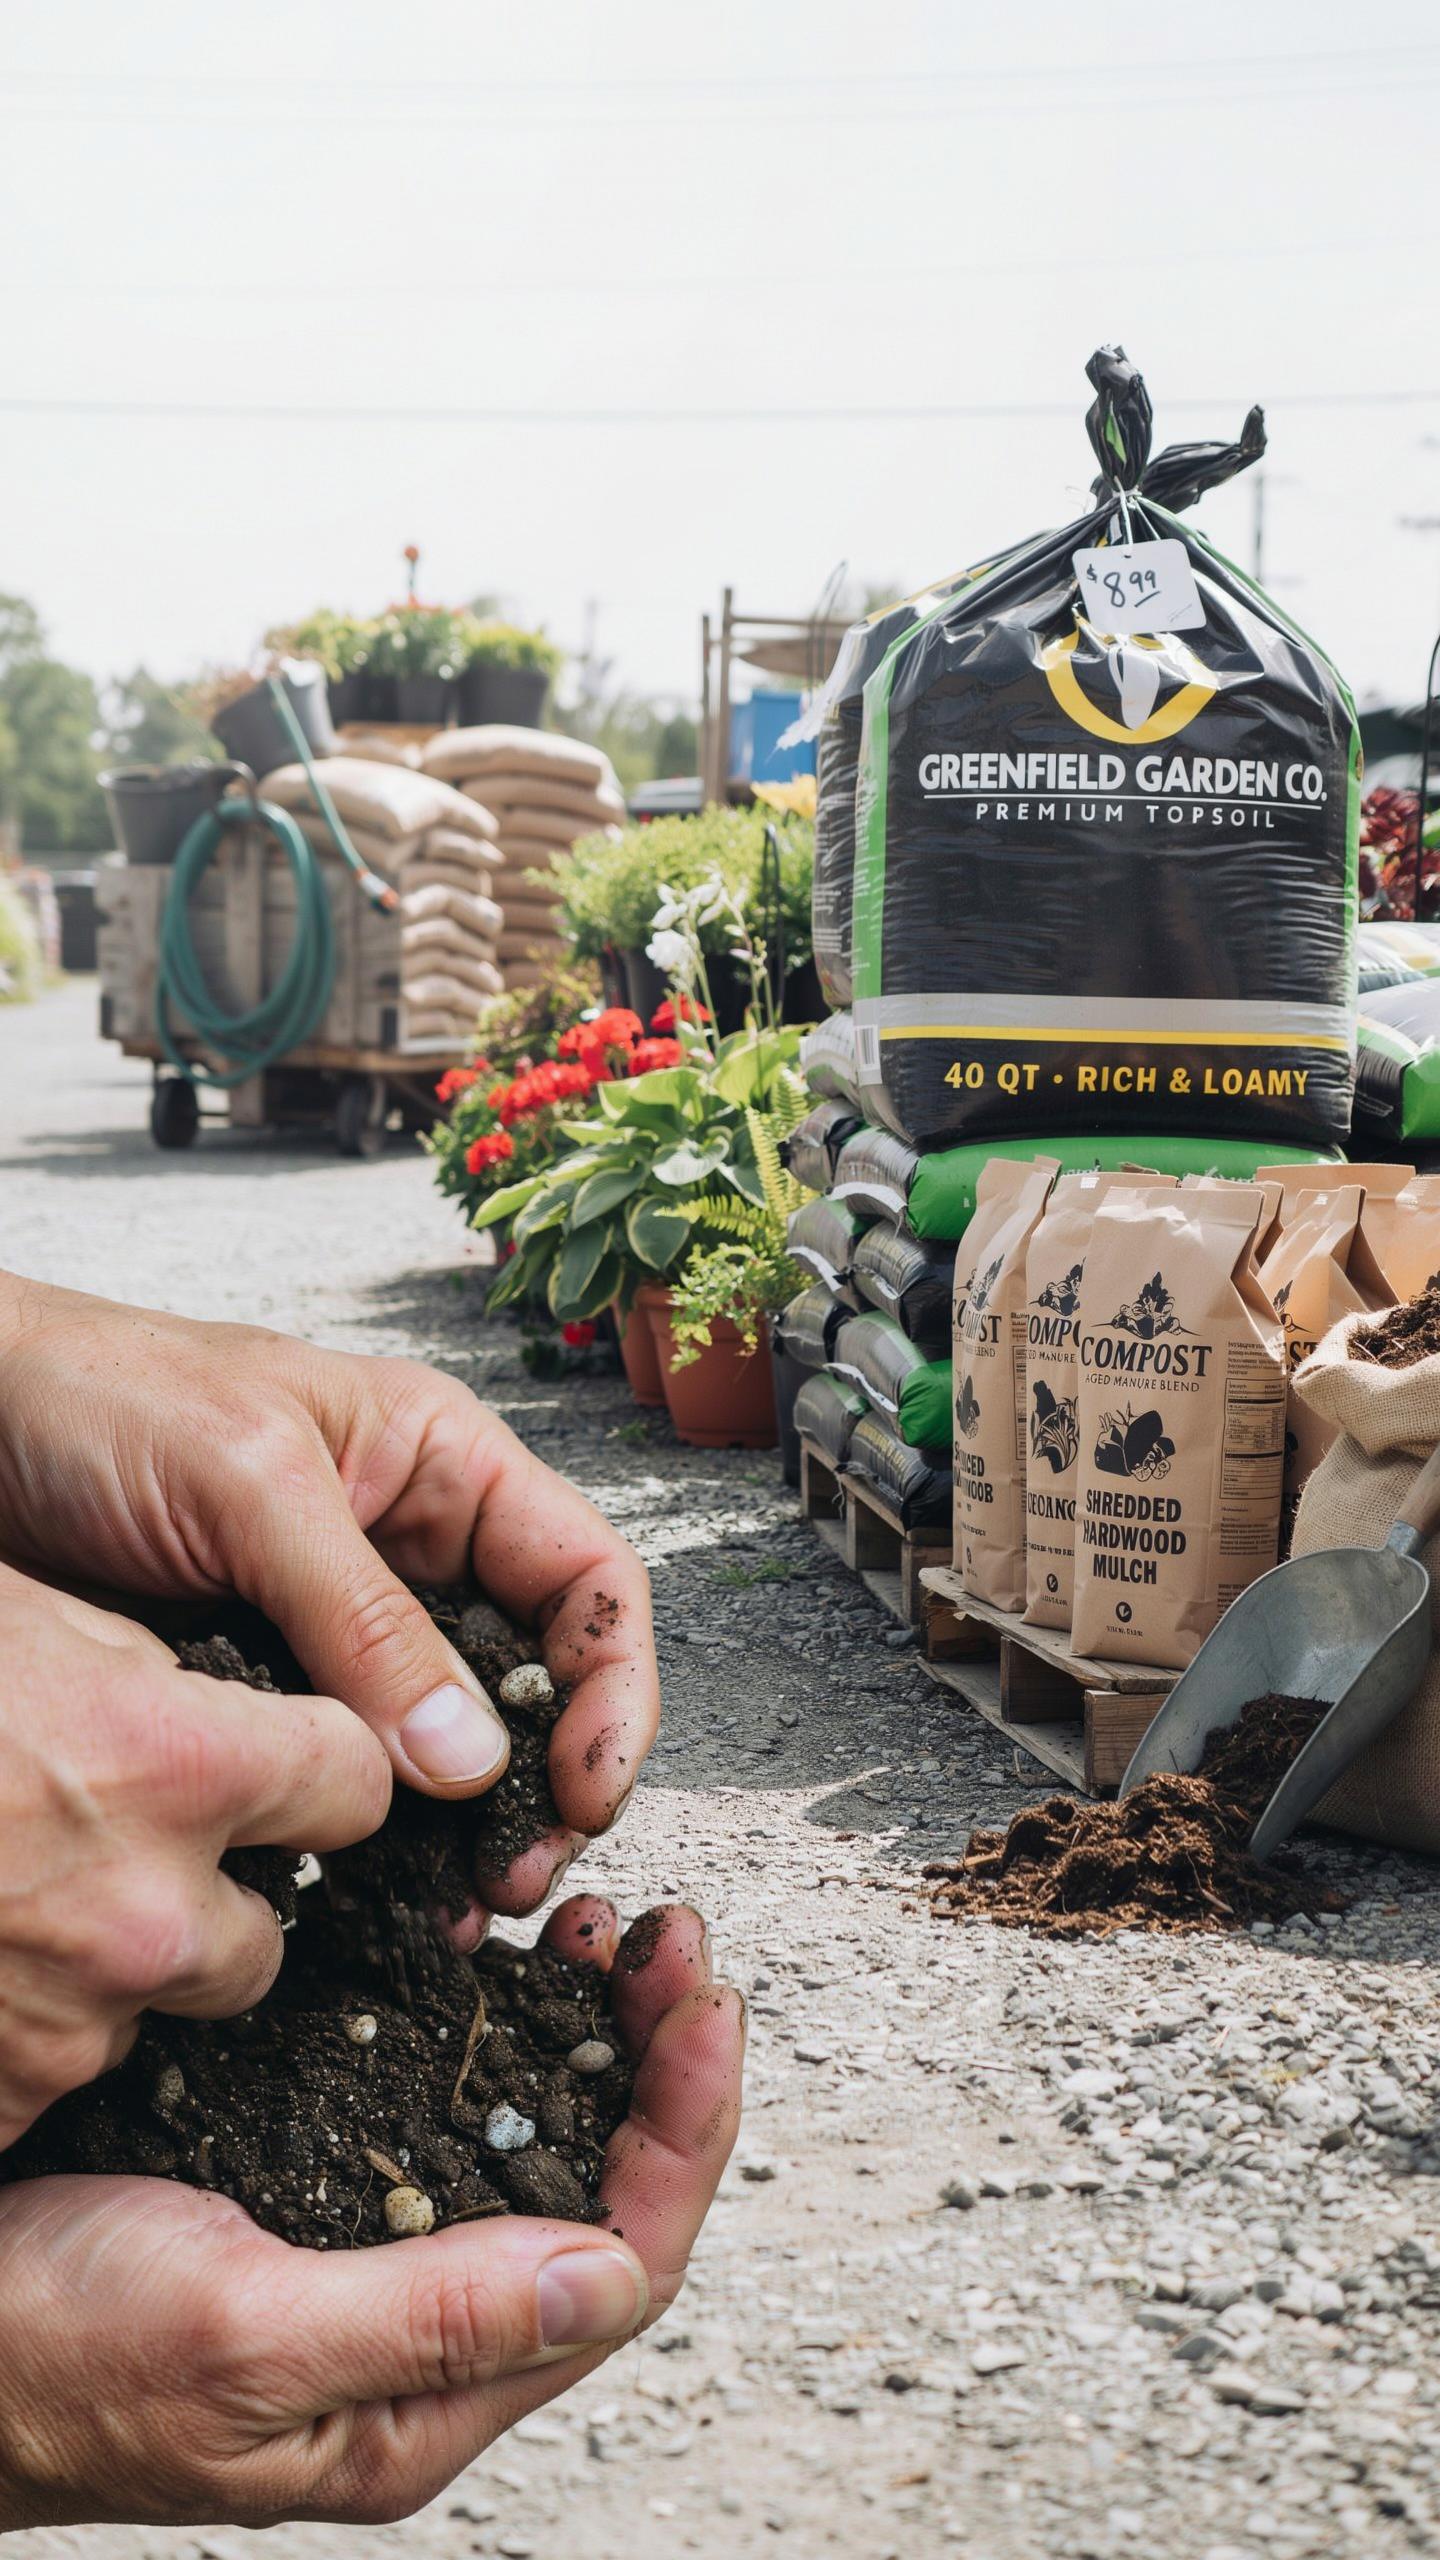
Bulk topsoil costs between 12 to 55 dollars per cubic yard depending on location and quality. Bagged topsoil runs 3 to 8 dollars per bag, with most bags containing 2 cubic feet. For a 4 by 8 foot bed at 12 inches deep, you need 32 cubic feet or 1.2 cubic yards. Bulk delivery makes financial sense at this volume, saving you 30 to 50 percent compared to bagged alternatives.
Contact local landscape suppliers, soil yards, and gravel companies for bulk pricing. Request delivery quotes before committing. Some suppliers charge extra for delivery under a certain minimum order, typically one to three cubic yards. Compare the per-yard cost against your nearest big box store bagged options. Factor in your time spent hauling bags. Bulk soil arrives dumped at your location, requiring only spreading effort.
DIY Soil Amendments: Utilizing Kitchen Scraps And Backyard Organic Matter
Kitchen scraps and yard waste create free soil amendments when composted. Vegetable peels, coffee grounds, eggshells, and grass clippings break down into nutrient-rich material over 2 to 6 months. Wood chips from tree trimming services cost nothing or minimal fees if you collect them yourself. These materials improve soil structure, drainage, and nutrient content without retail pricing.
Build a simple compost pile in your yard or use existing brush piles. Alternate green materials like kitchen scraps and fresh grass with brown materials like dried leaves and shredded paper. Turn the pile every 2 to 4 weeks to speed decomposition. Once the material becomes dark and crumbly, mix it into your topsoil at a ratio of one part compost to three parts topsoil for cost-effective soil depth.
Building Your Raised Garden Beds DIY Style With Wood Alternatives
Affordable Alternatives Such As Corrugated Metal And Concrete Blocks
Corrugated metal raised beds cost between $75 and $200 per 4×8 foot bed, depending on gauge thickness and material quality. Galvanized steel resists rust longer than bare metal. Concrete blocks run $1 to $3 per block, making a 4×8 bed cost roughly $40 to $120. Both materials outlast wood by years and require minimal maintenance compared to cedar or composite options.
Corrugated metal heats up faster in spring, warming soil quicker for early planting. This matters in cold climates where growing season length is critical. Concrete blocks create defined edges and stack easily without fasteners. Metal beds work well for sloped terrain since you adjust height by stacking blocks underneath. Both materials handle heavy soil weight without warping or rotting.
Pros And Cons Of Non Traditional Building Materials
Corrugated metal excels at durability and longevity, lasting 15 to 20 years with minimal upkeep. The tradeoff is initial cost and potential rust issues with lower gauge metals. Installation takes less than an hour. Metal conducts heat differently than wood, which can overheat roots during extreme summer temperatures. Galvanized options prevent rust but carry higher upfront expense.
Concrete blocks offer maximum durability and stacking flexibility without tools. They cost less than metal per square foot. The disadvantage is weight and difficulty repositioning once placed. Concrete can raise soil pH over time in acidic regions. Blocks don’t insulate soil temperature as well as wood, meaning cooler spring soil and faster summer heat transfer. Either option beats wood for long term cost per year of use.
Essential Vegetable Garden Tips To Ensure High Yields At Low Cost
Starting Seeds Indoors To Avoid Expensive Nursery Plant Costs
Starting seeds indoors cuts your plant costs by 80 to 90 percent compared to buying transplants from nurseries. A packet of seeds costs 2 to 4 dollars and produces 20 to 100 plants. Nursery transplants run 3 to 8 dollars per plant. You control the growing conditions indoors, which means stronger, healthier seedlings that adapt better when transplanted to raised beds.
Indoor seed starting requires minimal equipment. You need seed trays, a basic grow light, and potting soil. These items cost under 50 dollars total and last for years. Start seeds 6 to 8 weeks before your last frost date. This timing ensures your plants reach transplant size exactly when soil temperatures warm enough for outdoor planting.
Watering And Mulching Strategies That Reduce Utility Bills
Drip irrigation systems deliver water directly to plant roots and cut water waste by 50 percent compared to overhead watering. Soaker hoses cost 15 to 30 dollars and work without electricity. They release water slowly, which means less evaporation and deeper root penetration. Install them before adding mulch so you control water placement precisely where plants need it most.
Mulch acts as a moisture barrier and reduces watering frequency by 30 to 50 percent. Apply 2 to 3 inches of wood chips or straw around plants, staying 2 inches away from plant stems. Mulch also regulates soil temperature, reduces weed growth, and breaks down over time to improve soil structure. Replace mulch annually as it decomposes.
Maintaining Your Raised Garden System Season After Season
Inexpensive Winterization Steps To Protect Your Structures And Soil
Stop your beds from rotting by draining water before freezing temperatures arrive. Remove standing water from low spots and ensure drainage holes stay clear. Raised beds made from untreated wood deteriorate faster when moisture sits against the material all winter. Wood treated with natural oils like linseed or boiled linseed oil costs five to ten dollars per bed and extends wood life by several years. Apply this treatment in fall to maximize protection.
Cover your soil with leaves, straw, or compost to prevent erosion and nutrient loss. A four to six inch layer costs nothing if you gather fallen leaves from your property. This layer also suppresses weeds that emerge in spring and breaks down over winter, adding organic matter. Remove the cover gradually as temperatures warm to let soil transition slowly and avoid shocking plants during spring planting.
How To Rejuvenate Spent Soil Every Spring On A Tiny Budget
Test your soil before adding anything new to identify what nutrients actually depleted. Most county extension offices offer soil testing for ten to thirty dollars and provide specific recommendations. This prevents wasting money on unnecessary amendments. Work three to four inches of finished compost into the top layer of existing soil each spring. This restores structure, adds nutrients, and costs less than replacing soil entirely.
Source free or cheap compost from local sources instead of buying bags. Contact your city’s green waste program, local farms, or restaurants for used coffee grounds and vegetable scraps. Horse owners often give away aged manure for free. Layer these materials with yard waste in your bed or in a separate pile to create finished compost by the next season. This approach cuts your annual soil maintenance costs to nearly zero.
Frequently Asked Questions

What are the primary expenses I should expect when starting a garden?
When starting out, your initial investment typically covers framing materials, soil, and seeds. Providing a clear raised bed gardening cost breakdown helps beginners realize that soil is often the largest expense. By focusing on affordable lumber like untreated cedar or heat-treated pallets and mixing your own compost, you can significantly lower the entry price while ensuring your plants have a nutrient-rich environment for healthy growth.
How can I fill a deep garden bed without spending a fortune on soil?
To keep your costs low, use the “Hugelkultur” method by filling the bottom half of your tall beds with organic debris like logs, sticks, and dried leaves. This practical strategy is a key part of any budget-friendly raised bed gardening cost breakdown because it reduces the volume of expensive potting mix required. Over time, these materials break down into rich fertilizer, supporting your garden’s long-term health and productivity.
Is it possible to build high-quality garden beds using repurposed materials?
Absolutely! You can achieve a professional look using salvaged items like corrugated metal scraps, old bricks, or free wooden pallets. Using recycled materials is the most effective way to minimize your spending. This approach proves that anyone can enjoy gardening without a massive financial commitment. By being creative with what you already have, you can build a productive backyard oasis that remains functional and aesthetically pleasing for years to come.



