
What Is A Landscape Design Concept Sketch And Why Does It Matter
Defining The Role Of A Landscape Architecture Sketch In The Design Process
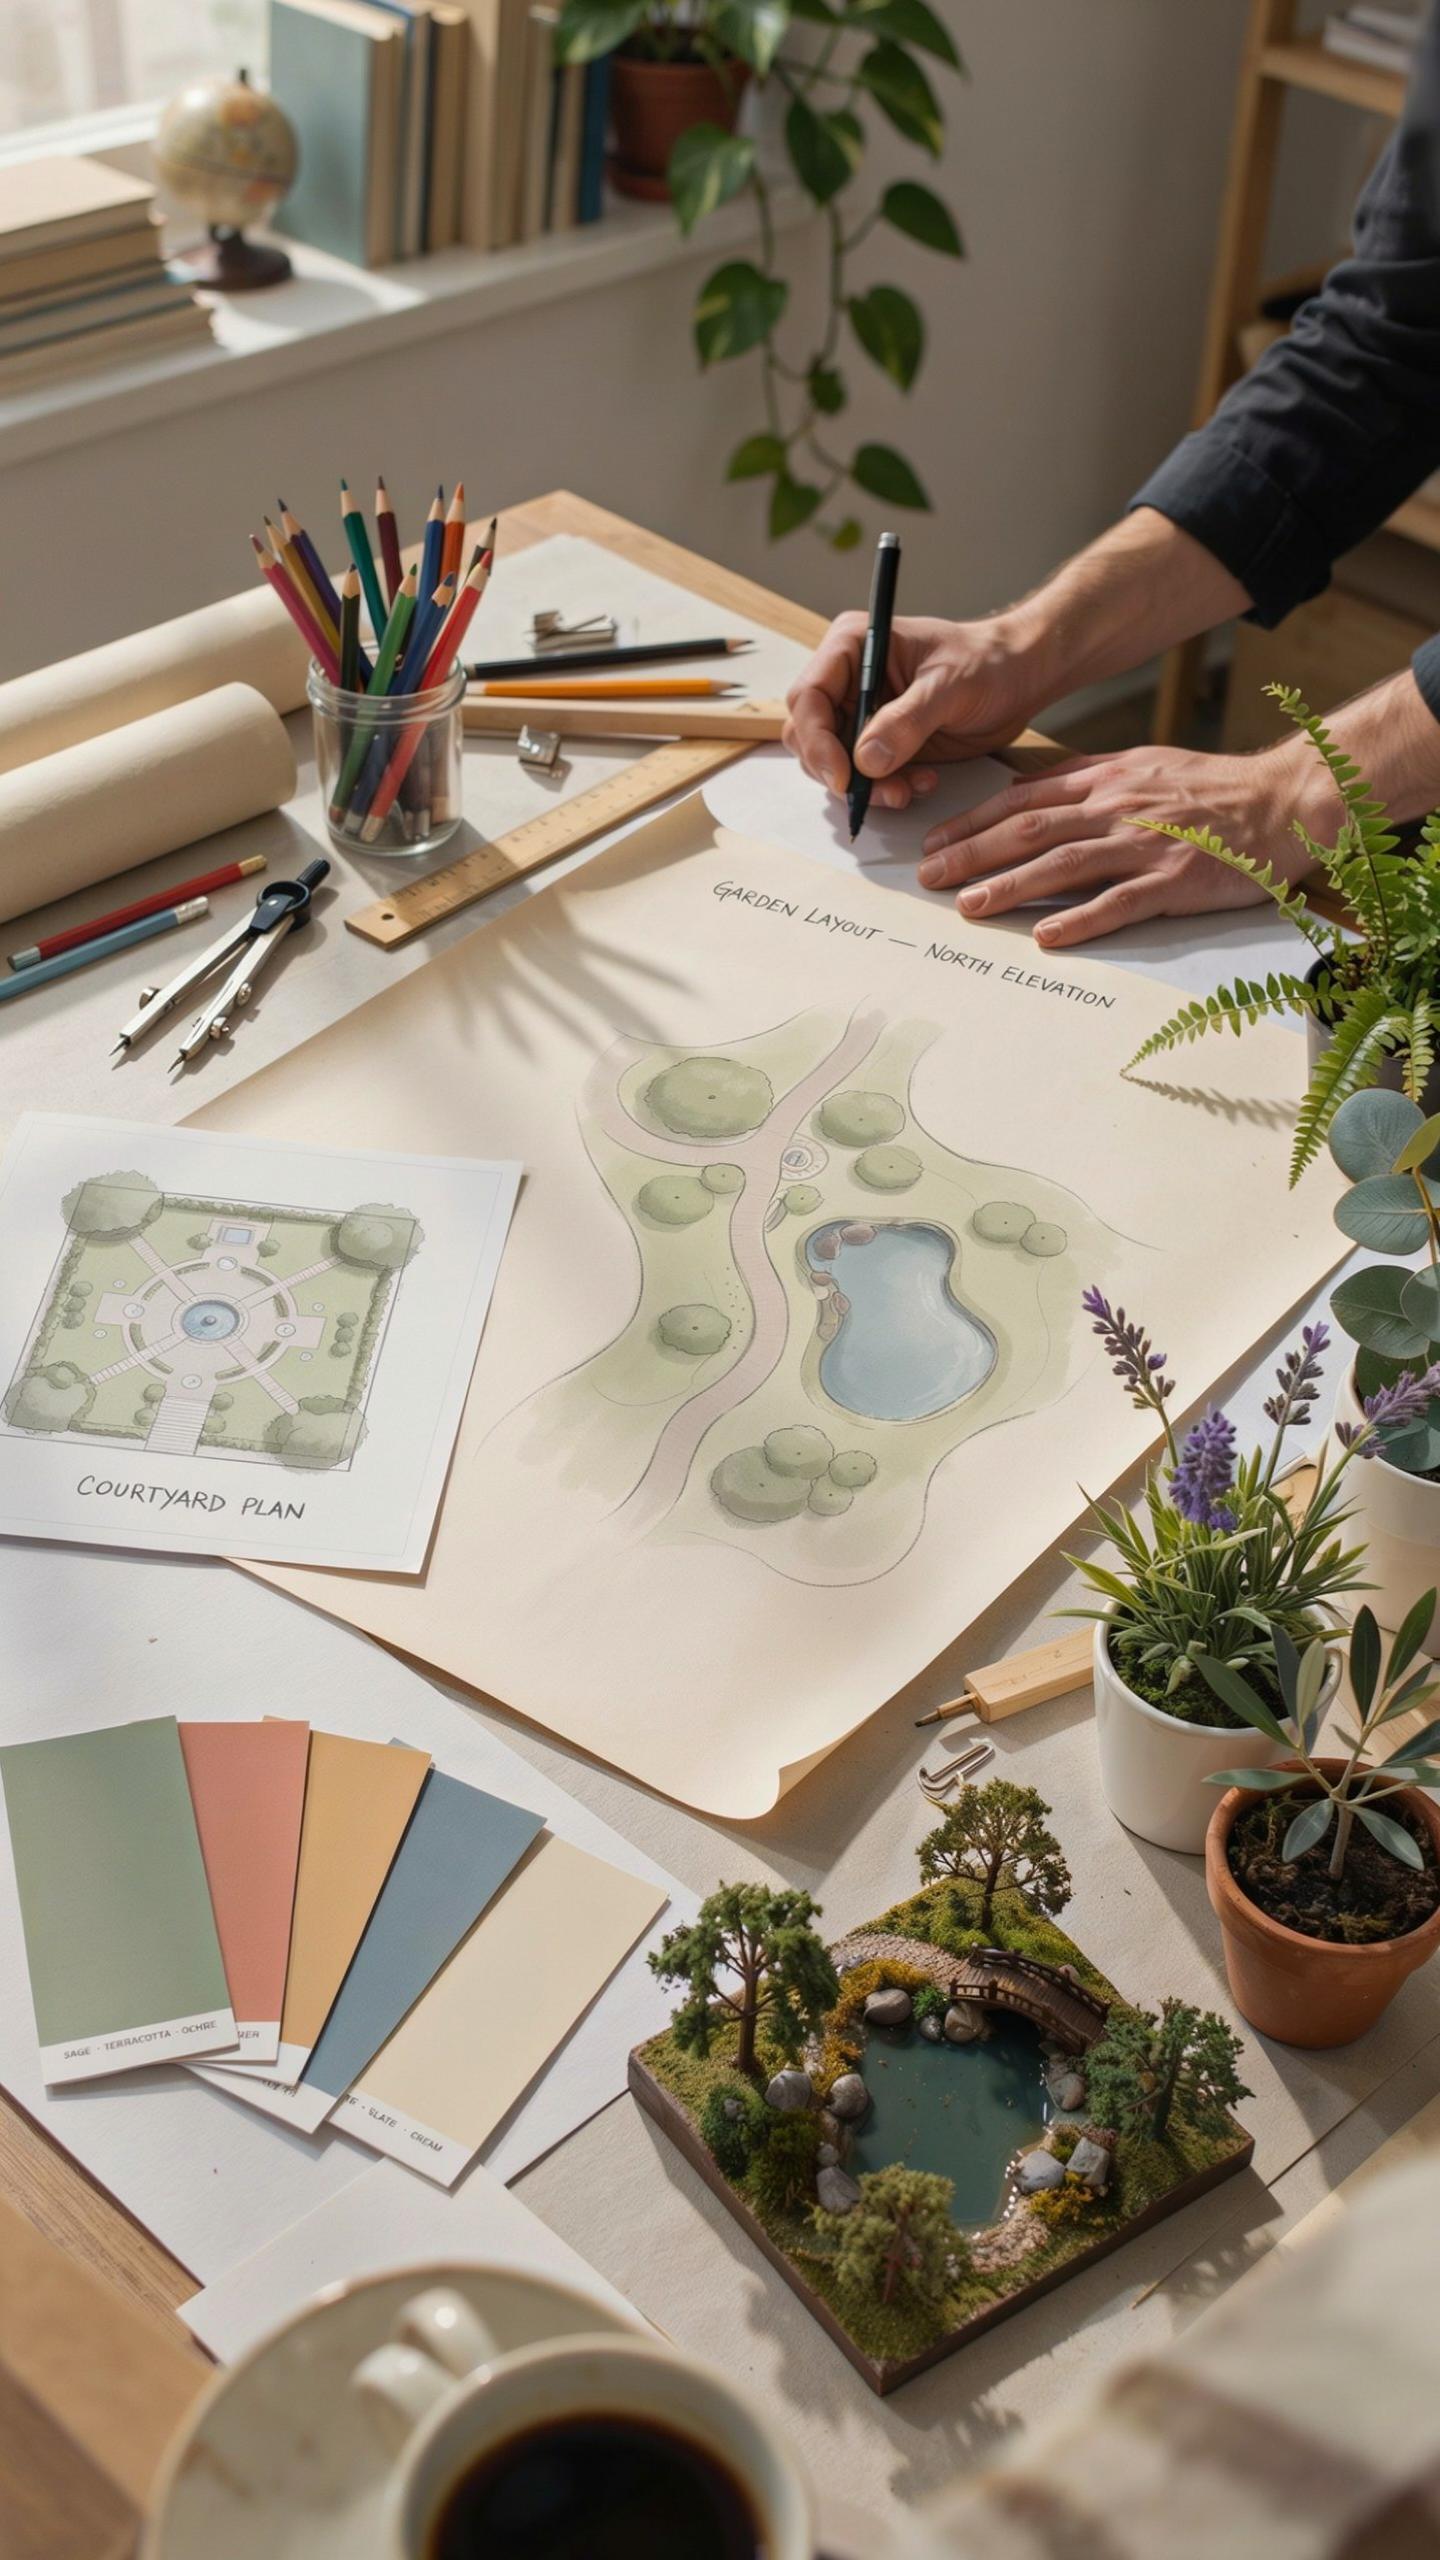
A landscape design concept sketch serves as the first visual draft of a spatial plan. It identifies large scale relationships between the house and the surrounding terrain. Designers use these sketches to organize functional zones such as patios, turf areas, and planting beds. This phase happens after site analysis but before technical drafting. It prevents expensive errors by testing layouts on paper first.
Speed is the main advantage of this sketching phase. It allows a designer to explore multiple spatial configurations without committing to detailed geometry. You define the flow of movement through the property and establish focal points. These drawings translate abstract needs into physical shapes. They act as a foundational filter for every decision made during the later construction documentation and material selection phases.
How A Concept Sketch Bridges Creative Vision And Practical Planning
The concept sketch turns a mental idea into a workable blueprint. It bridges the gap between a client’s vague desires and a contractor’s need for specific dimensions. By using loose lines and symbols, you can communicate the intent for privacy or openness. This document ensures that the aesthetic goals align with the physical constraints of the land, such as drainage or sun exposure.
Practical planning requires a clear understanding of scale and proportion. The sketch forces you to verify that a dining area or a walkway actually fits the available space. It integrates structural elements with organic forms to create a balanced environment. Use this tool to finalize the logic of the site before investing in high cost materials. It remains the most efficient way to align expectations with reality.

Core Elements Every Landscape Sketch Architecture Should Include
Understanding Scale, Proportion, And Spatial Layout In Your Sketch
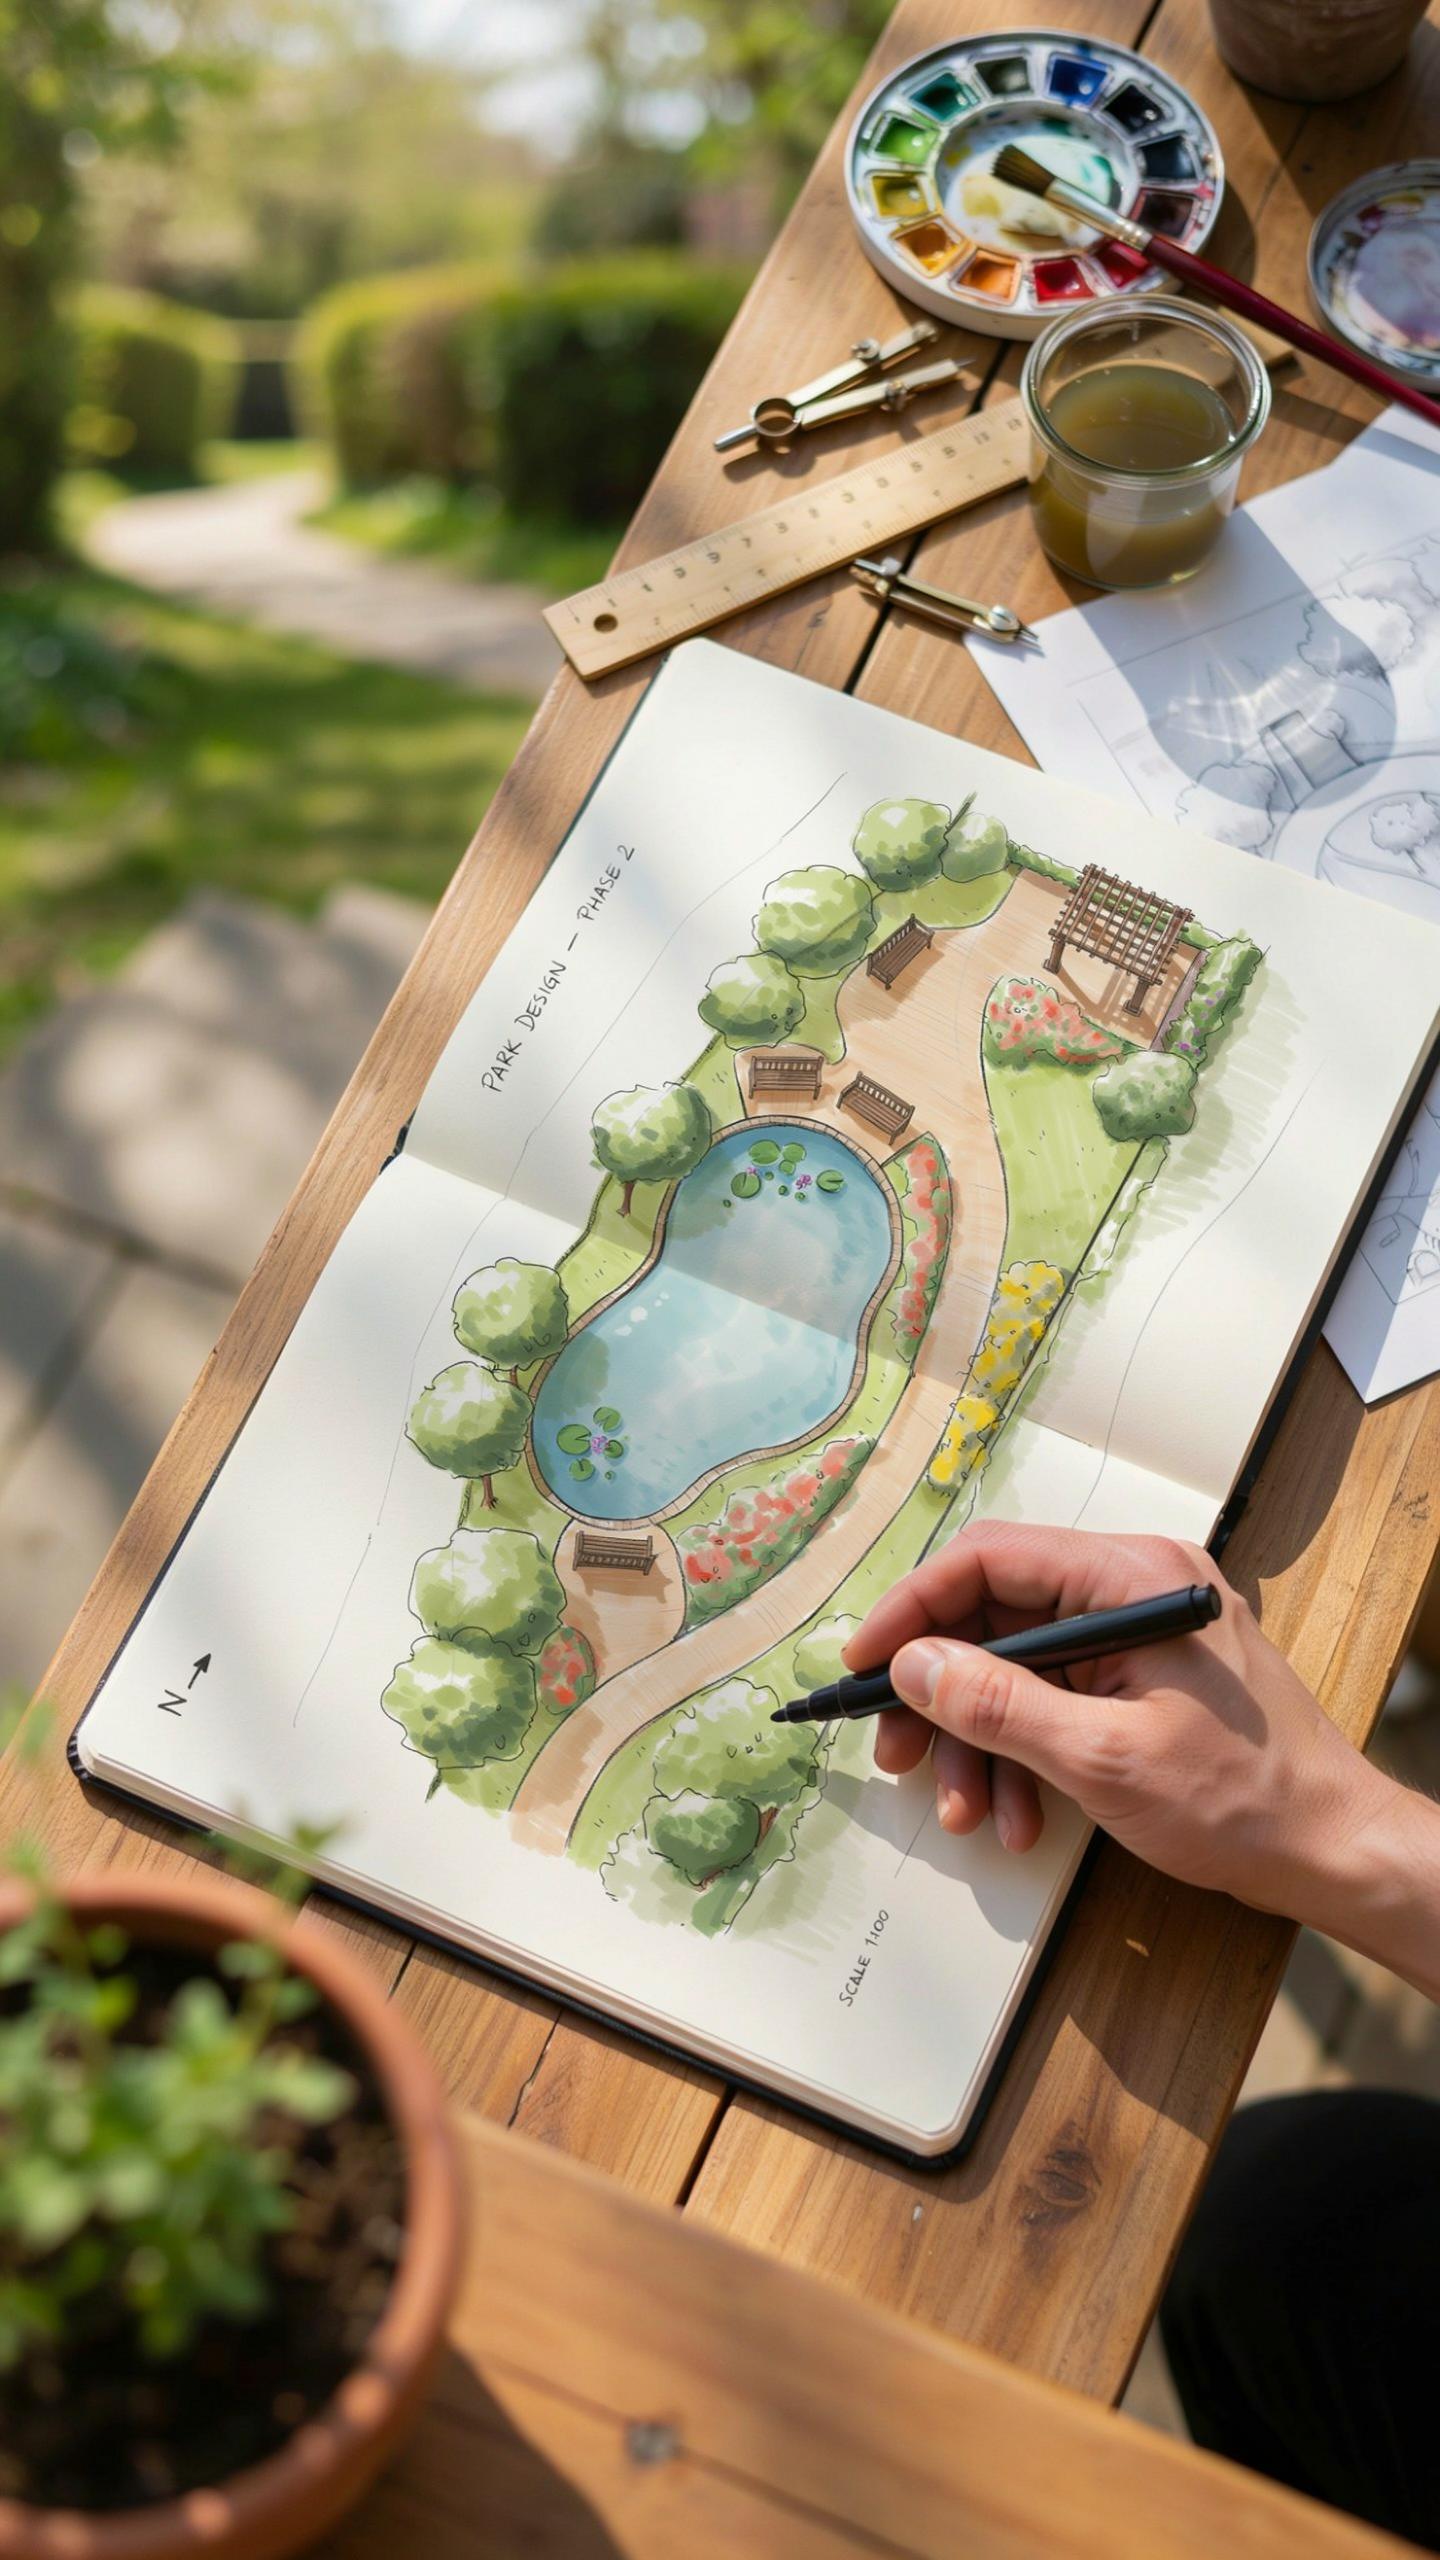
Scale dictates the relationship between the drawing and the physical site. An accurate landscape design concept sketch uses a fixed ratio like one inch to ten feet. This precision prevents design errors during the later installation phase. You must measure the building footprint and property lines first. These fixed points act as anchors for every other element you draw on the paper.
Proportion ensures that objects look correct next to each other. A small patio looks lost in a massive lawn. Use the golden ratio or the rule of thirds to create pleasing spatial layouts. Balance open areas with dense planting zones. This technical approach creates a sense of order. It helps you visualize how people will move through the actual physical space once construction ends.
The simplest sketch holds the memory of a garden’s soul before the first stone is even laid. True elegance is achieved not when there is nothing more to add, but when there is nothing left to take away.
Marking Key Features: Paths, Planting Zones, Water Elements, And Hardscapes
Hardscapes form the structural backbone of any professional sketch. You must draw decks, patios, and retaining walls with heavy lines to show permanence. Place these features near the home to extend the living area. Use clean geometry to define the boundaries. This step clarifies the functional use of the land. It separates high traffic zones from quiet areas meant for nature or privacy.

Planting zones and water elements add texture and life to the layout. Use simple circles or organic shapes to represent tree canopies and shrub masses. Indicate water features like ponds or fountains as focal points at the end of sightlines. Grouping plants by water needs is a tactical move for future maintenance. Clear labeling of these zones ensures the final design remains sustainable and visually balanced.
Essential Tools And Materials For An Effective Landscaping Sketch
Traditional Drawing Tools Every Landscape Designer Should Have On Hand
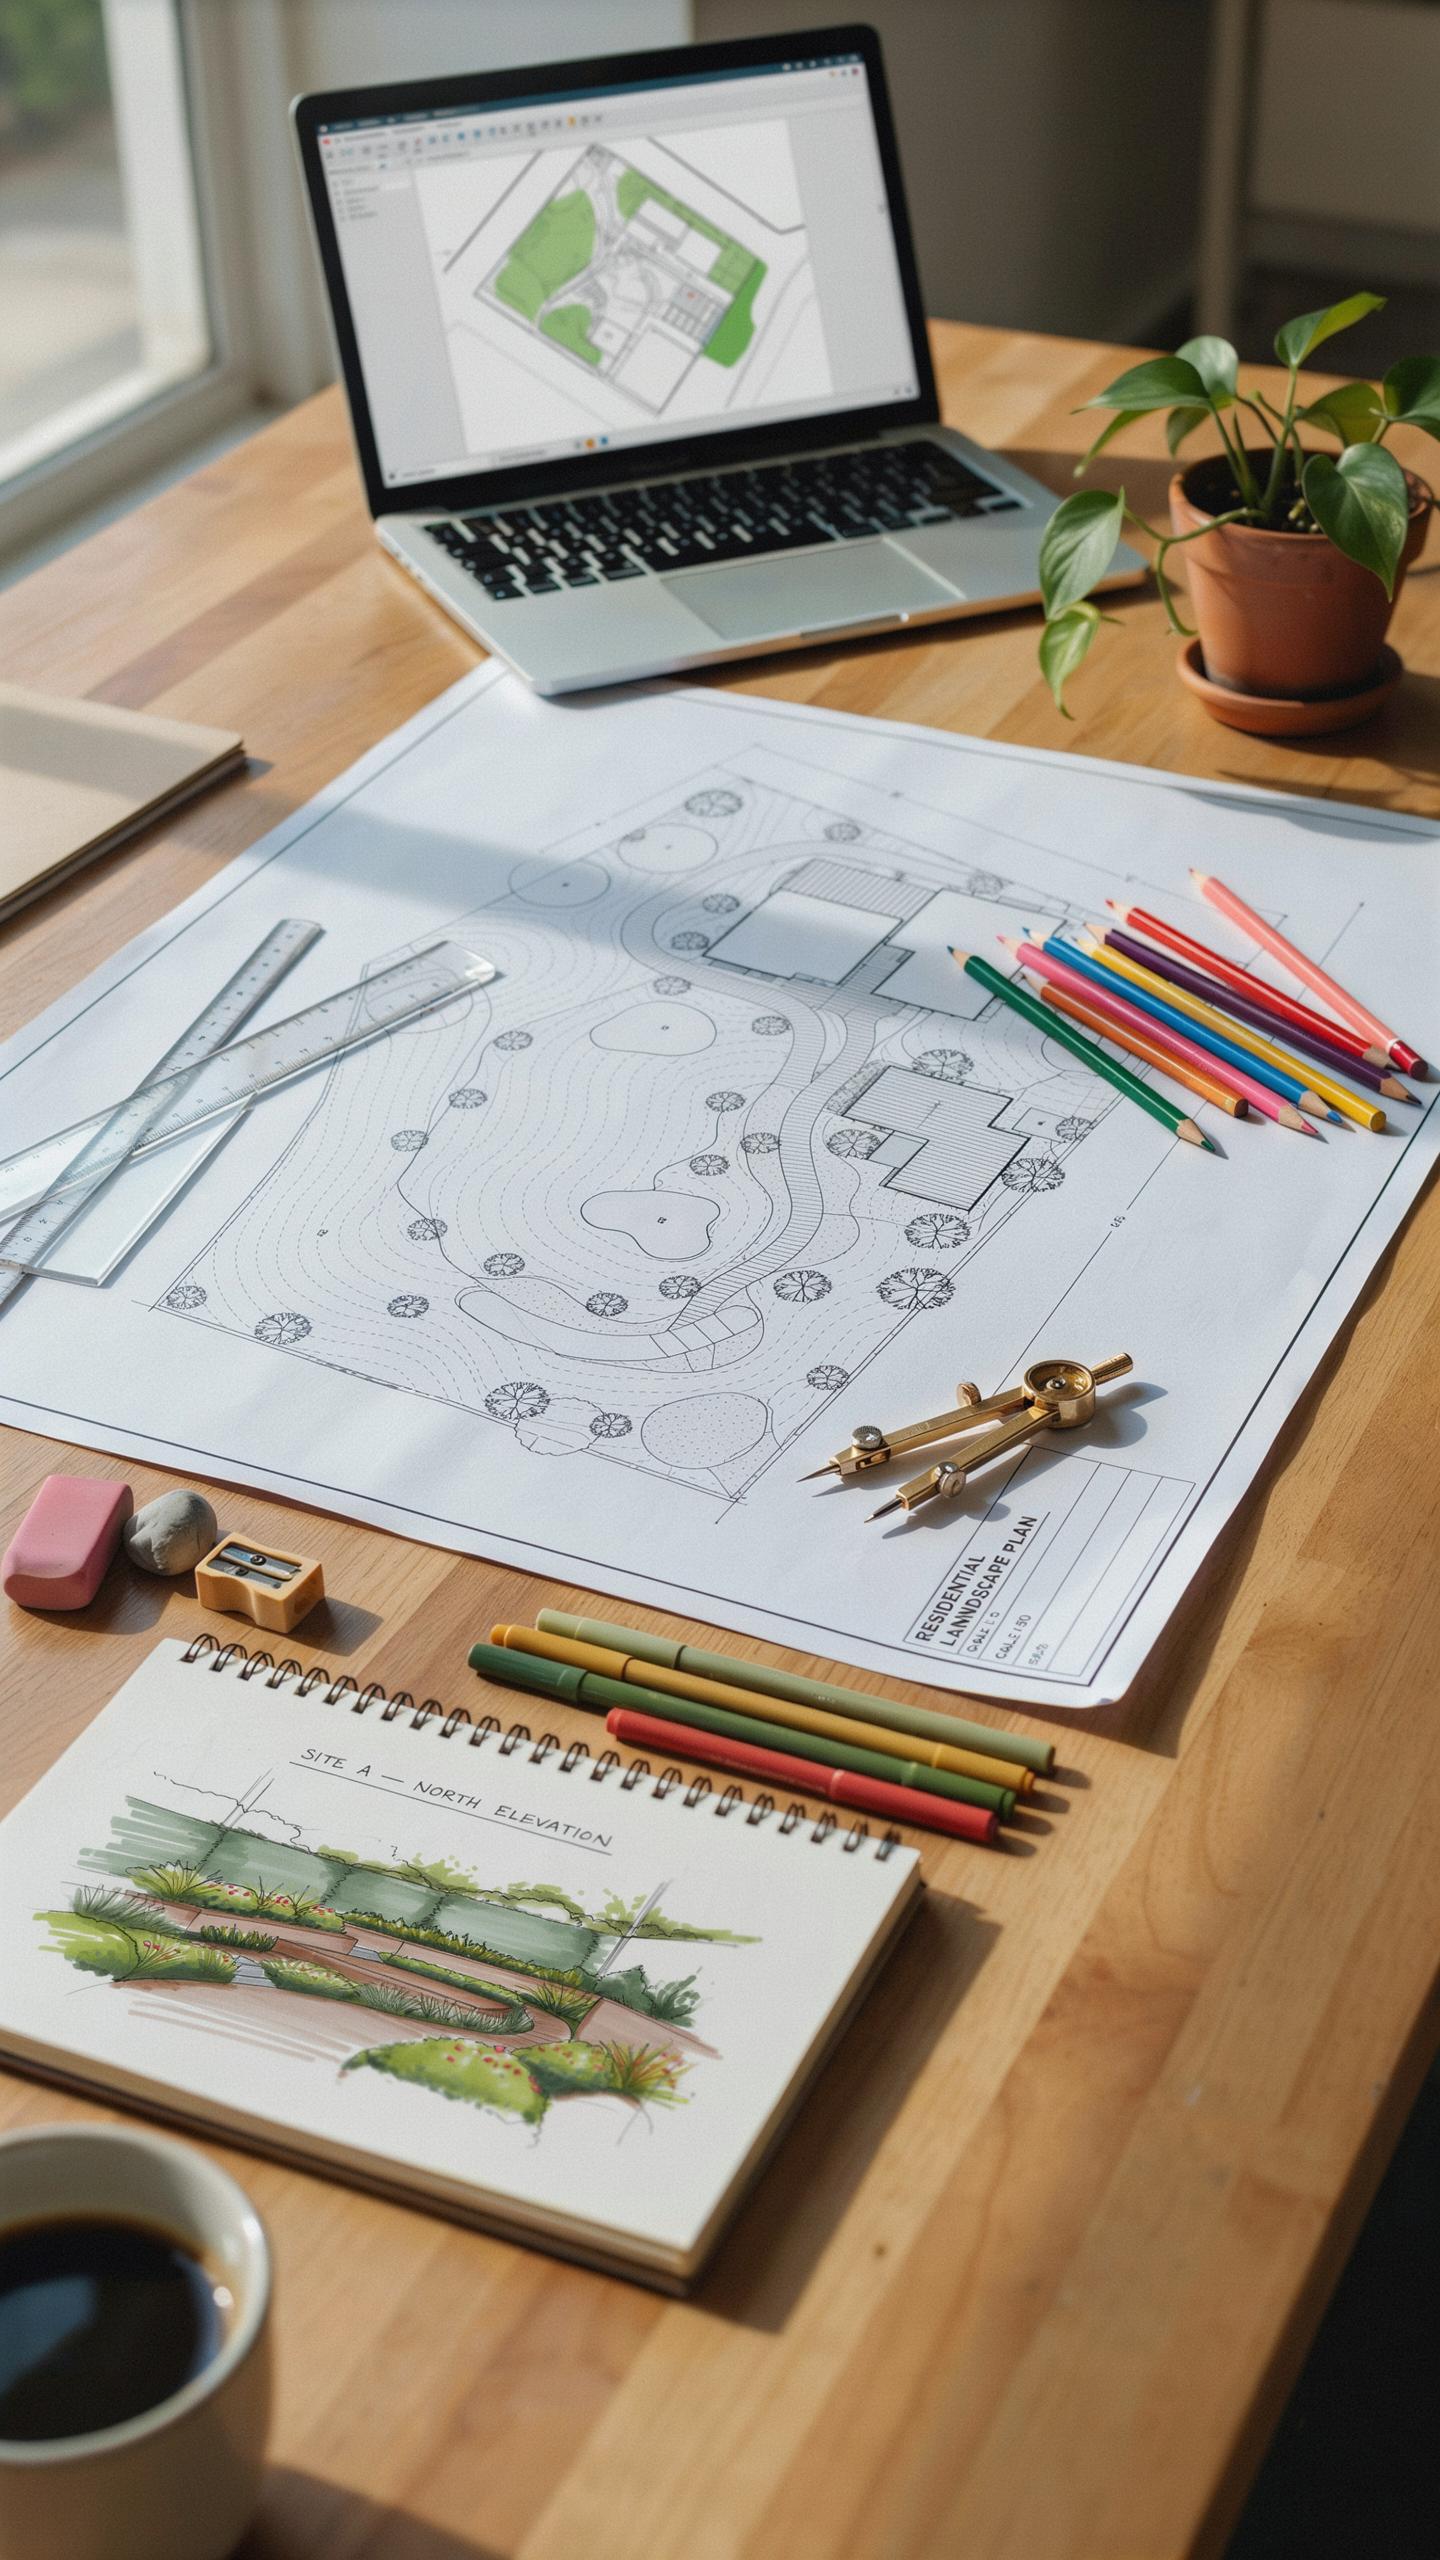
Professional landscape design starts with tactile precision. You need physical tools to capture spatial relationships and site measurements quickly. Analog drafting allows for immediate feedback during the site analysis phase. High-quality paper and varied lead weights ensure your technical lines remain crisp. Use these tools to establish the framework of your concept. They help define hardscape boundaries and plant massing with tangible accuracy.
- Engineer Scale: This tool allows you to translate real-world site measurements into a proportional drawing. Its triangular shape provides multiple ratios for different lot sizes. You cannot maintain spatial integrity without accurate scaling.
- Tracing Paper Rolls: Designers use yellow or white trace to layer new ideas over base maps. This allows for rapid iteration without damaging the original site survey. It is the gold standard for testing multiple layout configurations.
- Drafting Pencils: Mechanical pencils with varying lead hardness, such as 2H or HB, provide consistency. Hard lead creates light guide lines that do not smudge. Soft lead offers dark, bold lines for final edge definitions.
- Circle Templates: Manual sketching requires speed and consistency for plant symbols. These plastic guides help you maintain uniform sizes for trees and shrubs. They ensure your vegetation plan looks organized and professional rather than messy.
- T-Square and Triangles: These tools guarantee perfectly parallel and perpendicular lines. They are essential for drafting structural elements like retaining walls or decks. Without them, your hardscape geometry will look warped and amateurish.
Manual tools bridge the gap between your brain and the site. They prevent the technical limitations of software from stifling your early creativity. A designer should master the pencil to understand the weight and flow of a landscape design concept sketch. Once you establish the primary layout on paper, you have a solid foundation. These physical artifacts serve as the definitive blueprint for any future digital development.
When To Transition From Pencil And Paper To Digital Sketching Software
Move to digital software once you finalize the spatial program and general layout. Software handles precise calculations and material quantities better than hand drawings. Use digital tools when you need to share files with contractors or civil engineers. Computer programs ensure your measurements are perfect for the construction phase. Transitioning too early can kill the creative flow of a raw concept.

Digital platforms excel at rendering three-dimensional views and lighting simulations. Switch to a tablet or computer when you need to show clients realistic depth. Use software to calculate exact square footage for stone, mulch, or sod orders. This phase turns a loose sketch into an actionable construction document. Digital tools offer the speed required for making minor revisions without redrawing the entire plan.
Step By Step Approach To Creating A Landscaping Design Sketch From Scratch
Starting With A Site Analysis: Reading The Land Before You Draw
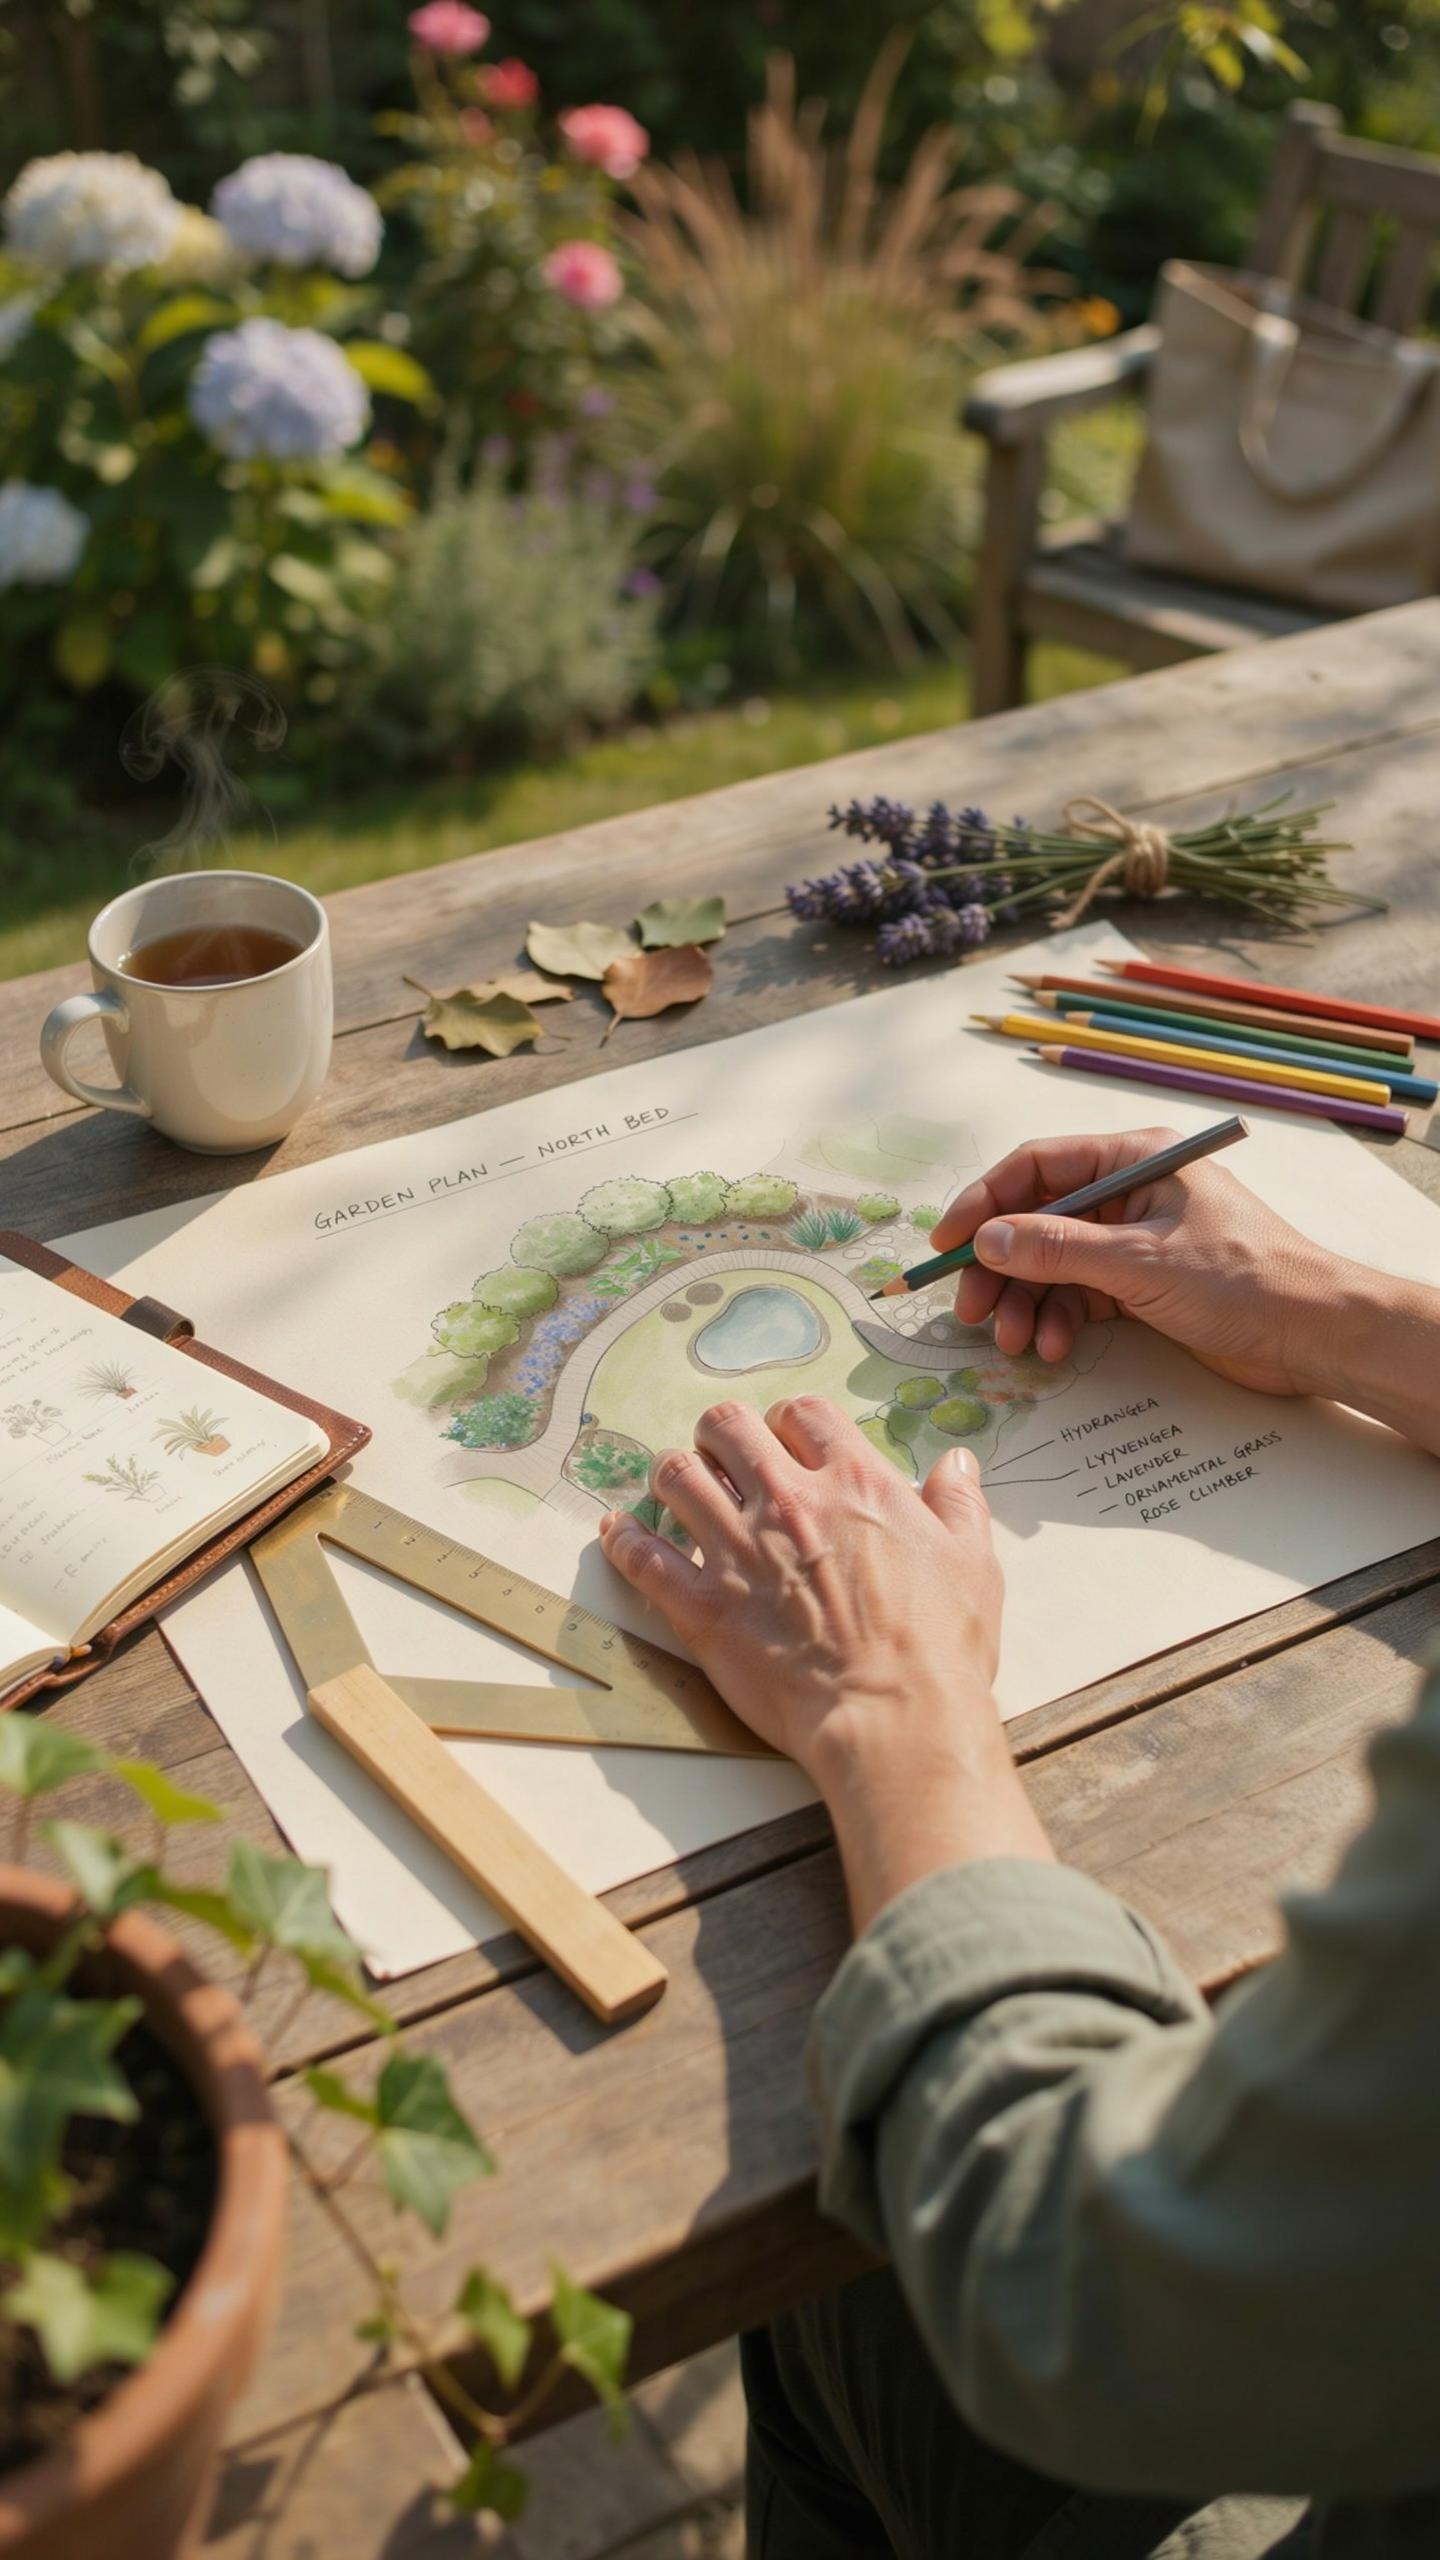
Begin by mapping the physical constraints of the property. Record the location of existing structures, utilities, and large trees. Note the sun path during the day to identify hot spots and deep shade. Observe the slope of the terrain to find drainage issues. You must understand where water flows before placing new features. This data prevents costly errors during the construction phase.
Identify views you want to keep and eyesores you need to hide. Check the soil type to determine which plants will survive. High clay content holds water while sandy soil drains fast. Look at existing wind patterns that might affect outdoor comfort. These environmental facts dictate where you place patios and paths. A sketch based on bad data will fail in the real world.
Layering Your Sketch: Moving From Base Plan To Concept Overlay
Tape a sheet of tracing paper over your accurate base plan. Use this top layer to draw rough shapes called bubble diagrams. This technique separates functions like dining, play, and gardening. You can move these zones around without erasing your original site measurements. Drawing in layers allows you to experiment with flow and movement. Ensure people can walk easily between every major area.

Define the edges of your beds using clean lines or curves. Assign specific roles to each space before choosing plant species. Use thicker lines to show permanent hardscape features like walls or decks. Lighter lines represent softscape elements like turf or groundcover. This hierarchy makes the sketch readable for contractors or clients. A clear conceptual overlay turns a basic map into a functional design blueprint.
Mastering The Landscape Architecture Perspective Drawing For Realistic Results
One Point Vs. Two Point Perspective: Choosing The Right View For Your Design
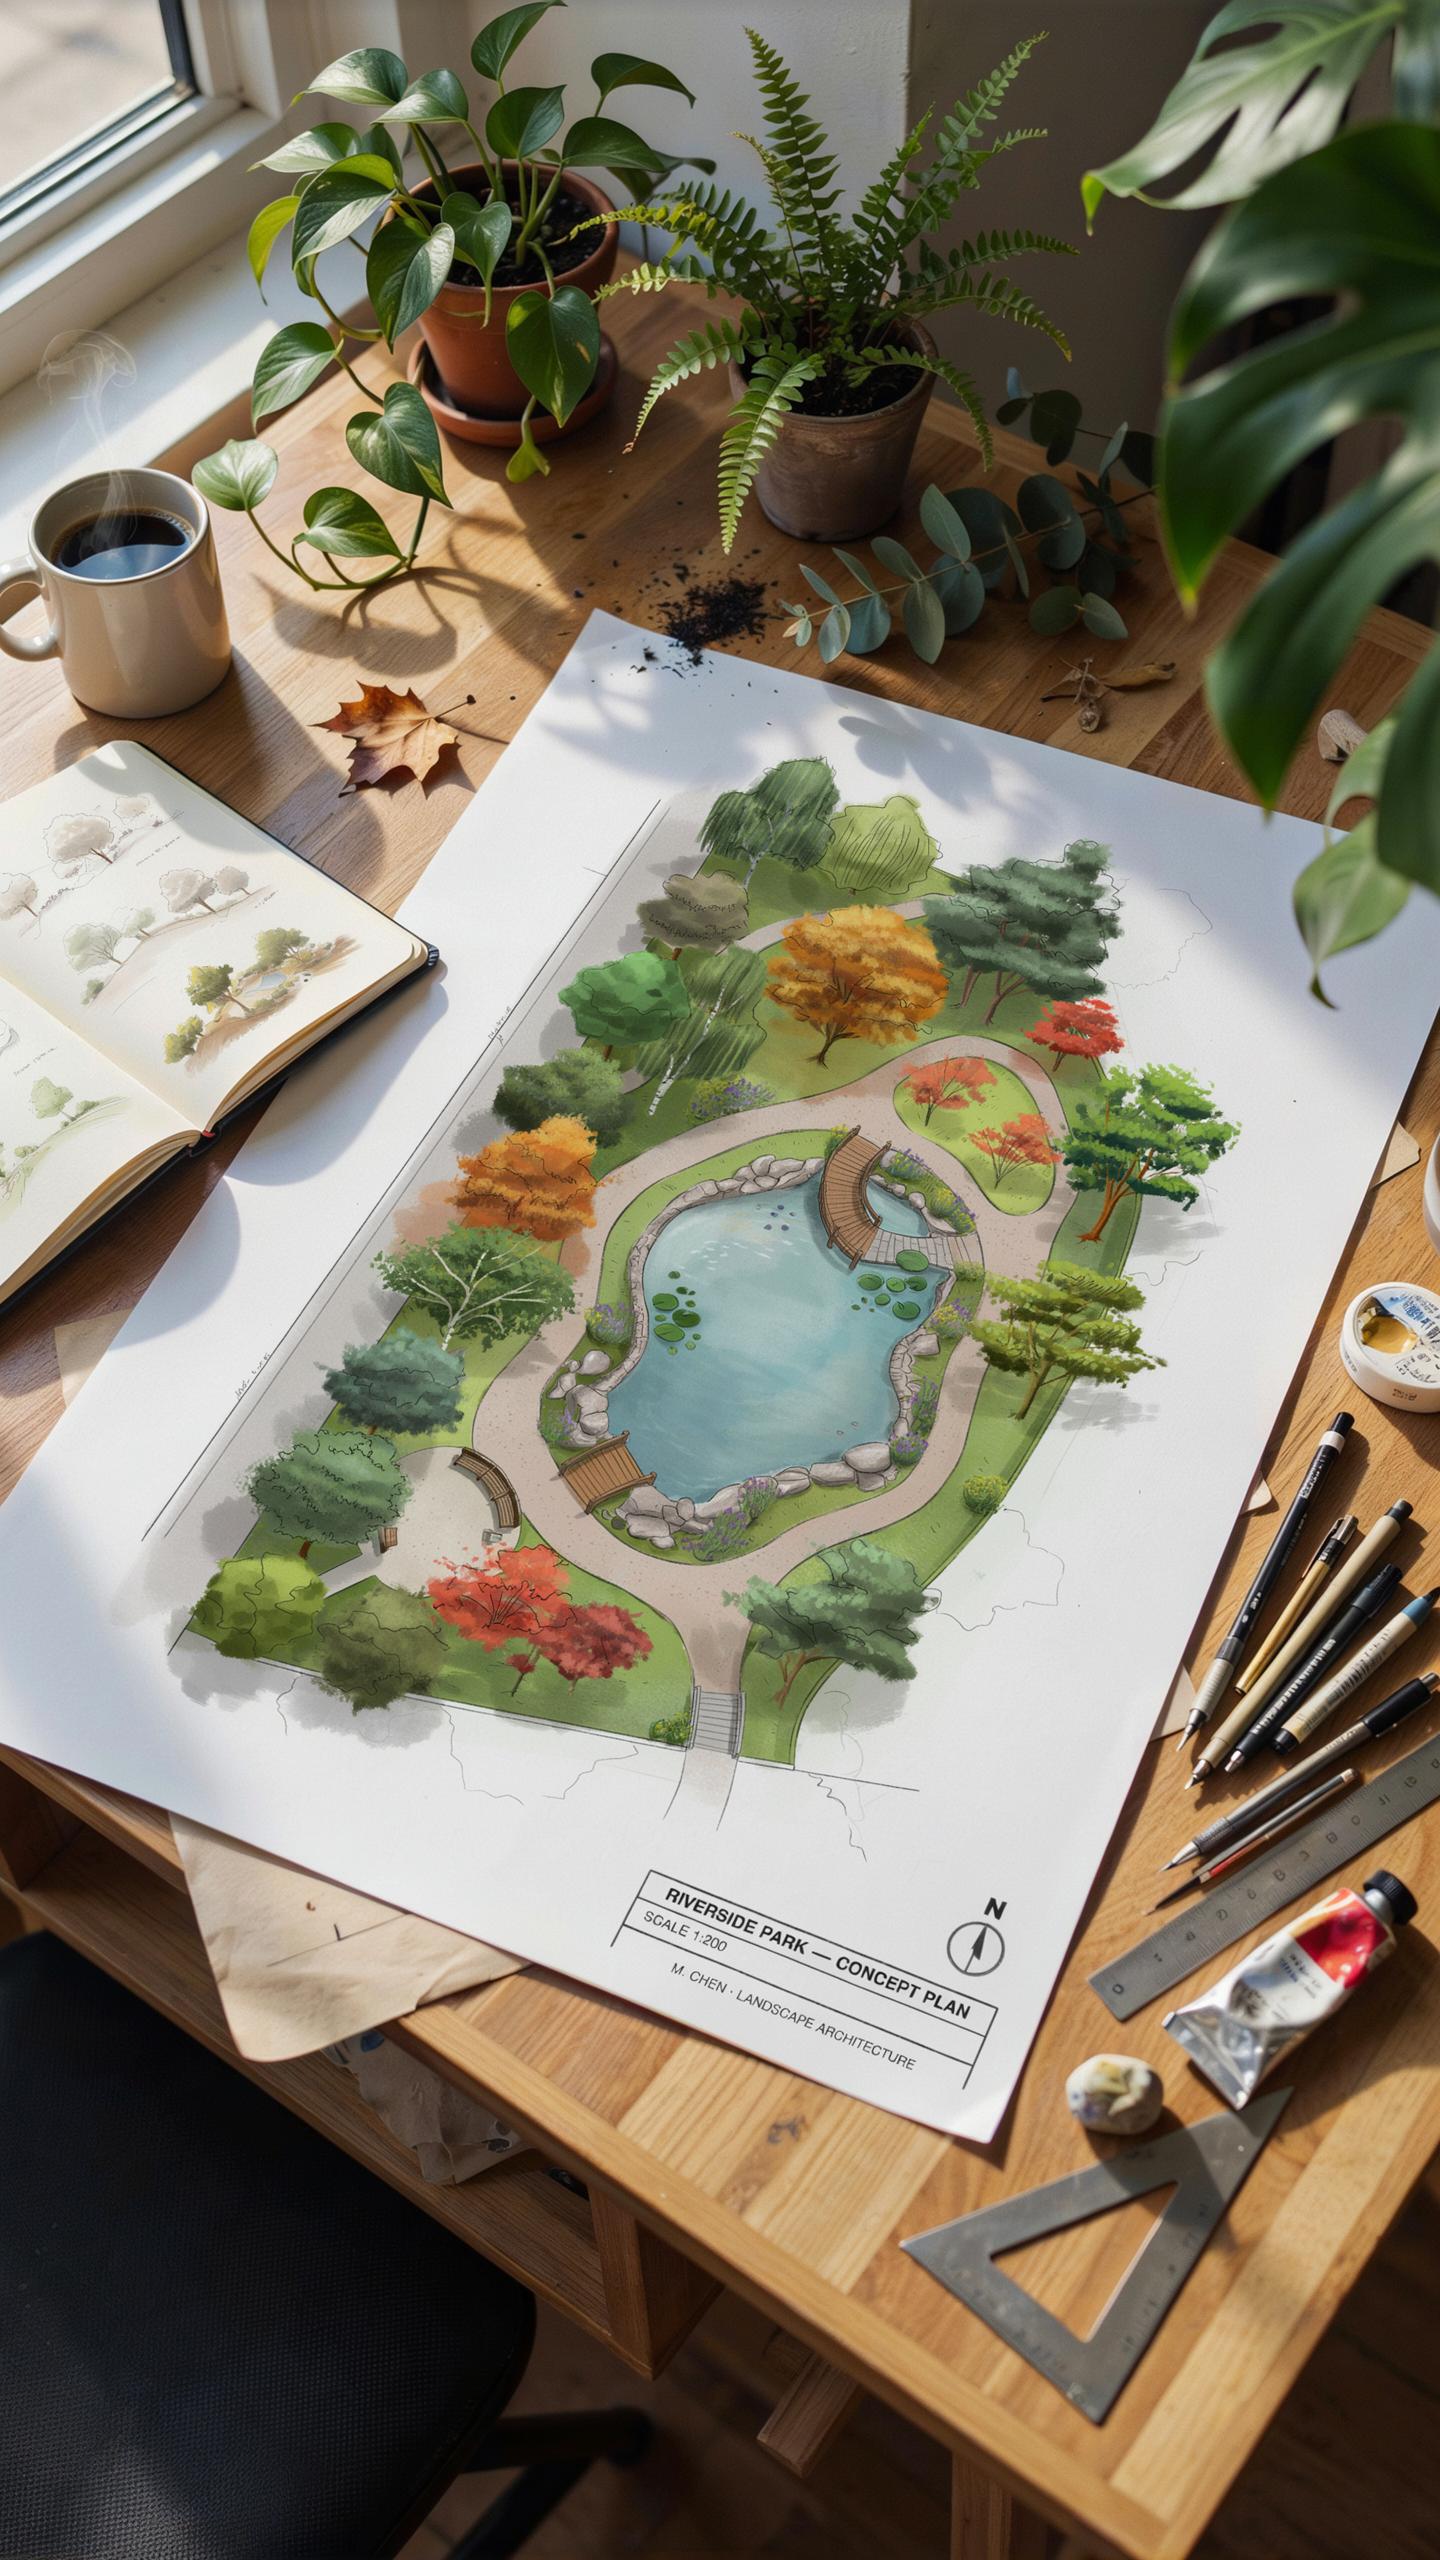
One-point perspective uses a single vanishing point on the horizon line. This method works best for narrow corridors or long garden paths. It draws the eye directly to a focal point at the end of the view. Use this when you want to emphasize a specific statue or gate. It creates a sense of symmetry and deep recession into the distance.
Two-point perspective uses two vanishing points on the horizon line. This technique captures the corner of a building or a retaining wall. It provides a more natural view of three-dimensional objects in a large space. Choose two-point views for wide residential lots or open park designs. It shows the scale of different structures and how they sit within the land.
Using Depth, Shadow, And Texture To Bring Perspective Drawings To Life
Depth depends on the scale of your plants and objects. Make items in the foreground larger and darker to push them closer to the viewer. Lighten the line weight for trees in the background to create atmospheric perspective. This trick mimics how the human eye perceives distance. Use consistent angles for every line to maintain a solid and believable 3D space.

Shadows define the physical volume of site features. Draw a light source from a single direction to keep shadows logical. Use cross-hatching to show dense canopy shade or smooth gradients for flat stone patios. Texture communicates material choice without words. Use stippling for gravel paths and jagged lines for rough natural stone. These details help clients understand the tactile quality of your design.
Applying Concept Sketch Principles To Urban Park Sketch And Public Space Design
How Urban Park Design Sketch Differs From Residential Landscape Sketching
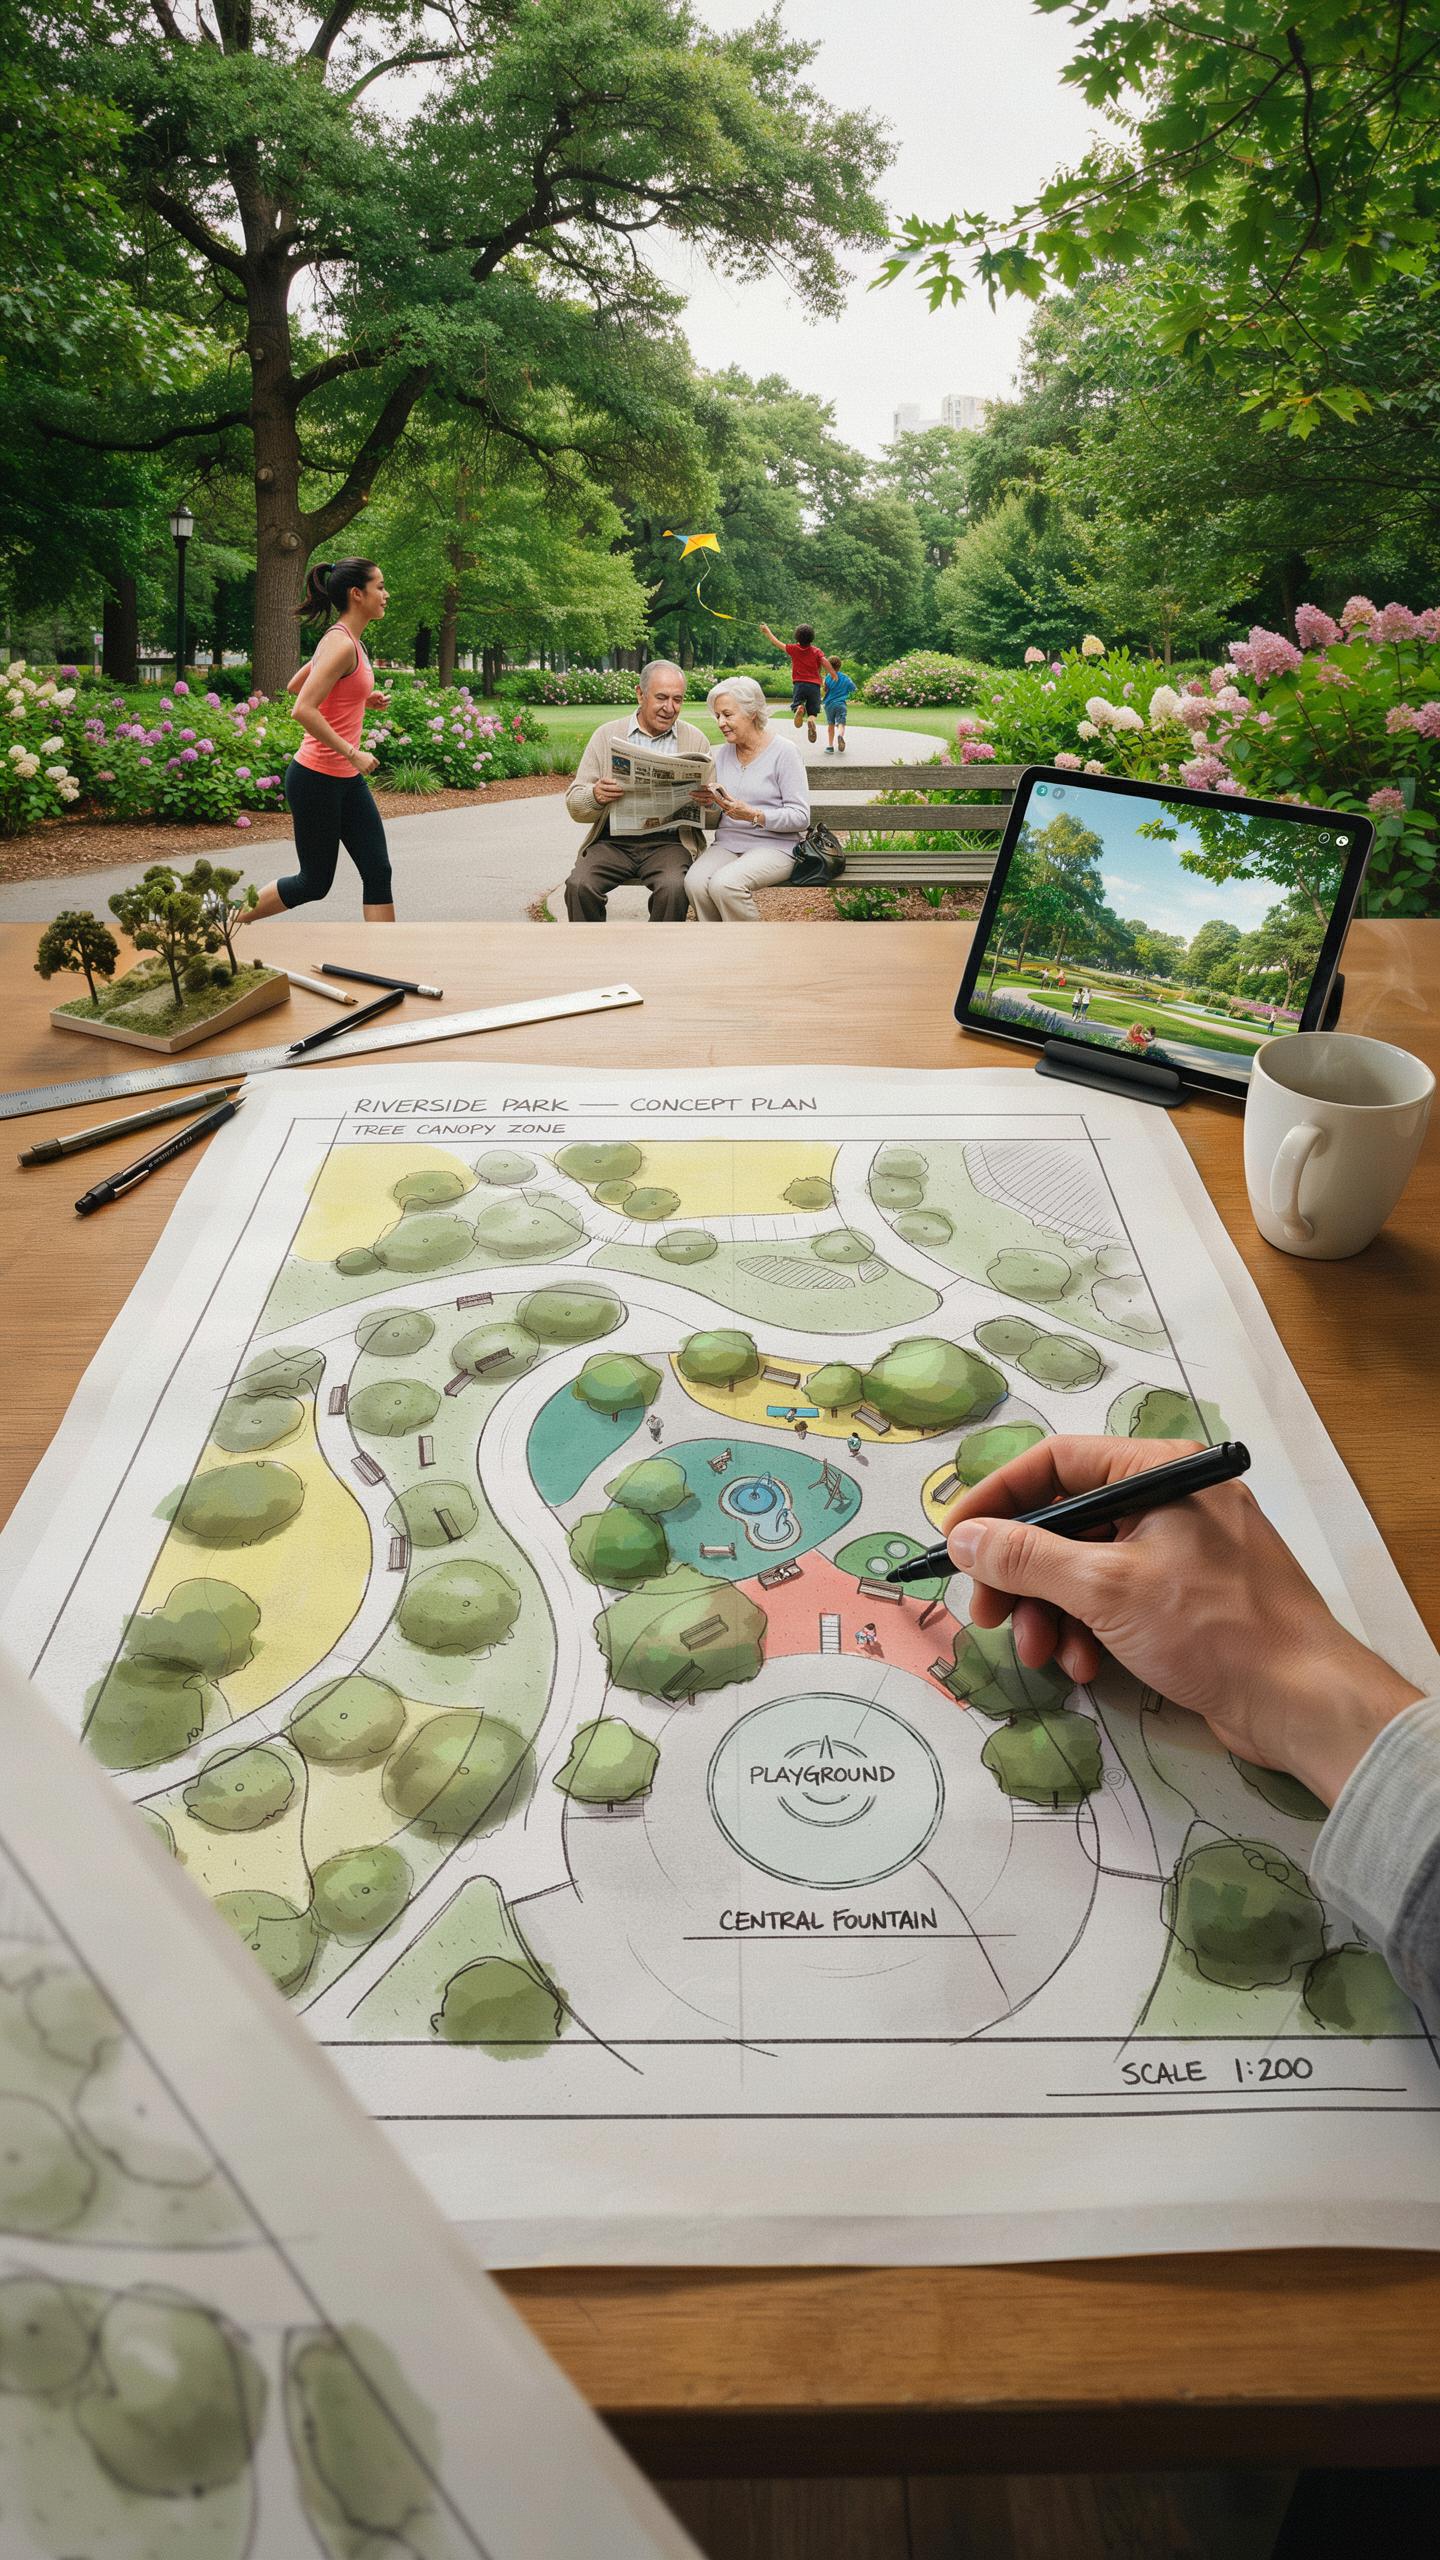
Scale is the primary differentiator between urban park sketches and residential designs. Residential sketches focus on private intimacy and specific plant textures near a home. Urban park sketches address high-density use and municipal durability. You must prioritize mass movement and site-wide logic over individual garden beds. Designers use larger scales like one inch to fifty feet to capture entire city blocks. These sketches emphasize infrastructure and public safety.
Urban park sketching requires a focus on multi-layered functions within a single space. You must account for heavy foot traffic and maintenance access. Residential sketches often highlight softscape and personal aesthetics. Public sketches prioritize hardscape resilience and ADA compliance. Use bold linework to define permanent structures and major utilities. This approach ensures the design survives the harsh realities of public use. It moves beyond beauty to solve civic problems.
Capturing Circulation Green Buffers And Social Zones In An Urban Park Sketch
Circulation is the backbone of any public park concept. Your sketch must show clear paths that handle peak crowds without bottlenecks. Use varying line weights to distinguish primary boulevards from secondary trails. Arrows indicate direction and volume of movement through the site. These marks help you visualize how people enter and exit the space. Proper circulation prevents dead zones and improves overall park safety and visibility.

Green buffers and social zones create the necessary balance in a public layout. Use cross-hatching to mark dense vegetation that blocks noise from city streets. Social zones require open clusters of symbols representing seating and plazas. These areas attract users and encourage interaction. Define these zones early to ensure they do not overlap with high-traffic paths. Smart sketches isolate these functions to maximize the utility of every square foot.
Elevating Your Landscape Design Drawings With Annotation And Presentation Techniques

Using Labels, Legends, And Notes To Make Your Design Drawings Client Ready
Clear labels transform a basic sketch into a professional construction document. Use callouts to identify specific plant species and hardscape materials. Leaders should be straight lines with consistent arrowheads to maintain visual order. Avoid crossing leader lines because they create confusion. Accurate labeling ensures the client understands the functional purpose of every zone within the proposed landscape design concept sketch.
A legend acts as the key for your entire graphic system. Use standardized symbols for trees, shrubs, and groundcovers. Define every line type and hatch pattern used for stone, wood, or water features. Notes should cover technical details like soil amendments or drainage requirements. Professional notation eliminates guesswork during the bidding process. This precision protects your design intent and builds immediate trust with the project owner.
Color Rendering And Marker Techniques That Polish Your Final Presentation
Professional rendering uses color to show depth and material texture. Start with a light base color to establish the overall tone of the landscape design concept sketch. Use alcohol-based markers for smooth blending without warping the paper. Focus light sources from one direction to create consistent shadows. This technique helps the client visualize the three-dimensional volume of the plantings and structures.
- Light Source Consistency: Establish a single direction for sunlight across the entire plan. Cast shadows in the opposite direction to create depth and realism. Use cool grey or blue-grey markers to ground objects and make them pop off the page.
- Layering Tones: Apply light colors first and build toward darker values. This layering creates a sense of volume in tree canopies and shrub masses. Avoid over-saturating the paper to keep the colors crisp and the line work visible below the ink.
- Material Representation: Use specific strokes to mimic real-world textures like stone, wood, or grass. Short vertical flicks create a lawn effect while stippling mimics gravel or concrete. Matching the stroke to the material helps the client recognize different hardscape surfaces immediately.
- Color Palette Limitation: Stick to a restrained color group to keep the drawing professional. Use varying shades of green for foliage and earth tones for hardscapes. Too many bright colors distract from the design geometry. A cohesive palette ensures the presentation looks unified and intentional.
- White Space Utilization: Leave small areas of white paper to represent highlights or sunlight hitting a surface. This technique adds sparkle and life to water features and glossy leaf surfaces. High contrast between light and dark areas makes the final presentation more visually striking.

Finish the rendering by refining the edges with a fine-liner pen. This step restores the structural clarity that marker applications sometimes soften. Use white ink pens for thin highlights on top of dark colors. Sharp lines against soft color blends create a high-end look. A polished presentation justifies your fees and helps the client commit to the vision quickly and confidently.
Translating A Garden Drawing Into A Fully Realized Landscape Concept

From Informal Garden Drawing To Structured Planting Plan: Keeping Your Vision Intact
Move from your initial landscape design concept sketch to a formal plan by setting a clear scale. Use a fixed ratio like one inch to ten feet. Overlay a grid onto your rough drawing to locate key structures. This step anchors your creative ideas to the physical reality of the site. It ensures that the space you visualized actually fits the ground dimensions available.
Identify your primary focal points from the sketch and assign specific plant species to them. Replace generic cloud shapes with precise circles that represent the mature spread of each shrub or tree. Group plants by water needs and light requirements to maintain the health of the design. This technical transition preserves your original aesthetic goals while creating a functional map for installation and long-term maintenance.
Common Mistakes To Avoid When Converting Sketch Concepts Into Final Landscape Plans
Failing to account for the mature size of plants ruins a good concept. many designers draw small circles that look good on paper today but create overcrowded thickets in five years. You must research the height and width of every species at full growth. Use these final dimensions on your plan to prevent future maintenance nightmares. Crowded plants compete for nutrients and invite disease.

Ignoring site drainage and utility lines is another critical error during the conversion phase. A sketch often focuses on beauty while overlooking underground pipes or slope gradients. Check local maps for easements before finalizing your layout. Ensure water moves away from building foundations by marking elevation changes on your plan. Proper technical planning prevents expensive site damage and keeps your design safe and legal for years.
Frequently Asked Questions

What exactly is a landscape design concept sketch and why is it important?
A landscape design concept sketch is a preliminary, artistic drawing that outlines the basic layout of your outdoor space. It serves as a visual brainstorm, helping you visualize the flow between elements like patios, greenery, and walkways before committing to construction. Starting with a sketch ensures your final yard looks intentional and polished, allowing you to experiment with different arrangements and focal points without the high cost of immediate physical labor.
How can I create a professional-looking sketch if I am not an artist?
You don’t need to be a professional illustrator to find success. Start by using graph paper to maintain a sense of scale, representing structures with simple geometric shapes like circles for shrubs or rectangles for decks. Focus on the “bones” of the yard first. By keeping your landscape design concept sketch clean and uncluttered, you can communicate your vision effectively to contractors or simply use it as a personal roadmap for DIY planting.
Is it expensive to get a concept sketch for my backyard project?
Not at all! Creating a landscape design concept sketch is one of the most budget-friendly steps in the renovation process. You can draft one yourself for the price of a pencil and paper, or use free online design software to produce a digital version. Investing time in this planning phase actually saves you money long-term by preventing costly planting errors and ensuring every purchase aligns perfectly with your overall aesthetic goals.



