
What Are Landscape Design Software Tools And Why Do Homeowners Need Them
Understanding The Core Purpose Of Landscape Design Software Tools In Home Gardening
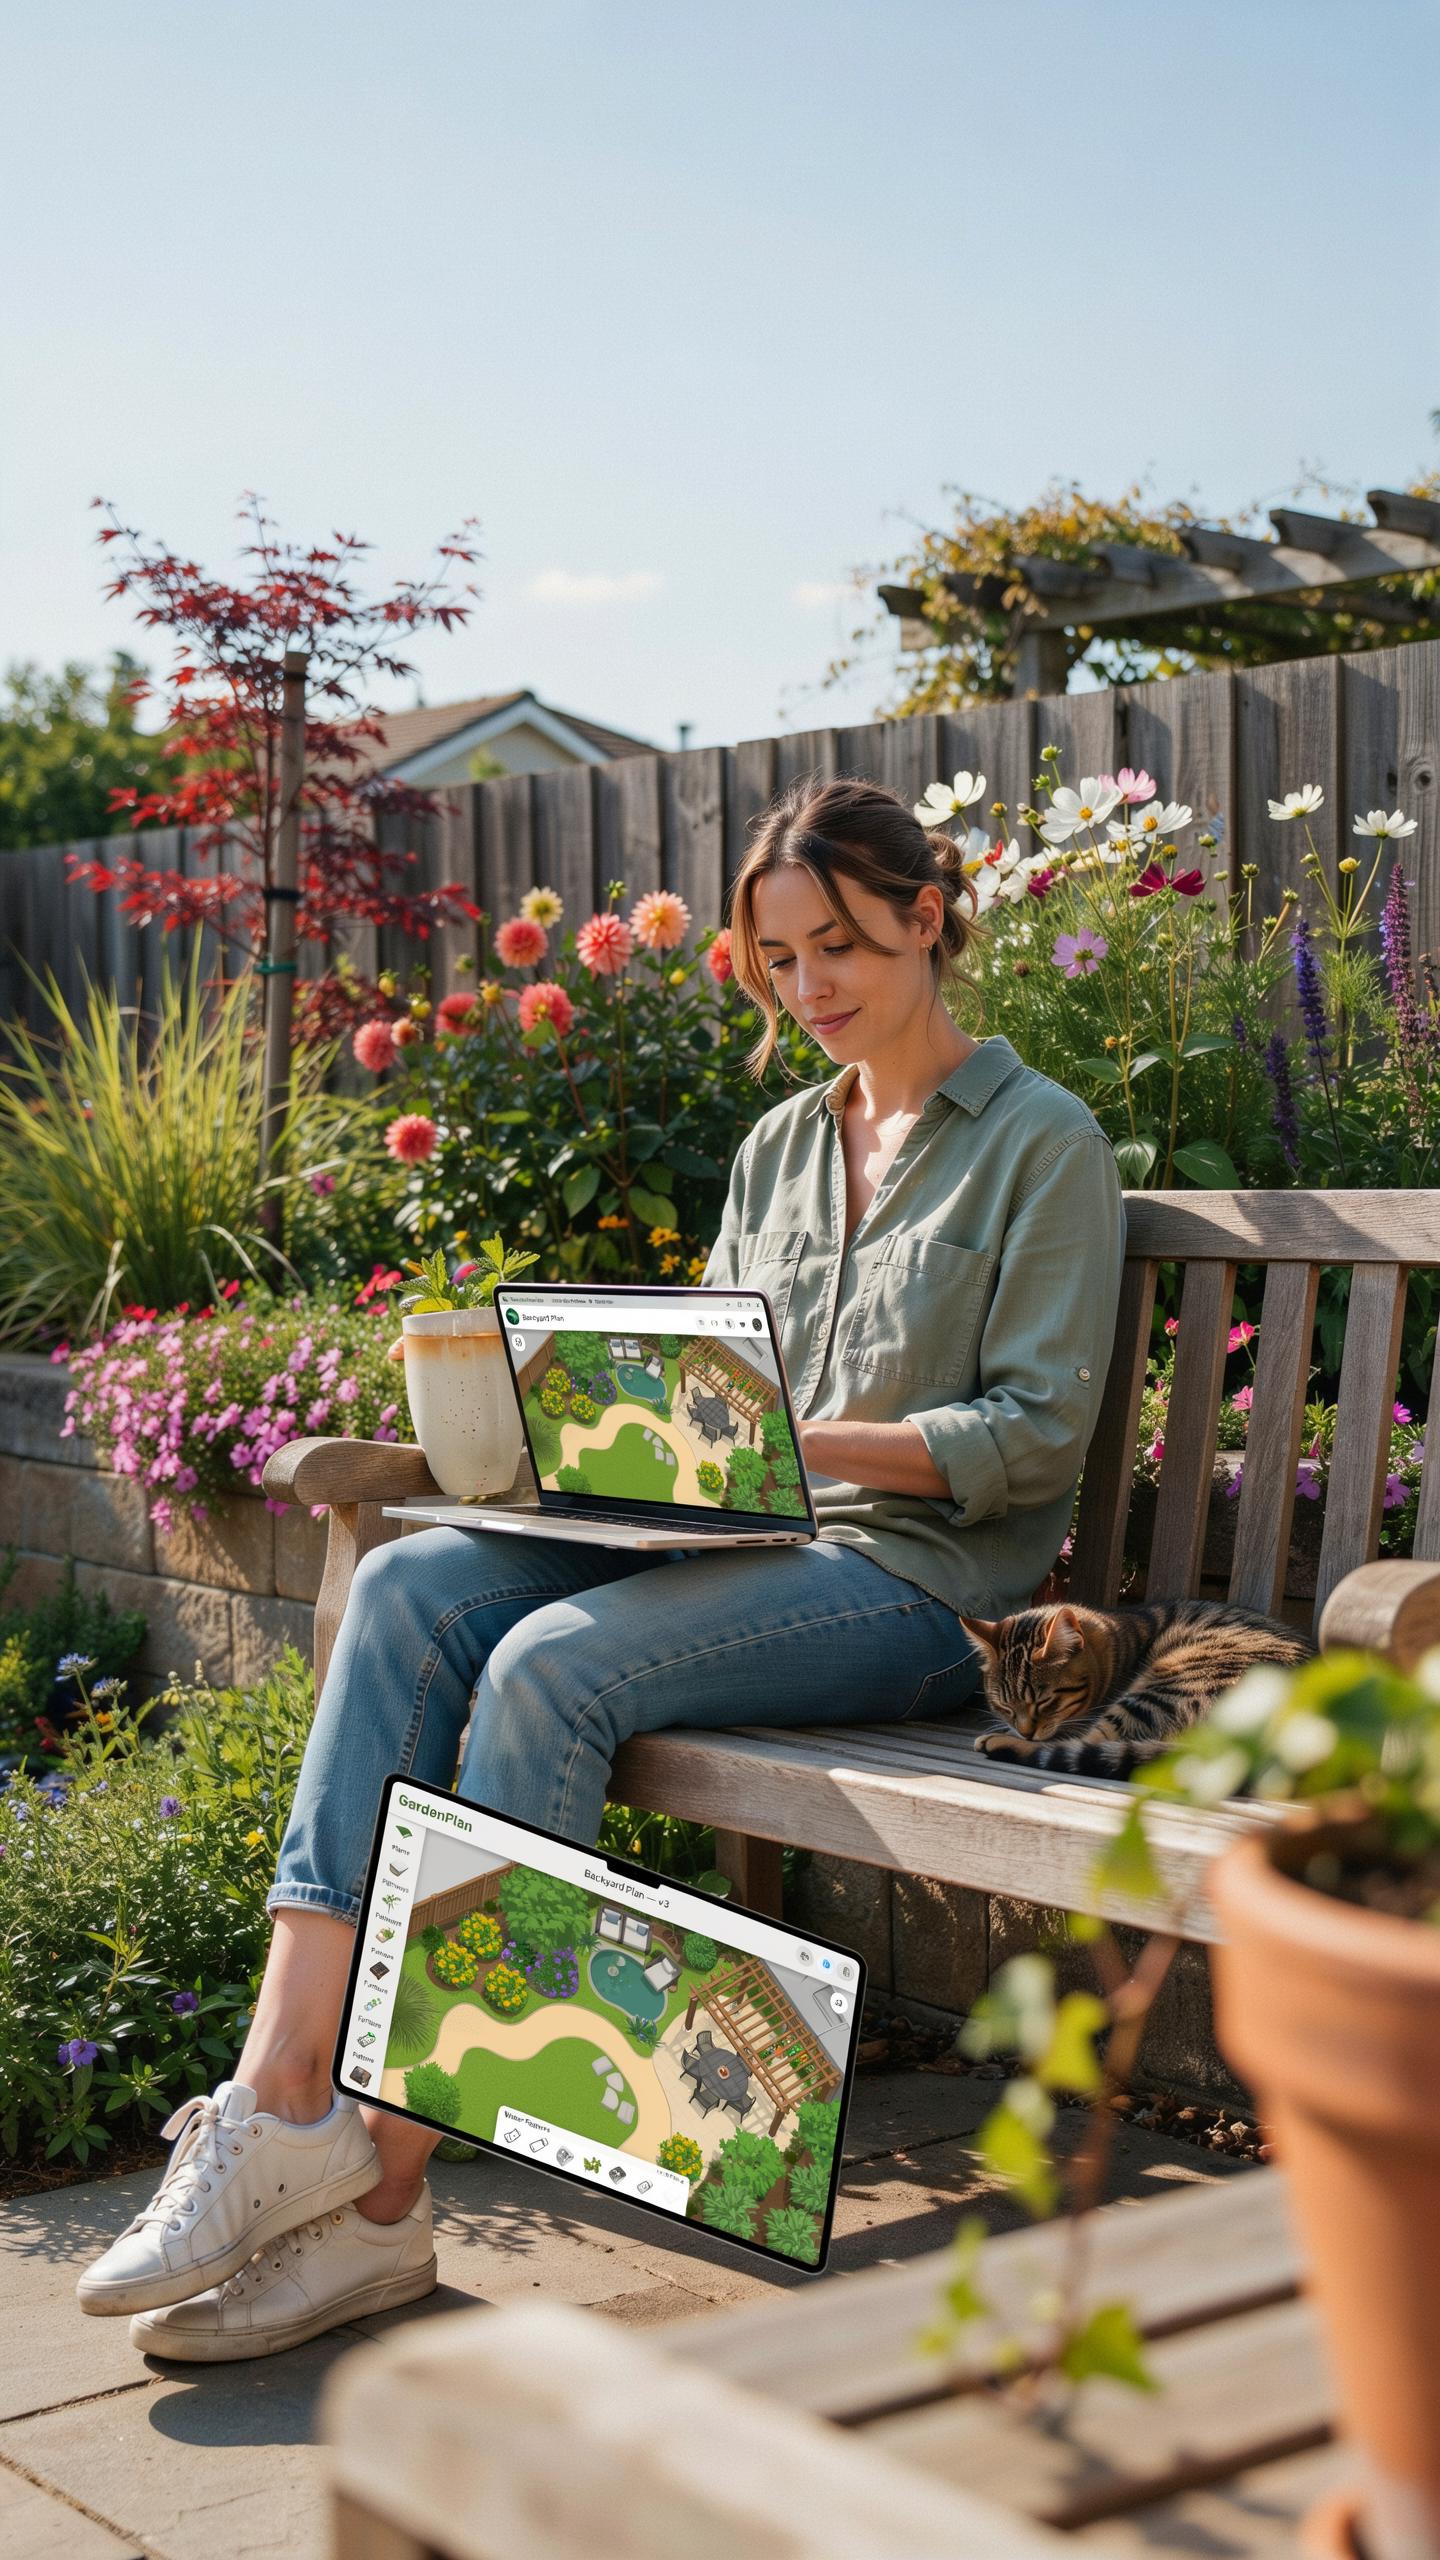
Landscape design software tools translate raw spatial data into actionable digital blueprints. These platforms replace hand-drawn sketches with precise geometric calculations and topographical mapping. Professional-grade features allow users to input property dimensions and existing structures. This creates a functional baseline for all future modifications. The primary objective is to define boundaries and allocate space for specific utility or aesthetic zones before breaking ground.
These tools serve as a centralized hub for botanical and structural data. Users access vast databases containing plant growth patterns and hardware specifications. This helps homeowners select materials that match their specific hardiness zones and soil types. The software manages complex variables like sunlight exposure and drainage slopes automatically. This systematic approach transforms a vague vision into a technical roadmap that contractors or DIY enthusiasts can follow perfectly.
How These Tools Help Homeowners Visualize Plan And Avoid Costly Landscaping Mistakes
Visualization features allow homeowners to see the full life cycle of a garden instantly. Most tools include a growth slider that shows how trees and shrubs will look in ten years. This prevents overcrowding and ensures plants have enough room to reach maturity. Seeing the scale of mature plants helps you avoid over-purchasing at the nursery. Realistic 3D rendering confirms if a patio or deck fits your lifestyle.
Accurate planning eliminates expensive errors during the installation phase. Software calculates the exact volume of mulch, stone, or timber required for the project. This prevents material waste and keeps the budget under control. Mapping underground utilities within the software prevents dangerous and costly strikes during excavation. By identifying potential drainage issues or structural conflicts digitaly, you solve problems on a screen rather than paying for site repairs later.

Exploring The Most Popular Landscape Software Options Available Today
A Breakdown Of Leading Landscape Software Platforms Used By Both Beginners And Professionals
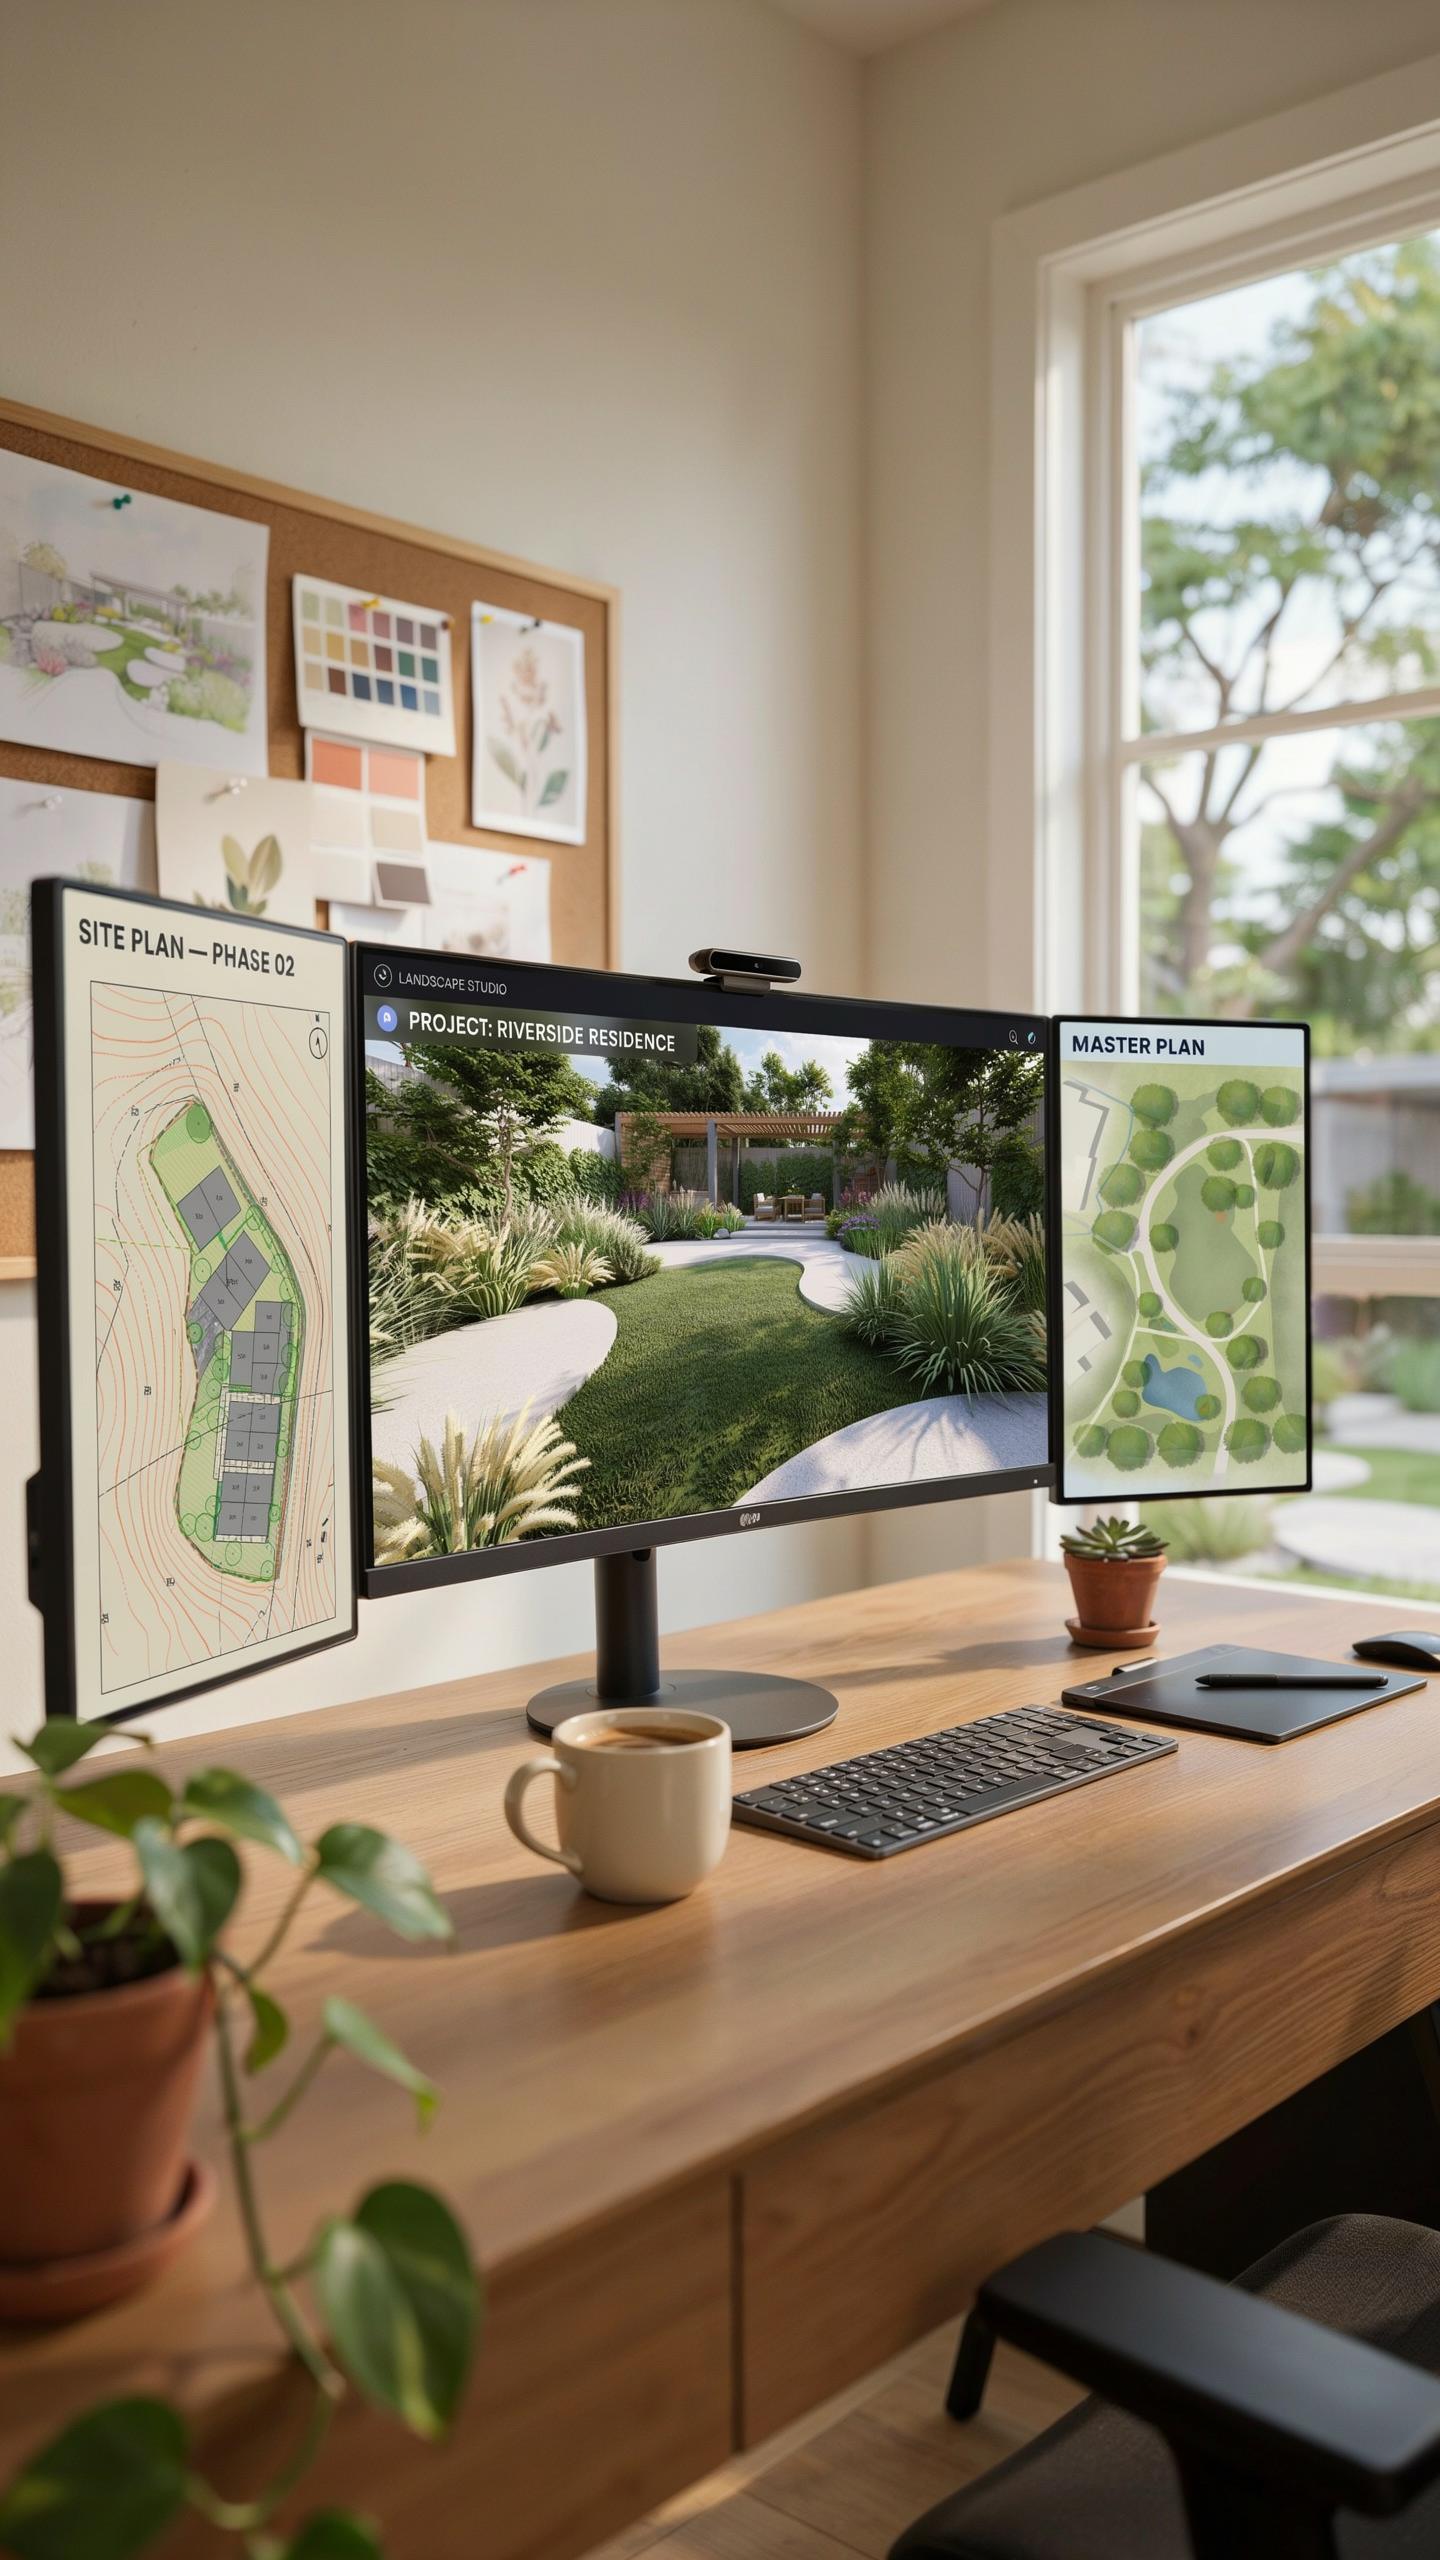
Professional designers rely on AutoCAD and Vectorworks Landmark for precision. These tools handle complex site engineering and drainage calculations. Professionals use them to produce legal construction documents. Beginners usually find these programs too difficult. The steep learning curve requires months of training. Most homeowners should avoid these high cost options. They value technical accuracy over simple visual appeal.
SketchUp and Realtime Landscaping Plus offer a middle ground. SketchUp uses 3D modeling to help users visualize spatial relationships. It works well for modern hardscape layouts. Realtime Landscaping focuses on plant libraries and walk-through videos. These tools bridge the gap between amateur ideas and professional delivery. They allow for rapid iteration without needing an engineering degree. Use these for realistic visual mockups.
Key Differences Between Desktop Based And Browser Based Landscape Software Solutions
Desktop software provides superior processing power for high resolution rendering. Local installations handle large files without internet lag. Programs like PRO Landscape offer deep libraries of plant species and pavers. These tools utilize your computer hardware for complex shadows and lighting. Professionals choose desktop builds for reliability and data security. You own the software and your files remain private on your drive.

Browser-based tools like Gardena My Garden offer instant access. You do not need to install heavy files or update drivers. These platforms work well for quick two dimensional sketches. They use cloud storage so you can view plans on a tablet outdoors. However, they lack the detail found in professional desktop suites. Connection speed limits your ability to edit complex 3D environments. Use these for basic conceptualizing.
How A Digital Landscape Design Tool Transforms Your Garden Planning Process
What Makes A Digital Landscape Design Tool More Efficient Than Traditional Hand Drawn Plans
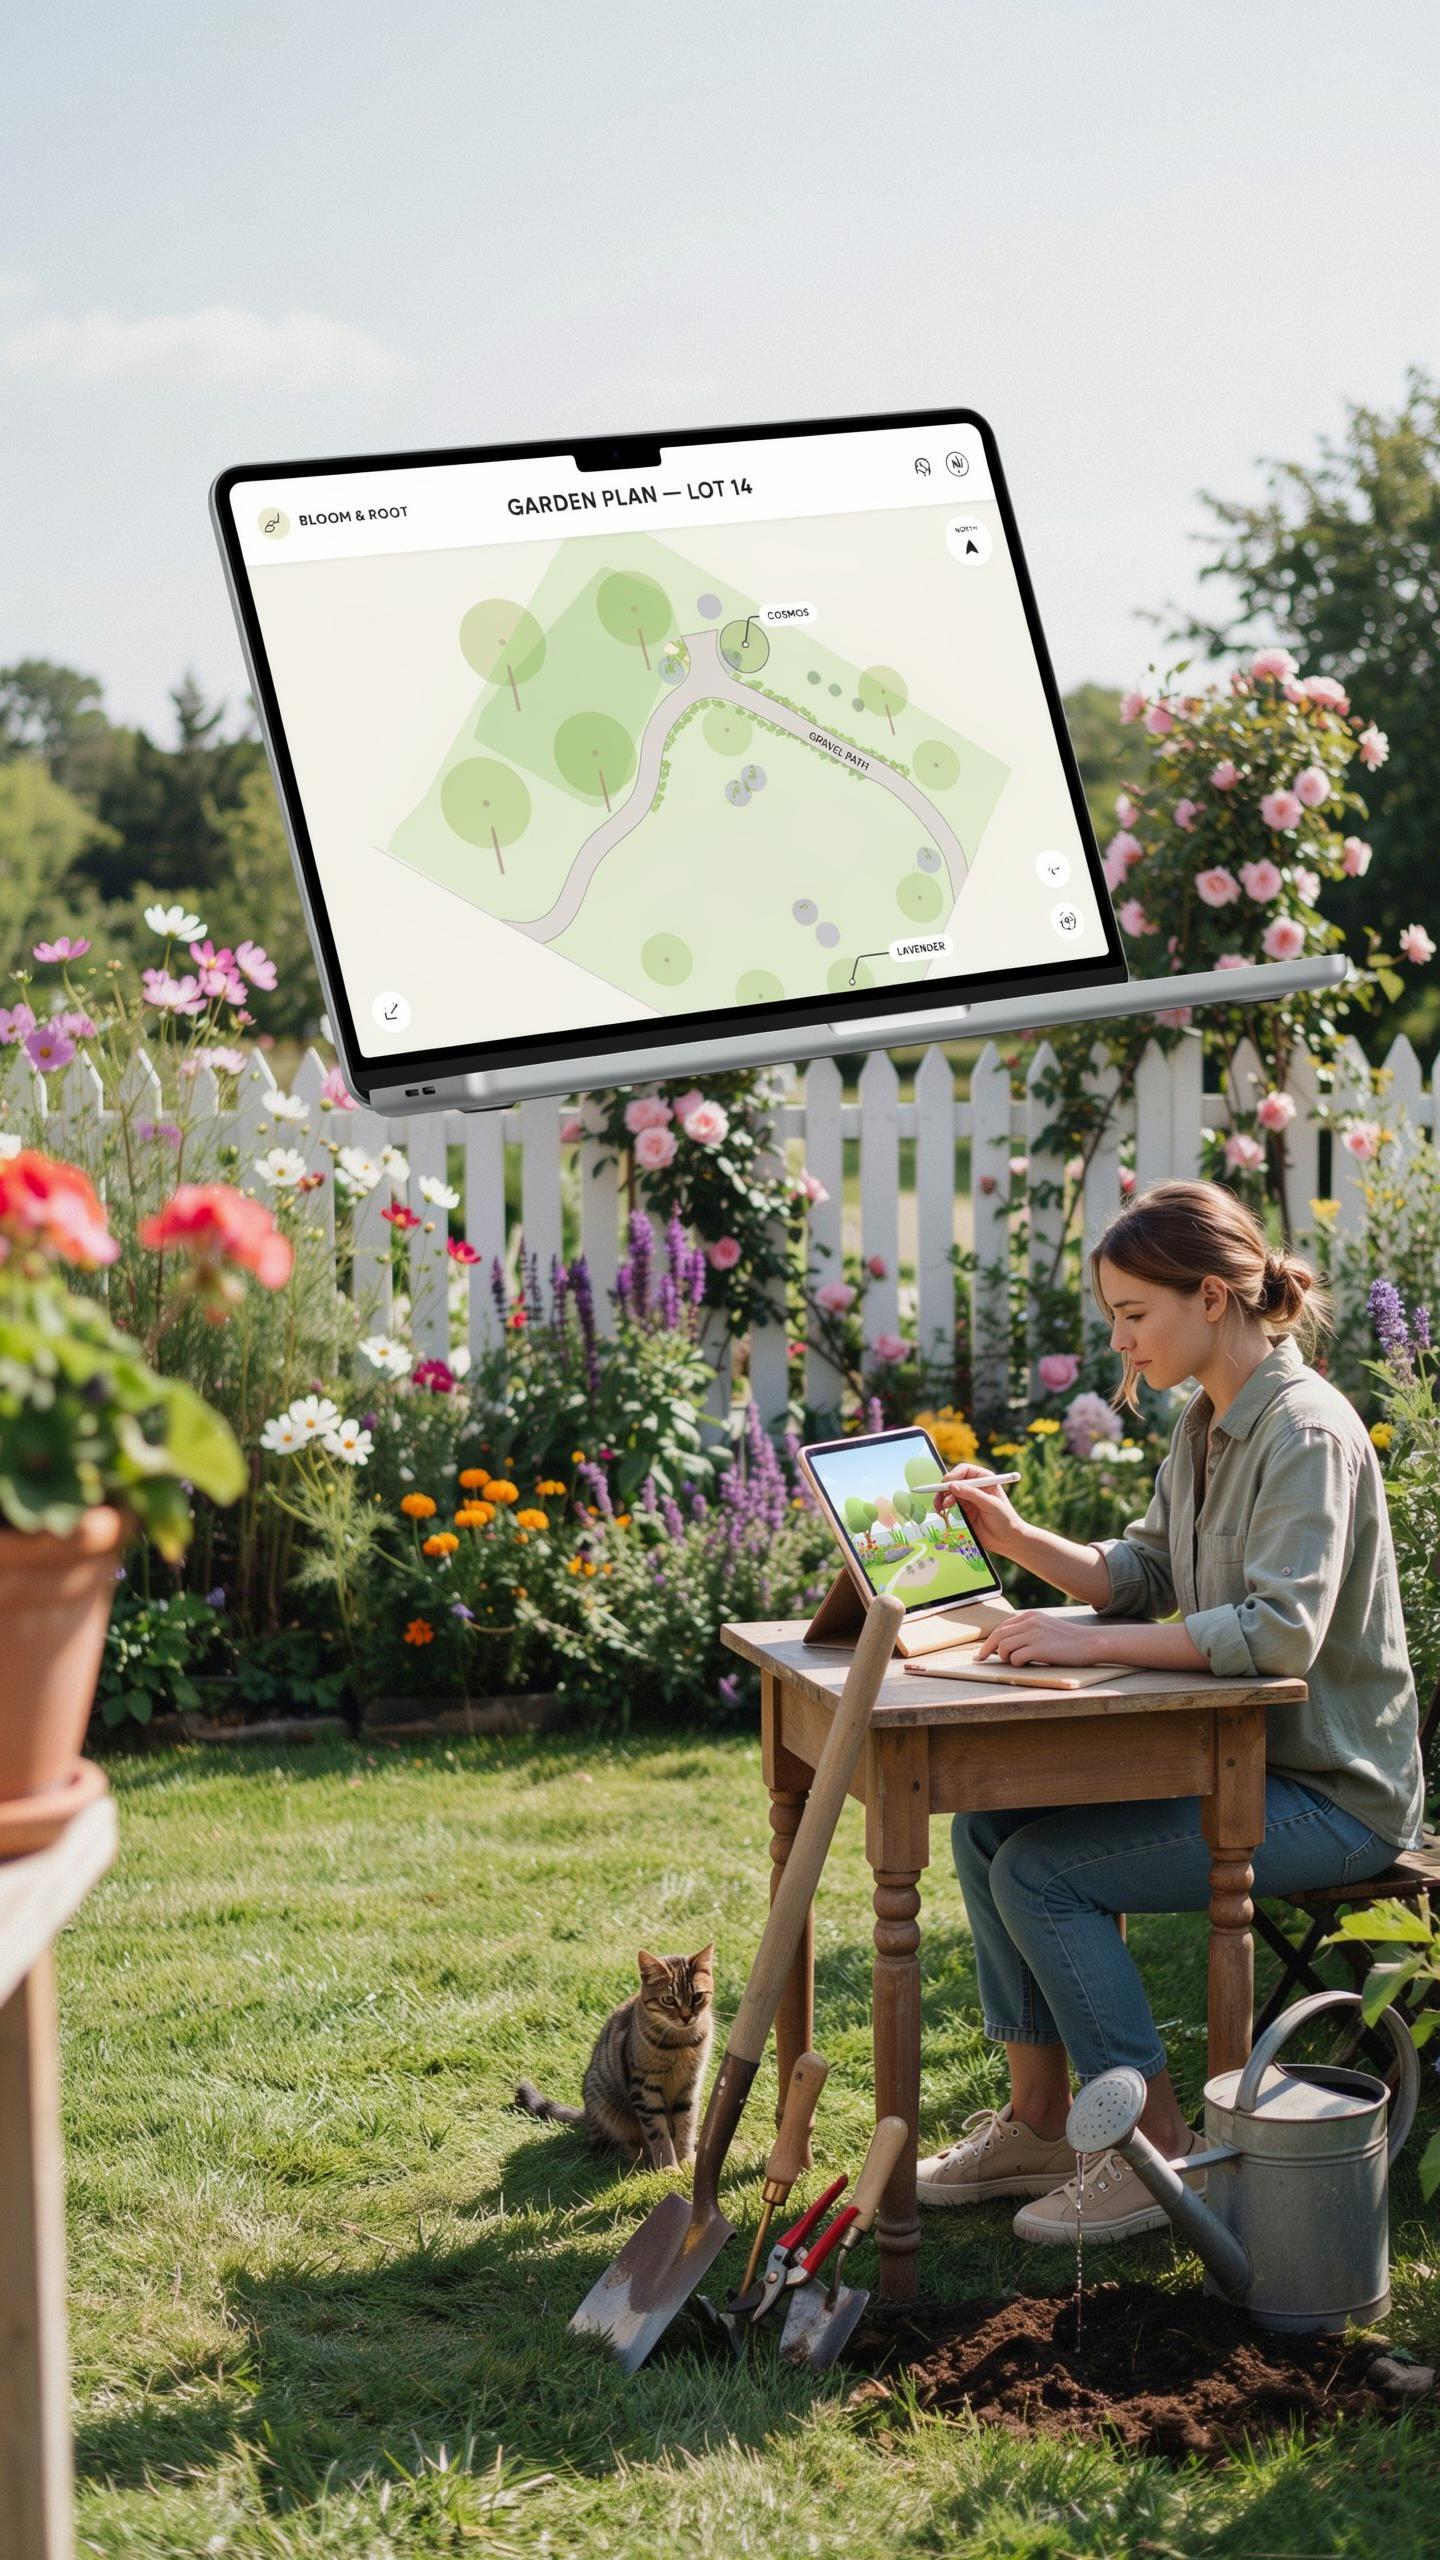
Hand-drawn plans require manual scaling and precise drafting skills. Changes to a paper sketch often mean starting over from scratch. Digital tools eliminate this rework by allowing instant modifications. Modern software calculates area measurements and material quantities automatically. This prevents human error in calculations. You save hours by dragging and dropping elements instead of drawing every leaf or stone by hand.
Precision is the core advantage of digital planning. Software snaps assets to a grid for exact placement. You can import accurate property surveys or satellite imagery to set boundaries. This ensures your plan fits the actual dimensions of your yard. Traditional methods lack this level of integrated spatial data. Using digital tools allows you to iterate faster and test multiple layouts without wasting physical supplies.
The garden is a grand canvas where modern tools simply help us paint the cherished memories of our childhood back into the earth. With the right design, we are not just planting flowers but weaving the past into a living sanctuary for the future.
Using 2D And 3D Rendering Features In A Digital Landscape Design Tool To See Your Garden Before It Is Built
A 2D top-down view provides the technical blueprint for your layout. It establishes the relationship between hardscapes and planting beds. This view is essential for mapping irrigation lines and electrical runs. It gives you a birds-eye perspective on traffic flow and spatial balance. Most software generates this view instantly as you place objects. You use it to ensure proper spacing between mature plants.

3D rendering takes your flat plan and adds vertical scale. It allows you to walk through the space virtually. You can witness how shadows from a pergola will fall across your lawn at different times of day. This visualizes the impact of height and volume in your plant choices. Seeing the depth and texture of materials helps you make better purchasing decisions before any soil is moved.
Top Free Landscape Design Software Options That Do Not Compromise On Quality
Which Free Landscape Design Software Platforms Offer The Most Useful Features For Homeowners
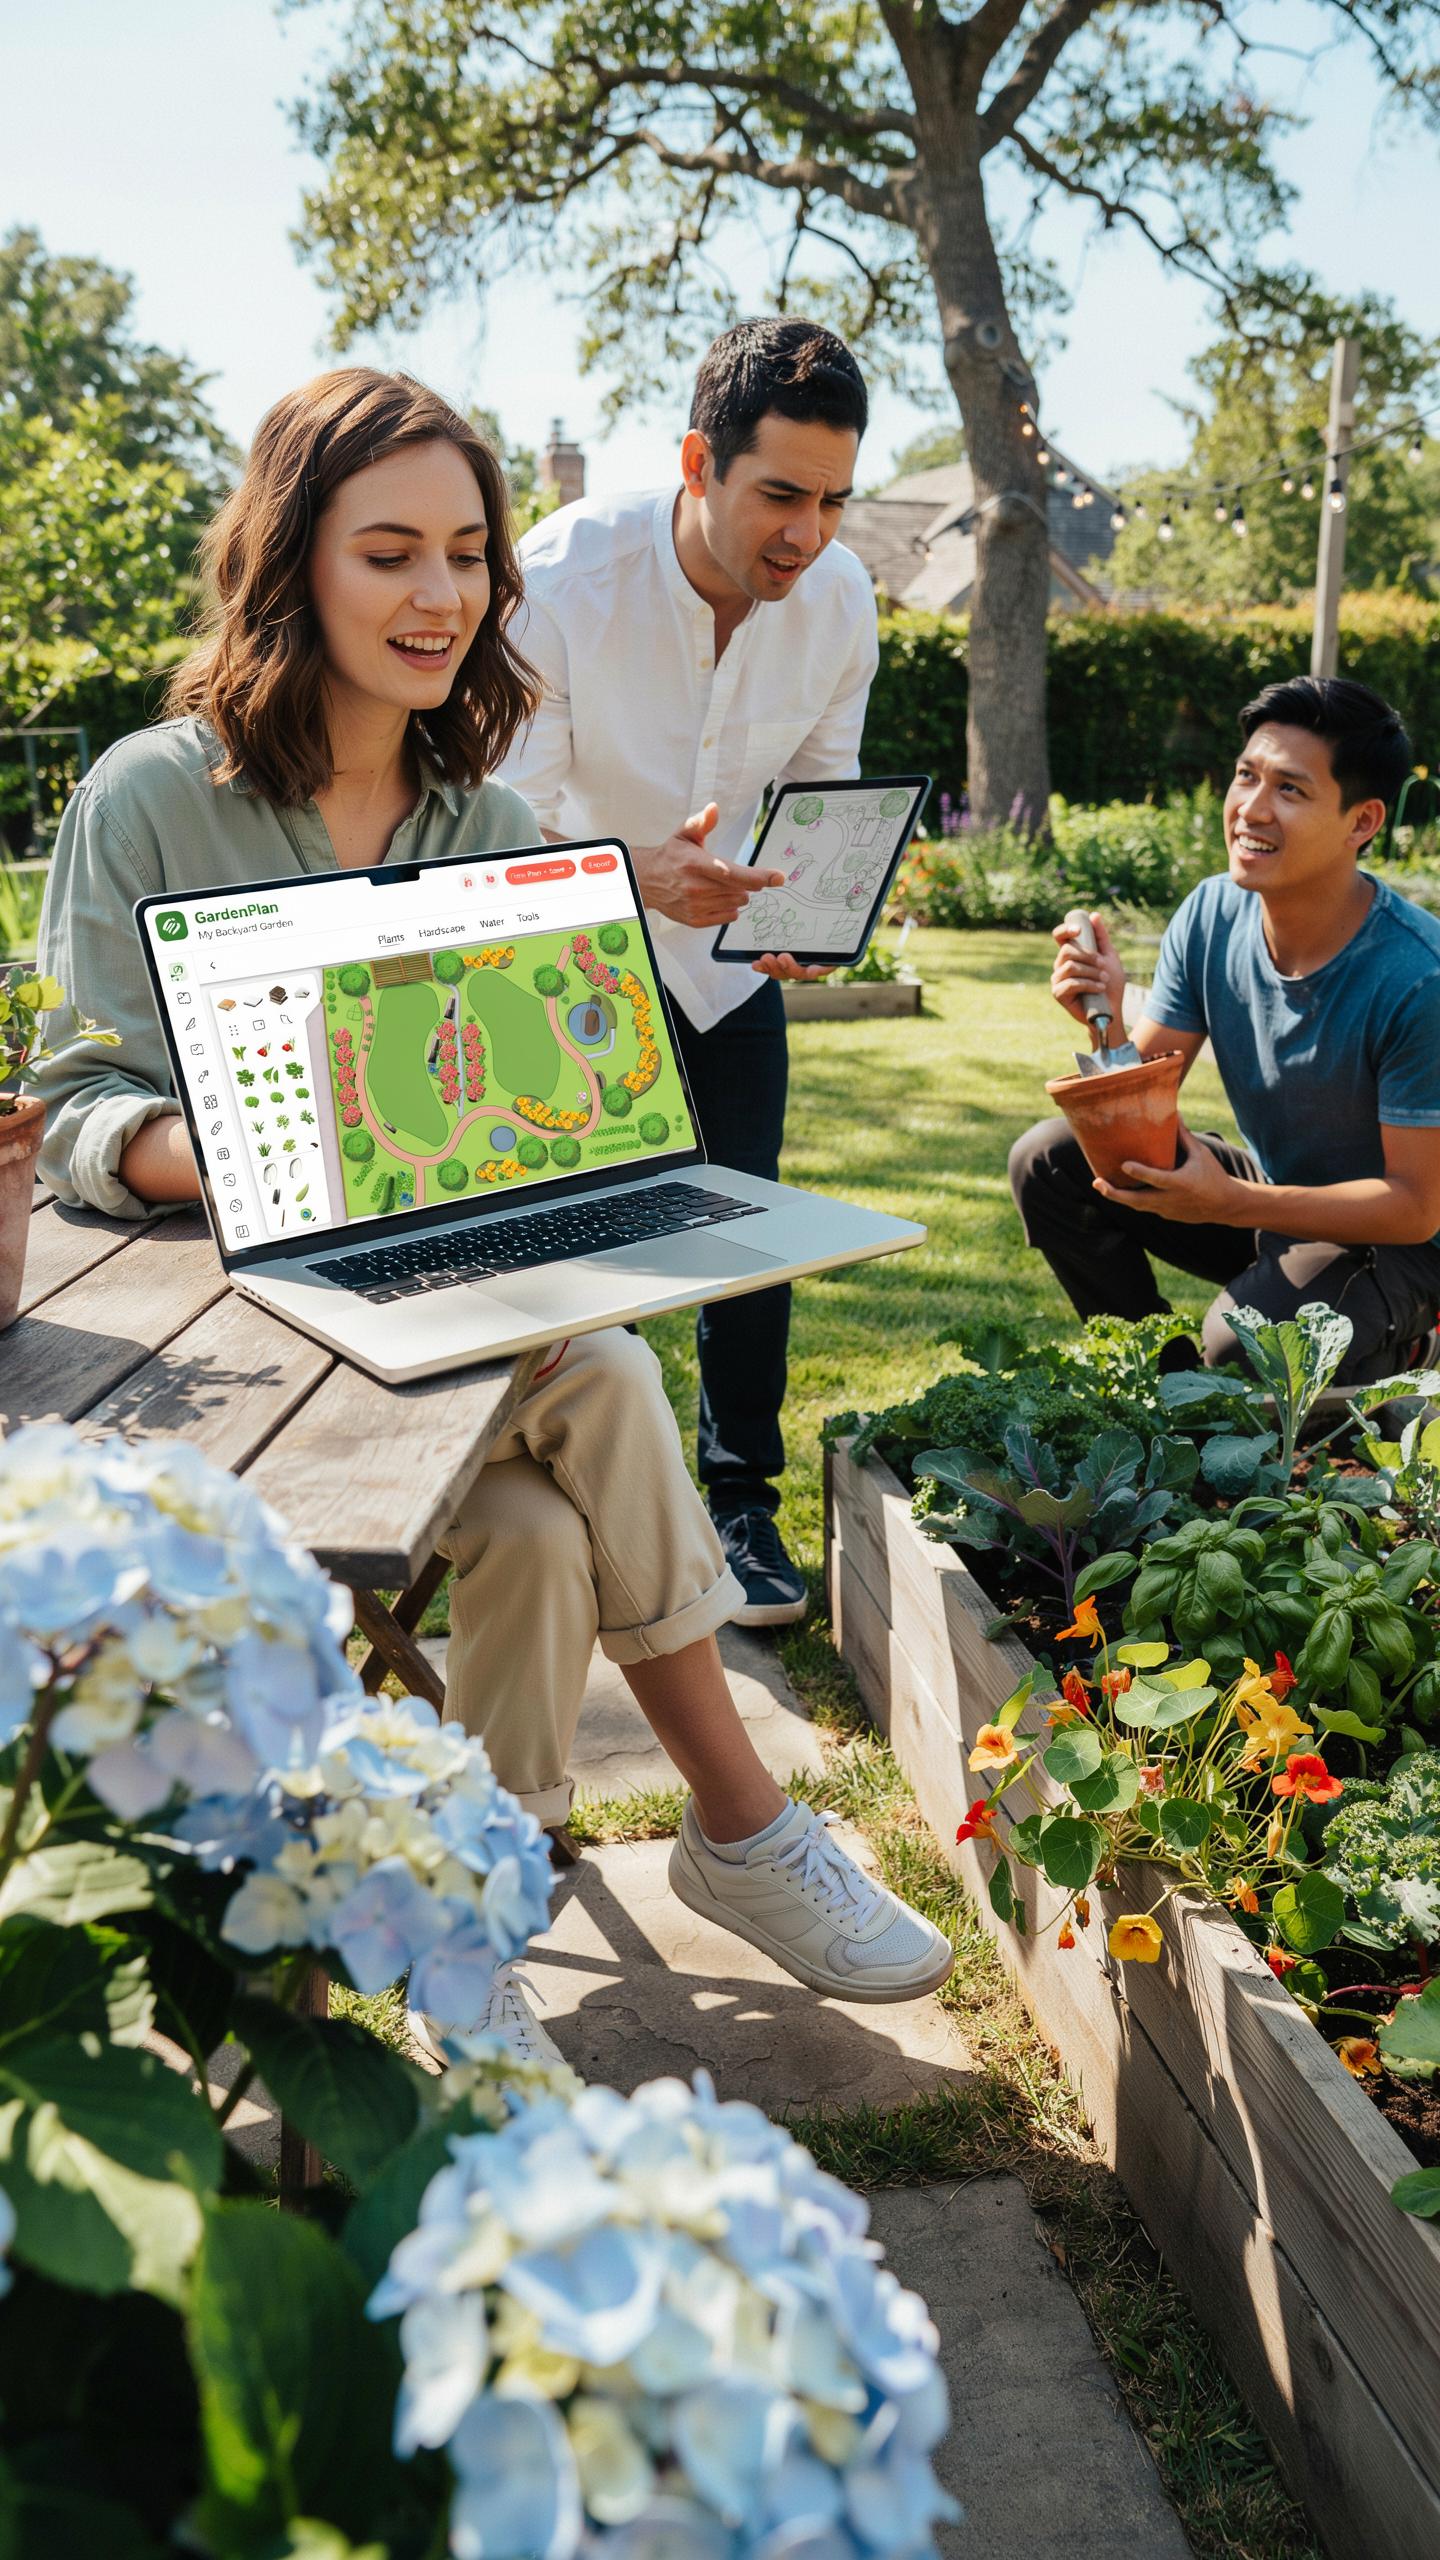
Homeowners find the most value in browser based tools like SketchUp Free and specialized planners from hardware retailers. SketchUp provides a robust 3D modeling environment. It allows users to place structures and plants with spatial accuracy. This tool uses a massive library called the 3D Warehouse. You can download real world objects to test scale. It requires a learning curve but offers unmatched flexibility for custom builds.
Gardena MyGarden and provincial extension services offer specialized planners for layout and plant selection. These tools prioritize functional irrigation and local plant hardiness. They use simple drag and drop interfaces. You can map out your property lines and sunlight exposure quickly. These platforms help you visualize a basic footprint without any cost. They work best for site planning and organizing basic vegetable or flower beds effectively.
Limitations To Be Aware Of When Using Free Landscape Design Software For Complex Garden Projects
Free tools often lack precision in topographical data and terrain modeling. Most free versions do not allow you to input exact slope gradients. This failure makes it difficult to plan drainage or retaining walls. You might design a patio that cannot exist on your actual site. Professional projects require detailed site surveys. Free software ignores these critical elevation changes and may lead to expensive mistakes during the construction phase.

Exporting your files is another major hurdle in free software editions. You often cannot download high resolution blueprints or CAD files. This prevents you from sharing usable data with contractors or local permit offices. Most free licenses restrict you to low quality screen captures. You will miss out on automated material lists and cost estimates. This limit forces you to do manual calculations for mulch, pavers, and lumber quantities.
Following A Landscape Design Software Tutorial To Get Started With Confidence
Where To Find Reliable Landscape Design Software Tutorial Resources Online And Within The App
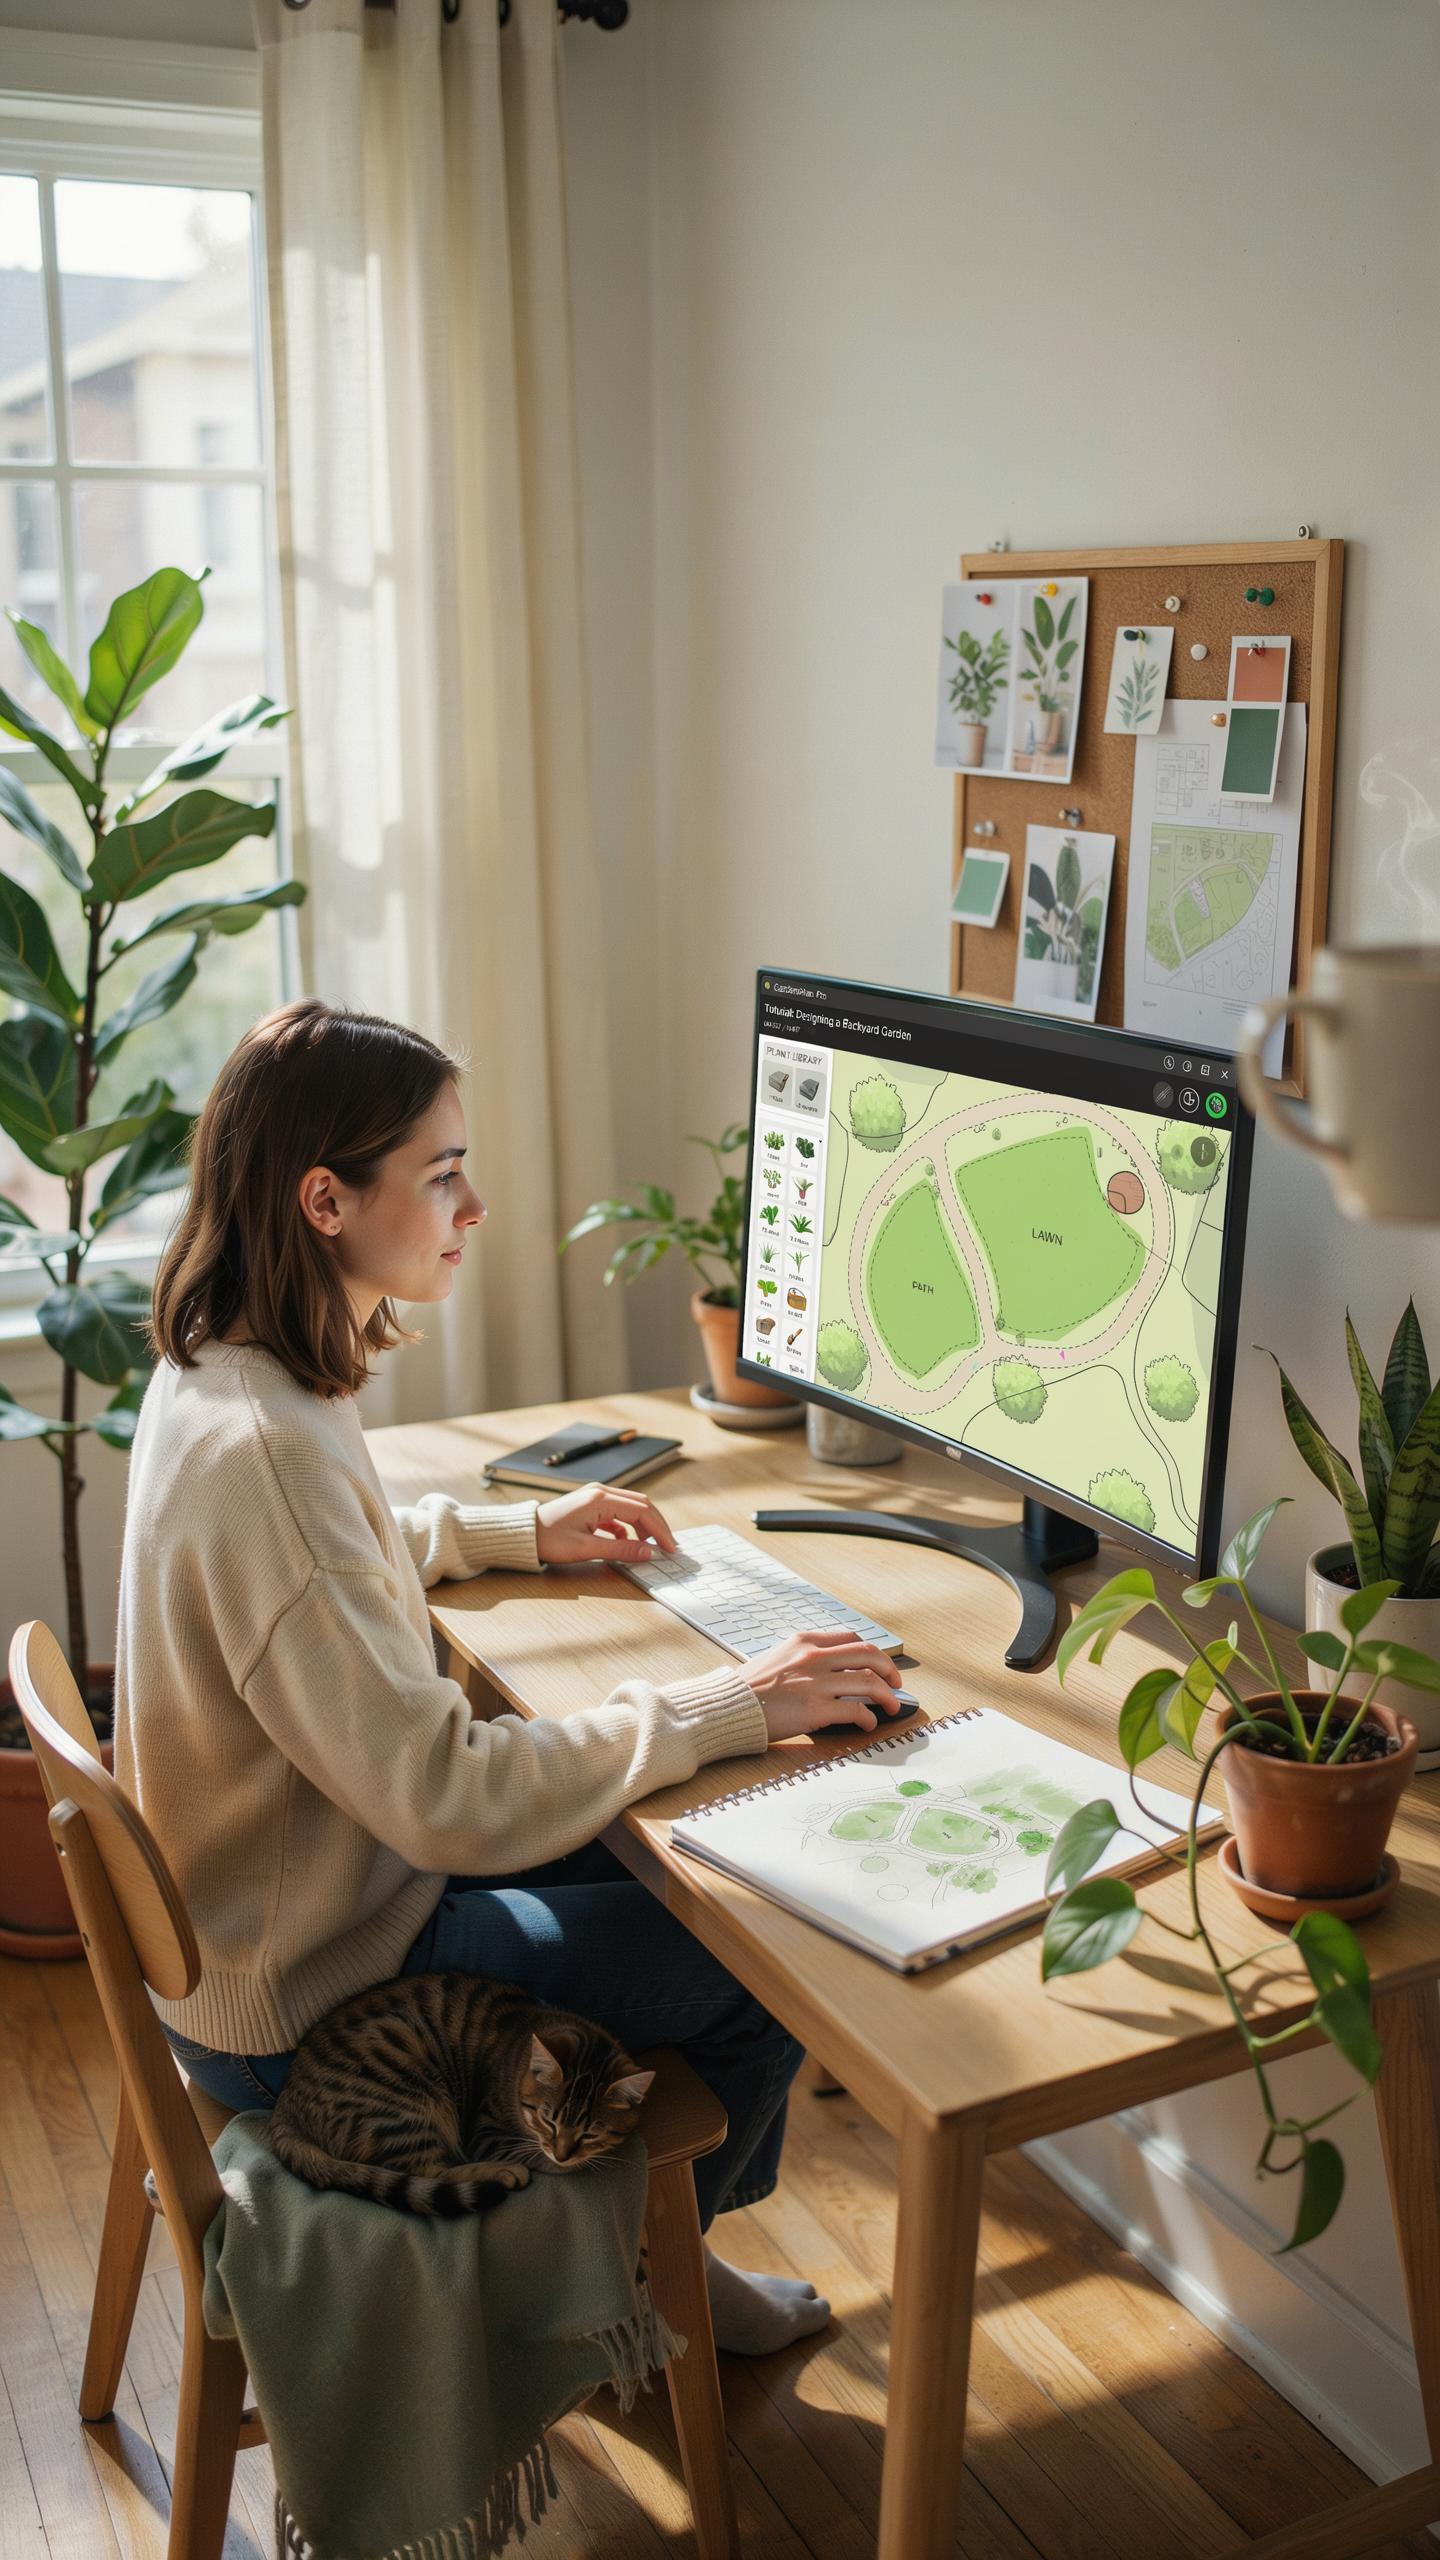
Top tier garden design software tools like SketchUp, PRO Landscape, and Realtime Landscaping Plus offer robust internal learning hubs. Users should ignore third party clickbait and go straight to the official developer Knowledge Base. These official portals provide accurate documentation on tool updates and hardware compatibility. Manufacturers build these libraries to reduce support tickets, so the information is dense, factual, and updated regularly for current software versions.
External video platforms provide visual context that text manuals lack. Professional designers often share project workflows on YouTube or LinkedIn Learning. Look for creators who demonstrate CAD standards and horticultural accuracy rather than aesthetic trends. Verified training partners offer structured courses that move from basic interface navigation to complex 3D rendering. High quality tutorials focus on scale, topography, and drainage solutions rather than just dragging and dropping decorative plants.
Step By Step Skills Every Beginner Should Learn From A Landscape Design Software Tutorial
Mastering garden design software tools requires a systematic approach to digital drafting. Beginners often fail because they skip the foundational setup and jump straight into planting. You must first learn to establish a precise 1:1 scale and import site surveys or satellite imagery as a base layer. This ensures that every measurement you take in the software translates accurately to the physical ground during the installation phase.
- Scale and Units Setup: Configure the workspace to match your local measurement system before drawing. Correct scaling prevents costly material order errors and ensures that hardscape elements like pavers and retaining walls fit the actual physical space dimensions accurately.
- Layer Management: Organize different elements like utilities, softscapes, and hardscapes on separate layers. This allows you to toggle visibility for clarity. Professional designers use layers to isolate irrigation lines from plant placements to avoid visual clutter during the planning process.
- Property Boundary Definition: Trace the exact legal limits of the lot using a plot plan. Establishing these lines early prevents encroachment issues and ensures compliance with local setback regulations. Accuracy here is vital for any project requiring municipal permits or HOA approvals.
- Terrain and Elevation Modeling: Learn to manipulate the ground plane to reflect the actual slope of your yard. Tutorials show how to use contour lines to identify drainage patterns. Engineering the grade correctly prevents water pooling against the home foundation after heavy rainfall events.
- Object Library Integration: Practice placing 3D models of plants and structures from the software database. Efficient users learn to modify the growth parameters of these assets. This mirrors real world plant maturity, showing how a tree will actually look in ten years.

Once you master the workspace setup, focus on the technical execution of hardscape and softscape features. Tutorials should teach you how to snap lines to specific coordinates for geometric precision. Understanding how to generate a Bill of Materials from your digital design is the final critical skill. This feature automatically counts every plant and square foot of stone, which eliminates manual estimation errors and keeps your project on budget.
Getting The Most Out Of Garden Design Software Free Versions For Everyday Homeowners

What Features Are Typically Included In Garden Design Software Free Tiers And What To Expect
Free software tiers provide the basic infrastructure for spatial planning and layout. Most entry-level tools offer a two-dimensional grid where you draw property boundaries and structures. You get a limited library of common plants and generic hardscape materials like gravel or concrete pavers. These tools excel at showing how paths and beds fit within your specific square footage.
Expect restrictions on high-resolution rendering and file sharing. Most free versions block advanced three-dimensional walkthroughs or detailed plant growth simulations. You will likely see watermarks on exported images or a cap on total project files. Use these versions to validate measurements and general flow. Stop using them once you need specific local plant data or complex terrain grading.
Smart Strategies For Maximizing Results Using Garden Design Software Free Plans Without Upgrading
Maximize free trials by preparing all site measurements before you create an account. Sketch your basic perimeter and existing structures on paper first. This preparation allows you to spend your limited free access time on actual design work rather than data entry. Use generic shapes to represent expensive features like custom decks or outdoor kitchens if the free library lacks specific models.

Combine multiple free tools to bypass individual feature caps. Use one program for its superior 2D site mapping and another for its unique plant visualization library. Export your primary layout as a standard image file and import it as a background elsewhere. This tactical approach gives you pro-level results for zero cost. Consistency in scale is your most important metric during this process.
Choosing The Right Garden Design App For Mobile First Homeowners On The Go

How A Garden Design App Allows You To Plan, Edit And Share Layouts Directly From Your Smartphone
Mobile garden design apps transform your smartphone into a portable drafting table. These tools use touch interfaces to place plants and hardscape elements on a digital canvas. You can snap a photo of your yard and overlay new designs instantly. This method eliminates the need for expensive desktop hardware. It allows you to make rapid adjustments while standing in your physical garden space.
Collaboration becomes much faster when using mobile design software. You can export high-resolution layouts as PDF or image files to send to contractors via messaging apps. Most mobile tools include cloud syncing features. This ensures your latest edits are available on any device you own. Real-time sharing speeds up the decision process. You get immediate feedback on material choices and plant placements from your team.
Top Rated Garden Design App Picks For IOS And Android With Standout Features Worth Knowing
Selecting the right app depends on your specific project goals and technical comfort. Some tools focus on high-end 3D visualization for complex landscapes. Others prioritize plant databases to help you choose the right species for your climate zone. You must evaluate these tools based on their rendering speed and accuracy. Robust mobile apps save you time and prevent costly planting errors.
- iScape: This app uses augmented reality to place virtual plants into your actual yard through the camera view. It allows users to visualize how specific trees and shrubs will look against their existing home exterior before buying anything.
- PRO Landscape Home: This tool provides a massive library of high-quality plant images and hardscape materials. You can draw shapes for mulch beds and patios directly over a photo of your property to create a professional site plan.
- Home Design 3D Outdoor and Garden: This software focuses on structural layouts and elevation changes. It helps you plan decks, pools, and fences with precise measurements to ensure everything fits within your property lines and meets local zoning requirements.
- Gardena MyGarden: This specialized tool excels at planning irrigation systems and lawn coverage. It uses a simple drag-and-drop interface to help you place sprinklers and piping. This ensures your plants get the right amount of water without wasting resources.
- PlantSnap: While primarily an identification tool, it integrates with design workflows by verifying plant species in the field. You can identify healthy local plants and then search for them within your design app to ensure ecological compatibility in your yard.

Compare the library size and export options before committing to a paid subscription. Many apps offer free basic versions with limited plant selections. Test the user interface on your specific phone model to ensure smooth performance. High-resolution 3D rendering requires significant processing power. Always check hardware compatibility to avoid crashes during the design process. Professional results require reliable and responsive software tools.
Navigating The Landscape Design Software Interface Like A Pro From Day One
Common Layout Elements Found Across Most Landscape Design Software Interface Designs
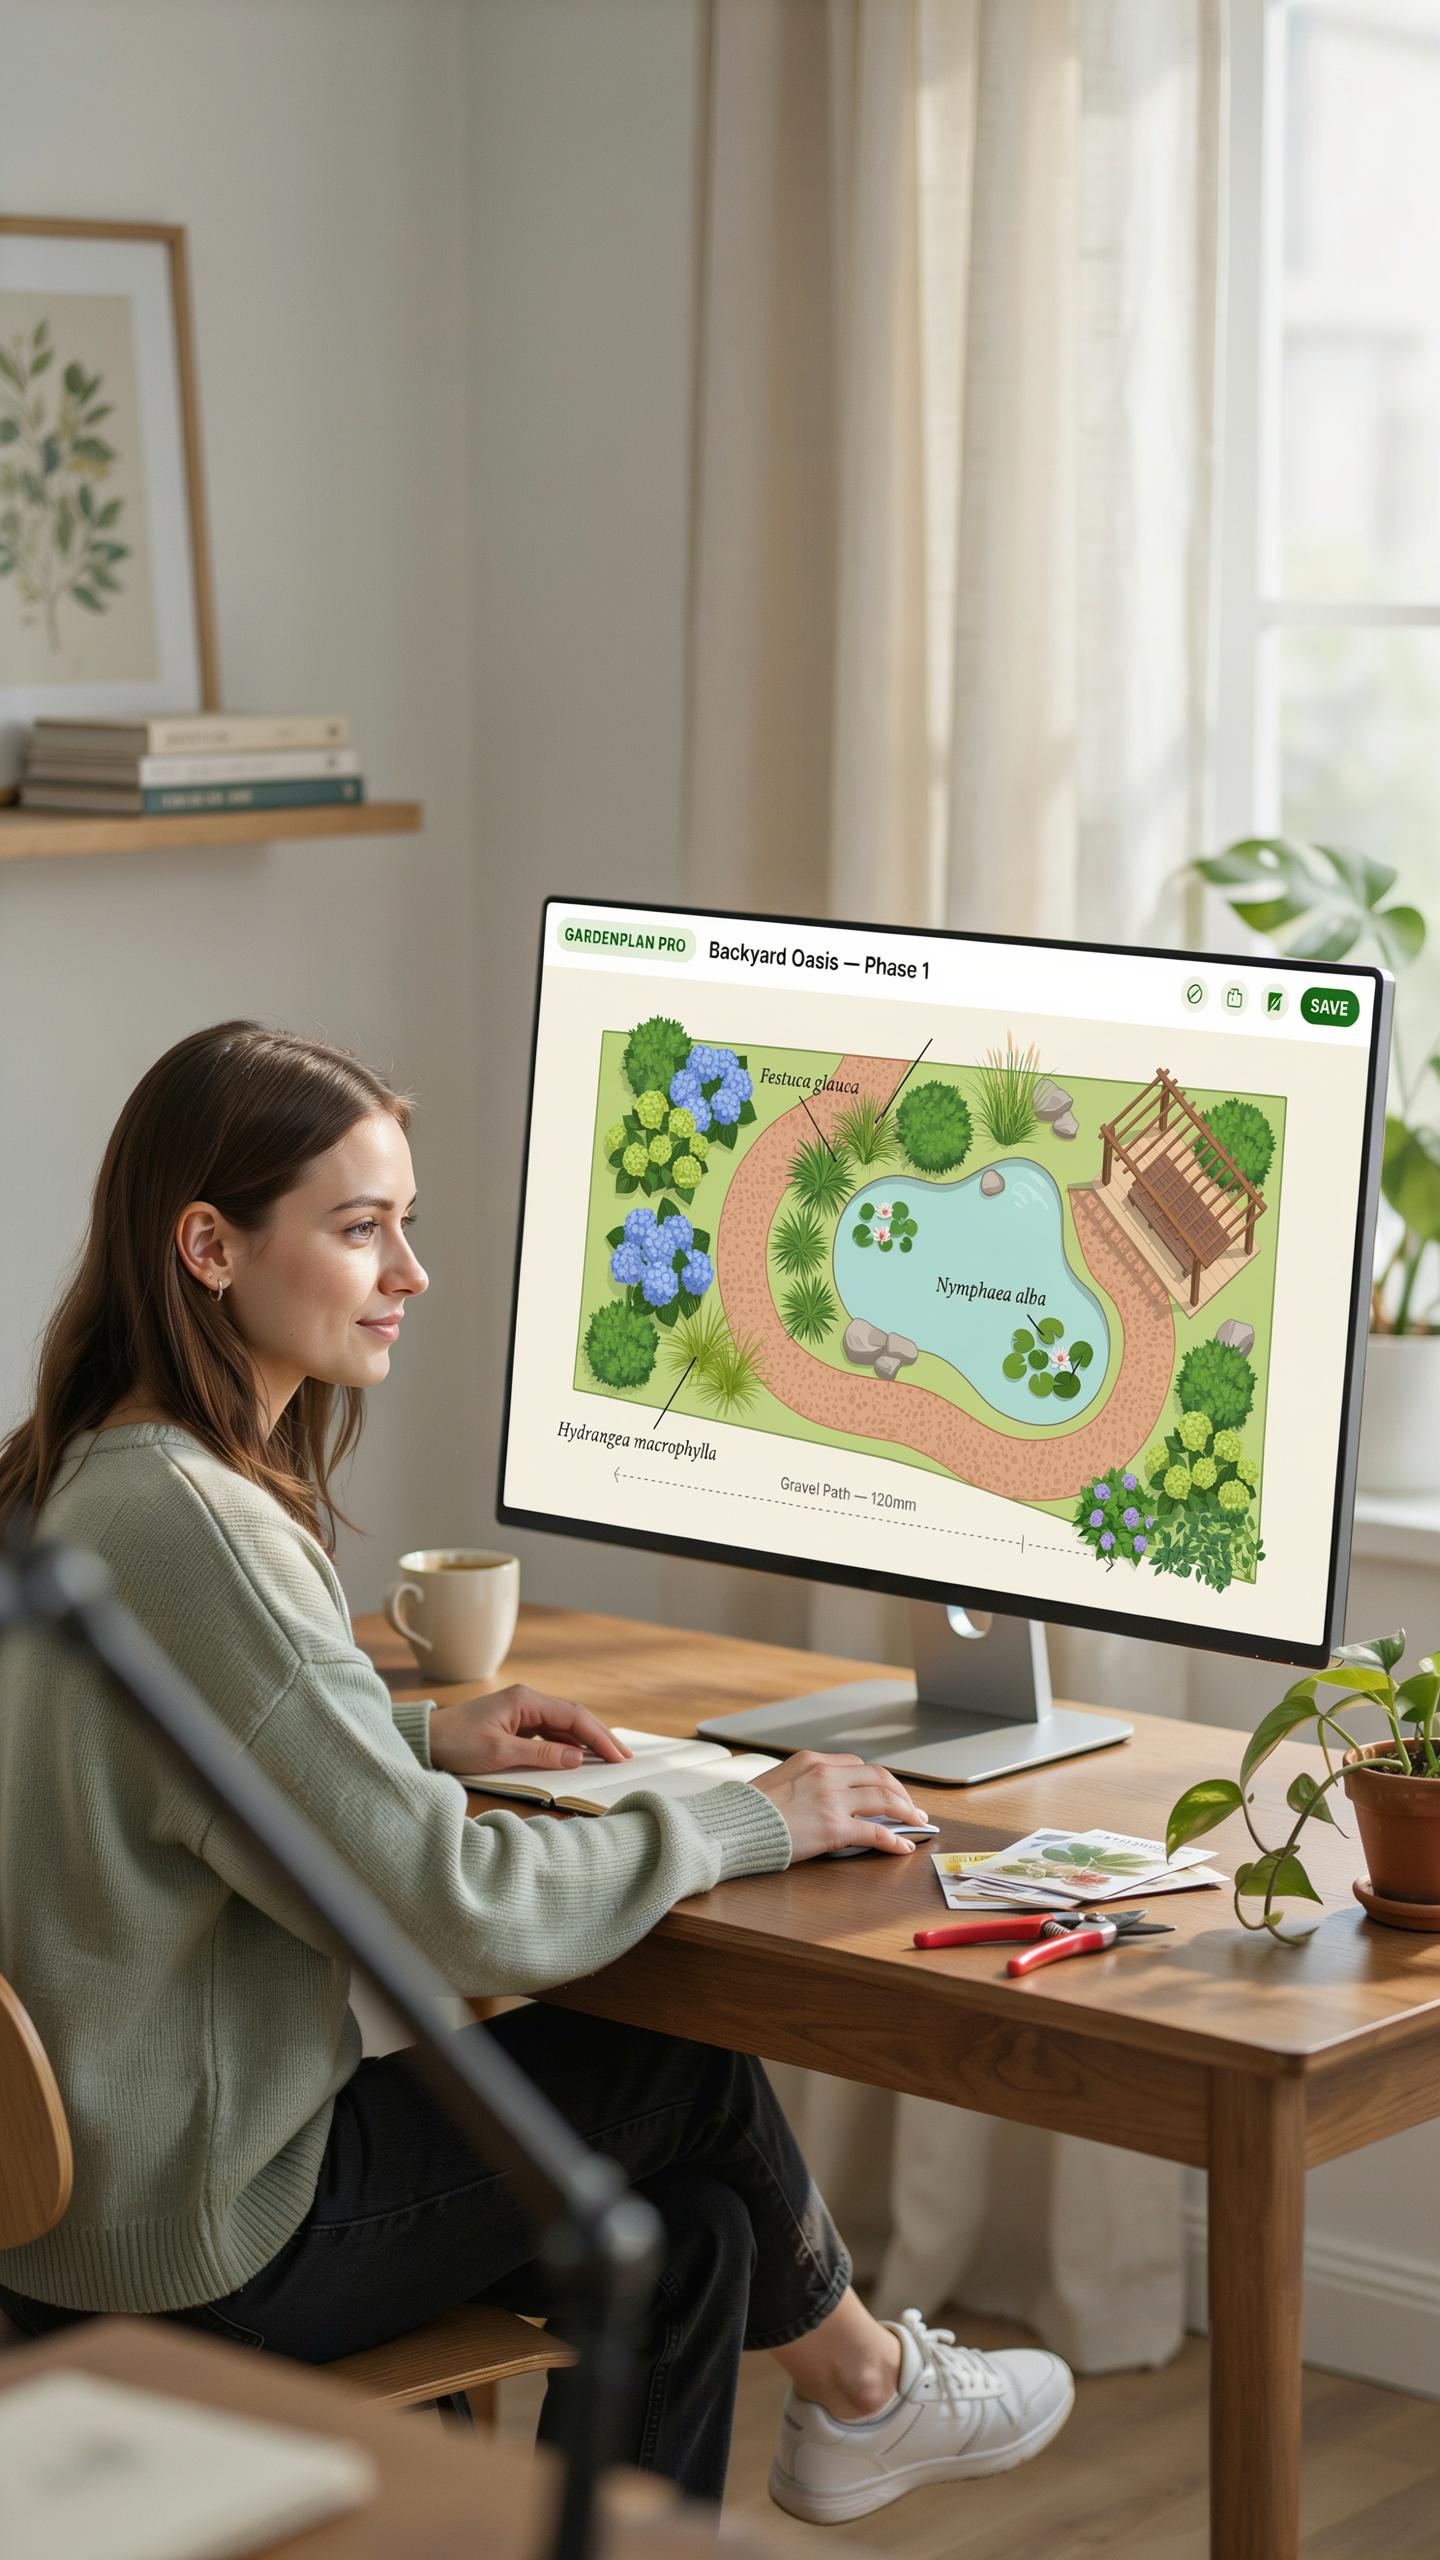
Most professional garden design software tools share a standardized layout to help users switch between platforms. You will find a primary viewport in the center for your drafting work. This area displays your site plan in 2D or 3D views. A side panel typically houses the object library. This library contains digitized assets like plants, hardscape materials, and outdoor furniture for your project.
Top or side toolbars contain essential drawing tools like lines, arcs, and polygons. These tools allow you to define property boundaries and garden beds accurately. Status bars at the bottom provide real-time data on coordinates and dimensions. Property inspectors appear when you select an object. These panels let you change specific details like plant height, stone color, or fence material without searching through menus.
Tips For Customizing Your Landscape Design Software Interface To Improve Your Design Workflow
Productive designers customize their workspace to reduce mouse clicks and save time. You should dock your most used palettes, like layers and textures, where they are always visible. Hiding unused toolbars clears visual clutter and expands your drawing area. Assigning custom hotkeys for frequent actions like rotating objects or switching views speeds up your work. Efficient layouts allow you to focus on the design.

Save your customized workspace as a template to ensure consistency across different projects. This practice maintains your preferred tool locations every time you open the software. Organize your plant library by hardiness zones or water needs to find suitable species faster. Set your default units to feet or meters before starting a new file. A clean interface prevents errors and helps you complete landscape plans much faster.
How Free Landscape Software Design Can Help Budget Conscious Homeowners Plan Smarter

Why Free Landscape Software Design Tools Are A Practical Starting Point Before Hiring A Professional
Free design tools serve as a critical communication bridge between homeowners and landscape architects. Most professionals charge by the hour for initial ideation and conceptual sketches. You save money by using free software to establish basic site layouts and functional goals first. This allows the designer to focus on technical execution rather than basic discovery. Clear visuals prevent expensive misunderstandings during the early planning stages.
These platforms allow you to test different spatial configurations without financial risk. You can experiment with patio placement or path layouts to see how they impact your yard movement. This proactive approach identifies potential design flaws before you pay for a professional topographic survey. Early digital experimentation ensures your final paid design reflects your actual lifestyle needs. You gain control over the vision while minimizing billable professional hours.
How To Use Free Landscape Software Design To Estimate Plant Placement Spacing And Seasonal Growth
Strategic plant placement requires accurate data on mature spread and height. Free tools often include databases that visualize how a small shrub expands over five years. You must input the specific climate zone to get accurate growth projections. This prevents the common mistake of overcrowding plants near your foundation. Properly spaced plants grow healthier and require less maintenance or replacement over time. This data saves money.
Manual spacing calculations are prone to human error and lead to excess plant purchases. Use the software’s grid system to map out exact quantities for groundcovers and hedges based on square footage. This allows you to generate a precise shopping list for the nursery. You avoid buying more inventory than your space can realistically support. Digital growth sliders also show your garden in winter to reveal gaps in your evergreen structure.
Advanced Garden Design Software Tools Tips To Elevate Your Outdoor Space Planning
How To Incorporate Plant Libraries, Hardscape Elements And Terrain Features Into Your Garden Design
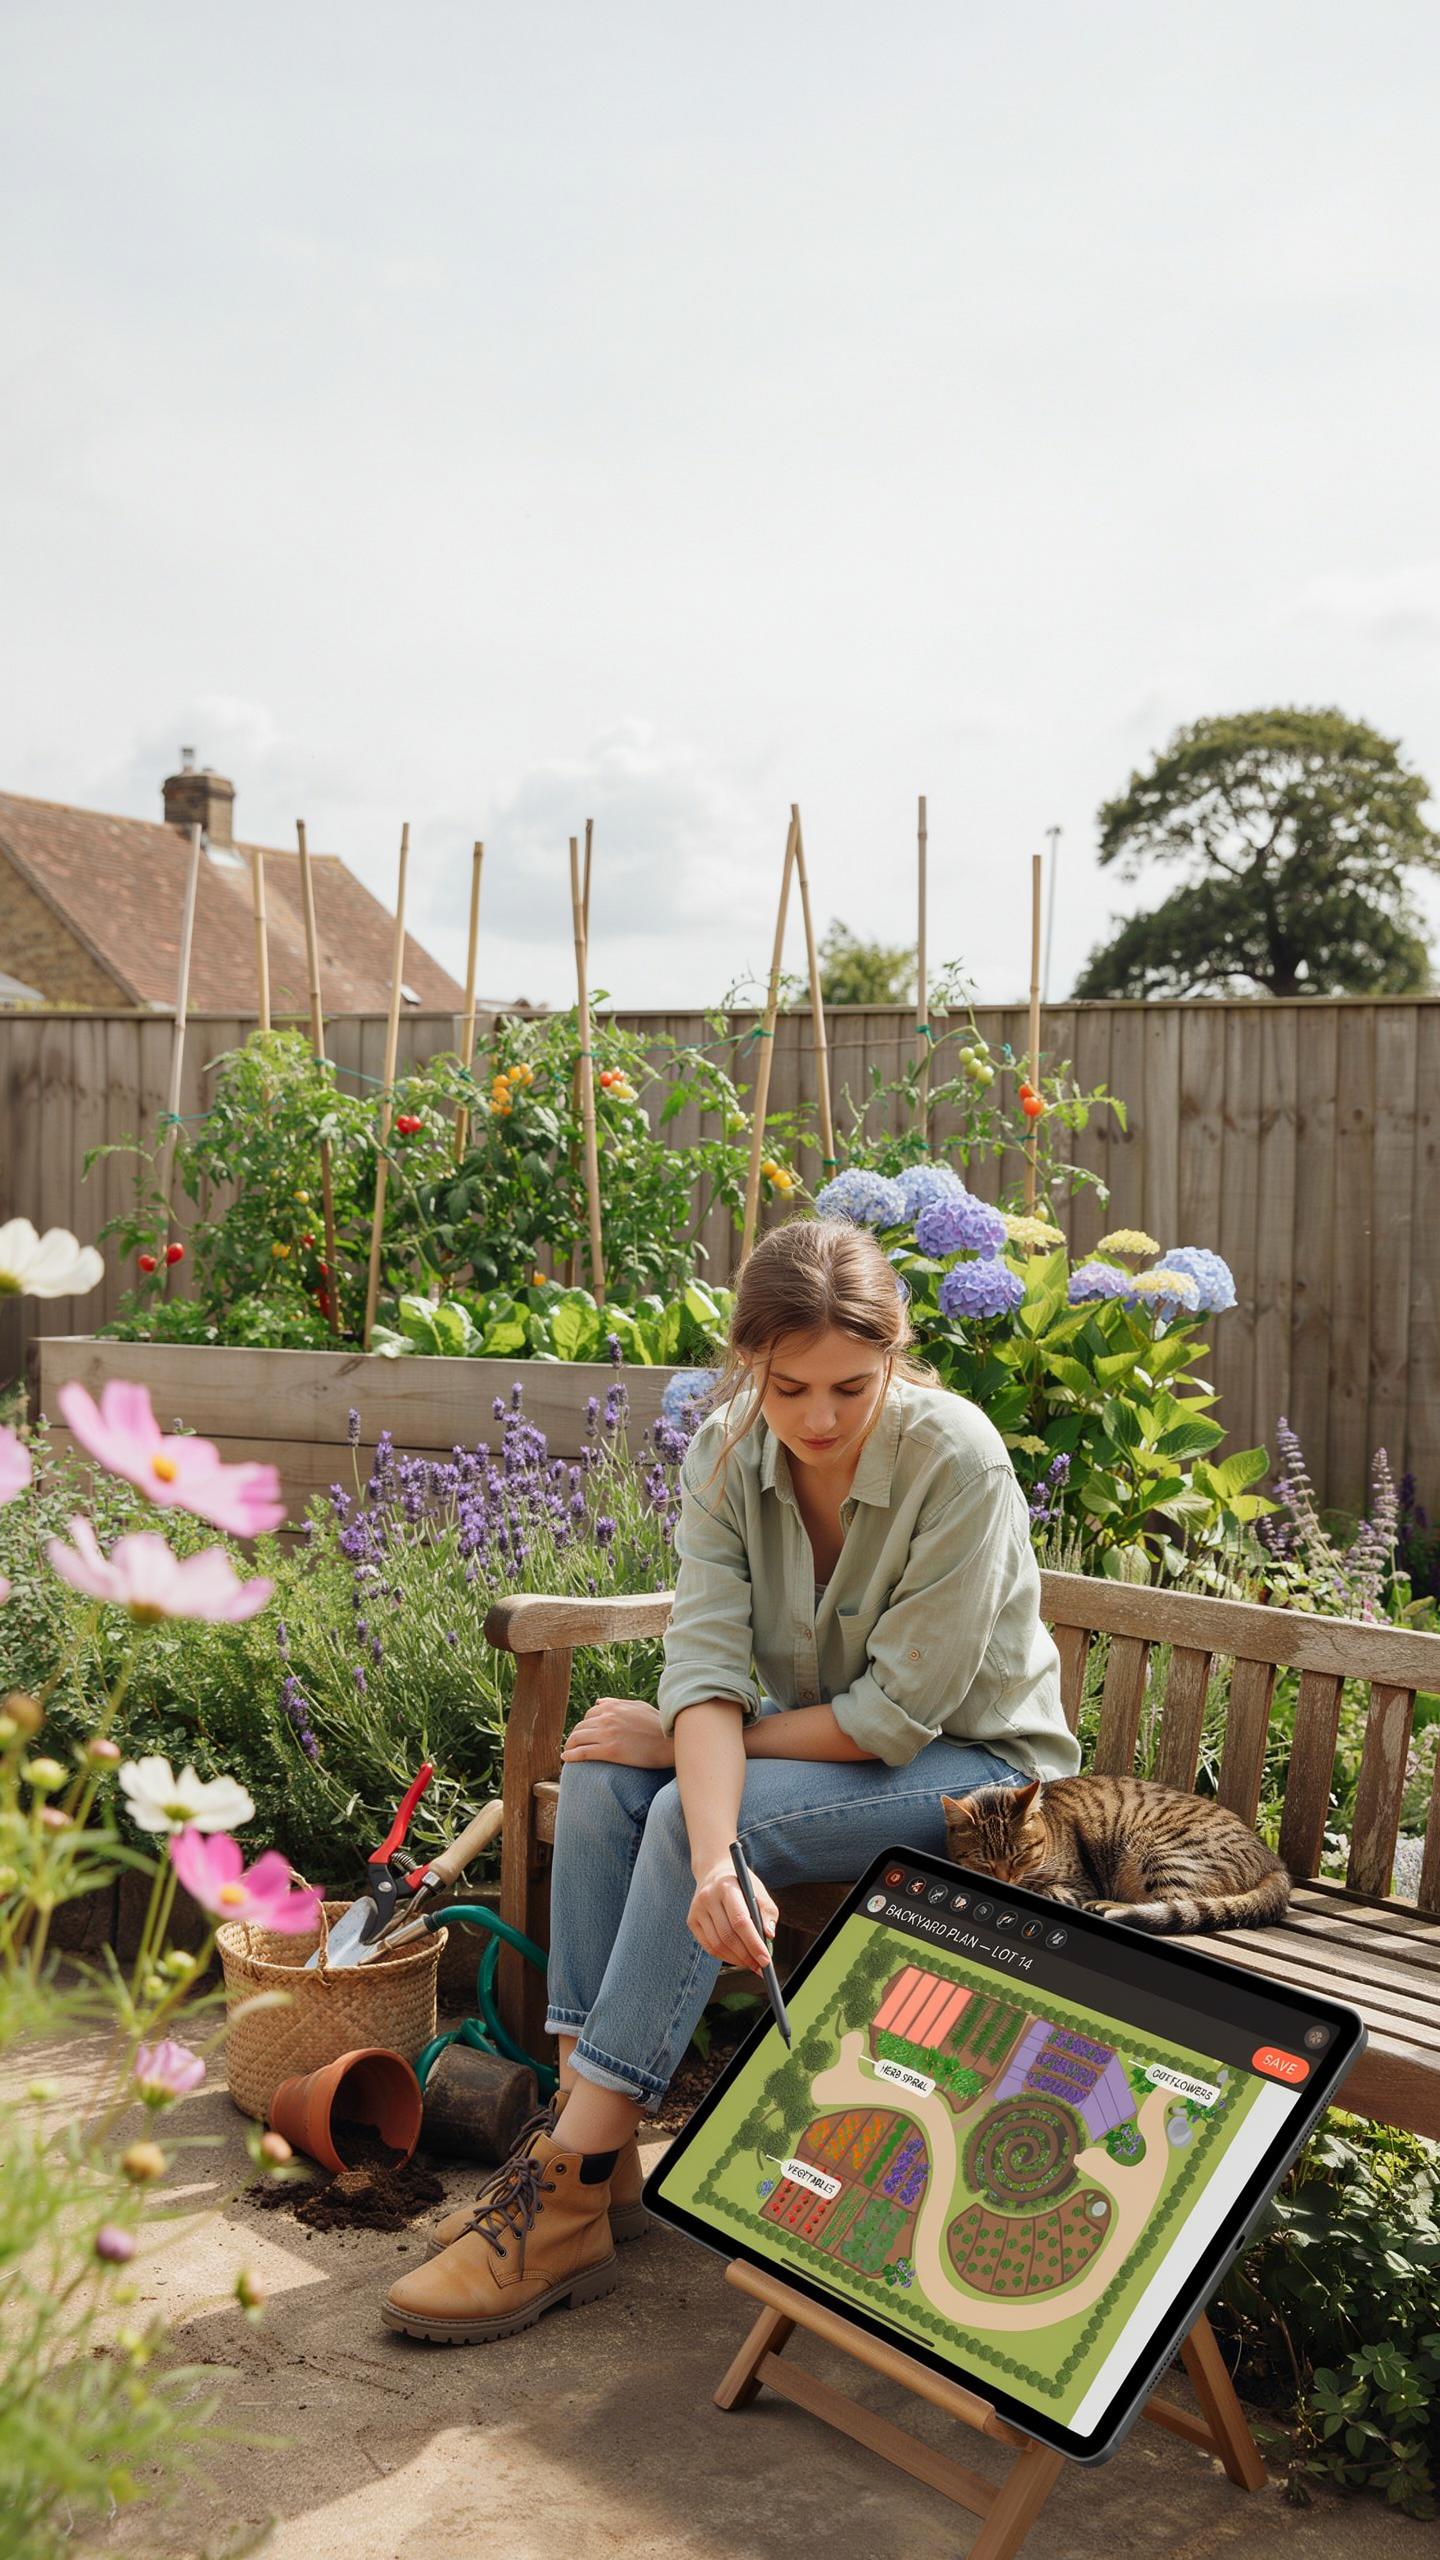
Effective garden design software tools rely on precise data entry. Start by importing a digital survey or using GPS data to establish exact site boundaries. Use the terrain modeling tools to map existing slopes and elevation changes. Accurate terrain data prevents drainage issues and ensures your retaining walls function correctly. High-quality software allows you to toggle between flat 2D layouts and 3D topographical views for better spatial awareness.
Integrate hardscape elements like pavers, decks, and pergolas before selecting plants. Hardscapes define the structural backbone of your outdoor space and dictate traffic flow. Once the structure is set, browse the plant library using filters for USDA hardiness zones and soil types. Professional tools simulate plant growth over five to ten years. This feature helps you avoid overplanting and ensures your design remains functional as the vegetation matures.
Using Export, Share And Collaboration Features In Garden Design Software Tools To Work With Contractors
Communication with contractors requires technical precision rather than artistic sketches. Use the export functions in your garden design software tools to generate high-resolution PDF blueprints and CAD files. These files provide contractors with exact measurements for excavation and material orders. Providing a scale drawing reduces the risk of costly errors during the construction phase. Most professional software includes a bill of materials feature that lists every required item.
Cloud-based collaboration features allow real-time updates between the homeowner and the build team. Share a live link to your 3D model so the contractor can view the site from multiple angles on a tablet. This transparency helps clarify complex details like plumbing for irrigation or electrical runs for lighting. Modern tools also support augmented reality exports. These files let you overlay the digital design onto the physical yard using a smartphone camera.
Frequently Asked Questions

What are the benefits of using garden design software tools for beginners?
Using garden design software tools is a game-changer for novices because it removes the guesswork from landscaping. These digital platforms allow you to visualize plant growth over time and experiment with different layouts before picking up a shovel. By creating a virtual blueprint, you can avoid costly spatial mistakes and ensure that your chosen flower beds and hardscapes harmonize perfectly with your home’s existing architecture and natural sunlight patterns.
Is free landscape design software good enough for planning a full backyard renovation?
Free tiers are great for validating a basic layout and confirming that paths, beds, and patios fit your square footage, but they usually fall short for a full renovation. Most free versions lack precise slope and elevation modeling, which makes it hard to plan drainage or retaining walls accurately. They also tend to block high-resolution exports and bill-of-materials features contractors need. Use free tools for early concepting, then move to a paid platform or a professional once you are ready to finalize construction details.
What is the real difference between desktop and mobile garden design apps?
Desktop software like PRO Landscape or Vectorworks Landmark offers deeper plant libraries and handles complex 3D rendering and drainage calculations that need real processing power. Mobile apps like iScape trade some of that precision for convenience, letting you point your phone camera at the actual yard and place plants in augmented reality on the spot. Desktop tools suit detailed technical planning, while mobile apps are better for quick idea-testing and sharing photos with a contractor while standing outside.



