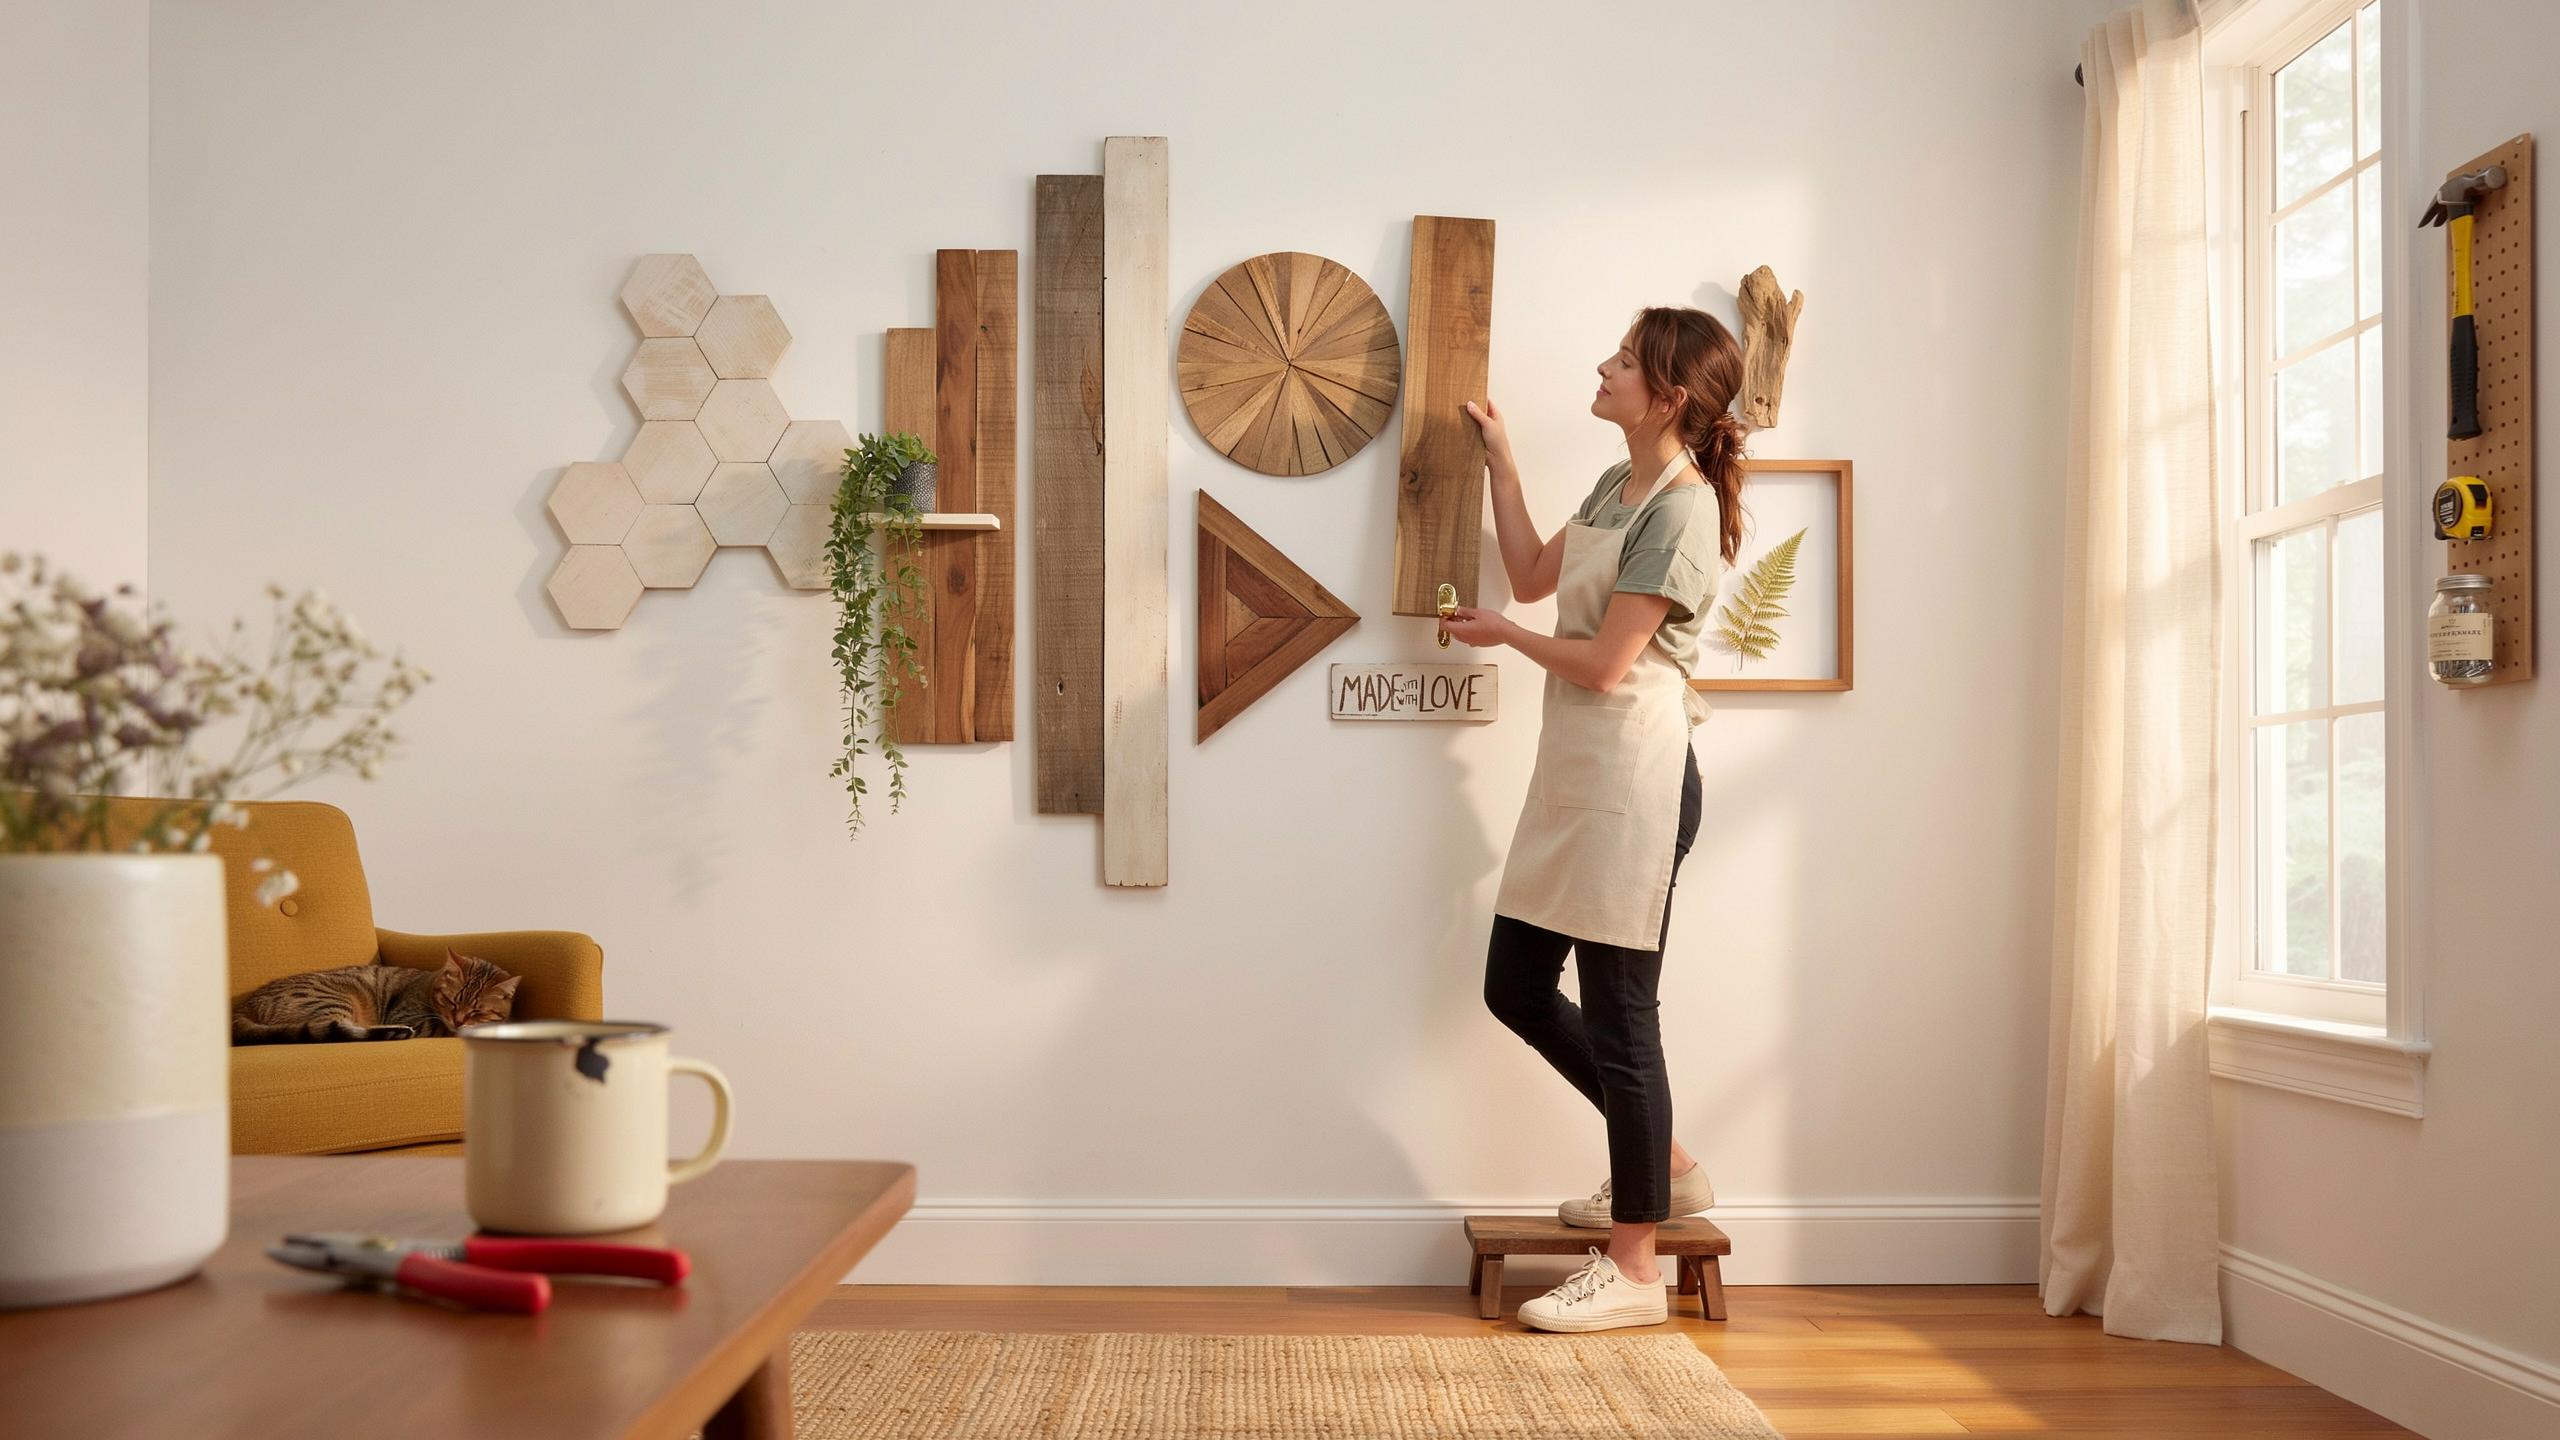
Why Choose Scrap Wood Wall Art For Your Living Space
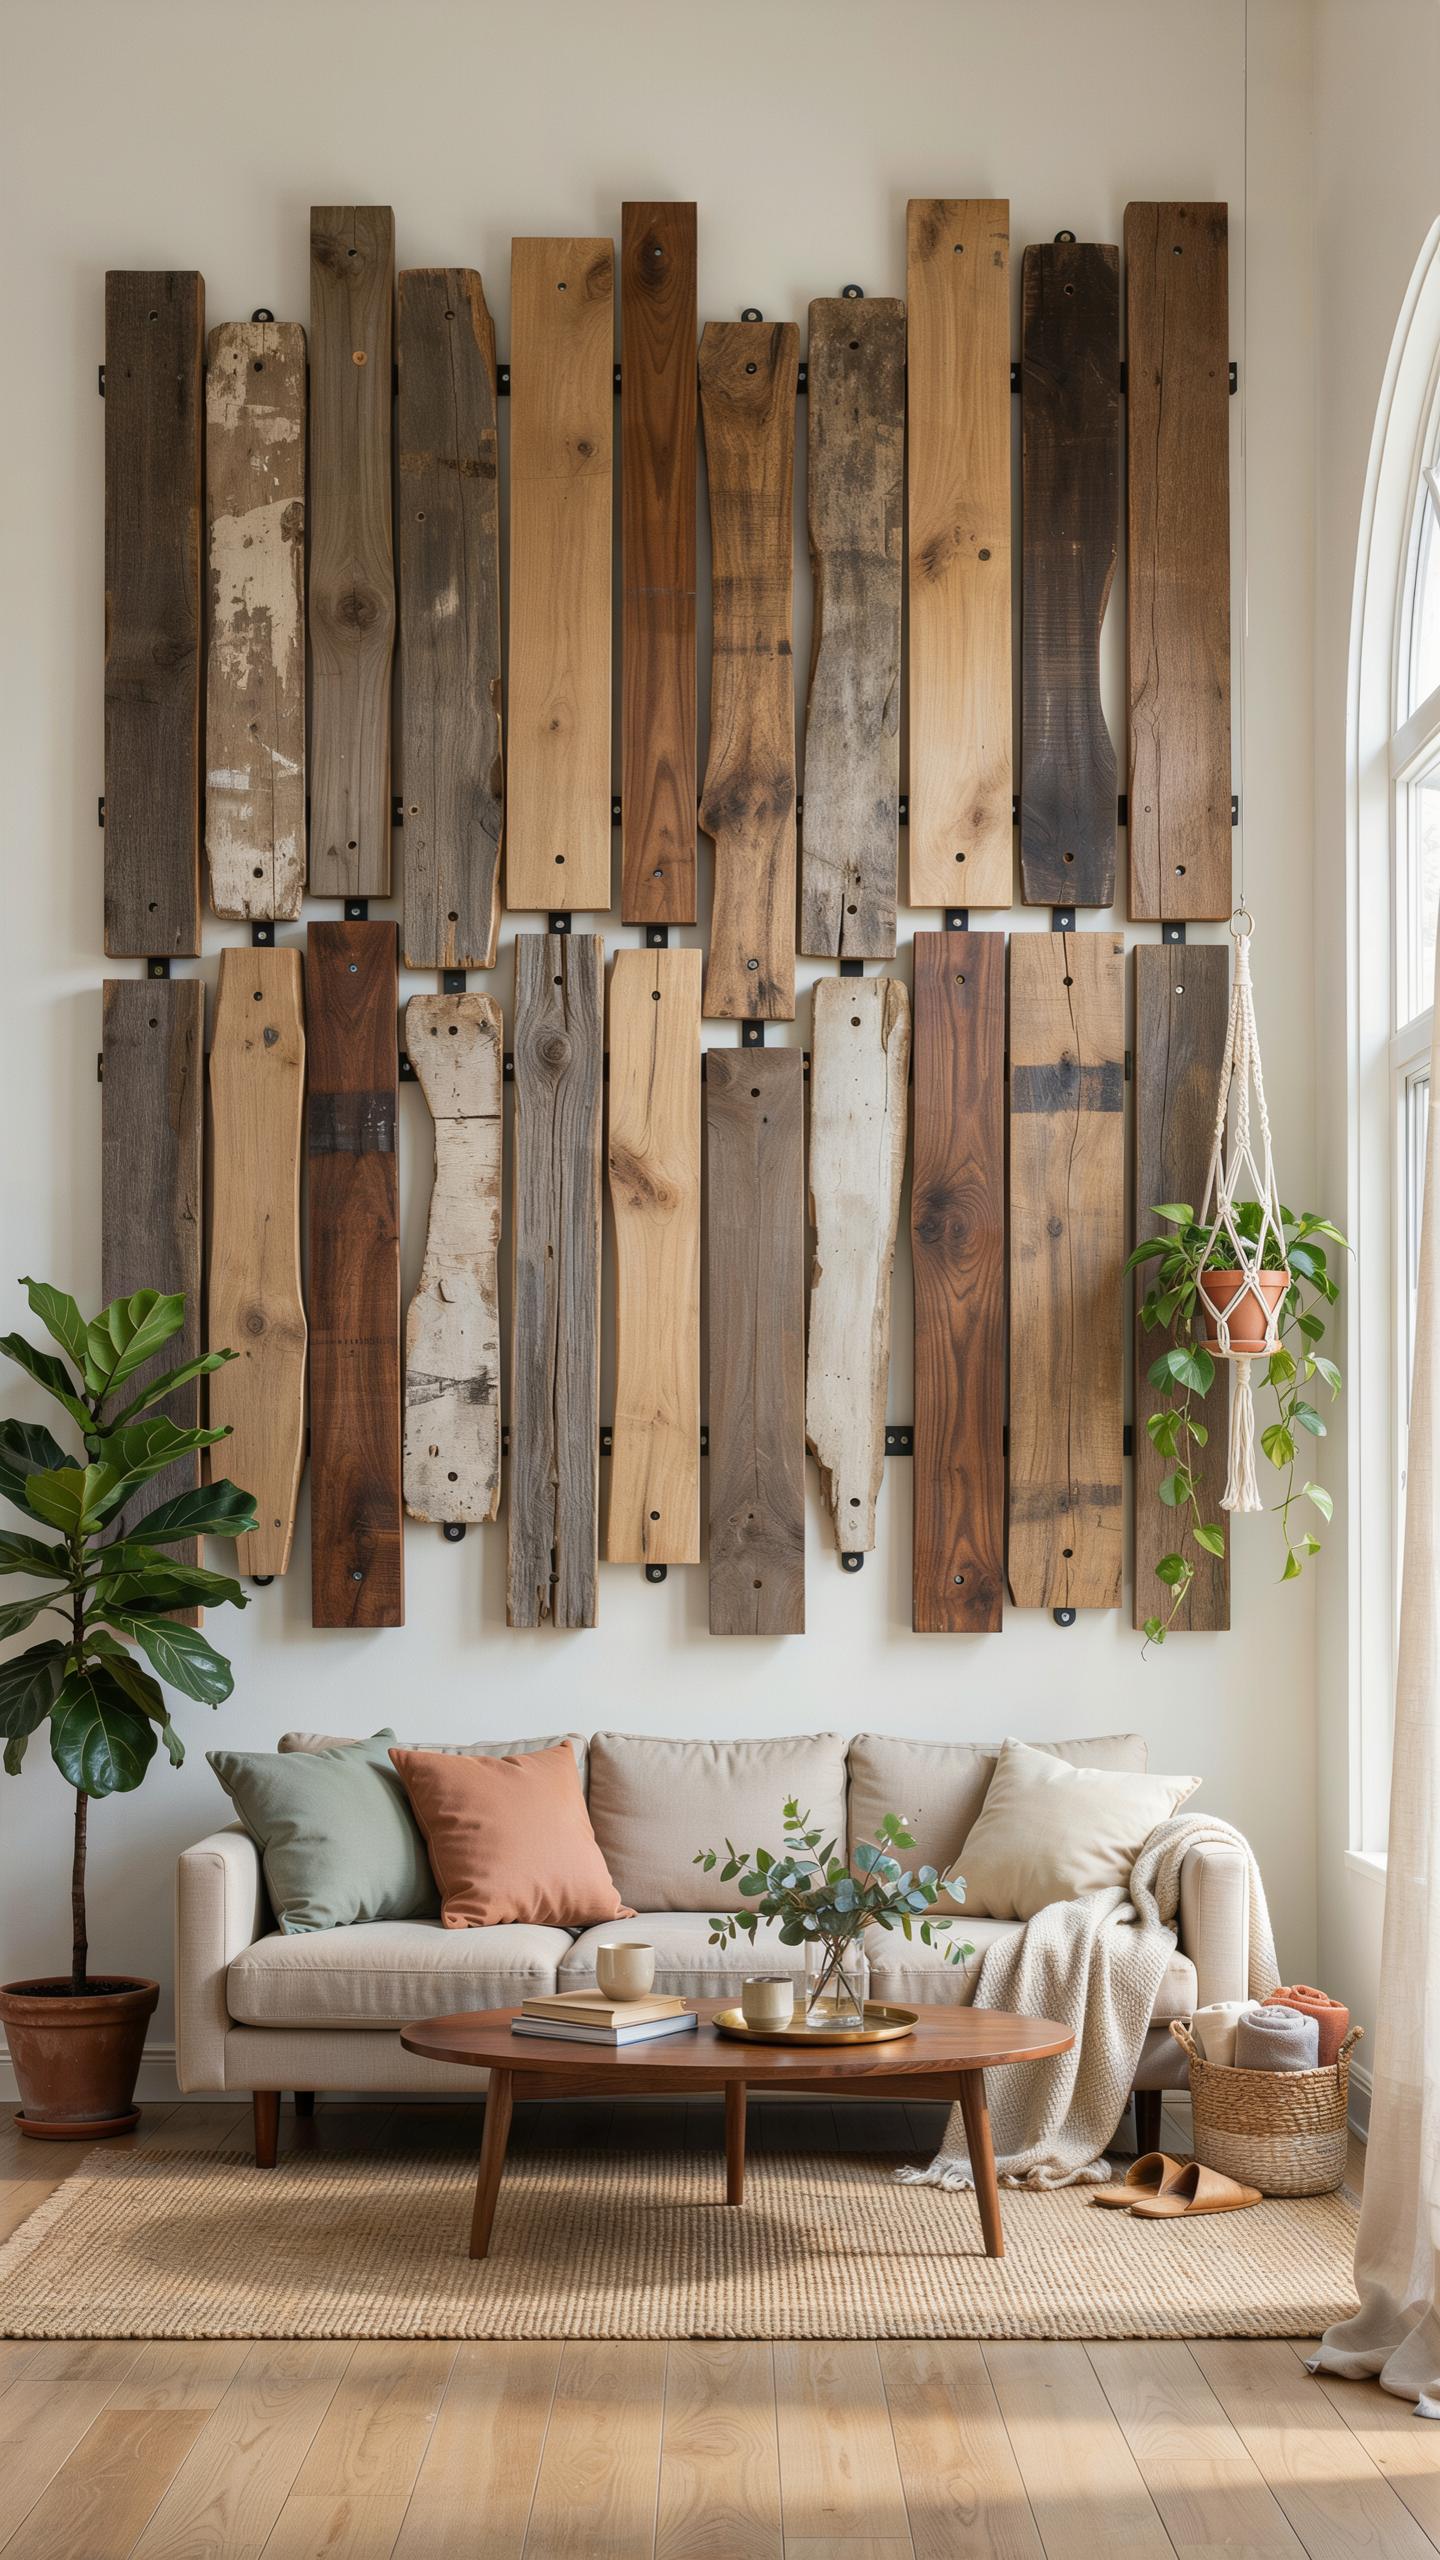
Eco Friendly Decor
Repurposing leftover lumber keeps wood out of landfills. Construction sites, woodworking shops, and furniture makers generate scrap material constantly. Using this wood for wall art diverts waste from disposal systems. You reduce demand for newly harvested timber. The environmental math is straightforward: less waste plus less new production equals lower environmental impact.
Creating wall art from scrap wood requires no additional manufacturing processes. You skip the energy costs of milling, treating, and transporting new materials. Reclaimed wood often has character from previous use, adding visual depth without extra resources. This approach aligns with circular economy principles where materials stay in use longer.
Budget Friendly Design
Scrap wood costs significantly less than purchasing new lumber. Woodworkers, contractors, and salvage yards sell or give away offcuts that have no market value otherwise. You acquire material at discounted prices or free. This cost reduction extends to your finished wall art price tag compared to store-bought pieces.
Custom wood wall art from scrap materials beats mass-produced alternatives on price and uniqueness. You control the design, dimensions, and finish without paying for brand markup. Each piece reflects your choices, not a manufacturer’s standardized template. Budget constraints disappear when your raw materials already exist or cost next to nothing.

Finding Inspiration Classic Wood Wall Art Ideas
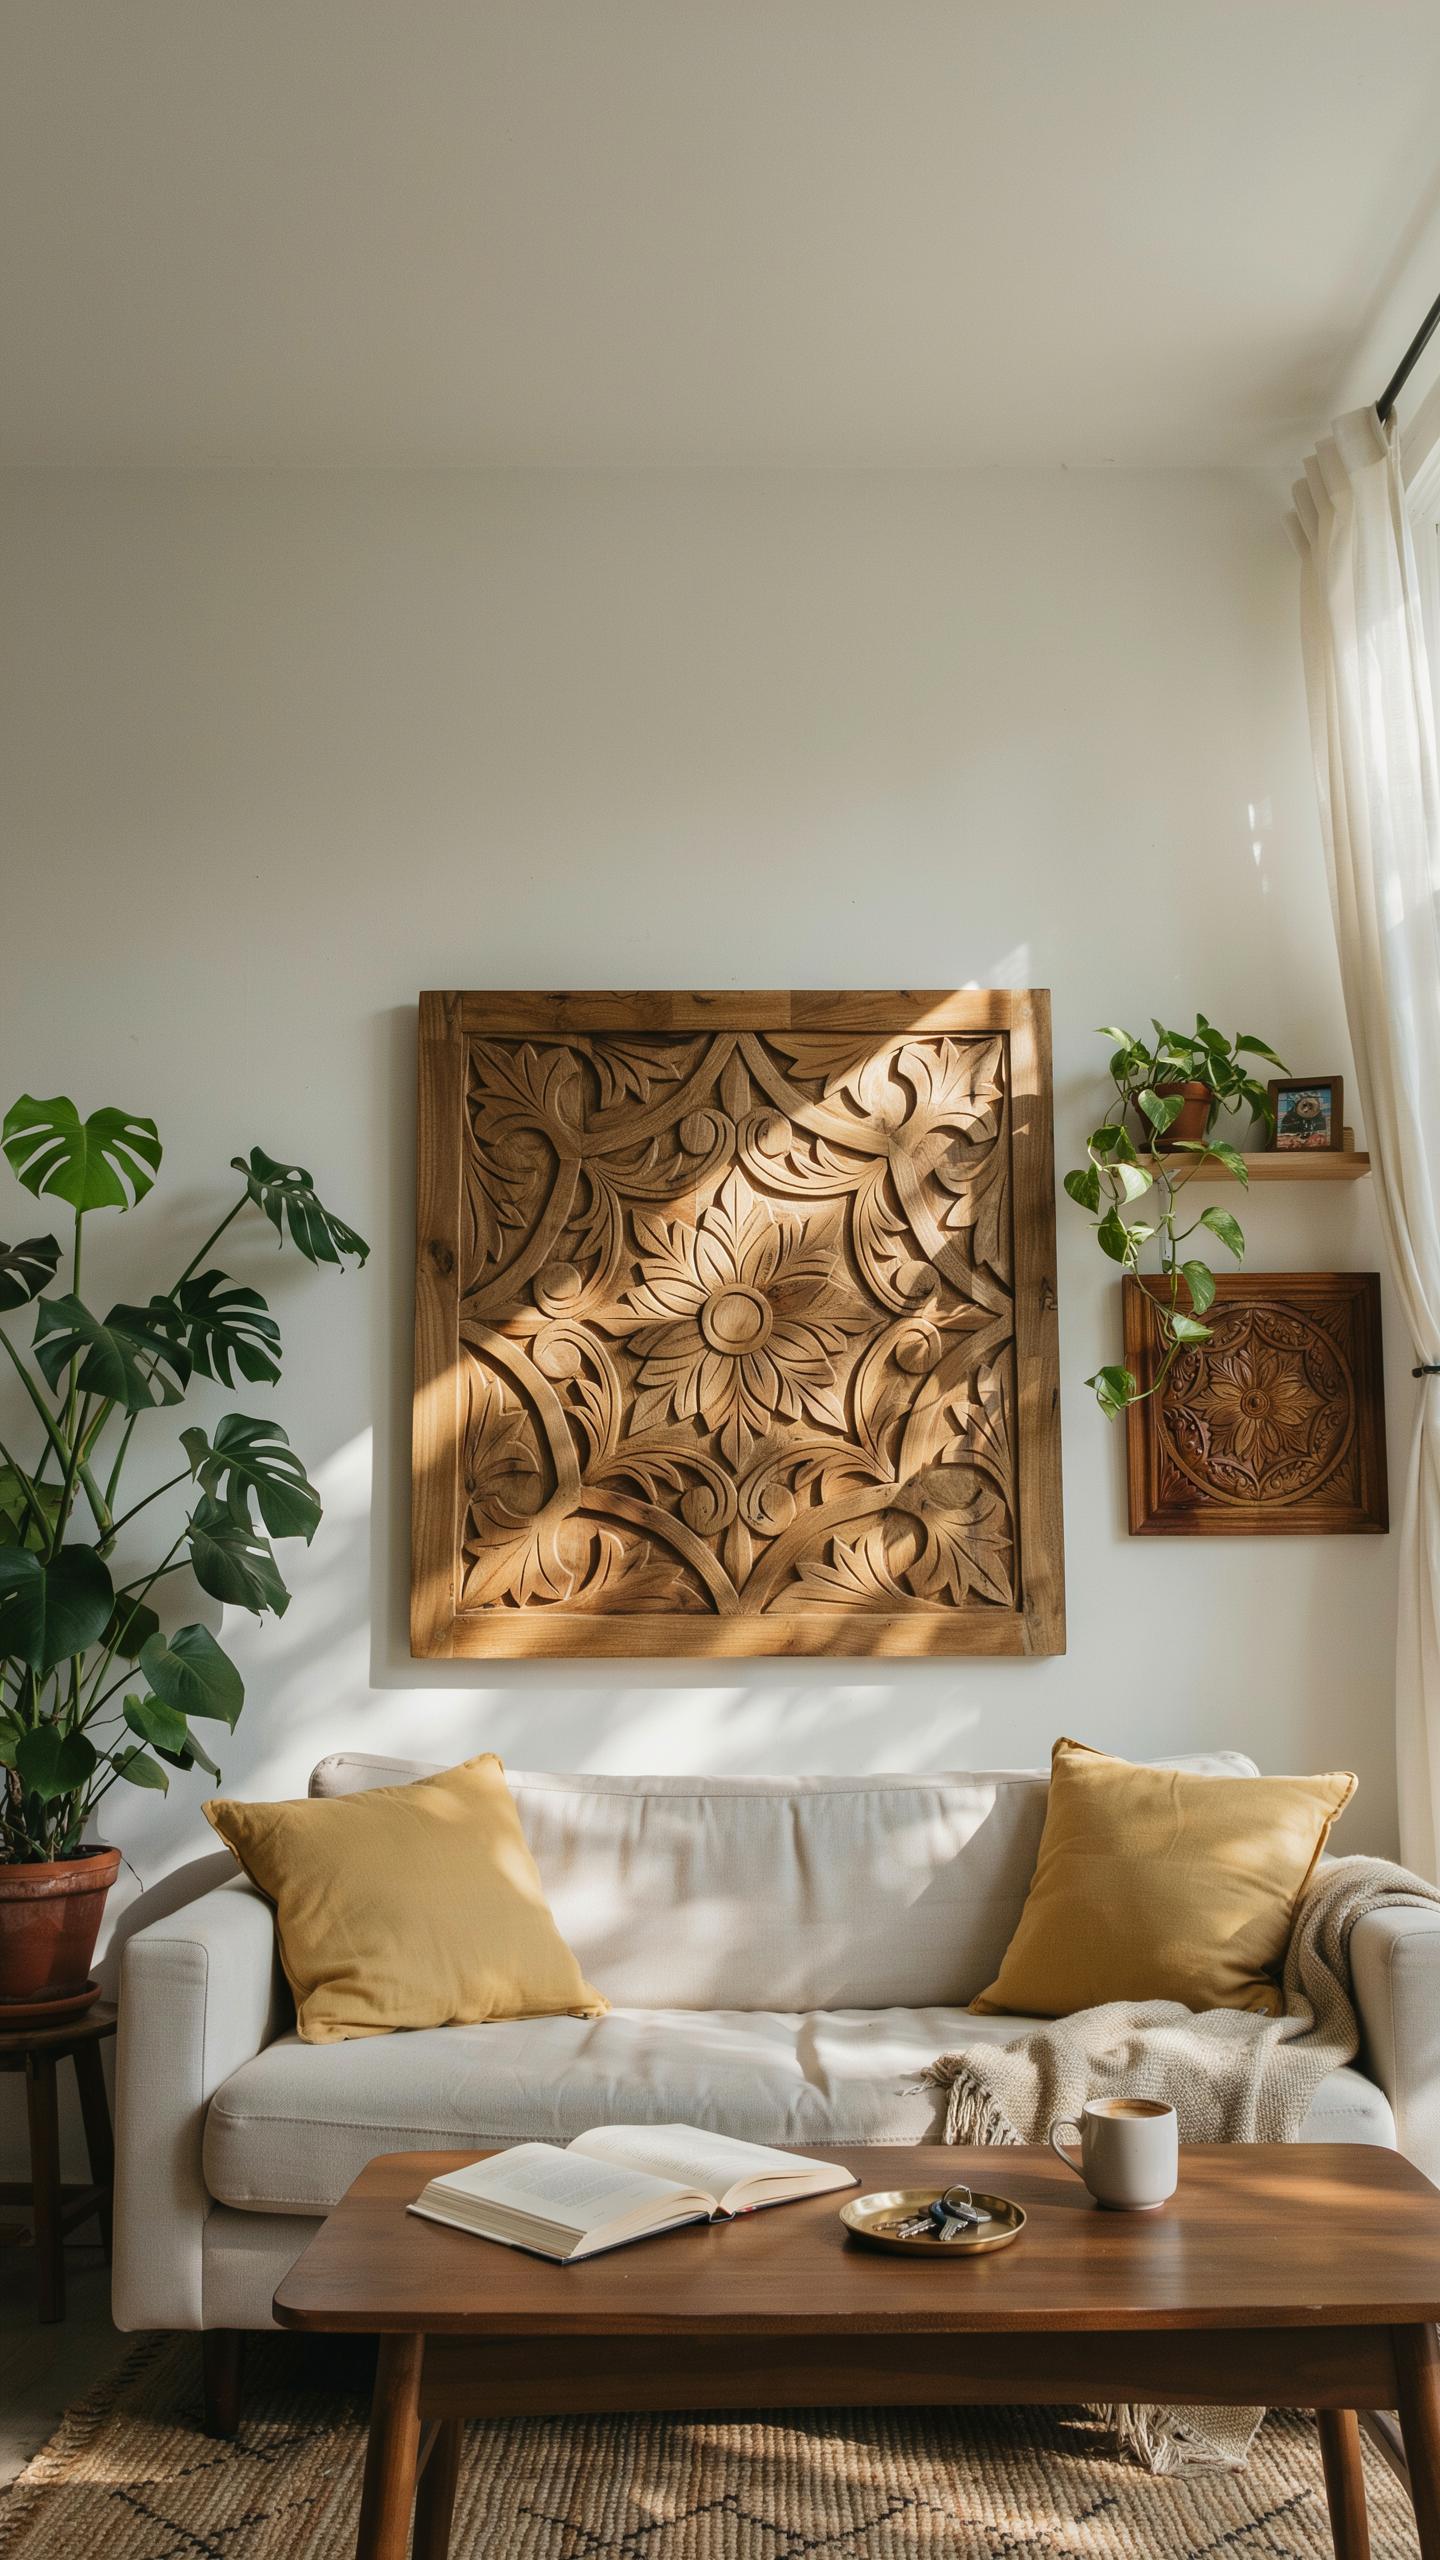
Mosaic Patterns
Creating geometric and mosaic patterns with scrap wood requires understanding how wood thickness affects visual impact. Thinner pieces create delicate line work and detailed patterns. Thicker pieces anchor the design and provide depth. Combine multiple thicknesses to establish contrast and guide the viewer’s eye through the composition. This layering technique works because human eyes naturally track dimensional variation on flat surfaces.
Start by sketching your pattern at full scale on paper or directly on your backing board. Arrange scrap pieces before securing them. This prevents mistakes and lets you test color combinations. Wood grain direction matters more than most homeowners realize. Rotating pieces changes how light reflects and how the overall pattern reads from different angles in your room.
Every fragmented piece of wood holds a story waiting to be told through your own hands. There is a quiet beauty in turning what was once discarded into the soul of your home.
Rustic Landscapes
Rustic mountain landscapes emerge naturally from wood’s organic properties and color variation. Scrap wood pieces in different tones automatically suggest depth when arranged from dark to light. Horizontal orientation creates horizon lines. Stacked or angled pieces suggest peaks and ridges without requiring detailed carving. This approach works because the wood’s inherent variation does the heavy lifting.

Abstract horizons require less precision than realistic landscapes and perform better in most homes. Layer horizontal pieces in graduated sizes to suggest atmospheric perspective. Darker pieces retreat visually while lighter pieces advance forward. Leave gaps between pieces to emphasize separation between sky and land elements. This negative space becomes as important as the wood itself in defining the final composition.
Essential Materials For Scrap Wood Projects
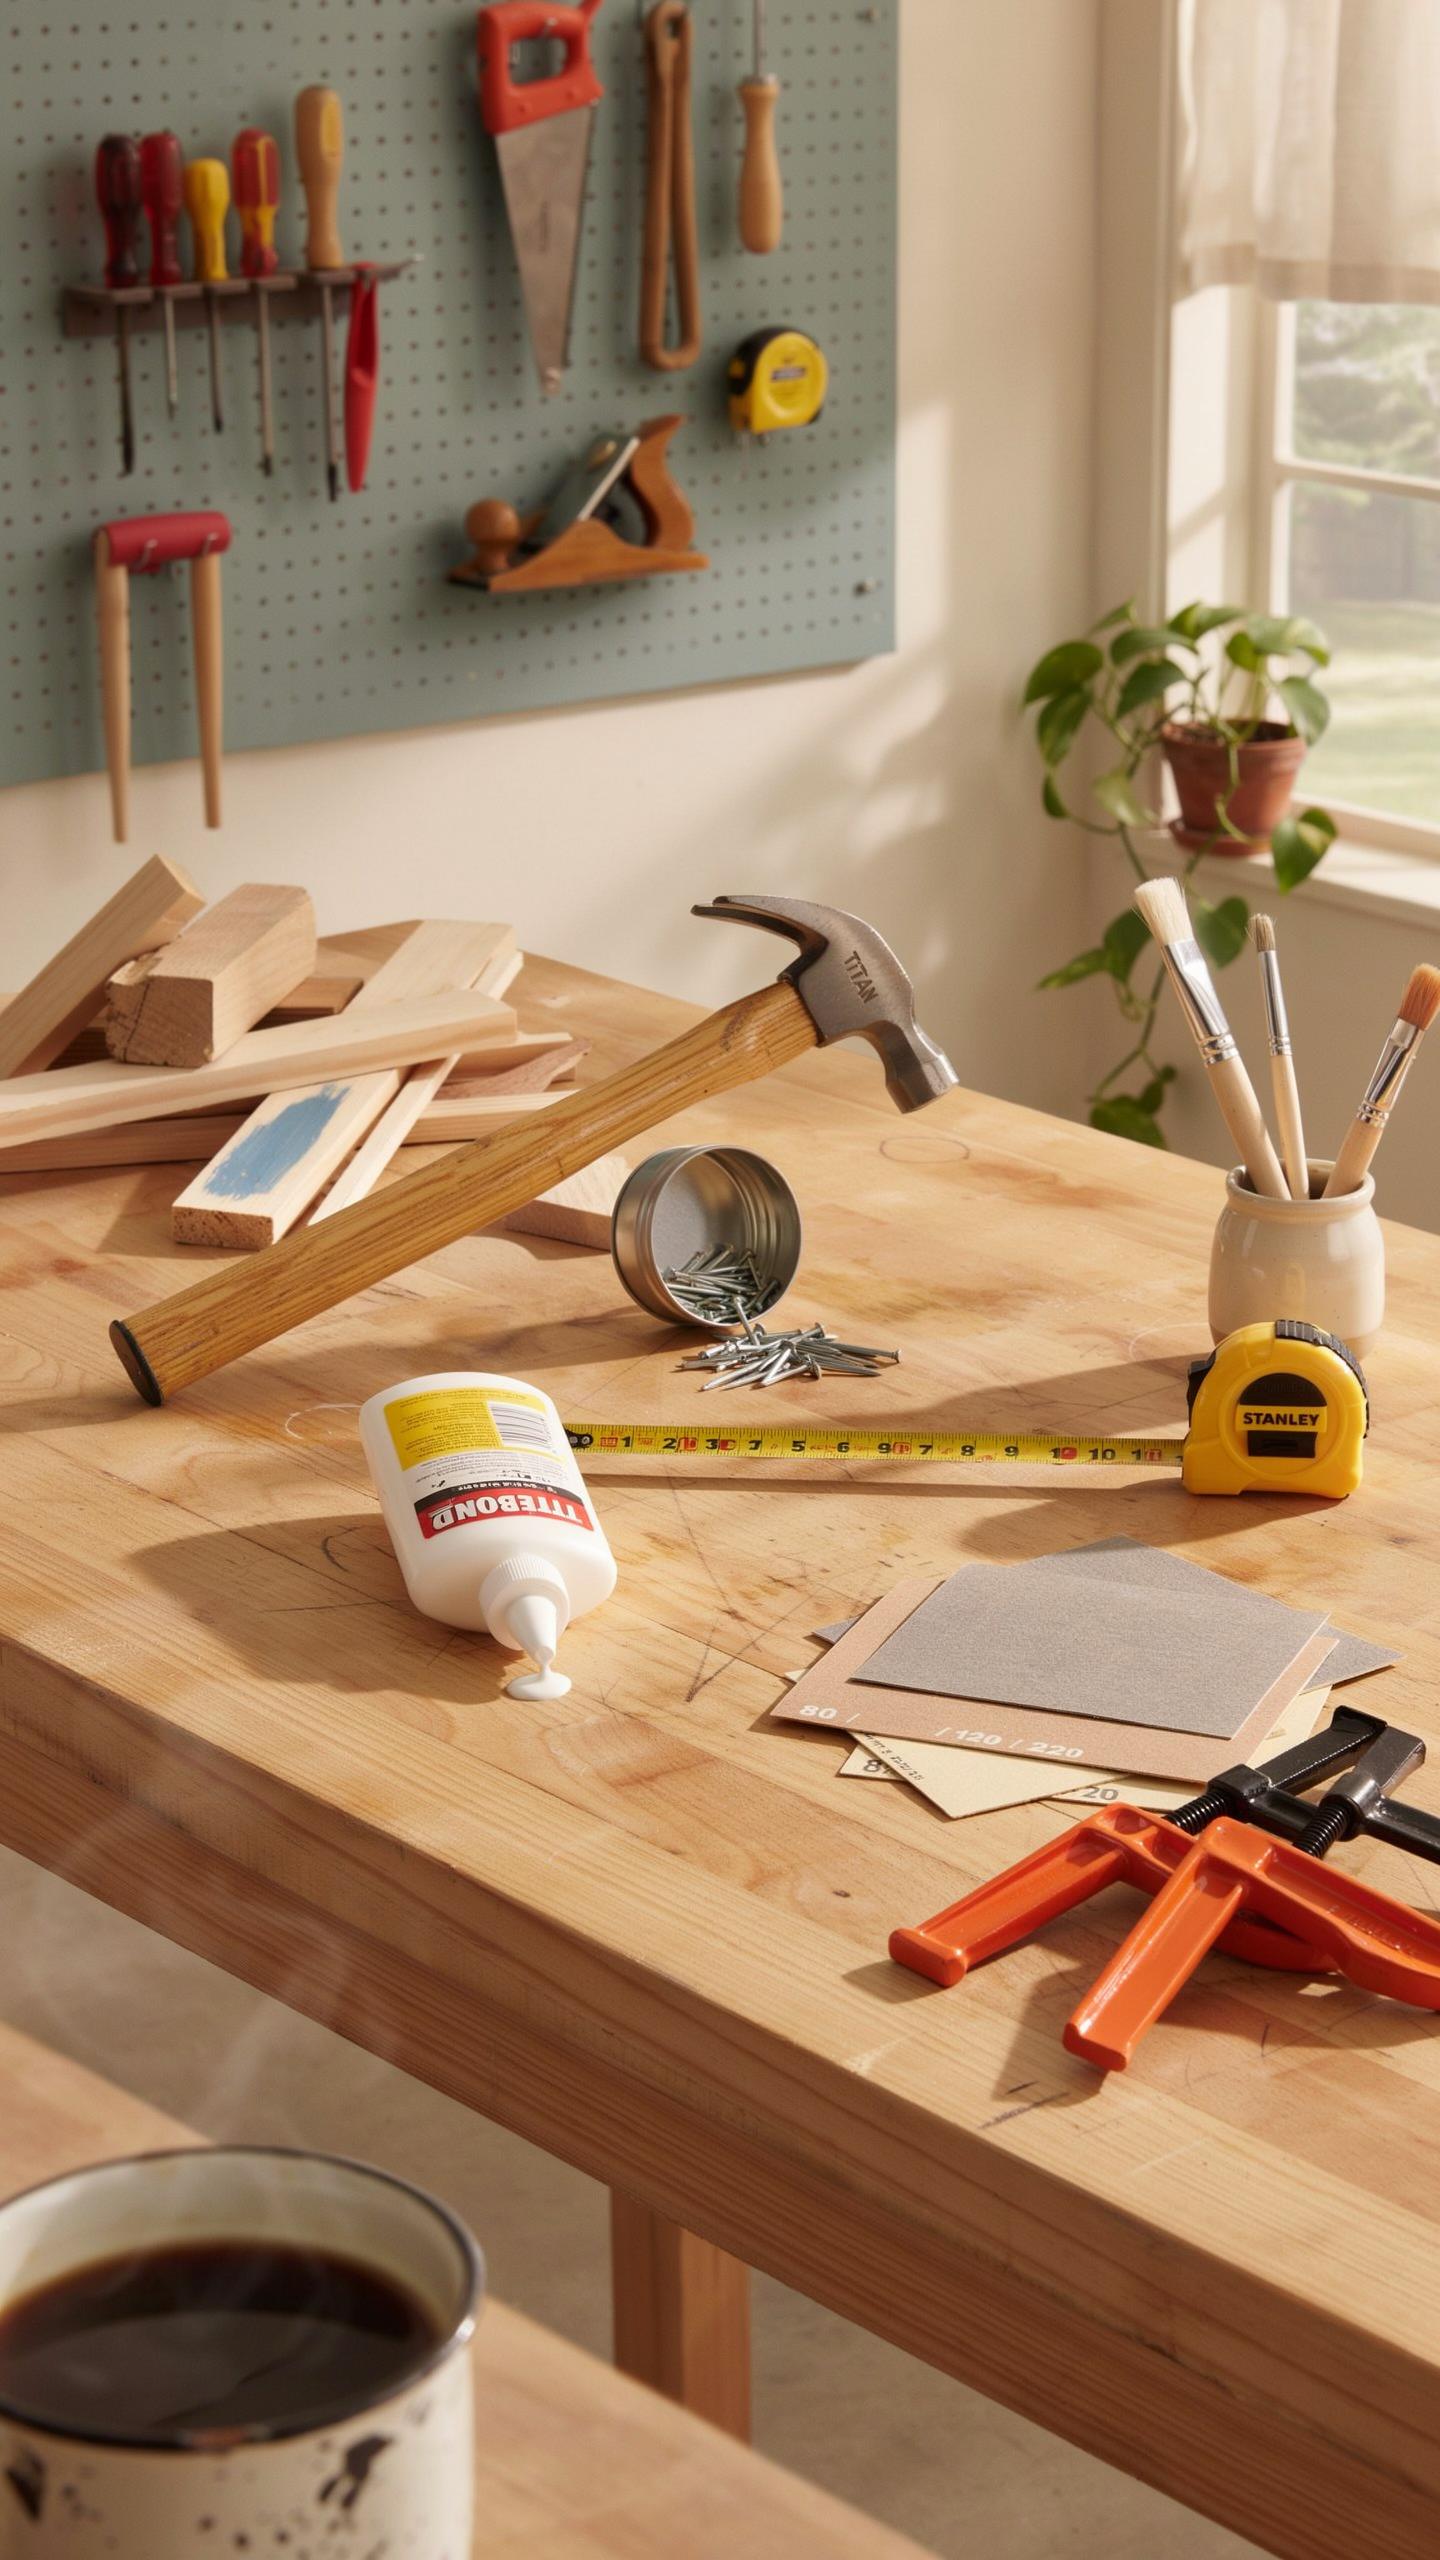
Required Tools Materials
You need specific tools to execute scrap wood wall art without wasting time or money. Start with a miter saw or circular saw for cutting wood to size. A power drill handles fastening and pre-drilling holes to prevent splitting. A sander smooths rough edges and surfaces, which improves the final appearance and safety. A level ensures your installation hangs straight on the wall.
- Miter Saw or Circular Saw: Cuts scrap wood to precise dimensions. Essential for creating uniform pieces that fit together correctly in your design.
- Power Drill with Bits: Drills pilot holes and drives screws into wood. Prevents splitting and ensures secure fastening of wood components together.
- Orbital Sander or Sanding Block: Smooths surfaces and edges after cutting. Removes splinters and creates clean finishes for a professional appearance.
- Level: Verifies that your finished piece hangs straight on the wall. Prevents crooked installation that looks unfinished or unprofessional.
- Stud Finder: Locates wall framing behind drywall for secure mounting. Ensures your heavy scrap wood art stays anchored and does not fall.
- Tape Measure and Pencil: Measures wood pieces and marks cutting lines. Accuracy during planning prevents material waste and assembly mistakes.
These tools handle the core tasks of preparing and installing your piece. Rental options exist if you do not own everything. Budget for quality basics rather than cheap alternatives that break mid project.
Choosing Right Adhesives
Wood glue and mechanical fasteners each serve different functions in scrap wood assembly. Wood glue creates permanent bonds between surfaces when joints are tight and properly clamped. Polyurethane-based wood glues work on oily or difficult woods that standard PVA glues reject. Two part epoxy glues fill gaps and work on wood with imperfect joints.

Screws provide holding power beyond glue alone and allow disassembly if needed later. Galvanized or stainless steel screws resist rust in humid environments. Use pocket hole joinery for hidden fastening that maintains clean aesthetics. Nails work for lightweight pieces but lack the strength of screws in larger installations.
Sourcing And Preparing Your Wood Scraps Ideas
Where To Find Scraps
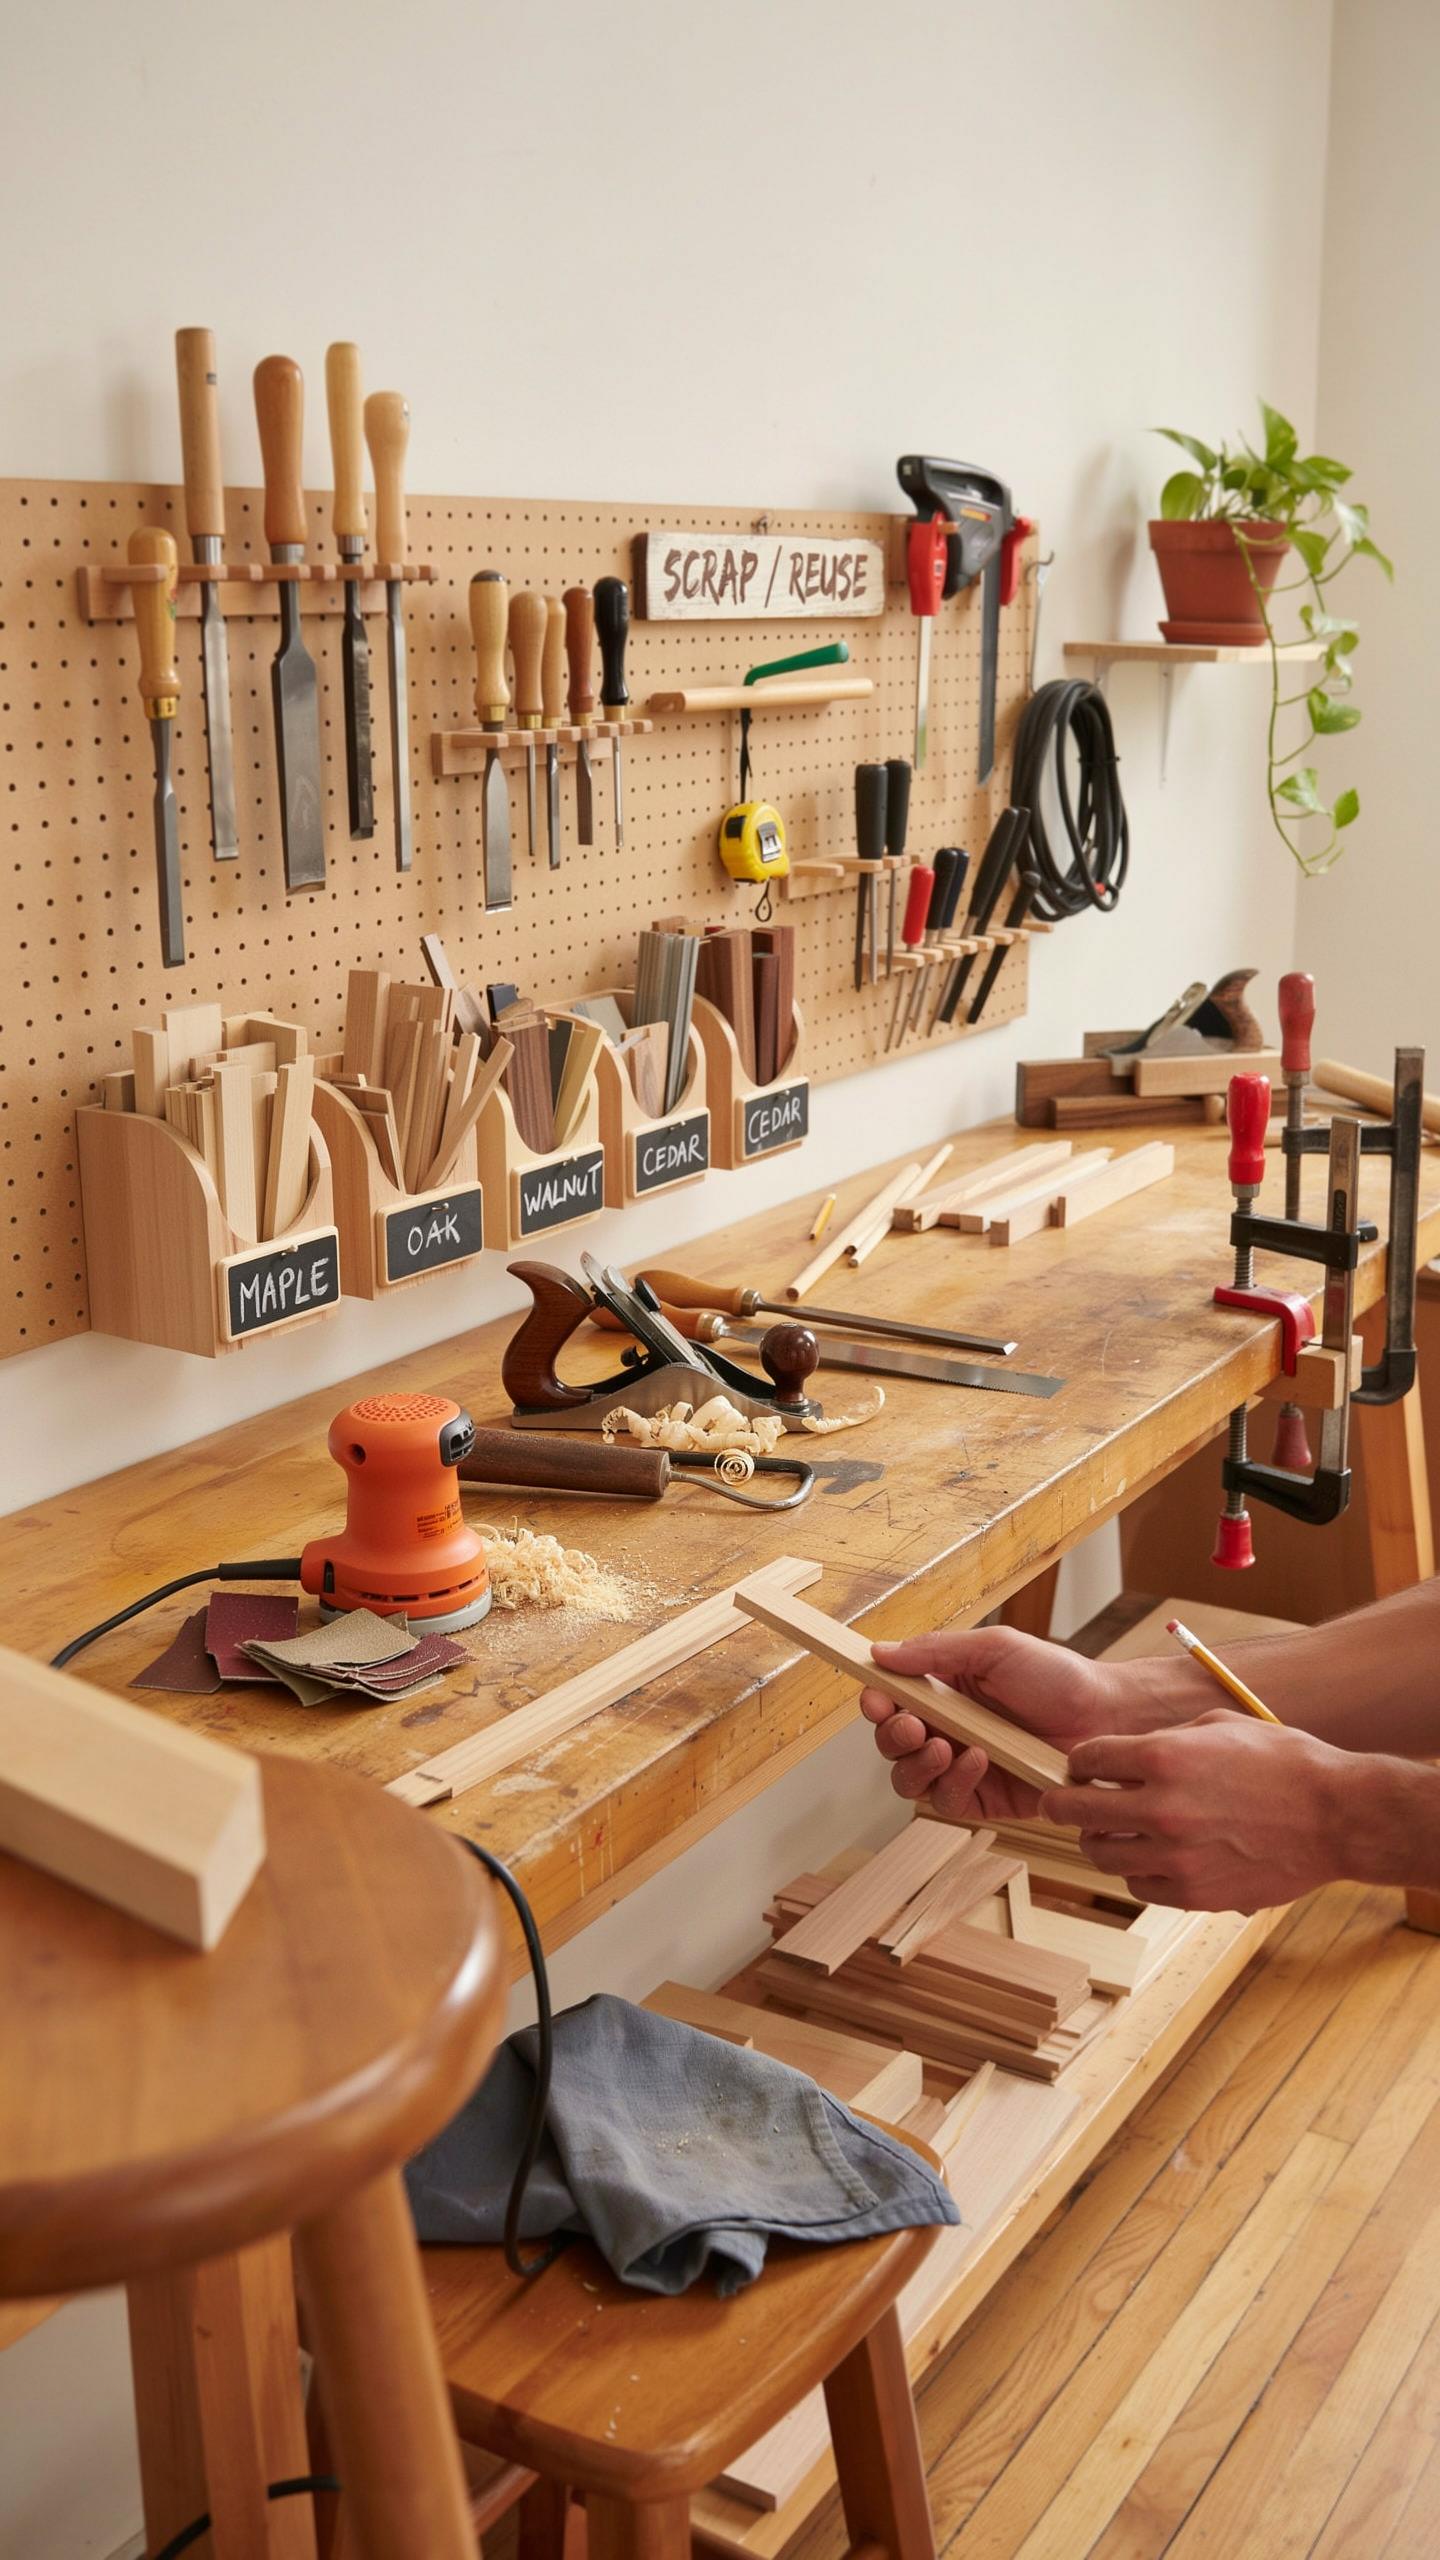
Construction sites generate consistent scrap wood. Contact local builders, contractors, and renovation companies directly. Most dispose of offcuts daily and welcome removal of this material. You save them disposal costs while you gain free inventory.
Lumber yards and home improvement stores often stock discarded pieces. Ask the manager about their scrap bin or clearance section. Pallet yards provide another reliable source. Pallets are standardized wood that you can disassemble and repurpose for wall art projects.
Cleaning Sanding Wood
Inspect wood thoroughly before any finishing work. Look for nails, staples, and embedded metal. Use a metal detector if you plan to sand. This prevents equipment damage and safety hazards during processing.

Sand surfaces with 80-grit paper first to remove dirt and rough spots. Progress to 120-grit for smoothness. Wipe down with a damp cloth and let dry completely. This removes dust and prepares the wood for stain or paint application.
Designing Your Layout With Wood Pieces On Wall
Planning Composition
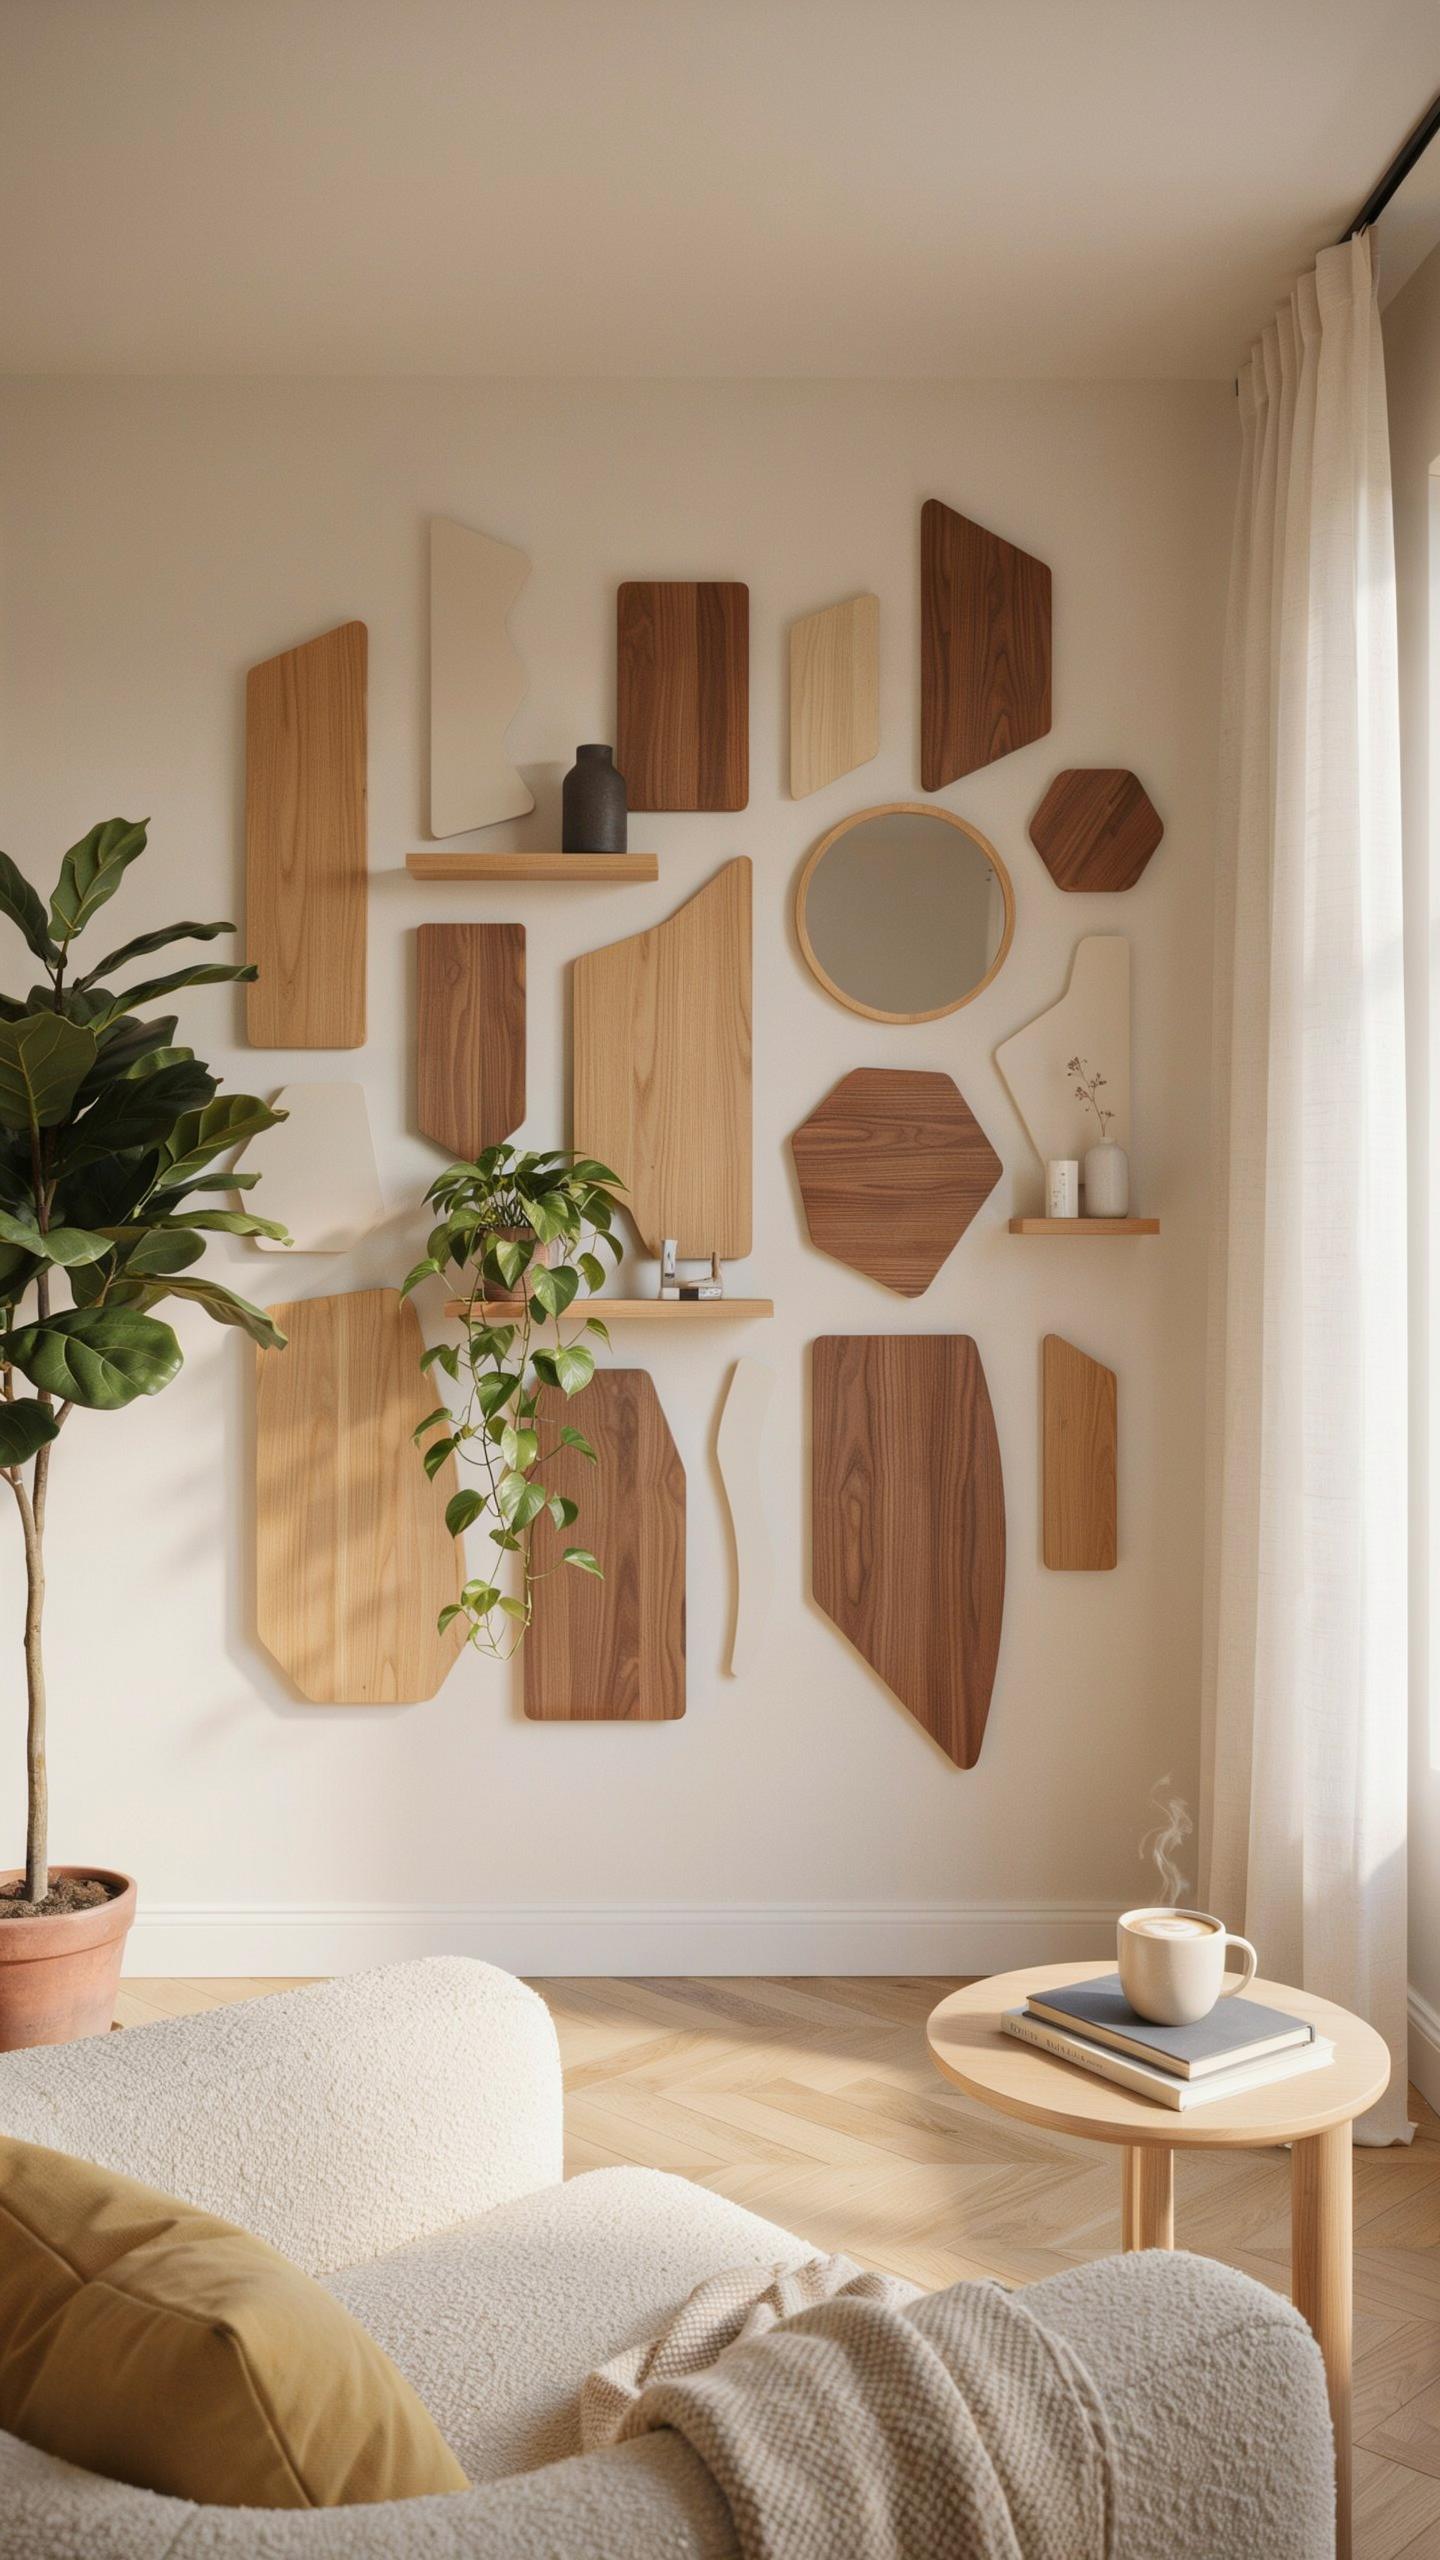
Start by laying out all your wood pieces on the floor before mounting anything to the wall. This step reveals what works and what doesn’t. Arrange pieces by size, grain pattern, and color tone. Step back frequently to assess balance. Odd numbers of pieces create more visual interest than even groupings. Asymmetrical layouts feel modern and intentional compared to rigid symmetrical patterns.
Mix wood widths and lengths to break monotony. Thin strips paired with thick blocks create contrast. Vertical pieces draw the eye upward, while horizontal pieces expand the visual space. Gaps between pieces matter as much as the wood itself. Consistent spacing every two to four inches looks deliberate rather than random. Vary the gap size slightly to maintain visual flow without appearing haphazard.
Securing To Backing
Use quarter-inch plywood as your backing board for floating designs. Plywood distributes weight evenly and handles fasteners better than drywall alone. Install the plywood backing directly to wall studs using three-inch construction screws spaced sixteen inches apart. This creates a stable foundation that supports significant wood piece weight. Never rely on drywall anchors alone for heavy scrap wood installations.

Attach individual wood pieces to the plywood using construction adhesive combined with finish nails or screws. The adhesive handles most of the load while fasteners prevent shifting. Stagger your fastening points so you’re not creating stress lines in the backing board. For pieces over twelve inches long, use at least two fastening points. Test the installation by applying firm downward pressure before considering the project complete.
Mastering Your Scrap Wood Wall Art Diy Skills
Diy Step By Step Tips
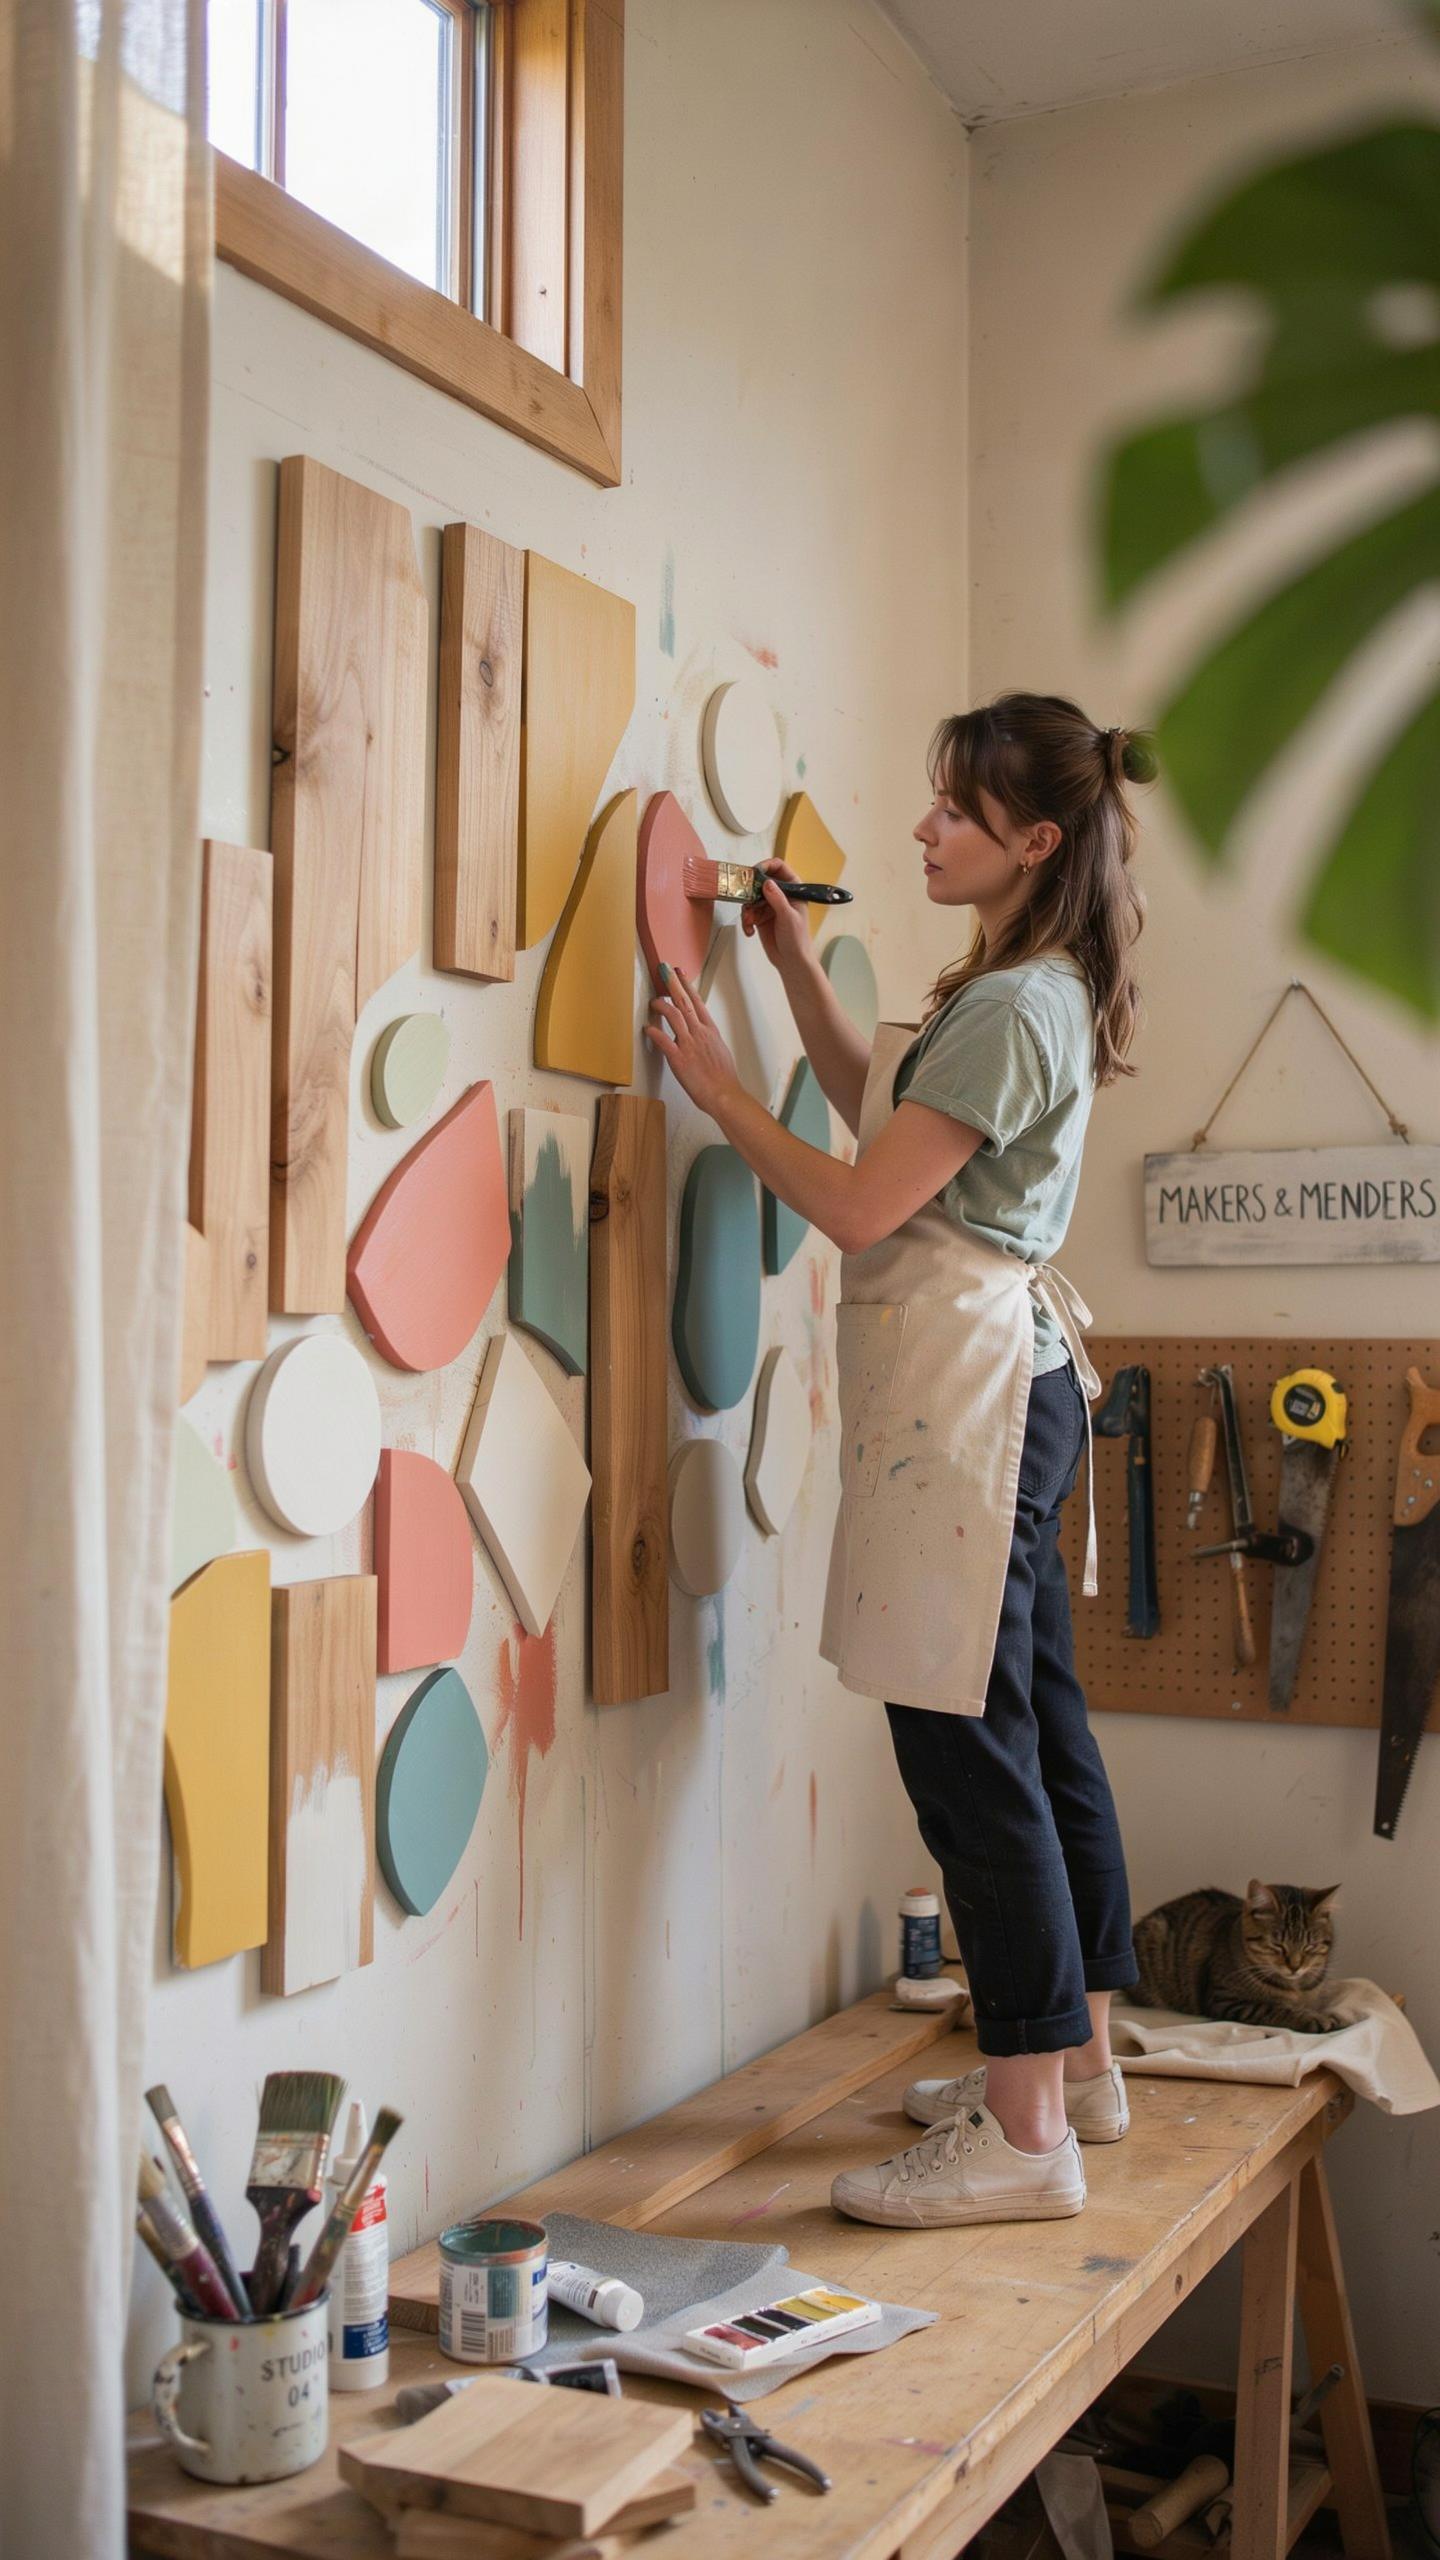
Start by sorting your scrap wood by thickness, grain pattern, and color. Measure your wall space accurately before designing your layout. Sketch your design on paper or use a digital tool to plan placement. This prevents wasted material and ensures your final piece fits the intended wall area.
- Cut all pieces to size first: Use a miter saw or circular saw for straight cuts. Sand edges smooth to prevent splinters and improve appearance. Measure twice, cut once to minimize waste.
- Arrange on a flat surface: Lay out all pieces before fastening anything. Take a photo of your arrangement for reference during assembly. This step saves time and prevents costly mistakes.
- Choose appropriate fasteners: Use wood glue combined with nails or screws for strength. Pocket hole joinery works well for hidden joints. Select fastener length based on wood thickness to avoid splitting.
- Sand surfaces thoroughly: Start with 80 grit sandpaper for rough surfaces. Progress to 120 or 150 grit for a finished feel. Sanding improves paint or stain adhesion significantly.
- Apply finish evenly: Stain or paint in thin coats rather than one thick coat. Allow proper drying time between coats per product instructions. Test finishes on scrap pieces first to confirm color.
- Install securely on walls: Use wall anchors rated for your piece’s weight. Mount studs when possible for maximum stability. Check level before tightening final fasteners.
Your assembly speed improves with each project. Keep detailed notes of techniques that work for future builds. This documentation becomes valuable when scaling production or teaching others your process.
Safety Precautions Woodworking
Wear safety glasses whenever operating power tools or handling cut wood. Dust masks protect your lungs from fine particles created during sanding and cutting. Hearing protection becomes mandatory when using table saws or miter saws for extended periods. Closed-toe shoes with grip protect your feet from dropped materials.

Keep your workshop organized and free of clutter. Store sharp tools in designated locations away from traffic areas. Maintain proper ventilation when using stains, paints, or wood finishes. Read all power tool manuals before first use and follow manufacturer guidelines precisely. Never operate tools while fatigued or distracted. Keep a first aid kit accessible in your work area.
Advanced Techniques In Woodworking Wall Art
Precision Angles Cutting Precision Miters And Chevron Angles Like A Pro
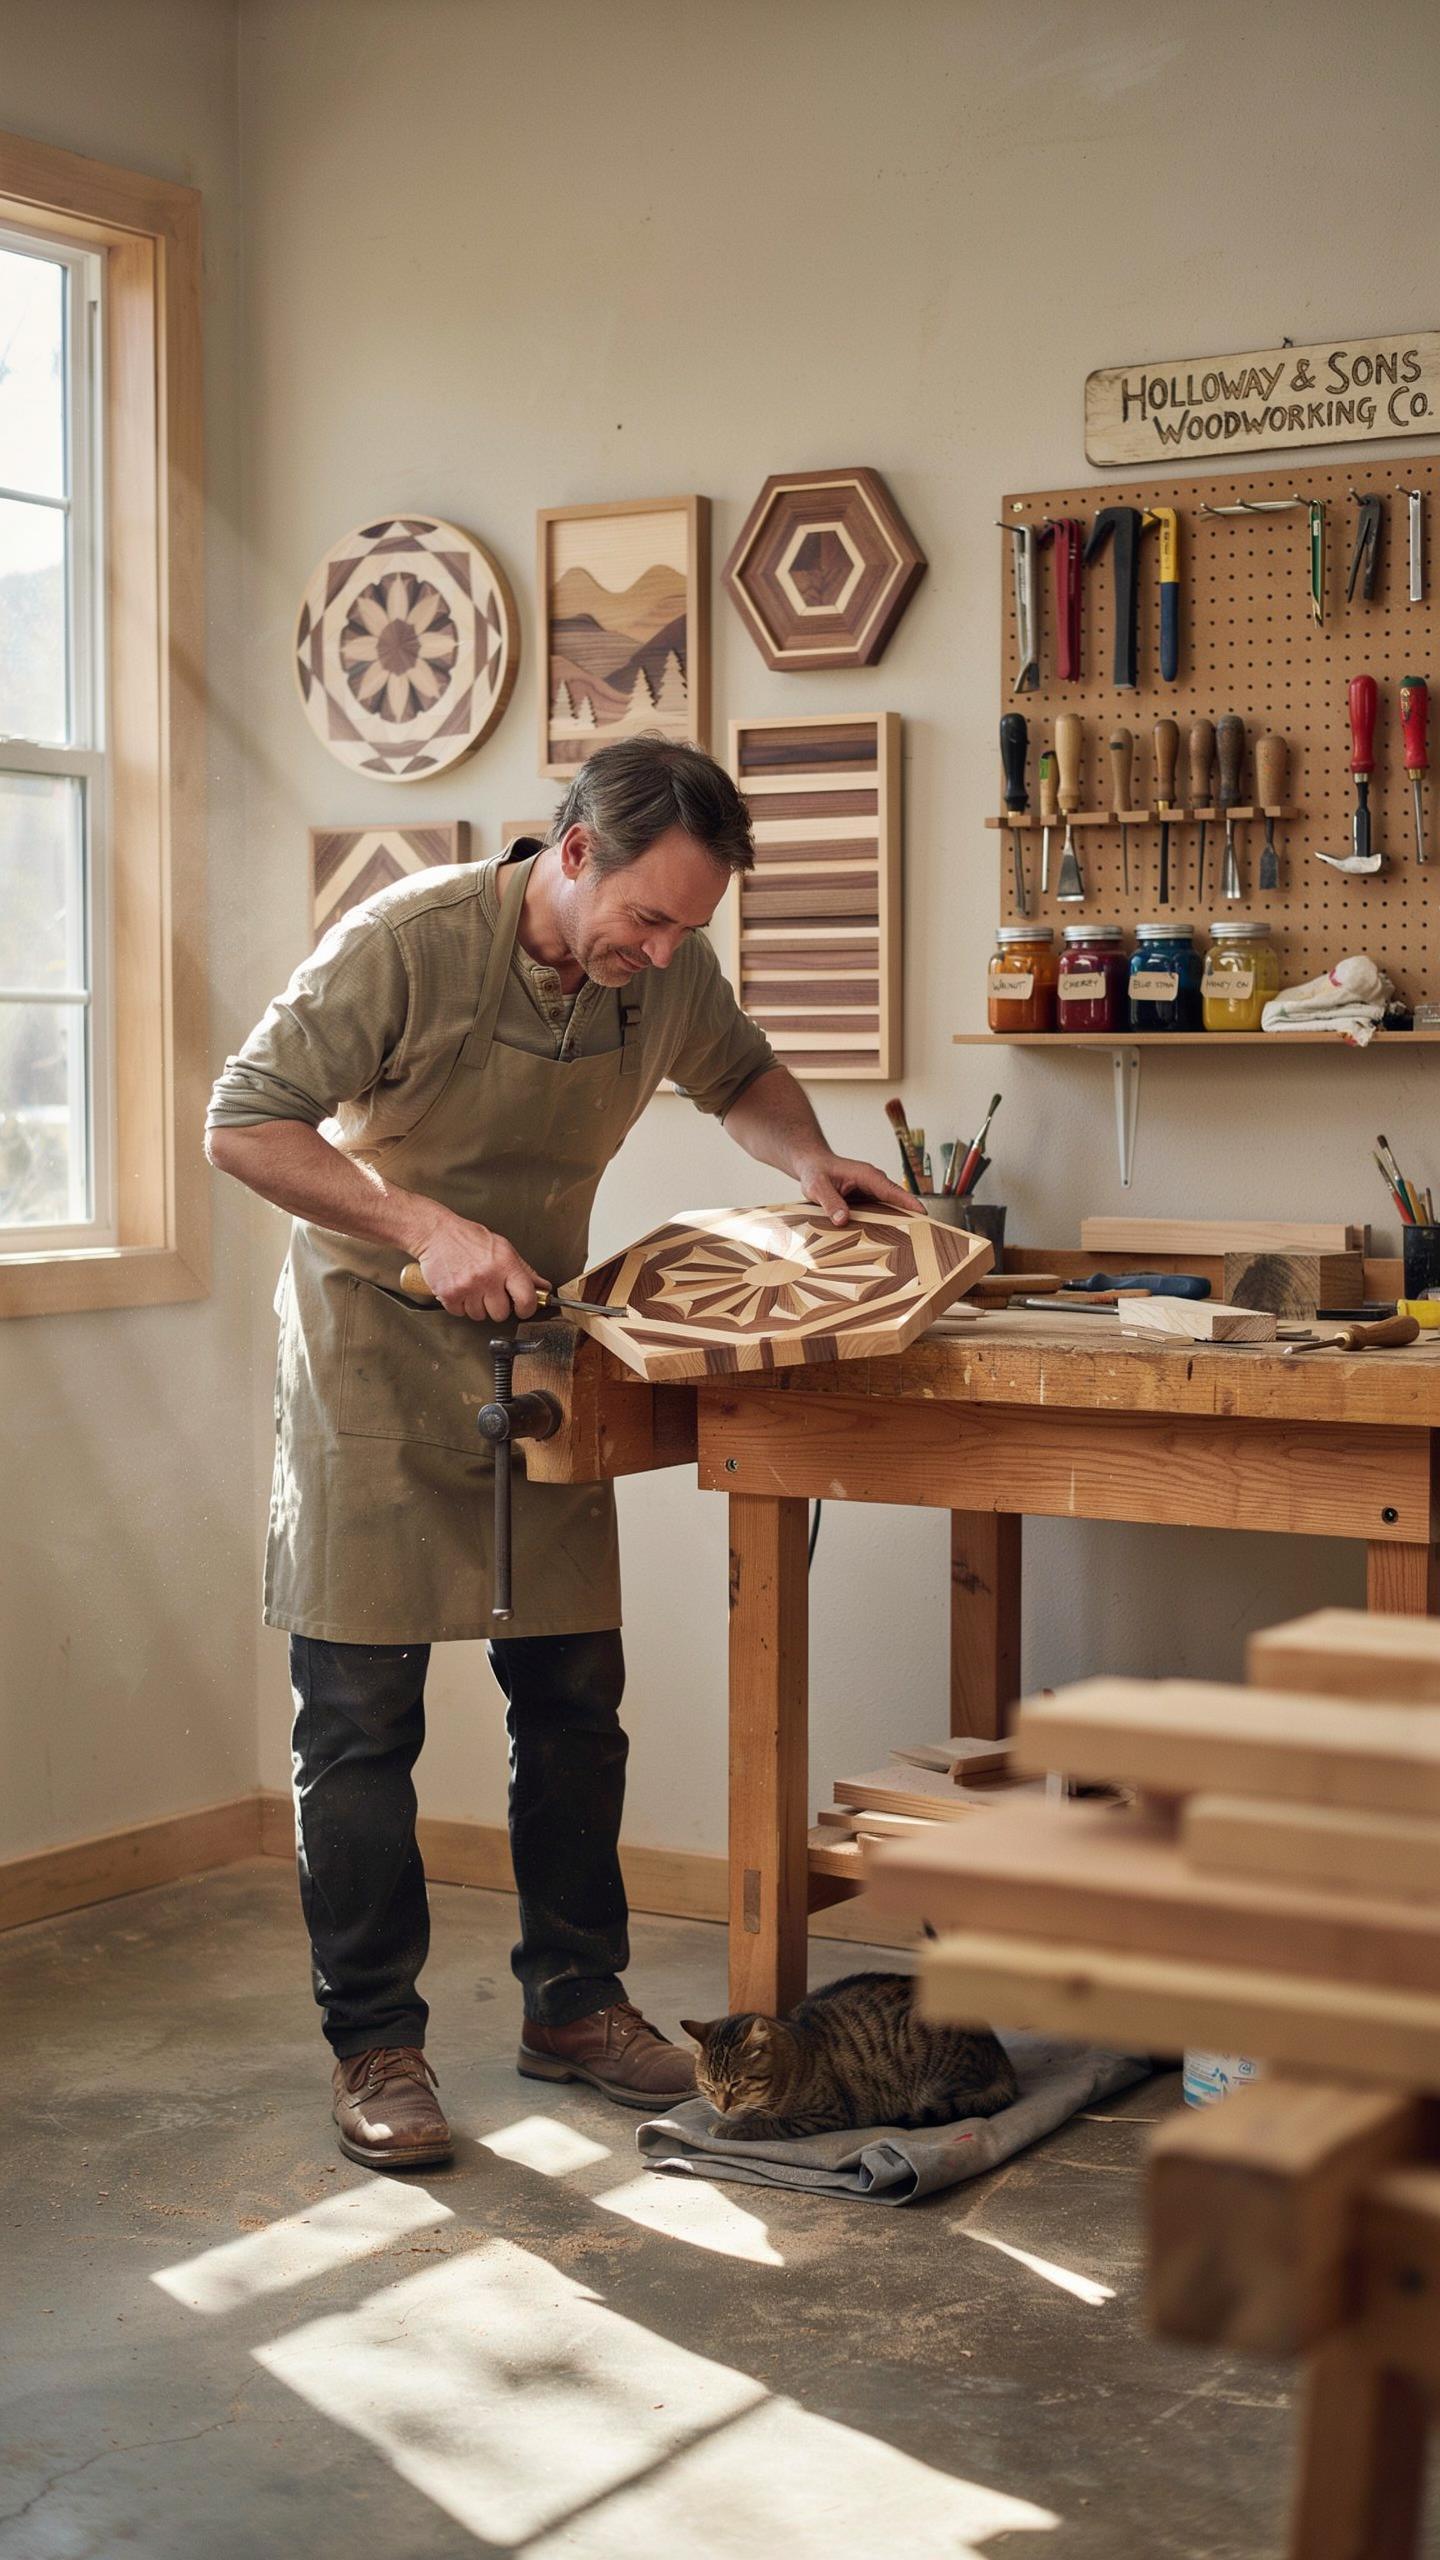
Miter cuts require a miter saw set to exact angles, typically 45 degrees for basic applications. You measure twice, cut once. A stop block on your saw fence ensures consistent repeat cuts across multiple pieces. Chevron patterns demand alternating angles that must match precisely or the visual alignment fails completely. Mark your wood clearly before cutting to avoid wasting material on mistakes.
The real challenge is wood movement and seasonal expansion. Even slight angle errors compound across large installations. Use a quality miter gauge or digital angle finder to verify your saw is calibrated before starting production cuts. Sand miter joints lightly after assembly to ensure clean seams where pieces meet. This eliminates visible gaps that ruin the final appearance of your wall art installation.
Incorporating Metal Elements Integrating Mixed Media Elements Like Metal And Resin Highlights
Metal accents work best when you treat them as structural components, not decorative afterthoughts. Steel rods, copper wire, and aluminum strips anchor wood pieces together while adding visual contrast. You can bolt or epoxy metal to wood surfaces, but bolts create cleaner, reversible connections. Resin fills gaps between wood pieces and encases metal elements to create depth and dimension in your finished piece.

Resin application demands careful surface prep and proper ratios of resin to hardener. Mix according to manufacturer specs or the material won’t cure properly. Pour resin into defined spaces between wood sections, then let it settle completely before moving the piece. Metal oxidation changes color over time, which affects the overall aesthetic, so plan for this natural aging or seal metal surfaces to maintain consistency.
Finishing Touches To Elevate Wood Scrap Art

Staining Painting Techniques
Wood species absorb stain differently based on density and porosity. Pine and fir take stain unevenly because they absorb liquid at inconsistent rates. Hardwoods like oak and walnut absorb more uniformly. Test stain on scrap pieces first to see actual results. Oil-based stains penetrate deeper than water-based options. Water-based stains dry faster and emit fewer fumes. Natural oils like tung oil and linseed oil highlight grain without heavy color change. They require multiple coats and cure time between applications.
Paint choice depends on your end goal. Acrylics dry fast and work well for bold color blocking. They sit on the wood surface rather than penetrating. Oils take longer to cure but create richer depth and flow easier for blending. For rustic scrap art, consider leaving sections unpainted to show natural wood character. Sand between coats to eliminate brush marks and achieve smooth finishes. Primer prevents stain bleed-through when switching between stained and painted sections on the same piece.
Weathering Aging Methods
Weathering mimics natural exposure without waiting years. Steel wool and vinegar create gray tones on softwoods within hours. Soak steel wool in white vinegar for 24 to 48 hours, then brush the liquid onto wood. The tannins in wood react with iron to produce color changes. This method works fastest on wood with higher tannin content like oak and cedar. Ammonia fumes accelerate oxidation but require proper ventilation. Coffee and tea stains produce brown tones naturally without chemical reactions.

Hardware acceleration involves tools and techniques that speed aging visually. Wire brushing removes soft grain to expose texture and creates worn appearance. Burning with a torch darkens edges and creates depth variation. Lichen and moss growth compounds authentic aging but requires outdoor exposure. Intentional gouges and dents from chains or hammers add surface variation. Multiple weathering methods combined on one piece create convincing vintage authenticity without compromising structural integrity.
How To Safely Mount And Hang Wood Art Projects
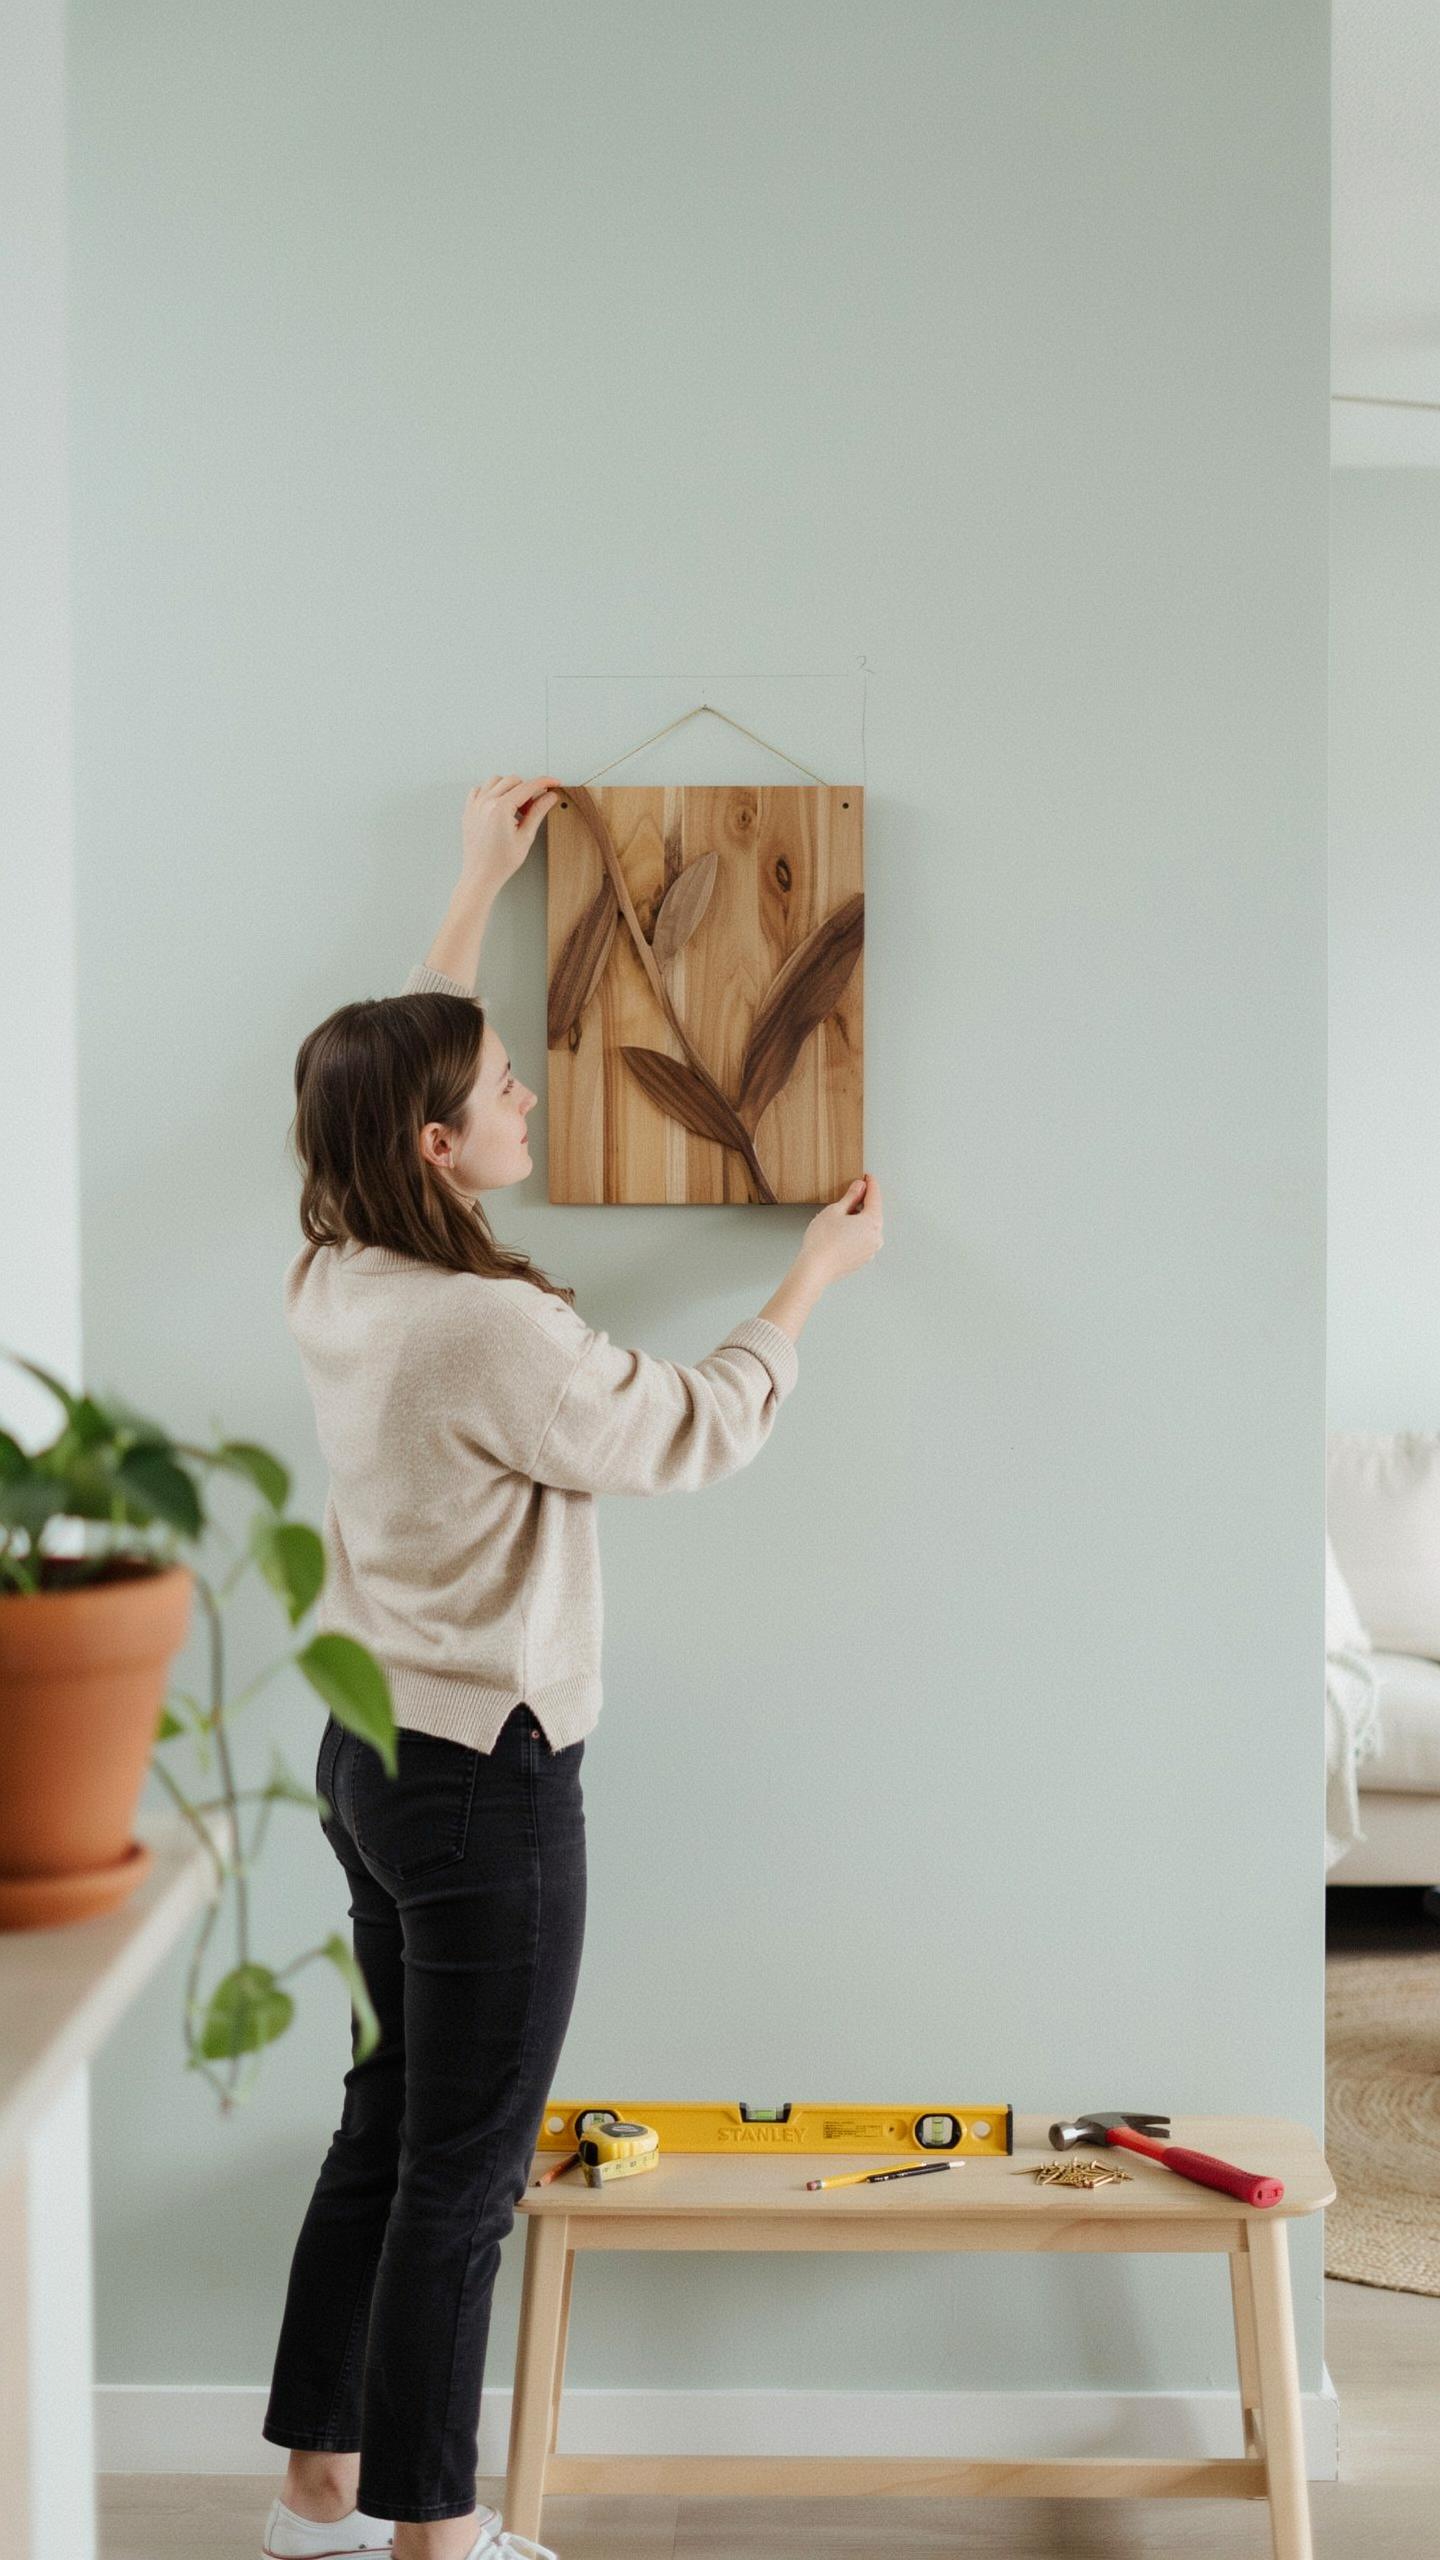
Drywall Anchors Screws
Drywall alone cannot support heavy wood art. Standard drywall anchors fail under weight exceeding 20 pounds. Use heavy-duty anchors rated for your piece’s total weight. Toggle bolts and molly bolts handle loads up to 50 pounds when installed correctly. Match anchor type to your wall material and artwork mass before installation.
Find the studs in your wall using a stud finder. Mounting directly into studs provides the strongest hold and eliminates anchor failure risk. If studs don’t align with your desired placement, use heavy-duty anchors as a secondary option. Never rely solely on anchors for pieces exceeding 30 pounds. Test anchor strength before hanging final artwork to prevent falls and damage.
Maintaining And Protecting Your Scrap Wood Decor Wall Art

Proper Dusting And Cleaning Methods To Avoid Damage And Splinters
Dust accumulates on wood surfaces and traps moisture against the grain. Use a soft microfiber cloth or natural bristle brush to remove dust every two weeks. Move the cloth in the direction of the wood grain, never against it. This prevents pushing particles into crevices and protects the wood finish from scratching.
Water causes the fastest damage to scrap wood art. Never spray cleaner directly on the piece. Instead, dampen your cloth with minimal water, wring it completely dry, and wipe the surface quickly. For stubborn grime, use a cloth barely dampened with a solution of equal parts white vinegar and water. Dry immediately with a separate cloth to prevent moisture from penetrating the wood.
Sealing Your Art Piece To Prevent Warping In Humid Environments
Wood absorbs and releases moisture based on humidity levels, causing it to expand and contract. This movement creates cracks, warping, and finish splitting over time. Apply a polyurethane or polycrylic sealant to all surfaces, including the back and edges. Two coats provide adequate protection for most indoor environments. Sand lightly between coats with 220-grit sandpaper for better adhesion.
Humidity levels above 55 percent accelerate moisture absorption in unsealed wood. Install your scrap wood art away from bathrooms, kitchens, and exterior walls where condensation forms. Use a dehumidifier in naturally damp rooms to maintain humidity between 30 and 50 percent. Check sealed pieces annually for cracks or peeling. Reapply sealant to any exposed wood areas to maintain the protective barrier.
Frequently Asked Questions

What is the best way for a beginner to start making scrap wood decor wall art?
If you are new to DIY, start with a simple geometric mosaic. Gather smaller offcuts of equal thickness and arrange them on a plywood backing to create a unique pattern. Creating scrap wood decor wall art is forgiving because the imperfections actually add character. Begin by sanding your pieces smooth and experimenting with different wood stains to add depth before gluing them down for a professional, rustic finish.
How do I properly prep and attach mismatched wood pieces for a wall hanging?
Consistency is key for a polished look. First, plane or sand your scraps so they sit flush against the wall. To ensure your scrap wood decor wall art stays secure, use a combination of high-quality wood glue and a brad nailer to attach pieces to a sturdy frame. Pre-drilling holes prevents splitting, while applying a clear sealant at the end protects the wood from moisture and prevents warping over time.
Where can I find affordable materials if I don’t have a workshop full of leftovers?
You don’t need a personal woodshop to find great materials. Visit local construction sites, cabinet shops, or lumber yards and ask if they have a “burn pile” or discard bin you can raid. Many businesses are happy to give away small offcuts for free. Thrifted wooden pallets and old crates are also excellent, budget-friendly sources for sourcing the raw materials needed to craft stunning, sustainable art pieces.



