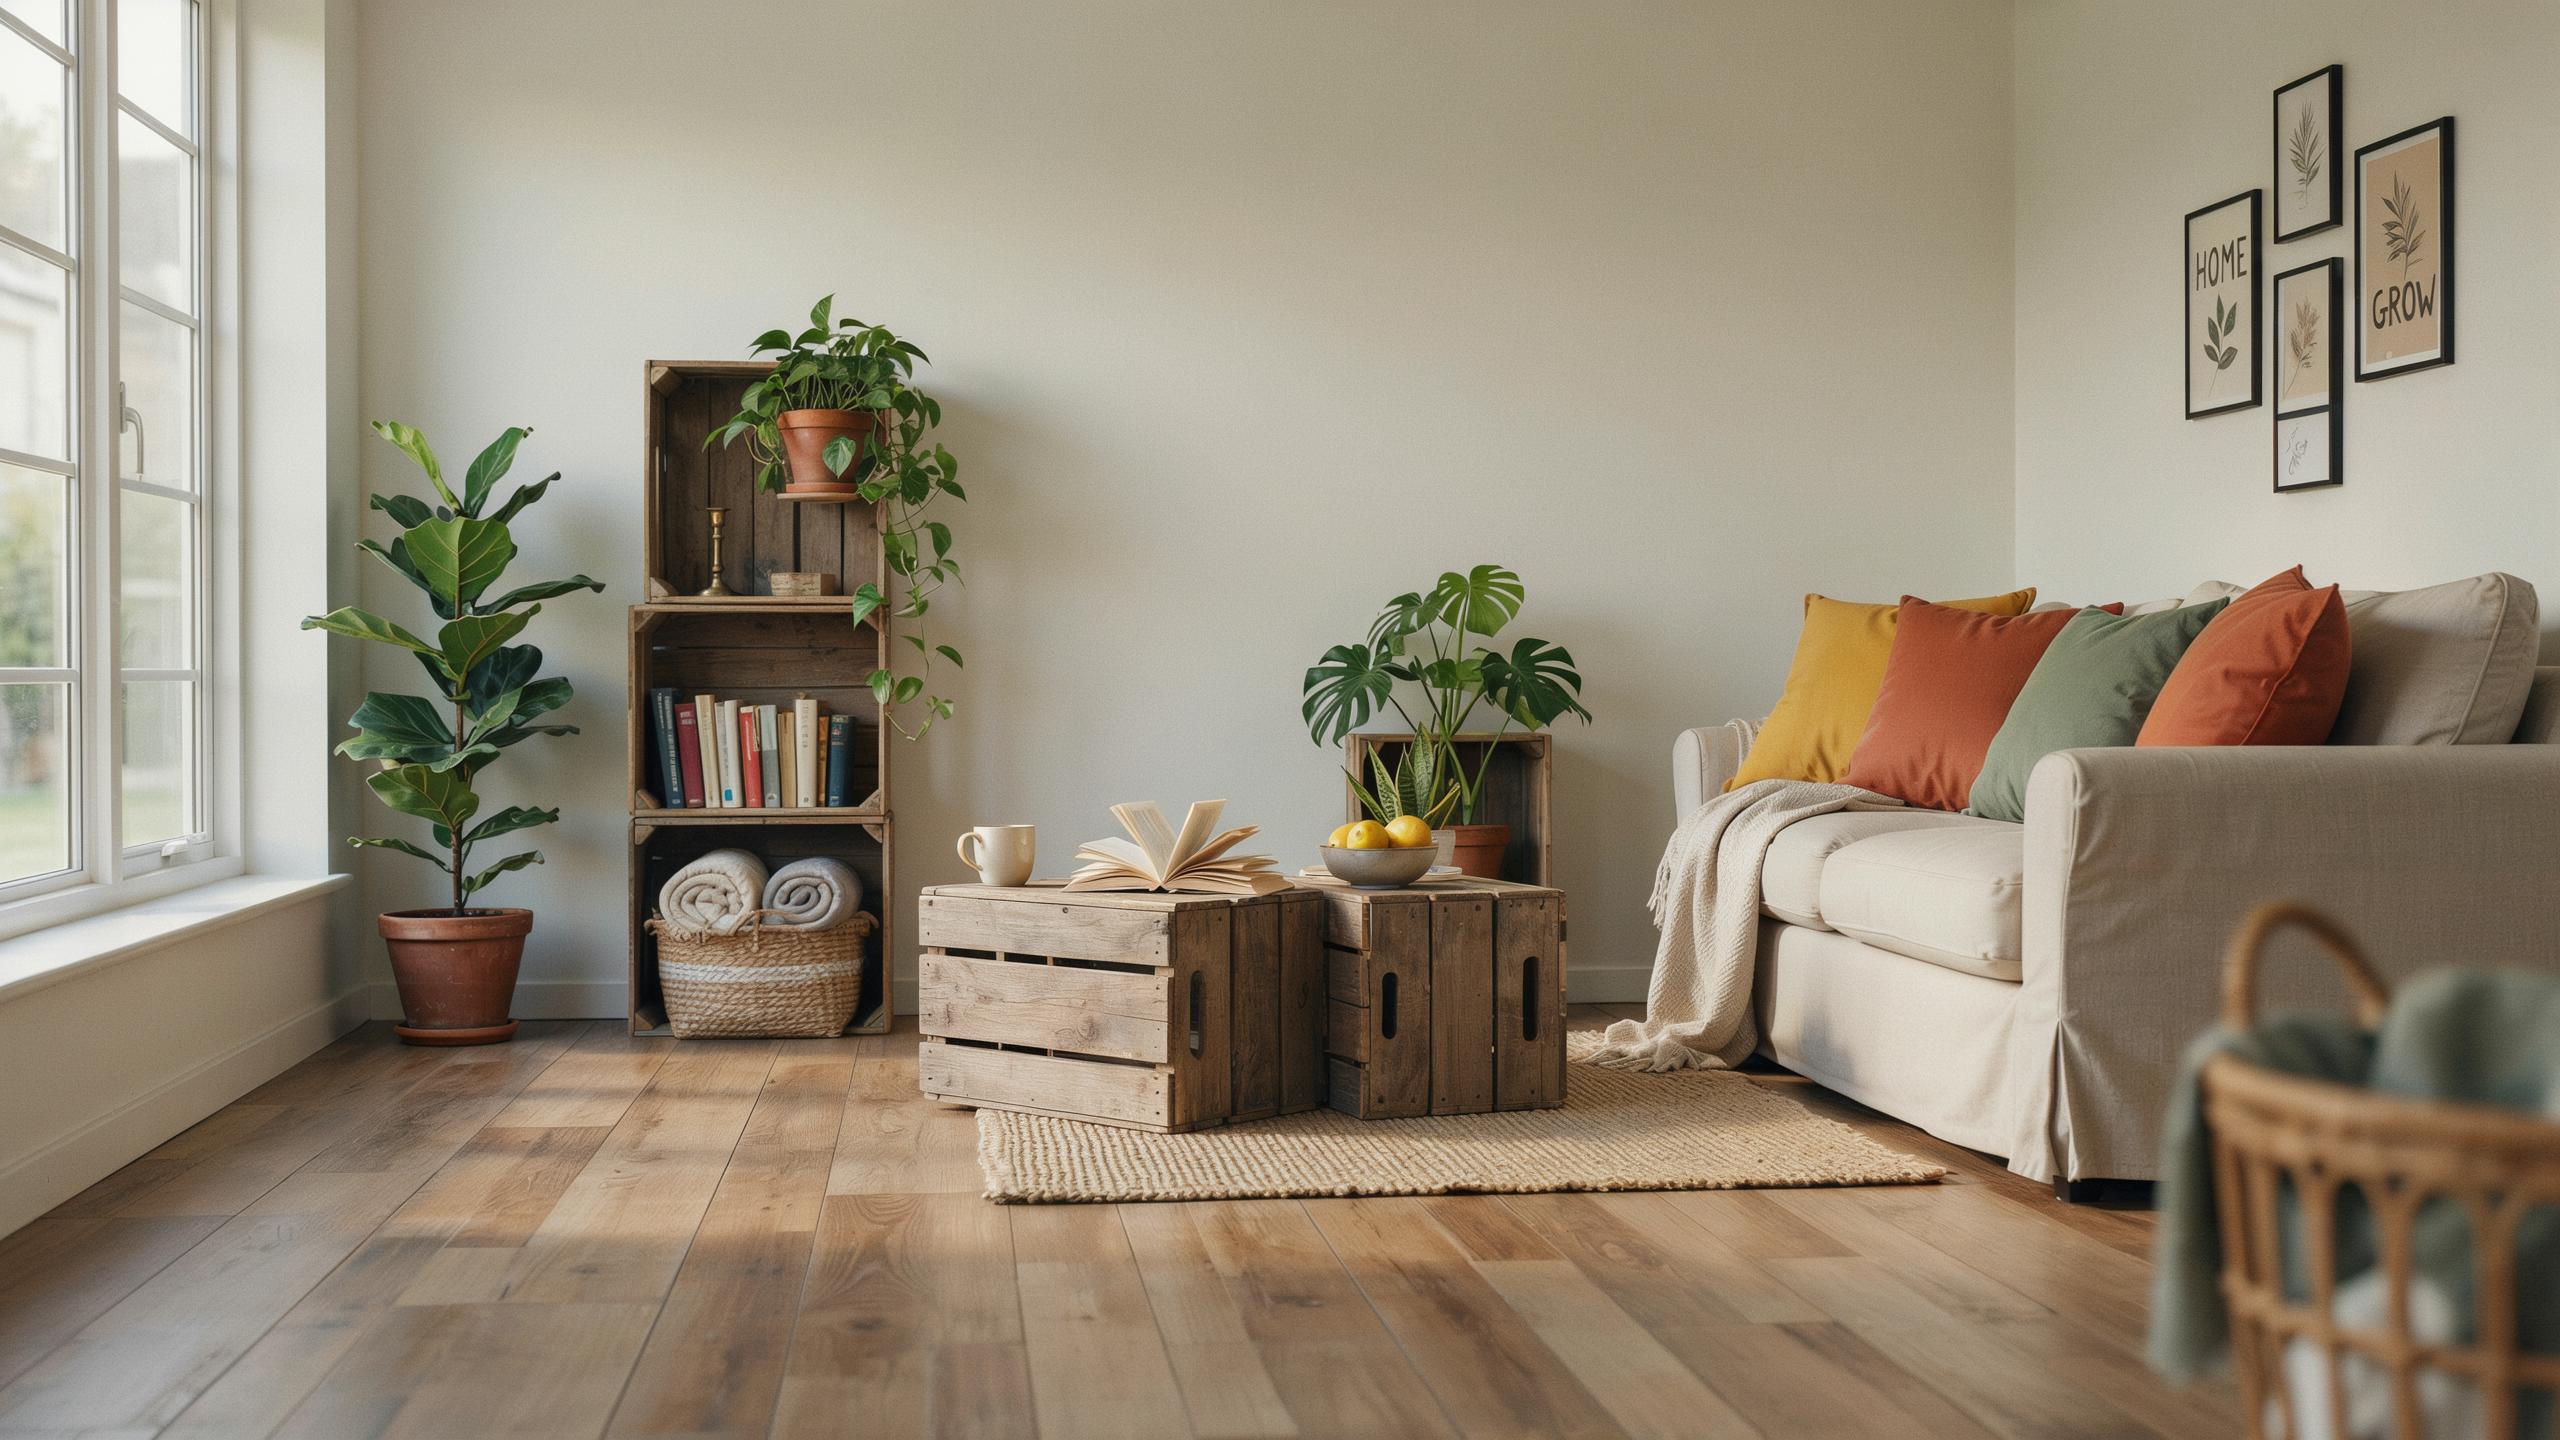
How Recycled Home Decor From Crates Saves Money And The Planet
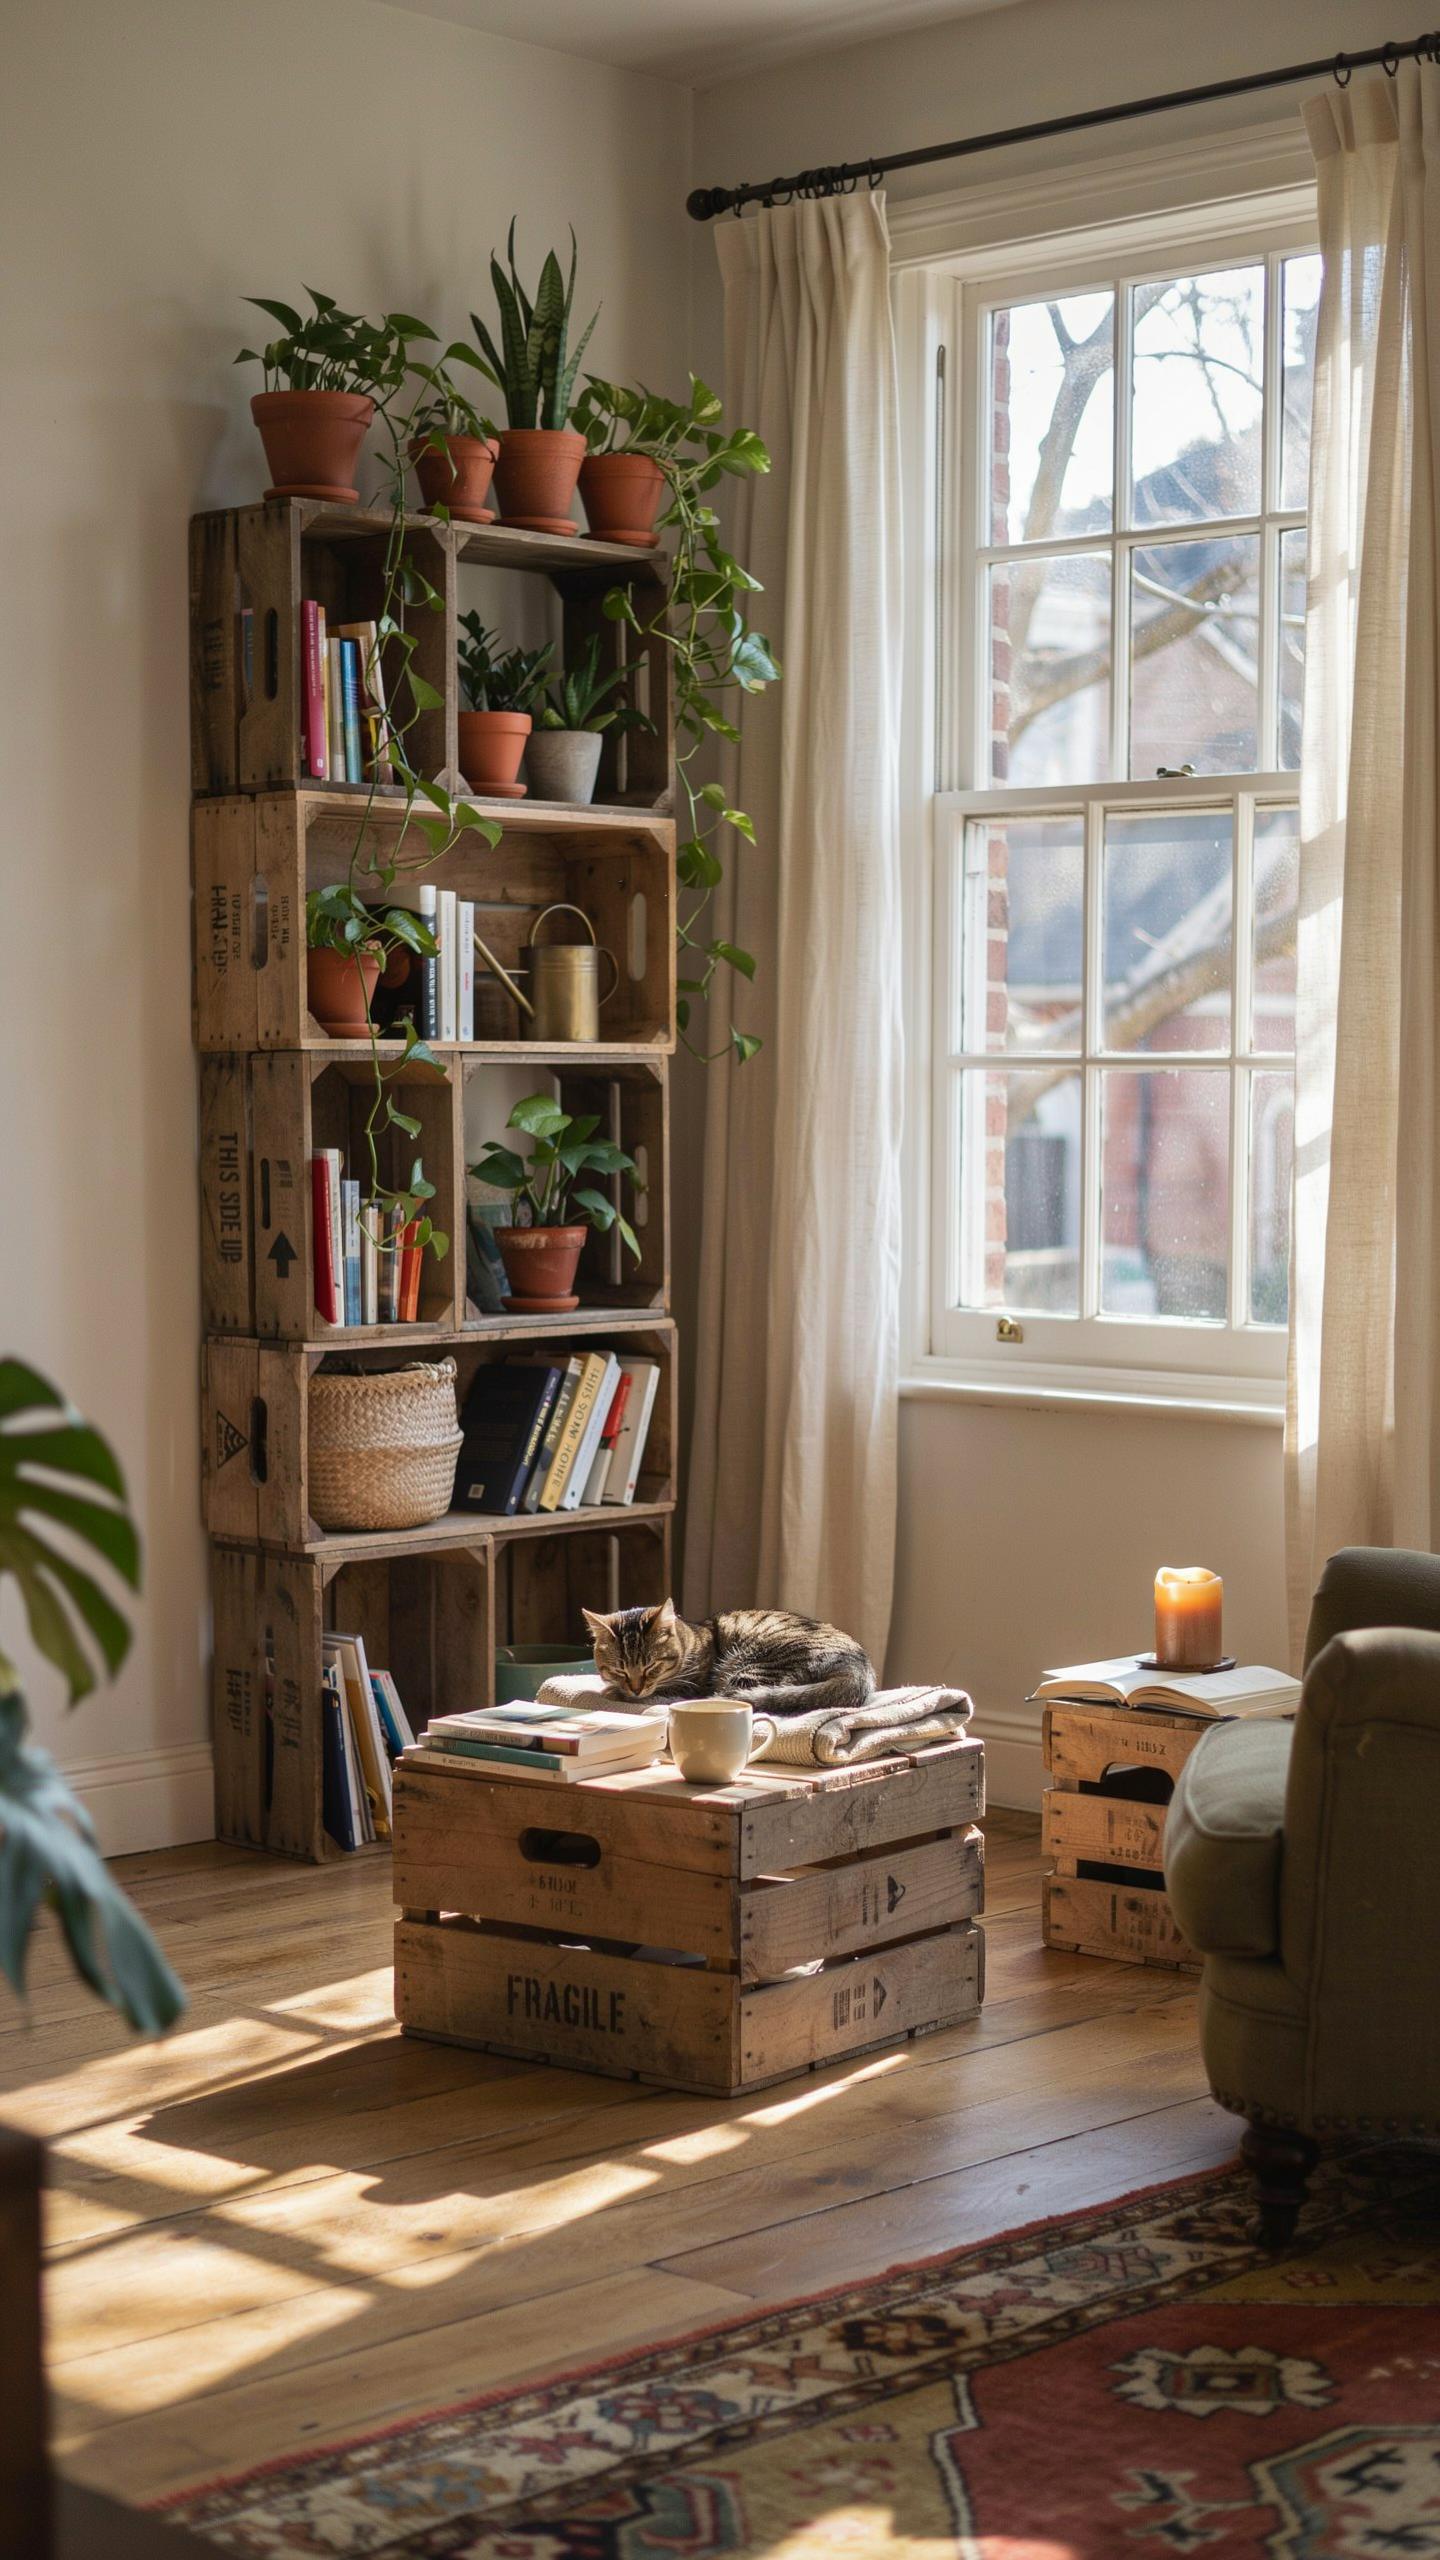
Eco Benefits
Repurposed wood crates divert material from landfills. Standard wooden shipping crates are built to withstand transport and handling, meaning the wood has structural integrity for second-use applications. Instead of purchasing newly manufactured furniture that requires logging, milling, and factory production, you use existing materials already in circulation.
The production of new furniture demands energy for manufacturing, shipping, and packaging. Reusing crates eliminates these industrial processes entirely. You avoid the carbon footprint associated with new goods while keeping usable material in active service rather than waste streams.
Budget Friendly Decorating
Salvaged crates cost a fraction of retail furniture prices. Many businesses give away used shipping crates free or charge minimal fees. A crate that would cost 80 to 150 dollars as a finished storage unit or shelf typically costs nothing to five dollars when sourced directly.
Labor is your primary investment when building from crates. Basic tools like saws, sanders, and fasteners are one-time purchases most households already own. By applying DIY assembly instead of paying furniture retailers their markup, you reduce total decoration spending by 60 to 80 percent compared to equivalent store-bought pieces.

Essential Tools And Materials For Wood Crate Ideas
Must Have Tools
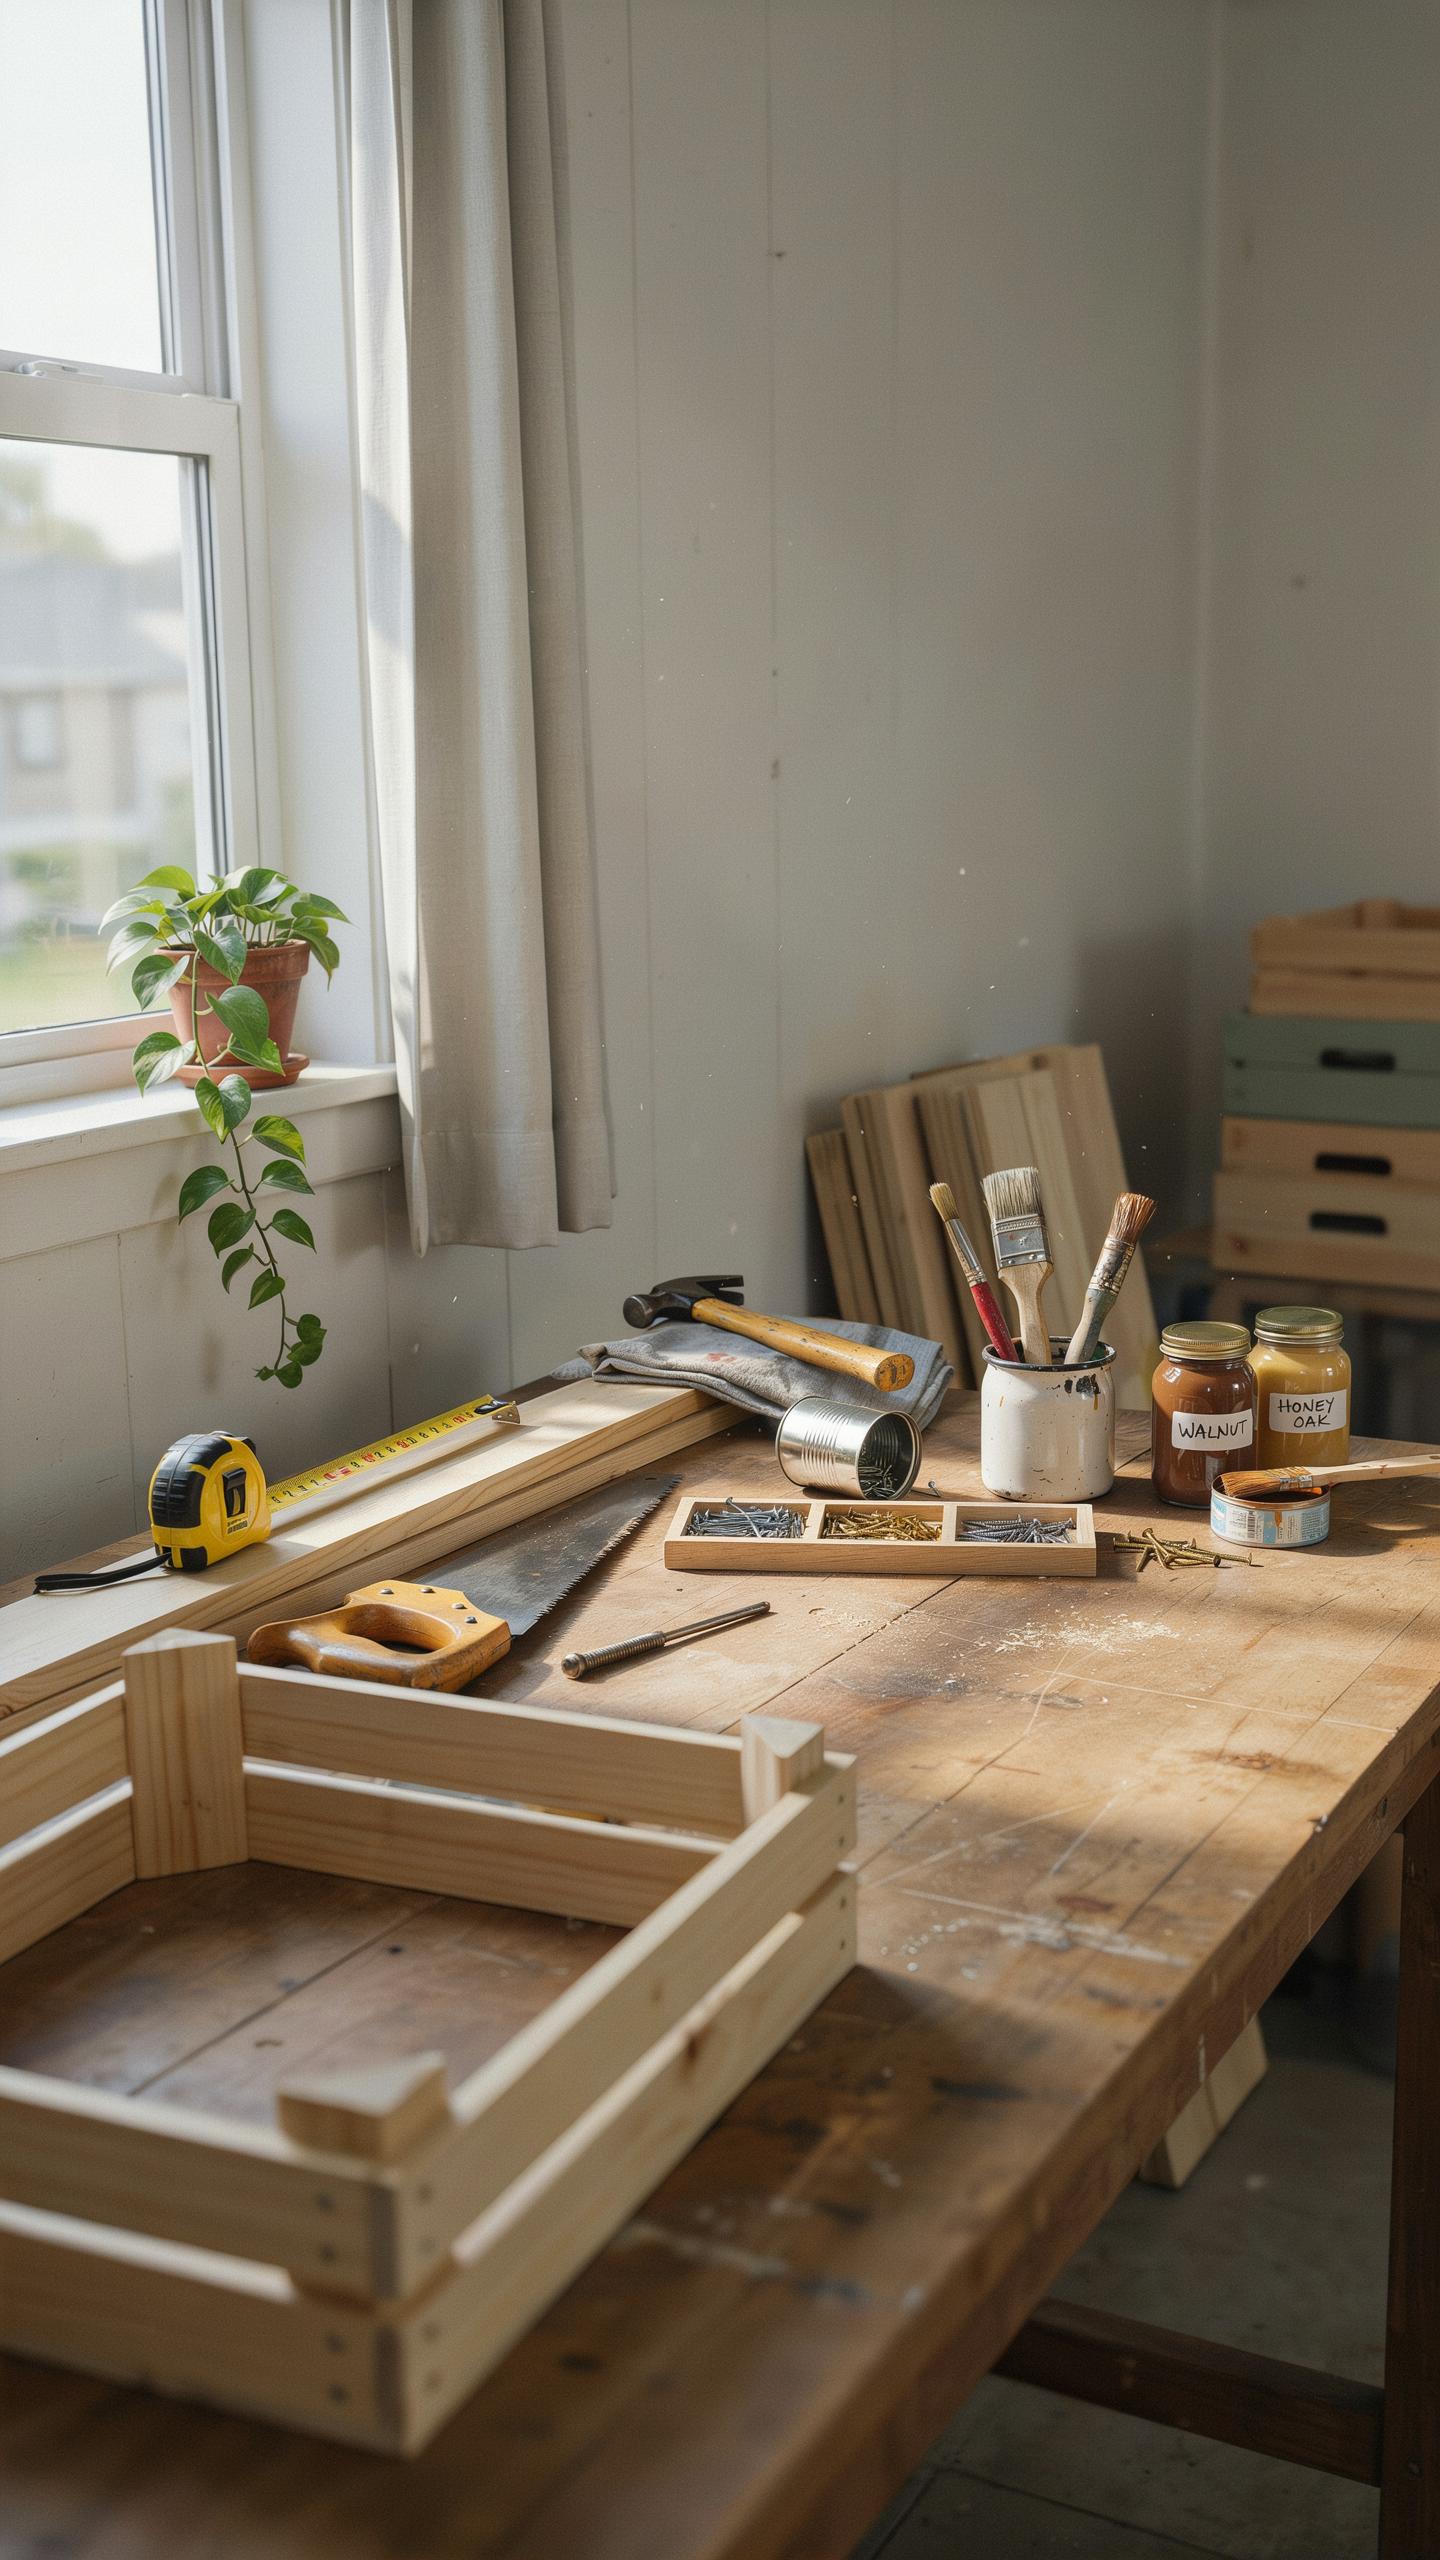
You need specific tools to transform raw crates into safe, finished pieces. Skipping proper prep work leads to splinters, uneven surfaces, and projects that fall apart. Start with basics. Safety matters before aesthetics.
- Hand Sander or Sanding Block: Removes splinters and rough edges from wood surfaces. Use 80-grit for heavy prep work and 120-grit for finishing. Electric sanders save time on large projects but hand sanders give better control.
- Sandpaper Assortment: Stock 60-grit, 80-grit, 120-grit, and 150-grit options. Different grits handle different stages of wood prep. Coarser grits remove damage quickly. Finer grits create smooth surfaces for stain or paint.
- Hammer and Pry Bar: Removes nails, separates wood pieces, and deconstructs crates for repurposing. A 16-ounce hammer handles most crate work. Pry bars leverage stubborn nails without damaging wood.
- Drill and Drill Bits: Creates drainage holes, pilot holes for screws, and decorative elements. A basic cordless drill handles crate assembly and modification work. Include bits ranging from 1/16 inch to 1/4 inch.
- Circular Saw or Hand Saw: Cuts crates to size and shapes wood for custom designs. Hand saws require more effort but provide precise cuts in tight spaces. Circular saws move faster on straight cuts and thicker lumber.
- Wood Stain or Exterior Paint: Protects wood and adds color. Stain highlights natural wood grain. Paint offers more color options and better UV protection for outdoor pieces.
Finishes protect your investment and determine how long crate projects last. Water-based products dry faster but require proper ventilation. Oil-based finishes penetrate deeper but need longer drying time. Choose based on your project location and timeline.
Sourcing Crates
Supermarkets and produce distributors give away crates constantly because disposal costs money. Call produce managers directly. Ask about crate pickup schedules. Most stores receive deliveries on specific days and discard empty crates immediately after. Build a relationship with one manager.

Local breweries, orchards, and bakeries source heavy crate usage. They often stack empties behind buildings designated for trash. Ask permission first. Online platforms like Craigslist and Facebook Marketplace list free crates regularly. Search “free pallets” or “free crates” with your city name. Set up alerts for new postings.
Innovative Wooden Crates Ideas For Living Room Storage
Media Consoles
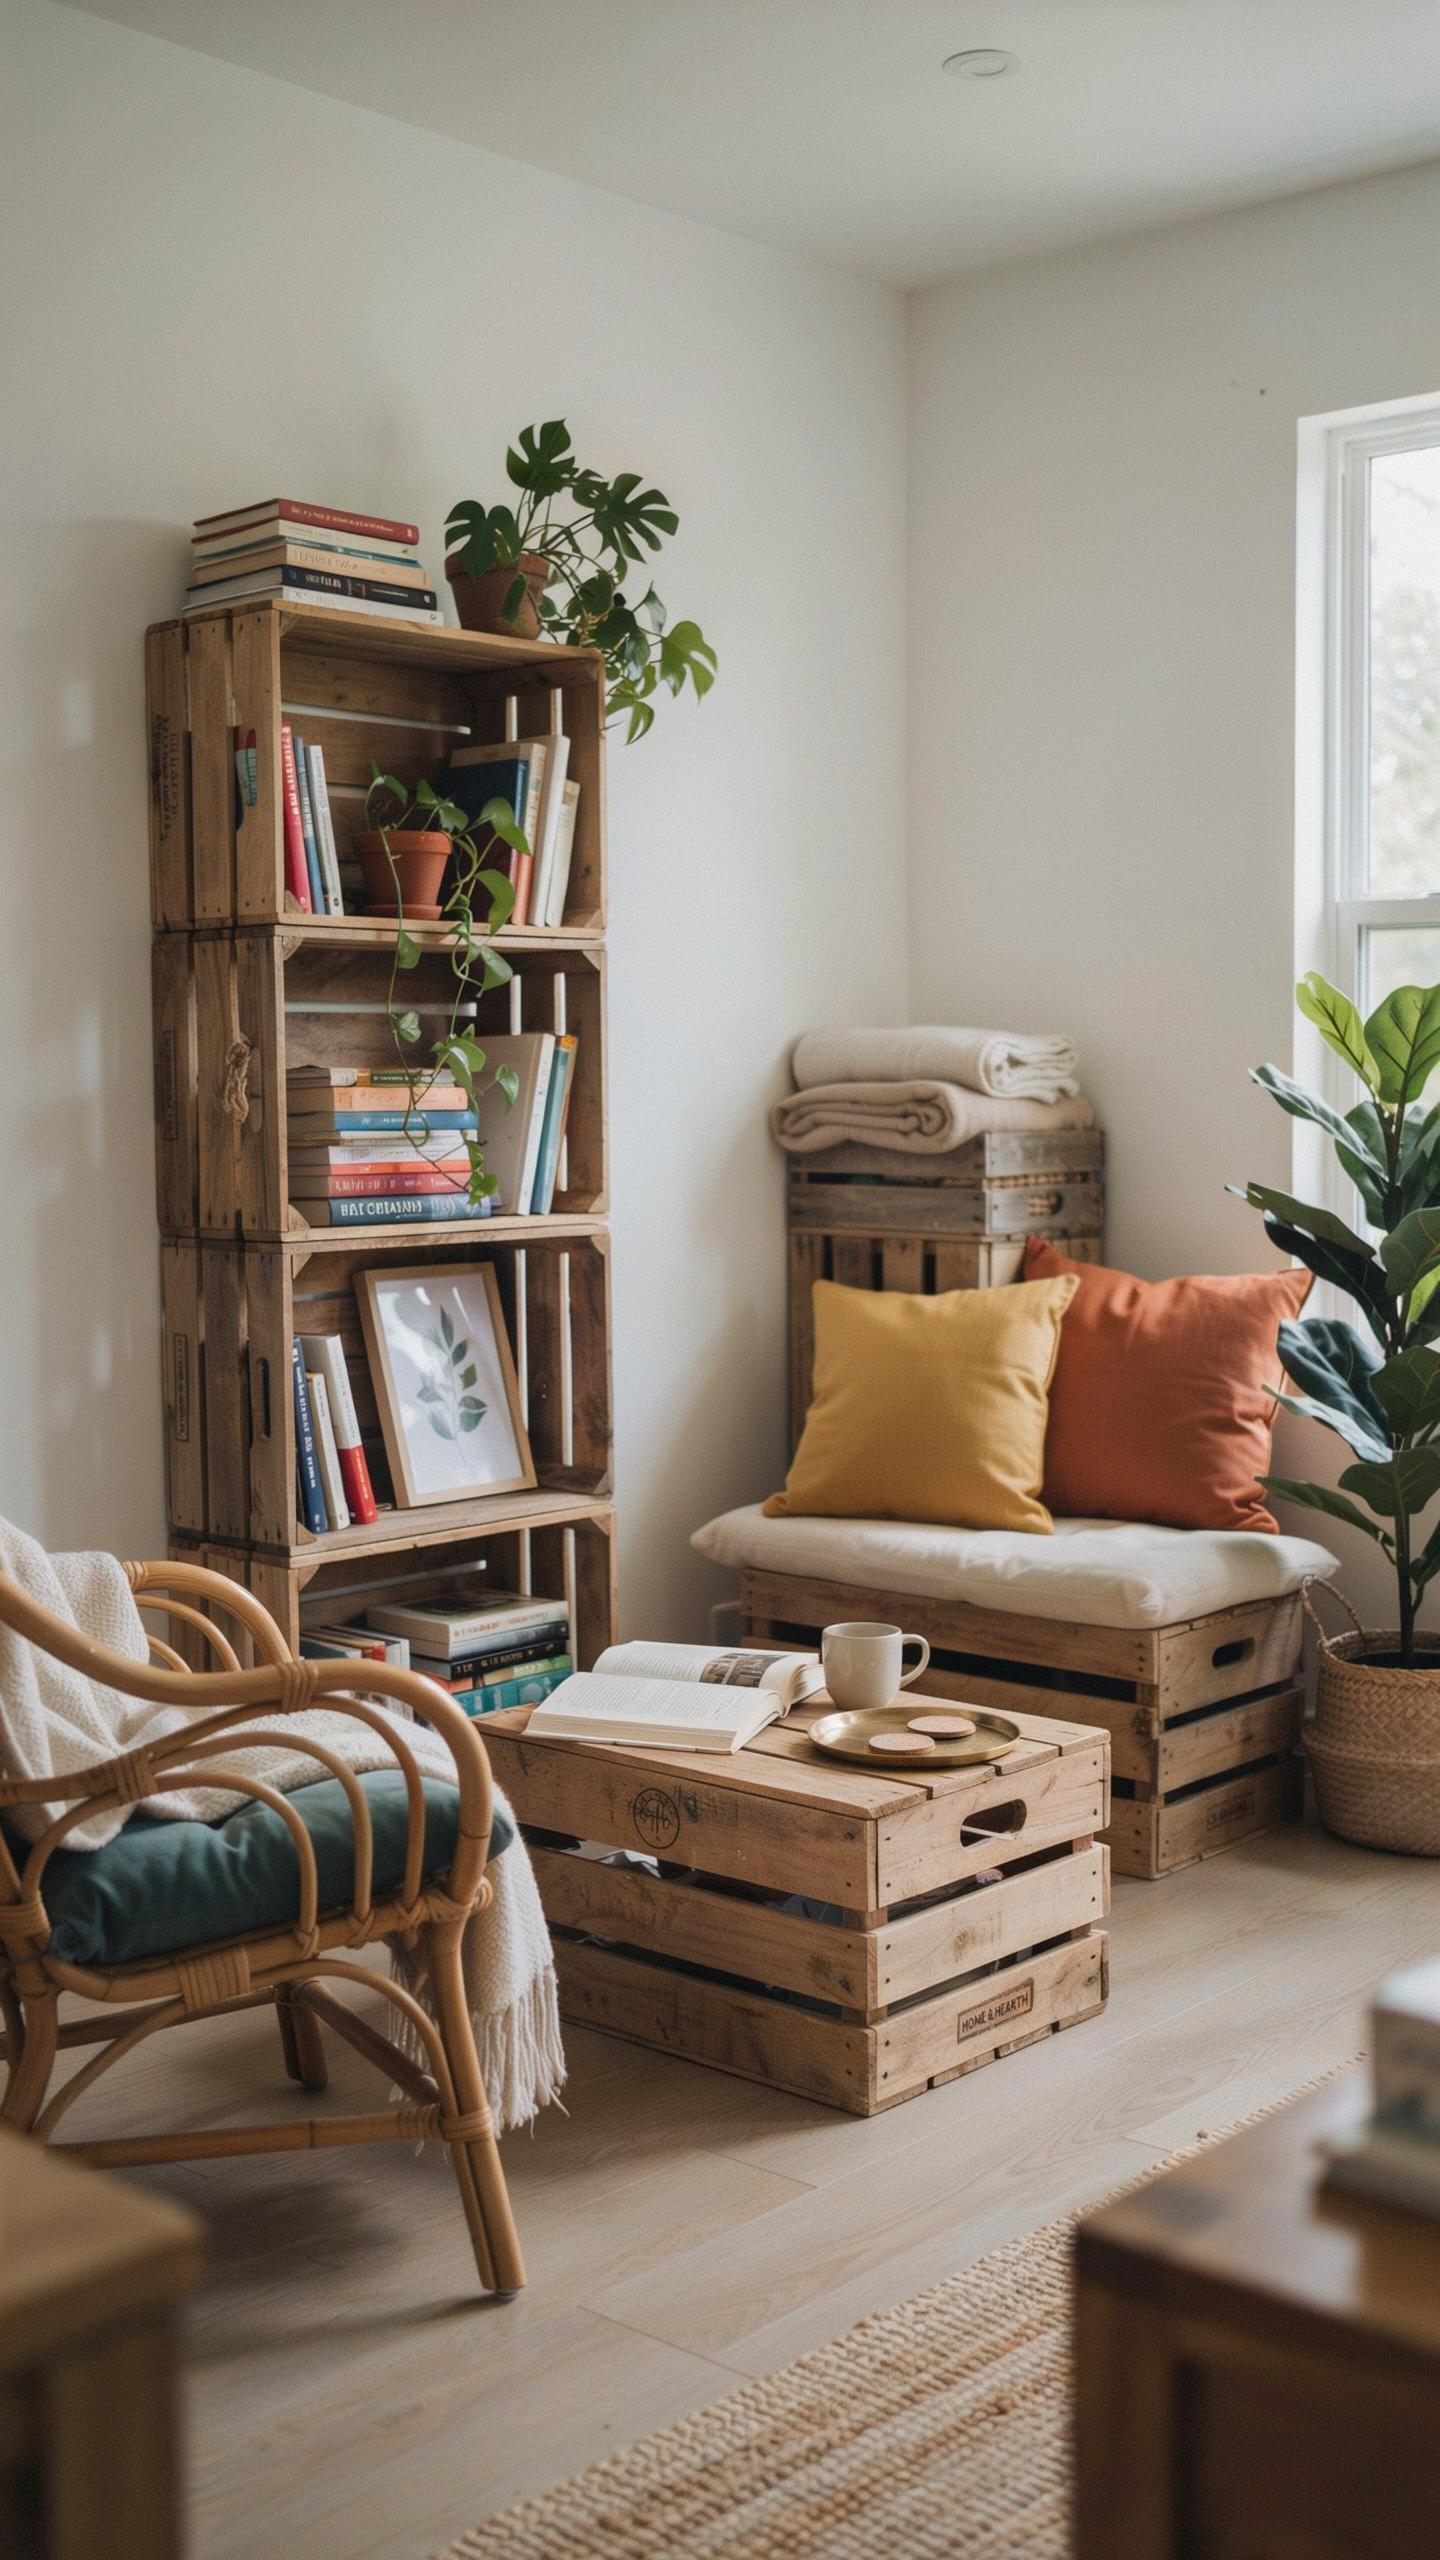
Stack crates horizontally to build a TV stand that holds your television and equipment. Secure each layer with L-brackets or wood screws to prevent shifting. This method costs significantly less than buying a retail media console. You control the height and width based on your wall space and device requirements.
Stain or paint the crates to match your existing furniture. Leave wood natural if your room uses industrial or farmhouse design elements. Arrange crates in a grid pattern for symmetry or offset them for visual interest. The modular approach lets you add or remove units as your storage needs change.
Design is not making beauty out of nothing, but finding the soul in what others have cast away. With a simple wooden crate and a bit of heart, anyone can build a home that tells a story.
Under Table Bins
Mount caster wheels to the bottom of smaller wooden crates to create rolling storage that slides under sofas and coffee tables. Use heavy duty casters rated for the weight you plan to store. This setup keeps items accessible while hiding clutter from view. Wheels make cleaning underneath furniture easier since you can move bins in seconds.

Drill holes through the crate base before attaching casters to ensure secure fastening. Label each bin’s contents on the side for quick identification. Store blankets, magazines, remotes, and seasonal items in these under table units. The rolling design serves practical purposes beyond storage, functioning as a mobile solution for room rearrangement.
Designing A Custom Crate Shelf For Small Spaces
Vertical Wall Mounting
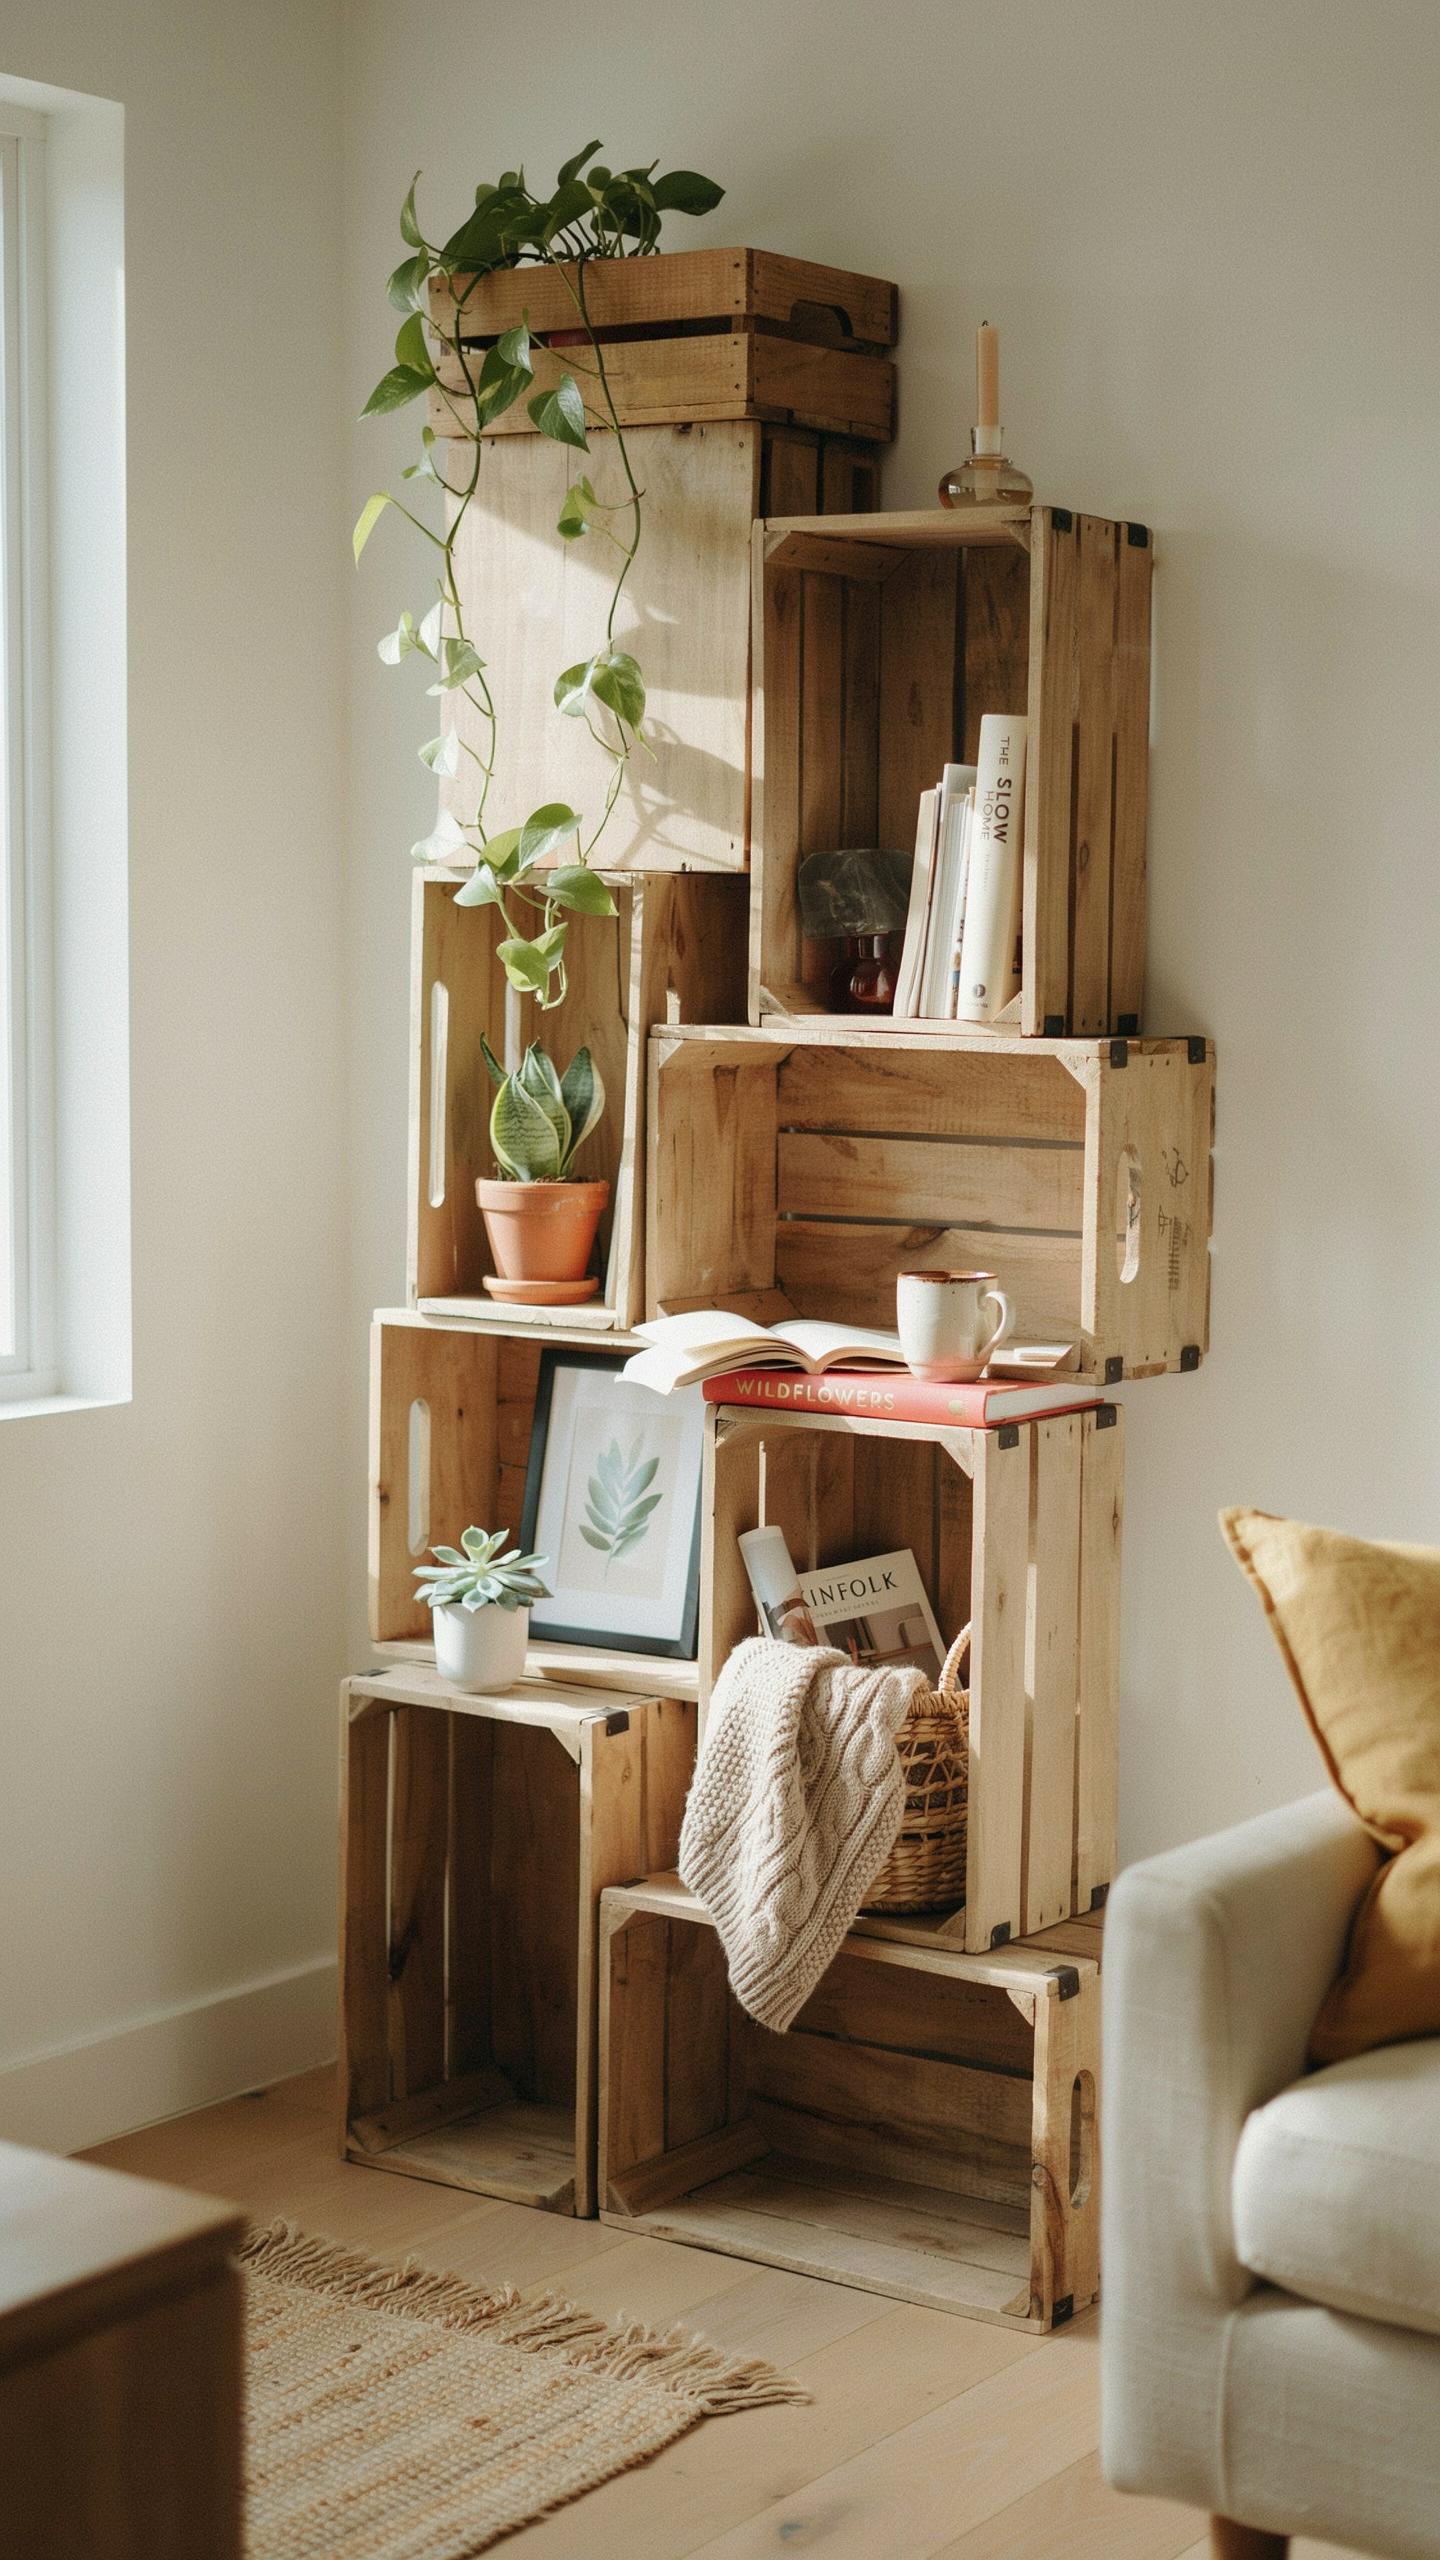
Mounting wooden crates vertically to wall studs creates functional storage without consuming floor space. Locate studs using a stud finder, then drill pilot holes through the crate backing into the studs. Use lag bolts or wood screws rated for the combined weight of the crate and contents. This method distributes load safely and prevents wall damage from occurring over time.
Space crates 16 inches apart vertically to align with standard stud spacing in most homes. Install a level before securing each fastener to ensure shelves sit properly. Start from the lowest crate and work upward, checking alignment after each installation. Proper stud anchoring prevents crates from pulling free and damaging walls under load.
Hallway Organizers
Narrow crates work well in hallways where width is limited and depth must remain minimal. Arrange containers horizontally along one wall to create zones for shoes, mail, and daily items. Measure your hallway width before purchasing crates to confirm they fit without blocking traffic flow. This layout keeps entryways functional while using otherwise wasted wall space.

Install crates at varied heights to accommodate different item sizes and create visual interest. Lower crates hold shoes and heavier items that need stability. Upper crates store lighter materials like mail and keys. This staggered arrangement maximizes capacity while keeping frequently used items within arm’s reach.
Creative Crate Bookshelves To Organize Your Personal Library
Asymmetrical Designs
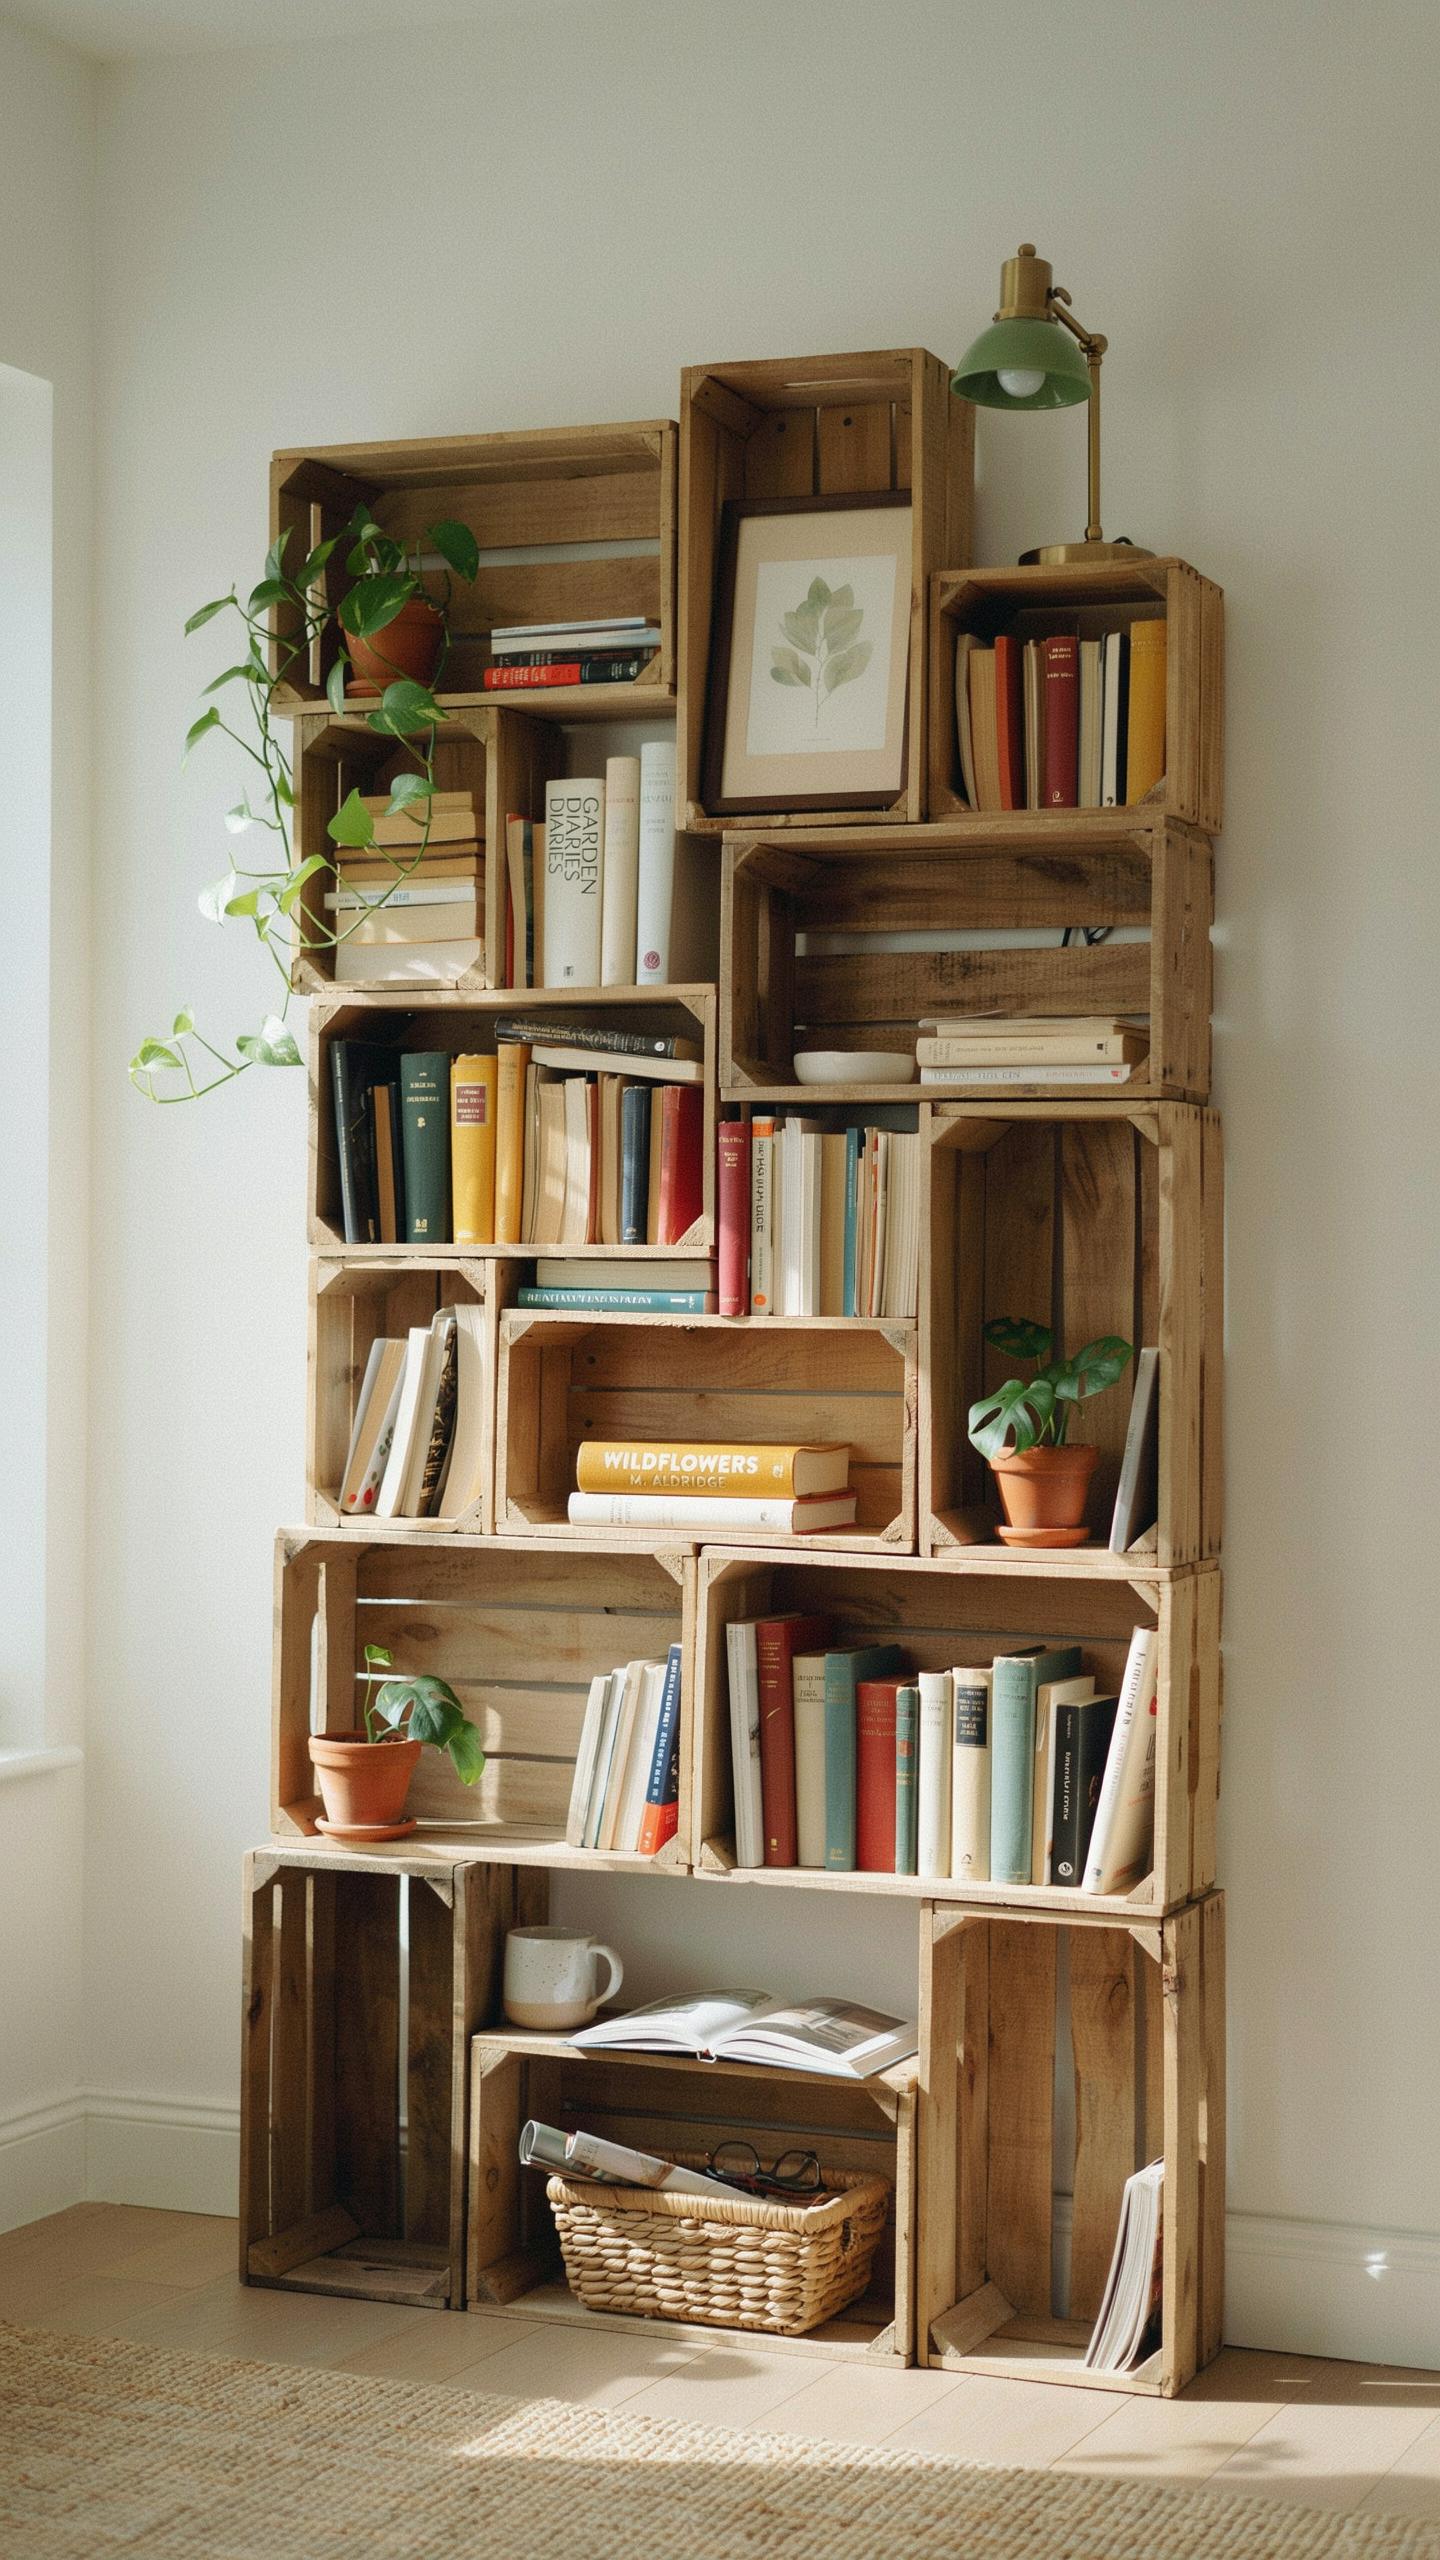
Staggering crates horizontally and vertically creates visual interest and maximizes wall space. This approach breaks away from traditional grid layouts. You mix crate orientations to build depth and rhythm. The result catches the eye without feeling cluttered. Modern design movements favor this broken-grid aesthetic since the mid-2000s minimalist era pushed back against uniform arrangements.
The asymmetrical layout serves a tactical function beyond appearance. Offset stacking distributes weight unevenly across the wall, which actually reduces concentrated stress on any single anchor point. You can group three crates vertically on one side, then two horizontally below on the other side. This variation prevents the monotony of repetitive shelving while allowing you to accommodate books of different sizes and shapes organically.
Securing Bookshelves
Wall anchors are non-negotiable for stacked crate units taller than four feet. Use heavy-duty lag bolts or toggle bolts rated for your wall type. Drywall requires different fasteners than plaster or concrete. Never rely on the crate frame alone to hold weight. A tall stack of books creates significant force that will pull the unit forward if not properly restrained to the wall.

Bracket the crates to studs whenever possible for maximum security. If studs don’t align with your design, use rated anchors spaced no more than 16 inches apart horizontally. Check local building codes, as some jurisdictions require professional installation for shelving units above certain height or weight thresholds. Test the installation by applying downward pressure before loading books. This verification catches installation errors before books add risk.
Step By Step Crate Bookshelf DIY For Beginners
DIY Assembly Steps
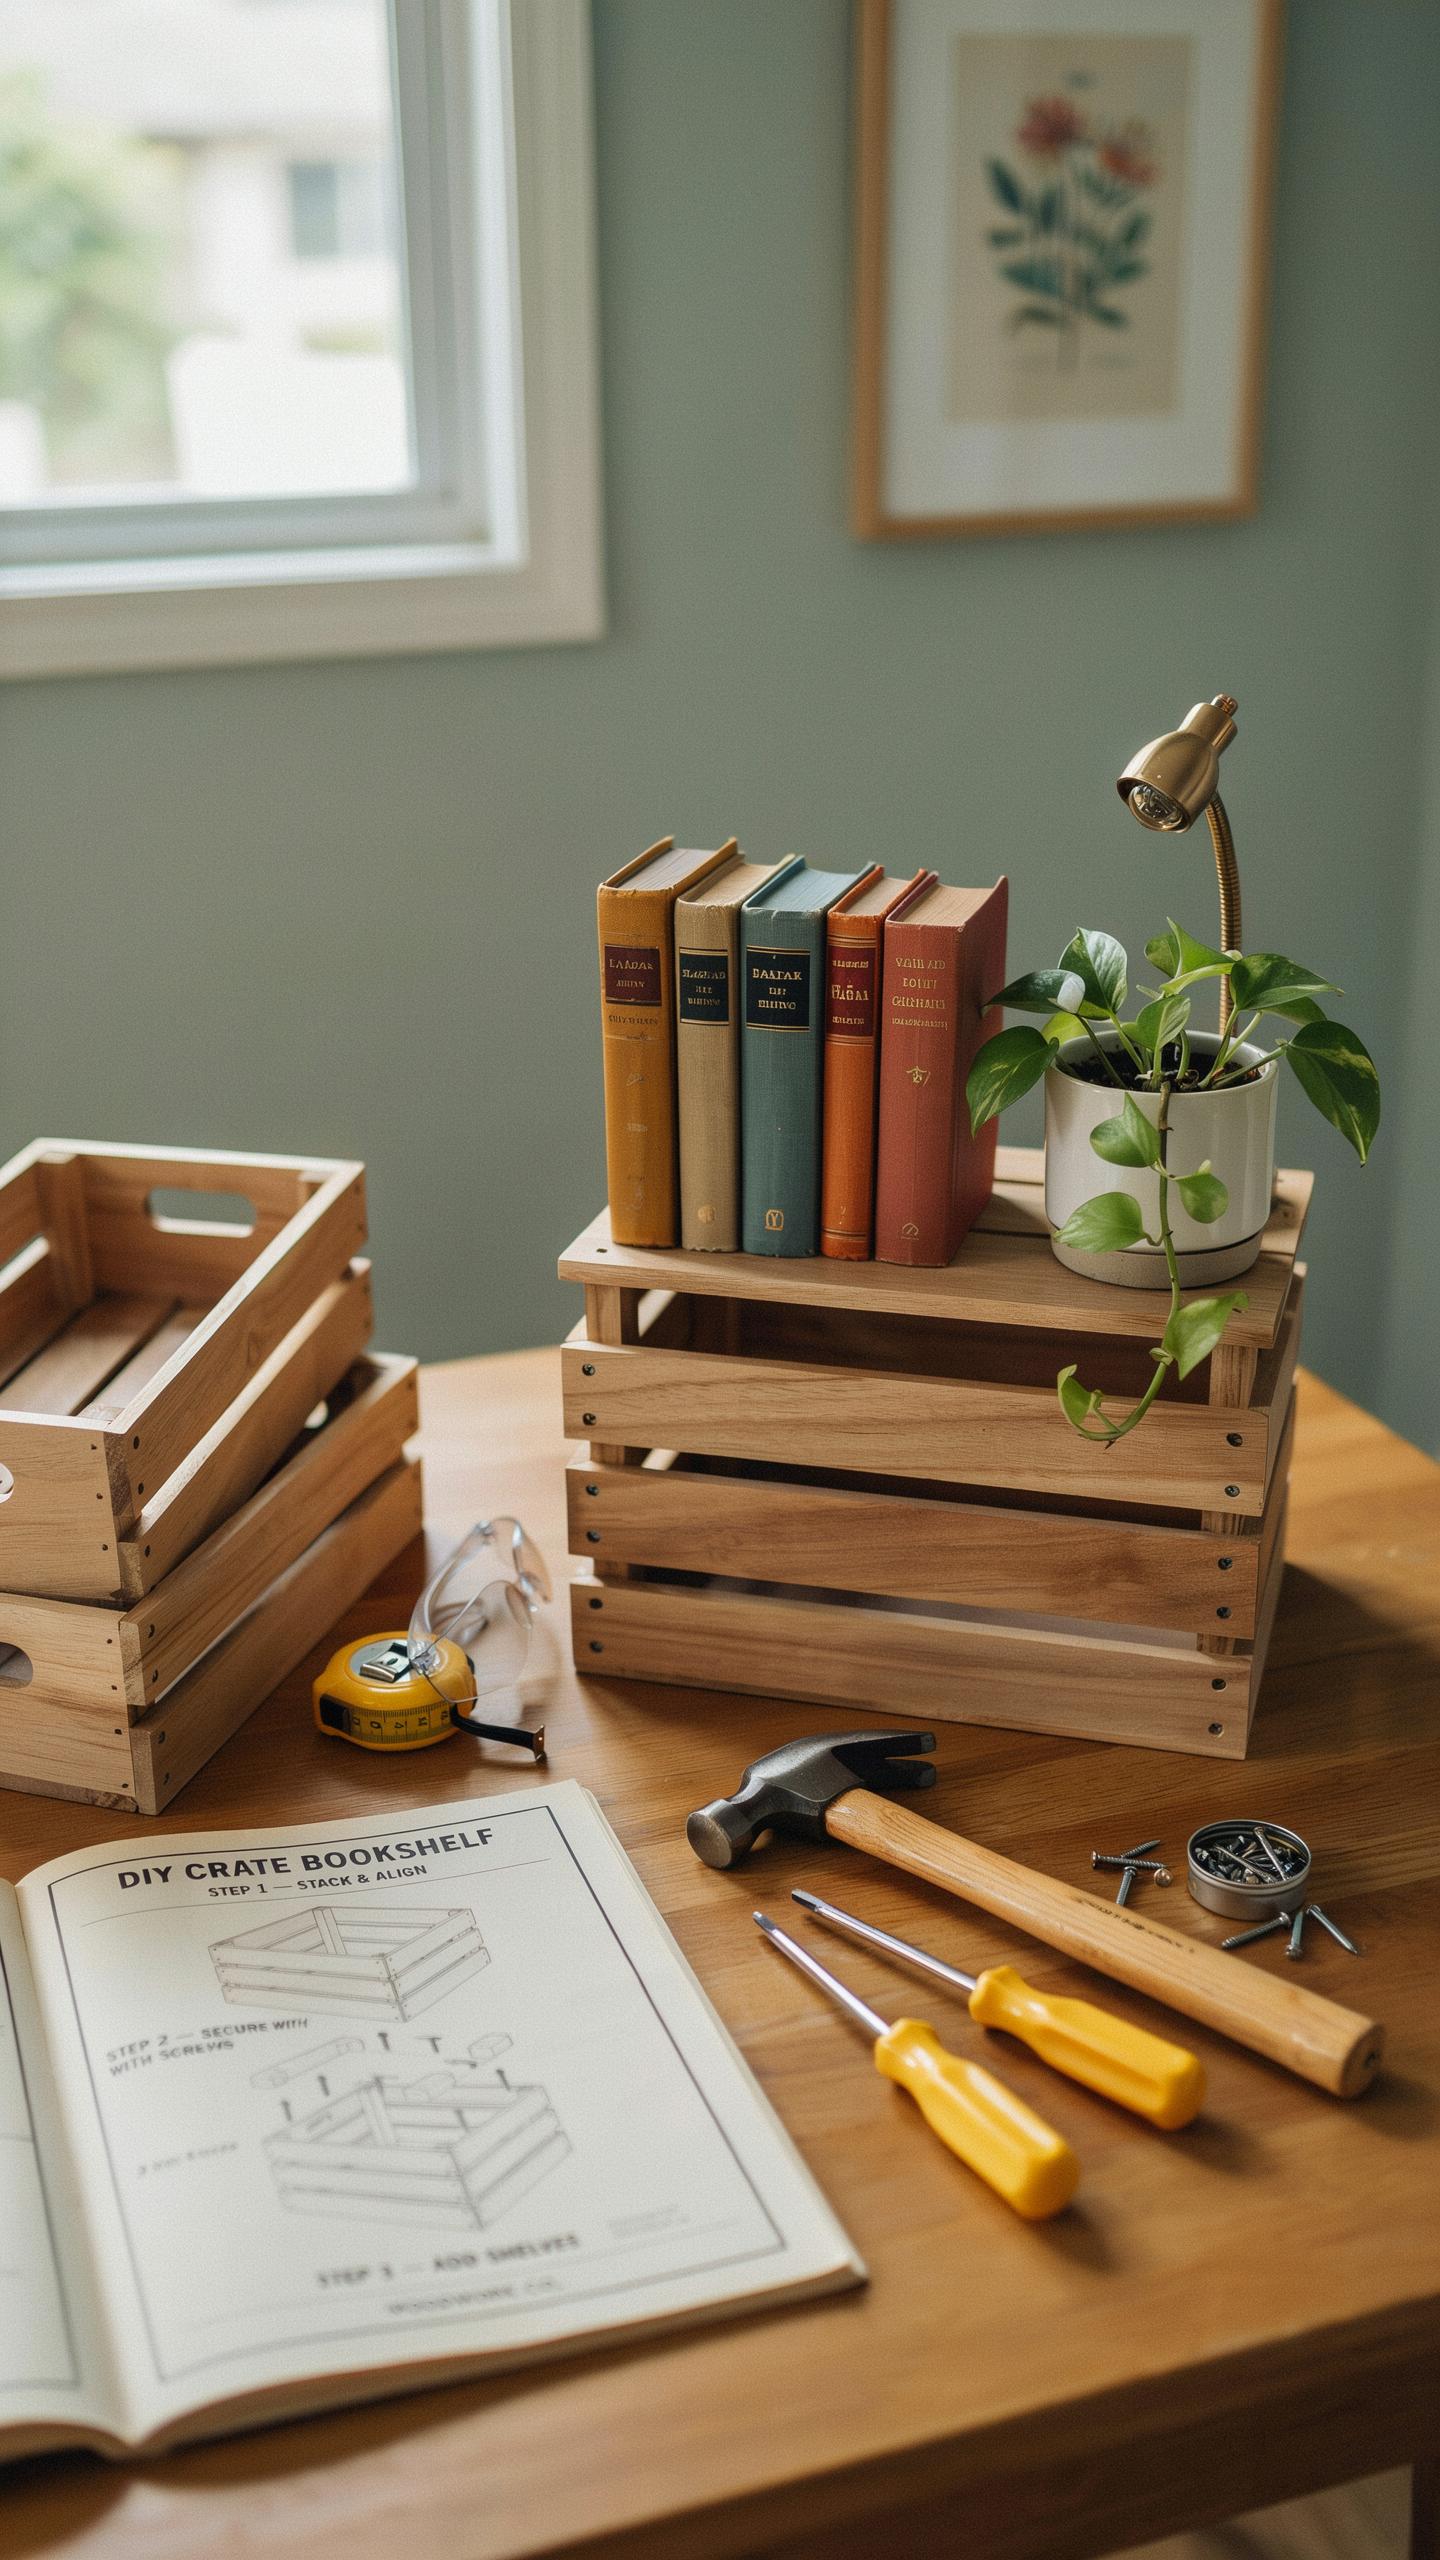
Start with crates that measure between 12 and 16 inches in width. Larger crates become unstable when stacked. Sand all surfaces with 120-grit sandpaper to remove splinters and rough edges. This prep work prevents injuries and creates a smooth base for stain or paint application. Work in one direction during sanding to maintain consistent surface texture.
- Inspect crates for damage: Check for cracks, loose slats, or rot before purchasing. Damaged wood compromises structural integrity and limits your design options.
- Sand with 120-grit paper: Remove splinters and surface imperfections. Follow wood grain direction to achieve uniform finish.
- Apply wood stain or primer: Choose products rated for interior wood. Allow full drying time per manufacturer instructions before proceeding.
- Position crates on wall: Mark stud locations with a stud finder. Mount crates horizontally or vertically depending on your wall layout preference.
- Secure with L-brackets: Install heavy-duty L-brackets on back corners. Use 2.5-inch wood screws rated for your wall material type.
- Level each crate: Check horizontal alignment before tightening all fasteners. Uneven shelves cause books and decor to shift during use.
Stack no more than three crates vertically without additional wall support. Fasten crates to wall studs using L-brackets rated for at least 50 pounds per bracket. Test stability before loading books or heavy objects onto your completed shelf.
Finishing Techniques
Natural beeswax creates a warm, muted appearance on pine and reclaimed wood crates. Apply thin coats with a lint-free cloth, buffing between applications. Beeswax enhances wood grain visibility and develops a patina over months of use. This finish resists water spotting better than raw wood but requires periodic reapplication every six to twelve months.

Dark wood stains and chalk paint serve different design goals based on your room aesthetic. Dark stains match traditional or industrial decor styles while hiding dust and marks better than light finishes. Chalk paint enables quick color changes and pairs well with modern or farmhouse aesthetics. Select finishes that coordinate with existing furniture and wall colors in your space rather than treating the bookshelf as an isolated element.
Budget Wood Crate Shelf Ideas For Kitchens And Pantries
Spice Racks
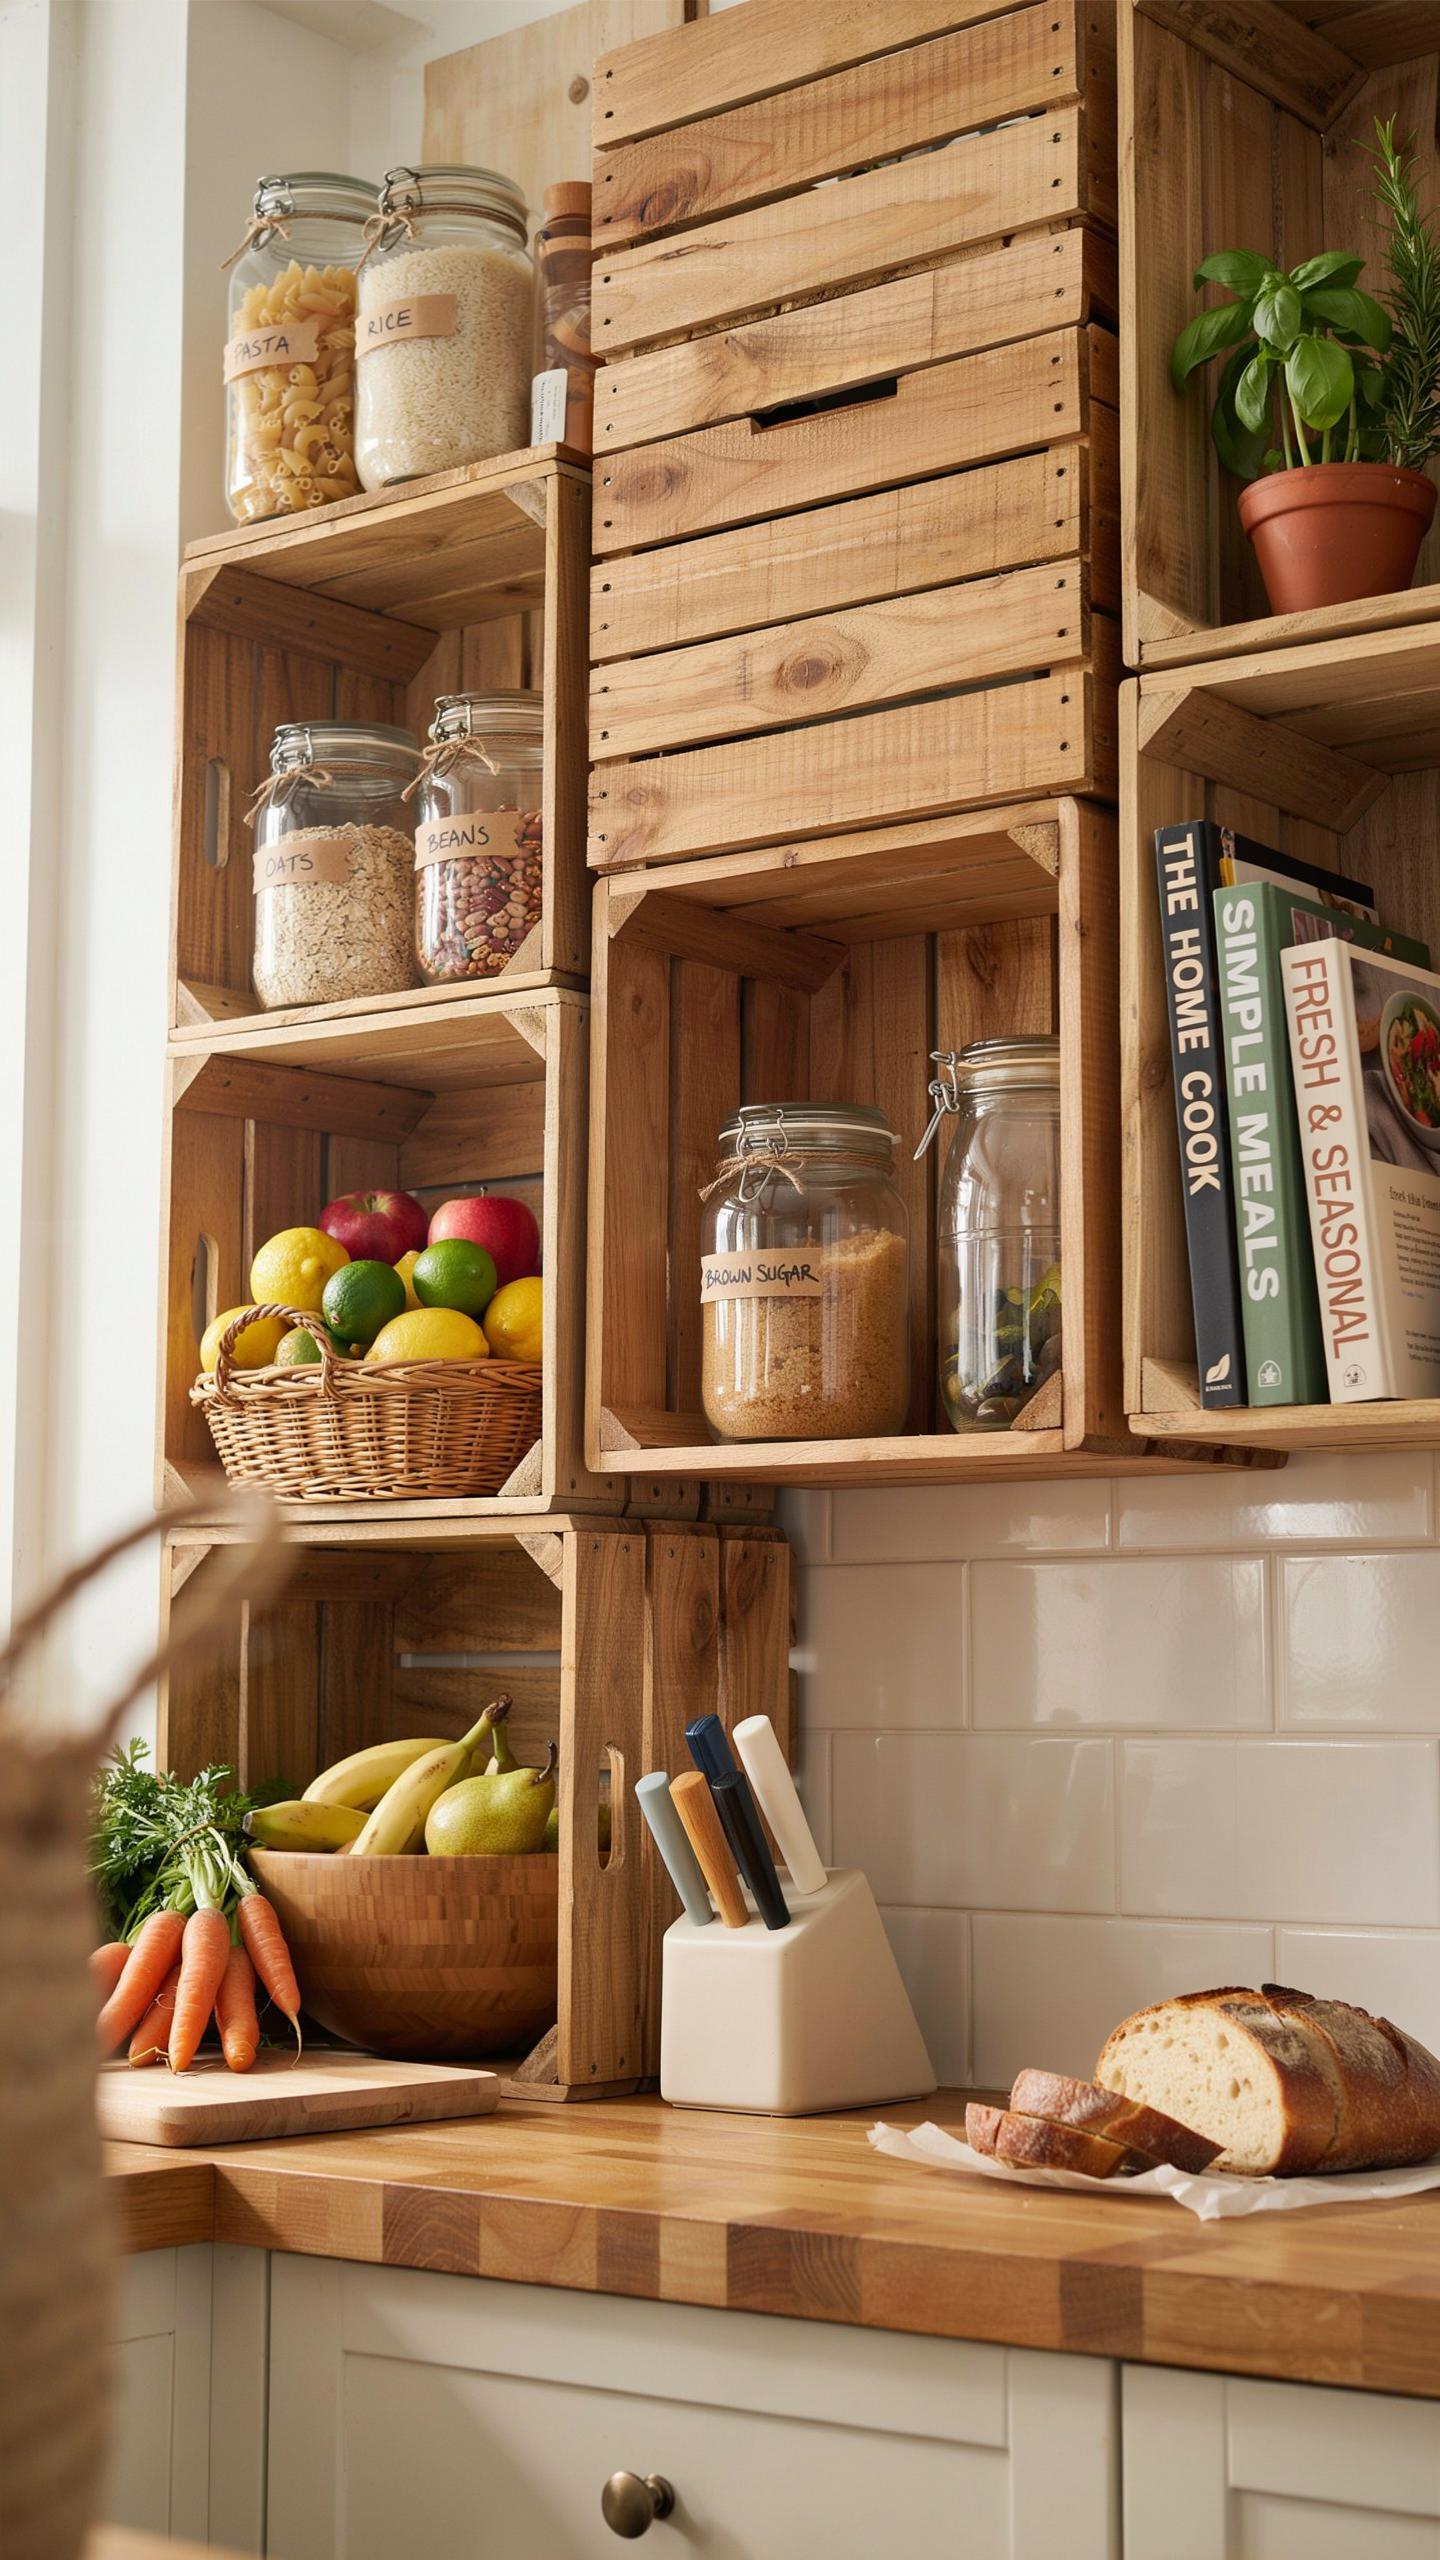
Shallow wooden crates mount directly to kitchen walls near stovetops to hold spice jars and cooking oils. The slatted design lets you see inventory at a glance without opening cabinet doors. Mount crates at arm height above your work surface for quick access during meal prep. Secure crates with heavy-duty brackets rated for the weight of your spice collection.
Organize spices by category inside the crate. Group baking spices together, then dried herbs, then cooking salts. Label jar lids on top so you identify contents without turning bottles. This system cuts prep time and prevents purchasing duplicates. Oils in dark glass bottles stay protected from light degradation when stored in crates positioned away from direct sunlight.
Root Vegetable Bins
Wooden crates with intact slats create natural ventilation for root vegetables. Air circulation around potatoes, onions, and garlic prevents moisture buildup that causes rot. Stack crates at ground level or on low shelving in pantries or cool kitchen corners. Elevated storage keeps produce away from floor pests and spills.

Line crate bottoms with newspaper or kraft paper to catch soil debris while maintaining airflow through slats. Check vegetables weekly and remove any showing soft spots or sprouting. This storage method keeps produce fresh for weeks without refrigeration, reducing waste and grocery trips. Crates cost less than plastic bins and handle temperature fluctuations in unheated pantries better than sealed containers.
Eco Friendly Bathroom Storage And Crate Bookshelf Ideas
Towel Consoles
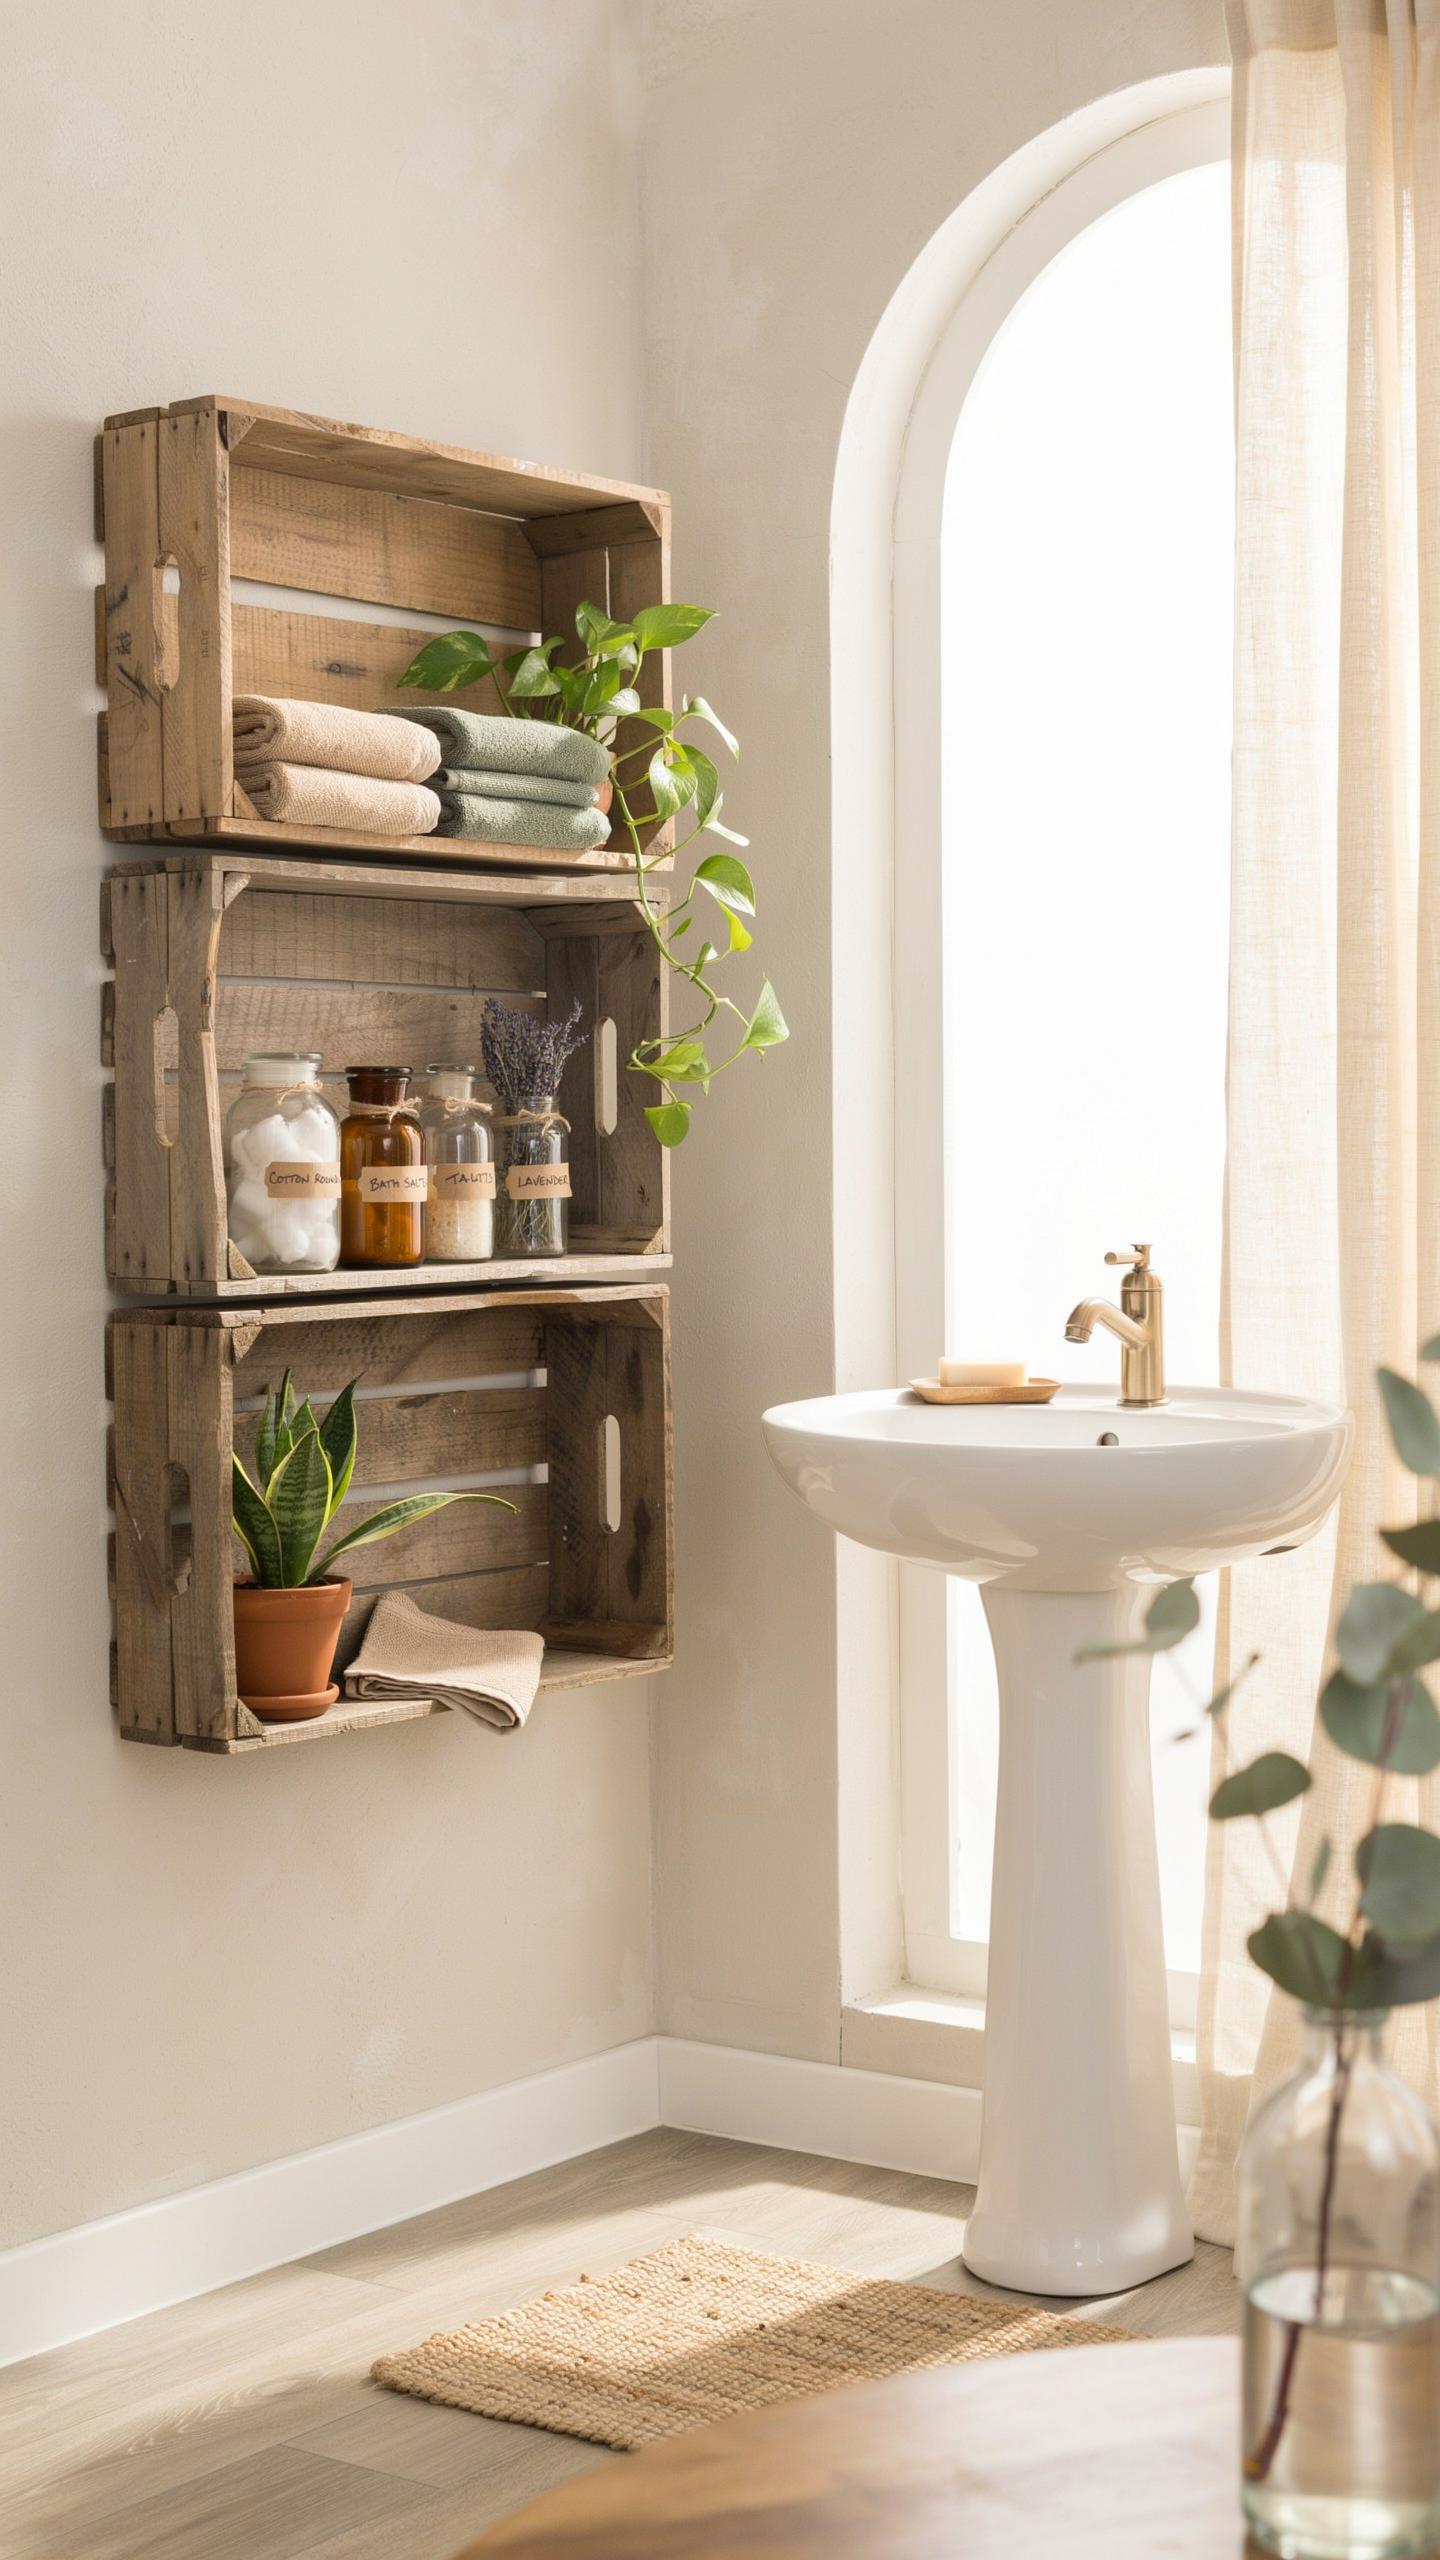
Stack sealed wooden crates vertically along your bathroom wall to create towel storage. This approach works because sealed containers protect textiles from moisture and dust. Roll towels tightly and arrange them horizontally inside each crate tier. Add extra toilet paper rolls in the gaps between towel rolls. Secure the stack to wall studs with L brackets to prevent tipping. This method costs less than built in cabinetry and takes one afternoon to install.
The vertical stacking strategy maximizes unused wall space in small bathrooms. Each crate holds approximately eight to twelve rolled towels depending on size. You control the height by adding or removing crate units. Paint or stain the wood to match your existing bathroom fixtures. The modular design lets you reconfigure storage as your needs change without permanent damage to walls.
Medicine Cabinets Recycled
Mount a single medium wooden crate horizontally above your bathroom sink to serve as a vanity cabinet. Install a shelf divider inside the box at the midpoint to create two compartments. The upper section holds daily medications and first aid supplies. The lower section stores grooming products and cleaning supplies. Attach the crate securely with wall anchors rated for your wall type. This solution costs under thirty dollars and installs without professional help.

The single crate design provides accessible storage at eye level while maintaining visual simplicity. Wood naturally resists bathroom humidity better than particleboard alternatives when properly sealed. Leave the front open or add a hinged wooden door frame made from reclaimed lumber. The neutral wood tone complements most bathroom color schemes. This approach eliminates the need for expensive medicine cabinets while keeping essentials within arm’s reach.
Inspiring Recycled Furniture Ideas Using Industrial Shipping Boxes
Crate Coffee Tables
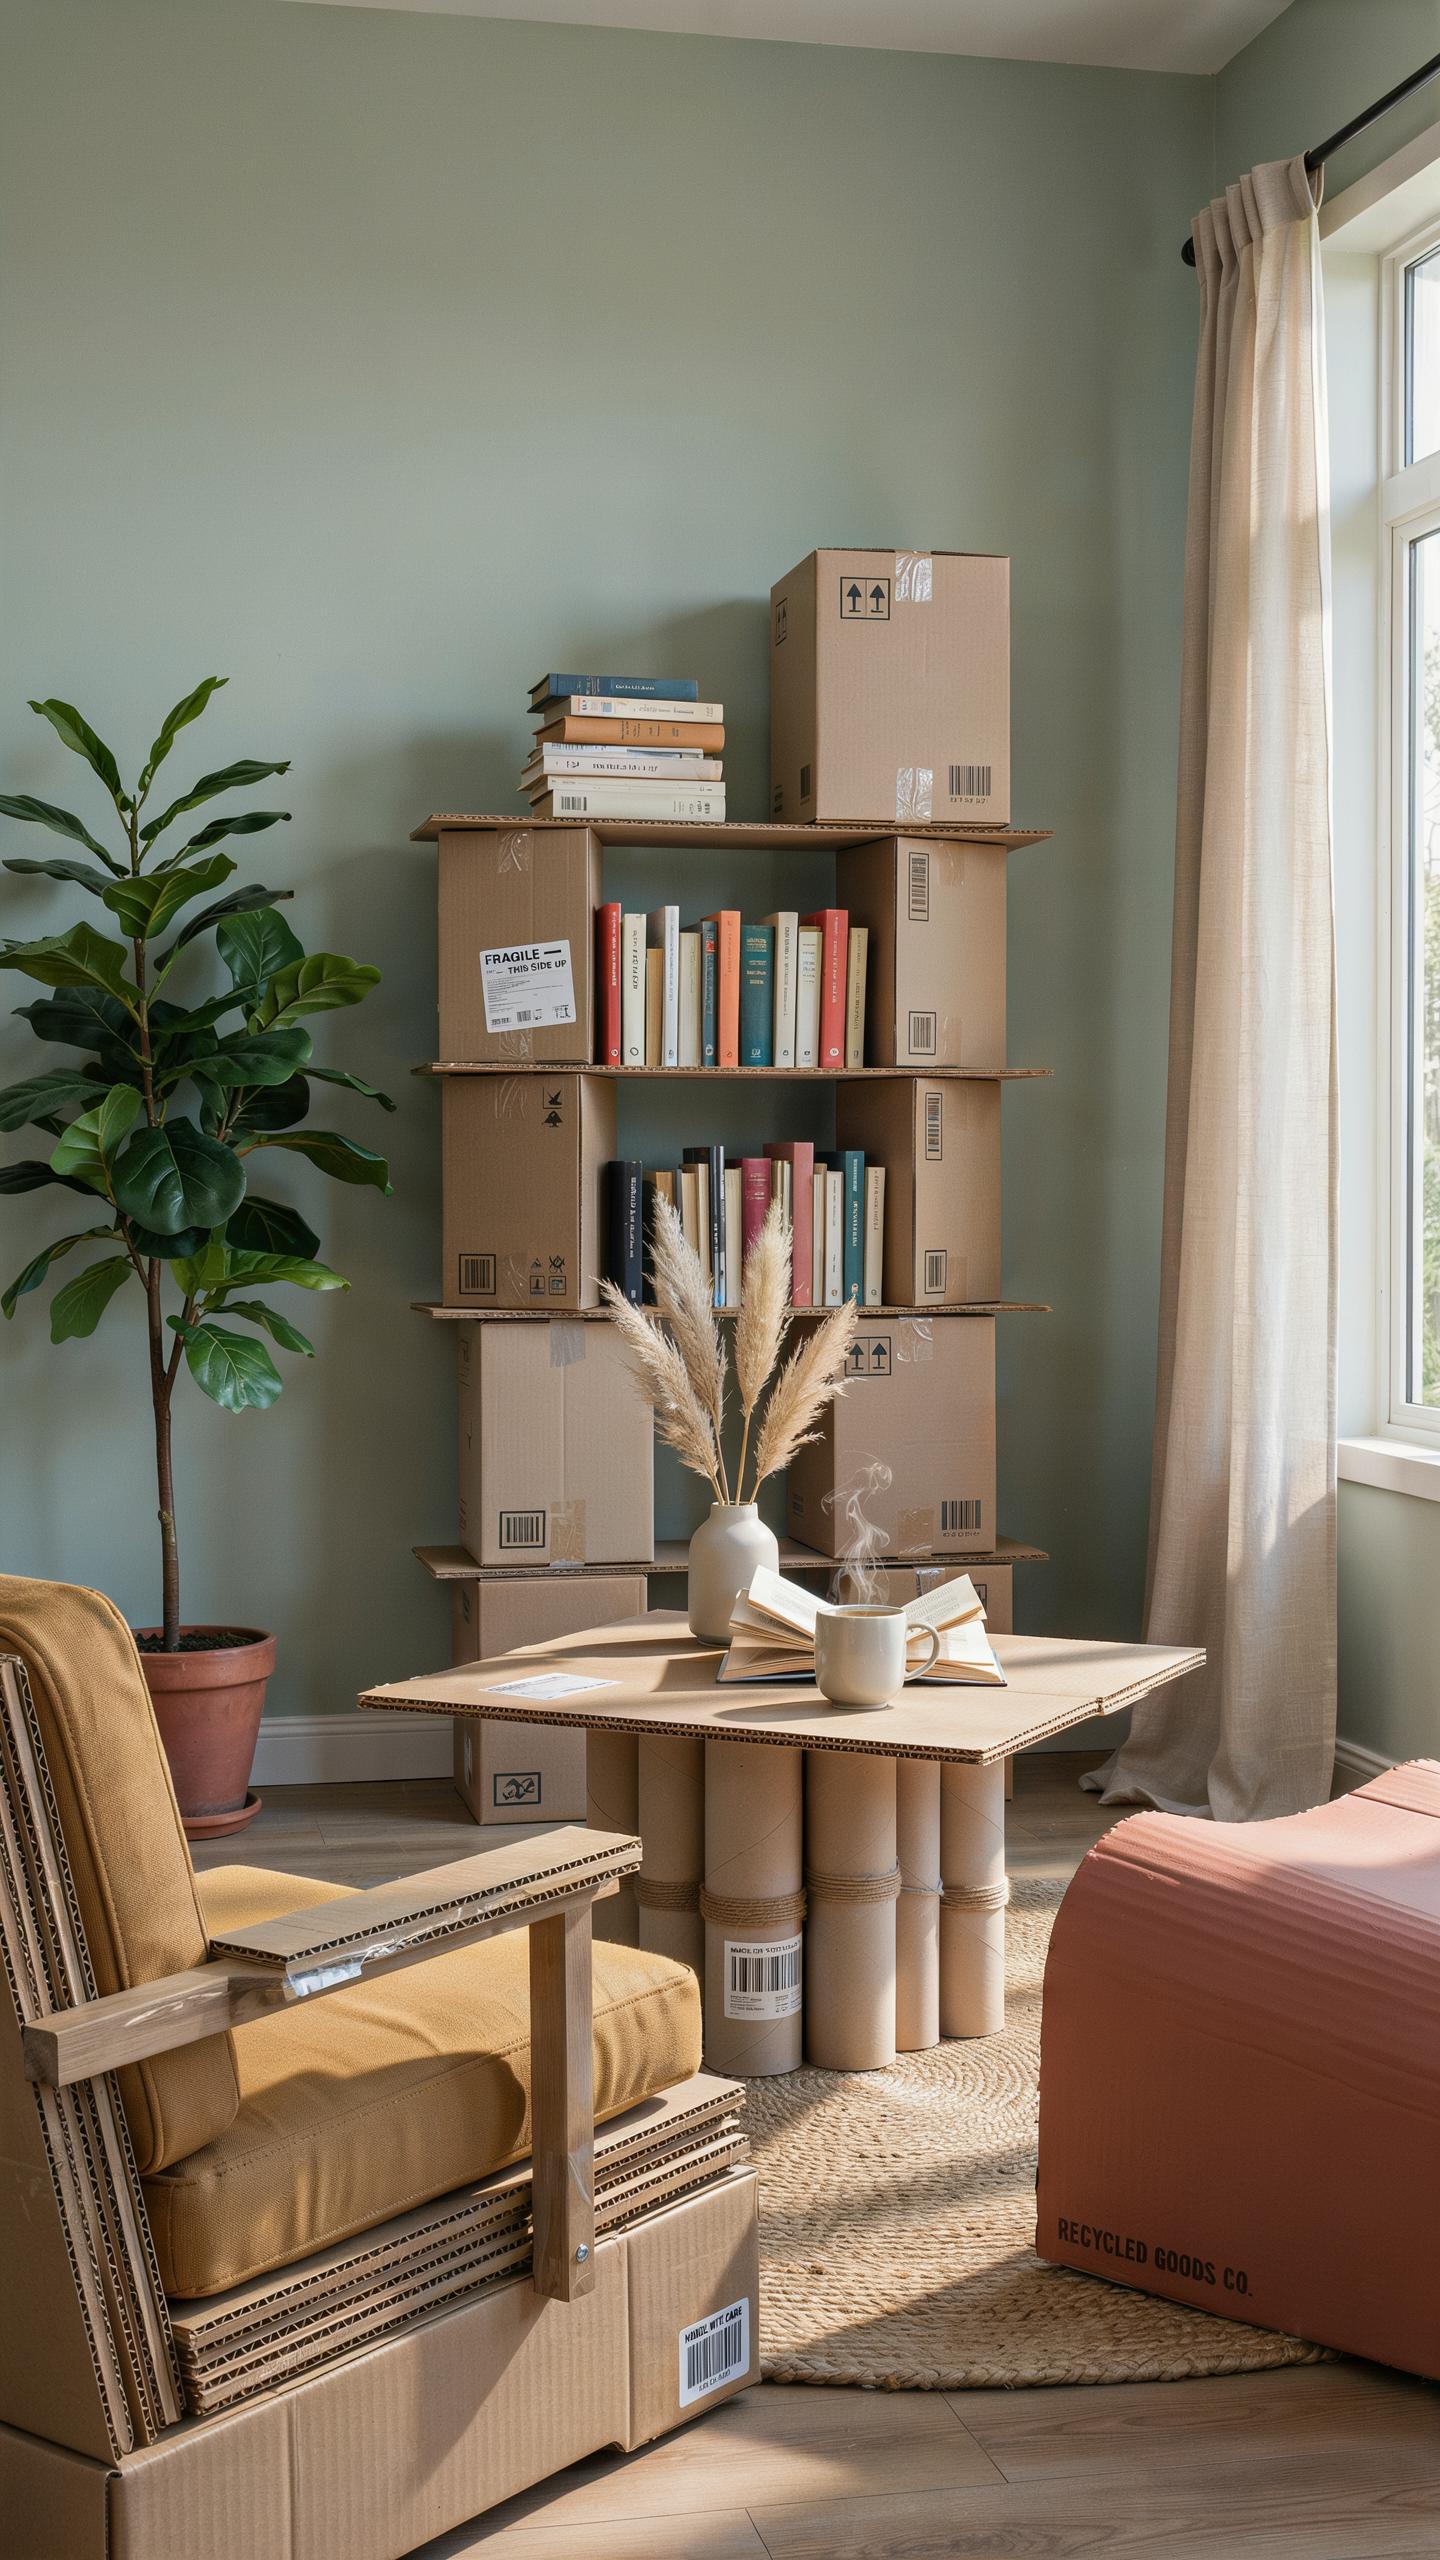
Four wooden crates stacked in a square formation create a stable coffee table base. This configuration distributes weight evenly across all four corners. The center cavity becomes functional space for a planter or storage basket. Use crates of identical dimensions to ensure a level surface. Secure them together with wood screws or brackets to prevent shifting. Sand any rough edges before assembly. Top the structure with a piece of reclaimed wood or tempered glass cut to size.
The center planter approach transforms a basic table into a living display piece. Select a plastic liner or terracotta pot that fits the opening dimensions. Drainage holes in the pot prevent water damage to the wood below. Rotate seasonal plants to keep the focal point fresh without replacing furniture. This design works in living rooms, bedrooms, or outdoor patios depending on material selection and weatherproofing.
Modular Bedroom Nightstands
Single vertical crates function as efficient bedside tables without taking floor space. Position one crate on its side to create open shelving directly at arm’s reach from the bed. The cubby space holds books, lamps, and personal items without additional furniture investment. Mount crates to the wall using L-brackets for stability and to prevent tipping. This approach works well in small bedrooms where floor space is limited.
Open cubby storage eliminates the need for drawer pulls or cabinet doors. Items remain visible and accessible during nighttime hours. Stagger multiple crates vertically to create asymmetrical shelving that adds visual interest. Paint or stain each crate to match existing bedroom decor. The modular nature allows easy reconfiguration when room layouts change.
Frequently Asked Questions

What are the best ways to get started with crate decor projects?
Starting with recycled home decor from crates is easier than you might think. For beginners, the best approach is to start small by using a single crate as a rustic floor planter or a minimalist side table. You don’t need advanced carpentry skills; simply cleaning the wood and applying a light stain or paint can instantly transform a discarded shipping container into a stylish, functional piece for your living space.
How do I properly prep and finish old wooden crates for indoor use?
Safety and aesthetics are key when working with salvaged wood. Begin by thoroughly sanding the surface to remove splinters and rough patches. If you are creating recycled home decor from crates, it is crucial to check for loose nails and treat the wood for any pests. Finish your project with a high-quality sealant or wax to protect the grain and ensure the piece is easy to dust and clean regularly.
Where can I find affordable crates if I am on a tight budget?
One of the best things about this hobby is how accessible it is for any budget. You can often find wooden crates for free or very cheap at local flea markets, independent grocery stores, or wine shops. Many businesses are happy to give away their shipping pallets and crates to reduce waste. This makes it incredibly cost-effective to furnish your home beautifully without spending a fortune on expensive retail furniture.



