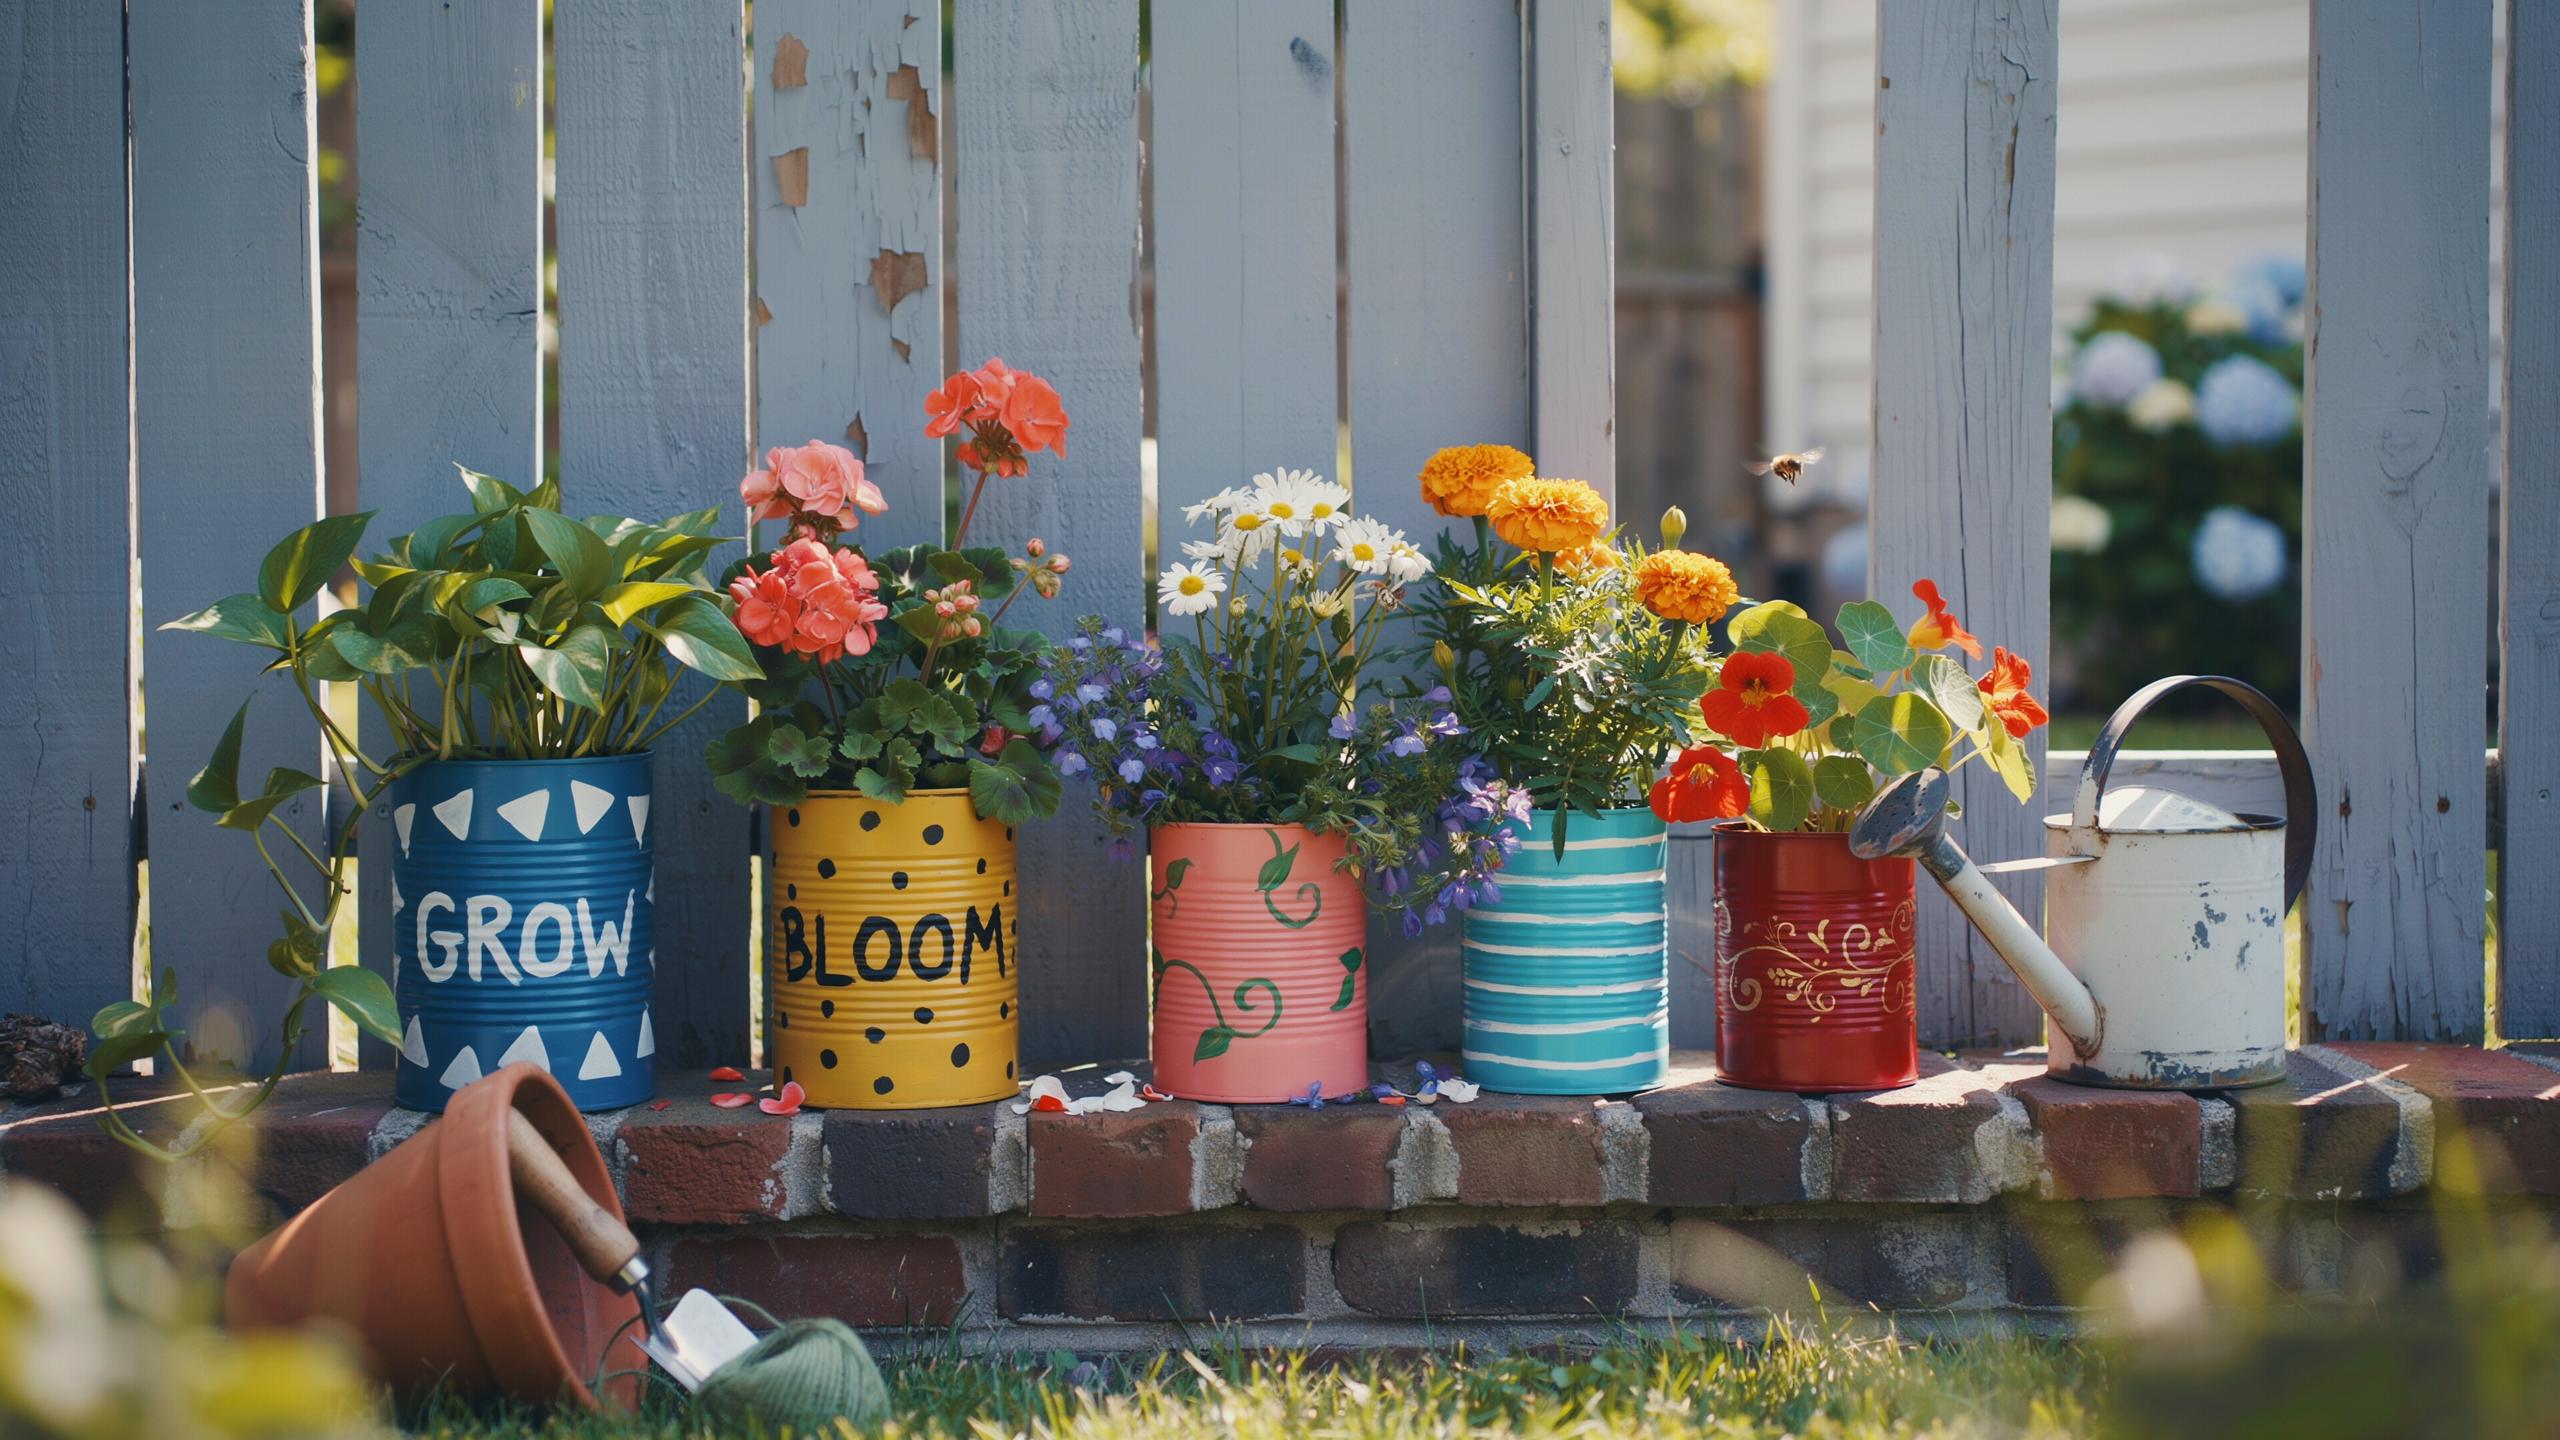
The Sustainable Appeal Of A DIY Tin Can Project
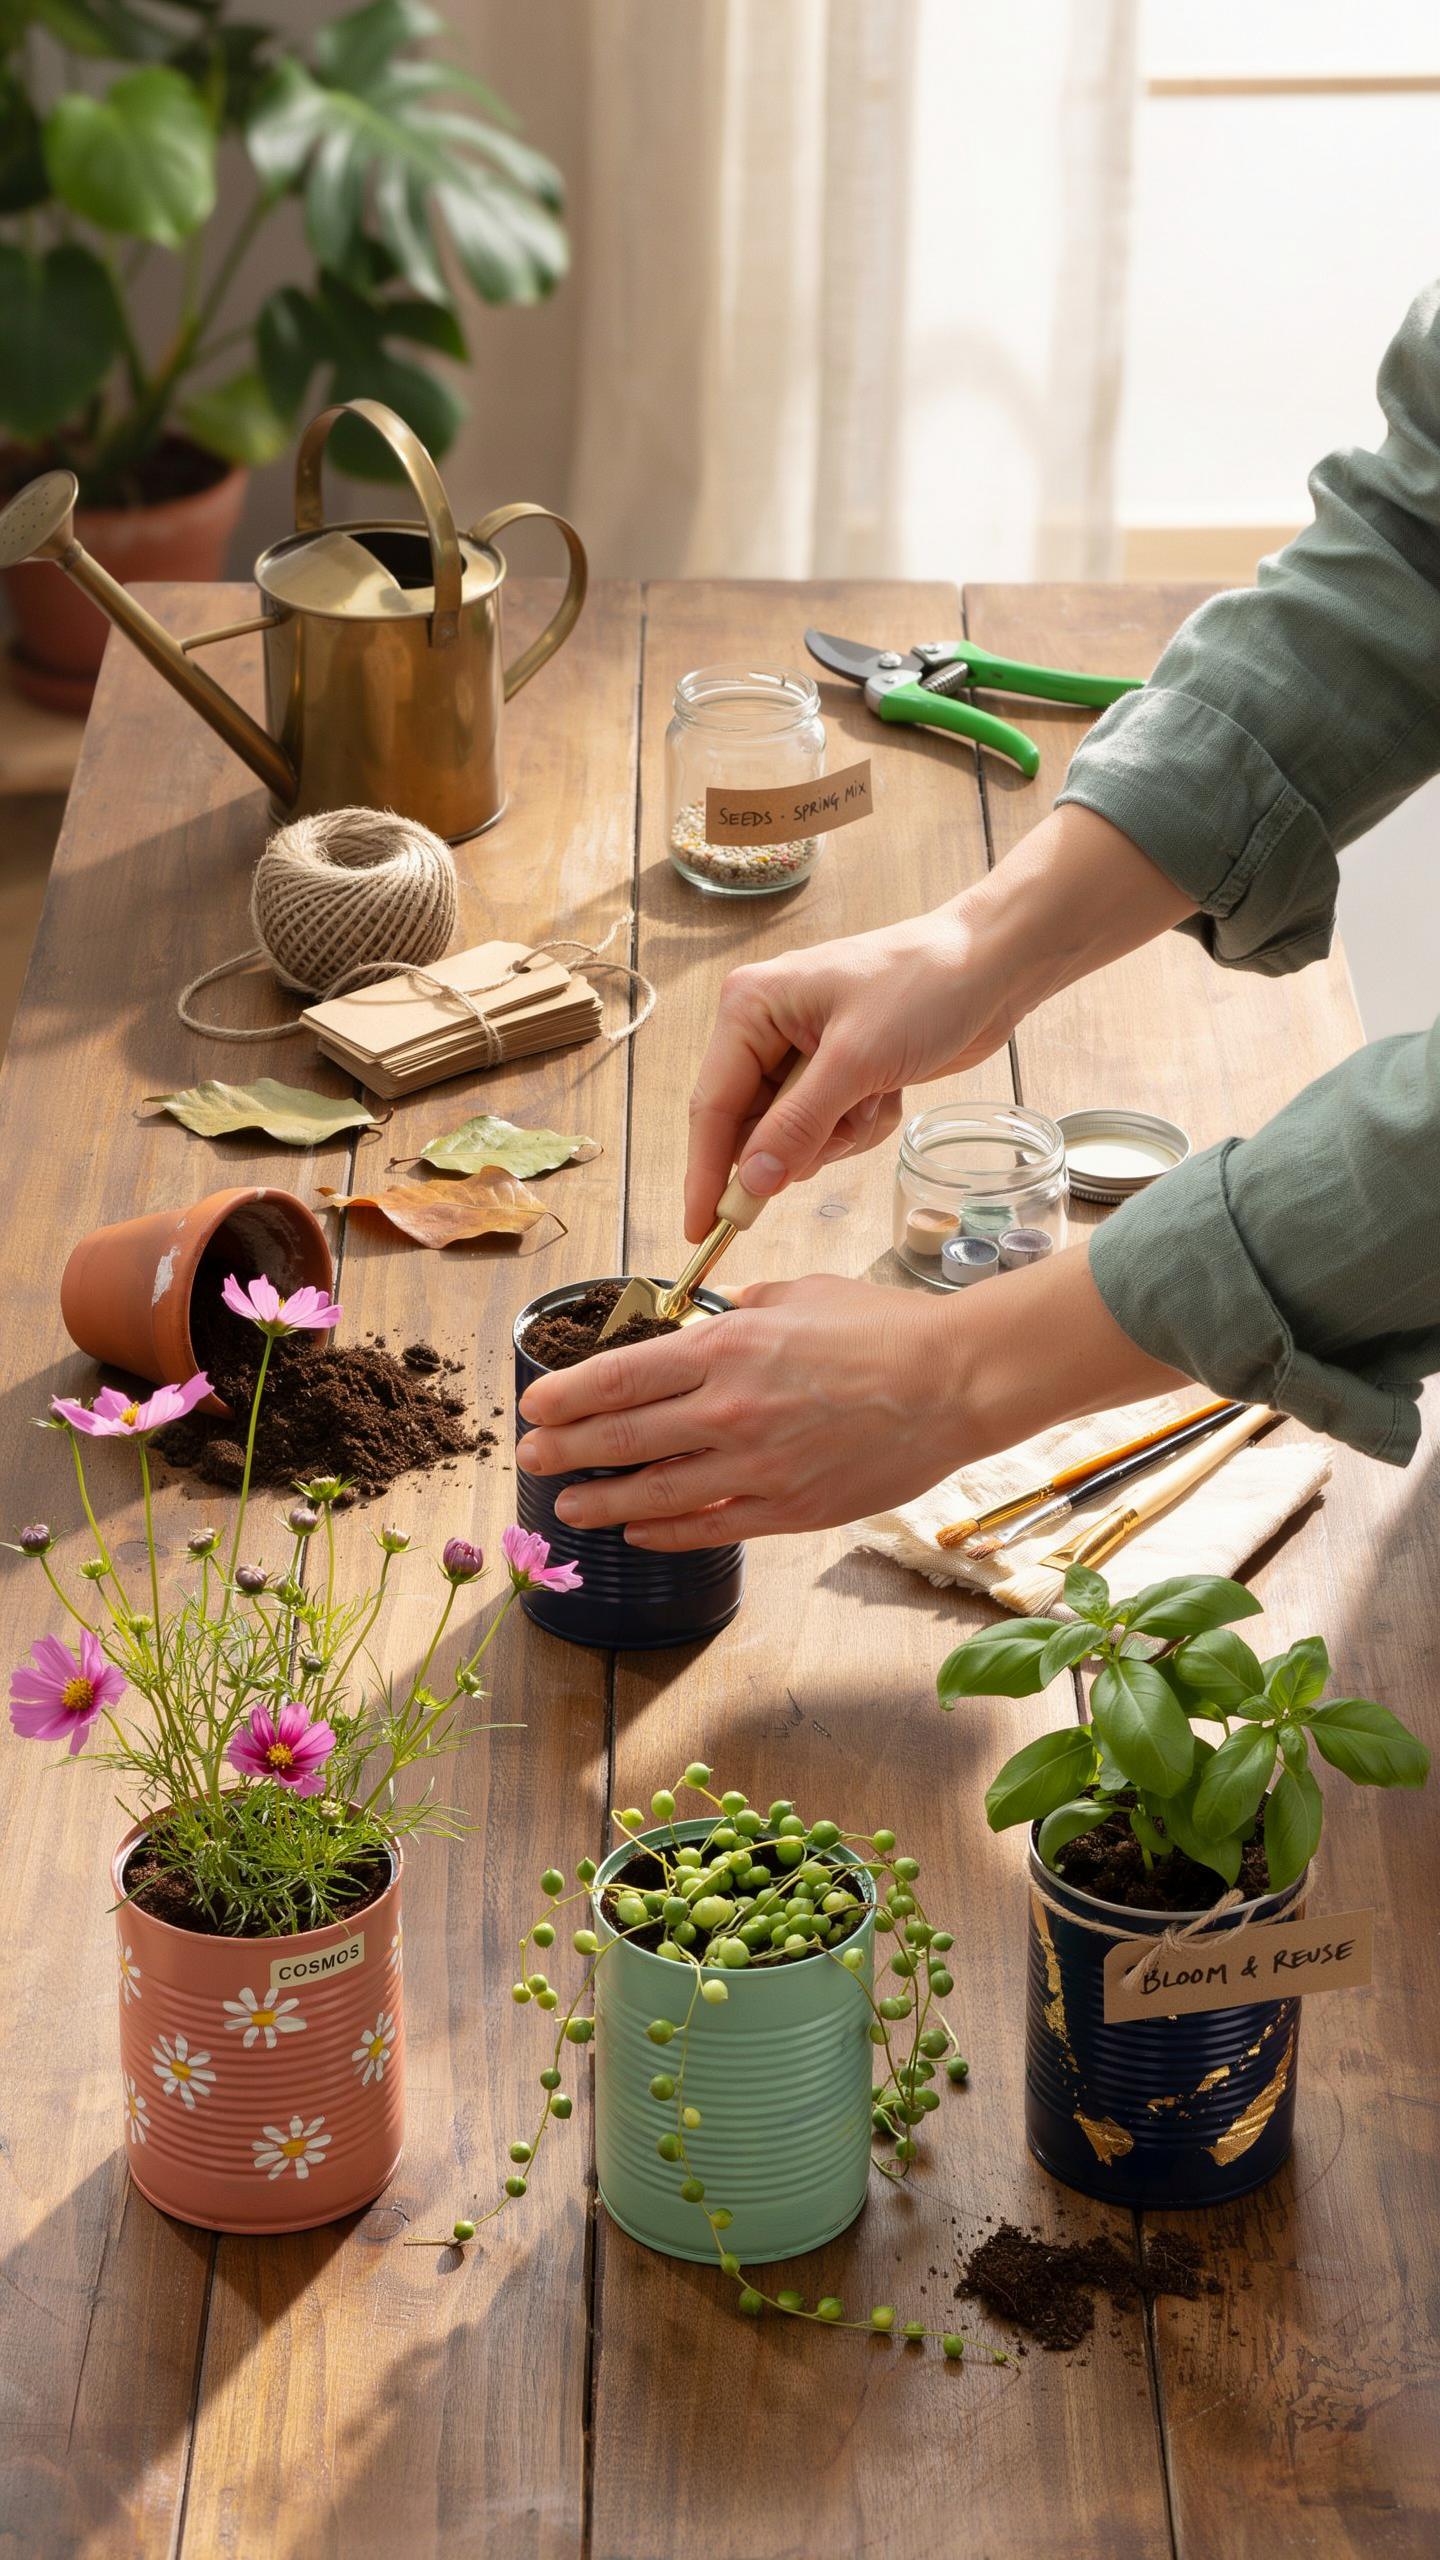
Benefits Of Upcycling Metal Waste
Upcycling tin cans eliminates waste from your trash stream. Commercial recycling requires energy to sort, transport, and process metal. When you repurpose cans at home, you skip that entire process. You transform garbage into functional outdoor decor without spending money on materials.
Tin cans work well for planters, lanterns, and storage containers. The metal resists weather and lasts for years outdoors. You control the design and finish, making pieces that match your yard. This approach reduces landfill burden while creating items you actually use.
Essential Materials And Safety Tools
Gather your supplies before starting any tin can project. Safety gear protects your hands and eyes from sharp metal edges and dust particles. Proper tools ensure clean cuts and professional results on every piece you create.
- Work Gloves: Protect hands from sharp metal edges created during cutting and drilling operations on tin cans.
- Hammer And Nail Or Drill: Create ventilation holes for drainage in planters or decorative patterns in lantern designs.
- Sandpaper: Smooth rough metal borders and edges that form after cutting or punching holes in cans.
- Outdoor Grade Acrylic Paint: Apply color and design elements that resist rain, UV rays, and temperature changes.
- Spray Sealant: Protect finished surfaces from rust and moisture damage in outdoor environments.
Having the right tools makes the work faster and safer. You avoid injuries and produce finished pieces that hold up through seasons of weather exposure. Invest in quality gloves and a decent drill to make repetitive projects manageable.

Creative Tin Can Crafts For Your Backyard Oasis
Whimsical Wind Chimes And Mobiles
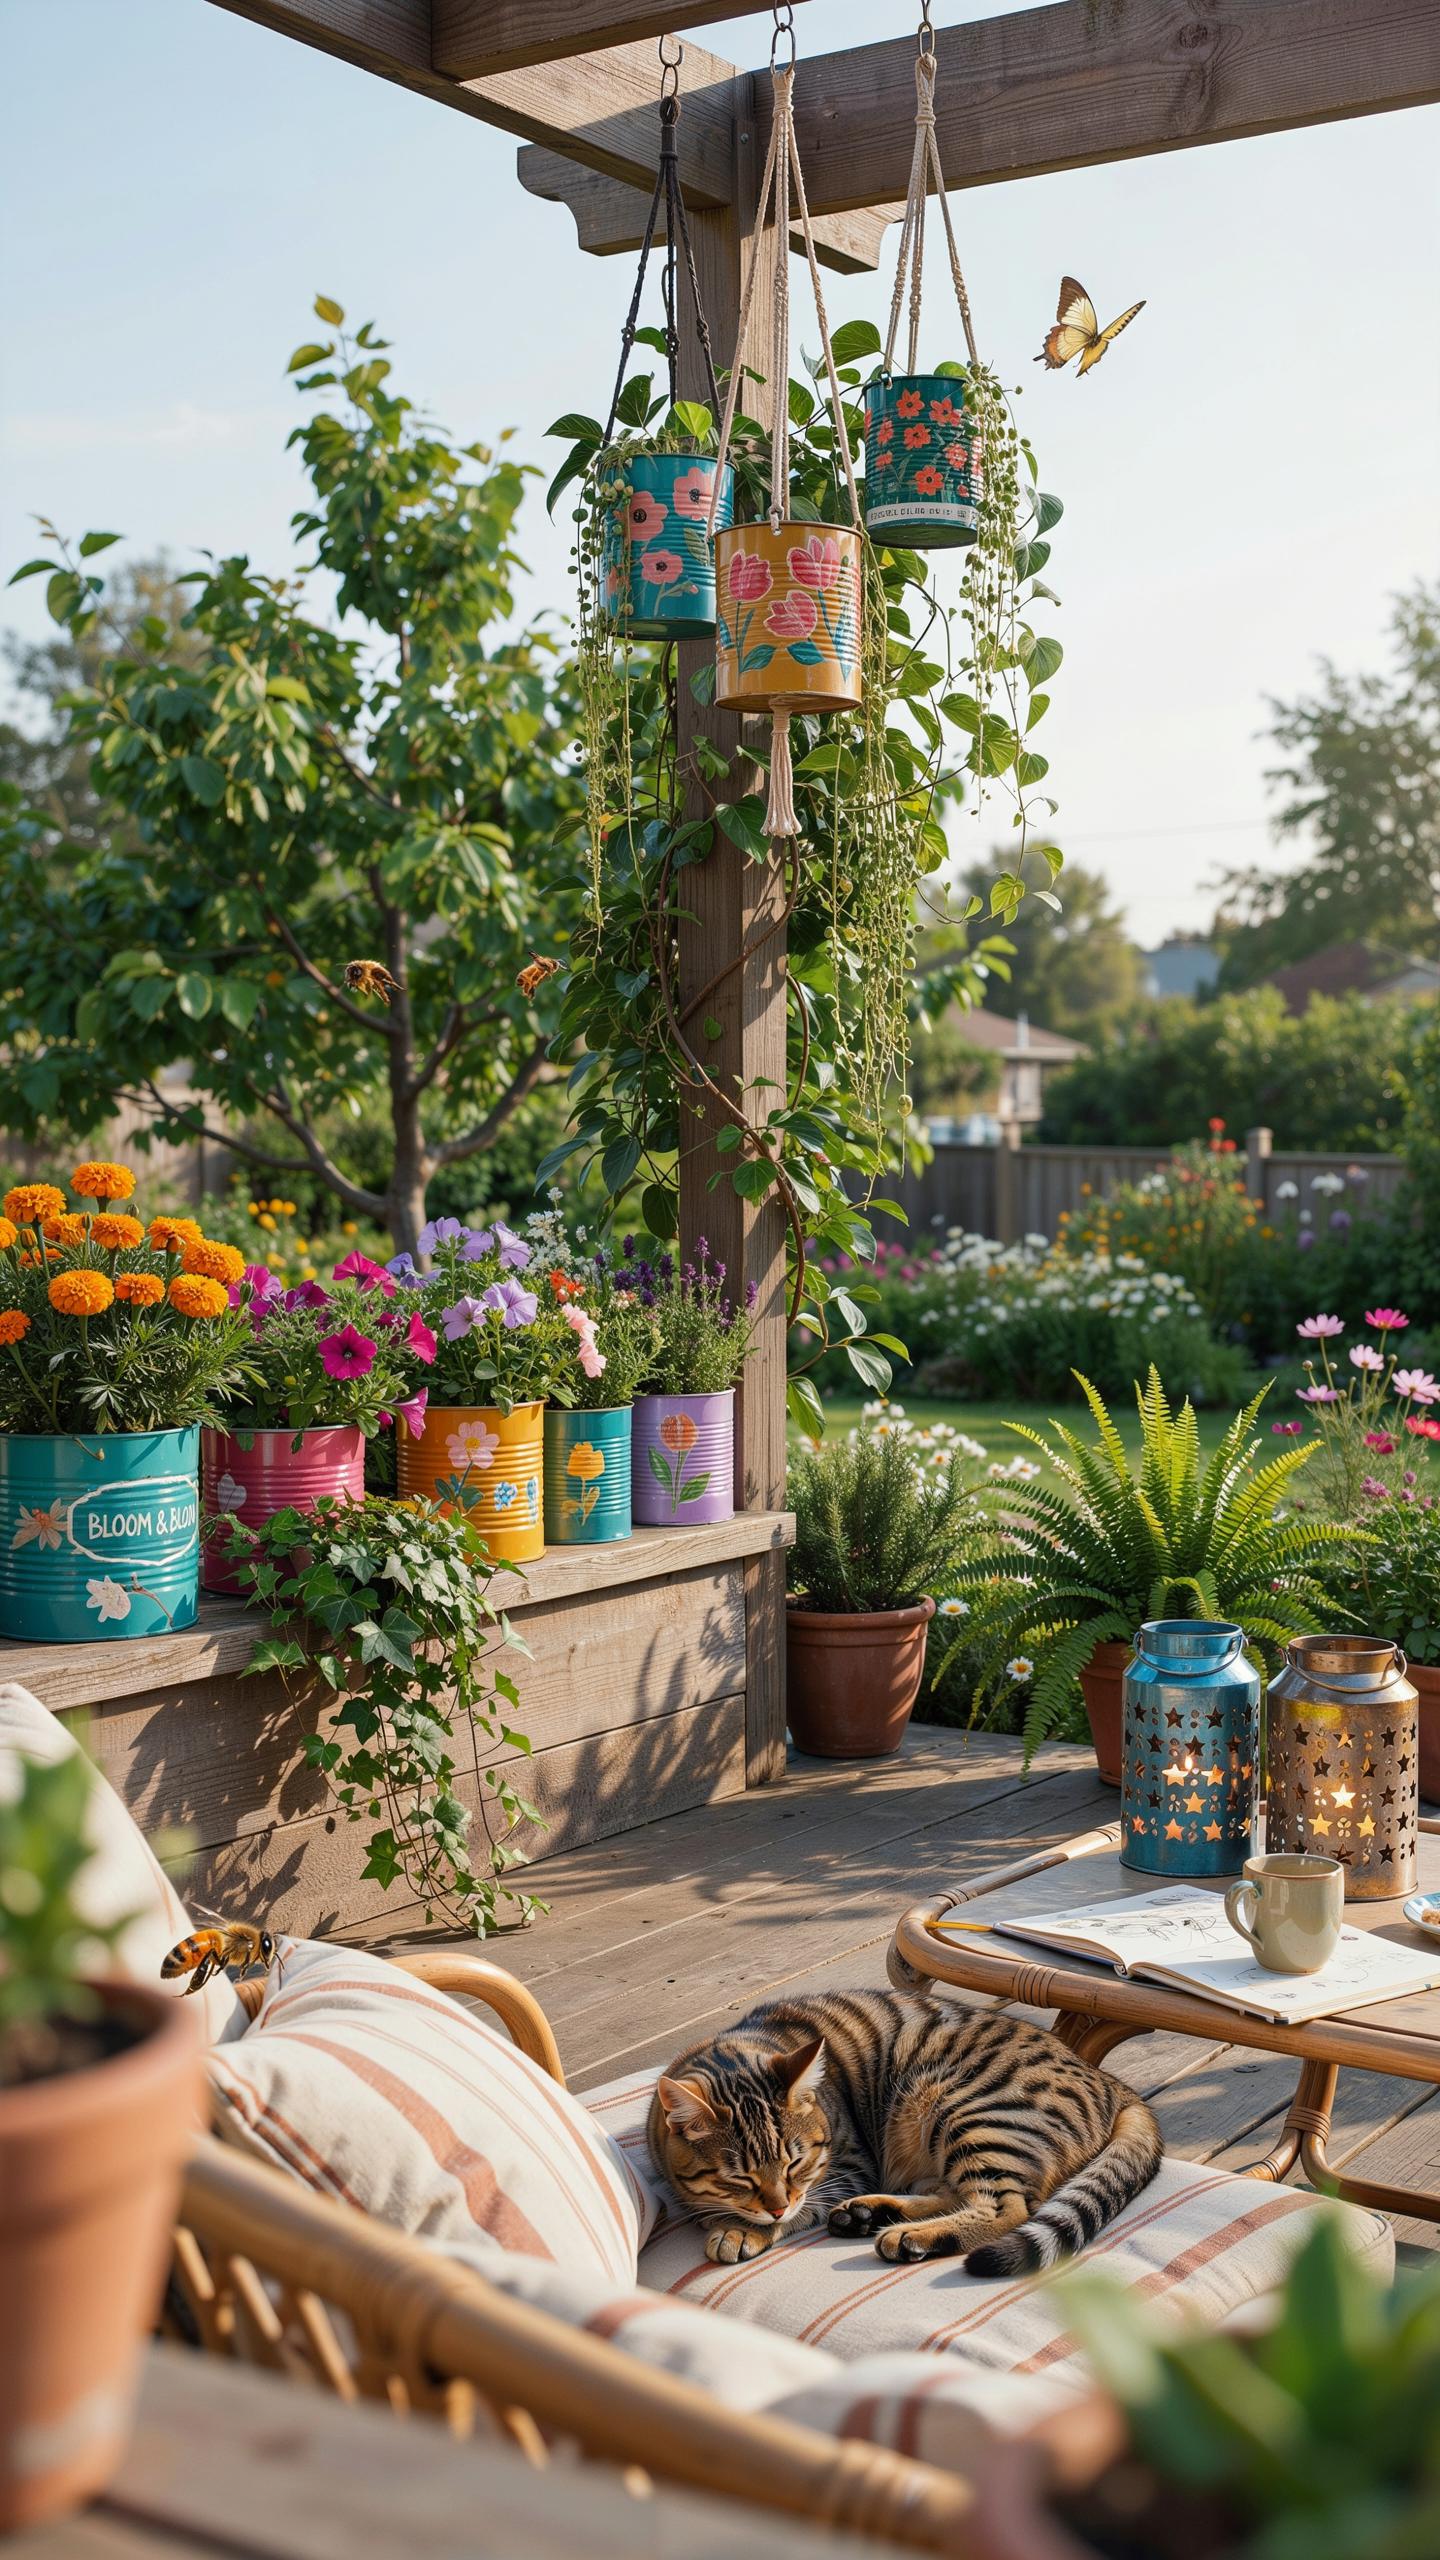
Painted tin cans suspended from branches create functional outdoor sound objects. The construction process involves drilling holes near the rim, threading sturdy wire or fishing line through attachment points, and securing cans at varying heights. Paint protects metal from rust while customizing appearance. Wind movement causes cans to strike each other, producing gentle tones that shift with breeze intensity and direction.
Material selection determines durability and sound quality. Steel cans withstand weather better than aluminum alternatives. Larger cans produce lower pitches while smaller cans generate higher notes. Spacing cans six to twelve inches apart prevents constant collision while allowing sufficient movement. This setup functions as both visual garden element and ambient audio feature that requires zero electricity or maintenance beyond occasional repainting.
We have the power to create beauty out of things that were once discarded, turning simple tin into a garden’s modern charm. There is a deep satisfaction in seeing the old find new life under the open sky.
Outdoor Tea Light Lanterns With Custom Punch Patterns
Fill empty cans with water and freeze solid to maintain structural integrity during the punching process. Place frozen cans on a stable surface and use a hammer with nail or punch tool to create geometric or floral patterns. The ice prevents denting and deformation. Once patterns are complete, allow cans to thaw and drain before inserting tea lights or candles inside for ambient outdoor lighting.

Punched patterns control light distribution and create shadow effects on surrounding surfaces. Smaller holes produce delicate point lighting while larger openings generate broader illumination. This technique works with standard tea lights or battery operated candles for safety. The metal naturally rusts over time unless sealed with outdoor varnish, which adds visual character while extending usability across multiple seasons. Placement on tables, ledges, or hung from hooks distributes light throughout garden spaces without electrical requirements.
How To Prep And Repurpose Tin Cans Safely
Removing Labels And Adhesive Residuals
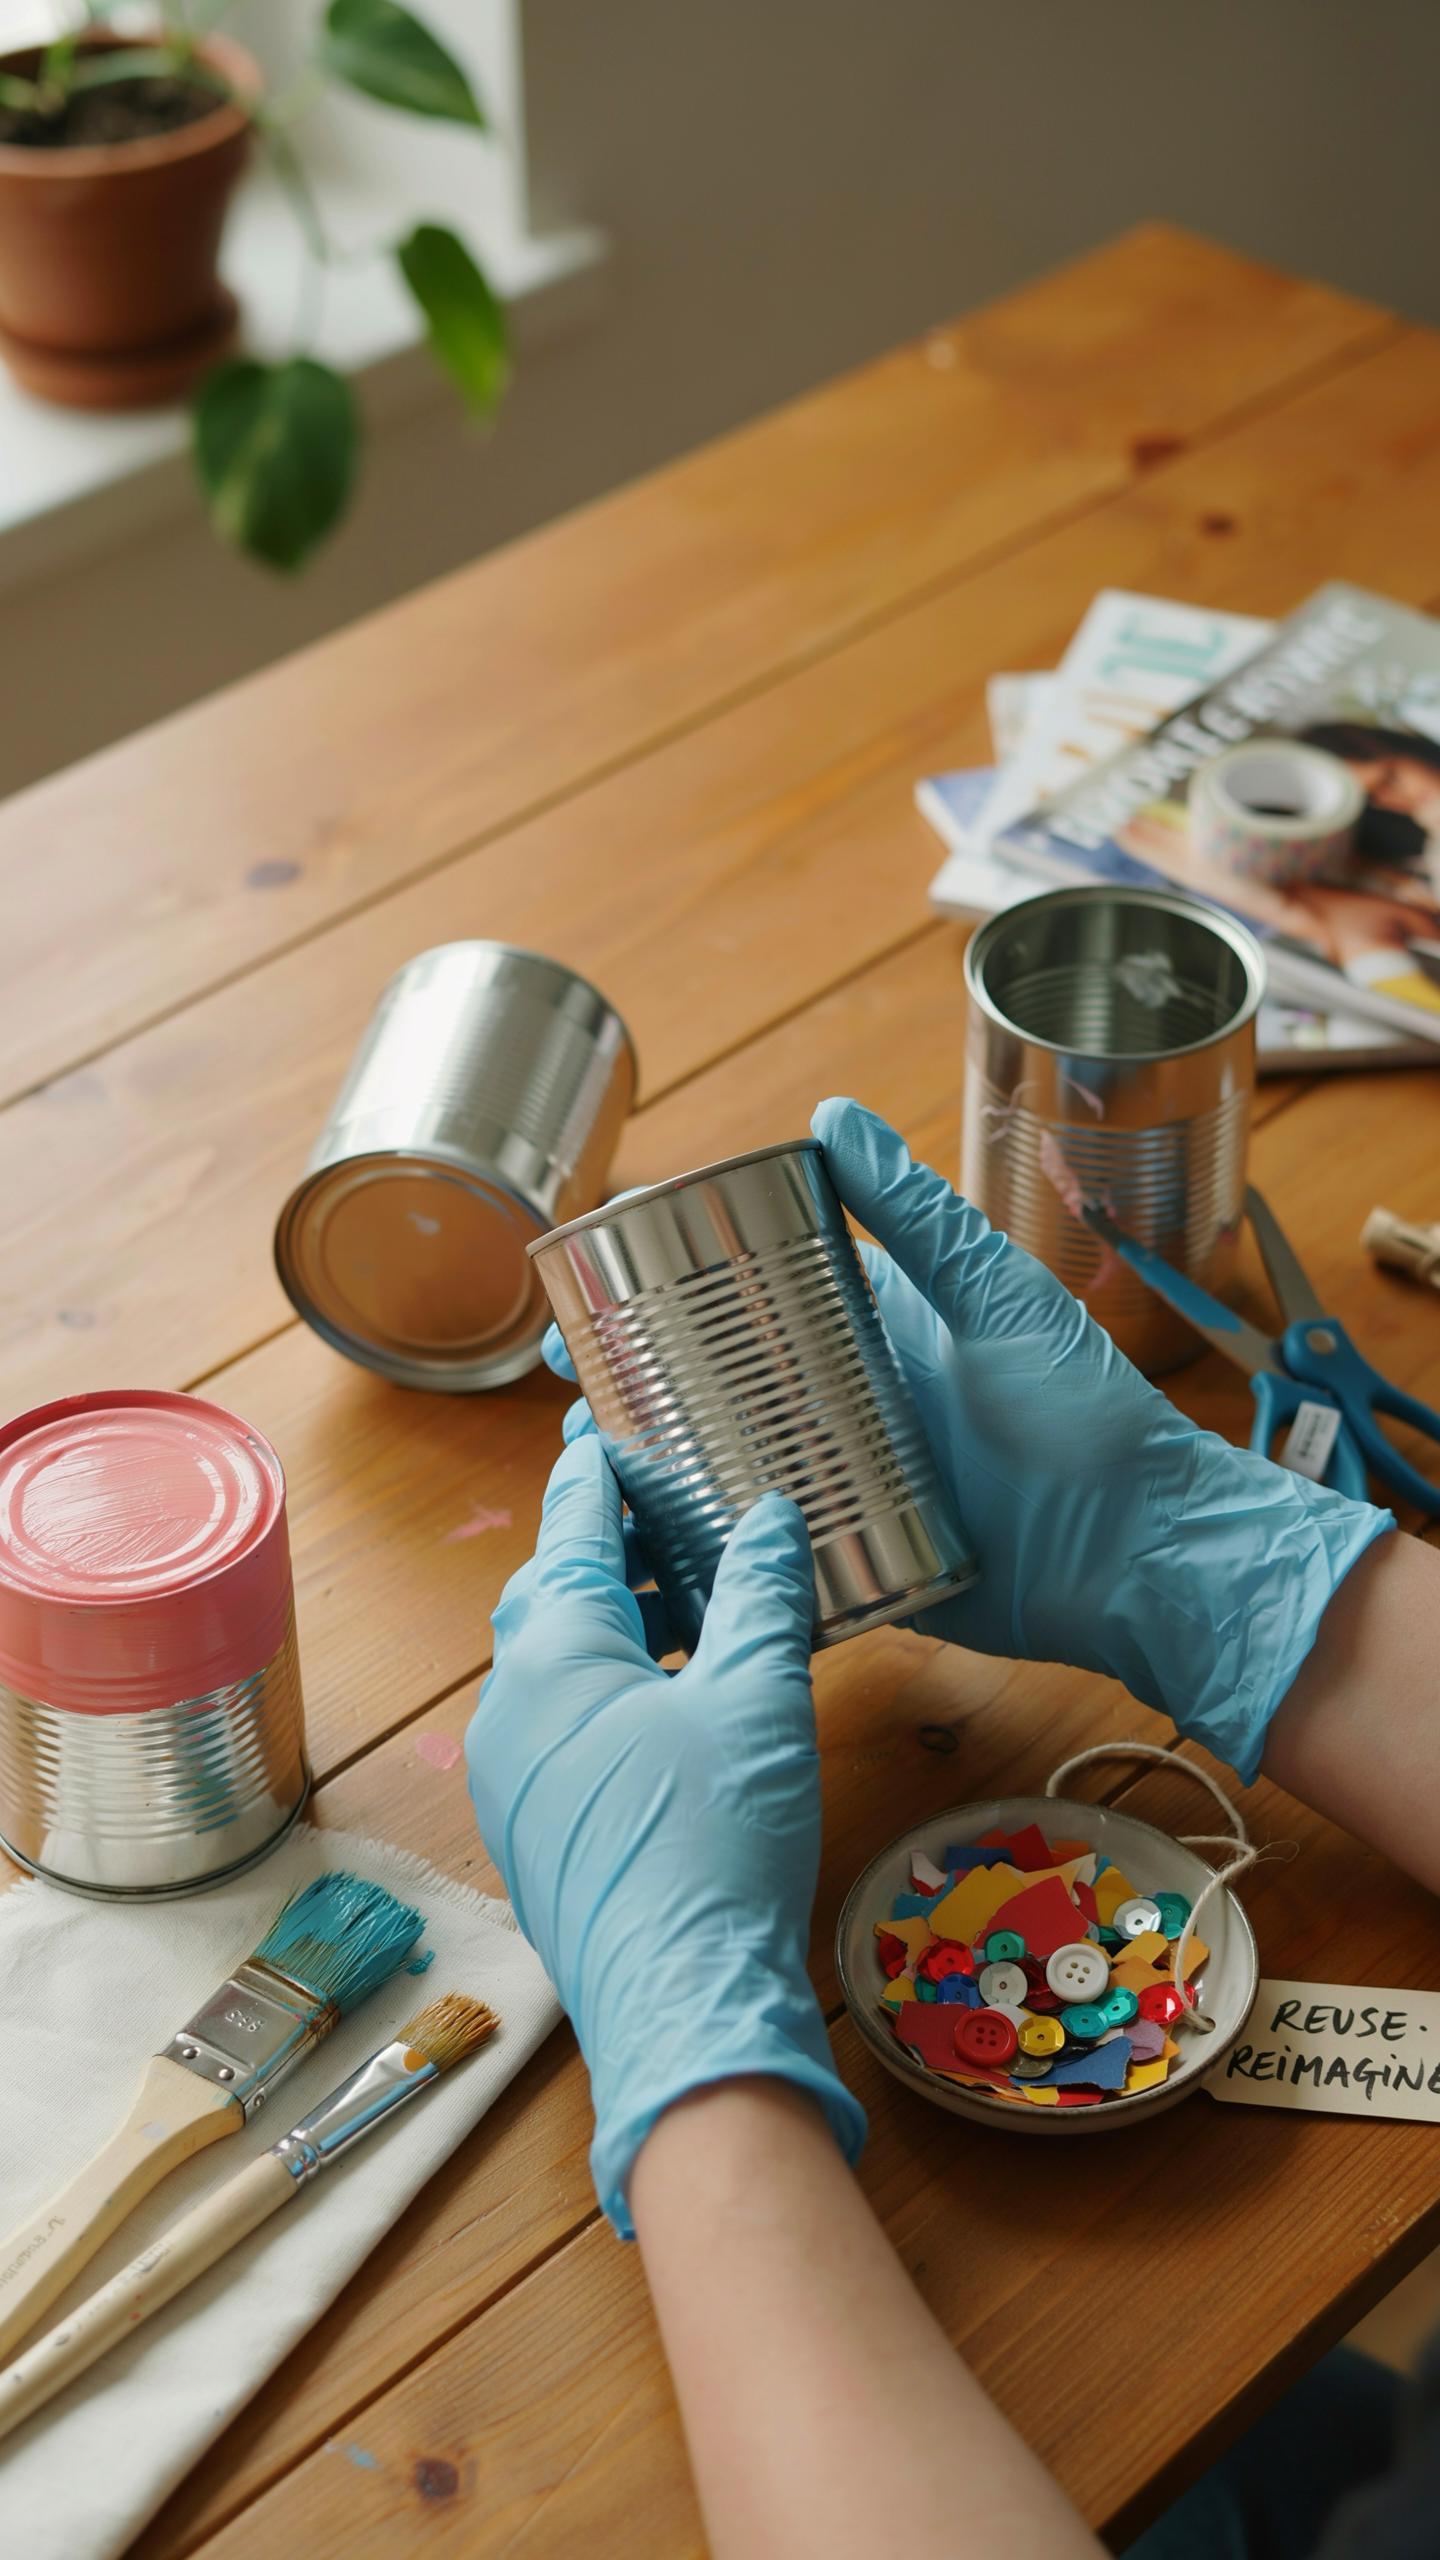
Soak cans in hot soapy water for ten to fifteen minutes to loosen labels and adhesive. This softens the glue and makes paper peel away cleanly. For stubborn residue, scrub the can with a cloth or soft brush under running water. Repeat soaking if needed until the surface feels clean to the touch.
A baking soda and vegetable oil paste removes glue that water alone won’t lift. Mix equal parts baking soda and oil into a thick consistency. Apply to adhesive spots and scrub with a cloth or soft brush. Rinse thoroughly with water and dry completely before moving to the next step.
Smoothing Sharp Edges For Outdoor Use
The rim of a freshly opened tin can cuts skin easily. Use a metal file or heavy duty rotary tool with a sanding attachment to smooth the inner rim where the lid was removed. Work slowly and check your progress frequently. Test the edge with your finger by running it gently along the rim.

Silicone caulk provides a permanent seal for rough edges before you decorate. Apply a thick bead around the inner rim and smooth it with a wet finger or caulk tool. This hardens into a protective barrier that prevents cuts during handling and use. Allow caulk to cure fully according to manufacturer instructions before outdoor placement.
Inspirational Can Decorating Ideas Tin Enthusiasts Love
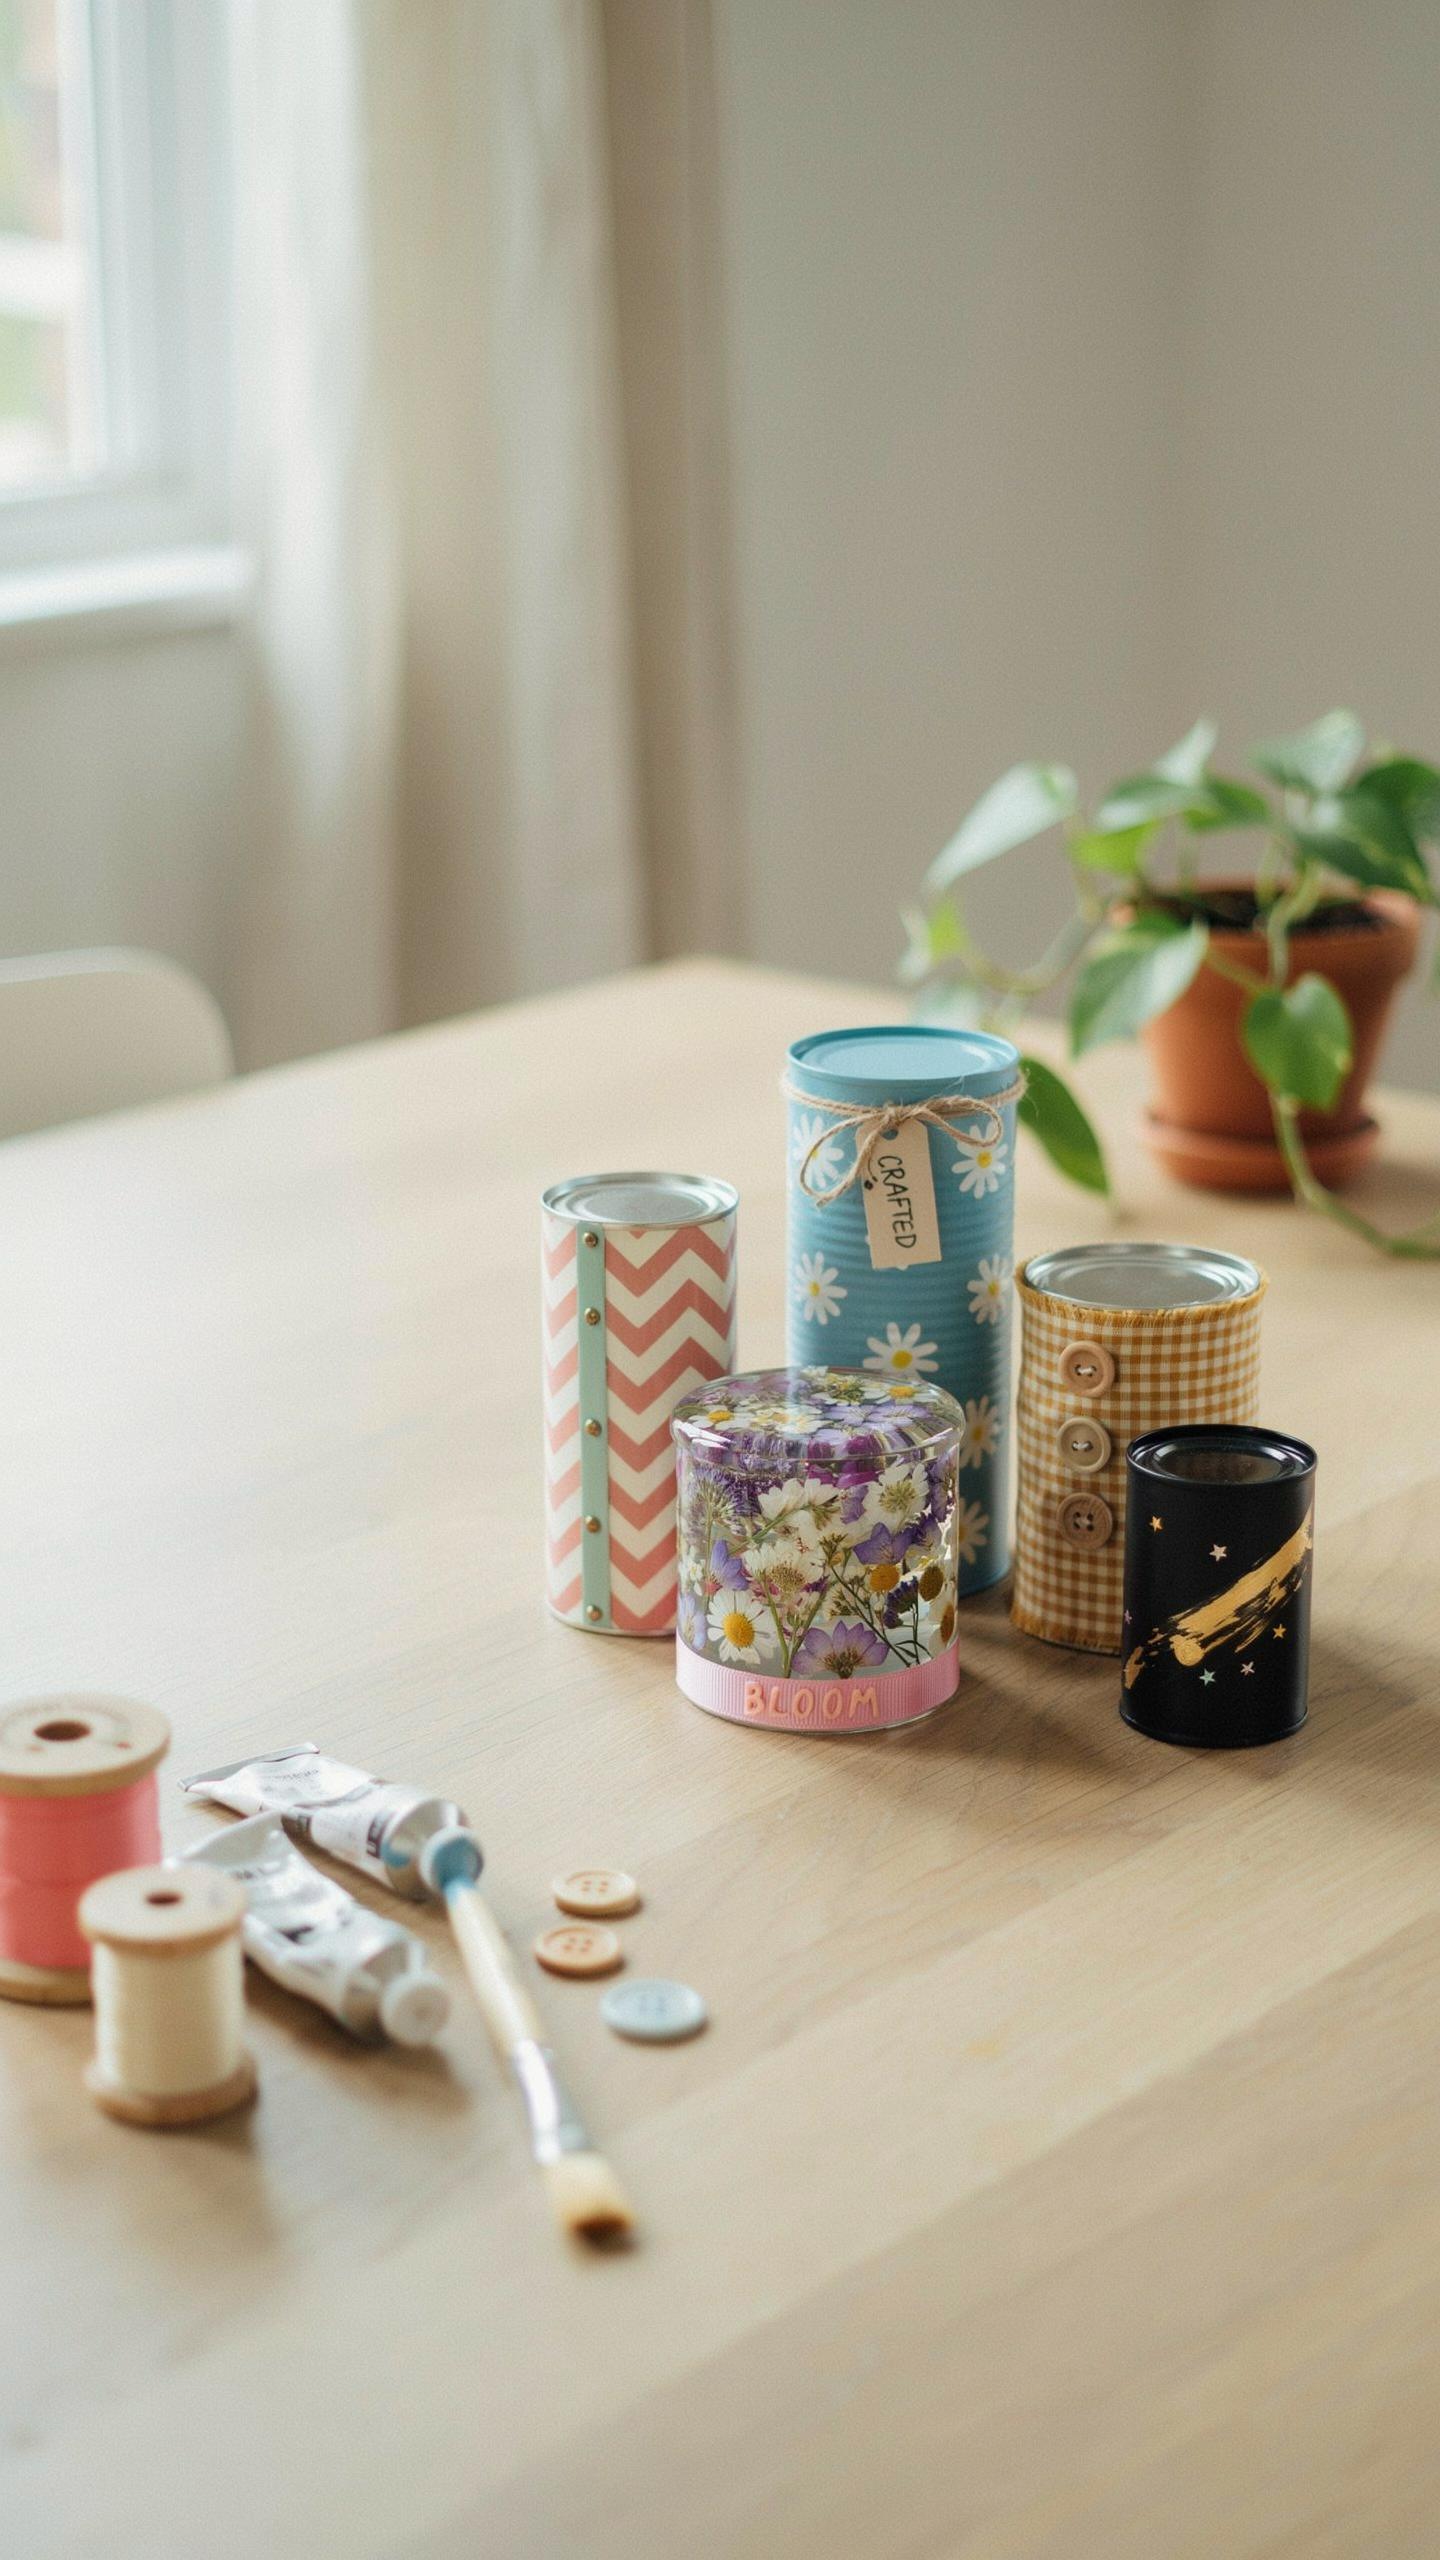
Applying Weatherproof Outdoor Paints And Sealants
Paint fades and peels when exposed to UV rays and moisture. Exterior poly-acrylic clear coats and Rust-Oleum enamel sprays protect your designs by creating a moisture barrier that resists degradation. Apply the sealant after your base paint dries completely to lock in color and prevent rust formation on the metal surface.
Choose sealants based on your climate. High-humidity regions benefit from poly-acrylic coats that breathe and prevent trapped moisture. Arid climates work well with standard enamel spray that hardens quickly and resists dust accumulation. Reapply sealant every 12 to 18 months depending on weather exposure and sun intensity in your location.
Embellishing With Natural Twine And Jute Wraps
Jute twine and burlap strips add texture while serving a functional purpose. Wrap materials tightly around cans using outdoor hot glue designed to withstand temperature fluctuations and moisture. This method hides imperfections on the can surface while creating visual continuity with garden beds and landscape elements.

Jute absorbs water, so it works best in covered outdoor areas or regions with moderate rainfall. Replace wrapping annually or when visible deterioration occurs. Burlap strips last longer than thin twine and provide better insulation if you use cans as plant containers for frost-sensitive plants during seasonal transitions.
Upgraded Planters Large Tin Can Crafts With Maximum Impact
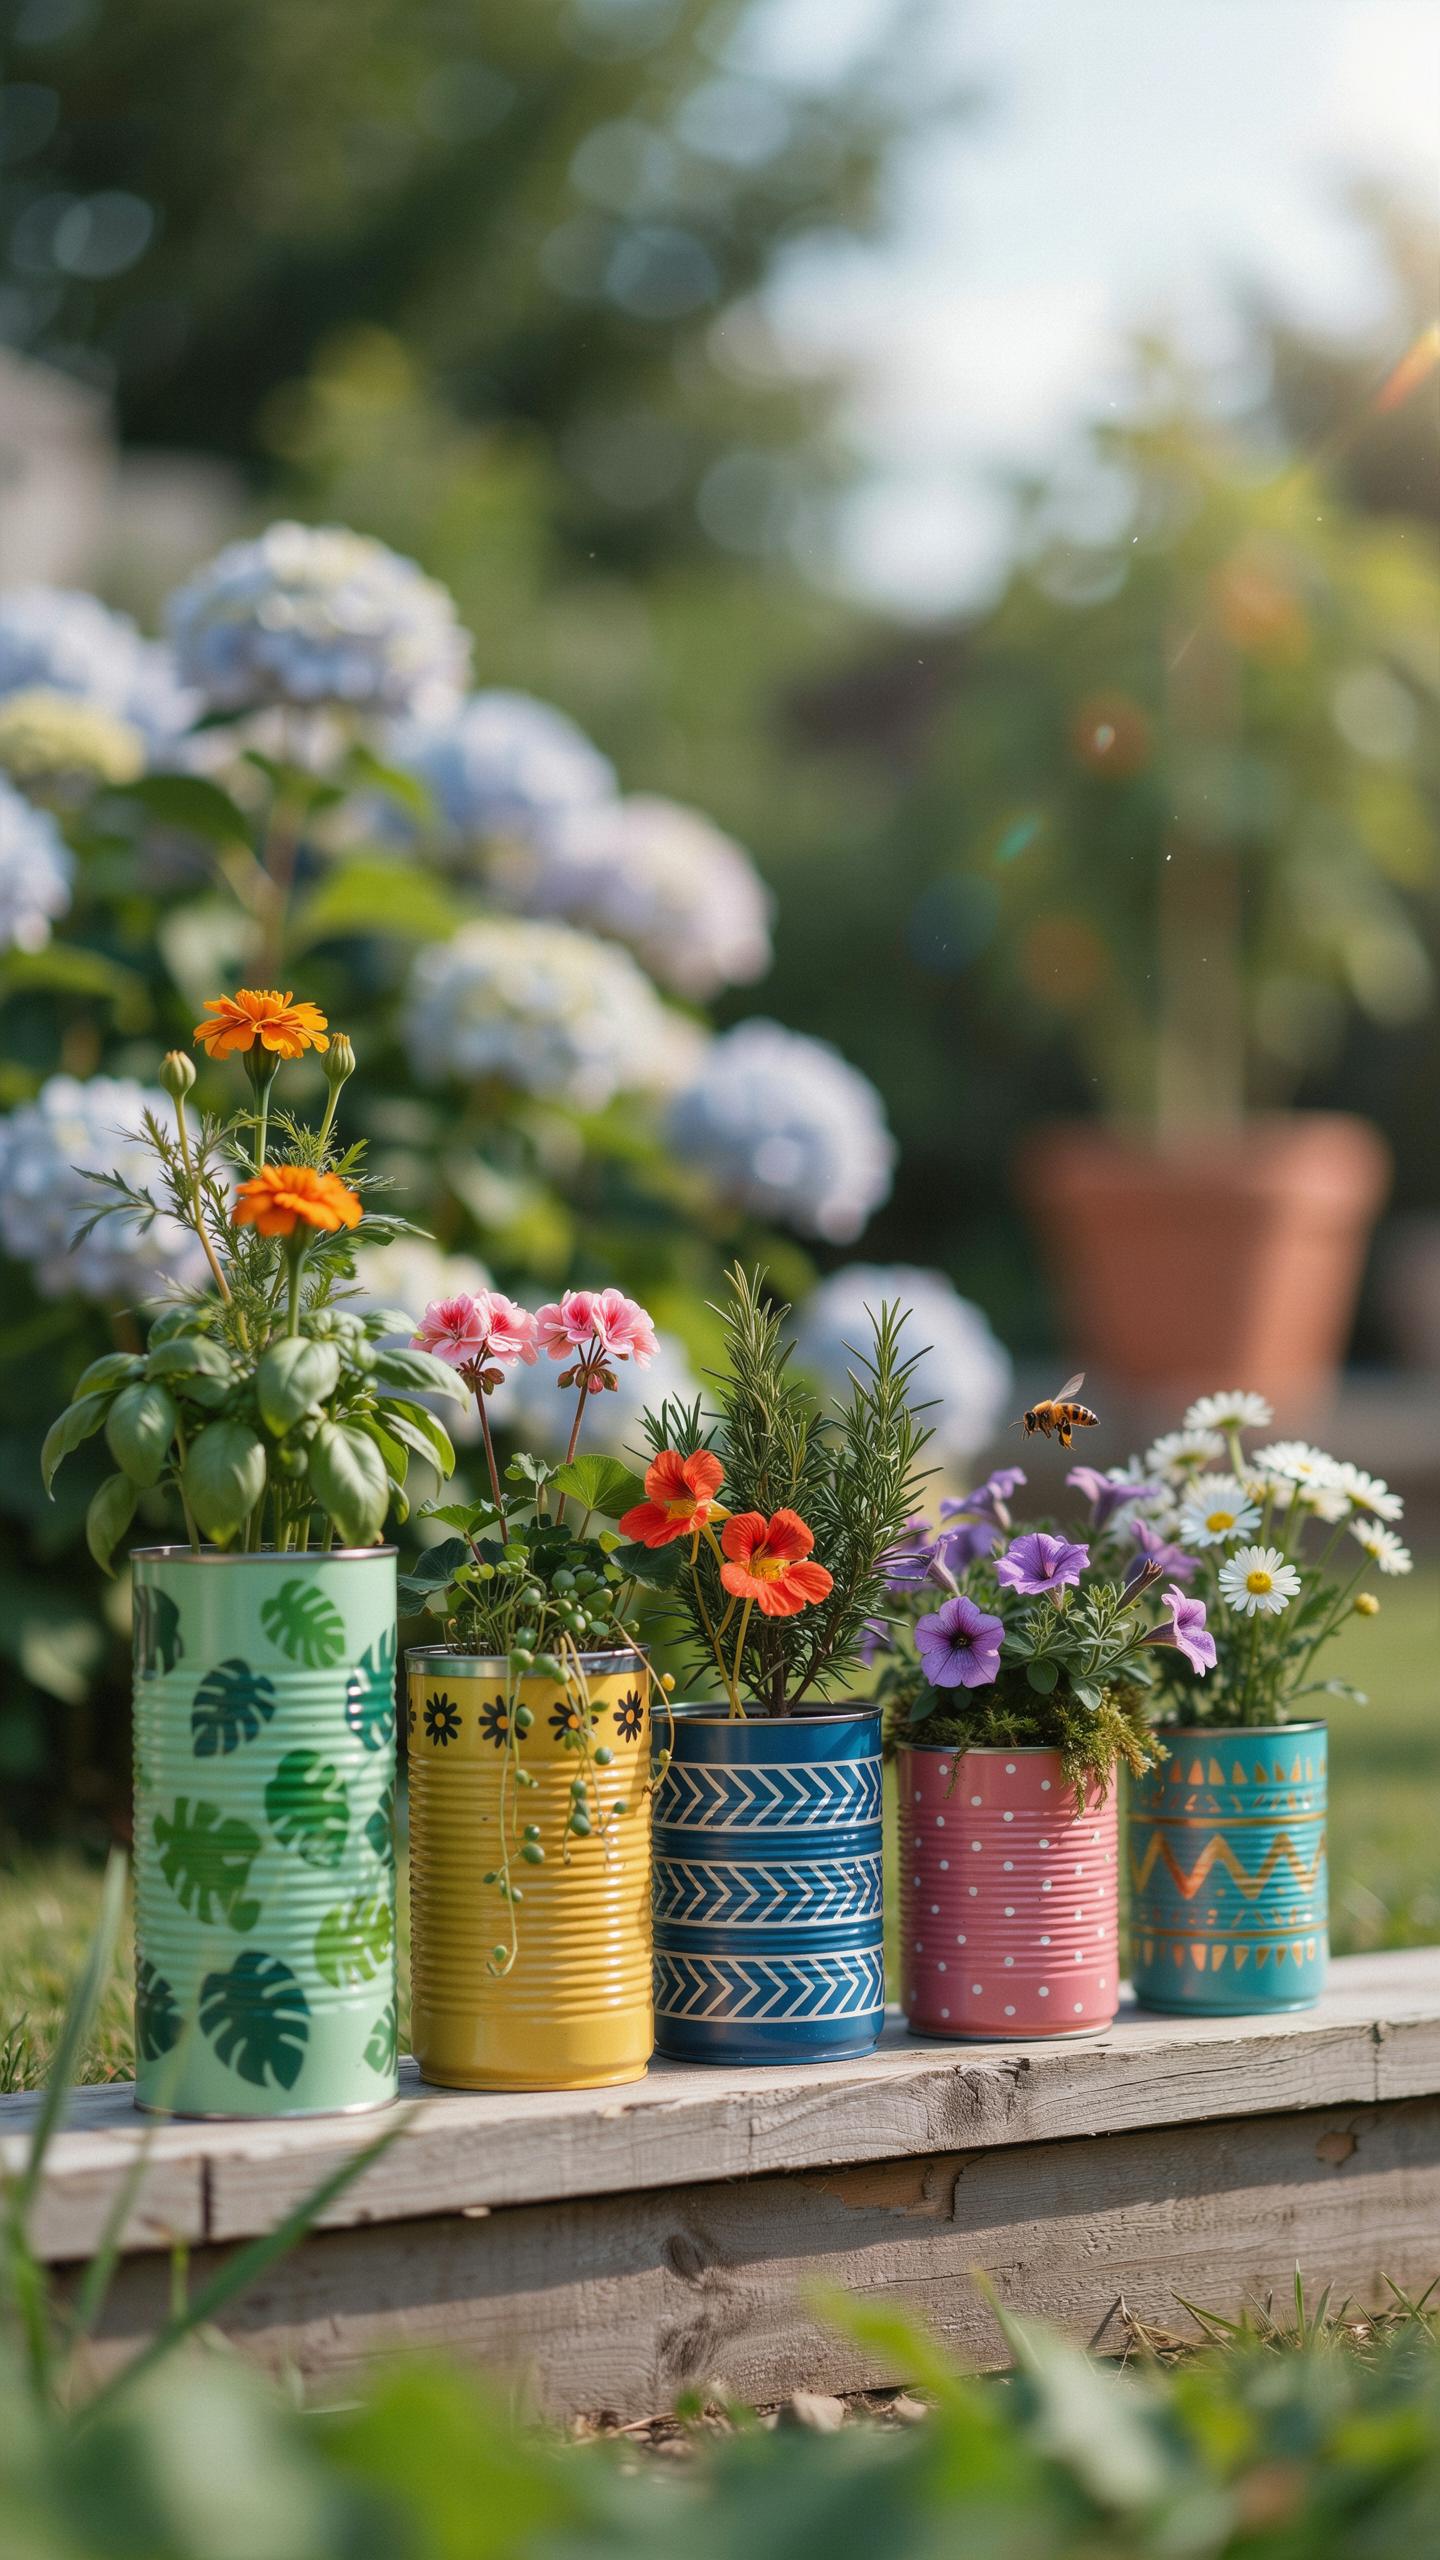
Designing Eye Catching Multi Tiered Herb Planters
Stack large institutional food cans in varying sizes to build vertical herb towers. This approach saves deck space while creating functional planting zones. Drill drainage holes in can bottoms. Secure cans together using food-grade epoxy or metal brackets. Basil, rosemary, and thyme grow well in this configuration because each tier receives adequate sunlight and airflow.
The vertical design lets you harvest herbs at eye level without bending. Drainage flows naturally downward through stacked tiers, preventing root rot. Position the tower in a spot that gets six to eight hours of direct sun daily. Herbs in this setup mature faster than in traditional ground beds due to improved drainage and concentrated nutrients.
Creating Dramatic Hanging Flower Baskets
Drill two holes on opposite sides of a large coffee can near the rim. Thread sturdy vintage chains or natural rope through the holes. Knot the rope securely to prevent slipping. Fill the can with potting soil and plant trailing flowers like petunias or ivy. Hang from porch beams, pergola rafters, or deck brackets rated for weight.

The hanging placement keeps flowers visible and accessible for watering. Coffee cans hold moisture longer than smaller containers, reducing daily watering needs. Position baskets where they catch morning light but avoid harsh afternoon sun exposure. This setup works for both annual and perennial trailing species depending on your climate zone.
Innovative Tin Can Garden Ideas For Green Thumbs
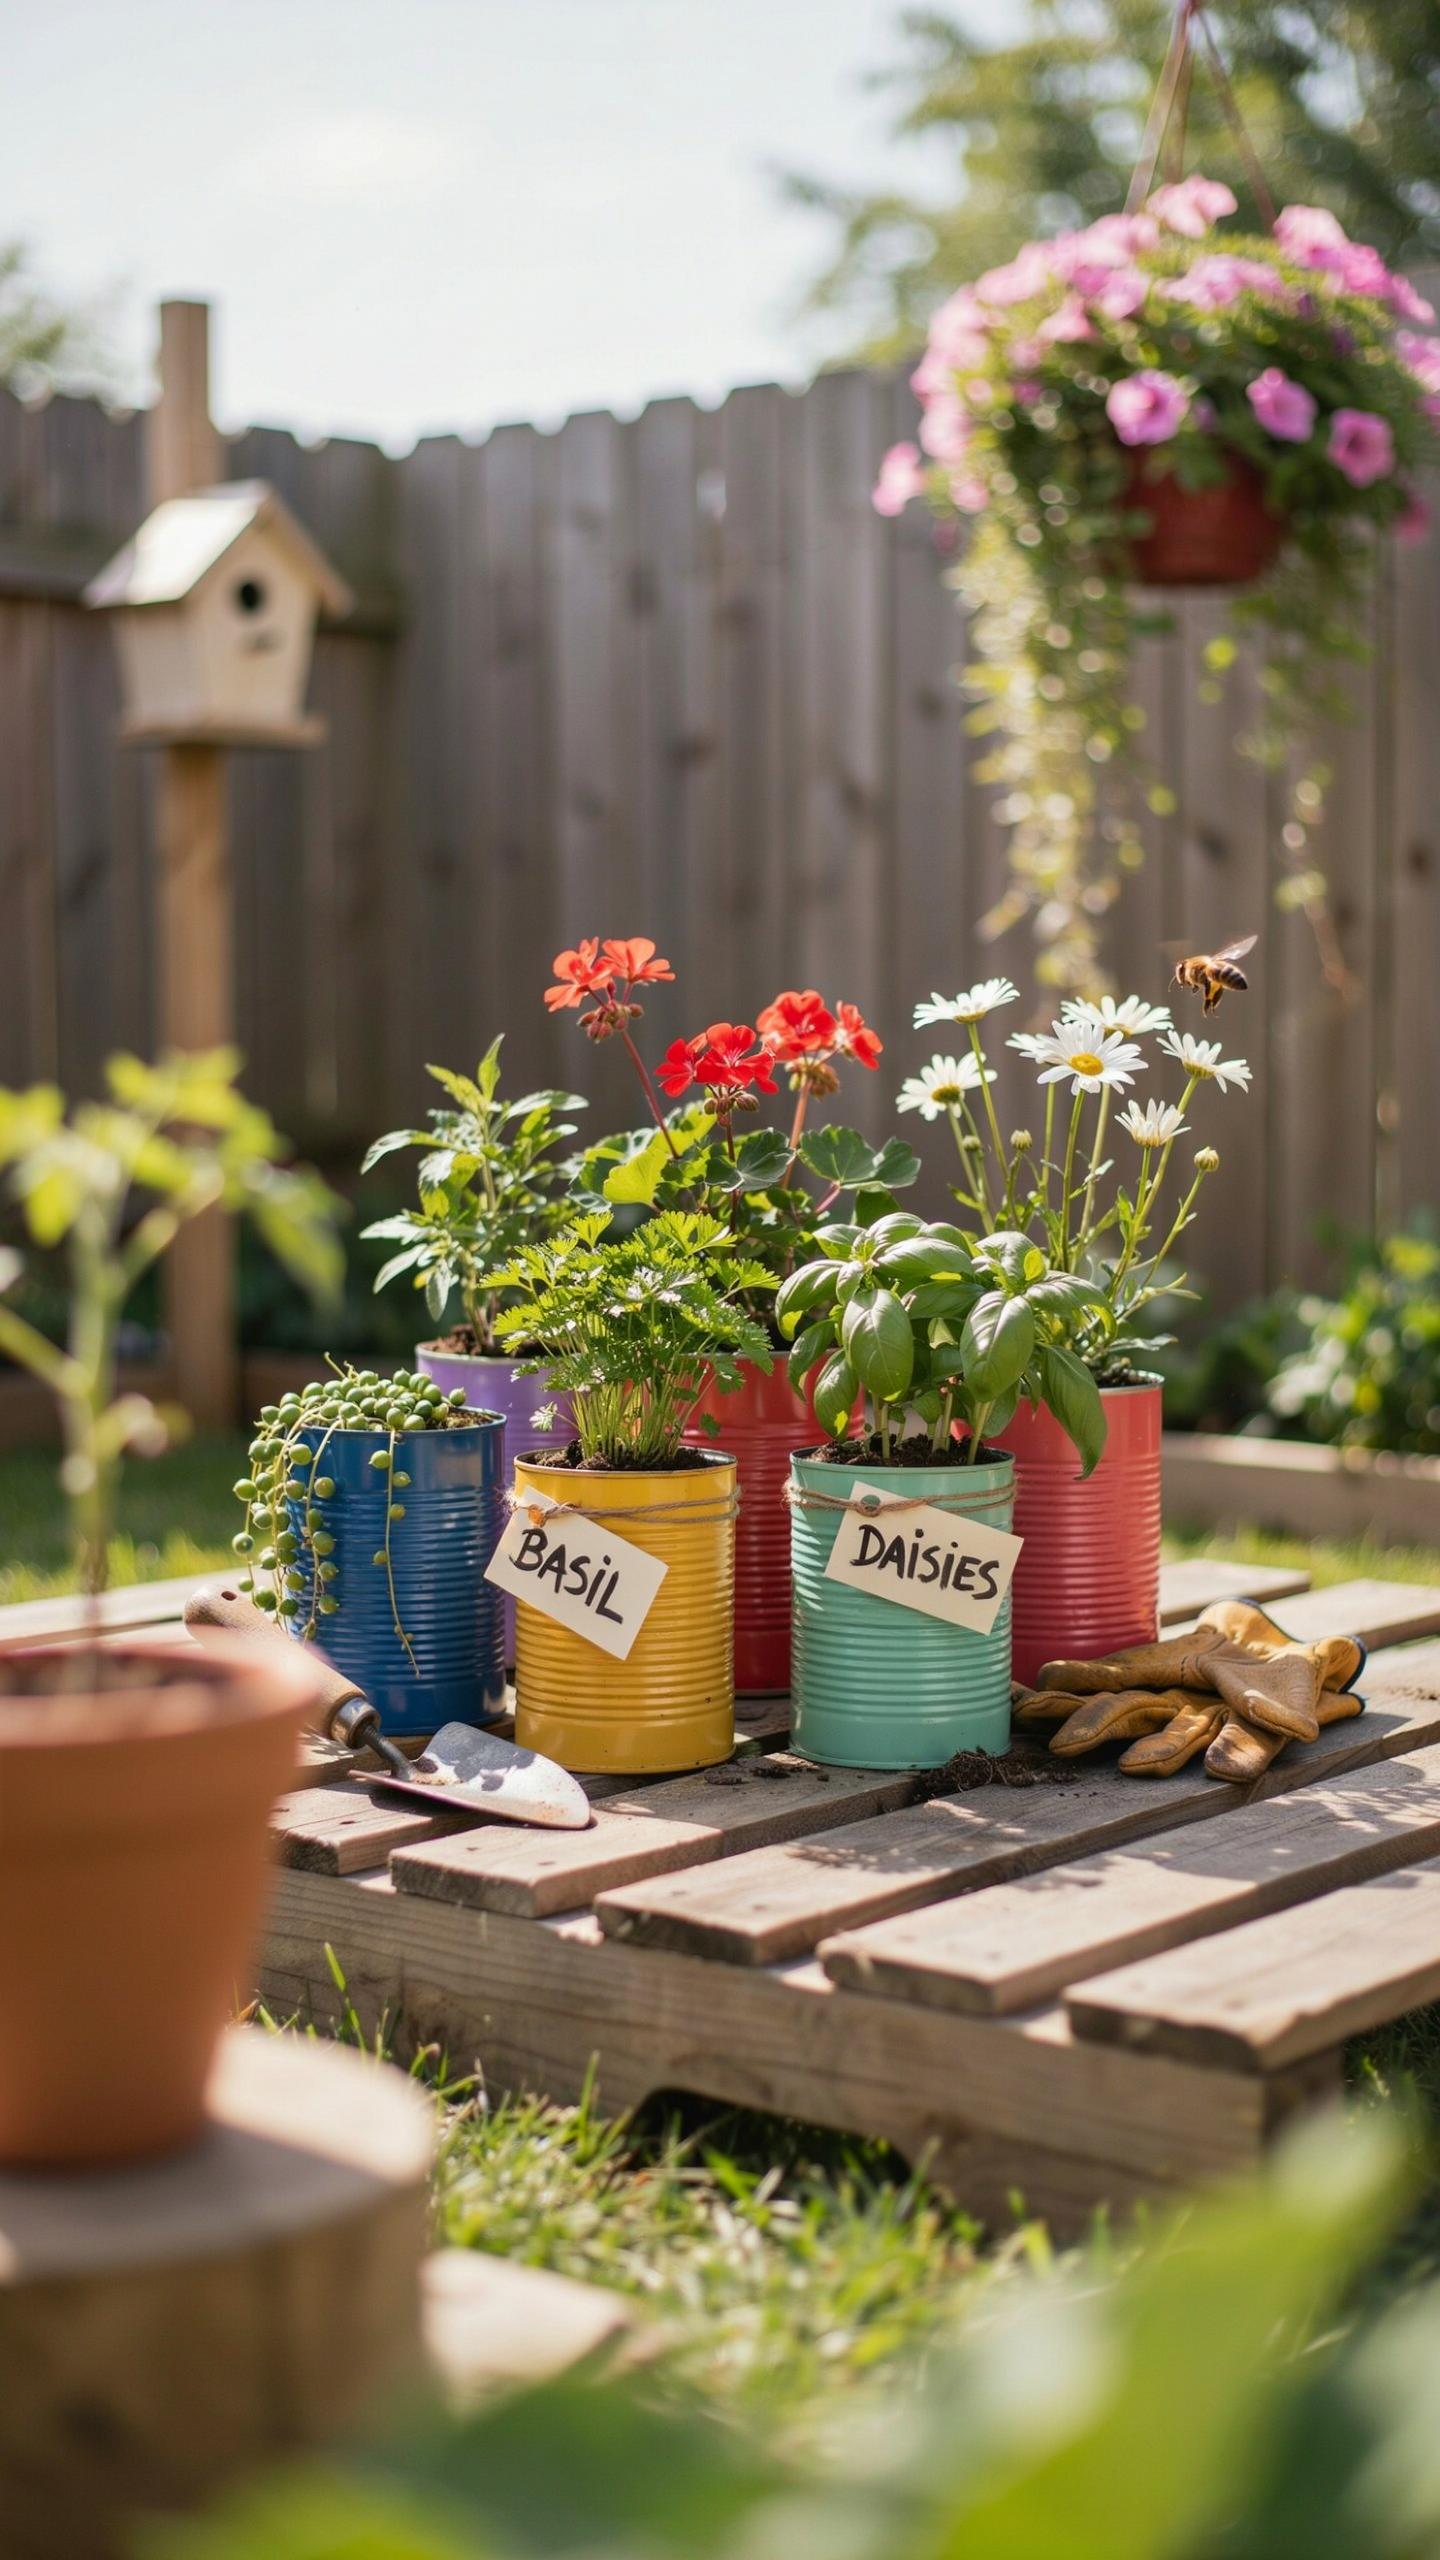
Building Vertical Wall Garden Features
Mount repurposed cans directly to wooden pallets or existing fence structures. This approach uses vertical space efficiently and transforms unused wall areas into functional growing zones. Secure cans with corrosion-resistant fasteners to handle weight and weather exposure. Proper drainage holes prevent water pooling and root rot damage.
Arrange cans in staggered patterns to maximize sunlight exposure across all plants. Lighter colored cans reflect heat and reduce soil temperature during peak summer months. This configuration works best on south or west-facing walls where light availability is consistent. The setup accommodates shallow-rooted herbs and trailing plants effectively.
Establishing DIY Sub Irrigation Planters
Create a wicking system inside deep cans using cotton rope or fabric strips. Thread the wick material through drainage holes in the can bottom, placing the other end in a water reservoir below. This method delivers moisture directly to soil without daily watering. The system reduces evaporation significantly during hot and dry periods.

Build the reservoir layer using gravel or sand beneath the soil. Water moves upward through the wick into the growing medium as soil dries out. This passive irrigation technique works reliably for 7 to 14 days without refilling, depending on plant type and temperature. Larger cans accommodate deeper reservoirs and extend watering intervals further.
Organizing The Shed Smart Tin Can Storage Solutions
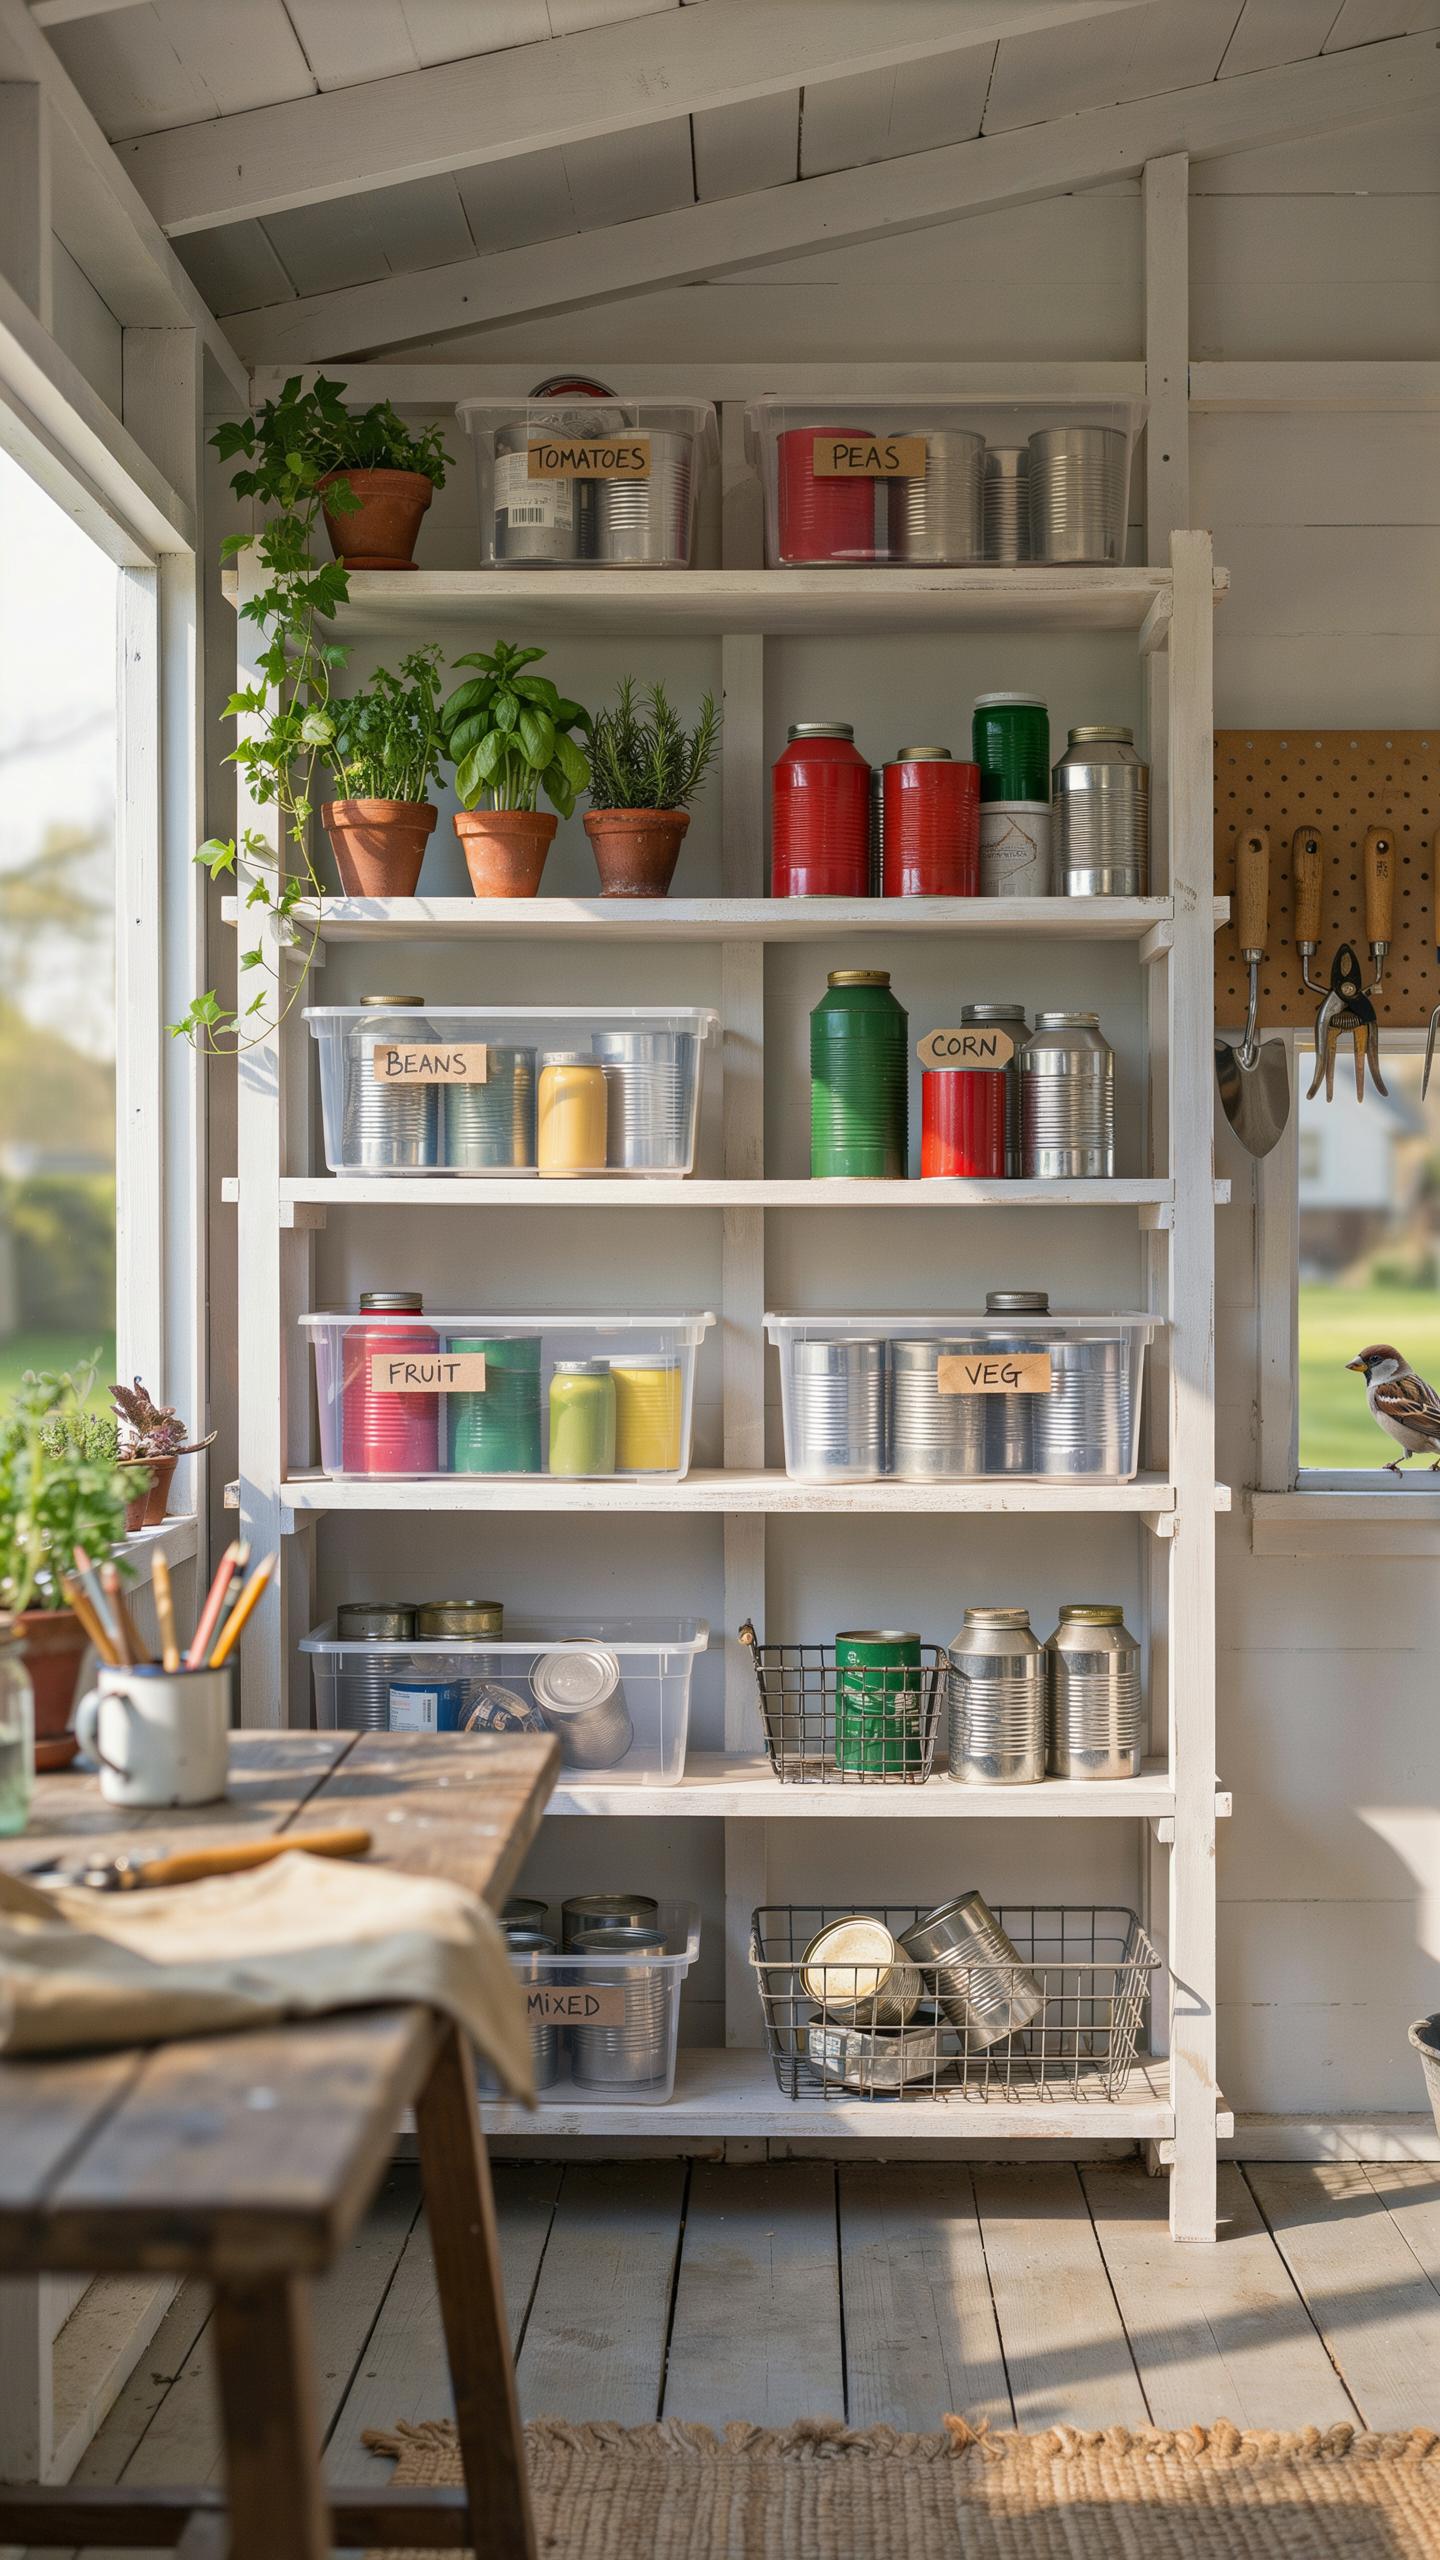
Categorizing Gardening Tools And Hardware Essentials
Group similar items into labeled tin cans to eliminate clutter at your potting table or tool shed. This system cuts search time and keeps your workspace functional. Assign each can a specific category and label it clearly. You find what you need instantly instead of digging through mixed supplies.
- Wooden Seed Markers: Store pointed markers upright in tall cans to prevent breakage and keep them organized by plant type or size for quick access during planting season.
- Plastic Plant Labels: Stack labels flat in shallow cans or roll them loosely to avoid creasing. Label each can by plant species or garden zone for efficient sorting.
- Metal Shears And Trowels: Place hand tools in sturdy cans with handles facing up for safe access. Separate pruning tools from digging tools to protect blade edges and maintain tool longevity.
- Spools Of Garden Twine: Nest twine spools vertically in medium cans to prevent tangling. Keep different weights and materials separated for quick selection during plant support tasks.
- Assorted Nails And Brass Screws: Use small cans with compartments or dividers to separate fasteners by size and type. This prevents mixing materials and makes hardware selection faster for fence repairs or trellis building.
This sorting method saves time during projects and prevents tool damage. You maintain inventory more easily and spot when supplies run low.
Wall Mounted Magnetic Organizers For Hand Tools
Attach small neodymium magnets to tin cans to create magnetic storage on metal shed walls or surfaces. This approach holds metal objects securely without additional fasteners or hooks. Magnets grip seed packets, wire cutters, pruning shears, and keys firmly in place. The setup maximizes vertical space and keeps frequently used tools at arm’s reach.

Position magnetic cans at eye level on metal walls or attach them to metal pegboards for easy access. Neodymium magnets hold surprising weight despite their small size, supporting multiple tools per can. This system works best for metal implements and keeps hand tools visible and ready for immediate use during outdoor work.
Top Tips To Craft With Tin Cans On A Tiny Budget
Sourcing Free Containers From Communities And Kitchens
Start by asking local restaurants, schools, and community centers to save their bulk-sized cans. Most establishments discard dozens of cans weekly and welcome requests from crafters. Contact managers directly and offer to pick up regularly. This approach builds a diverse inventory of varying heights and diameters without spending money.
Neighbors and coworkers represent another reliable source. Post requests on community boards or neighborhood apps asking people to save their cans. Many households accumulate more containers than they need. Collecting from multiple sources gives you options for different project sizes and styles without purchasing inventory.
Repurposing Leftover Household Decor Supplies
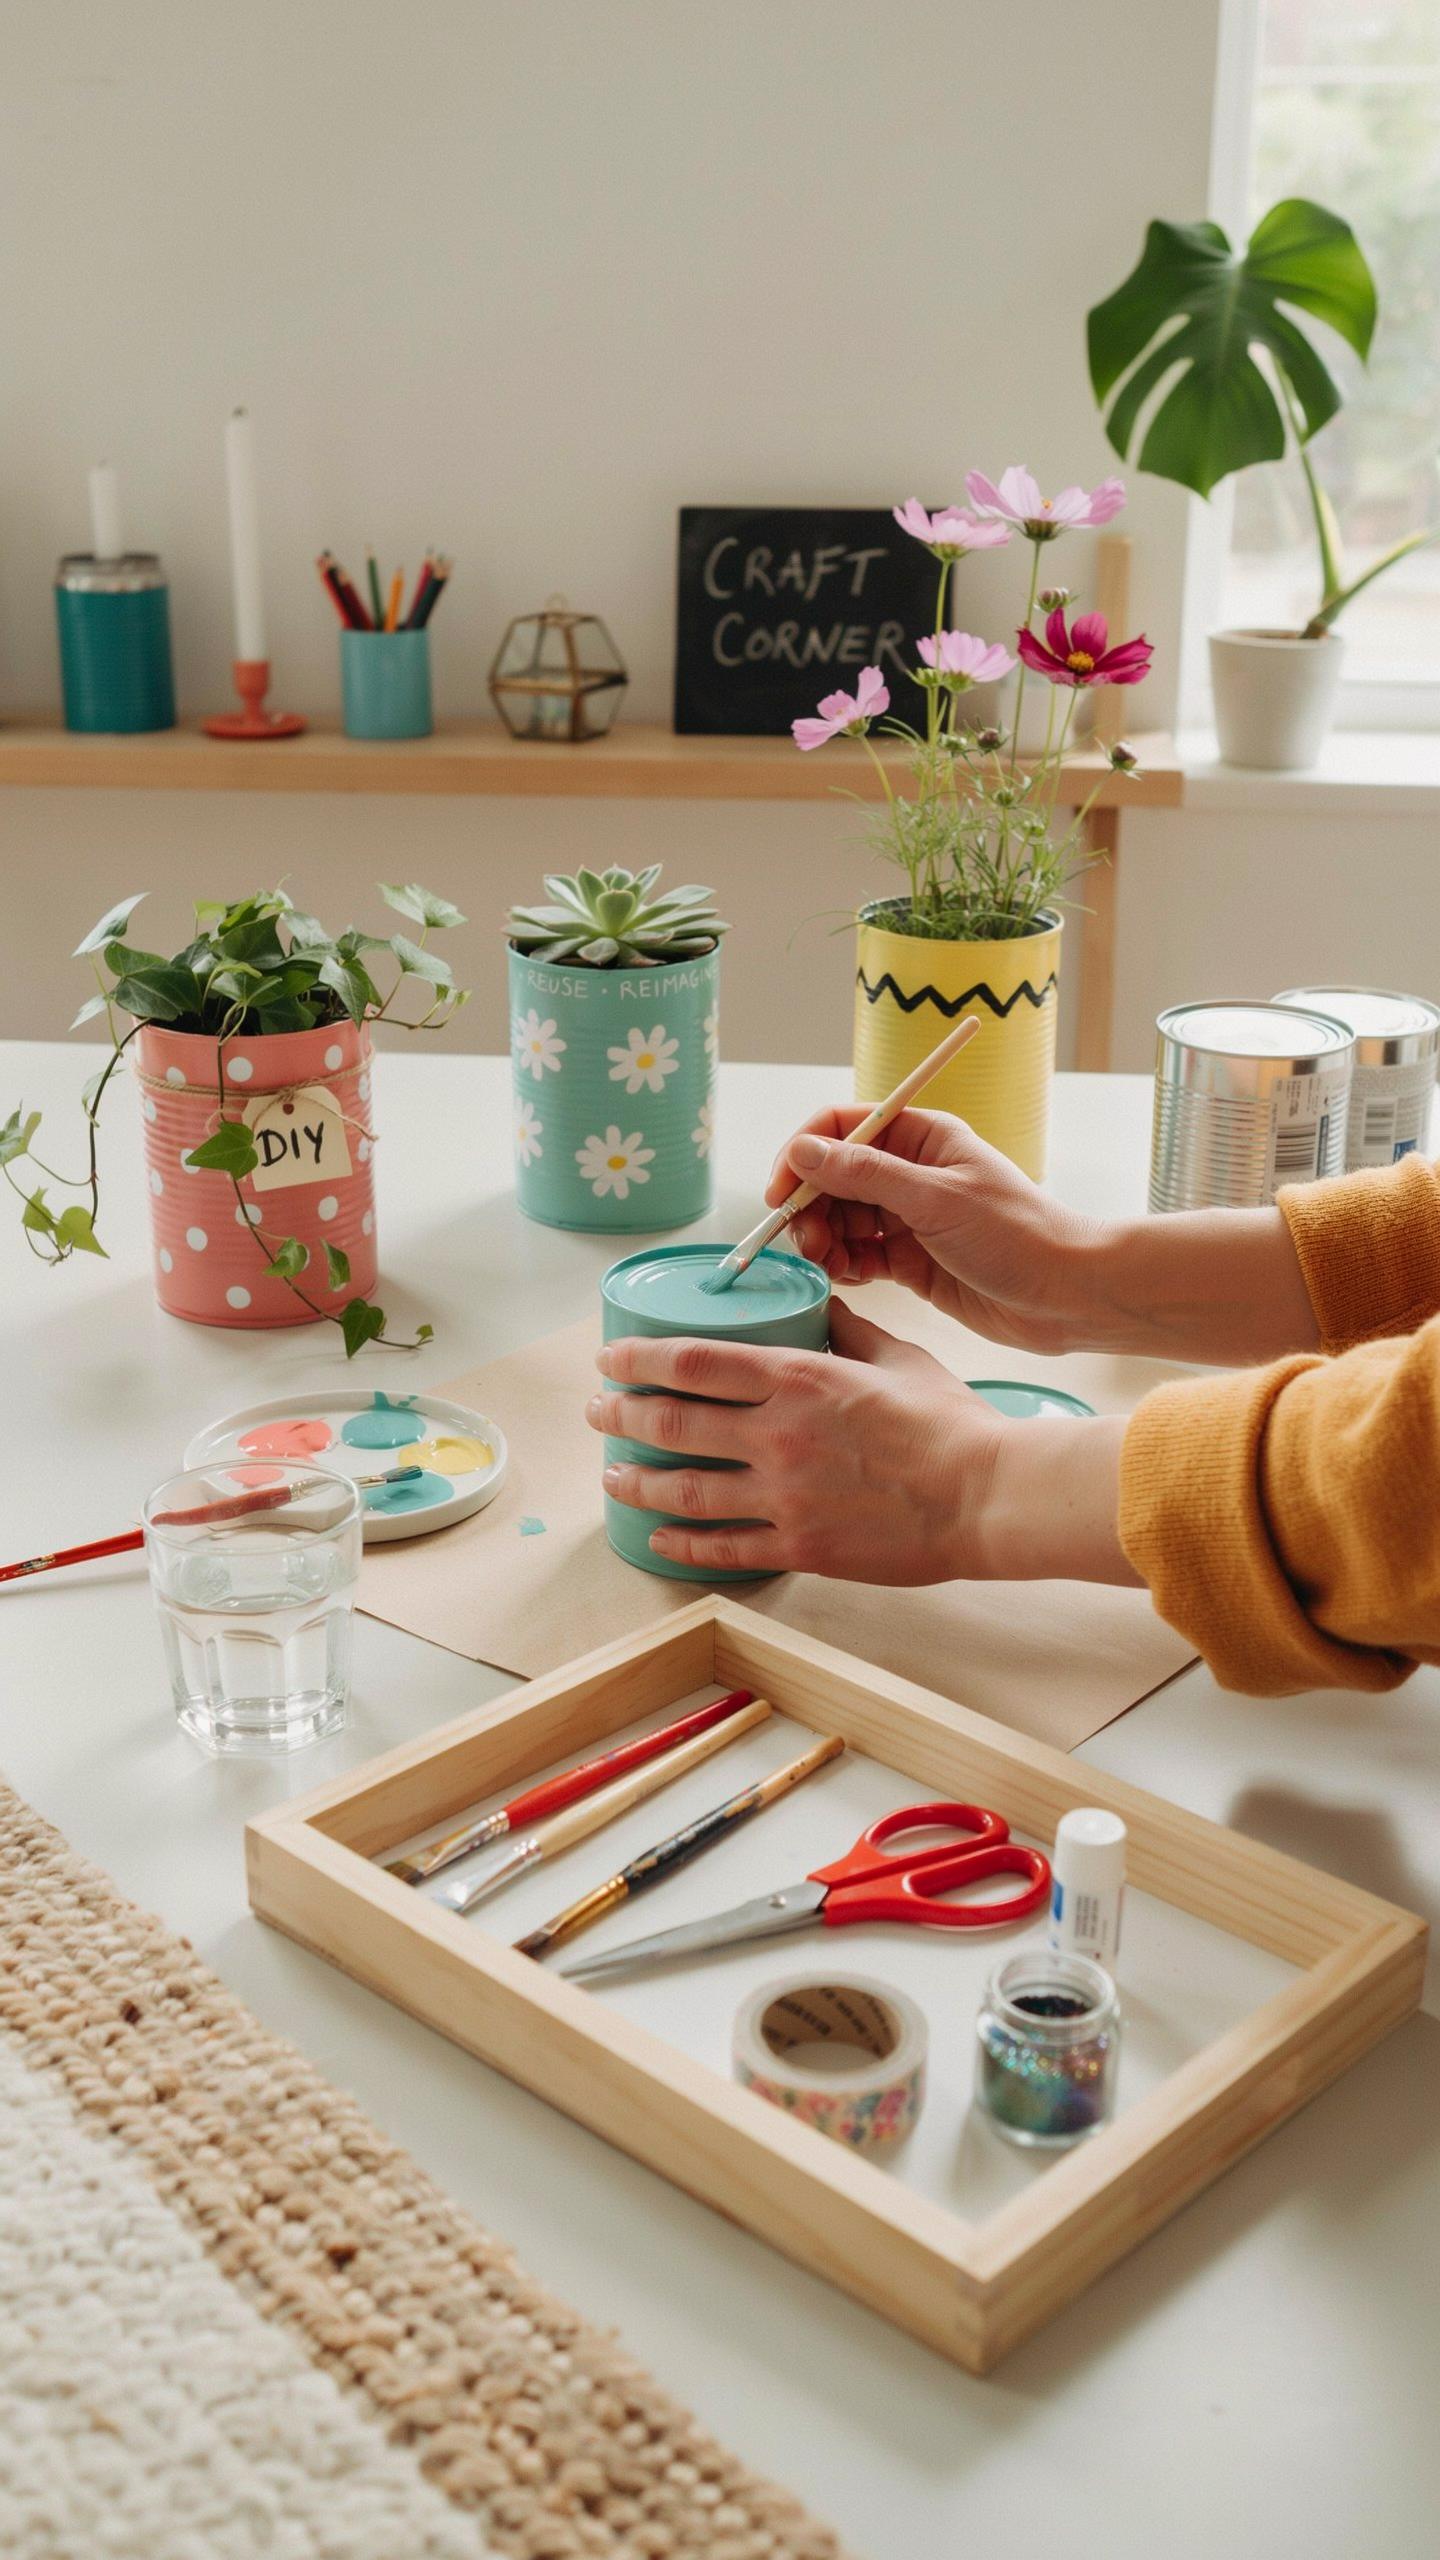
Use leftover wall paint to coat your tin cans in solid colors or patterns. Fabric scraps and ribbon remnants become wrapping materials or decorative bands around can bodies. Old craft supplies from your cupboards work perfectly for embellishing metal surfaces. This strategy eliminates the need to buy specialty products from art stores.

Check your home for dried flowers, old beads, buttons, and yarn that can adorn finished cans. Newspaper and magazines provide collage materials at zero cost. Leftover stencils and stamps from previous projects create designs without additional purchases. Your existing supplies already contain everything needed for functional outdoor decor.
Advanced Tin Can Crafts For Adults And Experienced Makers

Assembling Metallic Wildlife Sculptures And Decorative Art
Cut thin aluminum or tin sheets from standard food cans using tin snips or a rotary tool. Flatten sheets between wood blocks with a hammer. Shape pieces into recognizable forms like butterfly wings, bird bodies, or leaf silhouettes. This method produces rust-resistant yard art because aluminum oxidizes slowly and tin coatings protect underlying metal from moisture exposure.
Stack and solder pieces together for structural integrity. Paint with outdoor-grade metal paint or leave raw for industrial aesthetics. Mount sculptures on wooden stakes or hang from fence posts. These pieces withstand seasonal weather changes better than paper or fabric alternatives because metal resists water absorption and UV degradation that breaks down organic materials.
Constructing Decorative Outdoor Pathway Lighting Fixtures
Punch systematic hole patterns into cleaned tin cans using a hammer and nail or electric drill. Holes create light diffusion and shadow patterns on ground surfaces. Insert battery-operated LED string lights or low-voltage wiring through can openings. This approach eliminates electrical hazard risks compared to high-voltage outdoor lighting while providing functional illumination for nighttime navigation.
Wire multiple cans together along garden borders or fence lines. Space fixtures 4-6 feet apart for even pathway coverage. Position cans at ground level or hang from shepherd hooks at varying heights. LED options consume minimal power and generate no heat, making them safe for wood structures and eliminating fire risks that traditional outdoor lighting presents.
Frequently Asked Questions

What are the best ways for a beginner to start using tin cans for outdoor decor?
Starting a repurposed decor project tin cans for your garden is simple and rewarding. Begin by collecting various sizes of cans, such as soup or coffee containers. Ensure they are thoroughly cleaned and the sharp edges are smoothed down with a metal file or sandpaper. For your first project, consider creating chic herb planters or simple candle lanterns to instantly elevate your porch with minimal effort and supplies.
How do I properly prep and seal my tin cans to ensure they survive the outdoor elements?
To ensure your repurposed decor project tin cans last through rain and sun, preparation is key. After cleaning, apply a metal-grade primer to prevent rust. Use high-quality outdoor spray paint for a vibrant finish, and most importantly, spray a clear UV-resistant sealant over the final design. Don’t forget to drill drainage holes in the bottom if you are using them as planters to protect your greenery.
Is this an affordable way to decorate my patio if I am on a tight budget?
Absolutely! This is one of the most cost-effective ways to style your outdoor space because the primary material is literally found in your recycling bin. Aside from the cans, your only real costs are a few cans of spray paint and basic hardware. By choosing to upcycle, you create high-end looking garden accents and organized storage solutions for just a few dollars, proving that beautiful design doesn’t require a large investment.



