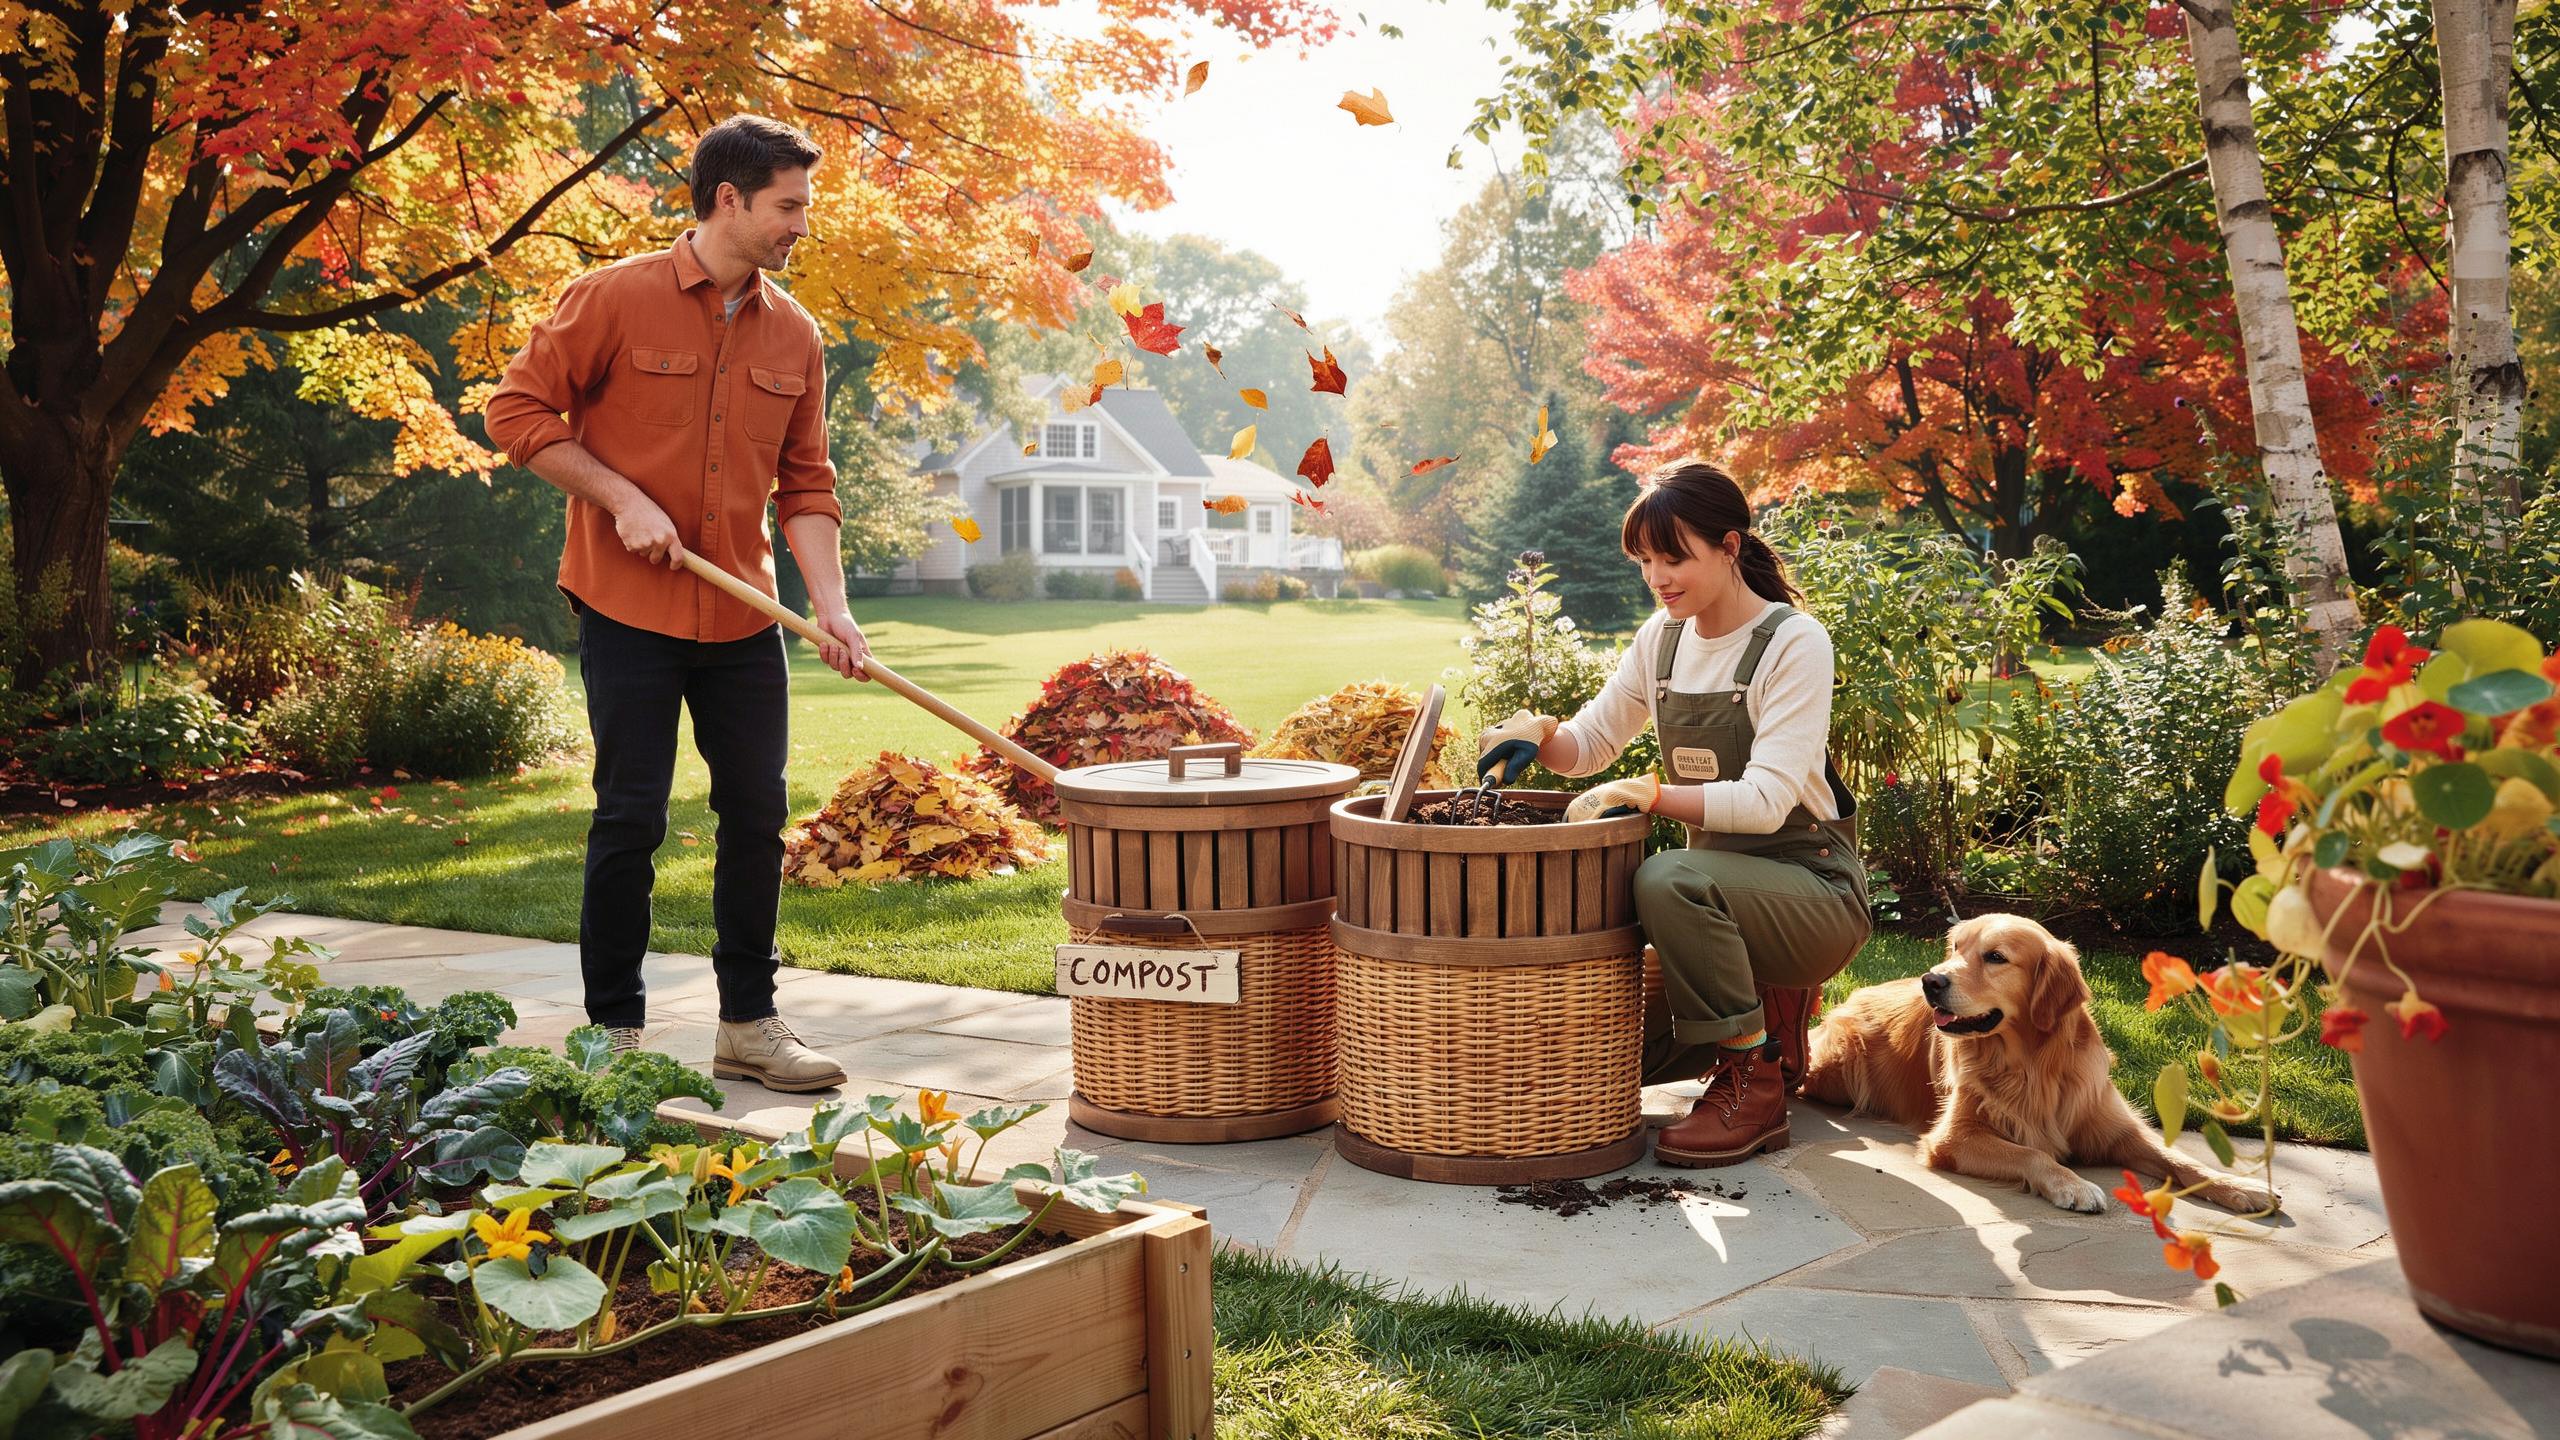
Embracing Fall Garden Care Leaf Composting With Modern Style
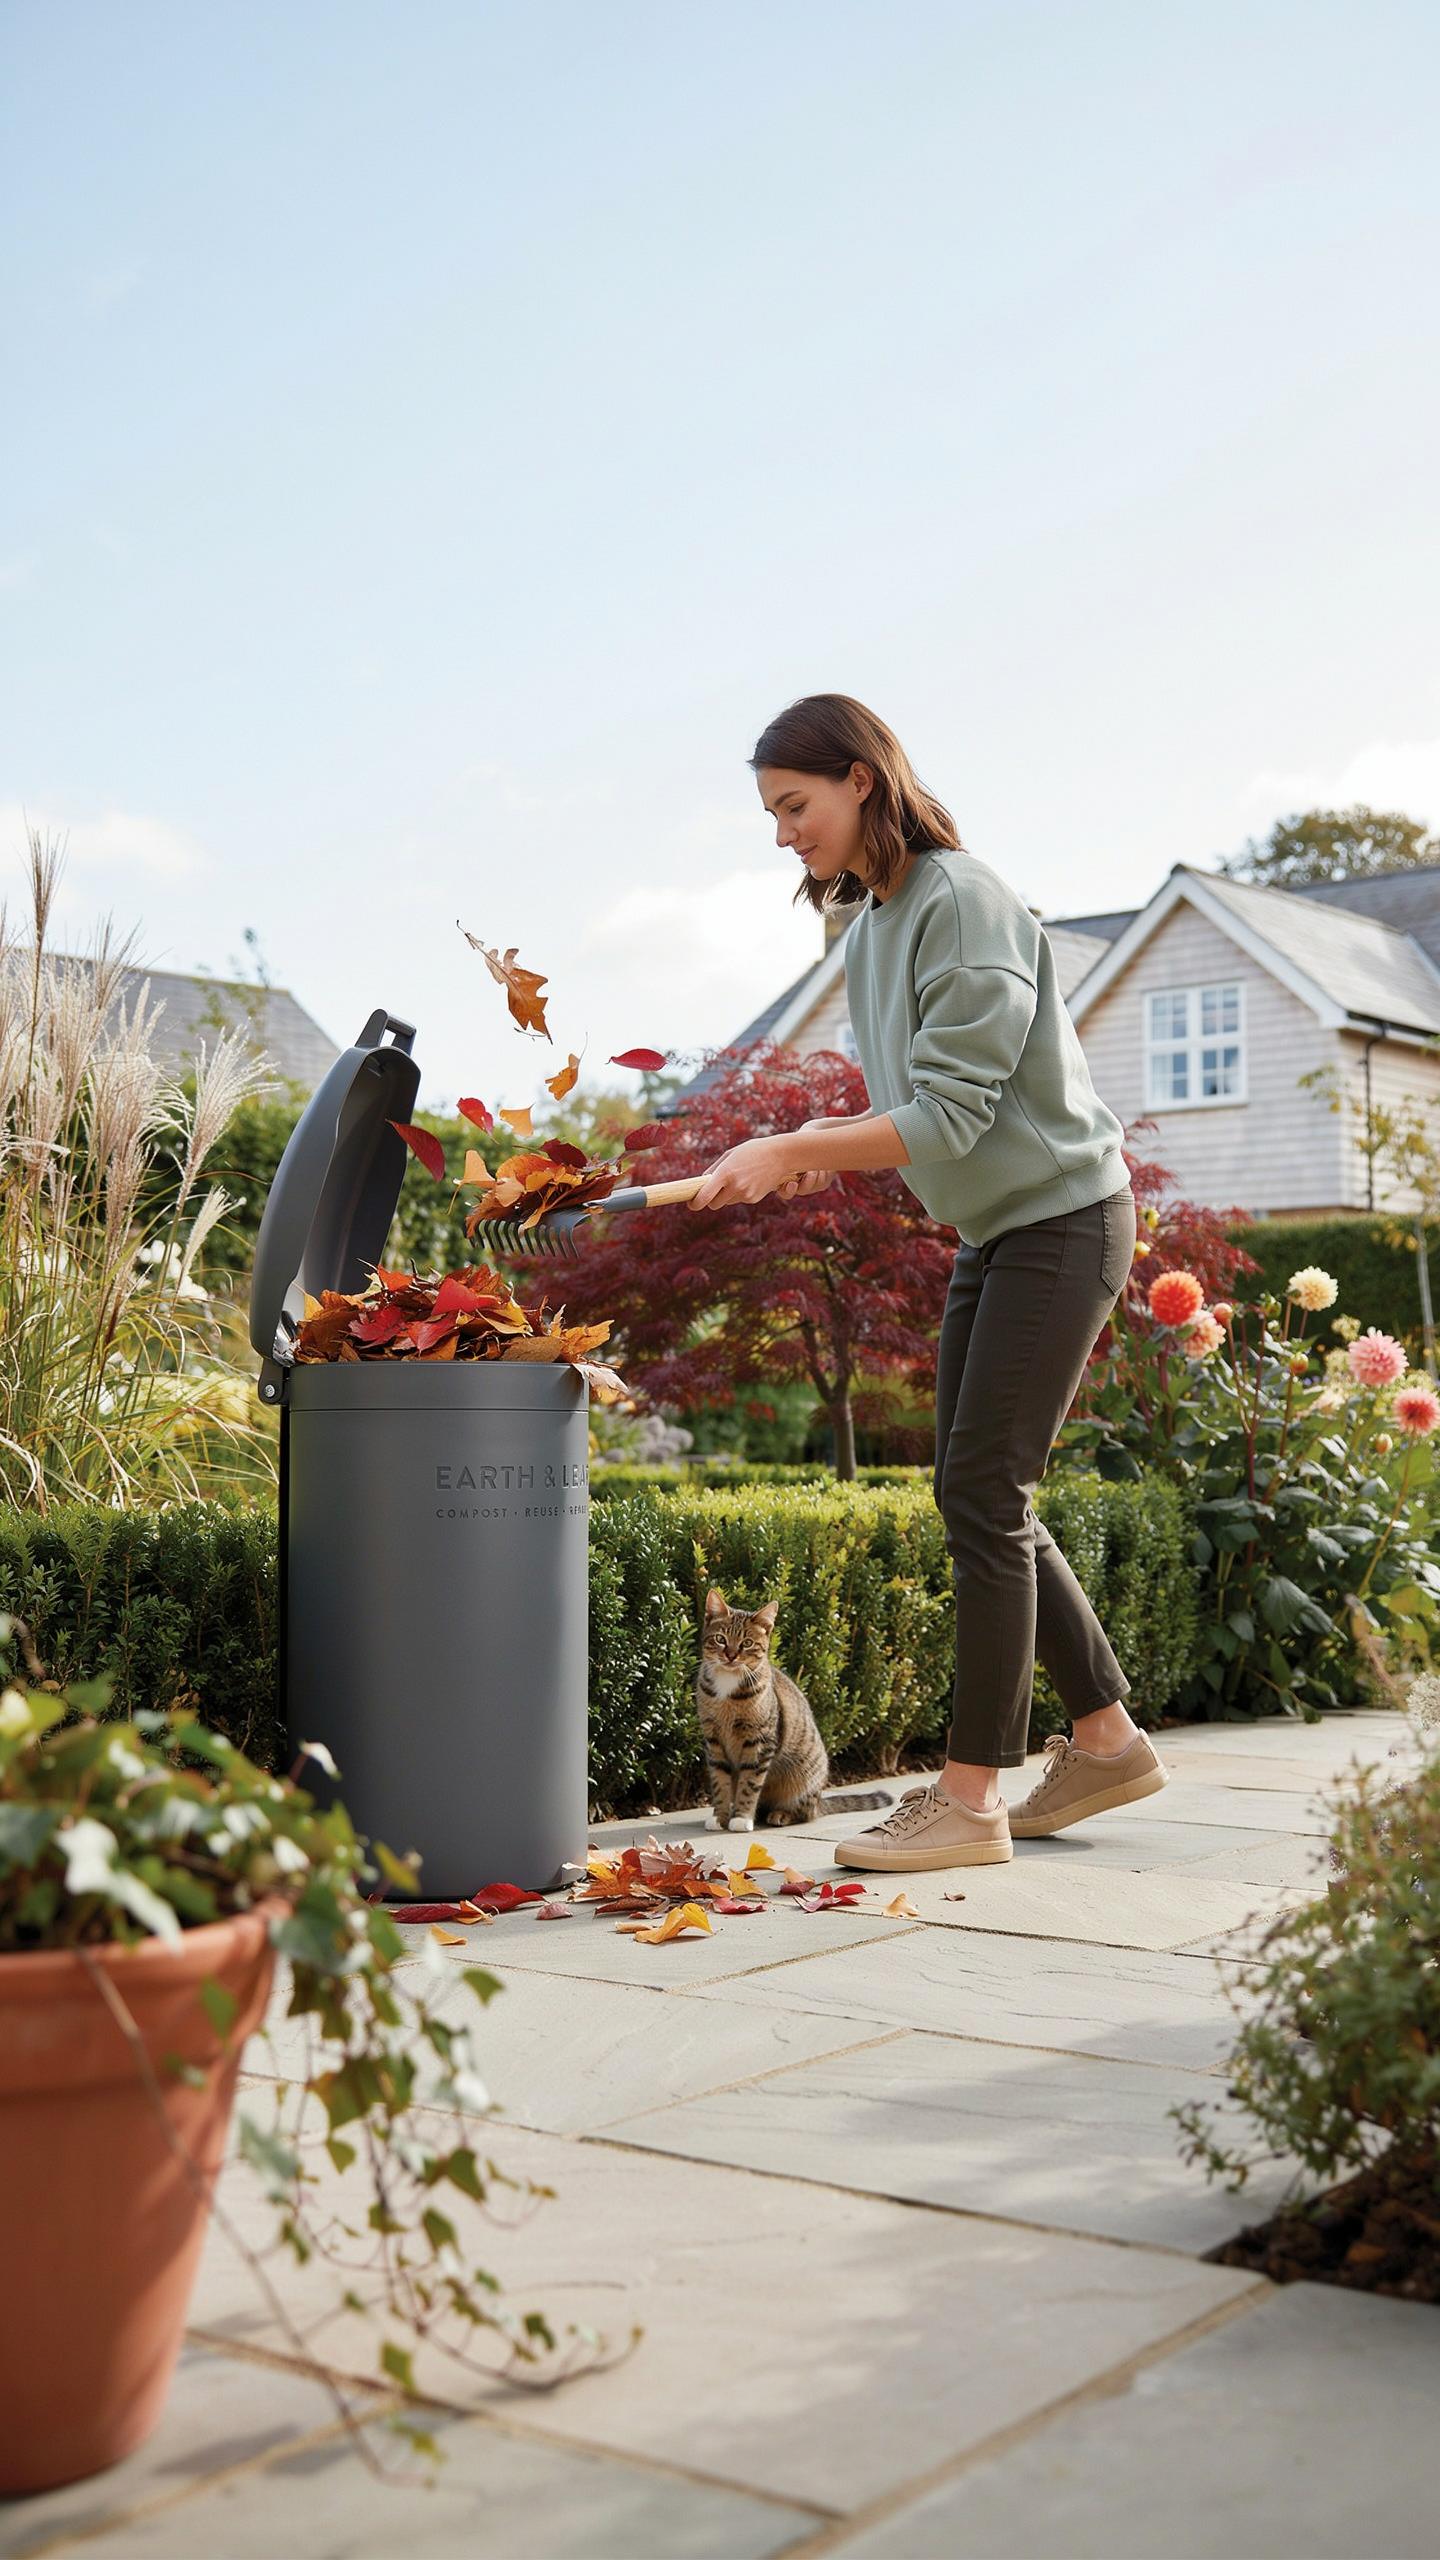
Aesthetic Waste Management
Fall cleanup doesn’t mean sacrificing visual order. Design your leaf collection system to work within your hardscape layout. Use designated bins or contained areas that align with your garden’s sightlines. Store collected leaves near composting zones away from main seating areas. This approach keeps pathways clear while gathering material for soil enrichment without cluttering your outdoor space.
Organize leaf management as part of your seasonal maintenance schedule. Rake leaves into designated collection points on a weekly basis during peak drop periods. Position compost bins or leaf storage behind screens, fences, or in garden corners. This method maintains clean lines throughout your property while accumulating the organic matter your beds need. Your landscape stays functional and visually coherent during the transition into winter.
The Ecological Benefits Of Leaf Cycling
Leaves contain nitrogen, carbon, and minerals that rebuild soil structure when decomposed. Rather than sending leaves to municipal waste streams, keep them on your property. Decomposed leaves increase microbial activity in soil, supporting earthworms and beneficial organisms. This cycling process reduces compaction and improves water retention in garden beds naturally and over time.
Composted leaves create a closed-loop system that eliminates external inputs for soil amendment. Fallen foliage from your own trees returns nutrients specific to your regional ecosystem and soil type. You reduce landfill dependency while building soil biology that strengthens plant resilience. Native plants and microorganisms establish stronger relationships in soil enriched with local leaf material rather than imported amendments.
Can You Compost Leaves Dispelling Common Autumn Myths
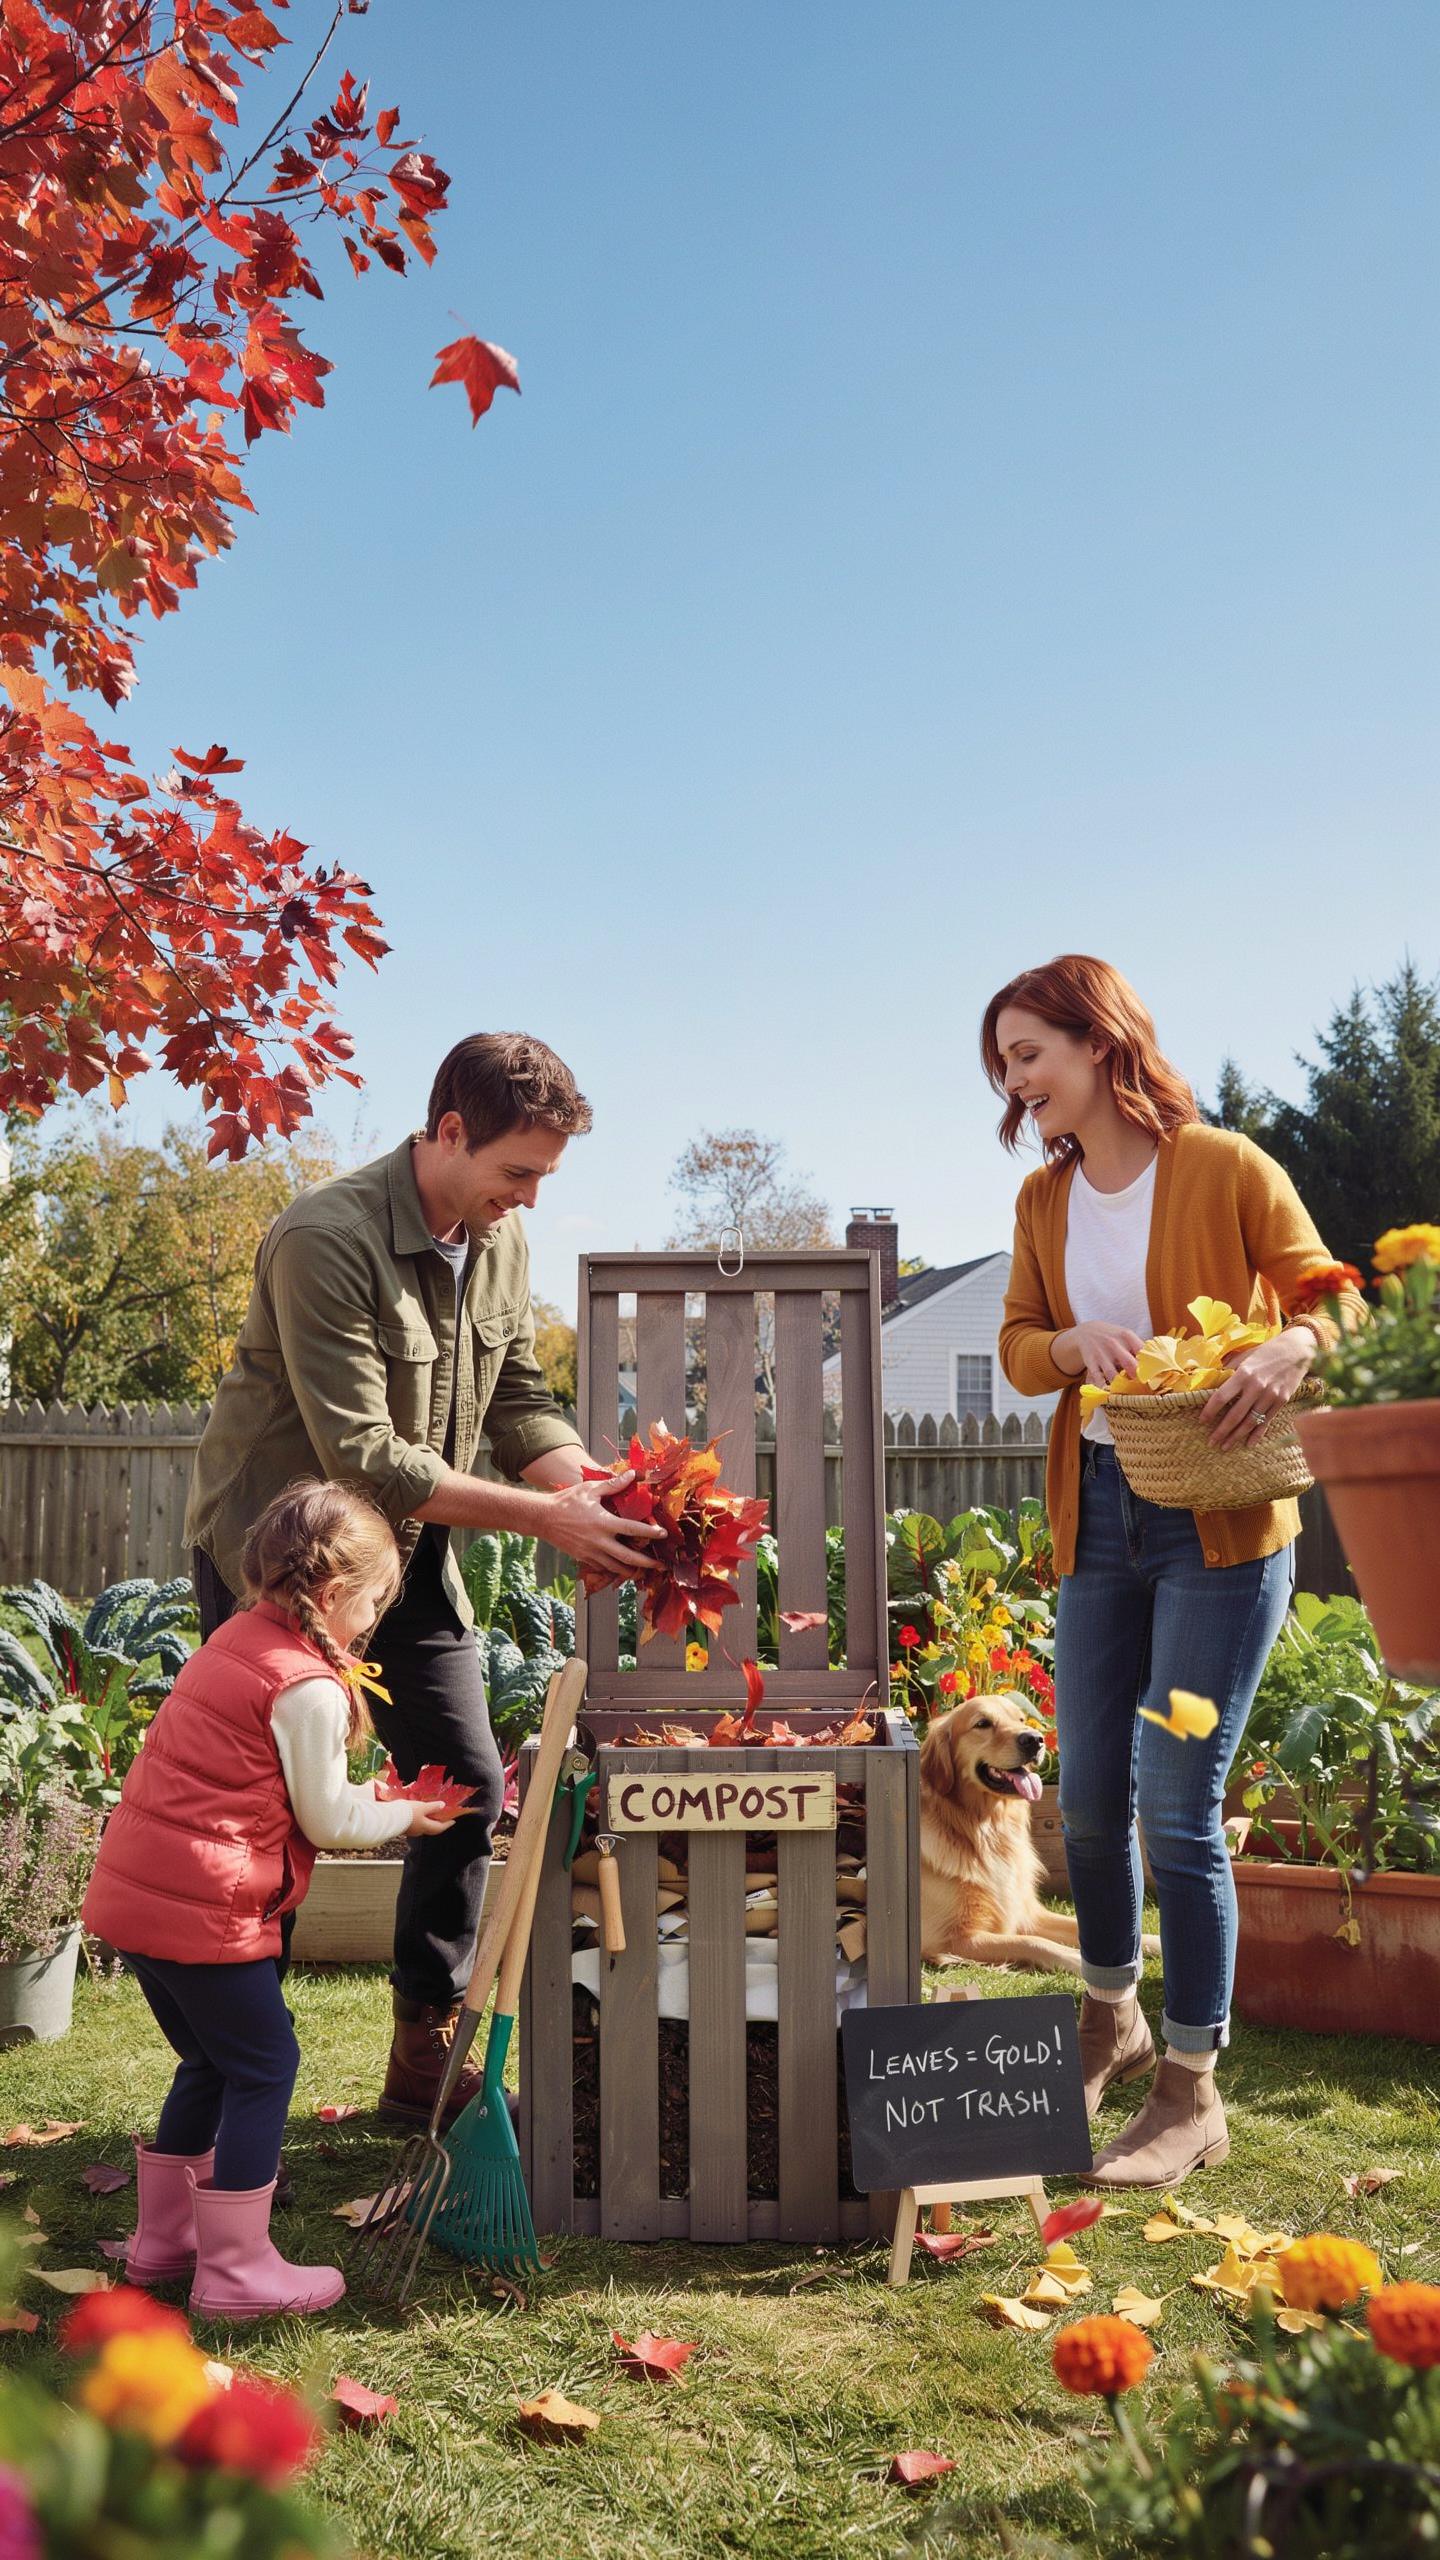
Debunking The Acidity And Matting Myths
Oak and pine leaves do not create problematic acidity in compost piles. The pH change from these materials is minimal and neutralizes naturally as decomposition progresses. Gardeners often avoid these leaves based on outdated assumptions rather than actual chemistry.
Matting occurs only when leaves lack proper aeration and nitrogen balance. Shred leaves before adding them to your pile and mix in nitrogen sources like grass clippings or kitchen scraps. Proper layering and occasional turning prevent the slimy, compacted conditions that kill beneficial microorganisms and slow decomposition significantly.
Identifying Which Leaves To Avoid
Black walnut leaves contain juglone, a compound that inhibits growth in many plants and survives the composting process. Exclude these leaves entirely from your pile to prevent contaminating your finished compost. This restriction applies to walnut shells and twigs as well.
Heavily diseased maple and oak leaves should not enter your compost if the disease is fungal or bacterial in nature. Disease pathogens may survive standard composting temperatures and spread to your garden beds next season. When in doubt about leaf health, leave diseased material out of the pile entirely and dispose of it separately.
How To Compost Leaves Naturally In Your Backyard Oasis
The Essential Elements Of Natural Decomposition
Decomposition happens when four conditions align: carbon material, nitrogen material, oxygen, and moisture. Leaves provide carbon. You add nitrogen through grass clippings or kitchen scraps. Oxygen enters through turning or pile structure. Water activates the process. Without all four, your pile stalls and becomes an inert storage heap instead of a working system.
- Carbon to Nitrogen Ratio: Maintain roughly 30 parts carbon to 1 part nitrogen. Leaves are carbon-heavy, so balance them with nitrogen sources like grass clippings, food waste, or manure to accelerate breakdown.
- Aerobic Bacteria: These microorganisms drive decomposition when oxygen is present. They multiply rapidly and generate heat, which speeds decomposition from months to weeks compared to anaerobic processes.
- Earthworms and Detritivores: Native worms consume decomposing material and create pathways for air flow. They also fragment organic matter, increasing surface area for bacterial colonization and accelerating the process.
- Moisture Management: Your pile needs water content similar to a wrung-out sponge, roughly 40-60% moisture. Too dry and microbes cannot function. Too wet and anaerobic conditions develop, creating odor and slowing decomposition.
- Temperature Zones: Hot composting reaches 130-150 degrees Fahrenheit at the core. This heat kills weed seeds and pathogens while bacteria work fastest. Cooler outer zones allow organisms to survive and continue working throughout the pile.
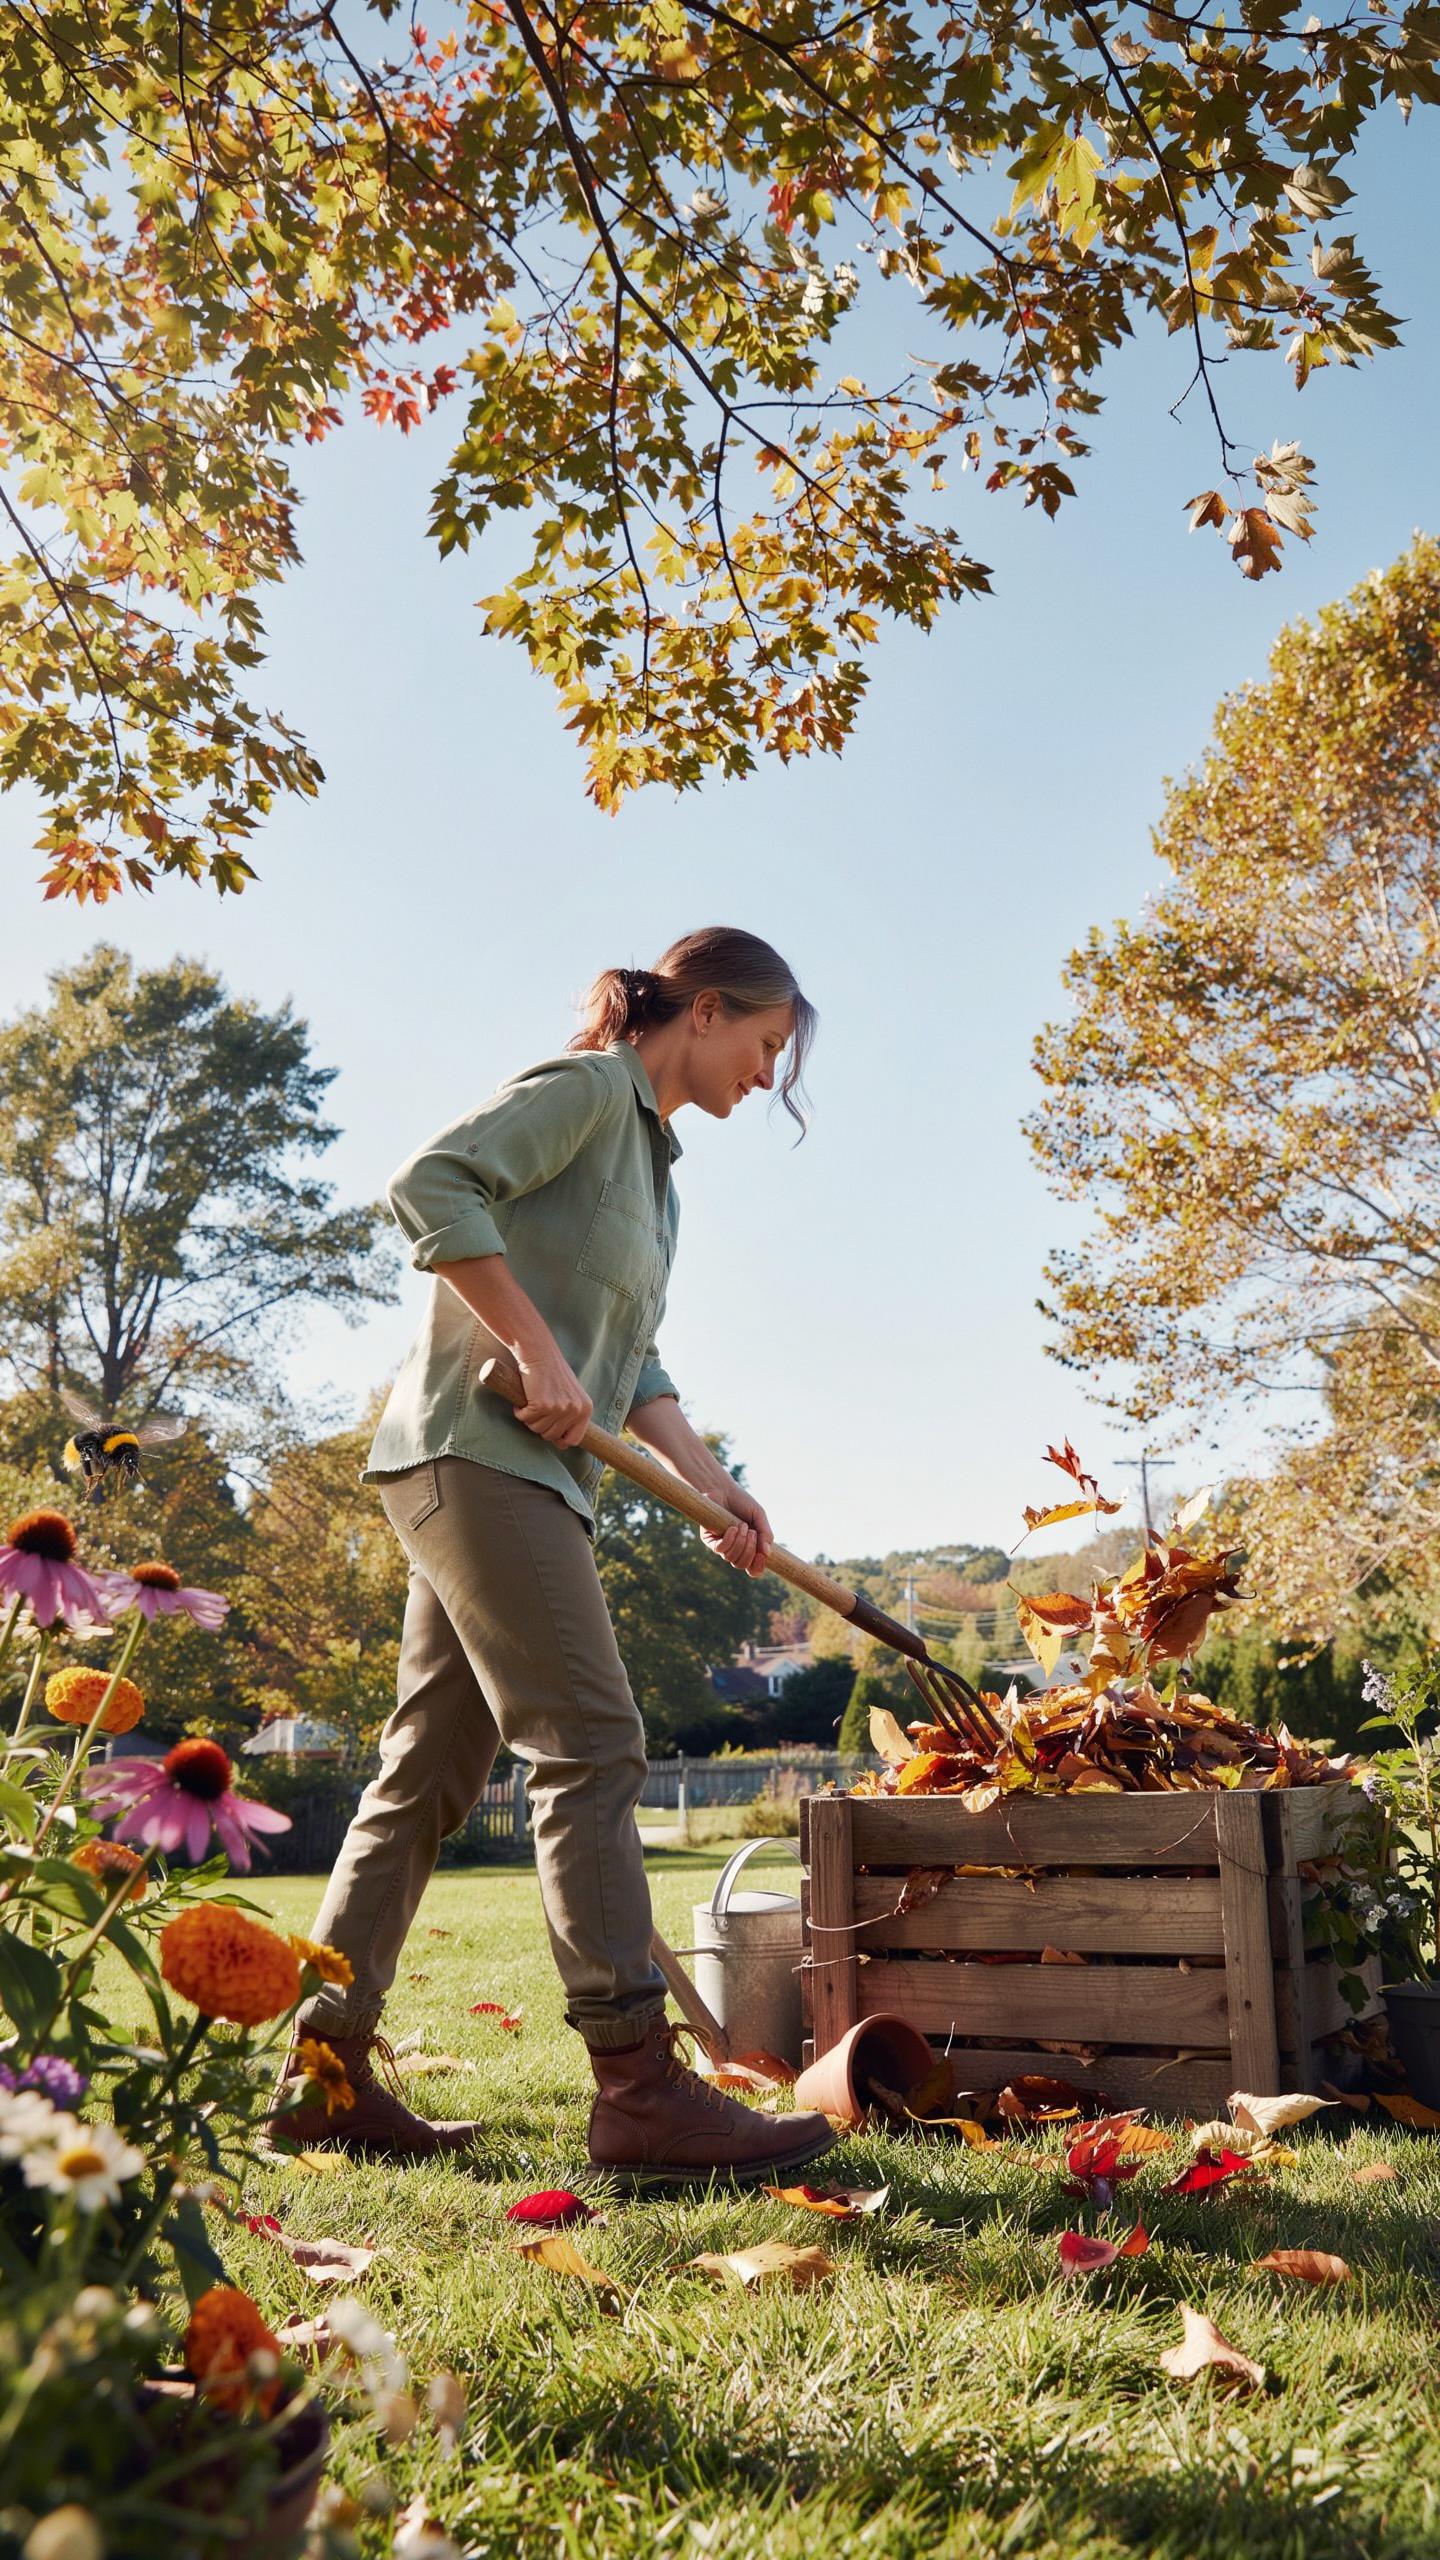
Earthworms and bacteria work simultaneously in a well-built pile. Layer leaves with nitrogen sources in 4-to-6-inch alternating bands. Turn the pile every two weeks during active season. This mixing reintroduces oxygen and redistributes microbes and organisms throughout, preventing dead zones and maintaining momentum toward finished compost.
Gold is the luxury of any garden but the richest treasure is the fallen leaf that returns its grace to the earth.
Selecting The Perfect Aesthetic Location
Position your composting area where it receives partial shade. Direct sun accelerates moisture loss, forcing you to water frequently and disrupting the decomposition balance. Dappled light keeps moisture stable while still allowing air circulation. Avoid full shade, which traps excess moisture and promotes slow, anaerobic breakdown. The location should be at least ten feet from your home to manage any odor issues during hot composting phases.

Access to water matters tactically. Your pile needs moisture adjustments throughout the season. Locate it within hose reach to simplify watering without extra labor. Position it near your primary garden area or kitchen to reduce the distance you carry leaves and scraps. This proximity directly impacts consistency and follow-through with feeding the pile, which determines decomposition speed and final compost quality.
How To Make Compost In Fall A Step By Step Strategic Guide
Harvesting And Preparing Your Autumn Materials
Collect leaves when they fall and before rain packs them into dense mats. Wet leaves trap air and slow decomposition. Dry leaves shred easily and break down faster. Use a lawn mower with a mulching bag to process leaves in one pass. This reduces volume by 75 percent and increases surface area for microorganisms to work efficiently.
Shredding is non negotiable for fall composting speed. Run leaves through a dedicated chipper or mulcher if you have large volumes. Smaller particle size means faster microbial colonization and heat generation. Aim for pieces roughly one quarter inch or smaller. This preparation step determines whether your pile heats up in weeks or stalls for months.
Required Materials For Autumn Composting Success
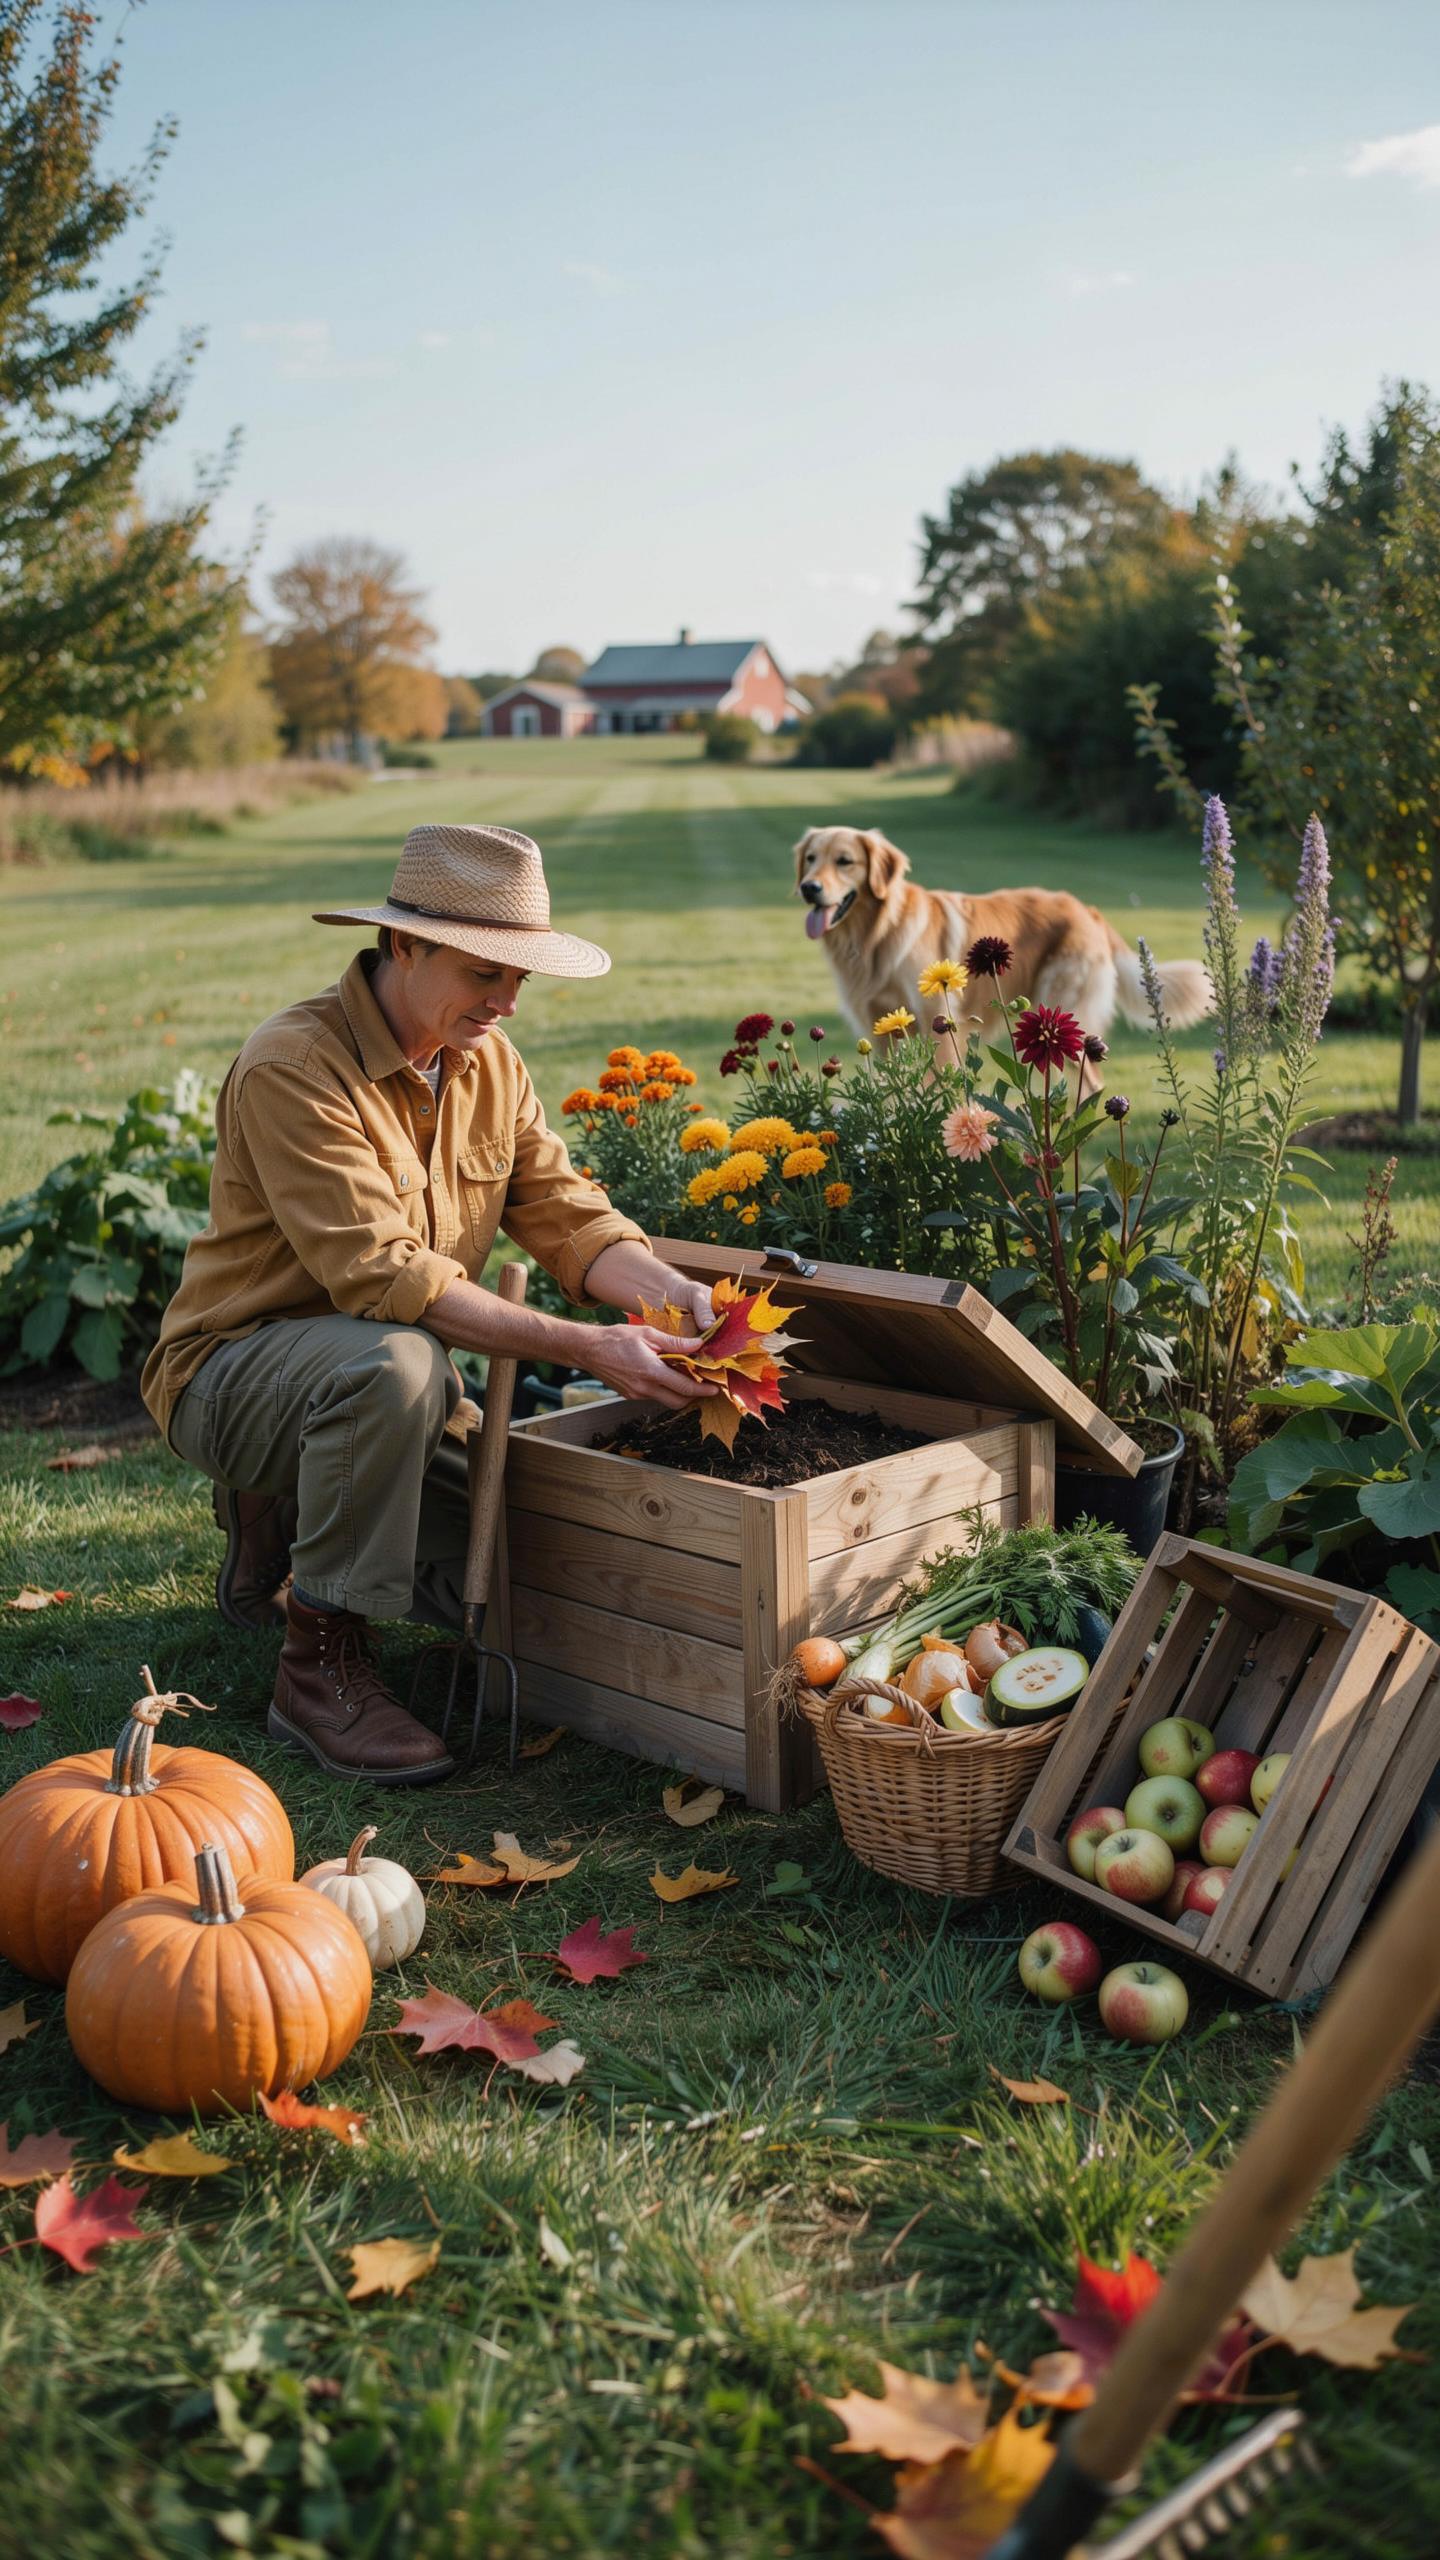
Fall composting requires specific materials to function as a system. Browns, greens, soil, tools, and structure work together. Skip any component and your pile stalls. Gather everything before you start building to maintain momentum and proper carbon to nitrogen ratios throughout the process.
- Shredded Carbon Rich Leaves: Dried fall leaves form your carbon base. They should comprise roughly 70 percent of your pile by volume. Shred them first to accelerate breakdown and prevent matting that blocks airflow.
- Nitrogen Dense Green Materials: Include grass clippings, kitchen scraps, or plant trimmings. These materials fuel microbial activity and heat generation. Add roughly one part nitrogen to three parts carbon by volume for optimal decomposition rates.
- Garden Soil Or Finished Compost: Add a layer between each major leaf section. This introduces established microbial populations that speed decomposition. Use roughly one inch of soil per six inches of leaf material.
- Pitchfork Or Garden Fork: Essential for turning and aerating your pile every two weeks. Manual turning accelerates decomposition by 30 to 40 percent compared to passive piles.
- Breathable Cover Material: Use burlap, landscape fabric, or wire mesh to contain materials while allowing airflow. This retains heat and moisture without creating anaerobic conditions.

Organize materials near your composting site before assembly begins. Proximity matters when building layered piles. Stack browns, greens, and soil in systematic layers rather than dumping everything at once. This approach ensures even carbon to nitrogen distribution and generates heat consistently throughout the pile mass.
How To Make Compost With Leaves And Dirt To Build Soil Biology
The Science Of Inoculating Compost With Native Soil
Garden soil contains millions of microorganisms per gram. Adding a few shovelfuls of native soil to your leaf pile introduces established microbial communities directly into your compost. These organisms break down lignin and cellulose in leaves faster than starting from zero. This inoculation jumpstarts decomposition within days rather than weeks.
The microbes in native soil work as a catalyst. Bacteria, fungi, and actinomycetes colonize your pile and multiply rapidly. They consume organic matter and generate heat, accelerating the entire process. Wild soil microbes are already adapted to your climate and soil chemistry, making them more effective than commercial inoculants.
Layering Soil And Shuffled Foliage
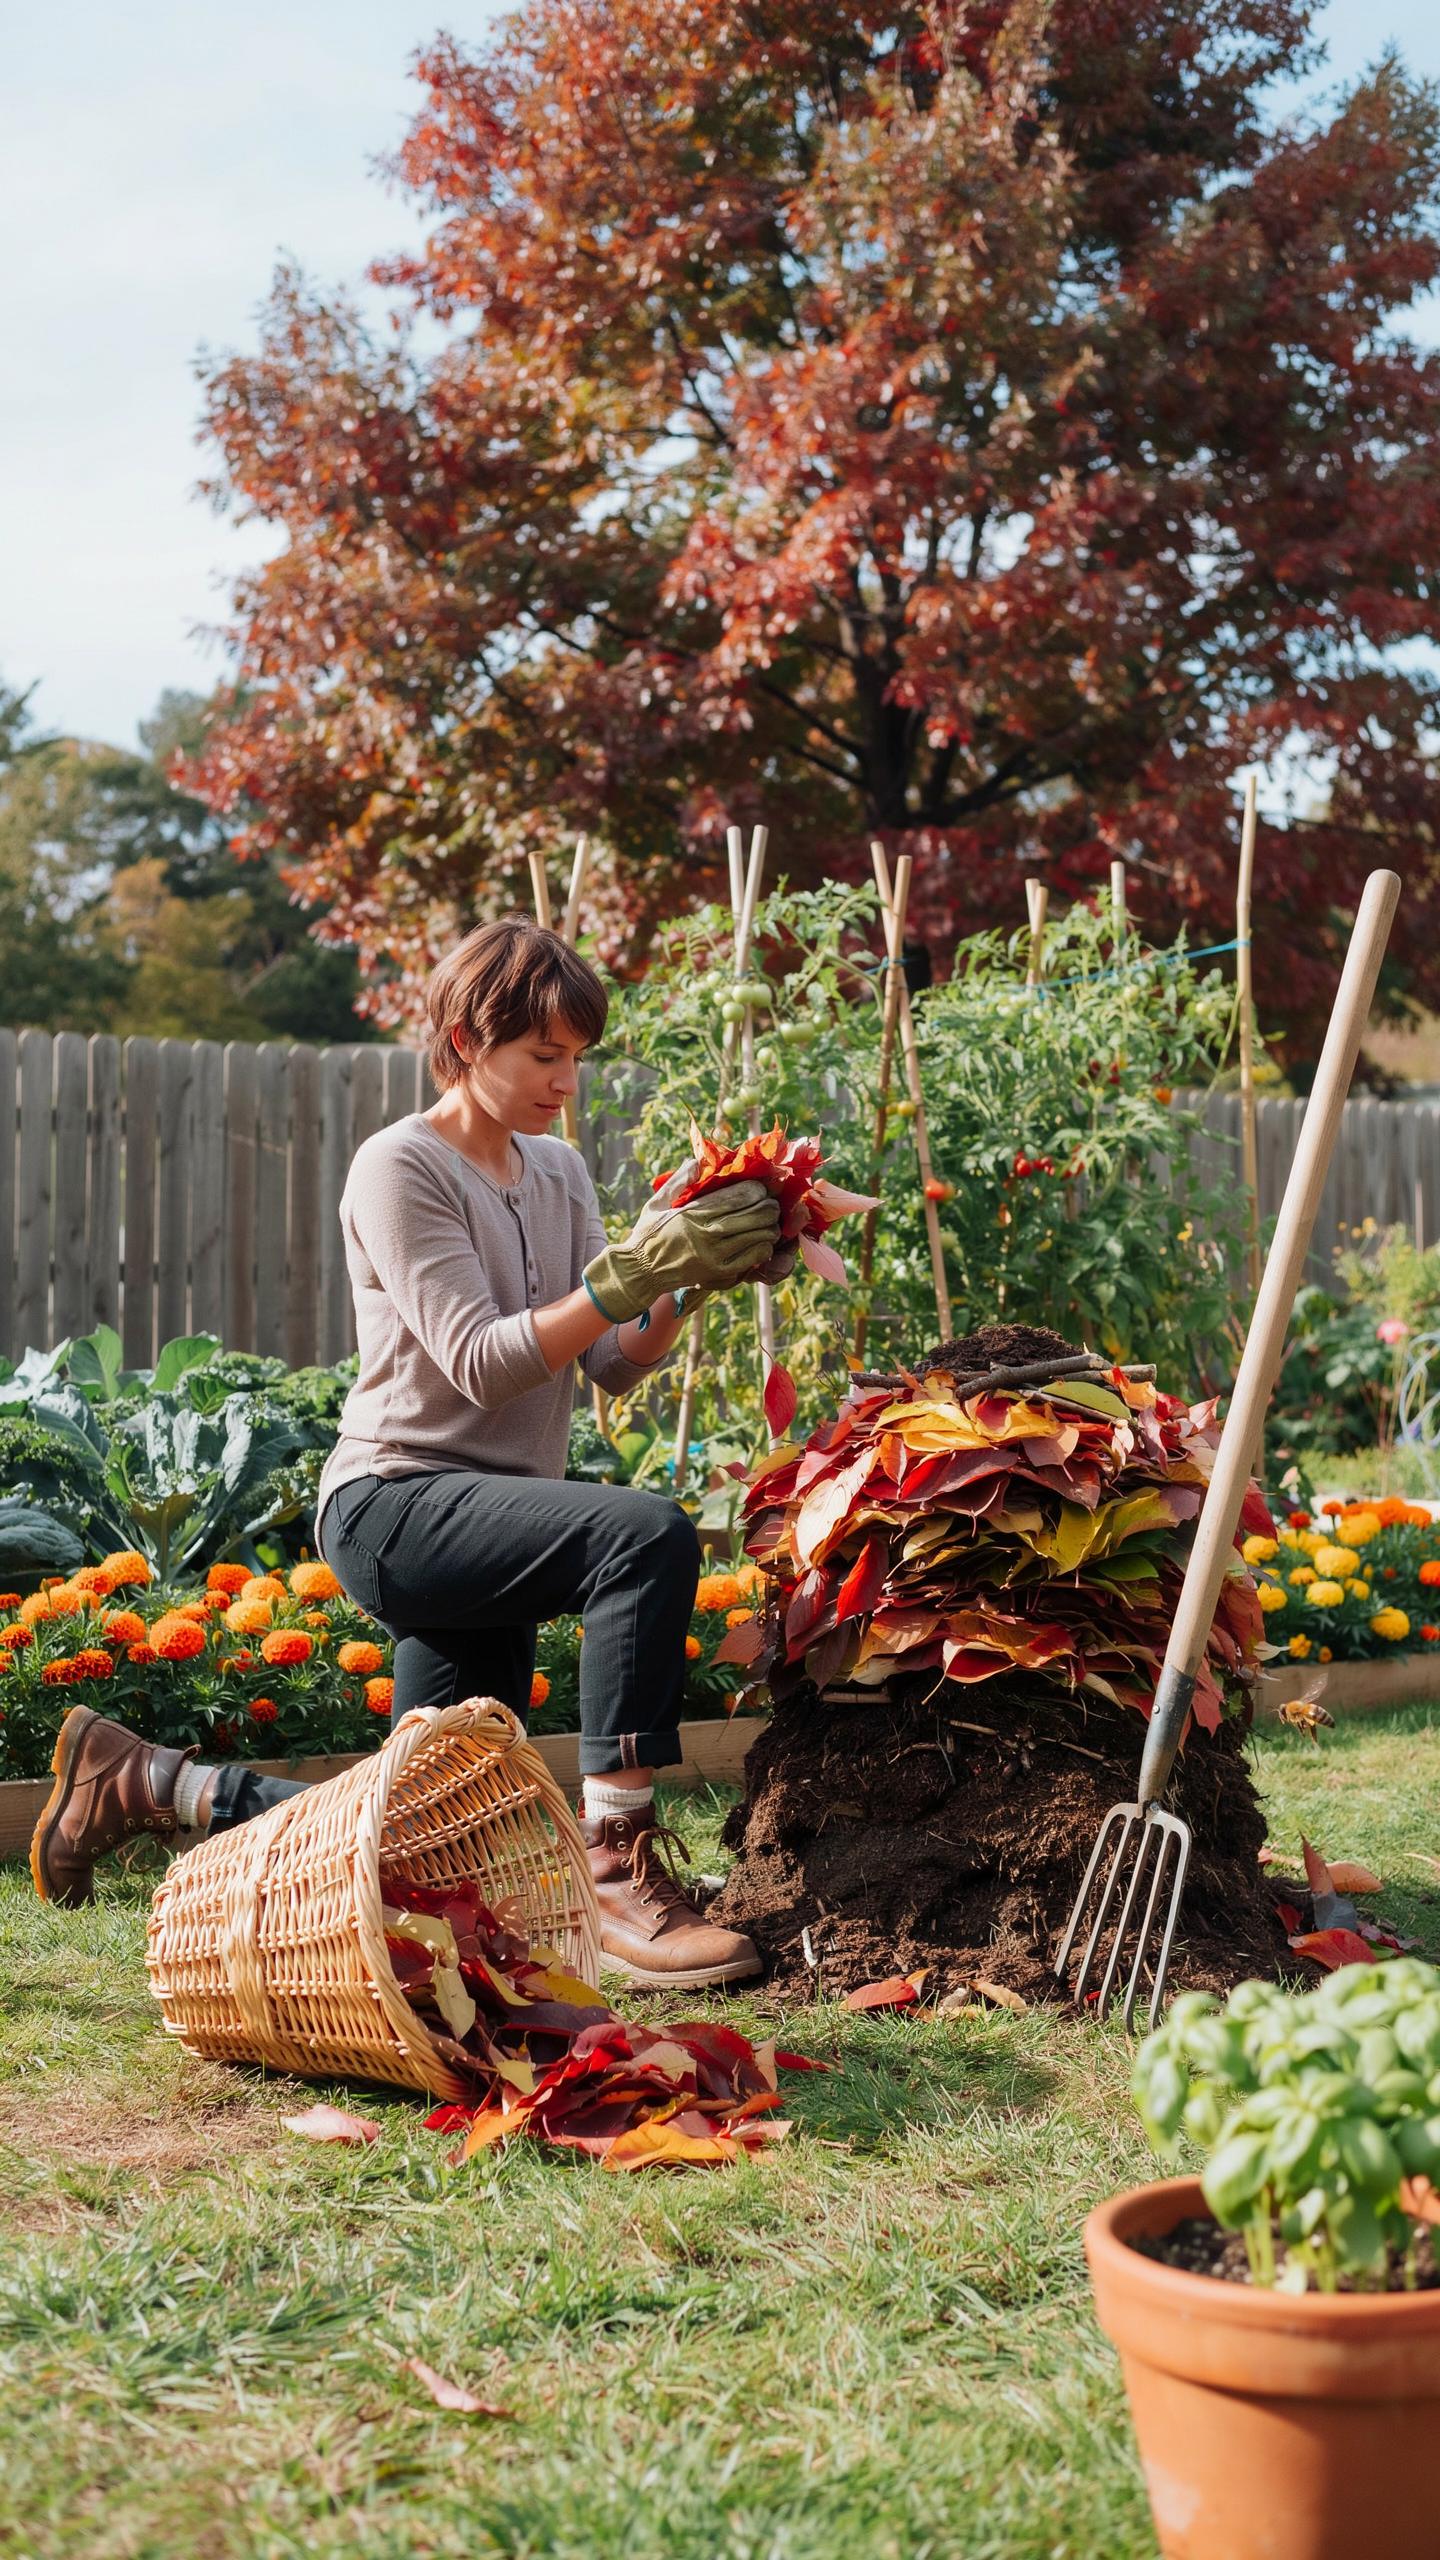
Stack materials in alternating layers to maintain oxygen flow and prevent compaction. Place leaves, then add a thin layer of garden soil, then add grass clippings or kitchen scraps, then repeat. This sandwich method creates pockets of air that microbial communities need to thrive. Proper layering prevents anaerobic conditions that slow decomposition and create odor.
Each soil layer distributes microbes throughout the pile evenly. The structure keeps materials loose enough for water and oxygen to penetrate. Monitor moisture as you build. The finished compost breaks down faster and produces richer soil biology when you layer deliberately rather than dumping materials in random order.
Designing A Compost Bin With Leaves And Soil That Complements Your Yard
Modern And Minimalist Bin Designs
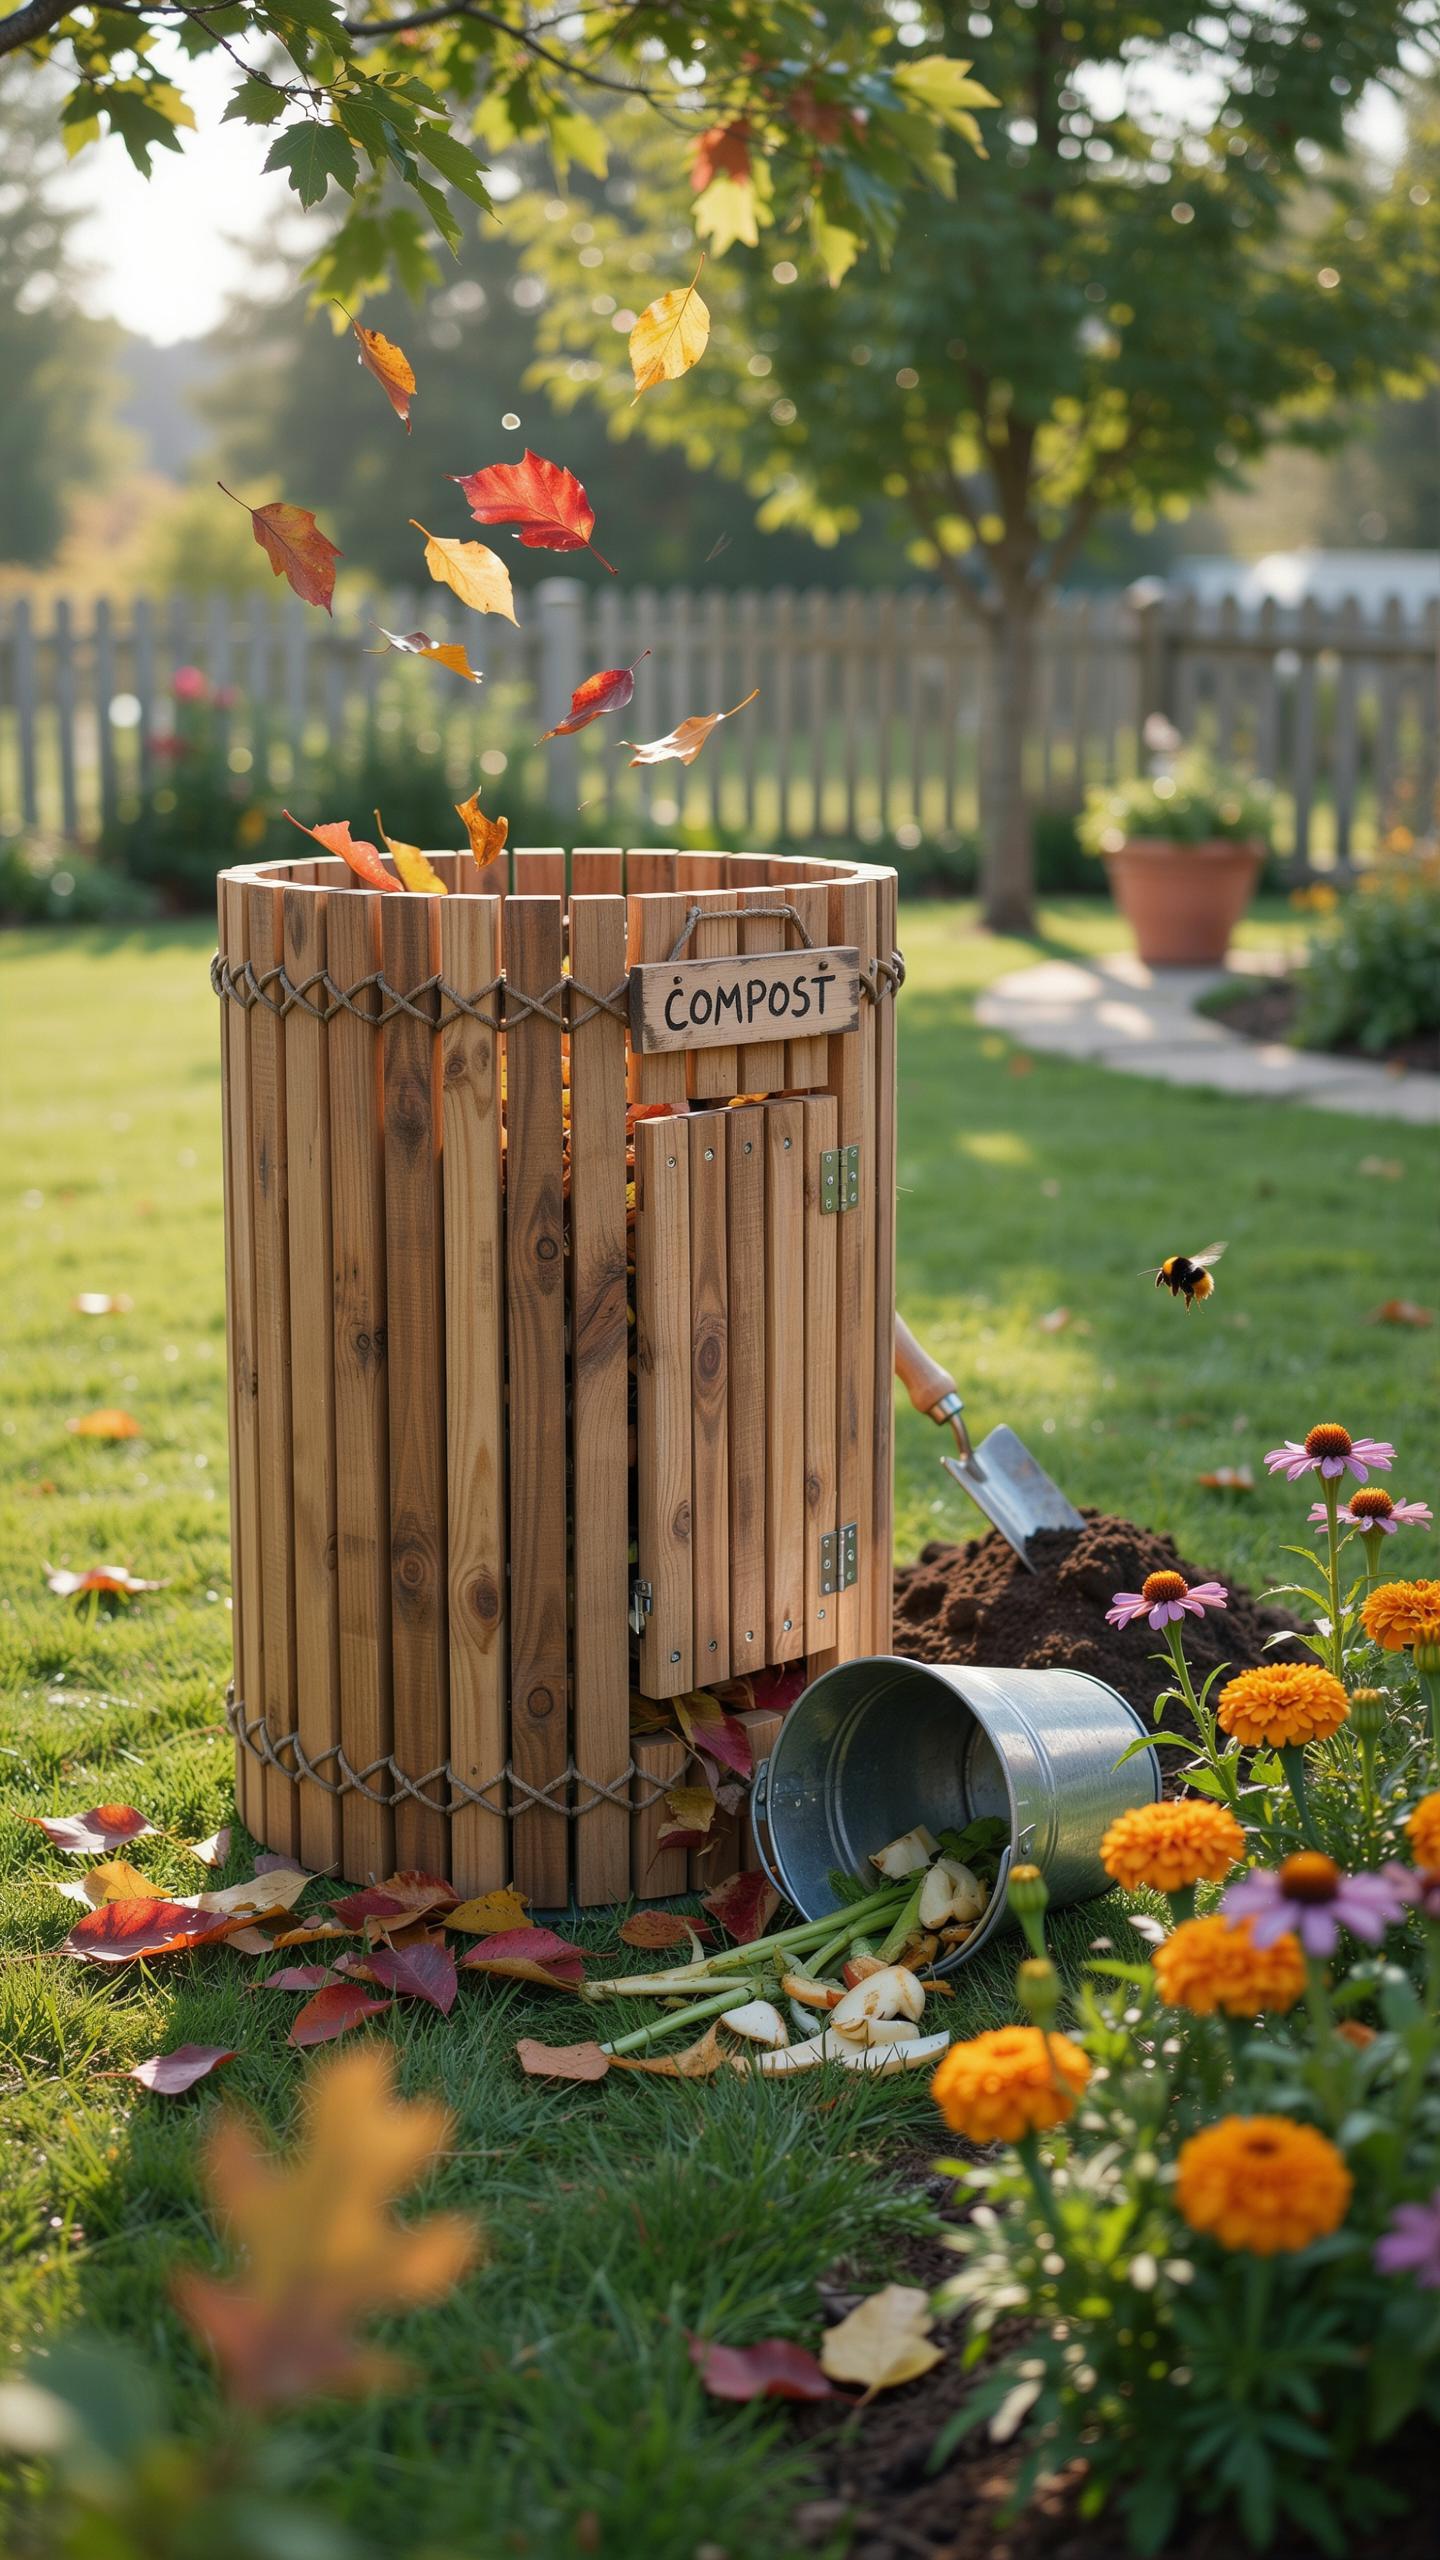
Wooden slat systems work well for contemporary yards because they integrate with existing hardscaping and fencing. Dark-colored tumbling units and wire mesh enclosures fade into background landscapes while remaining fully functional. These designs prioritize clean lines over unnecessary embellishment. The structure must still allow easy access for turning compost materials and removing finished product.
Tumbling bins rotate on stands to mix leaves and soil without manual labor. Wire mesh enclosures work with wooden frames to contain materials while permitting visibility of decomposition progress. Wooden pallet bases create simple, inexpensive containment without drawing visual attention. All designs succeed when they balance aesthetics with the practical requirement of handling decomposing organic matter regularly.
Optimizing Internal Air And Moisture Flow
Perforated aeration tubes run vertically or horizontally through compost piles to deliver oxygen throughout the mass. Elevated wooden pallets at the bin base create air gaps underneath, allowing oxygen to enter from below while water drains away. This prevents waterlogging and the anaerobic conditions that produce odor. Proper ventilation accelerates decomposition of leaves and maintains a garden appropriate for regular use.

Strategic hole placement in bin sides enhances passive airflow without requiring mechanical intervention. Spacing holes every six inches around the bin perimeter ensures oxygen reaches the pile center. Elevated bases combined with side ventilation eliminate the need for frequent manual turning in smaller residential composting operations. This design approach produces finished compost faster while eliminating neighborhood concerns about smell.
Composting Fallen Leaves Using Advanced Thermal Techniques
Maintaining High Internal Pile Temperatures
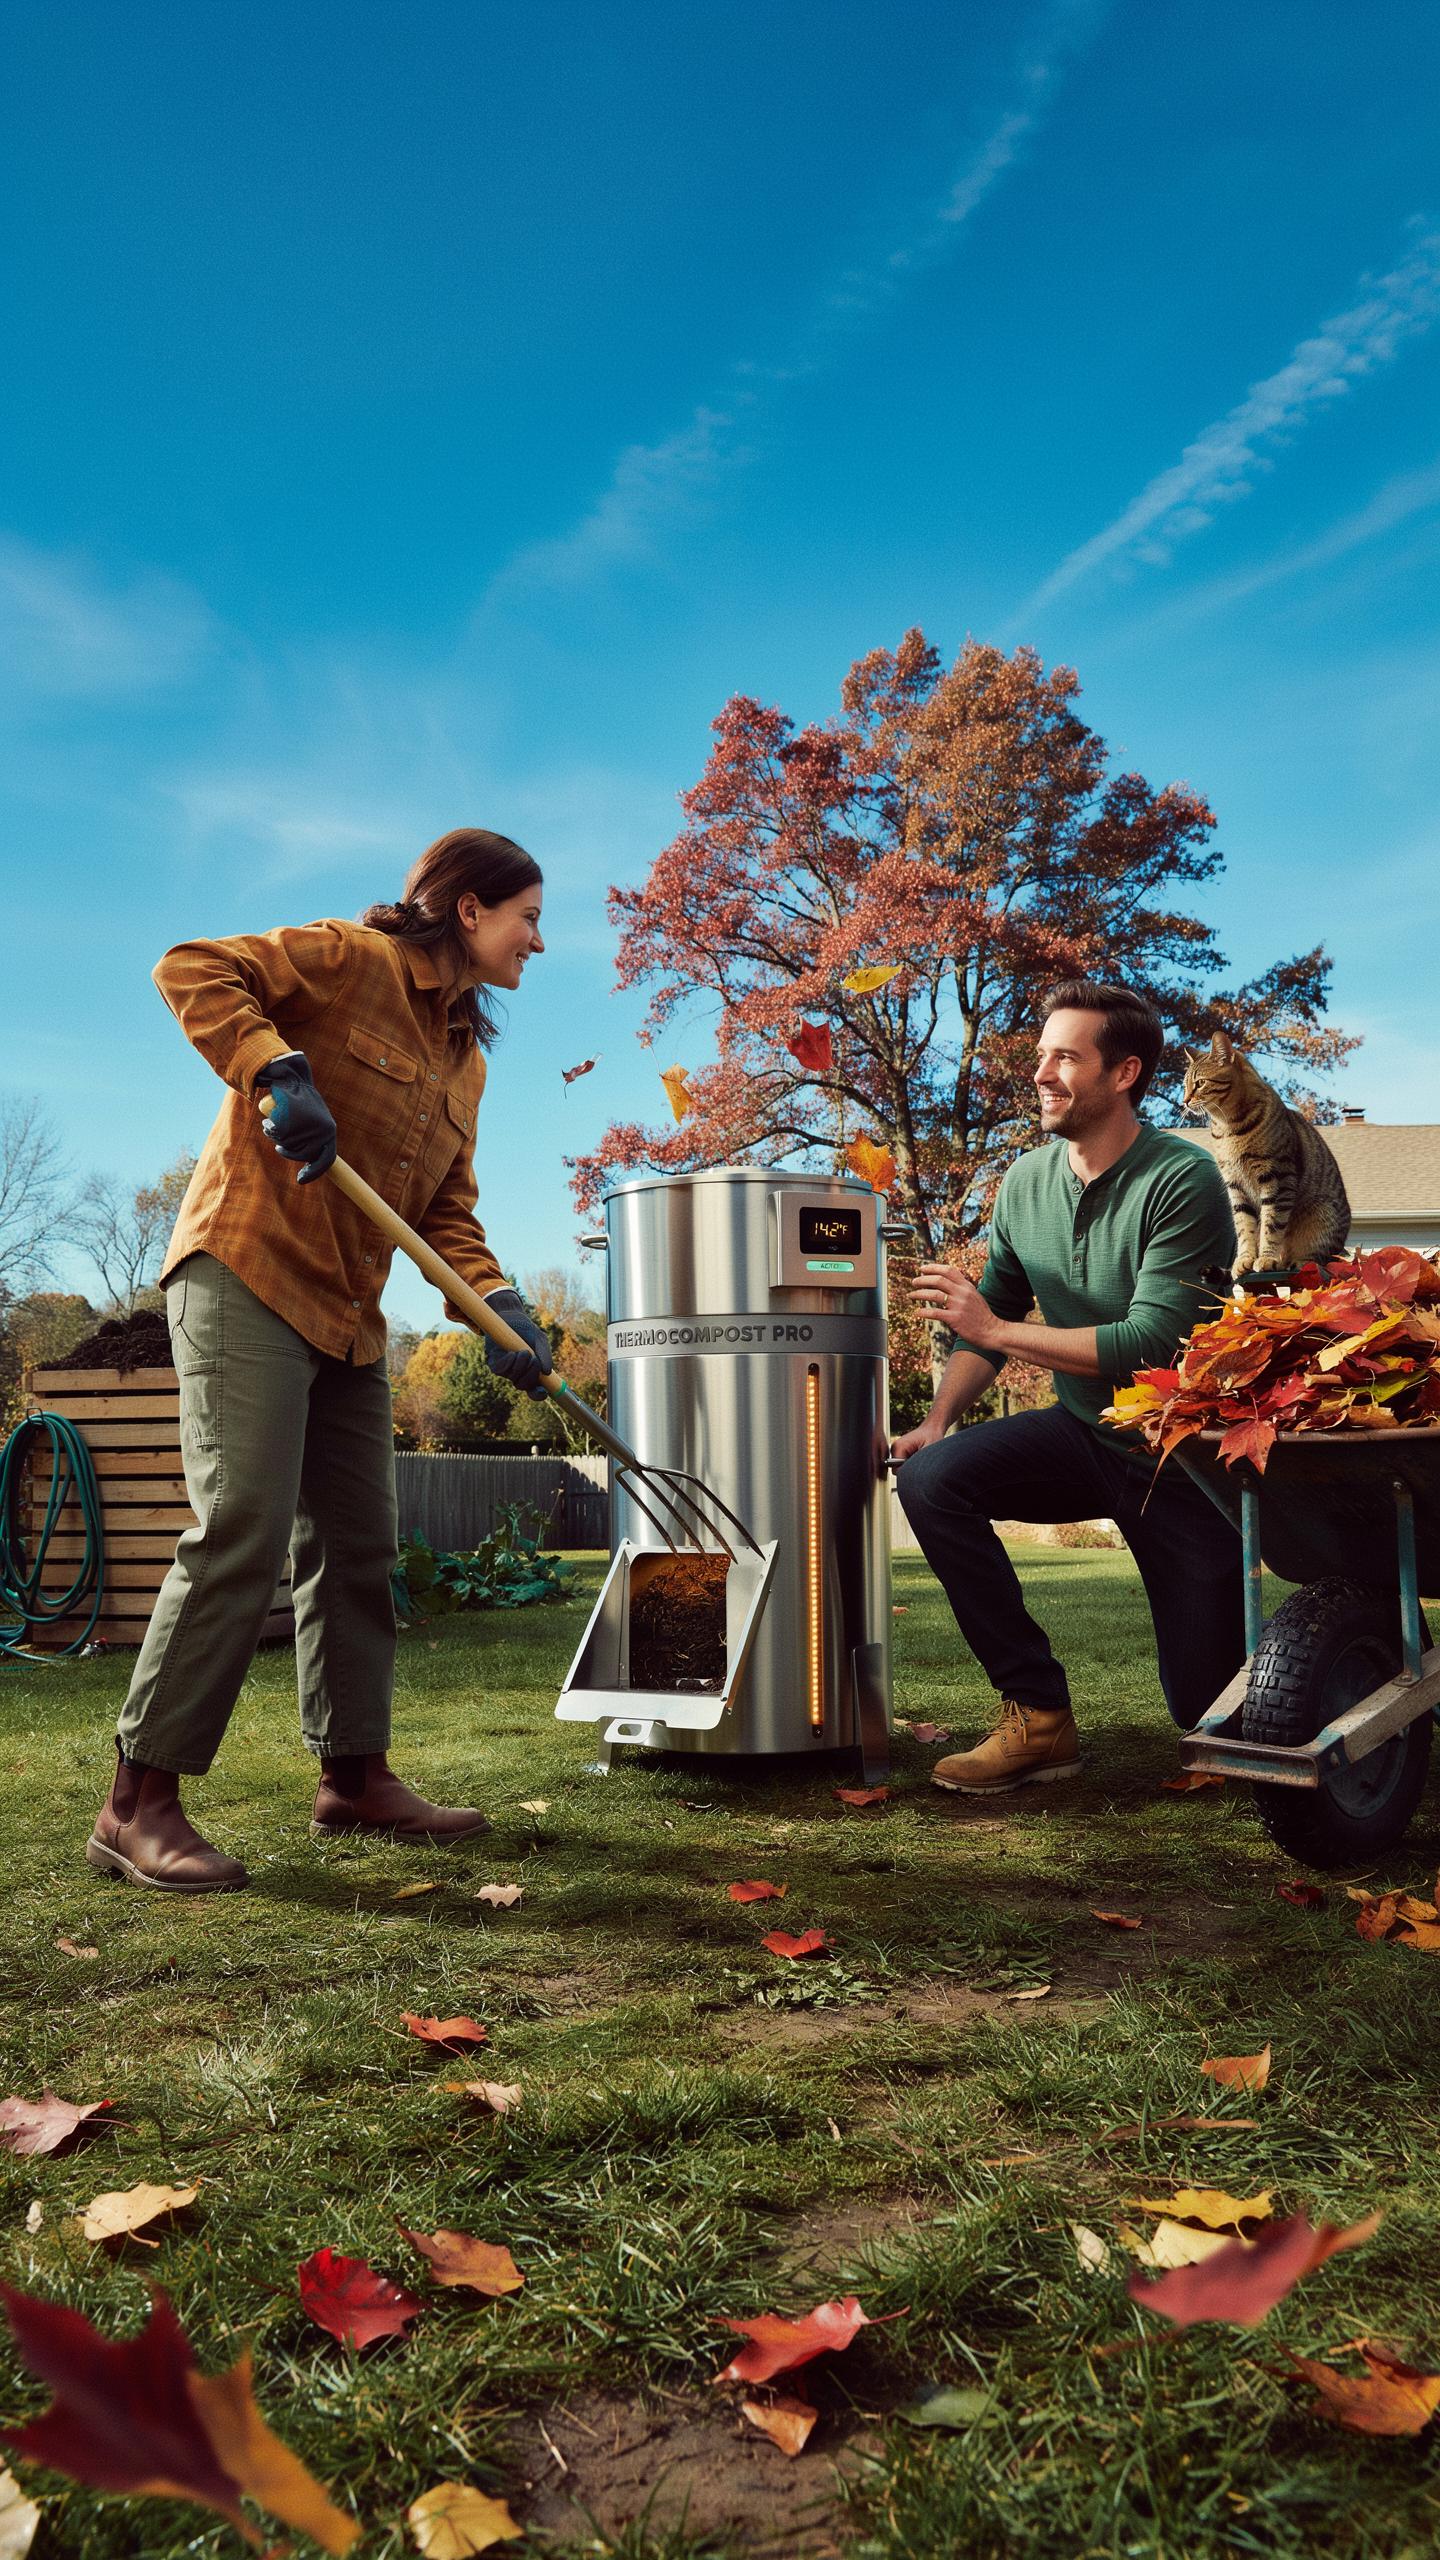
Thermophilic composting achieves temperatures between 113 and 160 degrees Fahrenheit through microbial activity. At these heat levels, the pile kills weed seeds and neutralizes plant pathogens that survive in cooler conditions. The process demands proper carbon-to-nitrogen ratios and consistent moisture management to sustain bacterial activity that generates this internal heat.
Monitor your pile’s temperature using a compost thermometer inserted 12 inches into the heap’s center. When temperature drops below 113 degrees, turn the pile to reintroduce oxygen and restart the thermophilic stage. Finished compost from hot composting appears dark and crumbly within 2 to 3 months, compared to much longer timelines with other methods.
Passive Cold Composting Alternatives
Cold composting accepts leaves and organic matter without turning or managing temperature. Microbes work slowly at ambient temperatures, breaking down material through months or years of passive decomposition. This method suits gardeners who lack time or physical ability to turn piles regularly, though patience becomes the primary requirement.

Pile leaves and yard waste in a designated area and leave them untouched. The bottom layers decompose first, creating usable compost within 6 to 12 months while upper layers continue breaking down. Cold composting produces finished humus that enriches soil effectively, though it does not eliminate weed seeds or heat-sensitive pathogens as thoroughly as hot composting does.
Utilizing Your Finished Leaf Composting Gold In The Landscape
Top Dressing Modern Flower And Vegetable Beds
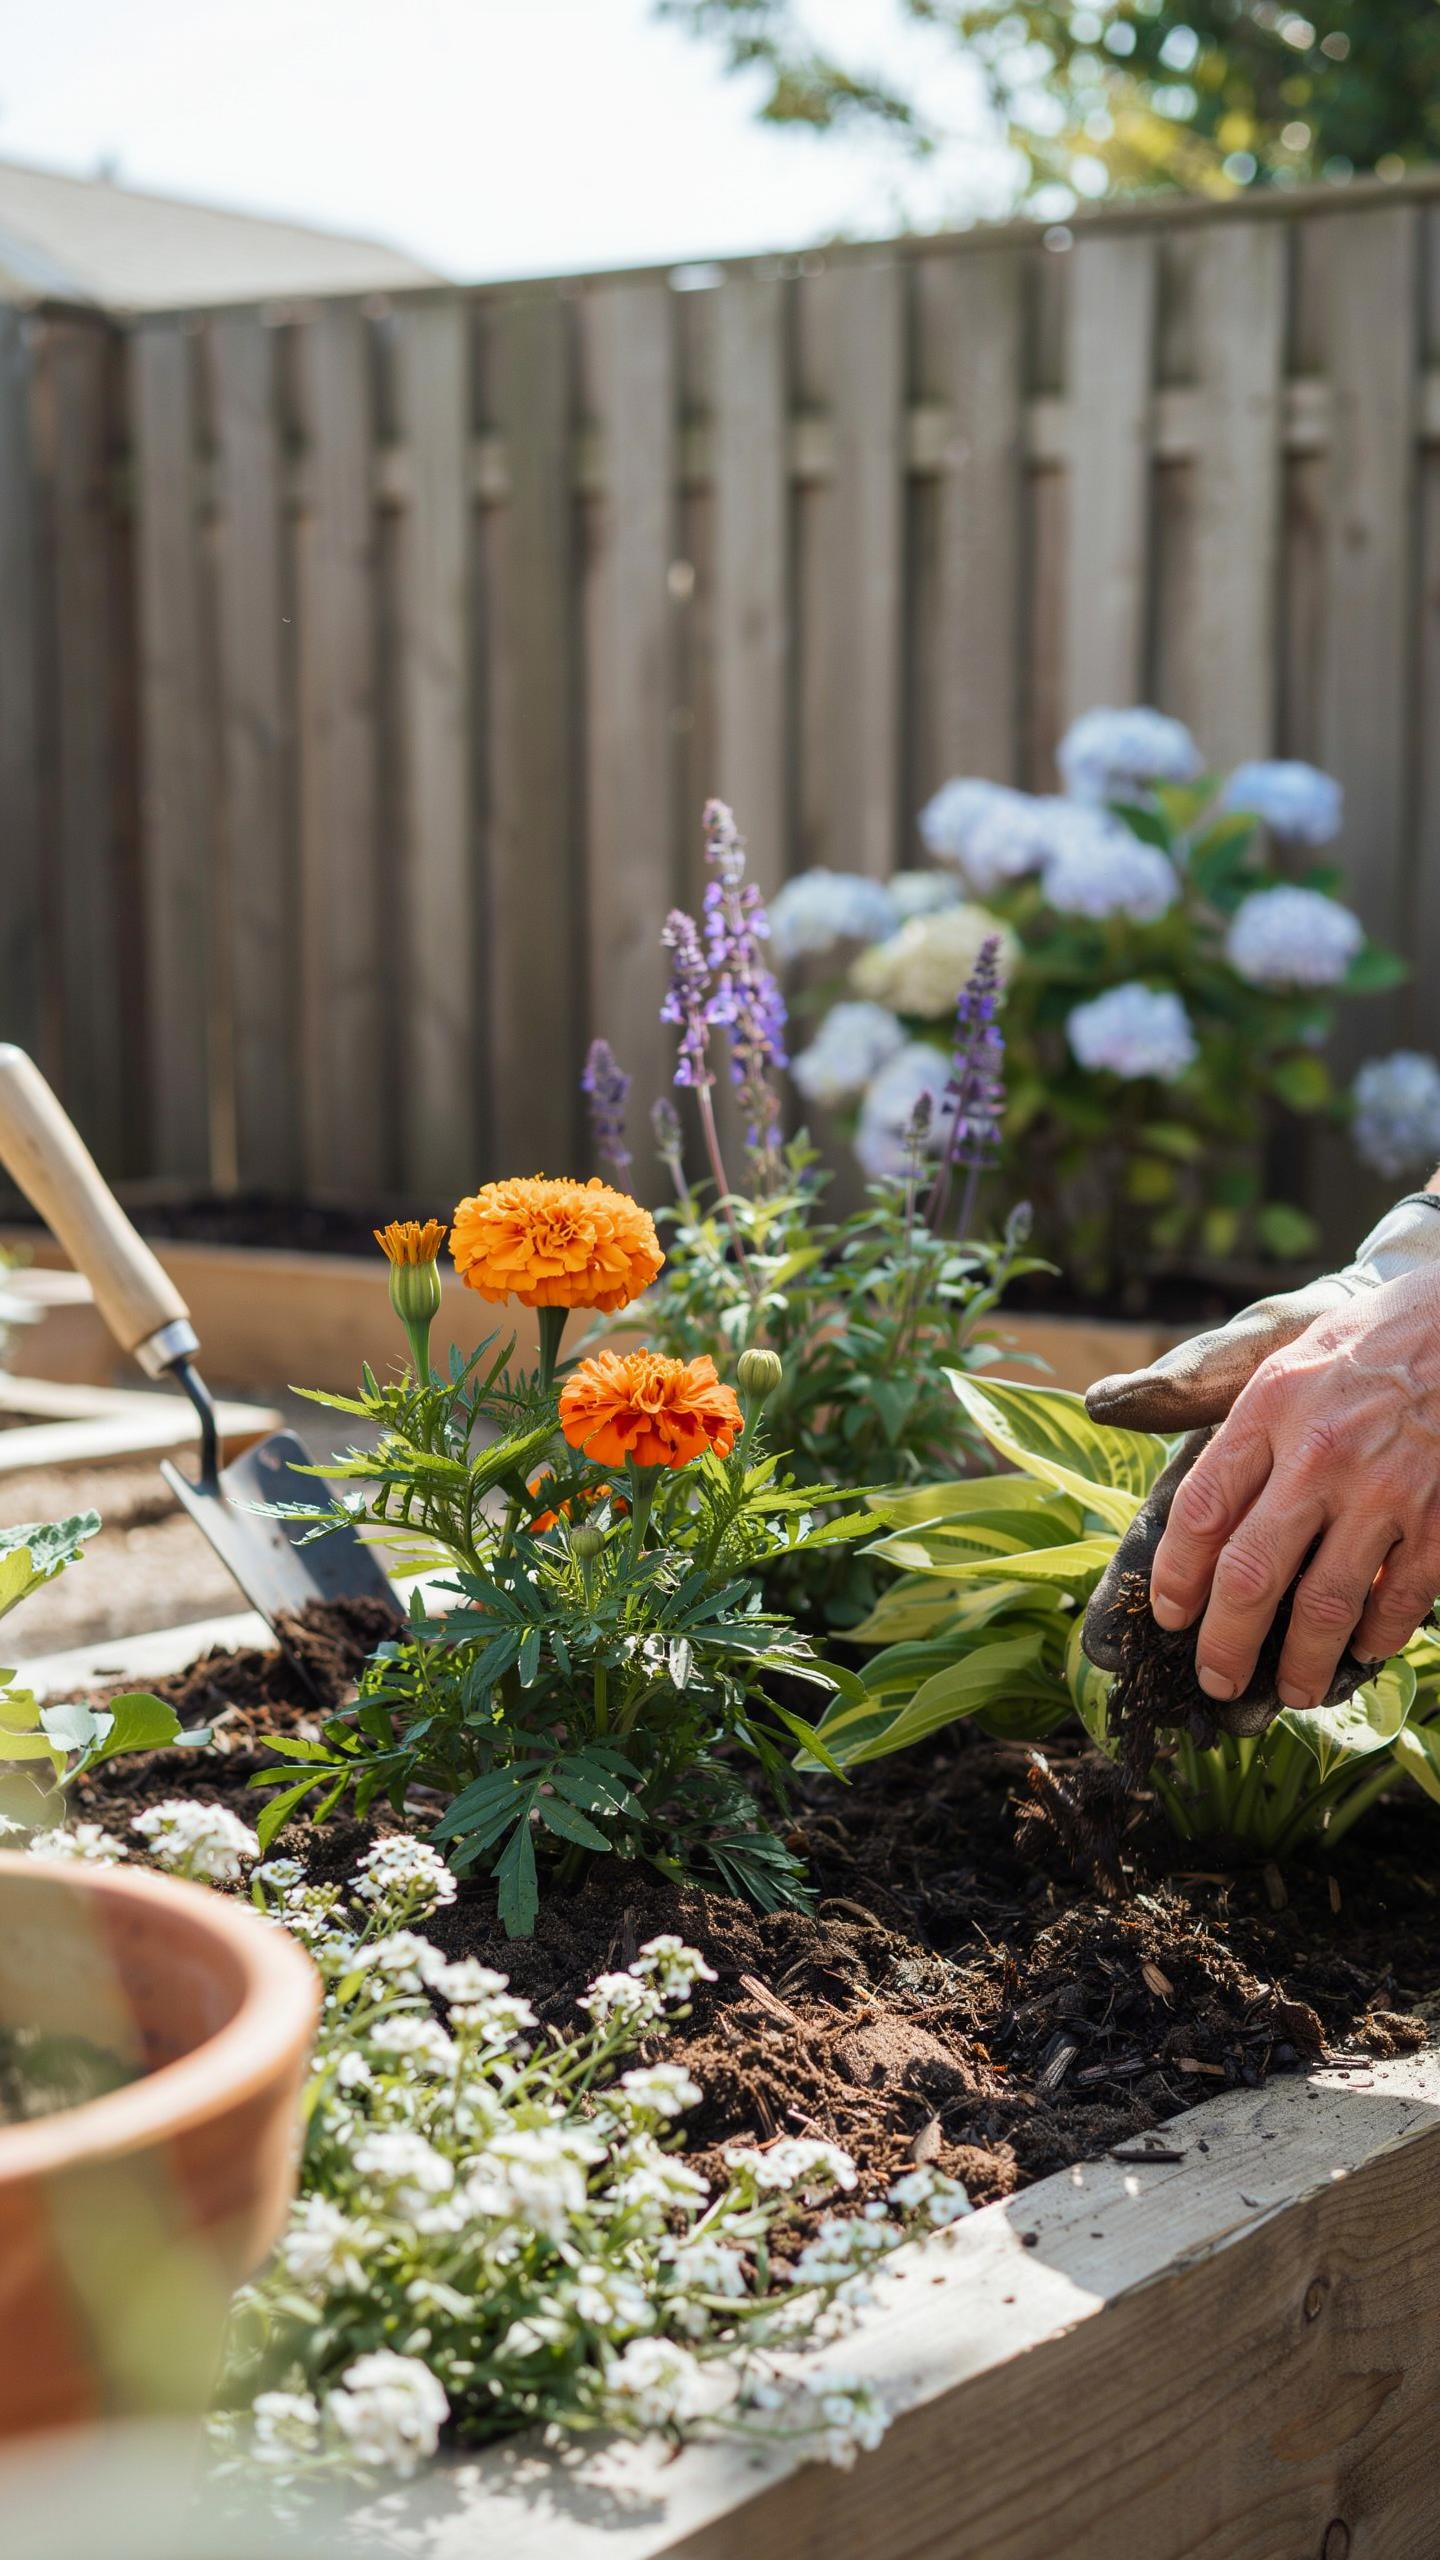
Finished leaf compost provides direct soil amendment benefits when applied as top-dressing before winter sets in. The organic matter layer insulates soil, reduces temperature fluctuation, and prevents erosion during heavy rain and freeze-thaw cycles. As decomposition continues through winter, microbial activity releases nitrogen, phosphorus, and potassium into the root zone. This slow nutrient release supports early spring growth without the shock of synthetic fertilizers.
Apply one to three inches of cured leaf compost around perennials, shrubs, and vegetable beds in fall. Work it into the top two inches of soil around established plants, keeping material several inches away from plant stems to prevent rot. The compost improves soil structure, enhances water retention in sandy soils, and moderates drainage in clay-heavy beds. By spring, much of the material integrates into the soil profile, leaving behind improved tilth and biological activity.
Brewing Homemade Compost Tea For Houseplants
Compost tea extracts soluble nutrients and beneficial microorganisms from finished leaf compost, creating a liquid concentrate for foliar feeding and soil application. Steep one part finished compost in five parts dechlorinated water for 24 to 48 hours, stirring occasionally to increase oxygen exposure. Strain the mixture through fine cloth to remove solids, leaving behind a nutrient-rich liquid containing bacteria, fungi, and available plant nutrients ready for uptake.

Apply compost tea directly to houseplant soil or dilute it further for foliar spray application on indoor and outdoor plants. The liquid microorganisms colonize the rhizosphere, improving nutrient availability and plant disease resistance through competitive microbial action. Use brewed tea within a few days of preparation, as microbial populations decline over time without active aeration. This practice maximizes compost value while supporting plant health with minimal cost or chemical inputs.
Frequently Asked Questions

What are the primary benefits of leaf composting for a modern home garden?
Integrating fall garden care leaf composting into your seasonal routine does more than just tidy up your lawn. It transforms fallen foliage into “black gold,” a nutrient-rich soil conditioner that improves soil structure and moisture retention. By recycling organic matter on-site, you reduce waste and provide a natural mulch that protects delicate perennial roots from winter frosts, ensuring your outdoor space remains healthy and stylish come springtime.
How can I create a stylish and effective leaf compost pile in a smaller yard?
For a clean, modern aesthetic, use a sleek wooden slatted bin or a dark-colored tumbler to keep your organic matter contained. Start by shredding your leaves with a mower to speed up decomposition. Layer these “browns” with “greens” like grass clippings, and ensure the pile stays moist but not soggy. Consistent fall garden care leaf composting ensures you produce high-quality fertilizer without creating an eyesore in your curated landscape.
Do I need to buy expensive equipment to start composting leaves this autumn?
Not at all! Composting is one of the most budget-friendly ways to enhance your landscape. You can create a functional setup using simple wire mesh or repurposed wooden pallets. If you prefer a minimalist look, try “trench composting” by burying shredded leaves directly into garden beds. This cost-free approach turns yard debris into a valuable resource, proving that high-end garden results don’t require a heavy investment in specialized machinery.



