
Understanding Your Spring Garden Prep Pruning Schedule
The Science Of Timing Your Cuts
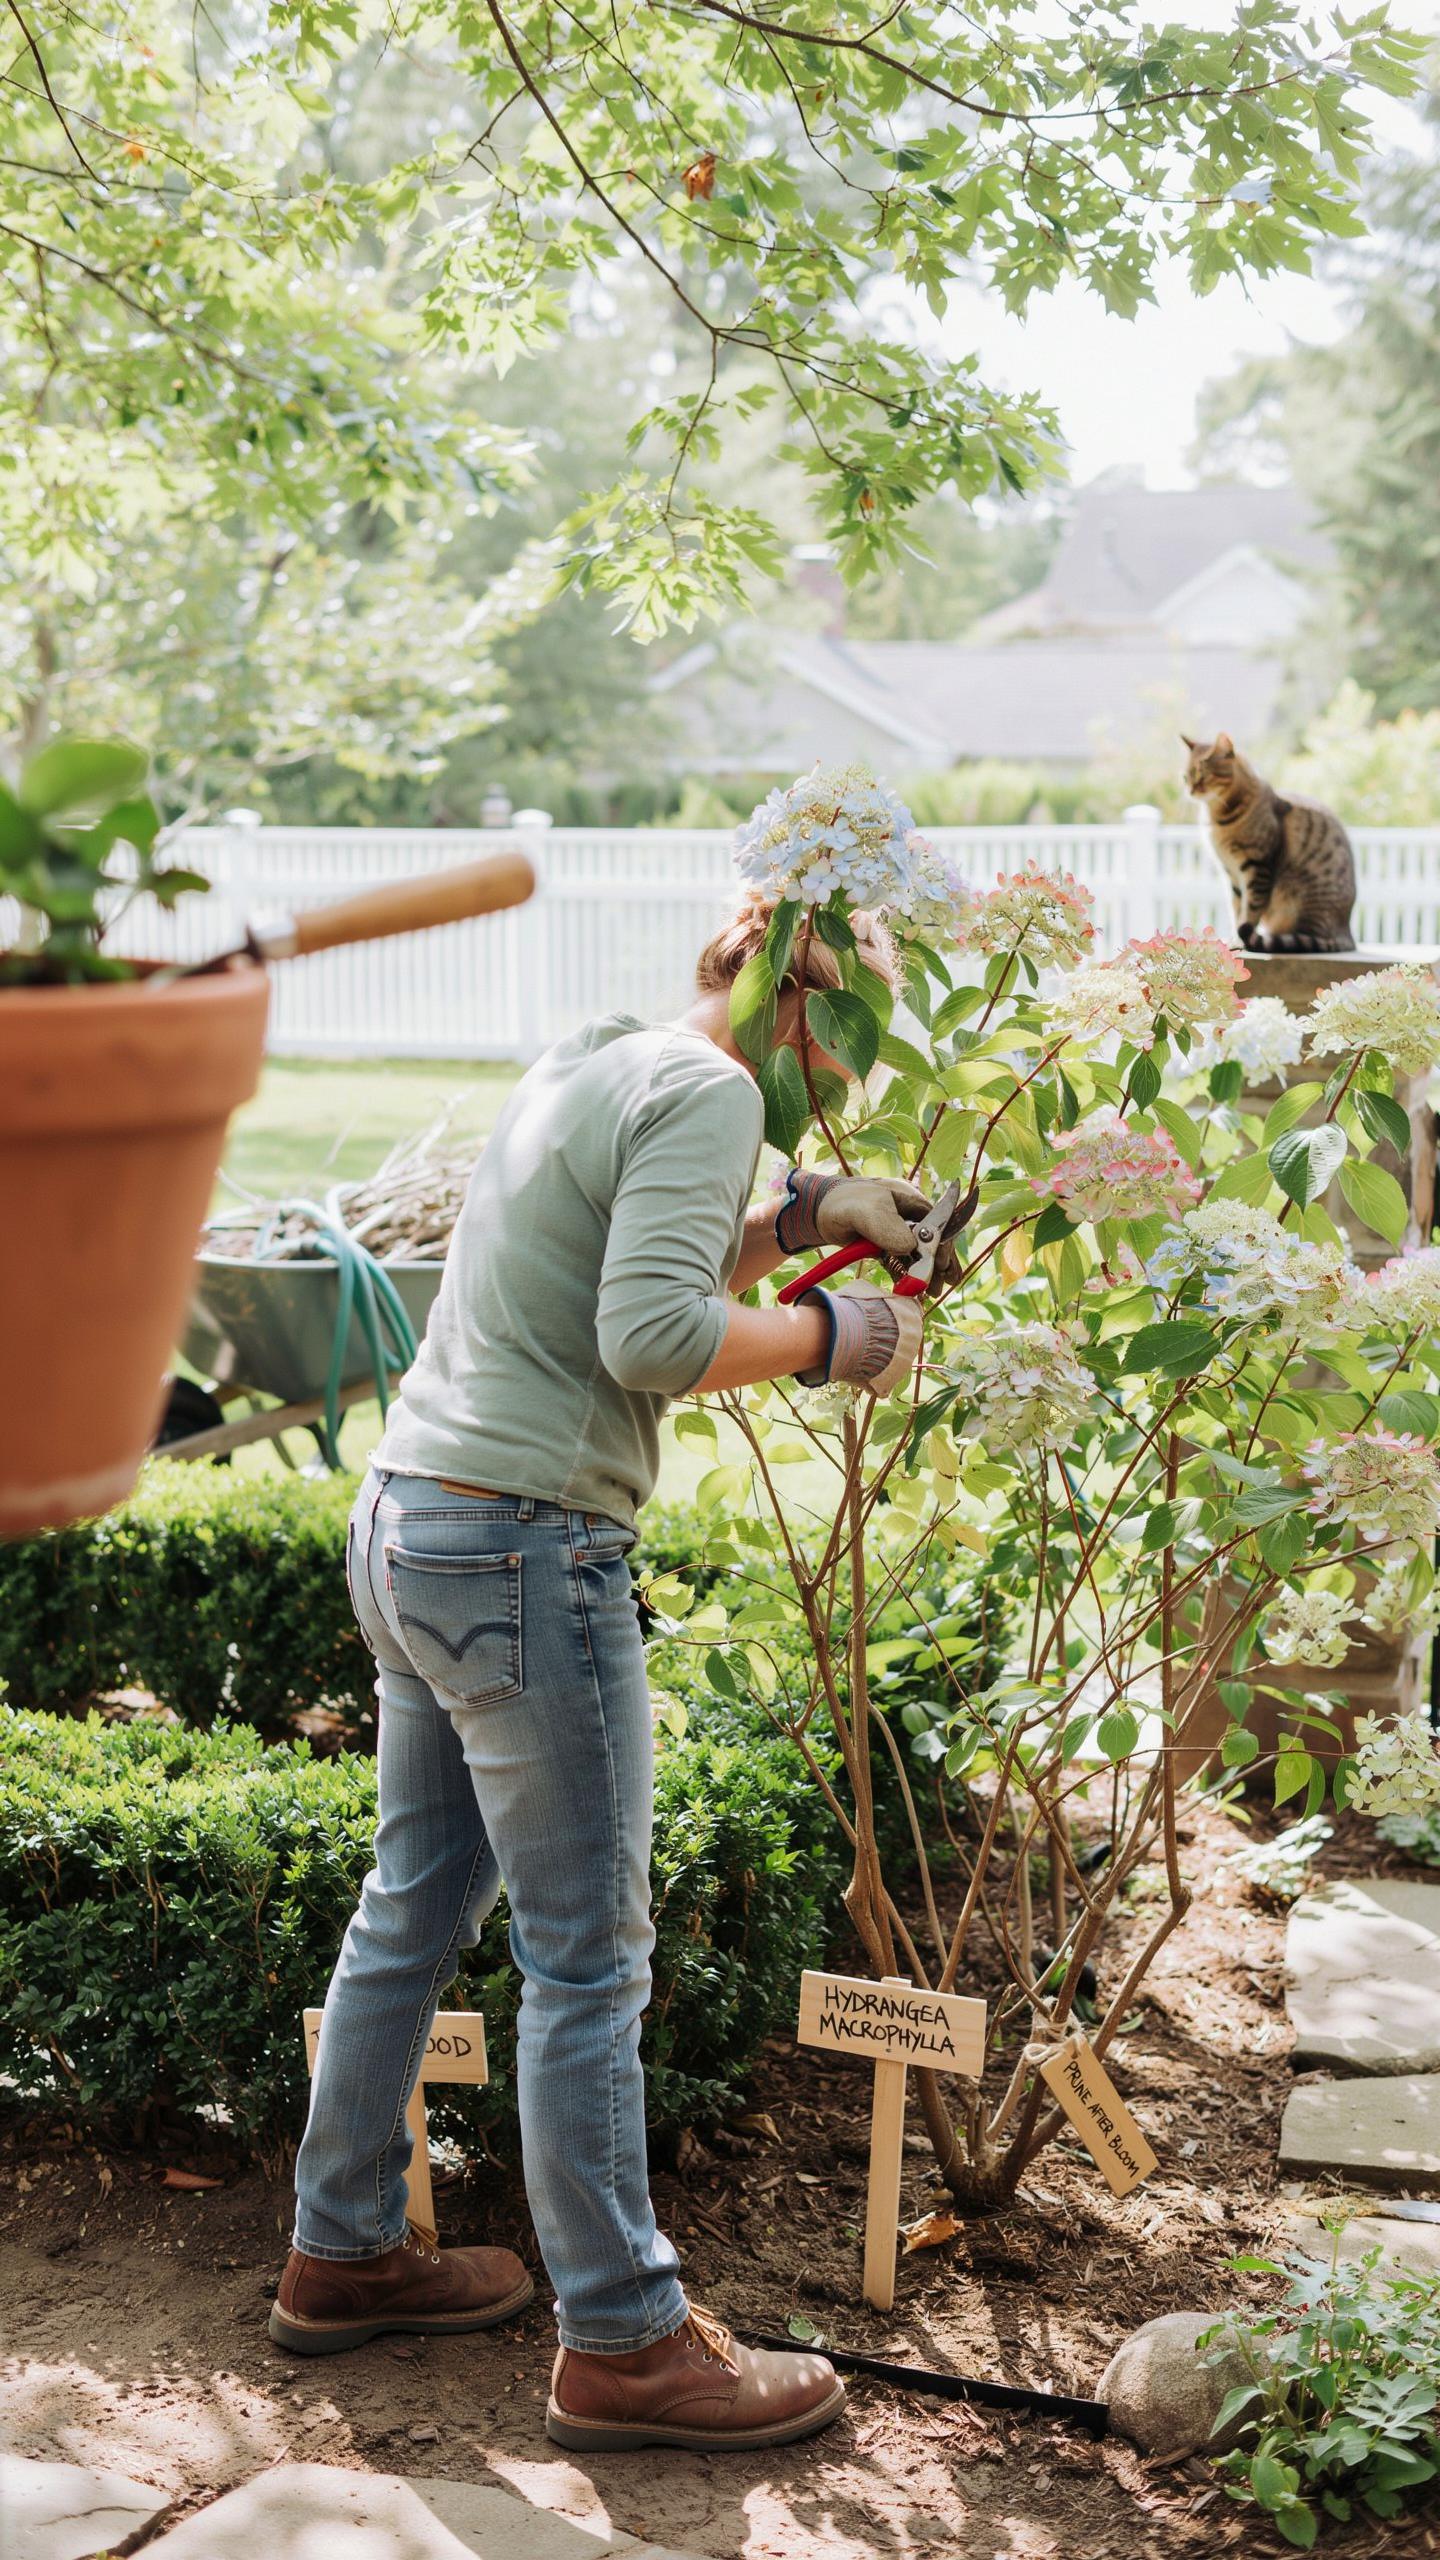
Pruning timing directly controls plant response. Early spring pruning, when buds swell but leaves haven’t emerged, triggers vigorous growth during the plant’s peak energy phase. This window prevents disease pressure from settling into open wounds while maximizing nutrient flow to new growth points. Different plant species respond to cuts at different stages, so matching your pruning to each plant’s dormancy cycle is critical for success.
The active growth cycle determines wound healing speed and bud activation. Plants pruned too late in spring waste energy on growth that frost will kill. Plants pruned too early face extended wound exposure to pathogens. The optimal window typically falls in late winter through early spring, before new leaf expansion begins. This timing ensures fast callus formation and minimizes disease entry points.
Essential Pruning Tools And Cleanliness
Sharp, sterilized tools prevent branch tearing and pathogen spread. Bypass pruners cut cleanly on one side, creating smooth wounds that heal faster than crushed or torn cuts. Dull blades crush tissue, delaying healing and creating entry points for fungi and bacteria. Clean your blades with isopropyl alcohol between each plant variety to eliminate fungal spores and pathogens that transfer between cuts.
Sterilization protocol stops disease transmission across your garden. Soak pruner blades in 70 percent isopropyl alcohol for one minute, then wipe dry before moving to the next plant. This single step eliminates most pathogens responsible for canker diseases and wilts. Maintain this discipline even when pruning appears healthy plants, as many diseases spread asymptomatically before showing visible symptoms.

Setting Up A Practical Plant Pruning Schedule Chart
Categorizing Plants By Flowering Time
Early spring bloomers and summer bloomers require different pruning windows. Early bloomers like forsythia and lilac set flower buds the previous fall. Pruning them after bloom ends prevents you from removing next year’s buds. Summer bloomers like hydrangeas and roses flower on new growth, so early spring pruning triggers more blooms.
Know your plant’s bloom cycle before making cuts. Research each species in your garden to determine when it flowers. This prevents costly mistakes where you remove buds and sacrifice an entire season of blooms. Timing drives results. Get the timing wrong and you lose flowers.
Creating Your Visual Pruning Calendar
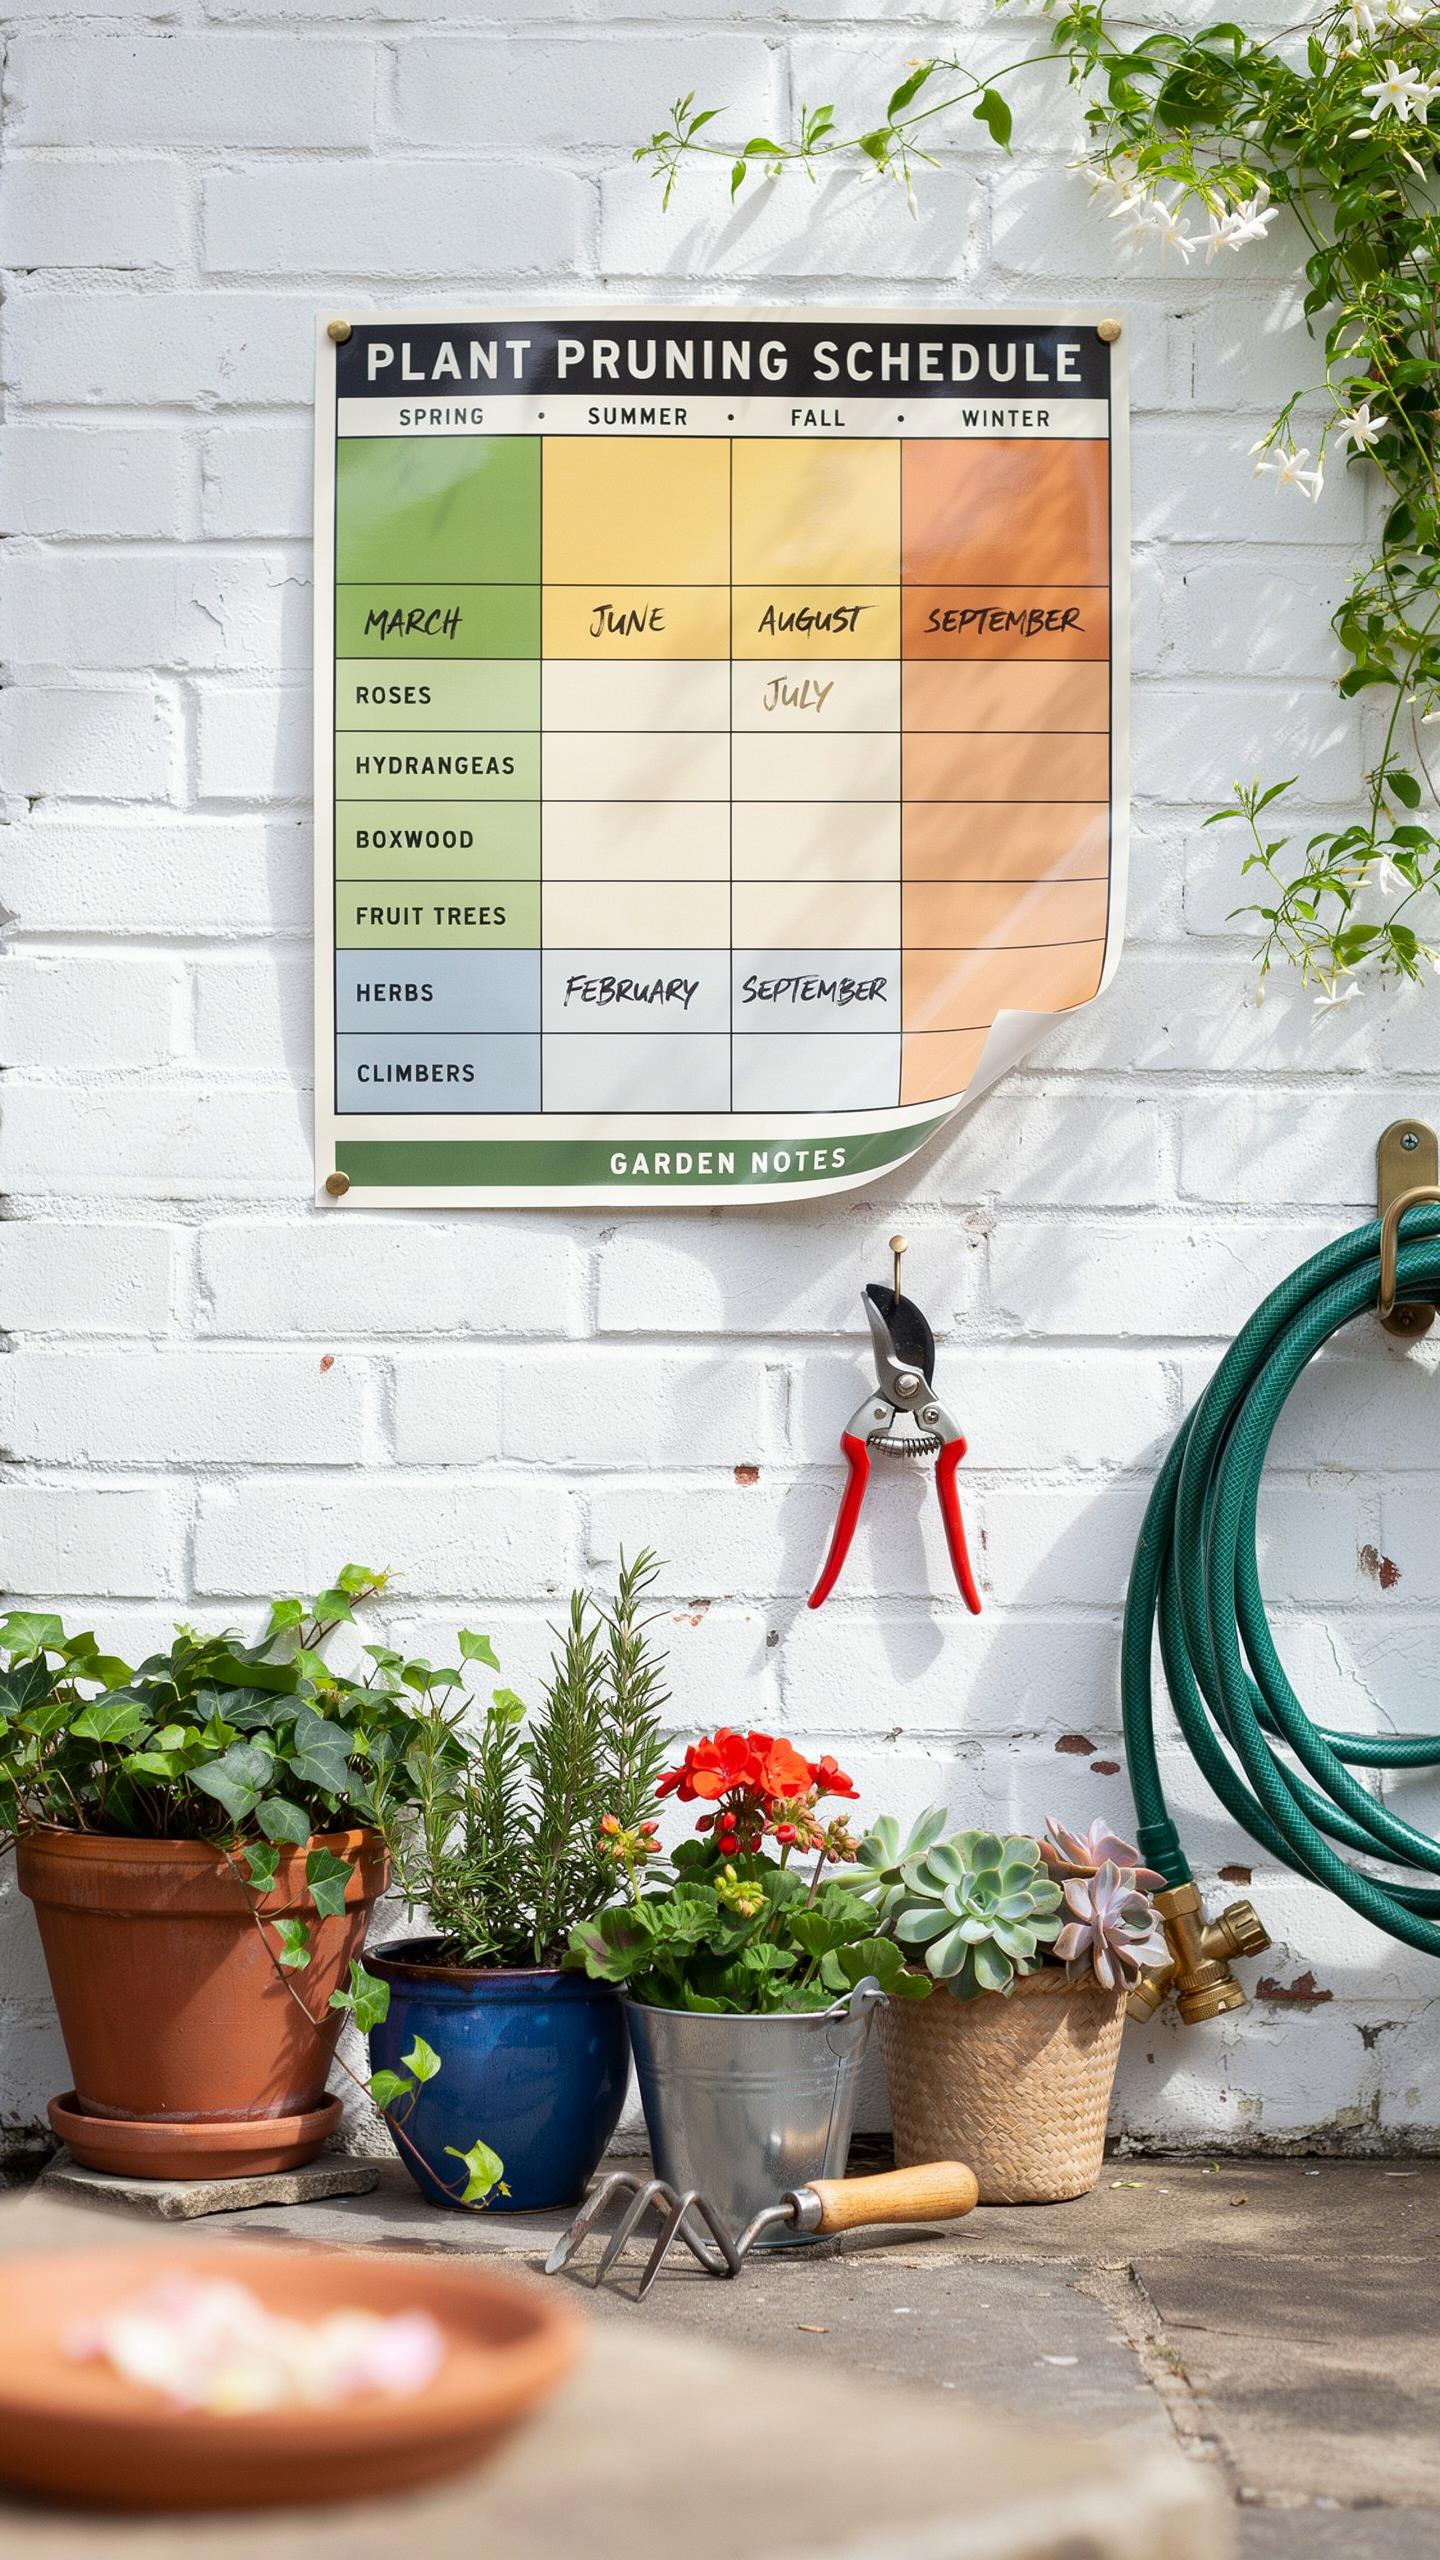
A tracking chart keeps your pruning consistent year after year. The chart removes guesswork and ensures you hit optimal pruning windows for each plant. Digital tools like spreadsheets or calendar apps work well, but paper charts work equally fine. The format matters less than the information you capture.
- Plant Name And Species: Record the exact plant variety to ensure accurate pruning guidance for that specific cultivar.
- Optimal Pruning Month: Document the best month to prune based on bloom time and growth cycle for maximum results.
- Pruning Method: Note whether you thin branches or head them back to control plant shape and density.
- Expected Bloom Time: Track when flowers should appear after pruning to verify your timing is correct.
- Pruning Depth: Record how far back you cut to maintain consistency across multiple pruning seasons.
Review and update your chart each spring before pruning begins. Add notes about results from the previous year to refine your approach. Over time, your chart becomes a reliable reference guide specific to your garden conditions and plant varieties.
Flowering Shrubs Timing Cuts For Maximum Blooms

Pruning Summer Blooming Deciduous Shrubs
Summer-blooming shrubs like Hydrangea paniculata and Abelia produce flowers on new wood growth. This means they form flower buds on stems that grow during the current season. Prune these shrubs in late winter or early spring before new growth emerges. Cutting them back hard at this time removes old wood and triggers vigorous new stem development.
The aggressive pruning approach works because these shrubs flower later in the year on fresh growth. By removing wood in early spring, you force the plant to send out multiple new shoots. Each new stem will eventually produce flowers. This strategy delivers denser blooms and stronger overall plant structure than lighter pruning methods.
Handling Spring Blooming Shrubs Post Bloom
Spring-blooming shrubs like Forsythia and Lilacs operate on a different cycle. These plants form their flower buds during the previous growing season and carry them through winter. The buds sit dormant on old wood until spring temperatures trigger bloom. Pruning these shrubs before they flower destroys the buds and eliminates that year’s display.

Wait until immediately after flowers fade to prune spring bloomers. At this point, the plant has already completed its flowering cycle for the year. Pruning now allows you to shape the plant while it shifts energy toward next season’s bud formation. This timing preserves the current year’s blooms while setting up strong flowering for the following spring.
Your Comprehensive Spring Garden Checklist

Assessing Winter Damage Across The Landscape
Winter kills branches through frost crack, ice breakage, and desiccation. Walk your entire property and identify the three Ds: dead wood shows no green under the bark, diseased wood displays cankers or oozing, and damaged wood has splits or breaks. Remove these sections back to the branch collar or main stem. This prevents pest entry points and fungal spread into healthy tissue.
Timing matters here. Prune while plants remain dormant but temperatures stay above freezing. You want to avoid triggering new growth that frost will kill. Cut at a forty-five-degree angle just outside the branch collar, never flush to the trunk. Diseased wood requires tool sterilization between cuts to stop pathogen transfer between plants.
The clipping of the hedge and the pruning of the roses are acts of faith, whispered secrets that tell the earth you are ready for its coming glory. As you shape the sleeping branches today, you are simply sketching the first lines of a masterpiece that will soon transform your home into a living sanctuary.
The Ultimate Early Spring Action Items
Execute these tasks before bud break occurs. Once buds swell and leaves emerge, pruning creates wounds that bleed sap and attract insects. Early action prevents this vulnerability window. Your landscape responds better to dormant season cuts because the plant directs energy into healing rather than leafing out.
- Apply organic mulch around newly pruned shrubs: Spread two to three inches of wood chips or bark mulch around the base, keeping it six inches away from the stem to prevent rot and insect harbor.
- Sharpen and oil all hand pruners and garden shears: Dull blades crush tissue instead of cutting cleanly, creating infection sites. Sharp tools make precise cuts that heal faster and reduce disease entry.
- Cut back ornamental grasses to three inches from the ground: Remove all dead foliage before new growth emerges. This prevents fungal issues in the thatch layer and lets you see emerging shoots clearly.
- Remove protective winter burlap wraps from delicate specimens: Pull burlap off evergreens and tender shrubs once daytime temperatures consistently reach forty-five degrees. Burlap left too long traps moisture and invites pest colonization.
- Inspect and clean out dead leaves from planting beds: Clear leaf litter harbors overwintering pest eggs and fungal spores. This single step cuts disease pressure significantly without chemicals.

Complete these four to five tasks before the first green buds crack open on your trees and shrubs. Timing your action window to dormancy gives you maximum control and minimal plant stress. Work systematically through one area at a time rather than jumping between zones, which wastes time and misses details.
Essential Garden Prepping For The Upcoming Season

Soil Conditioning And Bed Clarification
Remove all winter debris, dead leaves, and weeds from garden beds. This clears space and exposes bare soil to air and light. Pulling weeds now prevents them from competing with perennials during their growth phase. Work systematically through each bed to ensure complete coverage and avoid missed patches.
Spread 2 to 3 inches of organic compost across cleared beds and work it into the top 4 to 6 inches of soil. Compost adds nutrients, improves drainage in clay soils, and increases water retention in sandy soils. Do this before pruned perennials break dormancy so roots access fresh nutrients immediately. Apply compost evenly to support consistent plant growth throughout the season.
Establishing Structural Supports And Trellises
Inspect all trellises, arbors, stakes, and fencing for damage or rot from winter weather. Repair or replace broken sections now before plants begin climbing. Install new structures in their final positions so you do not disturb new growth later. Check that all supports stand level and secure them firmly into the ground.

Position trellises and stakes close to climbing vines and fast-growing perennials before they leaf out. Early installation lets you guide shoots along supports as they emerge. Tying vines to trellises while young prevents tangling and promotes upward growth. Secure structures prevent wind damage and keep plants organized throughout the growing season.
Preparing Your Home Vegetable Garden For Success
Pruning Overwintered Perennial Crops
Cut back asparagus ferns to ground level in early spring before new growth emerges. Remove all dead and yellowed fronds. This clearing allows sunlight to reach emerging shoots and prevents disease from overwintering plant material. Culinary herb bushes like rosemary and sage need aggressive pruning to remove woody, dead branches accumulated over winter months.
Dead woody material blocks light from reaching new growth points. Pruning stimulates tender culinary shoots that deliver better flavor and texture than old wood. Cut rosemary and sage back by one third to one half their size. Focus cuts on dead sections first, then shape the plant for even growth. Fresh growth appears within two to three weeks of pruning.
Laying The Groundwork For Warm Season Annuals
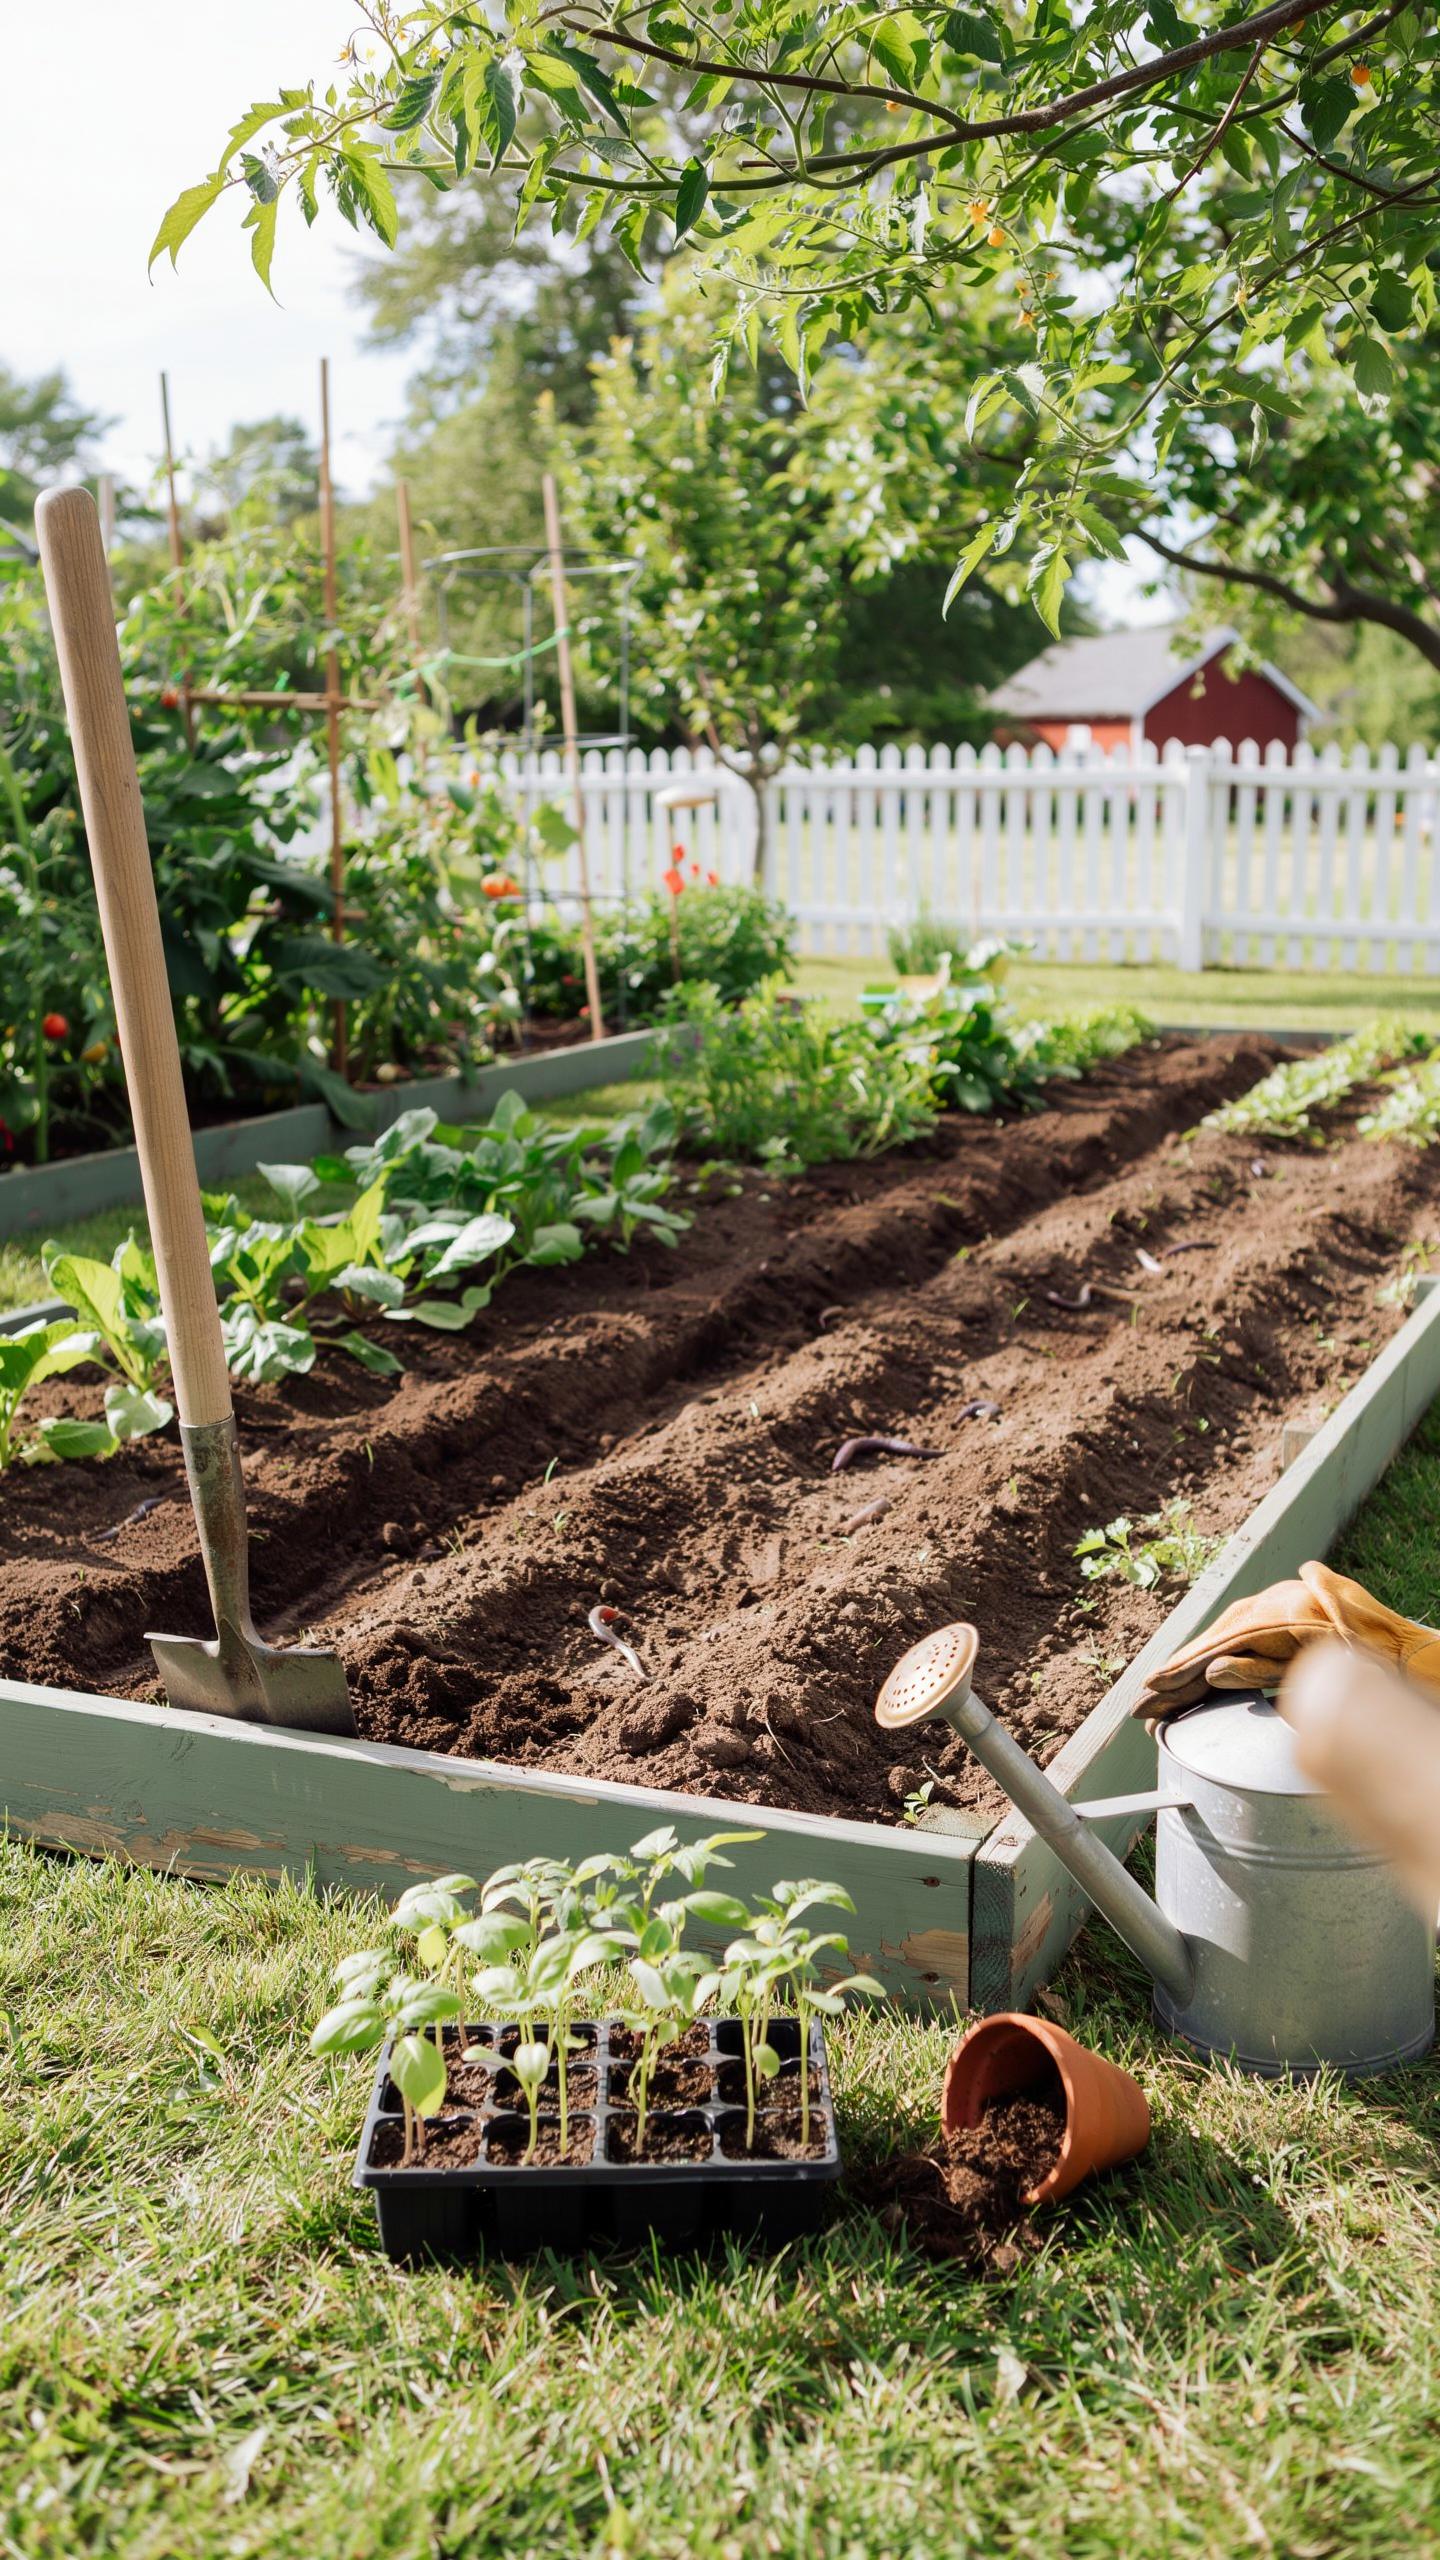
Aerate your topsoil lightly before planting warm season crops. Use a garden fork to break up compacted soil to a depth of six to eight inches. This improves water penetration and root development. Create a crop rotation map documenting what you grew in each bed last year. Rotating crops prevents soil nutrient depletion and reduces pest and disease pressure in specific areas.

Clear structural pathways between beds to ensure safe movement during sowing and maintenance work. Remove debris, stones, and tools from walkways. Easy access speeds up planting early peas and leafy greens. Prepare planting rows in advance so you can sow seeds immediately when soil temperature reaches the appropriate range for each crop.
Developing A Diverse Veg Garden Layout
Maximizing Space With Vertical Trellising
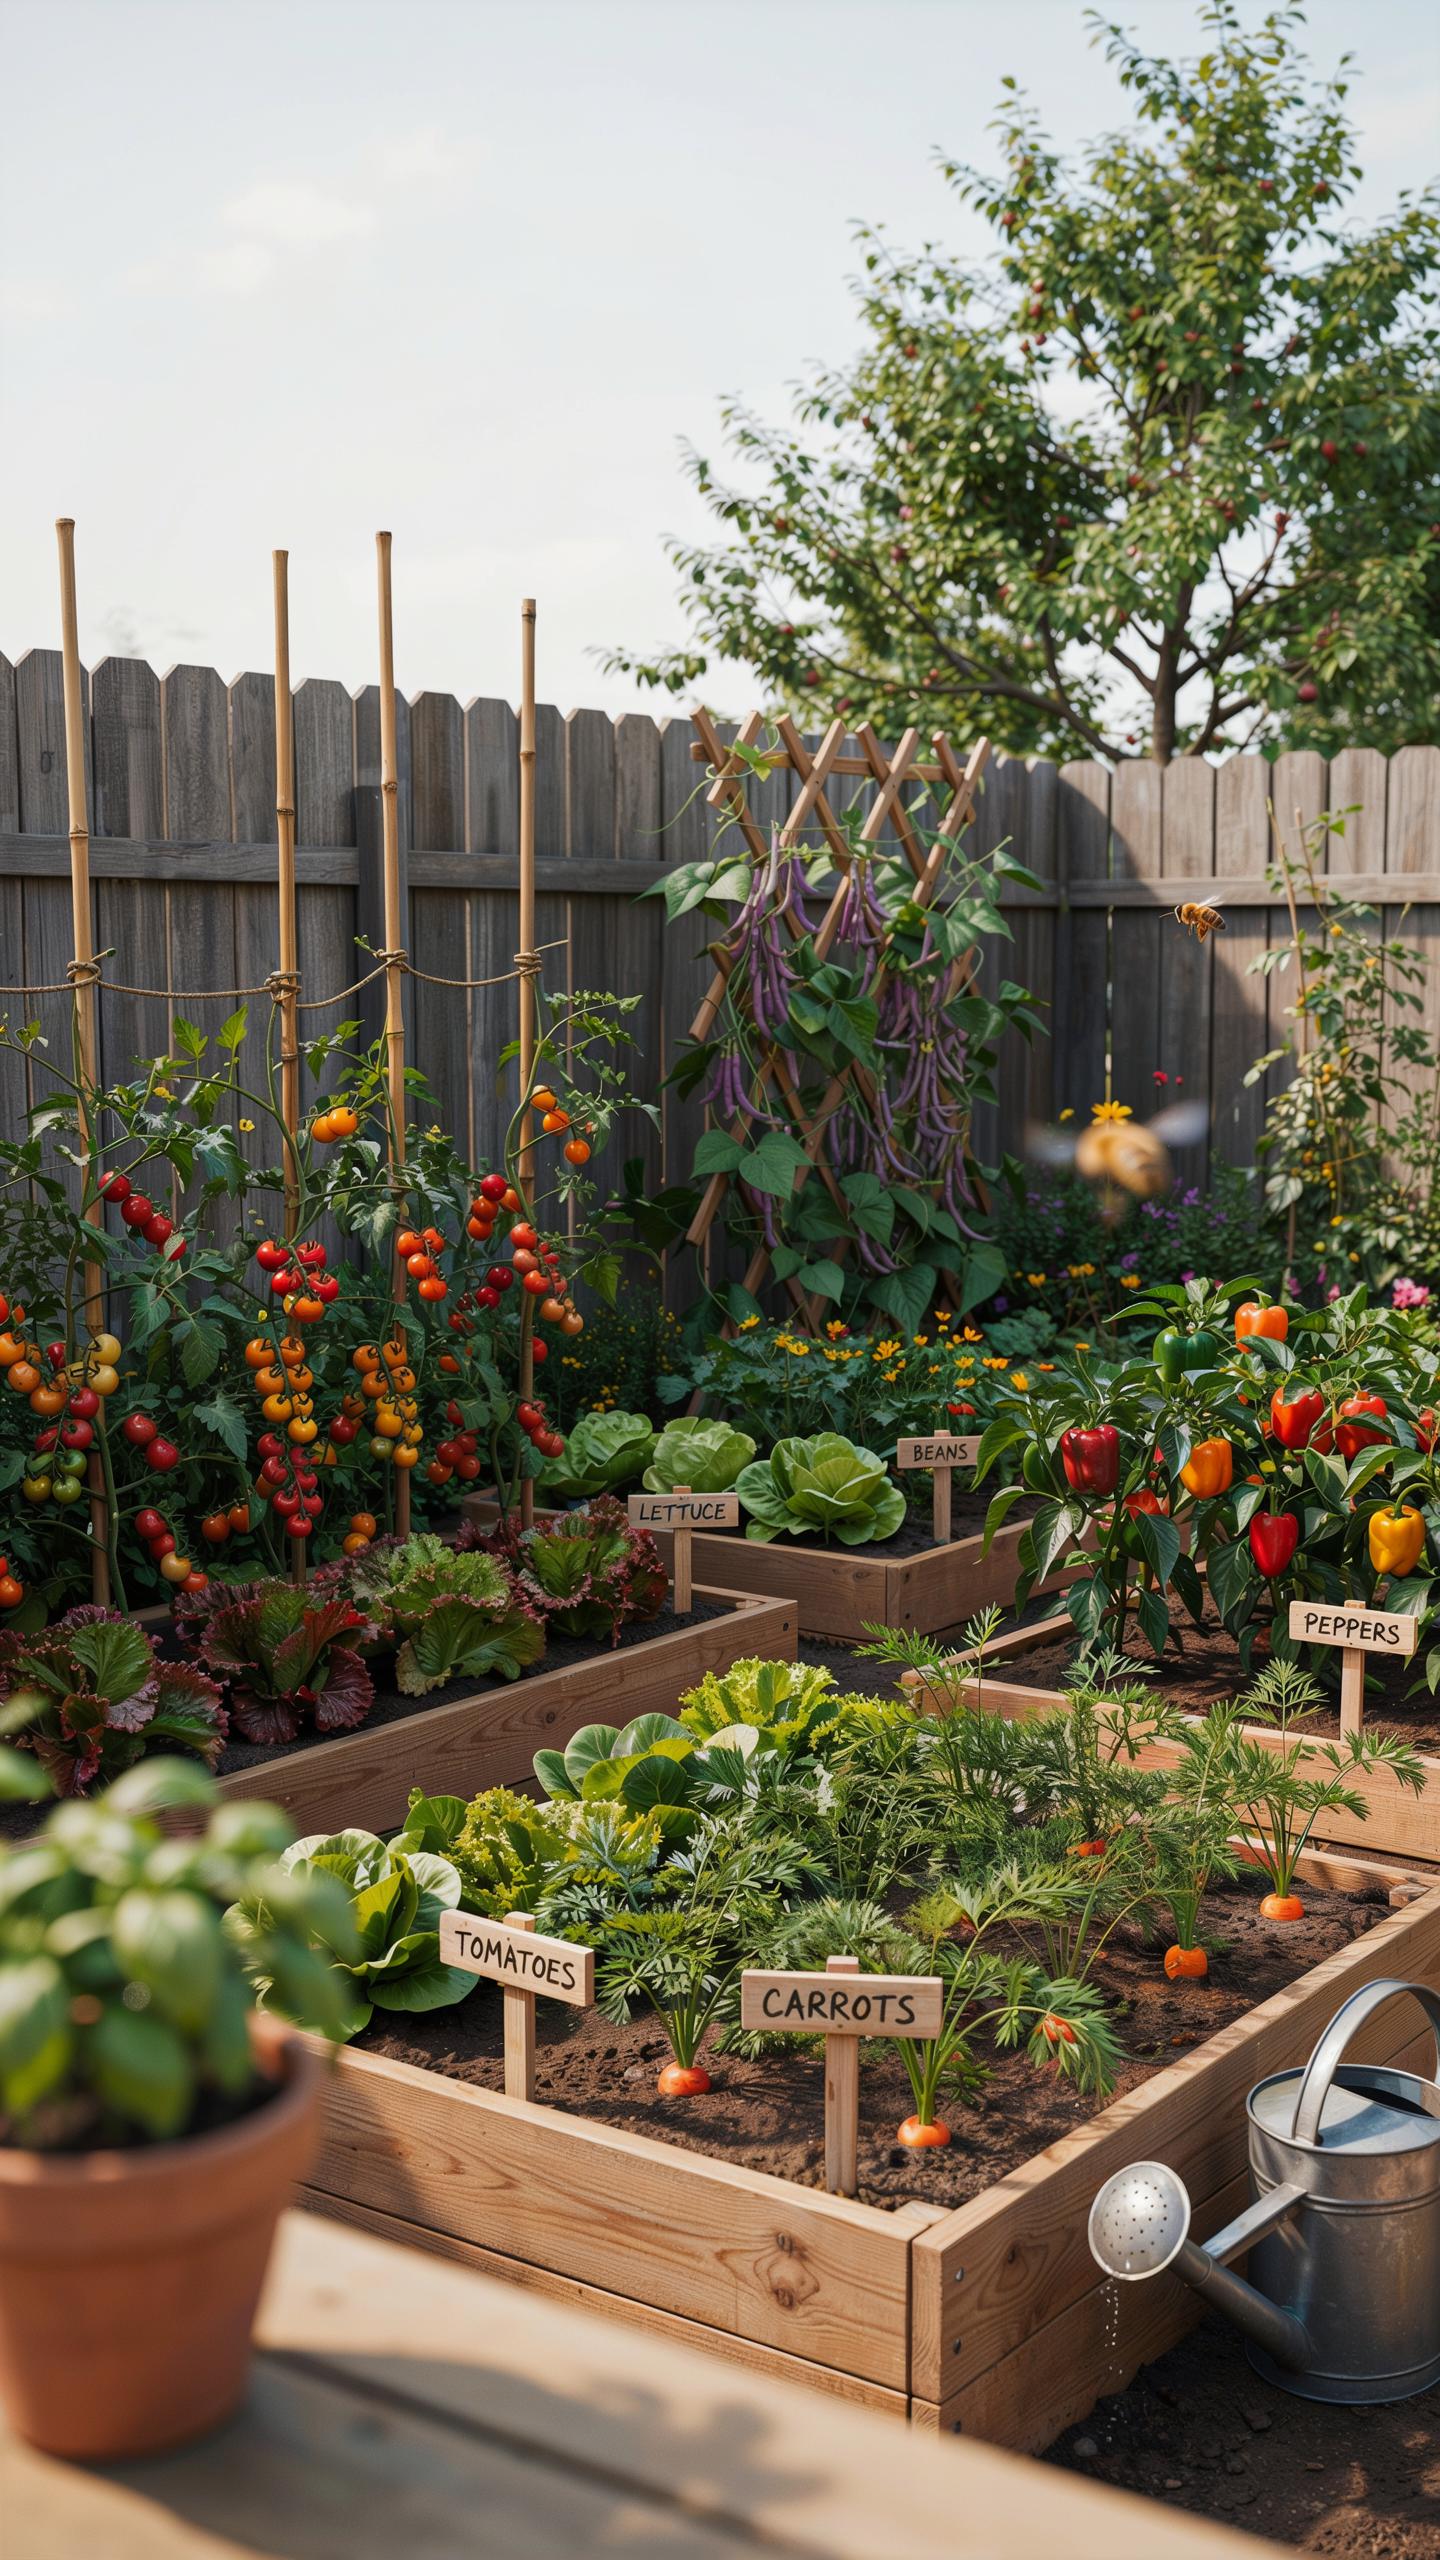
Place climbing crops on the north side of your garden beds. Pole beans, cucumbers, and peas grow upward on trellises instead of sprawling across soil. This approach frees up ground space for other vegetables. Vertical structures also improve air circulation around plants, reducing disease pressure. North-facing trellises won’t shade shorter plants positioned to their south.
Trellising works because it positions foliage at angles that capture sunlight more efficiently than flat ground plantings. You gain usable growing area without expanding your plot footprint. Install sturdy supports before planting to avoid damaging roots later. Wood frames, metal cages, and twine systems all perform equally well when properly secured to resist wind and crop weight.
Succession Planting Zones For Continuous Harvests
Divide your beds into three or four distinct zones for staggered plantings. Sow cool season crops like lettuce and spinach every two weeks starting in early spring. As soil warms, transition zones to warm season vegetables in sequence. This system ensures mature plants reach harvest while younger seedlings develop in other zones.

Timing matters more than technique here. Most spring vegetables mature in 45 to 70 days depending on variety and temperature. Plant the first zone two weeks before the last frost date. Plant subsequent zones every 14 days until midsummer. This rhythm delivers fresh produce consistently rather than overwhelming gluts followed by bare patches.
Cultivating A High Yield Food Garden
Pruning Fruit Trees And Cane Berries
Remove vertical water sprouts from apple, pear, and peach trees to open the canopy. Water sprouts grow straight up and waste the tree’s energy. They shade productive branches and reduce fruit quality. Cut them flush with the branch collar. This simple step redirects growth toward fruiting wood and improves air circulation throughout the tree.
Thin old blackberry and raspberry canes in early spring before new growth emerges. Remove canes older than three years and any dead or diseased wood. Space remaining canes four to six inches apart. Sunlight penetration drives berry production and prevents fungal disease. Thinning canes also makes harvesting easier and safer when fruit ripens.
Nutrient Management For Edible Plants
Apply slow release organic fertilizer after pruning when the soil warms. Balanced NPK ratios work for most food gardens. Work fertilizer into the top two inches of soil around each plant. Timing matters here. Pruning wounds create entry points for nutrient uptake. Fertilizing immediately after cutting accelerates recovery and new growth.

Targeted nutrition supports leaf development and root expansion in the growing season. Root systems need phosphorus to establish strength. Nitrogen drives leafy green growth. Potassium improves disease resistance and fruit quality. Organic fertilizers release nutrients slowly over weeks, feeding plants consistently without nutrient burn.
Key Maintenance For A Thriving Garden Year Round

Consistent Watering And Irrigation Audits
Before summer heat hits, inspect your drip irrigation system for leaks and blockages. Water moves nutrients to newly pruned areas and keeps soil moisture stable. Fresh cuts on plants lose water quickly without consistent hydration. This protects your pruning work investment.
Moisture levels around pruned branches prevent wound drying and infection. Young shoots emerging after pruning demand reliable water supply for growth. Check irrigation lines every two weeks during spring. Adjust delivery rates based on rainfall and soil conditions.
Natural Pest Management And Scouting
Scout tender spring shoots every three to five days for pest damage. Aphids and mites target new growth aggressively during spring months. Early detection stops infestations before they spread through your landscape. Look for yellowing leaves, sticky residue, and visible insects on stems.
Beneficial insects like ladybugs and parasitic wasps control pest populations naturally. Plant flowering herbs near pruned areas to attract these helpers. Avoid broad spectrum pesticides that kill beneficial bugs. Maintaining pest diversity keeps your garden balanced and reduces future treatment needs.
Frequently Asked Questions

Why is a structured pruning timeline so important for gardening beginners?
For beginners, following a spring garden prep pruning schedule is essential because it prevents accidental damage to future blooms. Timing is everything in the garden; pruning too early can expose New Growth to frost, while waiting too long might cut off developing buds. A structured plan helps you identify which shrubs bloom on “old wood” versus “new wood,” ensuring your landscape stays healthy, vibrant, and aesthetically pleasing throughout the entire growing season.
How do I determine which branches to prioritize during my spring cleanup?
When starting your spring garden prep pruning schedule, always follow the “Three Ds” rule: remove anything dead, damaged, or diseased first. Afterward, focus on thinning out crossing branches that rub against each other to improve airflow and sunlight penetration. Always use sharp, sanitized bypass pruners and make your cuts at a 45-degree angle just above a structural bud. This strategic approach encourages vigorous growth and a beautiful, professional-looking home exterior.
Can I effectively prune my spring garden if I am on a tight budget?
Absolutely! You don’t need expensive power tools to transform your home. A high-quality pair of manual bypass pruners and a basic hand saw can handle most tasks for a small to medium yard. To save even more, focus on “rejuvenation pruning” for overgrown shrubs rather than buying new plants. Investing time into a consistent maintenance routine is a free way to increase your curb appeal and ensure long-term plant health without constant replacement costs.



