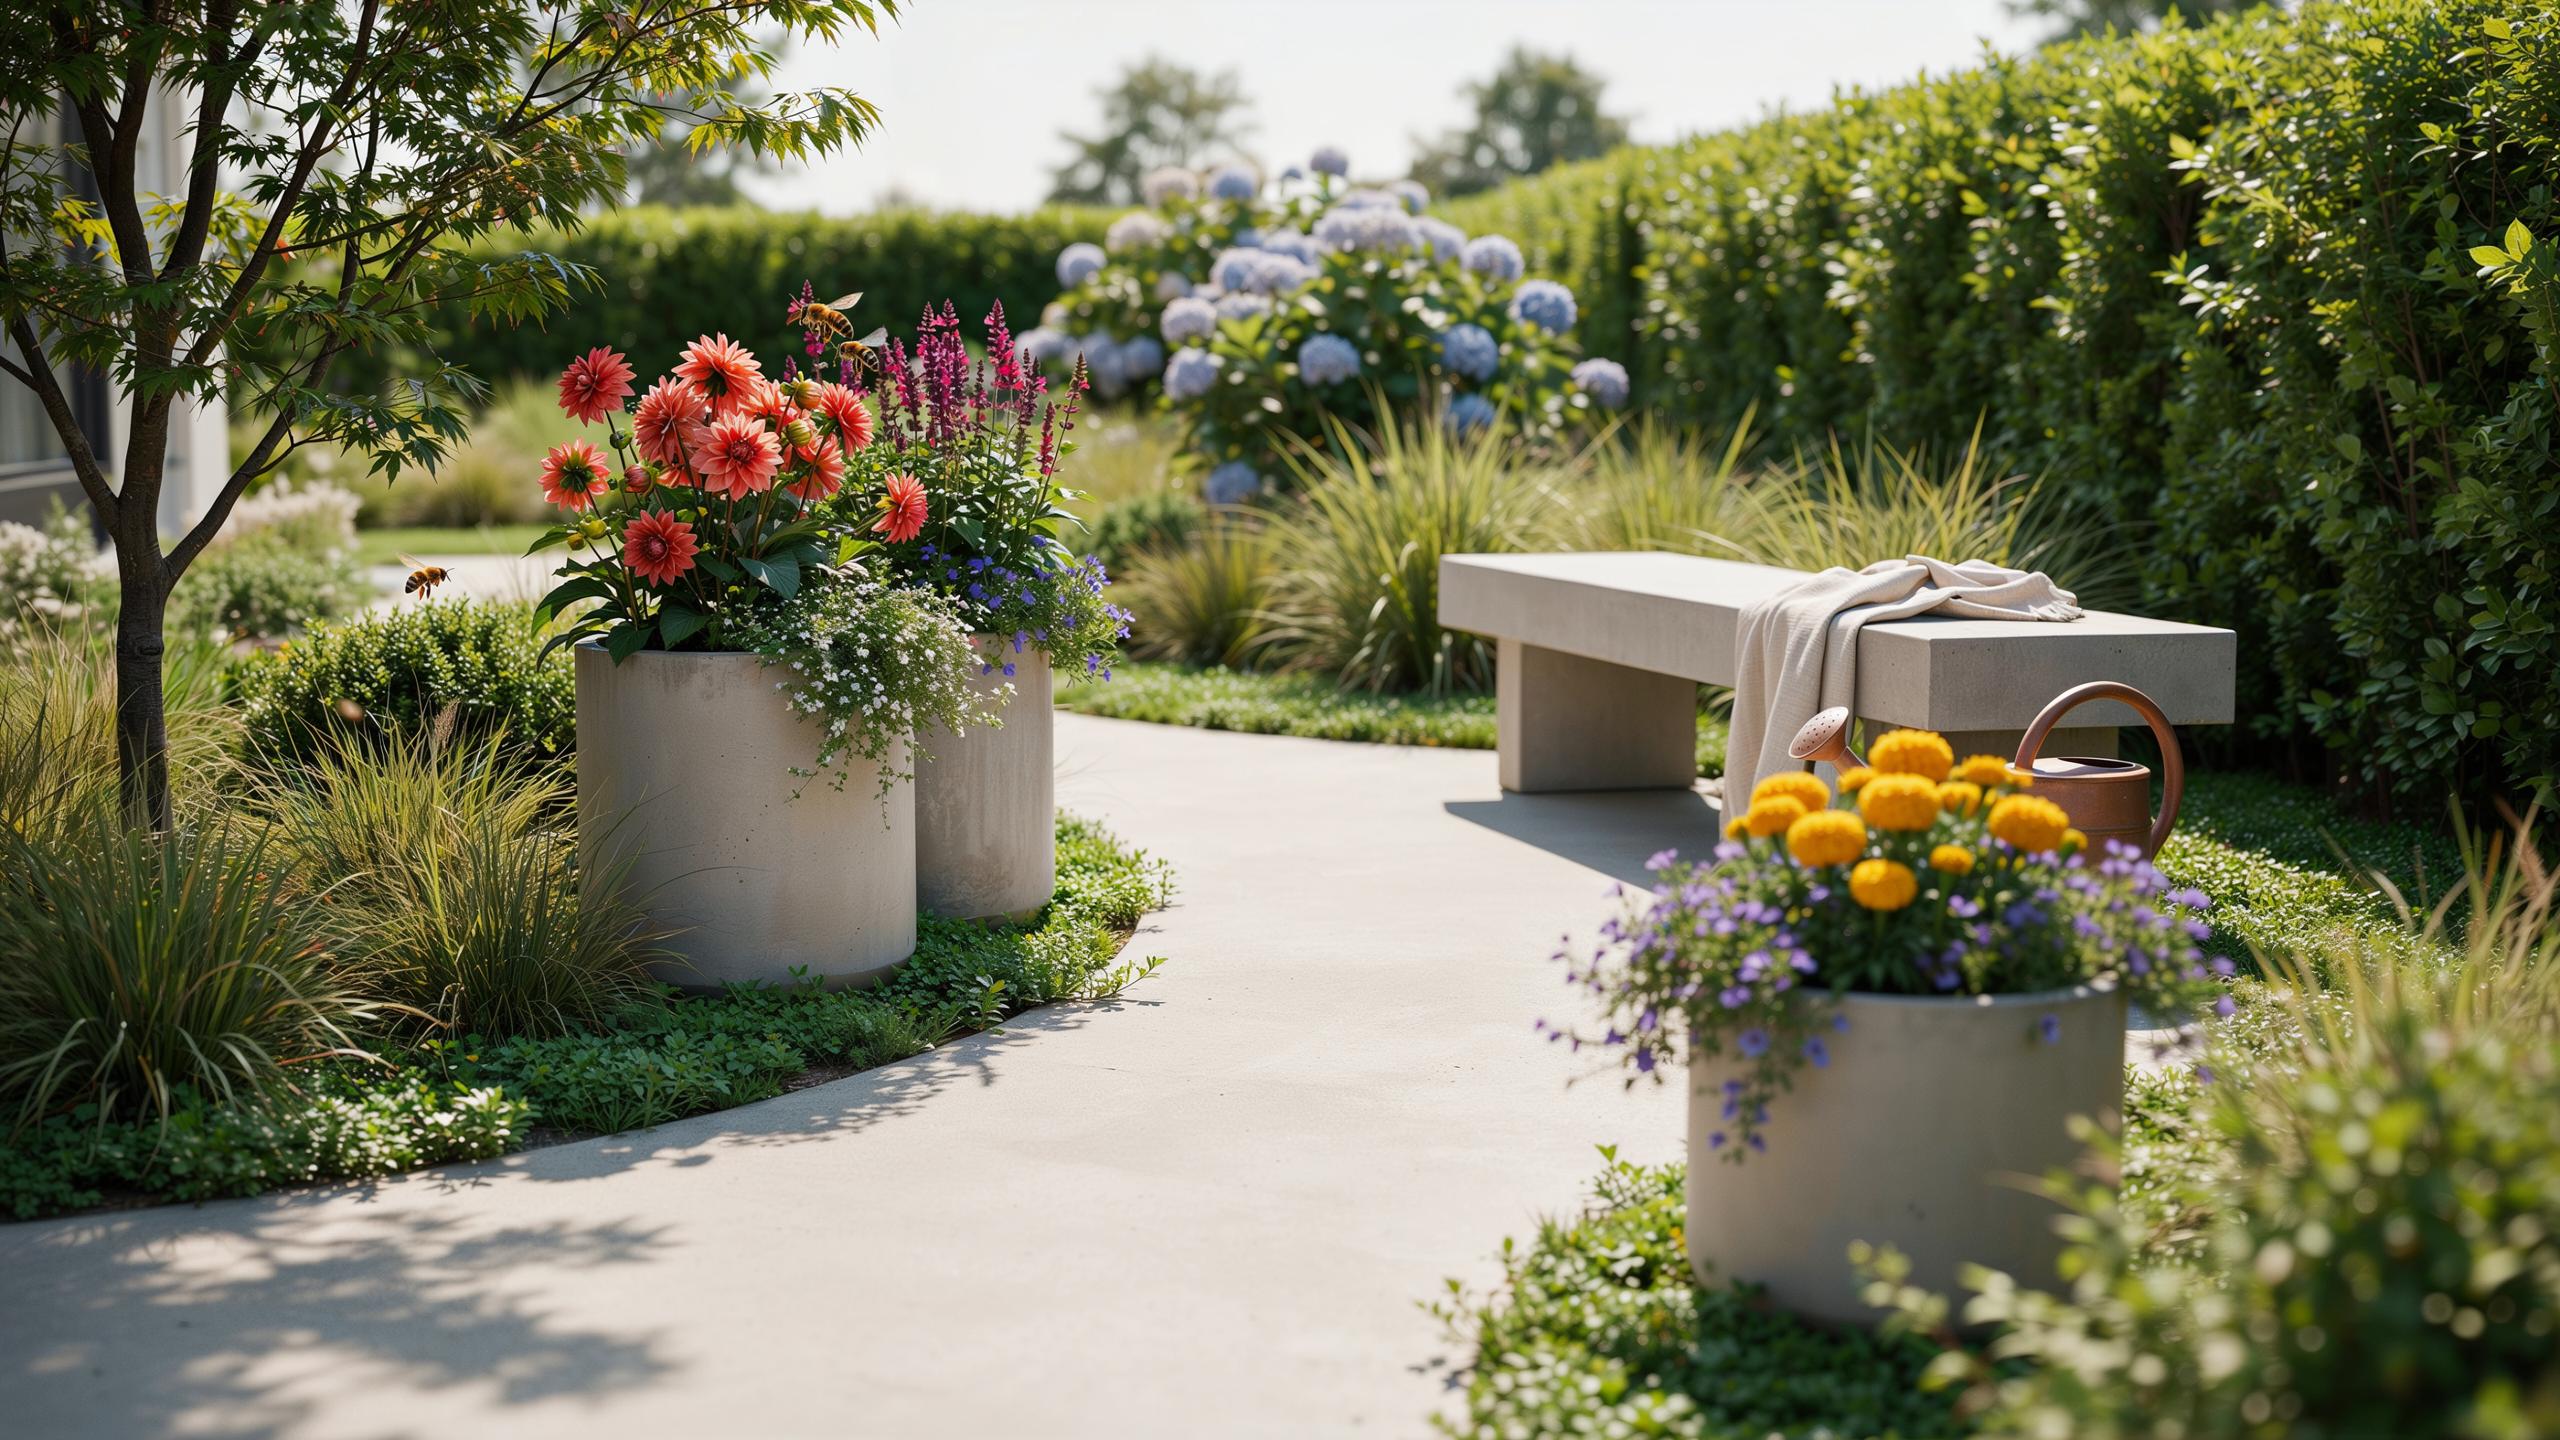
Implementing Concrete Landscape Design For Lasting Appeal
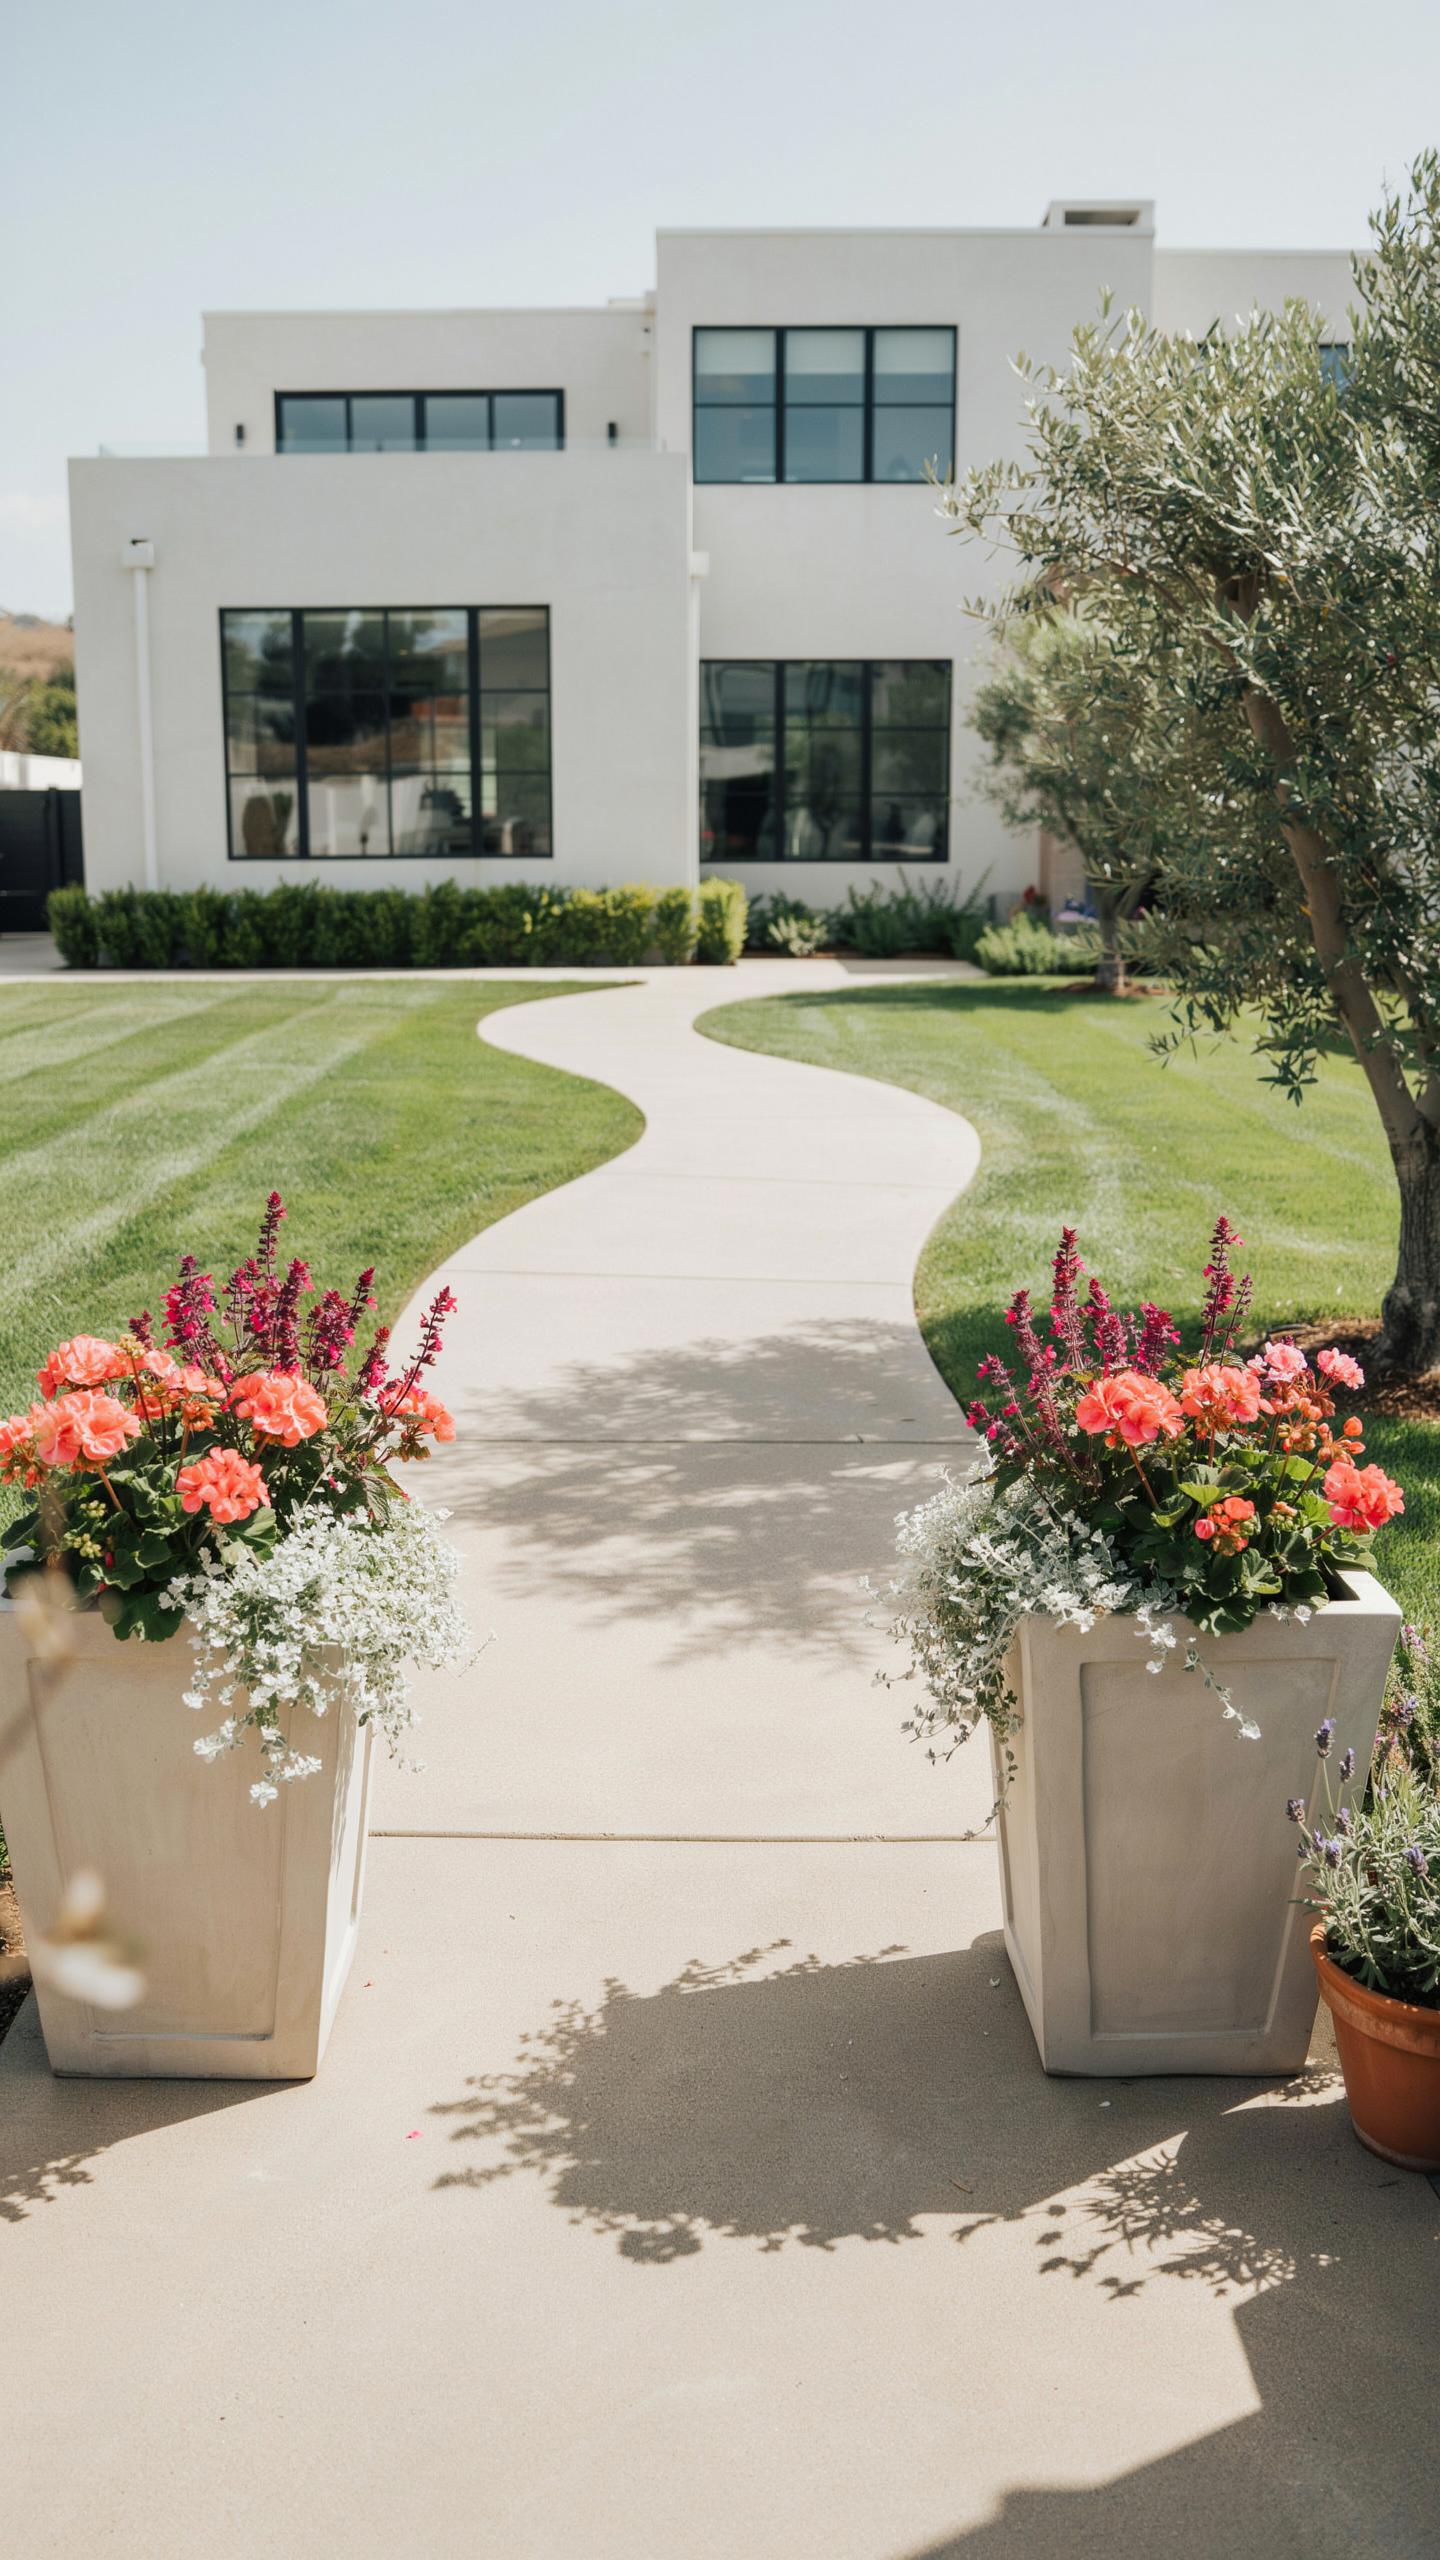
Standard Concrete Finishes For Outdoor Durability
Broom finishes create texture by dragging a broom across wet concrete before it sets. This method increases slip resistance on walkways and patios without adding cost or complexity. Contractors apply it in straight or curved patterns depending on project requirements. The finish wears predictably and resists algae growth better than smooth surfaces.
Trowel finishes produce smooth or lightly textured surfaces by hand or machine. They work well for modern aesthetics and allow easier cleaning than broom finishes. Salt finishes expose aggregate by broadcasting rock salt on the surface, then washing it away after the concrete cures. This exposes the stones underneath and provides grip while adding visual depth to the slab.
Decorative Textures And Coloring Methods
Integral color involves mixing pigment directly into the concrete before pouring. Iron oxide pigments are the most stable and fade-resistant option available. This method ensures consistent color throughout the entire slab depth, preventing surface wear from revealing a different shade underneath. Integral color costs more upfront but requires no maintenance or resealing to preserve appearance.
Acid staining chemically reacts with minerals in cured concrete to create permanent color. This technique produces variegated tones and earthy hues that highlight the concrete’s natural character. Aggregate exposure through grinding reveals stones and shells trapped in the surface, adding texture and interest without additional materials. These methods combine to give concrete surfaces tactical design value that resists fading and weathering over time.

How To Establish A Modern Minimalist Backyard
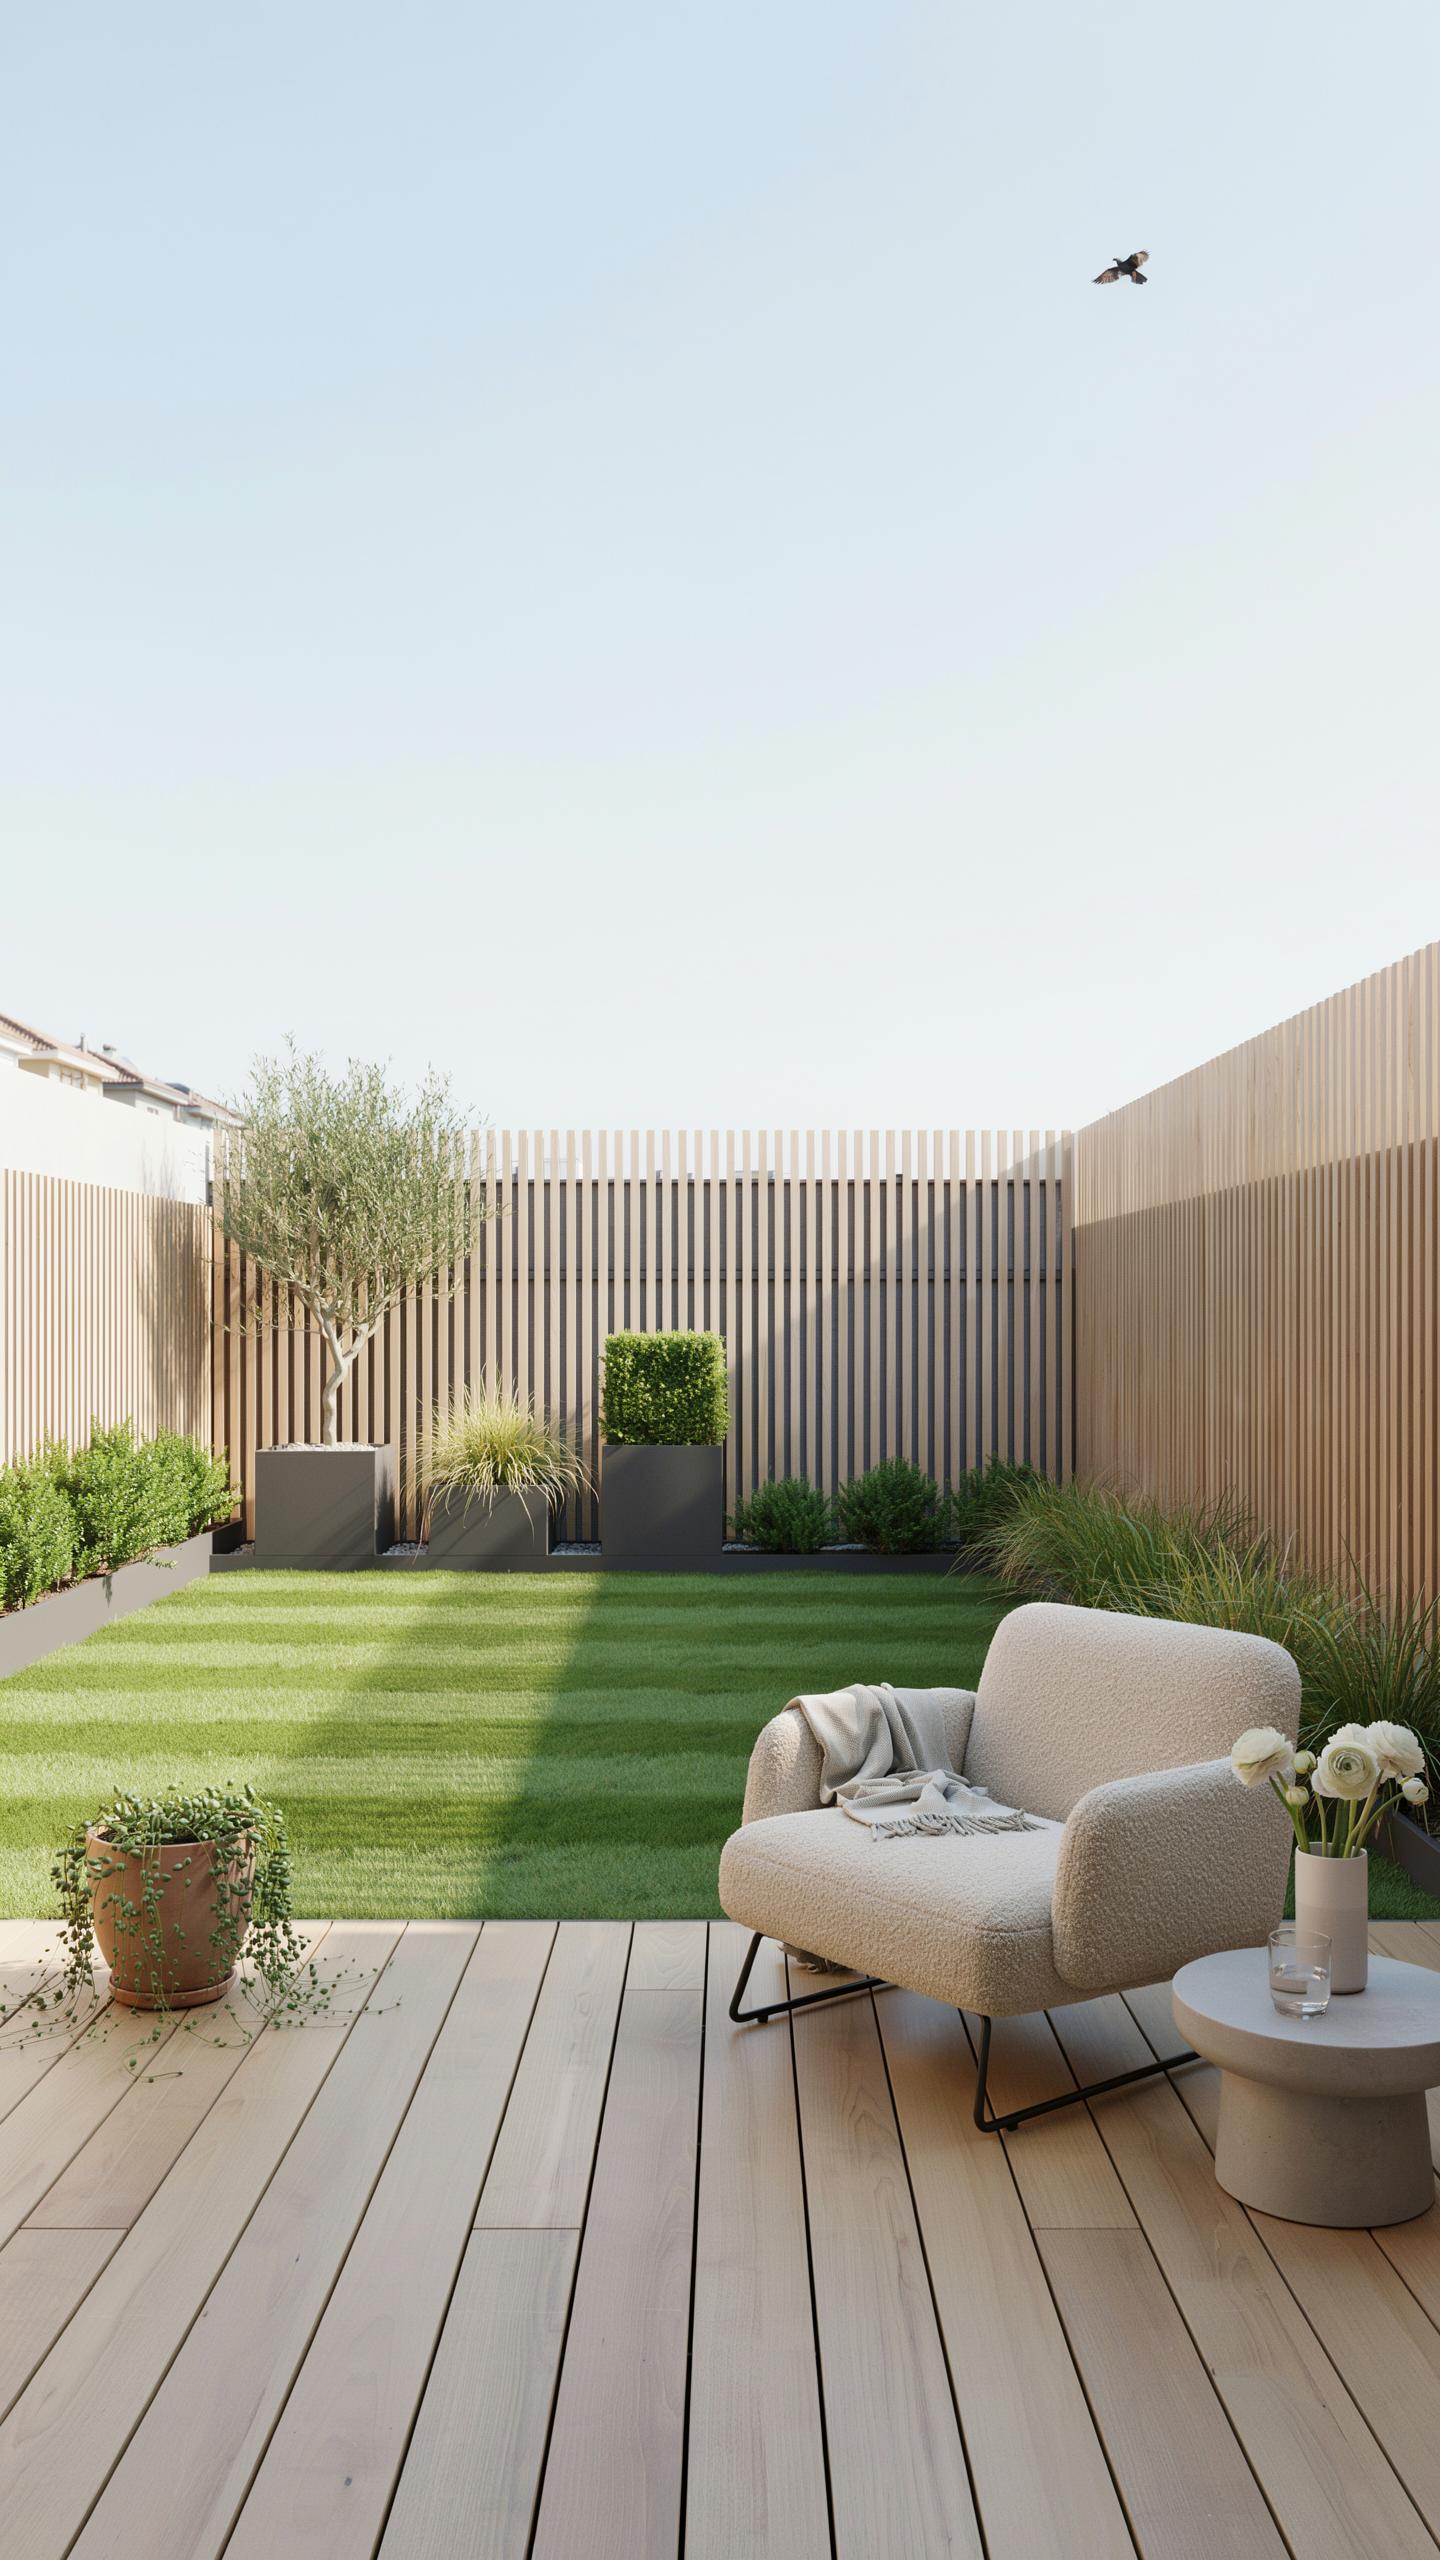
Embracing Geometric Simplicity In Patios
Rectangular concrete slabs form the foundation of minimalist patio design. You arrange them in grid patterns or linear sequences without diagonal cuts or irregular shapes. This approach reduces visual noise and creates clear sight lines. Open spaces between slabs matter as much as the slabs themselves. Leave breathing room to prevent the yard from feeling crowded or fussy.
Clean angles dominate the layout. Straight edges, 90-degree corners, and aligned pathways guide the eye systematically through the space. Avoid curved borders, rounded corners, and organic shapes. Minimal ornamentation means no decorative patterns stamped into concrete. The material itself becomes the design statement through its flat, uniform surface and neutral tone.
Essential Materials For Minimal Outdoor Settings
Polished concrete serves as the primary surface because it reflects light evenly and requires no additional finishes. The material ages well and maintains its appearance with basic maintenance. River pebbles add texture control in specific zones without overwhelming the composition. Dark charcoal slate provides subtle contrast when used as accent borders or stepping stones.
- Polished Concrete Patio Surfaces: Smooth finish that reduces glare, easy to clean, and complements most architectural styles without requiring sealing in many climates.
- River Pebbles: Smooth rounded stones in neutral grays and tans that define edges or fill transition zones between hardscape and softscape areas.
- Dark Charcoal Slate: Natural stone that creates visual breaks and grounds the design through strategic placement along borders or pathways.
- Turf Varieties: Select fescue or bluegrass species suited to your climate; keep lawn areas simple and uniform without decorative plantings or flower beds.
- Gravel or Decomposed Granite: Neutral-toned ground cover that drains quickly and maintains a flat appearance without pattern or color variation.
These materials work together because they share neutral palettes and require minimal upkeep. Quality concrete and natural stone age predictably without degrading appearance. Turf remains green without fussy maintenance schedules. The combination prioritizes function and durability over aesthetic trends that fade quickly.
Concrete Path Design Inspiration For Elegant Walkways
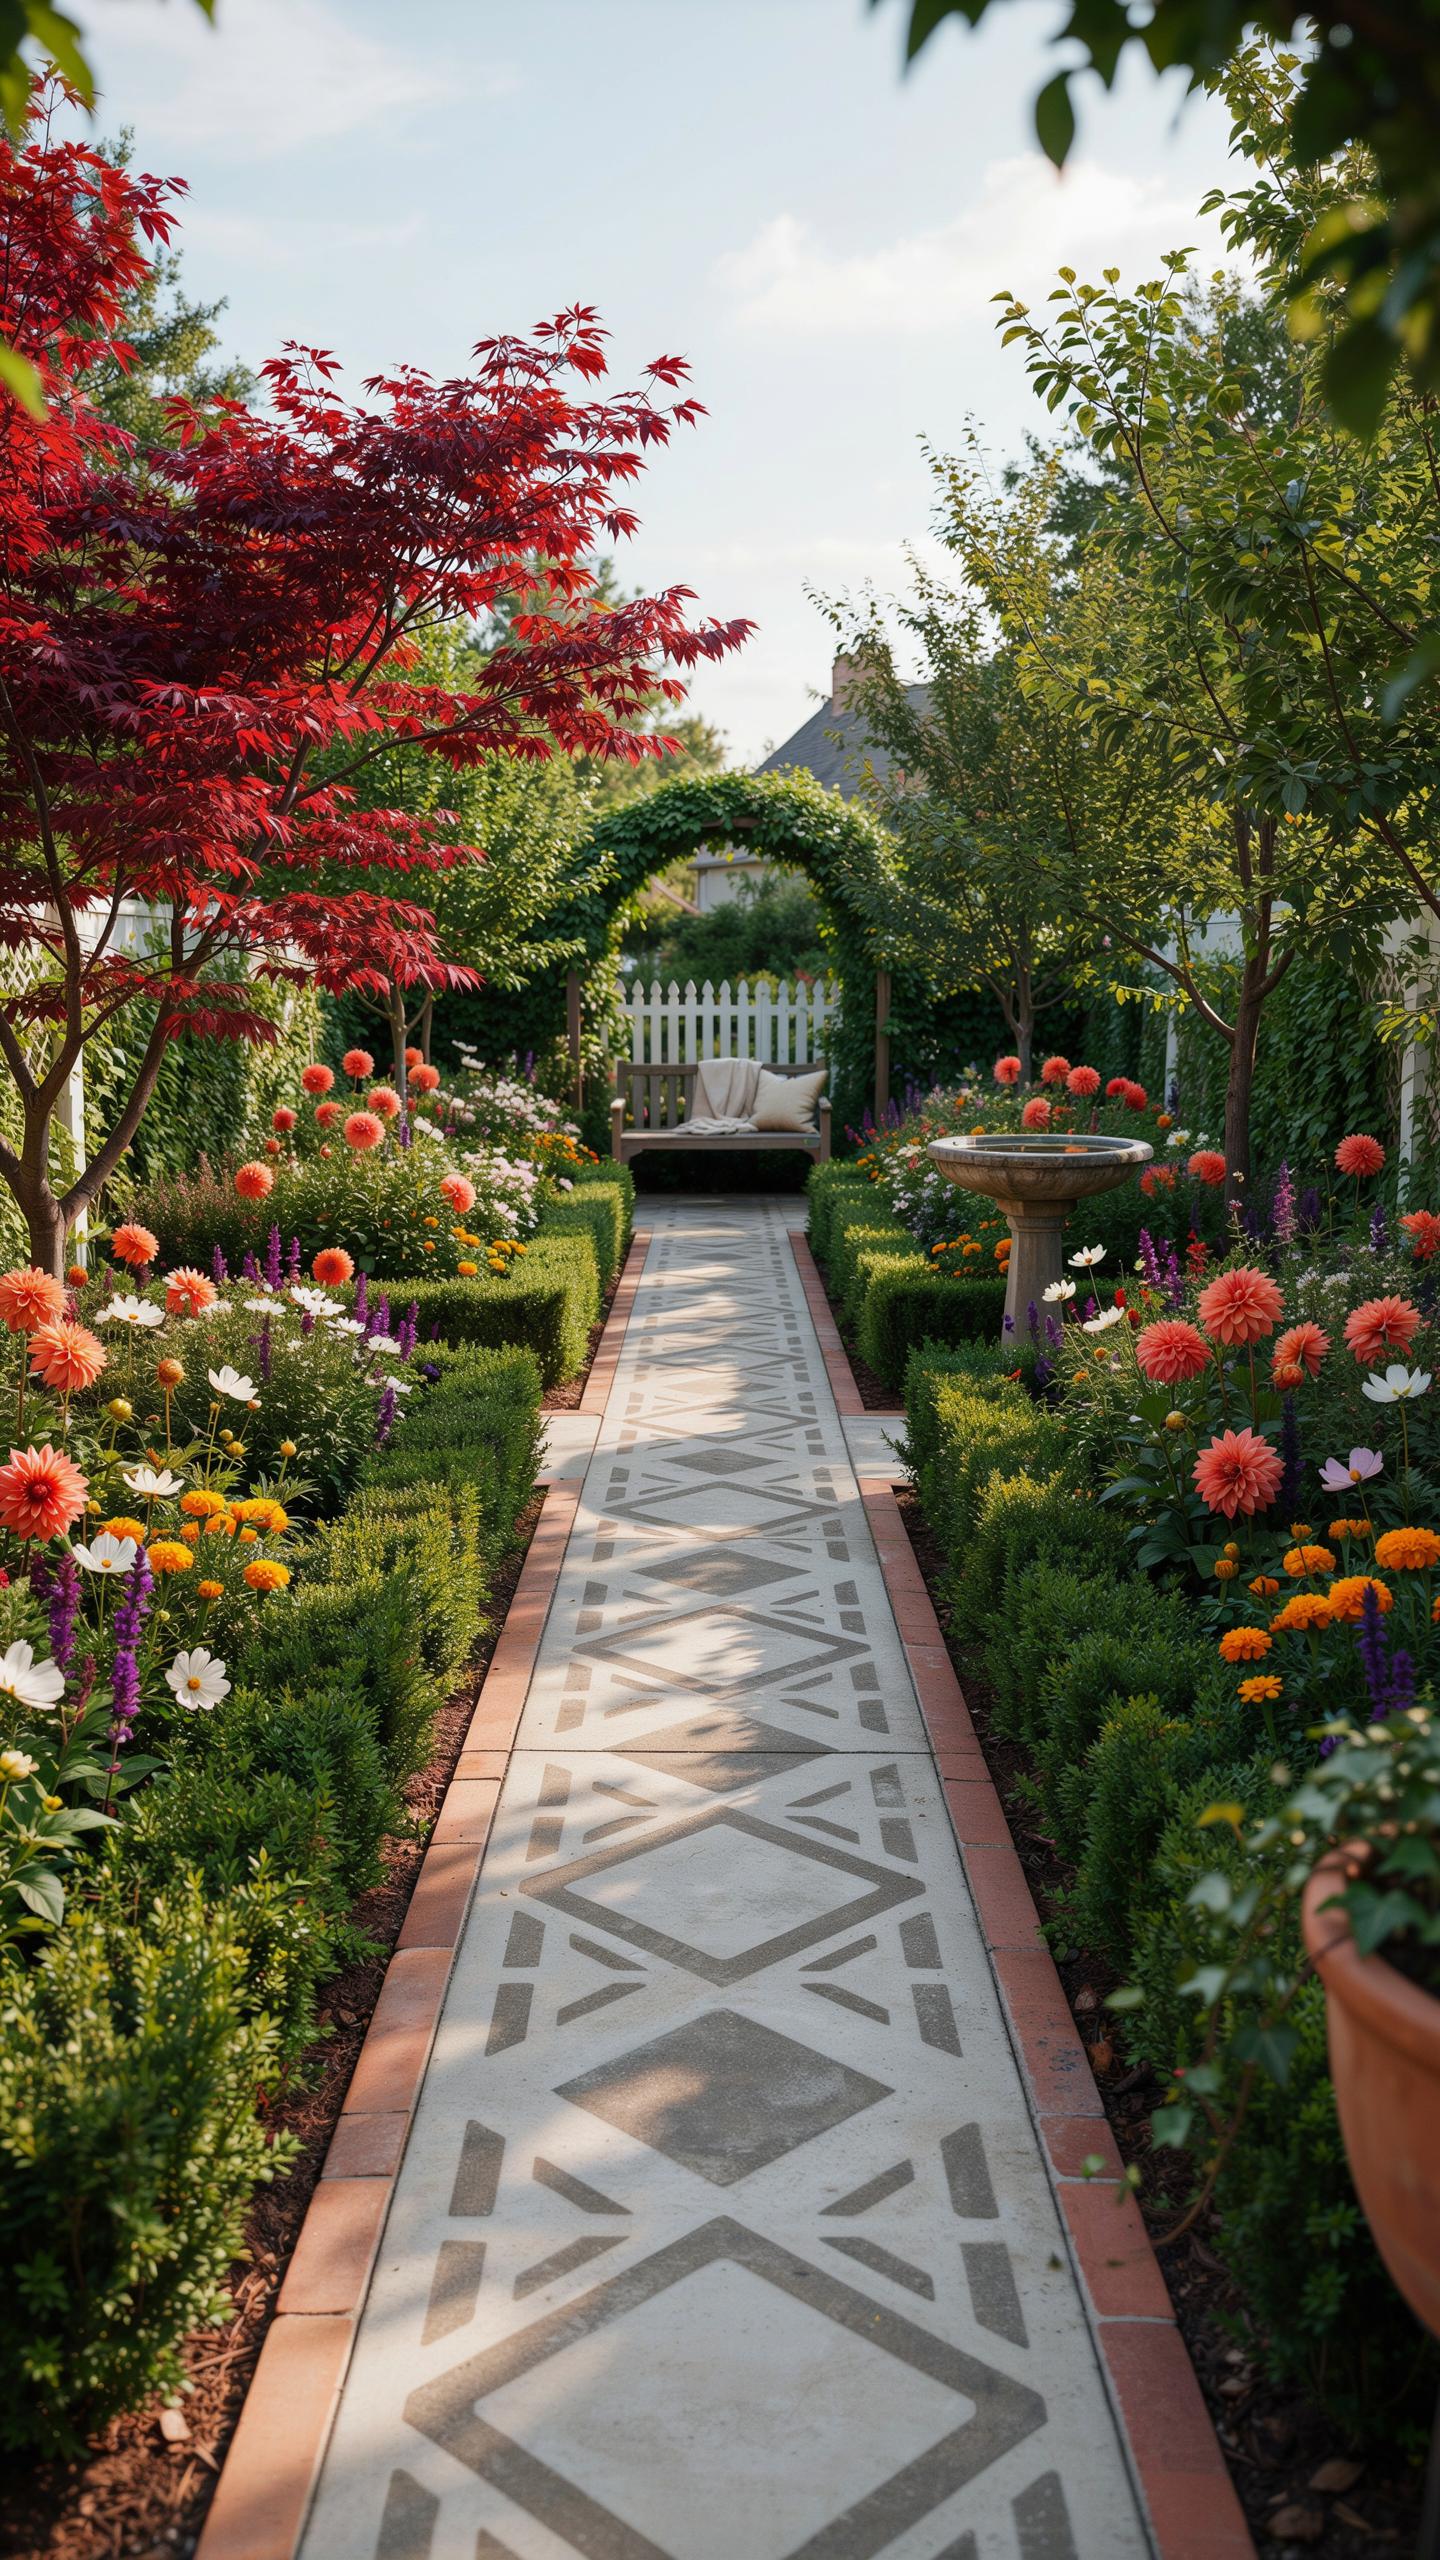
Creating Seamless Stepping Stones
Pour-in-place concrete steppers work because they bond directly to a prepared base, eliminating settling issues that plague precast pavers. Space each stepper 12 to 18 inches apart center-to-center. This gap width matches average human stride length and exposes the lawn or turf beneath, breaking up visual mass while reducing material costs and installation labor significantly.
Proper base preparation determines stepper longevity. Excavate 4 inches deep, compact the soil, and add a 2-inch gravel layer. Pour concrete 2 inches thick minimum into simple wooden or metal forms. This thickness prevents cracking under foot traffic and handles freeze-thaw cycles in cold climates. Allow 7 days for full cure before removal of forms.
Designing Curving Custom Floating Walks
Cantilevered concrete walks overhang their support edge by 6 to 12 inches, creating visual separation from ground level. This design strategy works over decorative aggregate beds, mulch, or creeping ground covers like thyme or sedum. The overhang reduces apparent contact with the landscape below, generating the floating effect without structural compromise.

Engineering the cantilever requires reinforced concrete and proper edge detailing. Steel rebar placed 2 inches from the bottom face resists bending moments from foot traffic. Thicken the walk to 3 inches minimum at cantilever areas. Curve the walk using wooden forms bent around stakes, or build in short straight segments angled to follow landscape contours. The curving path maintains the floating appearance while managing construction complexity.
Integrating Organic Pavers In Modern Patios
Pairing Concrete With Ground Cover Plants
Concrete pavers need spacing to accommodate ground covers. Standard joint width ranges from half an inch to two inches depending on your plant choice. Wider joints support larger root systems and allow soil depth for establishment. Herbs like creeping thyme and sedums thrive in joints because they tolerate compacted soil and foot traffic. Space pavers consistently to create even gaps that look intentional rather than irregular.
Fill joints with quality topsoil mixed with compost before planting. This blend drains faster than dense garden soil and supports shallow-rooted ground covers. Plant after the soil settles, typically two to three weeks post installation. Water newly planted joints daily for two weeks to establish roots. Once established, most ground covers require minimal maintenance and reduce water needs compared to traditional mulch alternatives.
Step By Step Installation Tips For Interlocking Blocks
Begin by excavating the patio area to proper depth, typically four to six inches depending on your climate and foot traffic. Remove all vegetation and compact the base soil firmly. This prevents settling and uneven surfaces that crack pavers over time.
- Prepare the sub-base: Lay four inches of compacted gravel or crushed stone. Use a vibrating compactor to achieve dense packing. This base prevents water pooling and provides drainage for ground covers.
- Add bedding sand layer: Spread one to two inches of coarse sand evenly across the compacted base. Rake smooth. This layer allows minor paver adjustments and compensates for slight base irregularities.
- Line borders first: Install permanent edge restraints along all patio perimeters using plastic or metal edging. Secure with stakes. This prevents pavers from shifting outward under pressure from traffic and weather.
- Lay pavers in your chosen pattern: Place interlocking blocks firmly into the sand bed, working from one corner outward. Use a rubber mallet to tap each paver level. Maintain consistent joint spacing with spacers or guides.
- Compact the surface: Run a vibrating plate compactor across the finished paver surface in multiple passes. This locks pavers together and settles sand into joints partially.
- Fill joints with polymeric sand: Sweep polymeric sand across the entire surface, filling all gaps completely. Mist lightly with water to activate the binding agents. This prevents weed growth and stabilizes pavers.
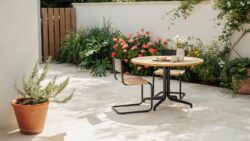
Allow 48 hours before planting ground covers in the joints. This gives polymeric sand time to fully cure and achieve proper hardness. Your patio now supports both structural integrity and plant growth simultaneously.
The Role Of Concrete Landscape Architecture In Modern Homes
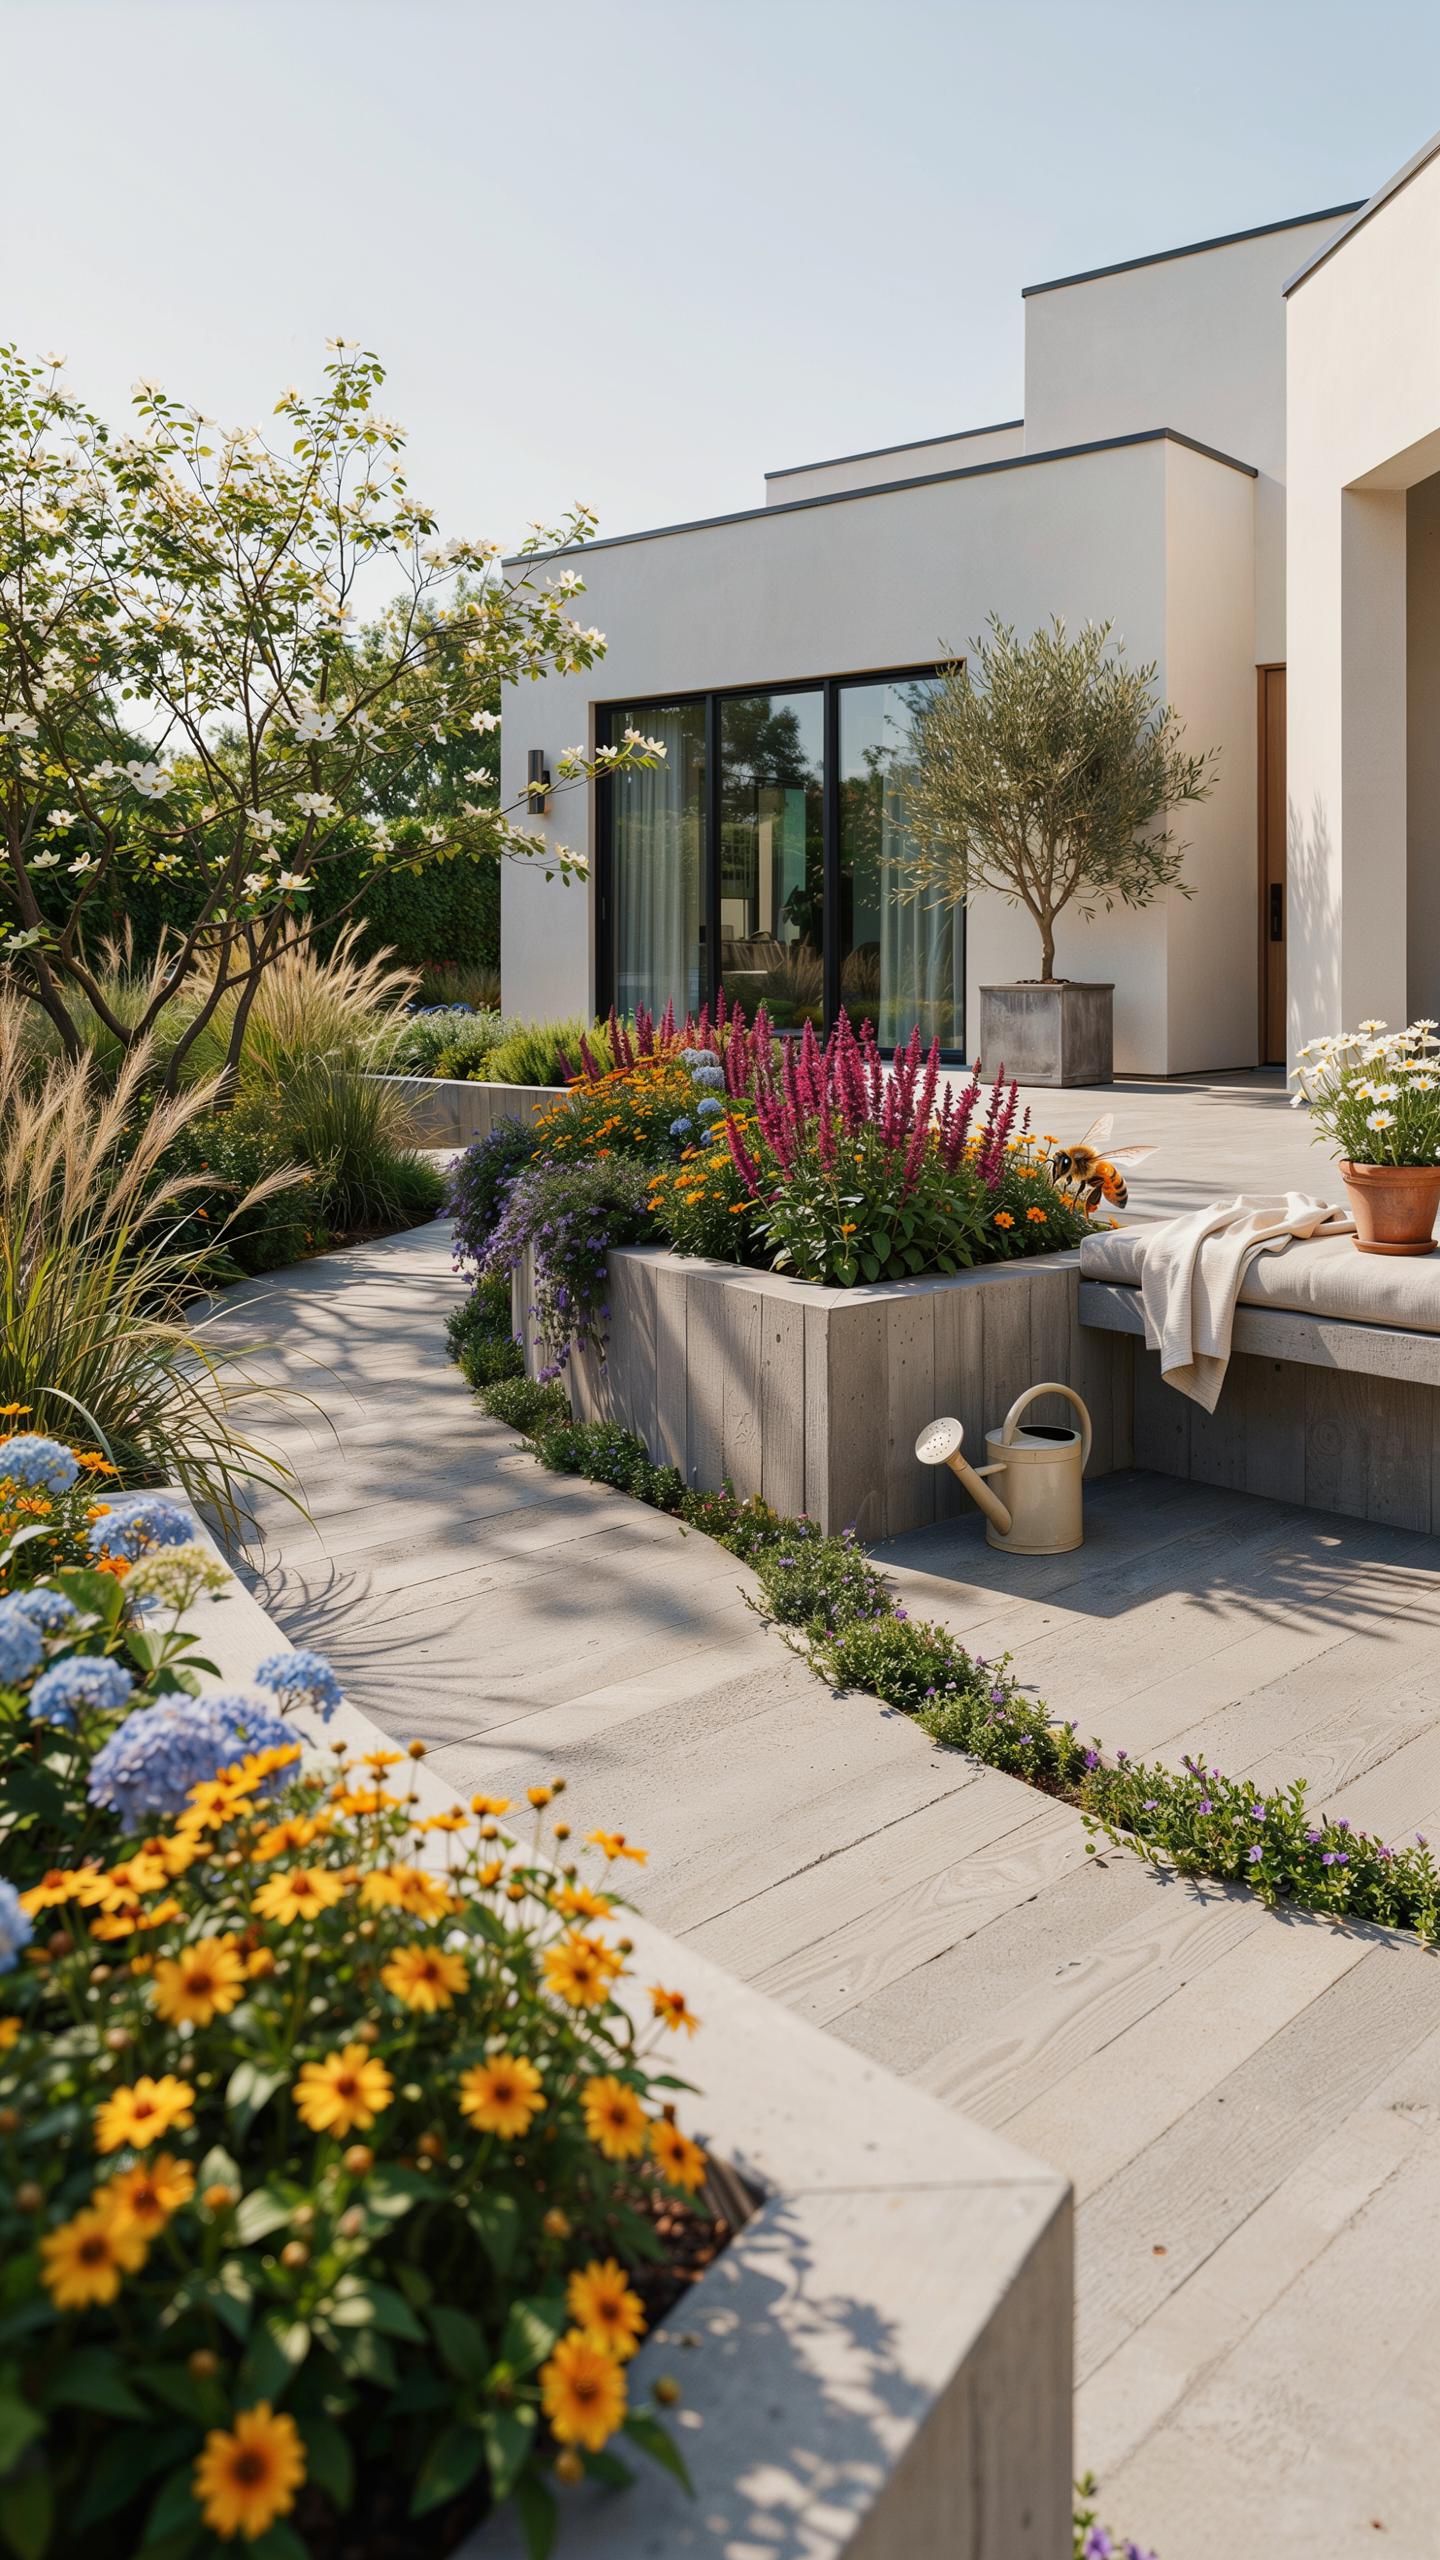
Defining Spaces With Structural Zones
Professional landscape designers use cast-in-place concrete to establish hard boundaries between functional areas. These structural zones divide properties into distinct regions for cooking, lounging, and planting. Custom pours create permanent divisions that eliminate ambiguity about how to use each space. The concrete becomes the skeleton that organizes the entire yard layout.
Cast-in-place structures offer control over dimensions, thickness, and finishes that prefabricated options cannot match. Designers embed these zones at specific elevations to create visual hierarchy and direct foot traffic patterns. The concrete defines edges without requiring additional fencing or decorative elements. This approach reduces maintenance while providing architectural clarity to residential properties.
Retaining Walls As Architectural Focal Points
Engineered retaining walls solve slope problems while delivering clean architectural lines. Properties with grade changes require structural solutions that also function as design elements. Concrete retaining walls handle soil pressure, prevent erosion, and establish visual anchors in the landscape. Modern designs emphasize minimalist forms rather than decorative ornamentation.

These walls perform load-bearing work while defining the property’s topography. Proper engineering ensures walls handle water drainage and freeze thaw cycles in freeze prone climates. The height, alignment, and material finish become deliberate design choices that shape the yard’s character. Retaining walls eliminate informal slopes that consume space and create maintenance challenges.
Vertical Planting And Concrete Wall Garden Design
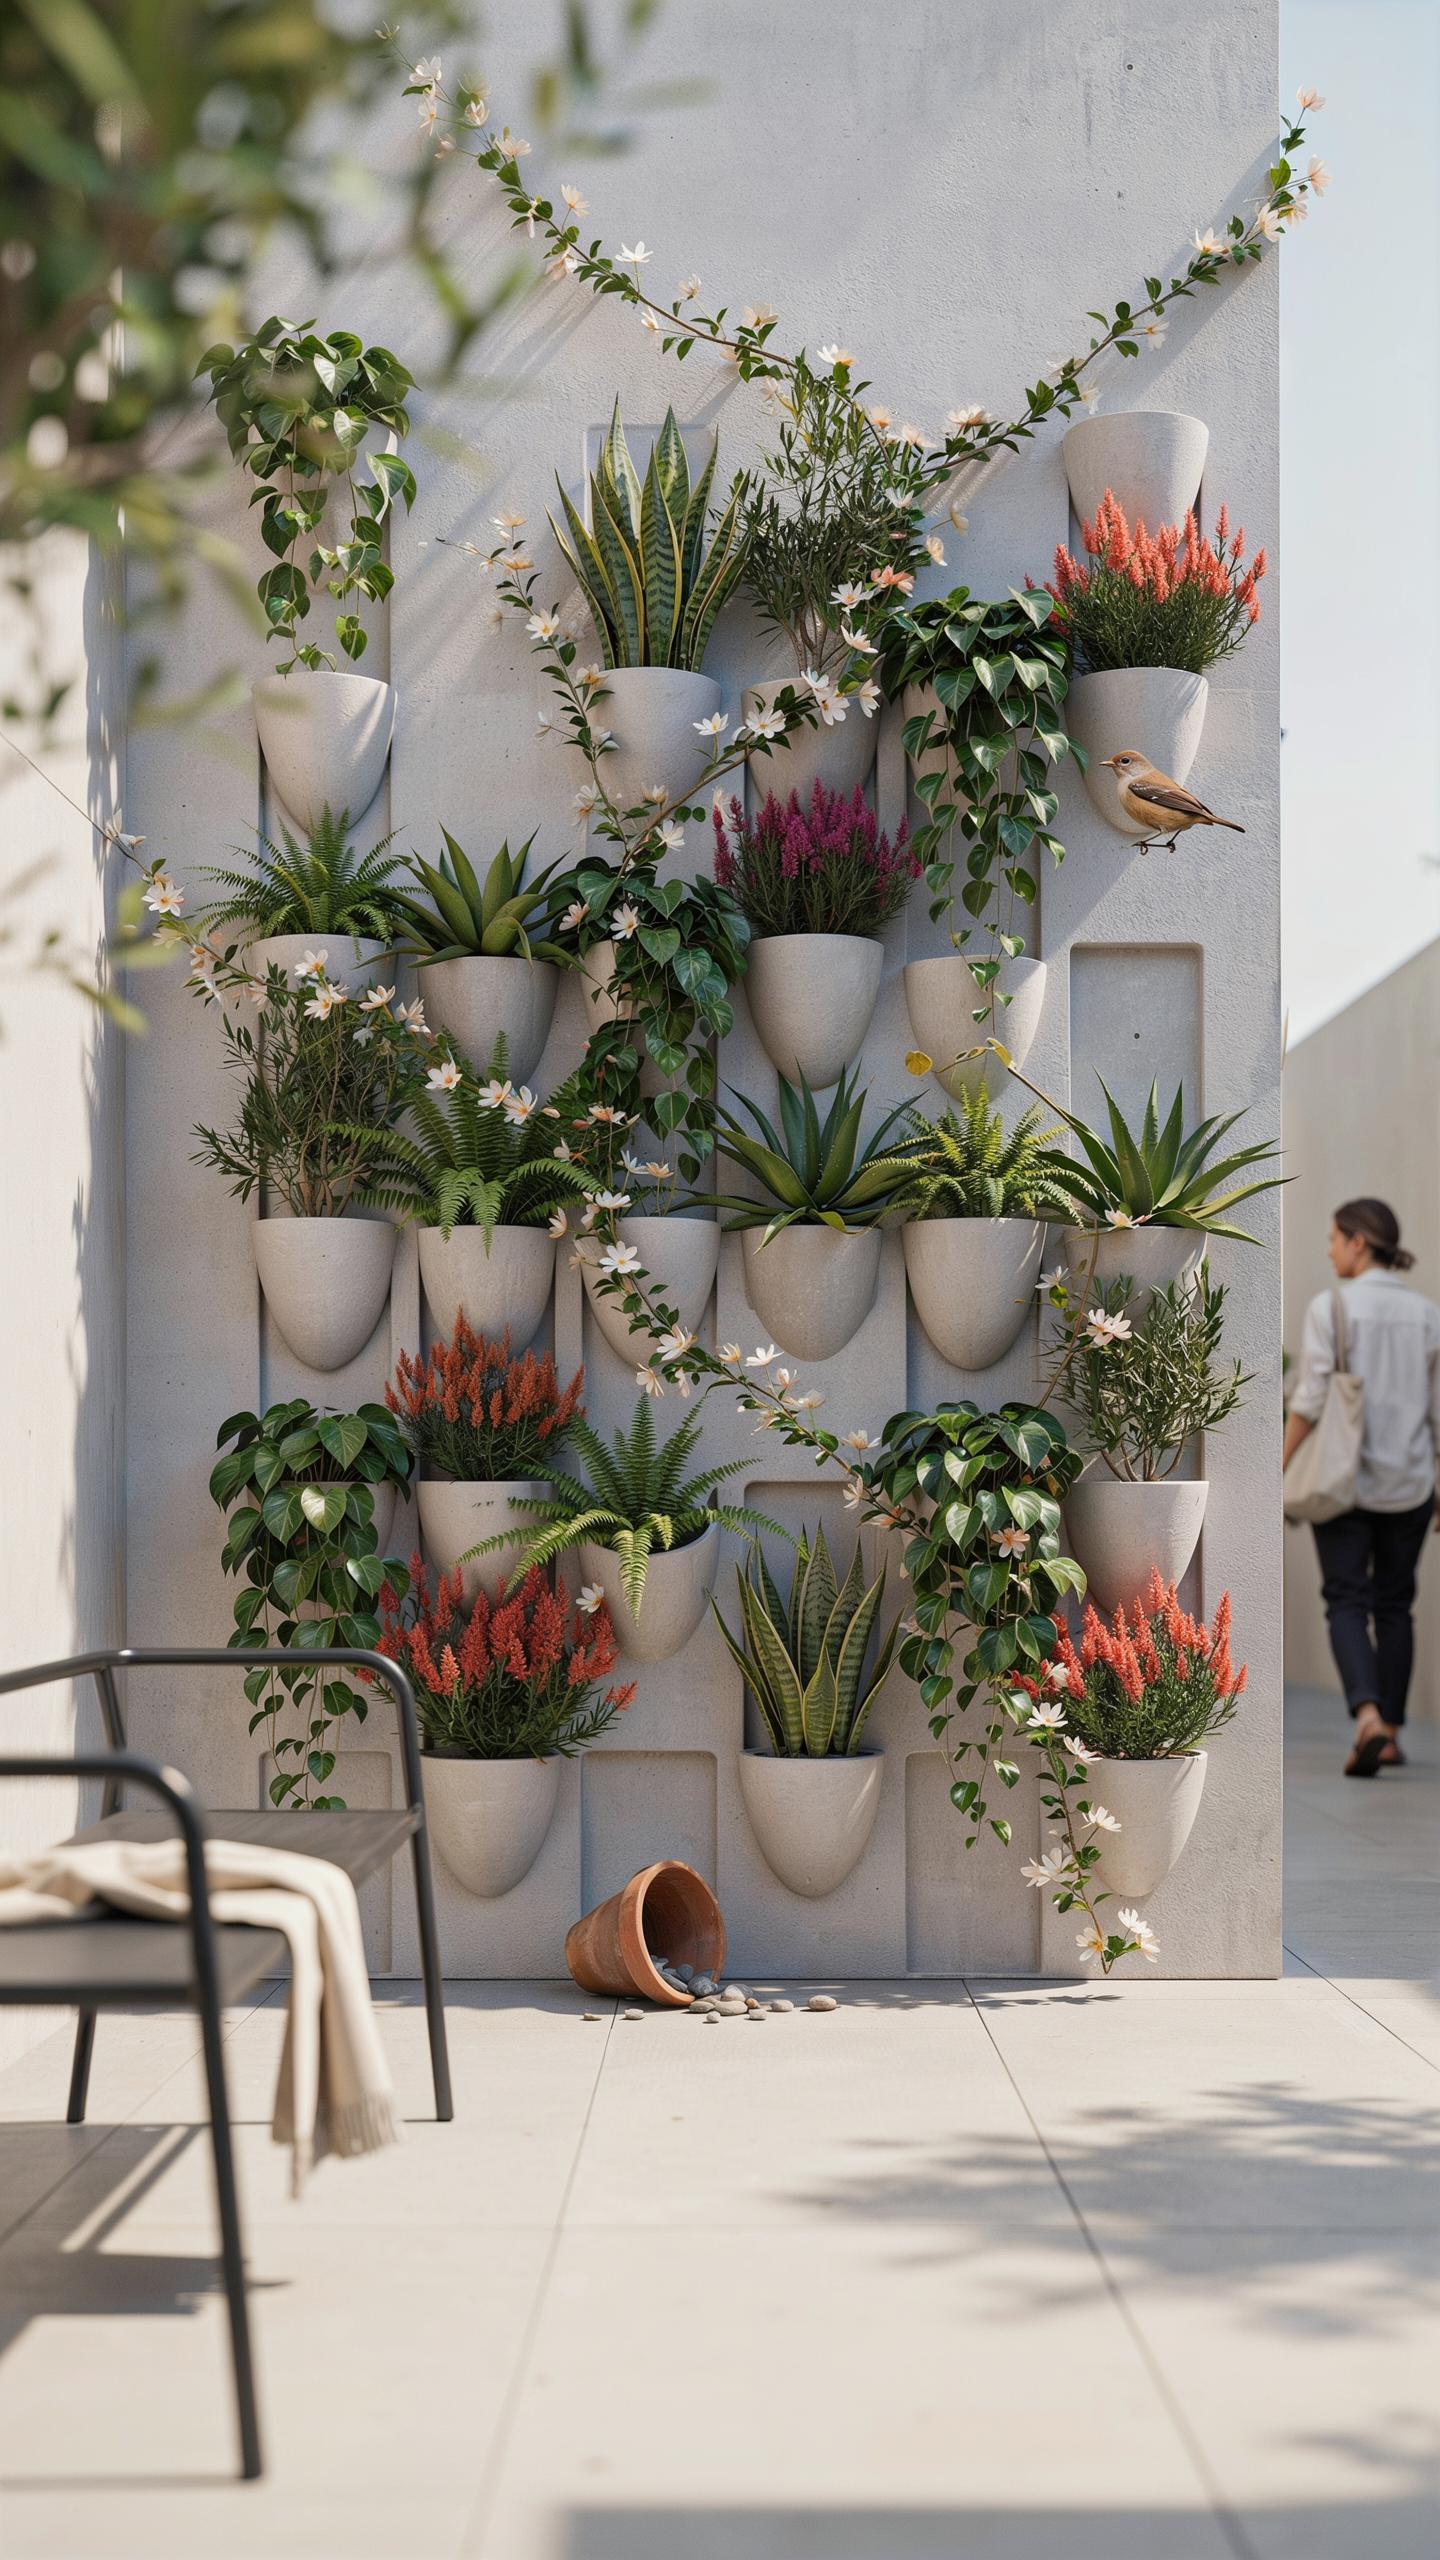
Incorporating Built In Retaining Concrete Planters
Integrated concrete planters serve dual functions in garden layout. Build them directly into perimeter walls or grade changes to contain soil while creating usable seating surfaces. This approach eliminates separate planter boxes and reduces maintenance points. The concrete structure handles water exposure without degradation. Size planters for your specific plants, accounting for root depth and spread. Proper grading prevents water pooling on planter tops.
Design planter depth based on plant type. Shallow planters work for sedums and grasses requiring 8 to 12 inches of soil. Deeper planters support shrubs and small trees needing 18 to 24 inches minimum. Install drainage through the concrete base or along the back wall to move water away from structures. Slope the planter bottom slightly away from adjacent buildings. Seal concrete surfaces when finished to extend lifespan and improve appearance.
A garden should be a place where the hand of man is felt, yet the heart of nature beats within it through simple, enduring paths.
Securing Vertical Supports To Masonry Structures
Anchor points into concrete require proper fastening methods. Use wedge anchors, sleeve anchors, or concrete screws rated for your climate zone and load requirements. Drill pilot holes with carbide-tipped bits to prevent cracking. Position anchors minimum 12 inches from concrete edges to avoid splitting. Stagger anchor placement for wire trellises to distribute weight evenly. Install fasteners that resist your local moisture and freeze-thaw cycles.
Wire trellises attached to concrete walls support climbing plants and vines. Select corrosion-resistant wire rated for outdoor use. Space wire runs 6 to 12 inches apart depending on plant type and climbing method. Inspect fastening points annually for rust or loosening, especially in wet climates. Replace compromised anchors immediately. Test load capacity before planting to ensure system stability under mature plant weight.
Fresh Backyard Renovation Ideas Using Poured Concrete
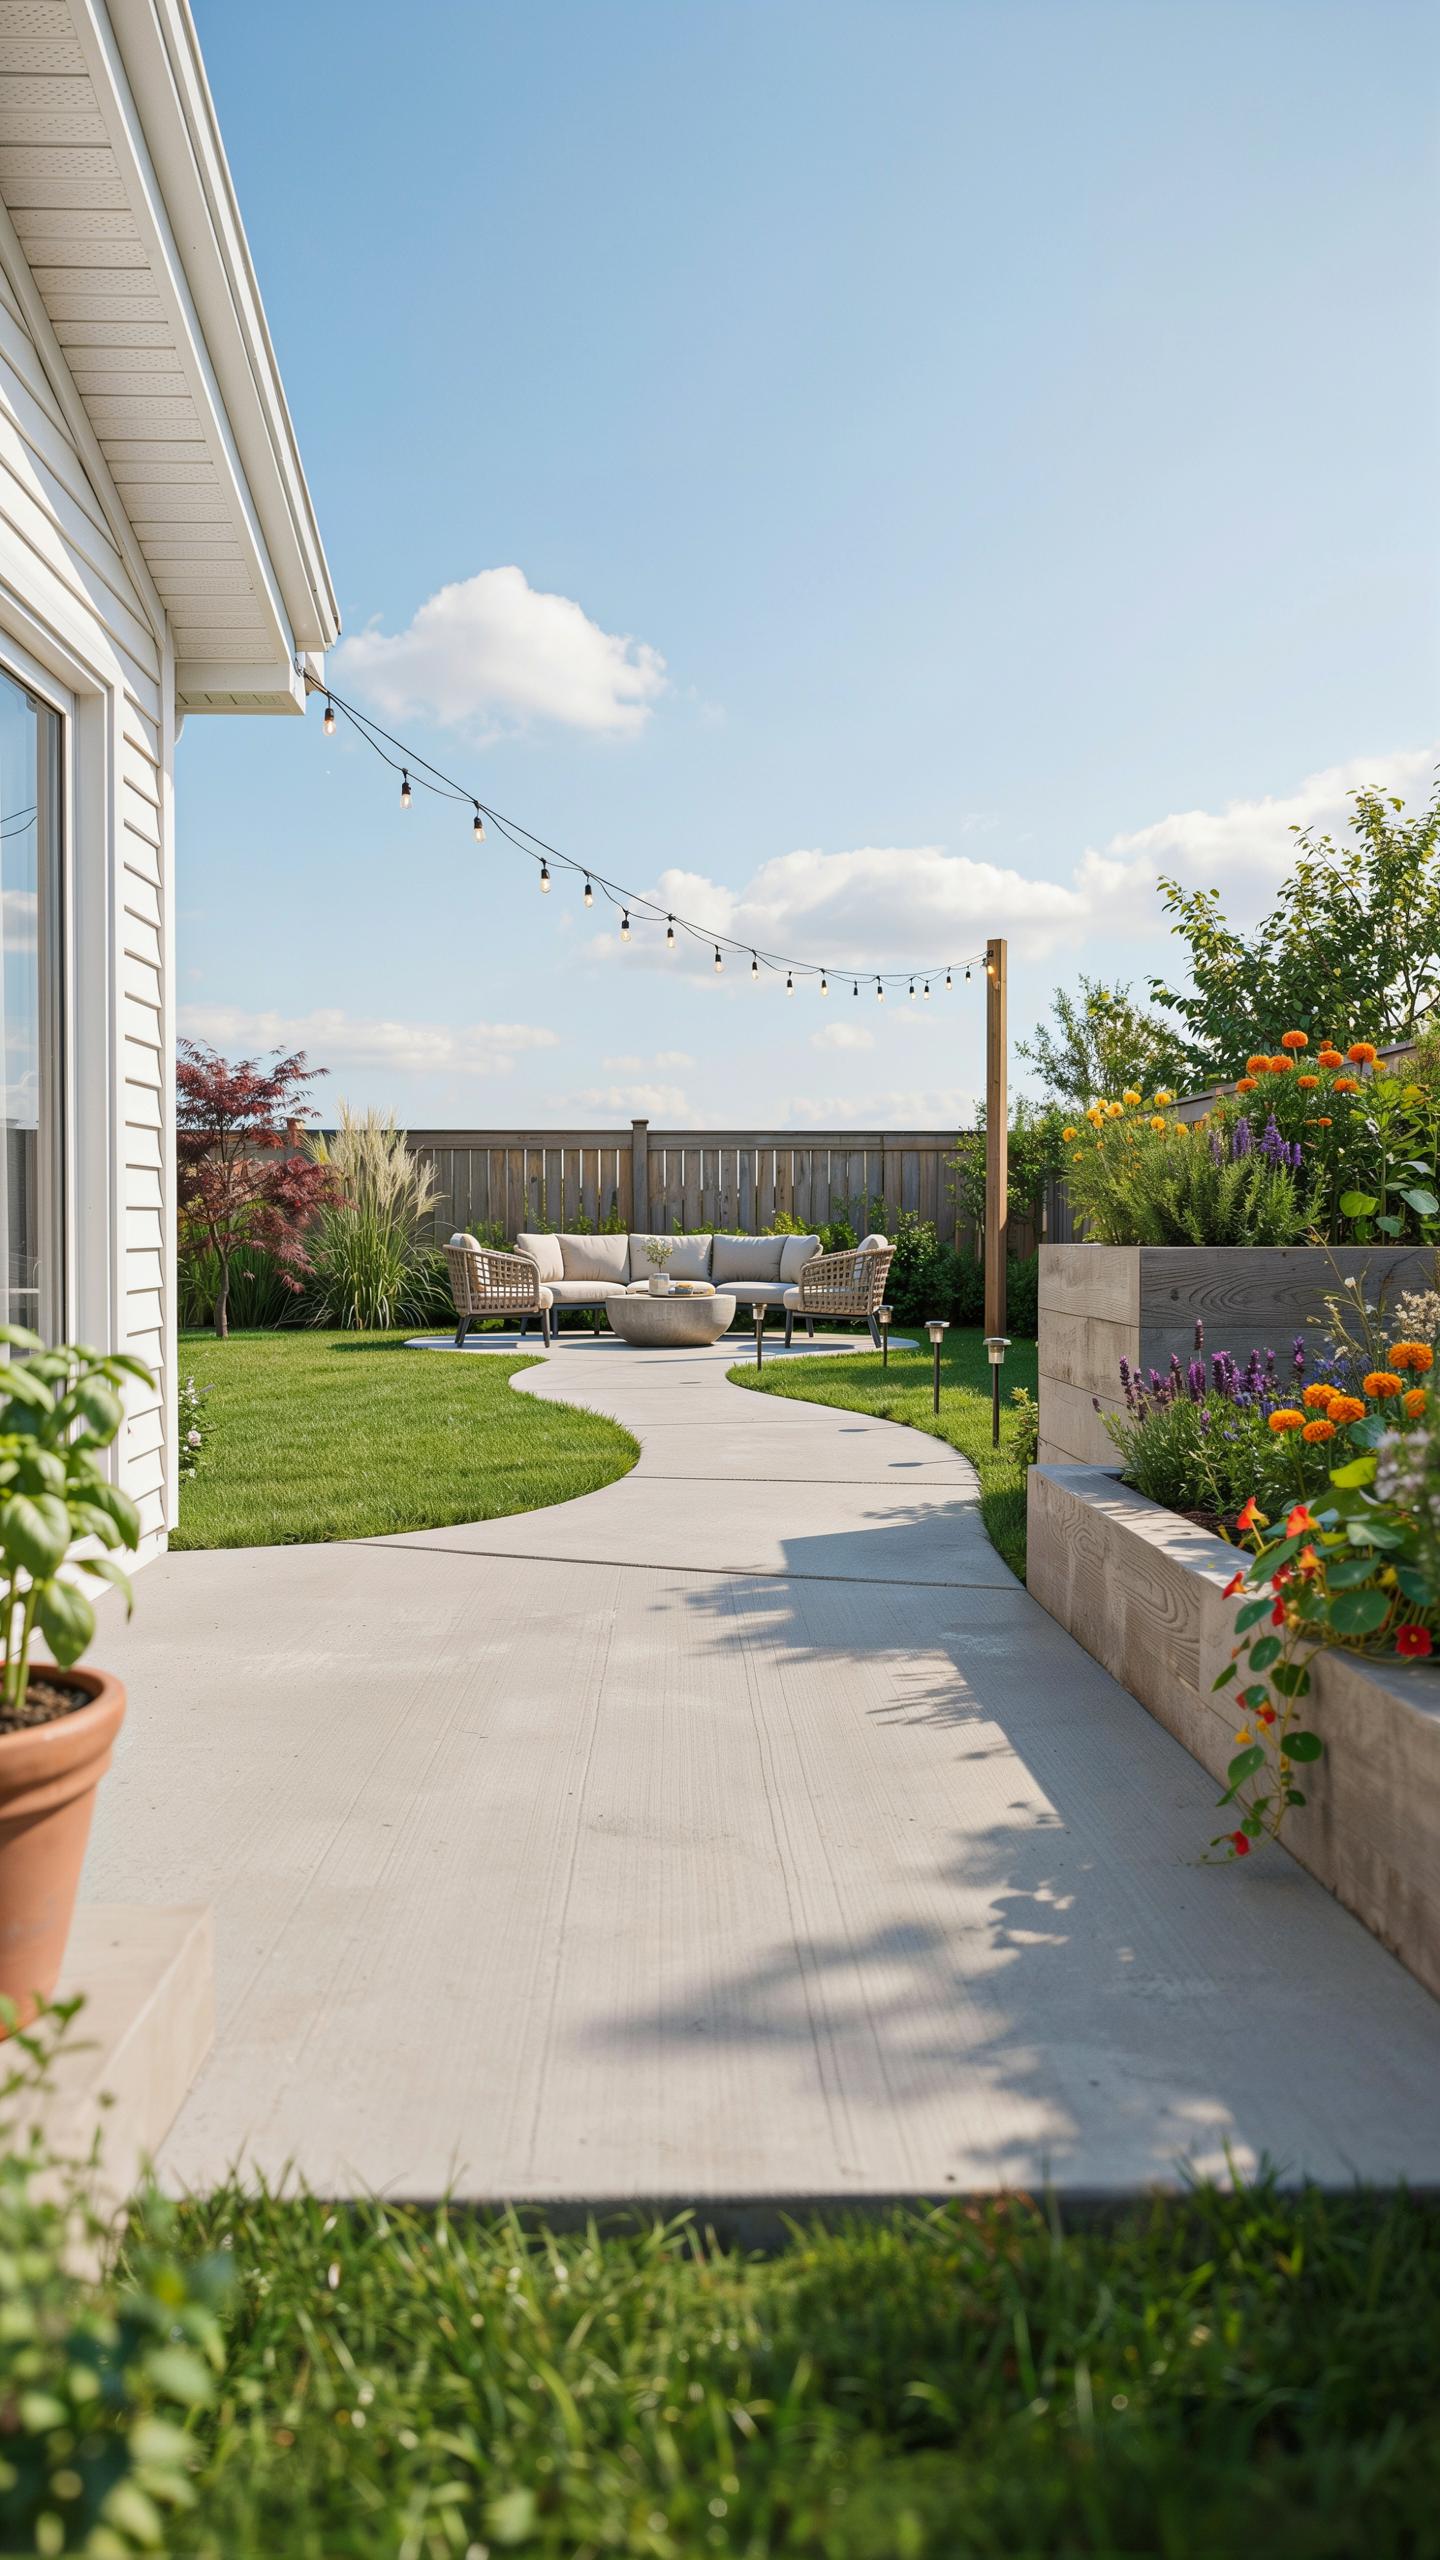
Constructing Outdoor Fire Pits And Seating
Fire pits built from poured concrete provide durable gathering spaces that handle repeated heating cycles. Custom forms let you shape the pit walls and seating ledges to fit your yard layout. Concrete withstands weather and fire exposure far better than wood or metal alone. The thermal mass of concrete radiates residual heat after flames die, extending usable time on cool evenings.
Proper construction requires a solid base and reinforcement to prevent cracking from temperature swings. Install rebar or wire mesh inside the forms before pouring to handle stress from heating and cooling. Slope the floor slightly toward drainage points to manage rainwater. Seal the finished concrete with a heat-resistant product rated for fire pit use to extend the structure’s life and prevent water damage.
Leveling Uneven Terrain Via Terraced Patios
Terraced concrete patios solve steep slope problems by breaking hillsides into usable horizontal platforms. Each tier steps down the slope, held in place by concrete retaining walls. This approach transforms land that sits too steep for standard patios into functional outdoor rooms. Proper grading between tiers prevents water from pooling and directs runoff safely away from structures.

Calculate tier heights based on your slope angle and desired platform widths. Standard riser heights between twelve and eighteen inches work well for most residential yards. Compact soil at each level before pouring to prevent settling that cracks the concrete. Install drainage behind retaining walls using gravel and perforated pipe to manage water pressure that builds up during heavy rain.
Contemporary Garden Design Techniques With Concrete
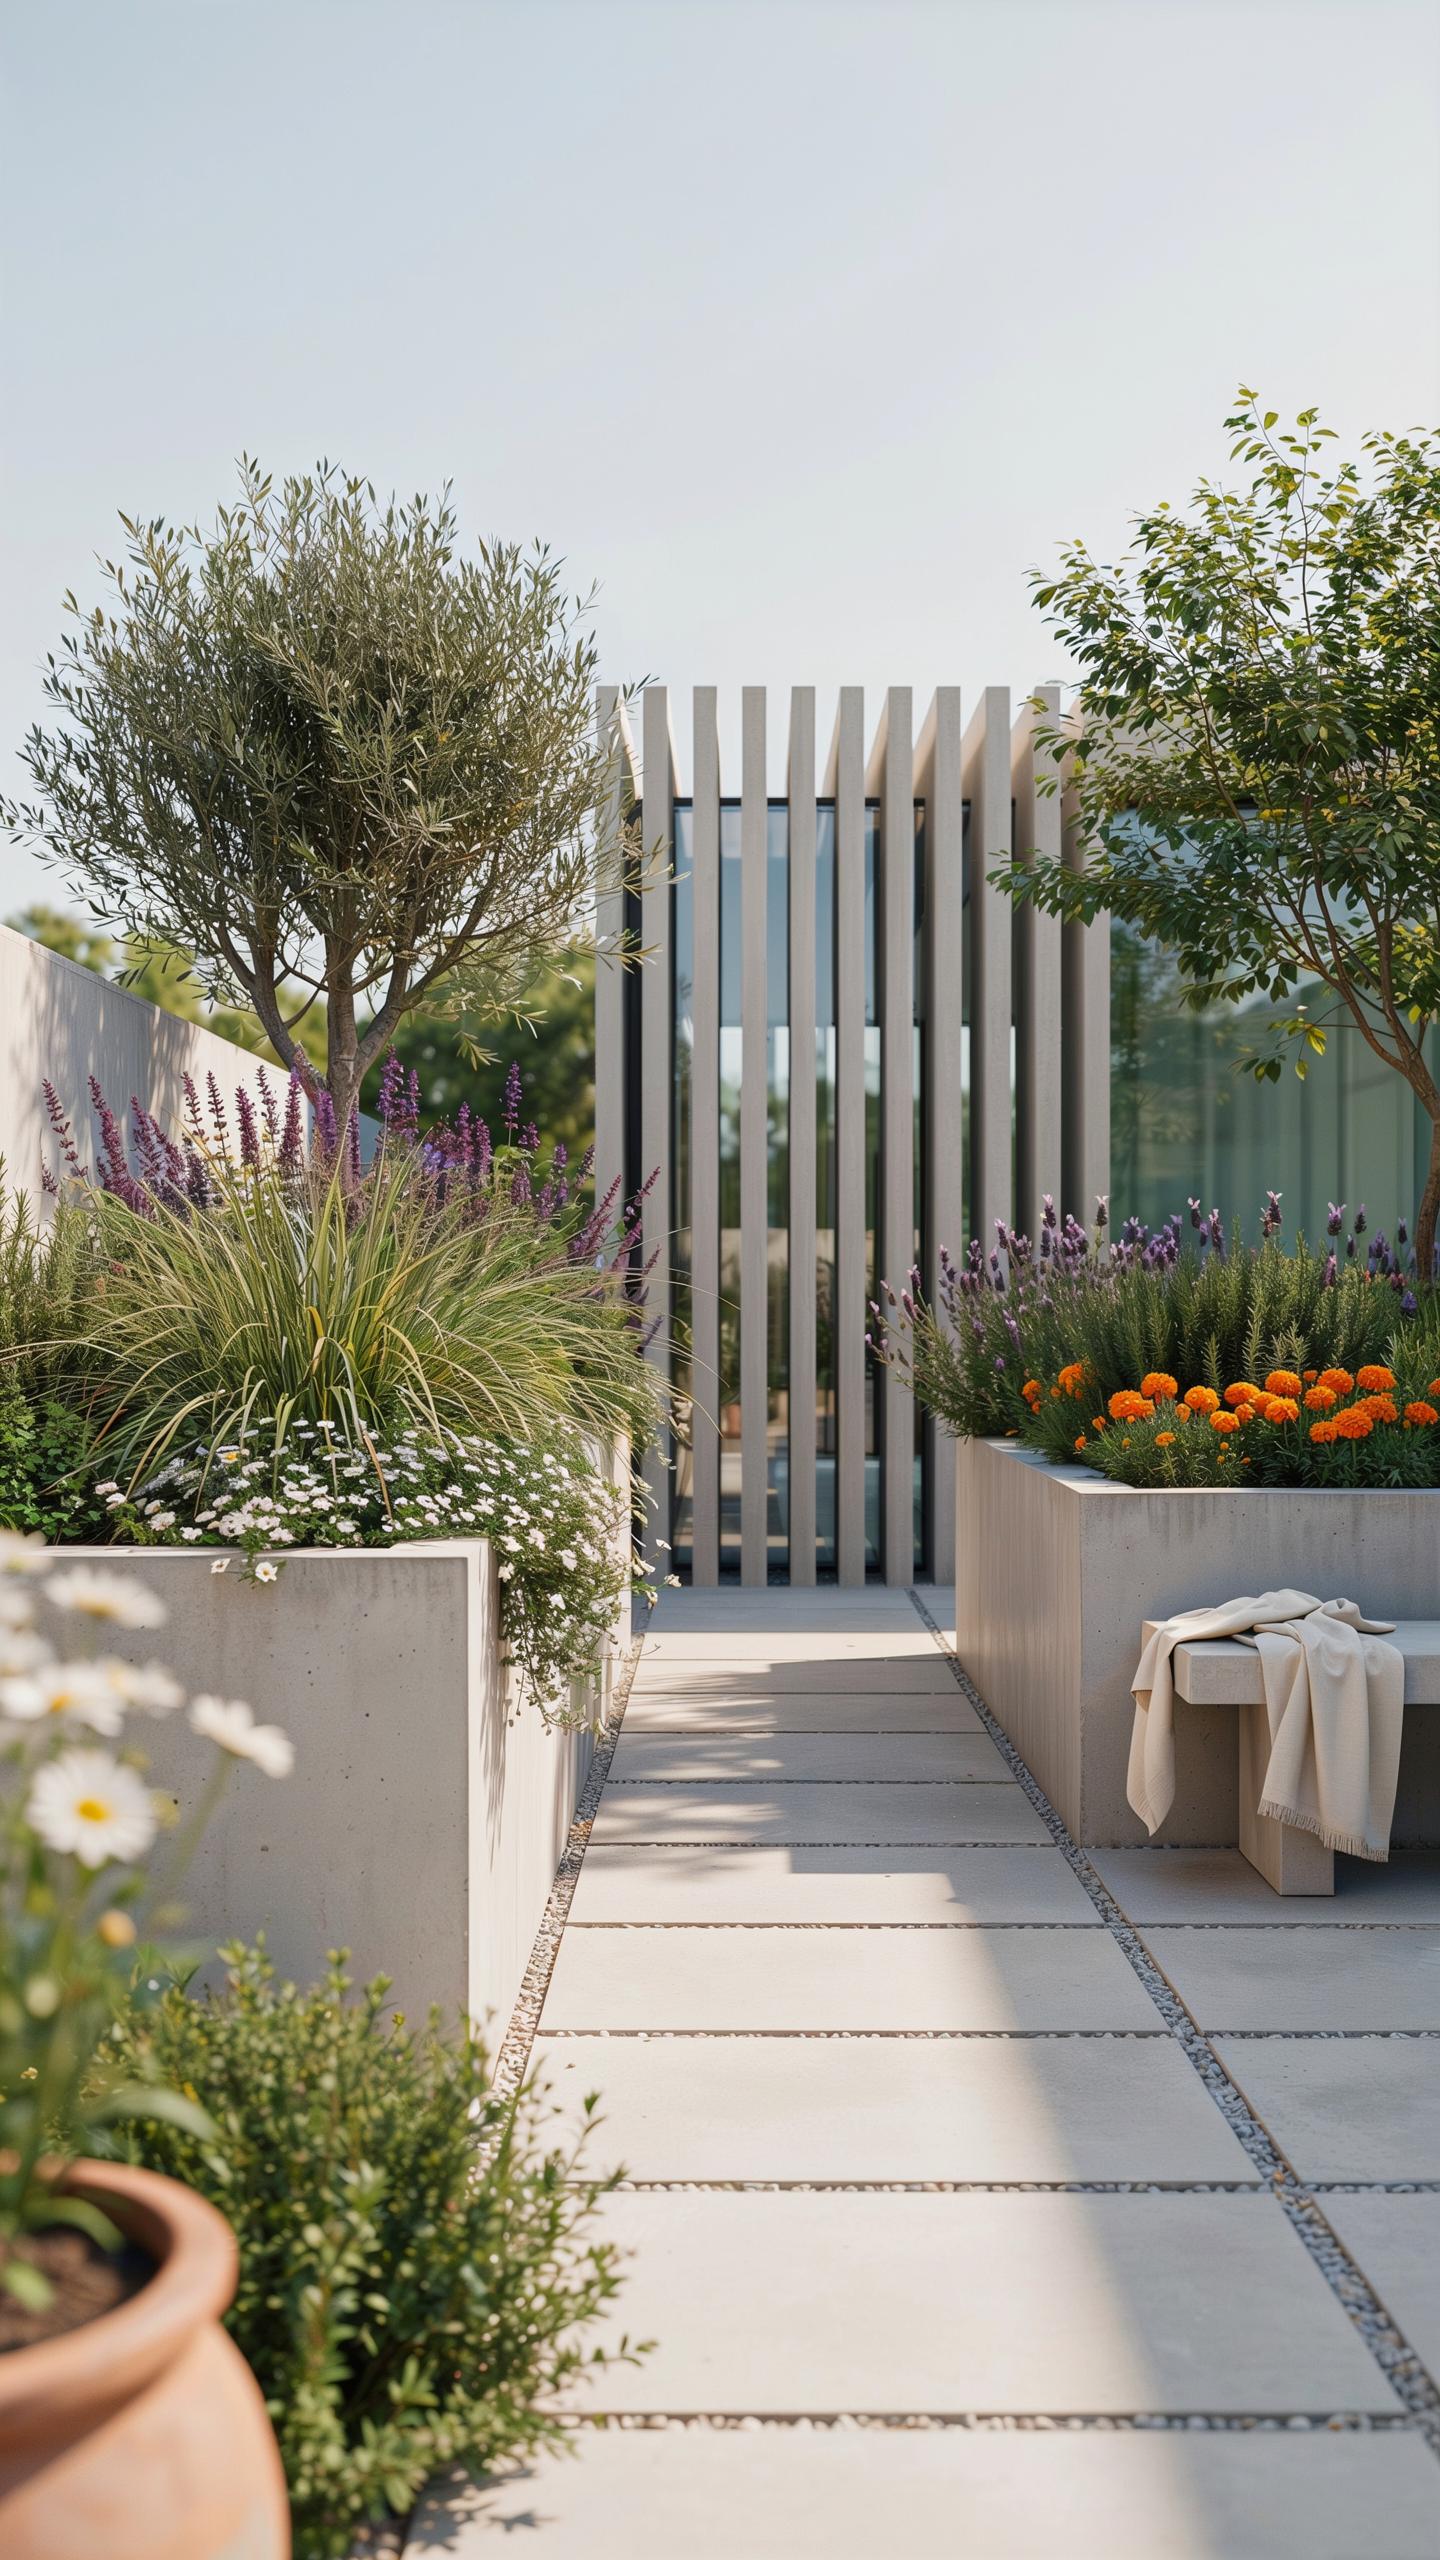
Softening Hardscapes With Lush Green Borders
Concrete surfaces demand counterbalance through strategic plant placement. Position dense plant beds directly against concrete edges to break visual monotony and reduce heat reflection. Hostas and ferns work because they tolerate shade cast by hardscapes and require minimal soil depth along borders. This approach creates immediate visual relief without redesigning the entire space.
The contrast between rigid concrete geometry and organic plant forms establishes hierarchy in your garden layout. Green borders serve a functional purpose too. They reduce surface temperature around concrete by up to 10 degrees through evapotranspiration. Place textured species in front rows to soften sight lines and obscure the concrete base from eye level.
Water Features And Statement Geometric Statues
Precast water elements provide focal points without requiring custom installation or extended construction timelines. Minimalist fountains with geometric forms complement concrete landscapes naturally because they share similar material language. Position these pieces at garden intersections where sight lines converge. Elevated water tables create stillness and reflection, drawing attention away from surrounding hardscape monotony.
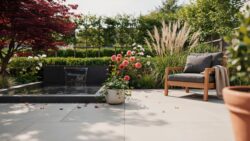
Statement statues in geometric forms anchor concrete gardens through strategic placement and scale. Choose pieces proportional to your garden size to avoid overwhelming the space. Position sculptures at entry points or garden terminations to define movement and create purposeful endpoints. Water features and statues work together to establish rhythm and provide visual destinations within concrete-heavy layouts.
Frequently Asked Questions

Is concrete a good material for a small backyard garden?
Absolutely. Concrete is one of the most versatile materials for modern landscaping because it provides a clean, neutral backdrop that makes greenery pop. Many concrete garden design ideas focus on sleek geometric lines that help small spaces feel more organized and expansive. Because it is highly durable and weather-resistant, it creates a permanent structure that requires very little maintenance compared to traditional wood decking or gravel.
How can I incorporate concrete elements into my garden without it looking too industrial?
To soften the look, balance your concrete garden design ideas with organic textures and lush plantings. You can add warmth by integrating wooden privacy screens or using tinted concrete stains in earth tones. Strategically placing trailing plants over the edges of concrete retaining walls or nested amongst large pavers will blur the harsh lines, creating a sophisticated, contemporary aesthetic that feels cozy rather than cold.
Are there any affordable ways to use concrete in my landscape on a budget?
You don’t need a massive budget to achieve a high-end look. DIY projects like pouring your own geometric stepping stones or creating simple cast-concrete planters are very cost-effective. Pre-cast concrete blocks are also an inexpensive way to build raised beds or fire pits. Focusing on a few high-impact zones rather than paving the entire yard allows you to enjoy a stylish outdoor space without overspending on materials.



