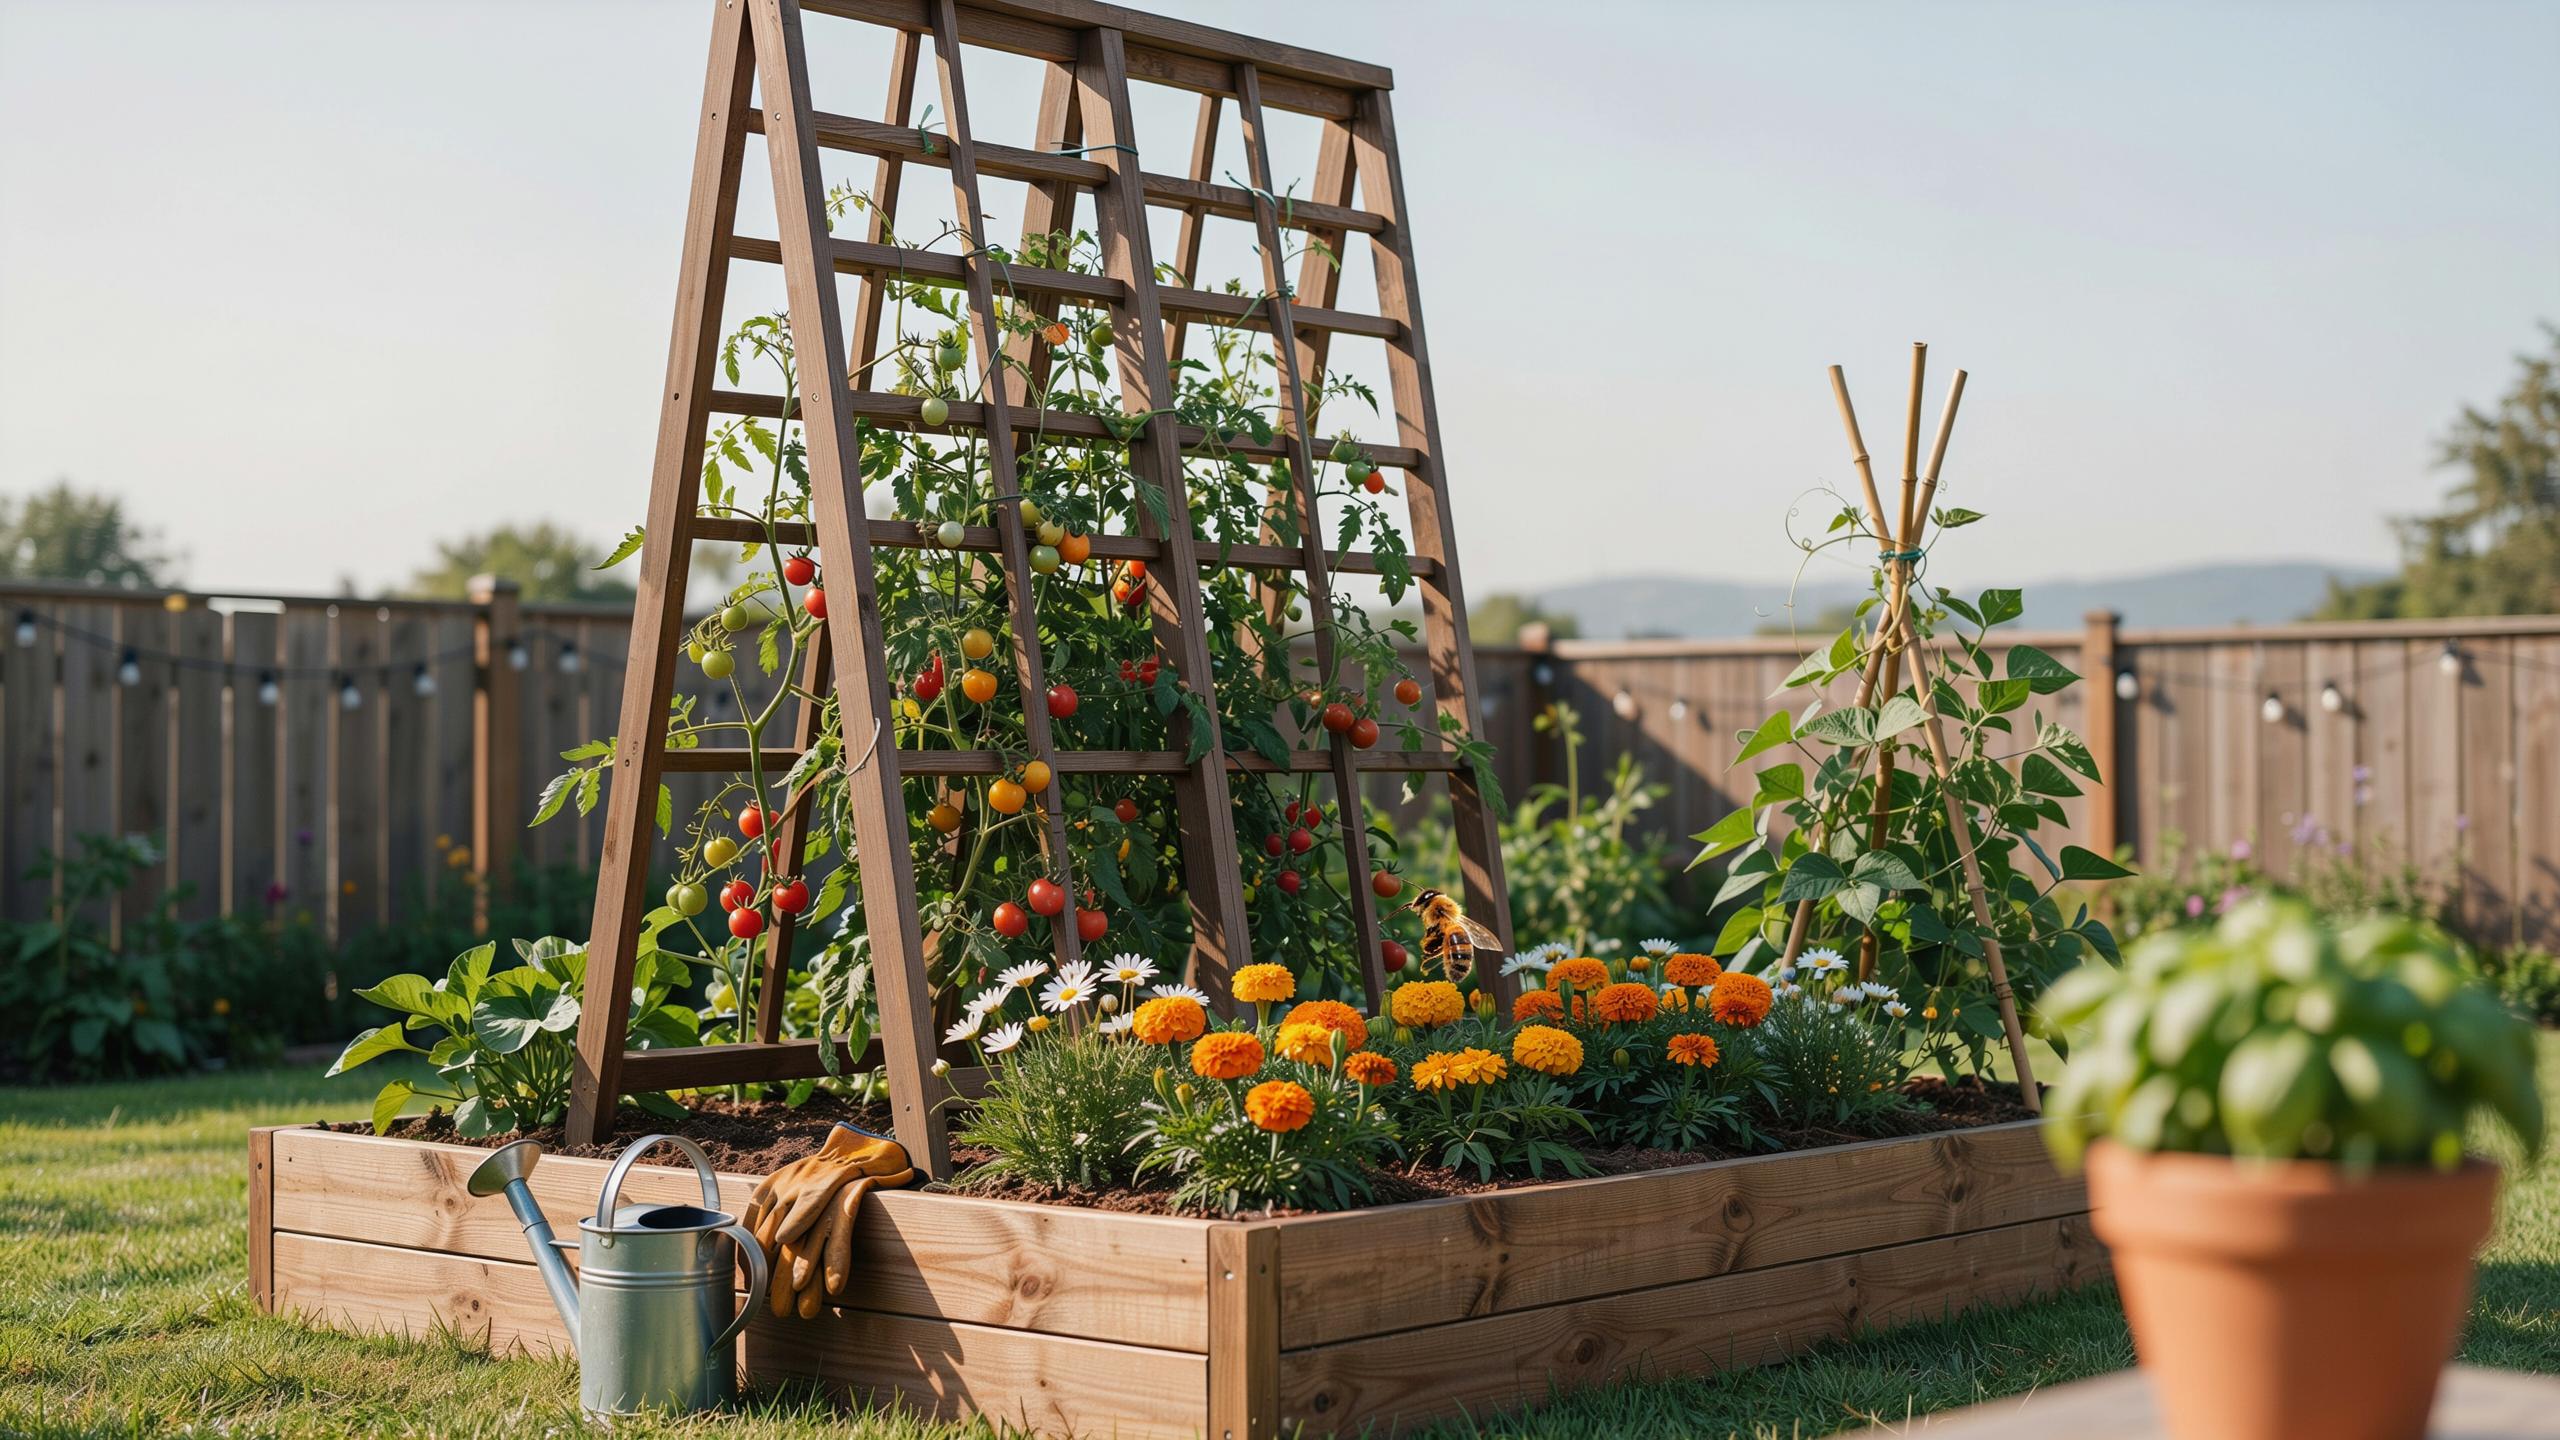
Understanding Raised Garden Bed Trellis Ideas And Why They Matter
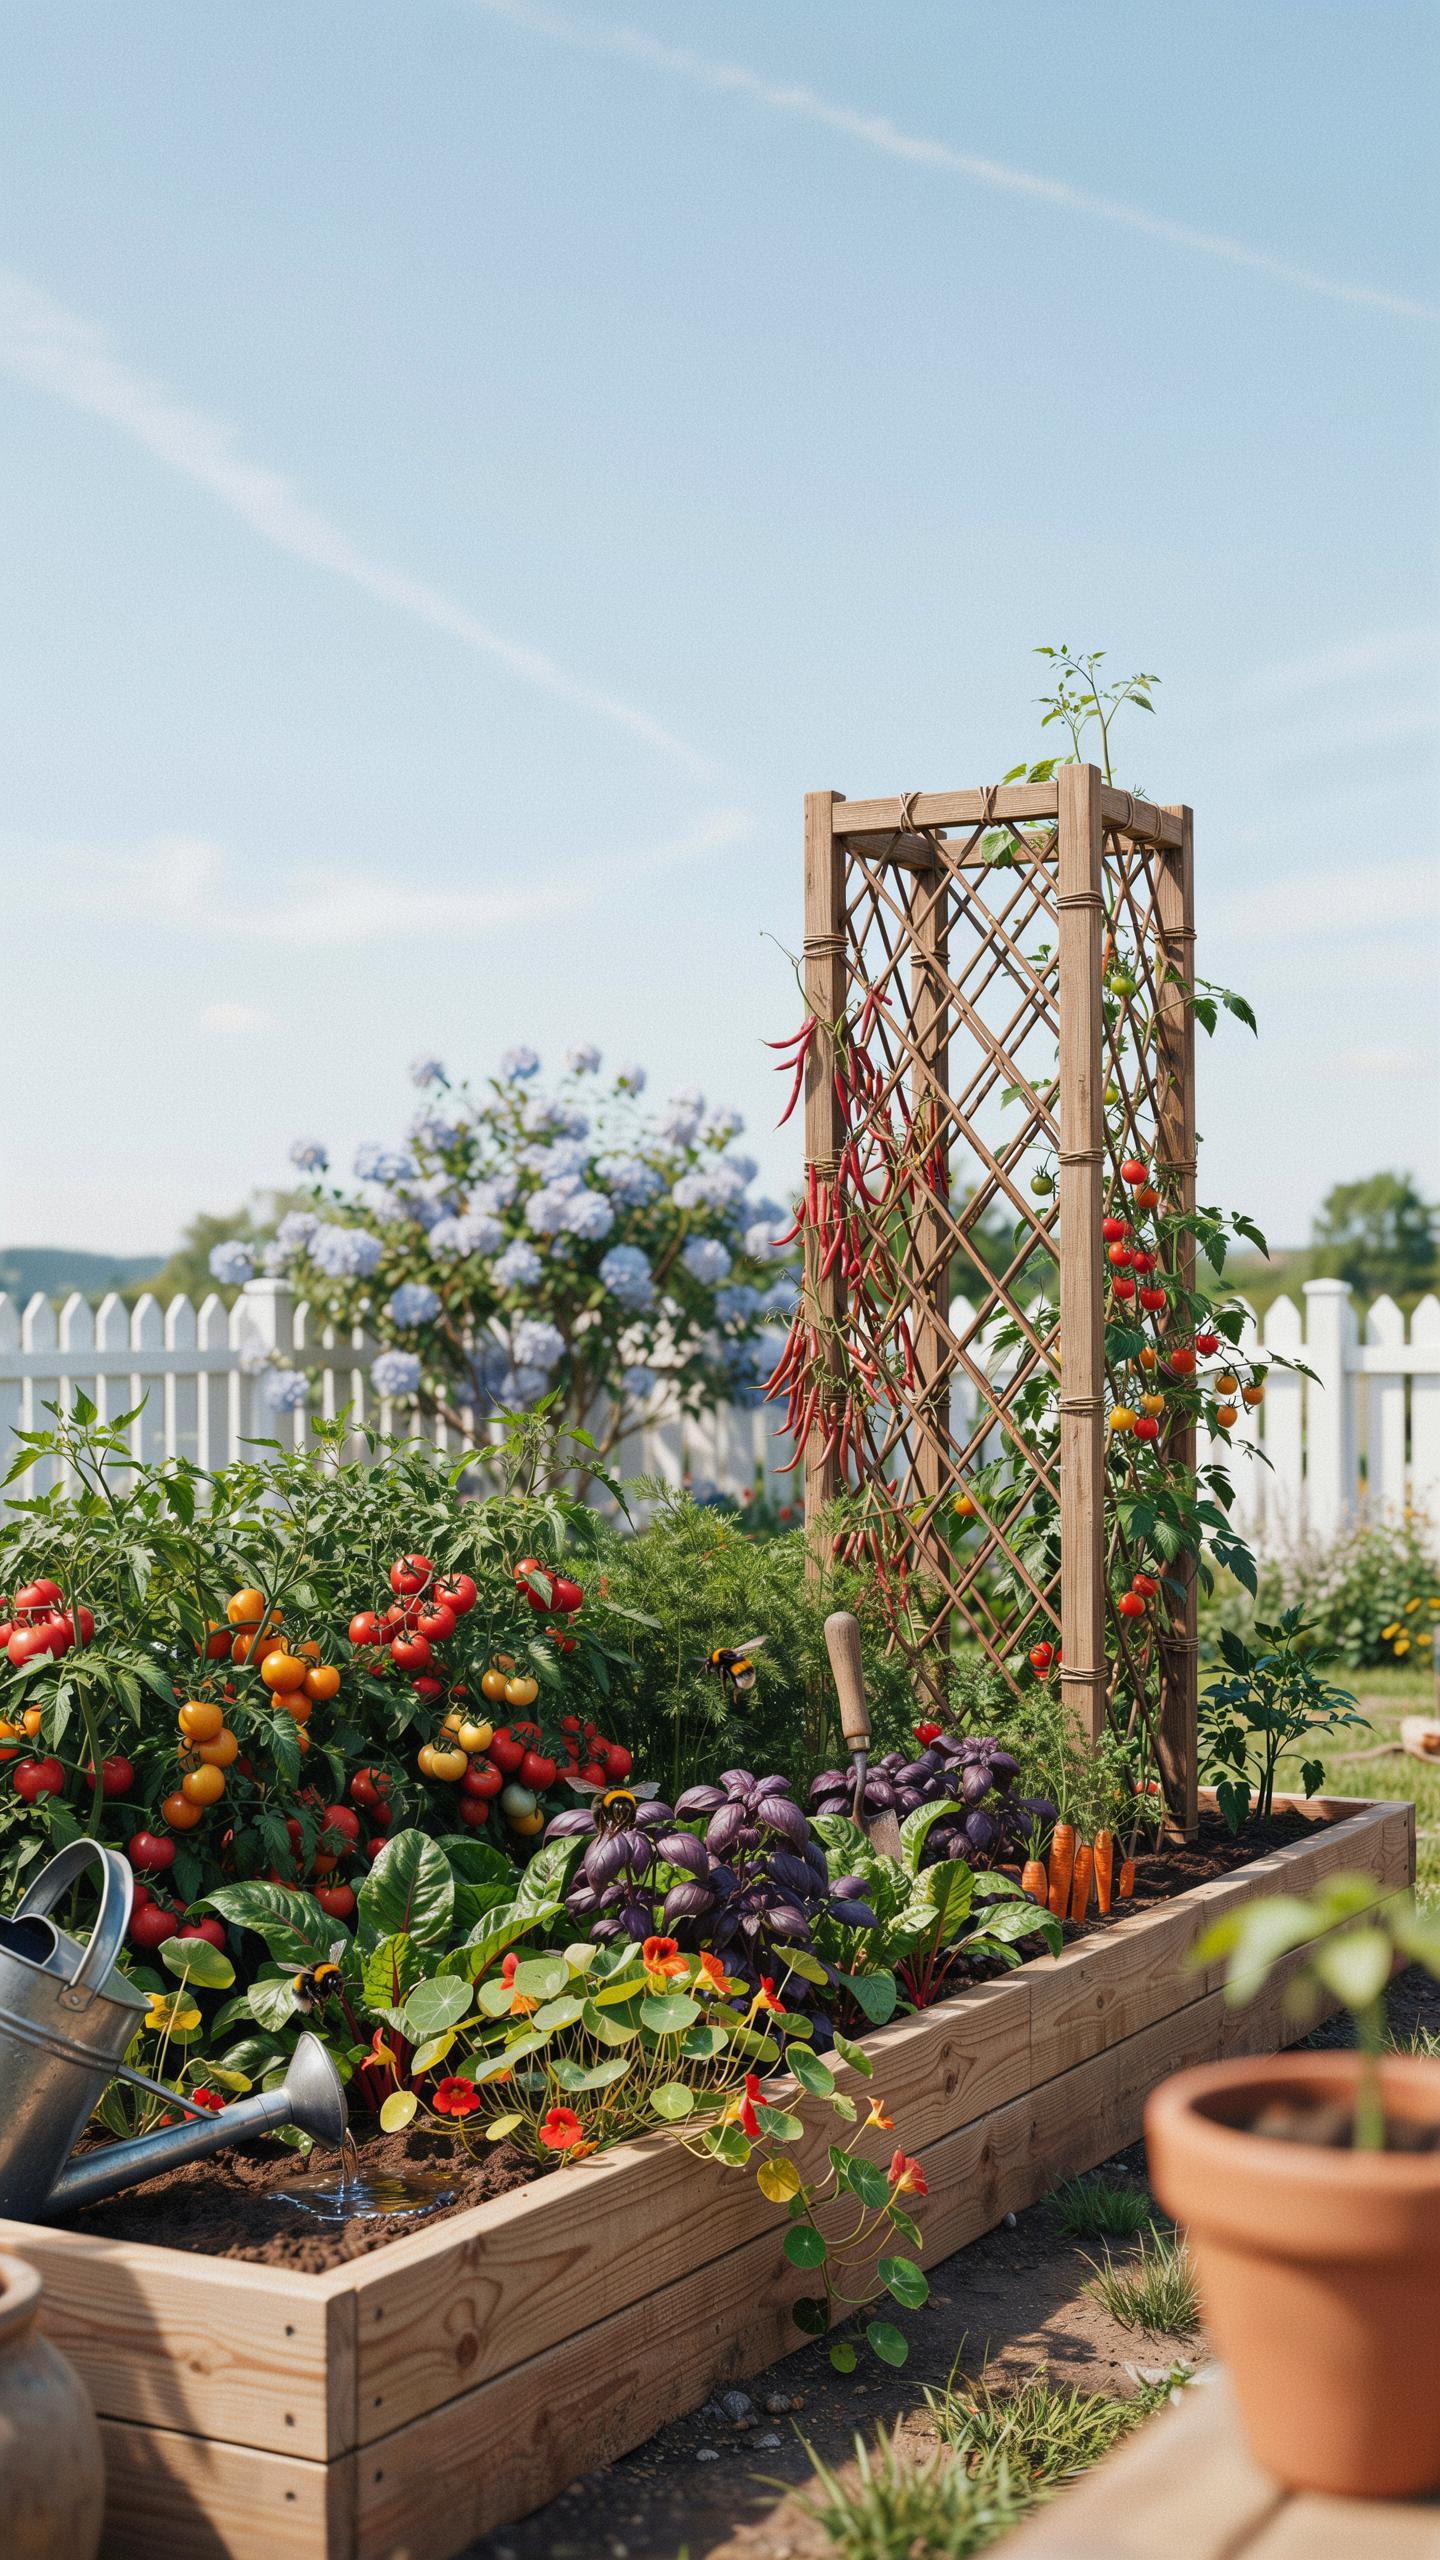
How Vertical Growing Maximizes Limited Garden Space
Vertical farming tactics optimize every square foot of soil. Traditional rows waste space because plants spread horizontally across the ground. This creates large footprints for single crops. Spreading plants also require wider paths for access. Implementing a raised bed gardening trellis attachment forces growth upward instead of outward. This strategy doubles or triples your potential yield by freeing up valuable surface area for dense secondary planting.
Smart spacing requires high density management. You can plant root crops or leafy greens at the base of climbing plants. This layered approach mimics natural forest structures. It turns a flat garden into a three dimensional production zone. You stop fighting for horizontal ground and start utilizing the empty air above the bed. This shift is essential for urban gardeners or anyone working with tight physical square footage constraints.
The Core Benefits Of Adding A Trellis To Your Raised Bed
Adding structural support improves plant health and ease of harvest. Elevating fruit off the dirt prevents rot and keeps produce clean. Air flows better around vertical vines which reduces fungal diseases like powdery mildew. Most pests live in the soil and reach fruit easily on the ground. Raising the canopy creates a physical barrier that protects your food from many common garden crawlers and dampness.
Strong trellis attachments provide the framework for heavy crops like melons or squash. These structures prevent stems from snapping under their own weight. Vertical growth makes harvesting fast because you see every piece of fruit at eye level. You no longer bend down to search through thick foliage. This ergonomic advantage saves time and reduces physical strain. Secure attachments ensure the entire system survives wind and heavy rain without collapsing.
Trellis For Raised Garden Beds Choosing The Right Structure For Your Setup
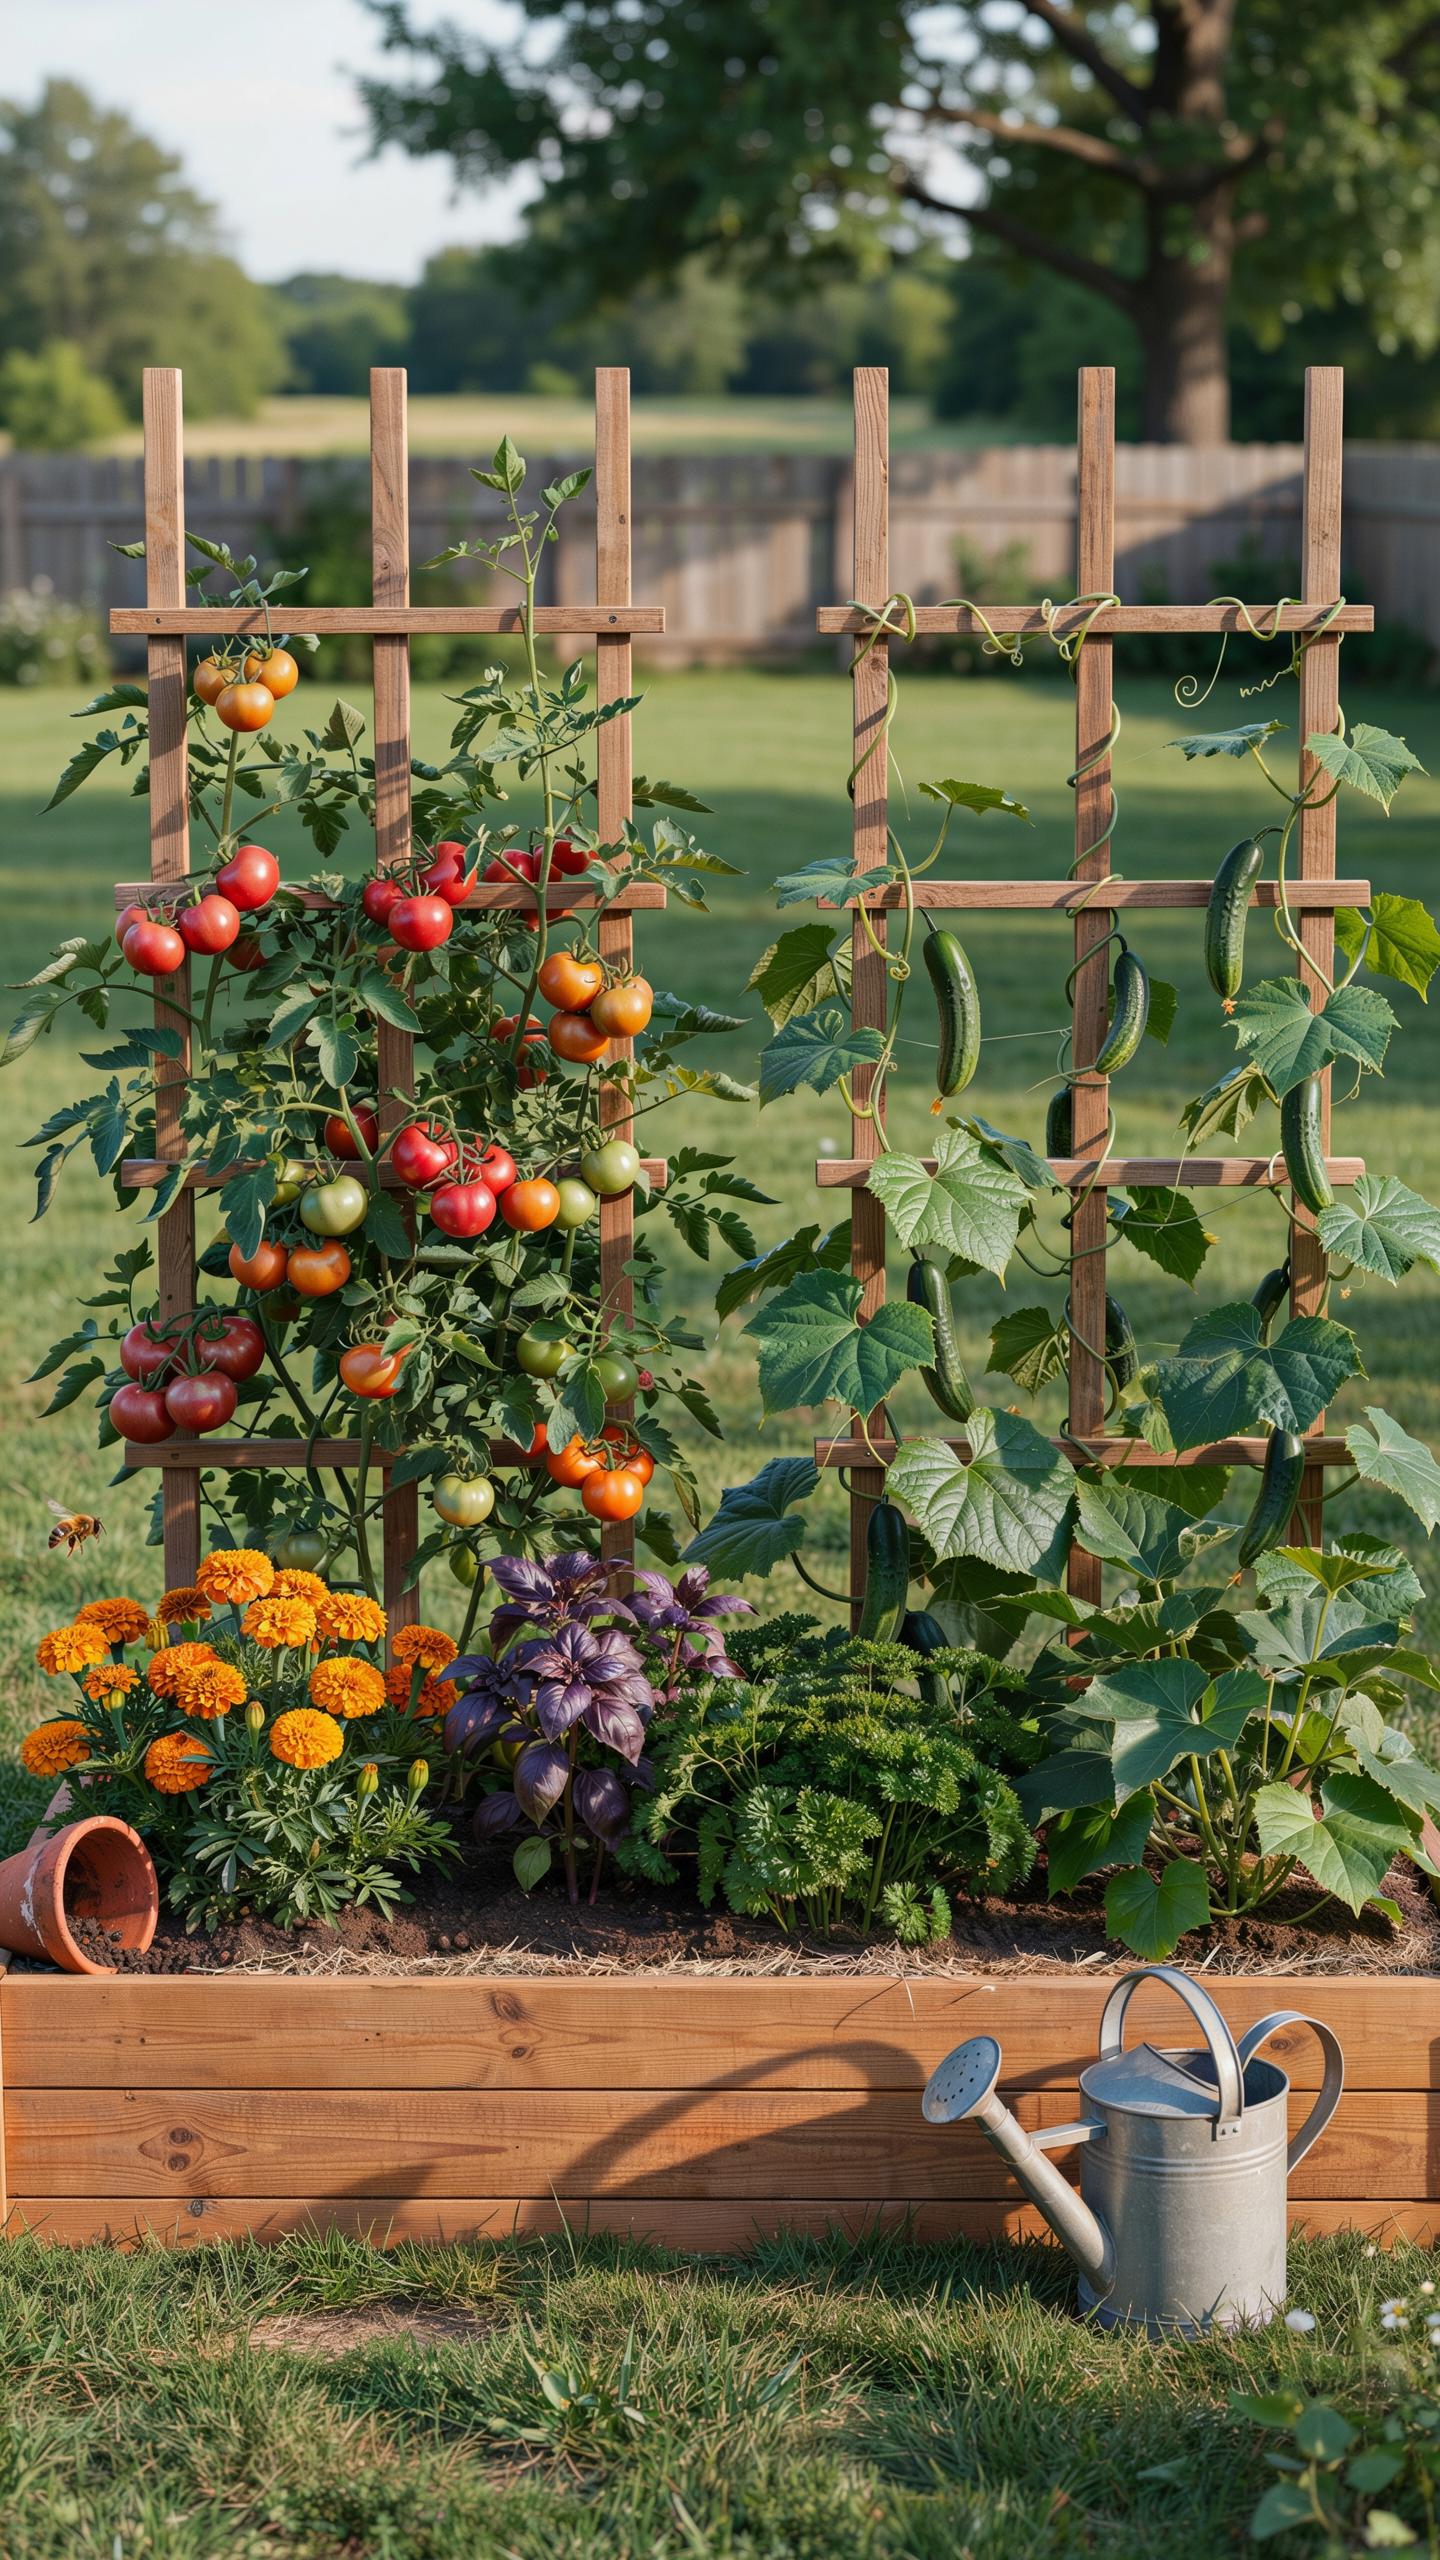
Matching Trellis Size And Load Capacity To Your Raised Bed Dimensions
Engineers design trellises to handle specific vertical and lateral loads. You must calculate the mature weight of your crop before selecting support materials. A small cedar frame works for peas but fails under heavy squash. Match the trellis height to the reach of your plants. Tall structures catch more wind. This creates leverage that can rip fasteners out of soft wood.
Standard raised beds measure four feet wide. This width allows you to reach the center from either side. Your trellis placement should not block this access. Use heavy gauge cattle panels for high weight crops like melons. Use nylon netting for lightweight climbers. Ensure your hardware matches the substrate. Long galvanized lag bolts provide better grip in thick timber than thin wood screws.
Freestanding Vs. Bed Mounted Trellis Attachments: What Works Best
Bed-mounted trellises save space by using the garden frame as an anchor. This design works best for permanent installations in heavy timber beds. You bolt the uprights directly to the inside or outside of the walls. This creates a single rigid unit. However, the weight of the trellis puts stress on the bed corners. Reinforce these joints with steel brackets to prevent bowing.
Freestanding trellises sit behind or over the bed without touching the frame. This setup prevents wood rot at the attachment points. You can move these structures easily during crop rotation. Use deep ground stakes or T-posts to secure them against the wind. Bed-mounted options offer a cleaner look but require stronger bed walls. Choose freestanding units if your raised bed uses thin or flexible materials.
The Best Materials For Building Trellis For Raised Beds
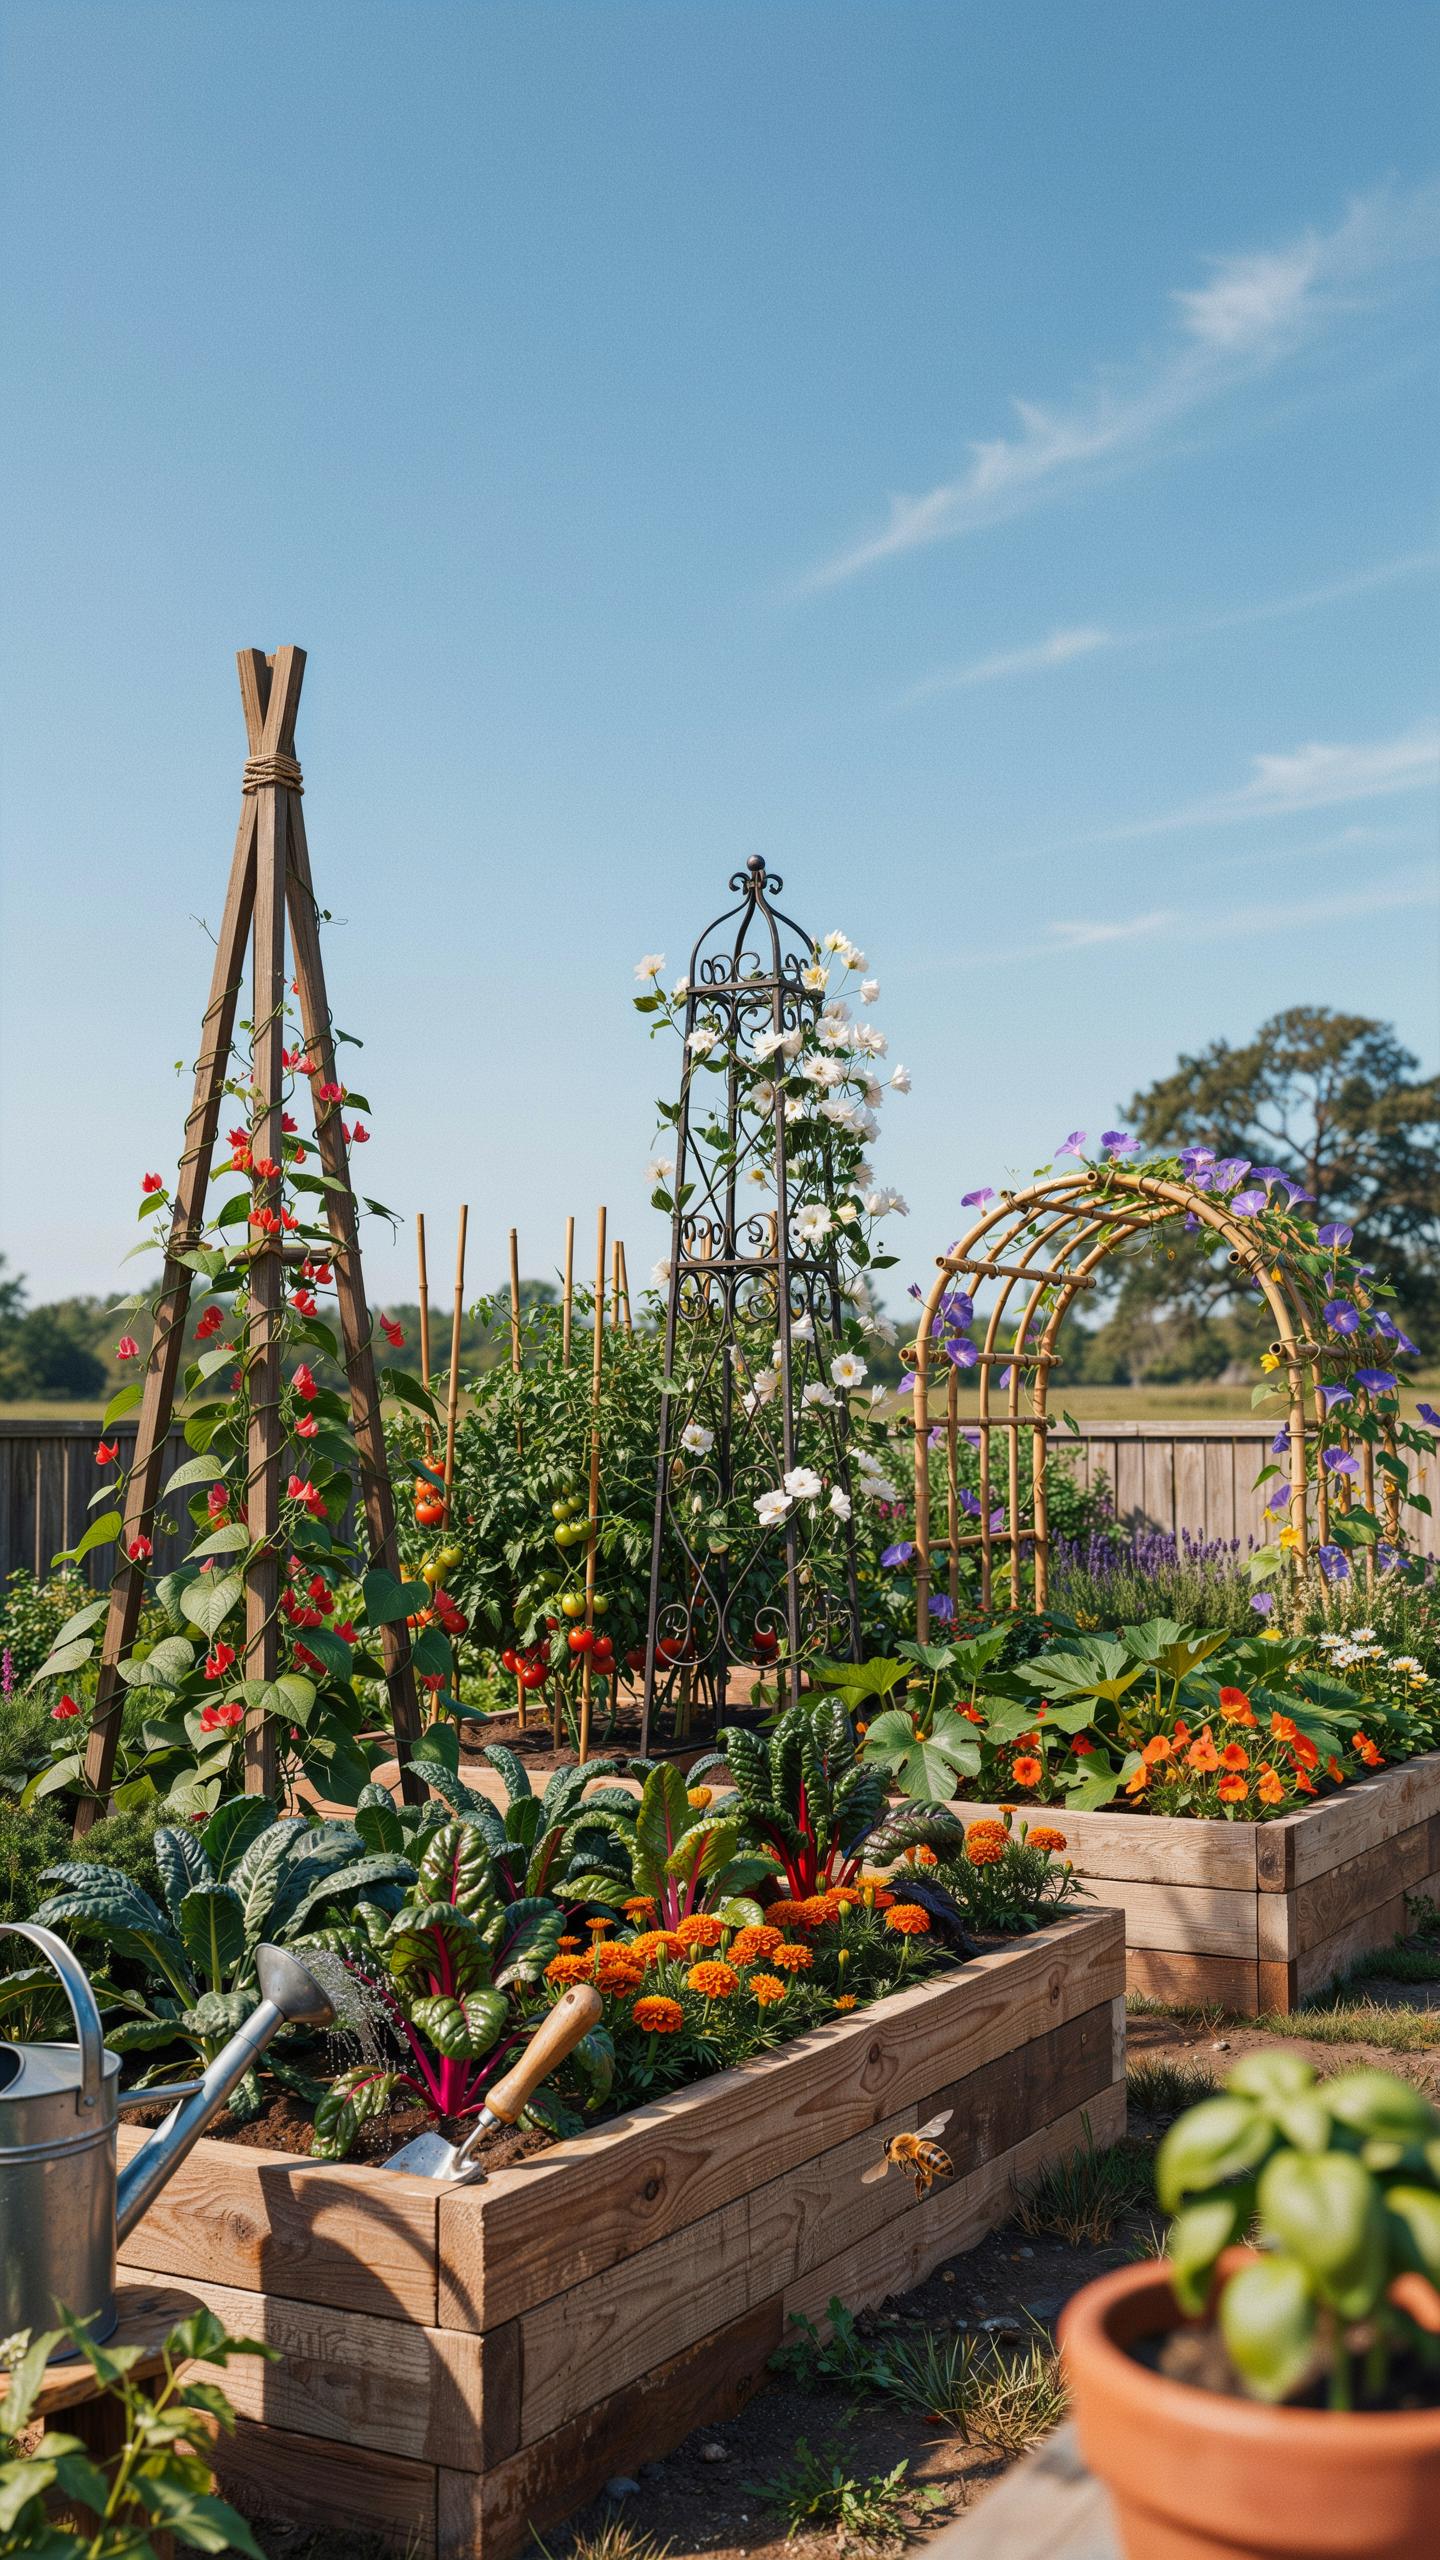
Wood, Metal, And PVC: Comparing Durability And Weather Resistance
Wood offers immediate structural integrity but decays when in contact with moist soil. Cedar and redwood contain natural oils that resist rot for several seasons. Pressure treated lumber lasts longer but requires specific ratings for ground contact safety. Untreated softwoods like pine will fail within two years in humid climates. You must choose wood species based on your local moisture levels and long term maintenance goals.
Metal exceeds the lifespan of organic materials by decades. Galvanized steel resists rust through a protective zinc coating. Powder coated finishes add aesthetic value but can chip and expose the underlying steel to oxidation. PVC remains the most affordable and weather proof option but lacks rigidity. It sags under heavy fruit loads and degrades under intense UV exposure. Metal remains the professional choice for permanent raised bed gardening trellis attachment systems.
Top Material Options To Consider For A Long Lasting Trellis Attachment
Selecting the right material determines how much weight your raised bed can support without collapsing. You must match the material strength to the crop type. Heavy vining plants like squash require rigid steel or thick timber. Light climbers like peas perform well on thinner wire or plastic mesh. Evaluate the cost against the expected lifespan to ensure your investment pays off over multiple growing seasons.
- Galvanized Cattle Panels: These heavy gauge steel grids offer superior rigidity and do not sag. The thick zinc coating prevents rust for over twenty years in most environments. They support the heaviest vertical loads including melons and large squash varieties.
- EMT Electrical Conduit: This thin walled steel tubing is lightweight and extremely strong. It resists bending and connects easily with standard hardware. Gardeners use it to build custom frames that attach directly to the exterior of wooden raised bed walls.
- Cedar 2×4 Lumber: Cedar provides a natural look with built in rot resistance. It holds screws firmly and creates a stable frame for heavy netting. Use this material if you want a permanent structure that blends with the aesthetic of wooden garden beds.
- Reinforcing Rebar: Steel rebar is cheap and readily available at any hardware store. It offers high tensile strength for vertical supports. It will develop a rusted patina over time which some gardeners prefer for a rustic look in the backyard.
- Nylon Trellis Netting: High density nylon mesh provides a soft surface for delicate tendrils to grab. It does not heat up in the sun like metal. You must tension it tightly across a rigid frame to prevent sagging during the peak harvest.
Installation hardware determines the final success of these materials. Use stainless steel screws and galvanized U-bolts to prevent corrosion at the attachment points. Mixing incompatible metals causes galvanic corrosion which weakens the structure. Secure your uprights at least twelve inches deep into the bed frame or the ground. A stable base ensures your chosen materials perform to their maximum rated load capacity.
Trellis Garden Ideas Creative Attachment Styles For Every Raised Bed
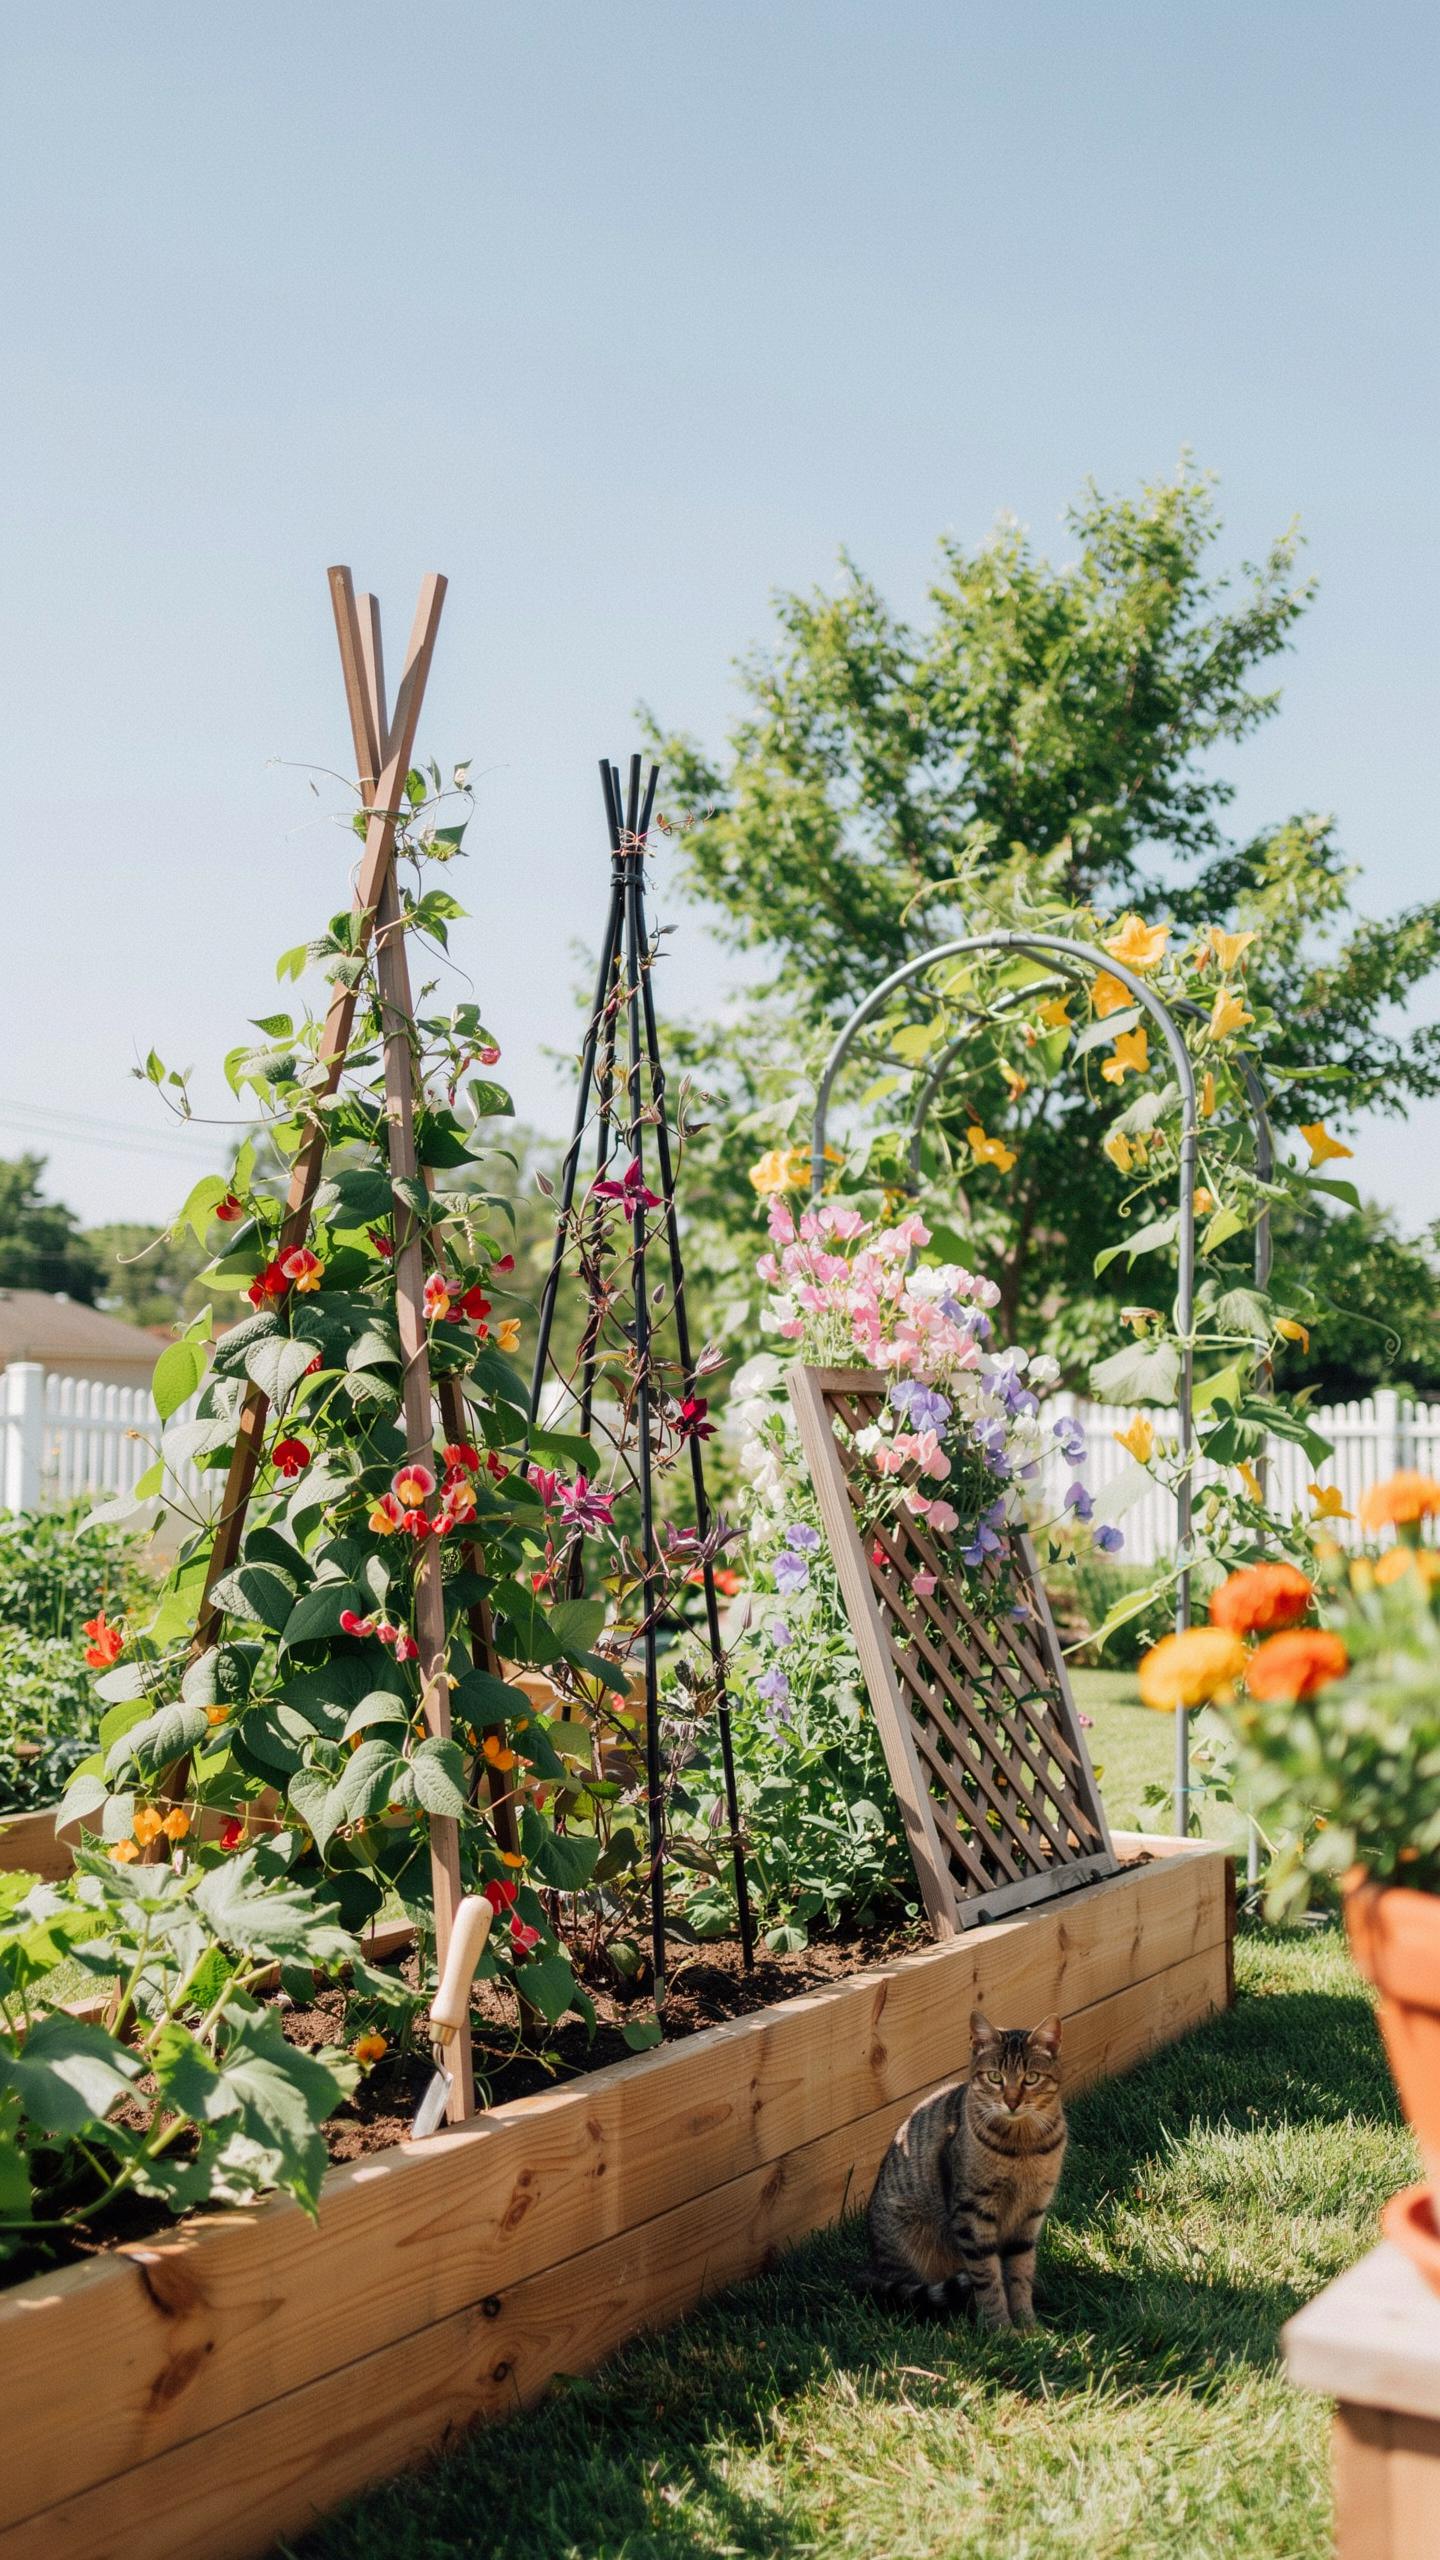
A Frame And Lean To Trellis Designs That Attach Directly To Bed Frames
A-frame trellises use a triangular geometry to distribute weight across two sides of a raised bed. You attach the base of each leg to the interior or exterior of the wooden bed frame using heavy duty galvanized carriage bolts. This connection prevents the trellis from tipping during high winds or under the weight of heavy squash. The design creates a shaded tunnel for cooler crops.
Lean-to designs utilize a single angled plane attached to the back of the bed frame. Use metal deck brackets or large hinges to secure the base of the trellis to the wood rim. This angle increases the growing surface area without expanding the footprint of the garden. It works best for beds placed against walls or fences. Proper hardware ensures the frame does not shift.
Grid And Panel Trellises For Structured, Uniform Plant Support
Grid trellises use a vertical orientation to maximize sun exposure for climbing plants. You must secure these panels at multiple points along the bed frame using u-bolts or conduit straps. Cattle panels remain the industry standard for this style due to their high-gauge galvanized steel construction. The rigid metal resists sagging. Proper attachment prevents the panel from bowing when vines reach full maturity.
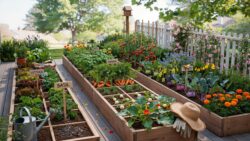
Structured panels provide a uniform layout for square foot gardening techniques. This method organizes plant growth into specific vertical lanes. You can mount these grids directly to the bed walls using timber screws and washers. This creates a flat surface that does not interfere with the soil. Maintenance becomes easier when the trellis stays fixed and level. Strong attachments reduce the risk of structural failure over time.
Raised Garden Bed Trellis Attachment Methods That Are Stable And Secure
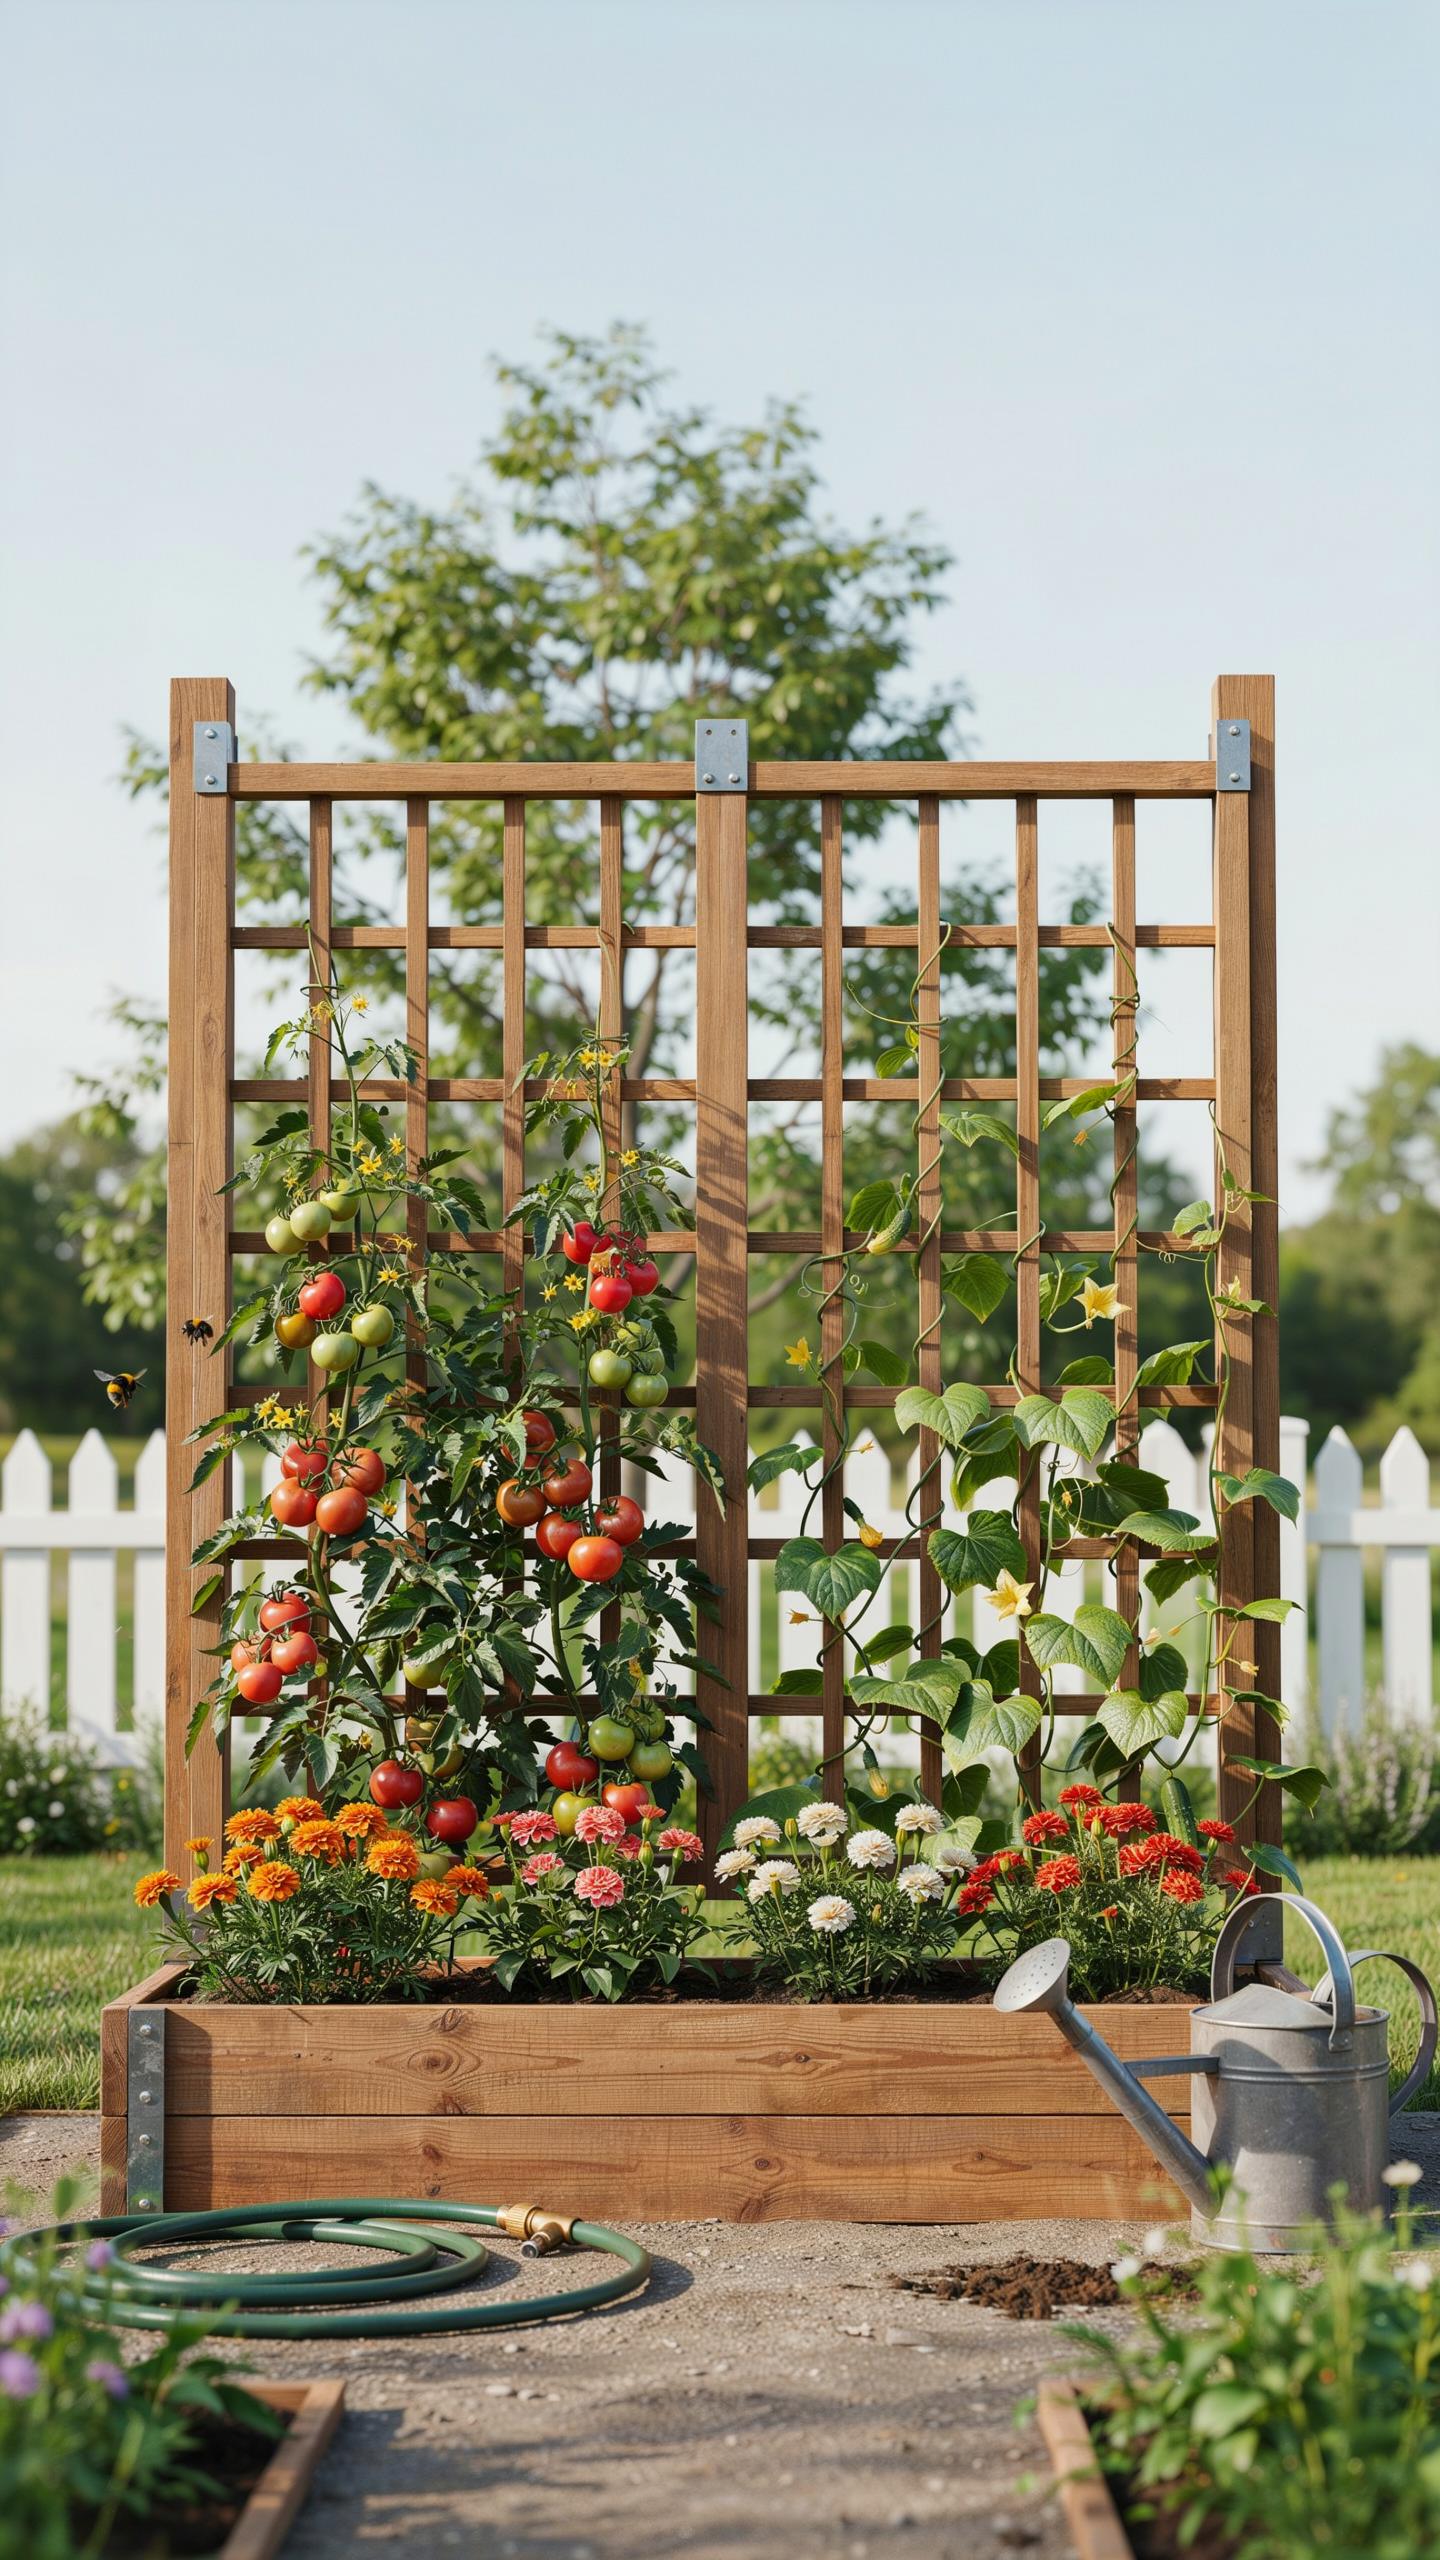
Bolt On And Bracket Based Attachment Systems For Wooden Raised Beds
Structural stability in wooden beds requires mechanical fasteners. Bolt-on systems use carriage bolts or lag screws to lock trellis struts directly to the bed frame. You must drill pilot holes to prevent the wood from splitting. This method creates a rigid connection that resists wind shear. Use galvanized or stainless steel hardware to prevent rust and wood rot over time.
Bracket-based systems utilize heavy-duty U-brackets or conduit straps to secure vertical supports. You mount these metal connectors to the exterior walls of the raised bed. This configuration allows for easy removal during the off-season. Position brackets at two separate vertical points on each post to prevent pivoting. This dual-point contact ensures the trellis remains upright under heavy fruit loads.
How To Use Tension Anchors And Ground Stakes For Added Trellis Stability
Tension anchors solve the problem of top-heavy trellis systems. You drive deep ground stakes into the soil behind the raised bed. Connect these stakes to the top of the trellis using high-tensile wire or heavy-gauge cable. Tighten the lines until the structure is immovable. This technique borrows from utility pole design to counteract the weight of climbing vines.
Ground stakes provide essential lateral support for tall structures. You drive steel rebar or T-posts at least eighteen inches into the native soil below the bed. Fasten these stakes to the internal corners of the wooden frame. This creates a continuous anchor from the subsoil through the bed to the trellis. It prevents the entire bed from tipping when soil shifts or settles.
Vegetable Trellis Solutions For The Most Common Climbing Crops
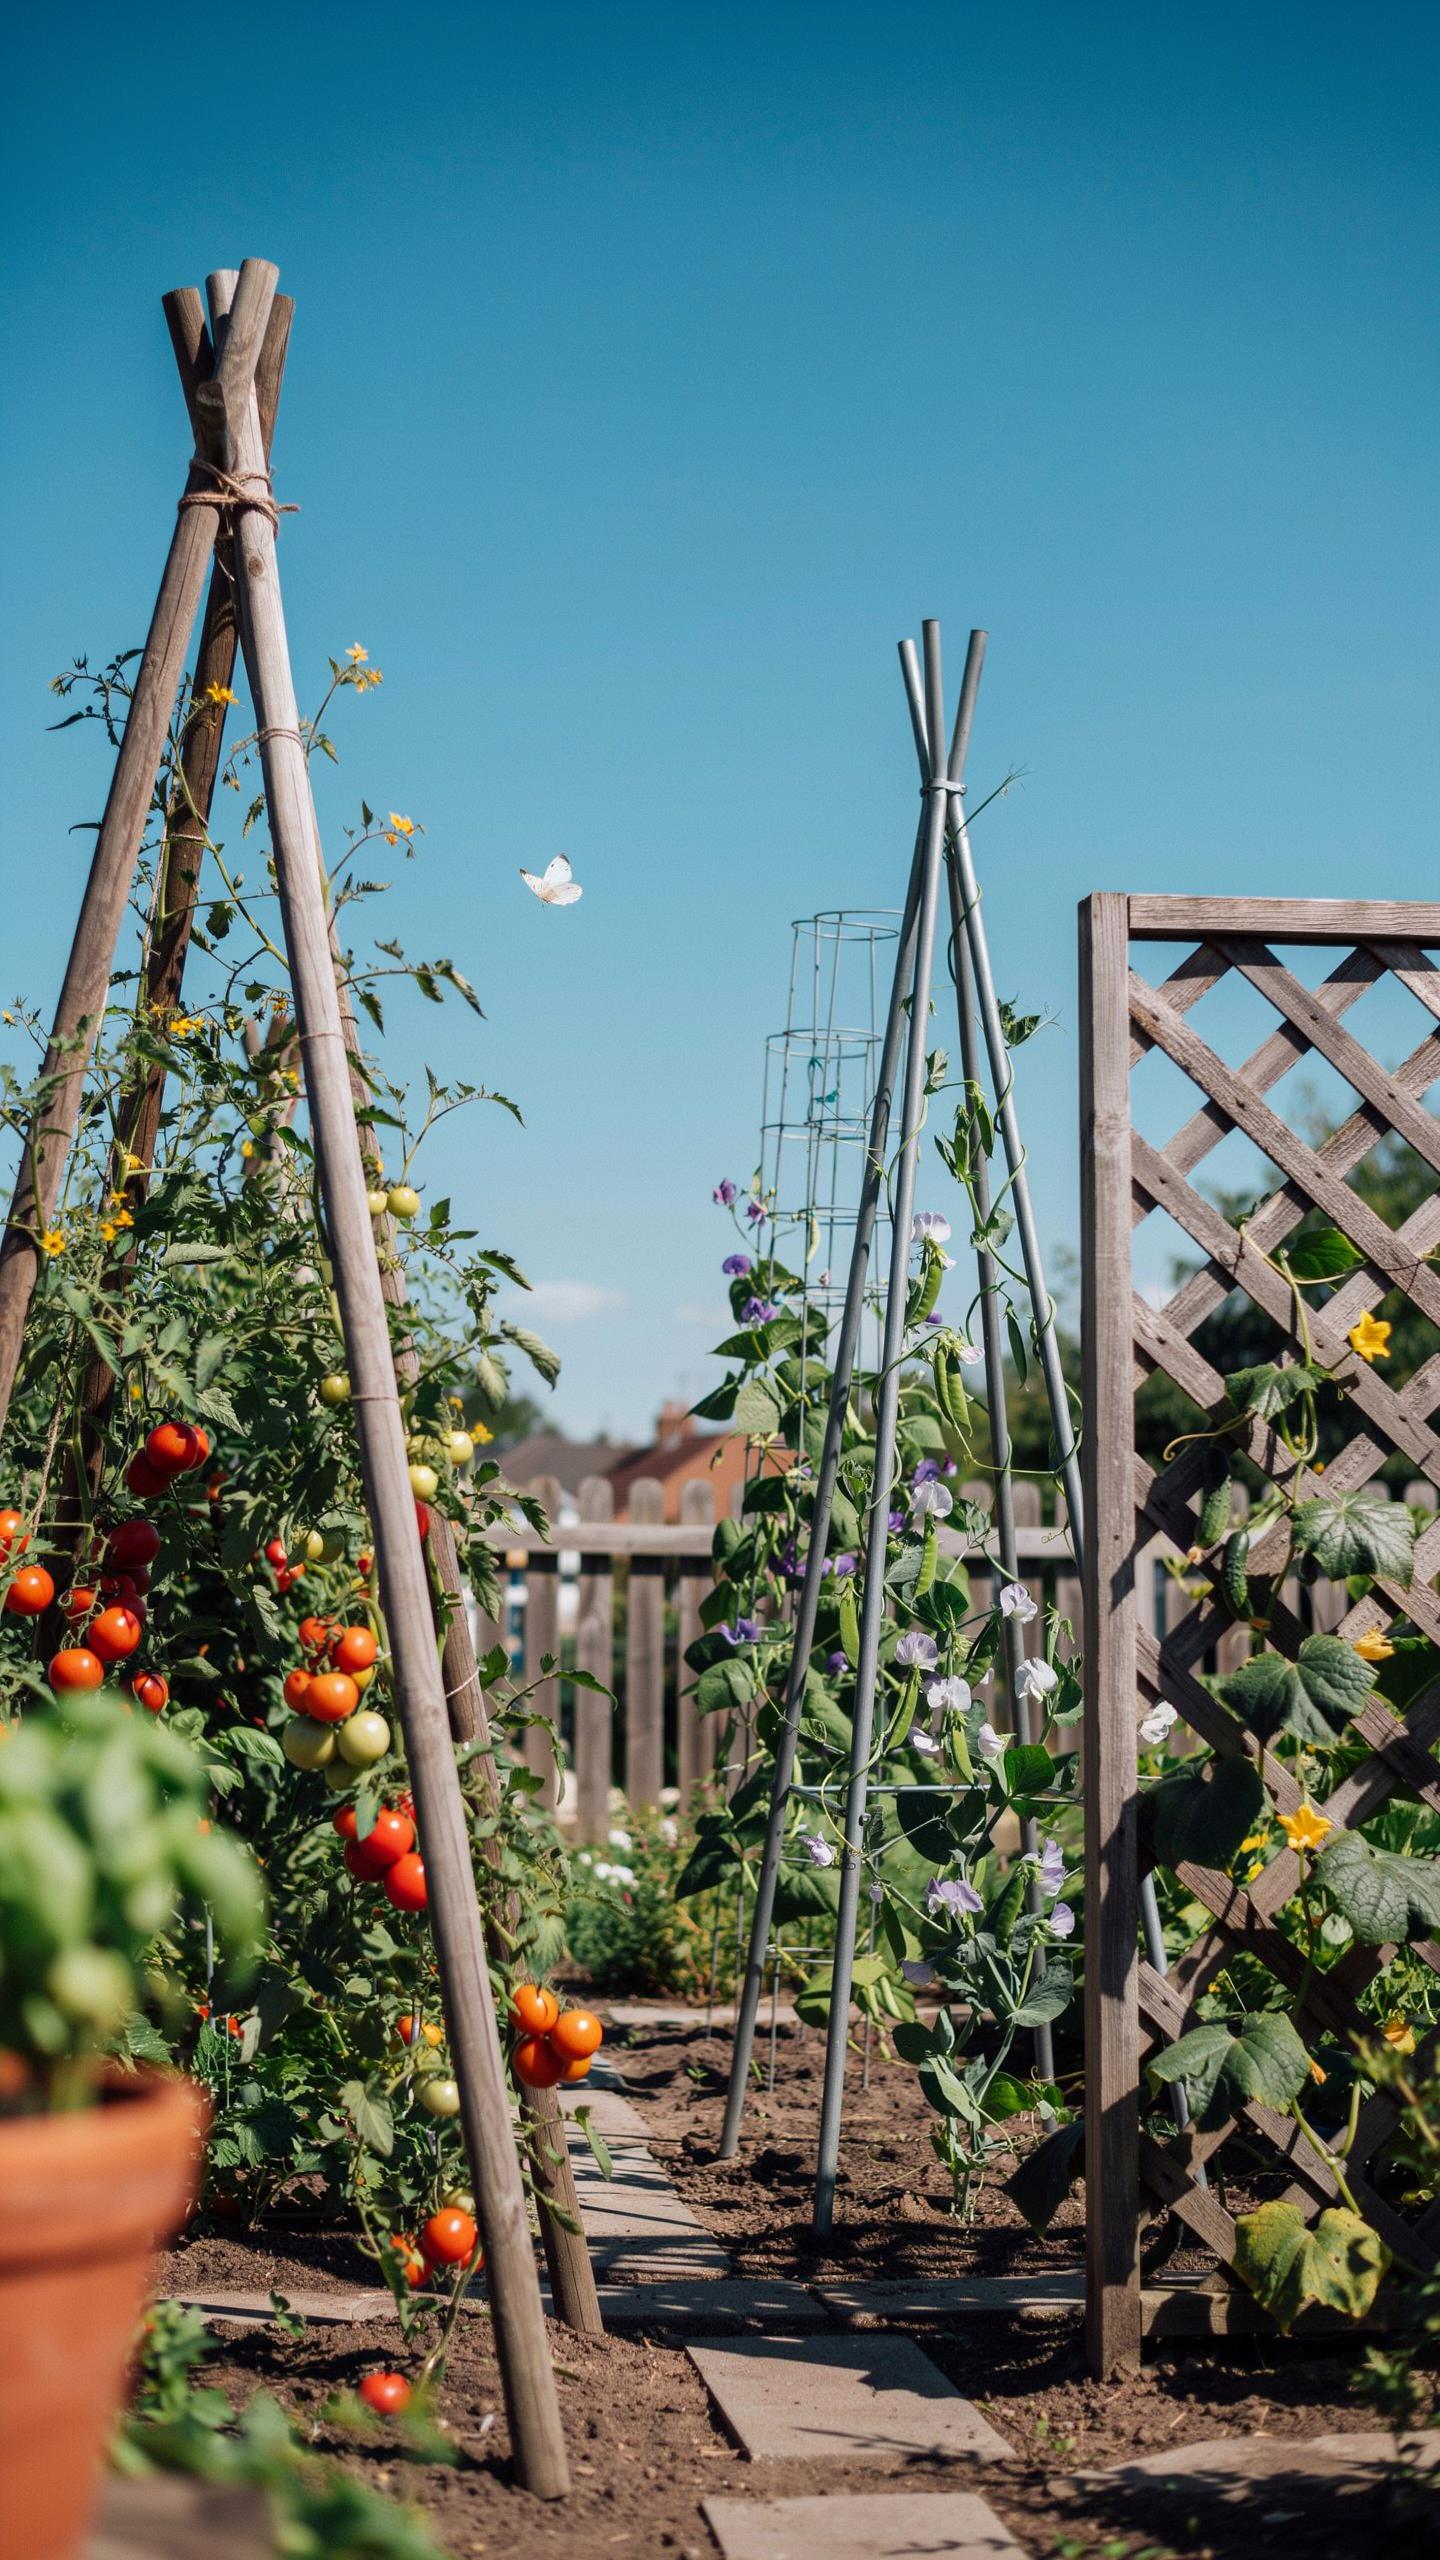
Best Trellis Configurations For Tomatoes, Cucumbers, And Pole Beans
Indeterminate tomatoes require heavy duty vertical support to handle high fruit loads. Standard wire cages often fail or tip under the weight of mature vines. Use overhead cattle panels or heavy gauge wire mesh secured to deep stakes. This setup allows for better airflow and easier pruning. Strategic tying keeps main stems secure against wind. You must anchor the base directly into the raised bed frame.
Cucumbers and pole beans thrive on angled A-frame supports or vertical netting. These crops use tendrils to climb naturally. A-frames maximize garden space by allowing smaller shade-tolerant crops to grow underneath. Plastic netting works but metal mesh lasts longer and resists sagging. Ensure the attachment points are tight to prevent the trellis from bowing. Firm support encourages straight fruit and reduces ground-level pest damage.
Supporting Squash And Melons Vertically Without Stressing The Trellis Frame
Heavy cucurbits like squash and melons demand reinforced trellis structures. You cannot rely on simple twine or thin wooden lath. Use galvanized steel cattle panels attached to the exterior of the raised bed. This transfers the weight of the fruit to the sturdy wooden frame rather than the soil. Vertical growth prevents powdery mildew by improving light penetration. It also keeps heavy fruit off the damp earth.
Weight management is critical as fruit matures. Large melons require individual mesh slings to prevent them from snapping the vines. Secure these slings directly to the metal paneling to distribute the load. The trellis must withstand both the plant mass and high wind resistance. Check all fasteners mid-season for signs of stripping or loosening. Strong hardware ensures the entire system remains stable under peak summer production.
Arch Trellis Designs That Add Function And Visual Appeal To Raised Beds
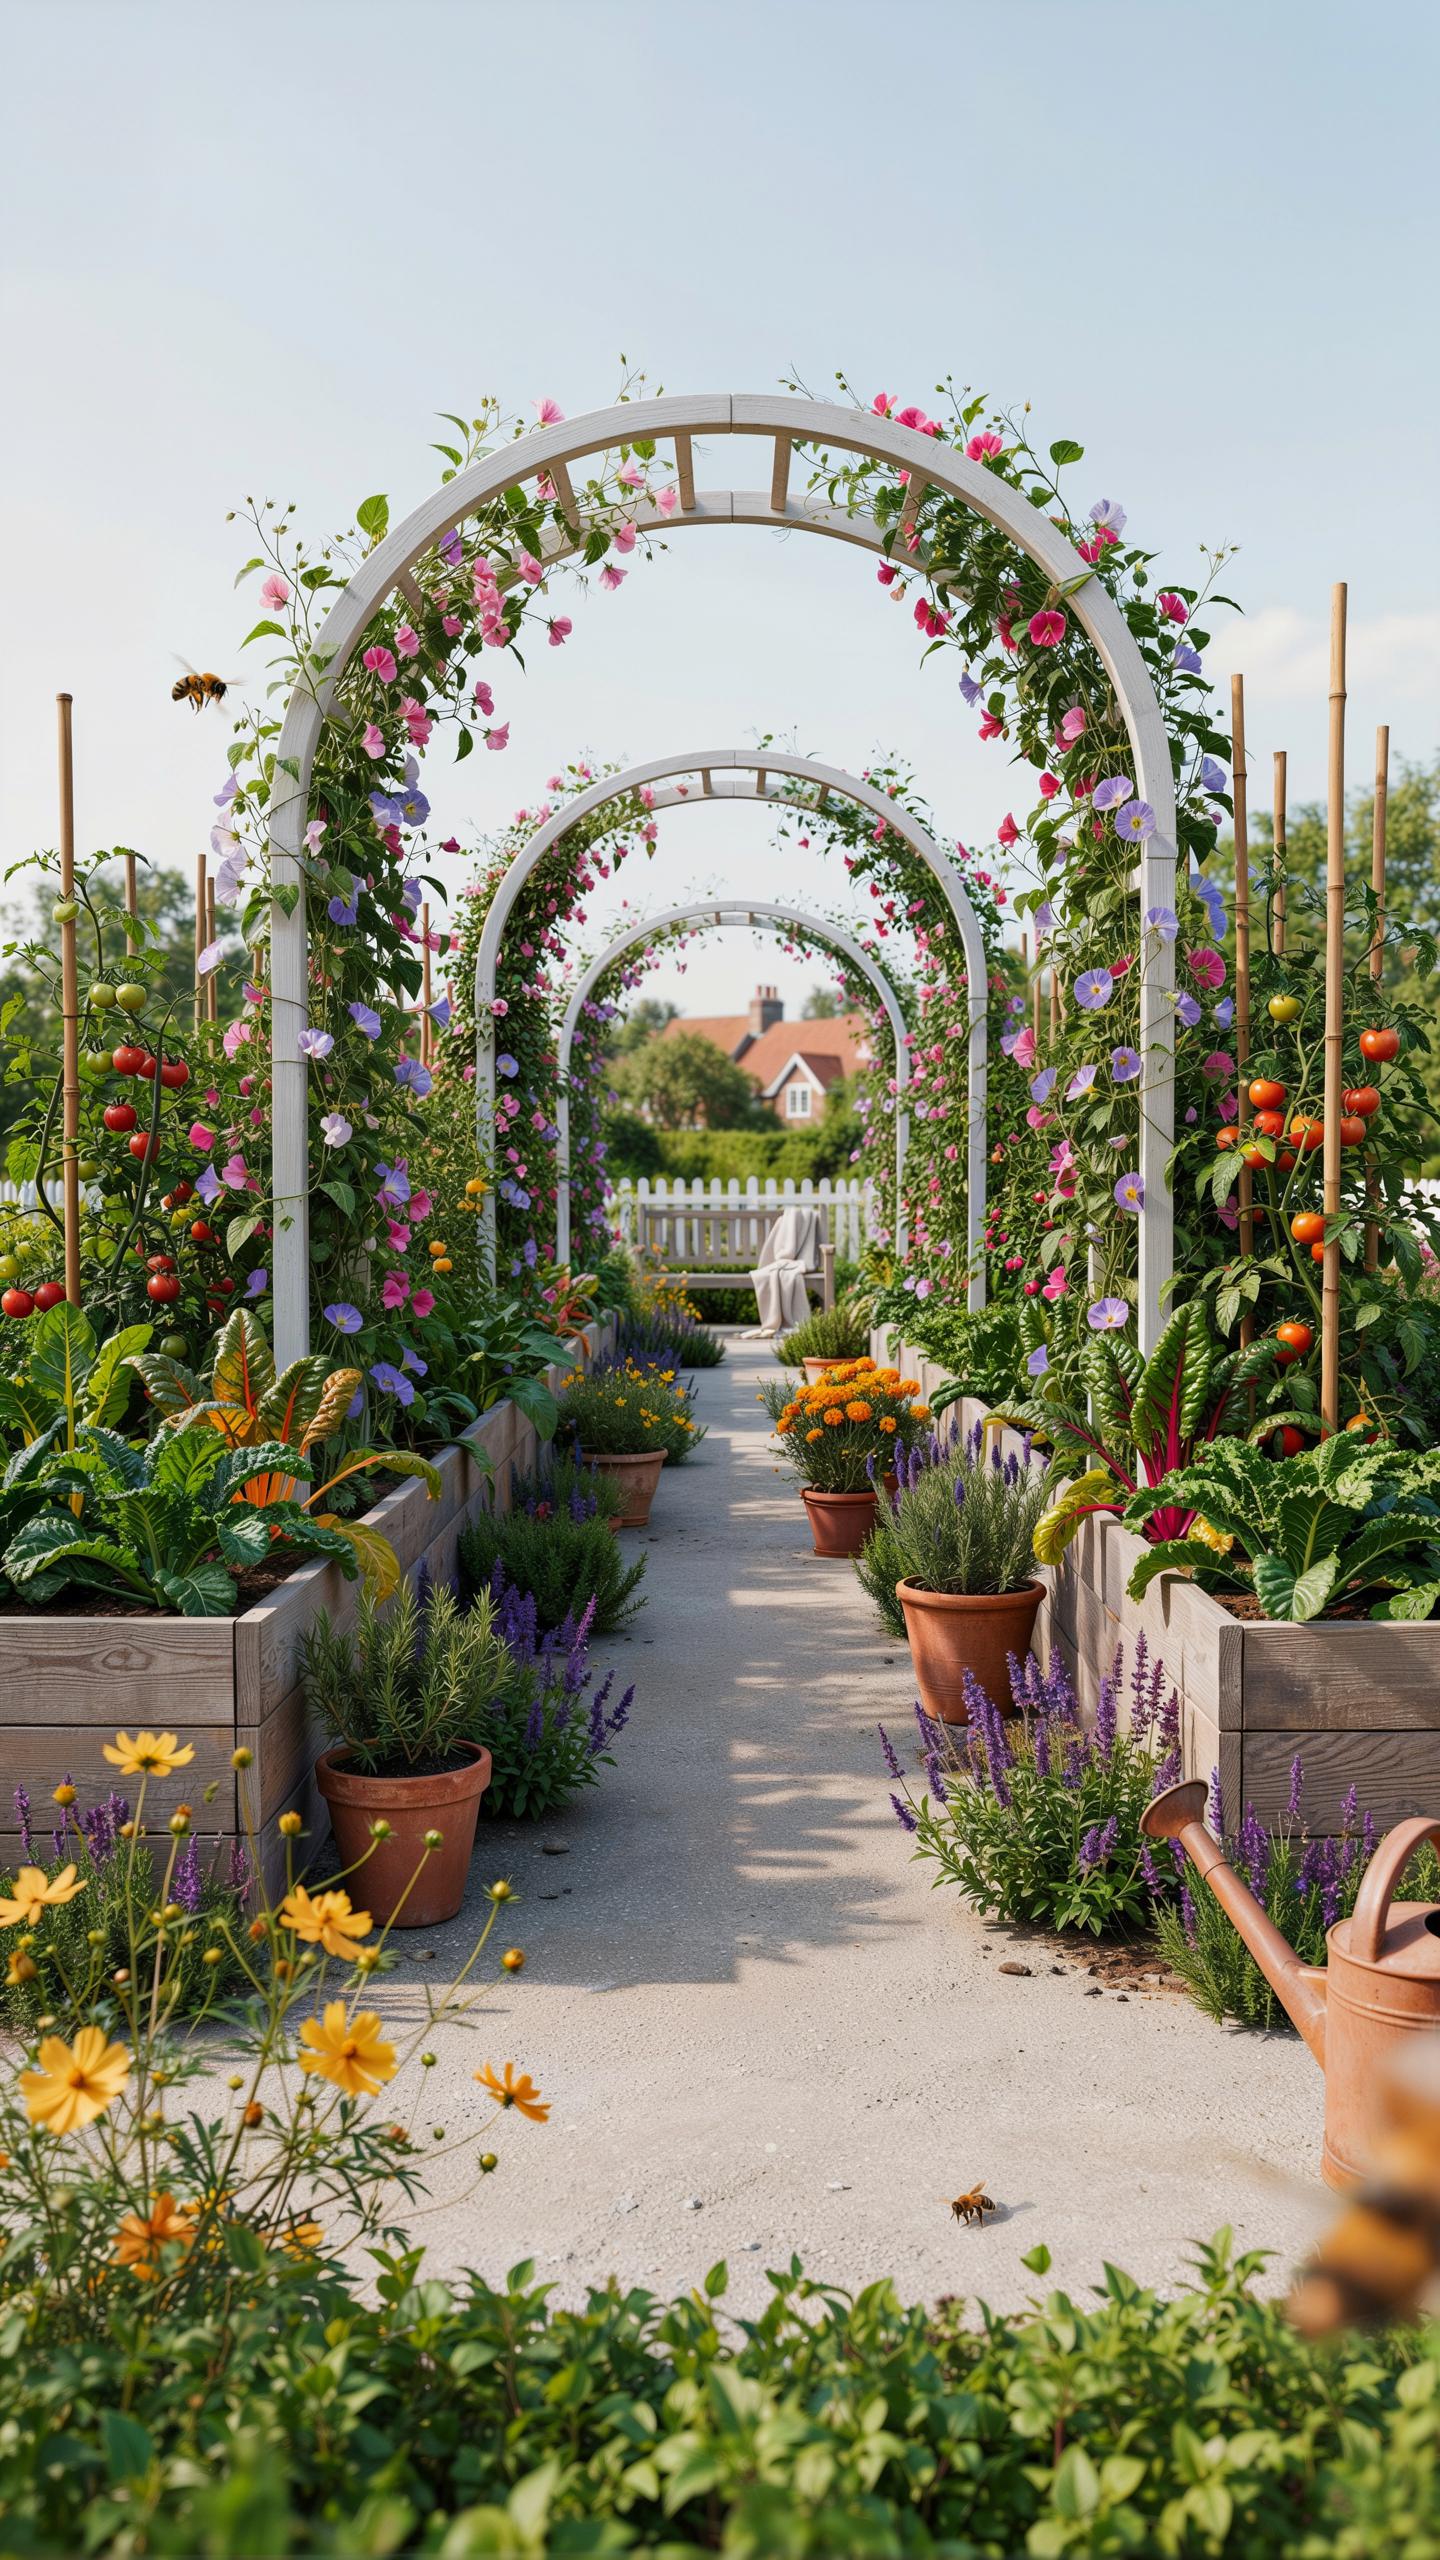
How An Arch Trellis Works As A Structural Attachment Across Two Raised Beds
An arch trellis connects two parallel raised beds to create a living tunnel. This setup maximizes vertical space by moving heavy vines out of the primary soil area. It utilizes the distance between beds as growing space. Common materials include cattle panels or heavy-gauge wire mesh. These materials provide the necessary tension to support heavy crops like squash, melons, or pole beans.
The structure relies on the inner walls of the raised beds for lateral stability. By anchoring the base of the arch against these walls, the trellis resists wind loads and crop weight. This design improves air circulation around foliage and keeps fruit off the ground. It also makes harvesting easier by allowing fruit to hang at eye level. Proper spacing between the two beds ensures the arch remains accessible.
The most useful garden is one where every vine finds a sturdy hand to hold, turning simple timber and wire into a ladder for the harvest. There is a quiet satisfaction in a trellis built so well that it becomes a permanent part of the summer landscape.
Installing An Arched Trellis Safely Over A Raised Bed Without Damaging The Frame
Secure the trellis to the interior side of the raised bed walls using galvanized poultry staples or U-bolts. Avoid driving fasteners directly into the top edge of the timber to prevent splitting or rot. Placing the trellis ends at least six inches deep into the soil provides initial positioning. However, the mechanical attachment to the frame handles the actual weight. This prevents the arch from leaning or collapsing over time.
Distribute the load evenly across the length of the bed by using multiple attachment points. For metal beds, use specialized mounting brackets or bolts with large washers to prevent the metal from tearing. If using cattle panels, ensure the cut ends are flush or capped to avoid snagging skin or clothing. Proper installation keeps the frame intact while providing a rigid support system. Inspect the connection points annually for loose hardware or wood fatigue.
Raised Garden Bed Arched Trellis Ideas For Small And Large Garden Layouts
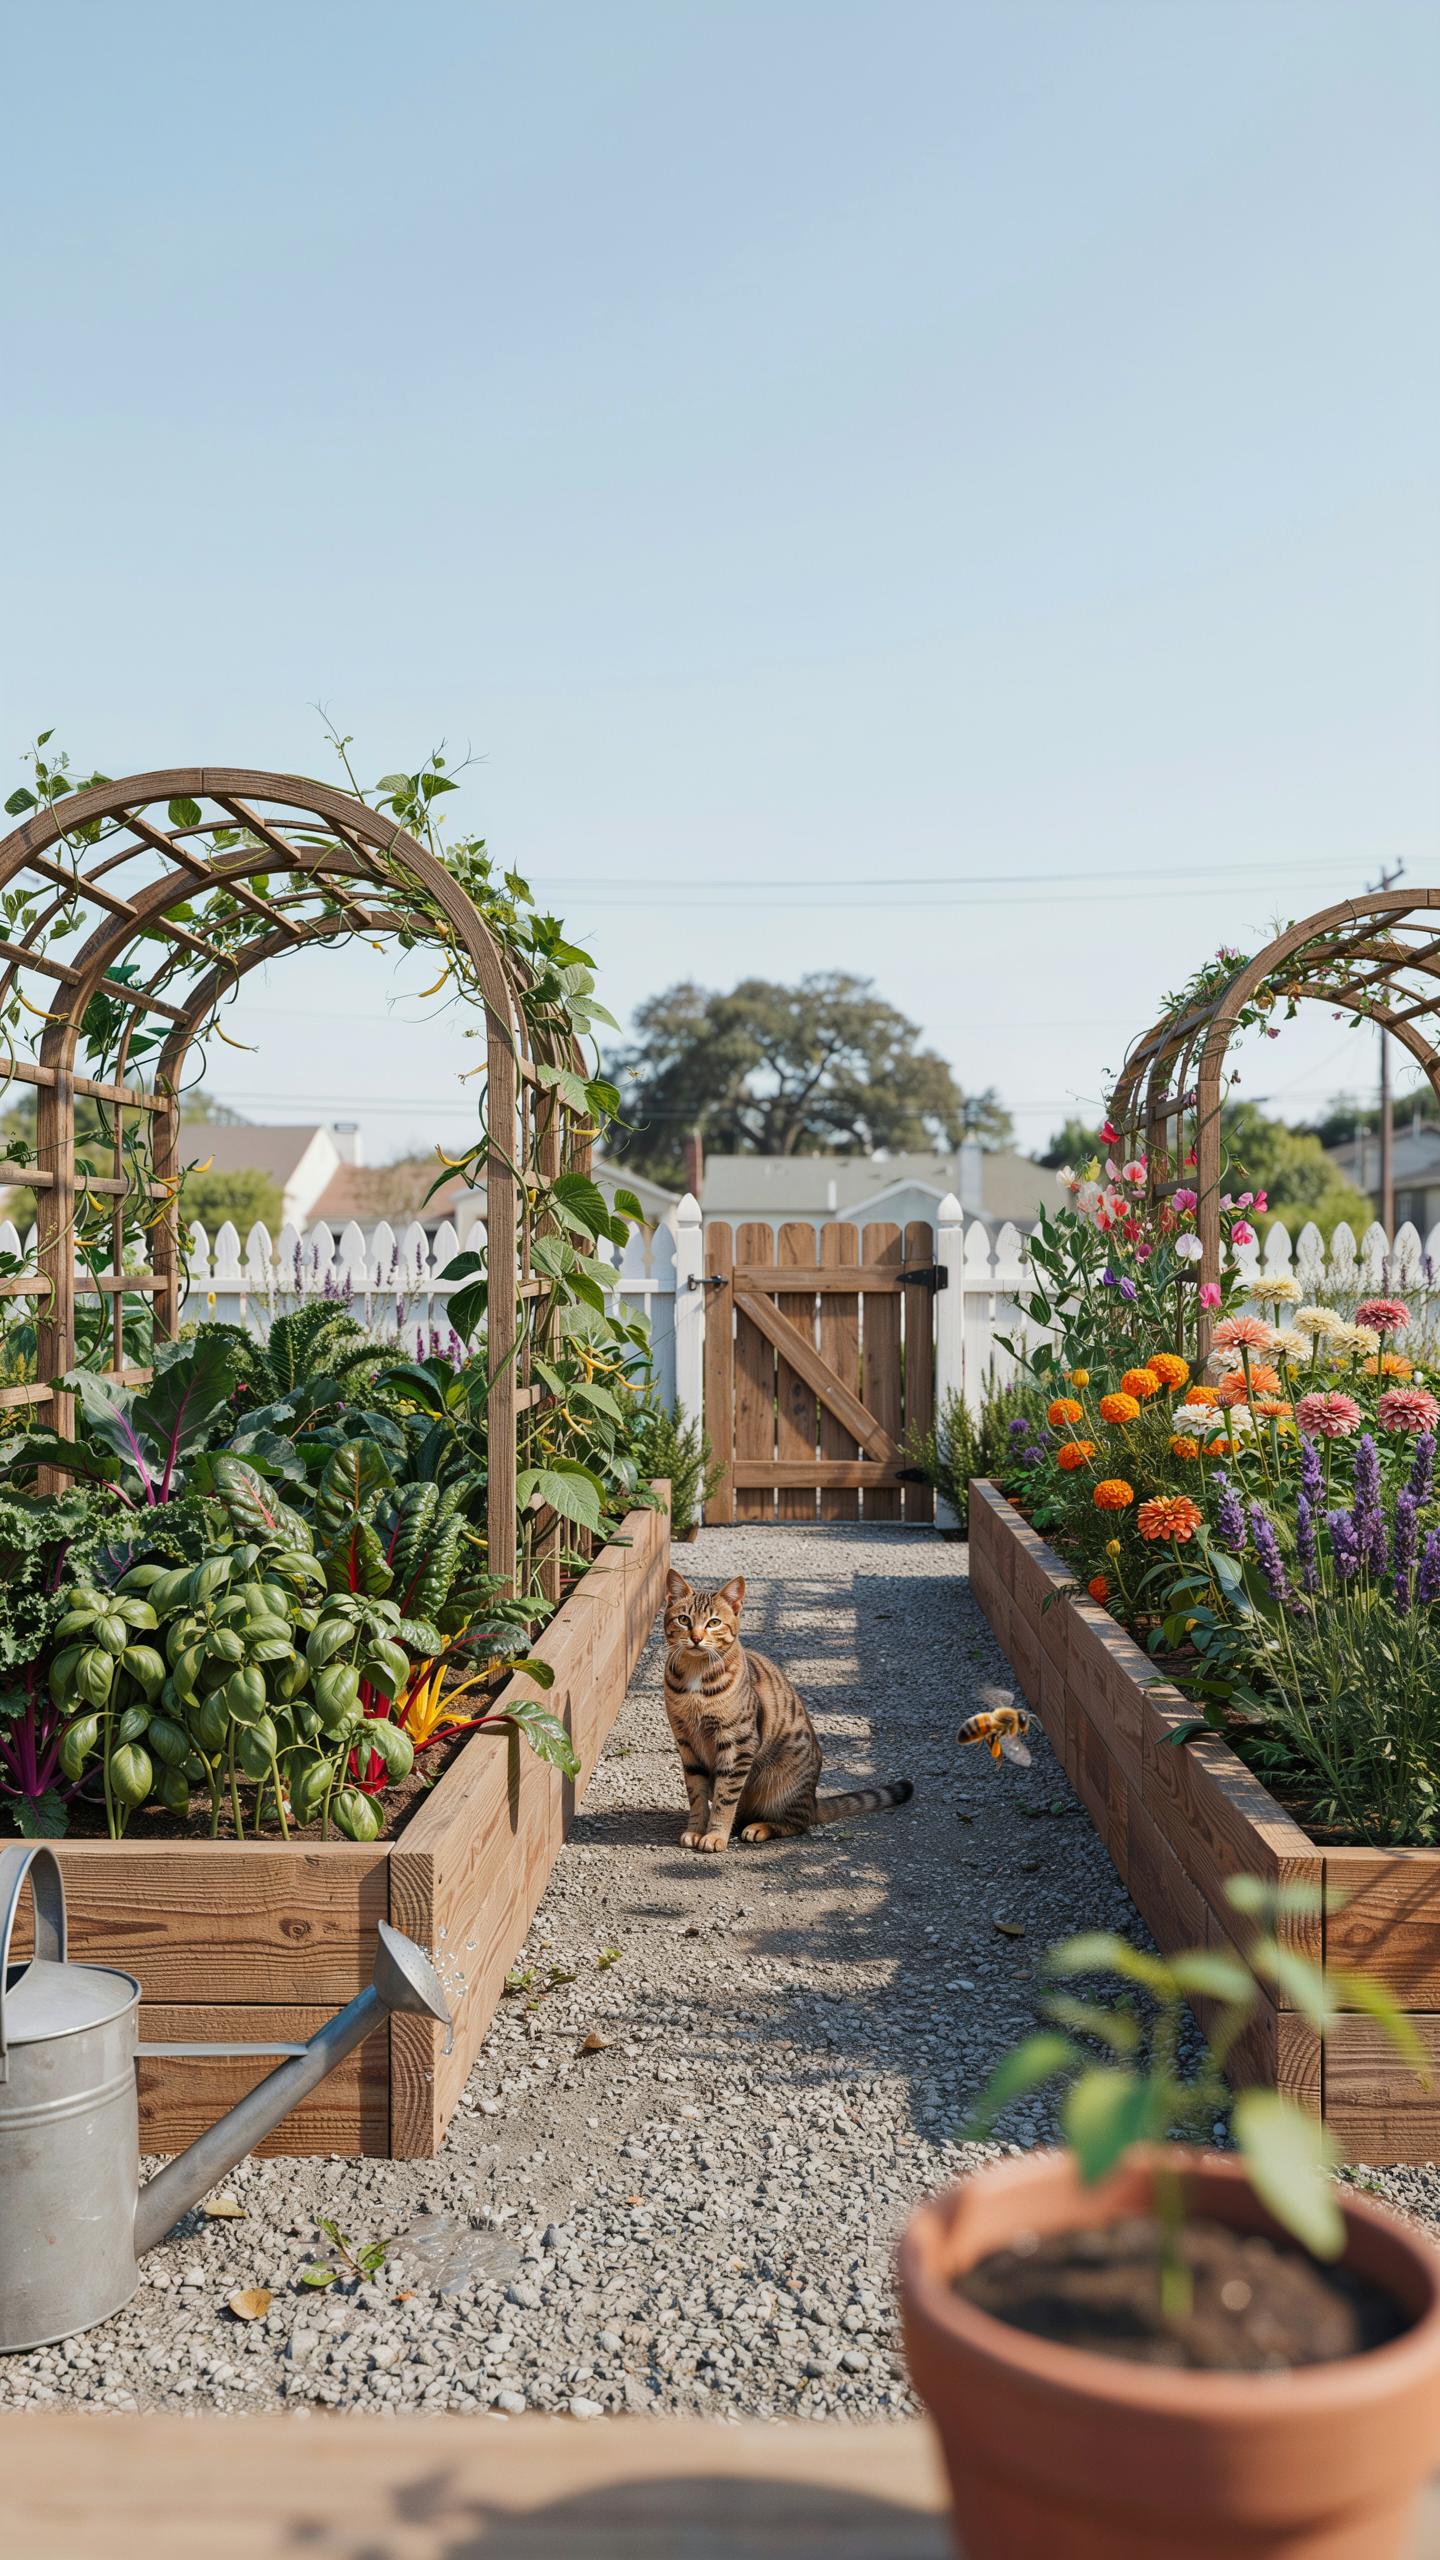
Compact Arched Trellis Options Suited For 4×4 And 4×8 Raised Bed Sizes
Standard 4×4 and 4×8 beds require arches that do not overwhelm the soil surface. Use 16 foot cattle panels bent into a semi-circle. Secure the panel ends to the inside of the bed frame using galvanized fencing staples or conduit straps. This setup creates a sturdy tunnel for pole beans or cucumbers. Ensure the peak sits at least seven feet high to allow easy harvesting.
Proper attachment prevents the arch from bowing under heavy fruit weight. Drill pilot holes into the wooden sidewalls before driving screws through the metal straps. Heavy gauge wire ties provide extra stability when connecting the panel to vertical support stakes. This method maximizes vertical space without shading out lower plants. Position the arch on the north side of the bed to maintain optimal light exposure for the remaining crops.
Scaling Up Arched Trellis Attachments For Larger Multi Bed Garden Arrangements
Large layouts benefit from bridging multiple beds with a single continuous arch. Space two 4×8 beds four feet apart and span them with heavy duty cattle panels. This creates a walk-through arbor that connects the growing zones. Bolt the panels directly to the outer corners of each bed using metal u-bolts. Use steel T-posts driven two feet into the ground for supplemental lateral reinforcement against high winds.

Complex systems require uniform tension across all attachment points. Use turnbuckles and steel cables to pull the panels into a consistent arc shape. This prevents sagging over long spans. Multiple arches can form a long green tunnel for squash or melons. Solid attachment points at the base ensure the entire structure remains rigid when fully loaded with vines. Monitor the connections annually for signs of wood rot or metal fatigue.
Raised Garden Trellis Ideas DIY Attachment Builds Vs Ready Made Kits
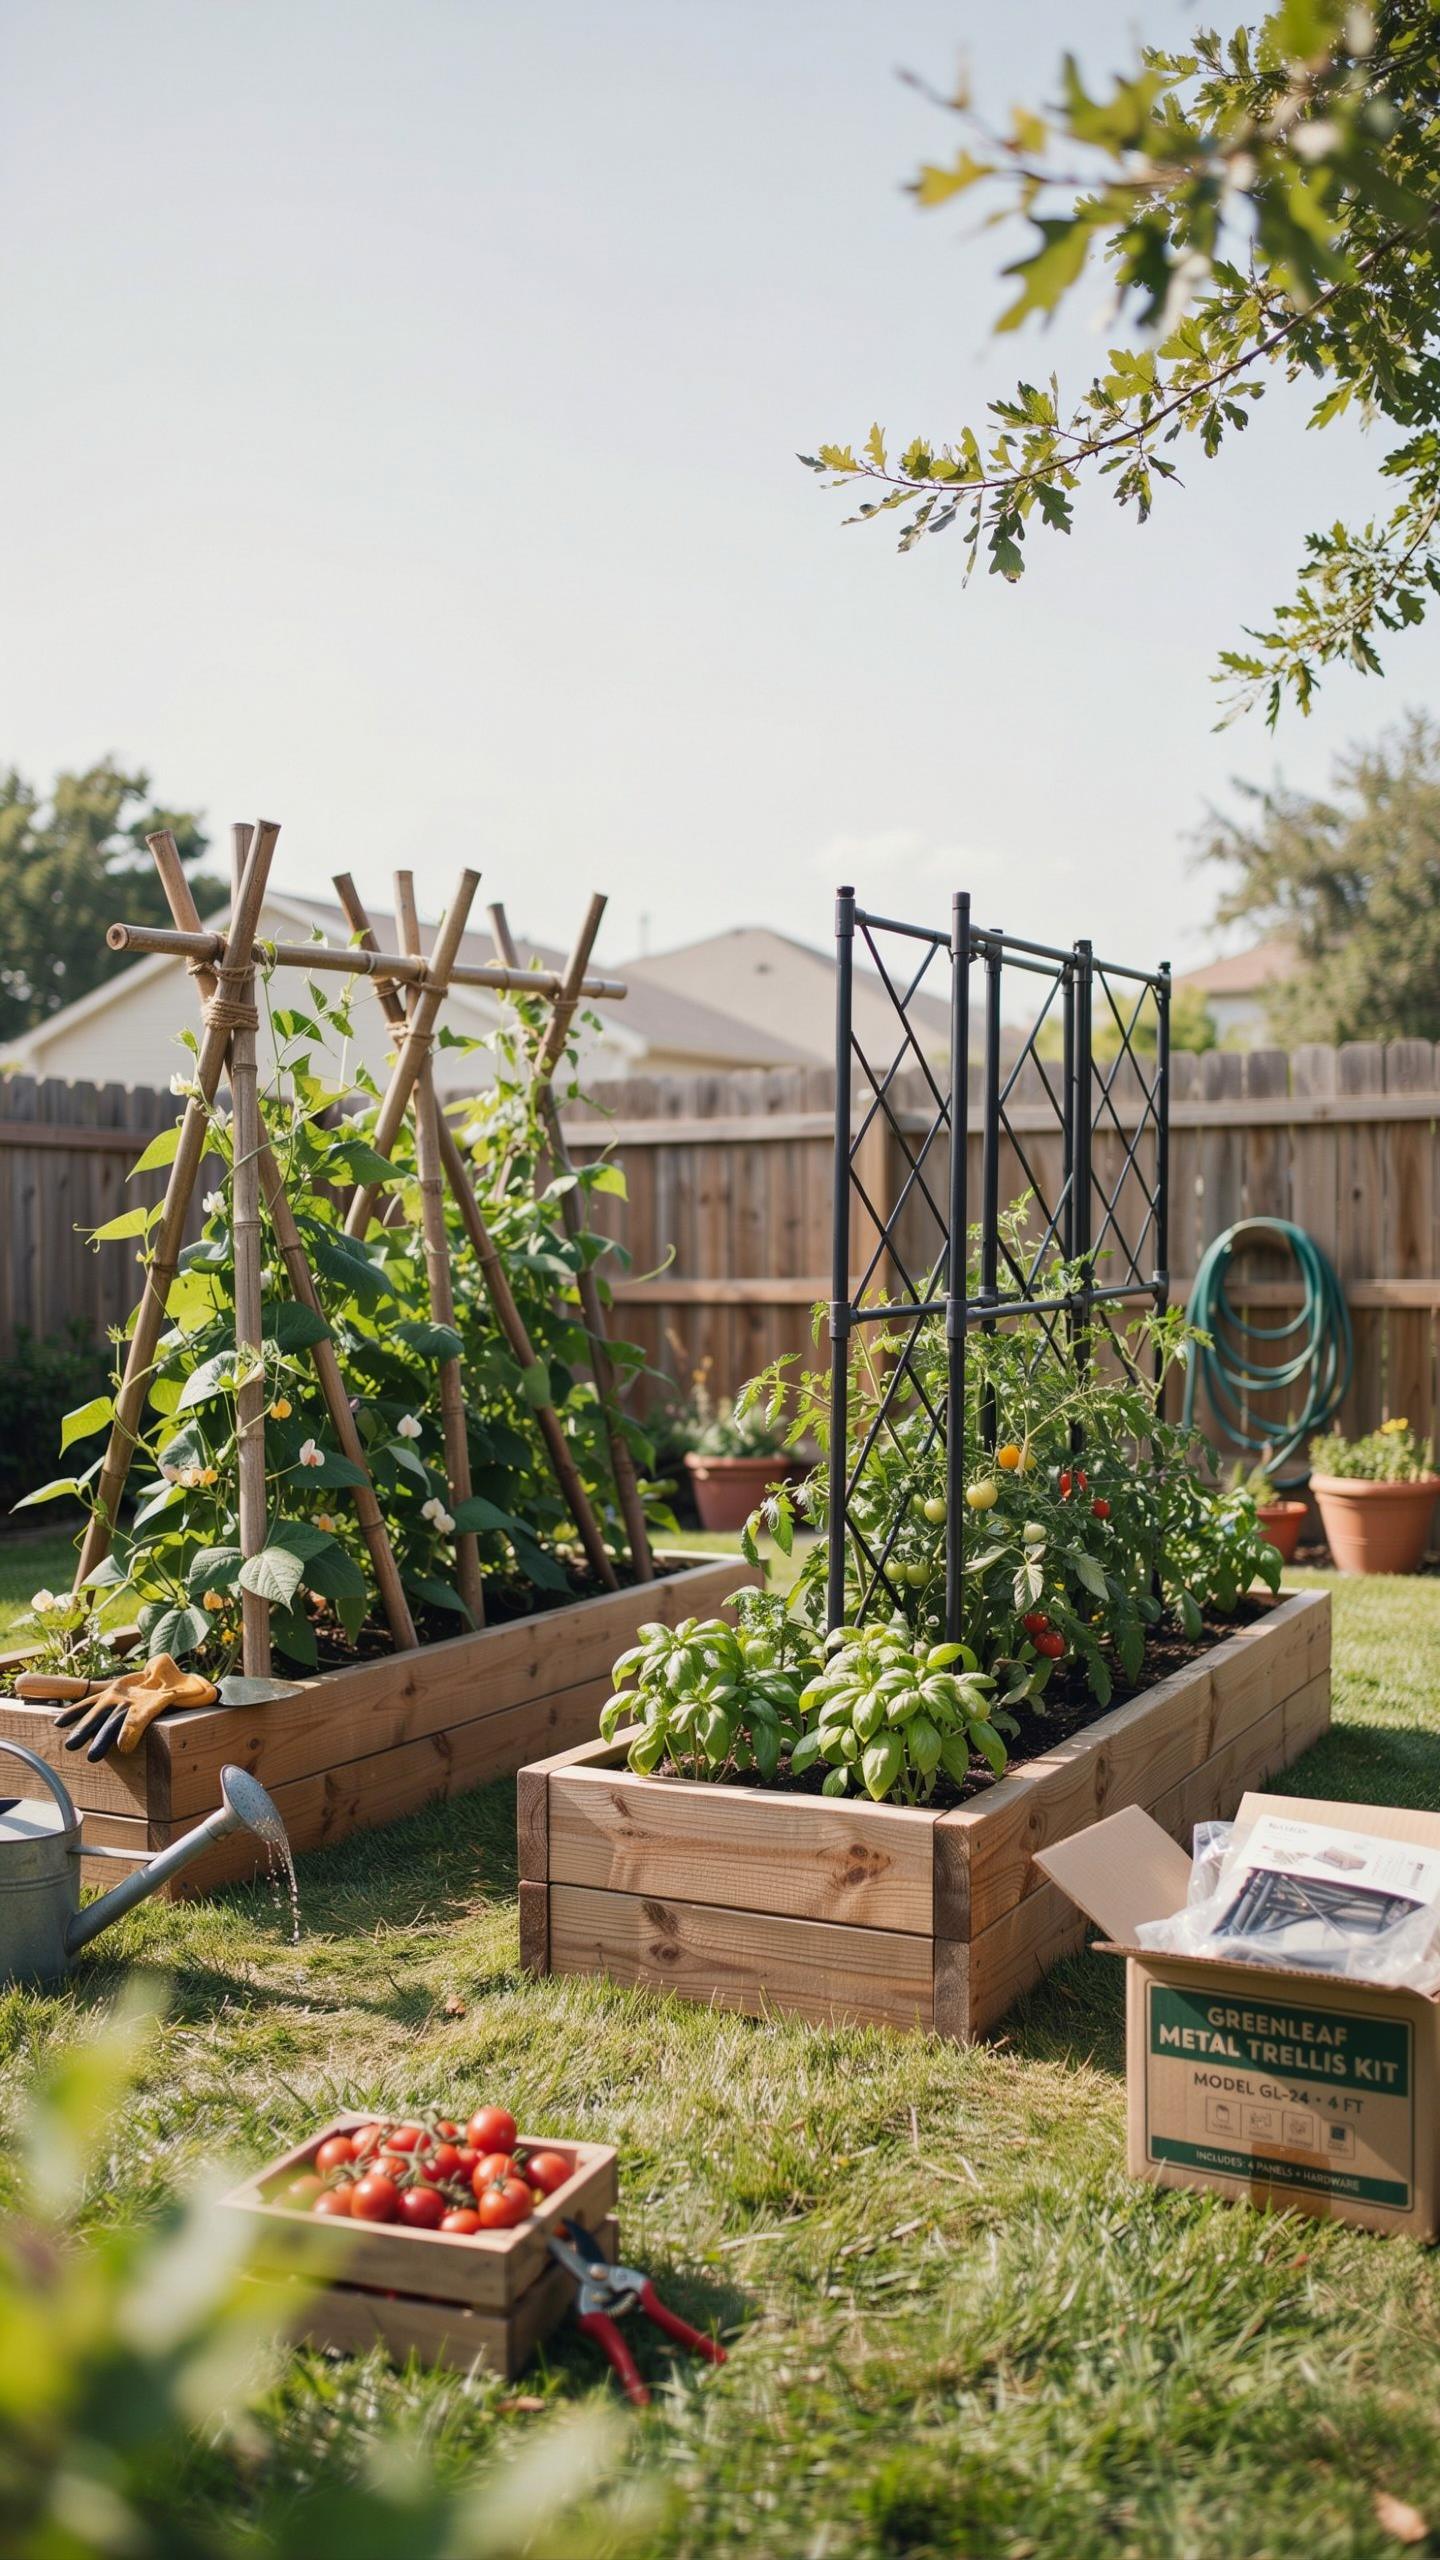
Step By Step Overview Of A Simple DIY Trellis Attachment For A Raised Bed
Building a custom trellis attachment ensures a structural match for your specific bed dimensions. Most DIY builds utilize electrical conduit or pressure-treated lumber for the frame. You must secure the vertical supports directly to the interior or exterior of the raised bed walls using galvanized pipe straps or heavy-duty carriage bolts. This creates a rigid foundation that resists wind and the weight of heavy vines.
- Mounting Brackets: Fasten two-hole pipe straps or U-brackets to the garden bed wall. Use stainless steel screws to prevent rust and wood rot. These brackets hold the vertical uprights firmly in place against the side of the planter.
- Vertical Uprights: Use metal EMT conduit or rot-resistant wood posts like cedar. Insert these into your mounted brackets. Ensure they extend at least twelve inches below the top of the bed wall for maximum structural leverage and stability.
- Top Crossmember: Connect a horizontal bar across the top of your vertical uprights. Use 90-degree elbows for conduit or wood screws for timber frames. This top rail provides the necessary tension for your climbing mesh or vertical strings.
- Trellis Infill: Attach galvanized cattle panels or nylon netting to the frame. Secure these materials using heavy-duty zip ties or galvanized staples. Ensure the mesh is taut so it can support heavy fruit like melons or large squash.
- Ground Anchors: Drive rebar or wooden stakes into the soil directly behind the vertical uprights. Fasten the uprights to these anchors. This extra step prevents the trellis from leaning forward as your plants grow toward the sun.
Finalize your DIY attachment by checking all hardware connections for tightness. Wood expands and contracts with moisture so check your bolts after the first month of use. If using metal pipes, ensure all sharp edges are sanded down or capped to protect your hands and the plants. A well-built DIY system offers superior durability compared to flimsy consumer-grade alternatives found in big-box retail stores.
What To Look For When Buying A Pre Built Raised Bed Trellis Kit
Commercial kits offer convenience but often lack structural integrity. When shopping, prioritize kits made from powder-coated steel or thick-gauge aluminum. Avoid thin plastic joints or lightweight tubular steel that will buckle under the weight of mature tomato plants. Look for kits that include dedicated mounting hardware designed for your specific bed material. Most standard kits assume you have wooden beds with thick walls for screw attachment.
Inspect the connection points between the trellis and the raised bed. A quality kit uses integrated brackets that wrap around the corners or bolt through the side panels. Check the weight rating of the mesh included in the package. High-quality kits feature steel wire grids rather than plastic netting. Ensure the height of the trellis matches your crop requirements. Indeterminate tomatoes and pole beans require at least six feet of vertical climbing space.
Maintaining And Seasonal Storing Your Raised Bed Trellis Attachment
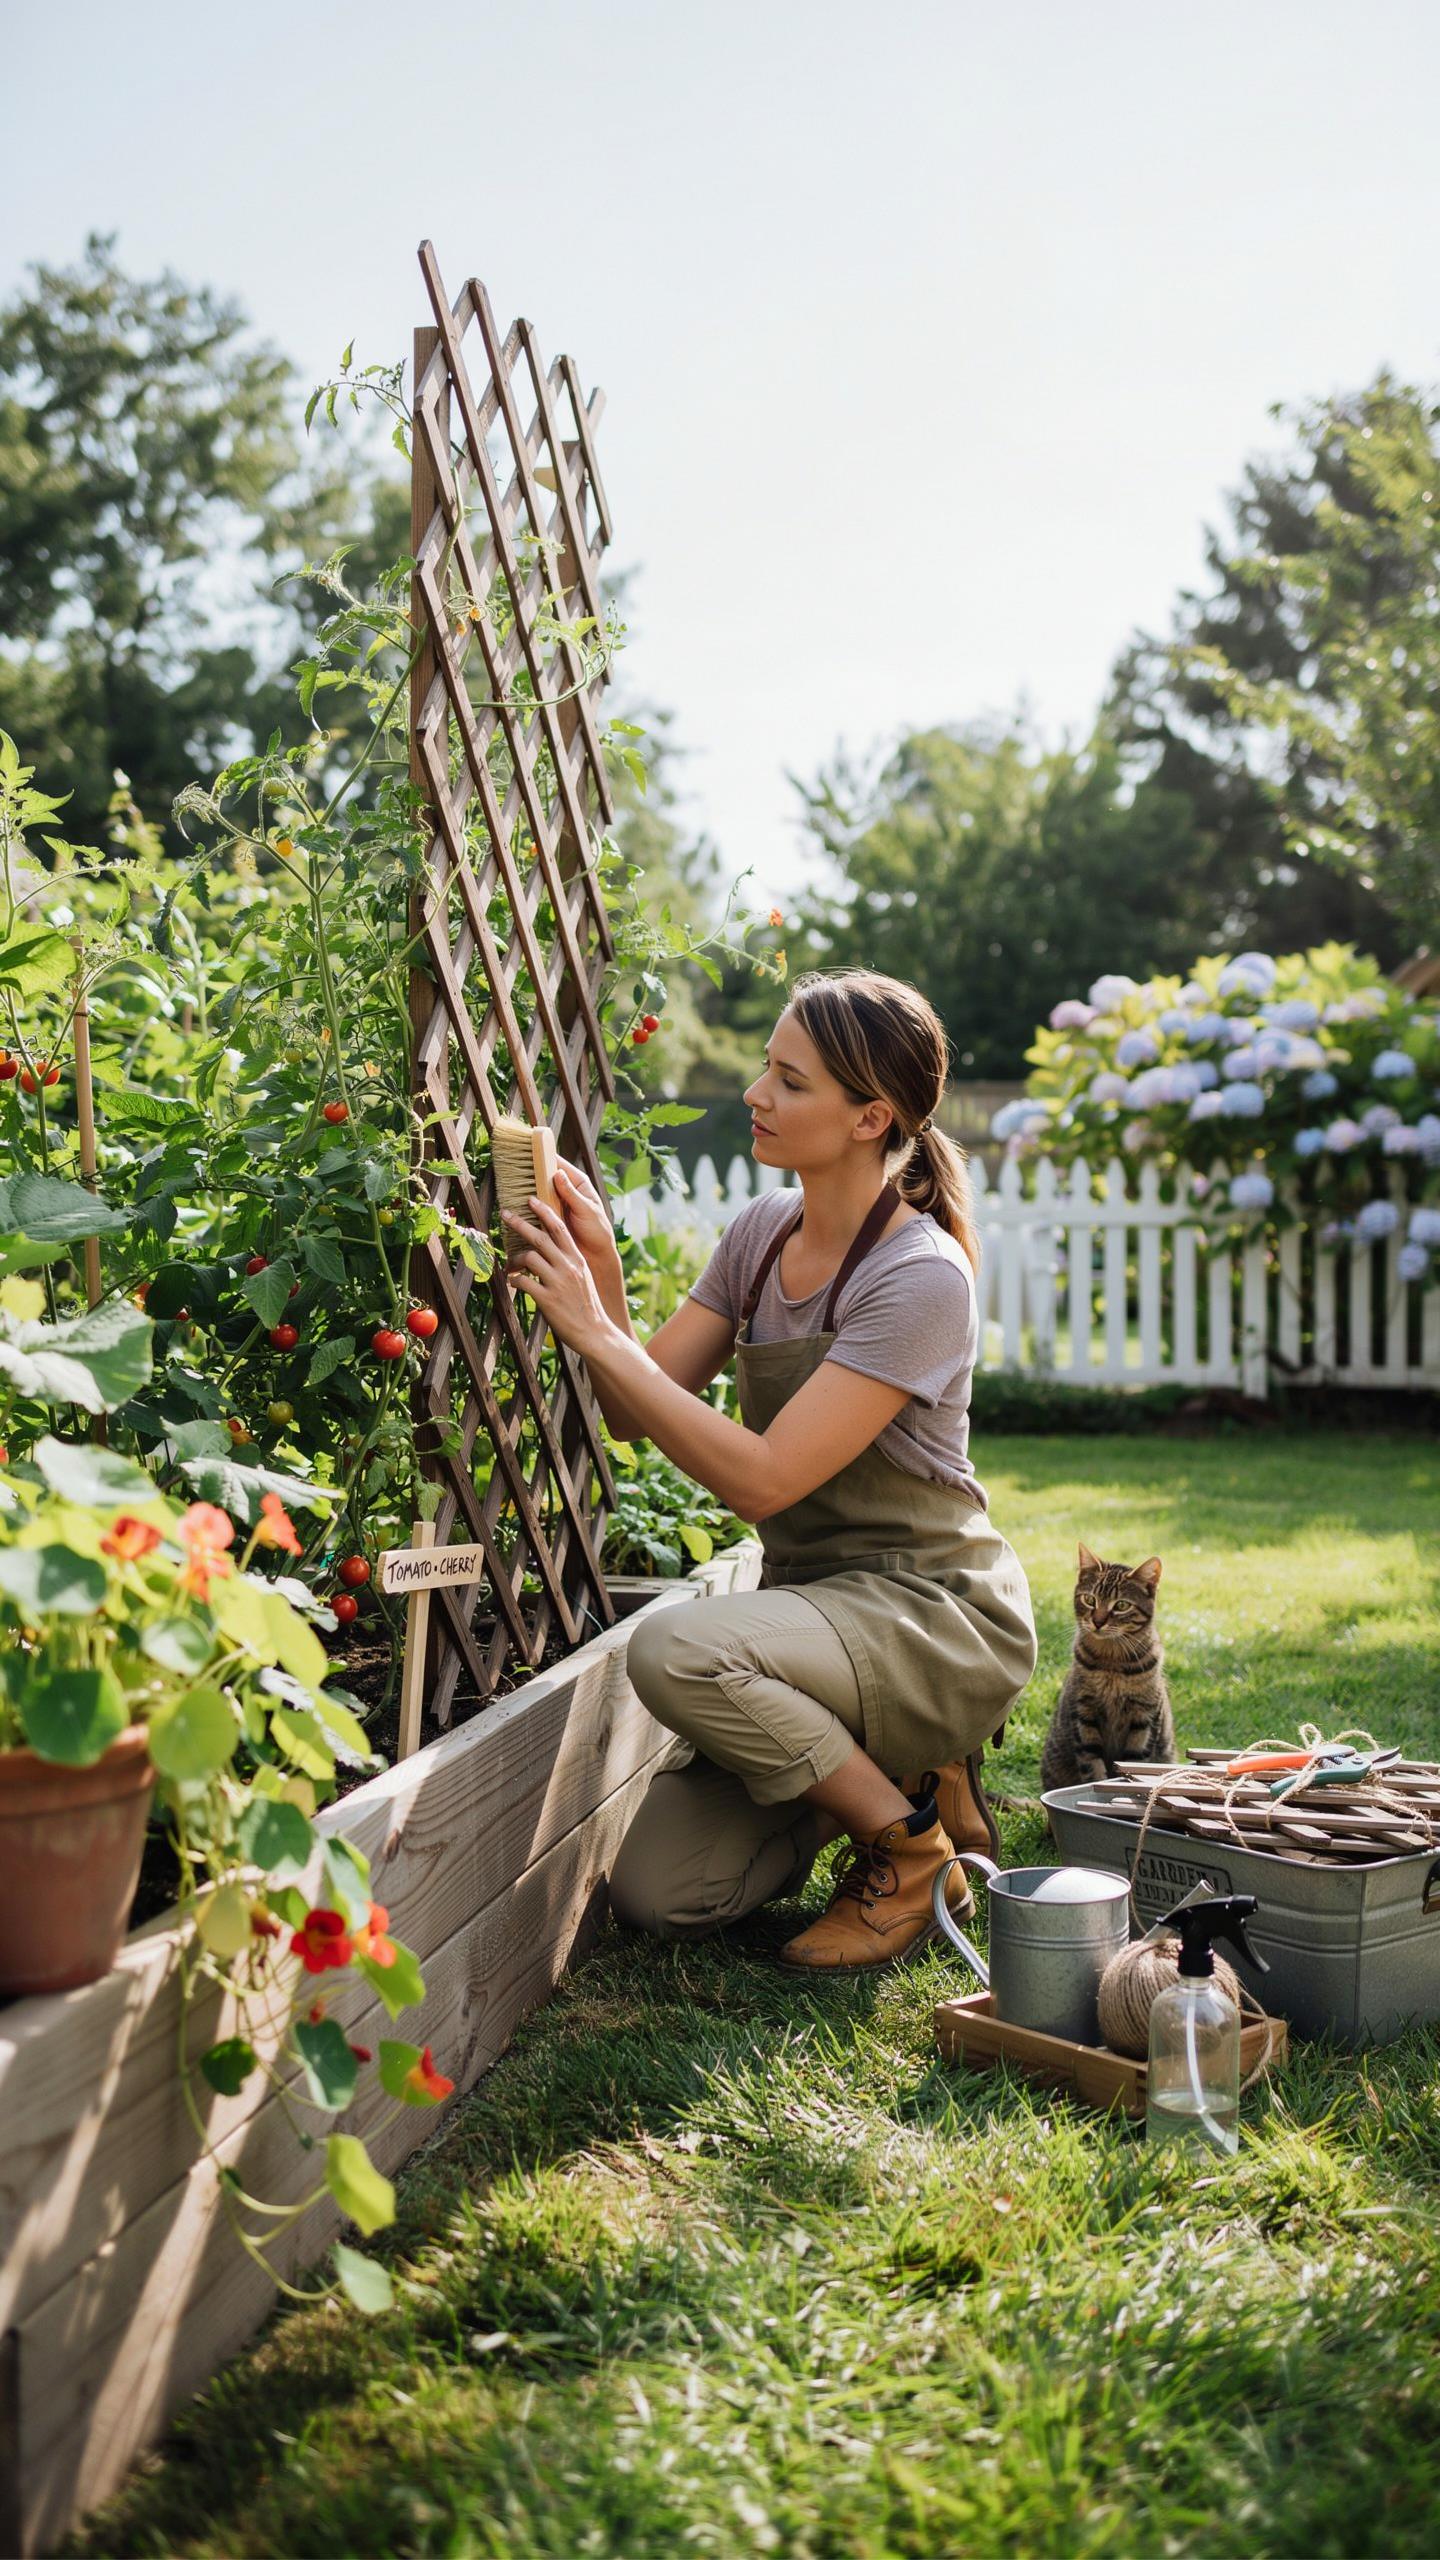
How To Inspect And Repair Trellis Attachments Between Growing Seasons
Post-harvest inspection prevents structural failure during the next peak season. Strip all dead plant matter from the netting or cattle panels immediately. Check every connection point where the trellis meets the raised bed frame. Look for loose wood screws or rusted galvanized bolts. Movement during high winds often widens pilot holes in timber. You must identify these weaknesses before the wood rots or the metal shears off.
Tighten every fastener and replace stripped hardware with stainless steel alternatives. If you find cracks in the wood near the attachment site, move the bracket two inches to fresh grain. Sand down any rough spots on metal pipes to prevent rust from spreading. Re-apply water sealant to wooden supports if the finish looks thin. Proactive maintenance ensures the trellis stays upright when supporting heavy fruit loads next summer.
Proper Cleaning And Storage Practices To Extend Trellis Lifespan
Clean all trellis components to kill lingering pathogens and pests. Scrub metal frames and nylon netting with a mild bleach solution or vinegar. This step stops fungal spores from wintering over on the equipment. Rinse the hardware thoroughly and let it dry in the sun. Moisture is the enemy of stored gardening gear. Never pack away damp components or you will face mold and structural decay.
Store your trellis attachments in a dry shed or garage. Keeping materials out of the rain and snow prevents oxidation on metal and warping in wood. If the trellis is too large to move, wrap the attachment points in heavy plastic. Secure the wrap with twine to keep ice out of the joints. Proper storage extends the life of your investment by several years and maintains garden safety.
Frequently Asked Questions

Why should I consider adding a trellis to my raised garden bed?
Adding a raised bed gardening trellis attachment is a game-changer for beginners because it maximizes limited square footage. By encouraging plants like cucumbers, peas, and pole beans to grow upward rather than outward, you save valuable soil space for other crops. Vertical growth also improves airflow around your plants and keeps fruit off the ground, which significantly reduces the risk of pests and soil-borne diseases in your backyard garden.
How do I securely install a trellis attachment to an existing wooden raised bed?
The most reliable method is to use galvanized conduit straps or U-brackets to bolt your support structure directly to the exterior walls of the planter. For a sturdy raised bed gardening trellis attachment, ensure you anchor the vertical supports at least six inches deep into the corners. This prevents the weight of heavy climbing vegetables, such as melons or squash, from pulling the frame over during high winds or peak harvest season.
What are some low-cost DIY options for vertical gardening supports?
You don’t need to spend a fortune to create an effective vertical system. Budget-friendly gardeners often repurpose cattle panels, bamboo poles, or simple nylon netting attached to a wooden frame. These materials are incredibly durable and can be easily customized to fit any size planter. Using reclaimed materials is a sustainable way to build a functional support system that provides your climbing plants with the structure they need to thrive all summer.



