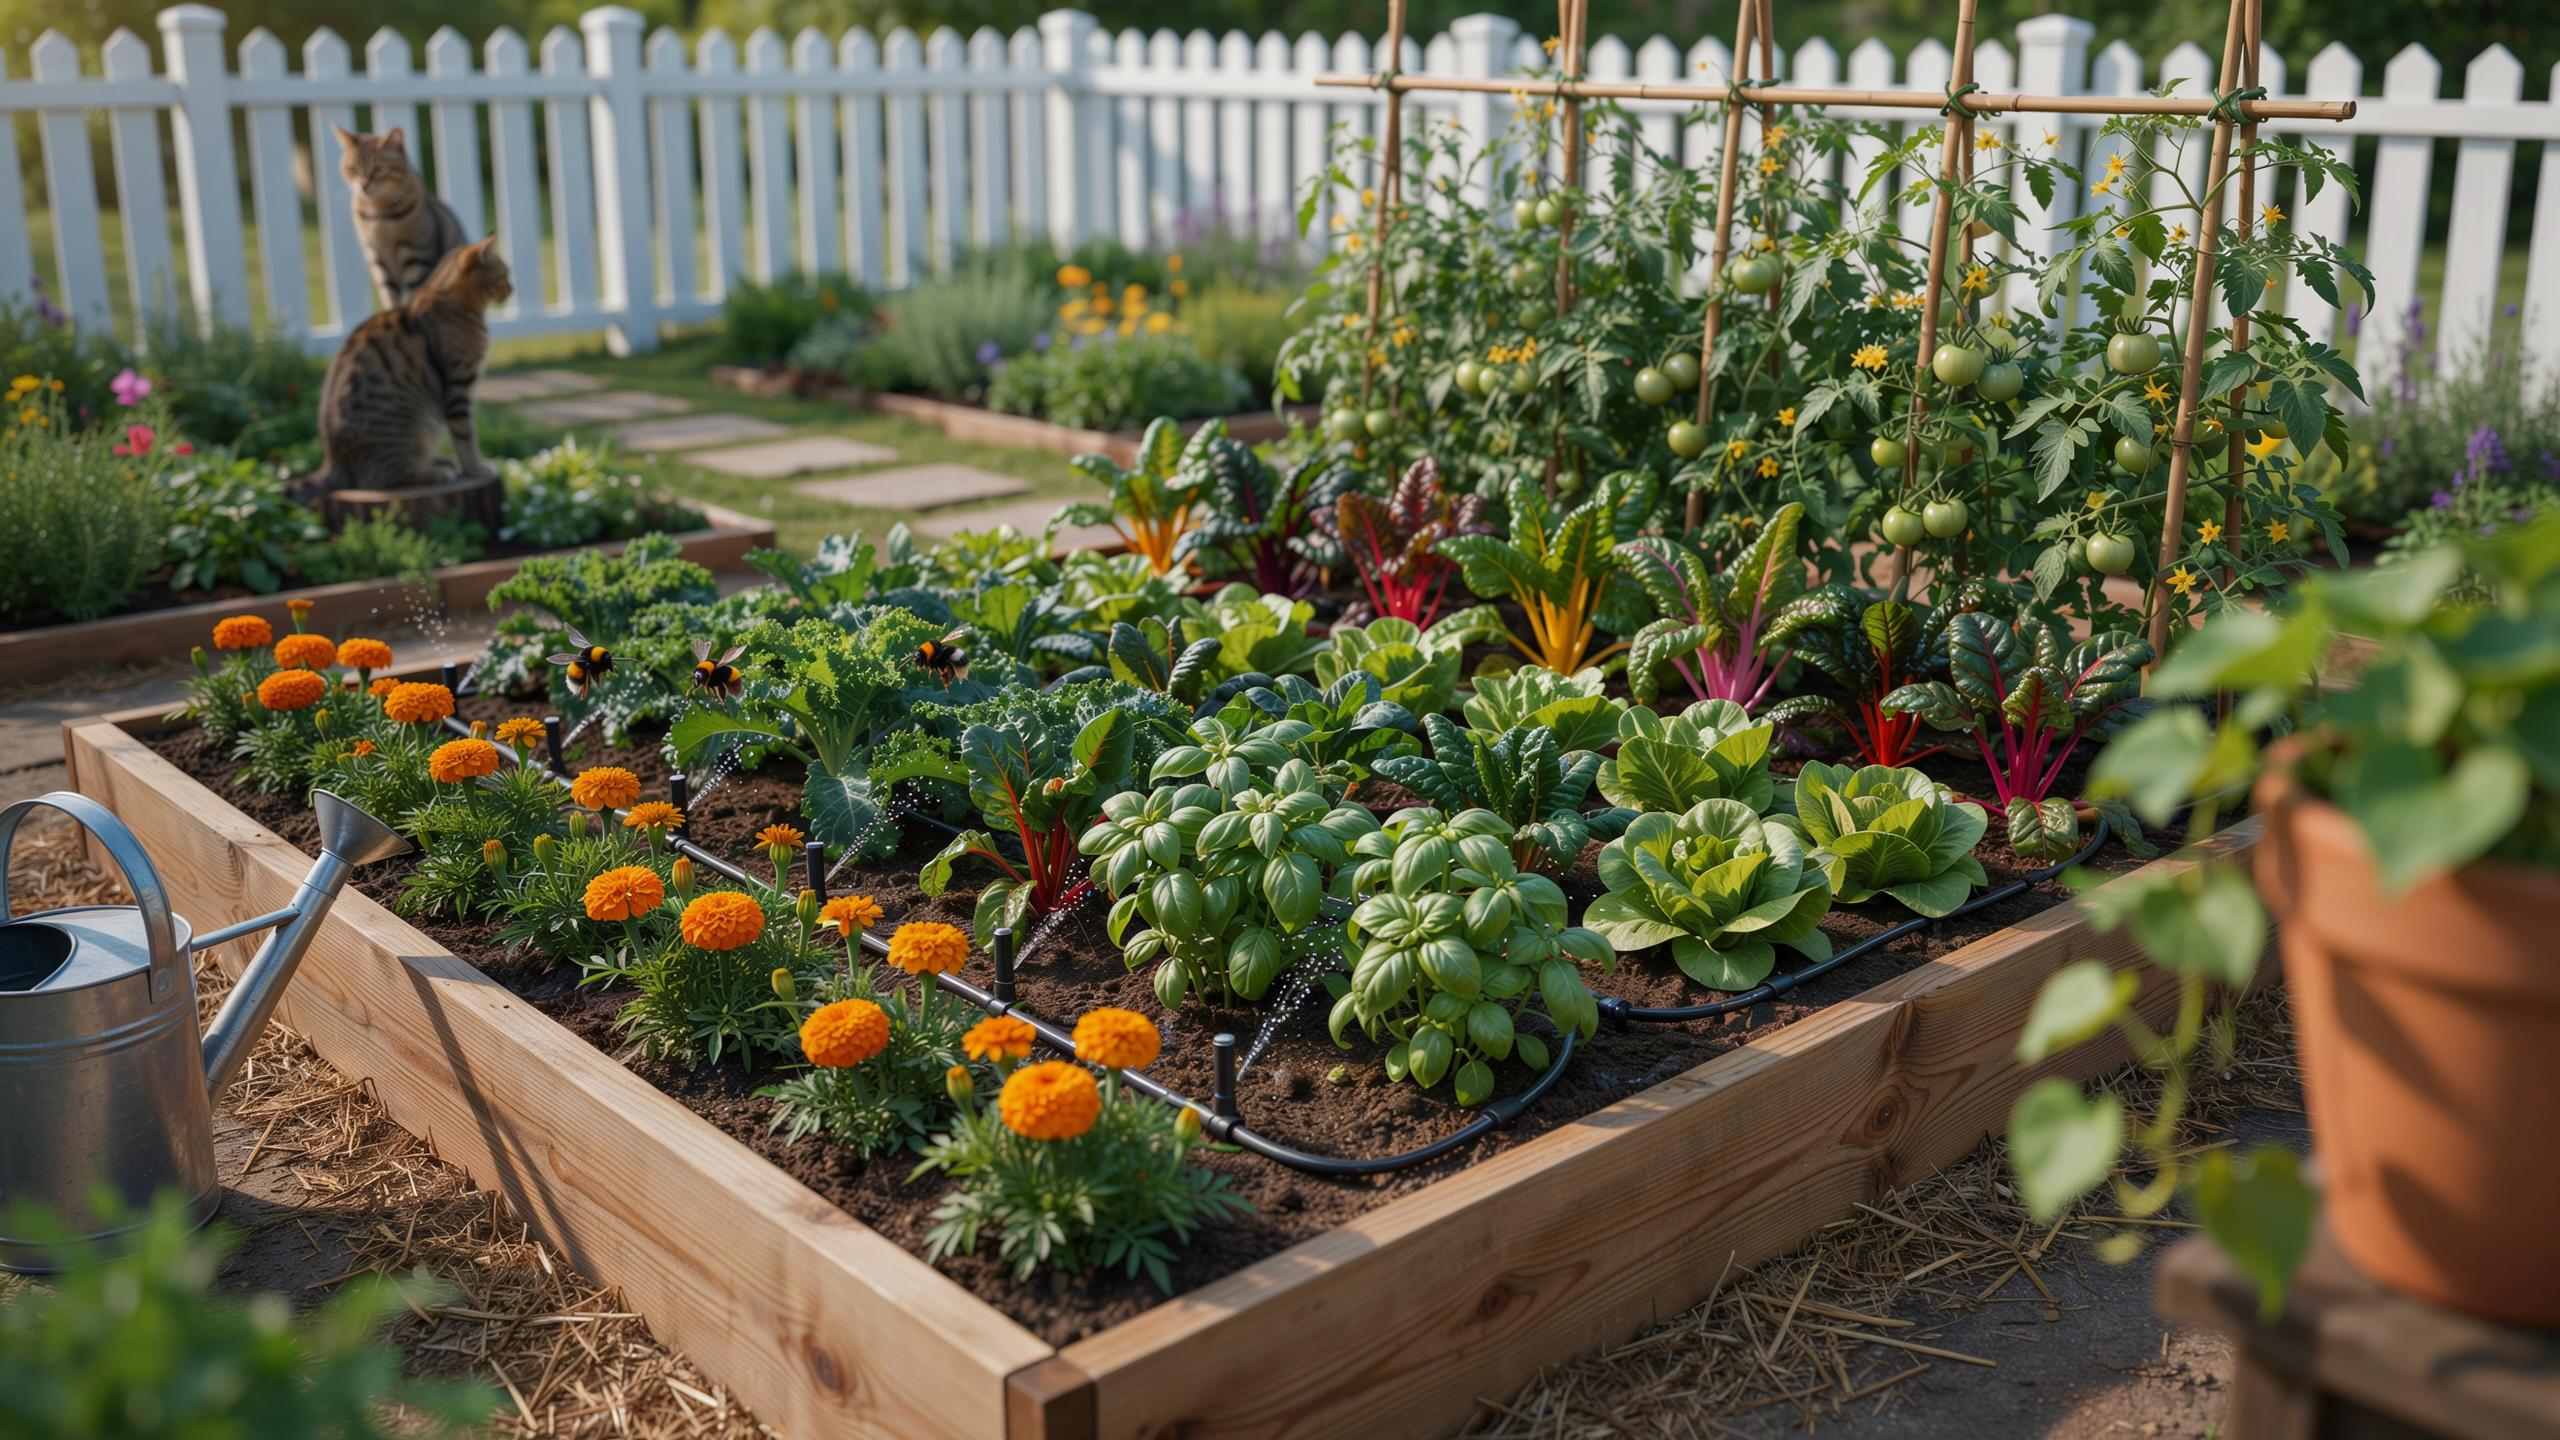
Understanding Drip Irrigation And Raised Bed Irrigation Fundamentals
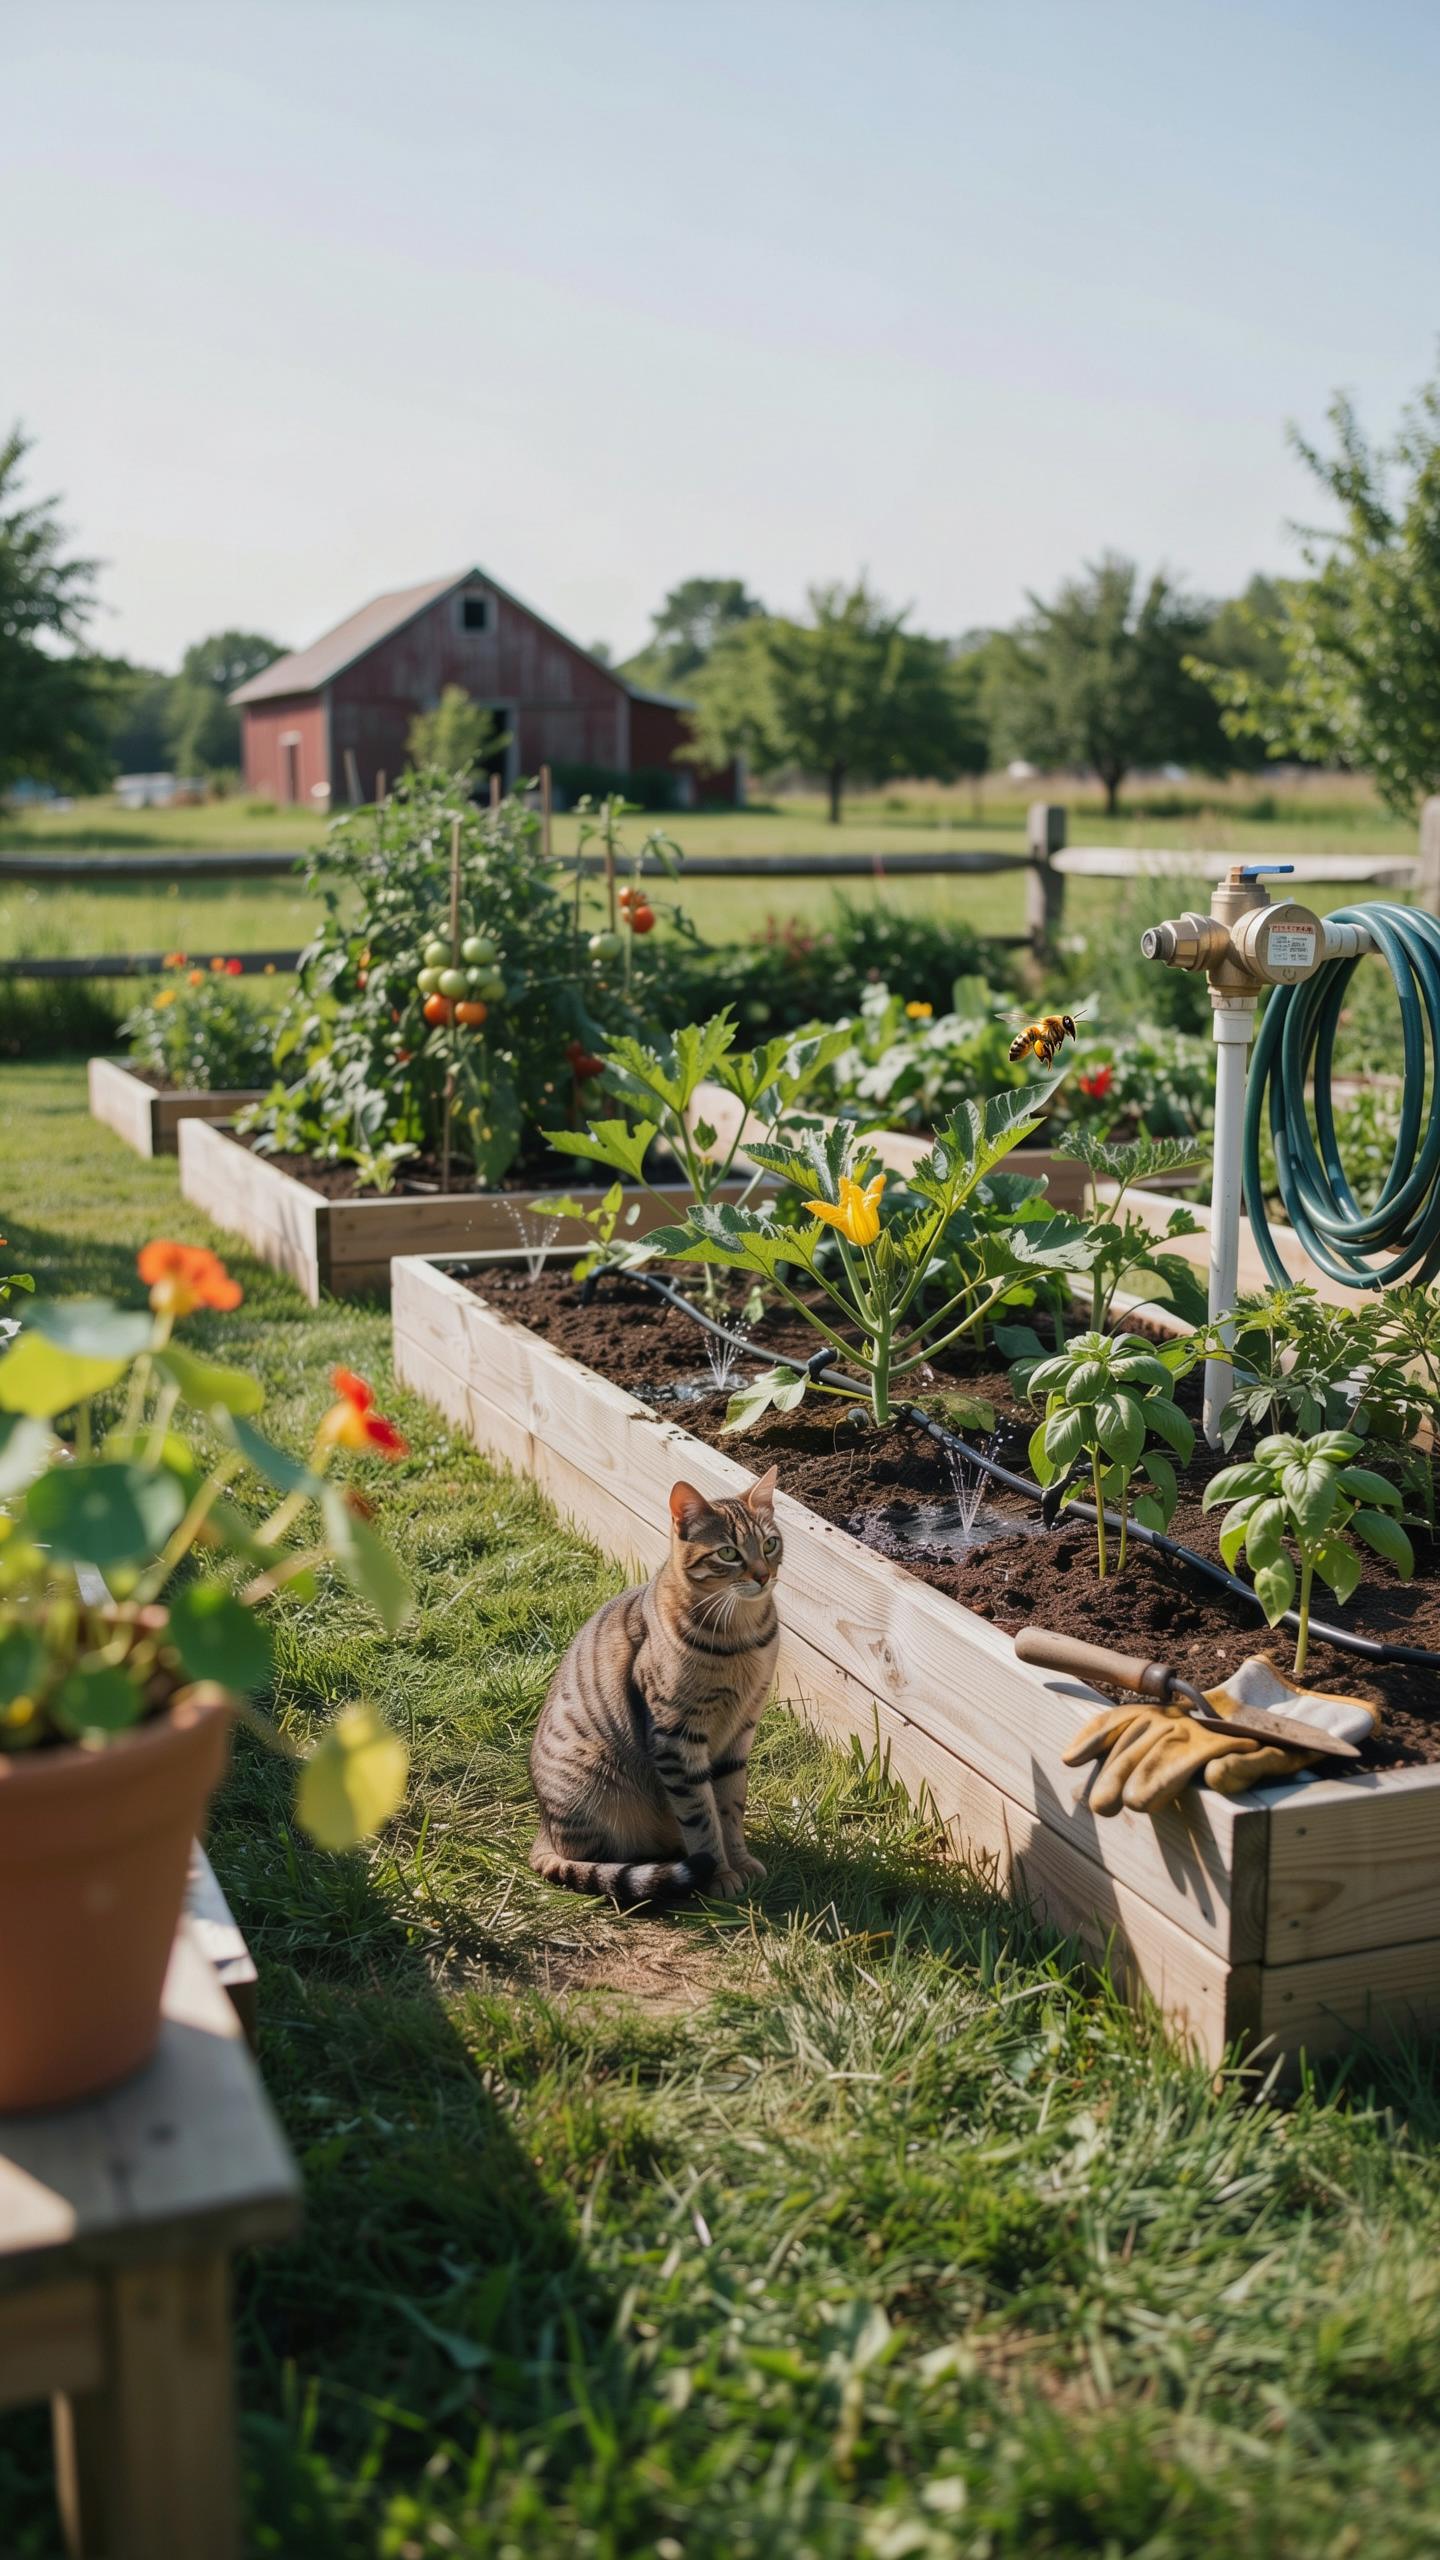
What Is Drip Irrigation And How Does It Deliver Water To Plant Roots
Drip irrigation is a precision delivery system. It uses low pressure to move water through a network of valves and pipes. Emitters release water directly onto the soil surface or into the root zone. This method minimizes evaporation and runoff. It ensures the plant receives moisture exactly where it needs it. You control the flow rate with specific emitter ratings measured in gallons per hour.
Efficiency is the primary goal of this technology. By applying water slowly, the soil absorbs moisture through capillary action. This process creates a consistent wetted perimeter around the root system. It prevents the cycles of extreme wet and dry soil that stress garden crops. Modern systems use plastic polymers and pressure compensation to maintain uniform output across the entire garden layout. This ensures every plant grows at the same rate.
Why Raised Bed Irrigation Demands A Different Watering Approach Than In Ground Gardens
Raised beds offer better drainage than traditional in-ground rows. The soil in these containers sits above the natural grade and warms up faster in the spring. This elevation causes the soil to dry out quickly through the sides and bottom. You cannot rely on deep soil moisture reserves. Frequent and controlled watering is necessary to maintain the health of your crops in these constrained environments.
The soil structure in a raised bed is usually fluffier and more porous. Traditional sprayers often cause erosion or compaction in these loose mixes. Drip systems solve this by maintaining soil integrity while delivering water. You must layout your tubing to account for the physical borders of the bed. Effective systems use grid patterns or perimeter lines. This ensures total coverage without wasting water on the paths between your containers.

Top Benefits Of Using A Drip Irrigation System For Irrigation In Raised Garden Beds
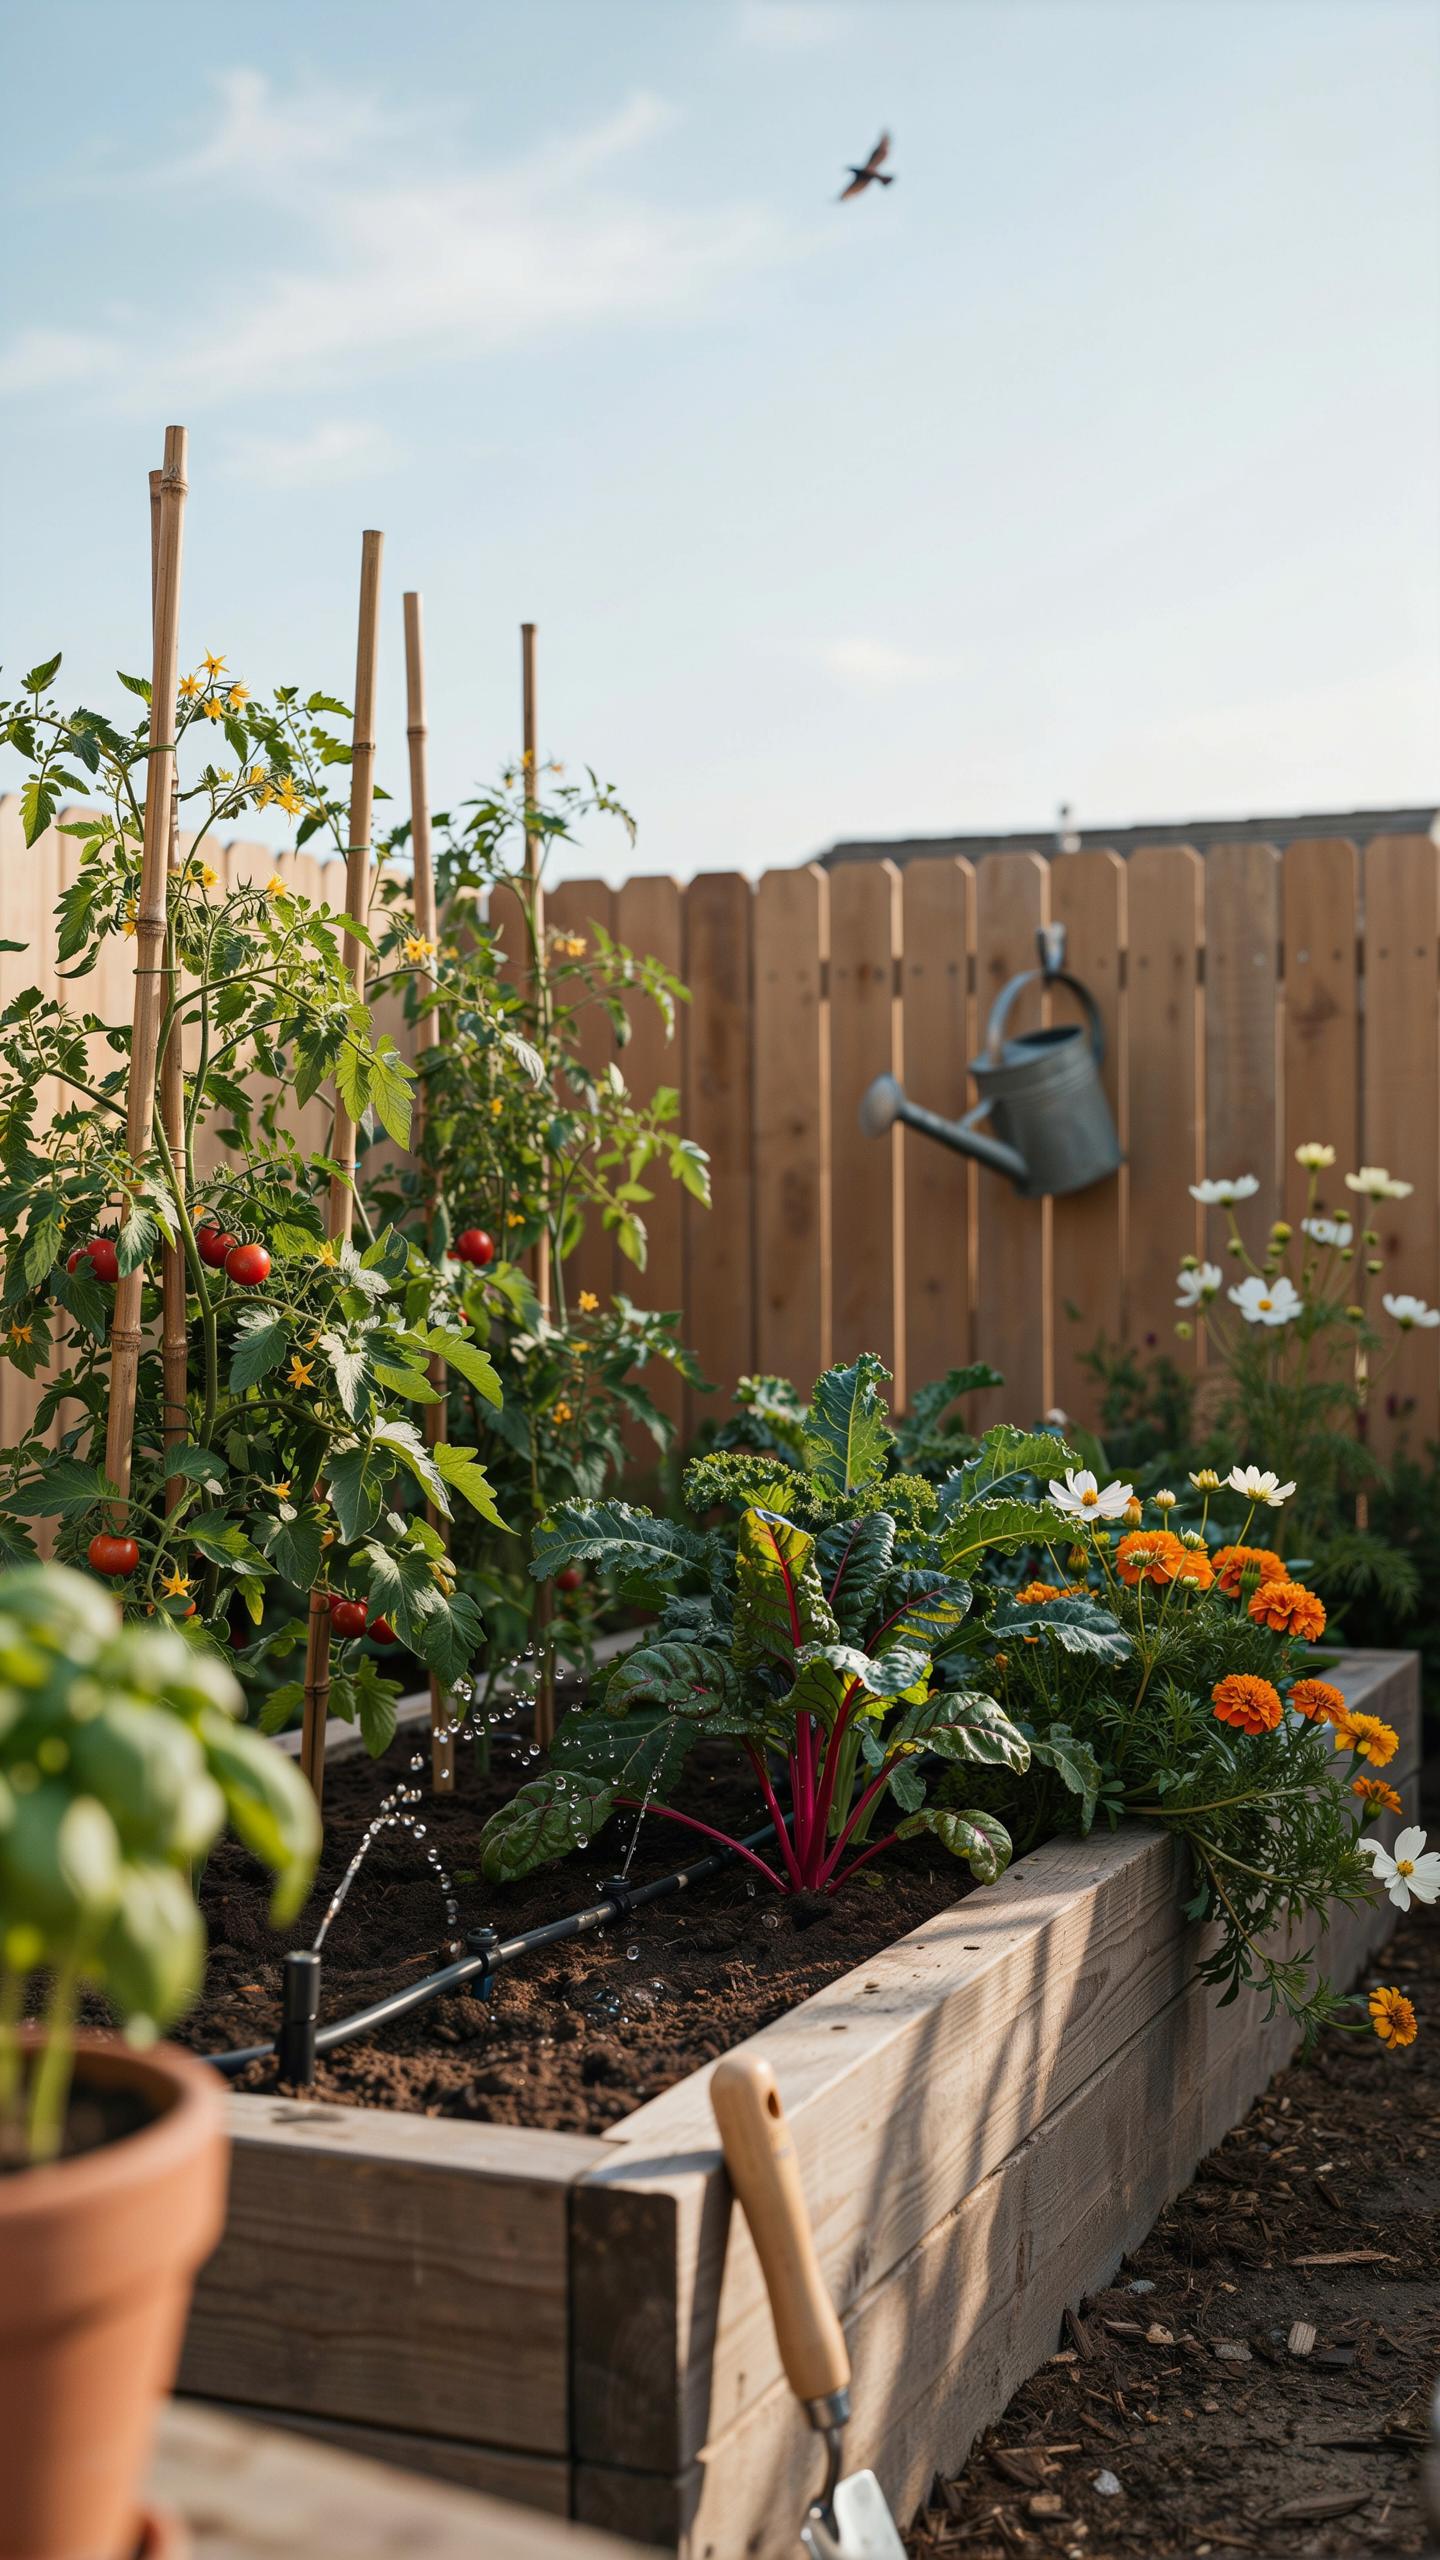
How A Drip Irrigation System Reduces Water Waste And Lowers Your Garden’S Water Bill
Drip systems deliver water directly to the soil surface or root zone. This method stops water from evaporating in the air before it hits the ground. Overhead sprinklers lose significant volume to wind drift and evaporation. By targeting only the base of the plant, you stop hydrating the spaces between rows. This focus ensures every drop serves a specific purpose for your crops.
Reduced runoff is a primary driver of lower water bills. Traditional watering often saturates the soil surface too quickly, causing water to spill over the sides of raised beds. Drip emitters release water at a slow, controlled rate. This pace allows the soil to absorb moisture deeply without wasting resources. You use less total water while achieving better saturation levels throughout the entire growing season.
To garden is to partner with the seasons, let the gentle flow of a well-placed drop bring life to every timeless bed you tend.
Why Consistent Moisture From Irrigation For Raised Garden Beds Leads To Healthier Crops
Consistent moisture prevents the cycle of soil drying and flooding. Plants in raised beds experience rapid drainage and can dry out quickly in high heat. Drip systems maintain a steady hydraulic state in the soil. This stability prevents physical stress like fruit cracking or blossom end rot. Stable moisture levels allow root systems to expand steadily without the interruption of drought-induced dormancy.
Maintaining a dry leaf surface is a tactical advantage for plant health. Most fungal diseases and blights require wet foliage to take hold and spread. Drip irrigation keeps water off the leaves entirely. This strategy reduces the need for chemical fungicides and promotes cleaner yields. Soil-borne pathogens also stay in the ground because there is no heavy water impact to splash them onto the plants.
Planning Your DIY Drip Irrigation System For Raised Beds Before You Buy Anything
How To Map Your Raised Bed Layout To Design An Efficient Drip Irrigation DIY Plan
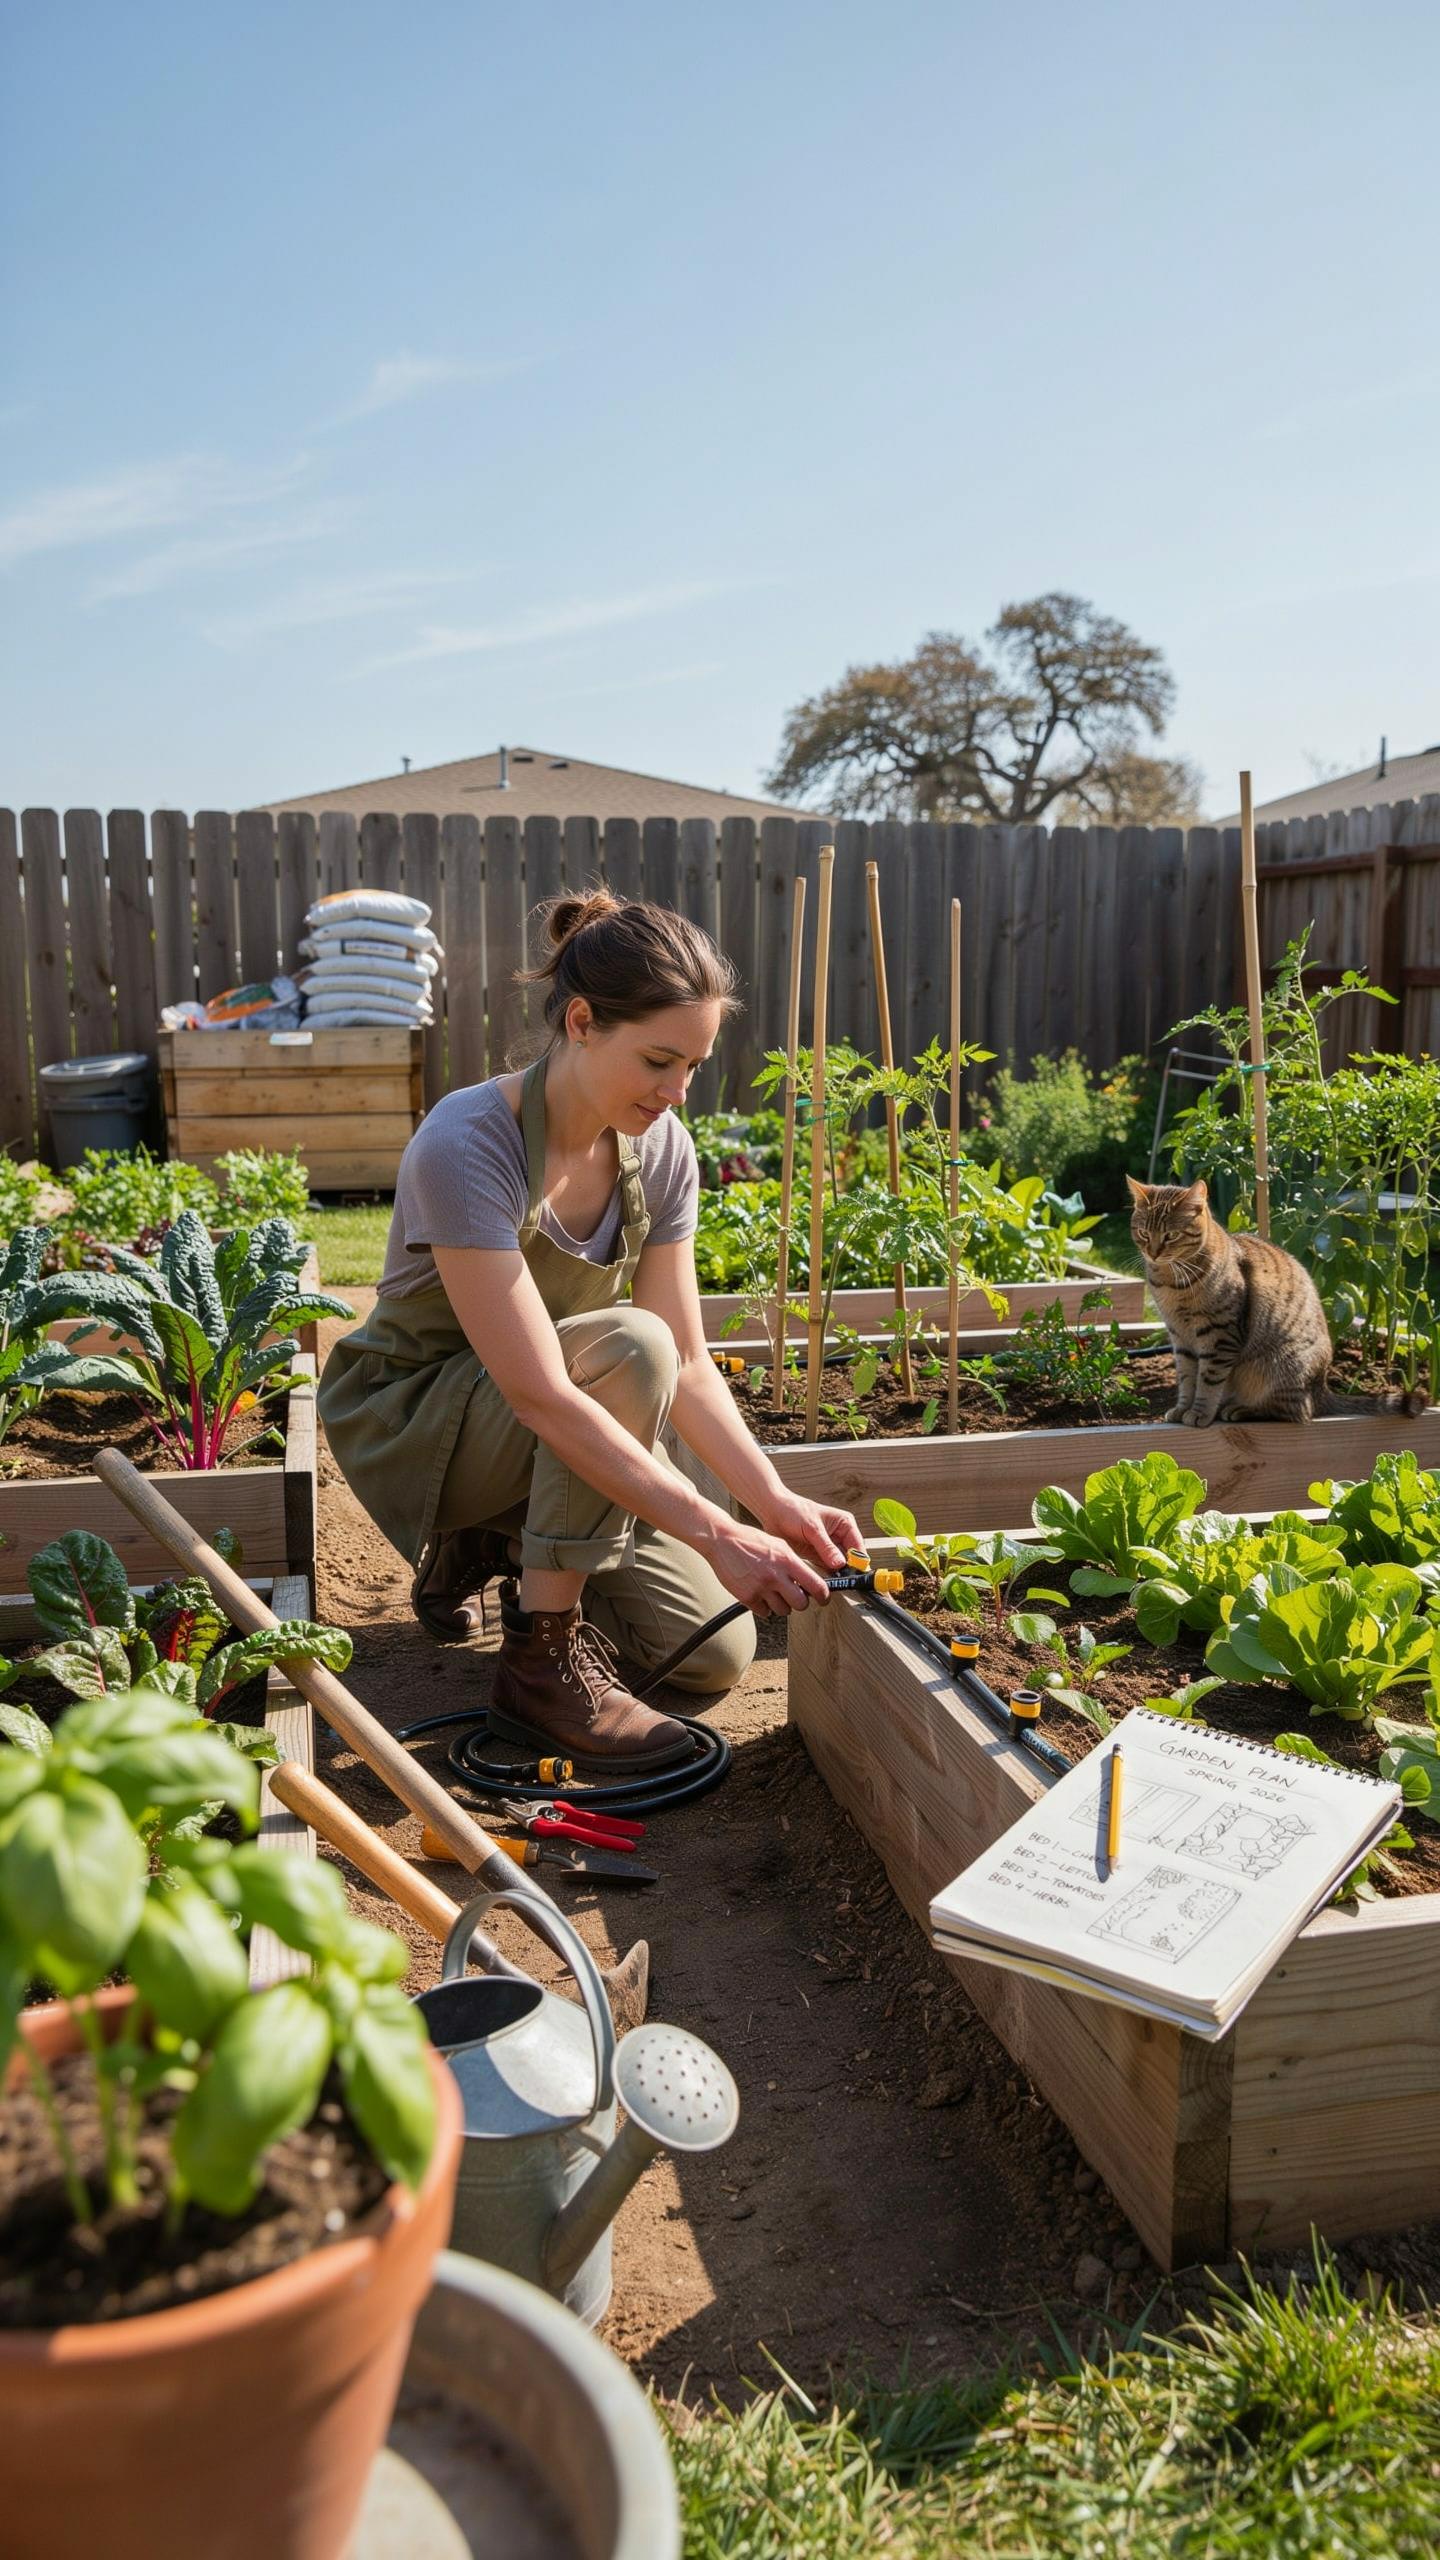
Precise mapping prevents hydraulic failure. Measure every bed length and width. Document the distance from your main water source to each individual bed. Note any elevation changes between the faucet and the highest planter. Gravity impacts pressure. Sketch your main supply line path along the center or perimeter of the garden. Trace where lateral lines will branch off to enter each raised bed frame.
Identify your plant spacing requirements before drawing the grid. Root crops like carrots need dense emitter coverage. Large plants like tomatoes require individual spot emitters. Use a scale drawing to calculate the total length of poly tubing needed. Account for vertical rises as the tubing climbs up the side of the wooden beds. Accurate measurements ensure you buy the correct amount of tubing and connectors.
Calculating Water Pressure Flow Rate And Emitter Spacing For A DIY Drip Irrigation System For Raised Beds
Determine your home water pressure using a basic gauge. Most drip systems require a pressure regulator to maintain twenty-five pounds per square inch. High pressure bursts thin walled tubing. Check your flow rate by timing how long it takes to fill a five gallon bucket. This volume dictates how many emitters your system can run at once without losing pressure at the end.
Select emitter spacing based on soil type and plant density. Sandy soil requires emitters every six inches because water moves vertically. Clay soil allows for twelve inch spacing as water spreads laterally. Add the total gallons per hour of all planned emitters. Ensure this total does not exceed seventy-five percent of your available flow rate. This safety margin accounts for friction loss and future garden expansion.
Essential Components You Need For Drip Irrigation For Raised Beds
The Core Parts That Make Up A Reliable Drip Irrigation For Raised Beds Setup
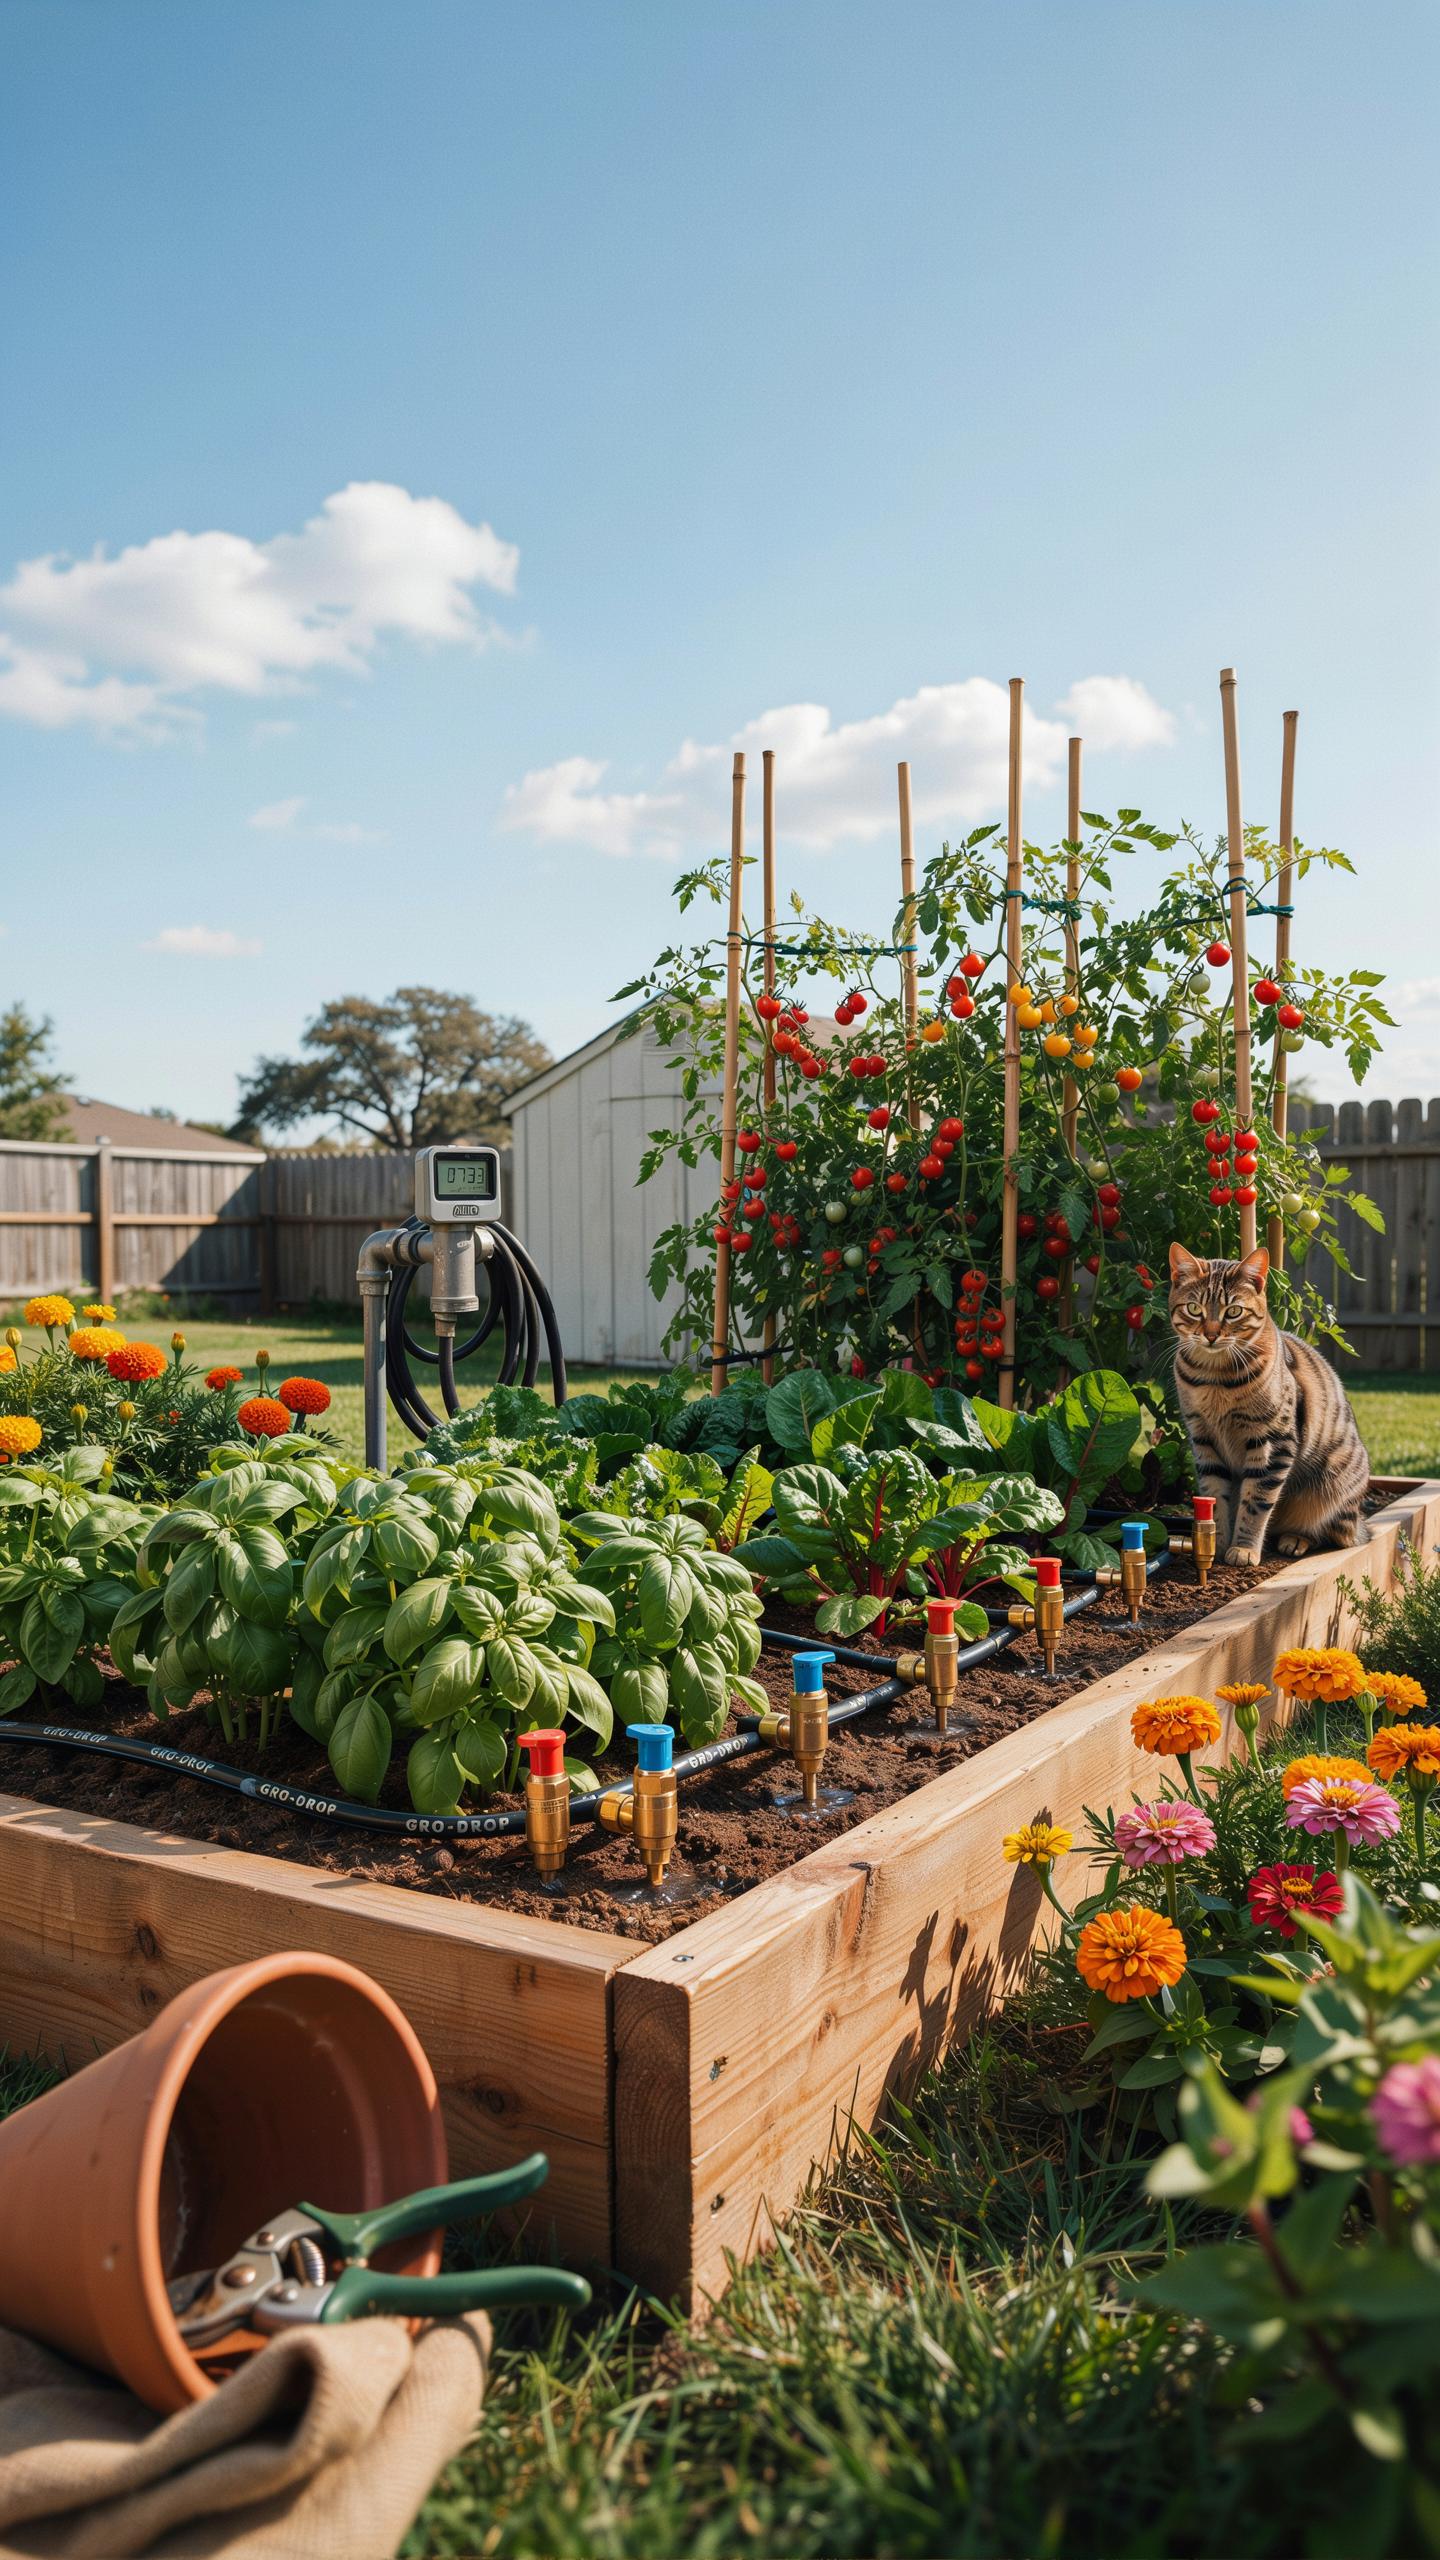
A professional setup starts at the water source with a backflow preventer. This device stops dirty garden water from flowing back into your clean house supply. You also need a pressure regulator to lower the high force of household pipes. High pressure will blow apart small drip fittings. A filter is the final gatekeeper to keep sediment from clogging your lines.
- Pressure Regulator: This component drops incoming high water pressure down to twenty or thirty pounds per square inch. Most drip emitters are plastic and will fail or pop off if the pressure exceeds their rating. It protects the integrity of your entire system.
- Backflow Preventer: This valve ensures that water only travels in one direction. It prevents fertilizers or soil bacteria from siphoning back into your home drinking water during a pressure drop. Most local building codes require this specific part for safety.
- Main Supply Tubing: This thick pipe acts as the primary artery for your system. It is usually half-inch polyethylene tubing that carries water from the source to the beds. It must be durable enough to withstand sun exposure and regular garden activity.
- Drip Emitters: These small devices control the exact flow of water to your plants. They come in various flow rates measured in gallons per hour. You choose them based on the specific water needs of your crops and your soil type.
- Filter: This part traps sand and grit before it enters the small tubes. Drip holes are tiny and clog easily with even small particles. Using a fine mesh filter extends the life of your emitters and reduces maintenance time.
Connect the main line to the raised bed using elbow or tee fittings. These connectors allow the tubing to climb up the side of the wooden frame without kinking. Inside the bed, use smaller distribution lines to reach individual plants. Secure every connection with stakes to keep lines from shifting during the growing season. Proper layout ensures efficient water delivery.
How To Choose The Right Emitters, Tubing Size, And Connectors For Your Raised Bed
Select half inch tubing for your main trunk lines to ensure high volume. Quarter inch micro tubing works best for the final run to each plant. Use pressure compensating emitters if your garden sits on a slope. These emitters deliver a steady flow regardless of elevation changes. Standard non-compensating emitters work fine for flat beds where gravity is not a major factor.
Avoid cheap friction fittings that leak over time. Purchase compression or brown barbed fittings for a permanent seal. Match your emitter flow rate to your soil type. Sandy soil needs high flow emitters because water sinks fast. Clay soil requires slow emitters to prevent puddling and runoff. Tactical choices at the start prevent dry spots and wasted water later in the summer.
Step By Step Guide To Installing Your Garden Bed Irrigation System
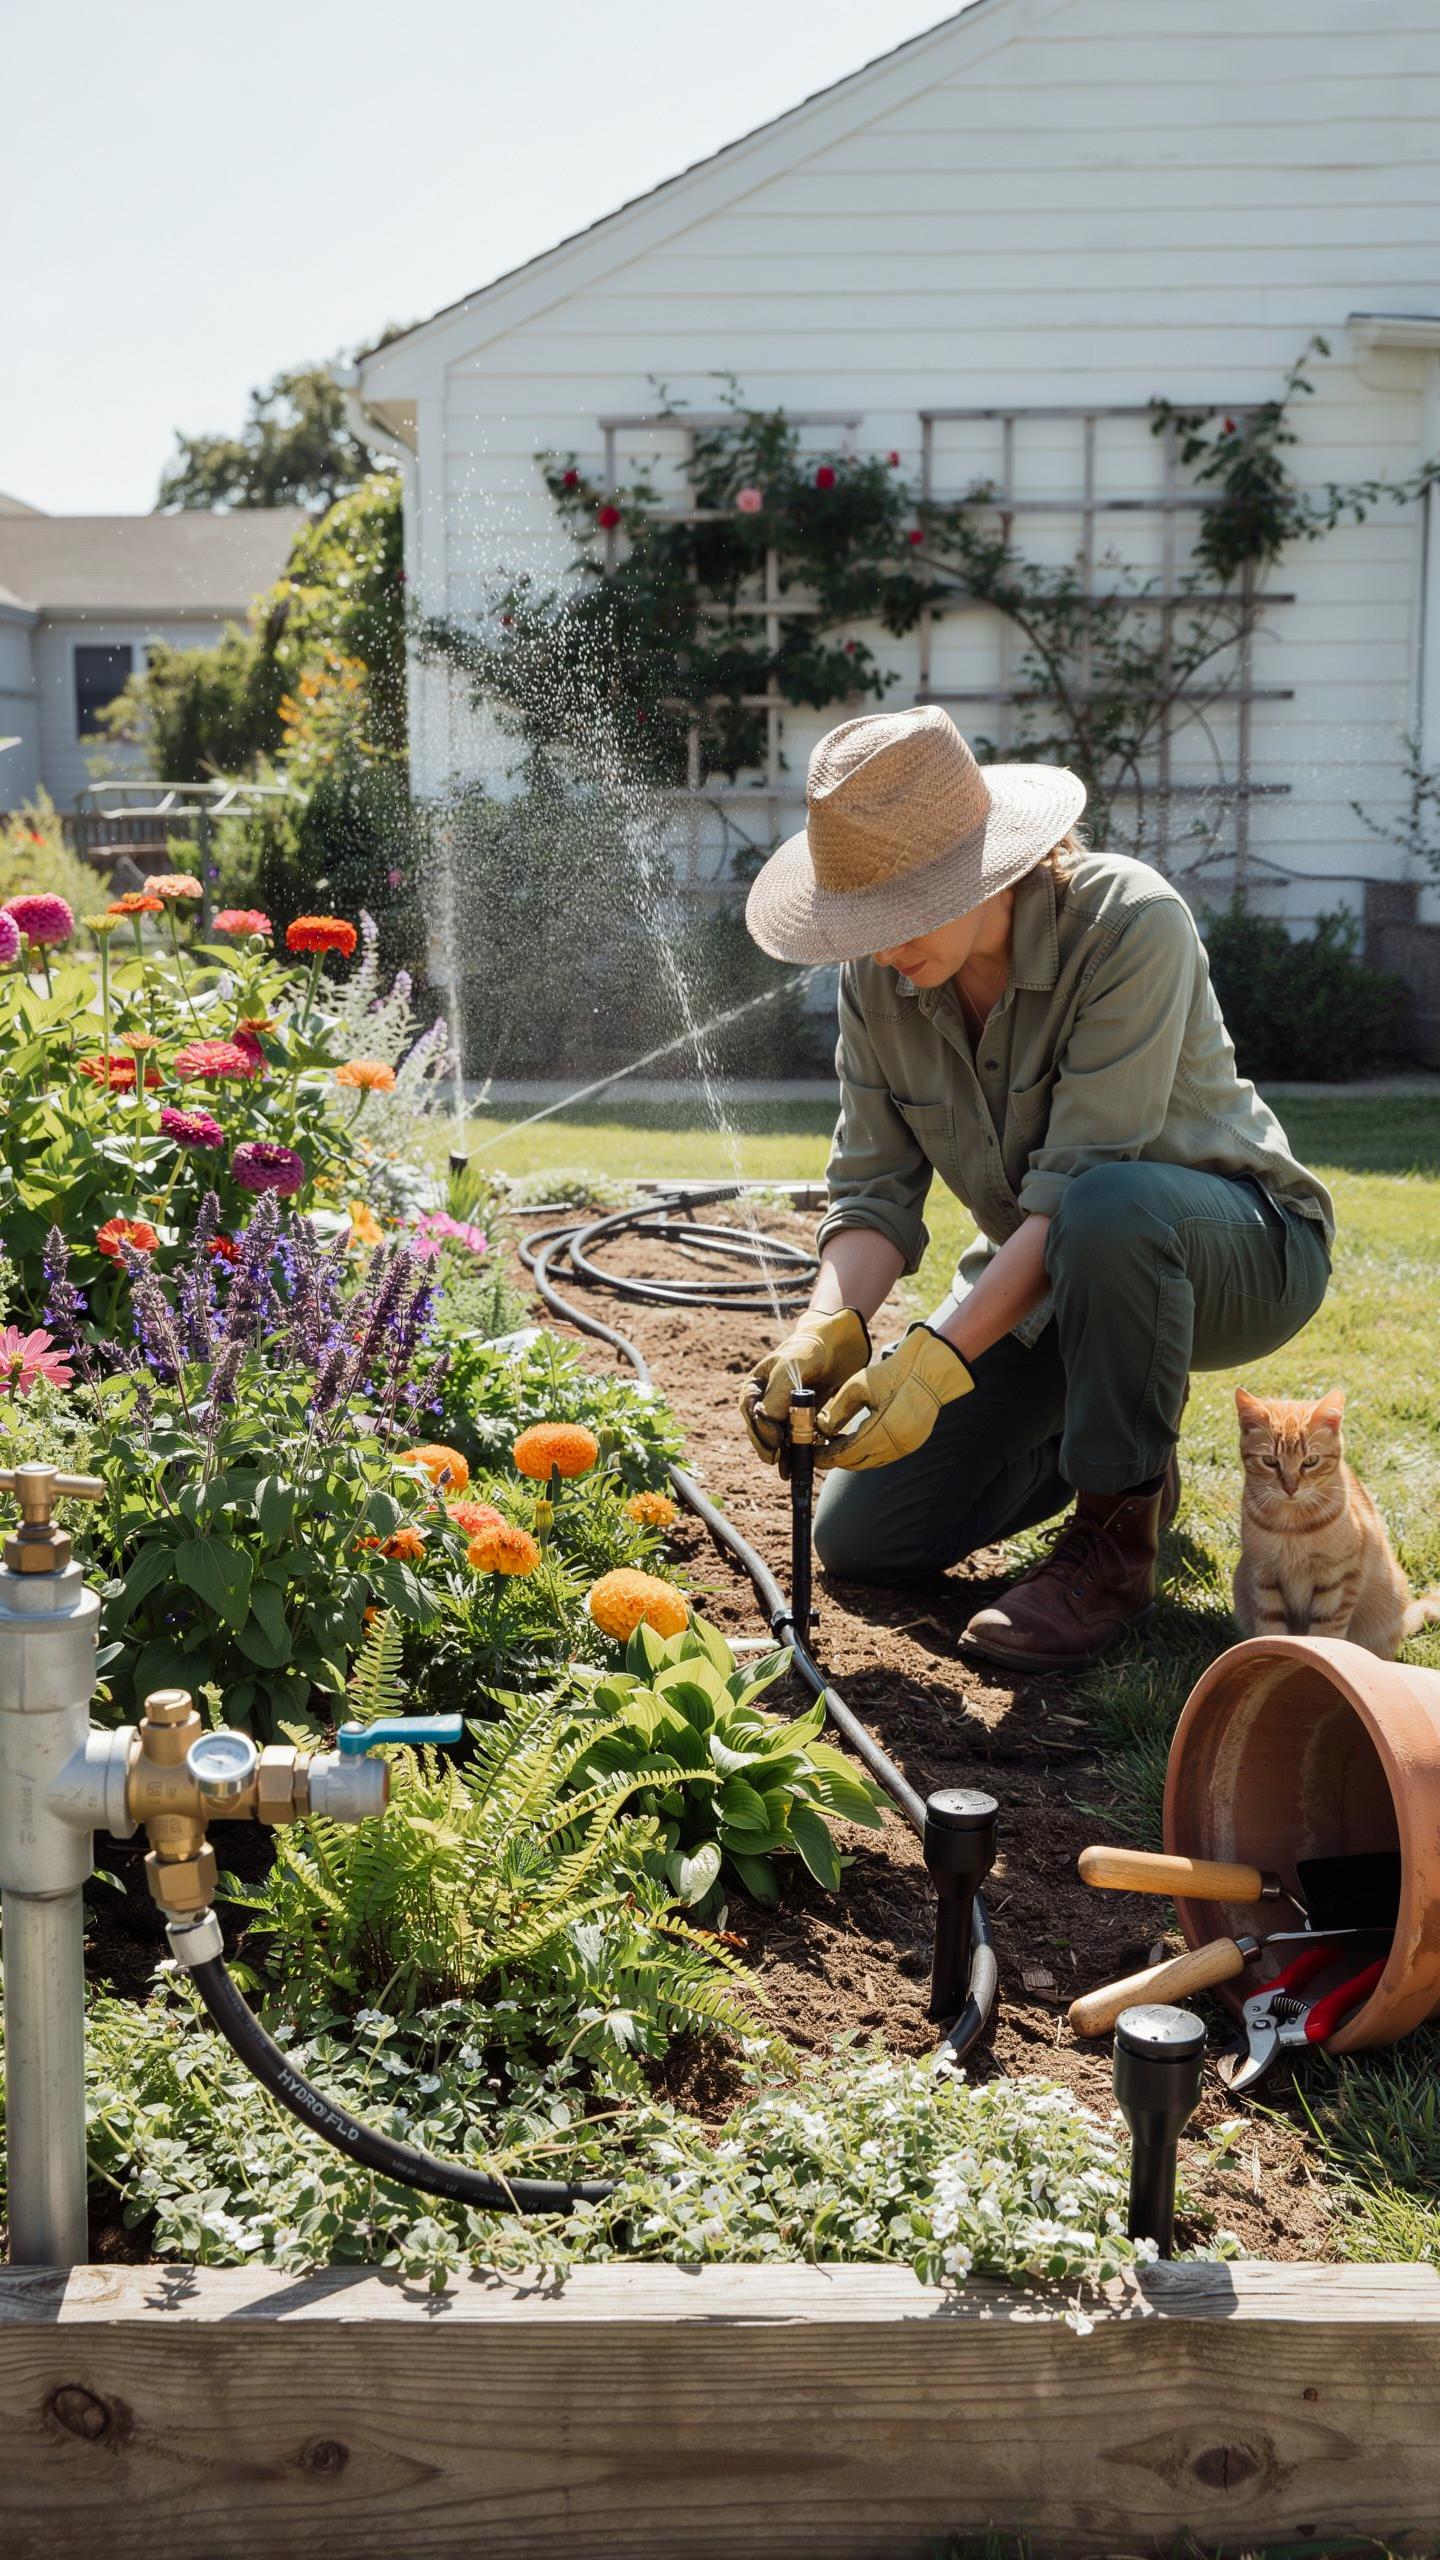
How To Install Garden Bed Irrigation From Header Line To Drip Emitter In One Afternoon
Efficient installation starts with a solid main header line. Connect your heavy duty poly tubing to the water source using a pressure regulator. This device prevents high pressure from blowing out your fittings. Run the main line along the edge of your raised beds. Use elbow fittings to navigate corners without kinking the pipe. Secure every connection with galvanized metal stakes to keep the lines from shifting over time.
- Pressure Regulator: This component reduces high household water pressure to a manageable level for drip components. It prevents plastic fittings from cracking and keeps emitters from popping off the tubing under stress. Install it directly after your faucet or timer.
- Main Header Line: Use half inch polyethylene tubing for your primary distribution route. This thick pipe carries the bulk of the water volume to your beds. It resists UV damage and serves as the structural foundation for your entire irrigation layout.
- Quarter Inch Spaghetti Tubing: This flexible line branches off the main header to reach individual plants. Use a punching tool to create holes in the main line. Insert barbed connectors to bridge the gap between the large pipe and these smaller feeder lines.
- Drip Emitters: These small devices control the flow rate of water to each plant root zone. Choose pressure compensating emitters for even distribution across uneven terrain. They deliver a specific number of gallons per hour regardless of where they sit on the line.
- Goof Plugs: Keep these small plastic inserts nearby to seal accidental holes in your main line. They allow you to move transition points if you change your garden layout. They provide a cheap and instant fix for leaks caused by installation errors or tool slips.
Layout your emitters based on plant spacing and soil type. Sandy soil requires emitters placed closer together because water moves vertically. Clay soil allows wider spacing because water spreads horizontally through the profile. Cut your tubing with sharp bypass pruners for clean edges. Press every barb fitting fully into the pipe to ensure a leak proof seal. Finish by capping the end of each run with a figure eight flush valve.
Testing And Flushing Your New Garden Bed Irrigation System Before The First Watering Cycle
Flushing the system removes plastic shavings and soil that entered the pipes during construction. Leave the ends of your lateral lines open before you turn on the water. Run the system at full pressure for two minutes. Watch the water flow out of the open pipe ends. Stop the flow once the water runs clear. Debris will clog small emitter orifices if you do not perform this critical step.
Close the end caps and check every connection for leaks. Walk the entire length of the header line and inspect each emitter for proper flow. Listen for hissing sounds which indicate a loose fitting or a punctured line. Ensure the pressure regulator maintains a steady output without vibrating. High quality systems operate silently and deliver water only where you intended. Proper testing on day one prevents plant loss and water waste later.
Irrigation For Raised Beds Spacing Flow And Seasonal Scheduling Tips
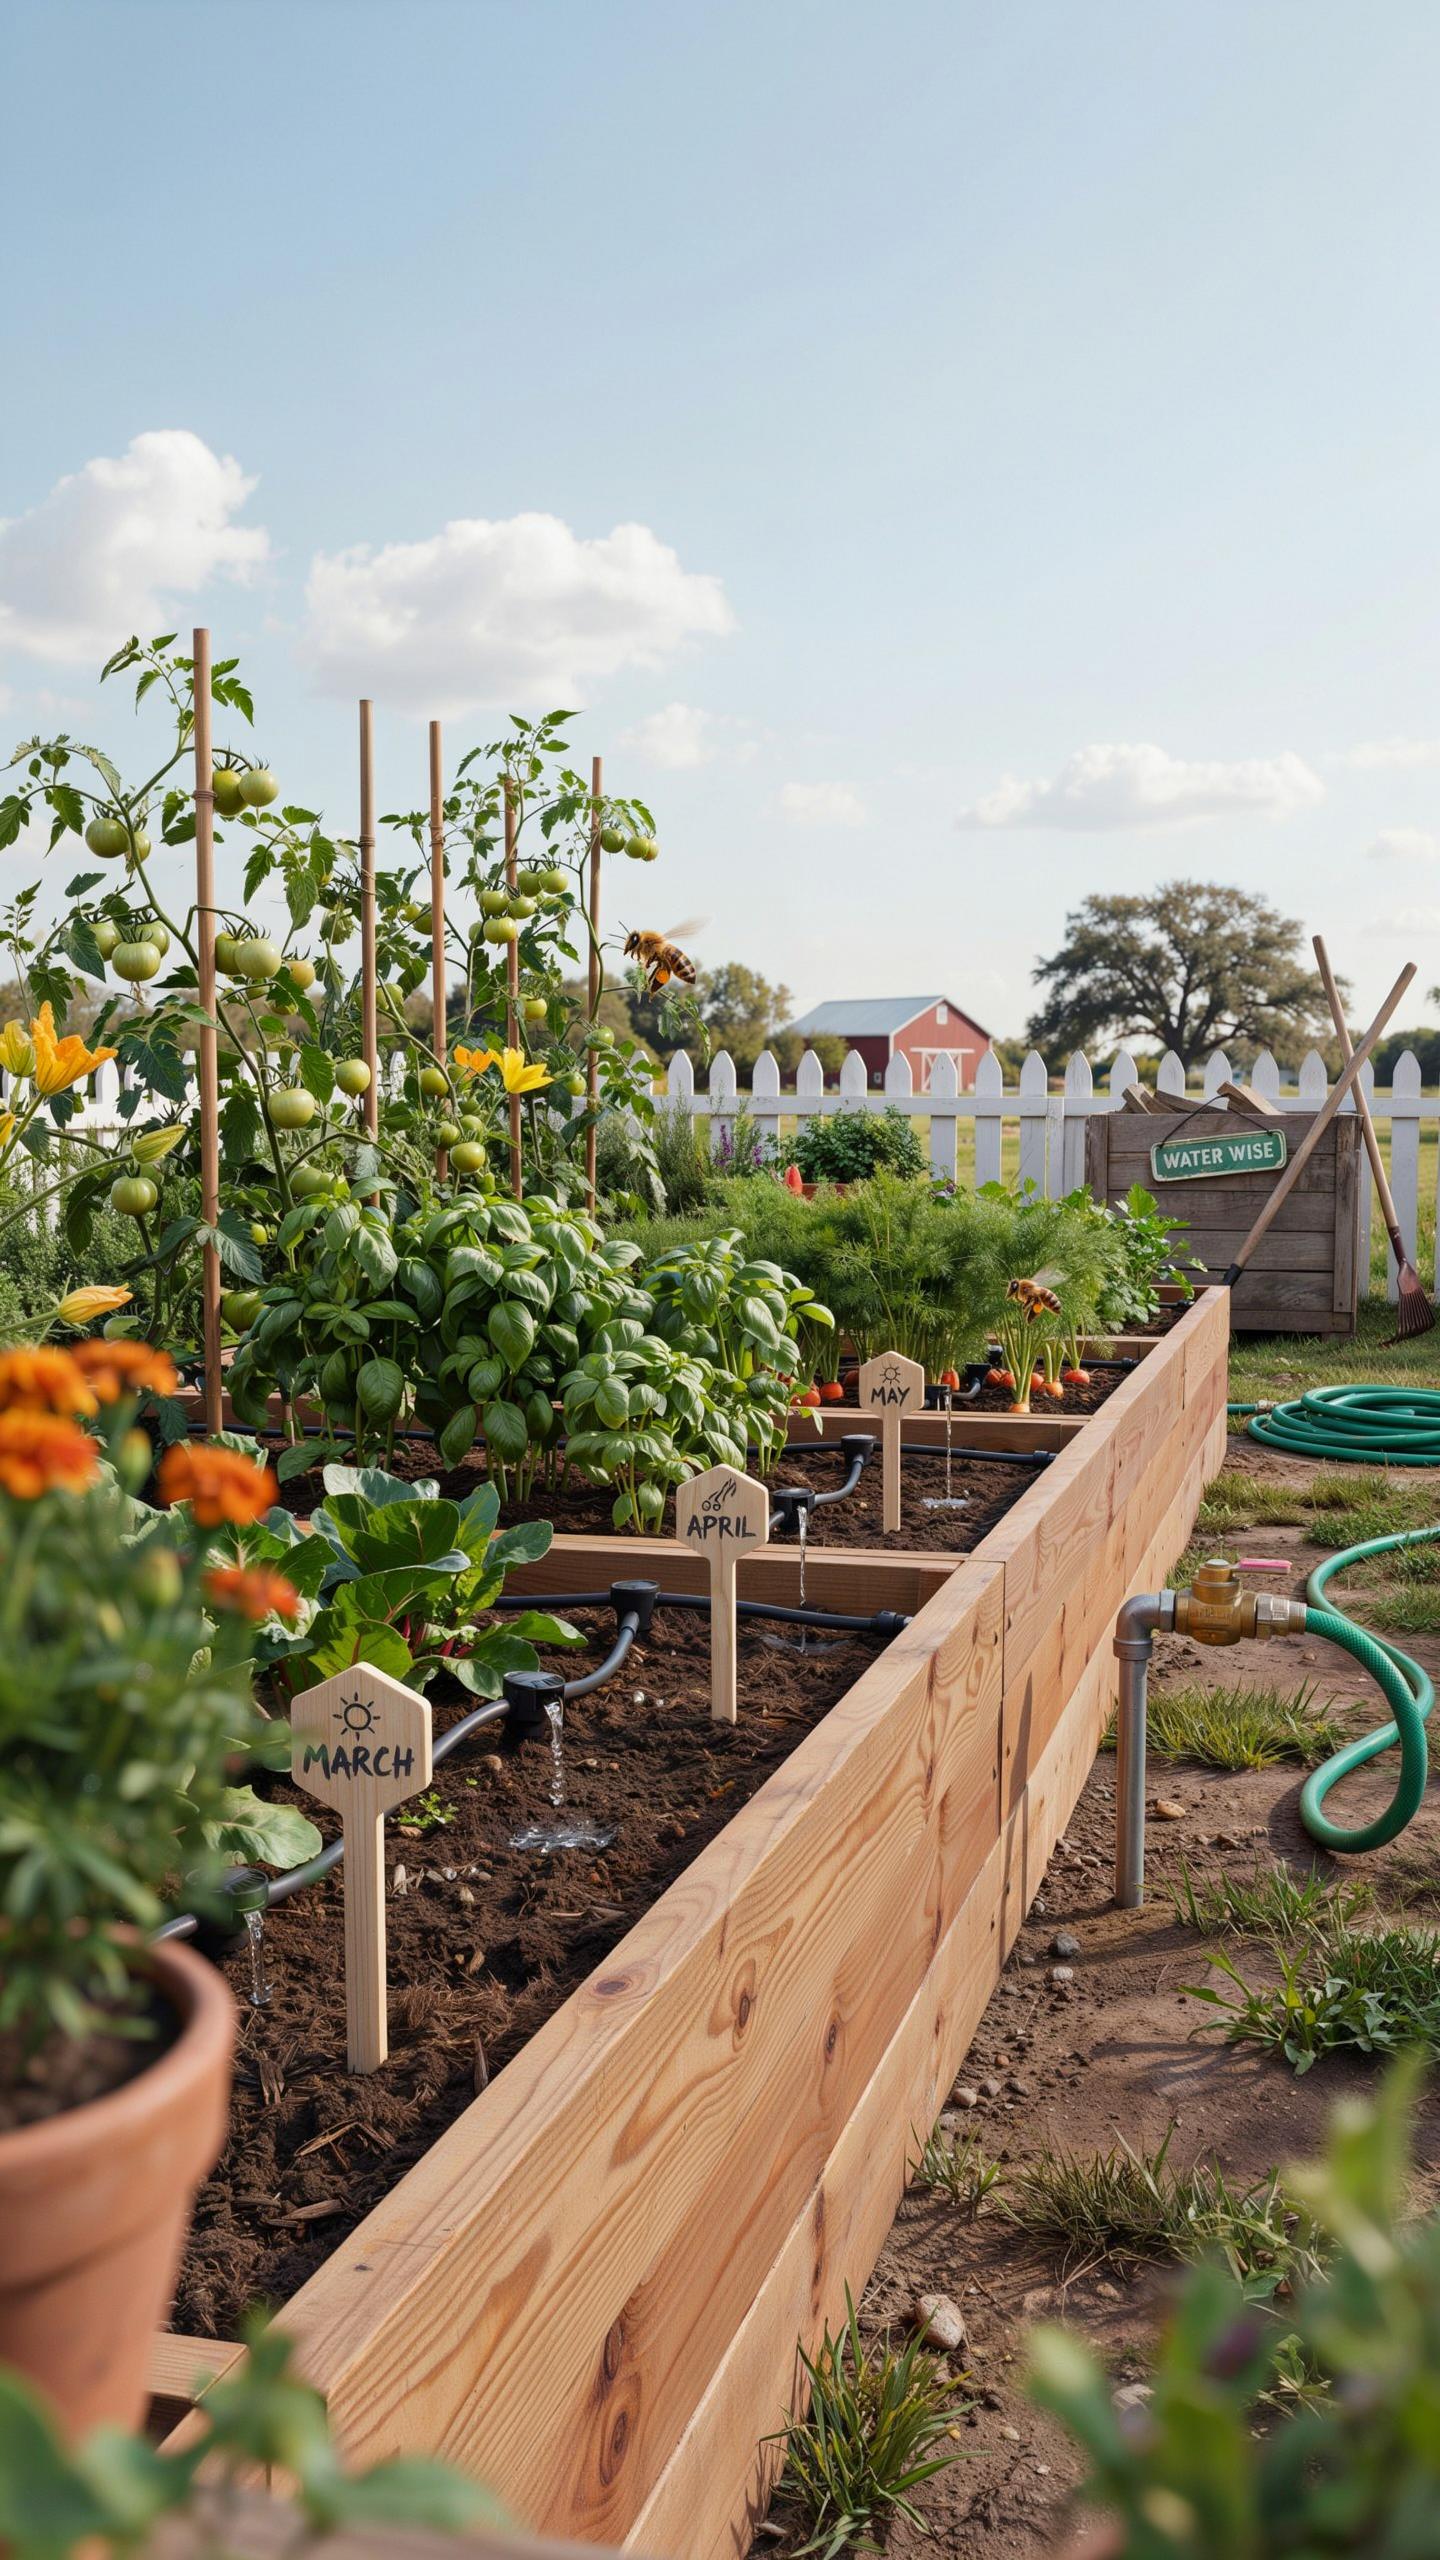
How Emitter Placement And Flow Rate Affect Soil Moisture Levels In Irrigation For Raised Beds
Emitter spacing dictates the uniformity of your root zone hydration. Raised beds drain faster than ground soil. You must place emitters every six to twelve inches to prevent dry pockets. Closely spaced emitters create a continuous wet strip. This ensures roots do not struggle for water in porous potting mixes. Use half-gallon or one-gallon per hour emitters to maintain control over total water volume.
Flow rate affects the depth of water penetration. High flow rates on sandy soil cause immediate runoff or leaching. Low flow rates on heavy soil allow for deep absorption without ponding. Match your emitter output to your soil texture and bed depth. High-quality systems use pressure-compensating emitters. These deliver the same amount of water to every plant regardless of the distance from the main water source.
Setting A Seasonal Watering Schedule That Matches Your Crops And Local Climate
Your watering schedule must change with the weather. Spring requires less water because the air is cool and plants are small. You should check soil moisture levels three inches deep before running the system. Early morning watering reduces evaporation and prevents fungal growth on leaves. Automation helps but manual overrides are necessary during rain events to avoid root rot and nutrient leaching.
Peak summer heat demands longer run times and higher frequency. Transpiration rates increase as temperatures rise and plants reach maturity. You may need to run your drip system twice daily during heat waves. Decrease the frequency when fall arrives and growth slows down. Always monitor your plants for signs of stress. Adjust the timer settings based on actual soil conditions rather than a set calendar date.
Maintaining And Troubleshooting Your Raised Bed Irrigation System Year Round
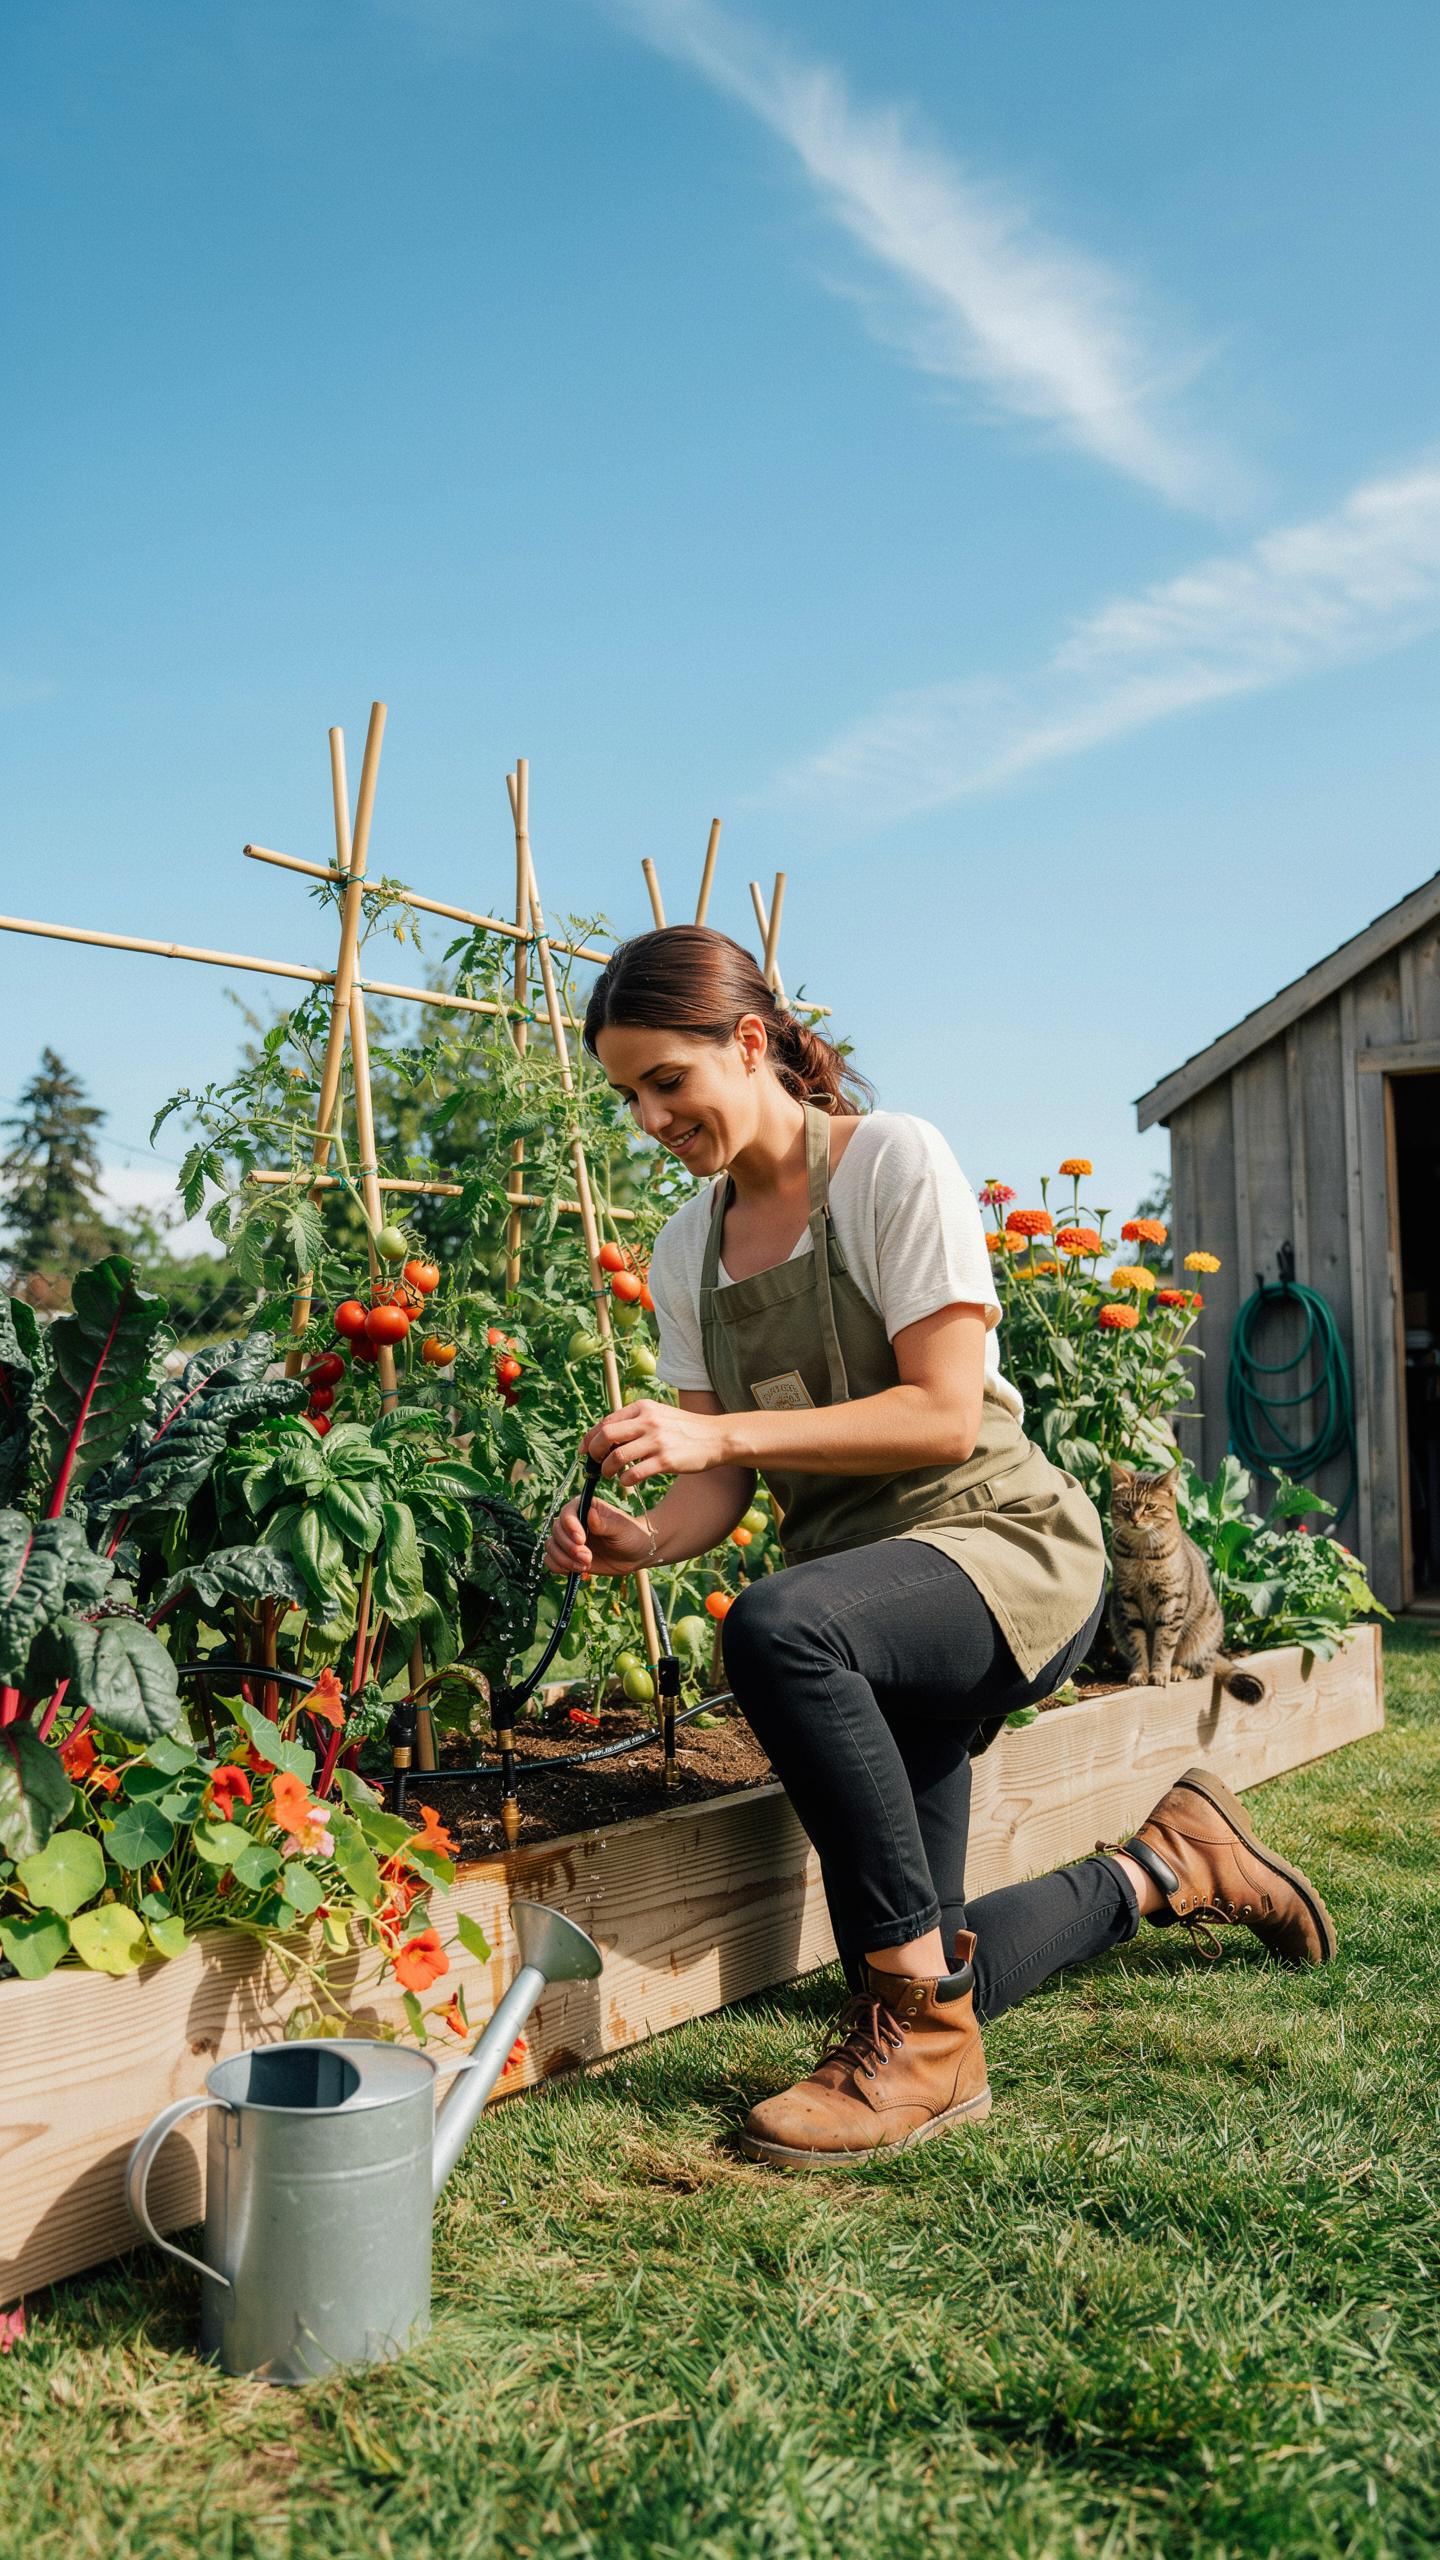
Routine Maintenance Tasks That Keep Your Raised Bed Irrigation System Running Efficiently
Check your filter every month to prevent sediment buildup. Dirt and minerals clog emitters quickly in small systems. Flush the main lines at the start of each season. Open the end caps and run the water for two minutes. This cleared debris ensures even pressure across all raised beds. Inspect every line for leaks or kinks that restrict water flow to your plants.
Winterize the system before the first hard freeze hits your region. Drain all water from the pipes to prevent expansion cracks. Remove the battery operated timer and store it indoors to protect the internal seals. Check the pressure regulator for signs of wear or salt buildup. Clean the emitters with vinegar if hard water deposits slow down the flow rate over time.
Common Drip Irrigation Problems In Raised Beds And How To Fix Them Quickly
Fixing a clogged emitter starts with a manual inspection. Use a small wire to clear the orifice or replace the head entirely. If an entire section fails, check for a collapsed supply line. Soil weight or foot traffic can crush thin-walled tubing easily. Splice in a new connector to restore flow. Ensure the pressure regulator maintains twenty-five pounds per square inch continuously.
Uneven watering often indicates a pump or pressure issue. High beds further from the source receive less water if the flow is too low. Install a booster or split the zones to balance the output. Replace punctured lines with simple barb couplers immediately. Always keep a kit of spare tees and plugs near your garden. Rapid repairs prevent root stress and keep your vegetable yields high.
Drip Irrigation Vs Other Watering Methods Which Wins For Raised Bed Gardening
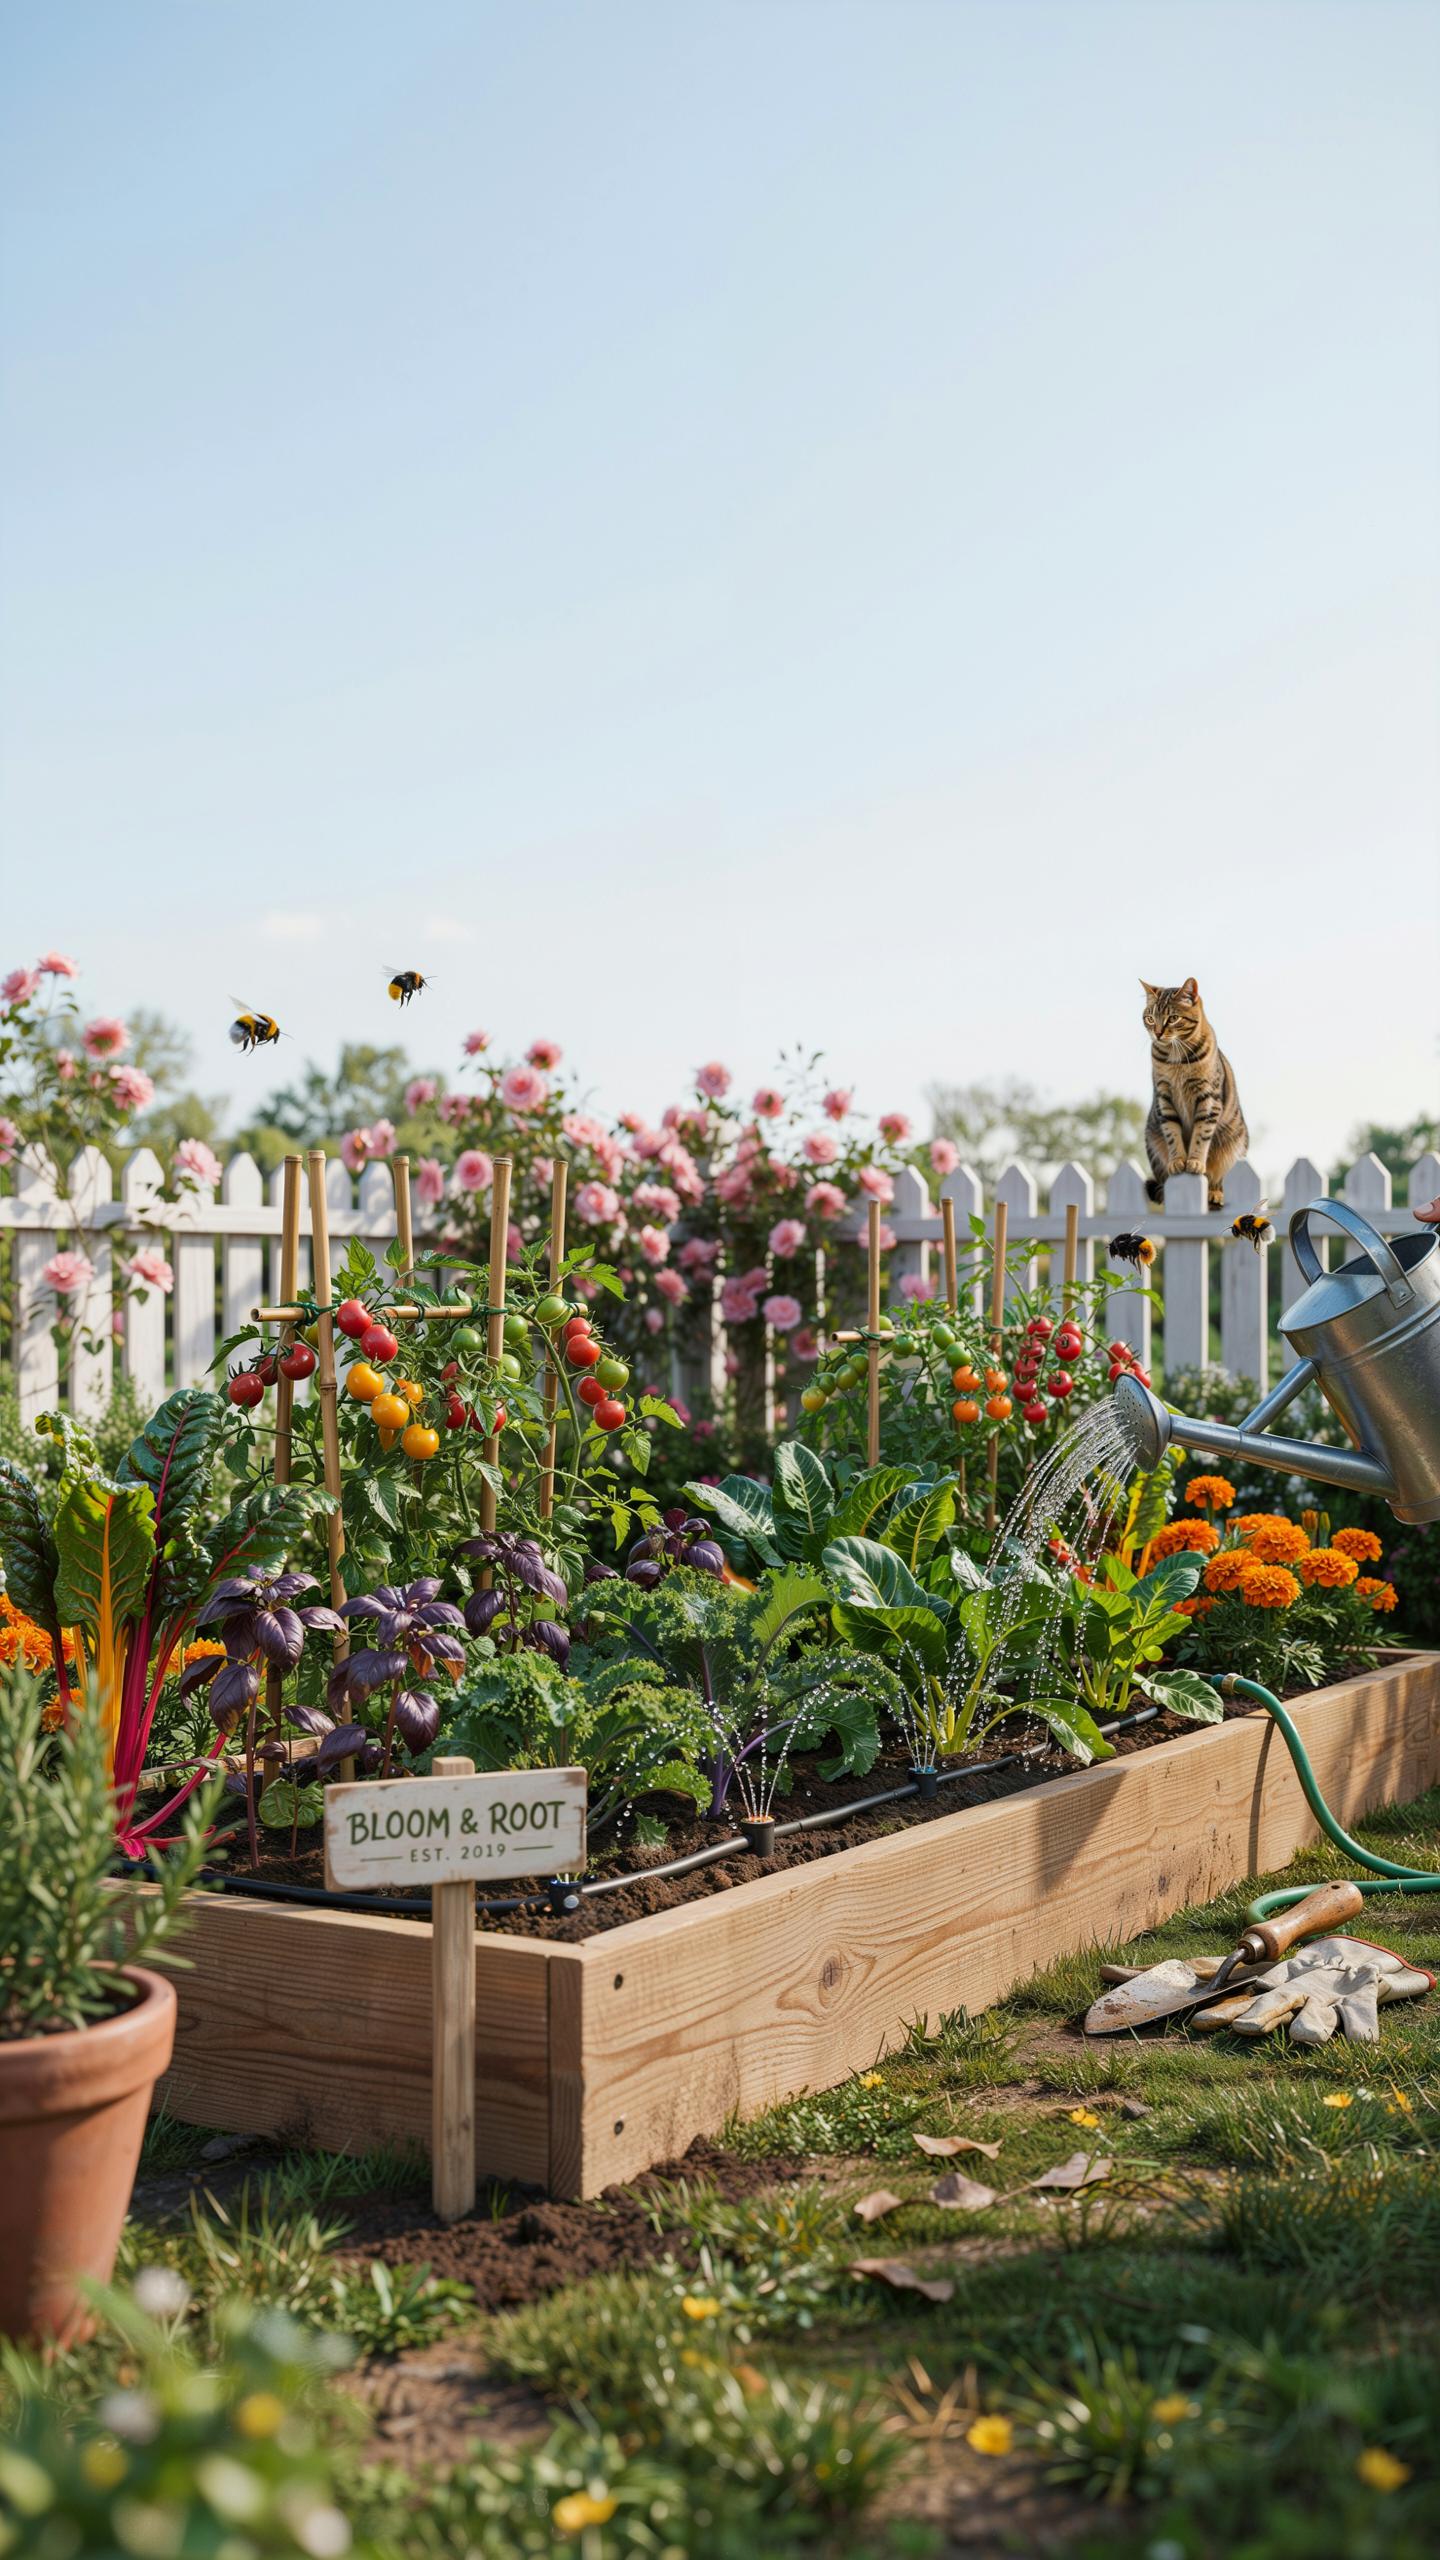
How Drip Irrigation Compares To Soaker Hoses, Overhead Sprinklers, And Hand Watering
Raised bed gardening drip irrigation outperforms traditional methods by delivering water directly to the soil. Overhead sprinklers waste water through evaporation and wind drift. They also wet plant foliage which increases fungal disease risks. Hand watering takes too much time and often leads to uneven moisture levels. These old methods fail to reach the deep root zones required for high density vegetable production.
Soaker hoses offer more precision than sprinklers but lack the control of drip emitters. They often weep water unevenly due to pressure drops along the line. Drip systems use pressure compensating emitters to provide a consistent flow rate to every plant. This setup ensures that your crops receive the exact amount of water they need. You stop wasting water on the paths between your beds.
When Drip Irrigation Is The Smartest Long Term Investment For Serious Raised Bed Gardeners
Drip irrigation is the best choice when you manage multiple raised beds. It reduces your physical labor and automates the watering schedule. Manual watering becomes a liability during heat waves or vacations. A drip system paired with a timer eliminates this human error. You protect your investment in seeds and soil by maintaining stable moisture levels throughout the entire growing season.

The upfront cost of drip components is higher than a simple garden hose. However the system saves money over time through lower water bills and better crop yields. High quality polyethylene tubing and emitters last for many years with basic winterization. Serious gardeners use drip systems to scale their production without increasing their workload. It is the gold standard for efficient and productive raised bed management.
Frequently Asked Questions

Why should I choose drip irrigation for my raised garden beds?
Switching to raised bed gardening drip irrigation is a game-changer for beginners because it delivers water directly to the plant roots. Unlike overhead watering, which can lead to fungal diseases and evaporation, this method keeps foliage dry and conserves water. It ensures your soil stays consistently moist, preventing the stress of dry spells and helping your vegetables thrive with minimal effort throughout the growing season.
How do I lay out a drip system in a raised bed for maximum efficiency?
To install raised bed gardening drip irrigation effectively, start by running a main supply line to your beds. Inside the frames, use 1/4-inch soaker tubing or emitter lines spaced about six to twelve inches apart. Lay the tubing in a grid or “S” shape to ensure even coverage across the entire soil surface. Securing the lines with garden stakes prevents shifting and ensures every plant receives the hydration it needs.
Is setting up a drip irrigation system expensive for a home gardener?
Investing in a drip system is surprisingly affordable and pays for itself through reduced water bills and higher crop yields. You can start with a basic starter kit that connects directly to your outdoor faucet for a small initial investment. Because the components are modular and durable, you can slowly expand your setup over time, making it an accessible and sustainable solution for any gardener looking to improve their backyard harvest.



