The Law Of Unintended Consequences: Why More Shelves Kill Your Seeds
Airflow Collapse Kills Before Drought Does
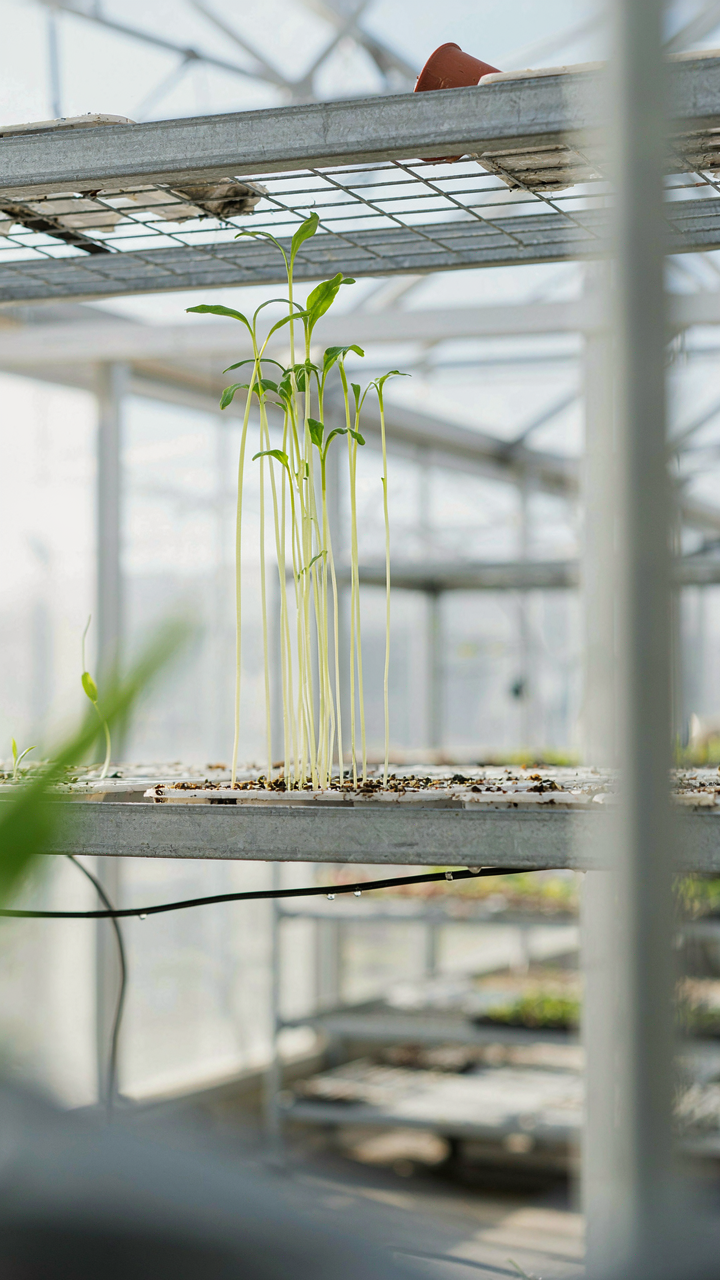
You want to pack more plants into less space. That’s not wrong. But you’re solving for quantity when seedlings are solving for survival. The mechanism here is simple biology: stacked shelves create dead zones where air doesn’t move. Seedlings need air velocity to trigger stem strengthening. Without it, they stretch toward light that’s still blocked by the shelf above, then collapse when you move them outside where wind exists.
Most growers add fans without rethinking shelf density. That’s incomplete. A standard oscillating fan cannot reach the back corners of a tightly packed shelf unit. The real problem isn’t the fan. It’s that dense shelving reduces the air exchange rate between shelves below the threshold seedlings need to stay compact and rigid. You don’t solve this by buying better equipment. You solve it by leaving vertical space between shelves. Minimum twelve inches between the top of plants and the next shelf up. This isn’t preference. It’s the physical requirement.
Plant Vigor Declines Before You Notice The Crowding
Density and seedling strength move in opposite directions. Take this from forestry and apply it here: trees in overcrowded stands allocate energy to height competition instead of root development. Seedlings do the same. When you stack shelves too close, every plant competes for the light hitting that shelf, so they prioritize upward growth over establishing the root mass they need to survive transplant.
The inverse relationship matters because plants look fine until they don’t. A crowded seedling tray looks productive. Forty days later, in the field, those stems snap under their own fruit weight or wilt in their first real wind. The damage was already locked in at shelf stage. You prevented it by spacing shelves far enough that seedlings can develop horizontally and build root strength, not just chase light. Measure shelf spacing before you buy the unit, not after seedlings are already stretching.
Vertical Stratification: The Greenhouse Shelves Climate Ladder
How Heat And Moisture Move Through Shelf Tiers
You want perfect seedlings without obsessing over every variable—that’s the real reason you’re reading this. The mechanism is thermodynamics: warm air rises, cool air sinks, and humidity follows the temperature gradient. Borrowing from HVAC engineering, your shelving creates a “stratification zone” where each tier experiences a measurable microclimate. Top shelves run hotter and drier. Bottom shelves stay cooler and hold moisture longer. This isn’t random—it’s physics.

Most growers ignore the vertical temperature spread inside a greenhouse, then wonder why top seedlings bolt and bottom seedlings damp off. The difference between top and bottom shelf can exceed 8 to 12 degrees Fahrenheit on a sunny day, even in a small space. Air circulation fans help, but they don’t eliminate the gradient—they just slow it down. You work with stratification instead of against it by placing seedlings that need heat stress on upper tiers and moisture-sensitive starts on lower shelves where conditions are more stable.
Matching Seedlings To Tier Placement
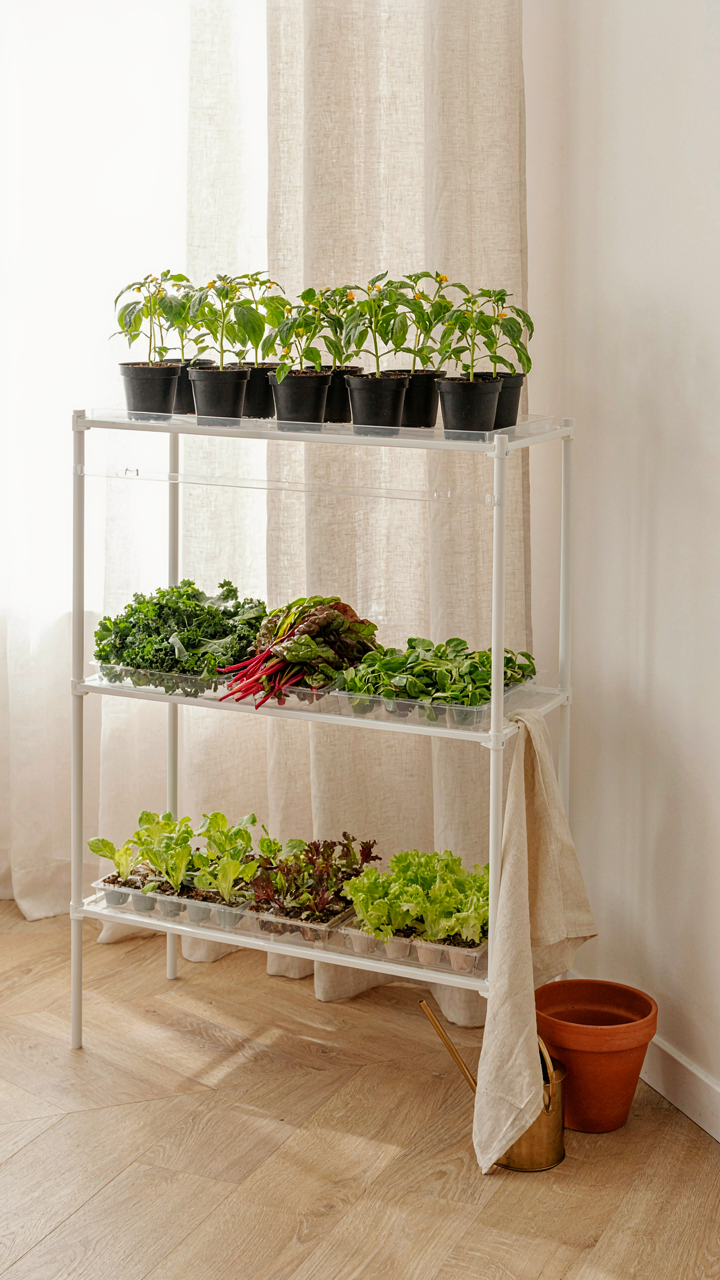
Warm-season crops demand top-tier real estate where temperature spikes fastest. Tomatoes, peppers, and eggplants thrive in the 70 to 85-degree range that naturally occurs on upper shelves during daylight. They germinate faster and develop stronger root systems when heat is consistent. Cool-season seedlings—lettuce, spinach, brassicas—tolerate or prefer the 60 to 70-degree band that develops on middle and lower shelves.
The placement protocol works like this: germinate warm-season seeds on top, move them to middle tiers once sprouted and established, then move cool-season seedlings to lower tiers where they won’t stretch reaching for light and won’t experience temperature shock from sudden cooling. Rotate lower shelves with supplemental LED grow lights since they receive less direct sun. This three-tier sorting system cuts transplant failure rates because you’re matching environment to biology, not fighting it.
The Ergonomics Of Growth: Your Body, Your Best Greenhouse Set Up Ideas
Designing For Access Not Just Storage
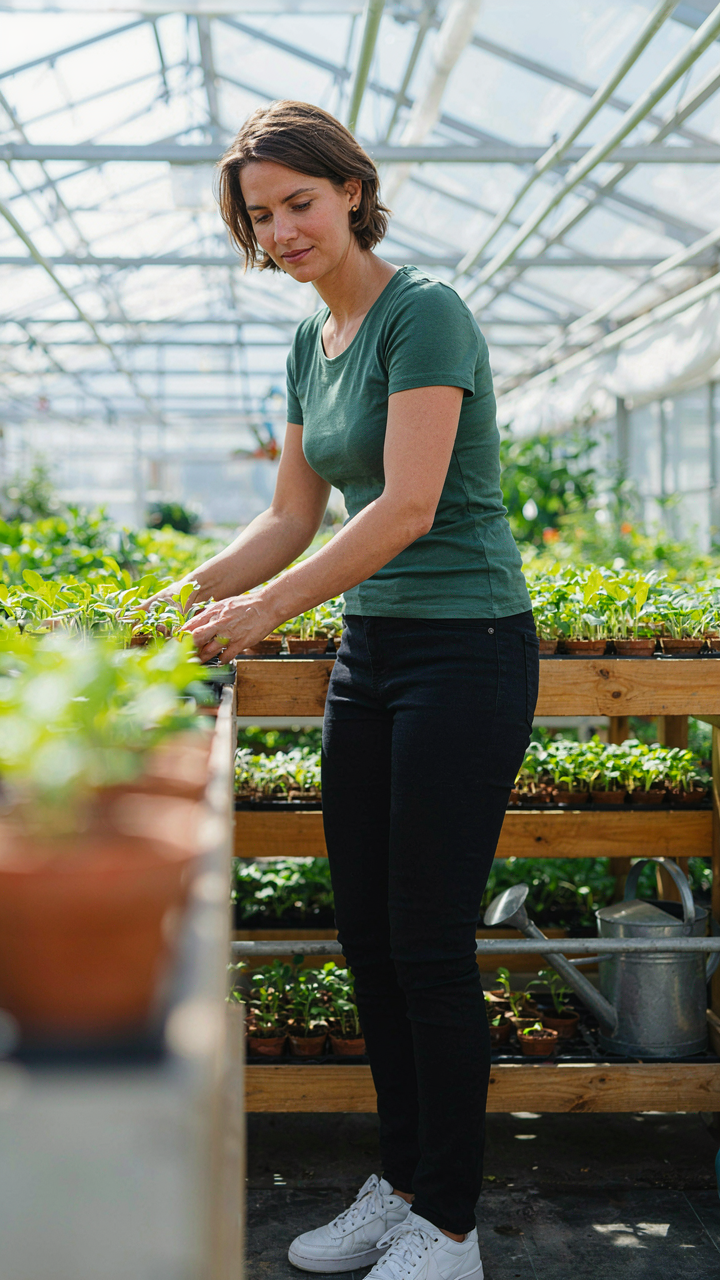
You want your shelving to look intentional because you think it proves you’re serious about growing. The real mechanism is simpler: bad access kills consistency. When you can’t reach your seedlings without contortion, you skip watering checks. When trays sit three rows deep, the back ones die from neglect. Access isn’t a luxury detail—it’s the difference between a working system and a graveyard.

Arrange shelves so every plant lives in a zone you can reach without moving other trays. Standard greenhouse benches run 24 to 30 inches deep for this reason. Front-facing orientation matters more than you think. A seedling in the back corner of a deep shelf gets half the attention of one at eye level on the front edge. Your behavior follows your setup, not the other way around.
Minimizing Strain Heights Depths Reach
Ergonomics borrows from biomechanics: the principle of load path—the route force takes through a system. In shelving, the load path is your body. Your most frequent tasks should happen between mid-thigh and mid-chest height. This isn’t comfort advice. It’s efficiency. Bending below waist height 30 times a day compounds strain faster than you notice, then it becomes a reason you stop entering the greenhouse as often.
Place seed trays on the middle shelf. Put finished seedlings or display plants on lower shelves since you handle them less frequently. Keep heavy items like soil bags and water below shoulder height. Top shelves work for tools, stakes, or labels—things you grab once per visit. The goal is a vertical layout that matches your actual movement pattern, not a theoretical one.
The Material Science Of Green House Shelving Ideas: Beyond Just Wood
What Actually Survives Constant Moisture
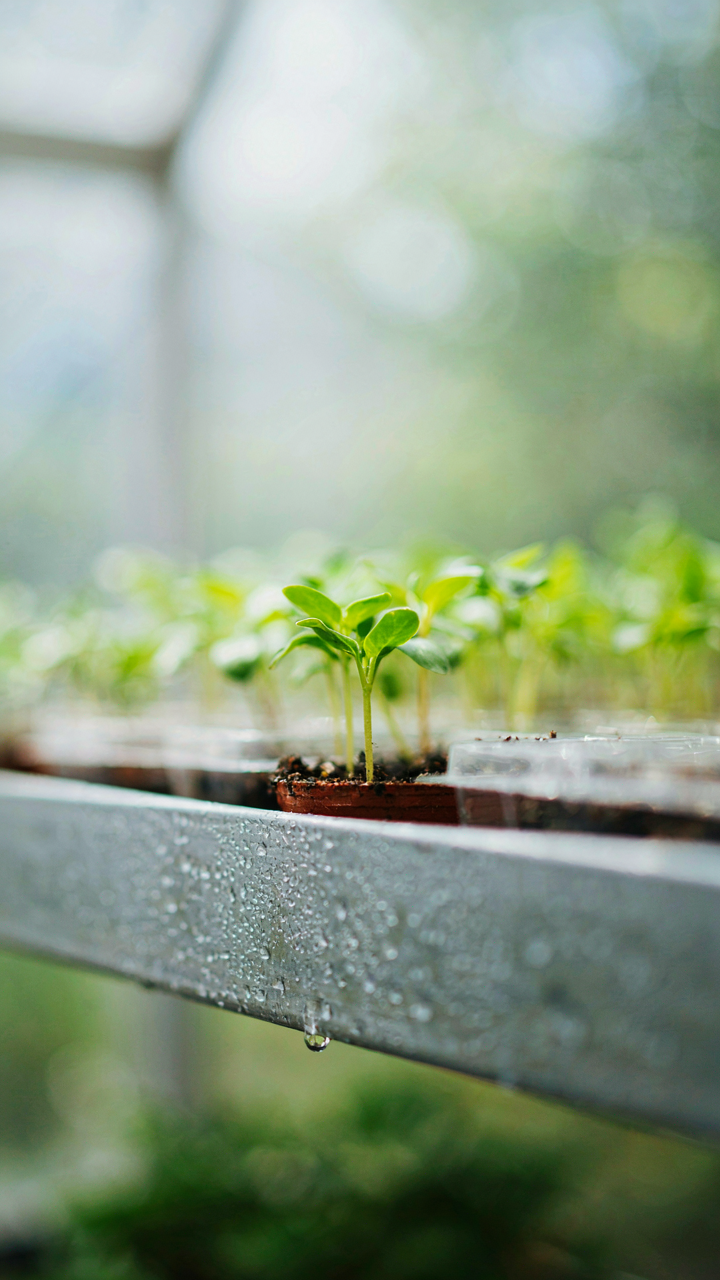
You want shelving that won’t collapse in two seasons because you’re tired of replacing things. That’s not weakness—it’s acknowledging the real mechanism: moisture doesn’t just sit on surfaces in a greenhouse. It cycles constantly. Applying materials science principles here means understanding corrosion as electrochemical degradation. Wood fails not because it gets wet, but because water enables microbial decay and structural cell collapse. Metal rusts through oxidation when moisture creates an electrolyte between its surface and oxygen. The shelf that survives isn’t the one that resists water—it’s the one engineered to shed it or remain inert to it.

Material choice determines replacement frequency, which determines total cost and labor spent rebuilding. Here’s what actually performs under sustained greenhouse conditions:
- Galvanized Steel: Hot-dip galvanized coating creates a zinc barrier that oxidizes slowly. Lasts 15-20 years in greenhouse environments with minimal maintenance. Weight supports dense seedling trays without deflection.
- Stainless Steel: 300-series stainless resists corrosion in high-humidity settings. Higher upfront cost but eliminates rust entirely. Best for commercial operations prioritizing zero downtime.
- Powder-Coated Aluminum: Aluminum base with protective coating reduces weight while maintaining durability. Coating degrades faster than galvanizing but easier to repair. Moderate cost, good for hobbyist setups.
- Composite Resin Shelving: Fiberglass or polycarbonate layers resist moisture completely. Won’t degrade but can crack under load if undersized. Requires proper structural engineering to prevent sagging.
- Treated Wood (Pressure-Treated): Chemical preservatives slow decay but don’t stop it permanently. Lasts 5-10 years in greenhouses. Budget option if replacement cycles fit your workflow.
Moisture doesn’t degrade materials uniformly. High-humidity zones near misting systems or propagation trays age materials three times faster than drier shelf areas. Strategic material placement extends lifespan. Install galvanized steel where misting occurs directly overhead. Use composite materials for lower shelves where standing water accumulates. Rotate less-durable materials to upper, drier zones where they’ll perform adequately.
Where Heat Moves Through Your Frame
Heat doesn’t just warm the air—it reflects, conducts, and transfers through material differently based on its properties. Aluminum conducts heat rapidly, which means a cold aluminum shelf will pull warmth from seedlings sitting on it. Steel conducts slower but still significantly. Wood barely conducts at all, which is why wooden shelves feel warmer to touch even at identical air temperatures. This matters operationally. Young seedlings need soil temperatures between 65-75 degrees Fahrenheit for germination. A metal shelf with no thermal barrier can drop soil temperature 8-12 degrees on cold nights.
Metal shelving reflects radiant heat from grow lights more efficiently than absorbing it. This means better light distribution across trays and less heat waste, but also less passive warming for cold-sensitive crops. If your greenhouse runs cool at night, thermal mass becomes your strategy—add water-filled containers on shelves to stabilize temperature swings. If you run hot lights, metal’s reflectivity prevents heat buildup that stresses seedlings. Wood absorbs and radiates heat slowly, creating a thermal lag that dampens temperature fluctuations. Composite materials vary by resin type and fiber density. Most perform similarly to plastic shelving, offering moderate insulation without conducting significant heat. Choose your material based on whether you’re fighting cold or heat loss in your specific greenhouse design.
The Seedling Decoupling System: Rethinking DIY Greenhouse Shelving Ideas
Closed Loop Control For Plant Growth
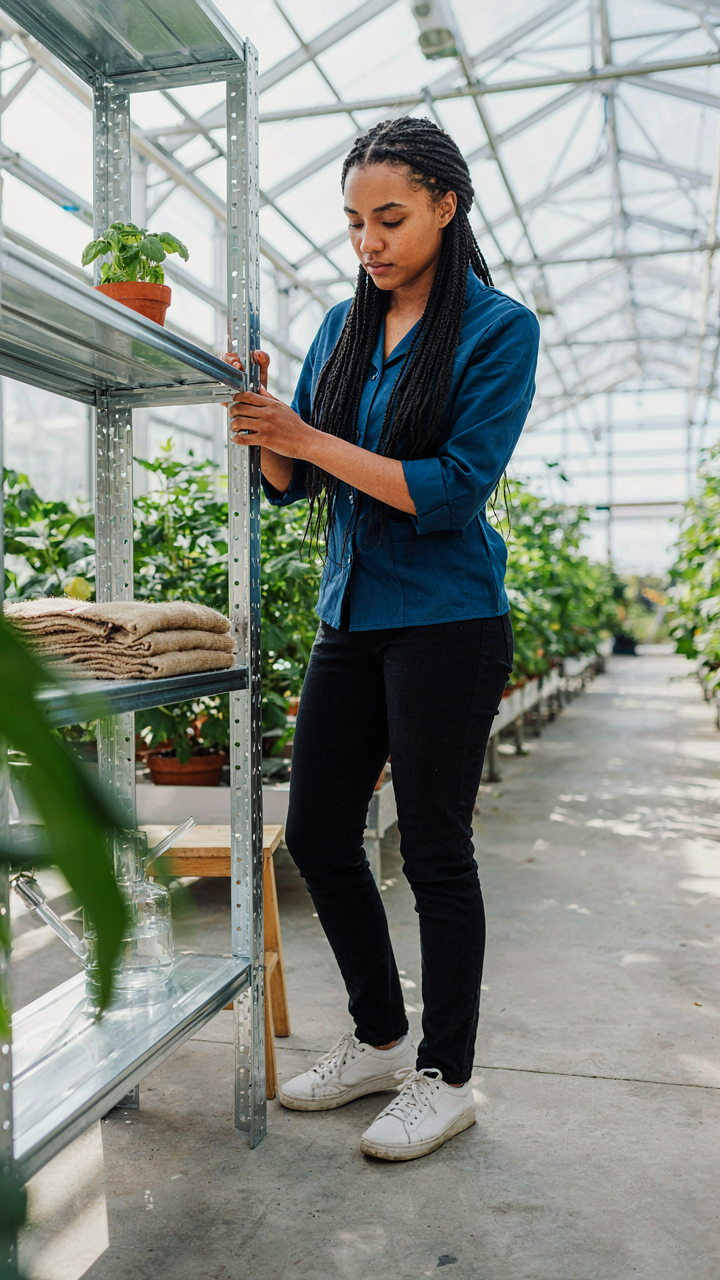
You want shelving that makes you look like you know what you’re doing without actually having to manage it constantly. The mechanism is feedback: most greenhouse shelving sits static while conditions drift. Cybernetics teaches us that systems need sensors and response loops. Apply this to shelving by positioning it to create distinct microclimates, then measuring which zones perform. Shelving height, spacing, and material directly affect airflow, light penetration, and humidity distribution. You’re not building shelves—you’re building a sensing system where the structure itself becomes an instrument for reading what plants actually need.

Most people treat shelving as passive storage. It’s not. Your shelf arrangement determines where temperature gradients form, where water pools, where light reaches. A two-tier system creates different conditions on each level. The top shelf gets 30 percent more light but loses moisture faster. The bottom shelf holds humidity but risks fungal issues. Mount shelves so air can move vertically between them. This isn’t decoration—it’s data collection made physical. Adjust shelf depth and angle based on what you observe in seedling performance over two growth cycles.
Modular Frames Beat Fixed Structures
Rigid shelving fails because plants don’t follow your original plan. You’ll outgrow it, need different configurations, or discover that your initial spacing was wrong. Modularity solves this through system resilience: when one part breaks or needs adjustment, the whole structure doesn’t collapse. Build your shelving around expandable frames rather than bolted units. Use slot-based uprights that accept shelves at any height interval. This lets you respond to actual growing conditions instead of honoring initial assumptions.
Bolt-together metal shelving designed for storage works but locks you into fixed positions. Better approach: industrial aluminum extrusion systems or wooden frames with adjustable shelf pins. When seedlings outgrow one shelf level, move them without dismantling everything. When you discover a section gets too hot, remove a shelf to increase airflow. Your shelving system should adapt faster than your plants grow. The metric that matters is how many times you can reconfigure without tools in under five minutes.
The Light Distribution Matrix: Best Greenhouse Lighting Hacks
Positioning Shelves For Uniform Light Reach
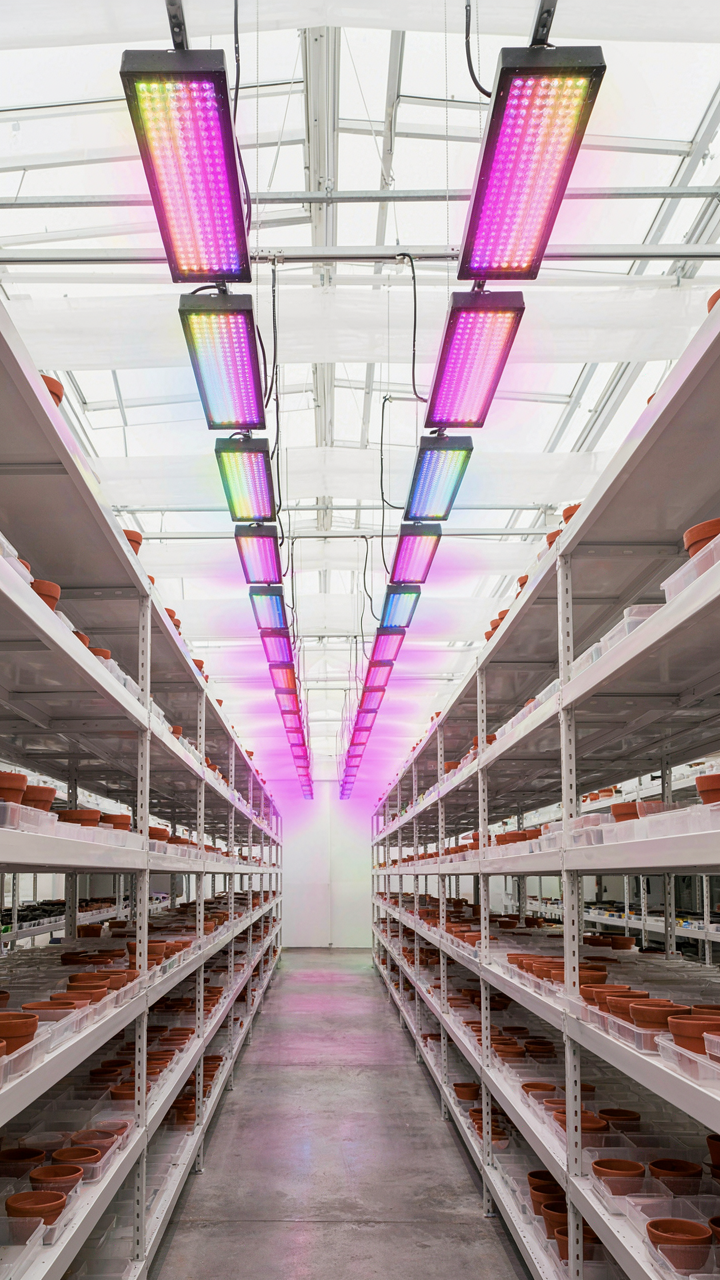
You want your seedlings to look perfect for the photo before you sell them, but uneven light exposure tanks growth and creates weak stems that snap under their own weight. Light follows the inverse square law from physics: intensity drops with the square of distance from the source. On a shelf, this means the center receives more photons than the edges, and the bottom shelf of a stack receives less than the top. Position your shelving 6 to 12 inches below grow lights, and stagger shelves slightly forward so lower tiers catch angled light rather than sitting in the shadow of the shelf above.
Most growers treat shelf placement like furniture arrangement. It’s not. The goal is uniform photosynthetic photon flux density across the growing area. Measure light intensity with a basic light meter at multiple points on each shelf: corners, edges, and center. If the variance exceeds 20%, adjust shelf depth or angle the light fixture slightly. You cannot see uneven light distribution by eye, but your seedlings show it immediately through differential stem length and leaf color. Test placement before filling shelves with trays.
Managing Intensity Gaps And Dead Zones
Nobody talks about the real cost of dead zones in greenhouse shelving: they’re not wasted space, they’re wasted money spent heating and maintaining air for nothing. Hot spots form directly under lights, and shaded corners appear where light rays diverge or where vertical posts and support structures block photons from reaching seedlings below. Use reflective surfaces on the back and sides of shelving units to bounce light into corners. Aluminum or white-painted plywood works. Avoid mirrors or glossy finishes that create concentrated beams and burn plant tissue.
The mechanical fix is spacing and angle. If you run two parallel light fixtures over shelving, position them so their light cones overlap slightly at the edges rather than creating a gap or doubling up in the middle. Rotate trays and move shelves laterally once or twice weekly to rotate plants through hot and mild zones. This prevents the uneven growth that signals poor light distribution. Measure light again after making structural changes to confirm the adjustment worked before you commit seedlings to that layout.
The Drainage Protocol: Preventing Root Rot On Greenhouse Shelves

Slope And Surface Design
You want your seedlings to survive because dead plants mean wasted money and time. The real issue is that most growers treat shelves like flat surfaces when they should treat them like engineered slopes. Borrow from civil engineering: gradient is the foundational principle that moves water. A shelf pitched at just 2-3 degrees forces water to move rather than pool, which kills roots faster than underwatering ever could.

The angle doesn’t need to be visible to the naked eye. A 24-inch-wide shelf only needs a quarter-inch drop from back to front to establish meaningful flow. Install your shelf slightly higher at the back end, or use shims under the front legs. This gradient works whether you’re using wood, metal, or composite materials. The water moves predictably toward the front edge where you collect it, not into the soil of plants sitting in the middle.
Materials That Reject Standing Water
Common advice says to use anything that doesn’t rot. That’s incomplete. The surface material itself must shed water, not absorb it, and the structure underneath must allow drainage beneath trays, not trap moisture between shelf and tray.
Expanded metal mesh and perforated aluminum both work because water passes through them immediately rather than pooling on top. Wood absorbs moisture and becomes a vector for rot and fungal growth, even treated wood. Solid plastic shelves without drainage holes force you to manually remove water or watch it sit. Use expanded metal with a 1/2-inch or 3/4-inch opening size, or perforated metal with holes no smaller than 1/4-inch. Pair either surface with a collection gutter or drip line at the front edge, angled downward to direct runoff into a container or floor drain system.
Integrated Pest Management: How Greenhouse Organization Protects
Air Flow Stops Fungal Problems Before They Start
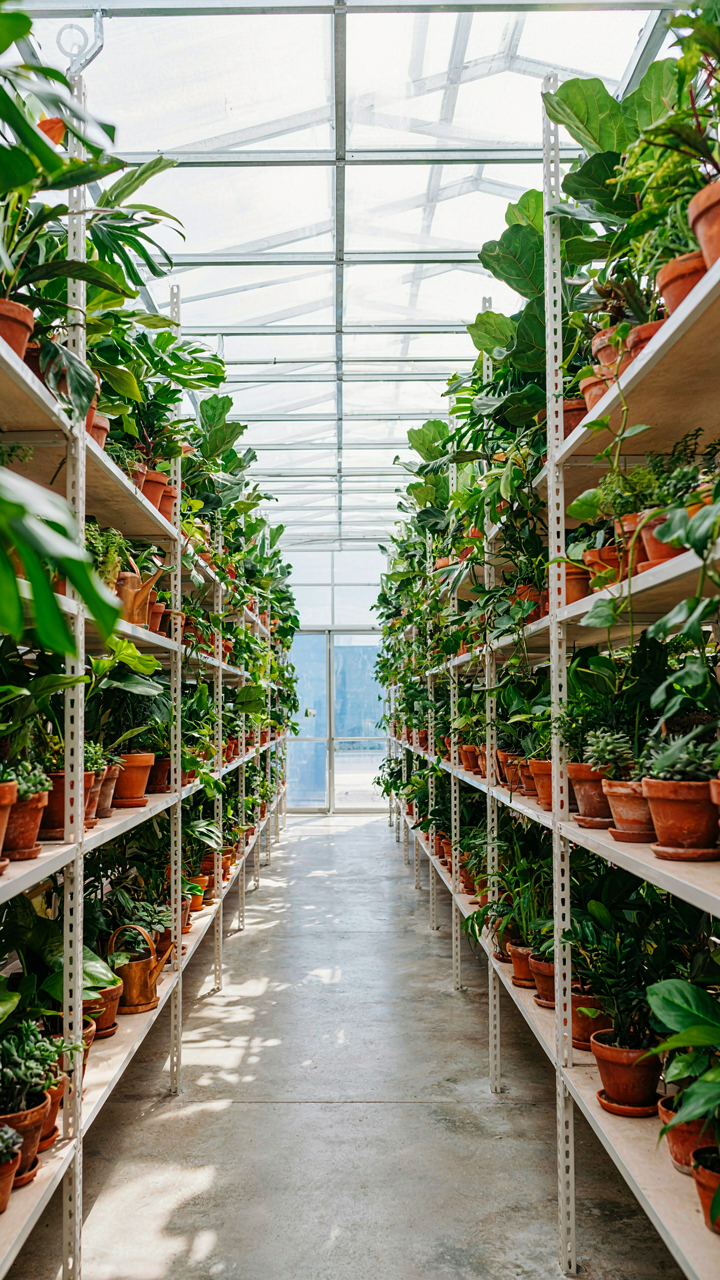
You want pest control without spraying every week because spraying costs money and time you don’t have. Borrowing from fluid dynamics, shelving layout functions as a “pressure gradient” that forces stagnant air pockets to move. Dead air is where powdery mildew, botrytis, and fungal spores settle and multiply. Tight shelf spacing or cluttered arrangements create zones where humidity traps moisture against plant surfaces.

Vertical shelving with open sides and adequate gaps between tiers generates natural convection when paired with even modest greenhouse ventilation. Space shelves at least 12 to 18 inches apart vertically and leave 6 inches minimum clearance on all sides of the shelving unit itself. This spacing lets air move freely around and beneath plants rather than pooling around foliage. The mechanism is simple: movement prevents the conditions pests exploit.
Access Turns Prevention Into Practice
The common advice says “inspect plants regularly.” Wrong. Regular inspection fails because you won’t do it unless the shelf design makes it effortless. If you struggle to reach the back corners or crouch under tight spacing, you skip inspection. Pests win because you avoided friction.
Staggered or tiered shelving positioned at waist to eye level eliminates the excuse. Front-facing plants need back access without moving inventory. Slat or mesh shelving surfaces expose soil surfaces where fungus gnats breed and spider mites hide. Design your layout so every plant can be examined from above and underneath in under five seconds per unit. Inspection becomes routine only when the shelf architecture removes barriers to execution.
Your Real Obstacle Isn’t Space; It’s Your Unexamined Assumptions About Control. Stop Optimizing For Quantity, Start Engineering For Life
Most growers design shelving systems around what they think they should grow, not what actually survives under their conditions. You’re building for a fantasy garden, not the one you have. Pick one shelf height today. Populate it with one plant type. Watch what happens for two weeks without touching anything. You’ll learn more about your actual greenhouse than months of rearranging metal frames ever taught you. Control doesn’t come from having more shelves. It comes from understanding which plants thrive when you leave them alone.