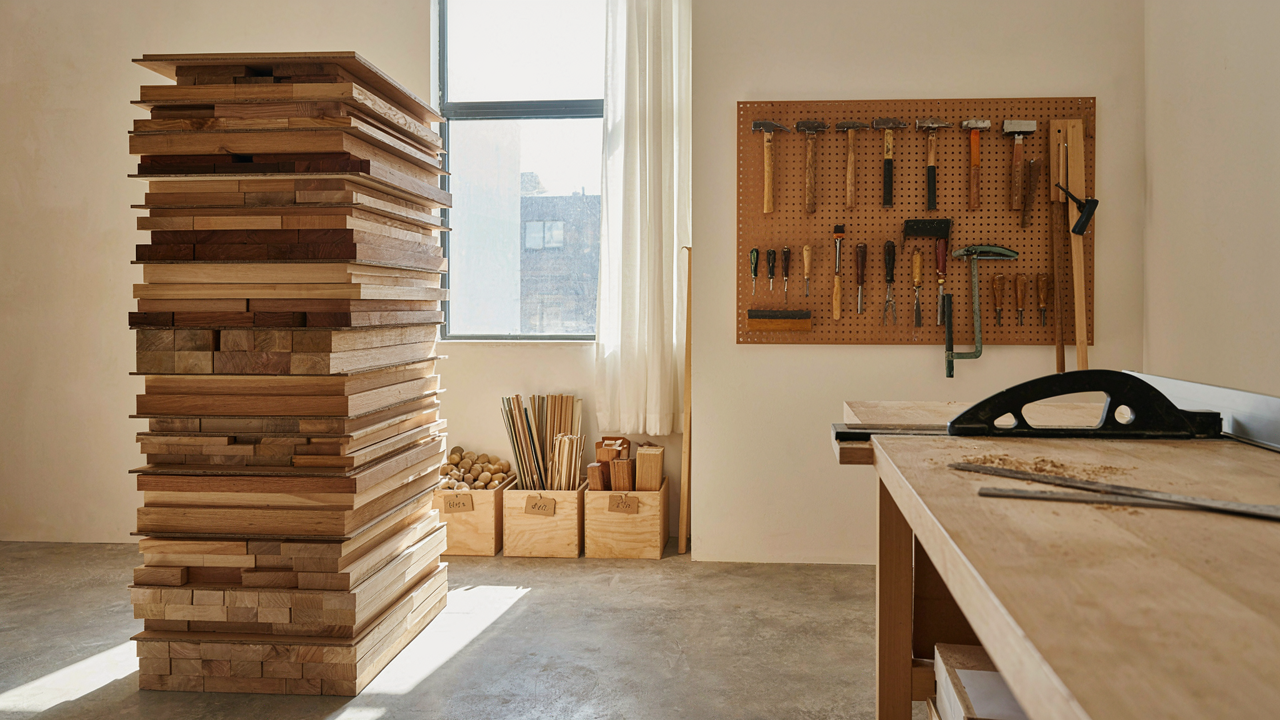
The Illusion Of “Scrap”: Why You’re Thinking Small
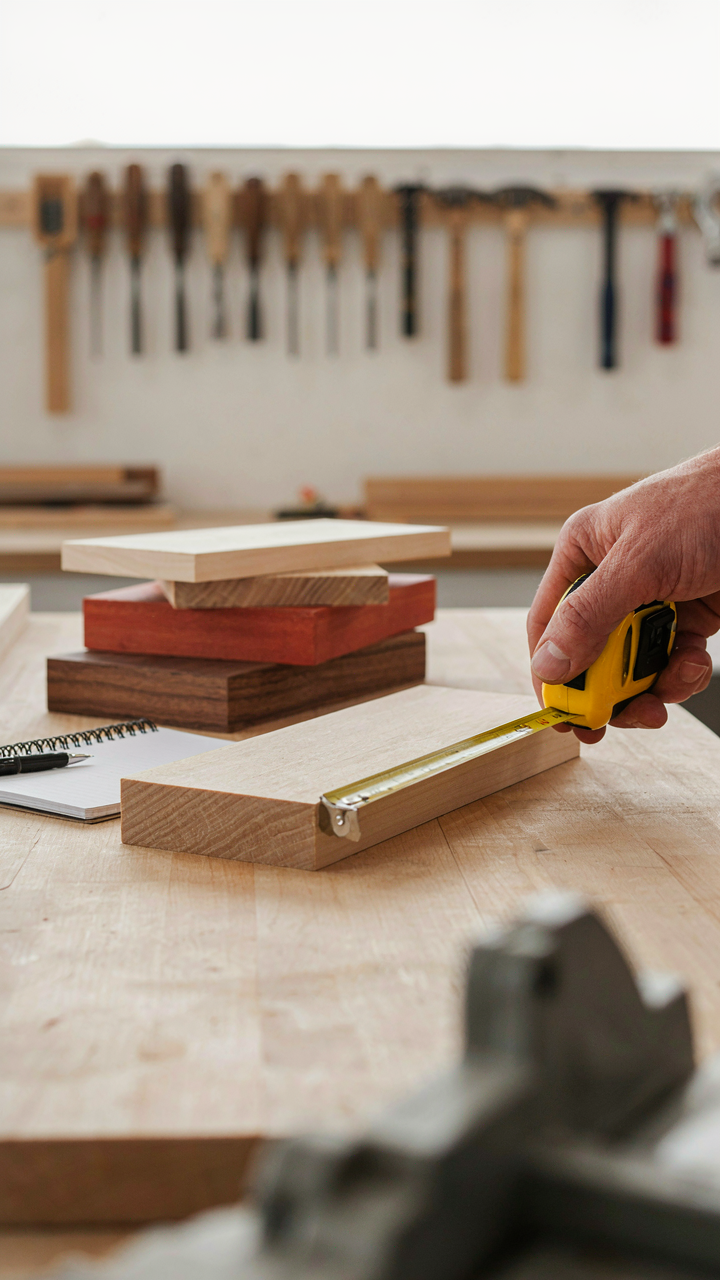
What Scrap Actually Means To A Creator
You want permission to build something without guilt. That’s the real reason you’re reading about scrap wood. The mechanism is simple: scrap isn’t waste—it’s inventory you already own. A creator treats scrap as material sorted by dimension and grain, not as leftovers. The distinction matters because it changes how you plan. Waste is what you throw away. Scrap is what you measure, catalog, and allocate to projects that fit its specs.
Most people confuse scrap with “whatever wood I have lying around.” That’s the first failure point. Professional woodworkers and furniture designers maintain organized scrap bins sorted by thickness, width, and wood type. They photograph inventory. They track it. They build projects specifically designed to use these dimensions, not the other way around. This reverses the normal process: instead of buying wood for a shelf design, you design the shelf around wood you possess. That single shift unlocks what makes scrap wood projects actually viable.
The Misconceptions Blocking Bigger Projects
Most advice says scrap wood works best for small decorative items. That’s incomplete thinking. The real barrier isn’t size—it’s commitment to joining small pieces into larger structures. Beginners assume scrap projects must stay small because the pieces are small. False. Cabinetry, solid shelving, and modular wall systems all start as scrap wood joined with proper methods: pocket holes, mortise and tenon, or biscuit joinery. These techniques scale up.
The second misconception: scrap wood is cheaper than buying new material. It’s not a cost decision—it’s an asset utilization decision. You already paid for the wood. Using it means reclaiming sunk cost. Every scrap project you complete is inventory converted to functional pieces. The real advantage emerges when you design shelves that use 16-inch widths because your scrap bin contains boards in exactly that dimension. Stop designing first and sourcing second. Inventory first, design second. That sequence is what separates failed scrap projects from finished ones.
Deconstructing The “Pinterest Shelf”: A Waste Of Time

Why Generic Shelves Fail Before You Build Them
You want to feel resourceful. That’s the real draw here. But most scrap wood shelf projects fail because people skip the load-bearing math. They build shelves that look right in photos but sag under actual weight. The mechanism is simple: longer spans require thicker wood or internal support. Most tutorials ignore this entirely, showing aesthetic choices as if they’re load-neutral. They’re not. A three-foot span with half-inch pine will bow under books. This matters before you cut anything.

The second problem is material mismatch. Pinterest shelves often combine scrap pieces of different wood species, thickness, and moisture content on the same project. This creates uneven settling. One piece warps while another stays stable. You end up with a shelf that looks twisted six months in. Start by accepting that your scrap materials have different behaviors. Sort by wood type first. Build accordingly.
The Structural Flaws Hidden In Plain Sight
Typical DIY shelves fail at the bracket connection point, not the shelf itself. The common advice says “use screws” or “use toggle bolts.” Wrong. The real problem is that most people underestimate the shear force at the wall anchor. Think of it through mechanical engineering: every pound of weight on the shelf creates a lever arm that multiplies the force pulling the bracket away from the wall. A twenty-pound shelf at eighteen inches from the wall creates three hundred sixty pounds of pulling force at the anchor point. Most homeowners use anchors rated for fifty pounds. This is why shelves suddenly crash.
The second flaw appears in shelf-to-bracket attachment. Screwing down from the top looks clean but creates a weak joint under tension. Gravity pulls down. The bracket resists by pulling up. Screws from above fight against their own design. Screw from underneath when possible, or use bolts with washers. The joint fails when you use the fastener in opposition to its strength. Verify your bracket connection can handle vertical stress, not just downward load.
The Biomimicry Principle: Engineered For Purpose, Not Prettiness

How Nature Solves Load Distribution
You want permission to skip the math. Here’s the mechanism: biology doesn’t waste material on decoration—it distributes stress across the geometry that handles it. Trees don’t thicken their trunks uniformly. They concentrate wood density where bending force concentrates. Apply this to scrap wood shelving: stop thinking about boards as flat planes and start thinking about load paths. Your shelf fails not because the wood is weak, but because you distributed the problem wrong.
Nature’s load distribution teaches shelving design one hard truth. A two-inch thick board spanning four feet will sag under weight. A one-inch board with a perpendicular brace every two feet performs identically while using less material. The brace isn’t decorative. It interrupts the stress line before deflection happens. Scrap pieces become structural components, not filler. Measure your heaviest load, calculate the span, then work backward to find which brace placement stops the sag before it starts.
Structural Integrity Built Into Assembly
The common advice here is wrong: strength comes from nailing or screwing everything tight. False. Strength comes from geometry that can’t move. A shelf supported at two points fails faster than one supported at three. A frame with four corner connections holds loads better than one relying on fasteners alone. The fasteners just lock the geometry in place. You’re not building a shelf. You’re building a structure that happens to hold objects.
Test your scrap wood shelf by hand before loading it. Push down on the center. Push sideways. The deflection you feel is the deflection your items will exploit. If it moves more than a quarter inch, add internal bracing or shorten the span. Glue plus fasteners plus geometry equals the threshold you need. Don’t rely on any one method. Every load-bearing connection needs multiple failure points to fail.
The Leftovers To Leverage Method For DIY Wood Shelves

Sort Your Scrap By Honest Measurement
You want to feel resourceful without actually doing the work of knowing what you have. That’s the real block. The mechanism is simple: you can’t design a shelf system until you know the exact dimensions, wood type, and structural integrity of every piece you’re working with. Guessing wastes time and creates failed builds.

Start by measuring length, width, and thickness on every scrap. Record grain direction and any defects—cracks, warping, rot, or hardware holes. Separate pressure-treated lumber from untreated wood. This isn’t busy work; it’s the foundation for matching materials to load requirements later.
- Length categories: Organize into 12-inch bands (12–24 inches, 24–36 inches, 36–48 inches, 48+ inches). Different lengths solve different shelf depths and spacing problems.
- Thickness grades: 1x stock, 2x stock, and thin plywood strips function differently under weight. Stack them separately to see what’s available for load-bearing versus backing.
- Wood species: Pine, oak, and fir have different density and strength ratings. Softwoods sag faster than hardwoods under the same load. Mark species if you know them.
- Structural defects: Note large knots, checks, splits, or previous fastener holes. These reduce load capacity and determine where a piece can be safely used.
- Moisture state: Wet or green wood will warp as it dries. Set aside any wet pieces and let them acclimate before committing them to a permanent shelf.
Store categorized scrap in a way you can see it—vertical racks beat piled heaps. You move past decision paralysis when inventory is visible and sorted. This single step kills 80 percent of failed scrap shelf projects because builders then choose materials based on reality, not wishful thinking.
Material Properties Dictate Where Each Piece Works
Stock economics teaches leverage: proper positioning amplifies force with minimal input. Wood shelf design works the same way. A two-by-four carries vastly more weight at midspan than a one-by-six of identical length. The thicker, denser board resists deflection because stiffness compounds with depth cubed, not linearly.
Thin plywood scraps work as backing or as shelves for light loads only—books, décor, small tools. One-by stock handles moderate loads and spans up to 36 inches without sag if anchored correctly. Two-by material or doubled one-by boards span 48 inches-plus and accept heavier weight. Never assume two thin boards glued together equal a thick board; the glue joint fails before the wood does. Use scraps you’ve identified as load-bearing grade for anything that holds weight regularly. Reserve defective pieces for cosmetic backing, trim, or brackets that don’t carry compression force. Match the shelf function to the material you actually have, not to what you wish you had. The shelf either works under real load or it doesn’t.
Beyond The Board: Unique Shelving Ideas From Unexpected Cuts
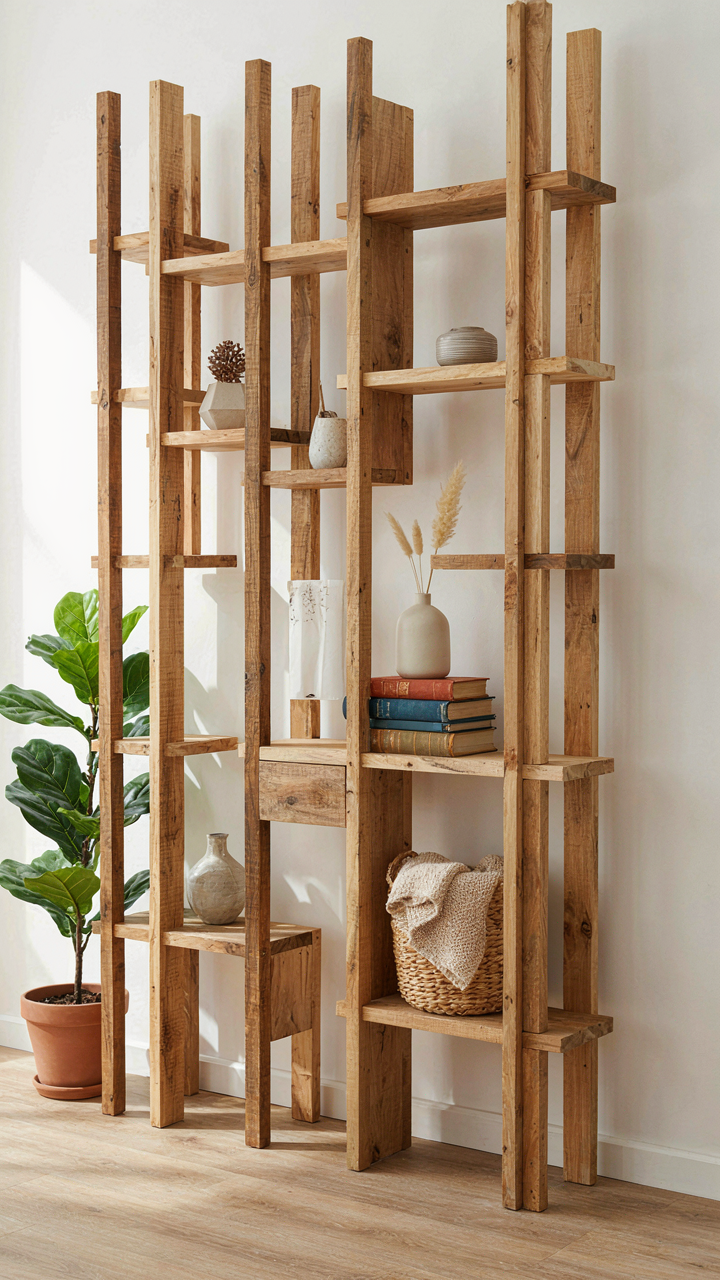
When Waste Becomes Usable Inventory
You want permission to believe your scraps matter. The real mechanism is this: irregular pieces force you to stop thinking in standard dimensions, which is where most shelf builders get stuck. Woodworkers treat short lengths and odd widths as failures instead of constraints that demand better design. The constraint is the tool.

Tapered cuts, wedges, and partial boards demand a different layout strategy. Instead of centering one long shelf on brackets, you layer shorter pieces horizontally or vertically to create visual rhythm and distributed load. A piece sixteen inches long isn’t a leftover—it’s a defined section of a larger system. Stack three irregular widths at different heights. The visual interest solves what uniformity cannot. Measure twice, cut once. The protocol: inventory your scraps by length and thickness first, then design around what you actually have, not what you wish you had.
Fastening Methods That Hold Mixed Stock
Woodworking borrows from structural engineering: a mortise and tenon joint distributes stress across a larger surface area than a simple fastener. When your scrap wood shelf uses pieces of different thicknesses and grain directions, standard screws become your vulnerability. The wood moves. Seasonal moisture changes push and pull your assembly apart if you ignore grain direction.
Pocket holes work here because they pull pieces together without fighting the grain. Dowels create alignment and strength for end-grain connections where thickness varies. If pieces are rough-cut or salvaged, pocket hole joinery masks imperfect edges and adapts to slight dimension changes. The step: dry-fit your assembly first with clamps, identify which joints carry weight, then choose your fastening method—pocket holes for load-bearing connections, dowels for visual joints you want to hide, screws only for non-structural trim pieces where wood movement won’t matter.
The “No Pallet Left Behind” Protocol For Wood Pallet Projects

How To Actually Disassemble A Pallet Without Destroying The Wood
You want to feel resourceful without the actual work. That’s the real reason you’re reading this. The mechanism here is leverage. Pallets are nailed, not screwed, and the nails grip from underneath. You can’t pull from the top without splitting the board. You need a cat’s paw or reciprocating saw to cut nails flush from below, then slide boards free horizontally. Most people hammer from above and wreck half their material before they realize the boards won’t budge.

The boards themselves have value only if they survive extraction. Standard pallets use ring-shank nails that bite into wood grain. Prying downward on the board while someone taps the cat’s paw underneath breaks the nail’s grip without splitting. Work systematically along each board. Take your time. Rushing this step turns free material into kindling.
Building Shelves That Hold Weight Without Failure
Pallet wood has no structural consistency. The boards vary in thickness, moisture content, and grain pattern because they’re industrial rejects. You can’t treat all pallet boards the same way you’d treat dimensional lumber from a hardware store. The real shelf-building principle here is load distribution. You spread weight across multiple support points instead of concentrating it on two or three mounting brackets that pallets force you toward.
Build shelves with three supporting elements minimum, not two. Use pallet boards perpendicular to the wall as rails underneath, spaced eighteen inches apart. Mount these rails to studs with lag bolts, not drywall anchors. The pallet boards on top can then span these rails without risk of sagging. Secure the top boards to the rails with pocket hole screws. This keeps weight moving downward through the entire assembly instead of bending at weak points.
The “Forgotten Corners” Strategy: Maximizing Dead Space

Where Your Space Actually Bleeds Money
You want this section because you’ve already bought shelving units that sit in predictable places, and you’re wondering if you’re missing something. The real mechanism is simple: corners, sloped ceilings, wall gaps, and recesses exist in every room, but they’re invisible until you stop thinking about “normal” shelf placement. Most people treat scrap wood as filler for existing furniture plans rather than material that solves problems conventional shelves can’t touch. The dead space isn’t wasted because you forgot it—it’s wasted because you never mapped it.

Start with a physical audit, not a mental one. Walk each room with a tape measure and note dimensions of every corner, alcove, and wall section between fixtures. Measure ceiling height at multiple points—sloped walls and angled surfaces create opportunities for triangular or wedge-shaped shelves that standard units can’t fill. Mark these spots on a floor plan. Most homes have 40 to 60 square feet of viable shelf space nobody uses because it doesn’t fit the furniture industry’s rectangular mold. Your scrap wood works here precisely because you can cut it to odd dimensions without the waste guilt that stops people from breaking up pre-made shelves.
Custom Cuts For Spaces That Don’t Fit The Grid
Awkward spaces demand awkward solutions, but most DIY advice stops at “measure twice, cut once” without addressing the actual constraint: scrap wood varies in thickness, width, and grain, so precision becomes a problem. Use the principle of constraint-based design from industrial engineering, where limitations force innovation instead of blocking it. Your irregular scraps aren’t disadvantages—they’re specifications that force you to design shelves that conform to the space rather than forcing space to conform to shelves.
For sloped ceilings, cut tapered supports that match the angle rather than fighting it with shims and spacers. For corners, use L-shaped brackets made from your own scrap to hold shelves at 90 degrees without buying corner hardware. For gaps between studs or around door frames, measure the exact opening and rip your wood to that width. Sand edges consistently—80-grit for rough cuts, 120-grit for finished surfaces—so uneven materials look intentional rather than neglected. The protocol is: measure the dead space, design the shelf to that space, then build to the design, not the other way around.
Integration Over Isolation: Key Hanging Ideas & Beyond

Shelves That Do More Than One Job
You want this to look intentional, not like you’re broke. The real mechanism is constraint forcing design. Industrial design borrowed from manufacturing treats multi-function as a load-bearing principle: one component must carry multiple system demands without failure. Your scrap shelf stops being storage and becomes infrastructure the moment it anchors a second function into itself.

Hook a shelf to wall studs and mount a rod beneath it for hanging tools, aprons, or cables. Attach a narrow ledge to the underside for hooks that hold weight. Add a lip rail to prevent items from sliding during use. The shelf now handles vertical storage, hanging access, and work surface simultaneously. You’re not adding clutter. You’re stacking utility vertically in a single intervention.
Built In Anchors For Actual Living
Most advice says shelves should be “flexible” or “modular.” That’s wrong. Flexibility kills commitment. Real living requires friction, not options. Mount scrap wood to studs with lag bolts rated for the load you’ll actually place on it, then build your routine around that fixed point. A shelf bolted to support studs at hip height becomes a desk surface, a docking station, a display ledge.
The protocol is simple: identify one recurring action you perform daily. Mount the shelf where that action happens. Bolt it down so it bears weight. Hang what you need directly from it. Stop redesigning. The shelf’s permanence trains you to use it, which trains others in your space to respect it. Friction creates behavior. Behavior creates order.
From Scraps To Structure: Proyectos De Carpintería Fáciles That Endure
Wood Grain Direction Determines Shelf Life
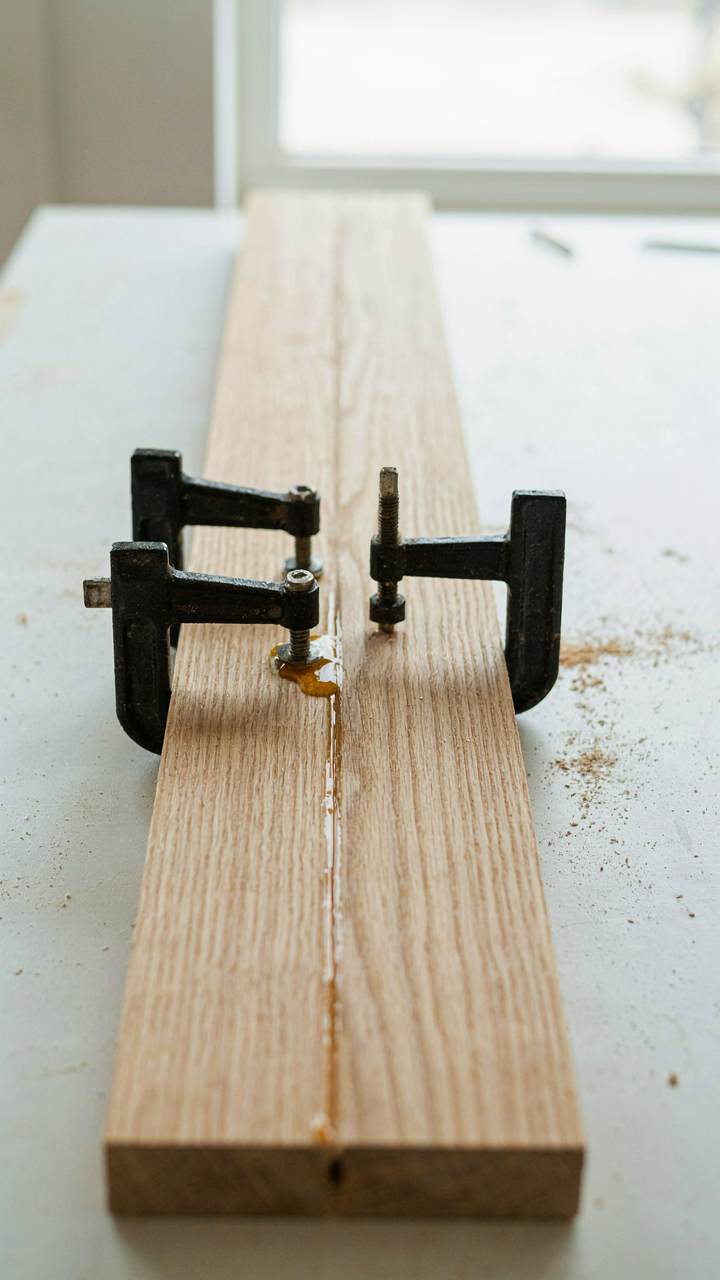
You want to believe scrap wood is just scrap wood, that it doesn’t matter which piece goes where. That’s the comfort of denial. But wood moves. It expands and contracts with humidity, and the direction of the grain determines how much stress your shelf absorbs before it fails. Think of wood like a loaded beam in structural engineering: the grain direction is your load path. When grain runs parallel to the shelf’s length, the wood resists cupping and warping far better than when grain runs perpendicular. Most builders ignore this and wonder why shelves sag after a year. The mechanism is simple: radial shrinkage (across the growth rings) is five to ten times greater than longitudinal shrinkage (along the grain). Choose scrap wood with grain running the long way of your shelf, not across it. Before assembly, spend ten minutes identifying which end of each board has growth rings closest together, then orient that end facing down. This single decision compounds into years of structural integrity.

The wood species matters too, though people rarely admit it. Hardwoods like oak, maple, and walnut hold their shape better than softwoods like pine or fir because they have denser grain structure and lower moisture movement rates. If you’re pulling scrap from construction waste, hardwood offcuts are rarer but worth hunting for. Softwood is acceptable if it’s thicker or if you’re building a light-duty shelf that holds books, not tools. Never mix species on the same shelf unless you understand how their different expansion rates will stress the joints over time. Apply a finish that seals the wood evenly on all sides to minimize uneven moisture absorption. This slows the expansion-contraction cycle and keeps shelves flat.
Joinery Over Fasteners For Permanence
Most scrap wood shelf advice tells you to pocket hole screw everything together and call it done. That approach works for a season. But joinery that interlocks the grain creates a shelf that outlasts the walls it’s mounted to. The mortise and tenon joint, the half lap, and the tongue and groove all work because they distribute stress across grain fibers rather than concentrating it at a fastener point. A screw through particle board will eventually pull loose. A mortise holds because the joint relies on geometry and friction, not the grip of hardware. You don’t need advanced skills to cut these joints by hand. A tenon saw, a chisel, and fifteen minutes per joint gets you a connection that supports weight more reliably than screws alone.
Start by test fitting everything dry before you glue. This reveals gaps that fasteners would hide but glue won’t fill. Use wood glue rated for exterior conditions even if your shelf is indoors, because it cures harder and handles seasonal humidity swings better than standard interior glue. Clamp the assembly for at least four hours before adding fasteners. The glue does the load bearing work. Fasteners then exist only to hold the joint while glue cures and to provide backup if the glue fails decades from now. This reversal of priorities is what separates a temporary shelf from one that holds strong. Mount your shelf with lag bolts into wall studs, not drywall anchors. Anchors fail. Studs don’t.
The Real Obstacle To Resourcefulness Isn’t A Lack Of Ideas, But A Fear Of Unconventional Solutions

Most people see scrap wood and think “trash.” They don’t see it as material. That hesitation costs them money and space. Stop waiting for permission to build something imperfect. Walk to your garage today. Grab one piece of scrap wood. Mount it to your wall. Done. You’ll realize the only thing standing between you and a resourceful life is the willingness to look stupid for five minutes.



