
1 Upcycled Jars For Eco Friendly Decor An Introduction
Understanding The Environmental Impact Of Glass
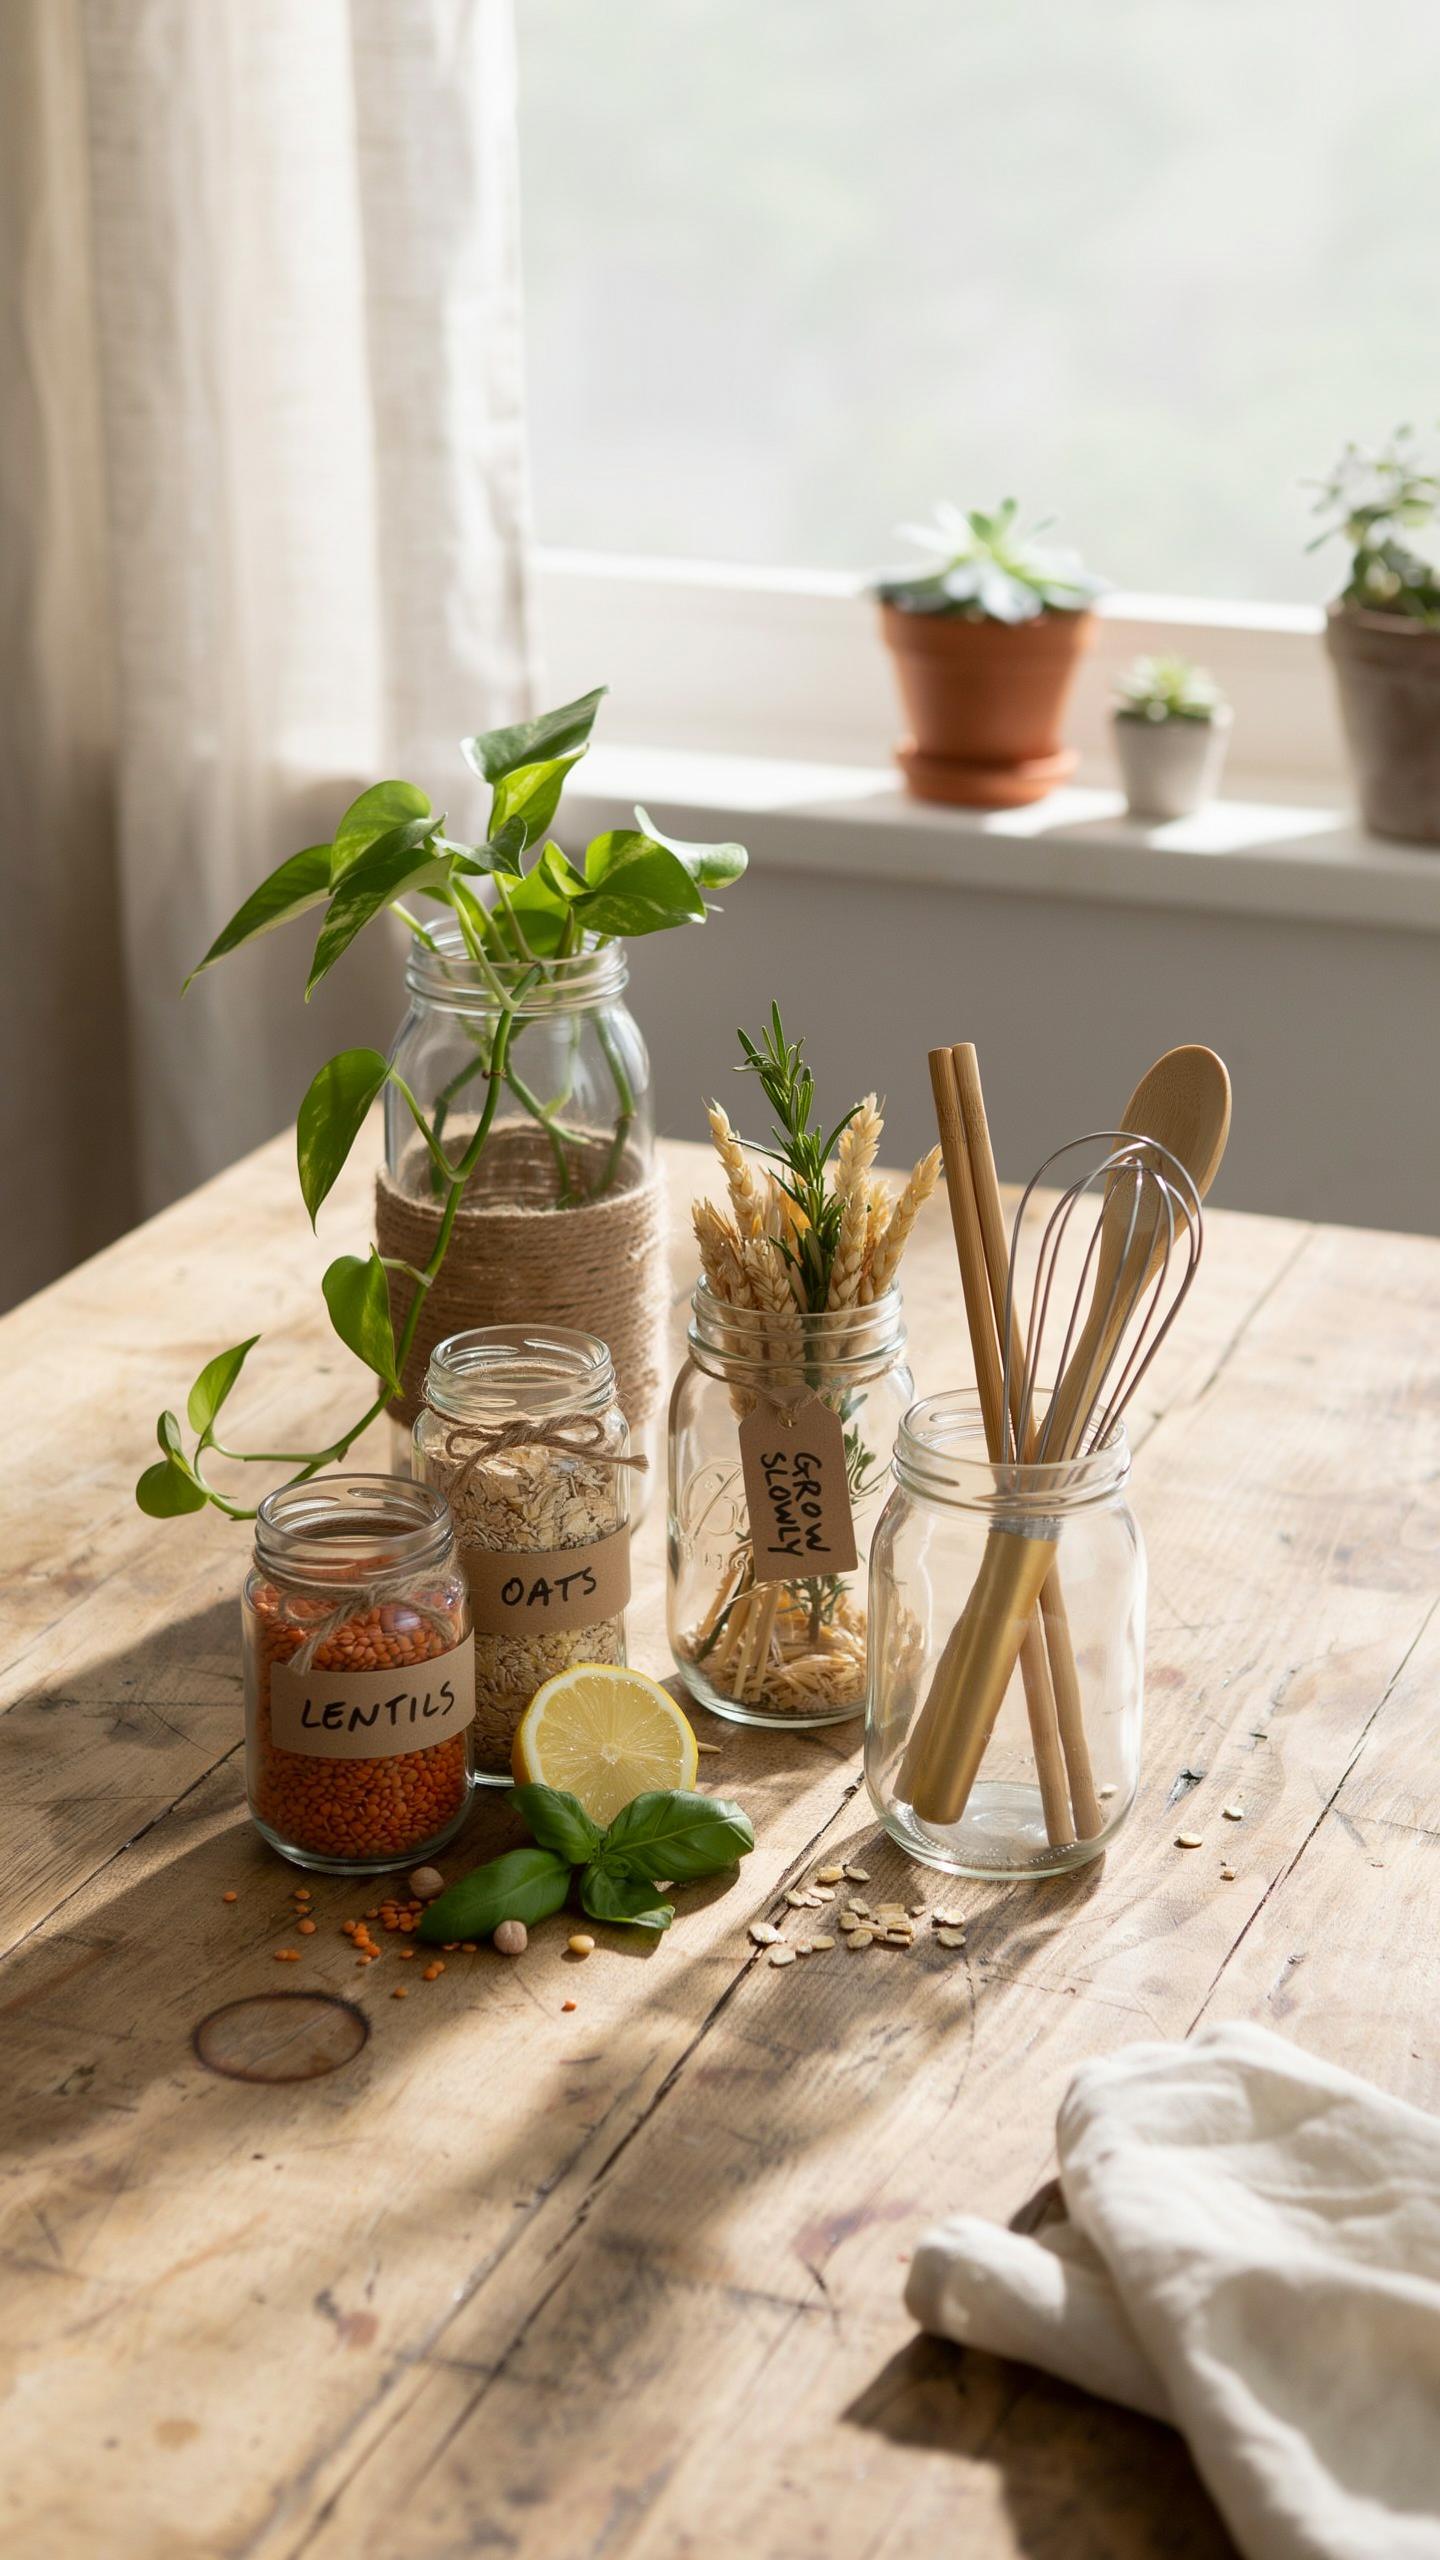
Glass is infinitely recyclable without degradation. Manufacturers can reprocess it endlessly, yet millions of tons of glass jars end up in landfills annually. Reusing jars directly as decorative pieces bypasses manufacturing energy costs and reduces demand for virgin materials. This approach conserves silica, soda ash, and limestone extraction. Direct reuse requires zero processing, making it the most resource-efficient option available.
Landfilled glass takes over one million years to decompose. Recycling facilities require energy and transportation to process jars into new products. By decorating with existing jars, you eliminate these steps entirely. Your carbon footprint drops significantly compared to purchasing new decor items. The math is straightforward: less manufacturing equals fewer emissions.
The Aesthetic Appeal Of Upcycled Glassware
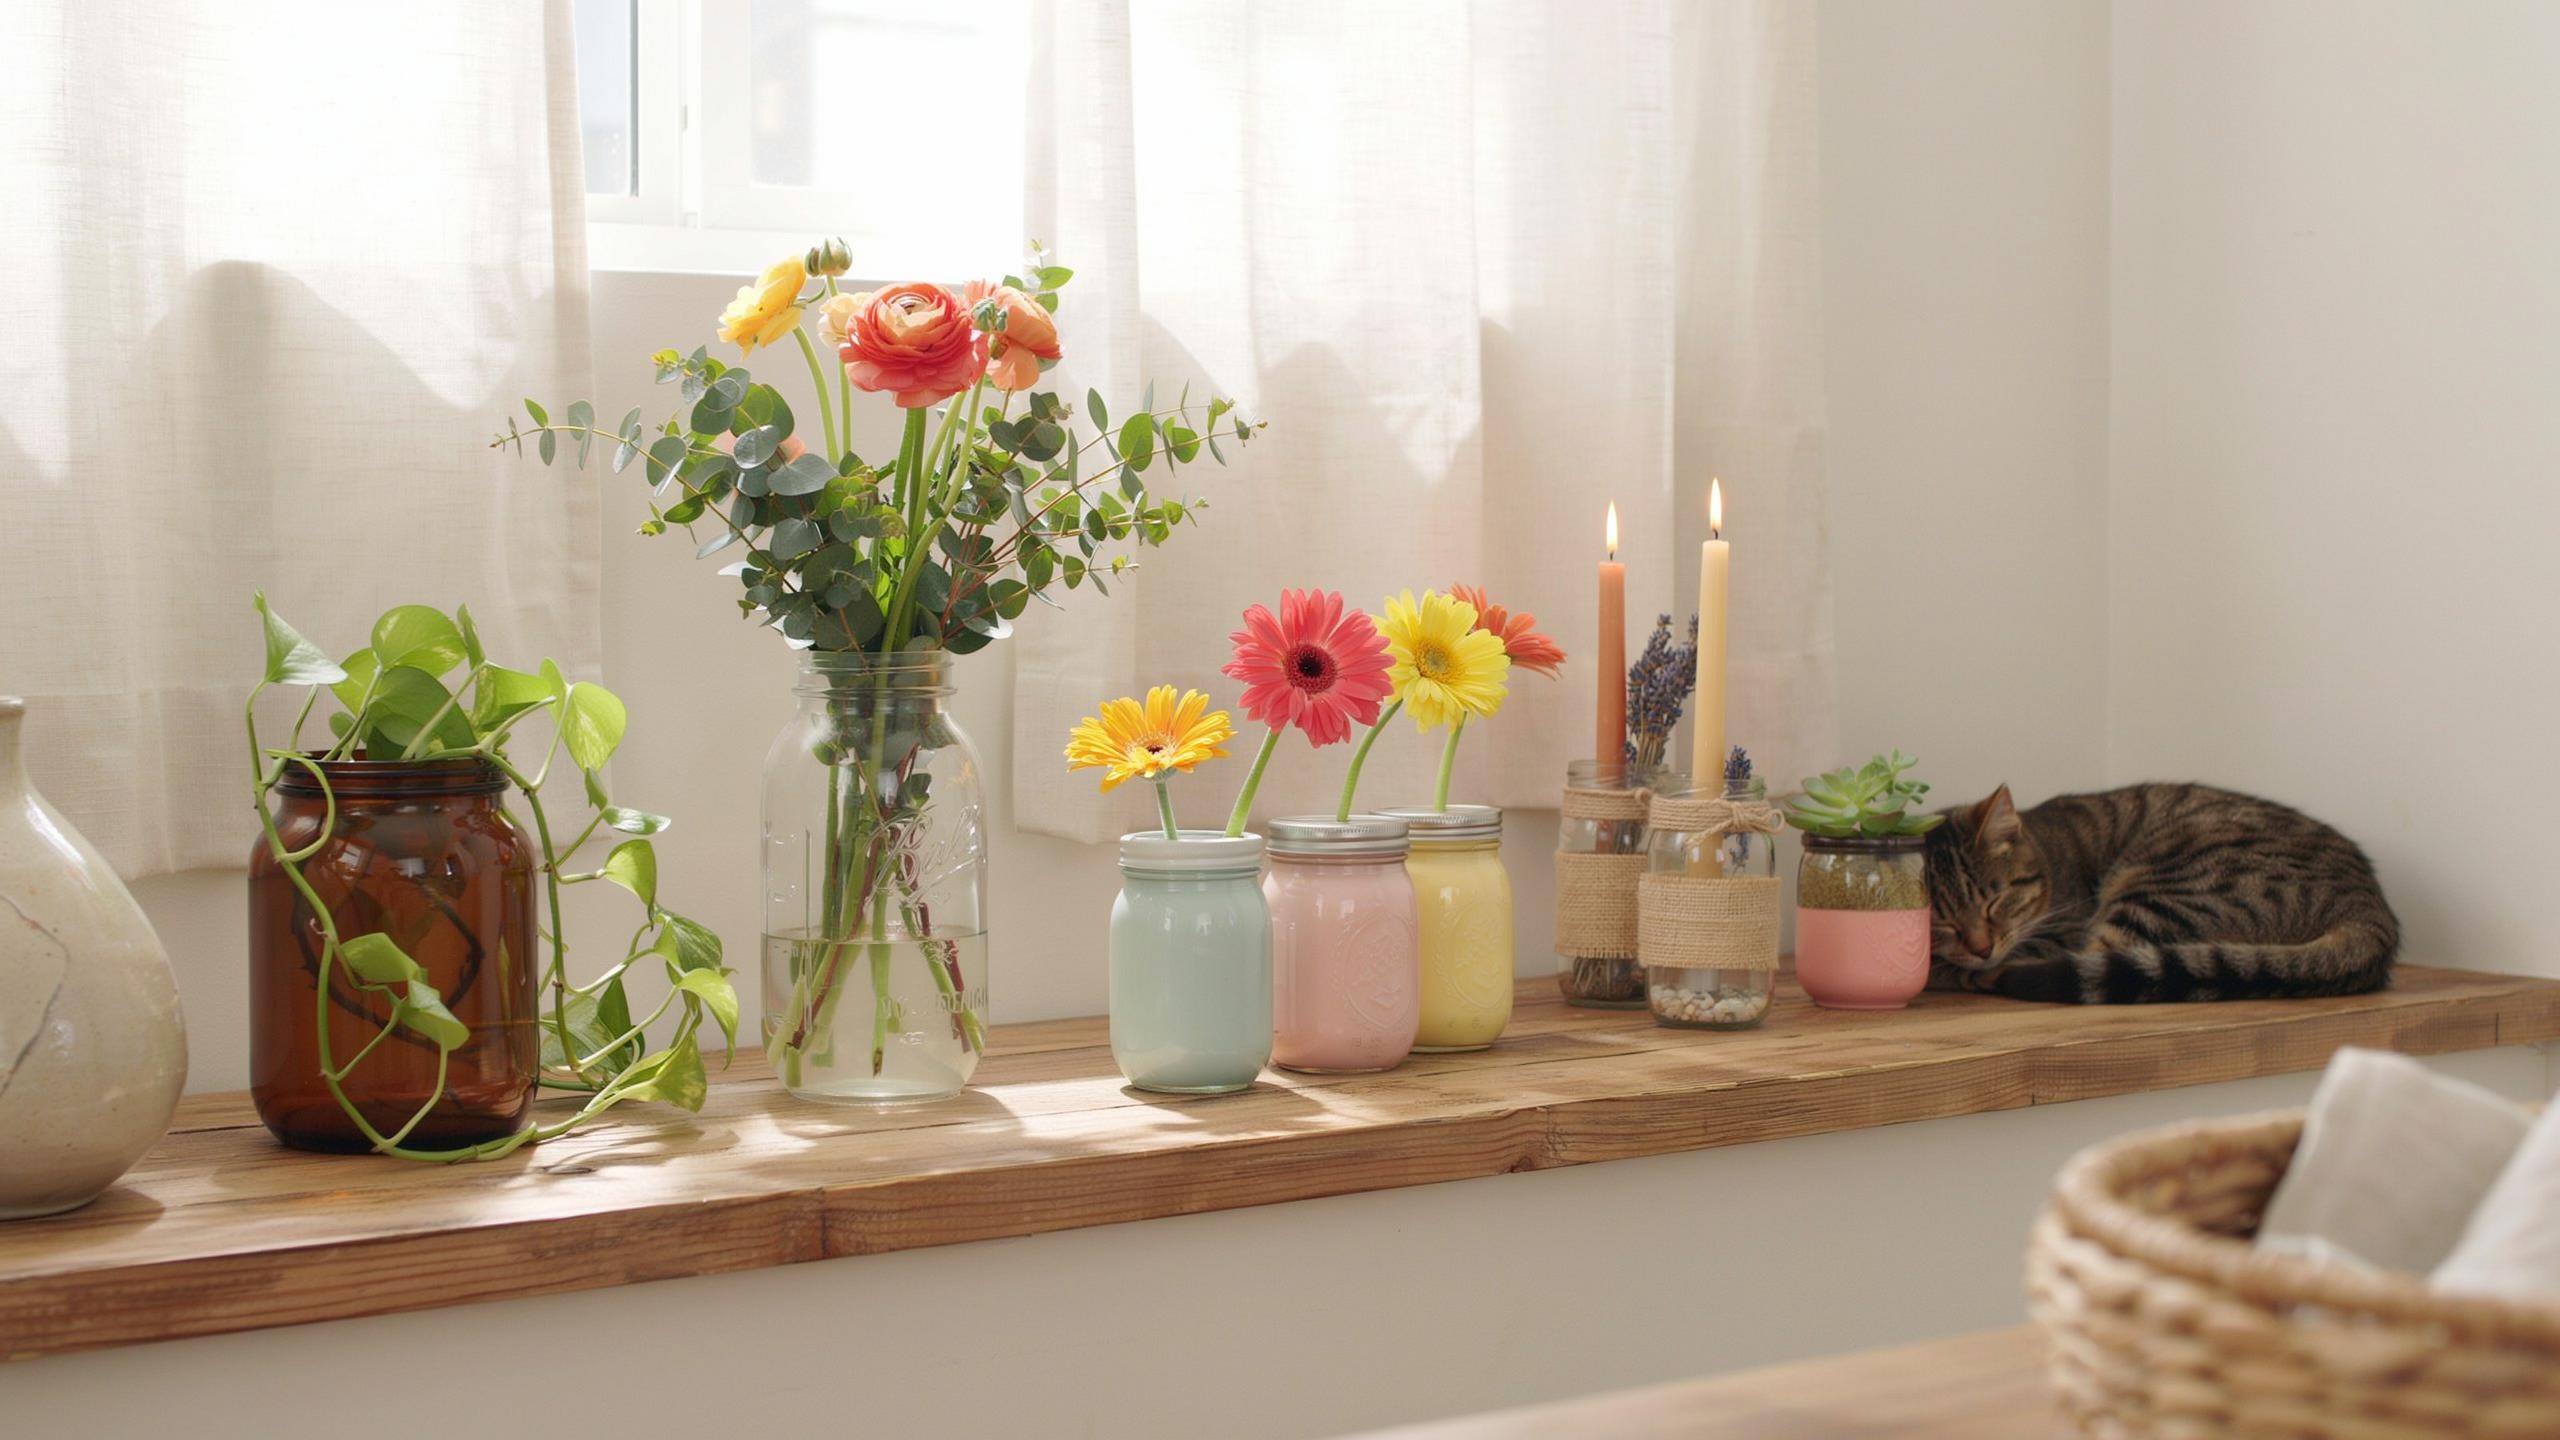
Glass jars offer clean geometric forms that work across multiple design styles. Their transparent quality allows light to pass through, creating visual depth. Mason jars suit farmhouse and rustic aesthetics. Vintage apothecary jars fit mid-century modern spaces. Clear cylindrical jars work in coastal and minimalist interiors. Shape variety gives you flexibility without buying new items.
Jars work as standalone pieces or combined into collections. Their neutral tone pairs with any color scheme. You can fill them with natural materials like branches, stones, or dried flowers. Paint them for solid colors or metallic accents. The surfaces accept labels, decals, or etching. Glass jars function as both containers and display objects simultaneously.

2 Recycled Jar Crafts For Vibrant Indoor Lighting
Essential Materials For Jar Lanterns
You need specific materials to build functional jar lanterns that perform reliably. Start with containers, light sources, and structural elements that work together as a system. Quality materials prevent failure and ensure your lighting lasts through multiple seasons.
- Mason jars or clean food jars: Repurposed glass containers provide a durable base. Food jars from pasta sauce, jam, or canned goods work equally well. Choose clear or slightly frosted glass for optimal light diffusion.
- Copper wire or jute twine: These materials secure around jar necks and create hanging points. Copper wire resists corrosion outdoors. Jute twine offers a rustic aesthetic and costs less than metal alternatives.
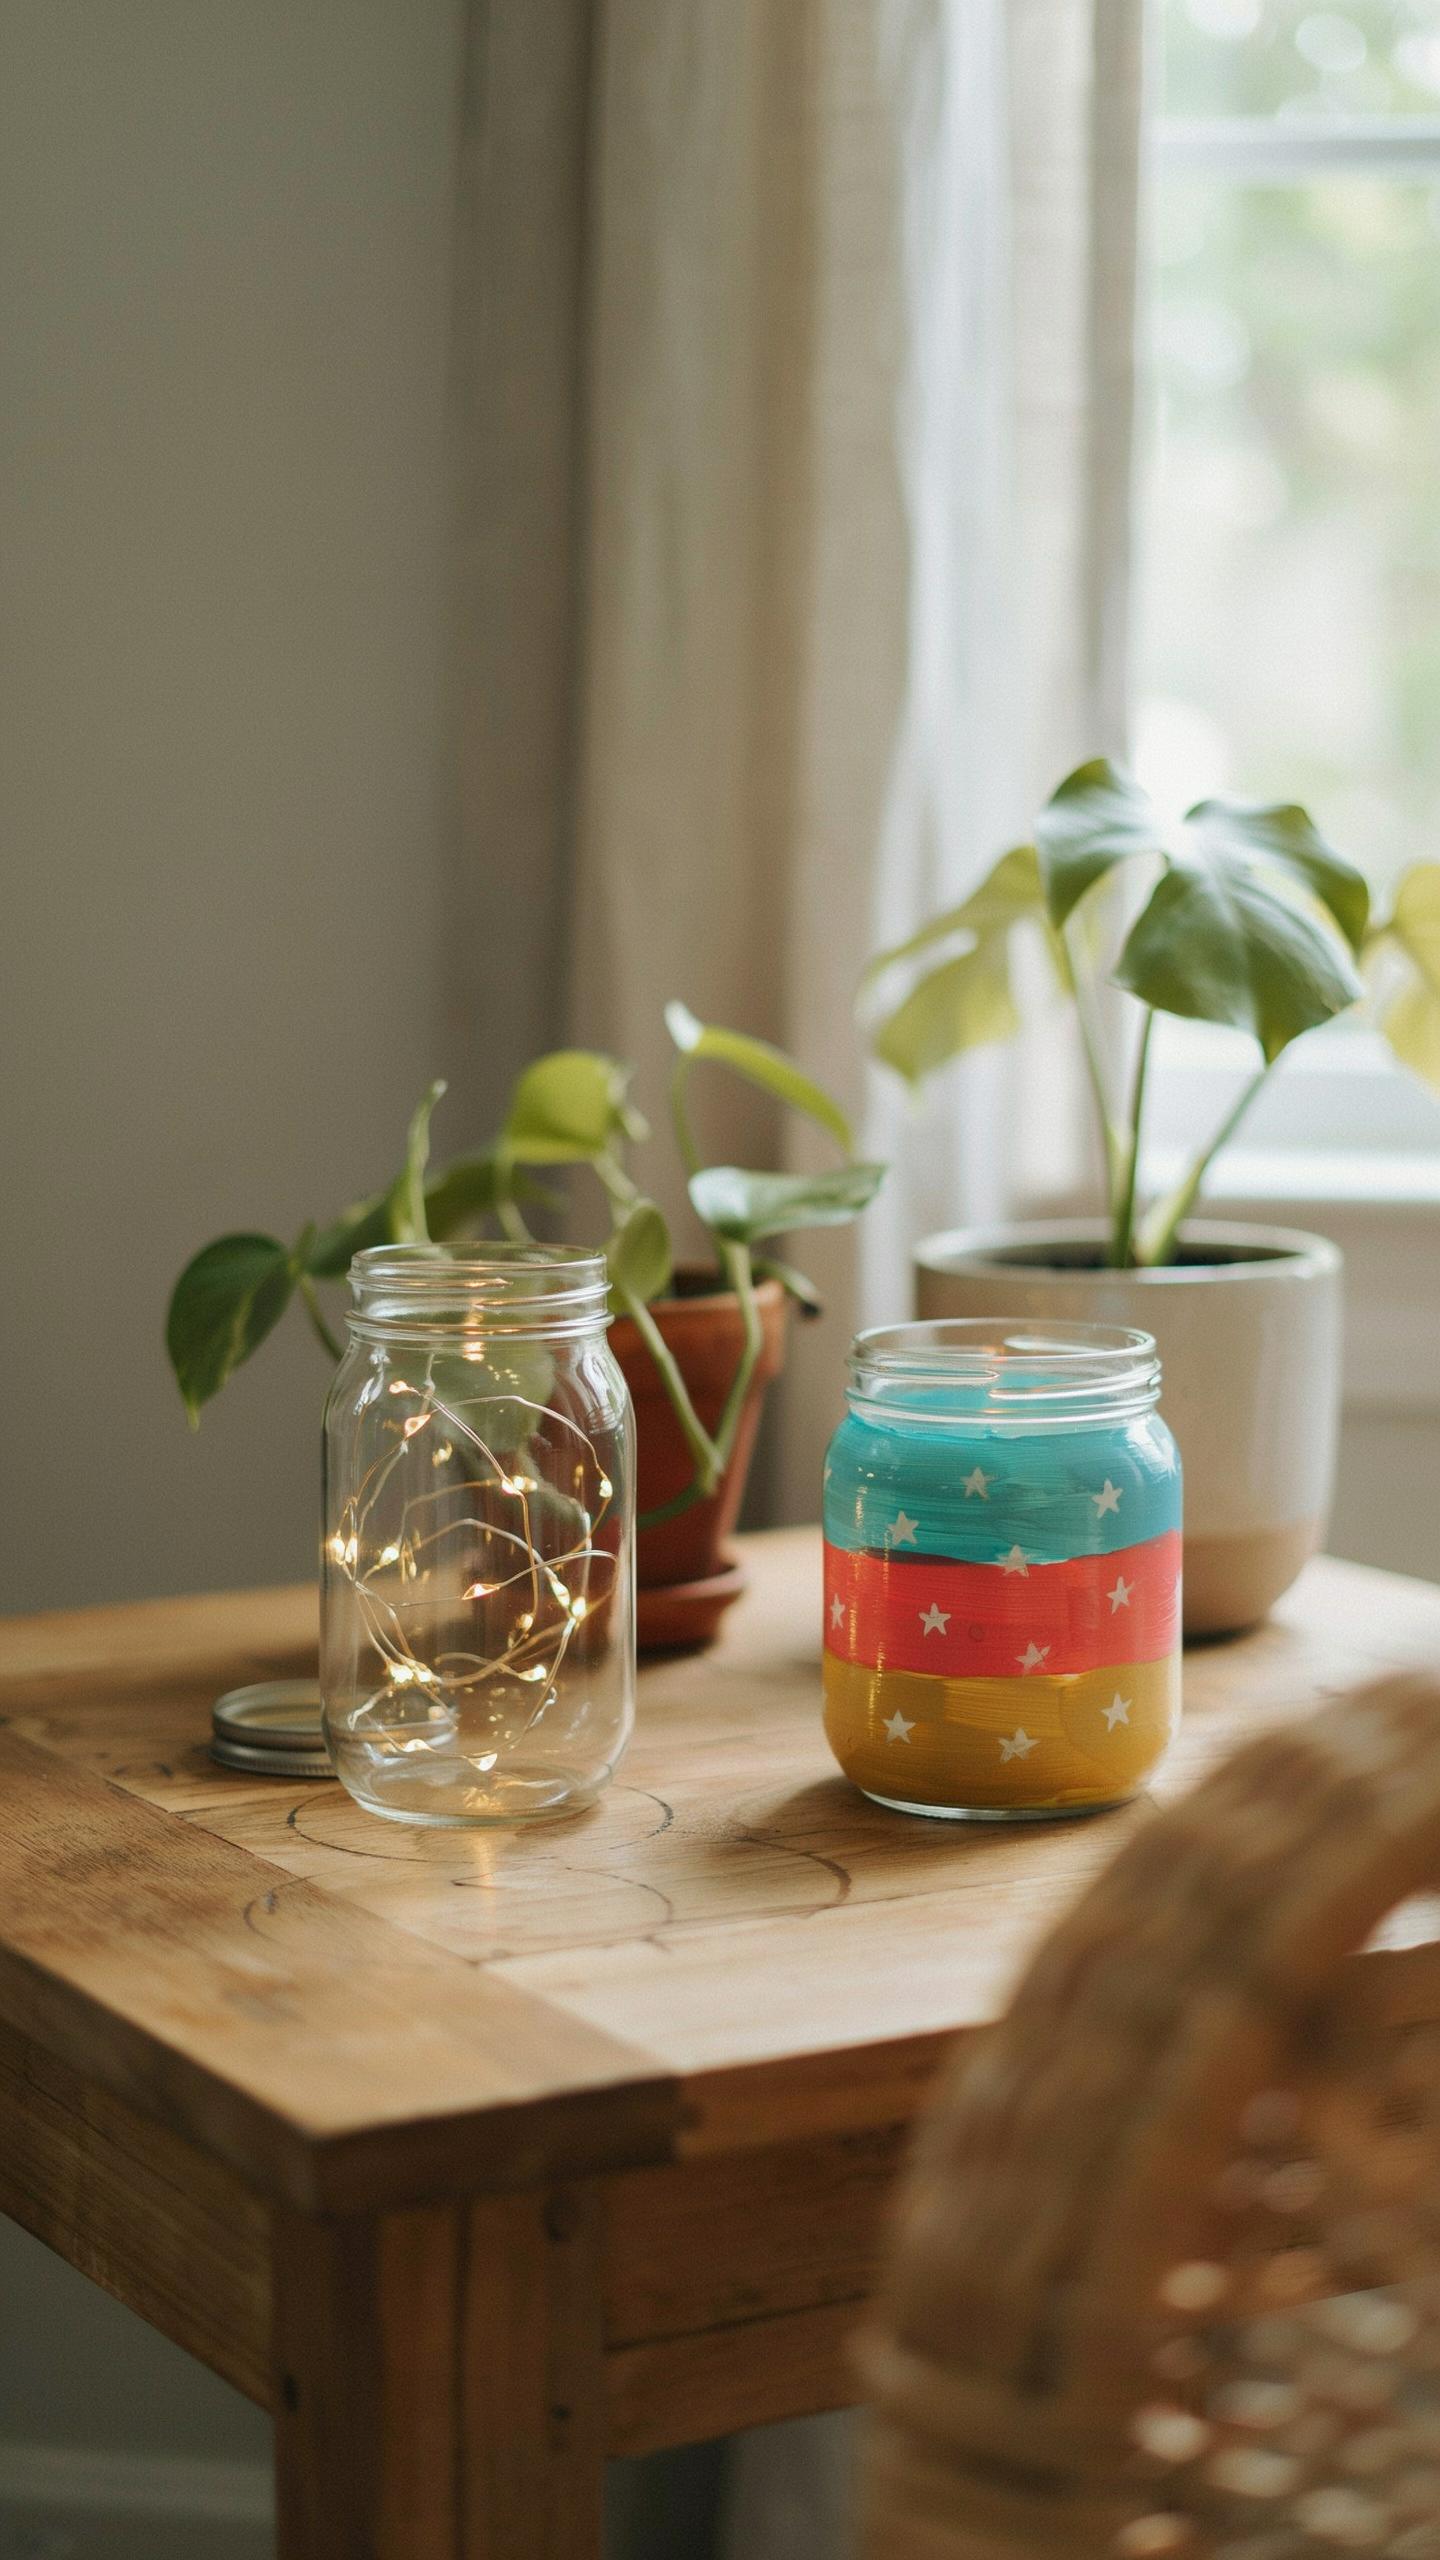
- Battery operated LED tea lights or fairy lights: These eliminate fire hazards that candles create. LED lights consume minimal power and run for weeks on single battery sets. Choose warm white LEDs to match indoor decor.
- Translucent glass paint and brushes: Paint creates custom color without blocking light transmission. Acrylic glass paint adheres to smooth surfaces and dries quickly. Test on scrap glass first to verify color intensity.
- Wooden wall hooks or branches: These anchor hanging lanterns to walls or outdoor structures. Wall hooks provide secure, adjustable mounting points. Fresh or dried branches offer a natural alternative for outdoor installations.
Gather all materials before starting construction. Working with complete materials eliminates workflow interruptions and prevents mistakes from substitutions. Organize materials on a flat work surface for efficient assembly.
Creating Whimsical Hanging Lanterns
Wrap copper wire or hemp rope around the jar neck in two to three overlapping loops for structural integrity. Secure the wire ends by twisting them together tightly. Insert battery operated fairy lights through the jar opening and activate them to test functionality before hanging.

Attach the wire loops to wooden wall hooks or outdoor branches using wire knots or by hooking directly into anchors. Position jars at varying heights to create visual depth and improve light distribution across the room. This arrangement prevents uniform, flat lighting that lacks character or function.
Creative Jar Ideas For Practical Kitchen Storage
Organizing Spices And Dry Ingredients
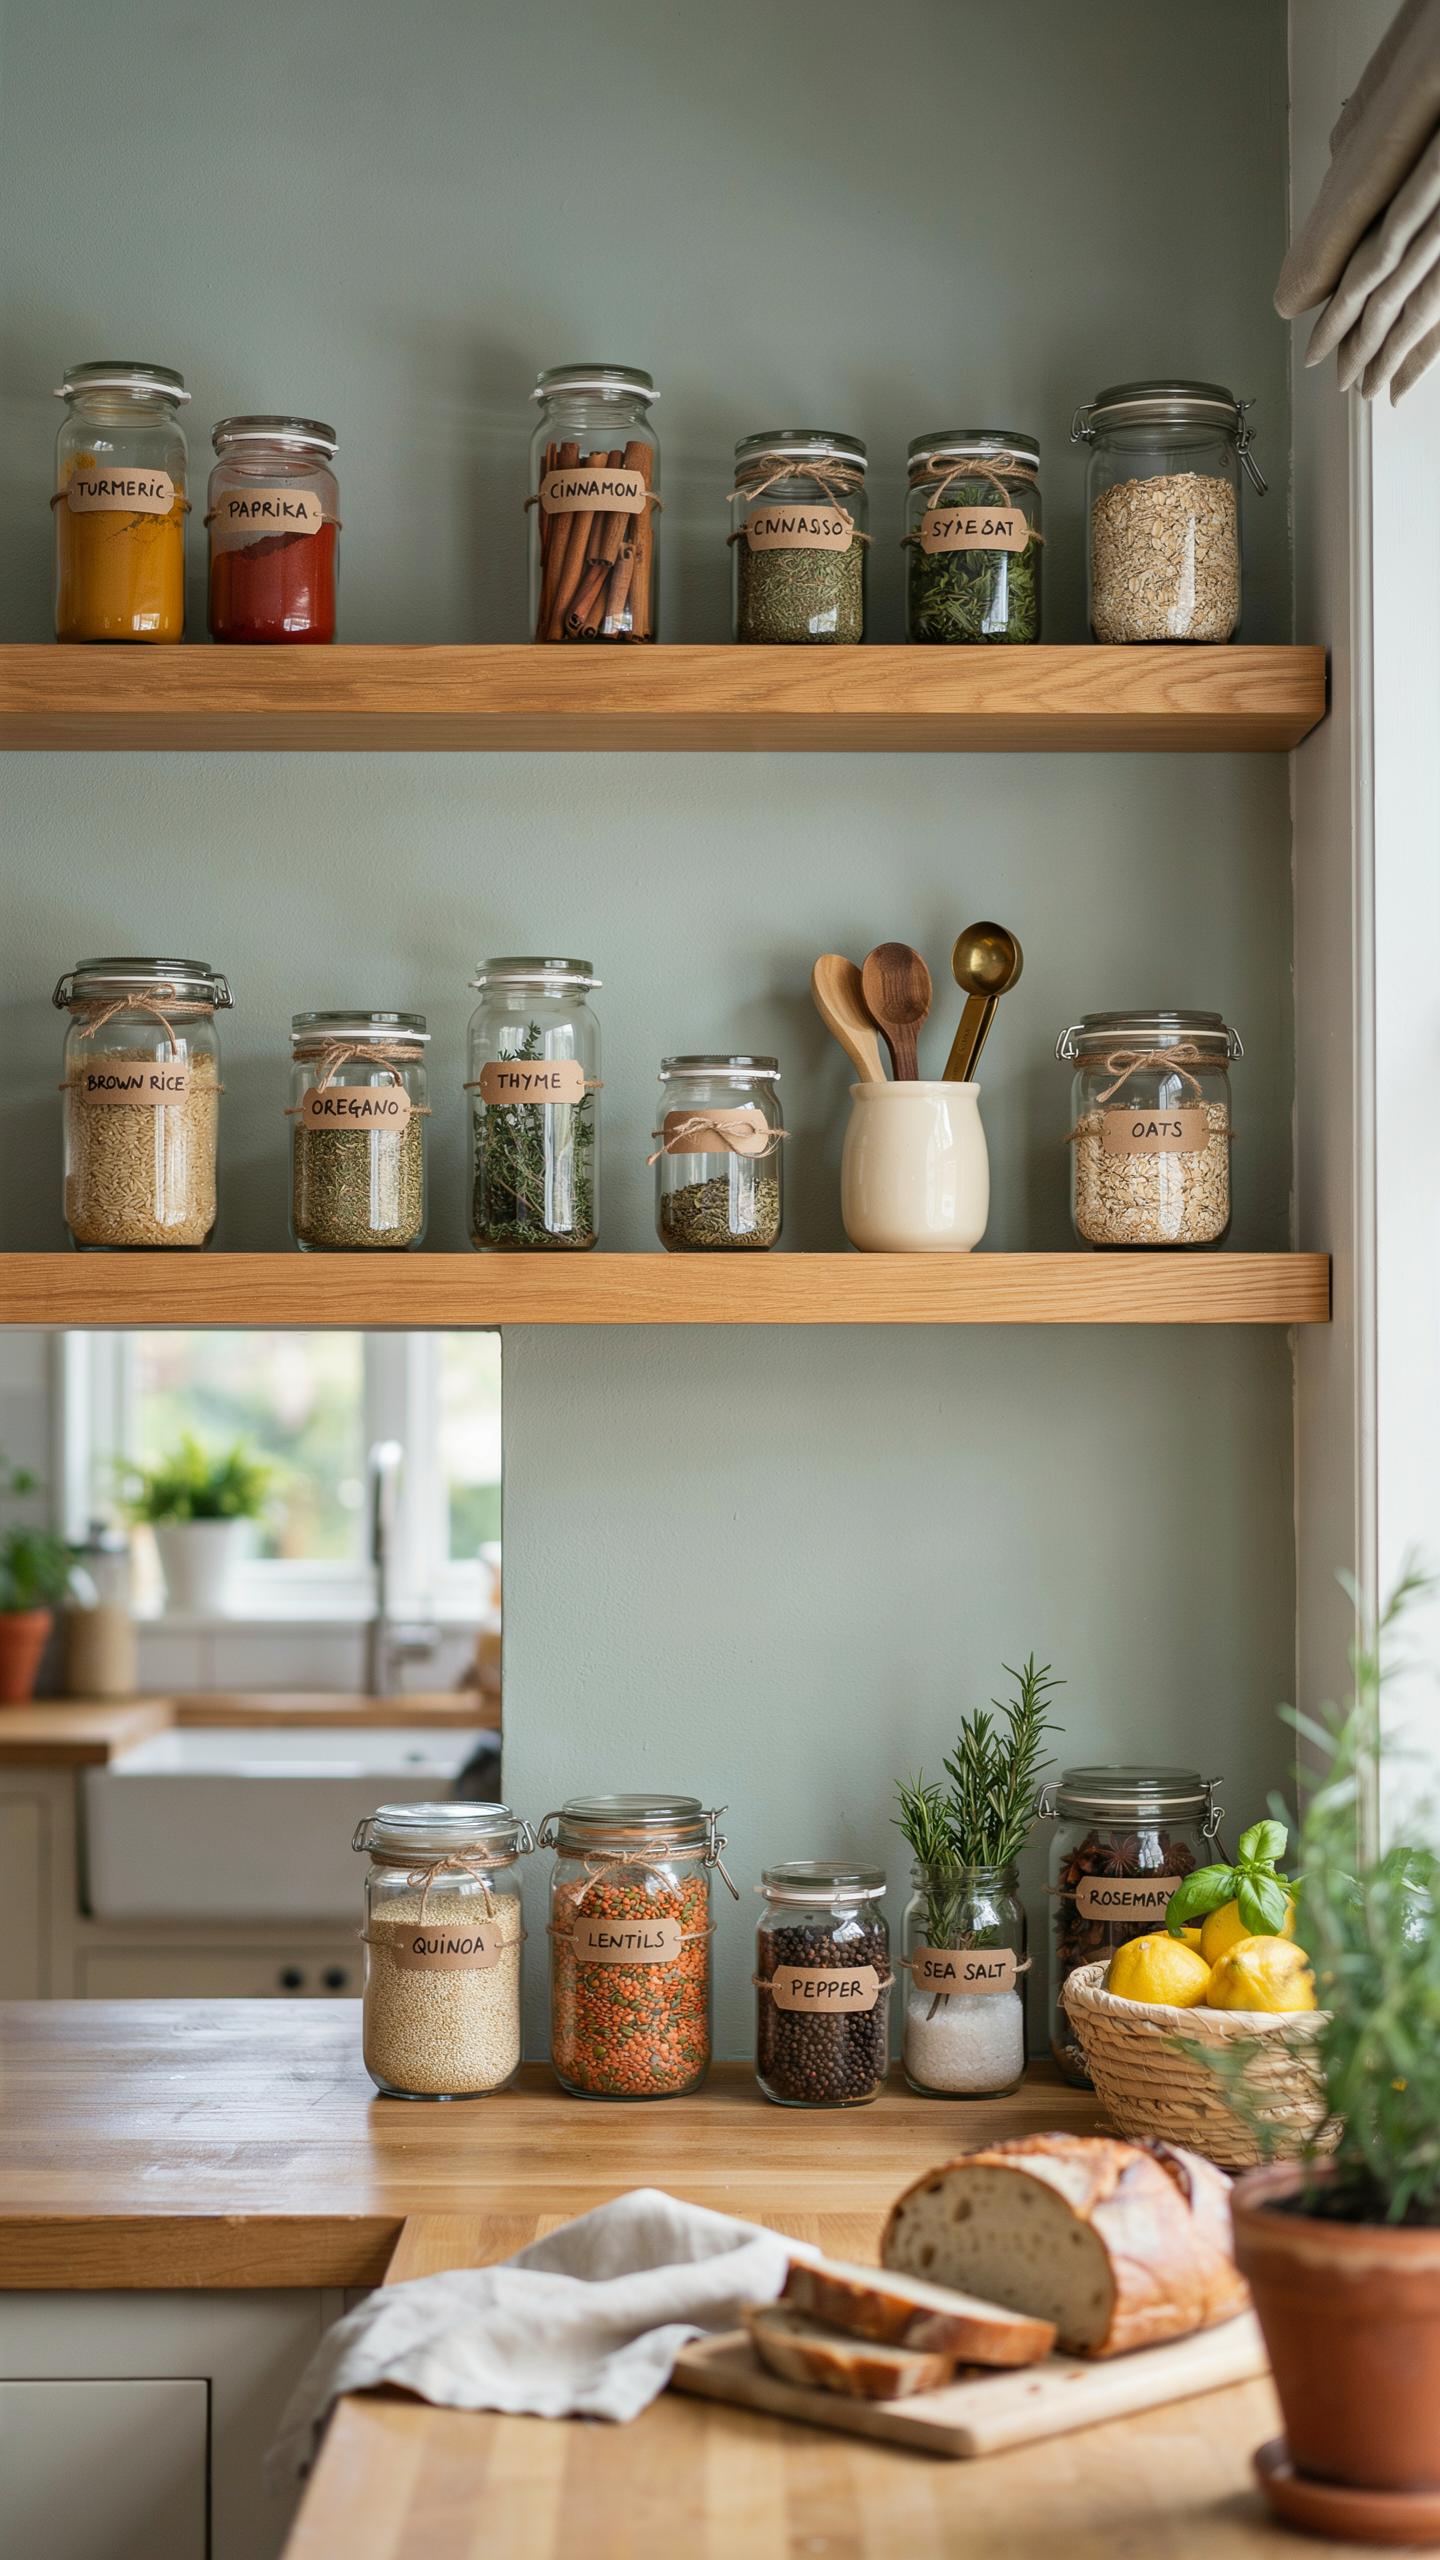
Glass jars preserve dry pantry goods by blocking light and air exposure. Spices, legumes, and grains stay fresh longer in sealed containers than in original packaging. Uniform jars create visual order on shelves and eliminate wasted space. You see exactly what you have and when supplies run low. Clear glass lets you identify contents instantly without opening containers.
Labeling matters. Mark each jar with the ingredient name and purchase date using adhesive labels or a label maker. This system prevents confusion and helps you rotate stock properly. Grouped jars by category, spices together and grains separate, speed up cooking prep. The organized result cuts clutter while keeping food accessible and visible throughout your kitchen.
There is a gentle magic in taking something old and making it new again, breathing life into a simple glass jar to hold our modern memories. Decorating our homes with these treasures reminds us that beauty often resides in the things we already cherish.
Customizing Lids With Decorative Knobs
Paint plain metal lids with food-safe enamel to match your kitchen aesthetic. Food-safe enamel withstands humidity and temperature changes without chipping into stored contents. Choose colors that coordinate with your decor scheme. The painted lid becomes the visual anchor for each jar. Apply thin, even coats and allow full drying time between applications to prevent peeling.

Secure decorative cabinet knobs to the center of each painted lid using small bolts and washers from underneath. This transforms basic lids into functional hardware pieces that elevate the entire storage system. The knob creates an apothecary style that looks intentional and high-end. You gain both practicality and visual appeal. This customization costs little but delivers significant design impact.
Elegant Decoration Jar Designs For Home Offices
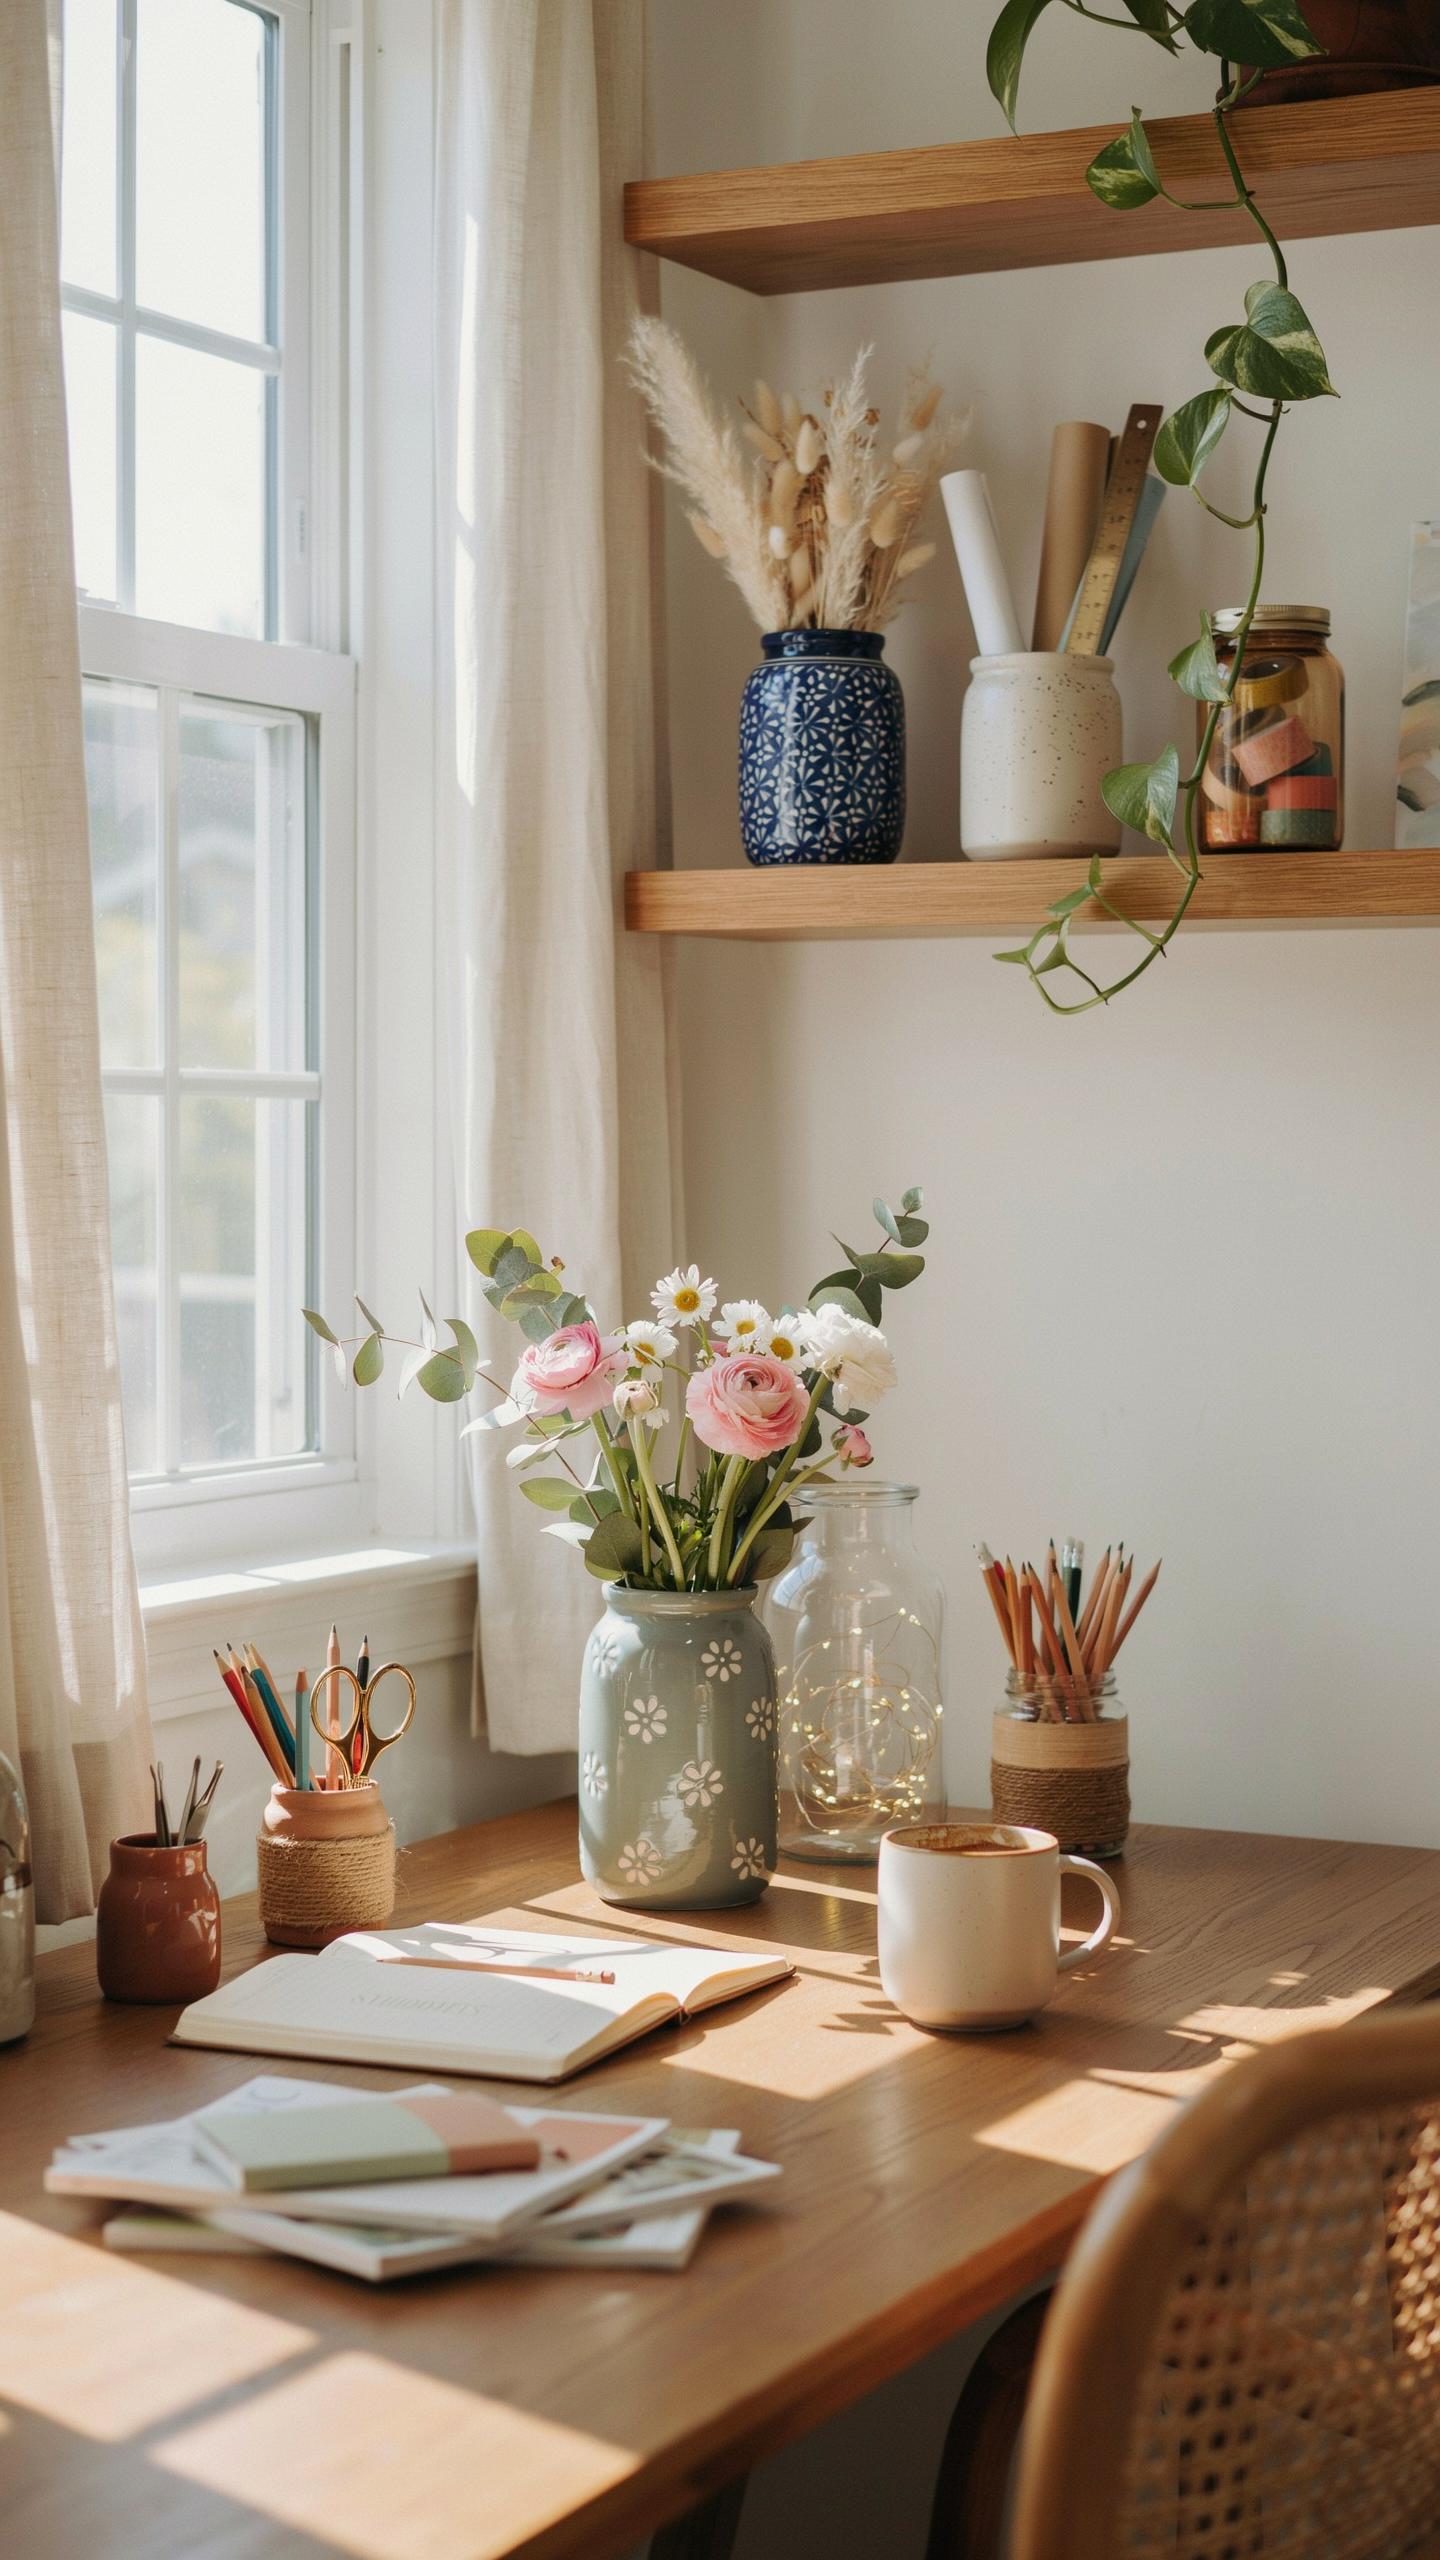
Chic Desk Organizers And Pen Holders
Chalk paint transforms ordinary jars into functional desk organizers. The matte finish reduces glare on work surfaces and hides dust buildup better than glossy alternatives. Apply two coats for even coverage, letting each coat dry completely. This coating method works on glass and ceramic jars without requiring a primer.
Group jars by size to hold pens, scissors, and paper clips separately. The textured surface prevents items from sliding around during desk movement. Desk organizers using this method cost under five dollars per unit to create. The solution keeps your workspace clear and maintains professional aesthetics in home office environments.
Creating Magnetic Under Shelf Storage
Neodymium magnets adhere to most metal jar lids and remain secure under shelf mounting. Heavy duty versions rated for at least five pounds hold standard mason jars reliably. Apply adhesive designed for both metal and plastic to ensure permanent attachment. Wait twenty four hours before loading jars to allow full curing of the adhesive bond.

This storage method eliminates desk clutter by moving supplies to overhead space. Jars mounted this way remain easily accessible without consuming valuable surface area. The magnetic system accommodates quick jar removal and repositioning as your workspace needs change. Most home office setups gain three to four usable square feet of desk space using this approach.
Simple Craft With Jar Projects For Beautiful Centerpieces
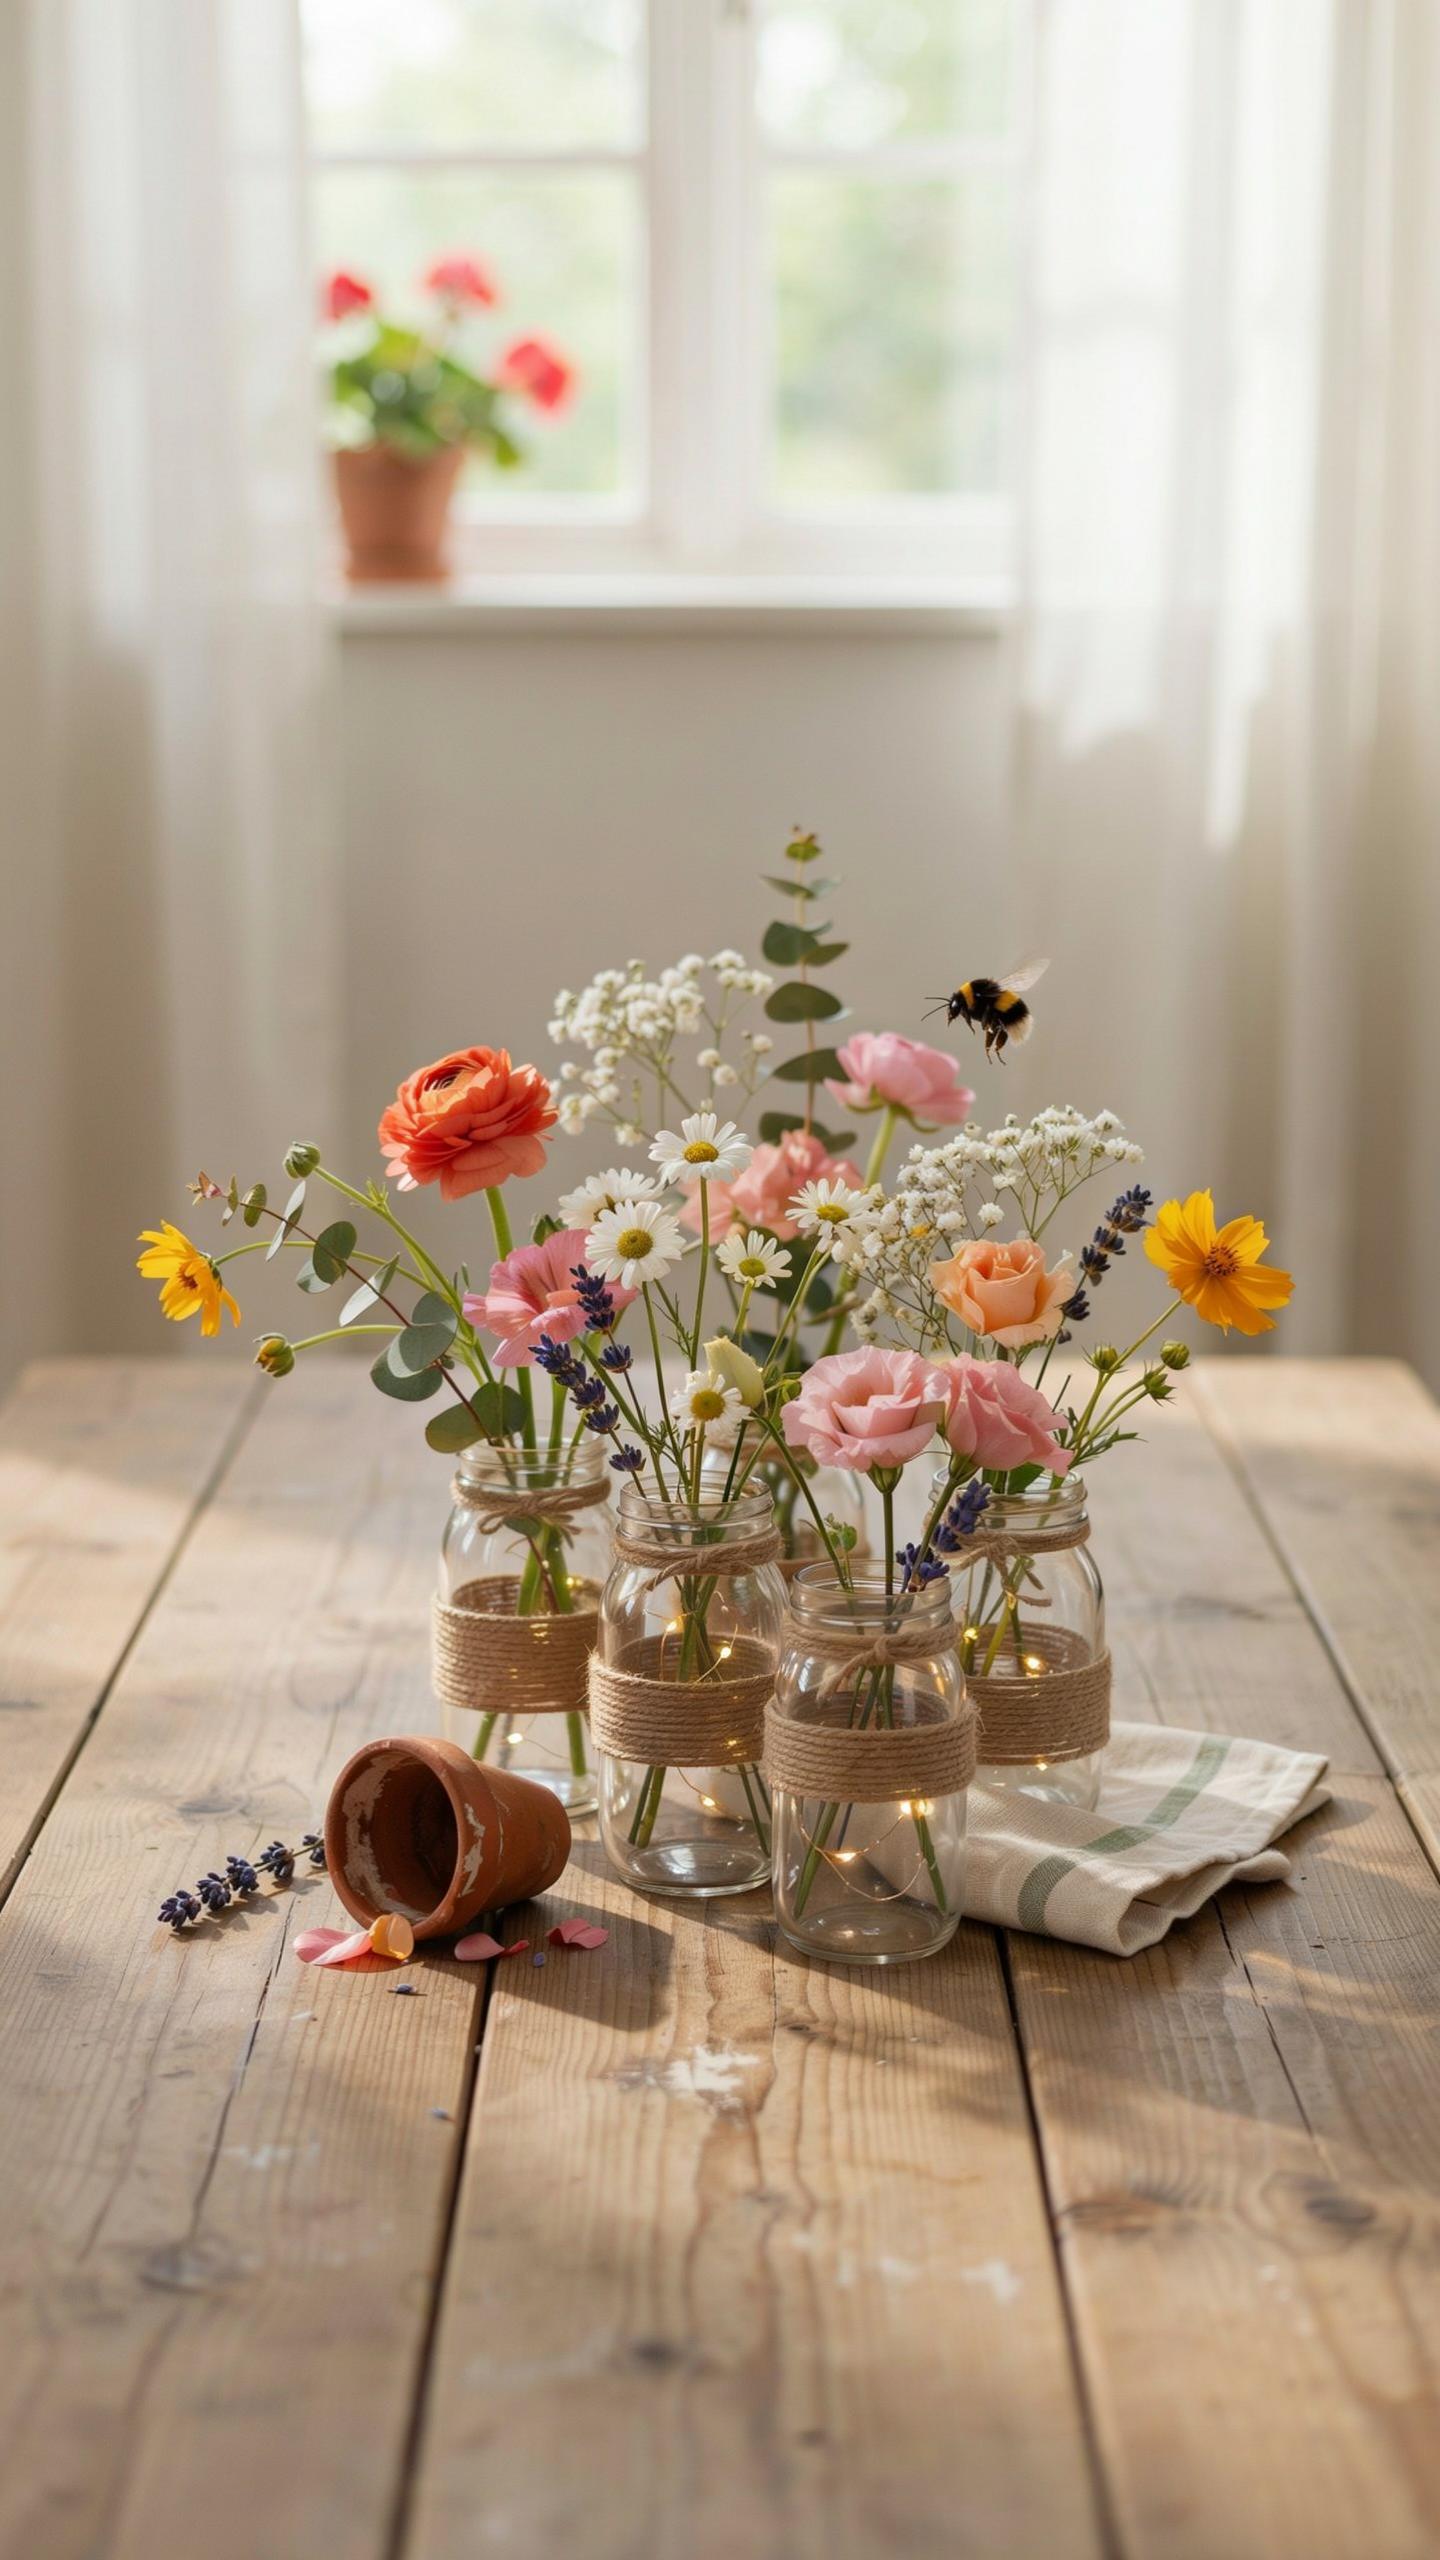
Designing Seasonal Floral Vases
Wrap glass jars with burlap and lace to create rustic vases that work year-round. Burlap provides texture and durability. Lace adds visual contrast without adding weight. Secure both materials with twine or hot glue. This approach works with any jar size or shape available in your home.
Fill these wrapped jars with seasonal flowers or dried botanicals like eucalyptus. Wildflowers work well for spring and summer arrangements. Dried branches and grasses fit fall and winter displays. The burlap wrapping protects jar surfaces from water damage. Change contents monthly to match seasons without rewrapping containers.
Floating Candle Display Arrangements
Use jars of varying heights to create visual depth on dining tables. Fill each jar three quarters full with clean water. Add botanical elements like rosemary sprigs or thin citrus slices to the water. Float a small paraffin candle on top of each jar. The water keeps candles stable and allows them to burn longer than traditional holders.

This setup produces ambient lighting without electrical outlets or batteries. Paraffin candles cost less than specialty options and burn predictably. Water acts as a heat barrier, making jars safe to touch during use. Replace water monthly and refresh botanicals as they decompose. Remove candles before water becomes cloudy to maintain appearance.
Stunning Crafts With Glass Jars For Plant Lovers
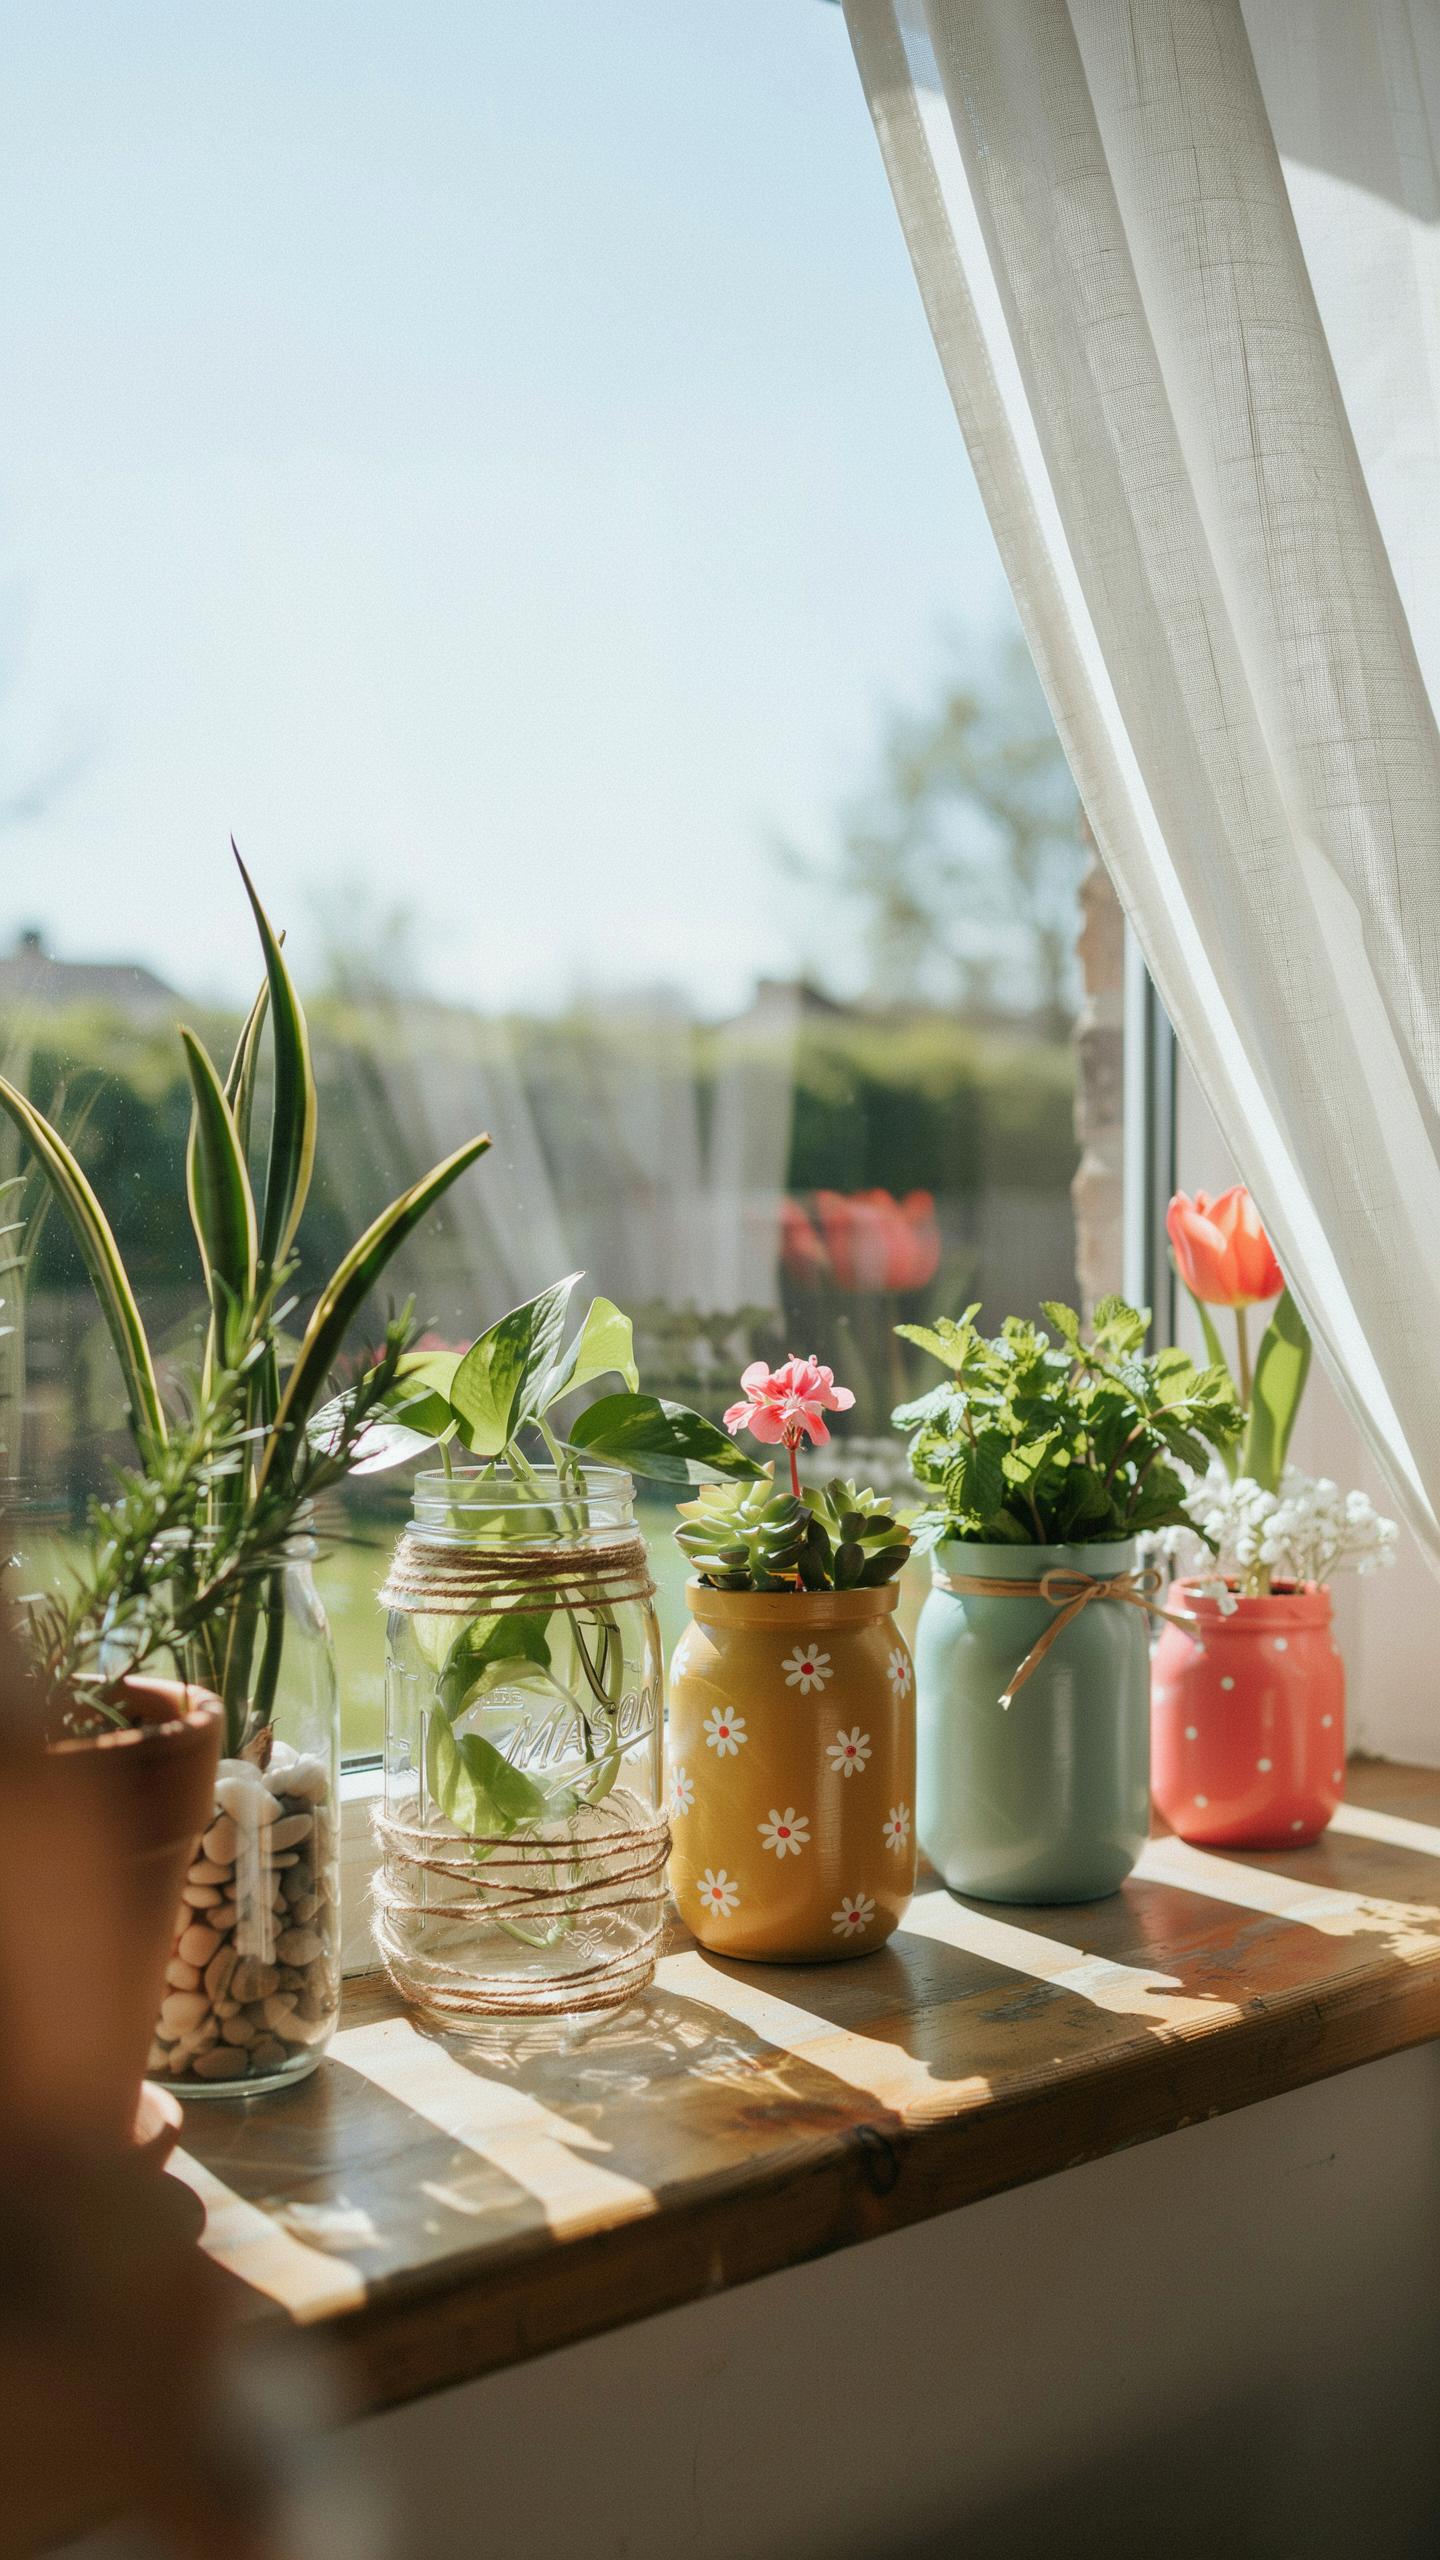
Steps To Build A Layered Jar Terrarium
Jar terrariums work because each layer serves a specific function in creating a closed ecosystem. The bottom layers manage water and air quality, while upper layers support plant growth. Get the foundation right and your terrarium sustains itself for months with minimal intervention.
- River rocks or gravel base: Place one inch at the bottom to allow excess water to drain away from plant roots and prevent root rot in the sealed environment.
- Activated charcoal layer: Add a thin layer to absorb odors and filter impurities, keeping the enclosed soil environment fresh and preventing mold growth.
- Organic potting soil: Use soil formulated for tropical plants or succulents, roughly two to three inches deep, to provide nutrients and proper drainage capacity.
- Slow growing plants: Select fittonia, moss, or other compact species that thrive in humid conditions and won’t outgrow the jar quickly.
- Light misting and sealing: Water sparingly with a spray bottle, then seal the lid to trap moisture and create a self regulating water cycle.
Misting frequency depends on your jar size and room humidity. Check condensation on the glass weekly. Too much moisture means you sealed it with excess water. Too little means you need one extra mist. Adjust your watering based on what you observe, not on a fixed schedule.
Designing Beautiful Hanging Herb Gardens
Mount pint sized jars to a wooden board using metal pipe clamps for a functional kitchen garden. This setup keeps fresh herbs within arm’s reach while you cook. Basil, thyme, and parsley are reliable choices that tolerate container growing and deliver harvest worthy yields.

Position your board near a south or west facing window where herbs receive six to eight hours of direct sunlight daily. Fill each jar with standard potting soil, plant one herb per jar, and water when the top soil feels dry. Rotate the board occasionally so all jars receive equal light exposure and grow uniformly.
7 Achieving A Modern Look With Creative Jar Decor Painting
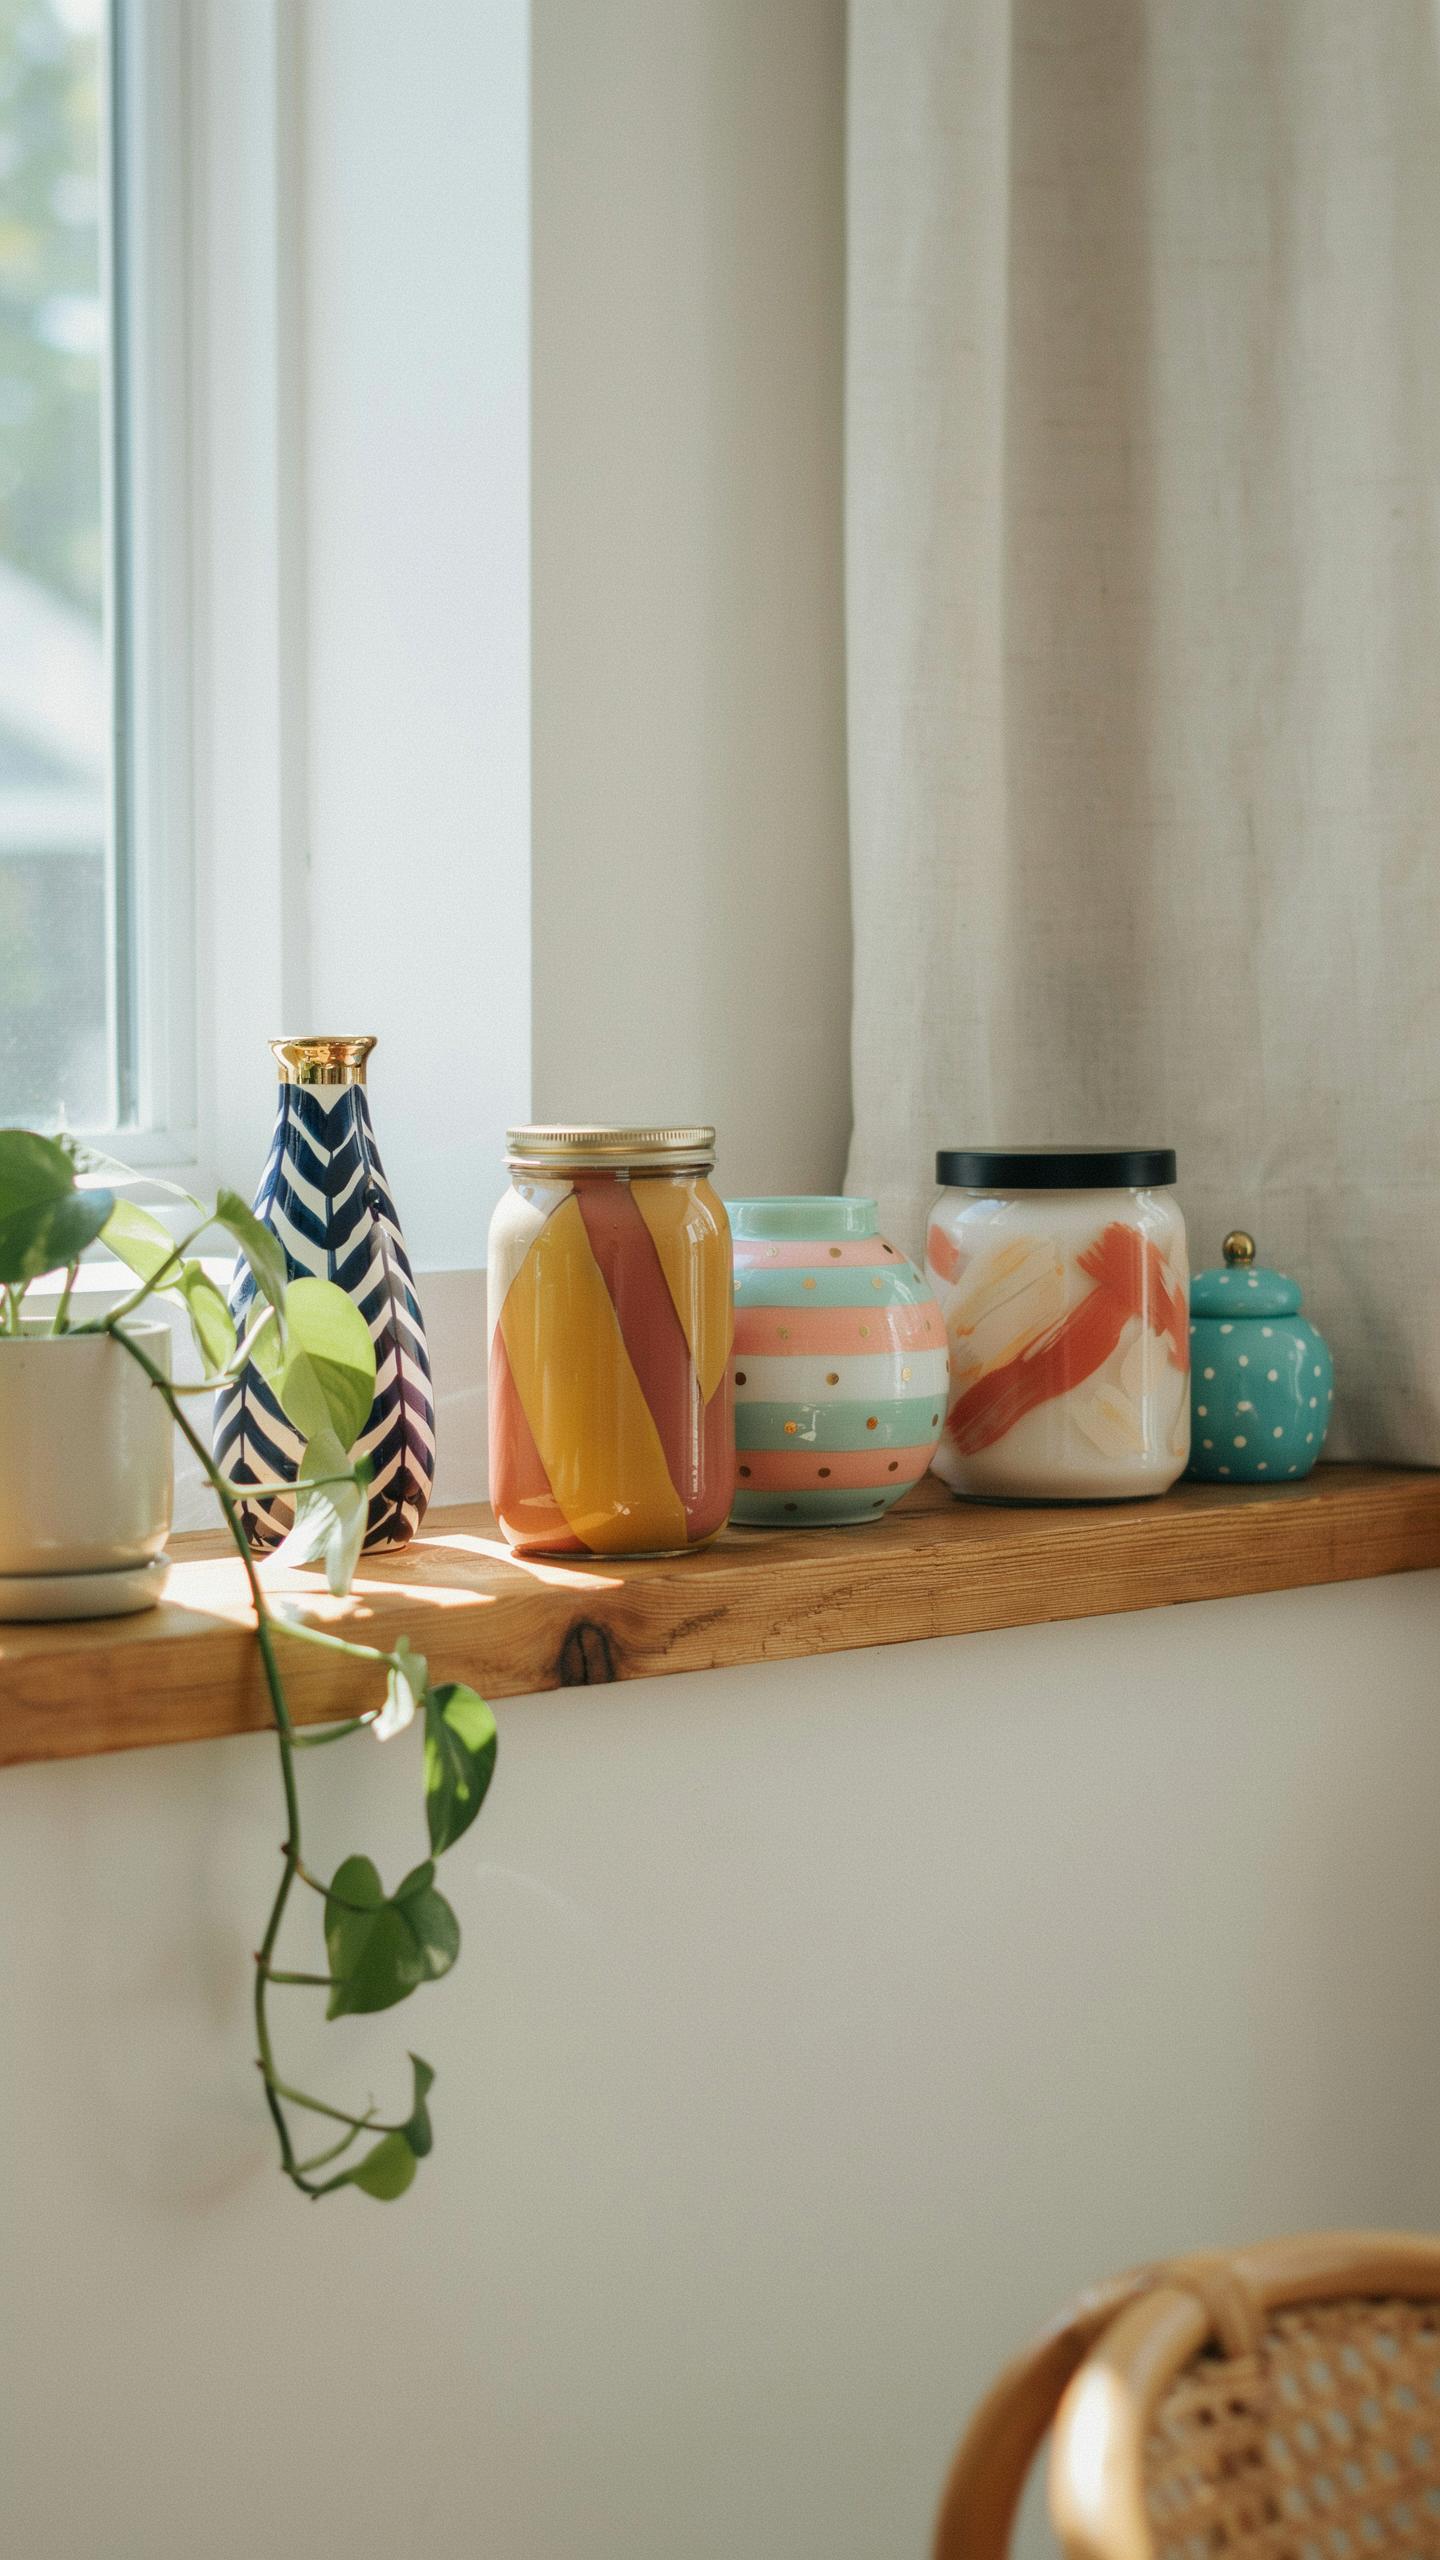
Applying Matte Spray Paint For Modern Visuals
Matte spray paint creates a contemporary finish on glass jars without the reflective quality of glossy coatings. Apply thin, even layers rather than one thick coat to prevent dripping and pooling. Let each layer dry completely before adding the next. Lightly sand raised lettering or embossed areas with fine-grit sandpaper after the paint cures to expose underlying glass and create intentional contrast between matte and glossy surfaces.
This technique works because matte finishes absorb light instead of bouncing it back, which aligns with minimalist design principles. Chalk spray paint specifically adheres well to glass and develops a chalky texture that reads as intentional rather than accidental. The distressed effect happens naturally when you sand through the paint to the glass beneath. This approach requires no special equipment beyond sandpaper and spray paint.
Creating Stenciled Silhouettes And Patterns
Adhesive vinyl stencils offer precise control over your design placement and consistency across multiple jars. Clean jars thoroughly before applying stencils to ensure they stick properly and seal edges completely. Spray paint over the stencil in thin coats, maintaining consistent distance from the surface to avoid paint seeping underneath. Allow the paint to dry fully before carefully peeling away the stencil to reveal clean, sharp lines.

Geometric patterns and botanical shapes work best because they read clearly at a glance and suit modern interiors. The stencil method produces professional results without artistic skill or expensive equipment. Reusable vinyl stencils pay for themselves after three or four projects. You can create matching sets across different jar sizes by using the same stencil, building visual cohesion in your space.
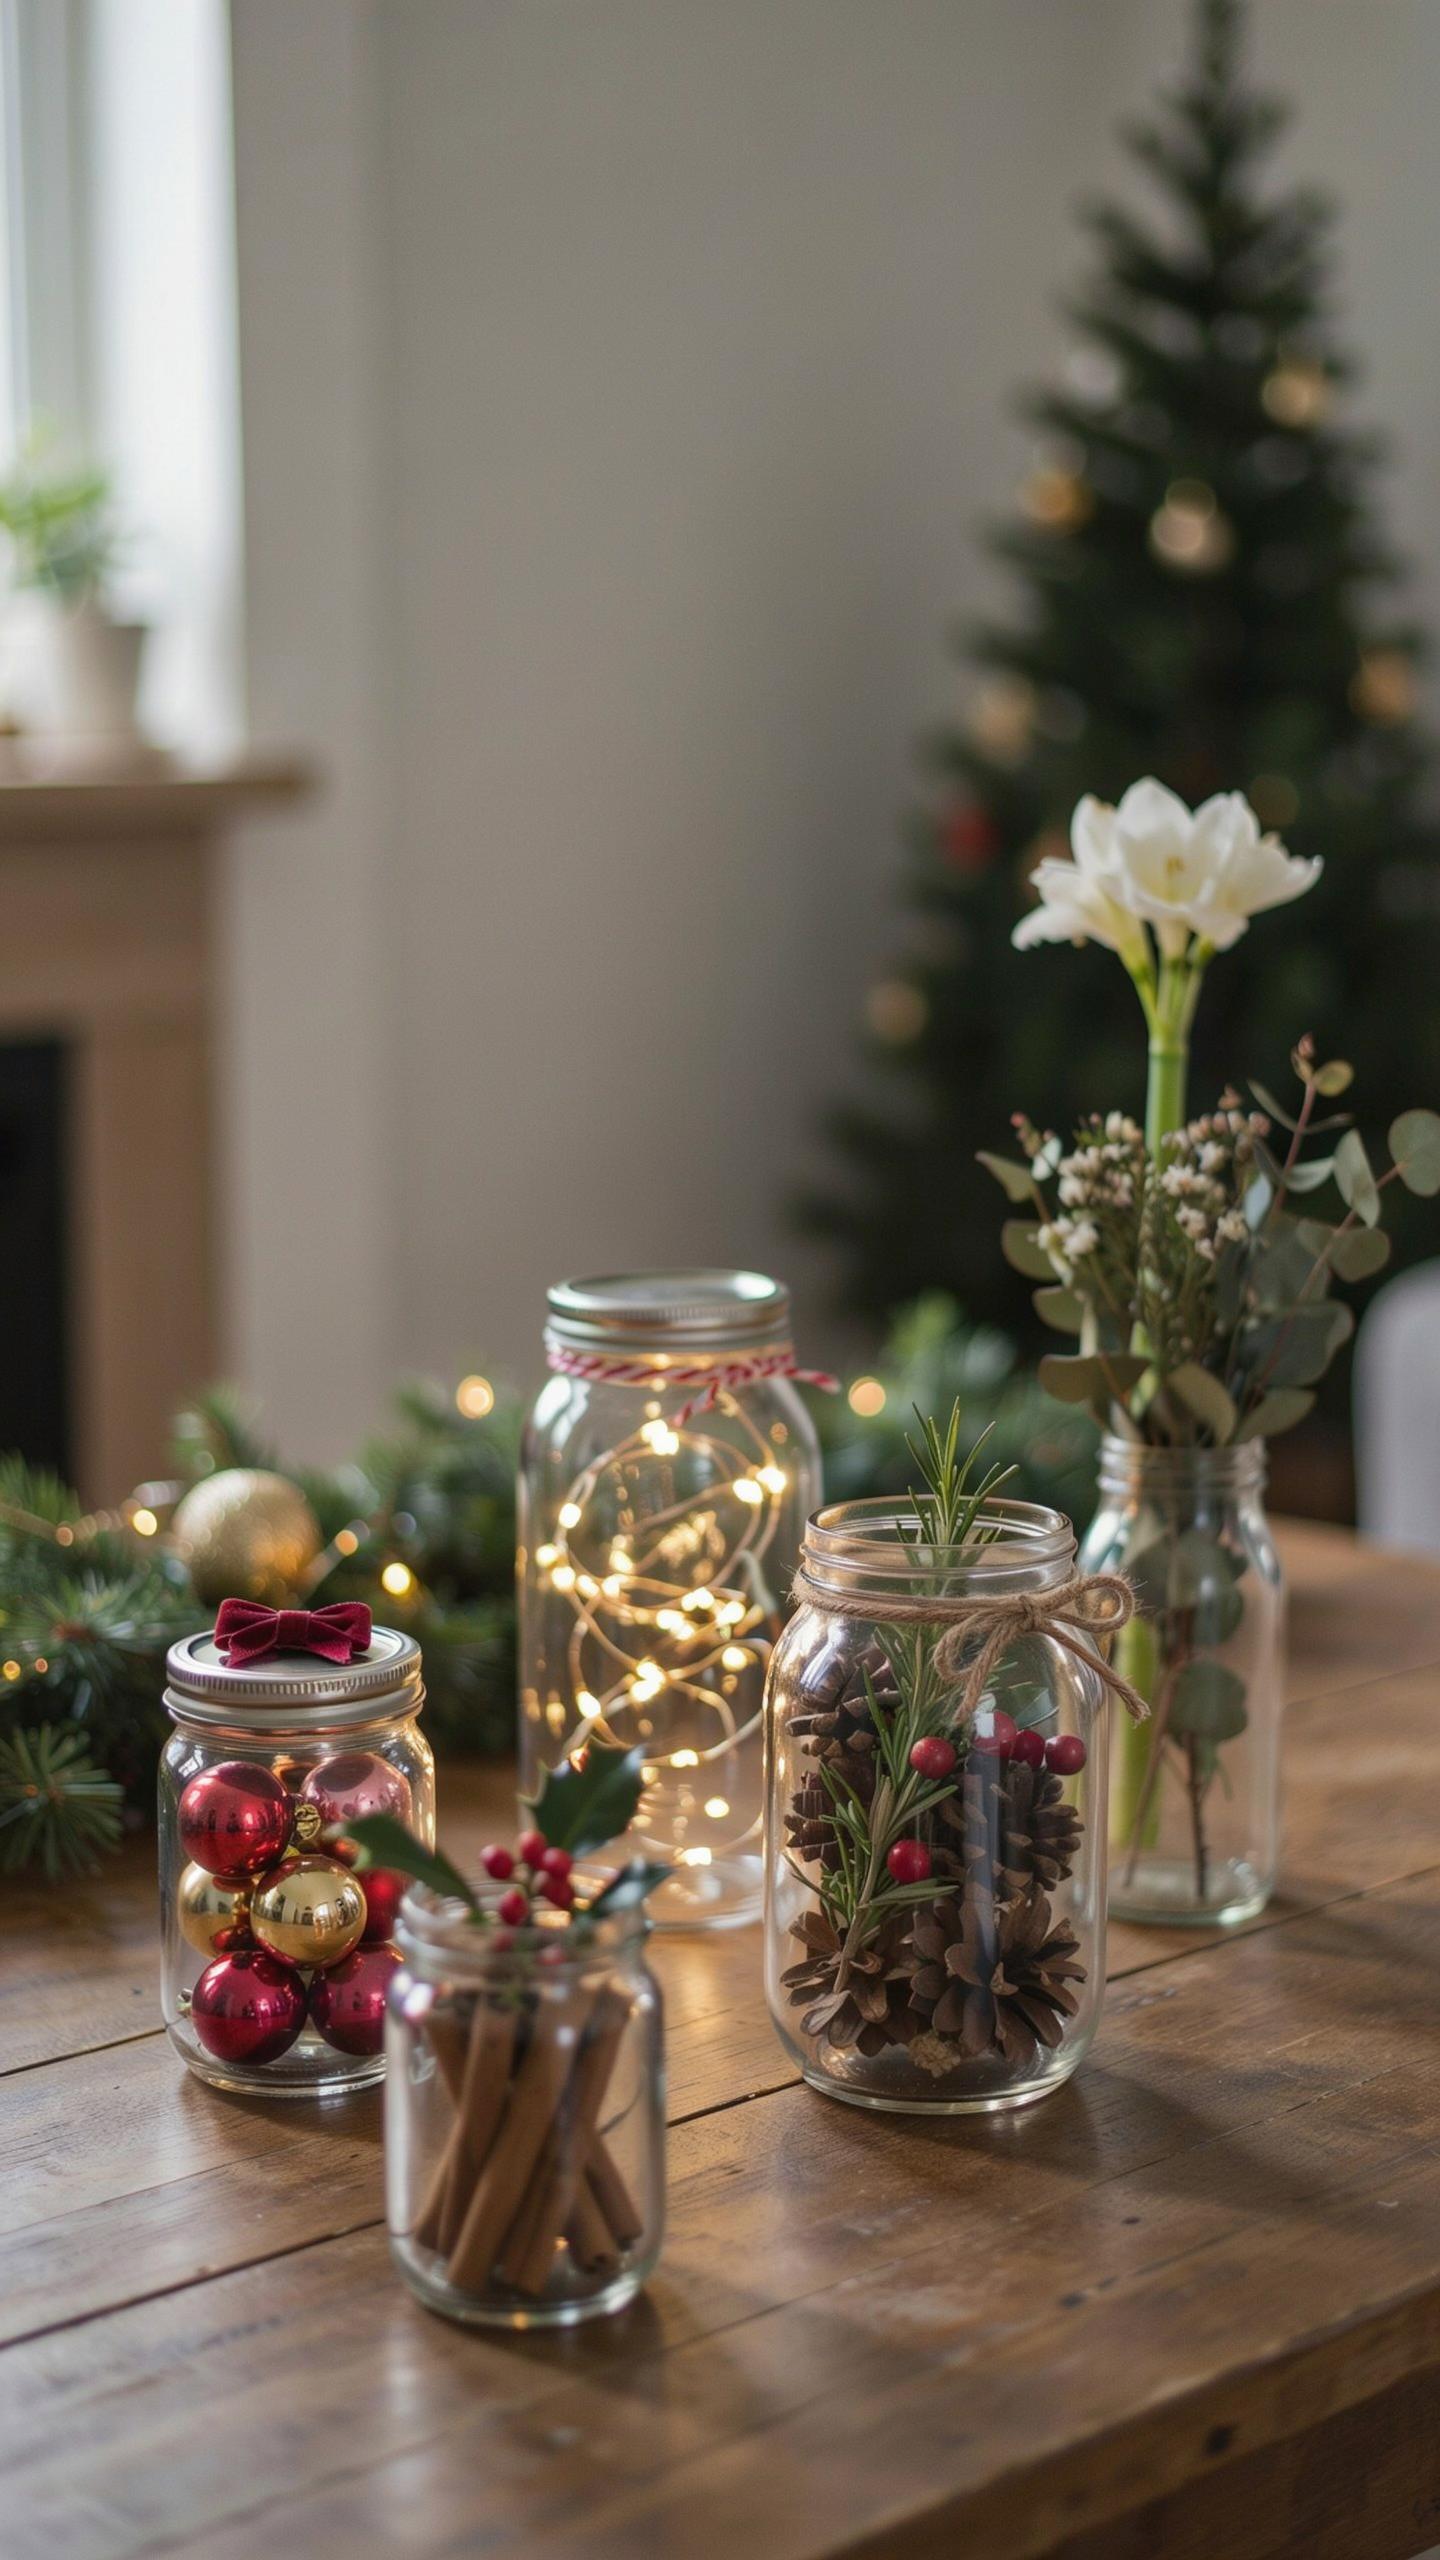
8 Repurposing Glass Jars For Seasonal Holiday Displays
Crafting Nostalgic Winter Snow Globes
Attach miniature plastic figurines or evergreen trees to the inside of a jar lid using waterproof adhesive. Allow the adhesive to cure fully before proceeding. This secures your chosen objects permanently and prevents them from shifting during assembly or display.
Fill the jar with water, glycerin, and metallic glitter. The glycerin slows glitter descent, creating the snow globe effect. Seal the jar tightly to prevent leaks. Test the seal before displaying to catch any gaps. This setup produces a functional winter decoration from basic materials.
Creating Spooky Halloween Lantern Designs
Wrap jars in medical gauze using craft glue to secure the material. Cover the entire jar surface for full effect. Medical gauze works because it’s thin enough to allow light through while creating texture and mystery needed for the mummy aesthetic.
Add stick-on plastic eyes to complete the mummy design. Position eyes at appropriate heights on wrapped jars. Place a battery-powered tea light inside the jar to activate the glowing effect. This transforms standard jars into functional porch lanterns requiring minimal assembly time and materials.
Frequently Asked Questions

What are the easiest ways to start making recycled home decor from jars for my living space?
Beginners can start by thoroughly cleaning glass containers and turning them into simple tea light holders or minimalist flower vases. To create stunning recycled home decor from jars, try wrapping them in twine or applying a quick coat of matte spray paint. These simple transformations require very few supplies and instantly add a cozy, handcrafted touch to your shelves or tabletops without needing any advanced crafting skills or expensive power tools.
How do I properly prep glass jars to ensure paint or glue adheres correctly?
For professional-looking results, first soak your jars in warm, soapy water to remove labels and sticky residue. Once dry, wipe the exterior with rubbing alcohol to remove oils from your skin. This preparation is essential when creating recycled home decor from jars, as it ensures seasoned crafters get a smooth, long-lasting finish. Whether you are using chalk paint or hot glue, a clean surface prevents peeling and keeps your projects looking brand new.
Do I need to buy expensive crafting supplies to create high-end looking jar decor?
Not at all! One of the best things about this hobby is its affordability. You can upcycle everyday household items like leftover lace, scraps of fabric, or even twigs from your backyard to embellish your projects. By using what you already have at home, you can achieve a high-end aesthetic on a zero-dollar budget. This accessibility makes it easy for anyone to enjoy the process of transforming waste into beautiful, functional household accents.



