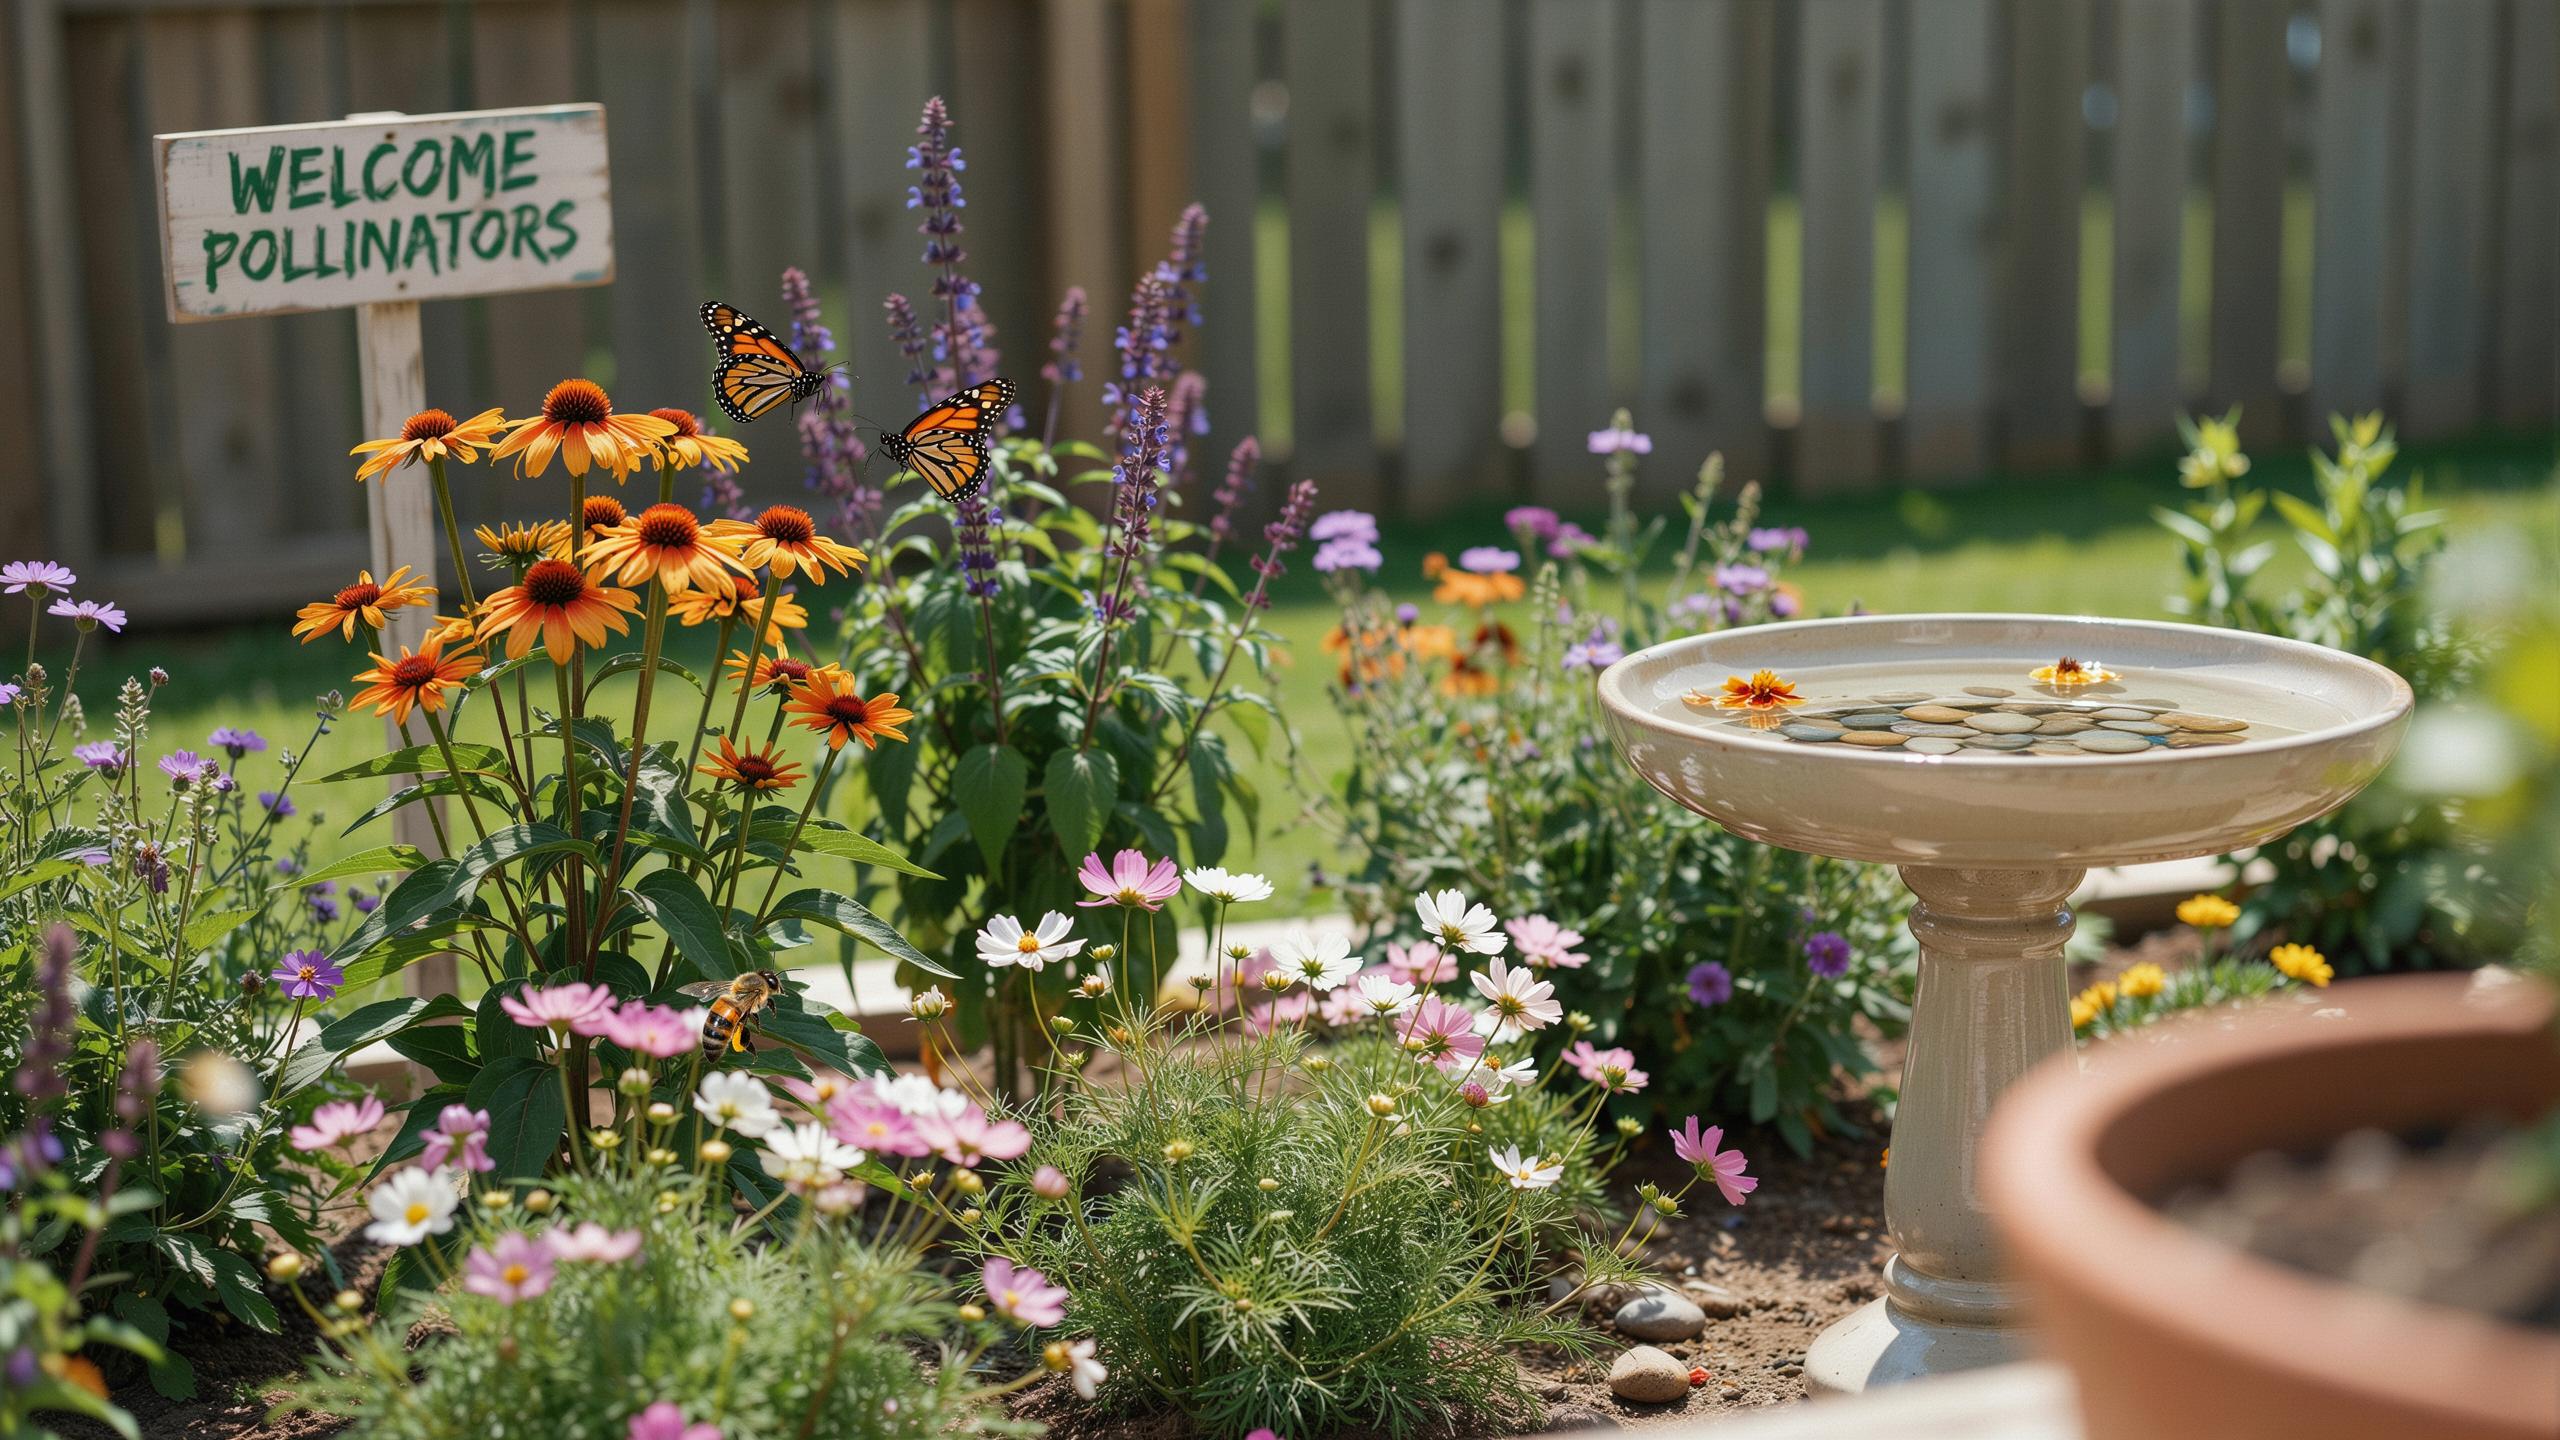
Understanding The Basics Of Pollinator Garden Design
What Is Pollinator Design
Pollinator garden design creates a functional habitat that attracts and sustains insects and birds that feed on nectar and pollen. These gardens combine specific plants, water sources, and shelter to meet the basic survival needs of pollinators. The design approach treats the garden as an ecosystem rather than a decorative space. Success depends on understanding what local pollinator species require to thrive in your region.
Your pollinator garden works because it provides food, water, and nesting sites in one location. Bees, butterflies, hummingbirds, and beetles visit plants for nectar and pollen, then move to other flowers in your garden or neighborhood. This concentrated resource draws pollinators consistently throughout growing seasons. The design deliberately removes barriers like pesticides and monoculture plantings that reduce pollinator populations.
The Ecological Role Of Water
Water sustains pollinator populations through multiple direct and indirect mechanisms. Nectar-feeding species require water to digest concentrated sugars and maintain body functions. Insects absorb water through their exoskeletons, while birds drink and bathe regularly. Water availability in your garden removes the energy cost of traveling to distant sources, allowing pollinators to spend more time foraging on your plants.
Standing water attracts certain pollinator species more effectively than flowing water. Shallow puddles, bird baths, and water basins provide safe drinking and bathing access for insects and birds. Pollinator gardens without water sources force insects to visit less convenient locations, reducing garden visitation frequency. Adding water to your design increases pollinator density and extends their time spent pollinating your flowers.
Selecting The Perfect Pollinator Garden Layout
Mapping Garden Zones
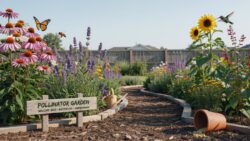
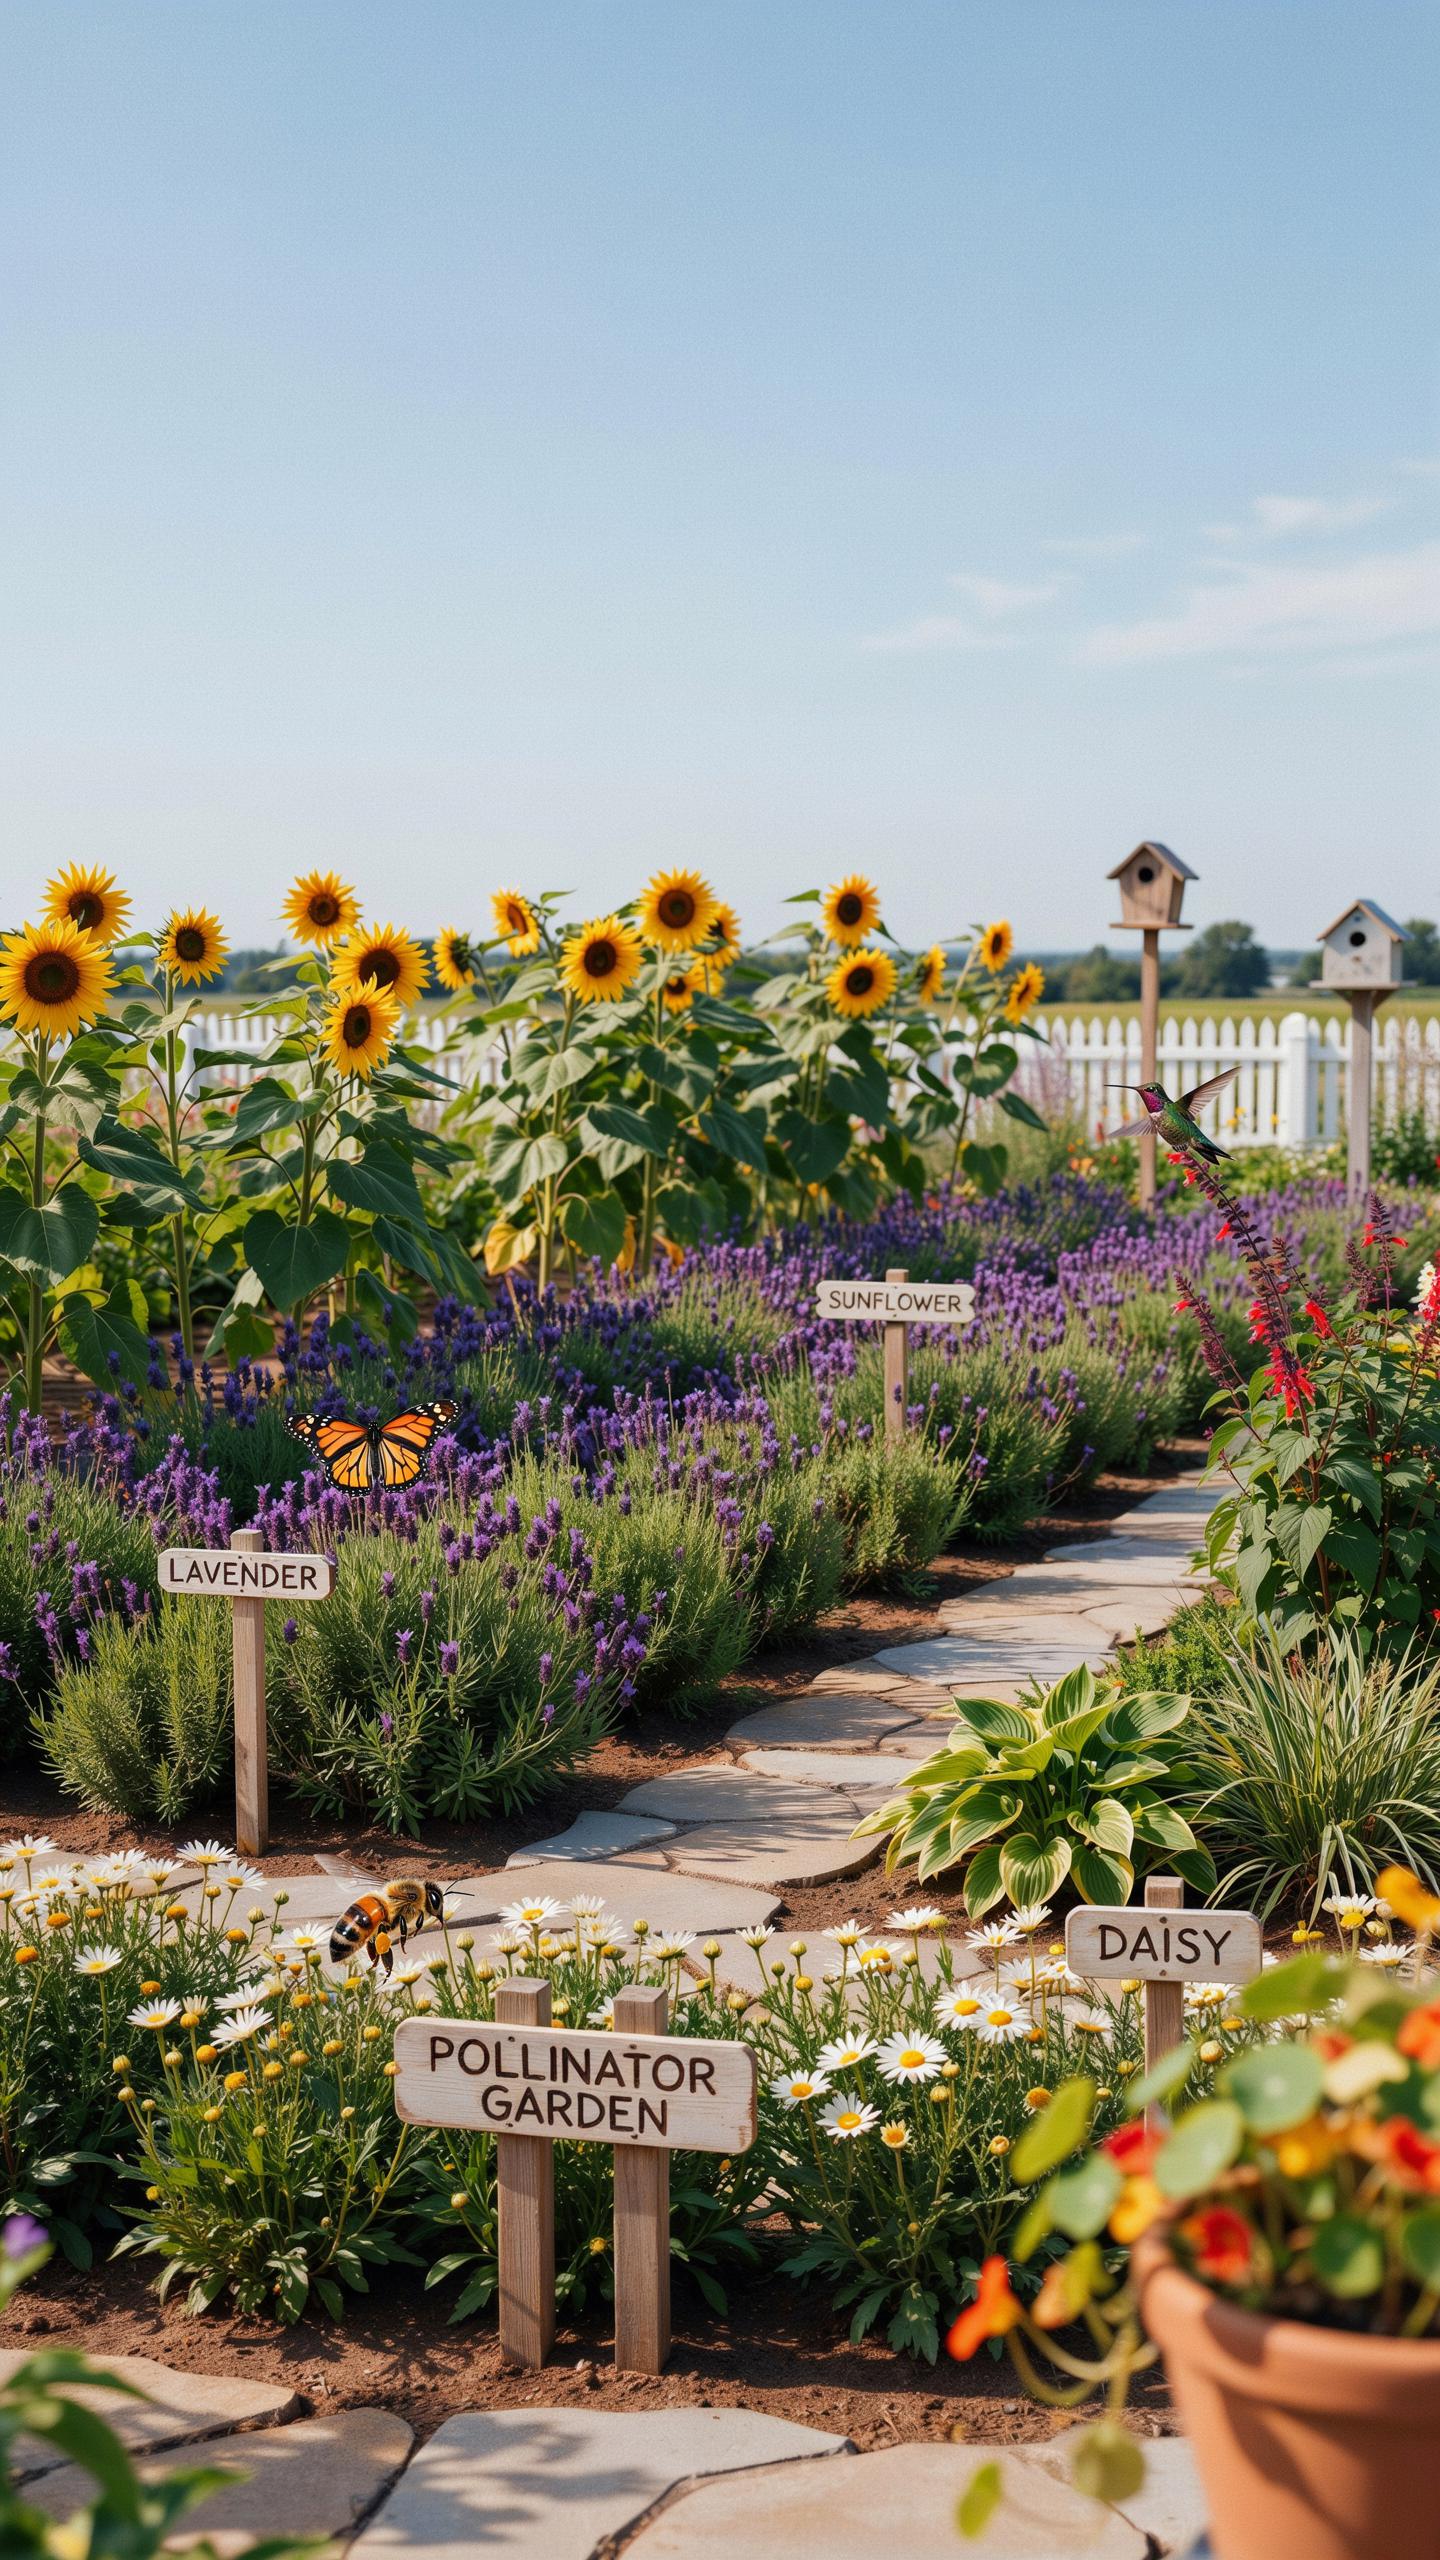
Pollinators need both nectar sources and water access. Arrange your garden so flowering plants sit in full sun, six to eight hours minimum daily. Position water sources within ten feet of bloom clusters. This reduces pollinator travel distance and increases garden functionality. Sun exposure drives nectar production in most flowering species. Proximity between food and water sources keeps pollinators in your garden longer.
Damp areas work best at garden edges or low points where water naturally collects. Create zones by observing your yard’s existing drainage patterns before planting. Group plants by water needs to simplify maintenance. Shallow basins or rain gardens placed downslope from flower beds serve dual purposes. Your layout must match your yard’s actual sun exposure and water flow patterns.
Maximizing Space Efficiency
Small yards demand strategic plant placement. Use vertical growing methods like trellises for vining flowers to free ground space. Install water sources that double as design features, such as shallow bird baths or ground-level saucers. Layer plantings by height so shorter blooms still receive adequate light. This approach works in yards under 1,000 square feet or larger properties alike.
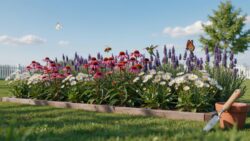
Large properties need spatial organization to remain functional. Divide the area into distinct zones with clear purpose. Plant clusters of flowers rather than scattered individuals to attract pollinators more effectively. Space water sources evenly throughout different garden sections. You maintain easier access for maintenance and observation while maximizing the area’s pollinator potential.
Incorporating Creative Pollinator Garden Design Ideas
Layering Native Flora
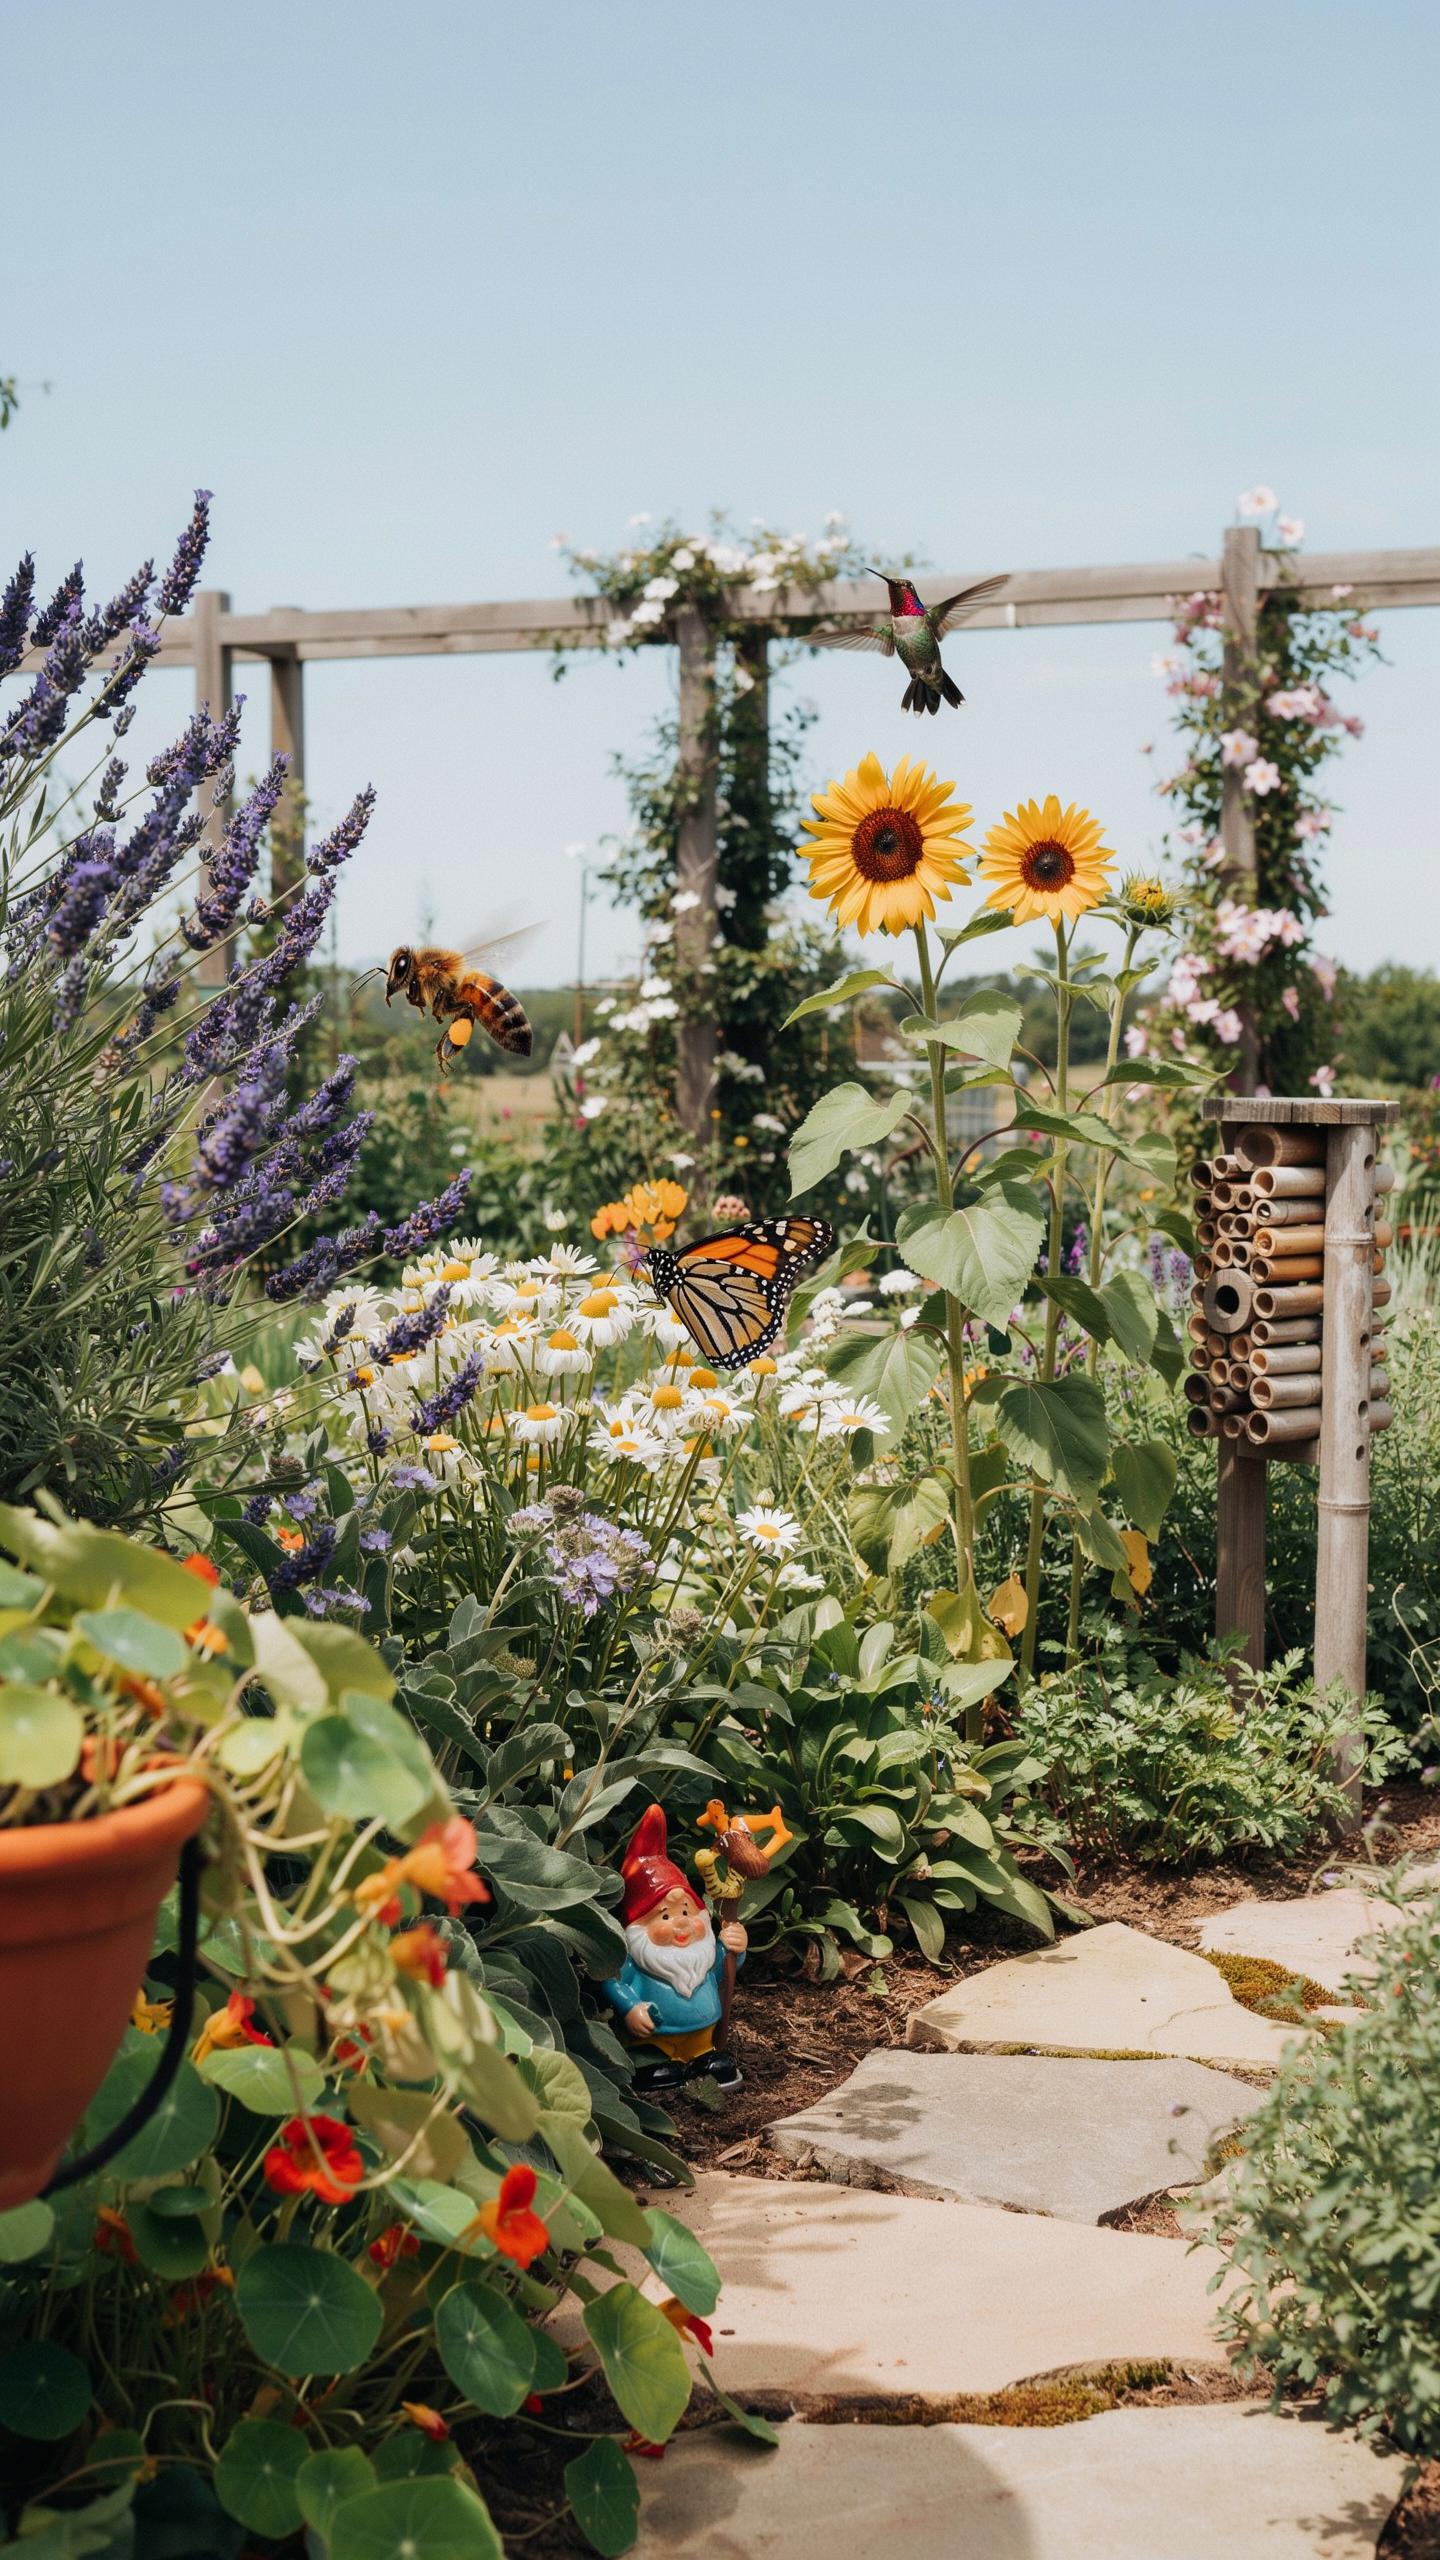
Native plants form the foundation of functional pollinator gardens. Layer them by height: tall plants in back, medium in middle, short in front. This structure maximizes sun exposure for each plant and creates visual diversity that attracts different pollinator species. Pollinators use height variation to navigate efficiently between nectar and pollen sources.
Vary plant textures deliberately. Combine daisy-like flowers with tubular blooms and clustered flower heads. Different flower structures suit different pollinator mouth parts. A bee’s proboscis works differently than a butterfly’s or hummingbird’s. Mixing textures ensures your garden feeds multiple pollinator types simultaneously, increasing overall garden productivity and resilience.
Seasonal Bloom Strategies For Year Round Use
Build bloom sequences by selecting plants that flower at different times. Early spring bloomers like native hellebores and phlox fuel pollinators emerging from dormancy. Mid-season plants like coneflowers and black-eyed susans provide sustained nectar flow. Fall bloomers such as native asters and Joe-Pye weed extend the foraging season before winter.
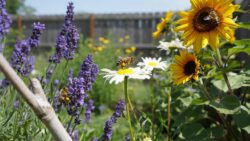
Stagger flowering by planting early, mid, and late varieties of the same species. Research your region’s frost dates and growing season length. Select natives proven to thrive in your specific climate zone. This approach eliminates gaps where pollinators find no food, preventing population crashes and ensuring consistent garden activity across months.
Why A Dedicated Water Source For Bees Is Vital
Preventing Insect Drowning Hazards
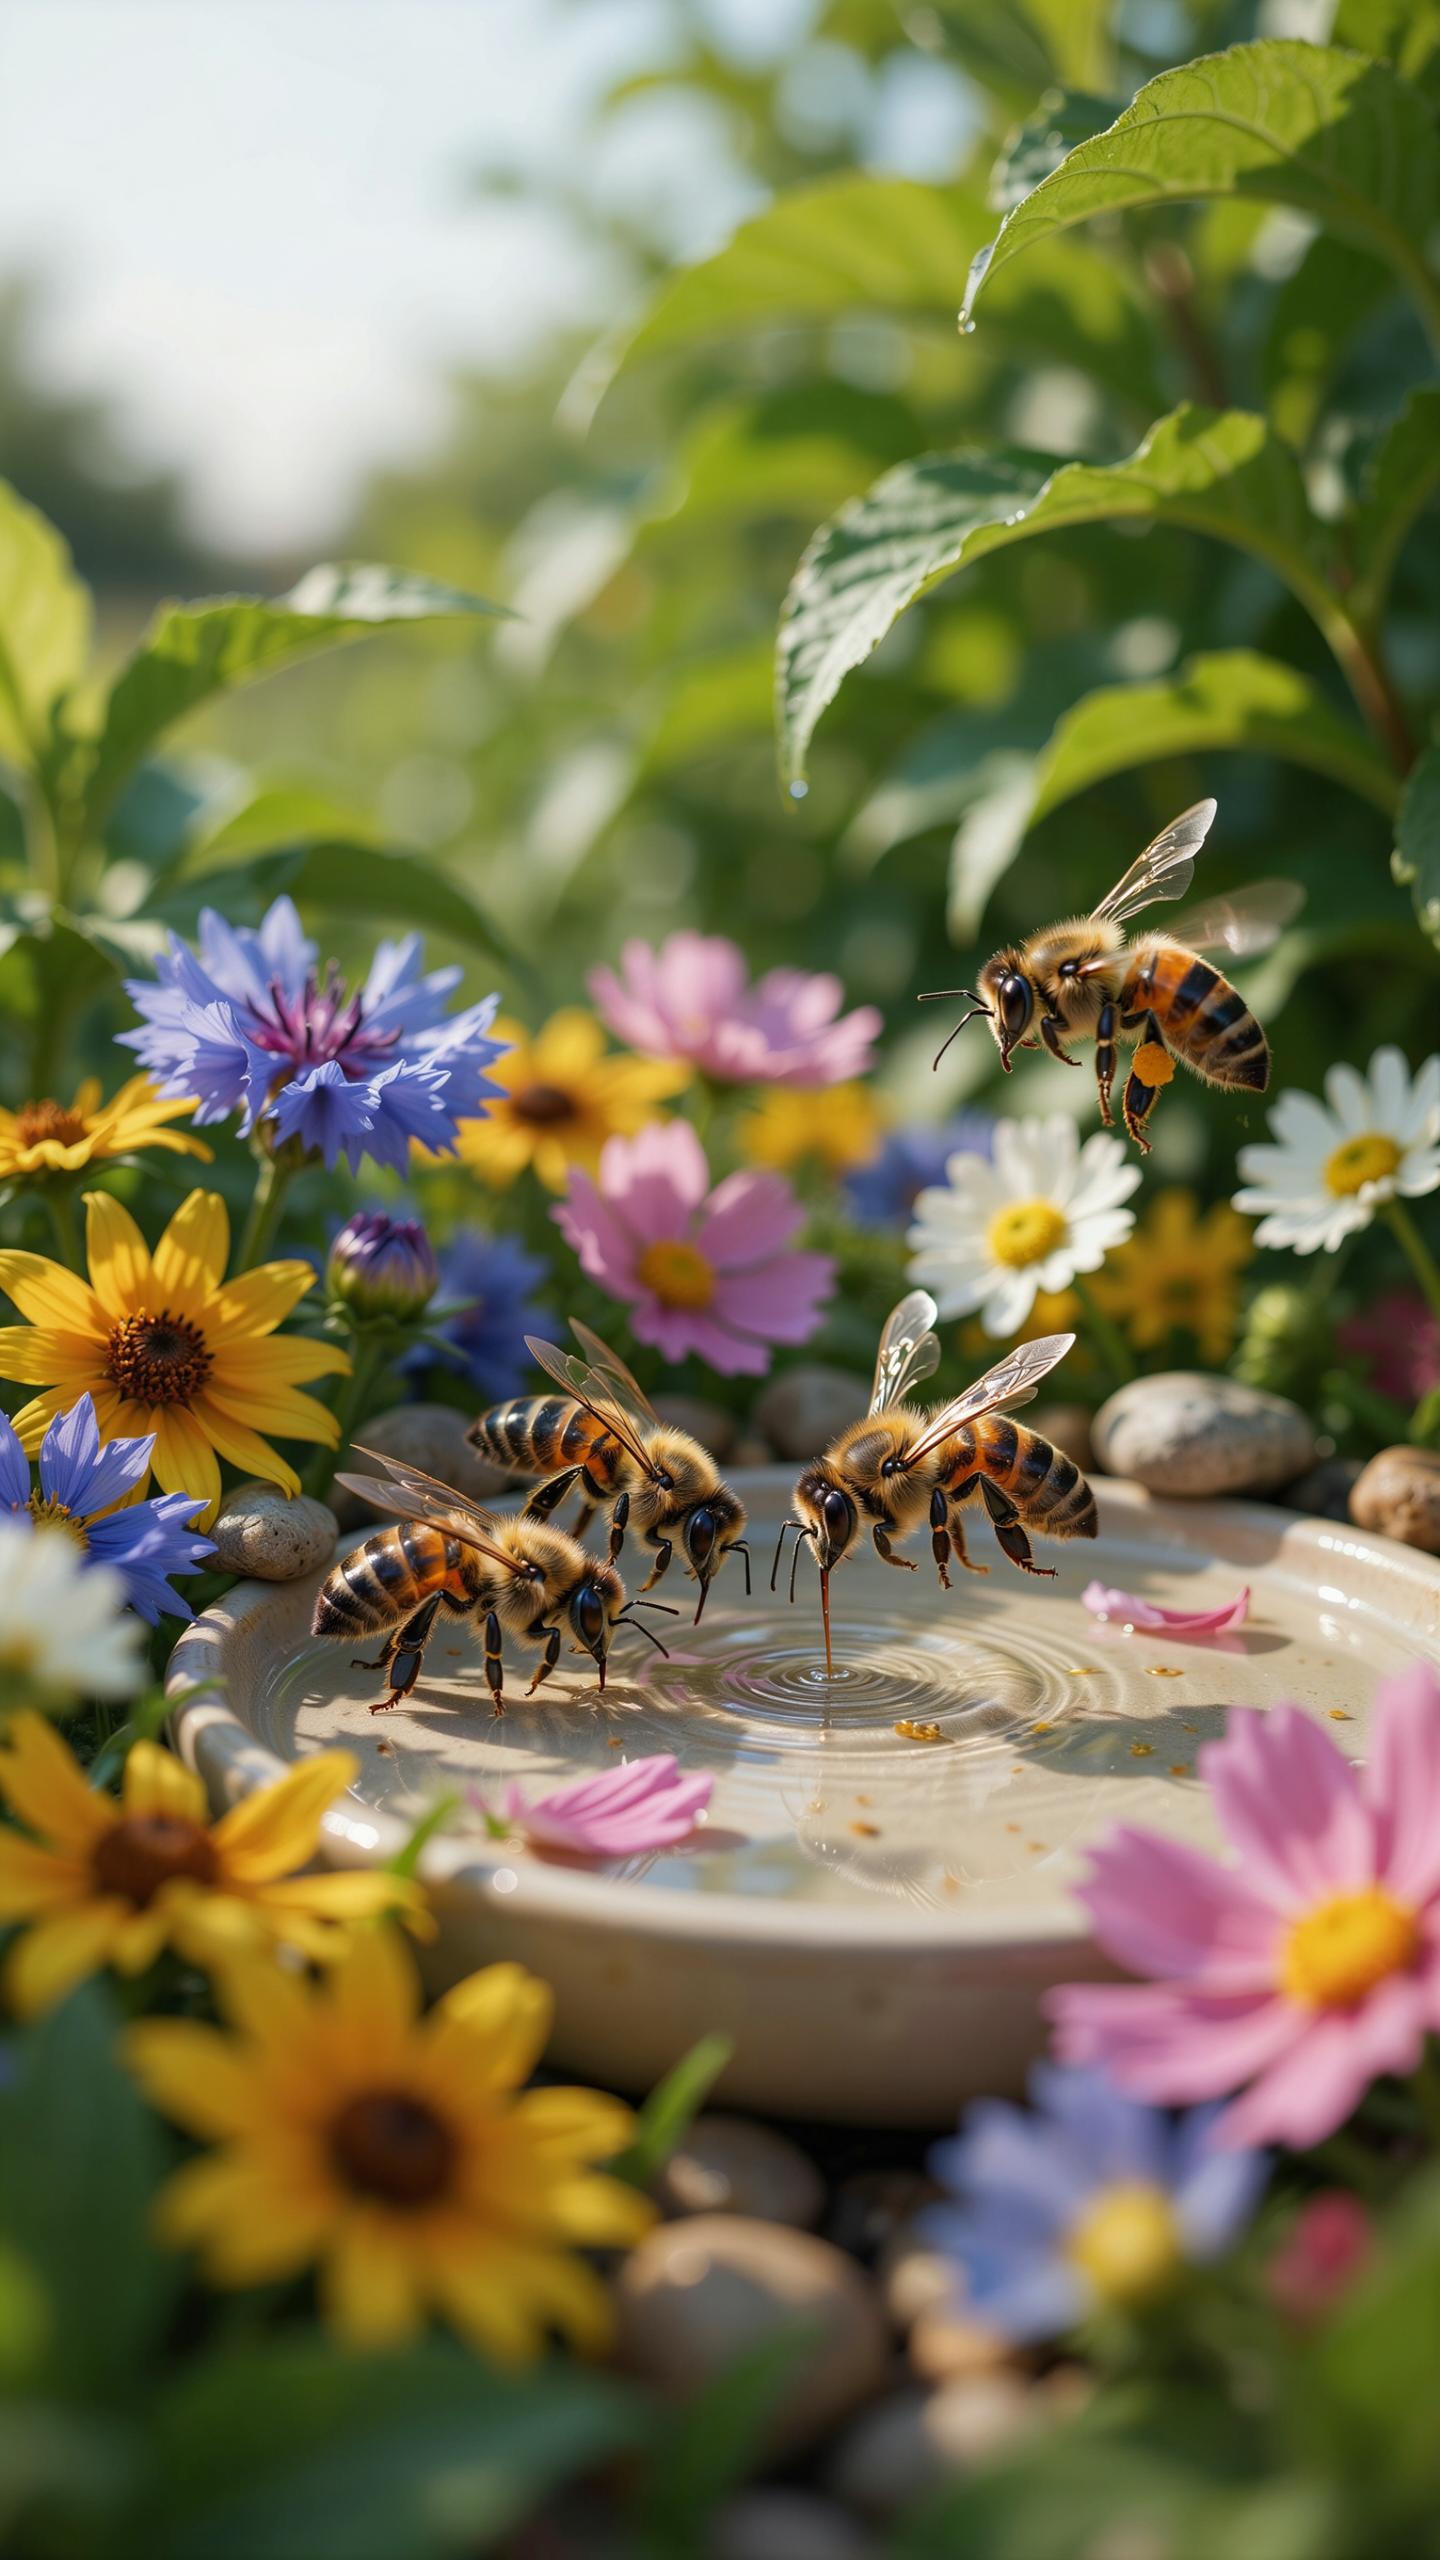
Bees and other pollinators need water but cannot swim. They land on surfaces to drink and require firm footing. Open water sources like ponds or bird baths drown insects because they cannot escape vertical walls or slippery sides. Container depth matters because shallow water keeps insects safe while they drink.
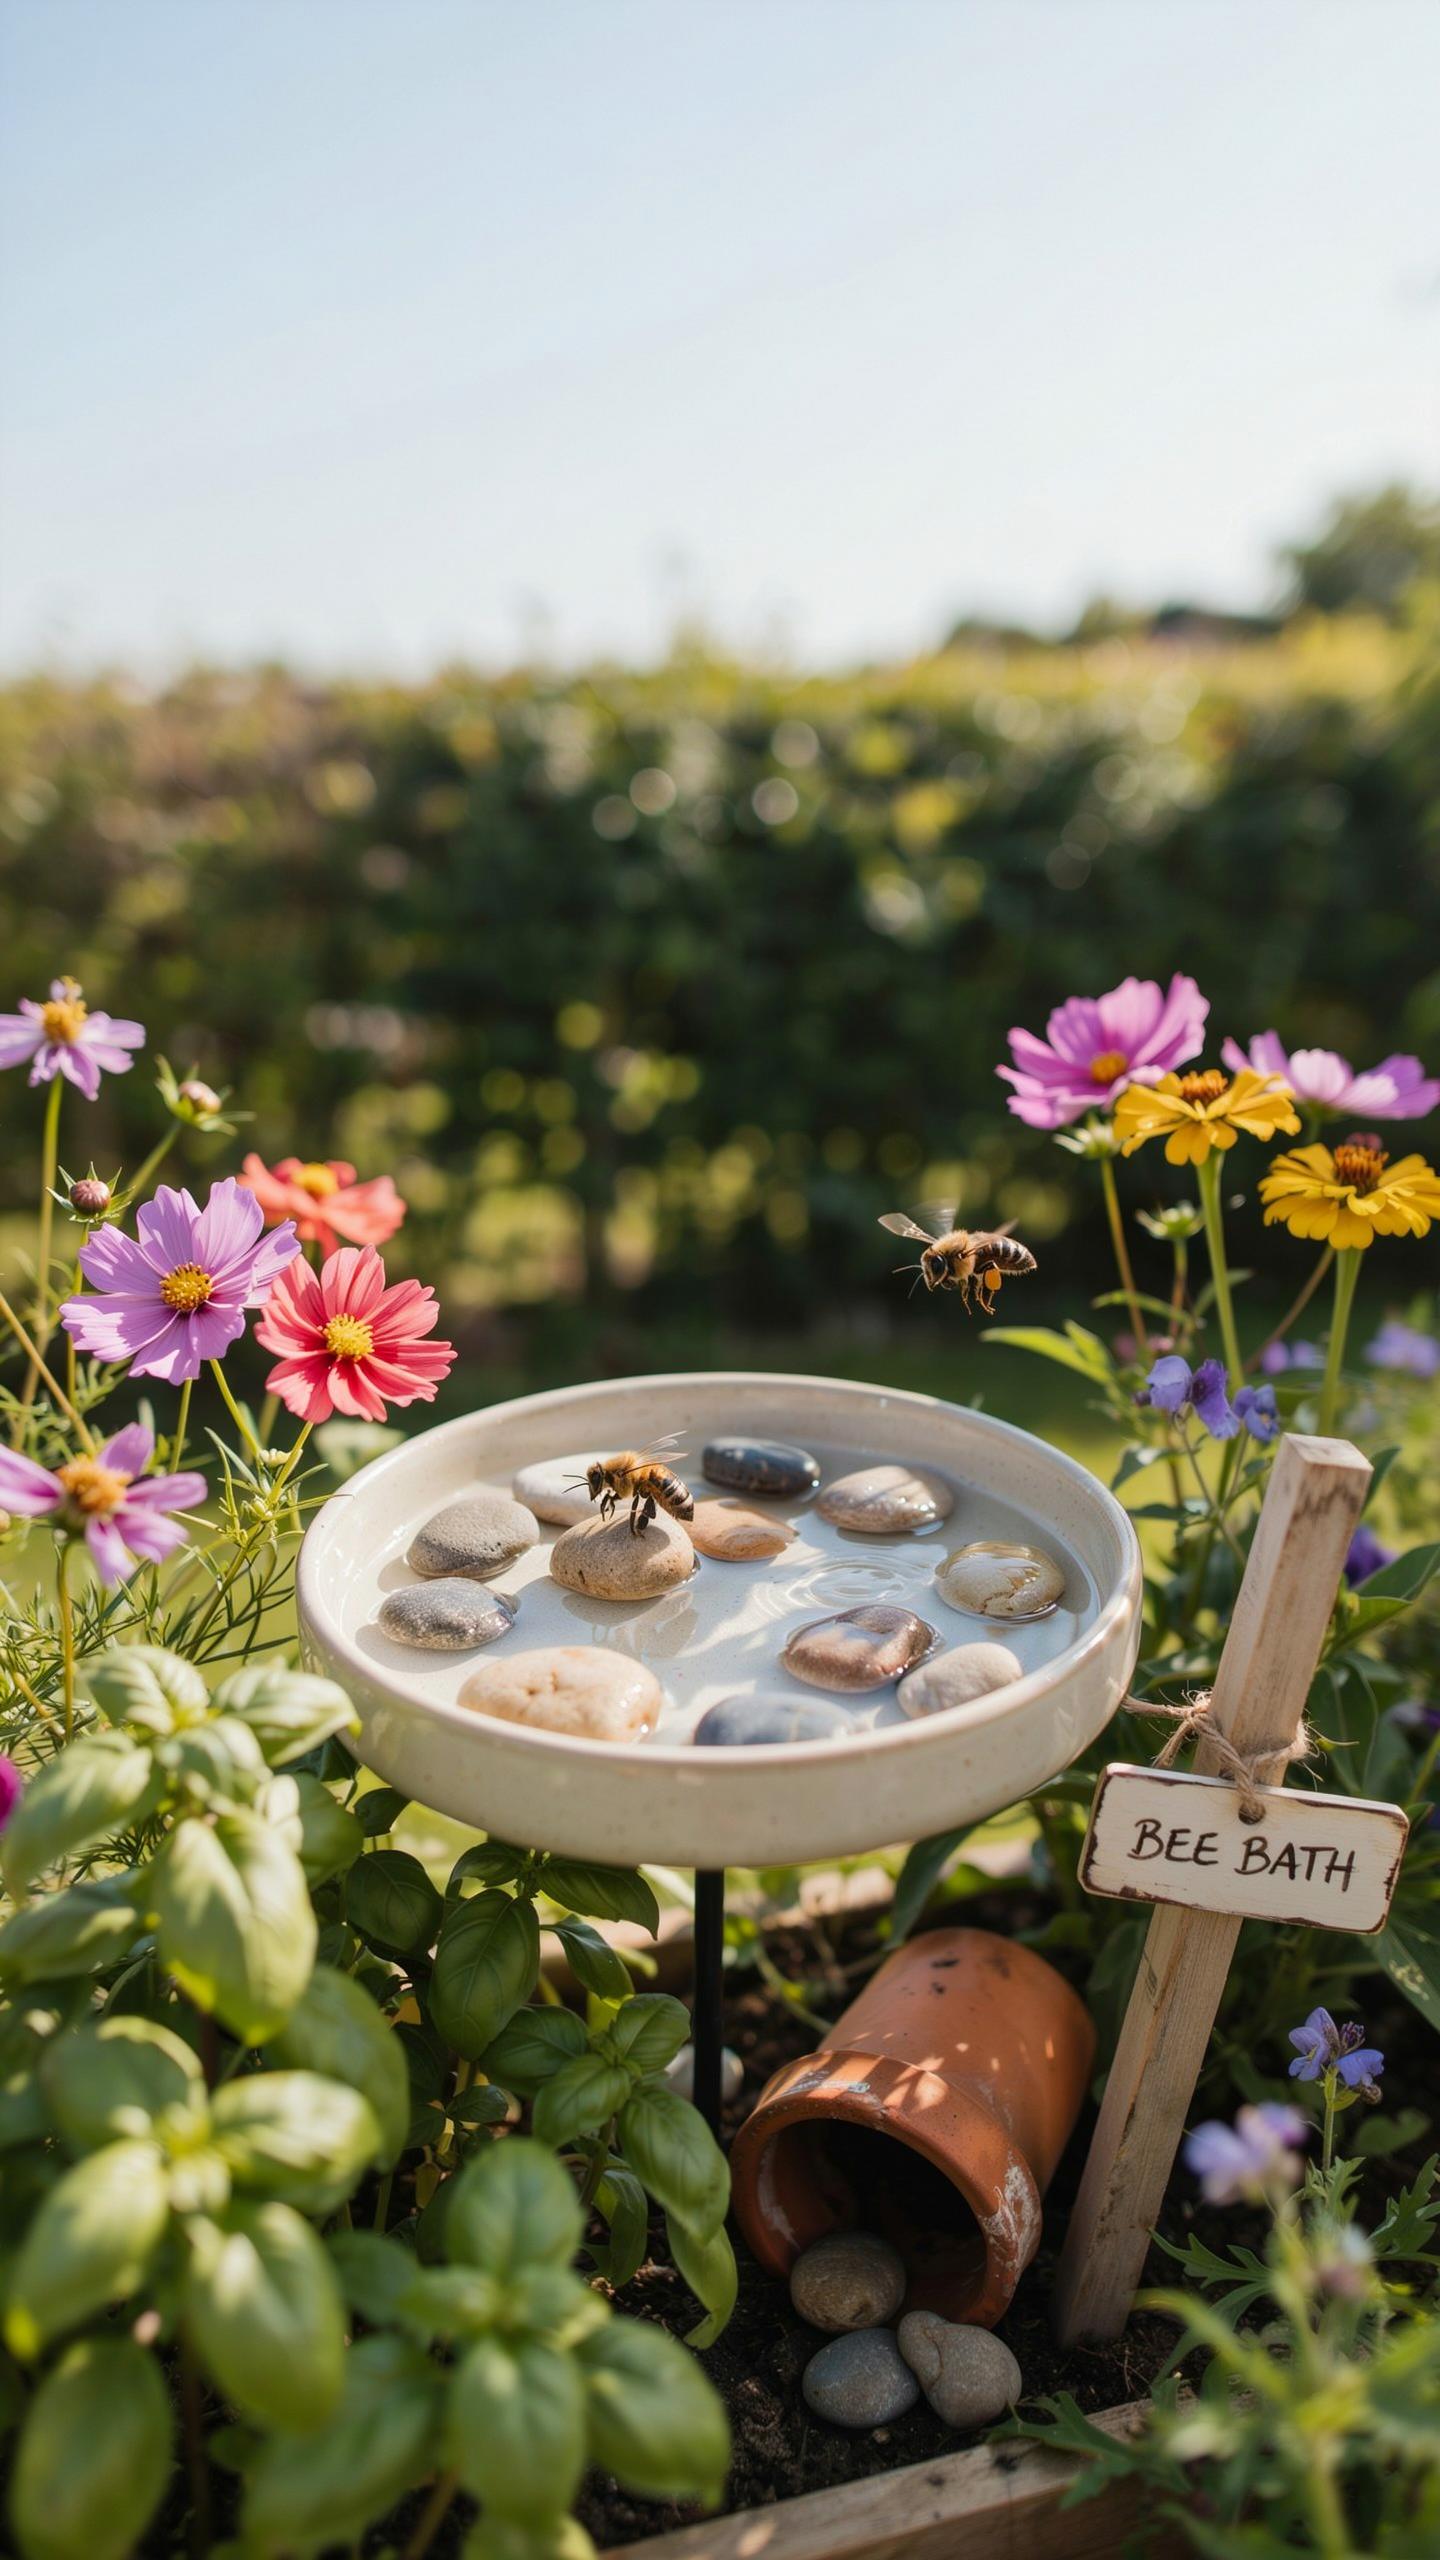
Containers between one and three inches deep work best for most pollinator species. Fill them with pebbles, stones, or cork pieces so insects stand above the waterline. This design lets them drink without falling in. Change water every two to three days to prevent mosquito breeding and keep the source clean.
A simple basin of water is a humble invitation for nature’s smallest wonders to rest their wings in your sanctuary. Even the simplest garden becomes a masterpiece when we provide a gentle place for the thirsty honeybee to drink.
Mineral Needs And Puddling Behaviors
Many pollinators prefer mud and damp soil over open water. They extract minerals like sodium and potassium from wet earth. This behavior is called puddling and serves a biological function beyond hydration. Bees need these minerals for colony health and reproduction, not just thirst relief.
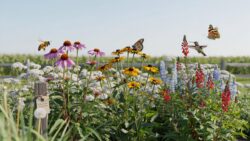
Create puddling areas by mixing soil with water near your garden beds. Keep the mixture damp but not waterlogged. Bees will visit these spots throughout warm months to collect minerals. Puddling zones cost nothing to build and work alongside shallow water containers to meet pollinator needs completely.
Designing An Easy DIY Bee Bath On A Budget
Materials Needed For A Simple Drinking Station
Bees and other pollinators need water to survive and regulate hive temperature. You don’t need expensive equipment to provide this critical resource. Gather basic household items and common garden materials to build a functional water station that costs less than ten dollars.
- Shallow ceramic or plastic saucer: Use dishes 2 to 4 inches deep. Avoid anything too deep where insects can drown. Ceramic absorbs and retains moisture better than plastic.
- Pebbles or gravel: Collect small stones to create landing platforms. These give insects solid footing so they don’t slip into water. Stones should be smooth and roughly the size of a marble.
- Cork pieces or wine corks: Cut cork into chunks to float in water. Pollinators land on cork and drink safely without submersion risk.
- Marbles or glass beads: These provide additional landing surfaces. Space them throughout the saucer at the water line.
- Water source: Use tap water refilled every two to three days. Change it regularly to prevent mosquito breeding and algae growth.
Assembly requires no special tools or construction skills. Stack pebbles in the saucer to create an uneven surface where water pools between stones. This design lets insects drink from multiple points without falling. Fill slowly so water surrounds the stones and creates safe drinking zones throughout the dish.
Step By Step Assembly And Placement Tips
Start by filling your saucer with pebbles until they protrude slightly above the rim. Pour water slowly until it reaches the top of the stones, creating shallow pools. Add cork pieces and marbles to increase landing spots. Test the setup by observing water distribution and adjusting stone placement as needed.
Position your bee bath in partial shade where it receives morning sun but afternoon protection. Place it within 10 to 15 feet of flowering plants so pollinators discover it naturally during foraging trips. Avoid full sun exposure, which causes rapid water evaporation and overheats insects. Check water levels daily and top off as needed, especially during warm weather when evaporation accelerates.
Cultivating A Beautiful Wildflower Garden To Feed Guests
Sowing Seeds Native To Your Local Ecoregion
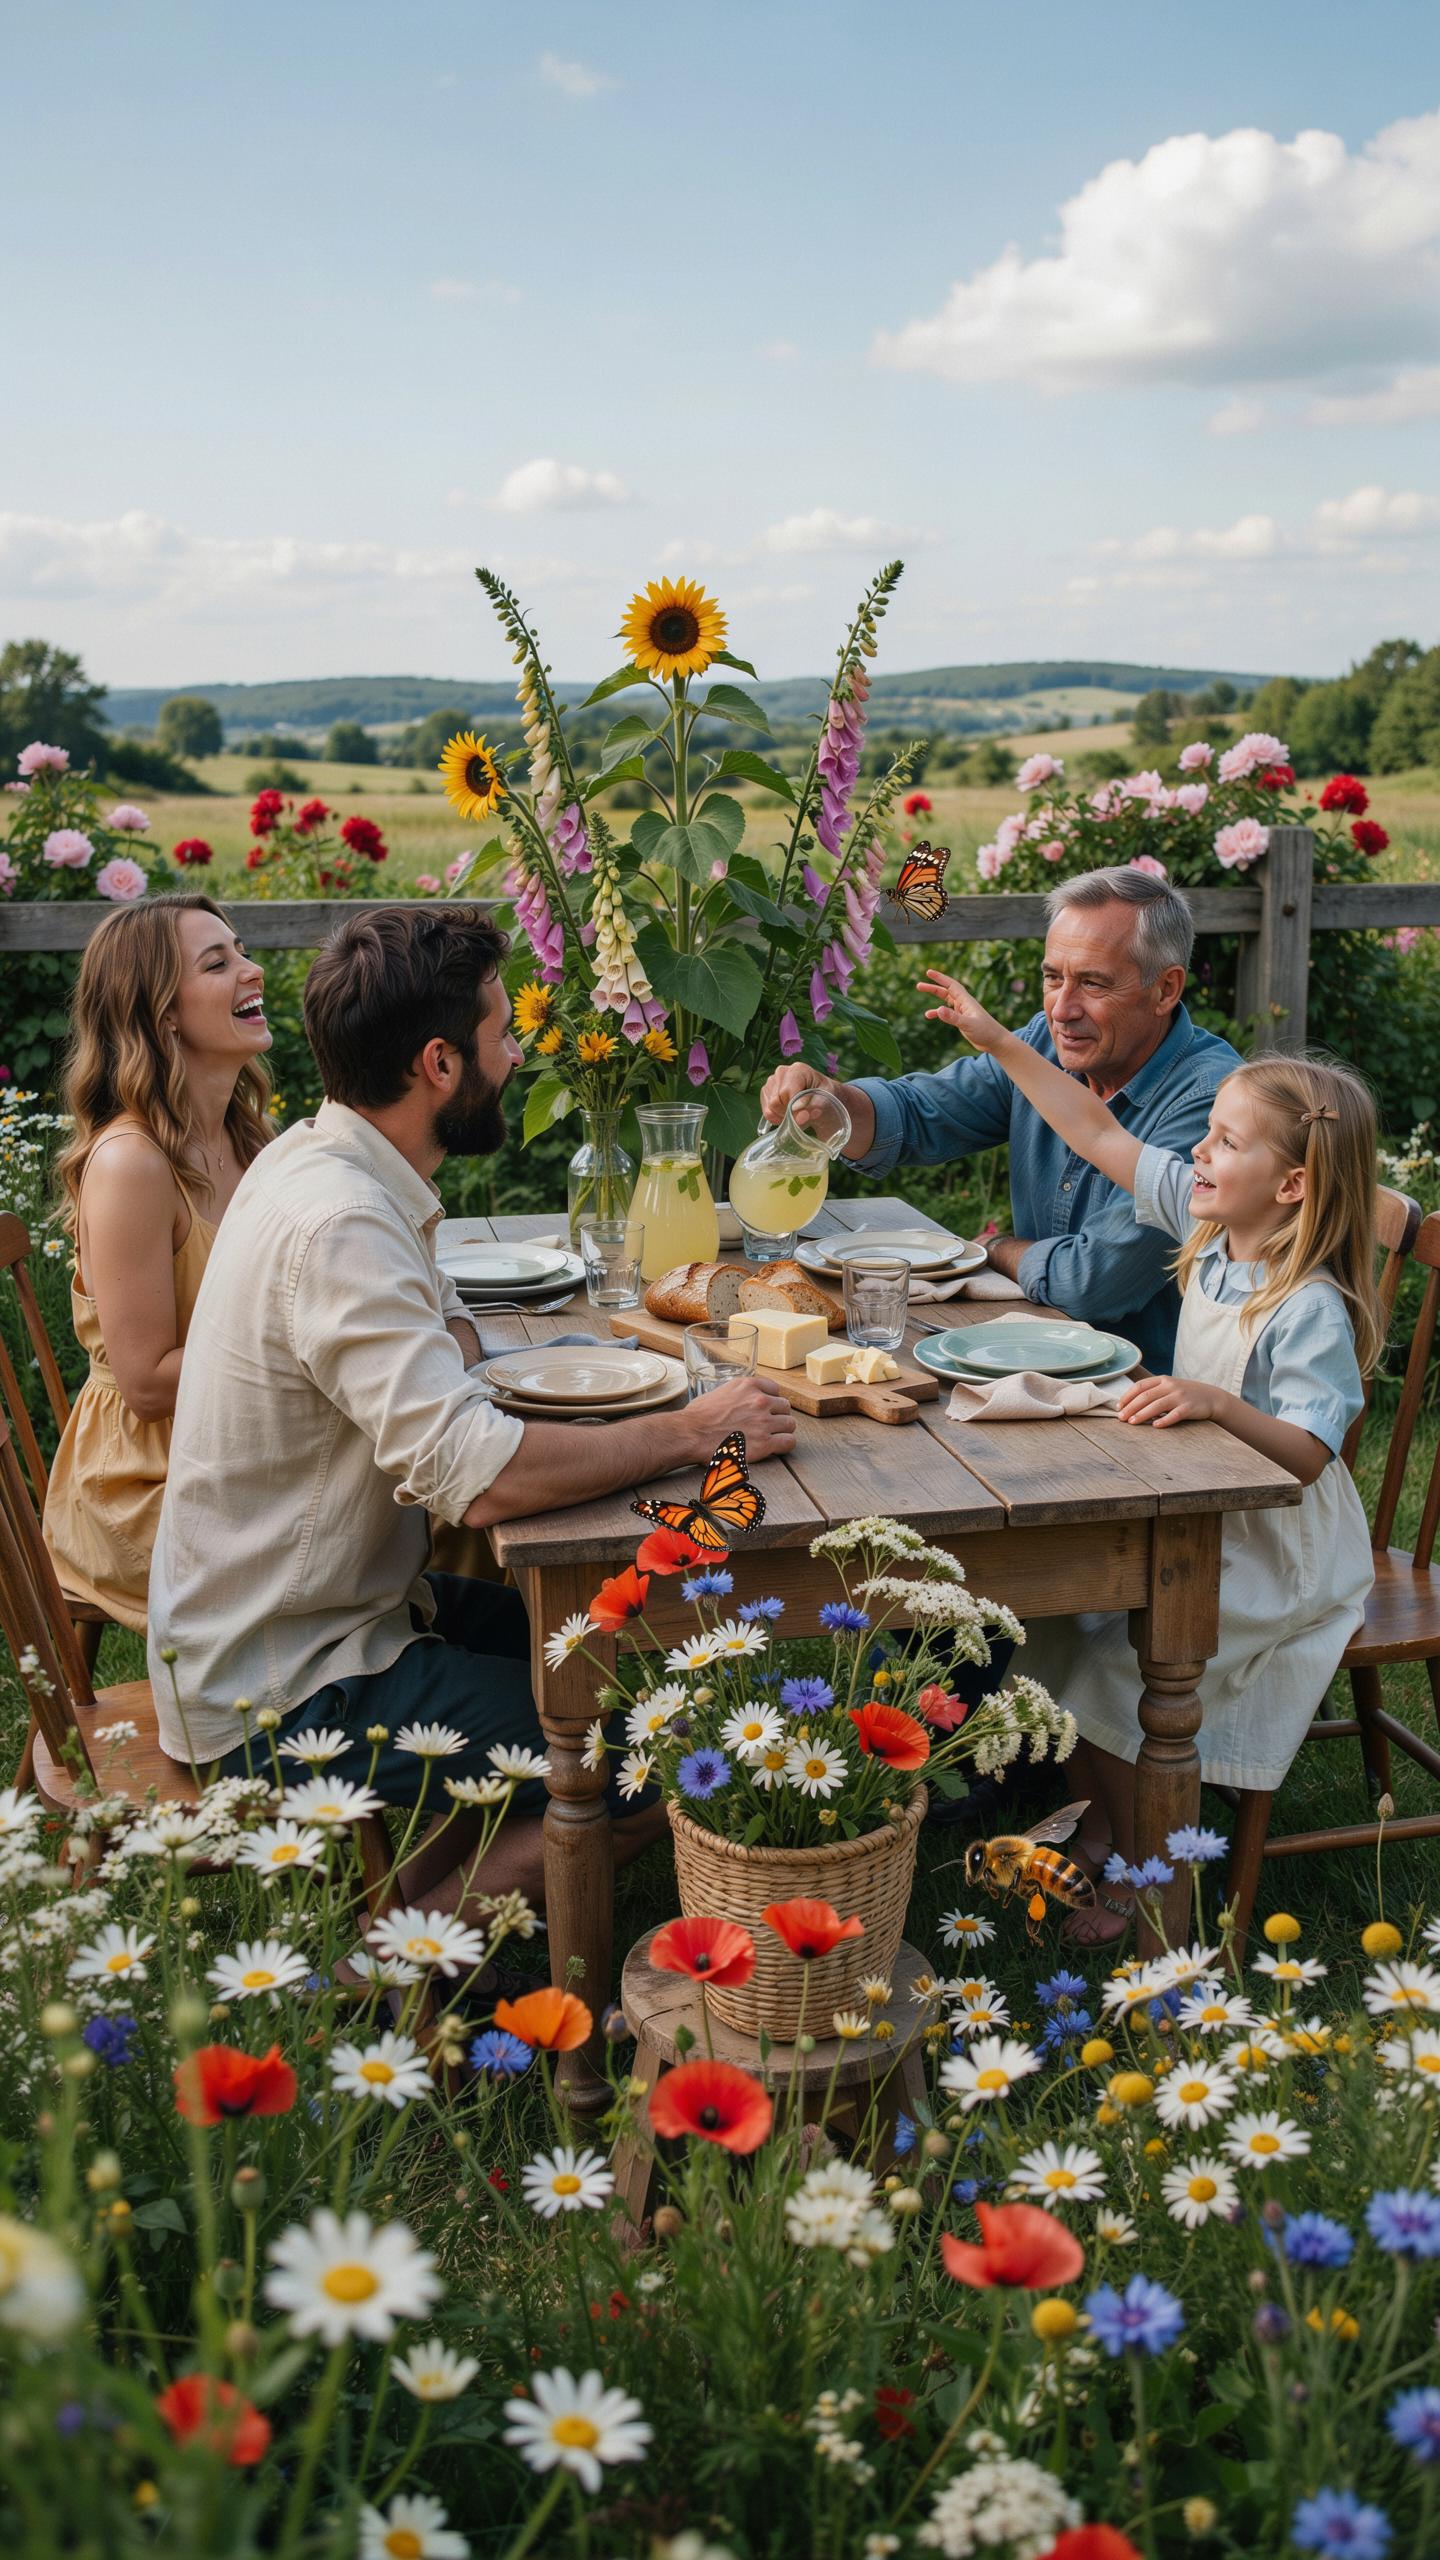
Native seeds adapted to your region germinate faster and require less maintenance than non-native varieties. They thrive in existing soil conditions, need fewer inputs, and establish root systems that access water efficiently. Research your USDA hardiness zone and local ecoregion to identify species that naturally occur within 100 miles of your location.
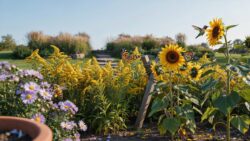
Perennials like black-eyed Susan, coneflower, and bee balm return yearly and build stronger root systems over time. Annuals such as sunflowers and zinnias fill gaps between perennials during their first year. Combine both types to achieve consistent blooms while building garden structure. Purchase seeds from regional native plant societies or suppliers specializing in your ecoregion to ensure genetic accuracy.
Soil Preparation Without Synthetic Chemicals
Test your soil before planting to determine pH, nutrient levels, and composition. Most wildflowers thrive in soil with pH between 6.0 and 7.0. Add compost or aged manure to improve structure and nutrient content. Work amendments into the top 6 to 8 inches where seed roots establish.
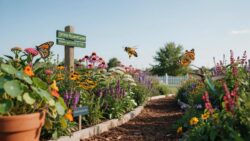
Remove existing grass and weeds manually or through solarization rather than herbicides. Solarization uses clear plastic to trap heat and kill unwanted vegetation over 4 to 6 weeks. Once cleared, rake the area smooth and scatter seeds directly on prepared soil. Water consistently until seedlings establish, then reduce frequency as native plants develop deeper roots.
Building A Sustainable Backyard Bee Garden Sanctuary
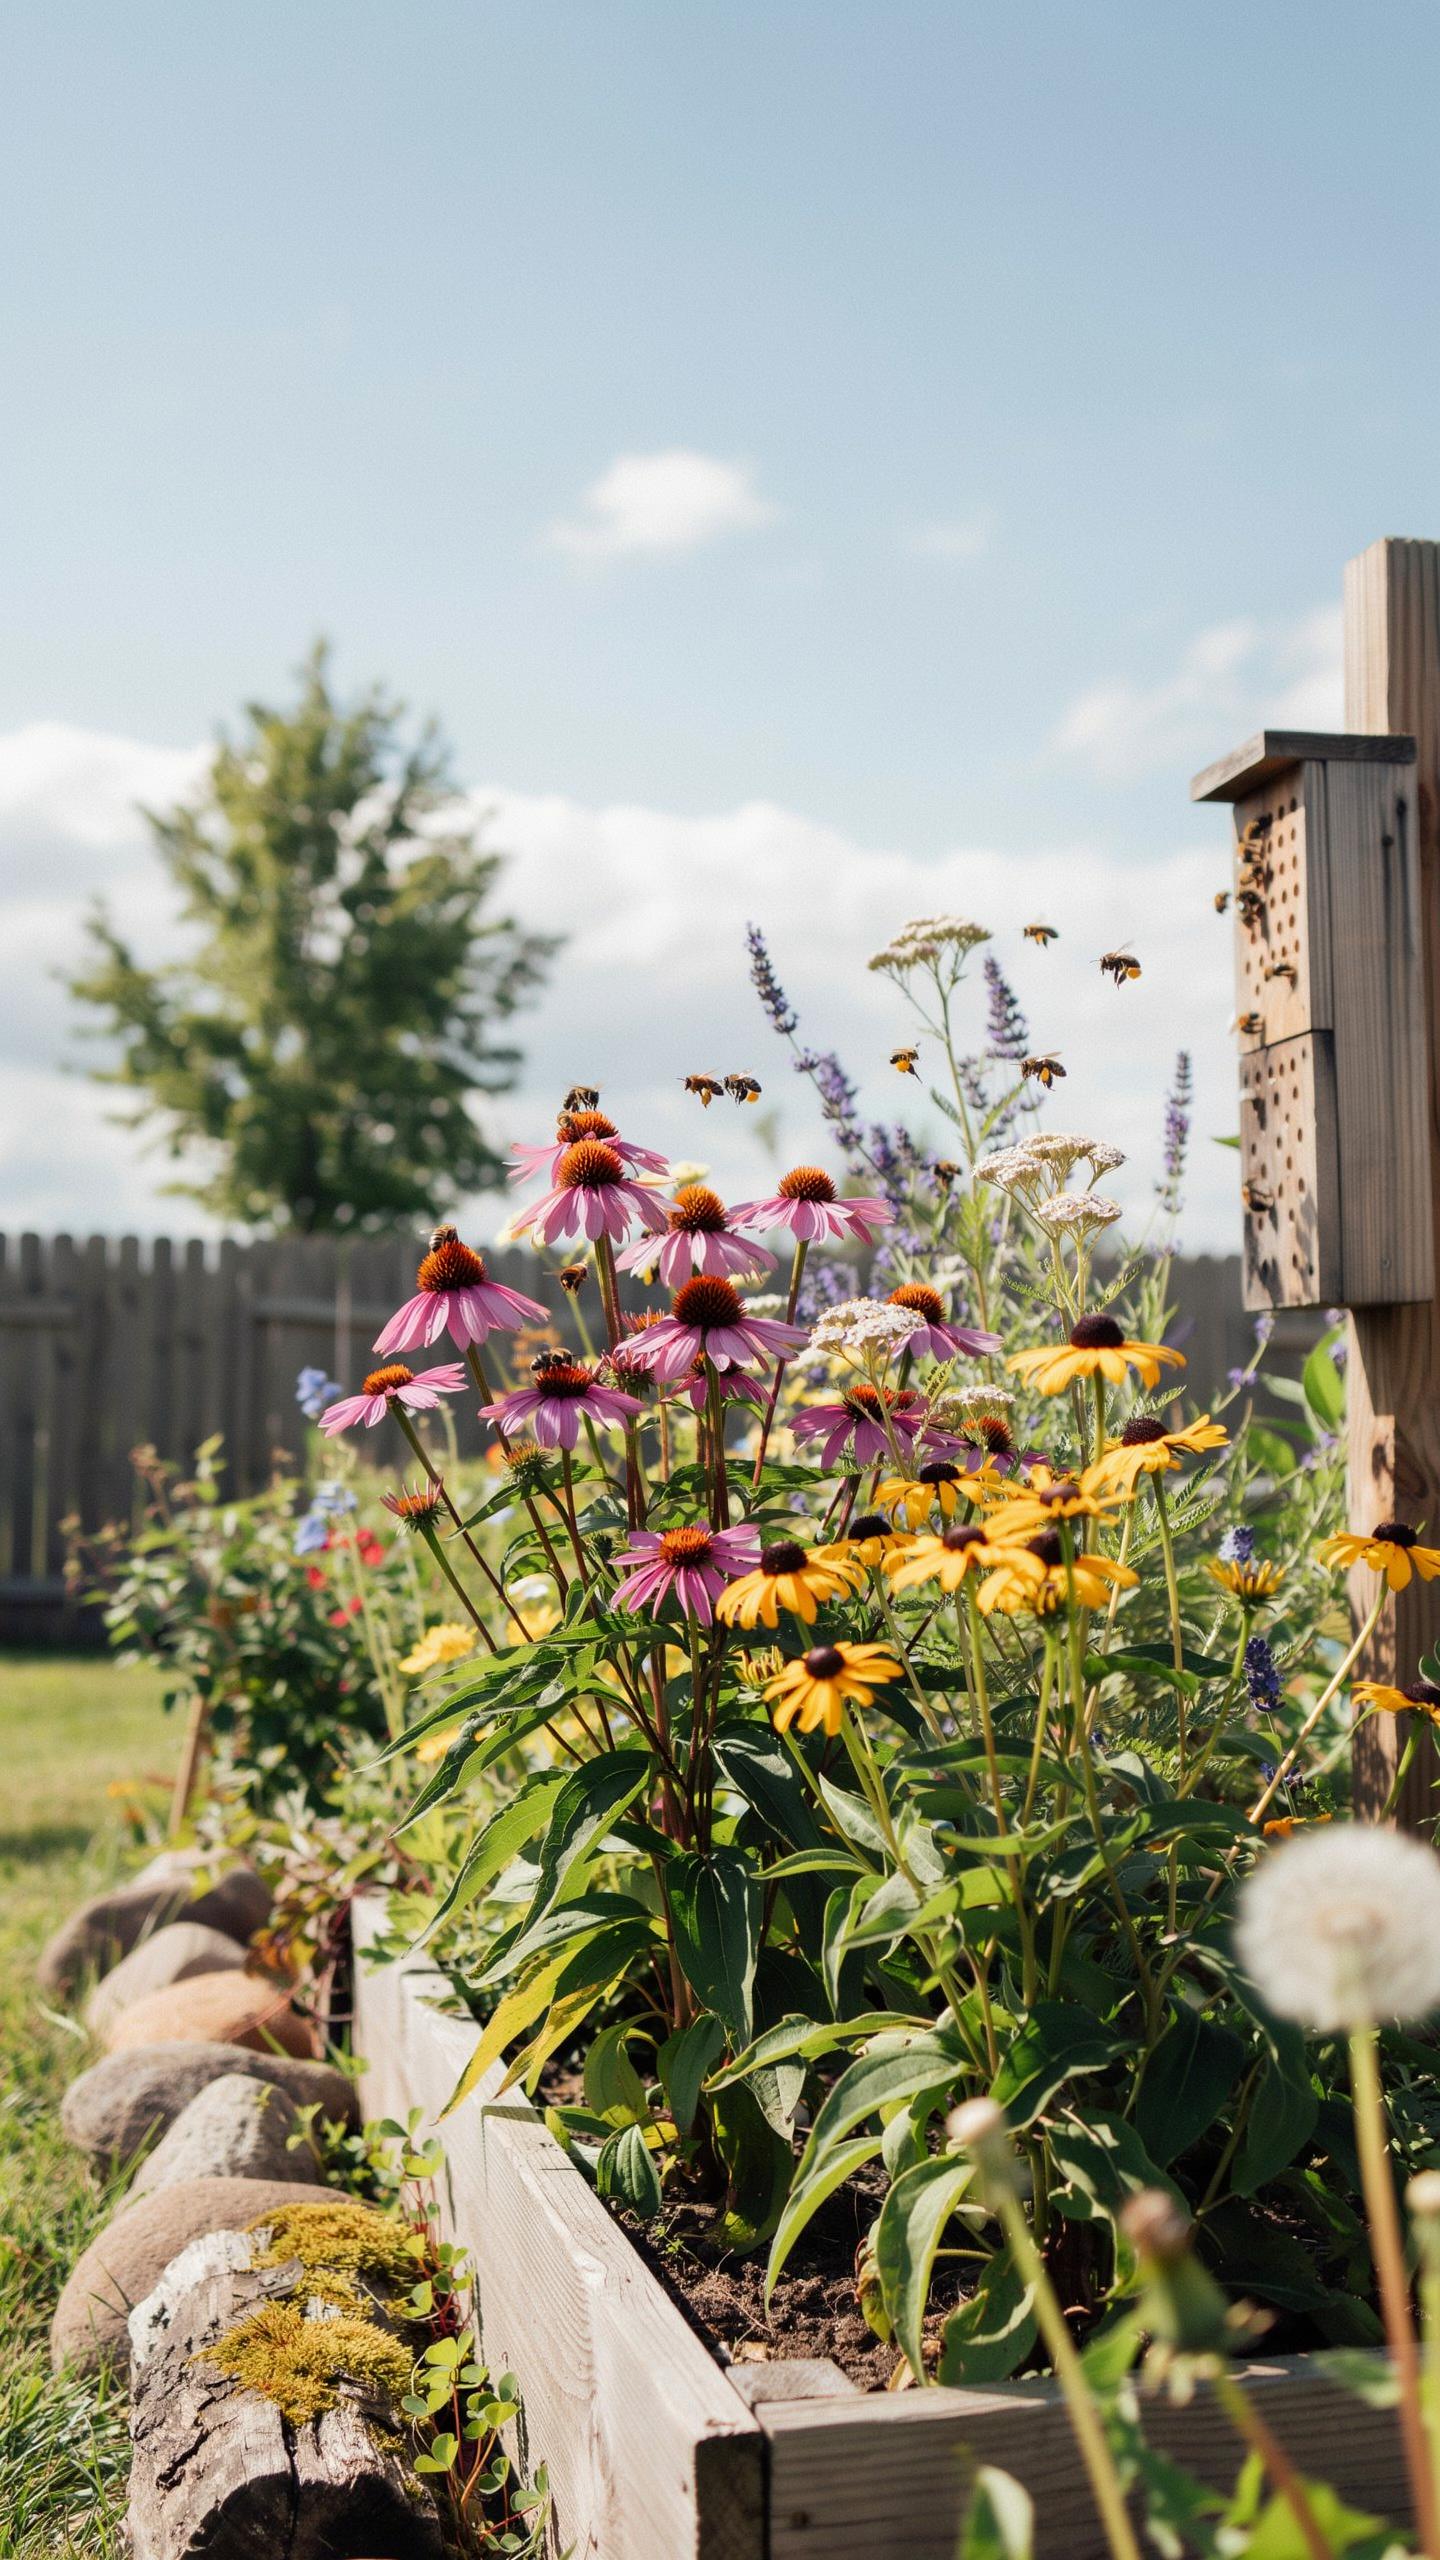
Eliminating Pesticides To Protect Fragile Species Populations
Synthetic pesticides kill pollinators directly or reduce their food sources by eliminating flowering plants and insects they depend on. Switching to organic methods preserves the insect diversity your garden needs to function. Manual removal, neem oil, and insecticidal soaps target specific pests without broad ecosystem damage. Companion planting and beneficial insects like ladybugs control pest populations naturally.
Your soil biology shifts when you stop using chemicals. Mycorrhizal fungi, earthworms, and soil microbes recover within weeks to months. These organisms support plant health and create stable conditions for pollinators. The transition requires patience but delivers measurable results in pollinator activity and plant vigor.
Providing Safe Nesting Sites And Ground Cover
Bare ground patches serve critical functions for ground-nesting bees like sweat bees and mining bees. These species comprise roughly 70 percent of native bee populations in North America. Create areas of compacted, undisturbed soil free from mulch or vegetation. Position patches in sunny locations where soil temperature remains warm enough for nesting activity.
Dead wood and leaf litter provide overwintering sites for beneficial insects and nesting materials for cavity-nesting species. Leave logs and branches on the ground or stack them in dedicated piles. Allow some leaf accumulation in garden corners rather than removing everything in fall. These features cost nothing and multiply habitat value without requiring ongoing maintenance.
Broadening Your Scope With Holistic Wildlife Gardening
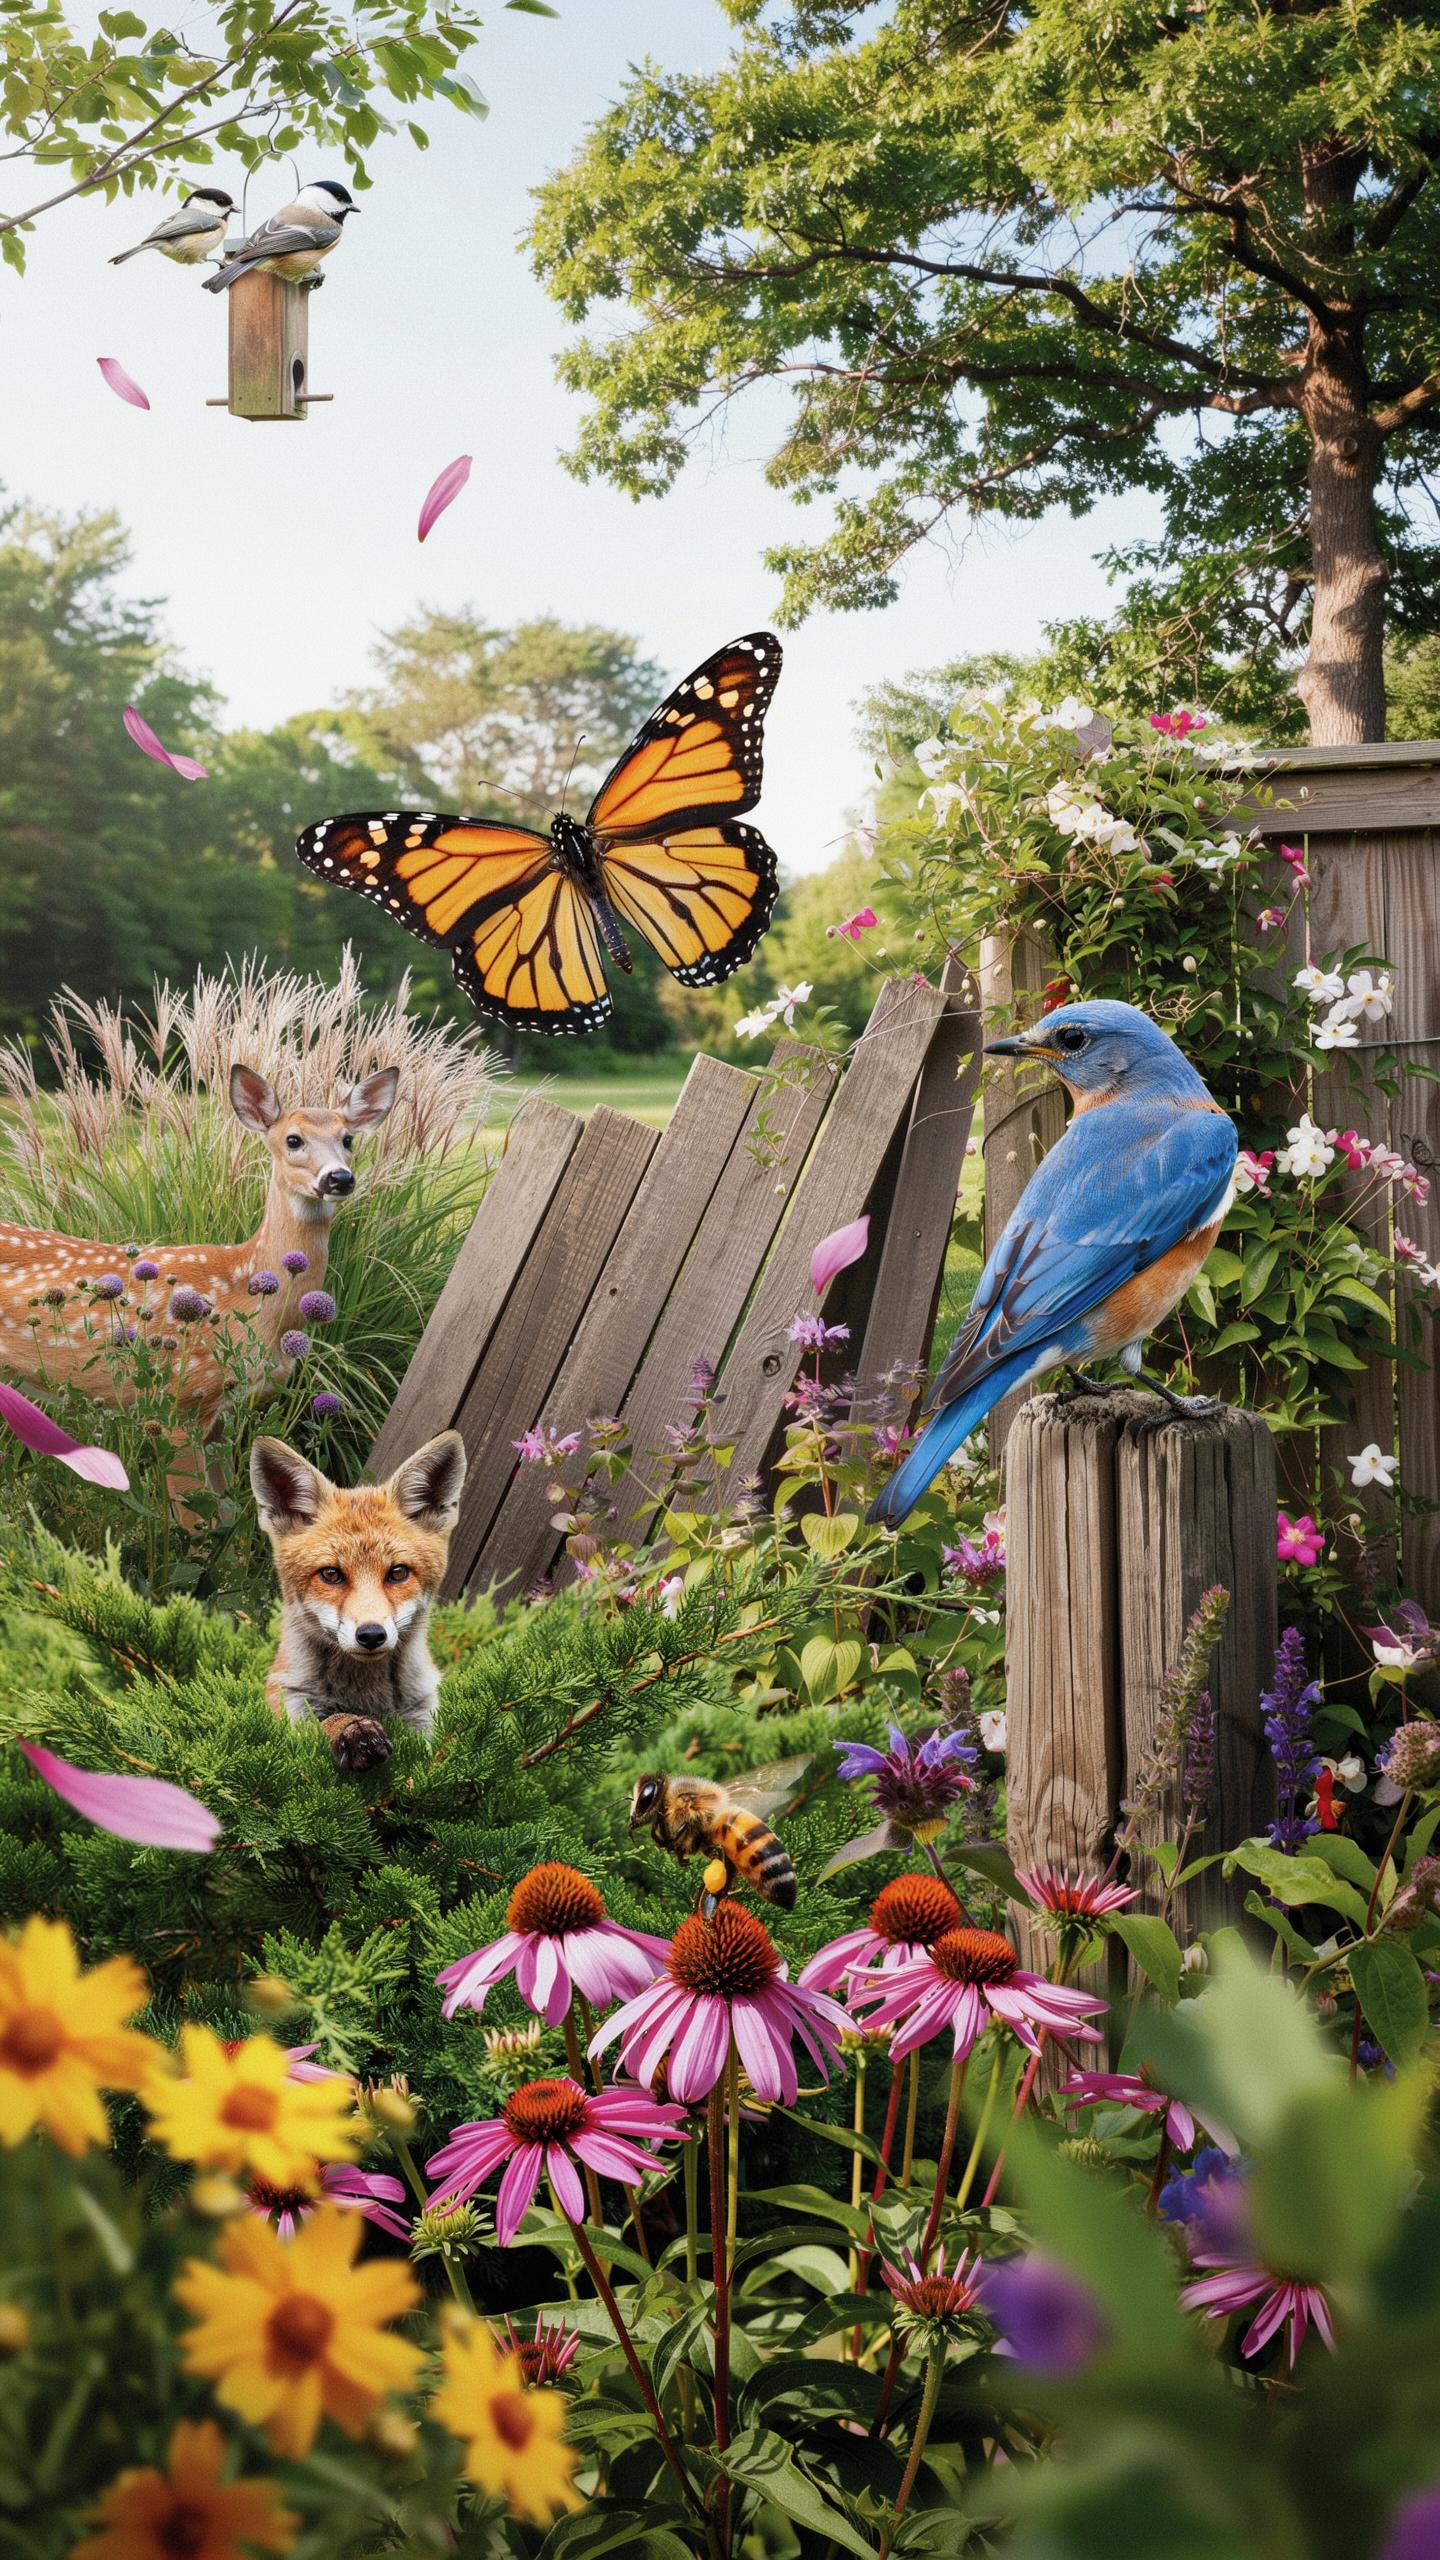
Elements Of A Complete Backyard Eco Habitat
A functional wildlife habitat requires four non-negotiable components working together. Water, food sources, shelter, and nesting sites create the foundation for pollinator populations and beneficial insects. Skip any one element and you reduce habitat effectiveness by at least 25 percent. Your pollinator garden only works when you build the entire system.
- Water source: Shallow basins, birdbaths, or ground-level dishes provide drinking and bathing access. Refill every two days to keep water fresh and prevent mosquito breeding cycles.
- Native plants: Local flowering species match pollinator feeding cycles and bloom times. Research your region’s native plants to ensure year-round nectar and pollen availability.
- Shelter structures: Dead wood, brush piles, and hollow stems create overwintering sites for bees and beetles. Leave these materials undisturbed from fall through early spring.
- Nesting habitat: Bare ground patches allow ground-nesting bees to burrow. Tree cavities and dead branches support cavity-nesting species like mason bees and woodpeckers.
- Chemical-free zone: Eliminate pesticides, herbicides, and fungicides entirely. These substances kill pollinators directly and contaminate water sources where insects drink.
These four elements work as an integrated system. Remove one and the others lose effectiveness. Water without shelter means insects have nowhere to rest. Plants without water force pollinators to travel farther, wasting energy. Build all four components simultaneously for maximum impact.
Simple Maintenance Routines For Healthy Habitats And Clean Water
Clean water prevents mosquito breeding and disease transmission among insects. Empty all water containers completely every two days. Scrub the interior surface with a brush to remove algae buildup and mosquito larvae. This routine takes five minutes and eliminates breeding grounds before larvae develop into adults.
Refill containers with fresh water immediately after cleaning. Use rainwater when possible to avoid chlorine exposure. In dry seasons, increase refill frequency to every 24 hours. Position containers near shelter so insects can reach water safely. Check containers daily during hot weather when evaporation accelerates. This consistent maintenance protects your pollinator population and prevents disease spread among beneficial insects.
Frequently Asked Questions

Why is a water source important for a beginner pollinator garden?
While flowers provide nectar for energy, bees and butterflies need hydration to survive and regulate their body temperature. Incorporating a pollinator garden design water source ensures your backyard habitat is a complete sanctuary. Providing moisture alongside native plants encourages beneficial insects to stay longer and return frequently, making your gardening efforts much more successful as you establish your first dedicated eco-friendly outdoor space.
How do I safely set up a hydration station for bees and butterflies?
To create a functional pollinator garden design water source, use a shallow dish filled with decorative stones or marbles. These serve as landing pads so insects can drink without the risk of drowning. Fill the basin just enough to keep the tops of the stones dry. Place your station in a sunny, wind-protected area near your most vibrant blooms to ensure it is easily accessible to your local visitors.
Can I create a pollinator water feature on a tight budget?
Absolutely! You do not need expensive fountains to help local wildlife. You can easily repurpose household items like a ceramic pot saucer, a shallow bowl, or even an old birdbath. Simply add some neighborhood pebbles or recycled sea glass to provide those essential perching spots. This DIY approach is an affordable way to complete your garden layout while providing a life-sustaining resource for the essential pollinators in your community.



