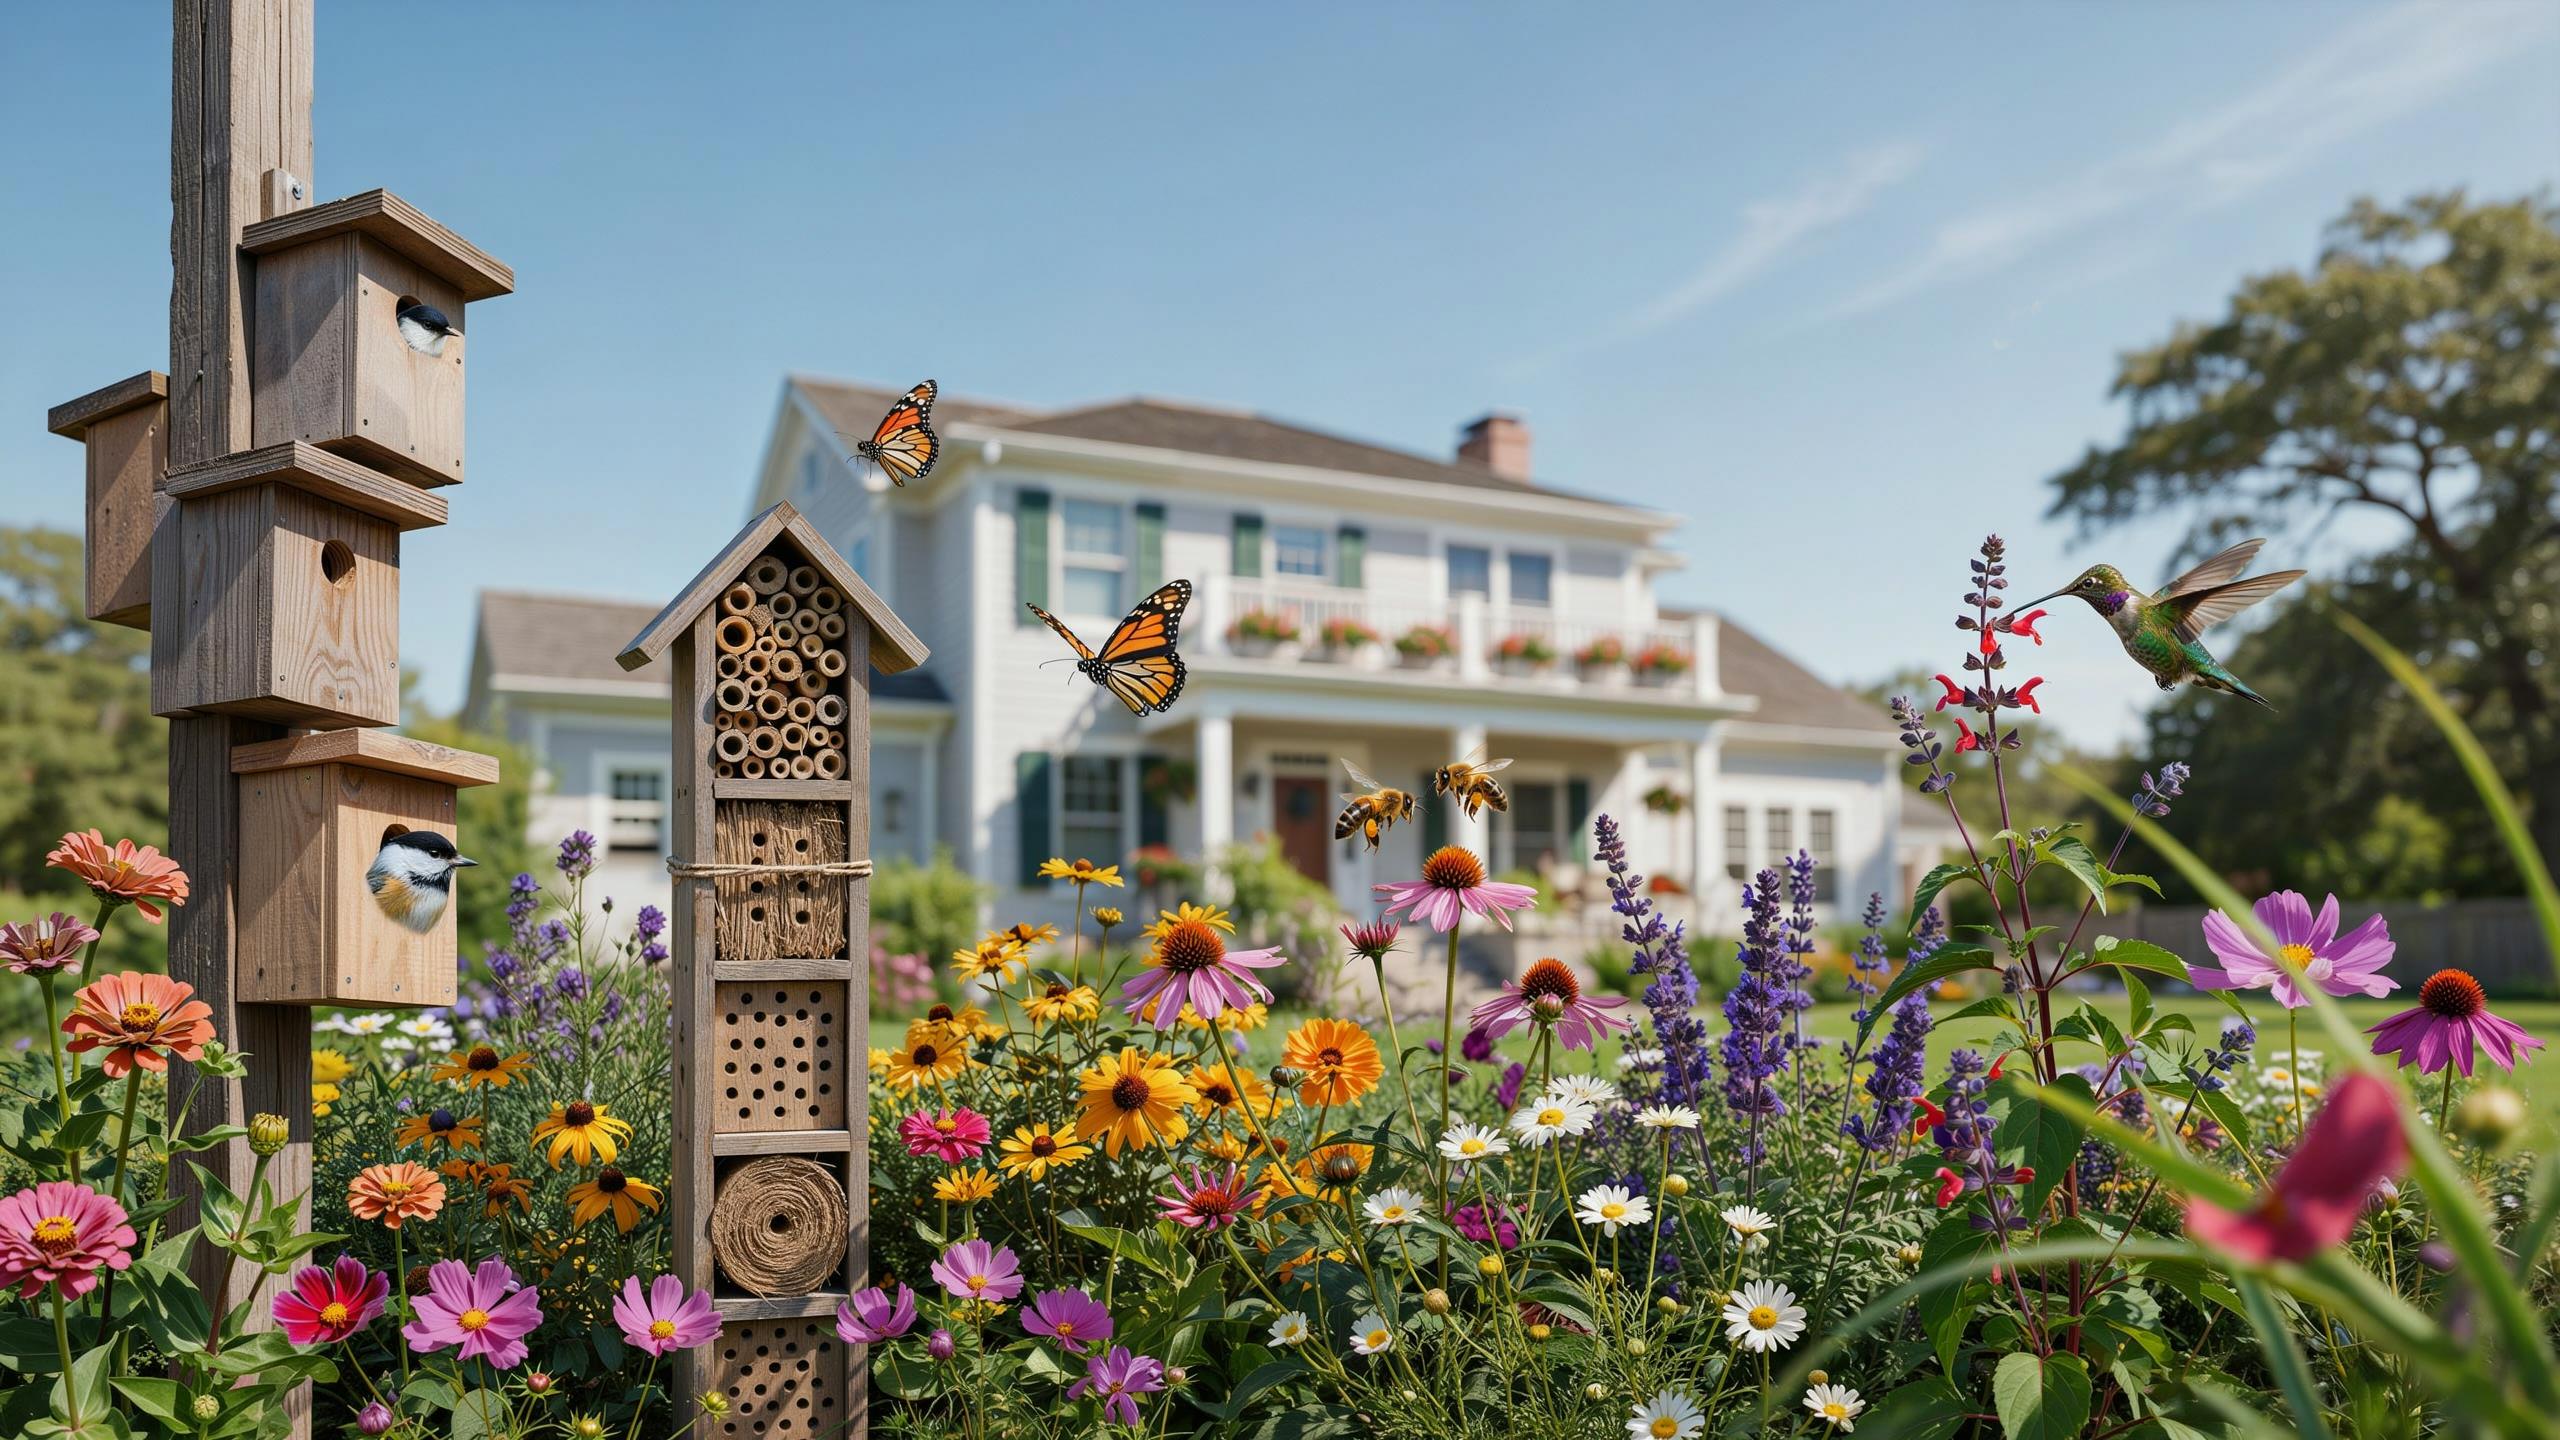
Understanding The Basics Of A Pollinator Garden Design Nesting Habitat
Importance Of Nesting Habitats
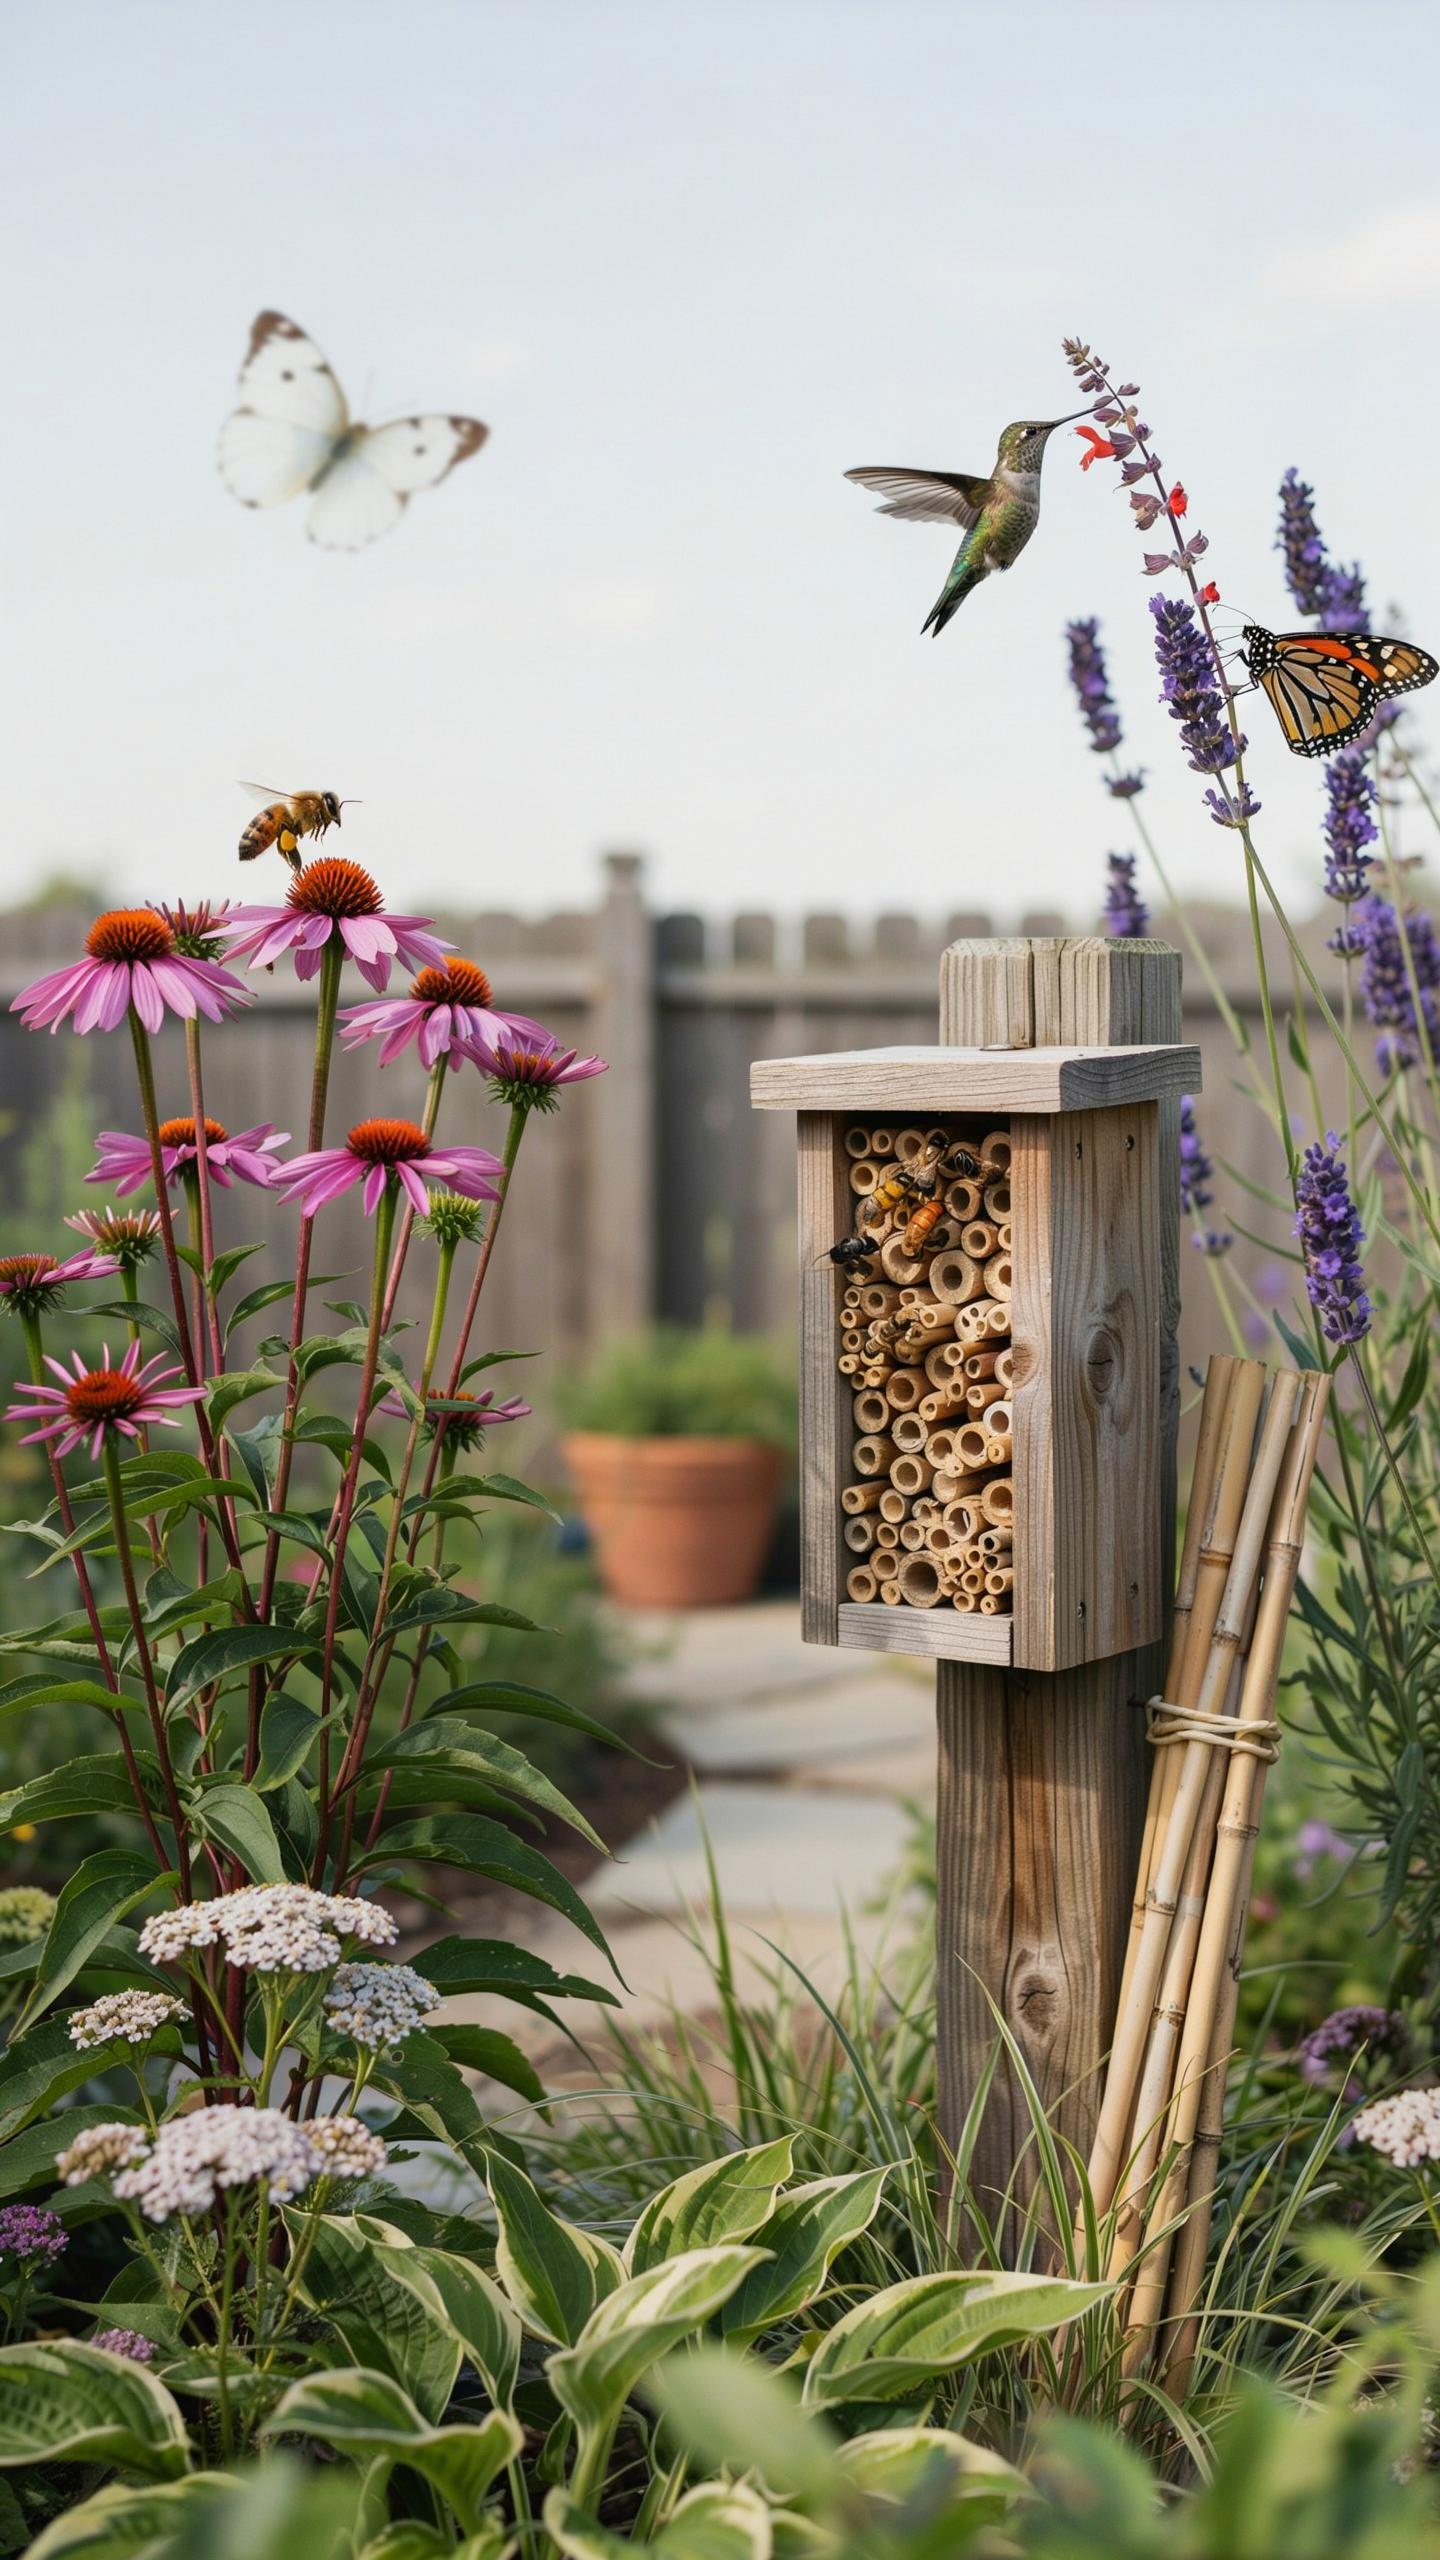
Nesting habitats directly control pollinator populations. Without shelter and breeding sites, pollinators cannot establish stable communities on your property. Native bees, butterflies, and other pollinators require specific nesting conditions to lay eggs and rear offspring. A garden without nesting infrastructure attracts only transient foragers. You build population sustainability by providing dedicated nesting spaces.
Nesting habitats reduce your dependence on external pollinator populations. When pollinators breed on-site, you establish a self-sustaining cycle that improves fruit and seed production across multiple seasons. This localized breeding also increases pollinator density during peak foraging periods. The investment in nesting structures pays dividends through improved crop yields and plant reproduction rates.
Design Principles Nesting Sites
Effective nesting site design balances three core elements: shelter type, water access, and proximity to food sources. Different pollinator species require different nesting structures. Cavity-nesting bees need hollow stems or drilled wood blocks. Ground-nesting bees require bare soil patches. Butterflies and moths need host plants for larvae. Your design must account for these species-specific requirements simultaneously.
Water and foraging resources must be within reasonable flight distance from nesting areas. Most native bees forage within 300 feet of their nests. Position nesting structures near nectar and pollen sources to minimize energy expenditure. Include water sources like shallow dishes or wet sand near nesting zones. This proximity strategy reduces stress on pollinators and increases nesting site occupancy rates.
Essential Elements Of A Vibrant Bee Garden
Solitary Bee Needs
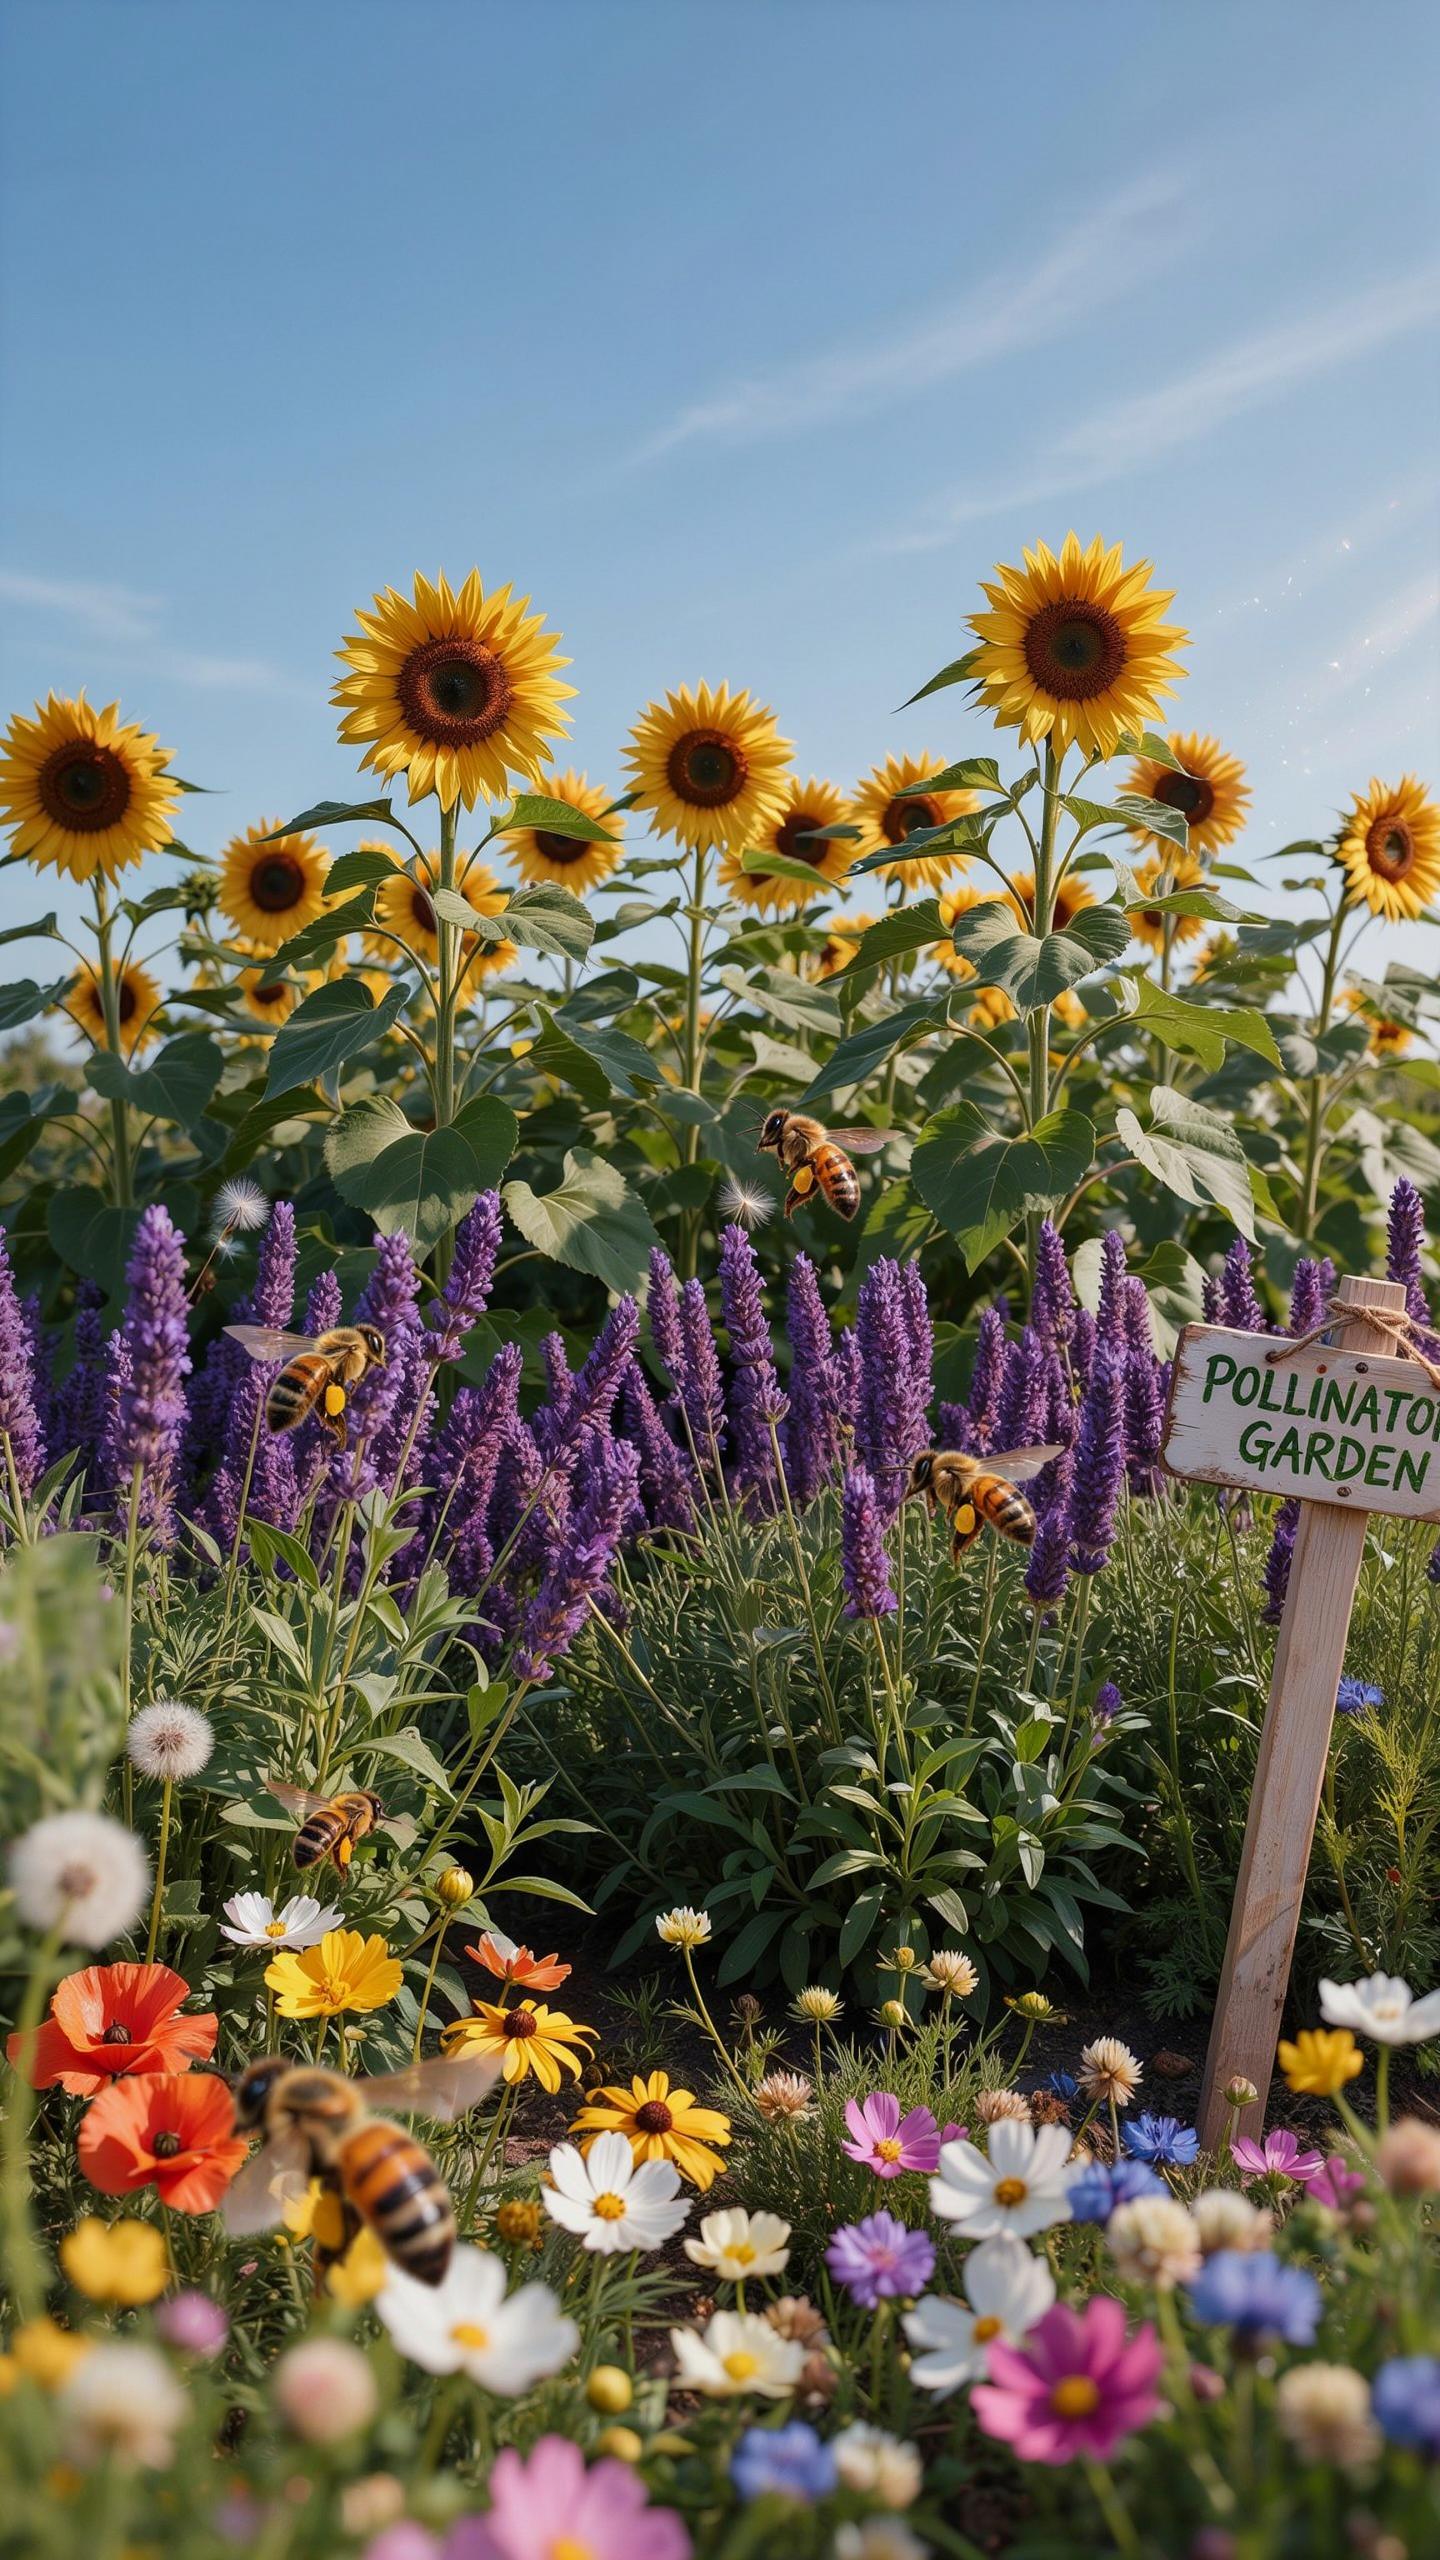
Solitary bees represent over 90 percent of bee species globally. Unlike honeybees, they do not form colonies or produce honey. They require specific nesting materials to reproduce successfully. Mud, dead wood, and hollow stems serve as egg-laying sites. Without these materials, solitary bees cannot complete their life cycle in your garden.
Provide nesting habitat by leaving dead wood standing or bundled in dry areas. Drill holes ranging from 2 to 10 millimeters into untreated wood blocks. Stack mud bricks or clay tiles where bees can access them. Plant native pithy-stemmed plants like Joe-Pye weed or angelica. These direct interventions transform your garden into functional breeding ground for solitary bee populations.
Forage Plants For Bees
Bees possess different tongue lengths ranging from short to long. Short-tongued bees cannot access nectar deep within tubular flowers. Open-faced flowers expose pollen and nectar immediately. Bell-shaped flowers accommodate mid-length tongues. Mixing flower shapes ensures all bee species can feed regardless of anatomy.
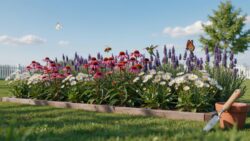
Select native plants suited to your region and hardiness zone. Include coneflowers, zinnias, and flat-topped asters alongside tubular salvias and liatris. Stagger bloom times from spring through fall to maintain consistent food sources. This diversity prevents nutritional gaps when particular flower types decline, keeping bee populations stable throughout seasons.
Creative Wildlife Garden Ideas For Suburban Spaces
Layering Vegetation
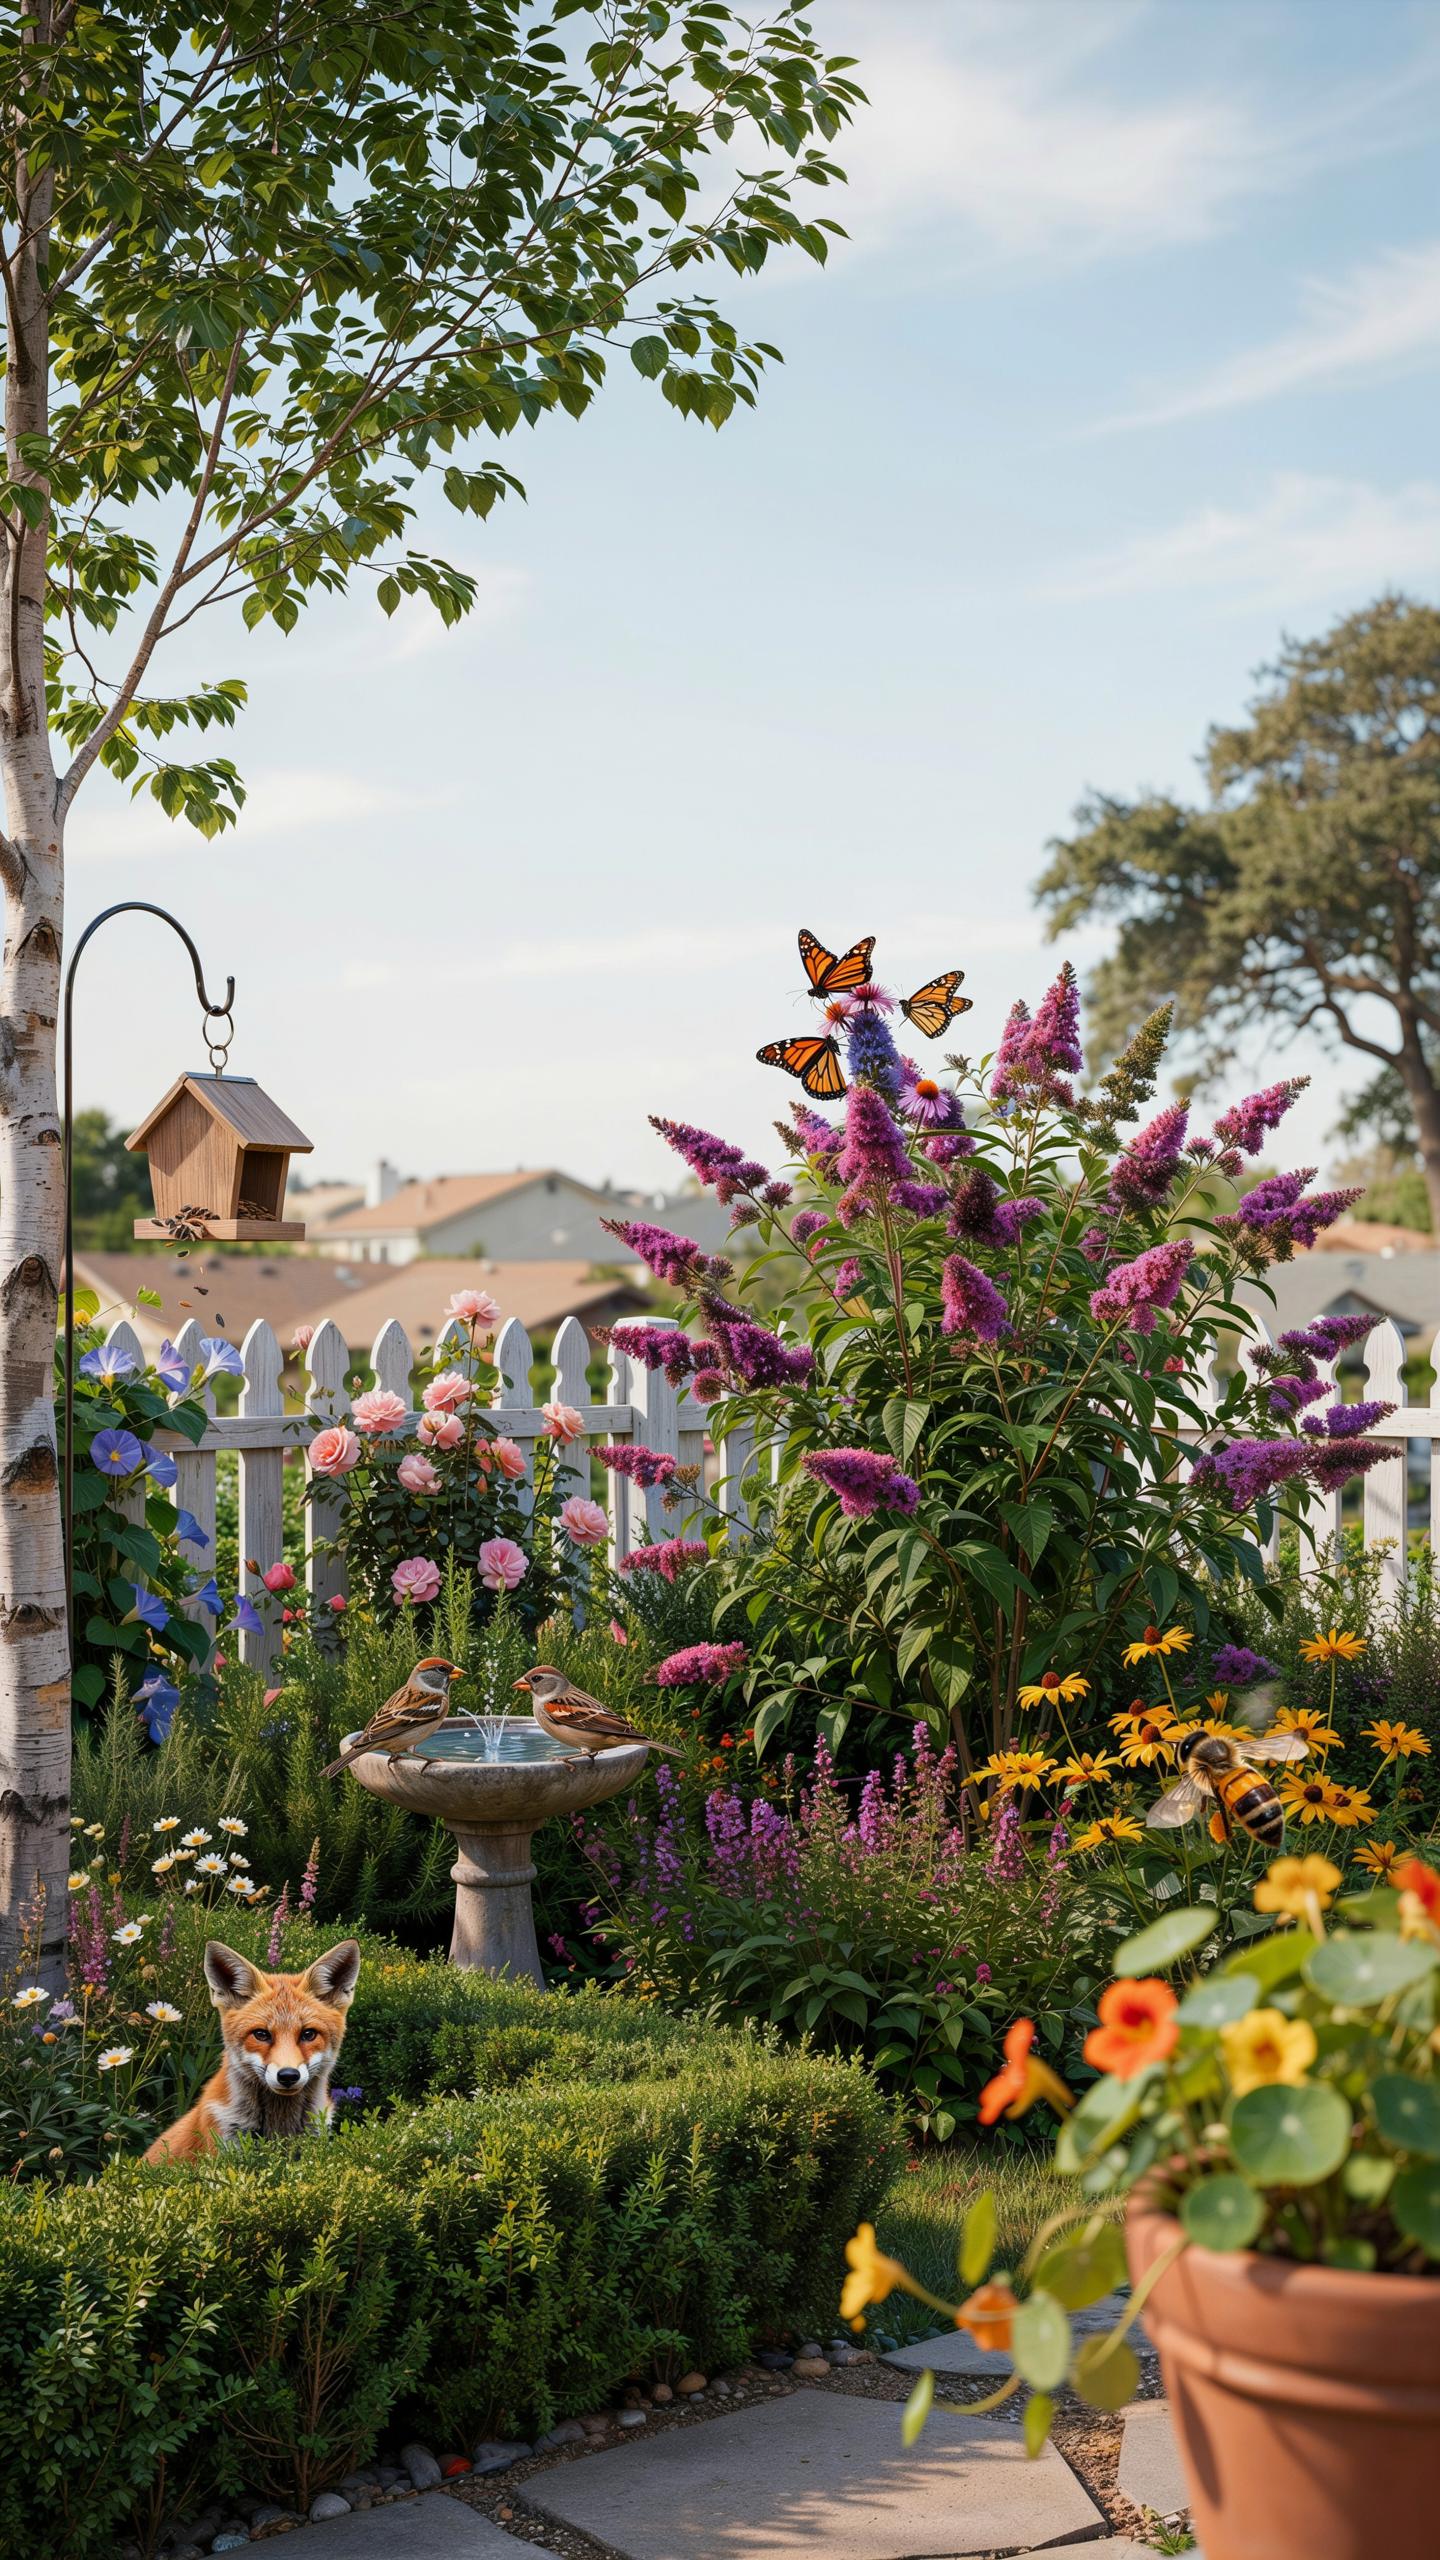
Layered vegetation creates structure that mimics natural forest ecosystems. This approach gives pollinators and nesting birds multiple options for shelter, food, and breeding sites. Start with native groundcovers at soil level. Add shrubs in the middle tier. Place understory trees and larger species at the top. Each layer serves a specific function in your pollinator garden design nesting habitat.
Different insects and birds occupy distinct vertical zones. Ground-nesting bees need low vegetation and bare soil patches. Mid-level shrubs host nesting birds and shelter beneficial insects. Taller plants provide wind protection and additional foraging resources. This stratification maximizes your space while meeting the ecological needs of diverse pollinator species and their predators.
Water Features For Wildlife
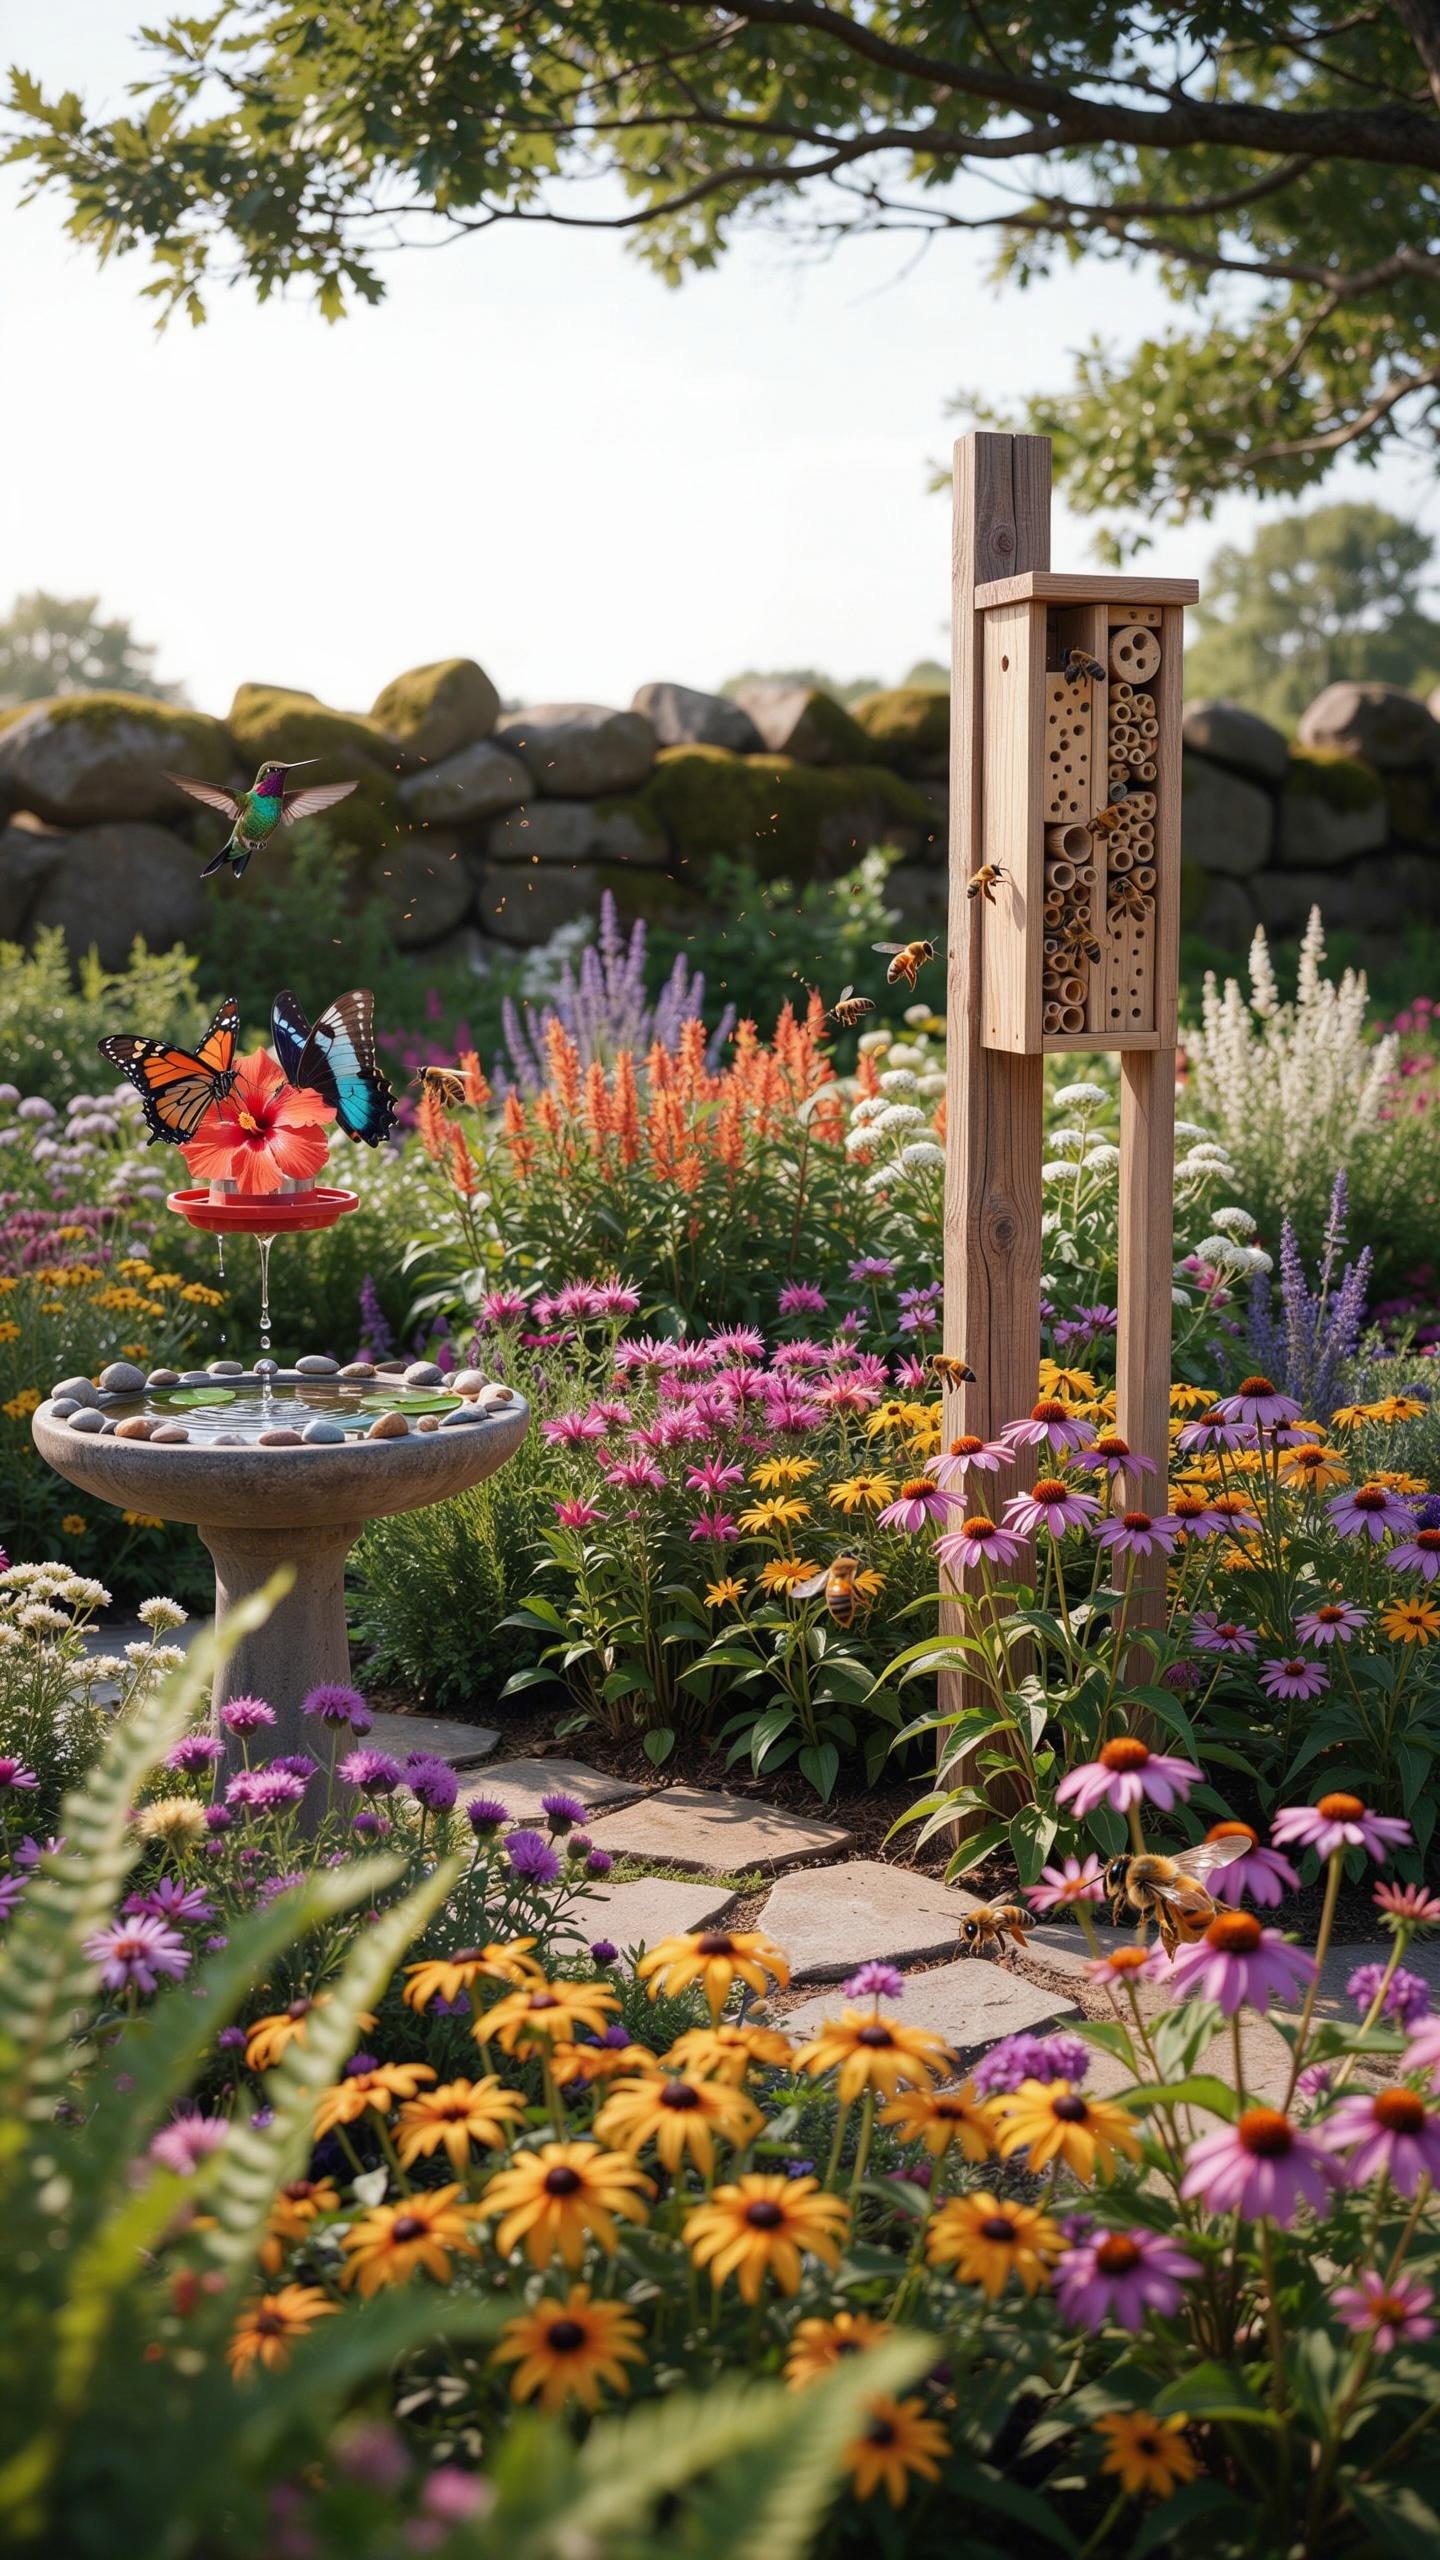
Shallow water sources are critical for pollinators and garden wildlife. Use a birdbath and fill it with pebbles or small stones so insects can land safely while drinking. The pebbles prevent drowning by providing solid footing. Without these landing zones, thirsty pollinators fall into water and die. This simple modification transforms a basic birdbath into functional habitat.
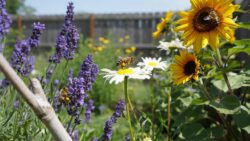
Muddy edges around water features provide nesting material for ground-dwelling bees and wasps. Keep soil moist near your water source without creating standing puddles or mosquito breeding grounds. Bees use mud to build cell walls in their nests. You can dig a shallow depression near your water feature and refresh it regularly. This targeted approach directly supports your pollinator garden design nesting habitat while managing pest concerns.
Planting Strategies For A Successful Pollinator Garden
Continuous Blooms
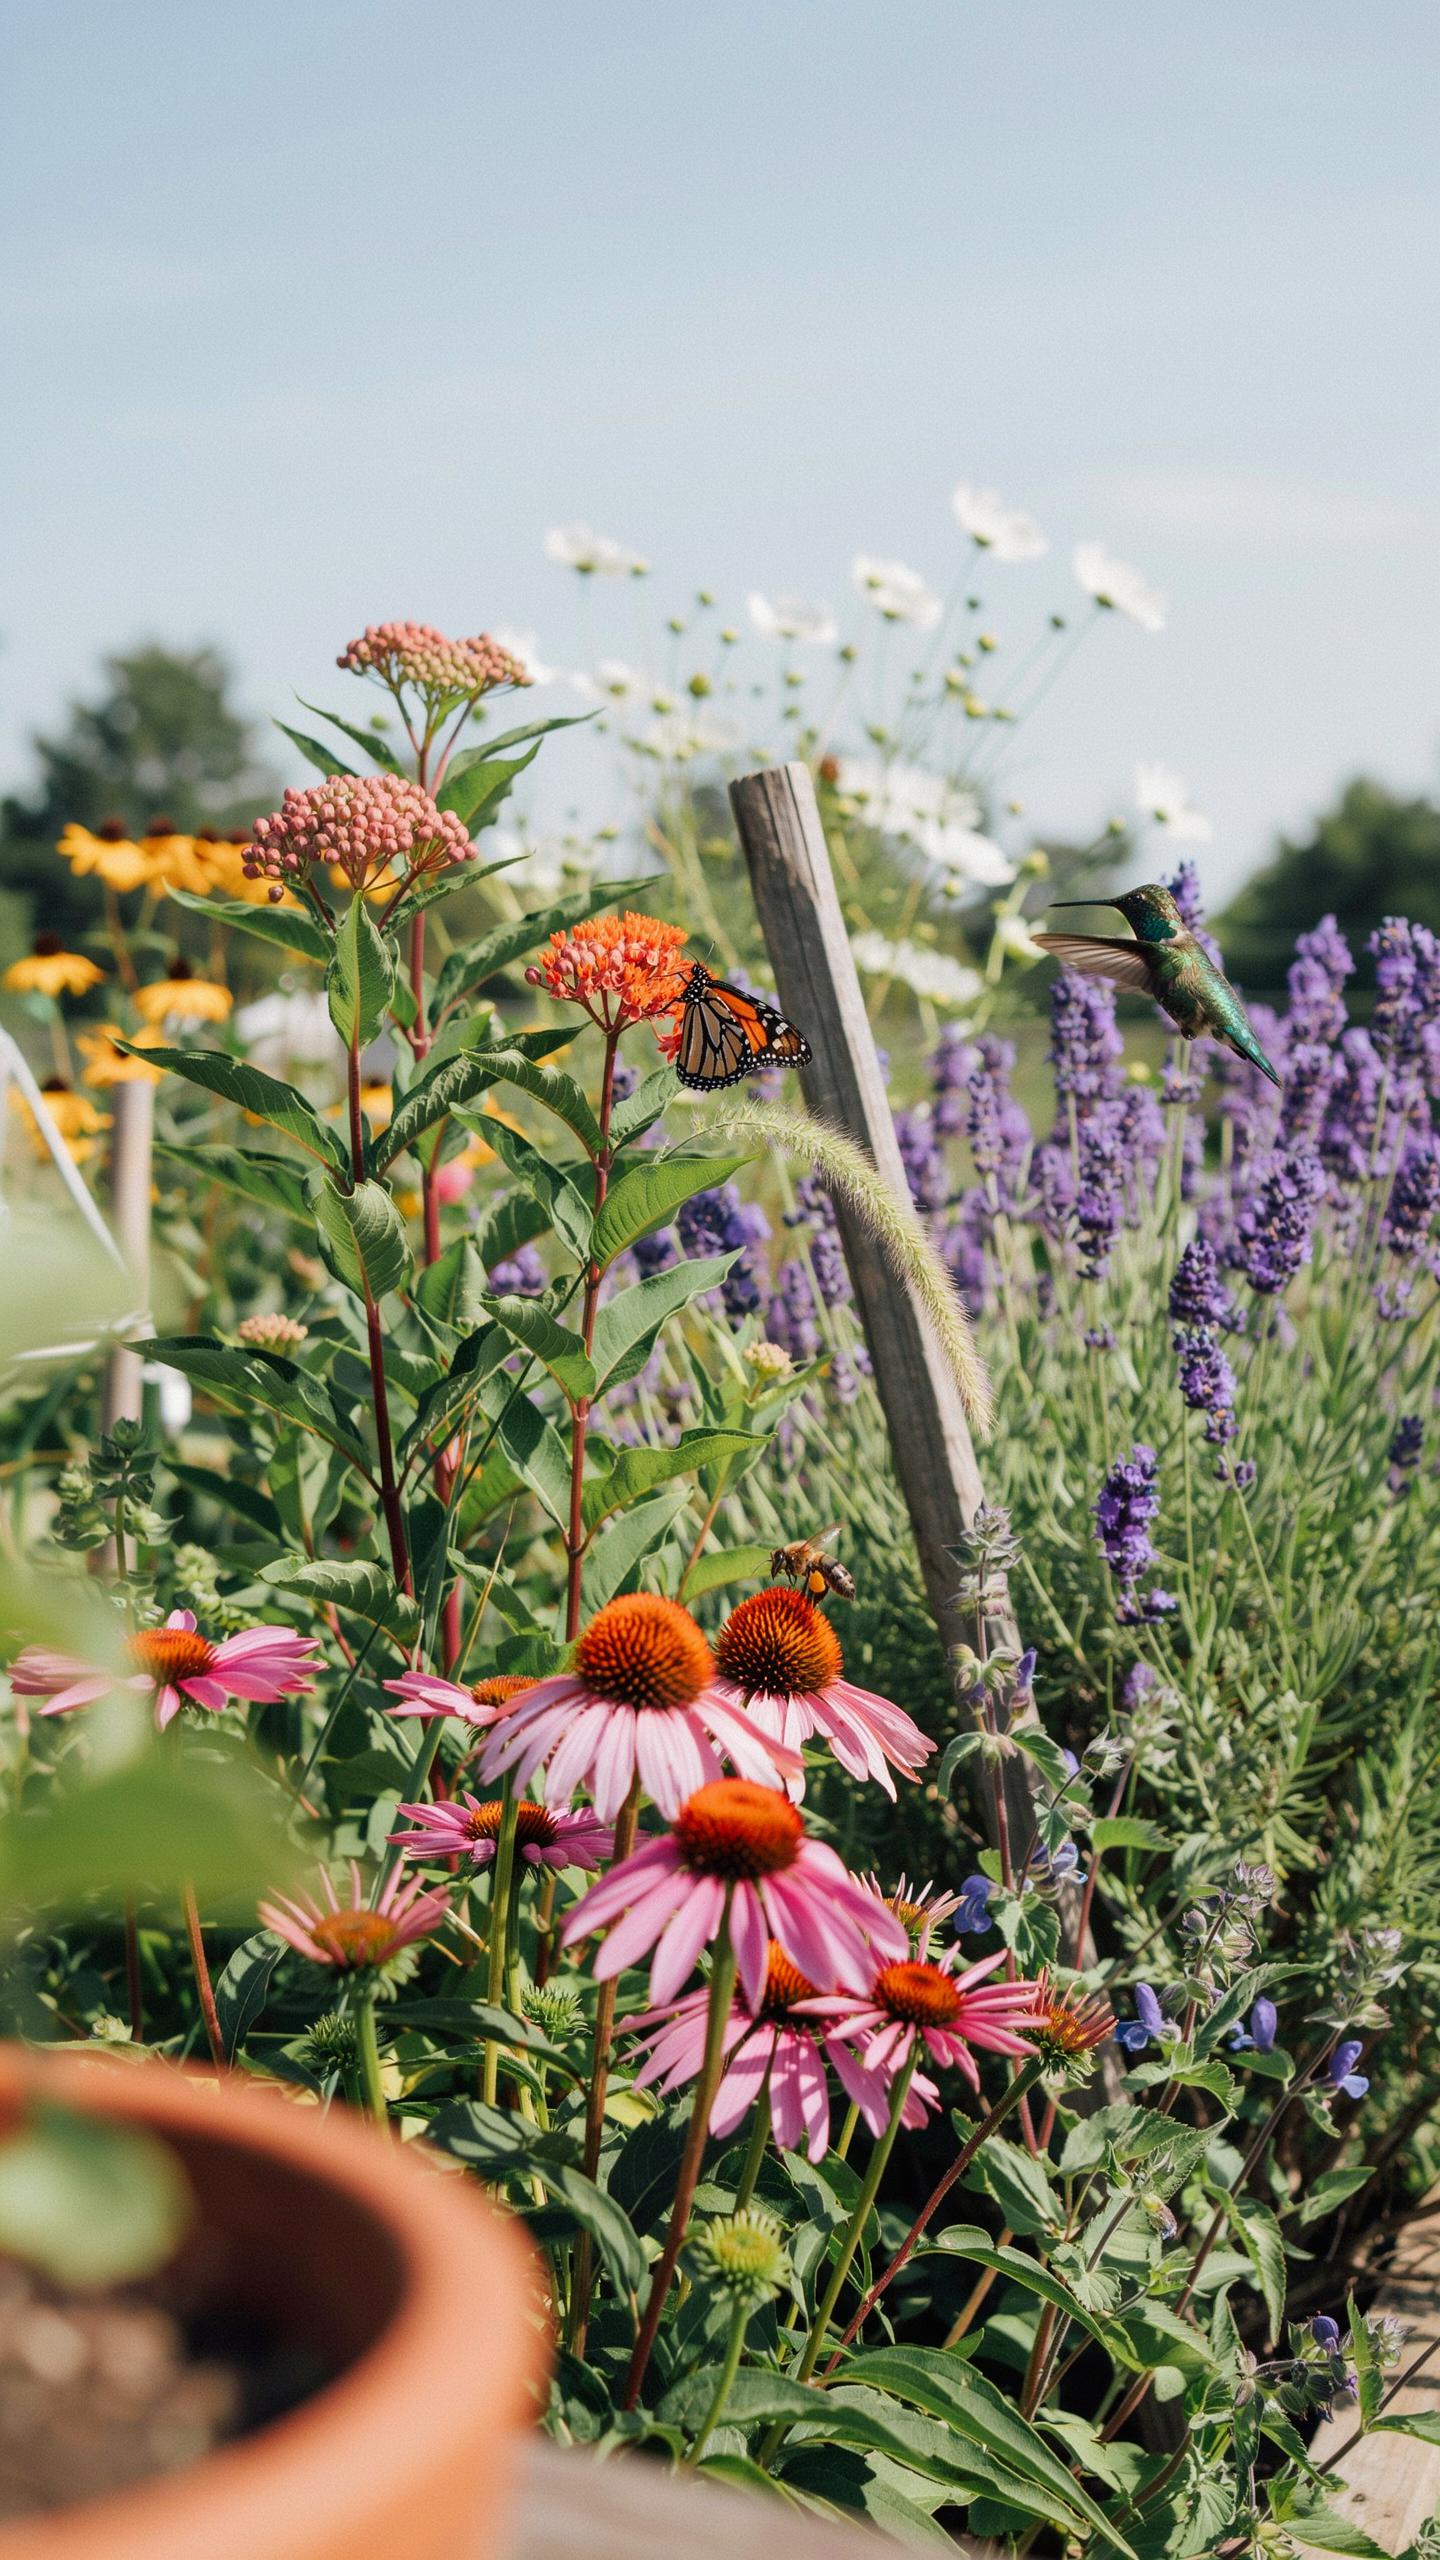
Pollinators emerge at different times throughout the growing season. Early spring bloomers feed newly active bees and butterflies as they leave winter dormancy. Summer flowers sustain peak pollinator activity. Fall bloomers support migrants preparing for winter and late-season species. Staggered flowering ensures food availability across all seasons.
A continuous bloom schedule prevents resource gaps that force pollinators to abandon your garden. Plan plantings so something flowers every two weeks from March through November in temperate zones. This consistency builds pollinator populations because insects find reliable food sources. Gaps between blooms cause them to seek resources elsewhere and may not return.
Native Plant Selections For Pollinators
Native plants evolved with local pollinator species, creating proven partnerships. They require fewer inputs, establish faster, and flower during predictable windows. Selecting natives by bloom time guarantees seasonal coverage. Research your USDA hardiness zone and local native plant species before purchasing.
- Early Spring Natives: Bloodroot, trillium, and hellebores bloom in March and April when pollinators emerge hungry. These plants provide essential carbohydrates after winter dormancy.
- Late Spring Natives: Wild lupine, columbine, and phlox flower May through June. They support peak bee activity and early butterfly populations during breeding season.
- Summer Natives: Black-eyed Susan, coneflower, and bee balm bloom June through August. These prolific bloomers sustain high pollinator numbers during hot months.
- Early Fall Natives: Ironweed, asters, and blazing star flower August through September. They fuel monarch butterflies during southbound migration.
- Late Fall Natives: New England aster and Joe-Pye weed bloom through October and November. They support migrating species and late-emerging native bees preparing for dormancy.
Layering natives by bloom time removes guesswork from garden planning. Check local extension databases for specific species suited to your region. Purchase from native plant nurseries rather than big box retailers to ensure genetic authenticity and local adaptation.
Innovative Garden Pollinator Habitat Ideas To Maximize Biodiversity
Dead Wood Brush Piles
Fallen logs and brush piles serve a functional purpose in pollinator gardens. They provide overwintering habitat for beetles, solitary bees, and beneficial insects that shelter larvae through cold months. You don’t need to purchase materials. Collect fallen branches from your property or local sources and stack them in corners or garden edges.
Stack wood strategically to create air gaps and shelter chambers. Dense packing traps moisture and promotes rot, which kills beneficial insects. Leave some loose arrangement for insects to move freely. Position piles away from foot traffic but visible enough to monitor for pest colonization. Replace materials every two to three years as decomposition progresses.
Ground Nesting Soil
Over 70 percent of native bee species nest underground, making bare soil patches critical for pollinator populations. These bees dig individual tunnels in compacted, dry earth. They avoid mulch, dense vegetation, and tilled soil because these conditions collapse tunnel walls and trap moisture. Create dedicated nesting areas by clearing sections of your garden bed and leaving soil undisturbed through the season.
Prepare nesting zones by removing existing plants and surface debris. Compact the soil lightly by walking over it or tamping it down. Face south or southeast to maximize sun exposure, which warms soil and accelerates emergence in spring. Maintain these patches for multiple seasons. Bees return to successful nesting sites year after year, building population density in your garden.
Building An Insect Hotel To Support Solitary Nesters
Insect Hotel Fillers
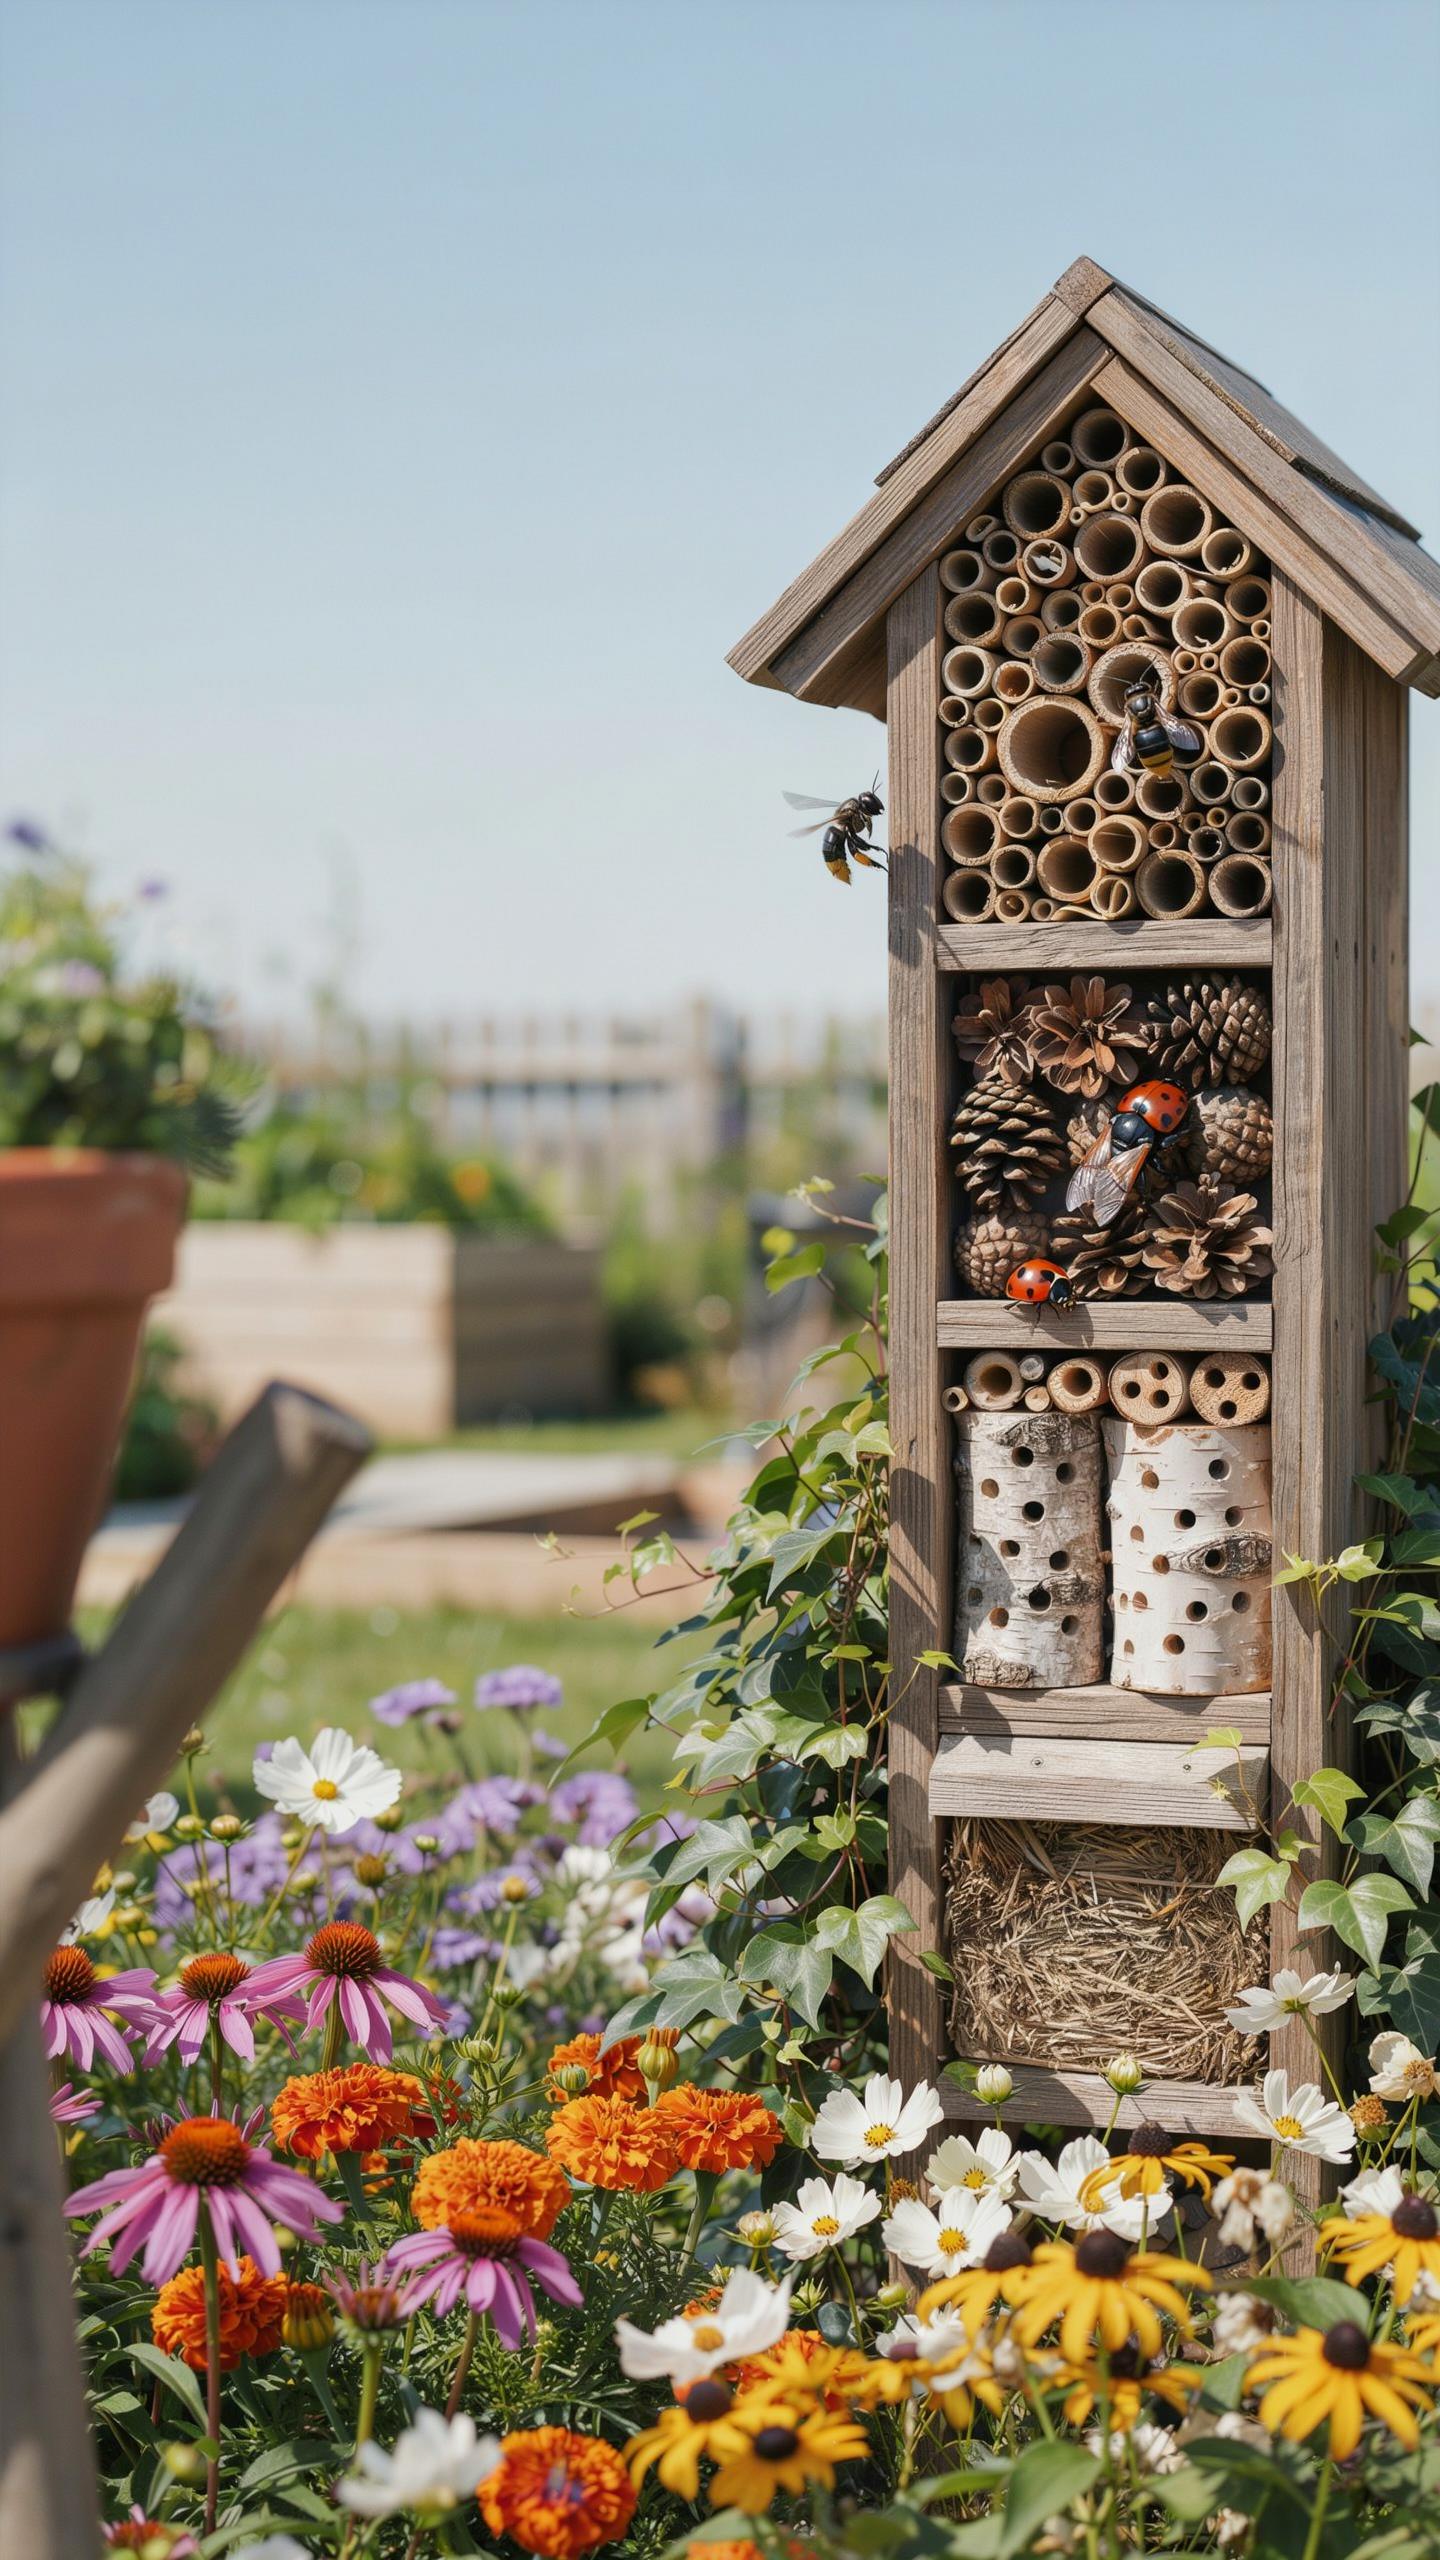
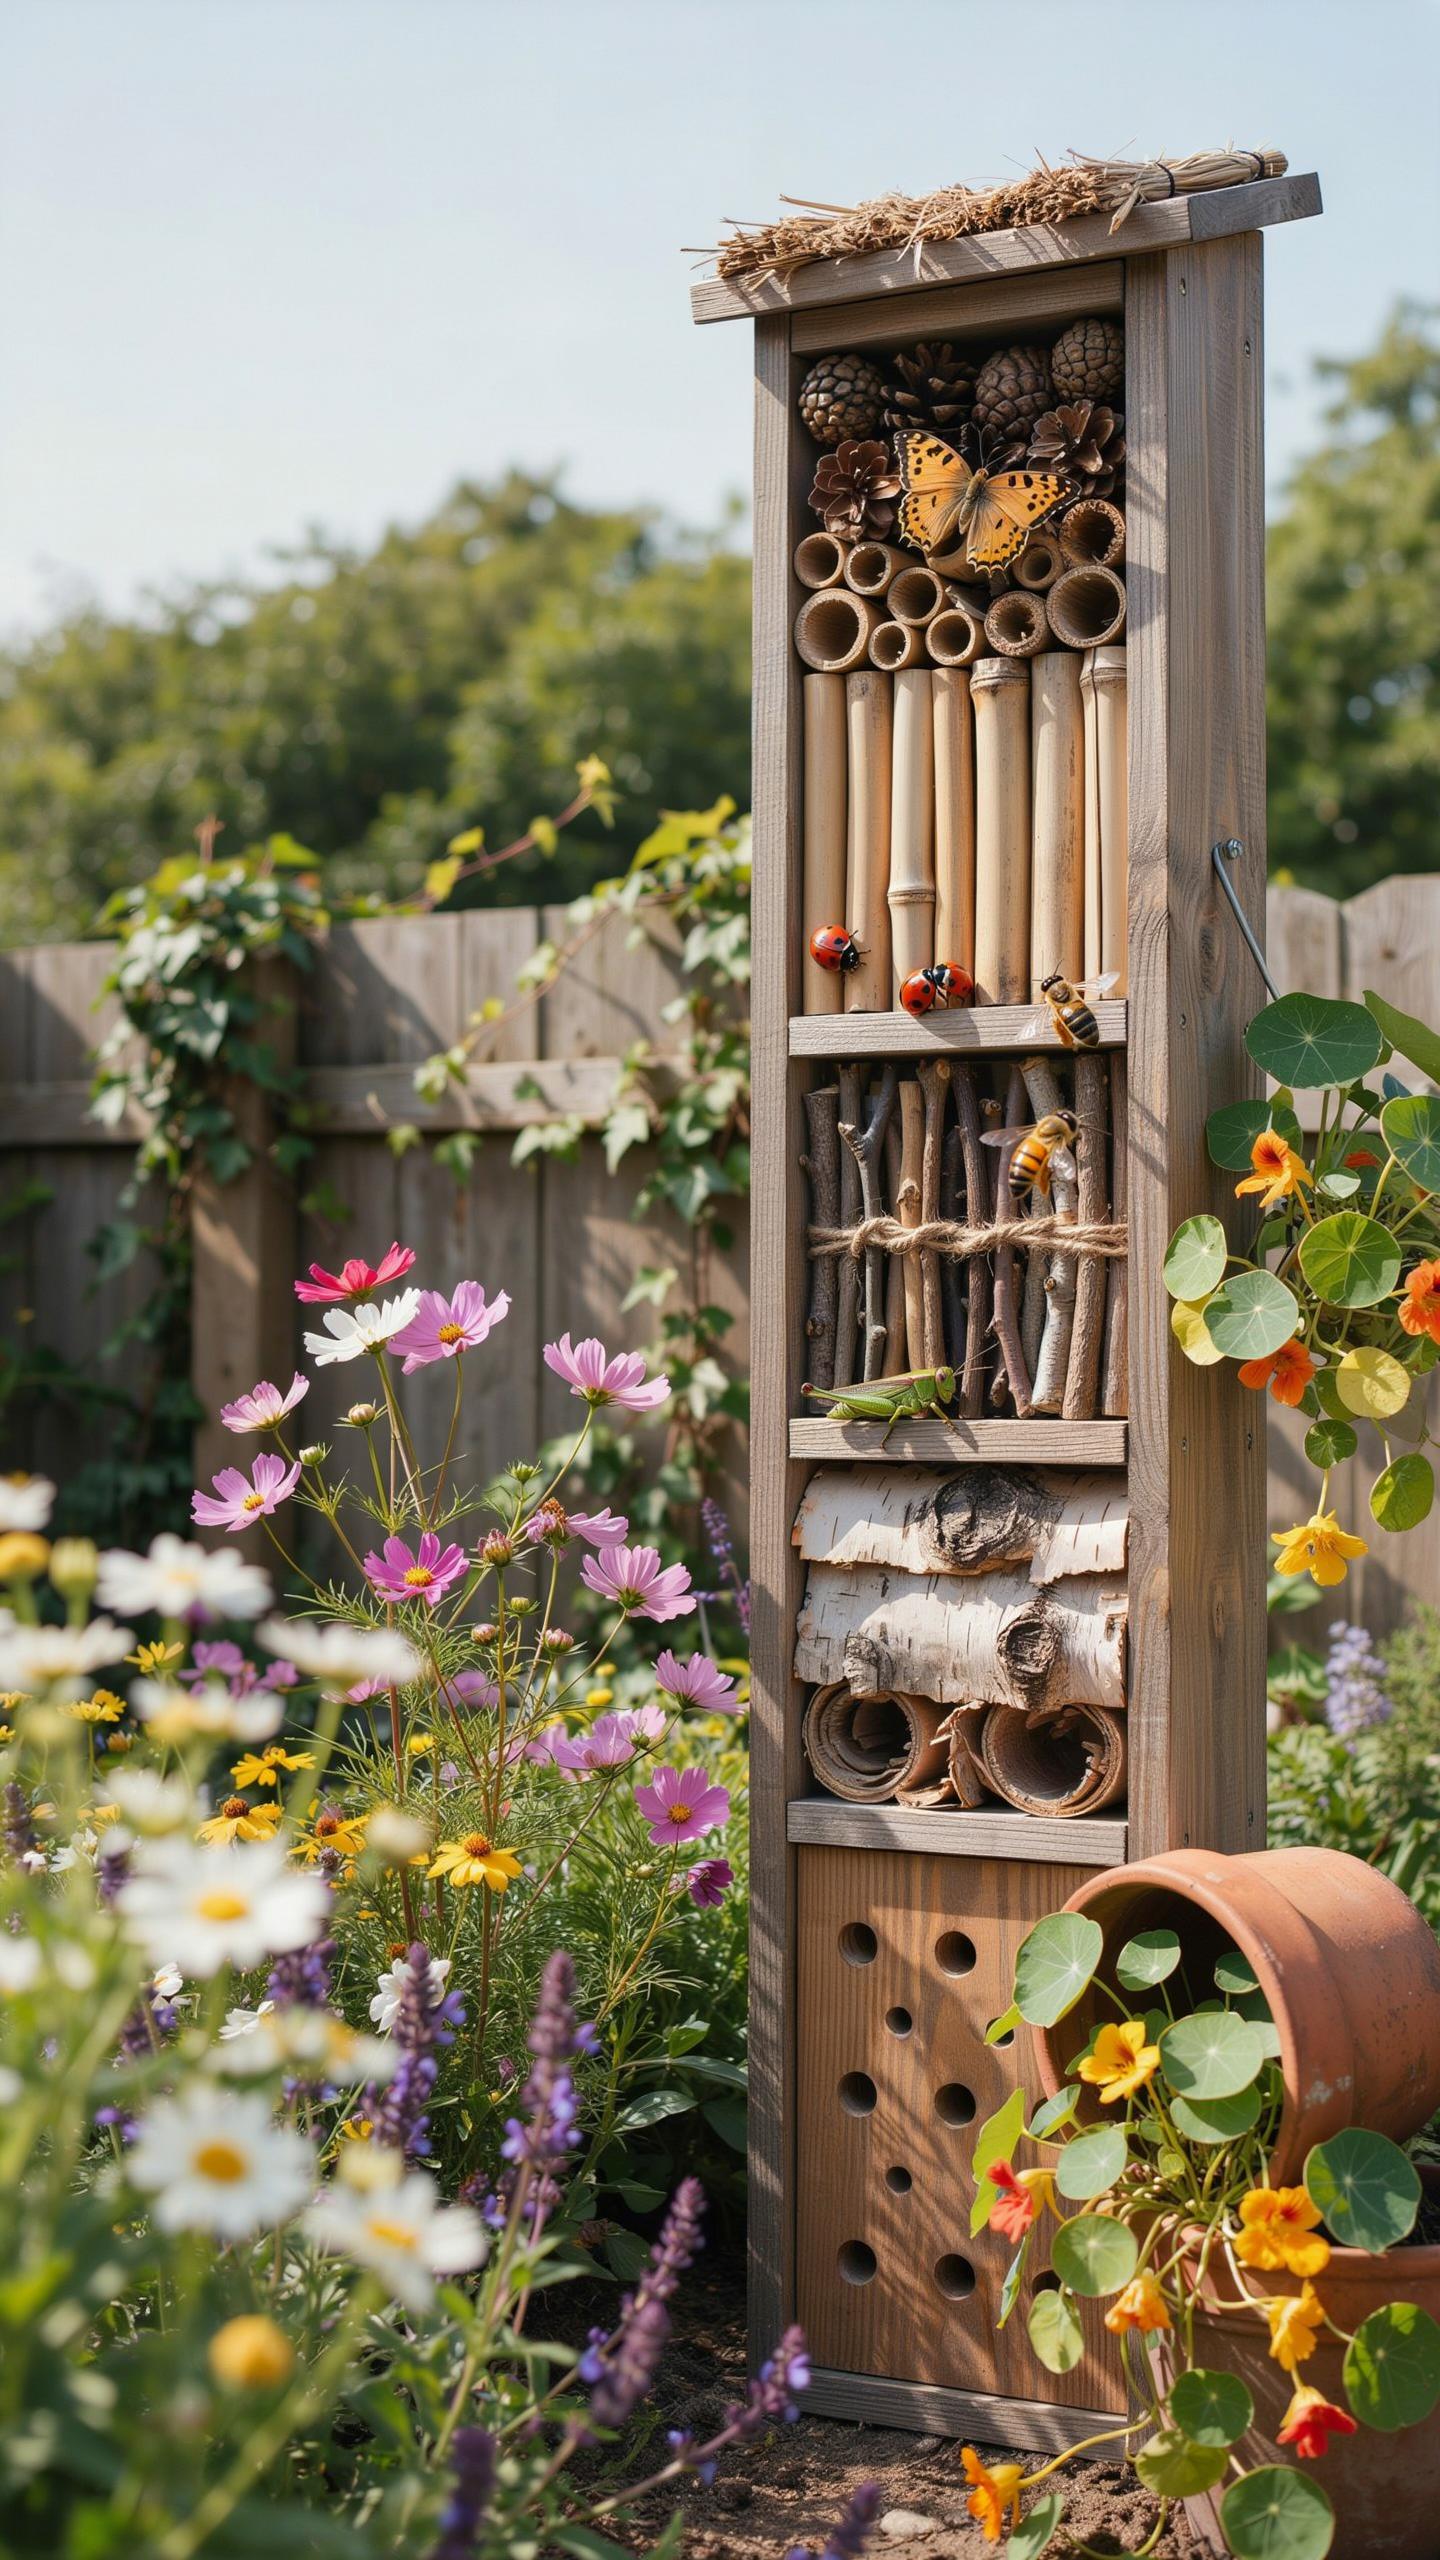
Solitary bees, wasps, and beetles need specific nesting materials to reproduce. Hollow bamboo canes mimic natural plant stems where many species lay eggs. Drilled hardwood blocks accommodate mason bees and carpenter bees that tunnel into wood. Pinecones and dry leaves create refuges for lacewings and beetles that overwinter in protected spaces. Each material targets different insect groups based on their actual nesting behavior.
Stack materials vertically in a weatherproof frame to maximize usable nesting sites. Diameter matters: drill holes between 3-10mm for different bee species. Leave some tubes open-ended and cap others to match how insects naturally access nesting chambers. Refresh materials annually because many insects abandon used tunnels due to parasites and fungal buildup. This rotation maintains habitat effectiveness across seasons.
Insect Hotel Maintenance
Position your hotel facing south in direct sunlight to regulate internal temperature and humidity. Insects need warmth for development and emergence. Avoid placing the structure where rain drips onto it or where standing water collects nearby. Wet conditions trigger mold and fungal growth that kills developing larvae inside the tubes. A simple roof overhang or slight downward tilt prevents water infiltration.
Clean out old nesting materials each winter after insects emerge. Remove spent tubes, drill new holes, and replace degraded materials to prevent parasite accumulation. Monitor for signs of mold or pest damage monthly during warm months. Replace compromised materials immediately rather than waiting for seasonal maintenance. This prevents disease spread to active nesting chambers and keeps emergence rates high.
Crafting A Bug Hotel Using Salvaged Materials
Salvaged Hotel Frames
Old wooden crates offer structural integrity and weathering capacity. Clay pipes provide tubular chambers for solitary bees and other insects. Discarded pallets deliver ready-made frameworks that require minimal modification. These materials work because they create the enclosed, protected spaces that ground-nesting and cavity-nesting pollinators require for reproduction.
Salvaged materials reduce costs and environmental impact simultaneously. Wood crates and pallets cost nothing when sourced from warehouses, retailers, or construction sites. Clay pipes come from old plumbing projects. Using these materials eliminates the need for new lumber production while providing functional nesting structures that insects naturally colonize.
Bug Hotel Assembly
Start with a stable base structure using stacked crates or a pallet frame. Secure all corners with bolts or heavy-duty fasteners to prevent collapse under weather stress. Orient the frame on level ground away from direct wind exposure. Check that the structure stands at least two to three feet tall to position nesting chambers above ground moisture and predator reach.
- Stack crates vertically: Align crates in rows and bolt them together at corner joints for structural rigidity and load distribution.
- Secure pallet frames: Use corner brackets and lag bolts to lock pallet sections into a stable box configuration.
- Add a roof panel: Install angled wood or metal sheeting on top to direct water away from internal chambers.
- Insert nesting materials: Fill chambers with clay pipes, bamboo tubes, drilled wood blocks, and straw bundles in organized layers.
- Create drainage holes: Drill exit holes in the base frame to prevent water accumulation during heavy rainfall.
Attach hardware cloth or mesh to the front openings if you want to prevent debris from clogging tubes while allowing insect access. Position the completed structure in morning sun and afternoon shade for optimal thermal regulation. Check structural integrity monthly and replace degraded wood sections to maintain habitat functionality.
Transforming Your Yard With Habitat Garden Features
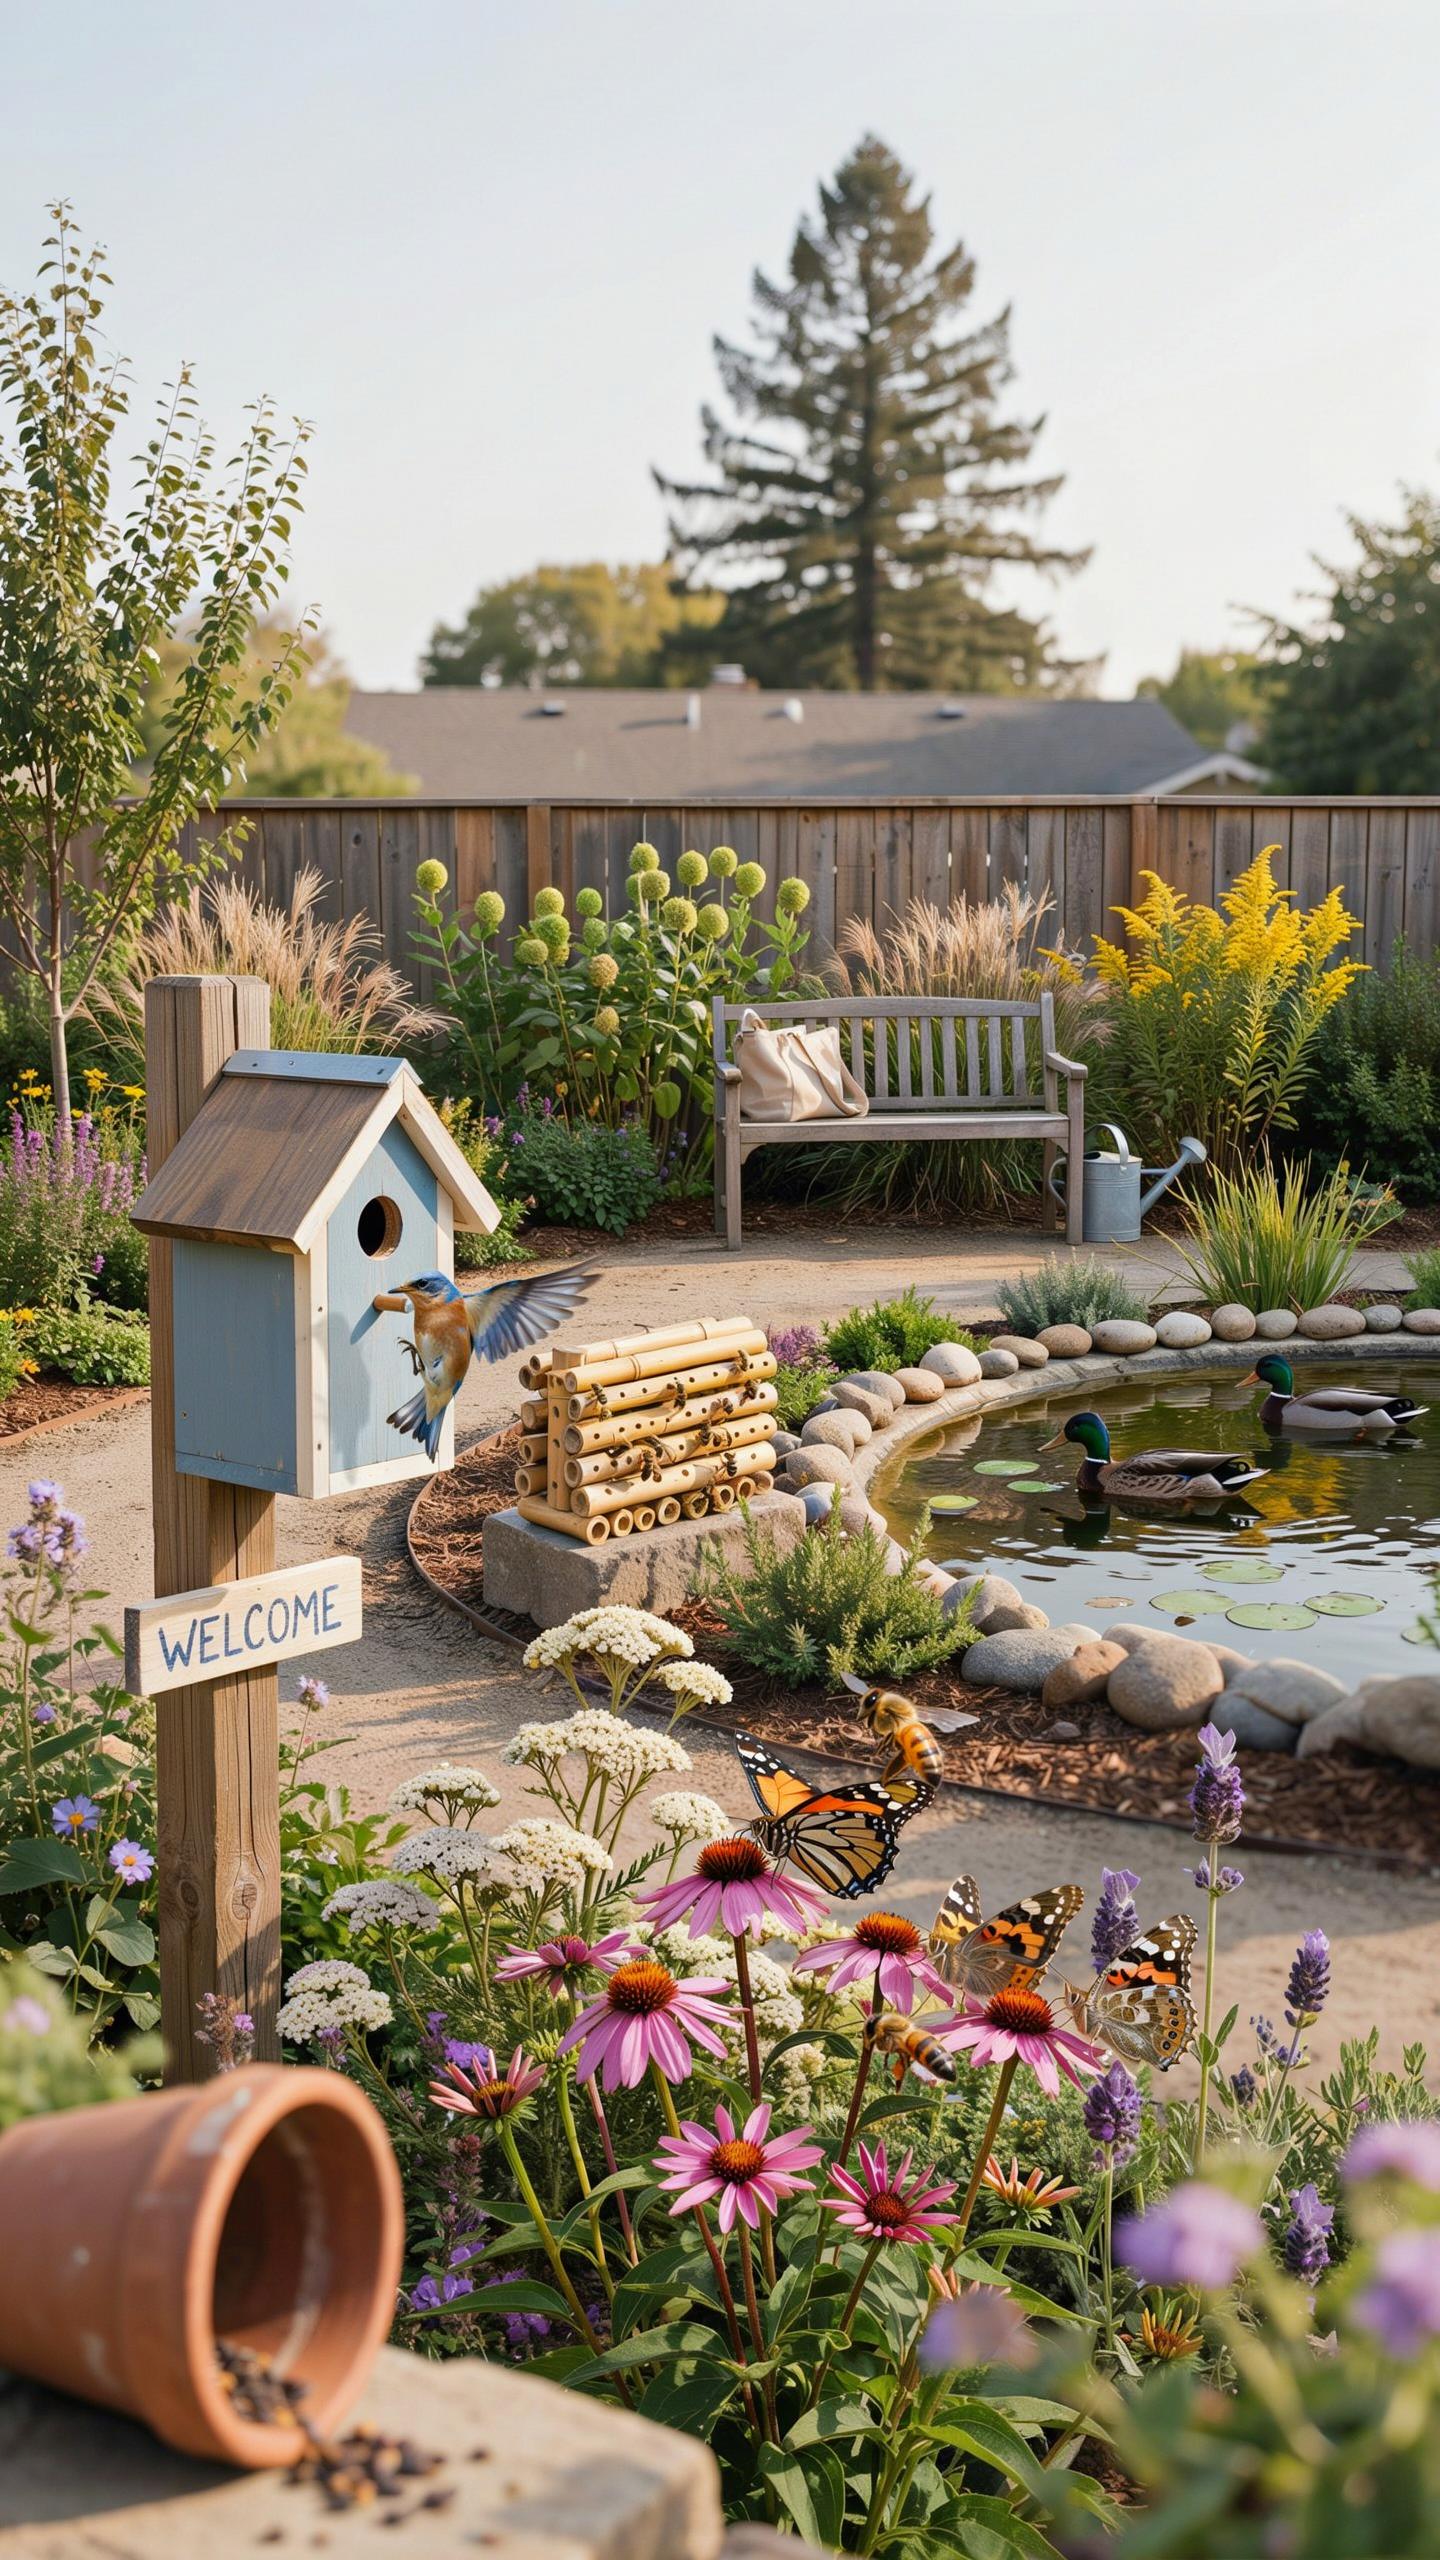
Meadow Zone
Replacing lawn with wildflower meadow cuts maintenance demand significantly. Lawns require weekly mowing, fertilizer applications, and irrigation during dry periods. Meadows need one annual cut in late summer or fall. Native wildflowers establish deep root systems that improve soil structure and require no chemical inputs after establishment.
Meadow zones provide dense food sources and shelter throughout the growing season. Pollinators access nectar and pollen from spring through fall frost. Dense plant growth creates protected microclimates for nesting and pupation. The transition from mowed edge to meadow center allows species with different habitat preferences to coexist in one space.
By creating a sanctuary for the wings that wander, we turn our gardens into a living homecoming for nature.
Leaf Litter Habitat
Leave fallen leaves on garden beds and under shrubs during autumn and winter months. Many butterfly and moth pupae overwinter within leaf litter. Solitary bees and beetles also shelter in accumulated organic material. Removing leaves eliminates critical protection and forces species to seek refuge elsewhere or perish.

Decomposing leaves return nutrients to soil without purchased fertilizer. This process builds soil organic matter over time, improving water retention and microbial activity. Leave litter primarily undisturbed through spring. Remove leaves only from paths and high-traffic areas where foot traffic creates compaction issues.
Setting Up An Insect Garden For Year Round Ecological Balance
Safety Corridors
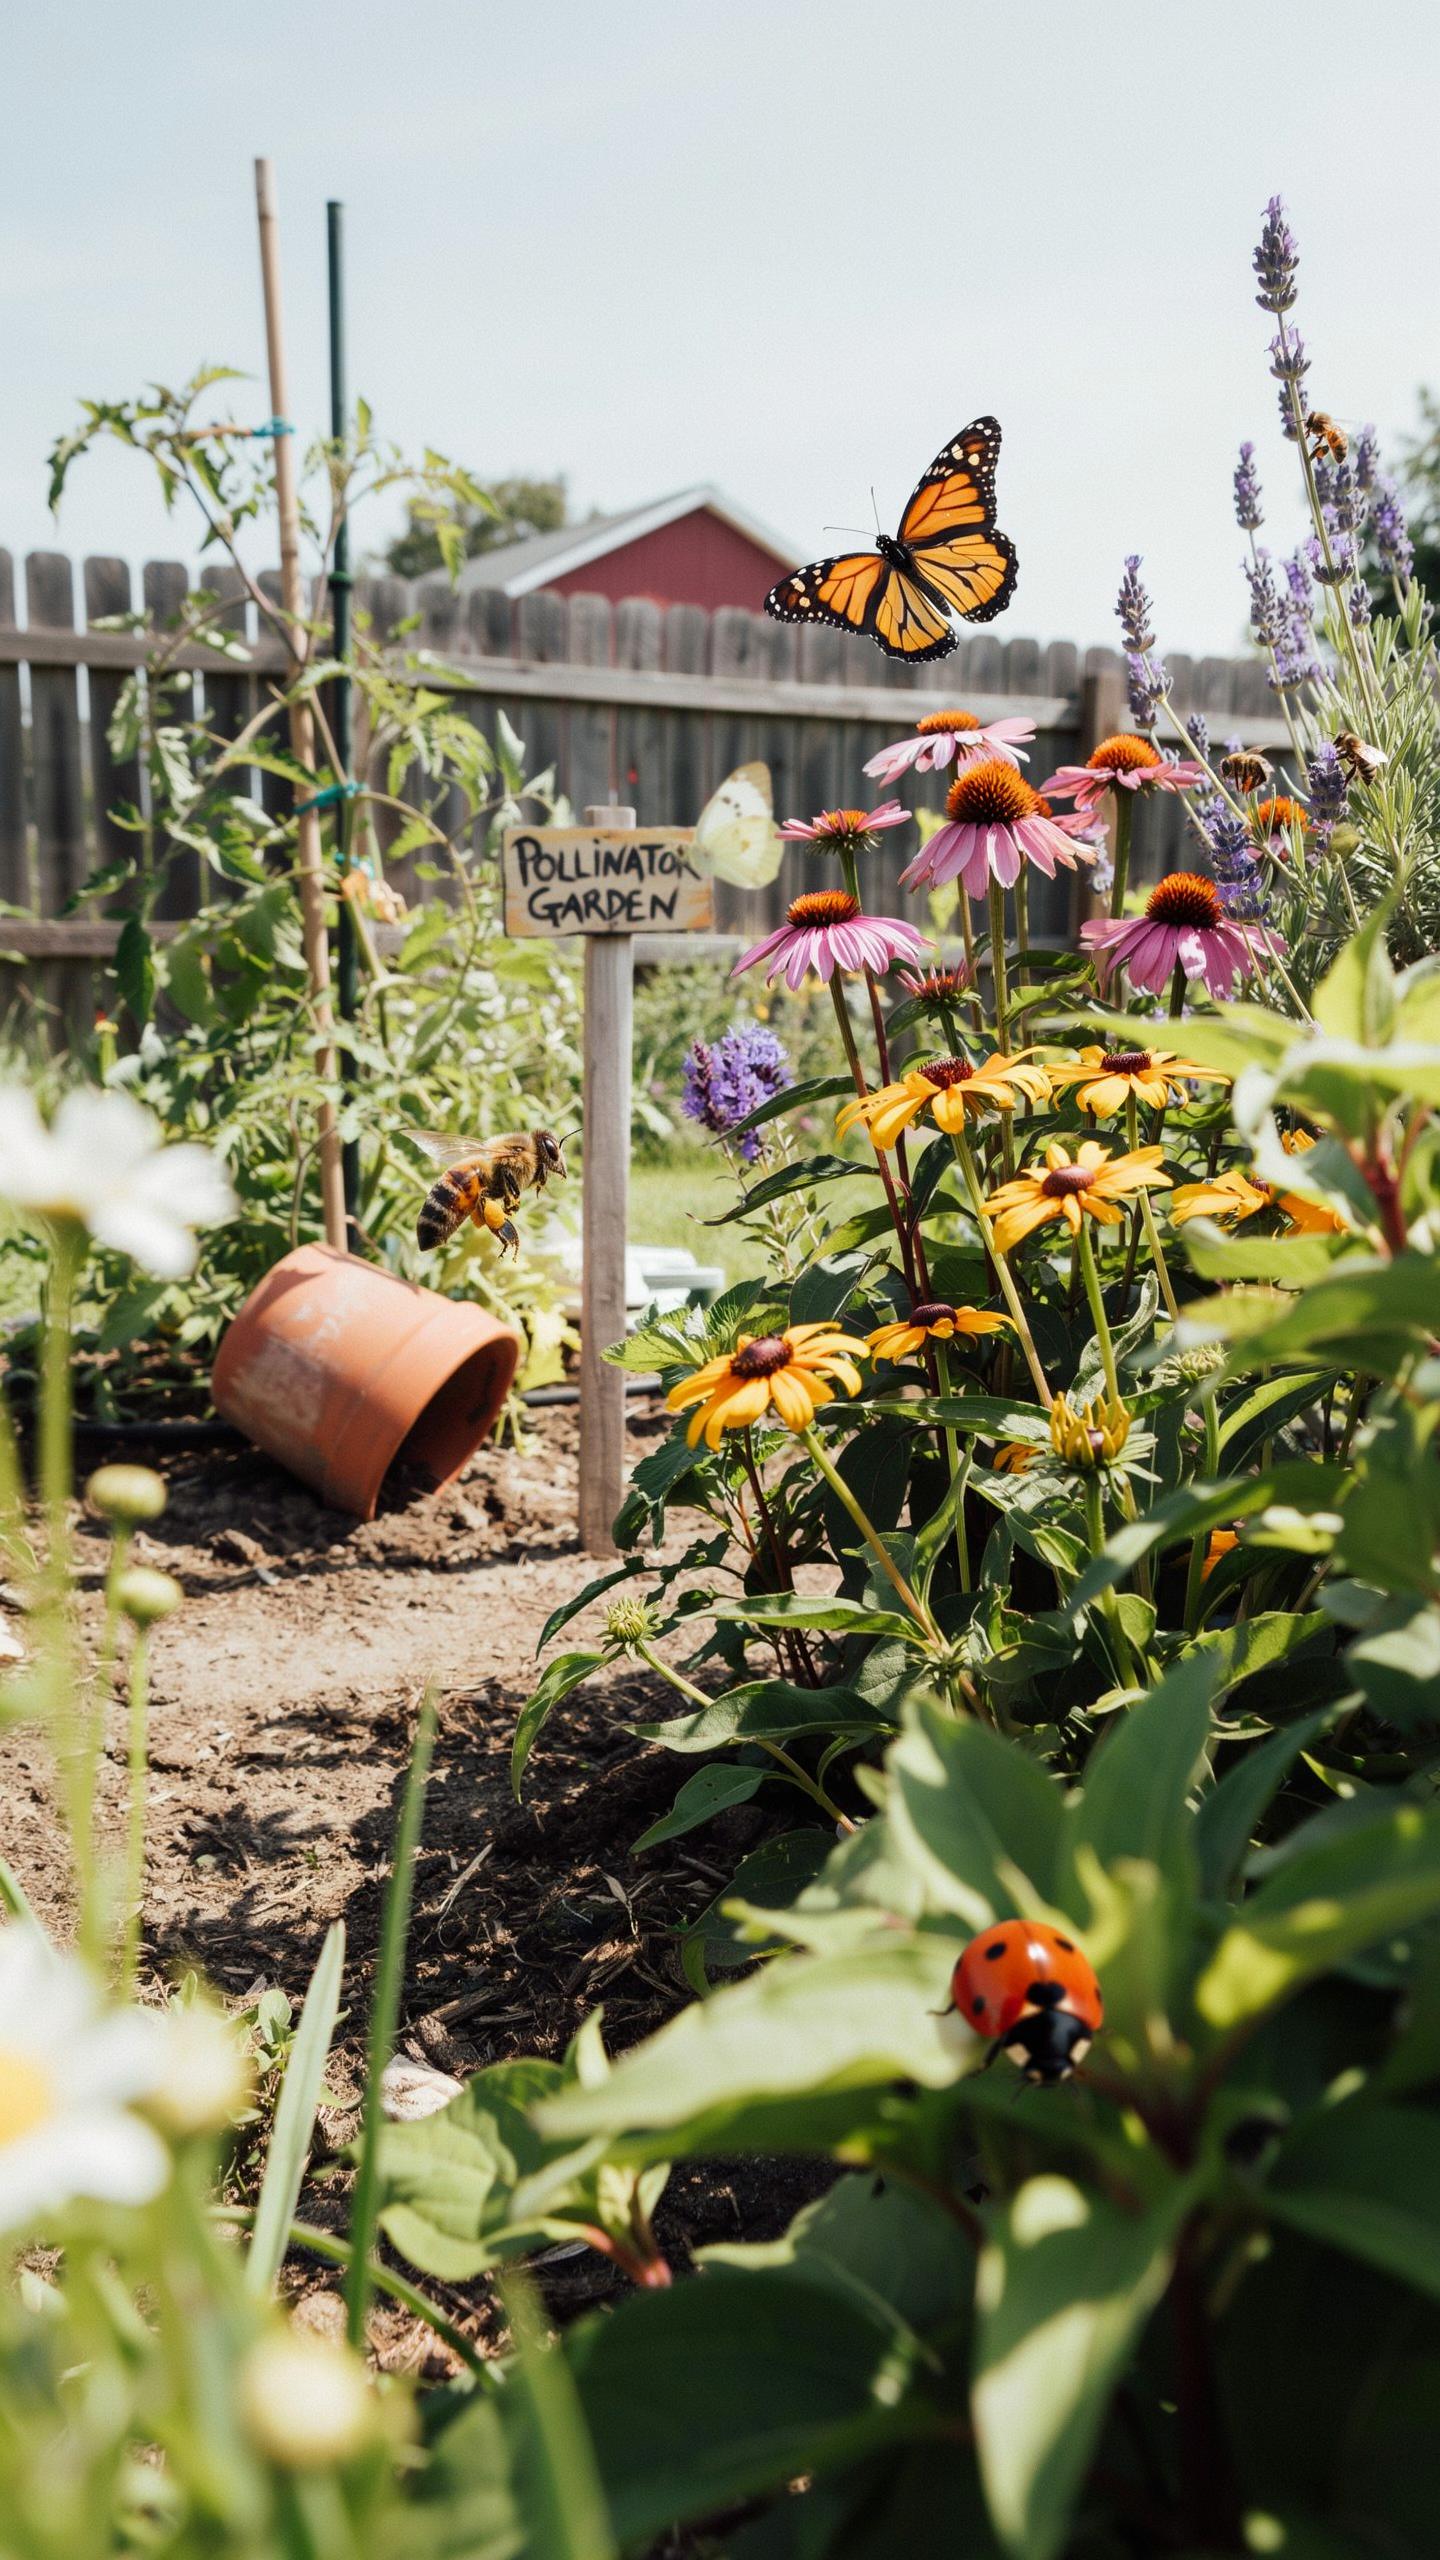
Dense native grasses and shrubs create windbreaks that reduce insect fatigue during flight and movement. Predatory birds lose hunting advantage when insects have cover to navigate through. These corridors connect different garden zones, allowing pollinators and beneficial insects to move safely between food sources and nesting sites without exposure.
Native species establish faster than non-natives and require less maintenance once established. Grasses like switchgrass and little bluestem, paired with shrubs such as serviceberry or elderberry, form effective barriers. The combination reduces predation pressure by 30 to 40 percent compared to open garden layouts, based on ecological field studies.
Pesticide Free Gardening
Natural predators eliminate pest insects without harming pollinators or soil health. Ladybugs consume up to 5000 aphids in their lifetime. Lacewings target mites, scales, and soft bodied insects. These predators establish themselves in gardens free from chemical applications, creating a self regulating ecosystem that maintains balance without intervention.
Pesticide residue persists in soil and plant tissues, accumulating in pollinator bodies over time. This reduces reproductive success and lifespan in bees, butterflies, and other beneficial species. Eliminating synthetic chemicals allows natural predator populations to stabilize within weeks to months, depending on garden size and surrounding landscape conditions.
Frequently Asked Questions

What is a pollinator nesting habitat and why does my garden need one?
A pollinator nesting habitat goes beyond just providing flowers; it offers essential shelter where bees, butterflies, and beetles can safely reproduce and overwinter. By integrating a specific pollinator garden design nesting habitat into your yard, you support the full life cycle of local species. This transformation ensures that beneficial insects stay in your garden year-round, resulting in a more resilient, vibrant, and productive ecosystem right at your doorstep.
How can I incorporate nesting elements into my existing landscape design?
You can easily enhance your space by leaving patches of bare soil for ground-nesting bees and keeping hollow plant stems intact during winter. When planning your pollinator garden design nesting habitat, consider adding “bee hotels” or small rock piles in sunny, well-drained areas. These creative features provide structural interest to your home’s exterior while offering vital protection for larvae, ensuring your garden remains a functional sanctuary through every season.
Can I create an effective pollinator habitat if I am on a tight budget?
Absolutely! Creating a sanctuary for local wildlife doesn’t have to be expensive. You can build nesting sites using free, natural materials like fallen logs, bundled bamboo sticks, or dried mud. Focus on planting native seeds rather than mature nursery plants to save money. Simple DIY additions, such as a shallow water dish with pebbles, can instantly turn your backyard into a thriving refuge without requiring a significant financial investment.



