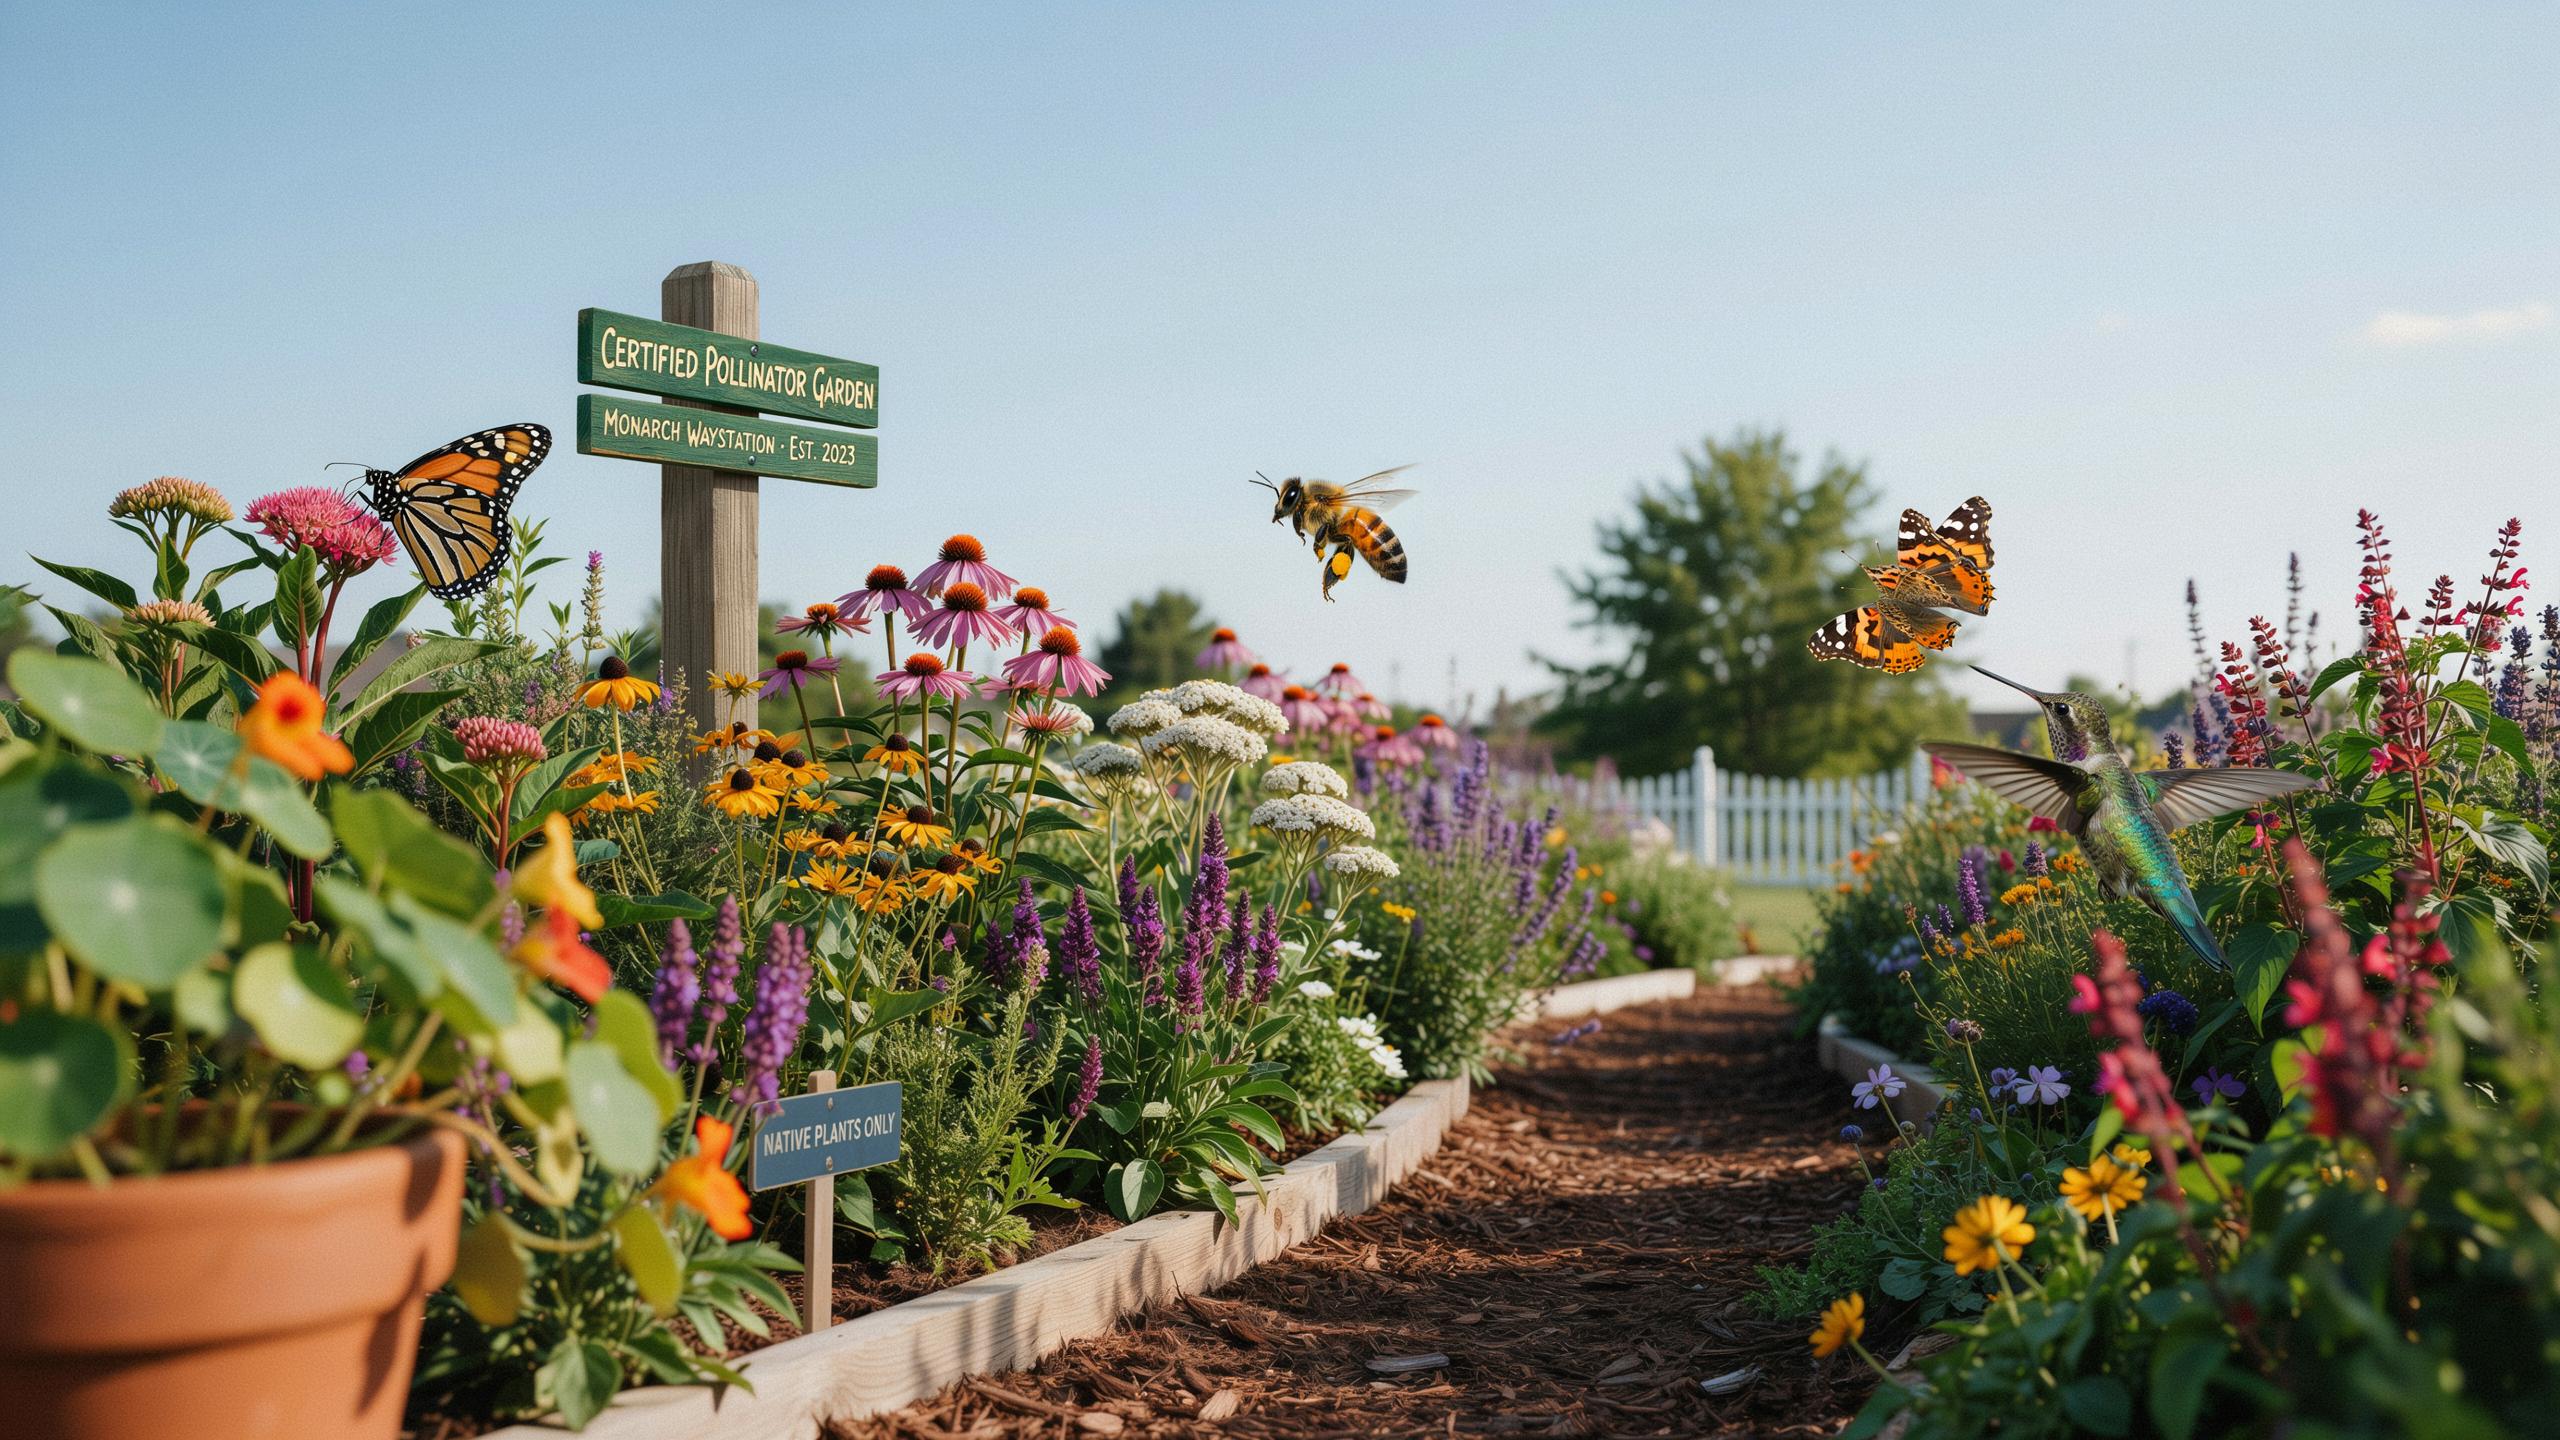
Understanding The Value Of A Pollinator Garden Design Certification
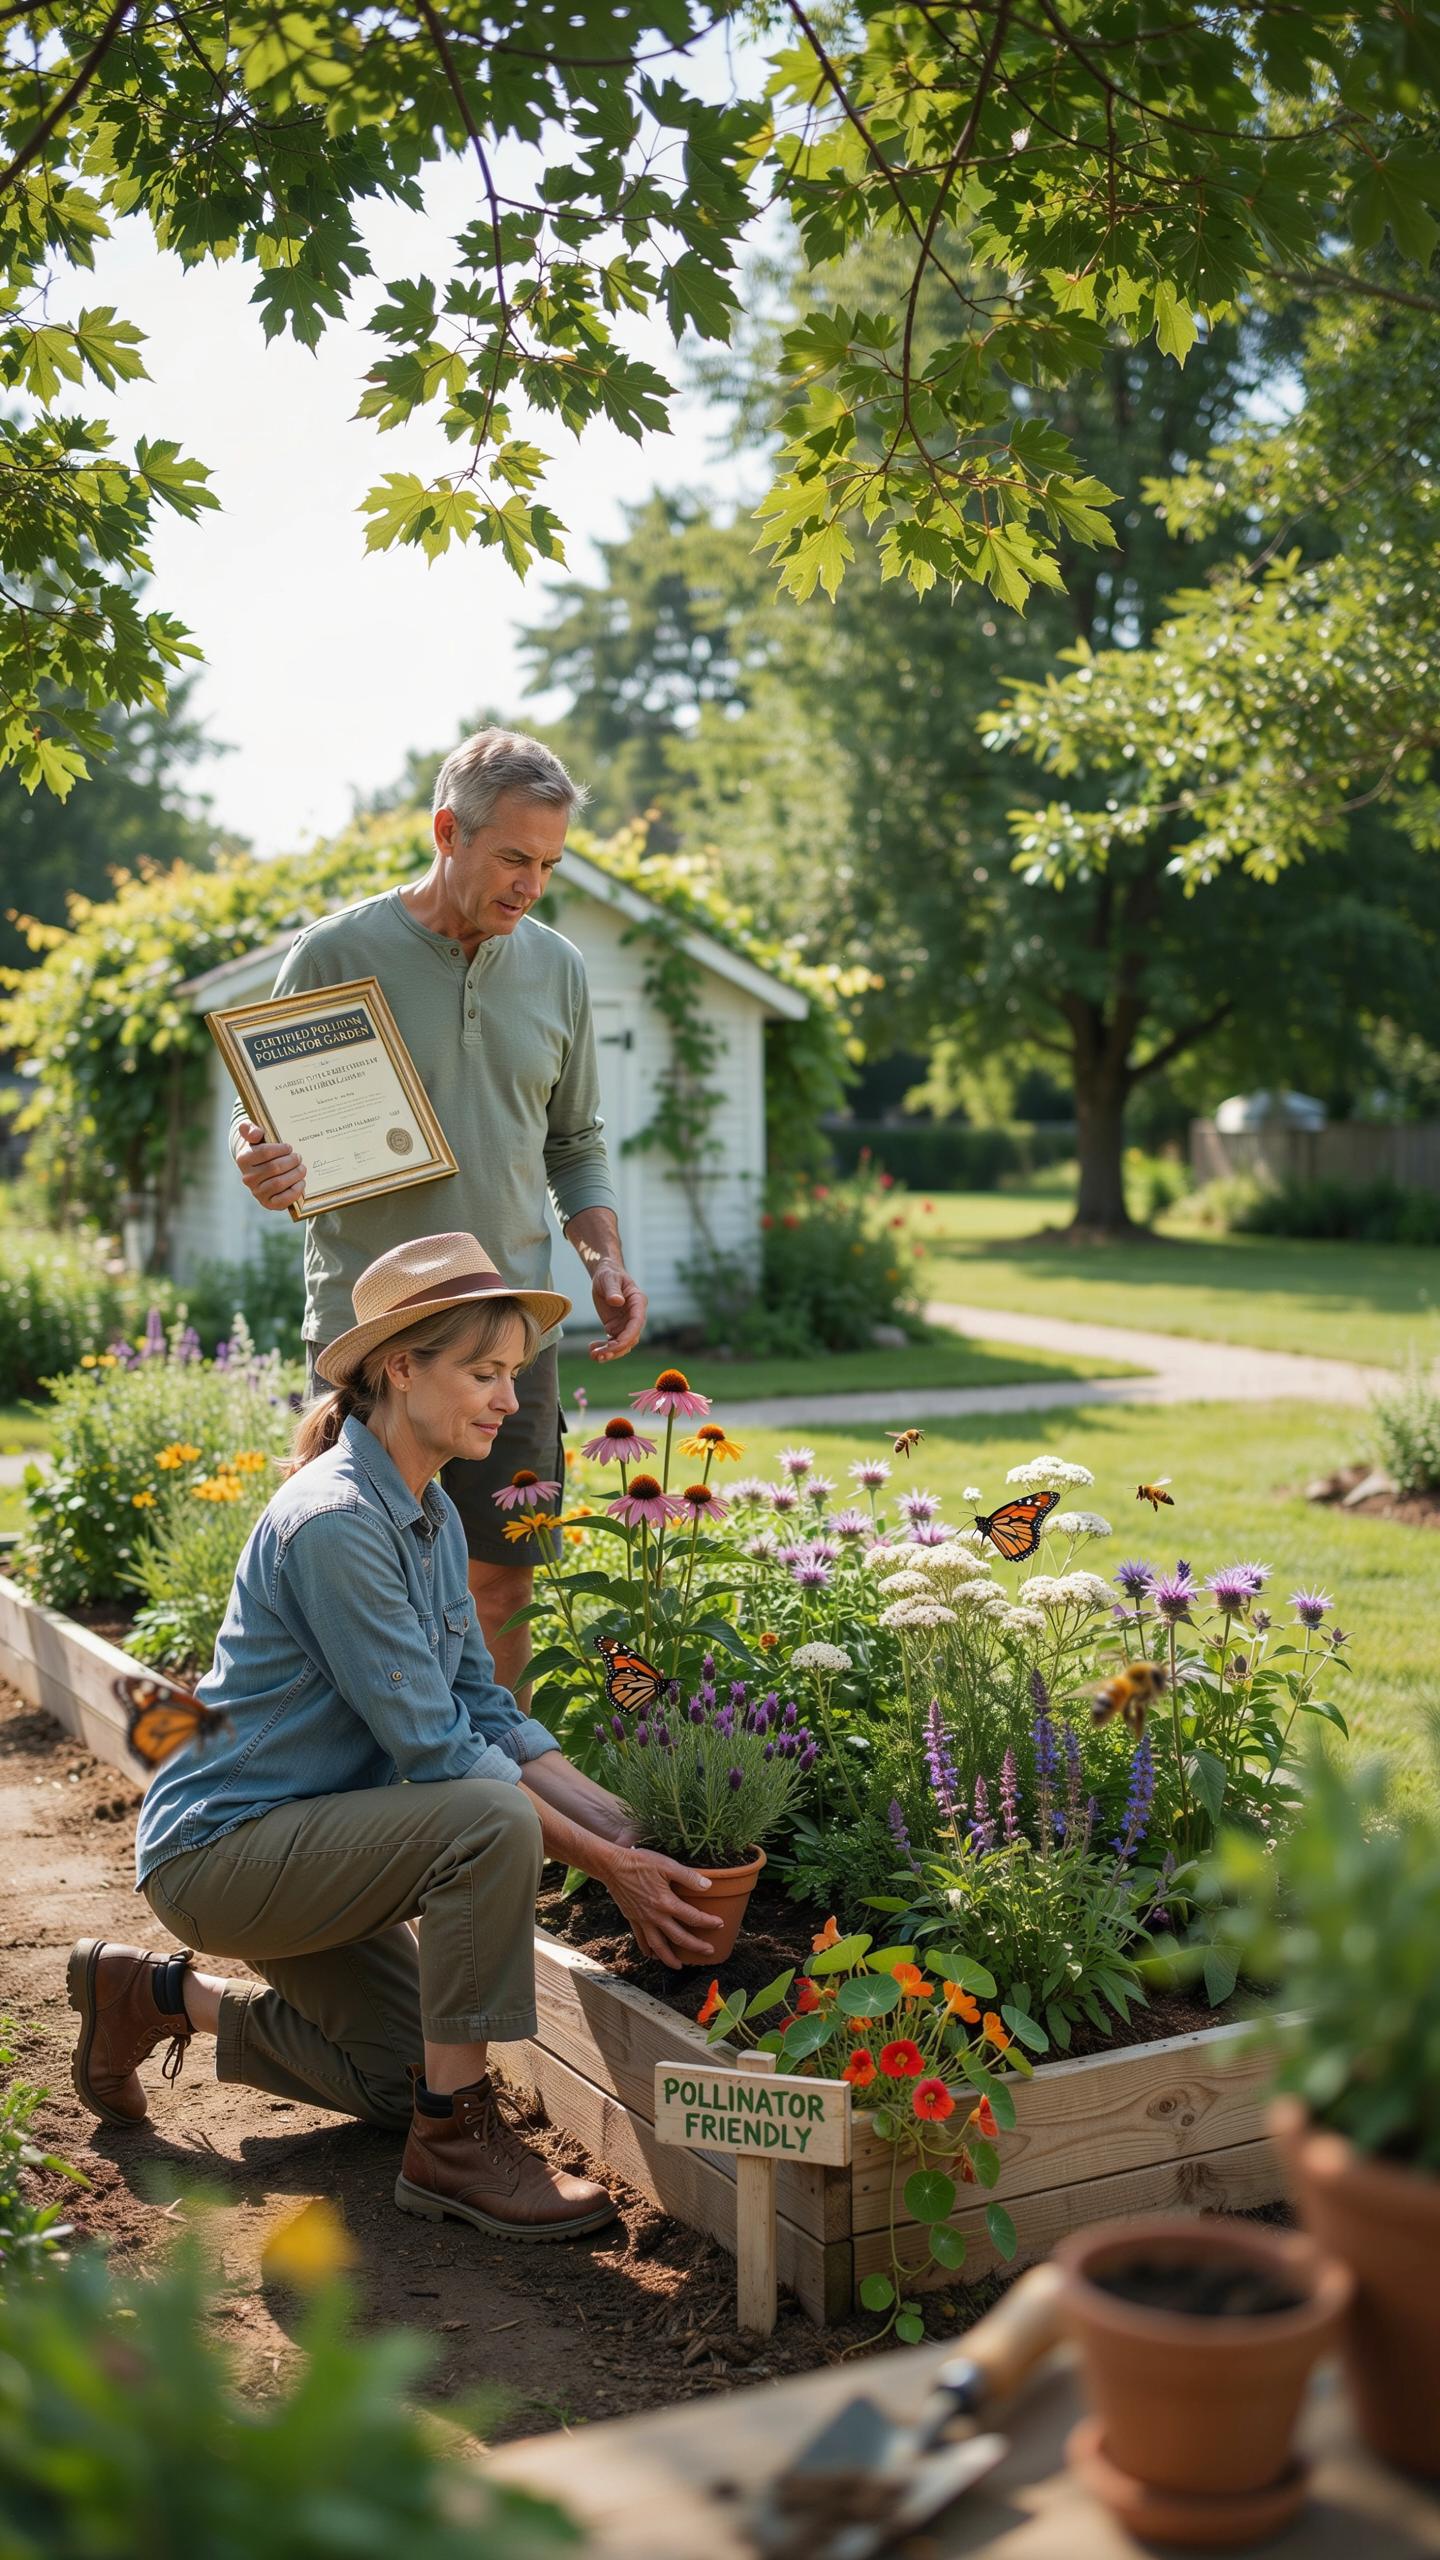
Establishing Professional Credibility In Ecological Landscaping
A pollinator garden design certification signals you understand habitat requirements, plant selection, and ecological principles that support bee, butterfly, and other pollinator populations. Clients and employers view certified professionals as qualified to design functional spaces rather than decorative ones. Certification proves you can assess site conditions, identify native species suitable for specific regions, and implement designs that actually attract and sustain pollinators. This credential distinguishes you from general landscapers who lack specialized knowledge in pollinator ecology and garden function.
Certification programs evaluate your grasp of soil management, water systems, and seasonal plant succession. You learn to diagnose why a garden fails to attract pollinators and fix the problem strategically. Employers in municipal planning, conservation nonprofits, and landscape design firms prioritize candidates with verified credentials. The certification becomes leverage for higher rates, leadership roles, and project selection. It proves competence in a measurable, third-party verified format.
Educational Foundations For Creating Biodiverse Habitats
Certification programs teach the mechanics of habitat design rather than garden aesthetics. You study pollinator life cycles, nesting requirements, and resource availability across seasons. Programs cover plant taxonomy, native species identification for your bioregion, and how to select species that provide nectar and pollen at critical times. You learn which plants support specific pollinator species and which combinations create functional plant communities. This foundation moves you beyond guesswork into data-driven design decisions.
The coursework includes soil science, integrated pest management without synthetic pesticides, and water conservation strategies. You understand how garden microclimates affect pollinator survival and reproduction. Certification requires you to evaluate existing landscapes, identify ecological gaps, and design interventions that work within natural systems. This education prepares you to explain design choices to clients using ecology principles rather than opinion. You become the expert who can justify every element in the design.
Selecting The Right Pollinator Garden Design Programs
Program Evaluation
University Extension programs operate through land-grant institutions in every state. These programs deliver research-backed education on pollinator habitat design grounded in regional ecology. Extension educators test practices locally before teaching them, creating regionally specific guidance rather than generic information.
Conservation organizations like the Xerces Society and native plant societies offer certification programs rooted in field experience and habitat restoration work. These groups often partner with universities but operate independently, allowing them to focus on specific geographic regions or plant communities. Both pathways produce legitimate credentials, but they differ in scope and depth.
Key Requirements
Look for curricula that address native plant identification specific to your region, not generic pollinator plants. The program should cover soil composition, water management, seasonal bloom timing, and pest management without synthetic pesticides. Instructors must understand local pollinator species and their host plant requirements.
- Native Plant Knowledge: Training on identifying and selecting plants native to your specific hardiness zone and ecoregion, not national lists.
- Site Assessment Skills: Competency in evaluating soil type, sunlight exposure, water drainage, and existing vegetation before design begins.
- Pollinator Biology: Understanding which native bees, butterflies, and other insects live in your area and what they need to complete their life cycles.
- Garden Layout and Spacing: Practical instruction on plot sizing, plant density, grouping patterns, and how to arrange plants for pollinator accessibility.
- Maintenance Protocols: Clear guidance on deadheading practices, when to cut back perennials, managing leaf litter, and avoiding chemical inputs that harm insects.
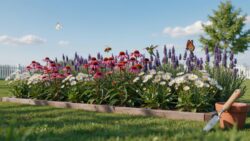
Certification programs worth your time include hands-on site visits or design projects, not just classroom lectures. Verify that the certifying organization requires continuing education or periodic renewal, indicating they update standards as pollinator science evolves.
Mastering The Fundamentals Of A Pollinator Garden Layout
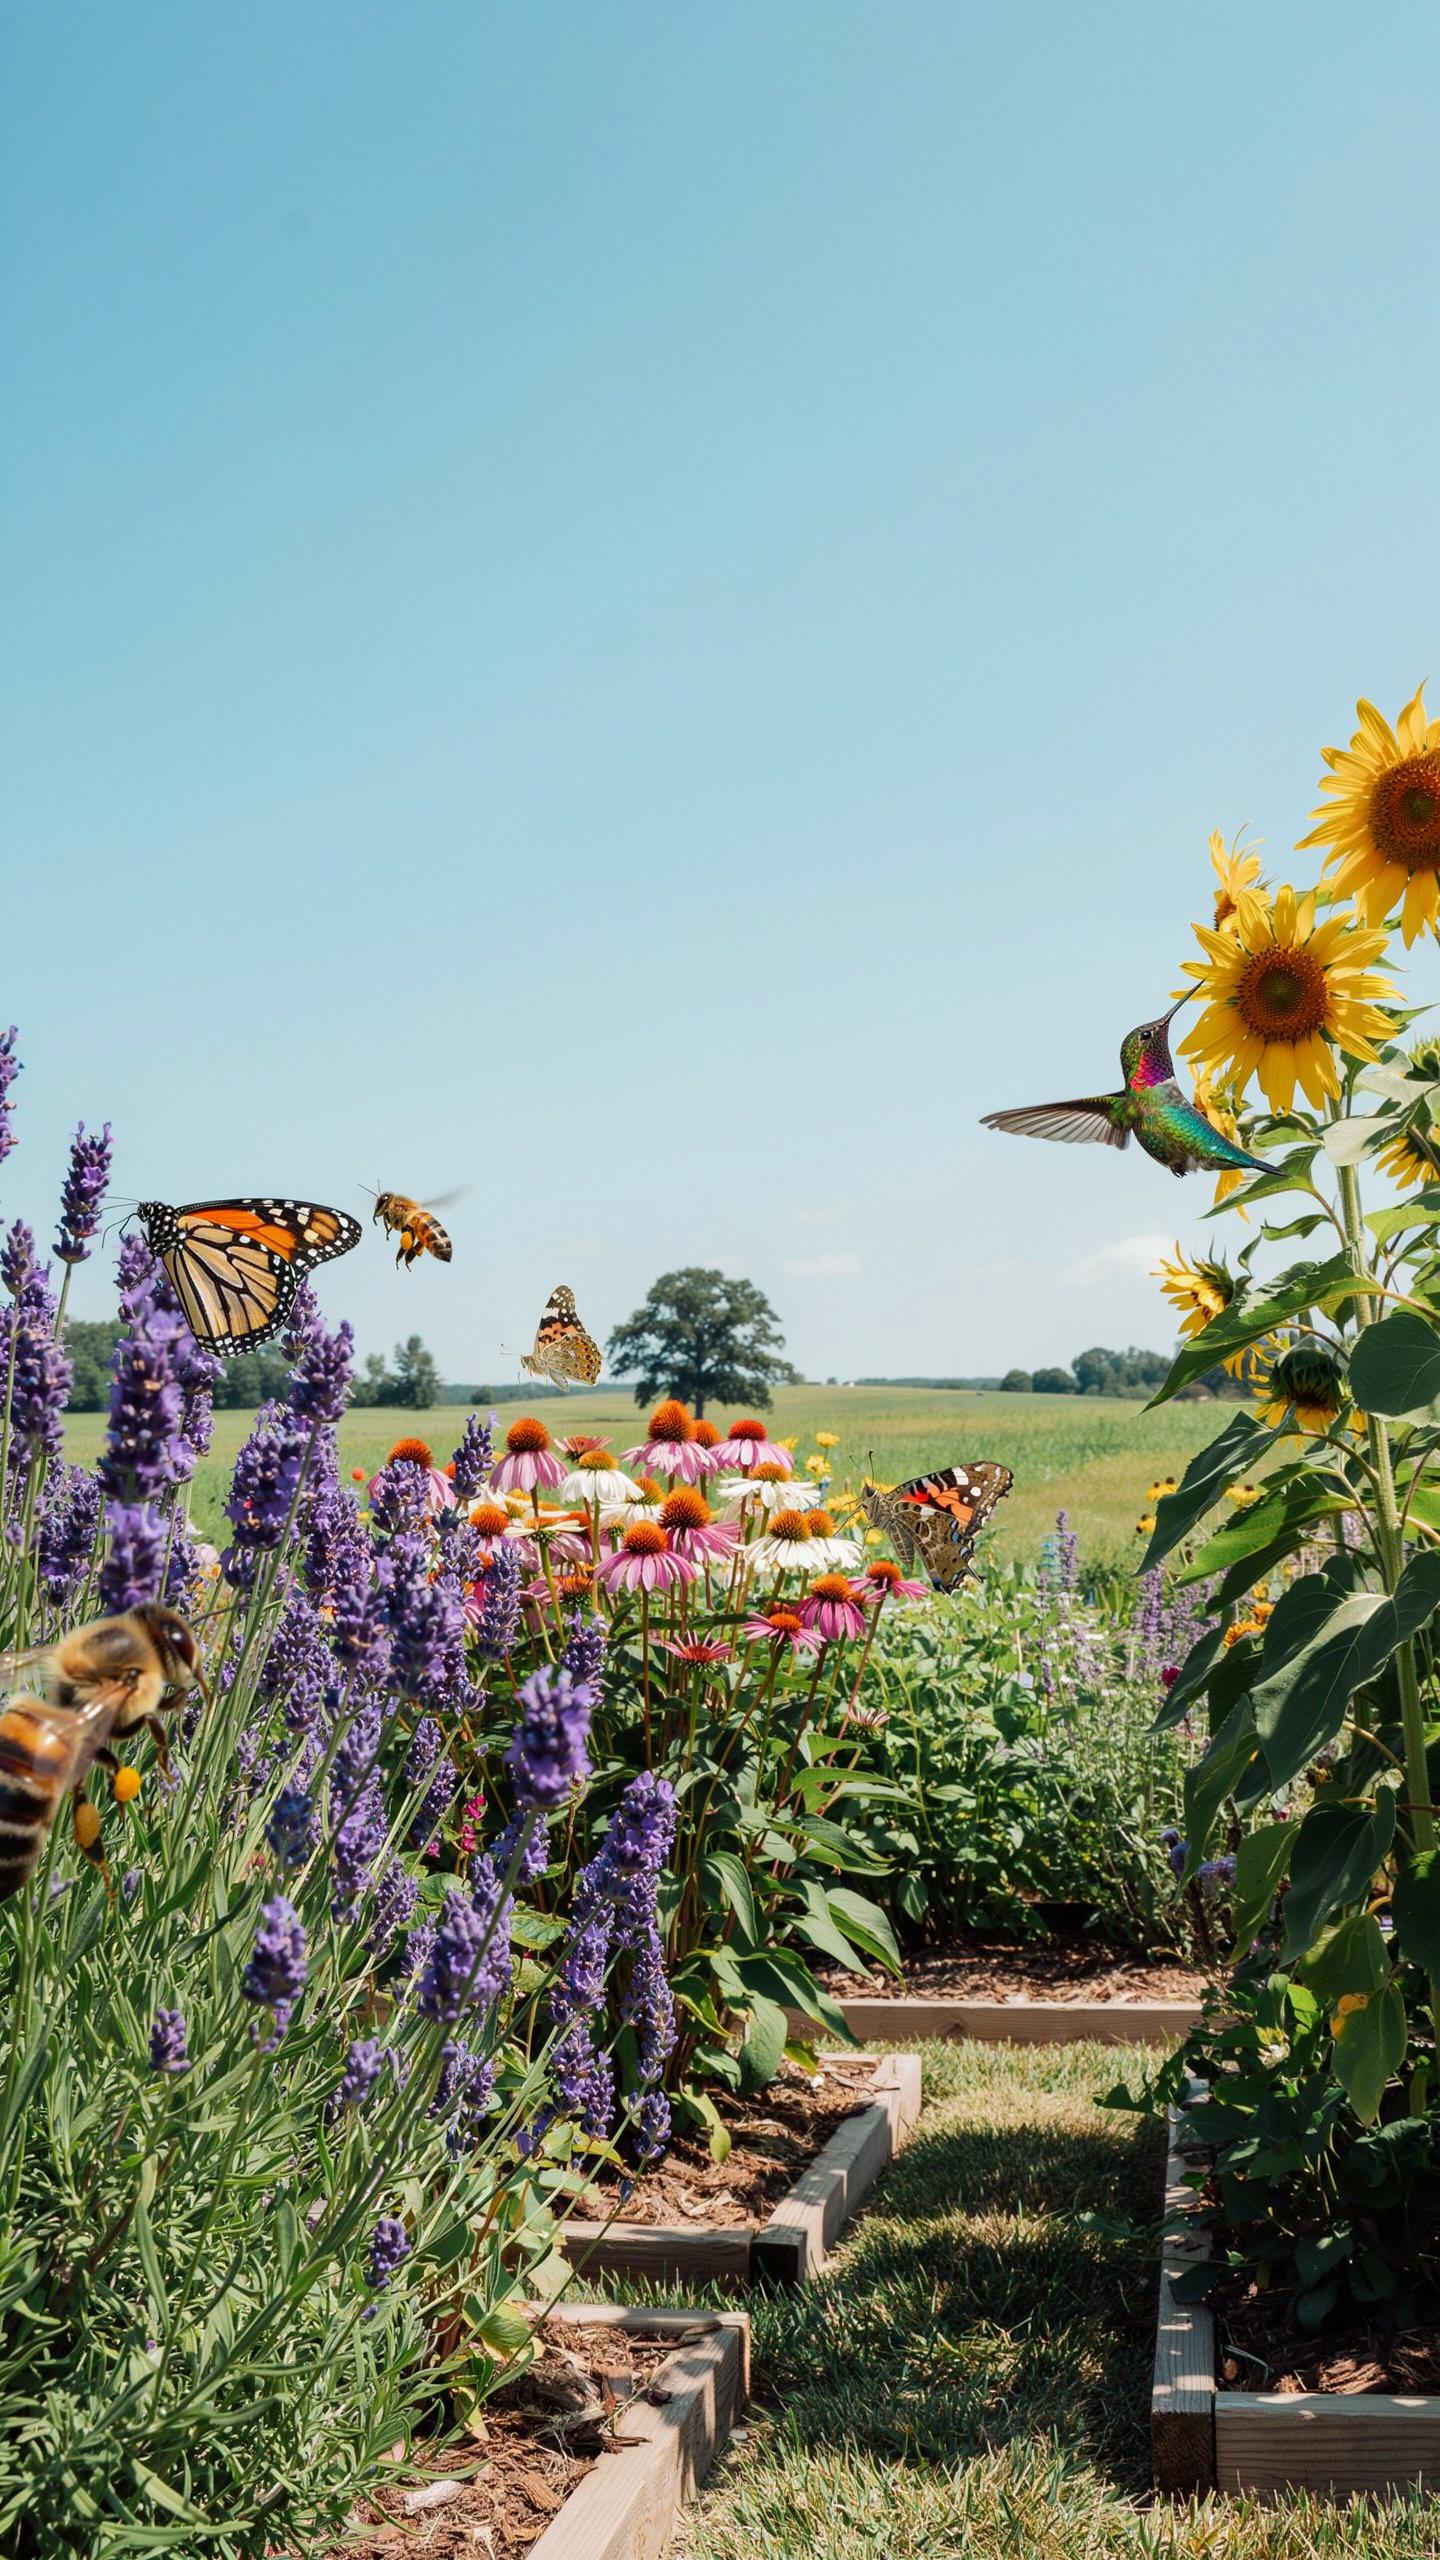
Spatial Arrangement And Layering For Maximum Visiting Species
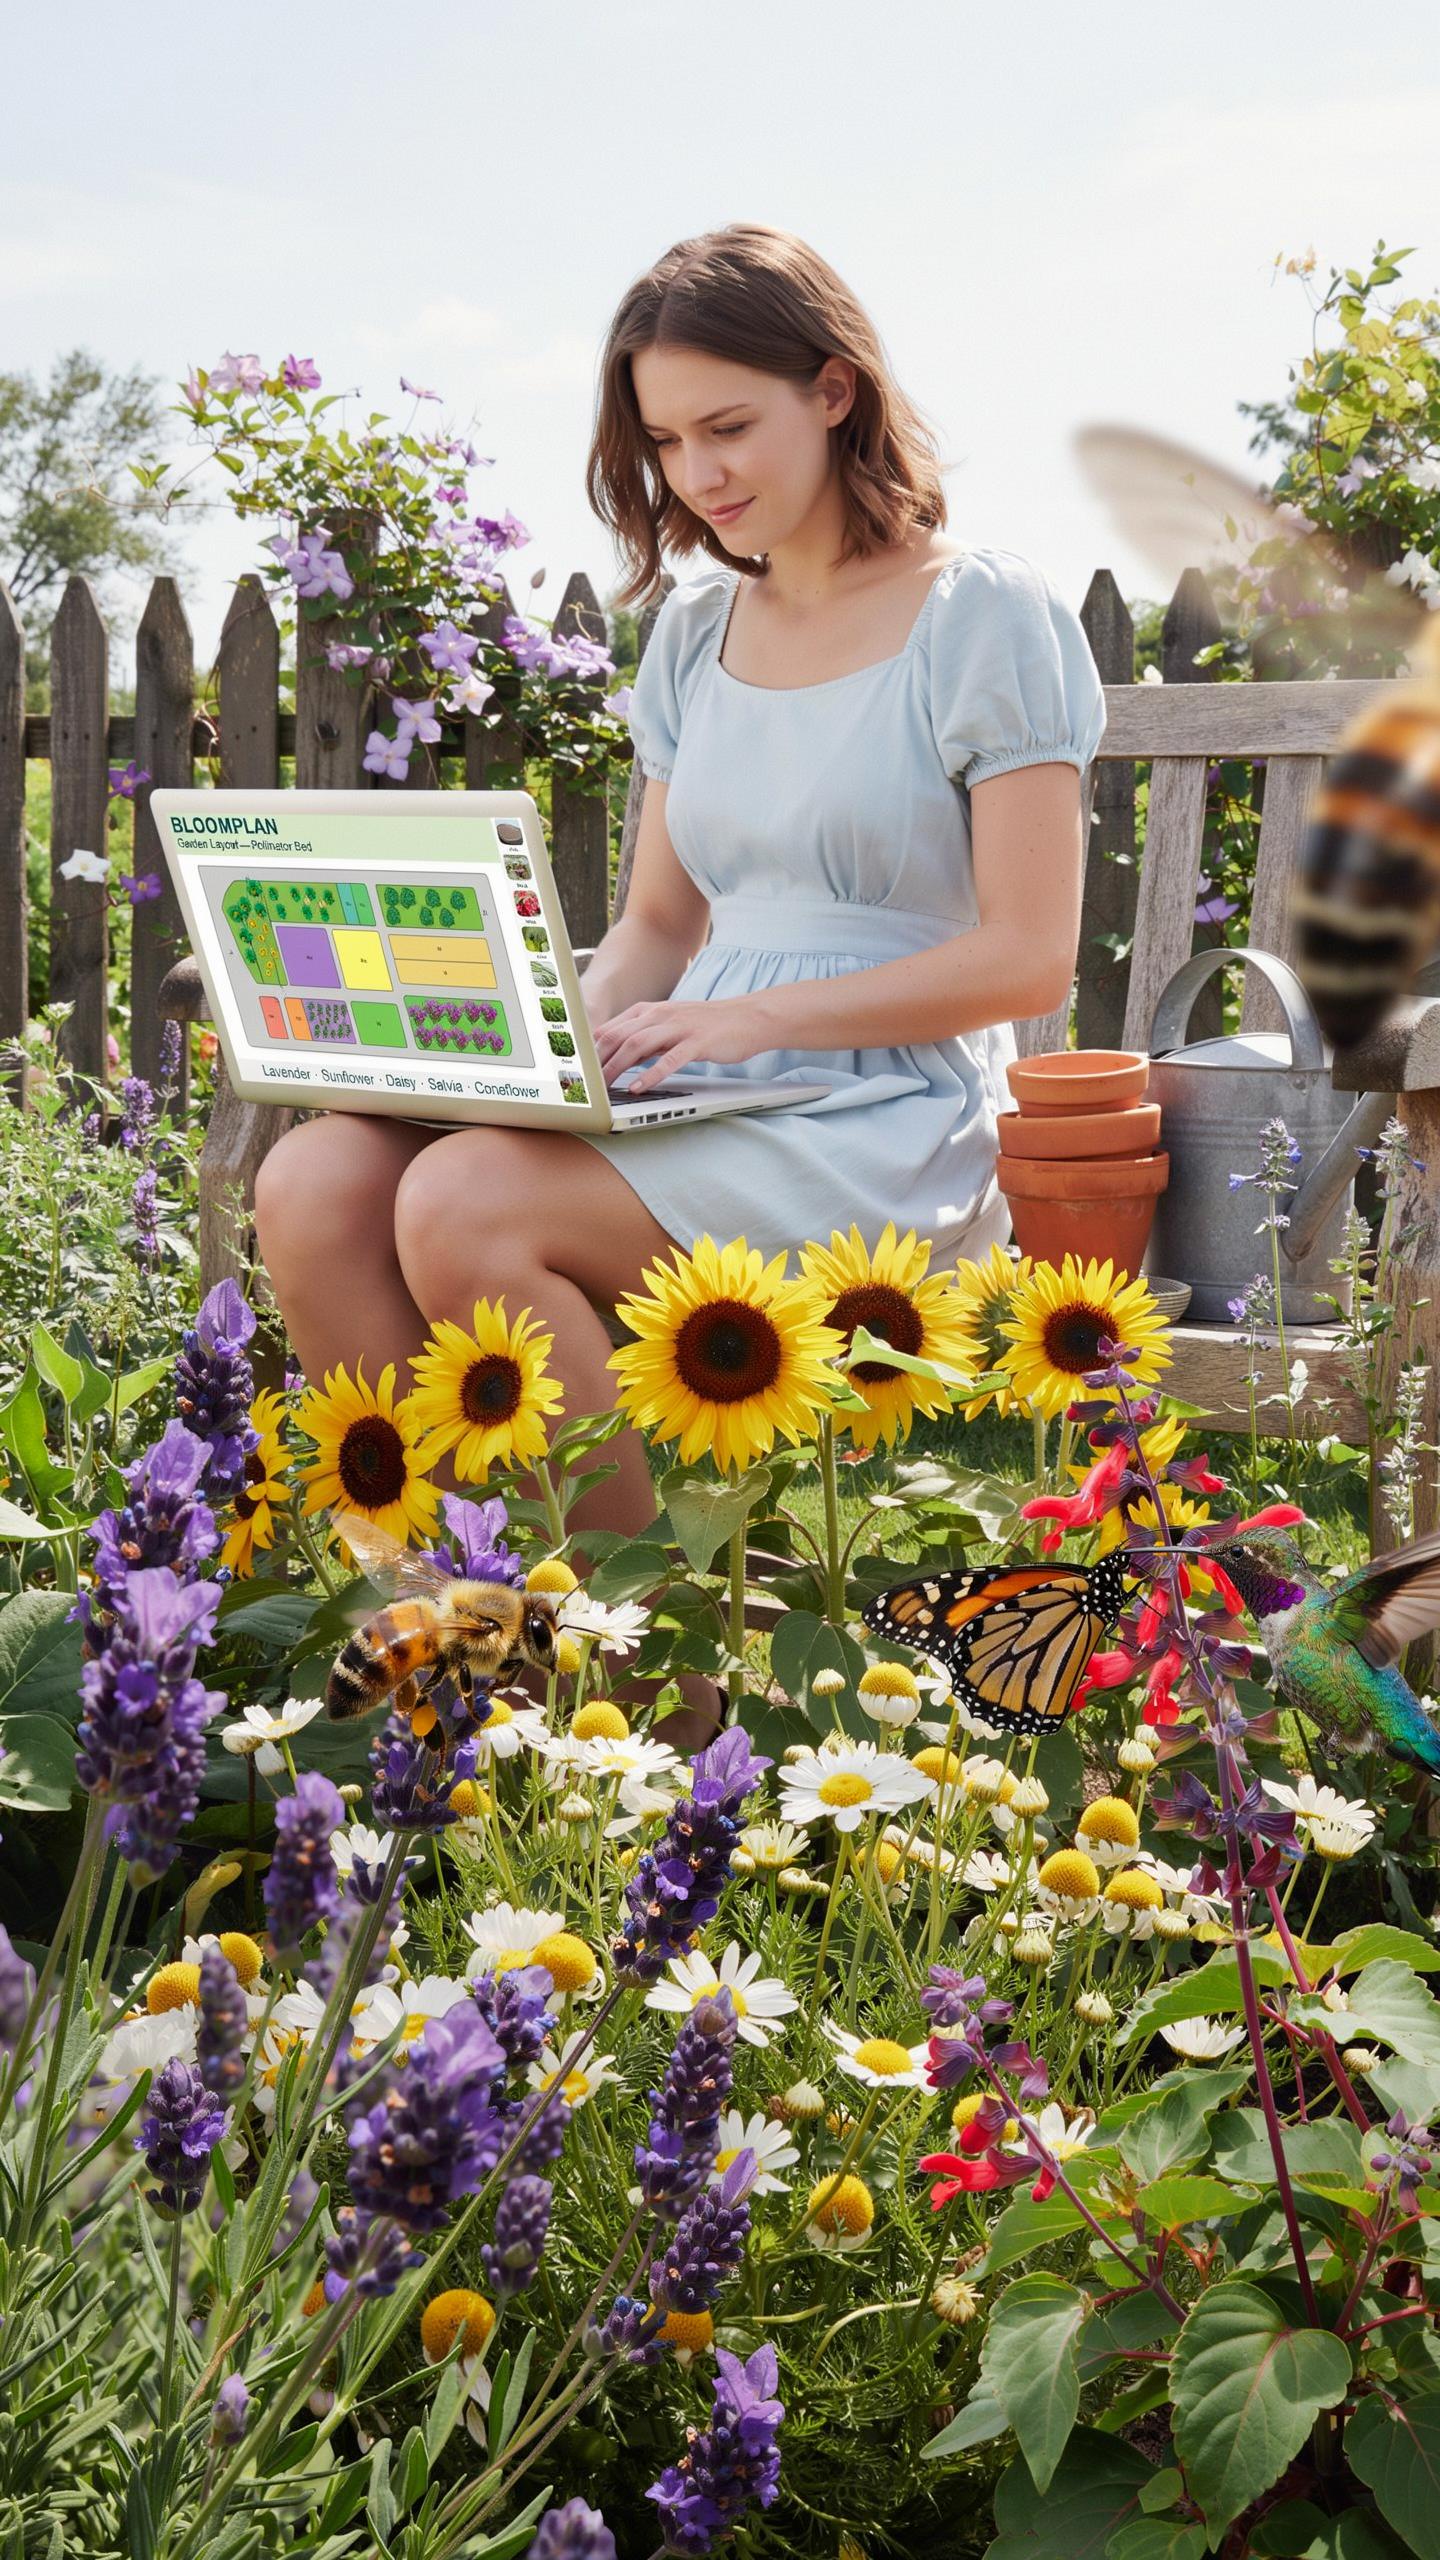
Garden layout determines which pollinators access your plants and how long they stay. Arrange plants in blocks of three to five of the same species rather than scattering singles. This clustering reduces search time for pollinators and increases visit frequency. Group plants by bloom time so you offer food from early spring through fall frost.
Layering creates multiple feeding heights that attract different pollinator types. Place tall plants like Joe-Pye weed in back, medium plants like coneflowers in the middle, and low-growing plants like creeping phlox in front. This vertical structure gives short-tongued bees access to shallow flowers while long-tongued species reach deeper blooms. Native plant societies and university extension offices provide region-specific layering guidance for your area.
The garden that truly flourishes is the one designed with a humble heart and a practical hand for the bees. To plant a garden is to believe in tomorrow.
Sunlight And Moisture Mapping For Structuring Your Garden Layout
Map your garden’s sunlight patterns before planting anything. Observe full sun areas that receive six or more direct hours daily, partial shade with three to six hours, and full shade with less than three hours. Document moisture levels by checking soil after rain to identify wet, average, and dry zones. This map becomes your template for matching plant needs to actual site conditions.
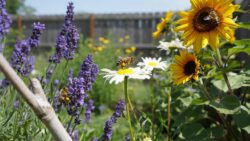
Pollinators track sunlight and moisture patterns like your plants do. Most bee species forage during warm, sunny hours when flowers fully open and nectar flows freely. Plants in poorly drained soil fail and attract fewer pollinators, while drought-stressed plants produce minimal nectar. Match your site’s sunlight and moisture profile to native plants that thrive there, ensuring consistent pollinator activity throughout the season.
Core Principles Of Ecological Pollinator Garden Design
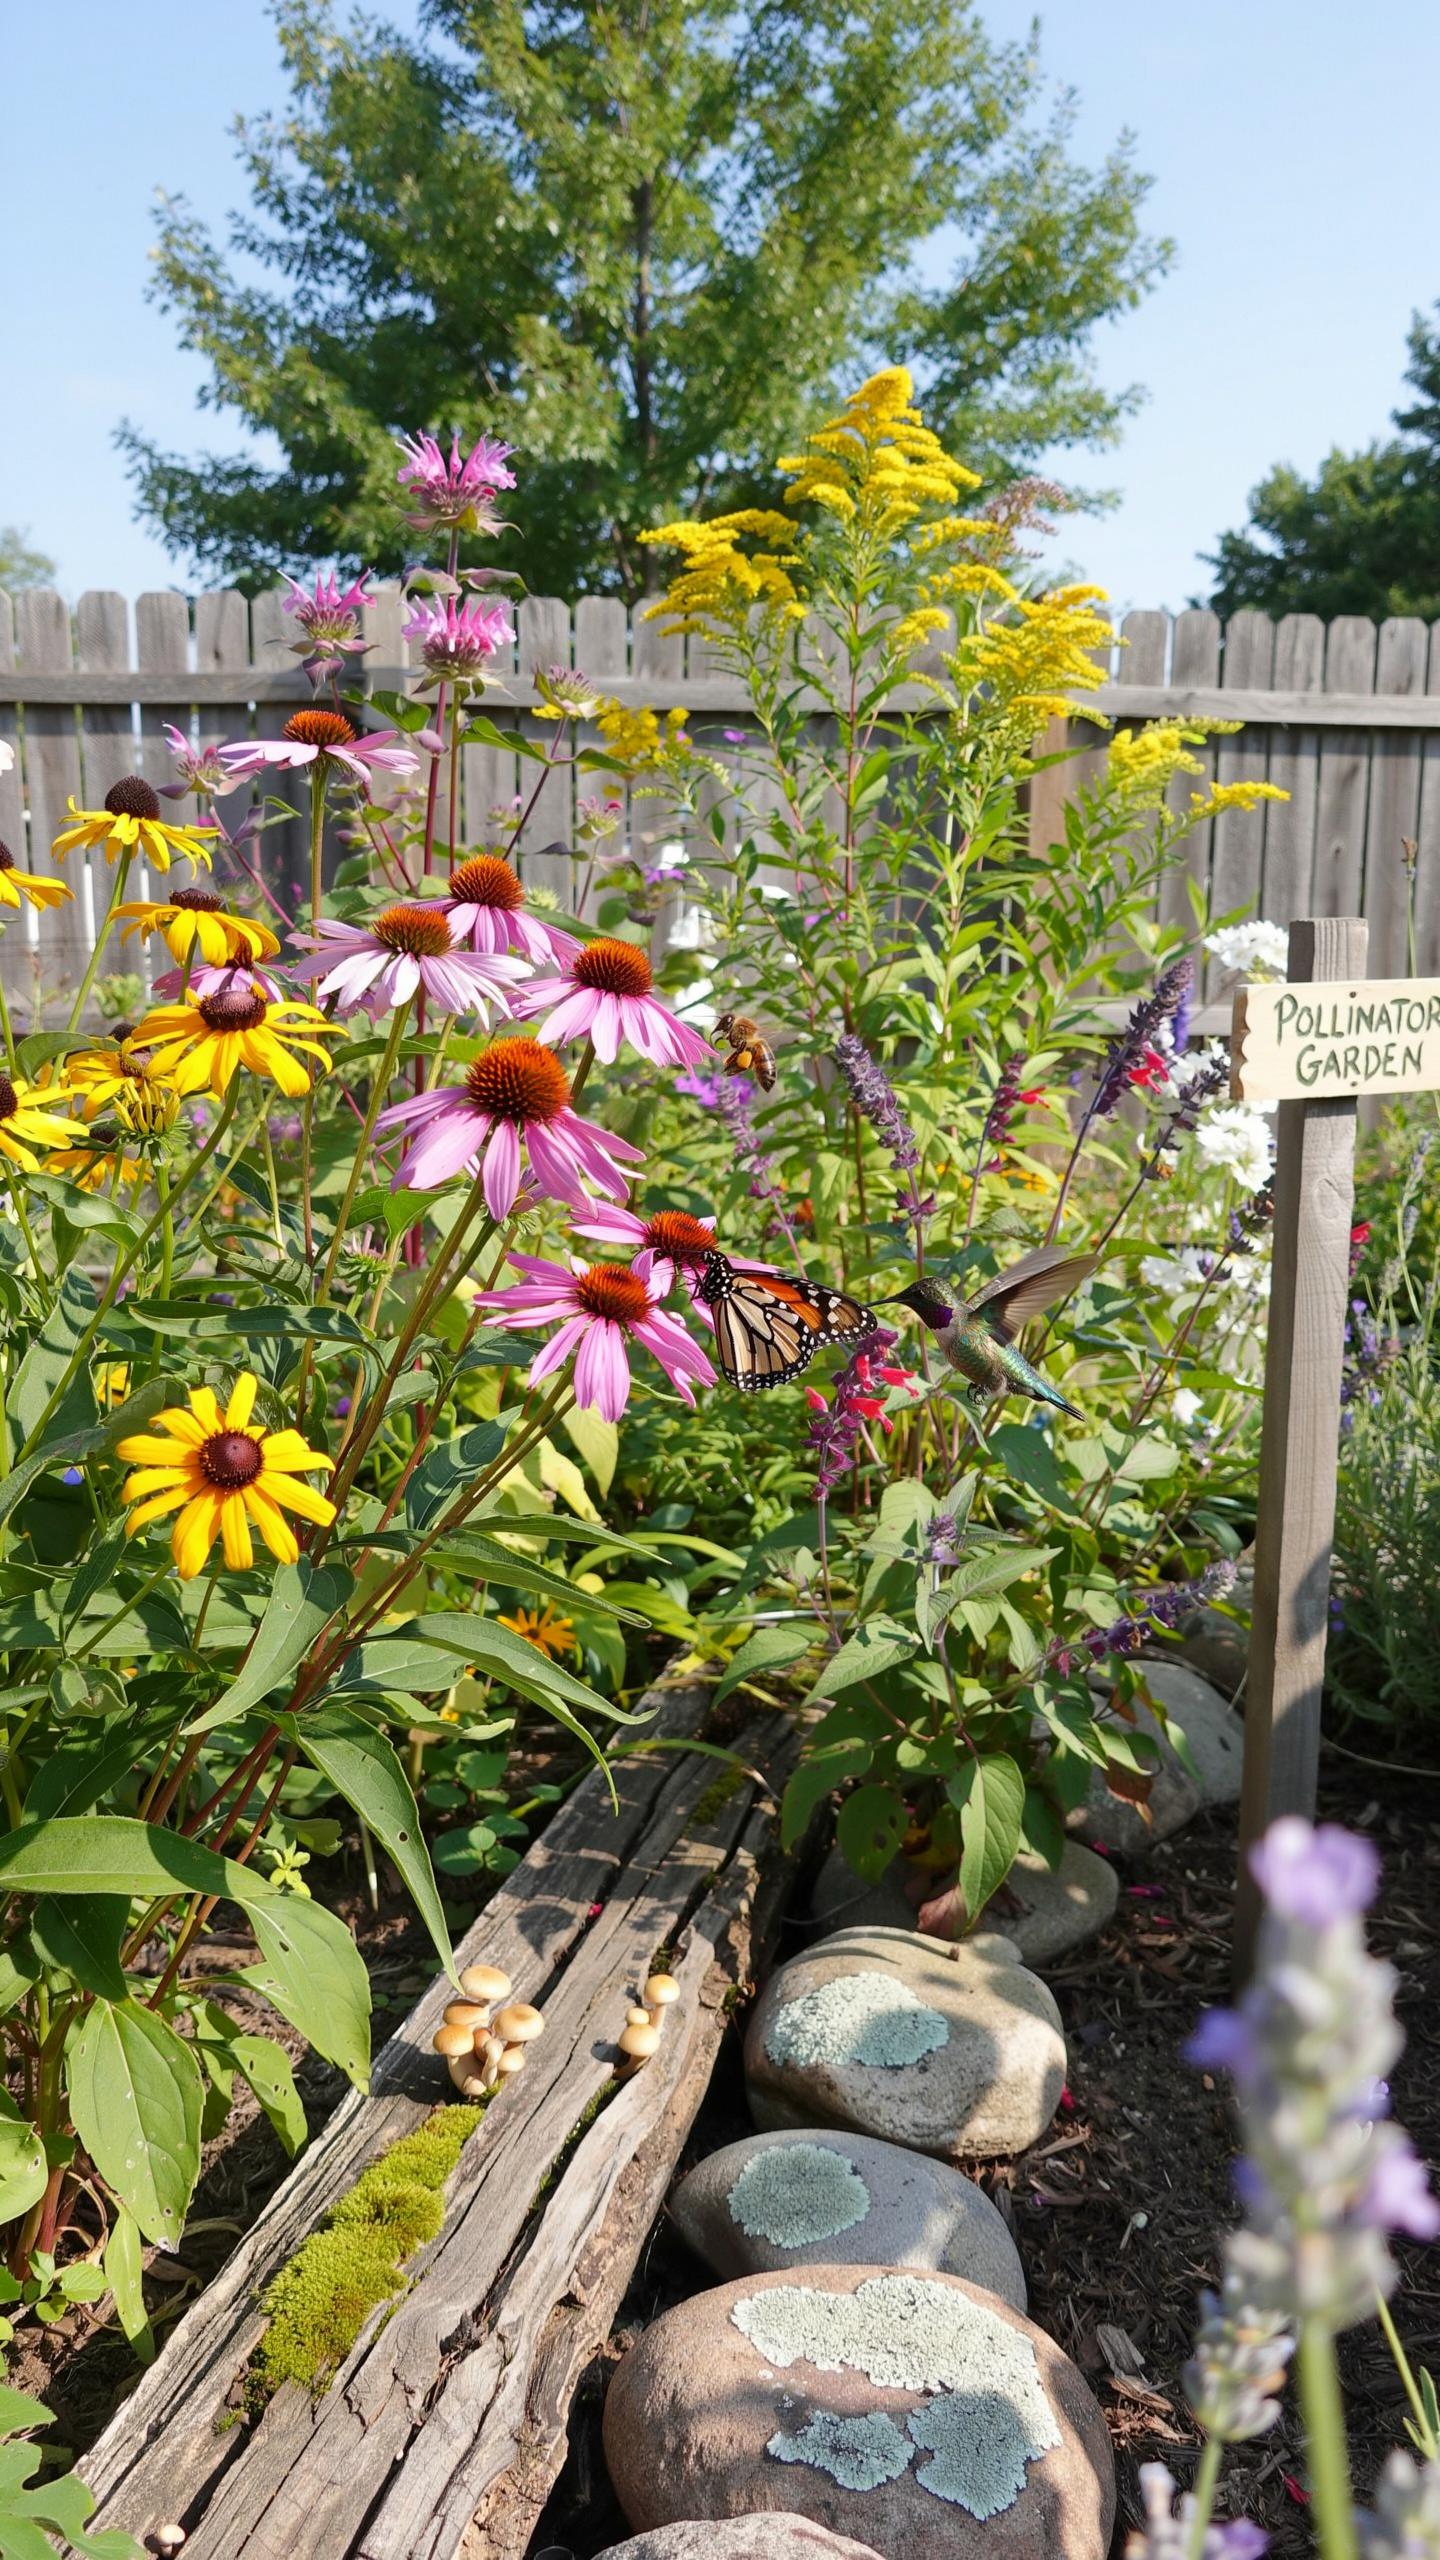
Native Plants Importance
Native plants evolved alongside local pollinators over thousands of years. This co-evolution means native plants produce nectar and pollen that matches pollinator nutritional needs and feeding behaviors. When you plant natives, pollinators recognize them instantly and visit efficiently. Non-native plants often lack the right reward structures, timing, and nutritional content that local bees, butterflies, and other pollinators require to survive and reproduce.
Certification programs require native plant documentation because it directly impacts pollinator survival rates. You must identify which plants are genuinely native to your specific region, not just assume regional natives work everywhere. Research your ecoregion’s native flora and verify through local extension services or native plant societies. This specificity determines whether your garden supports pollinators or merely looks like one.
Continuous Bloom Cycles Across Four Seasons
Pollinators need food year-round, not just during peak summer months. A certified design requires plants flowering from early spring through late fall, with some winter options in warmer climates. Spring bloomers wake hungry pollinators from dormancy. Summer plants sustain breeding populations. Fall bloomers fuel migration and hibernation preparation. Without continuous availability, pollinator populations crash regardless of how many plants you install.
Stagger bloom times by selecting species with overlapping flowering windows. Early bloomers finish as mid-season plants peak. Mid-season species transition to late bloomers. This sequencing creates an unbroken food chain. Map your plant selections on a calendar showing bloom months for each species. Identify gaps where no flowers appear, then add plants to fill those windows. Certification assessors verify this calendar against your plant list to confirm year-round coverage.
Implementing A Pollinator Garden Plan For Bees
Nesting Sites Bees
Ground nesting bees comprise roughly 70% of native bee species. They require bare soil or soft substrate to excavate tunnels. Your plan must allocate specific zones with compacted soil, minimal mulch cover, and south-facing exposure. Remove vegetation from these areas. Bees need 6-8 hours of direct sunlight daily on nesting patches. Avoid tilling or disturbing these zones during active nesting seasons, typically spring through early fall.
Beetle banks function as refuge structures that serve secondary purposes in bee gardens. These raised, sloped mounds use gravel and vegetation to create microhabitats. Build them 30-60 centimeters high with native grasses planted on slopes. The structure provides shelter for predatory insects that control pests. Position beetle banks along garden perimeters or between planting zones to maintain open ground-nesting areas in central spaces.
Foraging Preference Bees
Different native bee species target specific plant families based on pollen and nectar chemistry. Sweat bees prefer composite flowers like coreopsis and rudbeckia. Carpenter bees favor tubular blooms such as monarda and penstemon. Research which native species occupy your region, then cross-reference their preferred plant genera. Build your plant list around these matches rather than selecting plants first. This approach guarantees foraging success over seasons.
Bloom timing matters as much as plant selection. Stagger flowering periods from early spring through late fall to maintain consistent nectar and pollen availability. Native bees emerge at different times depending on species. Verify bloom windows for each plant before purchase. Include at least three flowering plants per month during active bee seasons. This scheduling prevents gaps when bees starve due to lack of forage resources.
Developing A Functional Bee And Butterfly Garden Layout
Larval Host Integration
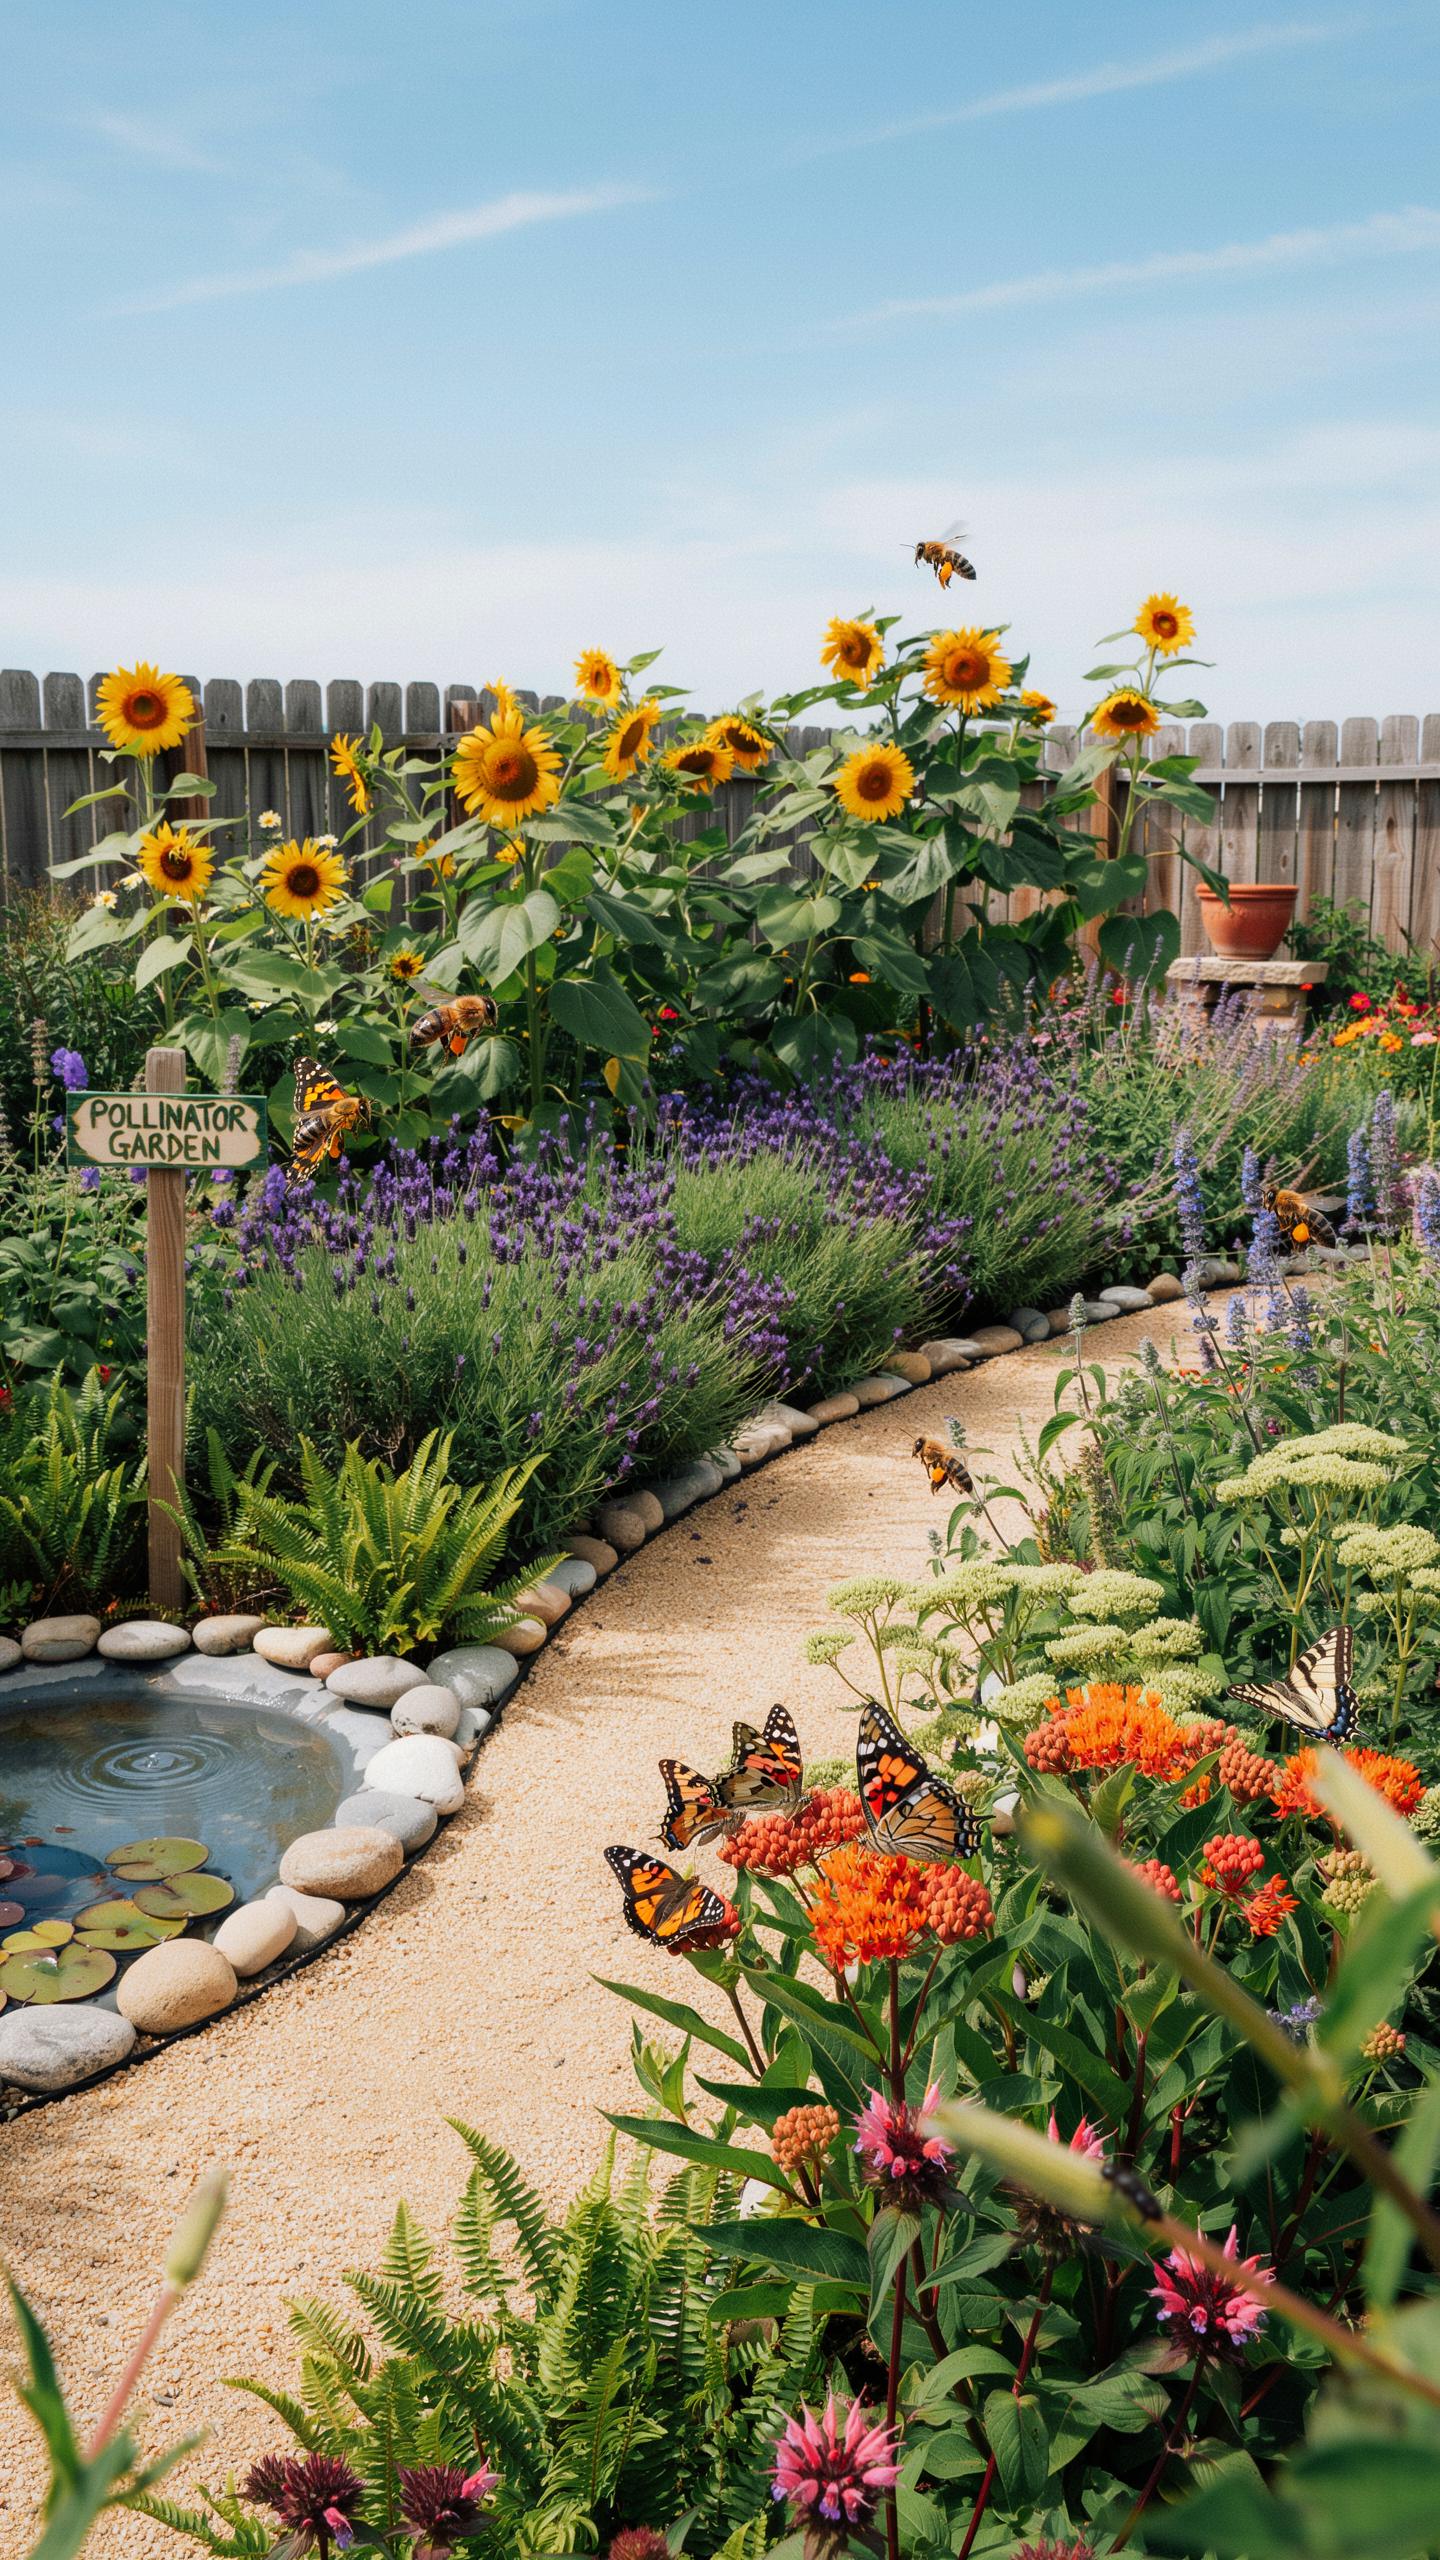
Larval host plants are non-negotiable. Adult pollinators need nectar, but their caterpillars require specific plants to survive. You must plant both in your certified garden design. This means researching what species use your region and sourcing their host plants before planting nectar sources. Monarch caterpillars eat only milkweed. Swallowtail caterpillars eat citrus, parsley, and fennel. Failure to include these plants means no breeding population. Your garden becomes a rest stop, not a thriving habitat.
Layout your garden with host plants distributed throughout, not clustered in one corner. Space them where adult butterflies and bees can easily transition from larval plants to nectar flowers. Plant host species in groups of three to five plants minimum. This density supports enough caterpillars to sustain population growth. Mix host plants among nectar sources so pollinators encounter both food types during their foraging patterns. Certification standards require documented evidence that your design includes regionally appropriate host plants. Record which species you planted and why they matter for local pollinators.
Windbreaks Puddling Stations
Windbreaks protect pollinators during foraging. Strong winds disrupt flight patterns and reduce pollinator activity. Dense shrubs or living fences reduce wind speed without creating complete barriers. Butterflies specifically need shelter to access muddy ground for water and mineral uptake. Position windbreaks on the north and west sides where prevailing winds typically originate in most regions. Height matters: aim for barriers that reduce wind by at least 30 percent without blocking sunlight from flowering areas.
Puddling stations require wet soil or sand combined with minerals. Male butterflies and some bees gather at these spots to extract sodium and other nutrients unavailable in nectar alone. Create puddling stations by digging shallow depressions and filling them with sand or fine soil mixed with compost. Keep them consistently moist but not waterlogged. Position puddling stations near windbreaks and within 10 feet of nectar sources so pollinators access both resources efficiently. Certification documentation should include photographs and descriptions of how windbreaks and puddling stations are integrated into your overall layout.
Creative Pollinator Garden Design Ideas And Aesthetics
Merging Ecology With Design
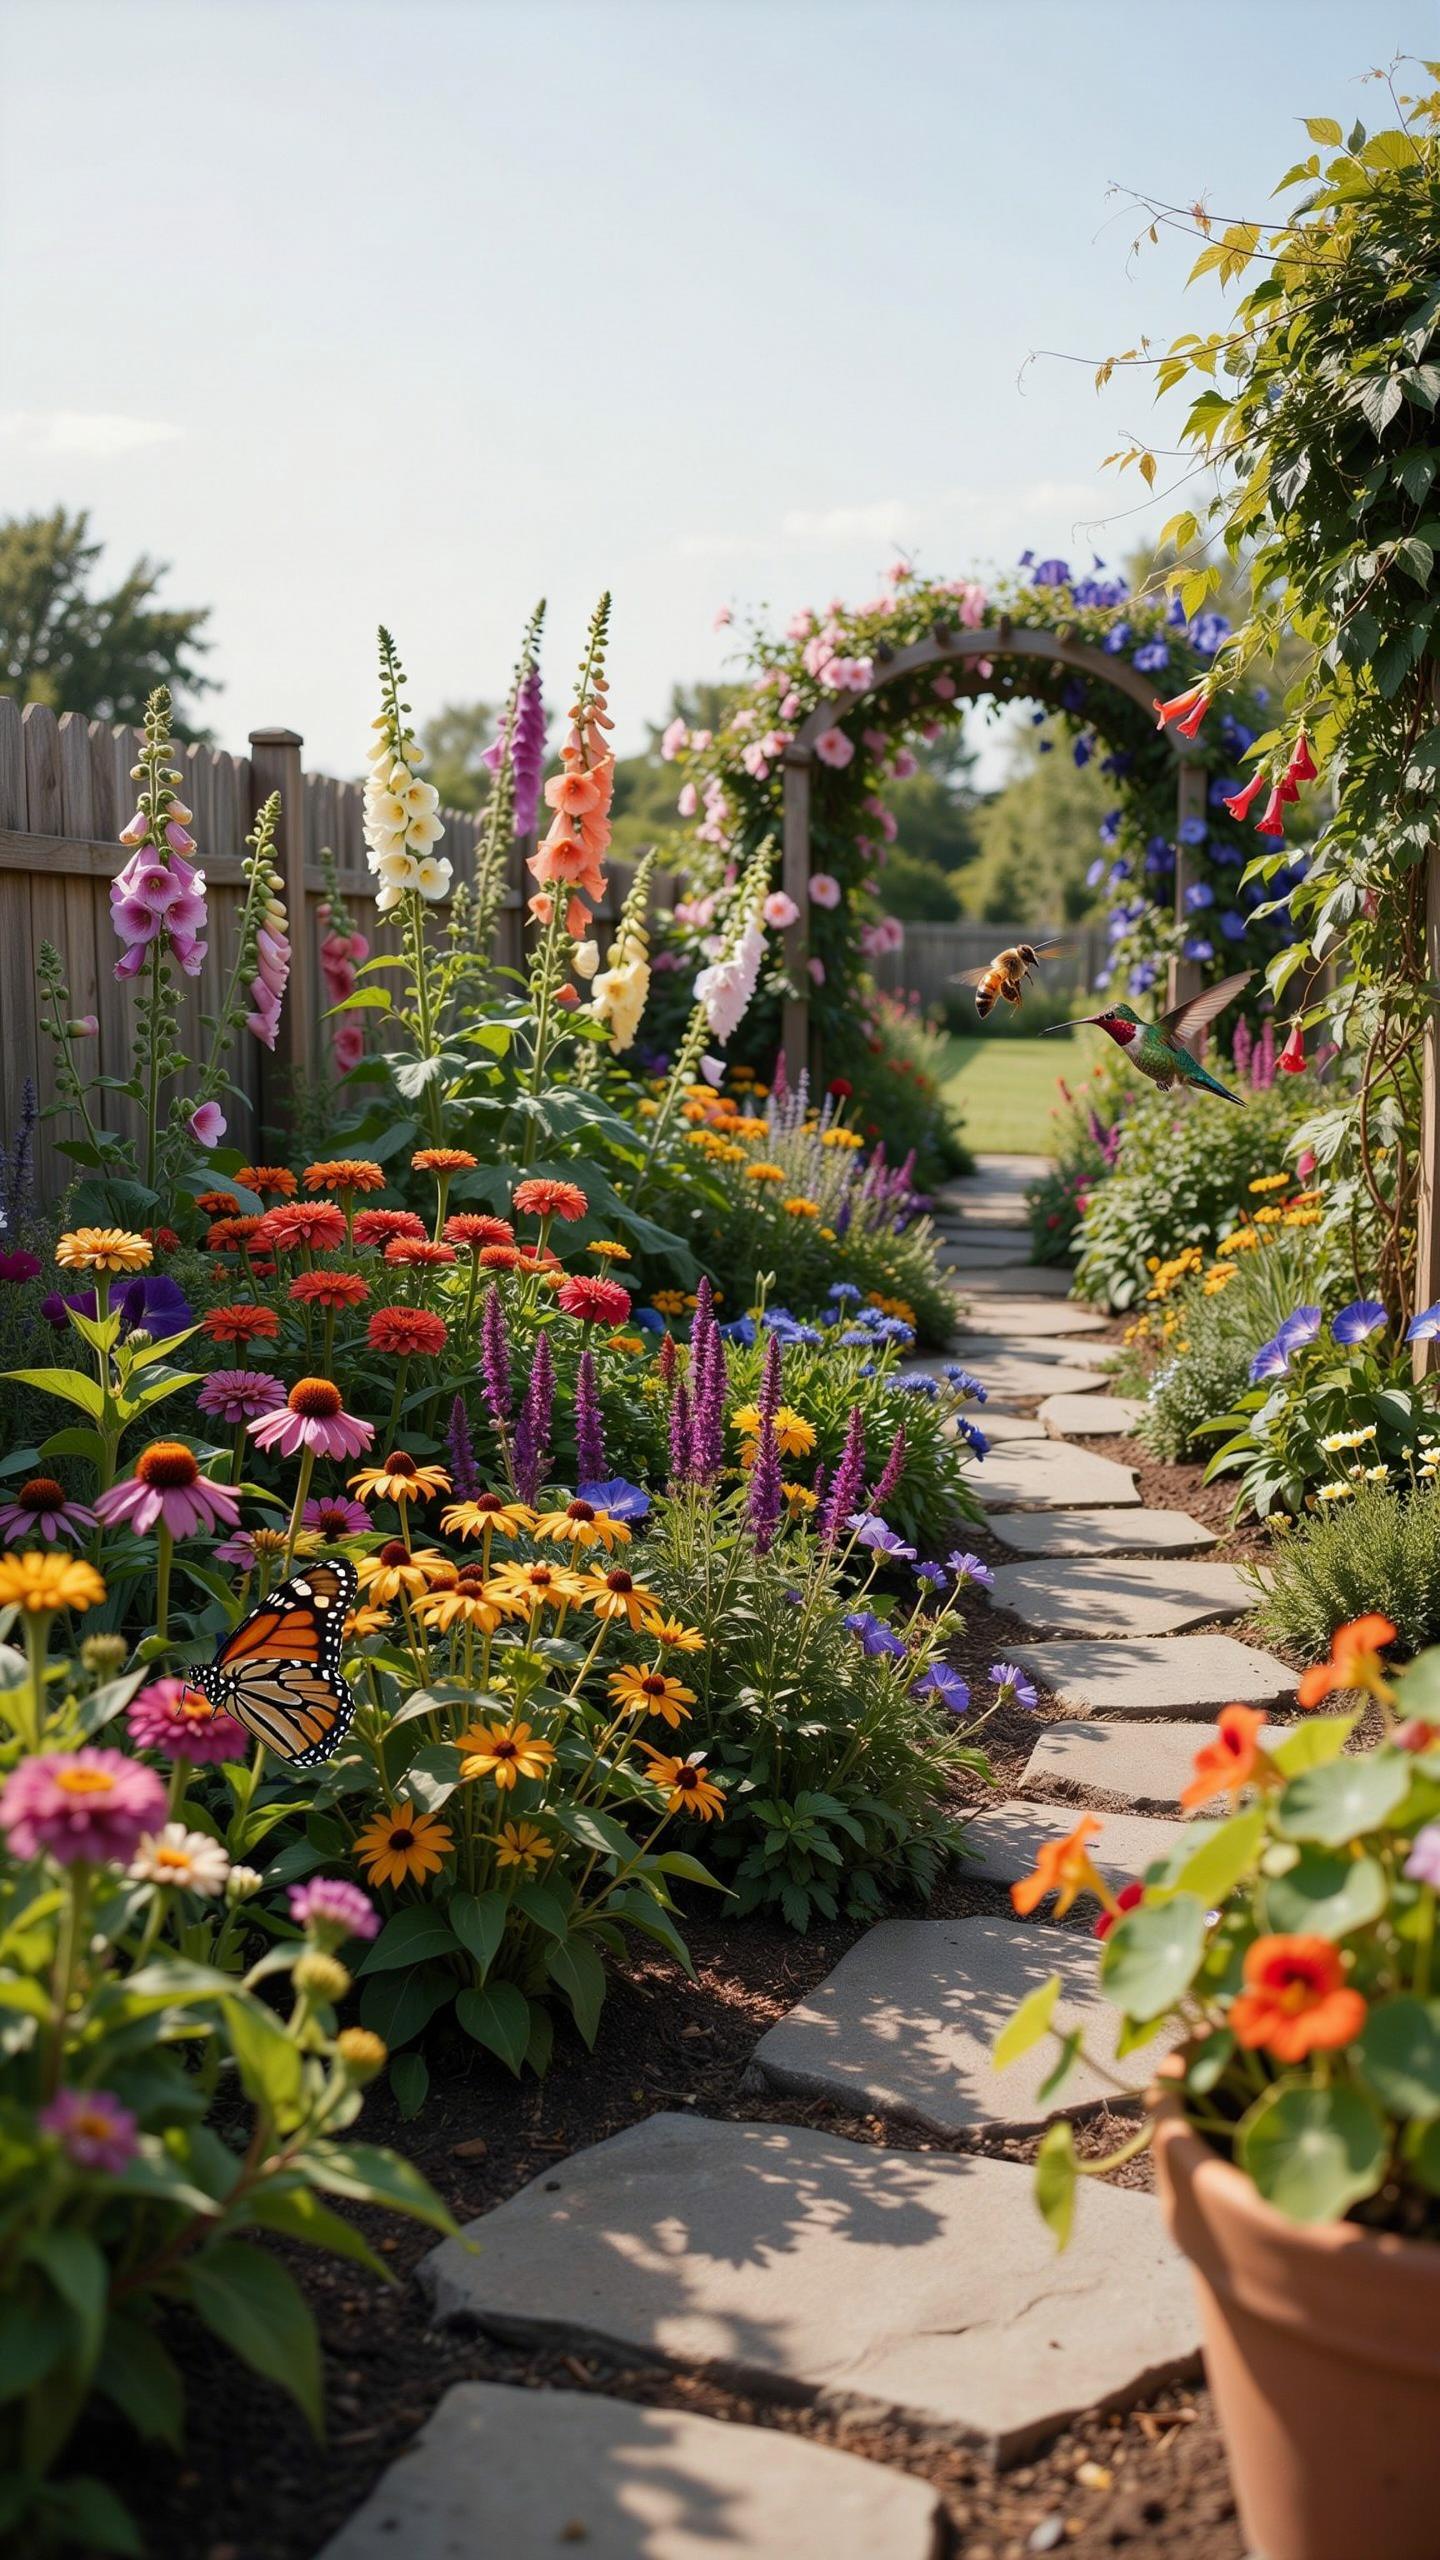
Ecological function and visual appeal operate independently. Most certified pollinator gardens succeed by treating habitat requirements as the design foundation, then layering aesthetic choices on top. This approach removes the false conflict between “wild” and “designed.” Certified programs like Pollinator Friendly Certification and regional native plant society standards prioritize nectar sources and nesting materials first, aesthetics second.
Traditional landscape design principles apply directly to pollinator gardens. Balance, rhythm, and focal points work with native plant palettes just as effectively as ornamental schemes. The difference lies in material selection, not design theory. Certified designers integrate flowering sequences, plant heights, and color palettes while maintaining the ecological density pollinators require. This is tactical simplicity: function determines plant choice, design principles arrange those plants strategically.
Essential Structural Elements To Visual Interest And Habitat Value
Structural elements serve dual purposes in certified pollinator gardens. They create physical anchors for landscape composition while offering critical habitat and foraging infrastructure. Water features, hardscaping, and vegetation layering work together to improve both aesthetics and pollinator utility. Certification programs evaluate how these elements support year-round resources.
- Layered Plantings: Arrange plants by mature height in tiers from ground cover to canopy. This structure maximizes light exposure for lower plants, increases flower density per square foot, and creates visual depth while expanding habitat zones for different pollinator species.
- Native Stone Pathways: Use locally sourced stone for walkways and borders. These materials reduce maintenance, provide basking surfaces for bees, and integrate naturally into native plant schemes without introducing chemical treatments or synthetic aesthetics.
- Dead Wood Features: Leave fallen branches, logs, and standing dead stems intentionally placed. These structures provide nesting sites for cavity-nesting bees and beetles while creating textural interest and architectural focal points in the garden composition.
- Water Features: Install shallow basins or rain gardens rather than recirculating fountains. Still or slowly moving water lets pollinators drink safely and reduces maintenance costs. These elements anchor planting zones and manage stormwater runoff functionally.
- Bare Ground Patches: Designate small areas with exposed soil or fine mulch. Ground-nesting bees require bare earth for burrows. These patches prevent visual monotony and demonstrate active habitat management to certification reviewers.
Certification evaluators assess structural elements for pollinator function first, visual contribution second. Your design must prove each element serves habitat needs. This constraint actually sharpens design decisions by eliminating decorative elements that don’t pull ecological weight. Strong certified gardens show restraint.
Practical Pollinator Garden Ideas For Small Urban Spaces
Container Gardening Pollinator Plants
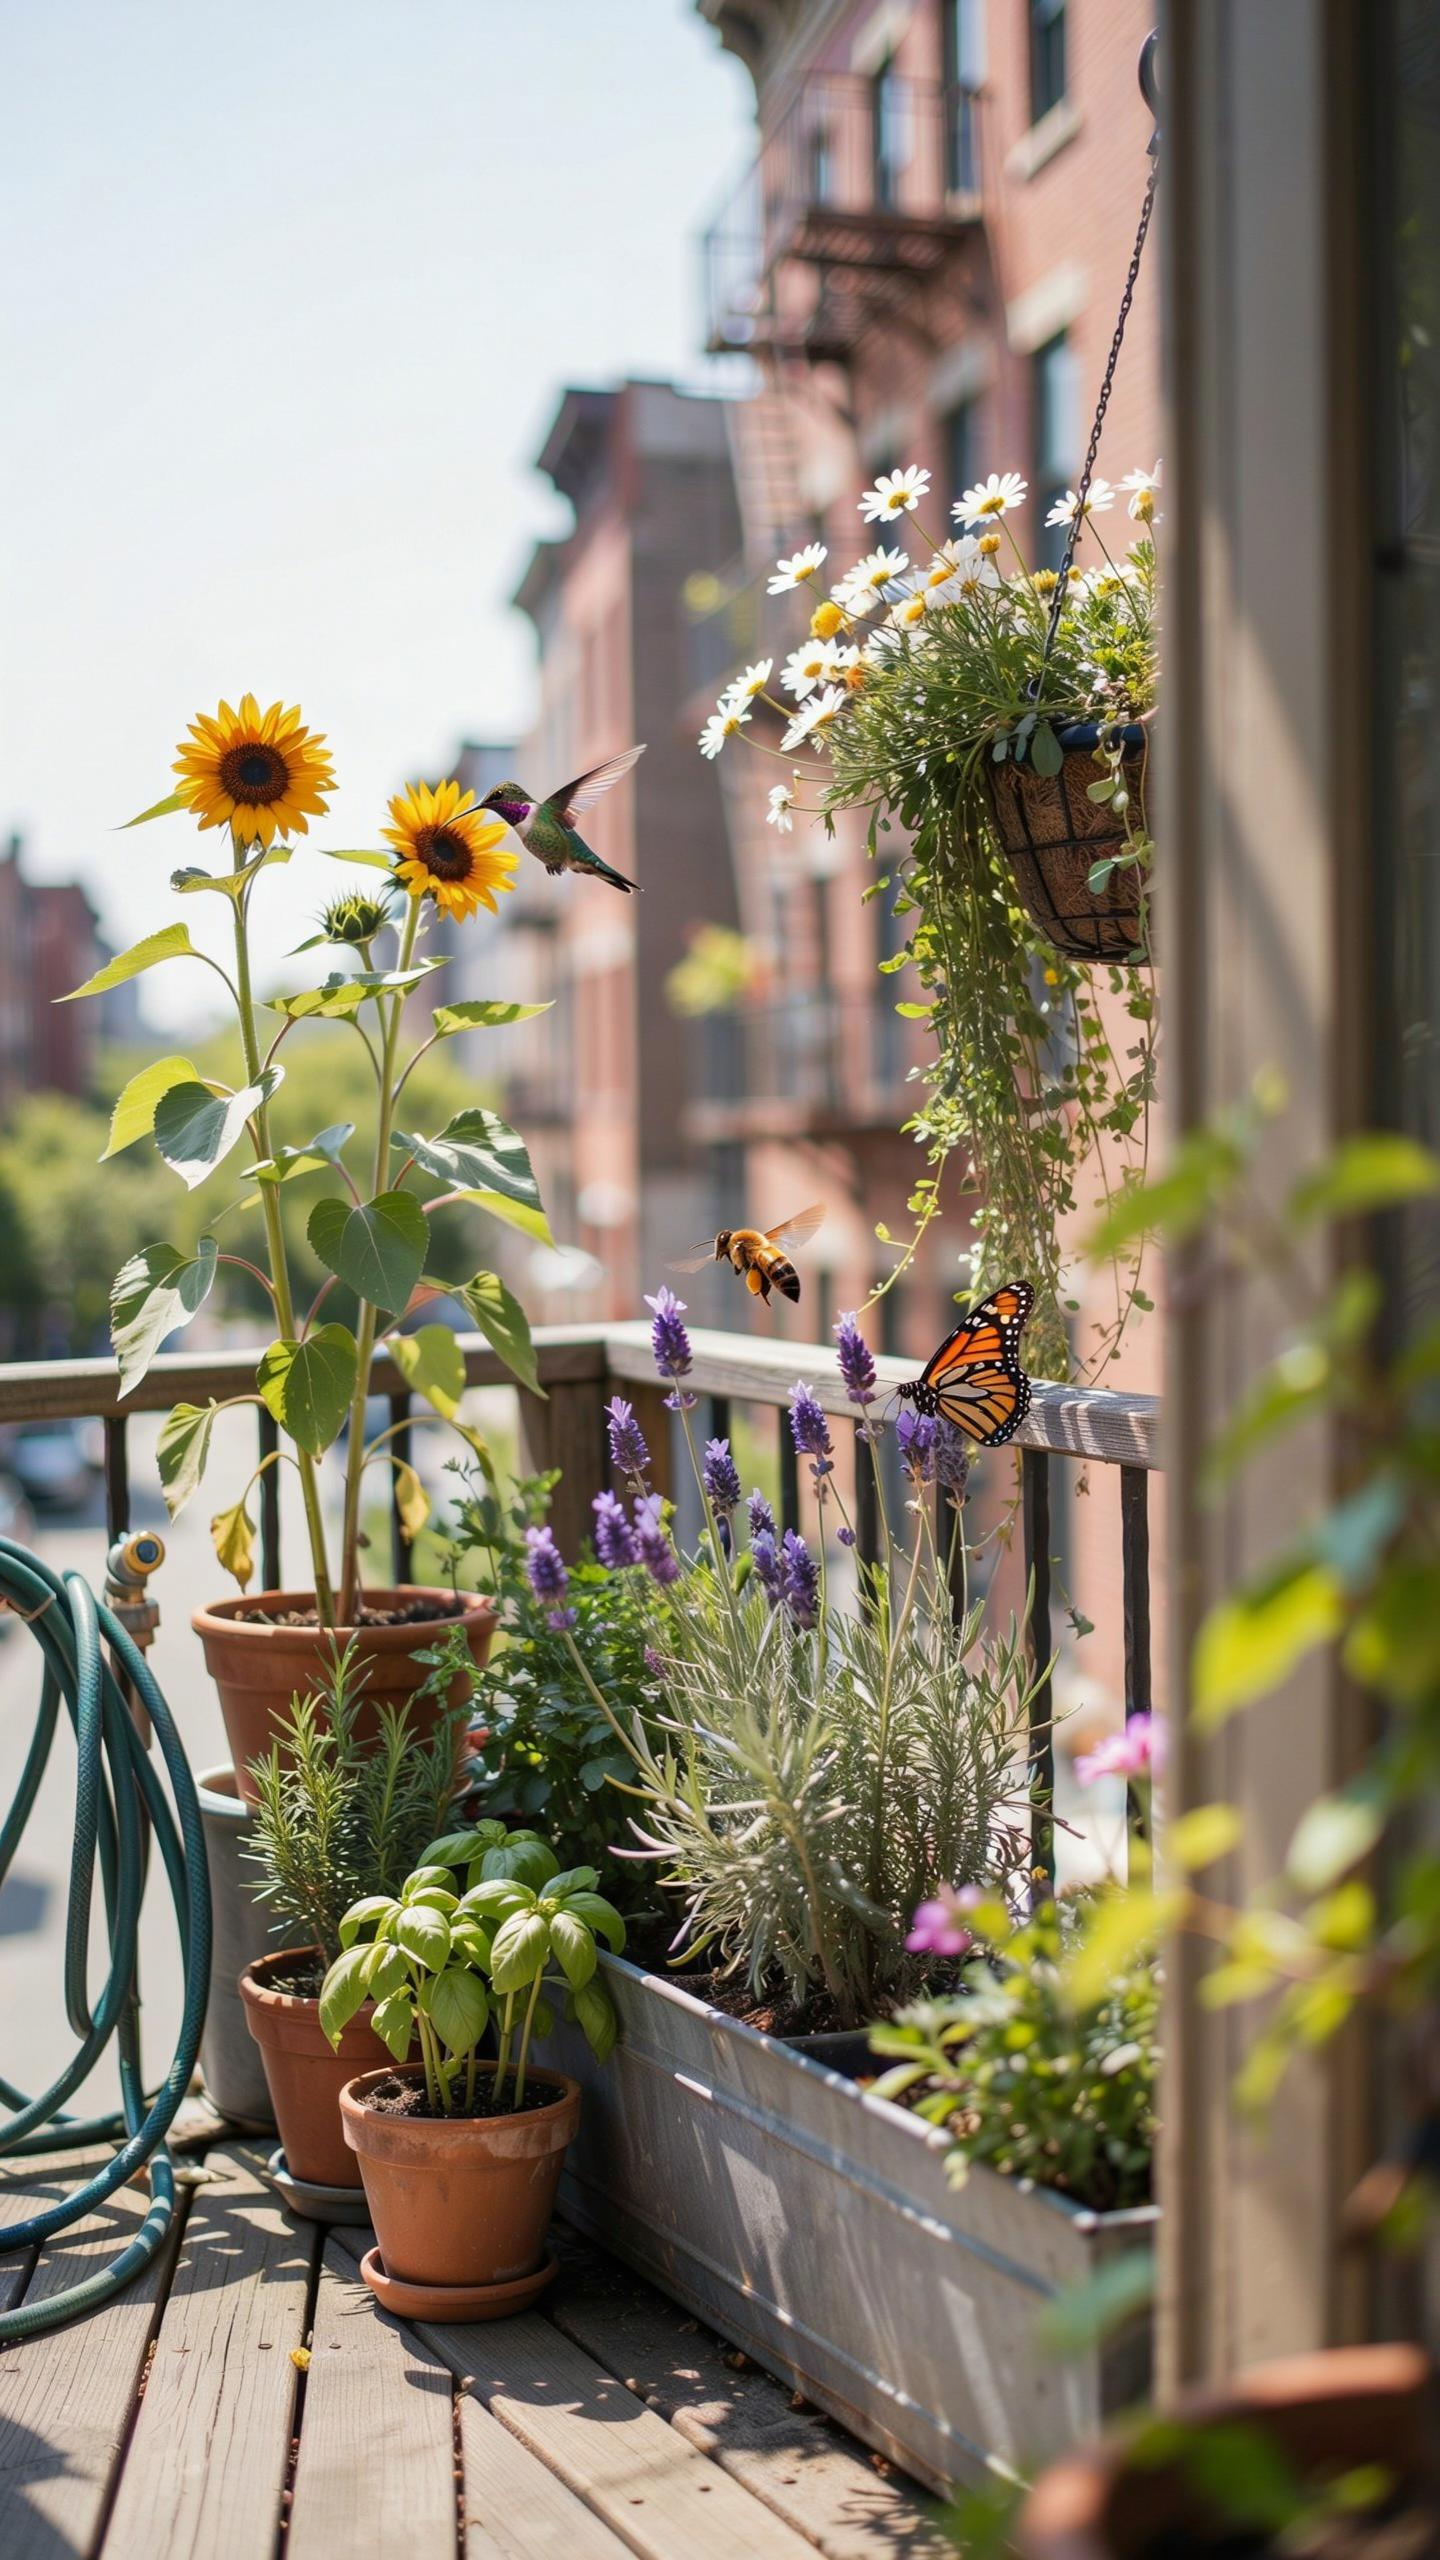
Container gardening delivers pollinator habitat where ground space doesn’t exist. You stack vertical growing zones using containers of varying heights on patios, balconies, and rooftops. This approach concentrates flowering plants in limited footprints. Containers warm faster than ground soil, extending bloom seasons. You control soil quality and drainage completely. Urban heat islands actually benefit container plants by lengthening growing periods for season-dependent pollinators.
Select containers with drainage holes and use soil blends that retain moisture without waterlogging. Spacing matters: cluster containers to create wind breaks and reduce evaporation. Native perennials in containers outlast annuals across seasons. Pollinators recognize vertical flower clusters as reliable food sources. Dense container arrangements signal resource availability to foraging insects. This concentrated design approach maximizes pollinator visits per square foot compared to scattered plantings.
Neighborhood Corridors Small Spaces Strategy
Pocket refuges are small planted areas strategically positioned throughout neighborhoods to form continuous movement routes for pollinators. You identify gaps between buildings, along fence lines, and in unused corner spaces. Each pocket refuge contains blooming plants that bridge seasonal gaps in the broader landscape. Pollinators navigate these corridors instead of crossing open, exposed areas where predators hunt. Connectivity transforms isolated gardens into functional networks.
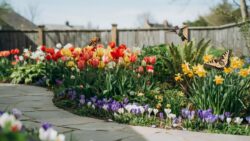
Map your neighborhood to locate existing green spaces and identify connection points. Work with neighbors to align planting timelines so blooms overlap between properties. Even five-foot by five-foot spaces support meaningful refuge function when planted correctly. Pocket refuges reduce travel distance between food sources. Shorter routes increase pollinator survival rates and reproductive success. This strategy converts underutilized urban land into essential infrastructure for pollinator populations.
Maintaining Your Certified Pollinator Friendly Yard
Pesticide Free Management
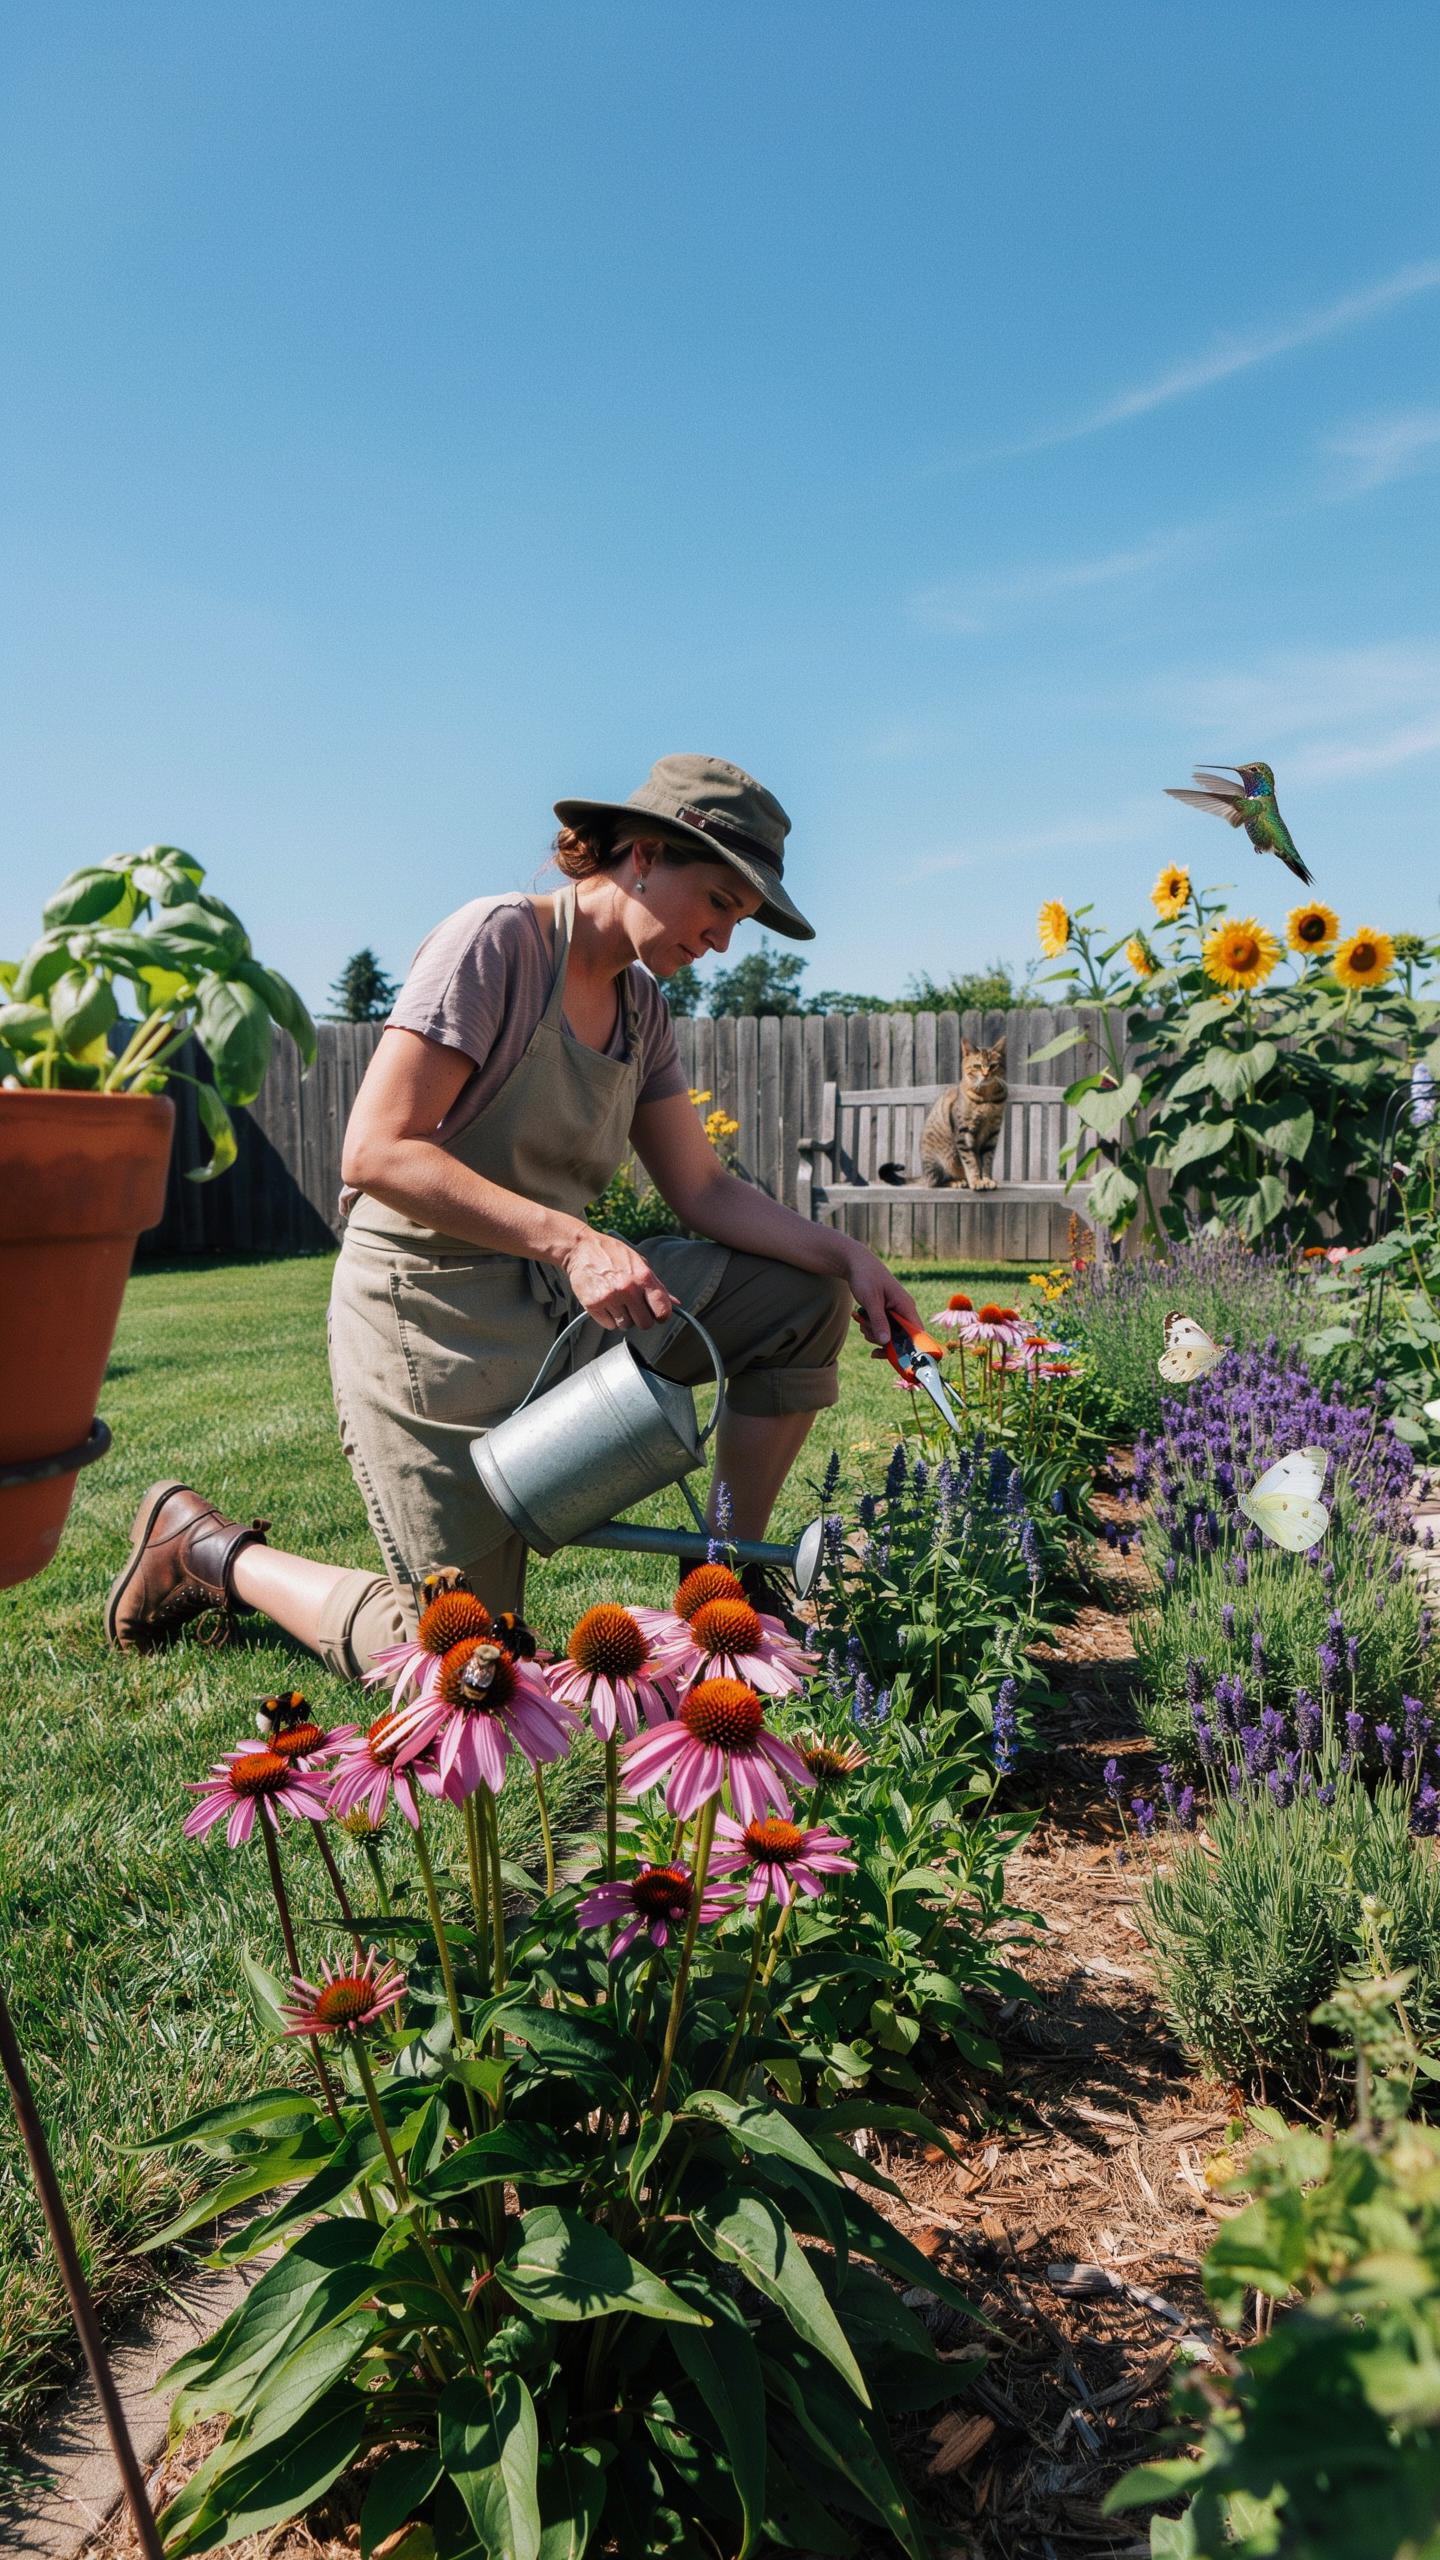
Transitioning away from pesticides protects the insects your garden depends on. Integrated Pest Management (IPM) uses observation, prevention, and targeted intervention instead of broad chemical sprays. Start by removing pesticide applications immediately. Monitor plants weekly for pest populations and damage thresholds before taking action.
IPM relies on cultural practices first. Remove diseased plant material, eliminate standing water that breeds mosquitoes, and space plants properly for air circulation. Introduce predatory insects like ladybugs and parasitic wasps that control pest populations naturally. Hand-remove larger pests when populations stay manageable. Only use organic-approved materials like insecticidal soaps or neem oil as a last resort, and only target specific pests rather than spraying broadly.
Low Impact Winter Cleanup
Overwintering beneficial insects need habitat through cold months. Leave dead stems, leaf litter, and brush piles in place. Many native bees, butterflies, and parasitic wasps shelter in hollow plant stems and soil debris. Removing everything eliminates their survival sites and forces you to rebuild populations each spring.
Cut back perennials in late fall or early spring rather than immediately after frost. Space cuttings loosely so insects can access shelter within the stems. Leave some areas unmulched so ground-nesting bees access soil. Remove only diseased material or invasive plants that will spread. This approach maintains continuous pest control through winter while supporting pollinator survival rates into the next season.
Frequently Asked Questions

What is a pollinator garden design certification and why should I get one?
A pollinator garden design certification is a formal recognition from conservation organizations that your landscape provides essential food, water, and shelter for bees and butterflies. Earning this designation validates your environmental efforts and helps raise neighborhood awareness. It ensures your garden meets specific ecological standards, transforming a simple hobby into a meaningful contribution to local biodiversity while providing you with a sense of accomplishment and community connection.
How do I prepare my landscape to meet the requirements for certification?
To qualify for a pollinator garden design certification, focus on incorporating a variety of native plants that bloom throughout different seasons. You should eliminate synthetic pesticides and provide a clean water source, such as a shallow birdbath with stones for landing. Additionally, leave some natural debris or bare soil for nesting sites. Following these practical steps ensures your outdoor space becomes a functional sanctuary that meets strict certification criteria.
Is obtaining a garden certification expensive for homeowners on a budget?
Not at all! Achieving a pollinator garden design certification is very accessible. Most non-profit programs charge a small one-time administrative fee, often ranging from $20 to $50. You can save money by Propagating your own native plants, swapping seeds with neighbors, or using recycled materials for nesting boxes. Investing in certification is a cost-effective way to enhance your home’s curb appeal while supporting vital local ecosystems on any budget.



