The Illumination Fallacy: Why Most Mason Jar Lights Fail

Picking The Wrong Light Source
You want mason jar lighting to look intentional, not like you’re running out of options. Here’s what actually happens: people treat the jar as decoration and the light as an afterthought, then wonder why the result looks cheap. The mechanism is simple. A mason jar is a vessel. Its job is to contain and diffuse light evenly. Most fail because the light source inside creates hot spots, harsh shadows, or dies in three weeks.
Standard incandescent bulbs generate heat that stresses the glass and reduces lifespan. LED string lights create uneven pools of brightness because the bulbs sit too close together and point in one direction. Cheap fairy lights flicker or dim unpredictably because the wiring can’t handle consistent load. The real move: match the light source to the jar’s geometry and your electrical setup before you assemble anything.
Lumens Versus The Actual Purpose
Lighting design borrows from photometry, which measures light intensity in lumens and illumination spread in lux. Most people confuse lumen count with mood, then buy 800-lumen bulbs for a bedside jar and wonder why it reads like a hospital room. Lumens tell you brightness output. Lux tells you how that brightness spreads across surface area. A mason jar’s narrow mouth concentrates light downward, meaning high lumens create glare, not ambiance.
Mood lighting doesn’t require maximum brightness. It requires controlled distribution. A 40-watt equivalent LED bulb produces roughly 400-500 lumens, which is overkill for a jar placed three feet away. You need 200-300 lumens maximum for ambient jar lighting in most rooms. The concrete protocol: measure your jar’s diameter and height, then calculate the distance from the jar to your eye. Test at 200 lumens first. Increase only if you can’t read comfortably. Document the setting that works.
Mason Jar Lights DIY Hanging: The Gravity Method For Stability

Where Your Fixture Actually Holds Without Failing
You want this to work because a fallen mason jar isn’t just embarrassing—it’s a liability. The real mechanism here is load distribution, borrowed directly from structural engineering. Engineers call it “redundancy.” Most DIY setups fail because they rely on a single point of failure. A single wire, one hook, one weak connection. The jar doesn’t care about your intentions.

The gravity method works because it splits the load across multiple anchor points instead of betting everything on one. Use three suspension points minimum when hanging a mason jar fixture from drywall or wood. If you’re using a single overhead hook, that hook absorbs 100% of the weight plus any swing force. Three points spread at angles reduce individual stress by roughly 60% per anchor. This isn’t theory. This is how rope systems have worked for centuries.
Load Capacity And The Math That Prevents Breakage
Don’t trust the adhesive strips or lightweight hooks sold for “decorative” use. They’re rated for picture frames, not sustained hanging weight. A standard quart mason jar weighs roughly 2 pounds empty. Add water for the vase method, electrical components, or soil for a planted jar, and you’re at 4 to 8 pounds minimum. Your anchor system must support three times that weight safely.
Here’s the protocol: calculate total fixture weight first. Add the jar, the liquid or soil, the hardware, and the light bulb. Multiply by three. That’s your required anchor capacity. Use heavy-duty eye bolts rated for at least that number, or lag bolts if you’re mounting into solid wood. Skip toggle bolts for anything over five pounds—they drift under sustained load. Screw anchors into studs when possible. If studs aren’t aligned with your desired placement, use molly bolts rated for the doubled weight you calculated.
The 3 Tiered Light Modality For Farmhouse Kitchen Lighting

Ambient, Task, And Accent Layering
You want to know how to make a farmhouse kitchen look intentional without actually understanding lighting design. Layering light works the same way an Army supply chain works: ambient is your baseline distribution, task is your concentrated firepower, accent is your reserve positioning. Most people install one overhead fixture and call it done. That’s strategic failure.
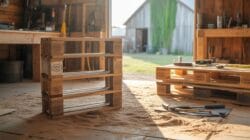
Ambient light fills the entire room at low intensity. Mason jars work here as secondary sources, not primaries. String them across beams or suspend them in clusters at 8 to 10 feet height with 40 to 60-watt equivalent bulbs. They won’t replace a recessed fixture, but they create visual texture while providing soft background illumination. Task lighting goes where work happens: above the sink, counters, or prep surfaces. Here, mason jars mounted 24 to 36 inches above work surfaces with 75 to 100-watt equivalent bulbs deliver functional brightness without harshness.
Fixture Density Versus Usable Light Output
The false economy in farmhouse lighting is buying more fixtures instead of better ones. You need to calculate lumens per square foot, not count how many jars fit on a shelf. A single 75-watt equivalent LED in a bare socket generates roughly 1100 lumens. The same bulb inside a mason jar loses 15 to 25 percent output due to glass absorption and diffusion. Most people never account for this loss and end up with dark kitchens wrapped in jars.
Density creates visual appeal but dilutes brightness. Three mason jar fixtures spaced evenly across a 12-by-12 kitchen spreads light too thin for actual task work. Five fixtures with higher-wattage bulbs concentrates light where it matters. Install them where sight lines converge: corners, entry points, above islands. Adjust bulb wattage by location. Ambient areas get 40-watt equivalents. Task zones get 75 to 100-watt equivalents. Measure foot-candle output with a phone app or light meter after installation to confirm usable levels.
Beyond Fairy Lights: Strategic Mason Jar Light Fixture Placement
How Light Bounces Inside Glass
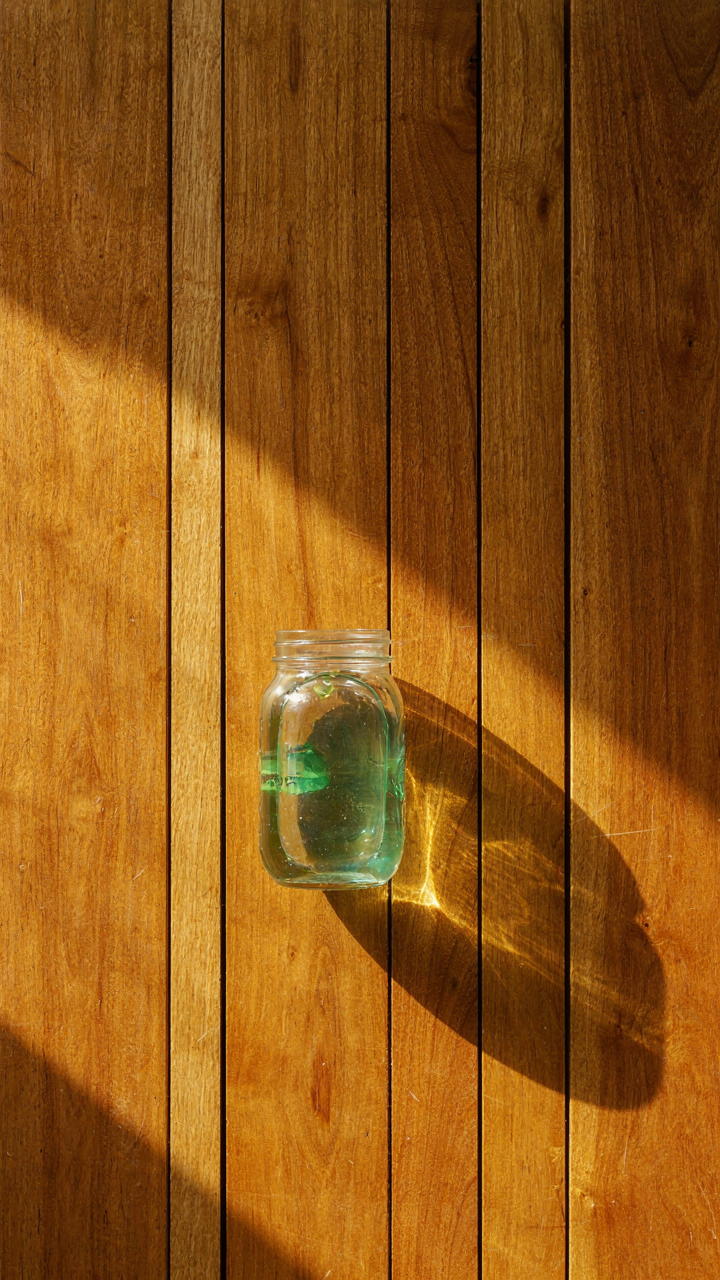
You want this to look effortless, like you didn’t think about it. That’s the real reason you’re reading this section. Here’s what actually happens: light behaves as both a wave and particle, and inside a mason jar it reflects, refracts, and disperses based on glass thickness and surface texture. Clear glass creates concentrated beams that bounce sharply off interior walls. Textured or vintage glass diffuses light more evenly by breaking the wave path into scattered angles.

The jar’s shape matters mechanically. Straight sides reflect light parallel to the glass. Curved shoulders bend rays inward toward the center, concentrating output downward. Wide-mouth jars scatter light laterally more than narrow-mouth designs. Placing your light source determines the reflection pattern: a bulb at the jar’s center creates radial dispersion, while an off-center placement generates directional pools. Test this by observing shadow patterns on walls before committing to fixture placement.
Fewer Fixtures, Higher Impact
The standard advice about layering multiple small lights throughout a room wastes money and creates visual noise. Strategic placement means understanding that one well-positioned mason jar fixture outperforms three poorly placed ones. A single jar with a 40 to 60-watt equivalent LED positioned at eye level on a side table creates a defined ambient zone without diluting the effect across the space. Walls absorb more light than you expect, so proximity to reflective surfaces magnifies output.
Distribute fixtures based on functional zones, not aesthetic symmetry. One jar on a shelf above seating height creates task lighting for reading. Another at corner height provides ambient fill. A third positioned low near baseboards creates depth without competing with primary sources. Each jar should serve a specific purpose: highlight, fill, or accent. This prevents the scattered-light problem where multiple fixtures create flatness instead of dimension.
The Adaptable Lumen Framework: Mason Jar Lantern For Bar Mitzvah & Backyard Wedding

Dimming Control Without Rewiring
You want people to think you planned this. The real mechanism here is borrowed from stage lighting: intensity ratios control perception of event progression. Early in an evening, higher lumen output signals energy and formality. As the night moves forward, dimmer light triggers intimacy and signals the shift from event to afterparty. Mason jars with LED bulbs rated 40-60 watts (equivalent) work here because you can swap bulbs or use dimmable Edison filament LEDs without touching a single fixture.

The easiest path is swapping bulb types mid-event rather than installing dimmers. A warm 2700K dimmable LED bulb costs twelve to eighteen dollars and screws into standard E26 sockets that come pre-installed in most commercial mason jar light kits. Start the reception with 800-1000 lumens per jar, then physically replace bulbs with 400-500 lumen equivalents during dinner service. This takes ninety seconds per fixture and nobody notices the transition because it happens during a natural pause.
Off Grid Power Without Generators
Portable battery solutions beat extension cords and generators because they eliminate the failure point of fuel dependency and electrical overload. Most mason jar setups draw 5-15 watts per bulb when LED. A standard 100Wh portable power station runs twelve jars at full brightness for eight to ten hours straight. The math is concrete: divide the watt-hours by the total wattage draw, subtract twenty percent for battery degradation, and you have your window.
Mount the battery pack on a garden cart or under a side table where nobody sees it. Run cable through landscape conduit to each jar location to avoid trip hazards and UV damage to wire insulation. Test the full setup forty-eight hours before the event, not the morning of. Batteries perform differently in cold weather, and you need to know if your run time drops from eight hours to five because the temperature hit fifty degrees.
Mason Jar Lantern DIY: Optimizing For Light Emittance
Glass Clarity And Interior Surface Treatment
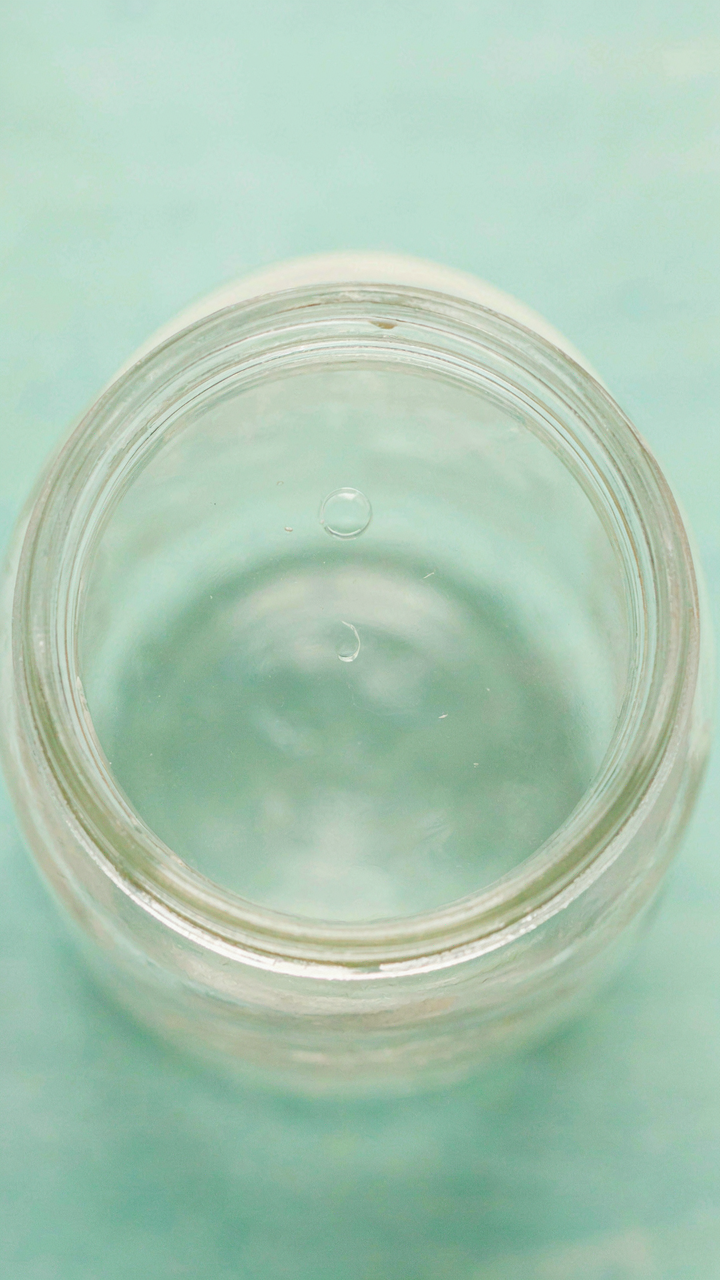
You want this to look intentional, not like you’re reusing trash. Here’s the physics mechanism: reflectance is the percentage of light that bounces back into your space instead of disappearing into the jar walls. A standard clear mason jar reflects roughly 4 percent of light at each glass surface. That’s your loss. The interior surface determines whether light scatters randomly or concentrates where you need it.
- Clear glass with white paint interior: Converts 60-70 percent of light output back into the room. Paint the inside walls flat white using food-safe acrylic or ceramic paint. Matte finish beats glossy because it diffuses rather than creates hotspots.
- Frosted or etched glass: Built-in diffusion reduces glare but cuts total output by 15-25 percent. Works when you want ambient mood over task lighting. Acid-etching or frosting paste achieves this permanently.
- Bare clear glass with metallic backing: Aluminum foil or reflective tape on the back half acts as a directional mirror. Bounces light forward instead of losing it to the sides. Cheap and adjustable if you tape rather than glue.
- Stacked or nested jars with air gap: Creates an insulating dead space that traps heat while the outer jar stays cool. Inner jar holds the bulb, outer jar provides reflective surface contact without direct heat transfer.
- Colored glass tinting: Reduces light output by 30-50 percent depending on pigment density. Use only if ambiance matters more than brightness. Test samples before committing to full interior coating.

The mistake most people make is leaving the jar bare and expecting the glass itself to amplify light. It doesn’t. You need an intentional reflective layer or you’re wasting 70 percent of your bulb’s output on scattered rays that never hit your work surface.
Airflow Design And Thermal Management
Enclosed spaces generate heat fast. Most DIY jar builds ignore this until the LED driver fails or the jar cracks from thermal stress. Think like a thermal engineer: air circulation is your load-bearing mechanism for sustained brightness and component lifespan.
Heat buildup inside a sealed mason jar reduces LED efficiency by roughly 0.3 percent per degree Celsius above 25 degrees. A 15-watt LED in an airtight jar hits 65-75 degrees Celsius within twenty minutes. Your light output drops, your components age faster, and you get frustrated when it dims or burns out. Ventilation fixes this without complexity.
Drill or punch four small holes near the bottom rim of the jar and four near the top. Spacing them on opposite sides creates a convection loop where cool air enters low and hot air exits high. Hole diameter matters: 3-4 millimeters prevents insects and dust while maintaining airflow. If you’re using the jar outdoors, seal holes with fine mesh screening. For interior use, leave them open. Position the heat source (bulb or driver) at the lowest point so rising hot air gets pulled out the top vents naturally. This passive system requires no fans and adds zero noise. If your jar reaches above 50 degrees Celsius during operation, add two more vent holes or move the bulb farther from the jar walls using a ceramic spacer.
The Minimalist Mason Jar Aesthetic: Less Is More With Mason Jar Fairy Lights

Visual Restraint Changes How Rooms Feel
You want minimalism in rustic spaces because it signals control and intention, not because empty walls are objectively better. The mechanism is attention economy: every object competes for cognitive load. Rustic decor defaults to clutter—barn wood, vintage finds, layered textures. Mason jar fairy lights work here because they compress multiple visual elements (light source, container, ambiance) into one focused object. Remove competing accent pieces around the jars. One or two strategically placed mason jars with warm fairy lights outperform five jars scattered across shelves. This isn’t aesthetic preference; it’s visual hierarchy. The eye lands harder on what stands alone.

Sparse placement forces the light itself to do the work instead of relying on surrounding objects for context. A single mason jar with fairy lights on a side table reads as intentional. The same jar crowded among candles, books, and decor reads as part of clutter. Rustic rooms resist minimalism because the style itself celebrates abundance, so the constraint becomes the differentiator. Clean surfaces around your jars amplify their presence. Remove knickknacks from the immediate vicinity. Let the warm glow be the only visual event in that zone.
Light As A Focal Point, Not Decoration
Borrowed from architecture’s concept of focal points: one element must anchor the visual field, or nothing commands attention. Mason jar fairy lights function as focal anchors when you treat them as lighting infrastructure instead of decor accessories. Most people scatter mason jars hoping ambiance emerges. Wrong angle. Place one jar at eye level where sight lines naturally travel, then layer no other light sources in that immediate area. The contrast between the lit jar and surrounding darkness makes it pop.
A single mason jar with fairy lights positioned in a dark corner pulls the eye toward it because your brain seeks light. This is basic vision mechanics, not design theory. Warm-toned fairy lights in the 2700K color temperature range work best for rustic spaces because they match incandescent expectations. Position the jar where you want attention, then leave everything else dim or unlit. The light becomes the room’s anchor point, not an afterthought.
Sustained Illumination Protocol: Long Term Mason Jar Lights Durability
Sealing Against The Elements
You want your mason jar lights to last because replacing them costs time you don’t have and money you’d rather spend elsewhere. The real mechanism is simple: water and electricity don’t coexist, and mason jars were designed to trap moisture, not repel it. Exterior mason jar lights fail when condensation forms inside the glass and corrodes the socket or LED base. This happens because temperature swings force air in and out of the jar, carrying humidity with it.
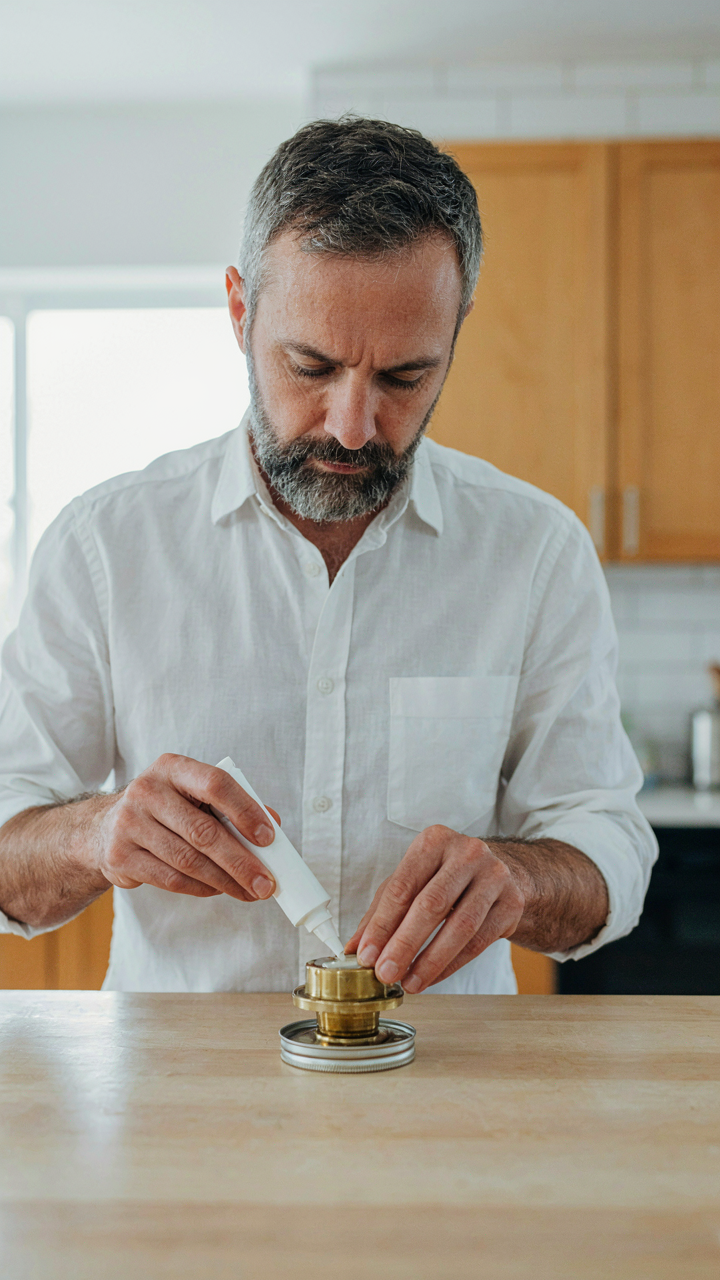
- Silicone sealant around the socket base: Apply food-grade silicone where the electrical fixture enters the jar. This creates a barrier against water vapor penetration and prevents moisture from reaching the connection point inside the jar.
- Drain holes with protective mesh: Drill a small hole at the jar’s lowest point and insert a mesh-covered drainage port. This prevents pooling while blocking insects from entering the fixture enclosure.
- Double-gasket design for the lid: Use a rubber gasket between the lid and jar, then another between the socket and lid. Two barriers stop moisture better than one, especially in humidity-heavy climates or coastal areas.
- Exterior-grade electrical boxes: House the transformer or plug connector in a weatherproof box mounted separately from the jar. This keeps voltage regulators and circuit components dry even if condensation forms inside the glass.
- Marine-grade epoxy on metal components: Coat any steel or copper parts with epoxy rated for saltwater exposure. Rust accelerates corrosion of electrical contacts faster than moisture alone.

Condensation is physics, not a flaw in your setup. Once you accept that water will form inside the jar, you design around it instead of fighting it. The jar becomes a light source container, not a sealed chamber, and your maintenance burden drops significantly.
Replacement Cycles And Preventive Checks
Most advice tells you to just swap bulbs when they dim. That’s incomplete. LED longevity depends on thermal cycling, and mason jars trap heat around the fixture base, shortening lifespan by 30 to 40 percent compared to open-air mounting. You prevent failure by catching thermal stress before it kills the LED driver.
Check your mason jar lights every 90 days on a written calendar. Feel the jar’s outer surface after the lights have been on for two hours. If it’s too hot to hold your hand comfortably for five seconds, the fixture is running above its safe thermal window. Replace the LED bulb immediately or reduce operating hours. Inspect the socket connection for corrosion spots or discoloration around the base where the fixture meets the jar. If you see white or green oxidation, moisture has breached your seal and you need to reseal that junction with fresh silicone and let it cure for 48 hours before powering the light again. Test the dimmer function monthly if your setup includes one, since dimmers fail faster in enclosed spaces where heat accumulates. Keep a log of replacement dates and thermal readings. When you spot a pattern of early failure at one location, that tells you to upgrade the weatherproofing at that exact installation point.
The Pinterest Trap: Why Your Rustic Room Still Feels Dim
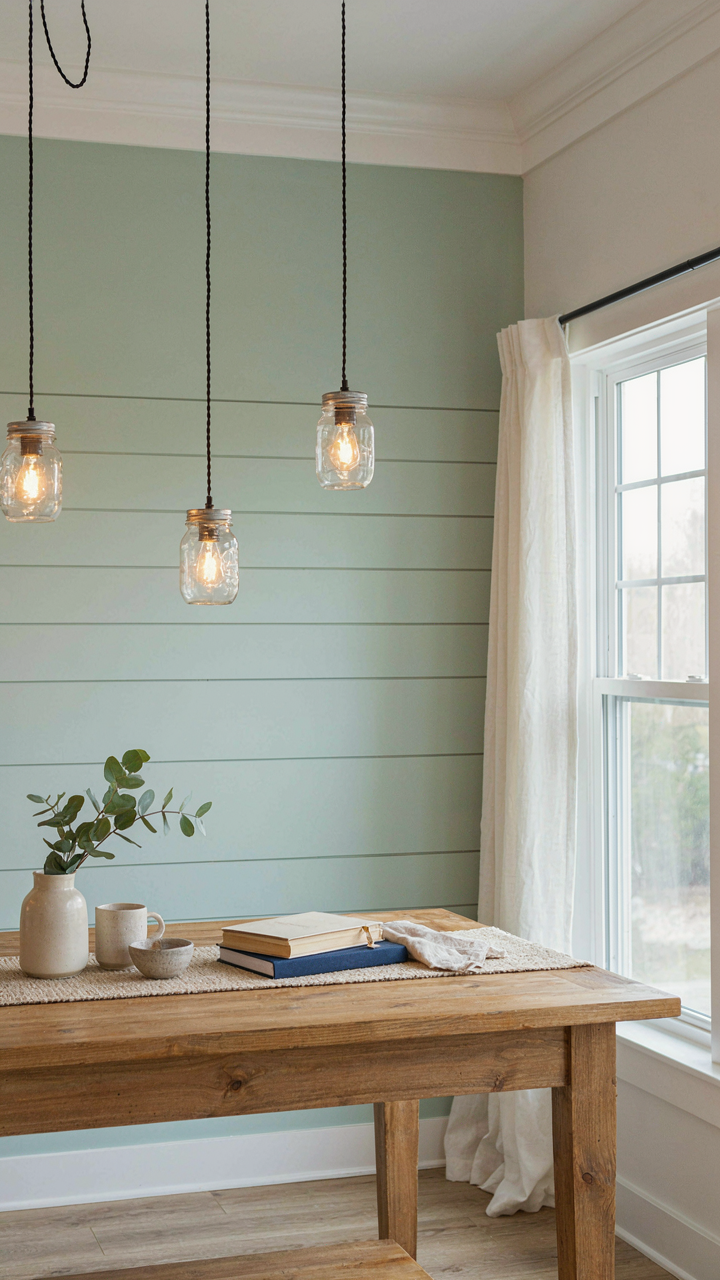
Most people buy mason jar lighting and wonder why their room looks worse. They copied a photo instead of copying the logic. The real move? Stop treating mason jars as decoration. Treat them as light sources. That means multiple jars, layered heights, warm bulbs you actually paid for. One jar on a shelf looks cute. Three jars at different levels actually changes how a room feels. Pick your dimmest corner today and add a single jar there. You’ll realize the game was never about the jar. It was about understanding where light actually goes.