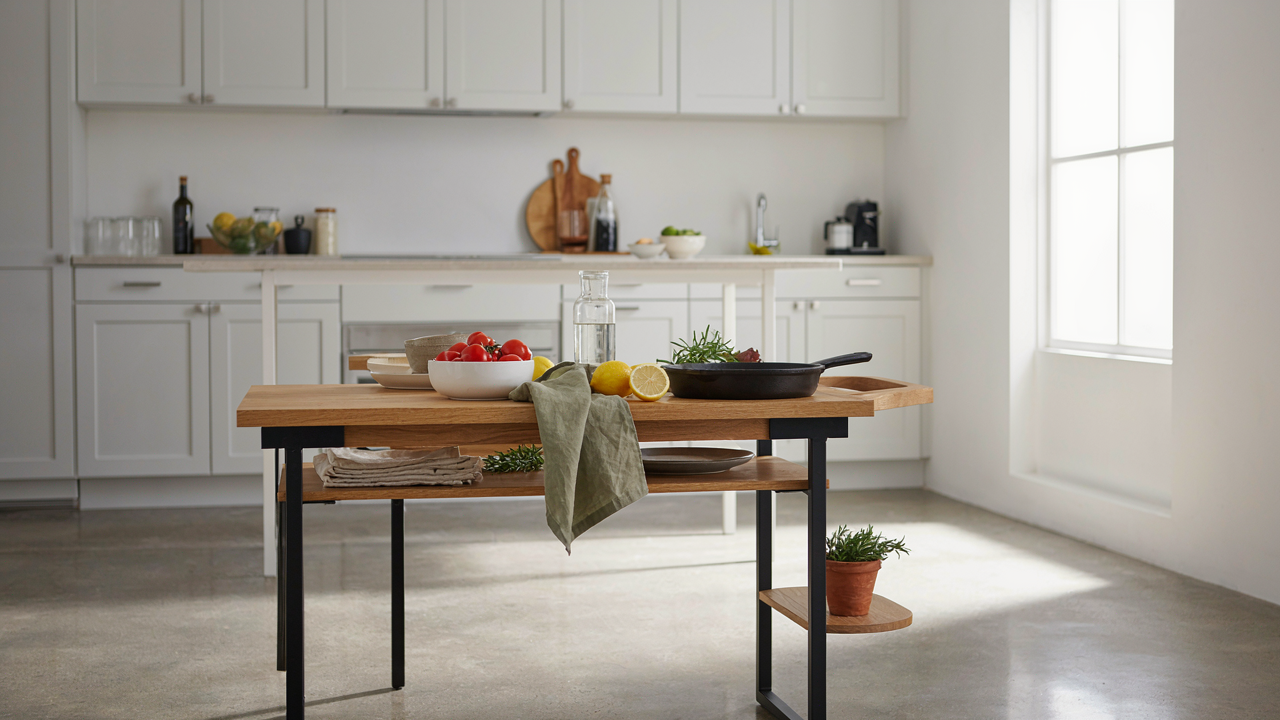
The Illusion Of Thrift: Why Your “Bargain” Still Costs Too Much

What You Actually Pay For A Cart
You’re shopping thrift because you want to feel smart about spending less. That’s the real motive. But economics calls this “total cost of ownership,” and it exposes why your fifty-dollar cart deal might cost you two hundred before it’s done. The sticker price is only the opening bid. Material condition, hidden damage, missing hardware, and the labor you pour into repairs stack up fast. Most people ignore these costs because they happen after the purchase, making them feel invisible. They’re not.
Start by auditing the cart before money changes hands. Check all wheels for function and bearing play. Look for rust, water damage, or finish degradation on wood or metal. Open every drawer and cabinet to spot broken slides, missing shelves, or structural rot. Note any cosmetic damage that requires stripping, staining, or repainting. Calculate material costs: primer, paint, stain, hardware replacements, caster upgrades. Add your hourly rate for prep work, assembly, and finishing. If the total exceeds eighty to one hundred dollars for a basic cart, the math breaks in favor of buying new or choosing a different piece.
The Upgrade Spiral Nobody Admits To
Common advice says “upgrade as you go.” This is how thrift projects become money pits. You buy the cart for cheap, then start noticing what it could be. Better wheels. Sturdier frame. Nicer finish. Before you finish, you’ve sunk more cash than a quality new cart costs. The trap sits in your mind, not the market. You’ve committed emotionally to the piece, so every upgrade feels justified. Each one feels like the last one. It never is.
The rule is simple: decide your budget and final aesthetic before you buy. Know exactly what you’re willing to spend on materials and labor. If you want a stained wood cart with quality casters and new hardware, calculate that first. Then only buy a thrift cart if it gets you there within your budget. If the base piece is damaged or requires more work than you estimated, abandon it. The sunk cost is the money you already spent, not the money you might spend next. Walk away before the upgrade spiral takes hold.
Ditch The Pinterest Perfect: Functional Over Fanciful Kitchen Cart Makeover

Start With The Work, Not The Aesthetic
You want this cart to look intentional because you’re afraid it’ll look like clutter. That’s the real reason you’re reading this. Here’s the mechanism: every surface on a kitchen cart must answer one question first—what task happens here? Form follows function in industrial design. On a kitchen cart, the layout determines whether you waste motion or preserve it. A cart that looks curated but forces you to reach across three items to grab one creates friction. Friction kills adoption. You’ll stop using it.

Start by mapping your actual kitchen workflow for one week. Notice where you prep ingredients, where you plate, where you store mise en place containers. Write down the three to four tasks that repeat daily on that cart. Those tasks get the prime real estate. Everything else gets secondary or tertiary placement. This isn’t philosophy. This is logistics.
Remove Everything That Breaks Your Rhythm
The common advice says “add storage solutions to maximize space.” That’s incomplete. You need to subtract barriers first. A cart that looks full but requires moving items to access what you need is architecture working against you. Think of it as workflow friction. Every obstruction on your cart costs you seconds per task. Those seconds compound into minutes per week, hours per year.
Evaluate each shelf honestly. Does that decorative item prevent you from setting down a hot pan? Does that drawer configuration force you to open multiple levels to grab what’s touching? Storage that looks nice but requires you to rearrange other items before grabbing what you need is just furniture taking up space. Remove it. Keep only what sits permanently or what you grab without moving anything else.
The Cart As A System: Applying Biological Adaptation Principles

Form Follows Function In Nature
You want permission to keep things on your cart that don’t earn their space. Biology doesn’t grant that permission. In nature, adaptation works through one mechanism: an organism’s structure solves a specific survival problem in its environment. A kitchen cart operates identically. The cart’s form must match the exact work you do in your kitchen. Most people reverse this. They buy a cart, then jam things into it hoping the structure somehow accommodates their habits. That’s backwards.

Thrifted carts arrive with inherited forms. A vintage bar cart has shallow shelves spaced for bottles. A medical utility cart has narrow drawers designed for instruments. Before you modify anything, identify what your actual kitchen workflow demands. Does your cooking require frequent access to oils and vinegars? The original form might already solve that. Do you need tool storage instead? The original structure now works against you, and modification becomes necessary. The cart’s topology should emerge from your cooking patterns, not from aesthetic preference.
Eliminate What Doesn’t Pull Weight
Common advice tells you to “declutter” and “curate” your cart. That’s vague and useless. Evolution doesn’t declutter. It eliminates anything that increases metabolic cost without increasing survival odds. In kitchen cart design, this translates to a ruthless rule: remove any item that doesn’t reduce friction during cooking or meal prep. If you reach for something twice a week, the cart doesn’t need it. The item uses shelf real estate, creates visual noise, and slows you down when you search for what matters.
The mechanism works like this. Identify your highest-frequency cooking tasks across a full week. Document what you touch. Thrifted carts often hold decorative elements or “just in case” equipment from their previous owners. Strip them. Keep only what you actually reach for. This isn’t minimalism for Instagram. It’s functional reduction. When you remove non-essential elements, your hands find what you need faster, your eye processes the space more efficiently, and the cart becomes a tool instead of furniture. Test this by removing five items you think might matter and cooking normally for three days.
The “Bekvam Protocol”: Hacking Ikea Kitchen Cart For Peak Performance

Why People Wreck Their Bekvam Carts
You want to believe a thirty-dollar cart becomes a hundred-dollar solution. That’s the real draw here, and it blinds you to what actually breaks these things. The Bekvam cart, Ikea’s birch wood utility cart from their kitchenware line, ships with structural limitations nobody names. Most people add weight to the wrong tier, overtighten fasteners without understanding wood movement, or ignore that the cart’s stability depends on how load distributes across the three tiers vertically, not horizontally.

The mechanism is simple: Bekvam carts fail because people treat them like solid furniture. They’re not. The frame uses dowels and cam locks that work only if you respect the tolerance stack. Add a marble top or ceramic pieces without reinforcing the middle shelf, and you’ve created a lever system that flexes the entire structure. The cart starts rocking. The fasteners loosen. Within months, it’s unstable. This isn’t a design flaw. It’s operator error born from treating assembly instructions like decoration.
Build Load Distribution From The Bottom Up
The Bekvam’s three-tier design follows the principle of load bearing from industrial shelving systems, where total capacity exists only if you anchor the heaviest items at the base. Most people reverse this. They load the top with cookbooks or a microwave, destabilizing the center of gravity and forcing the bottom shelf to compensate. The real protocol starts with understanding that the cart’s 40-pound total capacity distributes unevenly across tiers based on the wood’s structural properties and fastener strength.
- Bottom Tier Anchor: Place cast iron, small appliances, or anything over eight pounds here. This tier handles the load because it’s supported by the four legs at their strongest point. Weight at the base keeps the entire structure grounded and prevents rocking.
- Middle Tier Balance: Reserve this for medium-weight items under five pounds each. This tier experiences shear stress from both layers, so distribute weight toward the corners where the shelf connects to the frame. Avoid concentrating all weight in the center.
- Top Tier Minimalist: Keep this tier for lightweight items only—oils, utensils, small bowls. The top shelf creates the most leverage on the fastening system. Overload it and you’re essentially using the two lower tiers as a cantilever beam.
- Diagonal Bracing Option: Add a thin wooden brace between two opposite legs on the back to eliminate lateral wobble. This doesn’t add weight but increases rigidity significantly without altering the Ikea aesthetic.
- Fastener Replacement Protocol: Replace the factory cam locks with M6 wooden dowels and polyurethane wood glue on joints under stress. Check tightness monthly for the first three months. Wood expands and contracts seasonally, so fasteners need rechecking.
The cart performs at its designed capacity only when you stop treating it as a blank canvas and start treating it as a load-bearing system. Most Bekvam modifications fail because people add visual elements without calculating how those additions shift weight distribution. Once you lock the bottom tier at capacity, lock the load pattern across all three tiers, and verify fasteners monthly, the cart stabilizes. Check fasteners by applying lateral pressure to each shelf and listening for creaks. If you hear movement, tighten the affected connection immediately.
Beyond Paint: Raw Material Restoration For The Rustic Kitchen Cart Transformation

Check The Bones First
You want to skip the hard part and jump to making it look good. That’s the real reason you’re reading this. But a cart with hidden rot, loose joints, or failing welds will fail you within months, no matter what finish you apply on top.

Think of structural integrity like load-bearing capacity in engineering: the material’s actual strength determines what weight it can handle, independent of how it looks. A thrifted cart’s frame, wheels, and support points need inspection before any restoration work starts. Check for rust that has eaten through metal, wood that yields to pressure, joints that move under hand pressure, and wheels that don’t roll freely or have damaged bearings.
The inspection process takes thirty minutes and saves you from finishing a cart that collapses under a cutting board. Look at welds for cracks. Press wood with a screwdriver to feel for soft spots. Spin each wheel and listen for grinding sounds. Document what you find before deciding whether the cart is worth restoring or if the damage exceeds the value of the piece.
Expose The Material, Don’t Bury It
Most makeover advice tells you to sand everything smooth and paint over it. That’s backwards. The character that makes a thrifted cart worth restoring lives in the material itself, not under layers of primer.
Raw wood grain, natural patina on metal, and the visible marks of age are what separate a restored piece from a reproduction. Stripping old finish reveals the actual wood species or metal underneath, which determines your aesthetic options. A cart made from solid walnut looks fundamentally different from one made from pine after stripping, and that difference matters. Your restoration approach changes based on what material you’re actually working with, not based on what you hoped it would be.
The technique here involves selective removal, not total transformation. Wire brush rusted steel to expose the underlying metal without over-sanding. Use chemical stripper on wood to remove old finish while preserving patina and natural color variation. Hand-sand to smooth rough spots, but leave tool marks and minor surface irregularities intact. These details signal authenticity and age, which is precisely what a thrifted cart offers that a new one cannot. Stop stripping when the material’s inherent character becomes visible, not when it looks factory-new.

DIY Kitchen Island Cart: The Unconventional Space Reclamation Blueprint

When Your Kitchen Actually Needs One
You want a kitchen island cart because you think it signals you have your life together. The real mechanism is simpler: you have dead space or workflow friction you haven’t named yet. Most people buy carts to solve a problem they can’t articulate, then wonder why the thing sits empty. Start by mapping your actual kitchen movement. Where do you chop? Where do you plate? Where do dirty dishes pile up? The cart fills a gap in that sequence, not your Instagram feed.
A thrifted cart only works if it slots into your existing traffic pattern without creating obstacles. Measure your kitchen’s main pathways first, then the cart dimensions. A 24-inch wide cart in a narrow galley kitchen becomes a bottleneck. The standard three-tier cart measures roughly 24 by 16 inches and stands 32 inches tall. It needs at least 18 inches of clearance on the sides for people to move around it. Place it perpendicular to your primary work zone, not blocking your fridge-to-stove line.
Spatial Calibration Before Assembly
Think of kitchen carts through the lens of real estate economics: you are renting floor space that costs money every month in energy and lost movement efficiency. Every square foot must generate value or remove friction. Most cart buyers treat them as decoration first and tool second, then resent them for taking up room. Instead, assign the cart a single primary function. Is it prep staging? Beverage service? Baking overflow? Cleaning supply storage? The answer determines where it lives and whether you actually use it.
The unconventional move is placing the cart where it serves a secondary workflow, not your main one. If your primary cooking happens at your stove and counter, move the cart to handle beverage service, plating, or mise en place staging away from traffic. This keeps your central zone clear and gives the cart genuine purpose. Measure the actual distances your common tasks require. If you spend five minutes walking back and forth for ingredients, the cart becomes your staging point. Make that the design constraint, not aesthetics.

Vintage Kitchen Cart Makeover: Preservation Over Modernization

The Original Materials Tell You What Not To Do
You want the cart to feel intentional and valuable, not like you half-finished a project. This is about applying conservation logic to furniture: in restoration work, the principle of reversibility means every intervention must be undoable without damaging the original. A vintage cart’s material composition—whether it’s bent plywood, steel tubing, or solid wood—determines what you can actually do to it without destroying its value. Strip the finish and you’ve erased decades of patina. Paint over original hardware and you’ve committed vandalism on history. The cart’s existing materials are the constraint that forces good decisions.
Original finishes, hardware, and structural elements have market and cultural value precisely because they’re intact. When you see a 1960s metal cart with its original powder coat or a wood surface with its original lacquer, you’re looking at proof of age. Refinishing erases that proof. Collectors and designers who actually understand vintage pieces pay premiums for originality. Start by identifying what materials you have, then build your makeover plan around keeping them visible and functional. If the cart is structurally sound and the original finish is just dusty, cleaning it is always the first move before considering anything else.
Touch Nothing That Wasn’t Meant To Change
The common advice here is to “update” vintage carts with new finishes and modern hardware. That’s lazy thinking dressed up as improvement. Minimal intervention means you’re solving a specific functional problem without treating the entire cart like a blank canvas. If a wheel squeaks, replace the wheel. If the handle is broken, source a matching replacement. If the surface needs protection from spills, use a clear matte topcoat rather than paint. Each action targets one failure point, not the cart’s entire aesthetic.
The protocol: assess what’s actually broken versus what’s just unfashionable. A faded finish is not a failure. Visible wear is not a defect. Dents and patina are documentation of use. Make a list of only the elements that prevent the cart from functioning as storage or transport. Address those. For everything else, your job is documentation and light maintenance. Clean, stabilize, and protect. That’s the full scope.

Ikea Forhoja Kitchen Cart Makeover: The Underestimated Workhorse Upgrade

The Base Frame Is Your Real Asset
You want this to work because you’re tired of replacing cheap furniture every few years. The mechanism is simple: the Forhoja’s solid wood frame absorbs impact and use in ways particle board cannot. Most people fixate on the surface finishes—paint, stain, hardware—but ignore what actually determines lifespan. The frame geometry matters more than aesthetics.
Forhoja carts use mortise and tenon joinery on the main structure, not dowels or pocket holes. This joint type distributes stress across a larger surface area rather than concentrating it at fasteners. That’s the real reason thrifted Forhoja units survive decades while knockoffs fail in five years. Your makeover succeeds or fails based on whether you reinforce or compromise this base.
Structural Reinforcement Before Decoration
Everyone talks about aesthetic upgrades. Nobody explains why the cart fails structurally. The weak point is the connection between the frame and the shelves, especially under load. Reinforce these joints before adding weight or changing the design.
Add corner braces to the underside where the vertical posts meet the horizontal frame. Use steel L-brackets, not wooden blocks. They resist shear forces better. Check all mortise joints for gaps and fill them with epoxy if needed. Replace any loose shelf supports with lag bolts instead of original fasteners. This takes two hours and prevents the collapse that happens after one year of real use.

The “Kitchen Cart Makeover” Is A Lie: It’s A Systems Re Design

Where Your Kitchen Actually Breaks
You want the cart to look good because you think aesthetics solve problems. They don’t. The real issue is that your kitchen workflow has friction points, and you’re hoping a pretty cart masks them instead of fixing them. Kitchen design borrows from logistics: every movement, every reach, every step between tasks represents wasted energy. Your cart is either a distribution hub or clutter with wheels. Most people treat it like the latter.
Map your actual cooking patterns for a week. Where do you grab things most? Where do you waste steps? The cart goes where it reduces total movement, not where it looks balanced. If you’re constantly walking between prep and cooking zones, the cart belongs in that corridor. If you’re hunting for small tools during meal prep, the cart becomes the tool station. The location determines everything else about the makeover. Nothing gets redesigned until you know what problem the cart actually solves.
The Bottleneck Your Cart Must Attack
Everyone says a cart “adds storage.” That’s generic nonsense. A cart solves a specific bottleneck: the moment when you need something and can’t reach it without stopping what you’re doing. Identify that moment first. Is it mid-prep when you’re reaching for cutting boards stacked in a cabinet? Is it cooking when oils, spices, and utensils live on different shelves? Is it plating when you’re grabbing serving dishes from a high cupboard?
Once you name the bottleneck, the cart’s design becomes obvious. A thrifted cart with deep shelves handles bulk items differently than one with thin shelves meant for bottles and jars. The height matters. A lower cart keeps frequently used items at eye level during cooking. Materials matter too. Metal carts handle weight better than wood for oil bottles and cast iron. The makeover isn’t about paint color or styling. It’s about configuring the cart to eliminate one specific pause in your workflow. That’s the only metric that matters.
The Zero Waste Kitchen Cart: Eliminating Redundancy And Clutter
Stripping Down To Function Only
You want this cart to feel intentional because you’re tired of looking at objects that don’t earn their space. The real mechanism is redundancy elimination: most kitchen carts fail because they become overflow storage for tools you already own elsewhere. Minimalism in design isn’t about having less for moral reasons. It’s about identifying which items actually move the needle on your cooking workflow and removing everything else. A thrifted cart with three duplicate spatulas isn’t minimal. It’s just cluttered with a pretentious label.
Start by auditing what you currently use weekly versus what sits idle. Remove any item that duplicates function with something already in your kitchen drawers or on your counter. If you own two can openers, one goes. If you have four wooden spoons, keep two. The cart becomes useful only when every object has a specific reason to occupy that real estate. This isn’t deprivation. This is clarity. A cart holding ten essential items outperforms one holding thirty mediocre ones because you know exactly where everything lives.
Density Without Visual Chaos
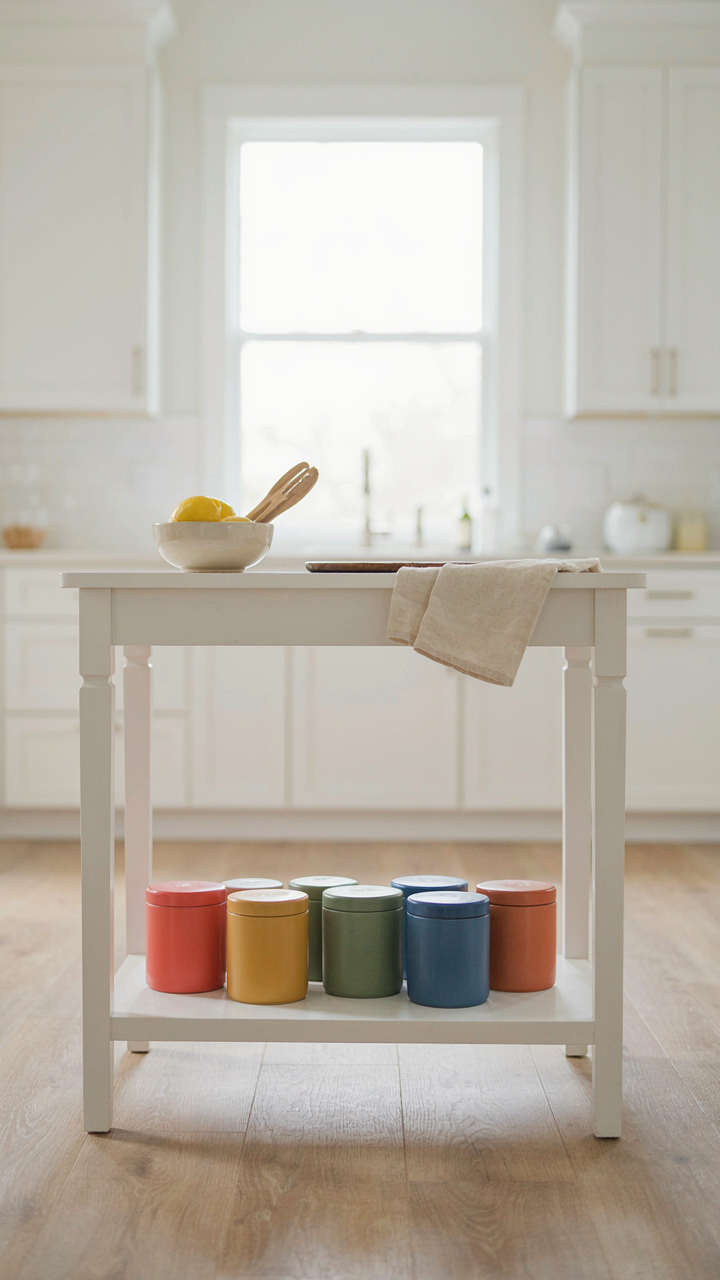
Most design advice here is wrong: designers tell you to “add negative space” and “let items breathe,” which translates to an empty-looking cart that wastes its actual carrying capacity. Storage density and visual noise are separate problems. You solve one through vertical stacking and drawer dividers. You solve the other through uniform containers and consistent coloring. A thrifted cart holds more when you use stackable glass jars with matching lids than when items sit loose across shelves. The uniformity signals organization even as density increases.
Implement this immediately: group items by category (oils, spices, tools) and place each group inside a single container or on one shelf level. Use opaque or matching containers to hide visual complexity. The eye perceives a cart with five neat containers as simpler than one with twenty visible items, regardless of total contents. This isn’t about aesthetics. Organized density cuts your prep time because you locate what you need without scanning through visual noise. Build a cart where every container has one category and one location. That’s how you eliminate both redundancy and clutter at once.
Your Cart Either Serves A Ruthless Purpose Or It Collects Dust; There Is No Middle Ground In Functional Design
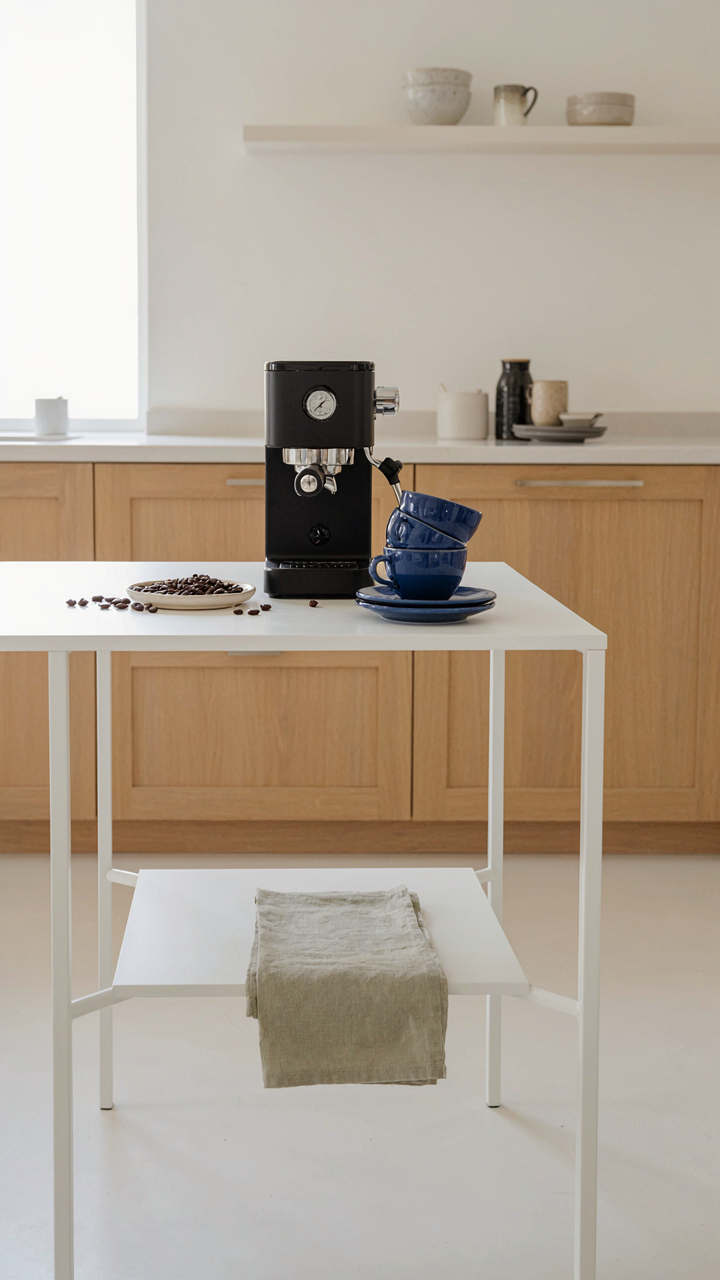
Most people buy a cart and fill it with whatever fits. That cart becomes visual noise. You need to decide what your cart actually solves before you touch it. Is it a coffee station? A plant display? A workspace? Pick one job and crush it. Everything on that cart should earn its spot by serving that single mission. Today, walk to your thrifted cart and remove three things that don’t belong. A cart with purpose beats a cart with everything.



