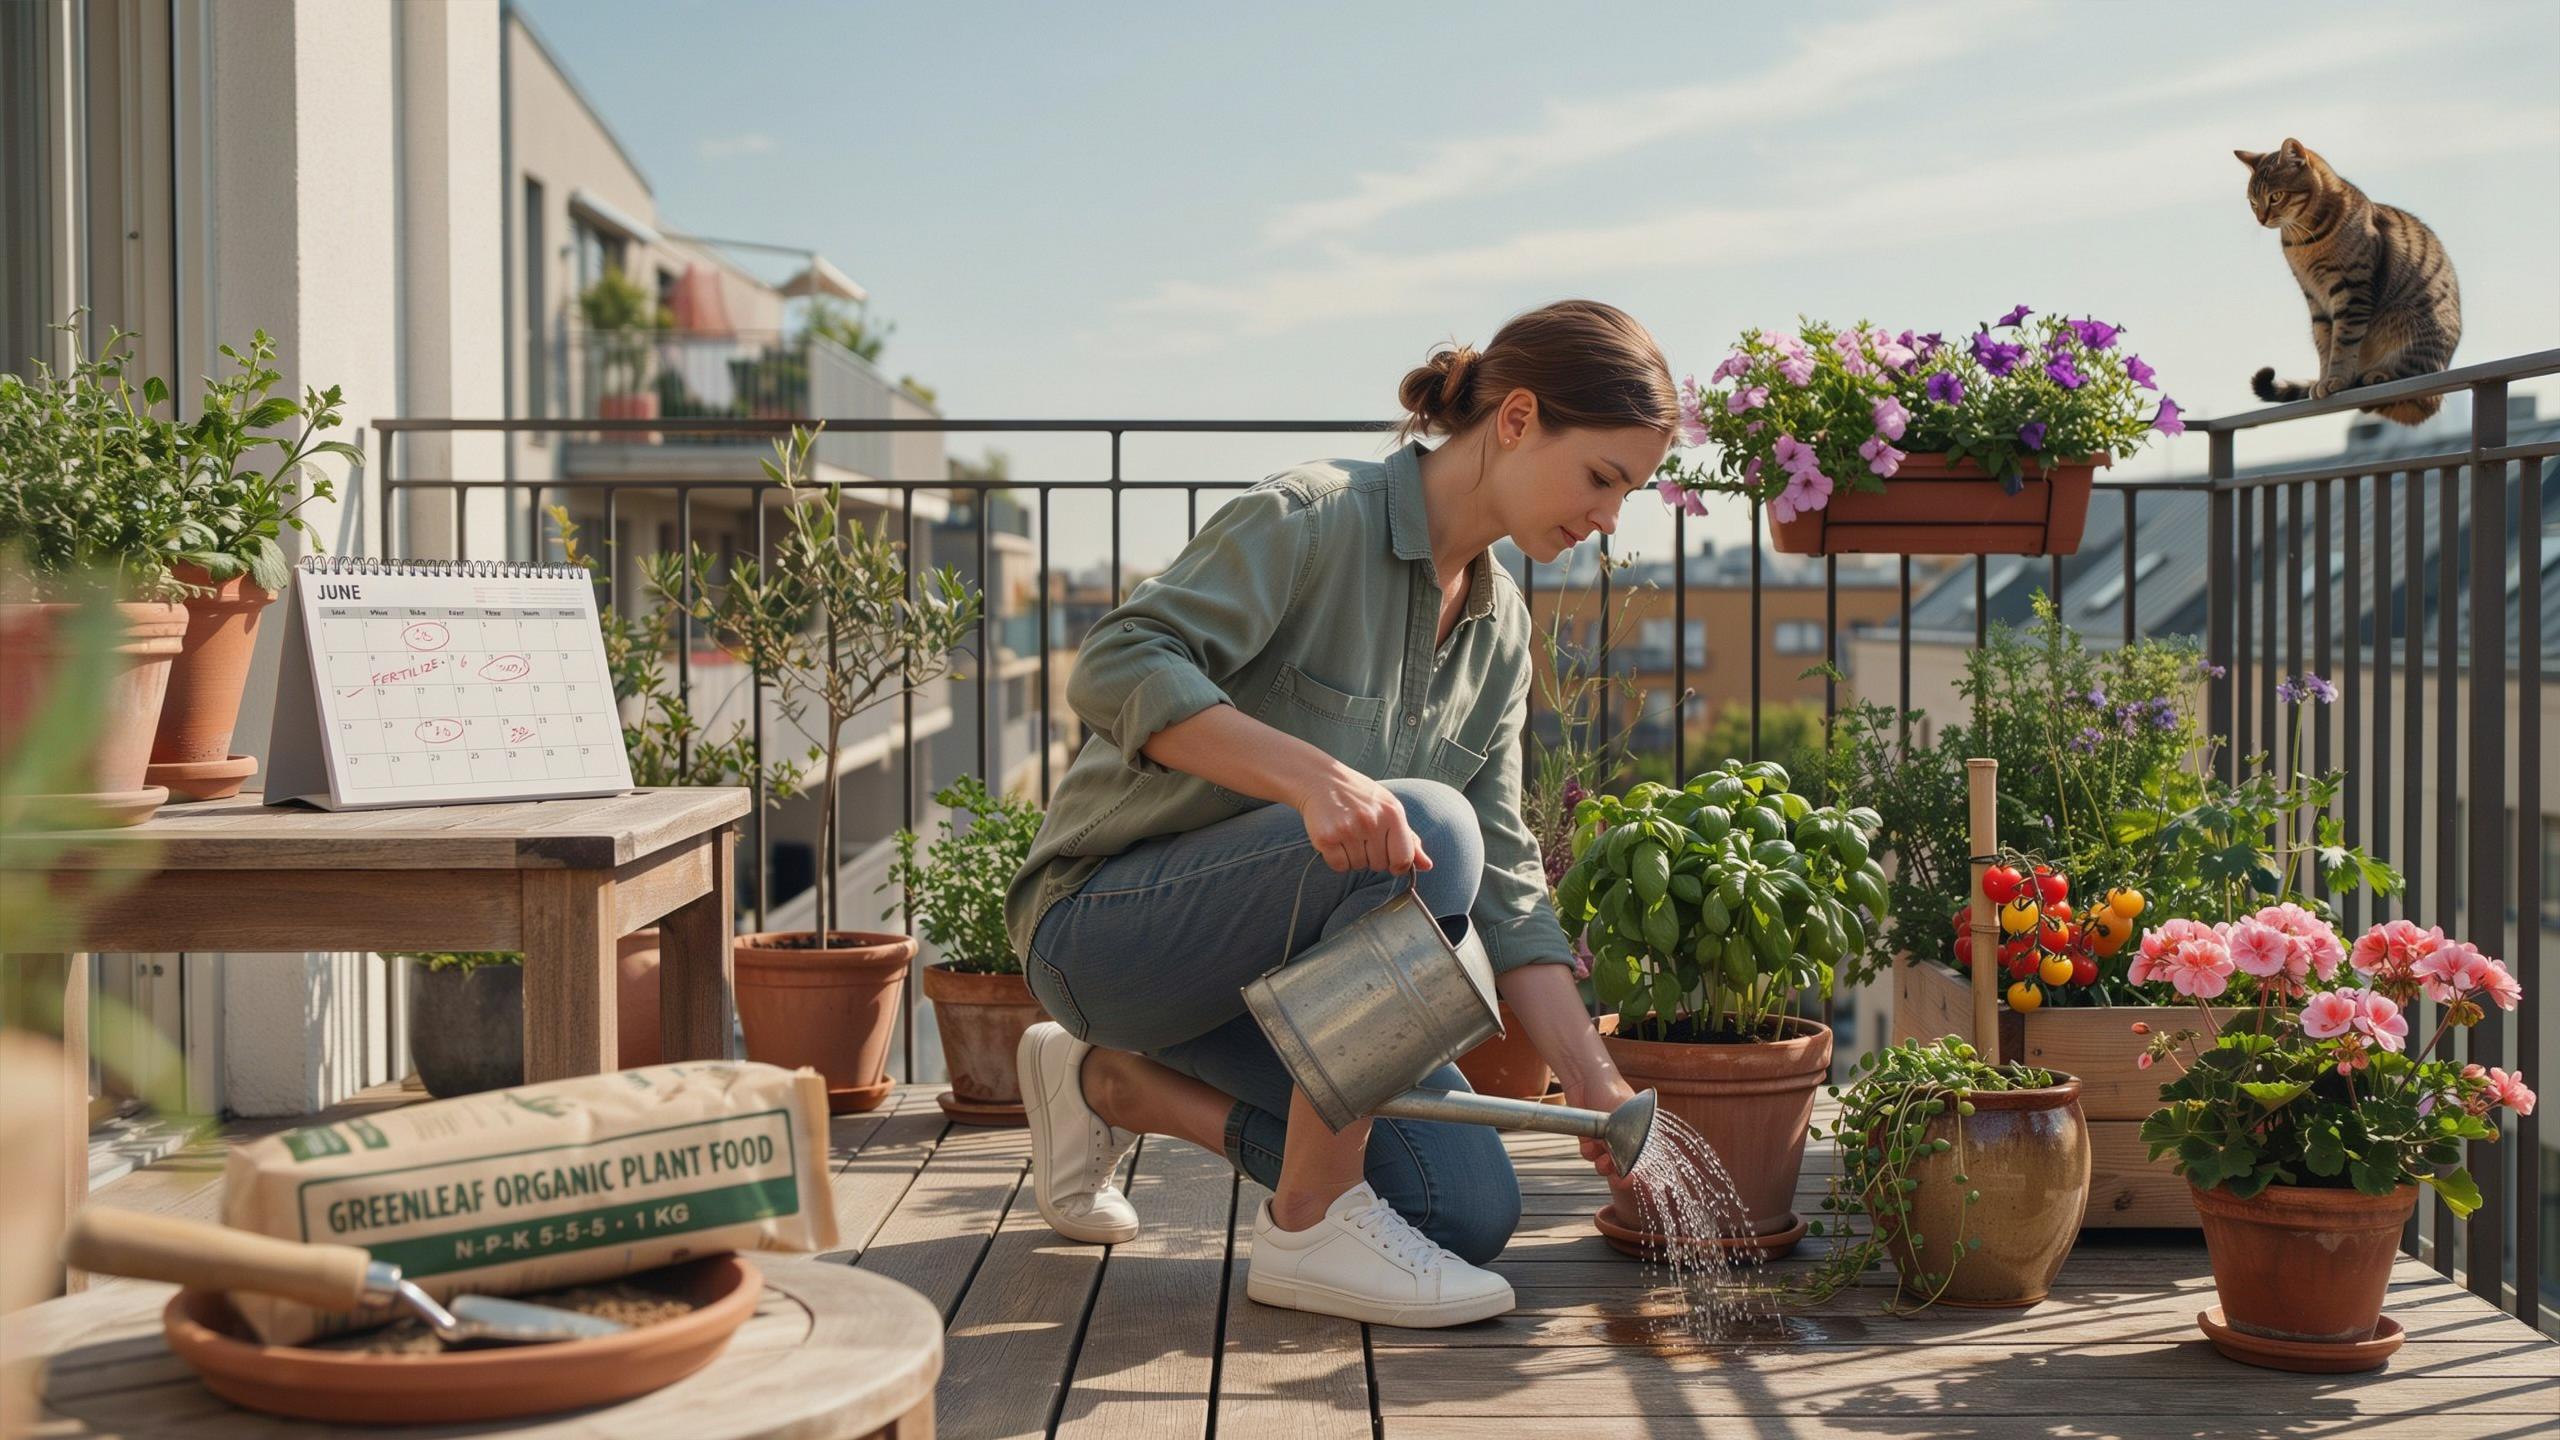
Understanding Why Container Plants Need More Frequent Fertilizing Than Ground Gardens
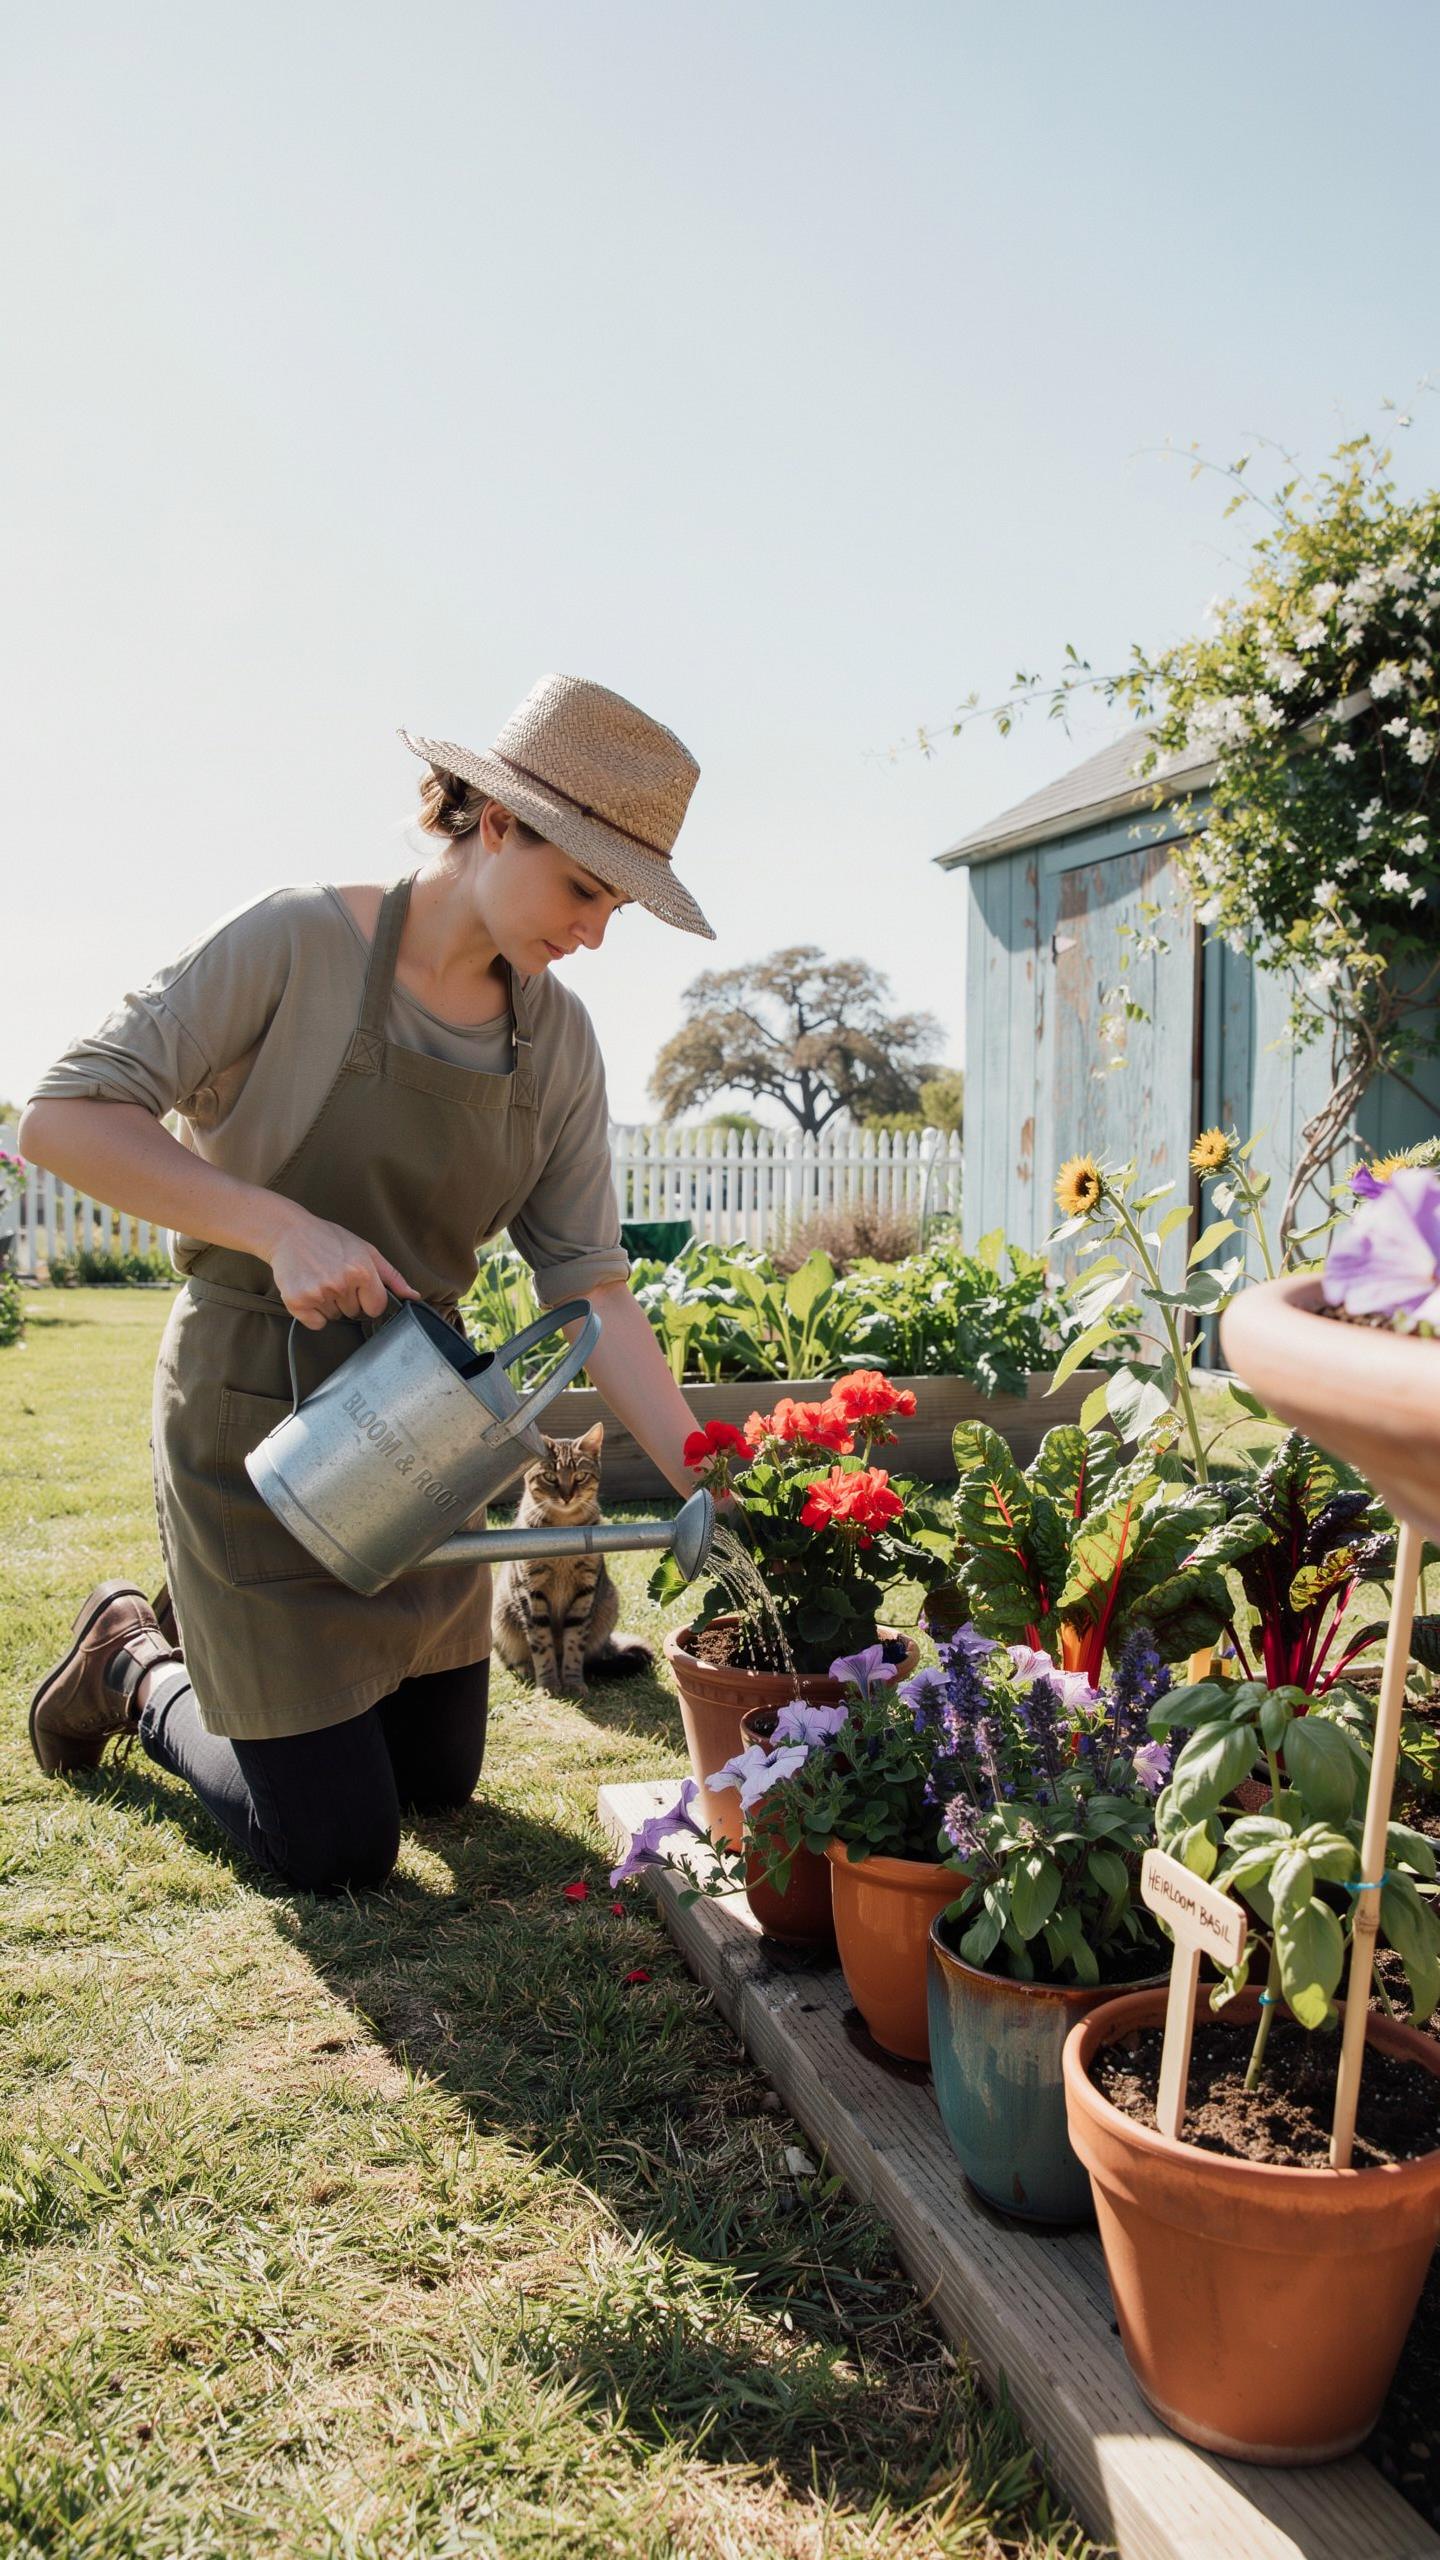
How Frequent Watering Flushes Nutrients Out Of Potting Mix
Container plants live in a cycle of rapid depletion. Every time you water a pot until it drains, the liquid carries dissolved salts and minerals out of the bottom holes. This process is called leaching. Potting mixes are designed for high porosity to prevent root rot. This high drainage speed means water does not stay long enough to keep nutrients locked in the substrate.
Frequent irrigation is mandatory for survival in small vessels. Hot weather accelerates this need, often requiring daily watering. This constant flow strips nitrogen and potassium faster than in a traditional garden bed. You must replace these specific elements manually to prevent growth stalls. A strict container garden fertilizing schedule compensates for this mechanical loss. You cannot rely on the soil to hold onto nutrients.
The Limited Soil Volume Problem And Its Impact On Plant Nutrition
Plants in the ground send roots deep and wide to find food. Container plants are trapped in a plastic or ceramic box. They quickly exhaust the finite supply of minerals within that small space. Once the roots hit the walls, they cannot forage for more resources. The plant becomes entirely dependent on the gardener for every milligram of nutrition provided.
Native soil contains microbes and organic matter that slowly break down into plant food. Most potting mixes are sterile blends of peat, bark, and perlite. These materials provide structure but very little natural fertility. Because the biomass is small, the nutrient buffer is nonexistent. You must intervene with regular feedings. Without your help, the plant will starve once it consumes the initial potting soil charge.
Getting Started With Container Gardening And Choosing The Right Fertilizer Type
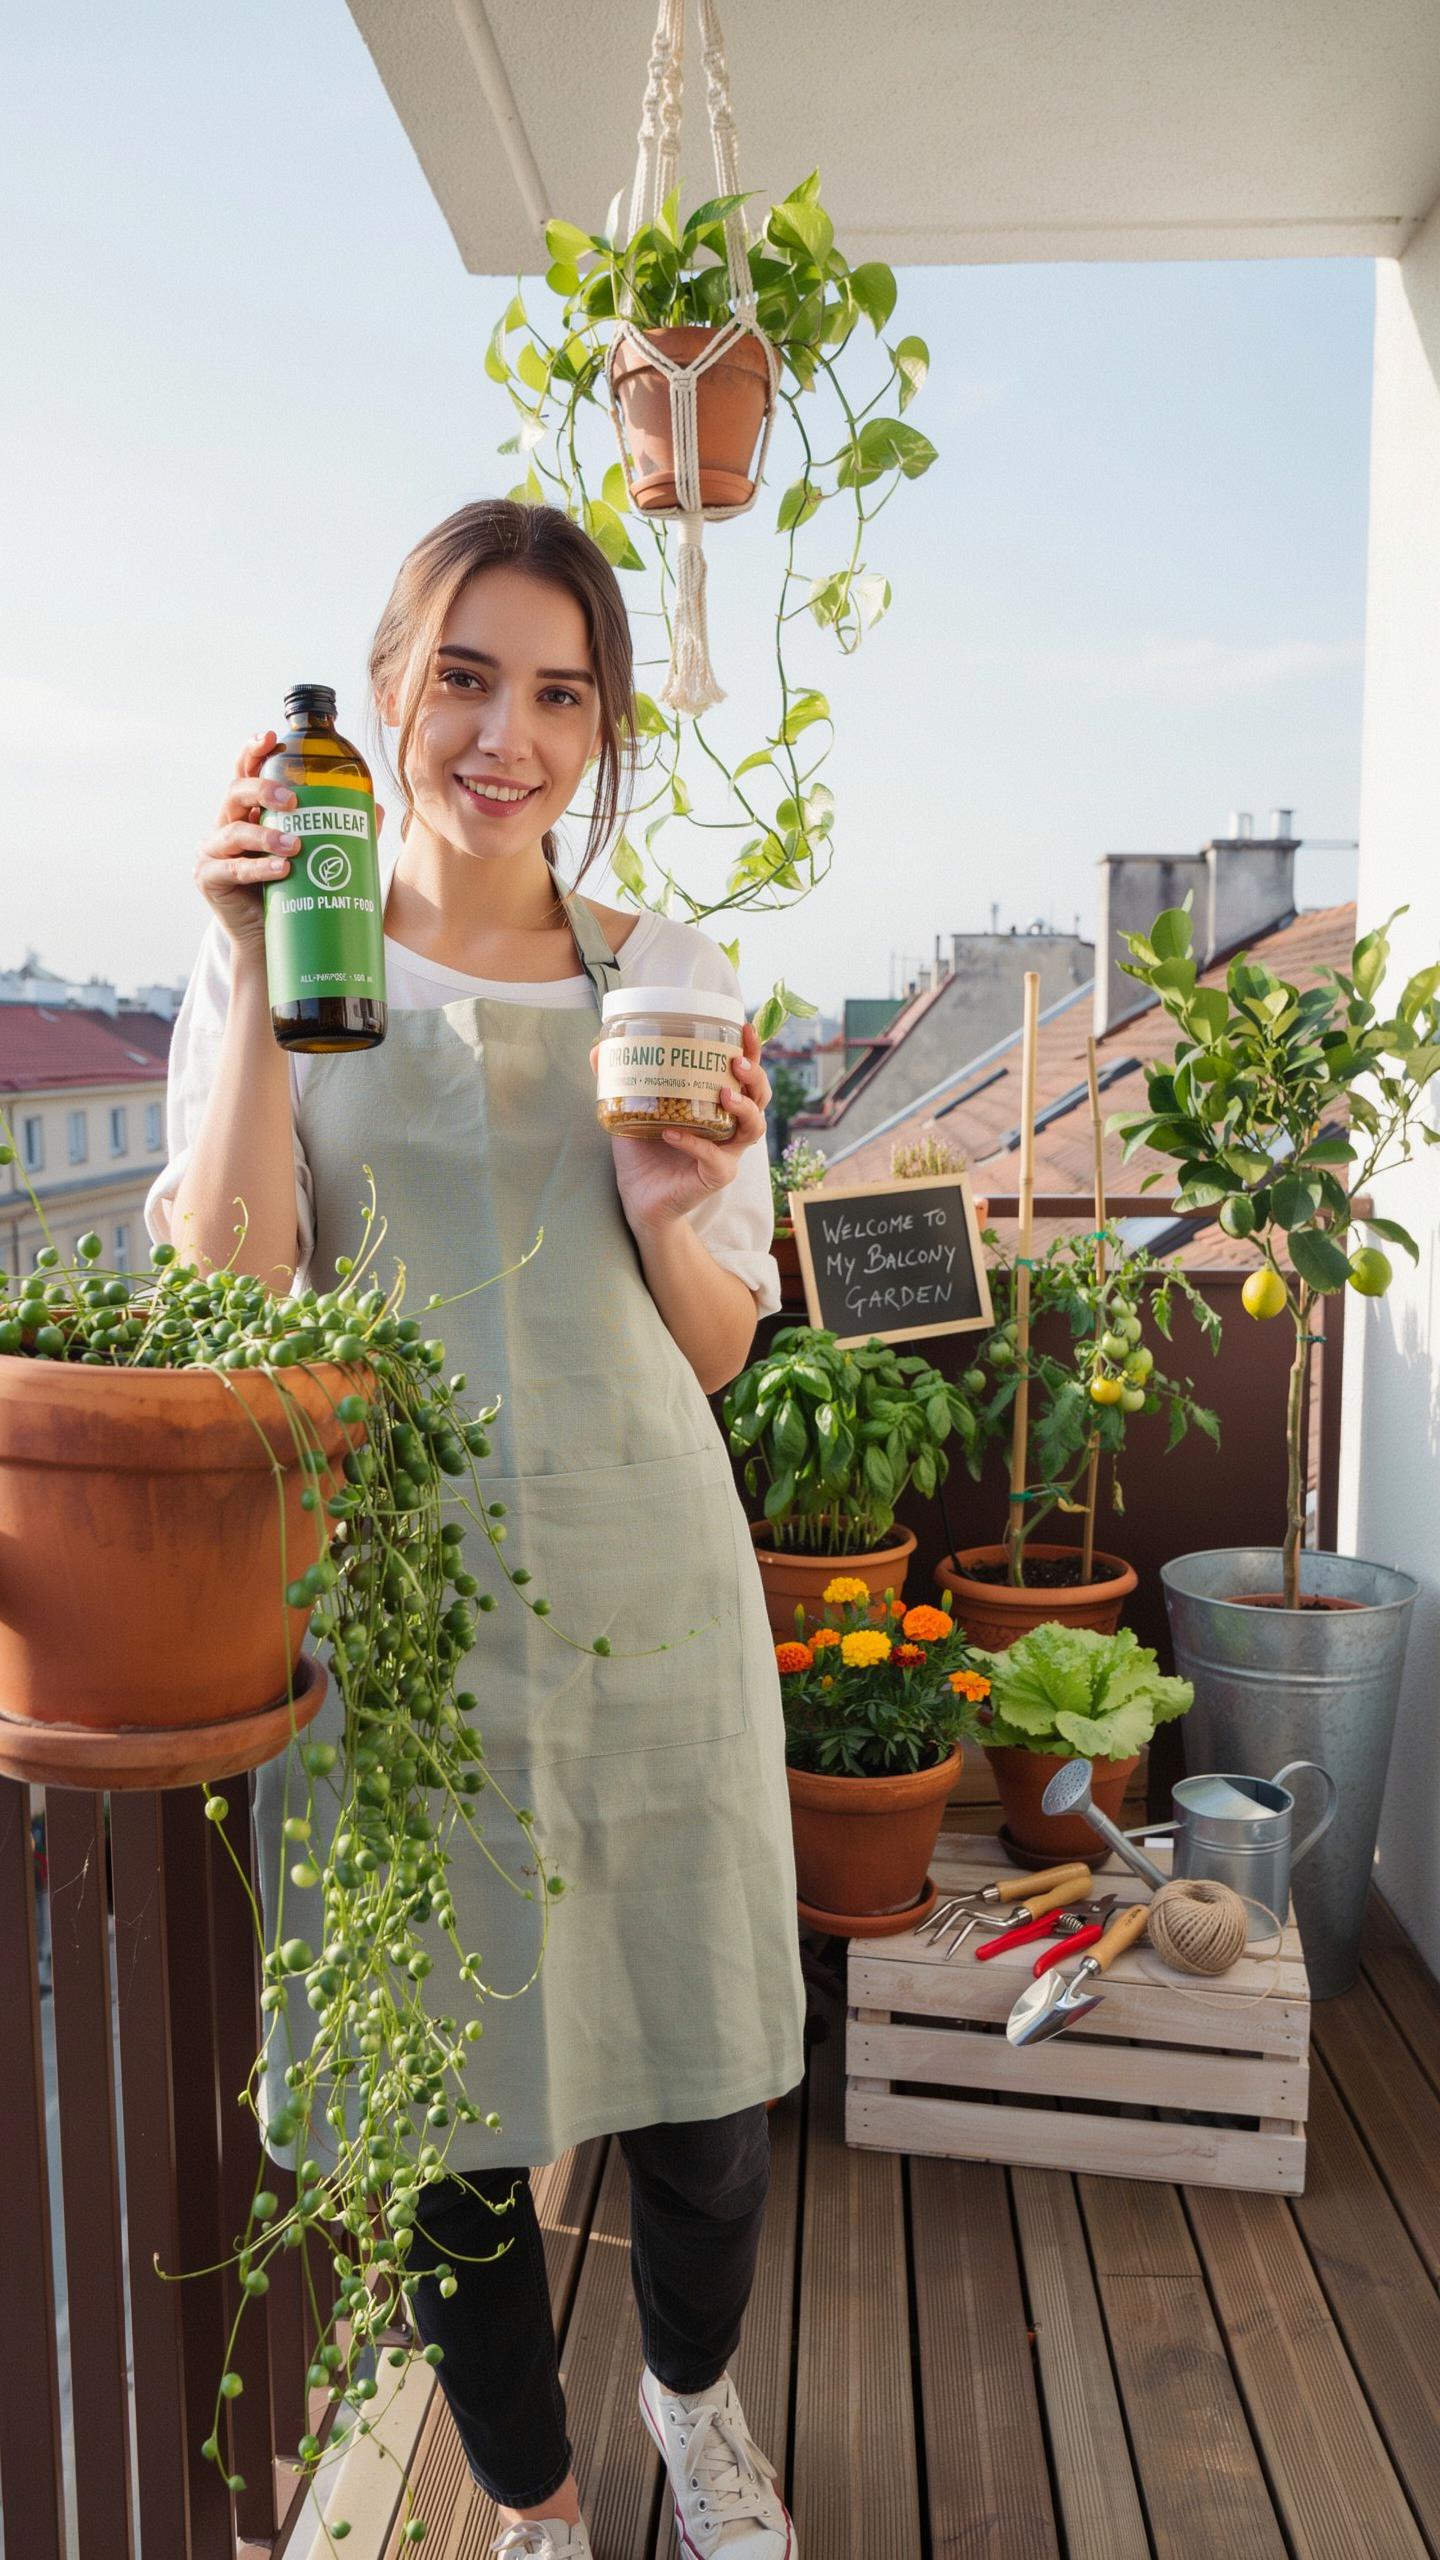
Liquid, Granular, And Slow Release Fertilizers Explained For Potted Plants
Container plants live in limited soil and lose nutrients fast through drainage. Liquid fertilizers provide immediate food but wash away quickly. You must apply them every one to two weeks during the growing season. This method gives you total control over plant growth. It works best for heavy feeders like tomatoes and annual flowers. High frequency application prevents the nutrient hunger gaps common in pots.
Granular and slow-release options provide a steady supply of nutrients over several months. Slow-release pellets use a special coating that breaks down based on temperature and moisture. This creates a safety net for busy gardeners. You mix these into the soil at planting time. Granular types work slower than liquids but require less labor. Use them to build a reliable foundation for your container garden fertilizing schedule.
Reading NPK Ratios And Matching Them To Your Container Plant Goals
Every fertilizer bag displays three numbers representing Nitrogen, Phosphorus, and Potassium. Nitrogen drives leafy green growth and stem strength. Phosphorus focuses on root development and flower production. Potassium improves overall plant health and disease resistance. You must choose a ratio that matches your specific crop needs. A balanced 10-10-10 formula serves as a general baseline for most mixed foliage containers.
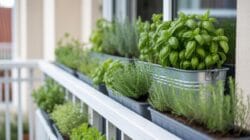
Specific goals require targeted NPK ratios to avoid wasted energy. Use high nitrogen numbers for leafy greens and herbs. Switch to high phosphorus formulas when you want more flowers or fruit. Too much nitrogen on a tomato plant creates big leaves but zero fruit. Watch your plants for signs of deficiency like yellowing leaves or stunted roots. Adjust your ratio based on these visual cues to maintain peak performance.
Using A Gardening Tips Starter Fertilizer When Planting In Containers For The First Time
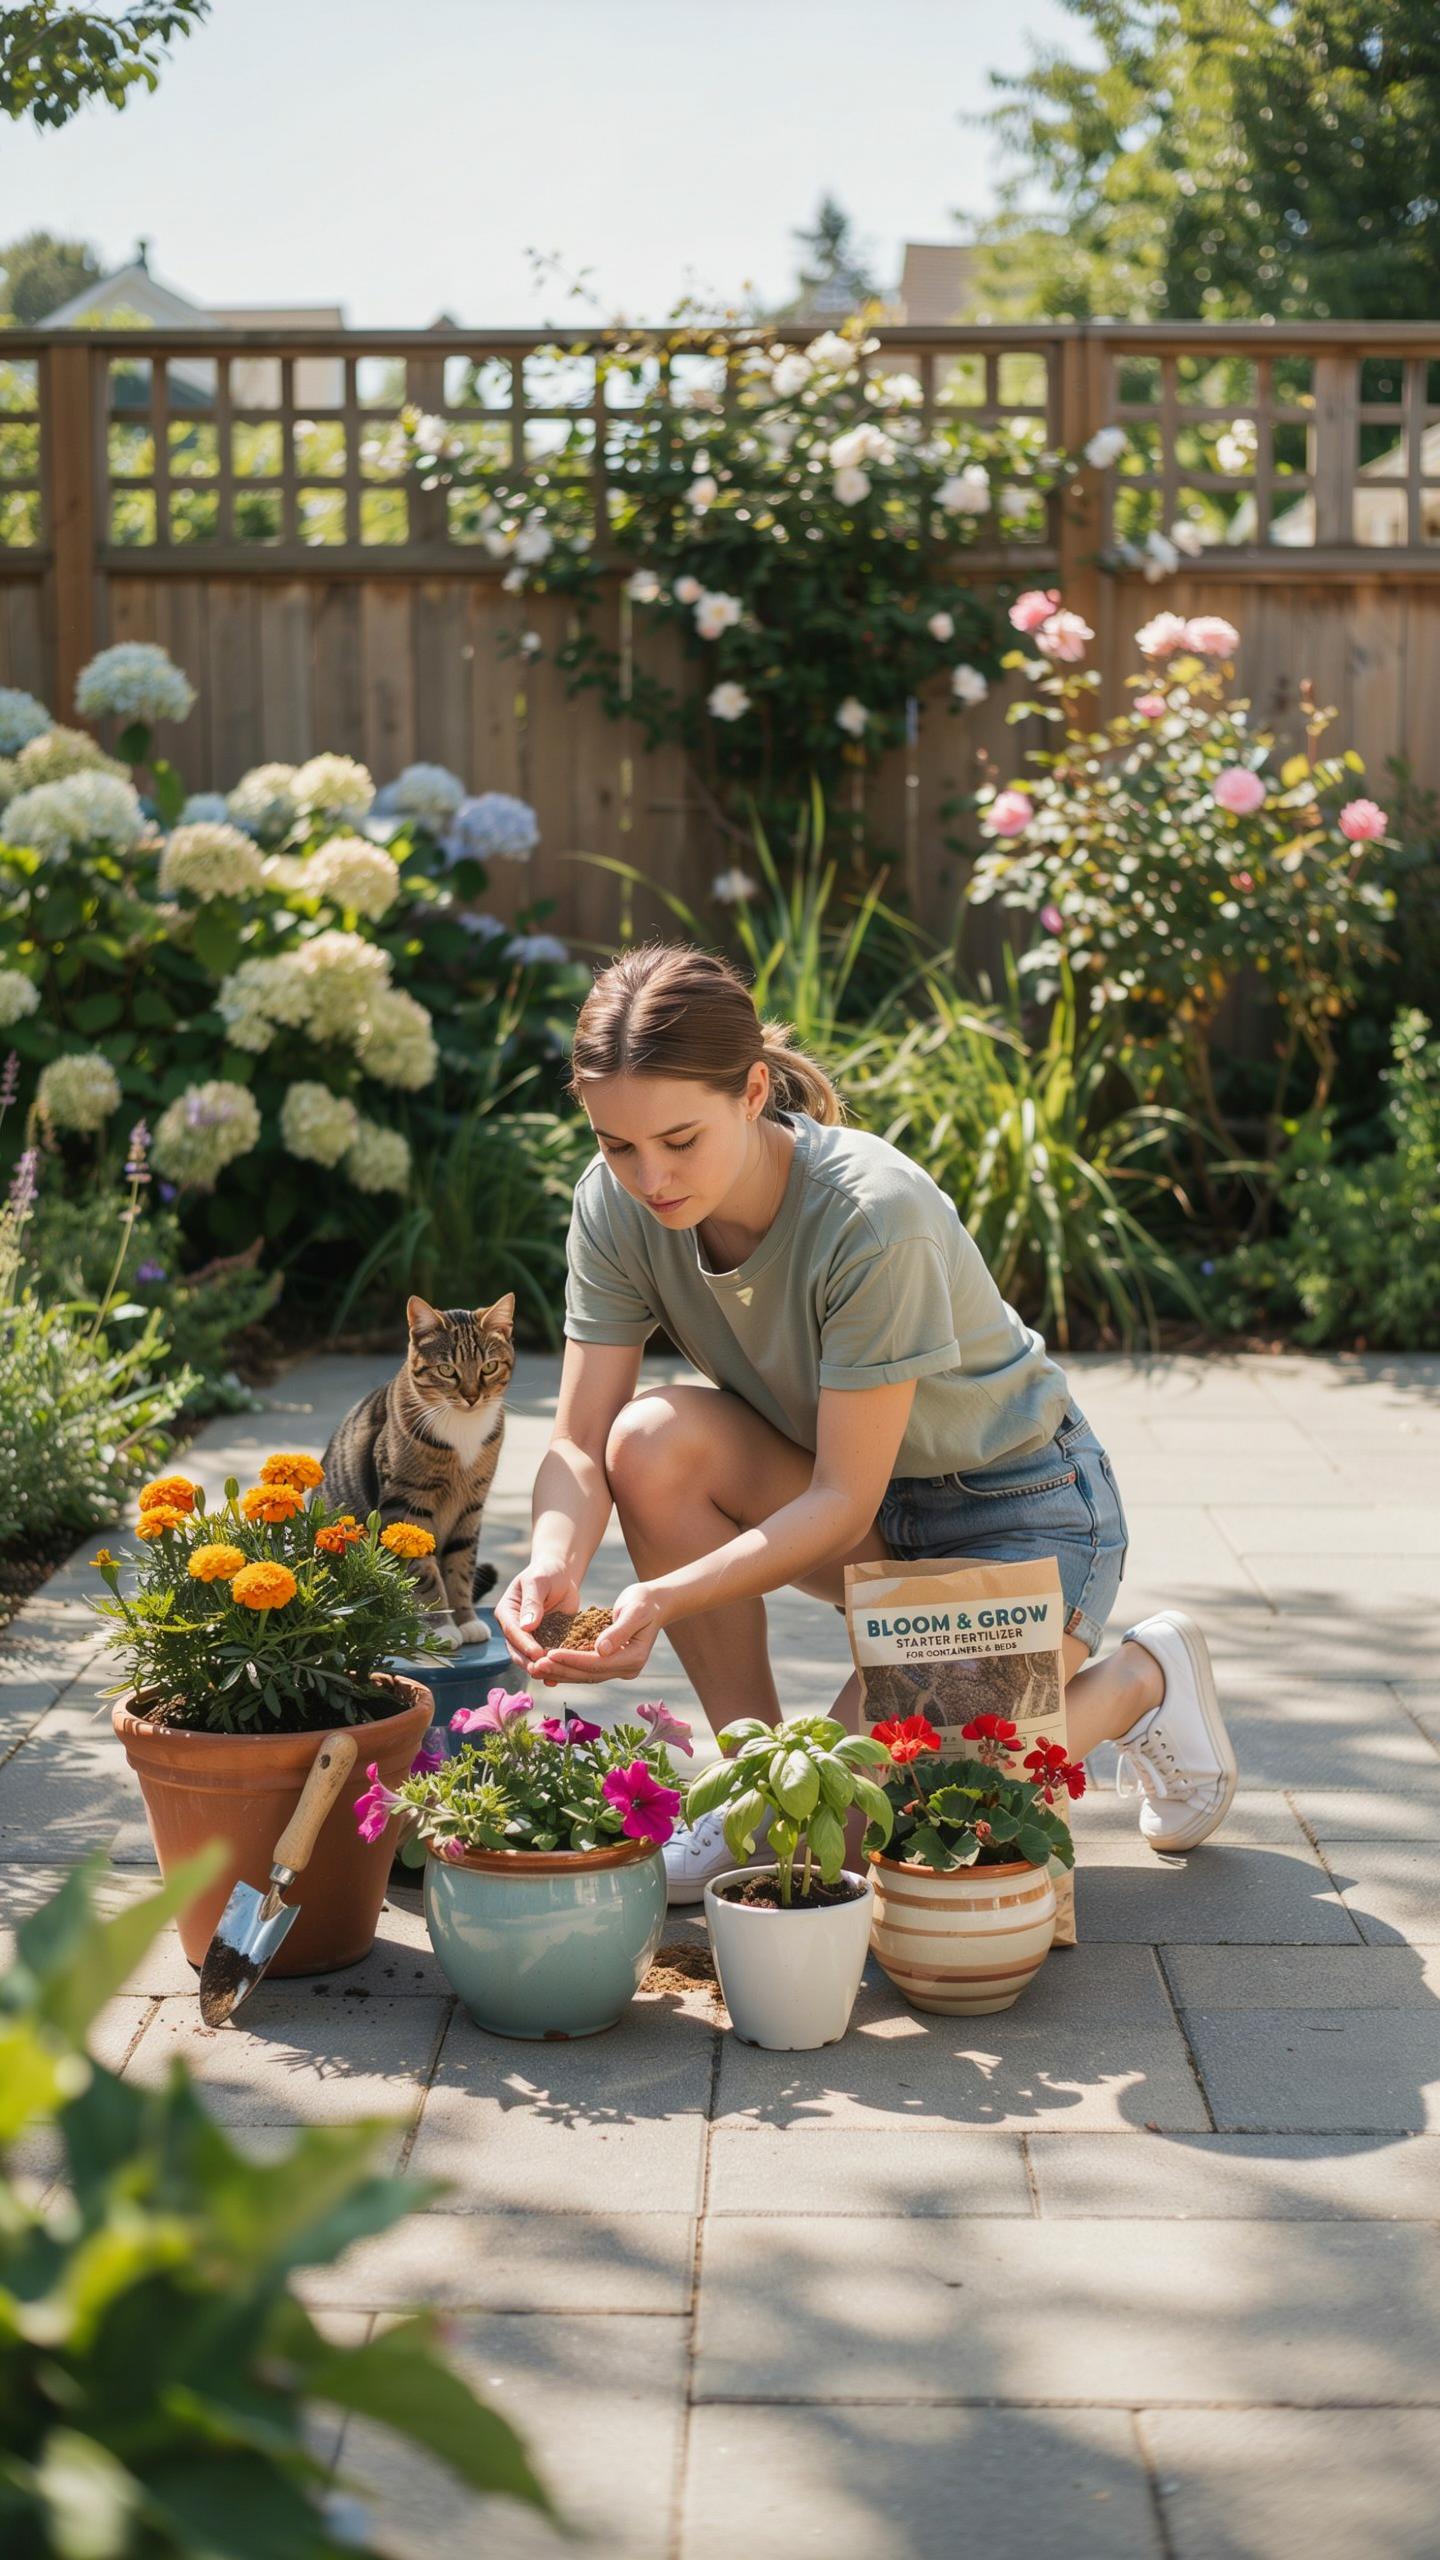
Why Starter Fertilizers Support Root Establishment In Newly Potted Plants
Container plants face high stress during initial potting. They lose their primary water source and must adapt to new soil chemistry. A starter fertilizer provides high phosphorus levels relative to nitrogen and potassium. Phosphorus triggers rapid root cell division. This allows the plant to anchor itself quickly. Strong roots ensure the plant can absorb water and nutrients before the summer heat hits.
Most potting mixes lack the biological activity found in natural ground soil. These mixes are often sterile or inert. Starter fertilizers bridge this gap by providing immediate bioavailable nutrients. Using these products prevents transplant shock and stops growth stalls. Rapid establishment means the plant spends less energy on survival and more on structural development. This foundation is critical for a successful container garden fertilizing schedule later.
How To Apply A Starter Fertilizer Correctly Without Burning Young Roots
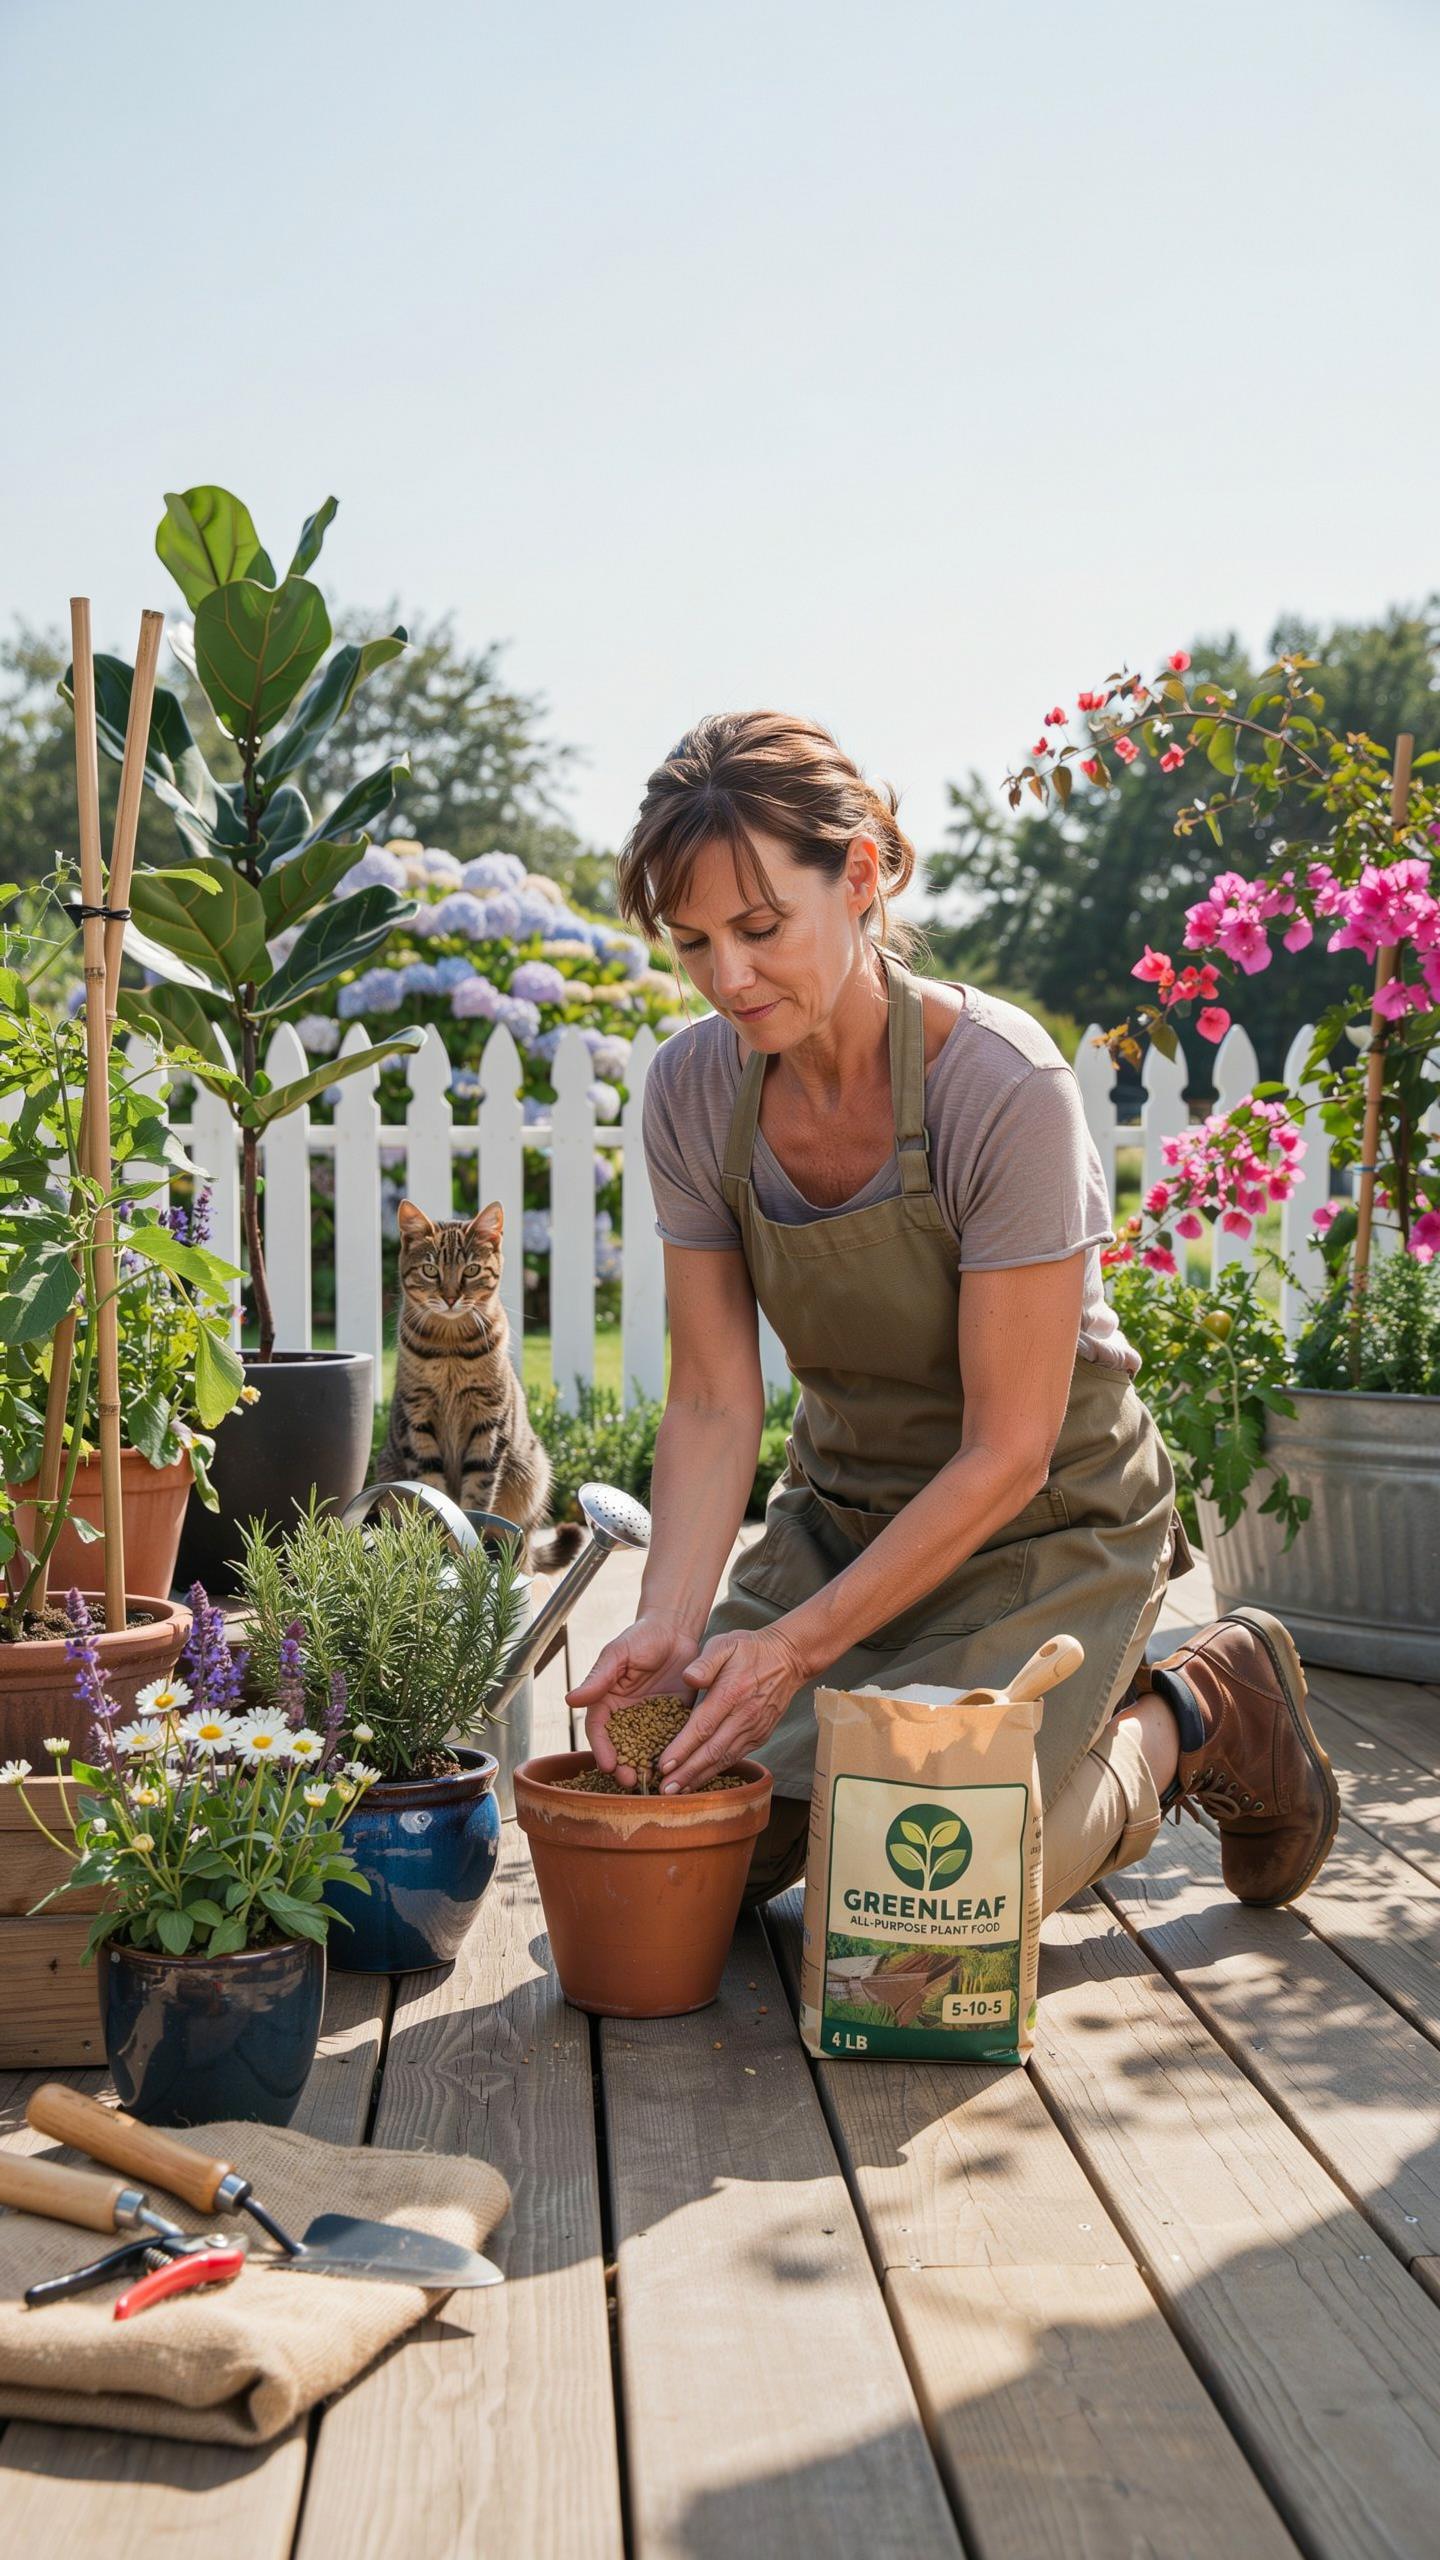
Apply starter fertilizer directly to the root zone at the time of planting. Mix granular versions into the bottom half of the planting hole. This placement encourages roots to grow downward toward the nutrients. Avoid letting concentrated fertilizer touch vulnerable stems or foliage directly. Salts in many fertilizers pull moisture out of plant tissues. This causes brown edges known as fertilizer burn.

Water the container thoroughly immediately after application. Water dissolves the minerals and moves them into the soil pores. This process prevents hot spots where salt concentrations get too high. Use the manufacturer rate specifically listed for container volumes. Half-strength doses often work best for sensitive seedlings. Consistent moisture after planting keeps the nutrient solution diluted enough for safe absorption. Rapid root growth begins within days of this first application.
The Best Time To Fertilize Plants Growing In Pots Across Different Seasons
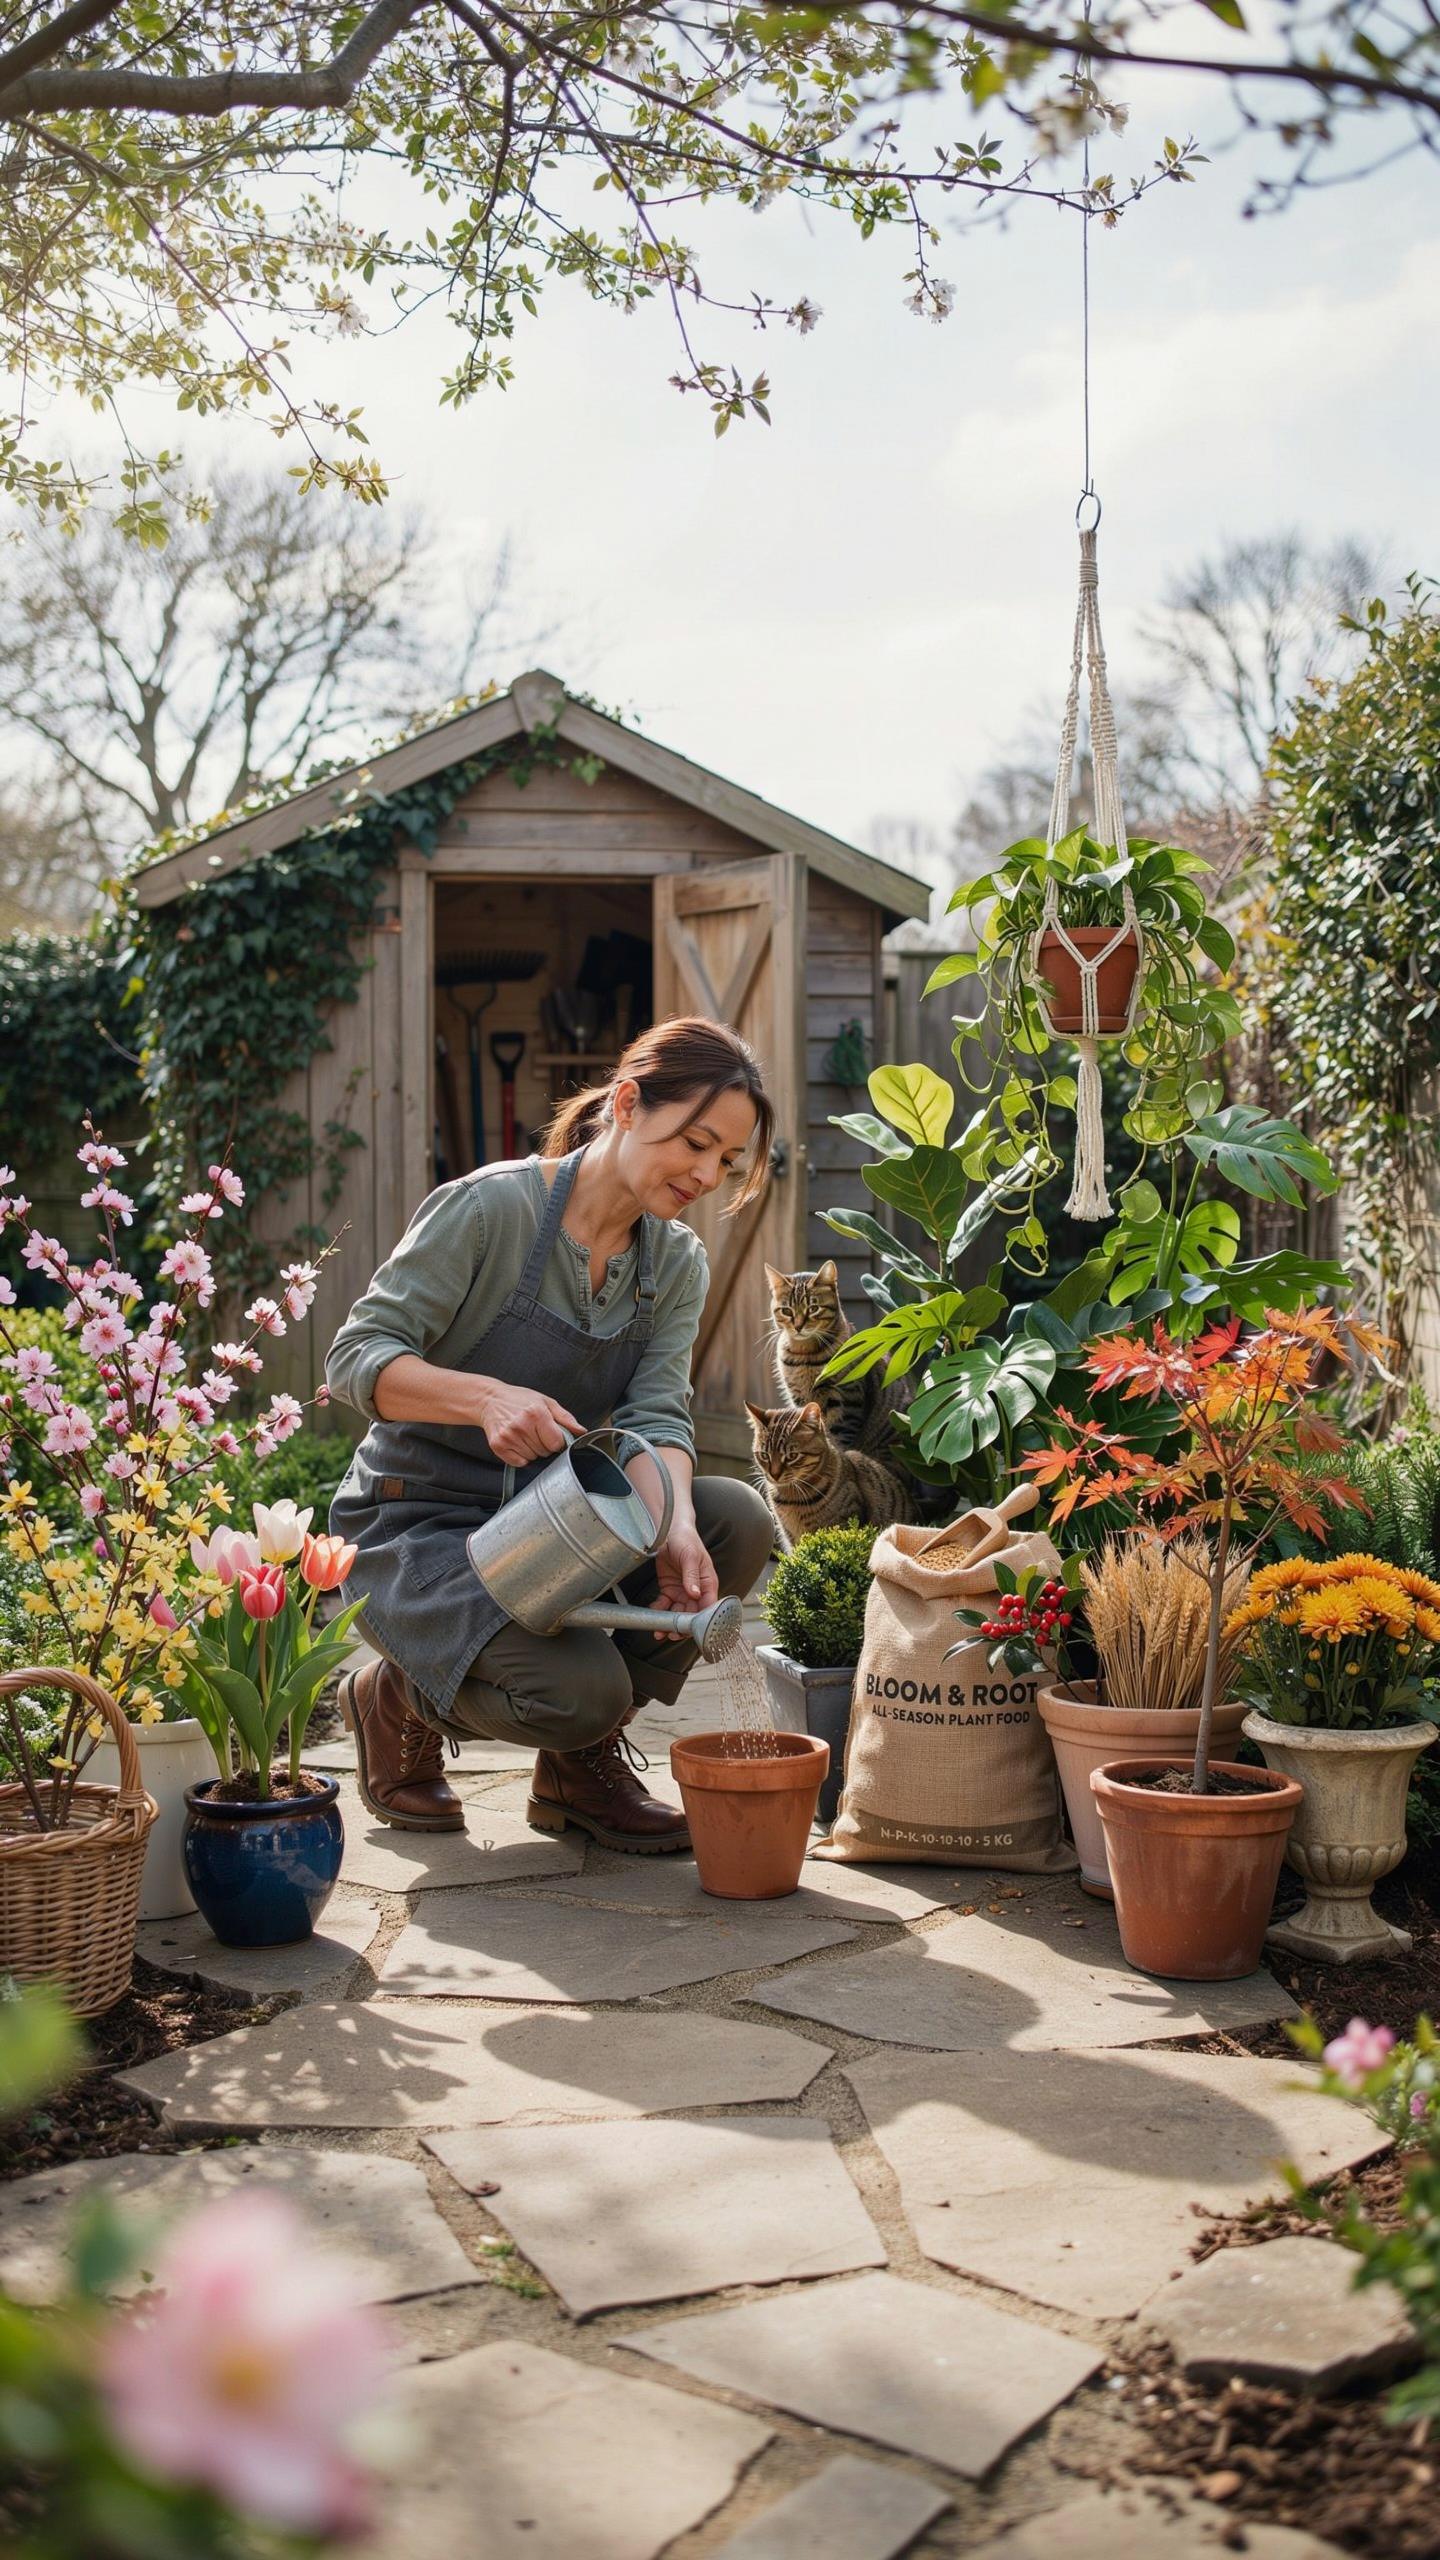
Spring And Summer Fertilizing Windows When Container Plants Are Actively Growing
Spring kickstarts the primary container garden fertilizing schedule as temperatures rise and daylight increases. Plants shift from dormancy to active growth during this window. They require nitrogen to build new foliage and phosphorus for root development. Start applying nutrients when you see the first signs of green growth. Wait until the danger of frost passes to avoid stimulating tender growth that cold snaps kill.
Summer demands the highest frequency of nutrient application. Frequent watering leaches minerals out of the drainage holes quickly. High heat also accelerates plant metabolism and nutrient uptake. Apply water-soluble fertilizers every two weeks for heavy feeders like tomatoes and annuals. Consistent feeding prevents growth stalls and maintains flower production. Monitor soil moisture regularly to ensure plants can actually absorb the nutrients you provide during peak heat.
Why You Should Reduce Or Stop Fertilizing Container Plants In Fall And Winter
Fall marks the beginning of the shutdown phase for most container plants. Natural light levels drop and temperatures cool down. Plants slow their metabolic rates to prepare for the coming winter. Continued fertilizing during this period forces new growth that cannot survive freezing temperatures. You must taper off your nitrogen applications to let the plant harden its stems and develop cellular resistance to cold.
Winter requires a complete halt of fertilizing for most outdoor containers. Metabolic activity reaches a standstill during these months. Adding fertilizer to cold soil is a waste of resources because roots cannot absorb them efficiently. Excess salts from unused fertilizer will build up and burn dormant roots. Keep the soil lean until the spring thaw arrives. Only resume the schedule when new buds appear and the soil warms up.
Building A Practical Week By Week Container Garden Fertilizing Schedule
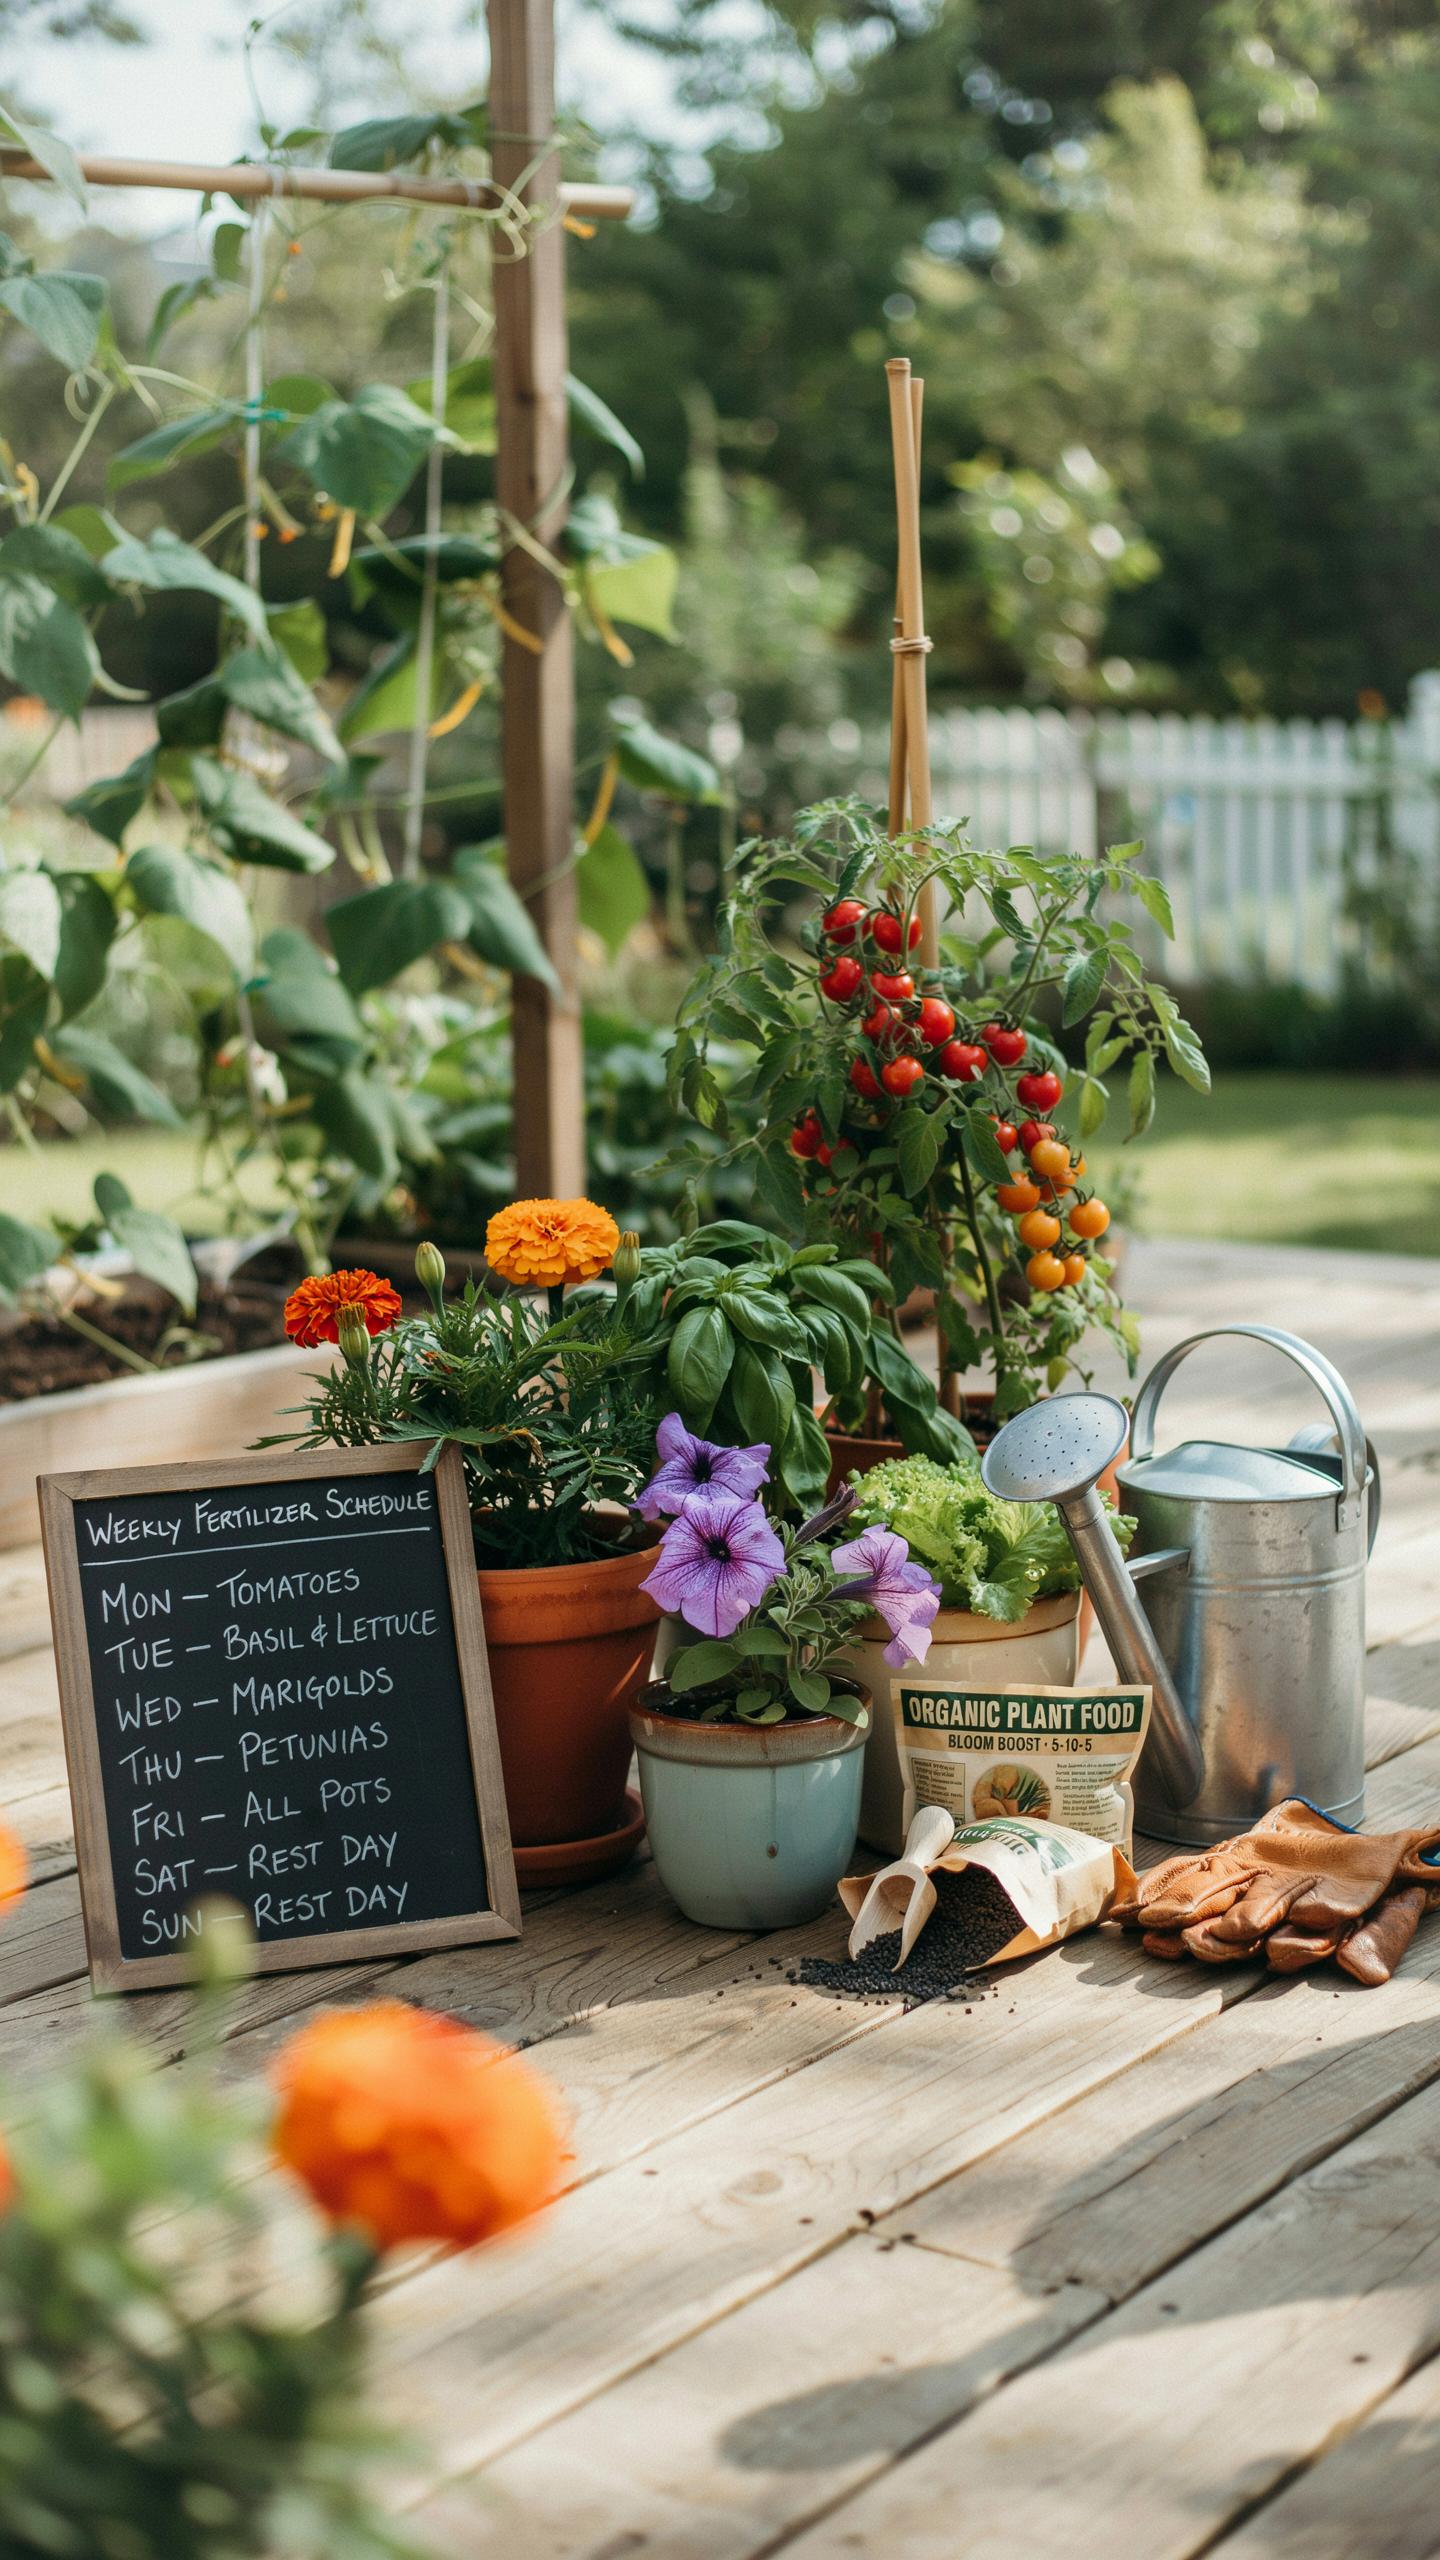
A Simple Monthly Fertilizing Framework That Works For Most Potted Plants
Container plants require frequent feeding because nutrients leach out during every watering cycle. Most standard potting mixes contain enough initial food for only four to six weeks of growth. After this period, you must intervene to maintain soil health. A monthly framework ensures that plants receive a steady supply of nitrogen, phosphorus, and potassium without risking toxic salt buildup in the root zone.
- Week One Initial Feed: Apply a balanced liquid fertilizer at half strength to kickstart the monthly cycle. This provides an immediate nutrient boost to the roots as they begin their most active growth phase for the month.
- Week Two Micro Nutrient Support: Use a seaweed or kelp extract to provide essential trace minerals like iron and magnesium. These elements do not replace primary NPK but support long term plant immunity and cell wall strength.
- Week Three Maintenance Dose: Repeat the balanced liquid application to sustain energy levels. Consistent feeding prevents the yellowing of lower leaves and ensures the plant has enough resources to continue producing new foliage and flower buds.
- Week Four Soil Flush: Skip all fertilizers during this week and use only plain water. Pour enough water through the container to see it drain out the bottom. This process washes away accumulated salts that can burn sensitive root tips.
- Alternative Slow Release Application: Use granular organic pellets once every four weeks as a base layer of nutrition. These break down slowly over thirty days and provide a safety net if you miss a scheduled liquid feeding during the month.
Organizing your feeding schedule by the calendar simplifies the process and prevents over-fertilizing. Liquid fertilizers work faster but disappear quickly from the porous soil used in containers. Granular options provide a steady flow but lack the immediate impact of water-soluble brands. Combining both methods gives you the best results for nearly any standard decorative or edible container plant variety.
Adjusting Your Fertilizing Frequency Based On Plant Type And Growth Rate
Heavy feeders like tomatoes and peppers require more frequent applications than herbs or succulents. High-energy plants consume nitrogen rapidly to build stalks and fruit. You should feed these productive varieties every seven to ten days during the peak summer heat. If you notice stunted growth or light green leaves, increase the frequency but keep the concentration low to avoid burning the plant.
Slow growers and drought-tolerant species need less intervention to thrive. Succulents and woody perennials can go several weeks or even months between feedings without negative effects. Over-fertilizing these plants leads to weak, leggy growth that attracts pests and diseases. Monitor the specific growth rate of each pot. Adjust your schedule by observing leaf color and the speed of new sprout emergence throughout the season.
How To Fertilize Garden Plants In Containers Without Over Feeding Or Causing Salt Buildup
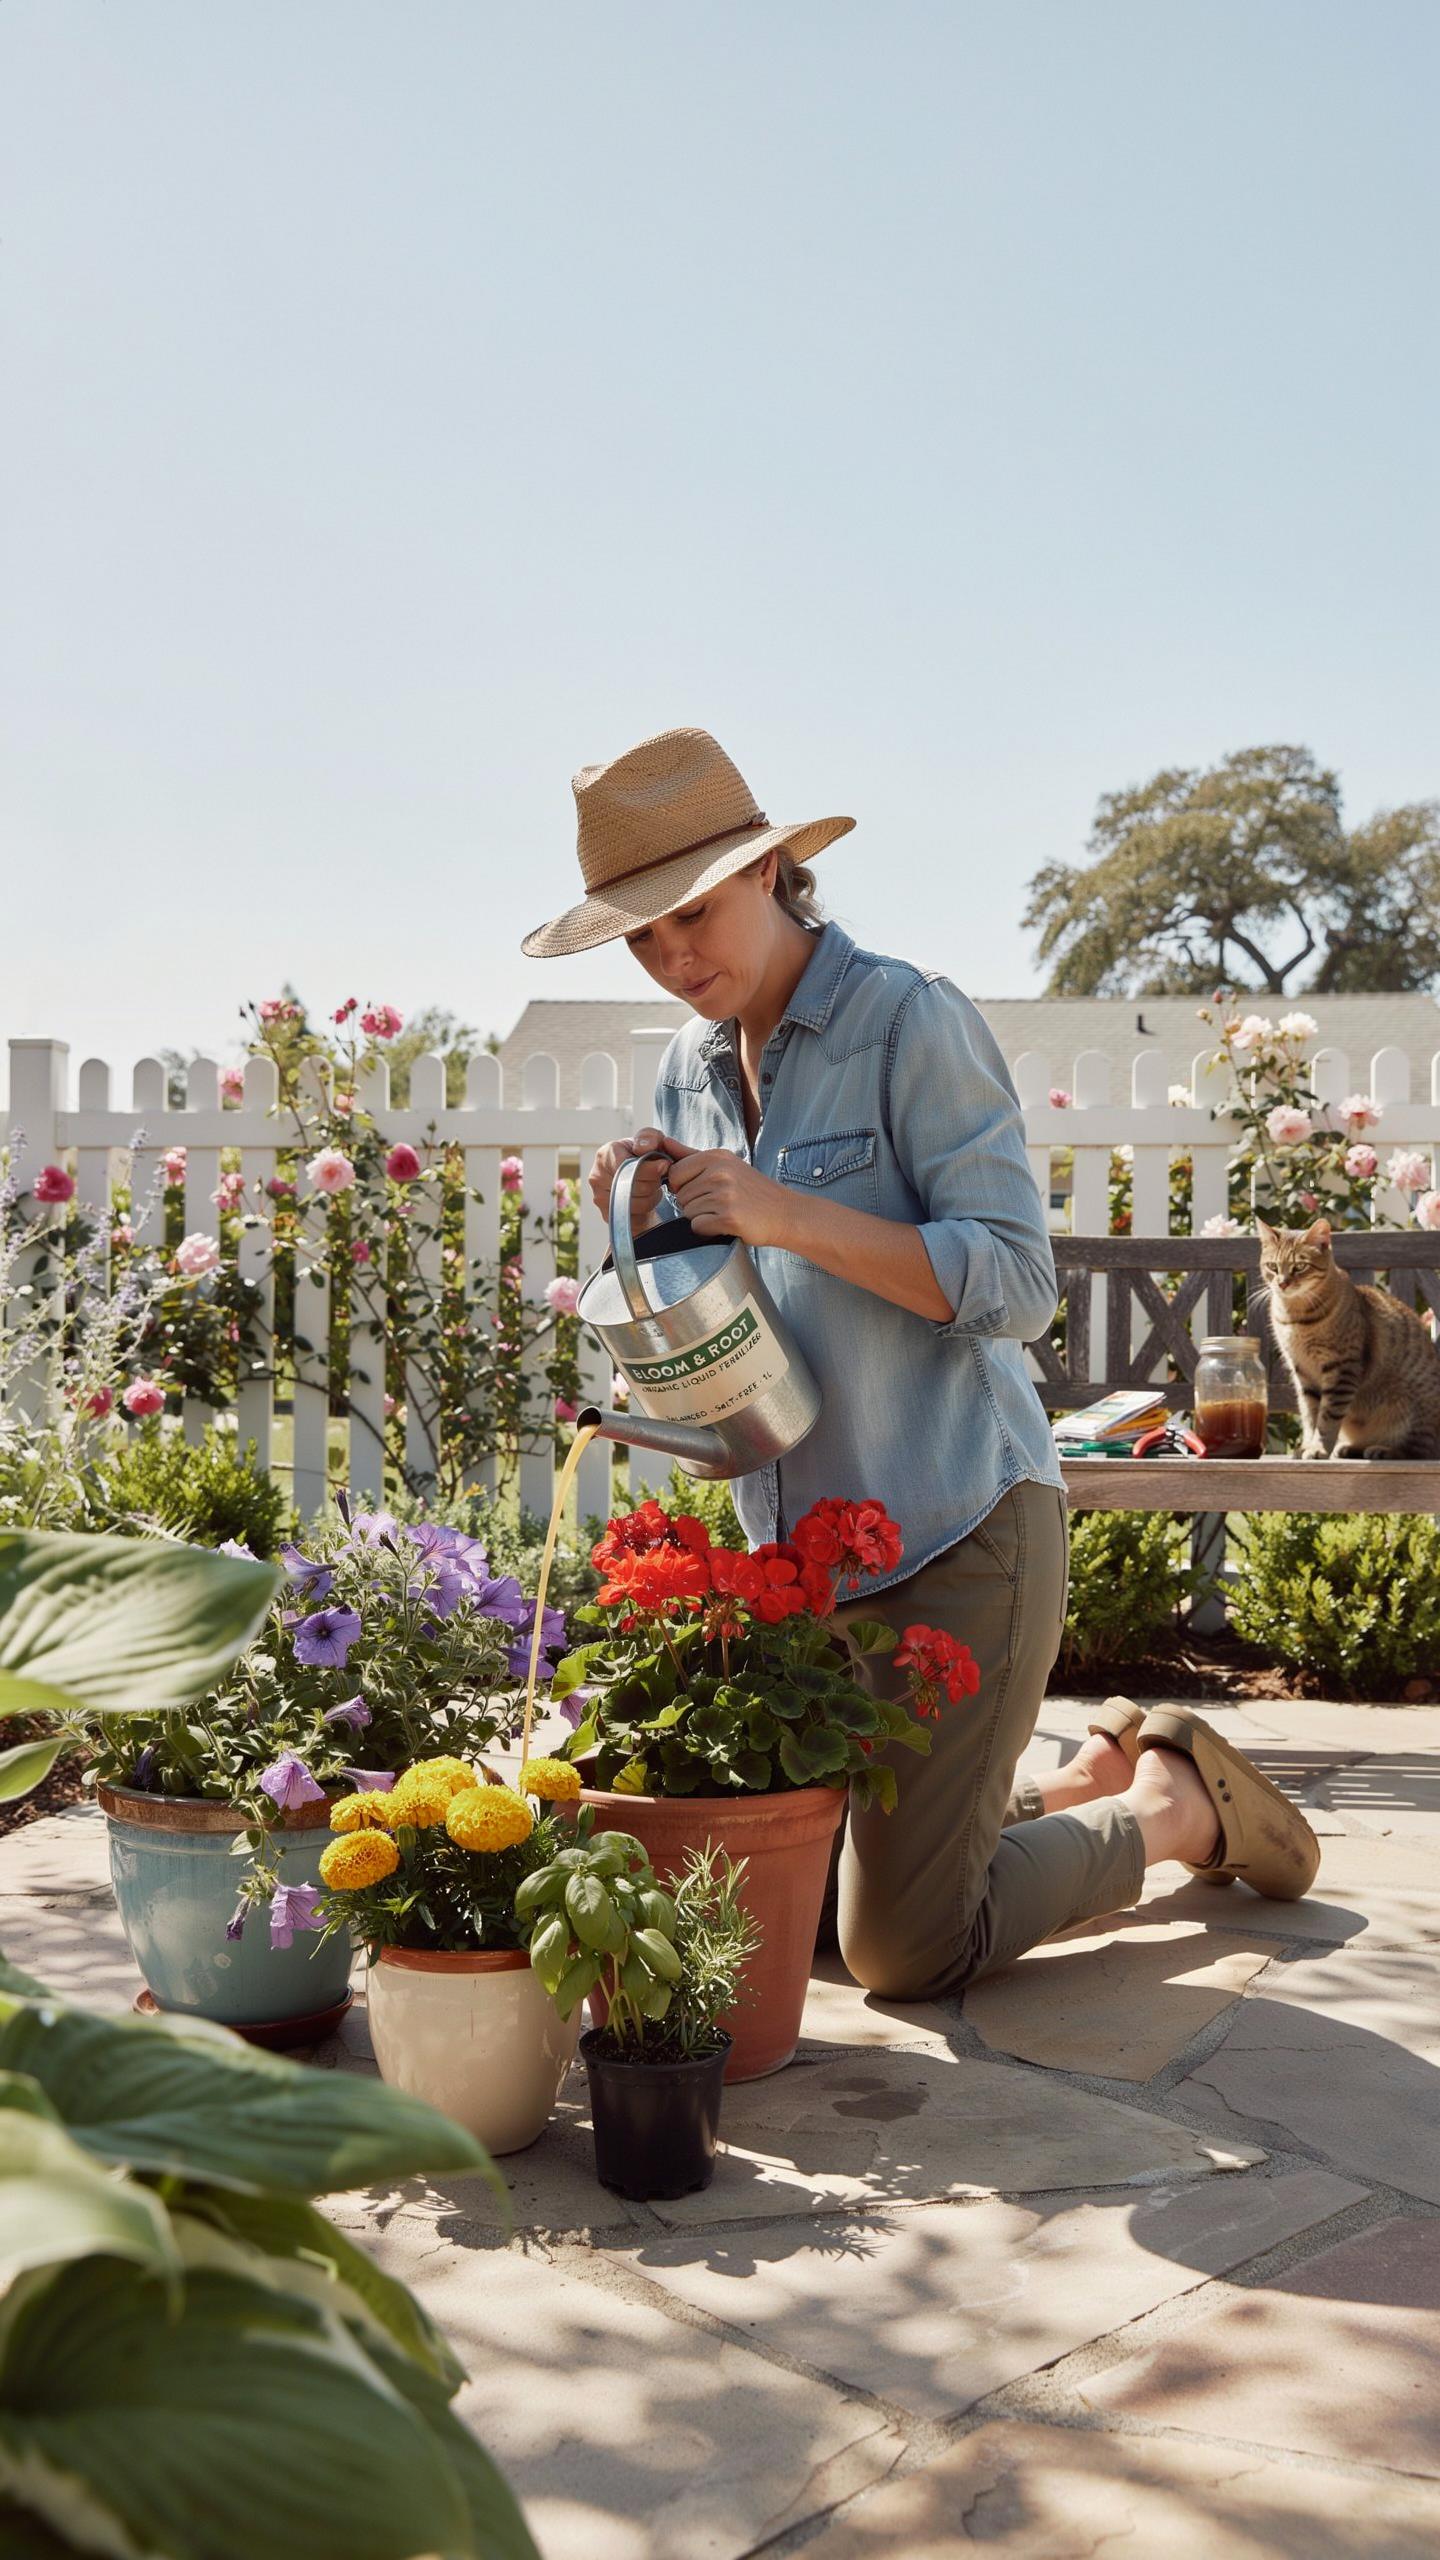
Recognizing The Warning Signs Of Over Fertilization In Potted Plants
Over-fertilization manifests through physical distress in the foliage and root system. You will see yellowing lower leaves or brown, crispy edges on new growth. This indicates that high nitrogen levels are burning the plant tissues. Stop adding nutrients immediately when you notice these shifts. Excess salts pull water away from roots, causing the plant to wilt even when the soil remains wet.
Observe the soil surface for a white or tan crust. This crust consists of mineral salts that have evaporated out of the fertilizer solution. These deposits signal a dangerous buildup that will eventually kill the plant. If the plant stops growing despite regular feeding, the roots are likely damaged. Check for dark, mushy roots which confirm that chemical burns have compromised the entire vascular system.
Flushing Your Container Soil To Remove Excess Fertilizer Salt Accumulation
Flushing is the only effective way to reset the chemical balance of your container soil. Move the pot to a location with high drainage, like a sink or driveway. Pour room temperature water onto the soil surface slowly. Use a volume of water equal to twice the total volume of the pot. This process dissolves the accumulated salts and carries them out through the drainage holes.
Perform a deep flush every four to six weeks as a preventative measure. This maintenance task protects sensitive roots from long-term damage. Ensure you do not leave the pot sitting in the runoff water afterward. Standing water allows the salts to reabsorb into the root zone. Once the soil drains completely, resume a reduced fertilizing schedule. Use half-strength concentrations to avoid repeating the toxic salt buildup.
How To Fertilize Plants Effectively Based On What You Are Growing In Pots
Fertilizing Schedules For Vegetables, Herbs, And Edible Container Crops
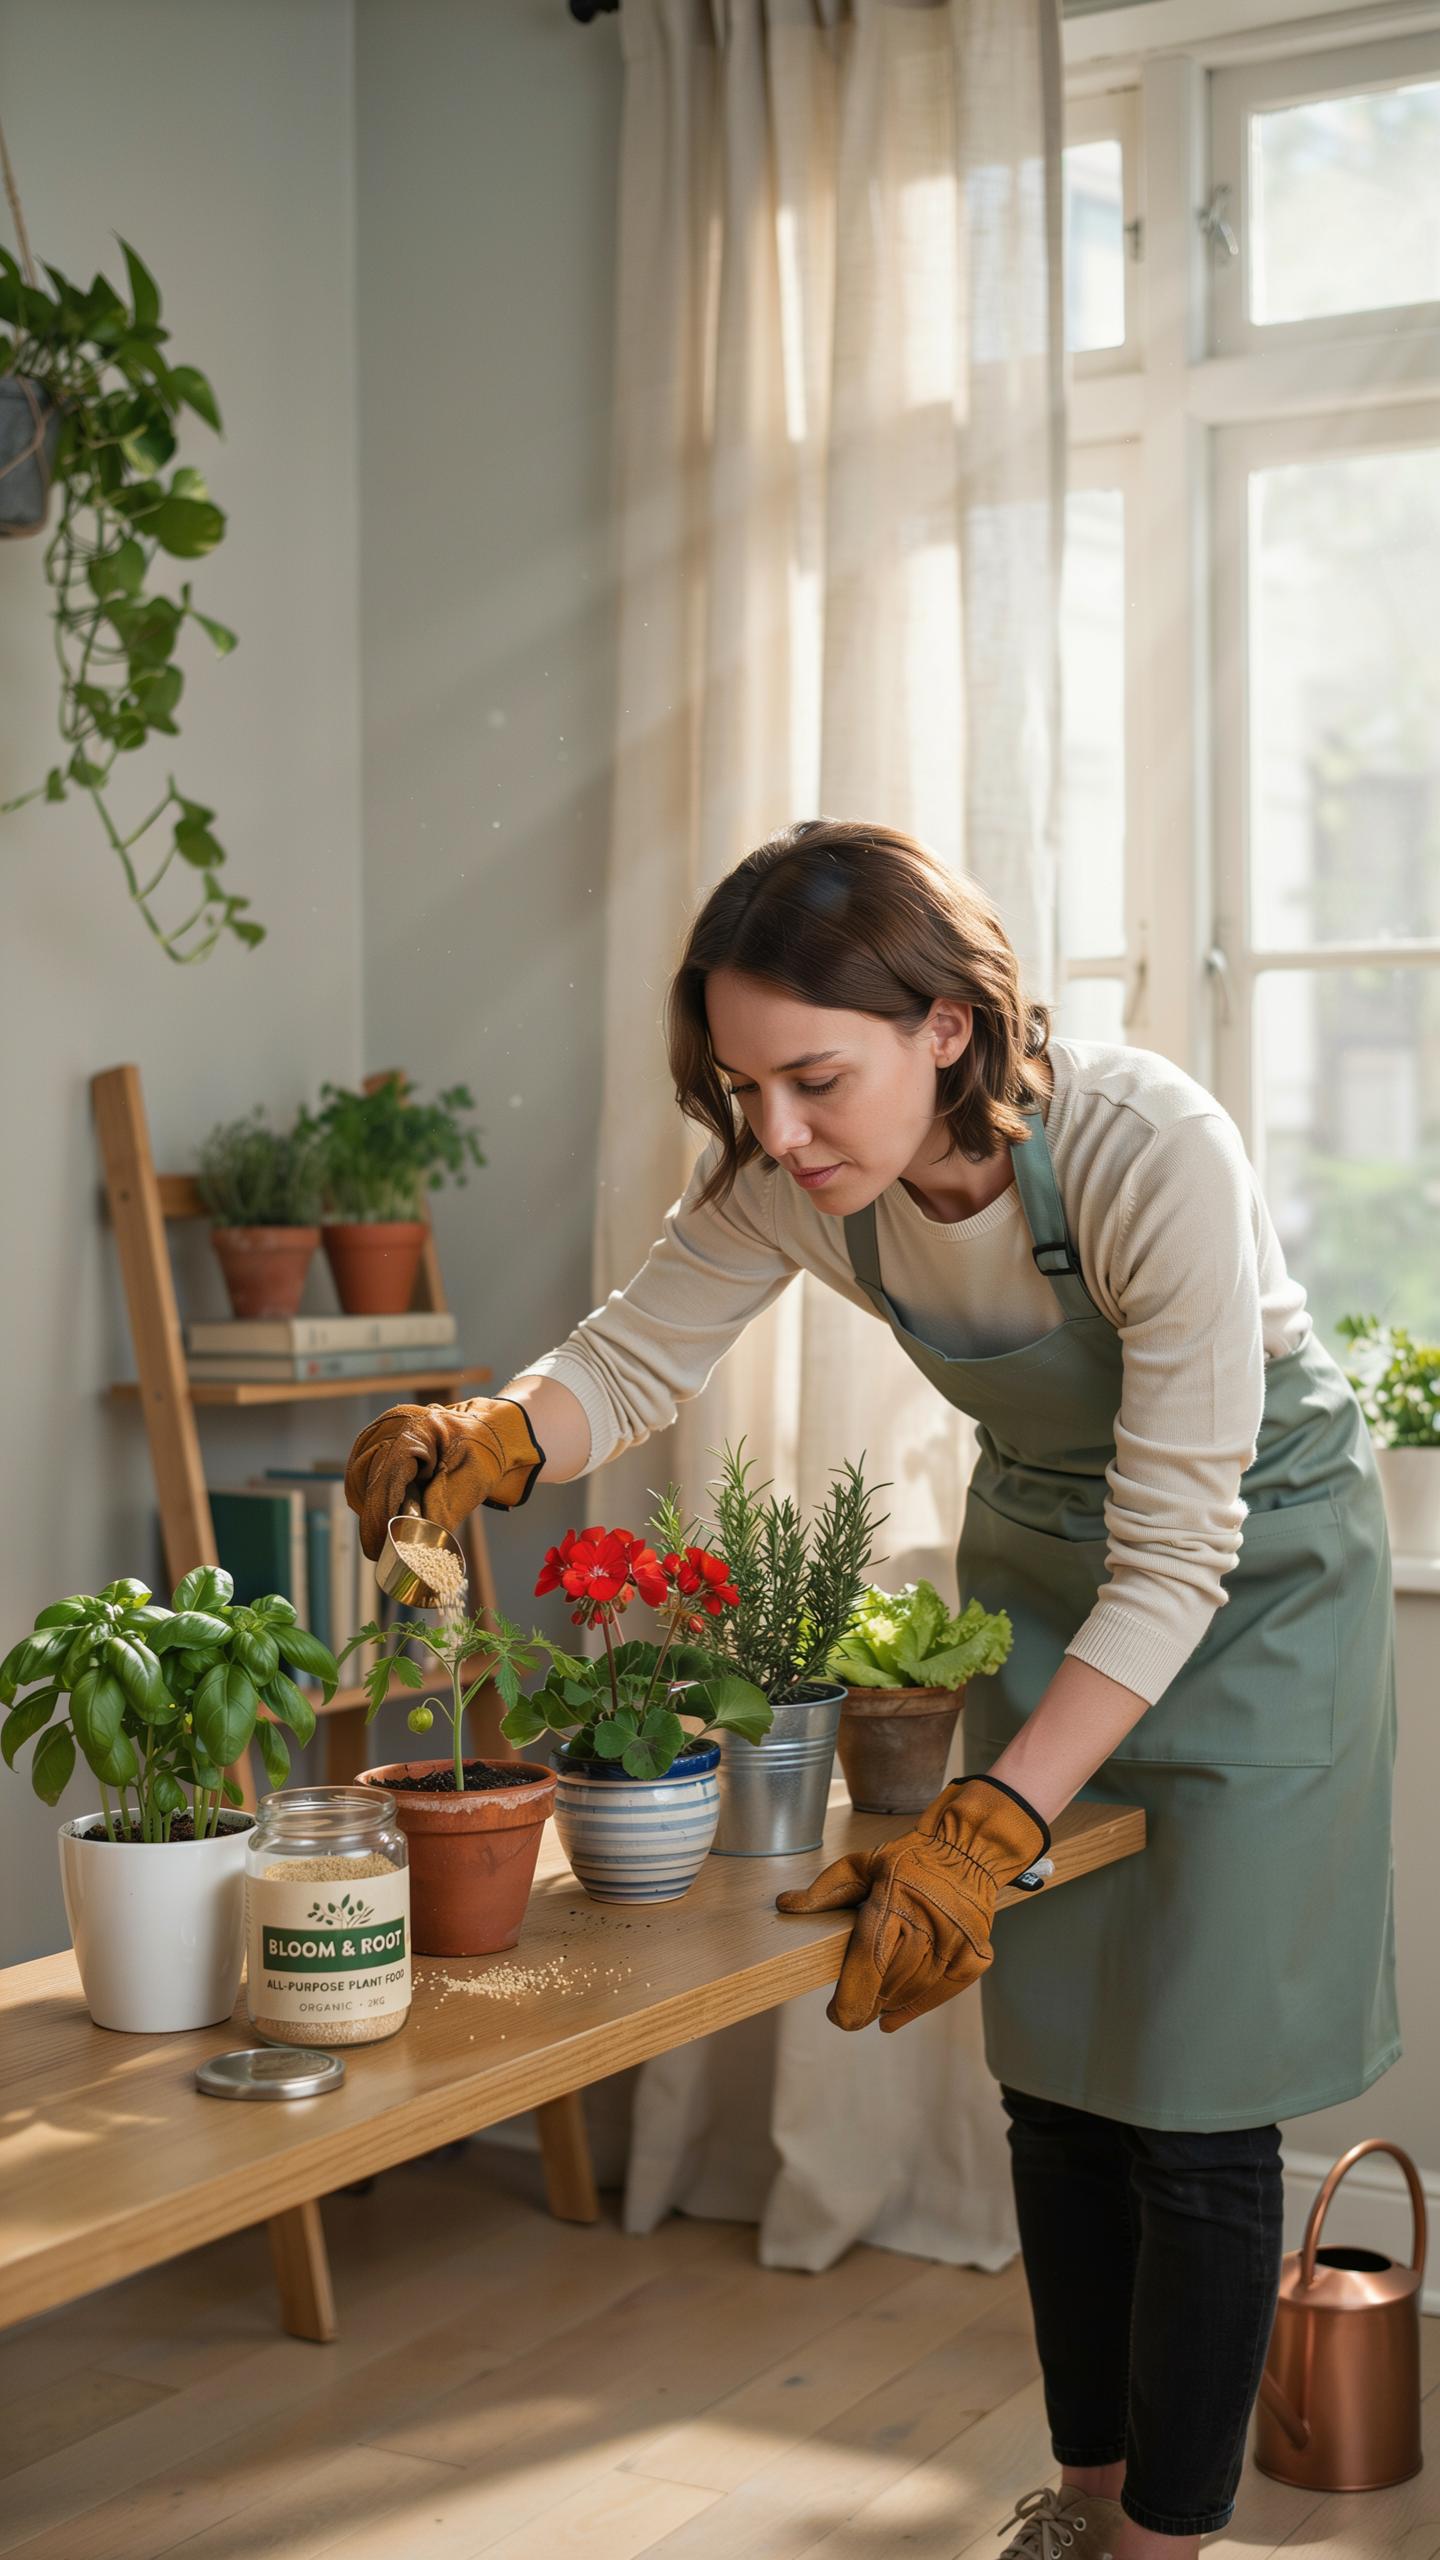
Vegetable crops in pots require high nutrition to produce fruit. Heavy feeders like tomatoes and peppers deplete soil nutrients within six weeks. You must apply a balanced liquid fertilizer every fourteen days once the plant establishes. Switch to a low phosphorus formula if foliage grows too fast without setting fruit. High nitrogen levels delay your harvest by prioritizing leaves over produce.
Herbs require a different tactical approach than vegetables. Woody herbs like rosemary and thyme need very little supplemental feeding. Over-fertilizing these plants ruins their essential oils and reduces flavor intensity. Apply a half-strength organic liquid feed only once a month during the peak growing season. Leafy herbs like basil or cilantro need more nitrogen to ensure continuous leaf production for your kitchen.
Feeding your potted plants on a simple, steady schedule is a small act of love that returns the favor with beautiful blooms. When you nourish the soil regularly, you are tending to the golden memories of seasons past and ensure your garden thrives.
Feeding Flowering Plants And Ornamentals In Containers For Maximum Blooms
Flowering annuals are high energy plants that demand consistent phosphorus. Petunias and geraniums in pots stop blooming if the soil runs out of minerals. Apply a water soluble bloom booster fertilizer every ten days to maintain color. This frequency replaces nutrients that wash out during daily watering. Constant feeding ensures the plant has the raw materials needed to develop new buds until the first frost.
Perennial ornamentals and shrubs in containers need a controlled release strategy. Use granular slow release fertilizer in early spring as new growth appears. This provides a steady baseline of nutrition for three to six months. Supplement with liquid seaweed extract every three weeks to improve stress resistance. Avoid high nitrogen feeds in late summer. This prevents soft new growth that cannot survive the winter cold.
Planting In Pots Guide Pairing The Right Potting Mix With Your Fertilizing Plan
Why Standard Garden Soil Is Not Suitable For Container Gardening And Fertilizing
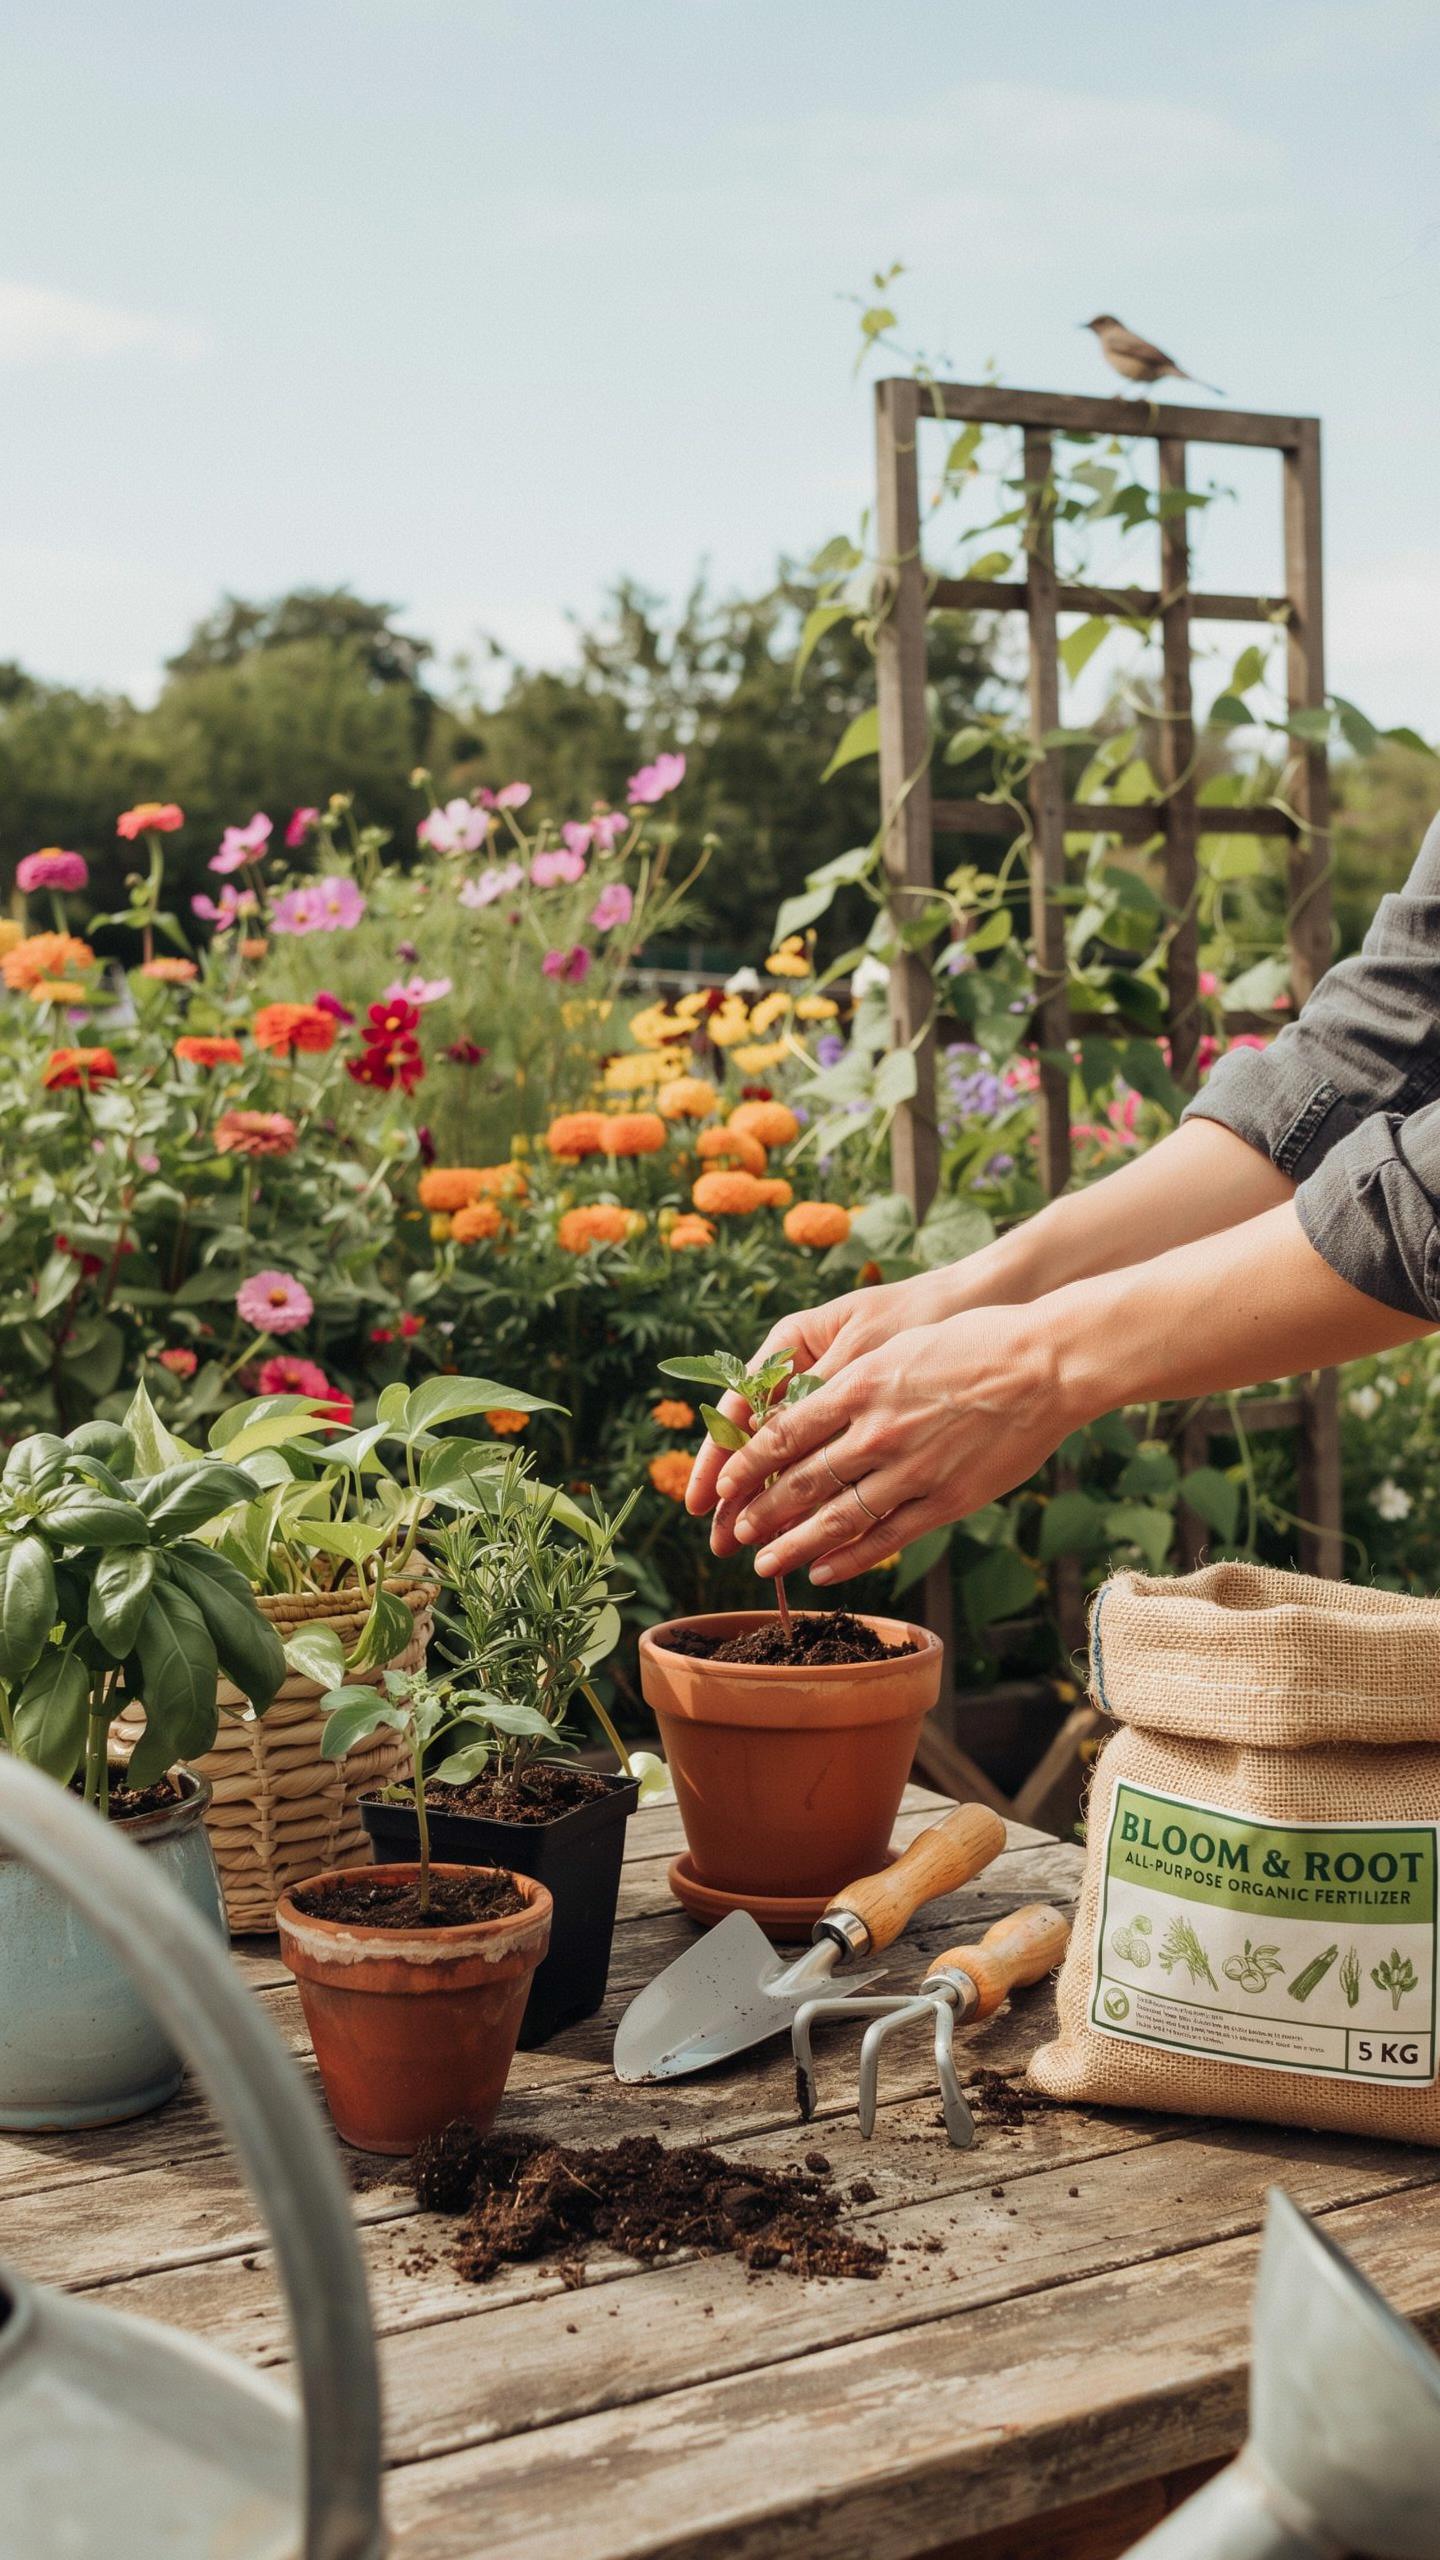
Standard garden soil is too dense for container use. It lacks the necessary pore space for air and water movement. When placed in a pot, the soil particles collapse and compress. This creates a drainage barrier that suffocates roots. Compacted soil prevents fertilizer from reaching the root zone effectively. Nutrients become trapped or move unevenly through the pot.
Garden soil also carries pathogens, weed seeds, and pests. These biological factors compete with your plants for nutrients. Using native soil disrupts your container garden fertilizing schedule because you cannot predict the existing nutrient load. Sterilized potting media provide a clean slate. This allows you to control exactly what your plants consume through your specific feeding routine.
Choosing A Quality Potting Mix That Works In Harmony With Your Fertilizer Schedule
High-quality potting mixes use specific materials to manage moisture and aeration. These components do not provide significant nutrition on their own. Instead, they act as a physical housing for the liquid or granular fertilizers you apply. A good mix ensures that your container garden fertilizing schedule remains effective by preventing nutrient leaching and root rot.
- Sphagnum Peat Moss: This material holds moisture and nutrients well. Its acidic pH allows for precise adjustments. It provides a stable base for plants that require consistent hydration and frequent liquid feeding cycles during the growing season.
- Perlite: These volcanic glass granules create air pockets in the mix. Proper aeration prevents roots from drowning during heavy watering. It ensures that oxygen is available so roots can chemically process the fertilizer you provide.
- Coconut Coir: This sustainable fiber serves as a peat alternative. It absorbs water easily and resists compaction over time. It holds onto positively charged nutrients like calcium and magnesium, making your fertilizing efforts more efficient in the long run.
- Vermiculite: This mineral expands when heated to create a plate-like structure. It excels at nutrient retention through cation exchange. It helps prevent fertilizer burn by buffering the release of salts to the plant roots in the container.
- Pine Bark Fines: These small wood pieces improve the structural integrity of the mix. They provide long-term aeration as they break down slowly. This material is ideal for perennial containers that stay in the same pot for multiple years.
Select a mix based on your specific feeding strategy. If you use water-soluble fertilizers, choose a mix with high drainage to prevent salt buildup. For slow-release programs, use a mix with higher organic matter to hold the nutrients. A mismatch between soil density and fertilizer type leads to stunted growth. Match your media to your schedule for the best results.
Common Gardening Tips To Troubleshoot A Failing Container Plant Fertilizing Routine
How To Identify Nutrient Deficiencies By Reading Your Container Plant’S Leaves
Leaf color and pattern signal specific nutrient gaps. Nitrogen deficiency causes older bottom leaves to turn pale yellow. Phosphorus lack often creates a purple or dark red tint on the underside of foliage. Potassium issues appear as scorched brown edges or small spots. Iron deficiency shows up as yellow leaves with dark green veins on new growth. Mastering these visual cues allows for targeted feeding.
Stop guessing when plants look sick. Verify the symptoms before adding more chemicals to the pot. Over-fertilizing looks similar to deficiency. Both can cause leaf burn and stunted growth. Check your water pH level first because high pH locks out nutrients. If the pH is wrong, the plant cannot eat even if the soil is full of food. Adjust the soil environment before you increase the dosage.
When To Reset Your Fertilizing Schedule And Repot Into Fresh Potting Mix
Container soil eventually fails due to salt buildup and structural collapse. Synthetic fertilizers leave behind mineral salts that burn roots over time. You will see a white crust on the soil surface or pot rim. When growth stops despite regular feeding, the soil chemistry is likely broken. Flushing the soil with plain water works temporarily. A total soil reset is the only permanent fix.
Replace the potting media every one to two years for best results. Fresh mix restores the drainage and aeration that roots need to breathe. Remove the plant and shake off the old exhausted dirt. Use a high quality peat or coco coir based mix. This reset clears out pathogens and toxic salt levels. Start your fertilizing schedule from scratch two weeks after repotting to avoid burning tender new roots.
Frequently Asked Questions

Why is a consistent fertilizing schedule so important for container plants?
Unlike plants in the ground, container specimens have limited access to natural soil nutrients. Every time you water, essential minerals leach out of the drainage holes. Establishing a reliable container garden fertilizing schedule ensures your plants receive a steady supply of nutrients, preventing growth stalls and yellowing leaves. Consistency is the secret to keeping potted flowers and vegetables vibrant and productive throughout the entire growing season.
How often should I apply liquid fertilizer to my outdoor potted plants?
For most active growers, a bi-weekly container garden fertilizing schedule works best. During the height of summer, use a water-soluble fertilizer every 10 to 14 days at half-strength to provide a gentle, immediate boost. Always ensure the soil is slightly damp before applying liquid nutrients to prevent root burn. This frequent, diluted approach mimics nature’s steady nutrient flow and keeps your tabletop gardens looking lush and healthy.
Are there any budget-friendly ways to fertilize containers without buying expensive products?
Absolutely! You can nourish your plants affordably by repurposing kitchen scraps. Epsom salts provide a cheap magnesium boost, while cooled compost tea or diluted coffee grounds offer nitrogen. You can also mix crushed eggshells into your potting mix for slow-release calcium. These DIY methods are excellent supplements to your routine, allowing you to maintain a healthy garden without overspending on premium commercial fertilizers or specialized equipment.



