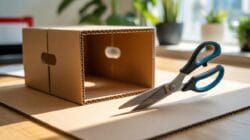
Beyond The Myth Of Longevity: Embracing Decay As Design

Permanent Containers Create Permanent Indecision
You want cardboard planters to last forever because permanence feels like investment, like you’re making the right call. The actual mechanism: conventional planters force you to over-commit to growing systems before you know what works. Plastic, ceramic, and rigid containers lock you into one aesthetic, one drainage pattern, one root environment. You buy them and suddenly you’re defending the choice instead of testing variables. Cardboard removes that psychological anchor.
When you choose a material that degrades on schedule, you stop treating the planter as an identity marker. You treat it as a tool with an expiration date. This flips the decision framework entirely. Instead of picking the “perfect” permanent planter that might be wrong in six months, you pick the right temporary vessel for this specific season. The cost difference frees capital for actually trying different growing approaches instead of betting everything on one container design.
The Economics Of Planned Obsolescence
Economics calls this strategy planned obsolescence, but the concept inverts when applied to cardboard planters. Traditional manufacturers build products to fail so you buy replacements. Cardboard planters achieve the same replacement cycle through honest material science instead of sabotage. The pulp degrades predictably. You know the timeline. No surprises. This transparency changes everything about how you budget and plan.
The planter becomes transparent about its own mortality. You replace it not because it failed unexpectedly, but because the system worked and now needs to evolve. Seed starting requires this exact rhythm: germination, growth, hardening off, transplant. Cardboard planters complete that cycle and break down. Display planters last through one season of weather and cost ninety percent less than ceramic alternatives. You allocate resources to soil amendment and seed quality instead of permanent infrastructure. That’s the actual advantage nobody states: cardboard forces your budget toward inputs that produce results.
The Corrugated Cardboard Protocol: Rapid Iteration For Seed Success

Setup And Disposal Without Friction
You want a system that doesn’t make you think. That’s the real driver here—cognitive load kills consistency, and inconsistency kills germination rates. Cardboard planters solve this because they collapse the setup-to-disposal cycle into a single material. You buy them flat, fill them in minutes, plant your seeds, and when the seedling transplants or the crop fails, you compost the entire vessel with zero sorting required.

The speed compounds. A gardener using plastic trays spends time cleaning, storing, organizing inventory. A cardboard user spends that time observing which seeds actually germinated. This isn’t philosophy—it’s workflow optimization. Fill a batch of cardboard pots on Monday, water them Wednesday, transplant seedlings Saturday, compost the spent pots Sunday. The friction vanishes because the material itself becomes disposable infrastructure. This works because cardboard degrades predictably in active compost within 60 to 90 days.
Efficiency Stacking For Germination
Seed starting operates on compressed time. Economics teaches the concept of sunk costs, and most growers sink cost into systems that don’t match their actual failure rate. If 30 percent of your seedlings die or get root-bound before transplant, your setup cost per viable plant climbs fast. Cardboard planters invert this: your cost per unit is negligible enough that losses don’t compound your regret.
The real leverage is density and environment control. Cardboard’s porous walls allow passive air exchange, preventing the fungal mats that choke seedlings in sealed plastic. Stack ten cardboard pots in a propagation tray with a heating mat underneath. Their walls wick moisture gradually without pooling. When you need to harden off seedlings before transplanting, you move the entire cardboard vessel outside—no repotting, no shock. The material stays intact for the 7 to 14 days of outdoor exposure. That single protocol eliminates transplant shock entirely.
Cardboard Planters DIY: The ‘Minimal Viable Grow’ Approach
What You Actually Need To Start
You want permission to skip the nursery markup without feeling like you’re cutting corners. Here’s the mechanism: cardboard holds soil and moisture just fine. It degrades on a predictable timeline. That’s it. Stop there.
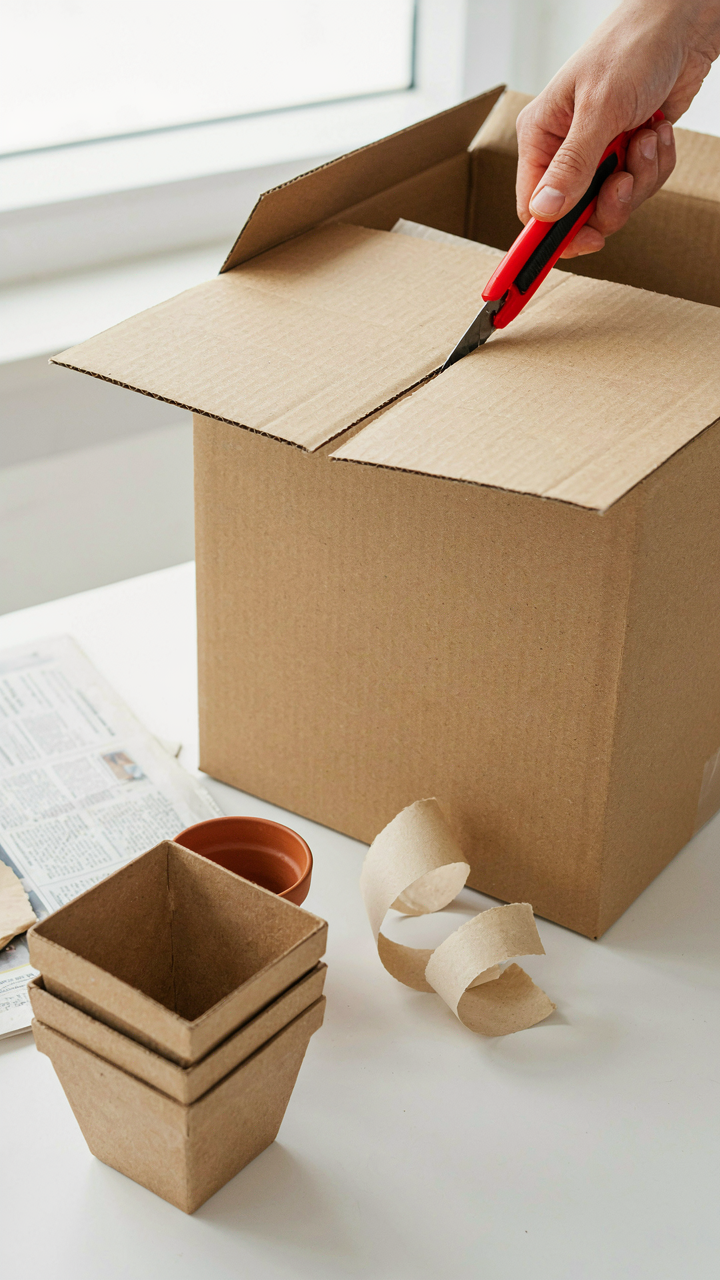
Grab cardboard boxes, newspaper, or kraft paper. A utility knife. Soil. Water. That covers function entirely. The instinct to buy branded seedling trays or decorative pots is tax on impatience, not a requirement. Cardboard costs nothing because it’s waste material repurposed. Your only real investment is the soil quality and seeds themselves.
Designing For Purpose, Not Display
The common advice says “make them look nice so you feel motivated.” Wrong framing. Cardboard planters are scaffolding for roots, not interior design. Build them to fail at the right time.
Cut boxes to 3 to 4 inches tall for seed starting. This height lets roots establish before the material softens. Line the bottom with two layers of newspaper so soil doesn’t compress into mush. The cardboard walls wick moisture evenly across the soil profile. When seedlings are ready to transplant, the cardboard has weakened enough to tear without root damage. Engineer for that transition point, not aesthetics.
Growing Plants In Cardboard Boxes: Soil Dynamics And Nutrient Release

How Cardboard Enters The Soil Food Web
You want to believe cardboard just disappears cleanly. It doesn’t. Understanding soil ecology means understanding decomposition as a supply chain, not a disappearing act. Microorganisms colonize cardboard fibers the moment moisture arrives. Fungi break down cellulose into simpler compounds. Bacteria follow, feeding on fungal byproducts and releasing nutrients plants can absorb. This isn’t magic. It’s substrate colonization, the same mechanism that powers compost piles and forest floors.

Cardboard’s role in this web depends on one variable: surface area relative to microbial population density. Shredded or torn cardboard decomposes faster than intact sheets because fungi and bacteria encounter more exposed fiber per unit of soil. When you line a planter with whole cardboard, decomposition takes months. When you incorporate torn pieces directly into potting mix, colonization accelerates to weeks. The soil food web doesn’t eliminate cardboard. It converts it into fungal biomass, which dies and releases locked nutrients back into available form.
Cardboard Feeds Soil, Not The Reverse
Common advice says cardboard depletes nitrogen as it breaks down. Wrong. Cardboard contains almost no nitrogen to begin with. What actually happens is slower. As fungi colonize cardboard, they temporarily sequester nitrogen from surrounding soil to build their cell walls. This creates a brief window of reduced nitrogen availability. But once fungal colonies mature and die, that nitrogen releases back. The net effect over a full growing season is neutral to positive because you’ve added organic matter that feeds microbial life.
Nutrient contribution from cardboard itself is minimal but measurable. Cardboard’s primary value isn’t nutrient content. It’s structural contribution. The fibers persist longer than other organic matter, creating air pockets that improve drainage and root penetration for weeks after planting. Calculate your cardboard’s contribution this way: assume decomposition occurs over 8 to 12 weeks, with 90 percent of cardboard converting to microbial biomass rather than plant-available nutrients. Plan your fertilization schedule around your chosen plants’ needs, not around cardboard’s decomposition timeline.
The Cardboard Grow Box As A Biological Catalyst
When Fungi Become Your Growing Partner
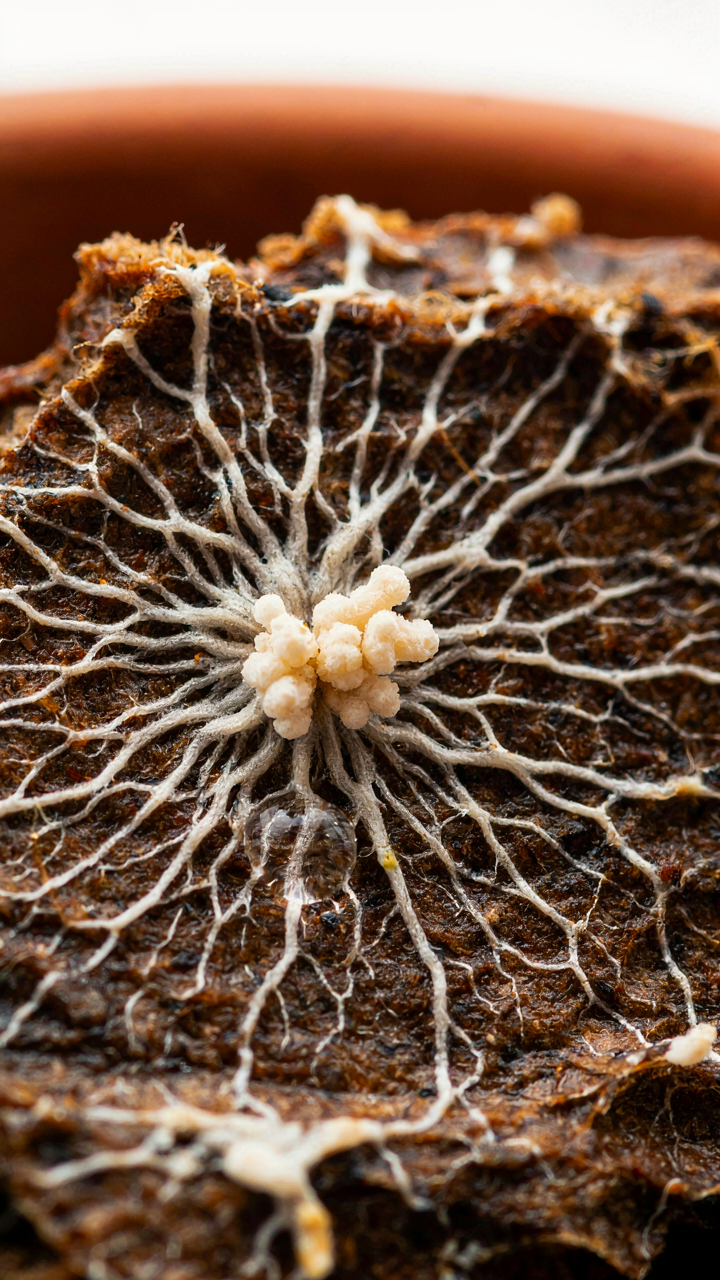
You want to believe cardboard planters work because they’re cheap and biodegradable. The real reason they work is biology. Think of mycorrhizal colonization as a symbiotic network—the fungi live inside plant roots and extend the root system by orders of magnitude, trading nitrogen and phosphorus they extract from soil for carbohydrates the plant produces. Cardboard, especially when partially decomposed, creates the exact pH and moisture stability that mycorrhizal spores need to germinate and establish.

The mechanism is straightforward: cardboard holds water without waterlogging, maintains consistent humidity around the root zone, and provides organic acids as it breaks down—all signals mycorrhizal fungi recognize as hospitable. Most gardeners ignore this layer entirely and wonder why their seedlings plateau. The fungi don’t colonize fast enough in sterile potting mix. In cardboard boxes, colonization happens quietly, weeks before you see growth acceleration. That acceleration isn’t better soil. It’s active fungal infrastructure doing the nutrient work your roots can’t do alone.
Decomposition As Slow Release Fertility
The common advice treats cardboard as inert—a temporary container that holds soil until plants outgrow it. That’s incomplete. Cardboard actively feeds the soil ecosystem while it breaks down, and that process is your fertility input. Lignin and cellulose in cardboard fuel microbial populations in the rhizosphere, which mineralize nutrients locked in organic matter and make them plant-available. This doesn’t happen in plastic pots.
The decomposition timeline matters tactically. In a 4-inch cardboard pot, breakdown takes 8 to 16 weeks depending on moisture and microbial load. During that window, the plant roots transition from relying on whatever fertilizer you mixed in to drawing nutrition from the active microbial layer at the cardboard interface. When seedlings reach transplant size, cardboard is already partly degraded, so the roots encounter less physical resistance and the organic acids from decomposition prime the surrounding soil. Plant the entire pot directly into beds. The remaining cardboard continues feeding the soil food web for months after transplant, creating a nutrient gradient that keeps growth steady without additional fertilizer.
Cardboard Box Planters: The Art Of The Mobile Garden

Moving Light To Plants, Not Plants To Light
You want mobility because you’re afraid of committing to one garden location and watching it fail. Here’s the mechanism: cardboard planters weigh almost nothing compared to ceramic or plastic, so you move the entire container to follow the sun’s path without exhaustion or risk of root damage. This is basic physics applied to horticulture. A seedling needing fourteen hours of light doesn’t care about your garden’s layout. Cardboard solves the friction between the plant’s requirement and your space.
- East-facing morning moves: Catch four to six hours of soft sun in spring, then relocate before afternoon heat stress peaks on young seedlings.
- South-facing midday positioning: Deploy cardboard planters during winter and early spring when the sun angle is low and direct rays penetrate without scorching tender growth.
- Shade migration for summer: Shift containers to dappled light in June and July as UV intensity peaks, preventing leaf bleaching and moisture loss.
- Rotation schedules: Move planters ninety degrees weekly to encourage even canopy development and prevent unilateral stretching toward the strongest light source.
- Sequential staging areas: Establish three to four numbered zones with increasing light intensity, moving seedlings through them as they mature and develop canopy thickness.
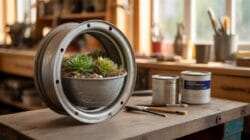
The cost of moving a cardboard planter three times daily is zero. The cost of replacing a seedling flat with root rot from immobility is the entire harvest. You move containers because the plant’s light demand is non-negotiable. Cardboard removes the excuse that relocation is too inconvenient.
Testing Conditions Without Stakes
Forget the narrative about “commitment to a garden bed.” That advice locks you into one microclimate forever. Cardboard planters let you test soil temperature, humidity retention, and drainage patterns across different zones before you dig a single permanent hole. You’re gathering data on your property’s actual conditions, not guessing based on USDA hardiness zones.
A cardboard planter in a low spot near your fence tells you whether cold air pooling creates frost pockets. The same planter moved twenty feet upslope shows you if drainage improves. You run these experiments with no investment beyond the cardboard box itself. After two to four seasons of observation, you know exactly where your perennials will thrive and where they’ll languish. The planter becomes your reconnaissance tool, not your permanent garden.
Beyond Planters: Cardboard Furniture & Plant Stand Reimagined

Stacking Cardboard Into Temporary Structures
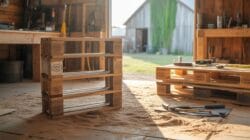
You want to feel resourceful without actually committing resources to permanent infrastructure. The real mechanism here is treating cardboard as load-bearing temporary geometry. Cardboard tubes and reinforced boxes can support modest weight when stacked and braced correctly. A single-wall box holds 10-15 pounds per shelf depending on wall thickness and box dimensions. Double-wall cardboard reaches 25-40 pounds. The load capacity degrades with moisture and time, which is exactly the point: you’re building for a season, not forever.
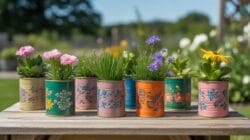
Architects use this principle in temporary pavilions and event structures. Stack boxes in a pyramid or tower formation, cross-brace with cardboard tubes or wooden dowels, and you have a plant stand that costs nothing and disassembles in minutes. The cardboard absorbs water from soil and root moisture gradually, so failure is predictable rather than sudden. Replace the structure each spring. This eliminates the mental friction of owning “garden furniture” that sits unused half the year.
Cardboard As Disposable Garden Infrastructure
The conventional wisdom says cardboard rots fast, so treat it as disposable. That’s correct, and it’s the entire point. In economics, this is called planned obsolescence, but intentional here instead of manipulative. You don’t maintain cardboard structures. You build them, use them for one to two seasons, then recycle them and build new ones with updated design lessons.
Use reinforced packing boxes to create tiered display stands for seedlings or seasonal plantings. Treat the degradation schedule as a feature, not a bug. Cardboard fails gradually enough to give you warning before collapse, but fast enough that replacement is routine maintenance, not an exception. Build your structures in early spring when you’re thinking about planting anyway. When the material breaks down by late fall, you’re already finished displaying and ready to clear the space.
Diy Pots: When To Disrupt And When To Consolidate

Reading The Transplant Signal
You want permission to move your seedling before you’re ready, because staying put feels like stagnation. The real mechanism is substrate saturation. Cardboard breaks down fastest when wet constantly, so transplanting isn’t about the plant’s feelings—it’s about material integrity. Roots hit cardboard walls and stop growing. The pot fails structurally before the plant needs space. Move too early and you shock the seedling. Move too late and cardboard collapse damages roots during extraction. The window is tight.
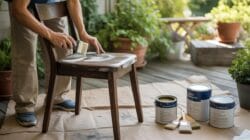
Most guides tell you to watch for roots at the soil surface. That’s incomplete. Watch for cardboard softening at the base where drainage collects. Press your thumb against the exterior. If it compresses easily, you’ve hit the transplant threshold. The plant’s ready or close to it. Don’t wait for roots to push through the sides. By then, the structural integrity is already compromised and you’ll tear the root ball during the shift.
When Impermanence Becomes A Liability
Cardboard’s designed to fail, which works against you once a plant develops real root architecture. In structural engineering terms, cardboard functions as a temporary load-bearing system. It supports seedlings fine. It fails under sustained pressure from mature root systems. A six-week tomato seedling in a two-inch pot needs the cardboard to hold. A four-month plant destined for the garden needs something else.
The honest answer: cardboard planters should exit your system by week twelve for most vegetables, week twenty for slower crops like peppers. Beyond that, you’re fighting material degradation that accelerates unpredictably based on watering frequency and humidity. Roots that should push outward instead push through weakened walls. Transfer to ceramic, plastic, or fabric pots before the cardboard decides the timing for you. Check moisture levels and pot firmness weekly once you hit week ten. The moment exterior cardboard feels papery instead of rigid, move the plant that day.
The Real Obstacle Isn’t Finding A Better Planter; It’s Your Resistance To Transient Systems

You want permanence. A ceramic pot. Something that lasts. But cardboard planters force you to move. They demand you transplant, upgrade, discard. That’s their real power. Most growers stay trapped in the same containers because changing systems feels inefficient. Stop looking for the perfect planter and start building a system that moves with your plants. Buy a flat of cardboard pots today. Watch what happens when you actually use them. Commitment to the temporary is how you stop being temporary yourself.