
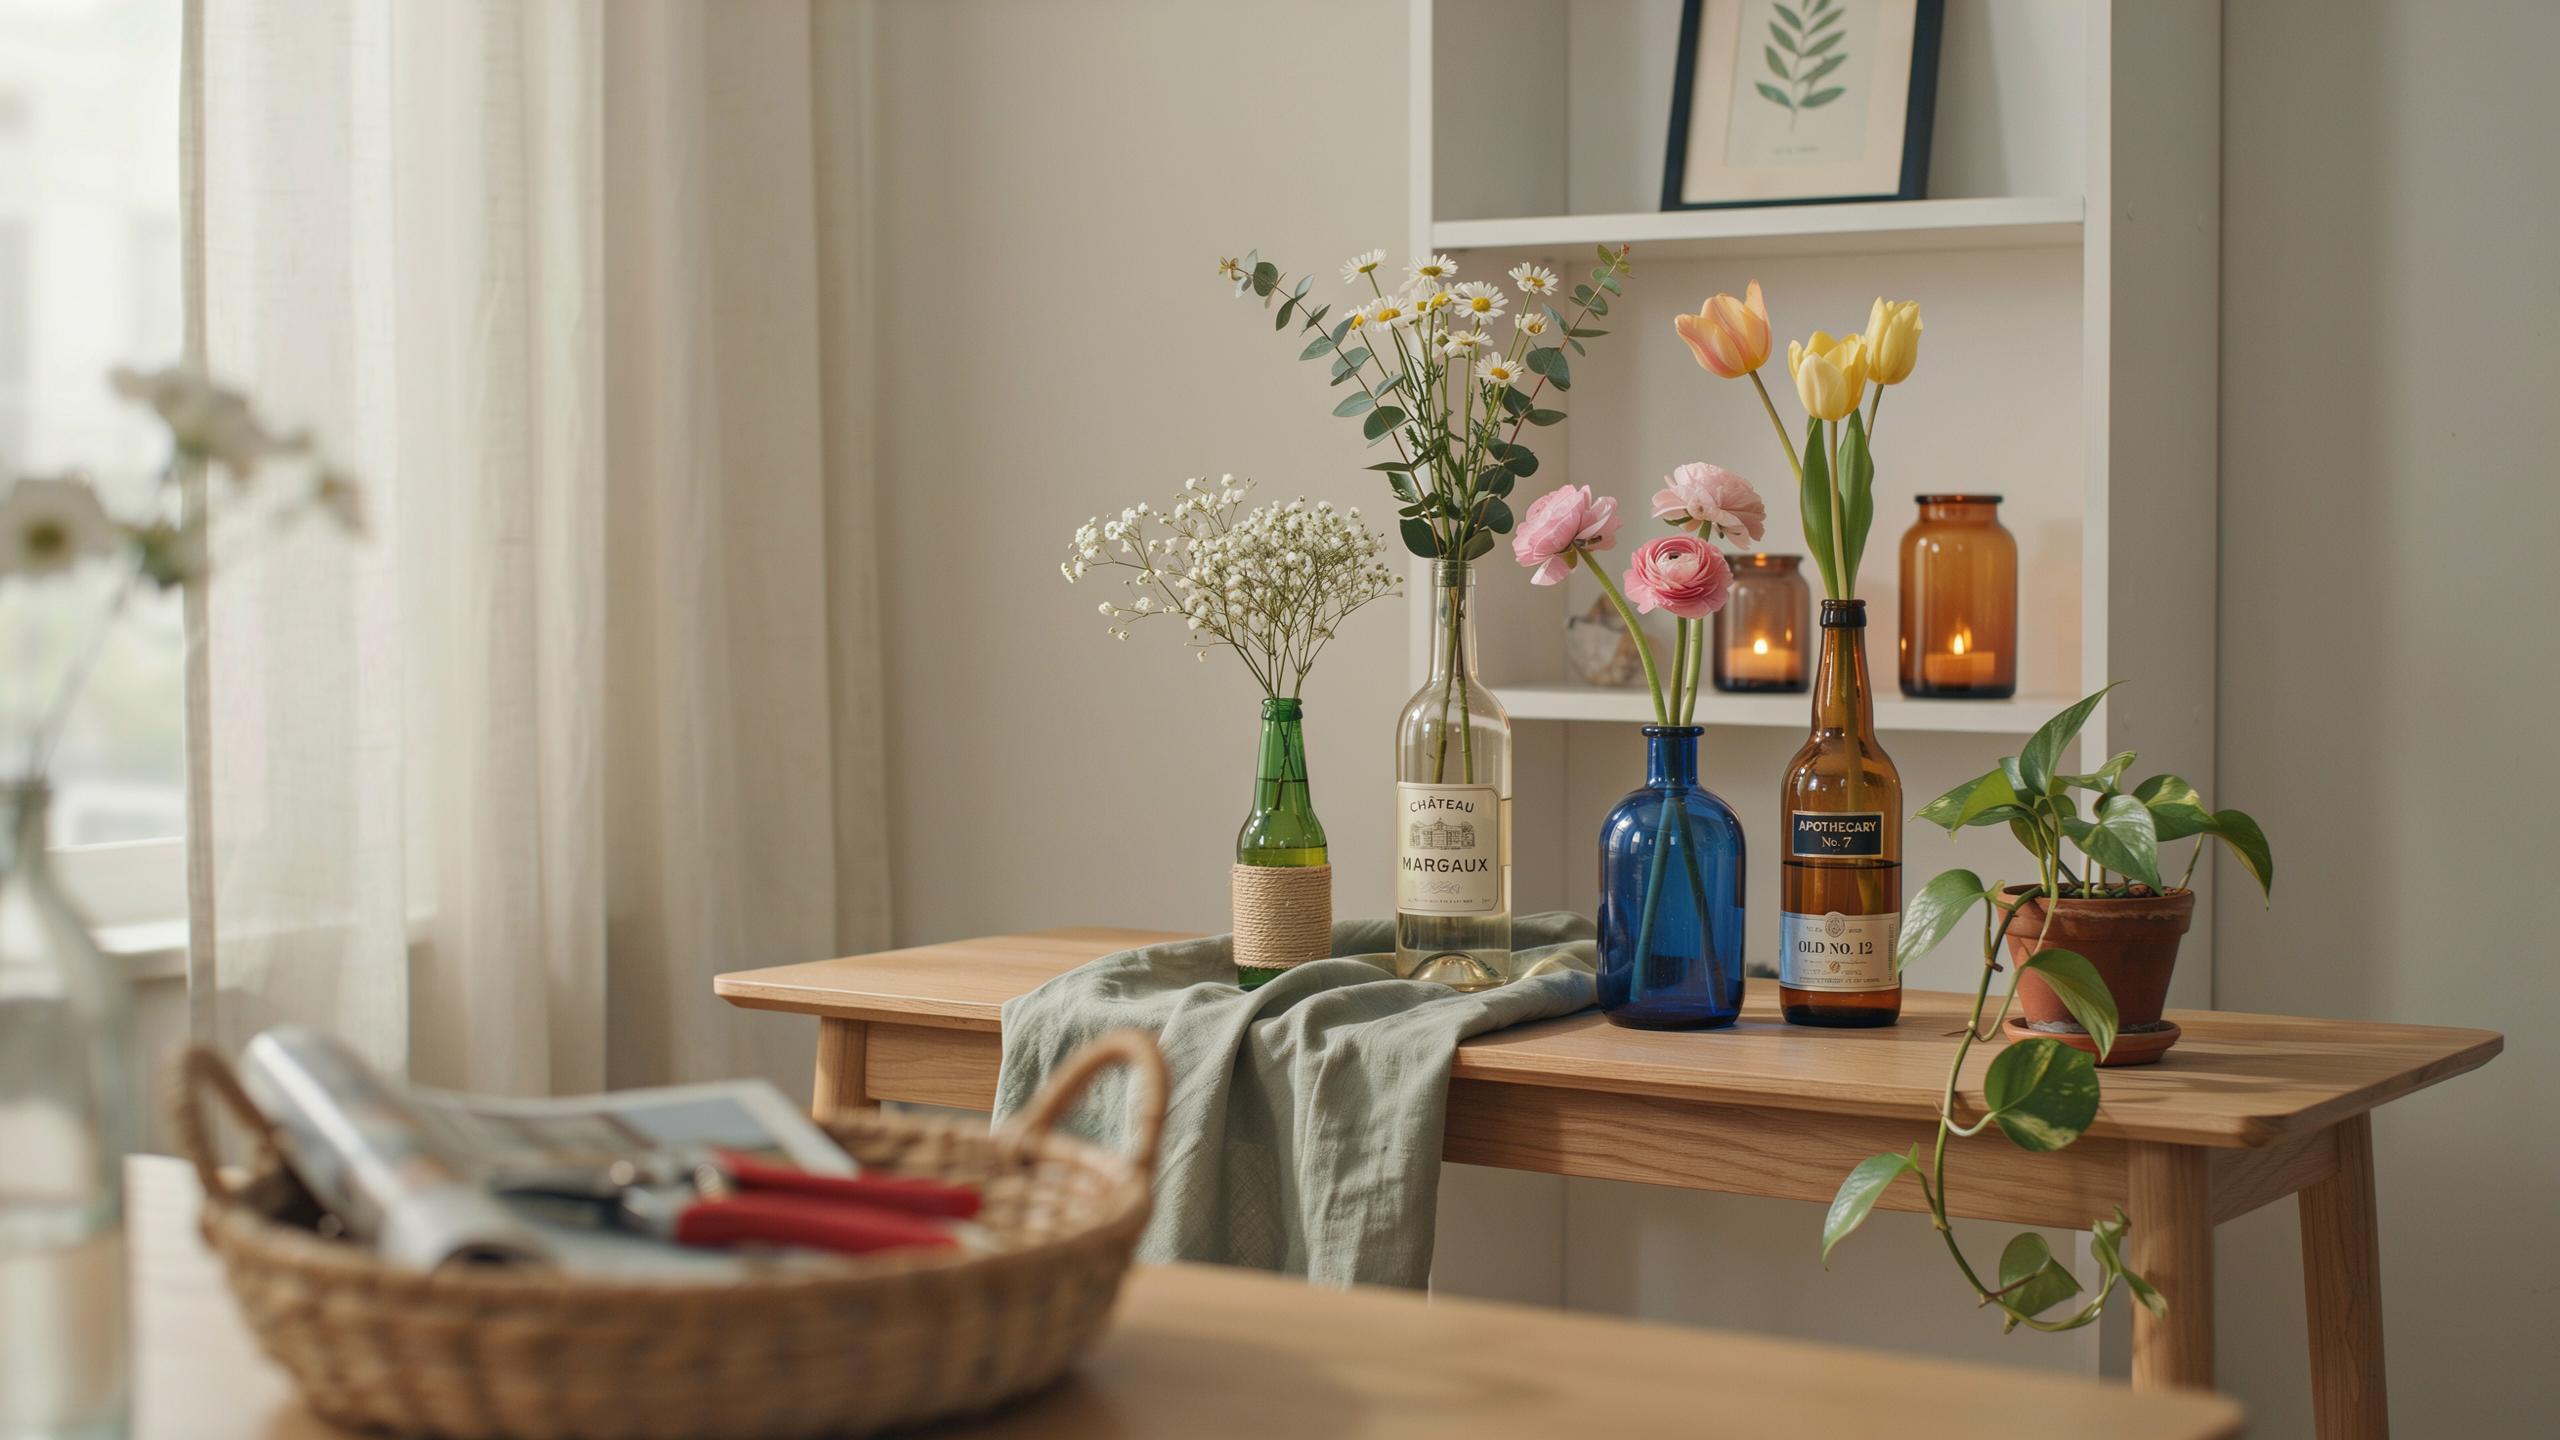
Discover The Beauty Of A Repurposed Decor Project Glass Bottles To Elevate Your Home
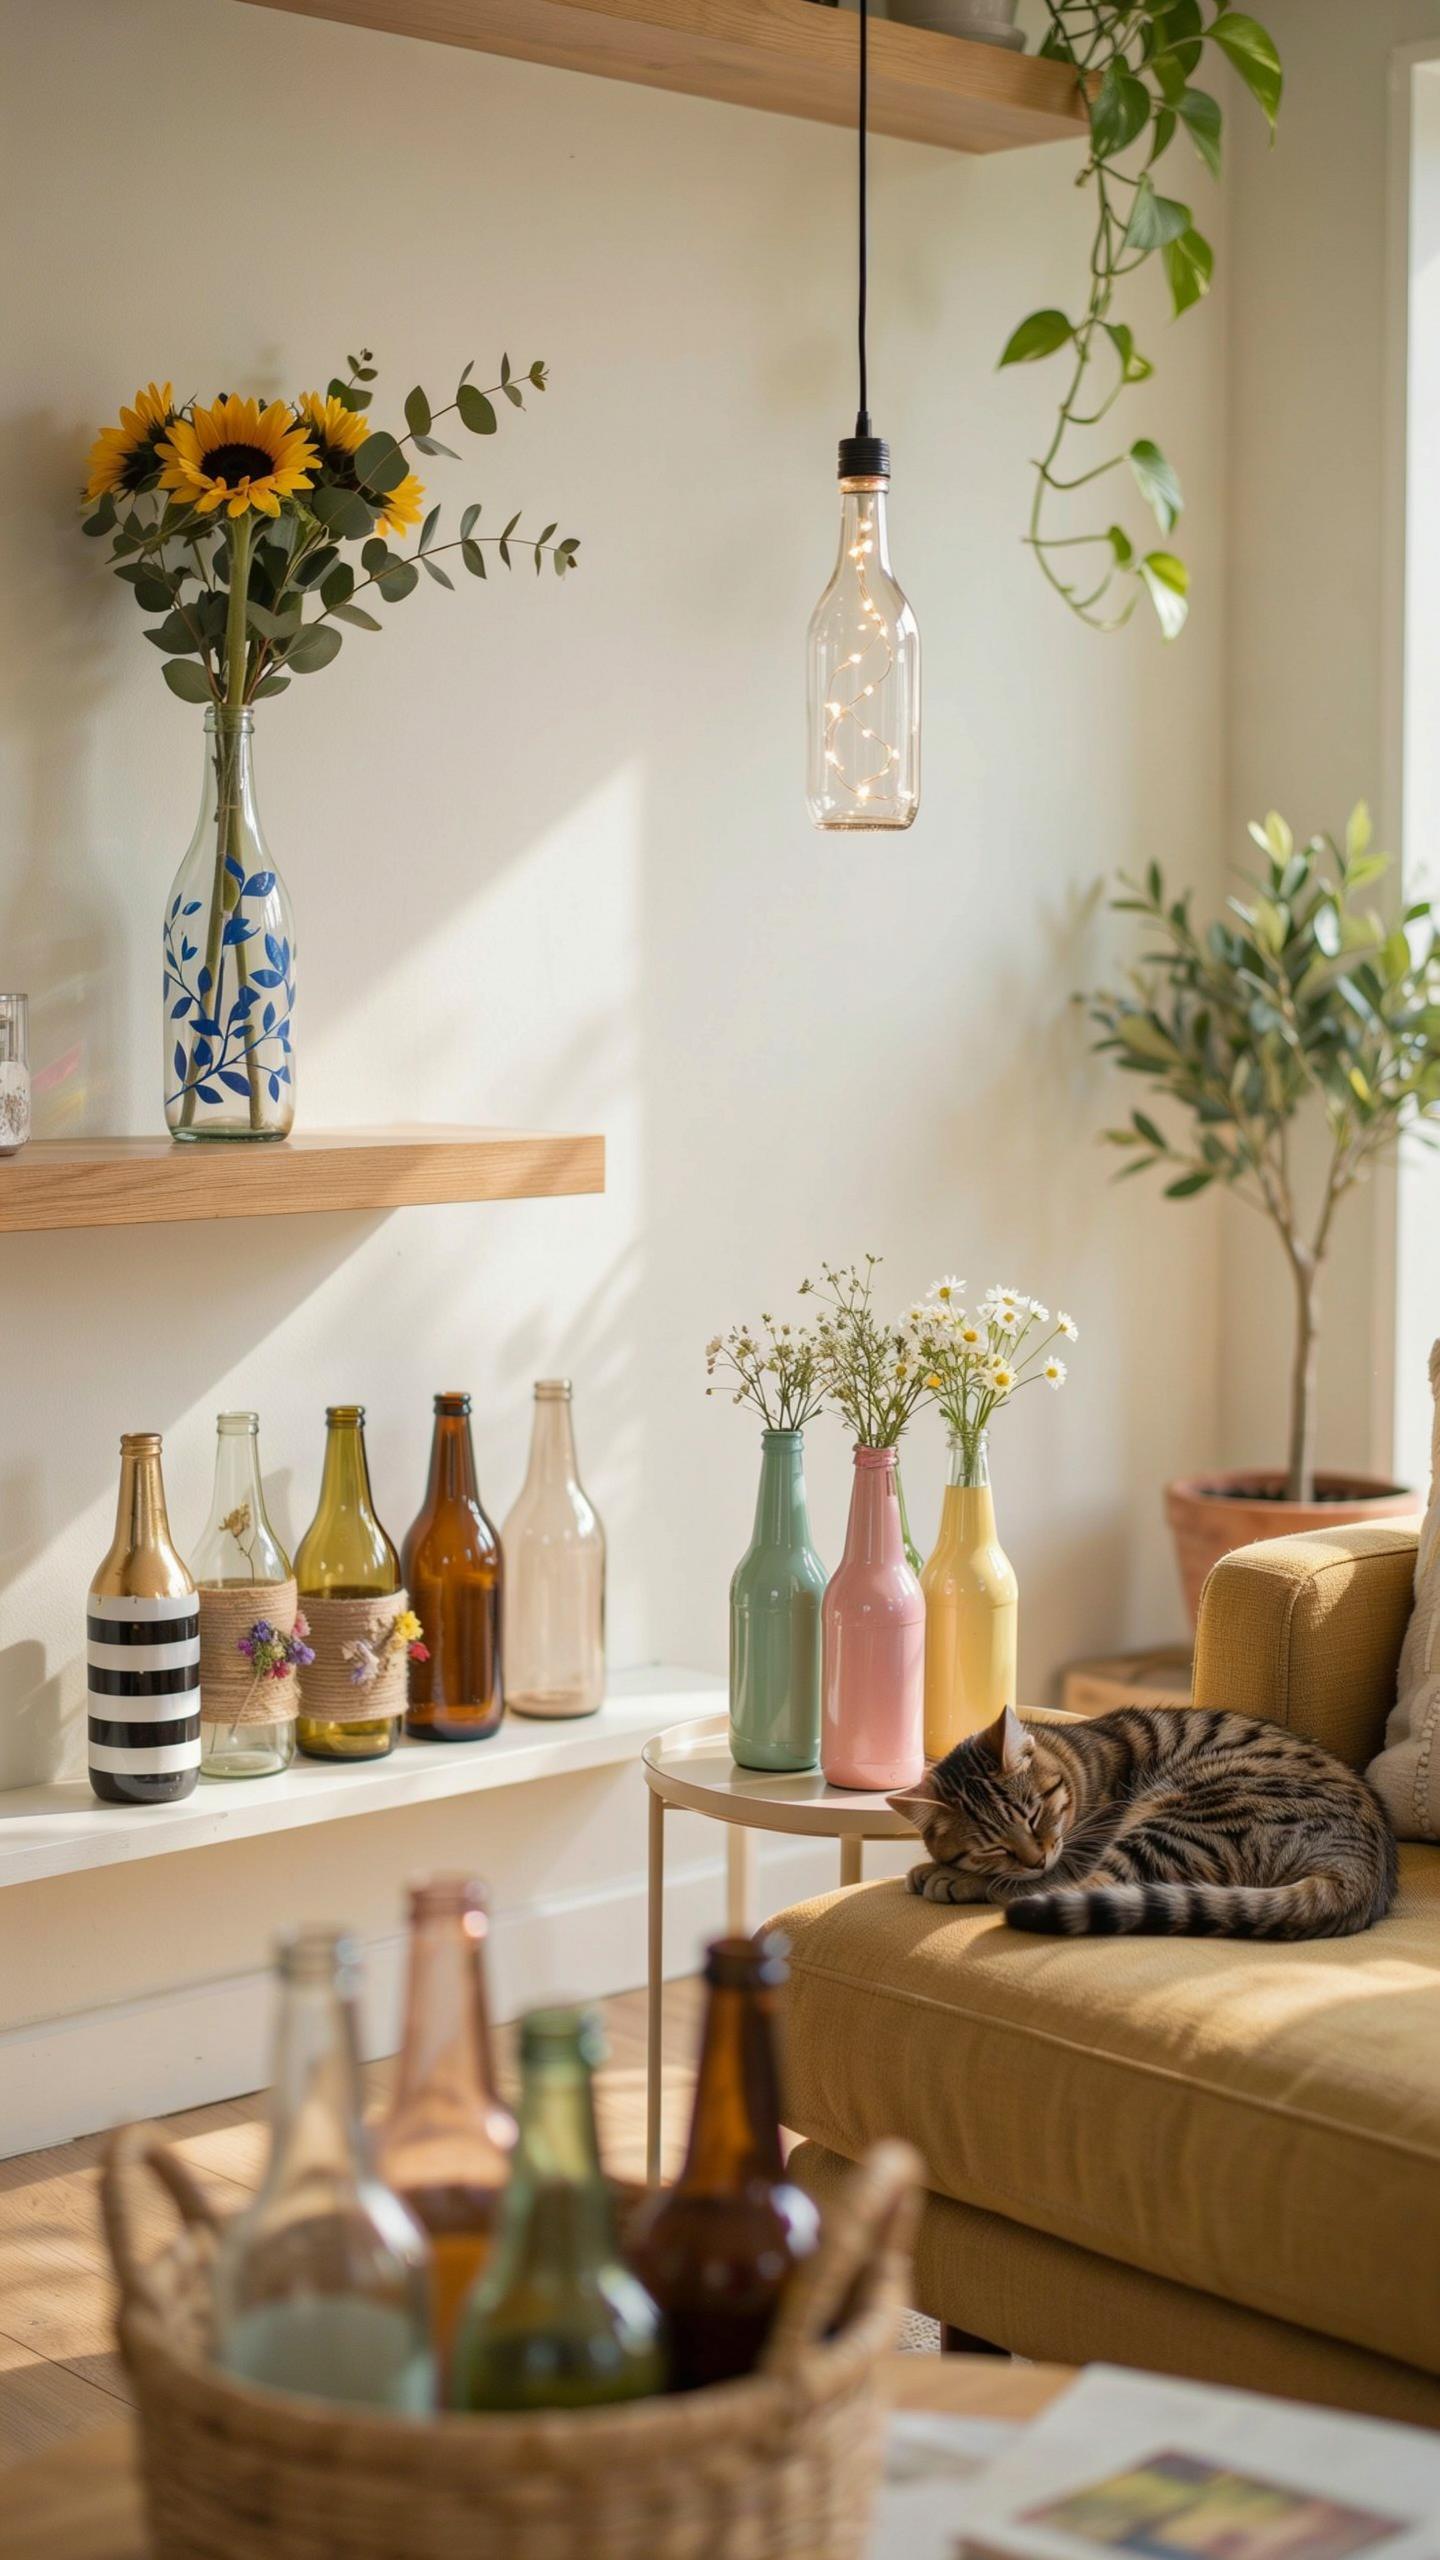
Creative Vision
Upcycling glass bottles transforms waste into functional decor through intentional design choices. You start with materials already in your home, then apply techniques like cutting, painting, or arranging to create new purpose. This approach bypasses mass production entirely. Your finished pieces reflect personal decisions rather than factory specifications. The result is custom work that costs less than retail alternatives while maintaining professional quality.
Design movements like Steampunk and Industrial Chic have built momentum around repurposed materials since the early 2000s. Glass bottles work within these frameworks because their transparent and reflective properties add visual depth to spaces. You control the outcome by selecting bottle colors, heights, and arrangement patterns. Clear intention produces cohesive results that generic store-bought items cannot match.
Eco Friendly Living
Glass bottles diverted from landfills solve a material waste problem directly. Landfills in the United States receive approximately 7 million tons of glass annually, according to environmental waste data. Repurposing eliminates this burden one project at a time. Each bottle you reuse removes one item from the disposal pipeline. This impact scales when multiple people adopt the same practice within a household or community.
Manufacturing new glass requires energy-intensive heating processes around 1700 degrees Fahrenheit. Reusing existing bottles skips this production cycle entirely. You reduce the carbon footprint associated with new material extraction and processing. Water consumption also decreases since glass manufacturing demands significant water resources. This practical choice addresses environmental impact through simple action rather than ideology.
Unique Decorative Glass Bottle Uses In Modern Interior Design
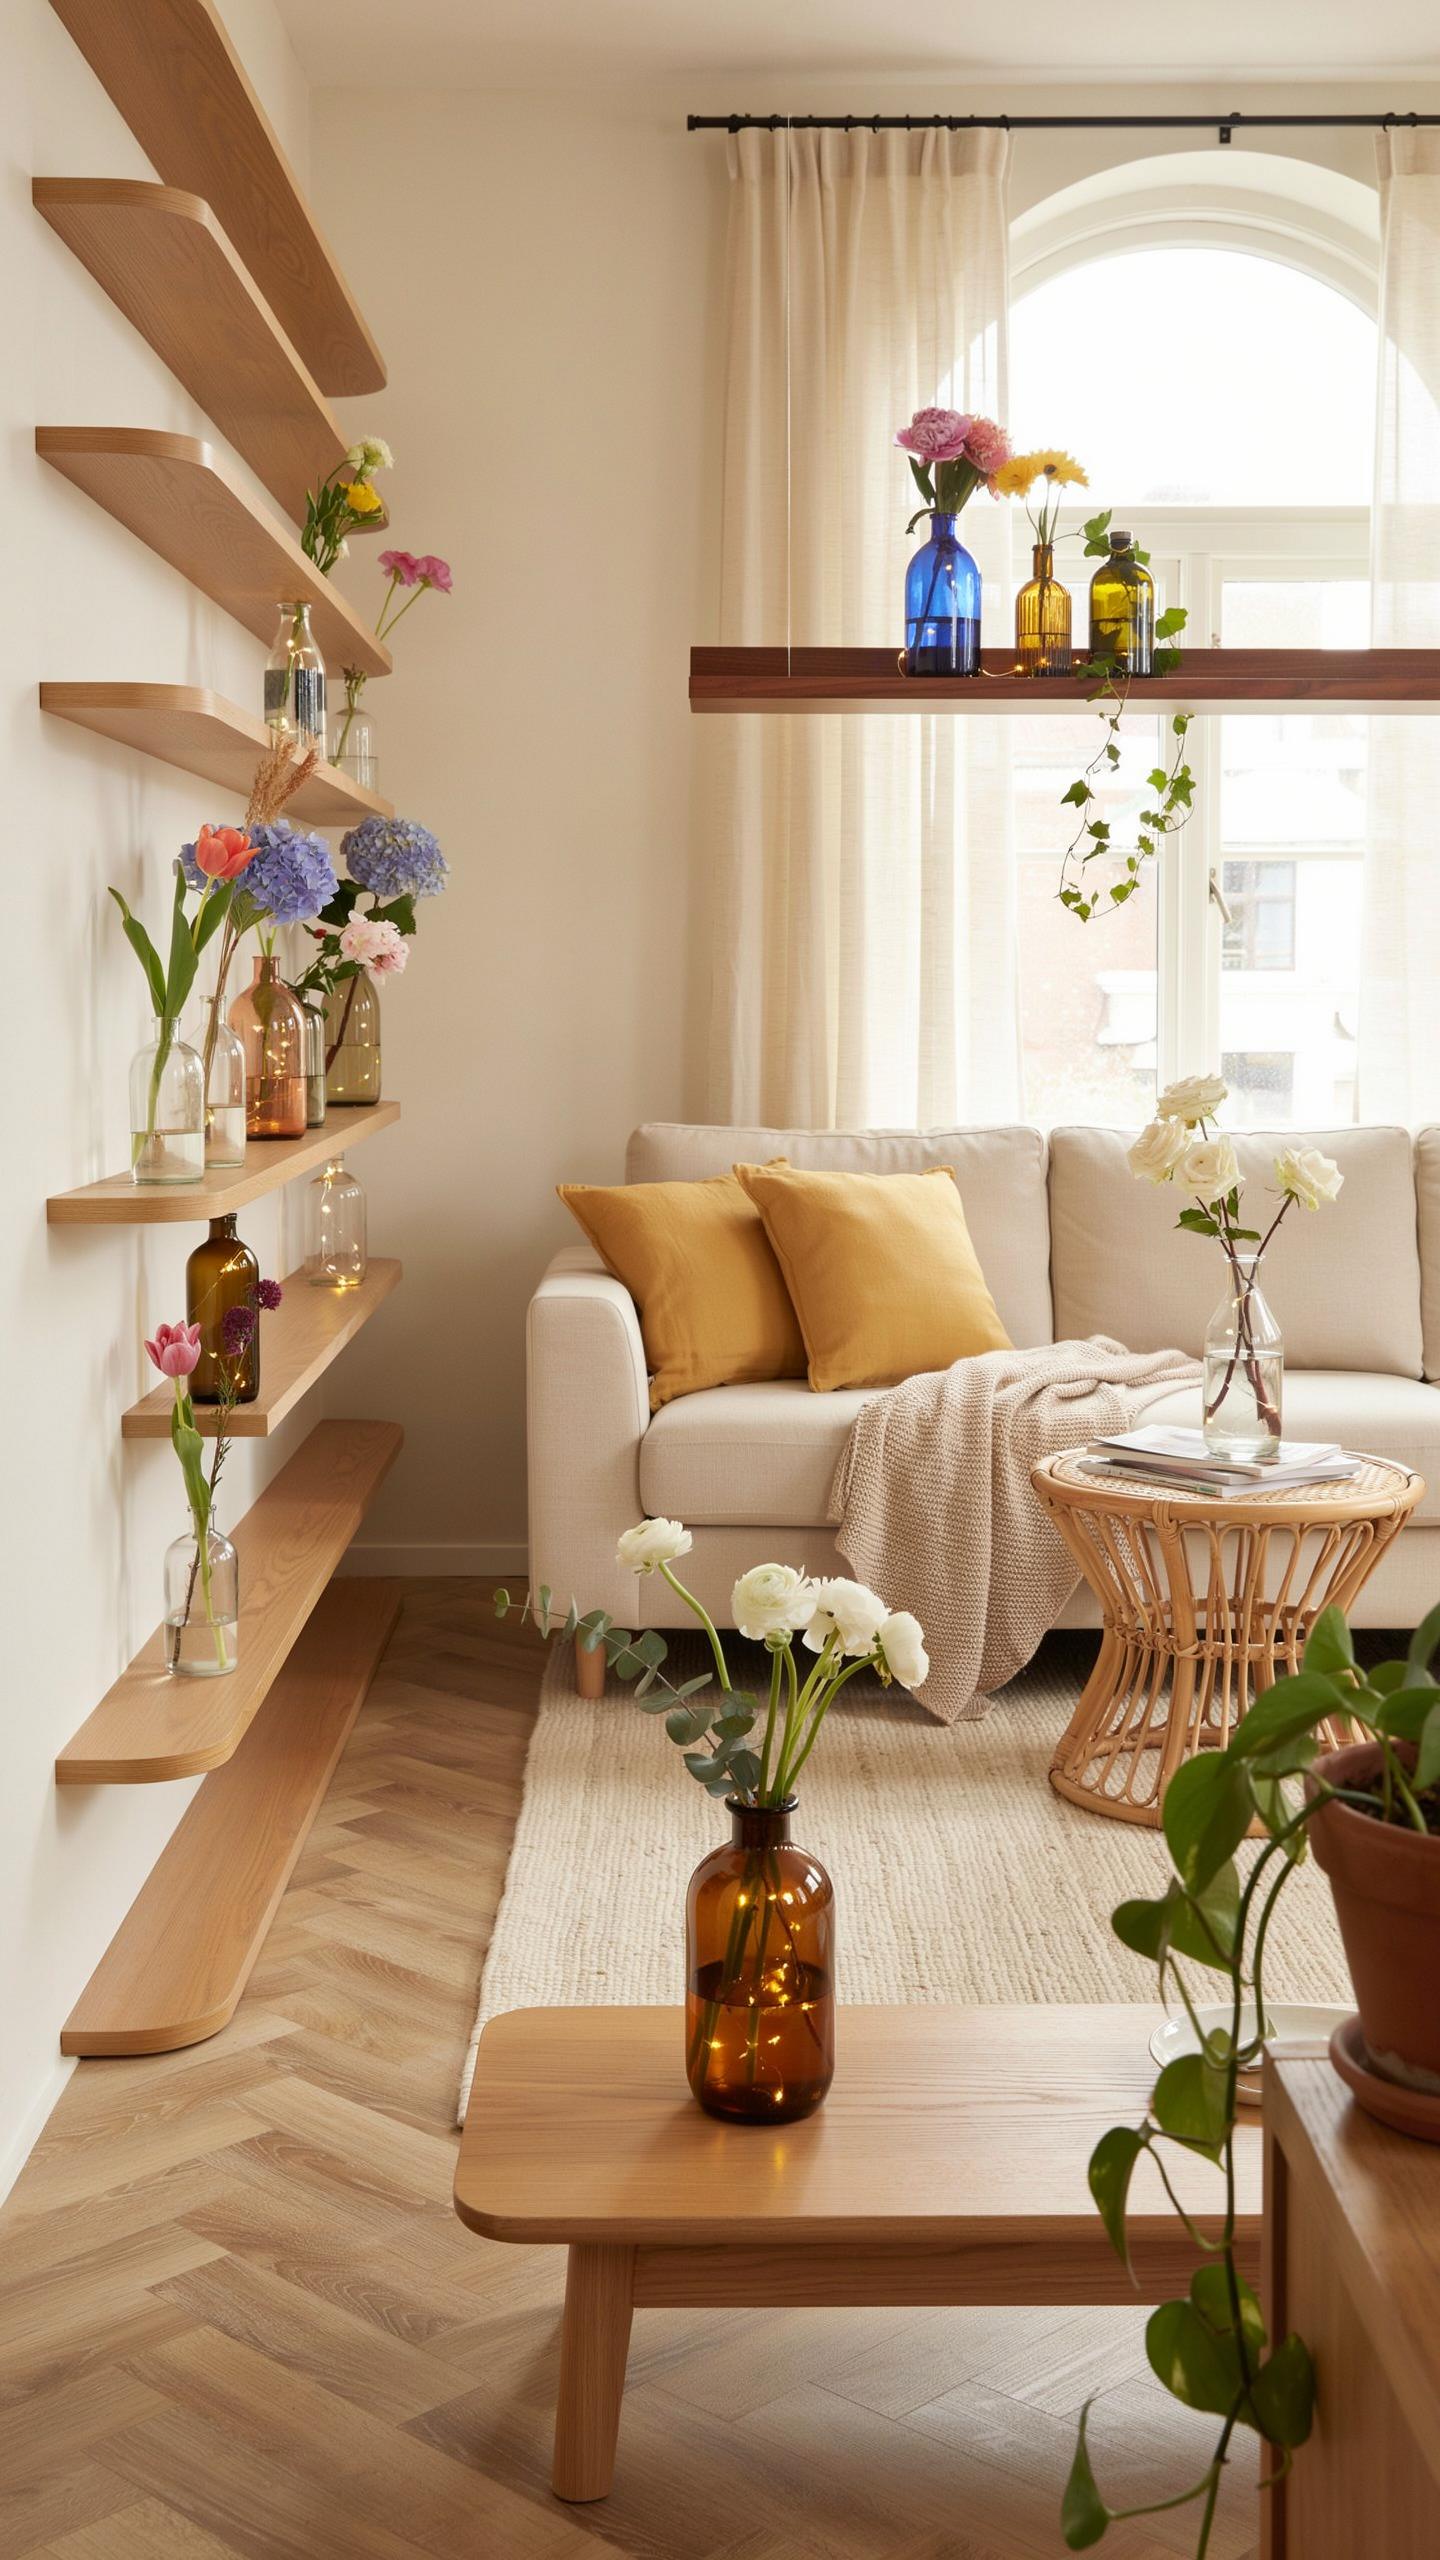
Vases And Florals
Glass bottles work as functional vases because they hold water and display stems at controlled angles. The narrow neck concentrates visual focus on flower heads. Clear glass lets you see water levels and stem placement. This setup costs nothing if you repurpose existing bottles. Minimalist design favors this approach because it eliminates unnecessary container bulk.
Wildflowers and dried eucalyptus demand different bottle types for best results. Wildflowers need narrow-necked bottles to prevent drooping and tangling. Dried eucalyptus works in wider bottles since it needs no water support. Match bottle height to stem length for balanced proportions. Single stems create cleaner lines than mixed arrangements in narrow bottles.
Lighting Fixtures
Battery-operated fairy lights transform tinted glass bottles into functional ambient lighting. Copper wire conducts minimal heat compared to traditional electrical setups. You insert the wire bundle through the bottle opening and arrange lights inside the glass chamber. The tinted glass filters light output and changes color temperature. This method produces soft background lighting without wiring or electrical installation.
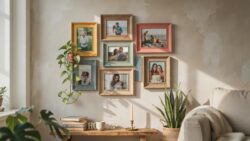
Tinted glass colors directly impact the mood lighting effect you achieve. Amber and brown glass warm light output for cozy spaces. Blue and green glass cool the light for calm environments. Clear glass preserves the original warm or cool tone of the bulbs. Test different bottle colors before committing to your final arrangement since glass thickness varies the light intensity.
Essential Materials Needed To Upcycle Glass Bottles Safely
Safety Equipment And Tools
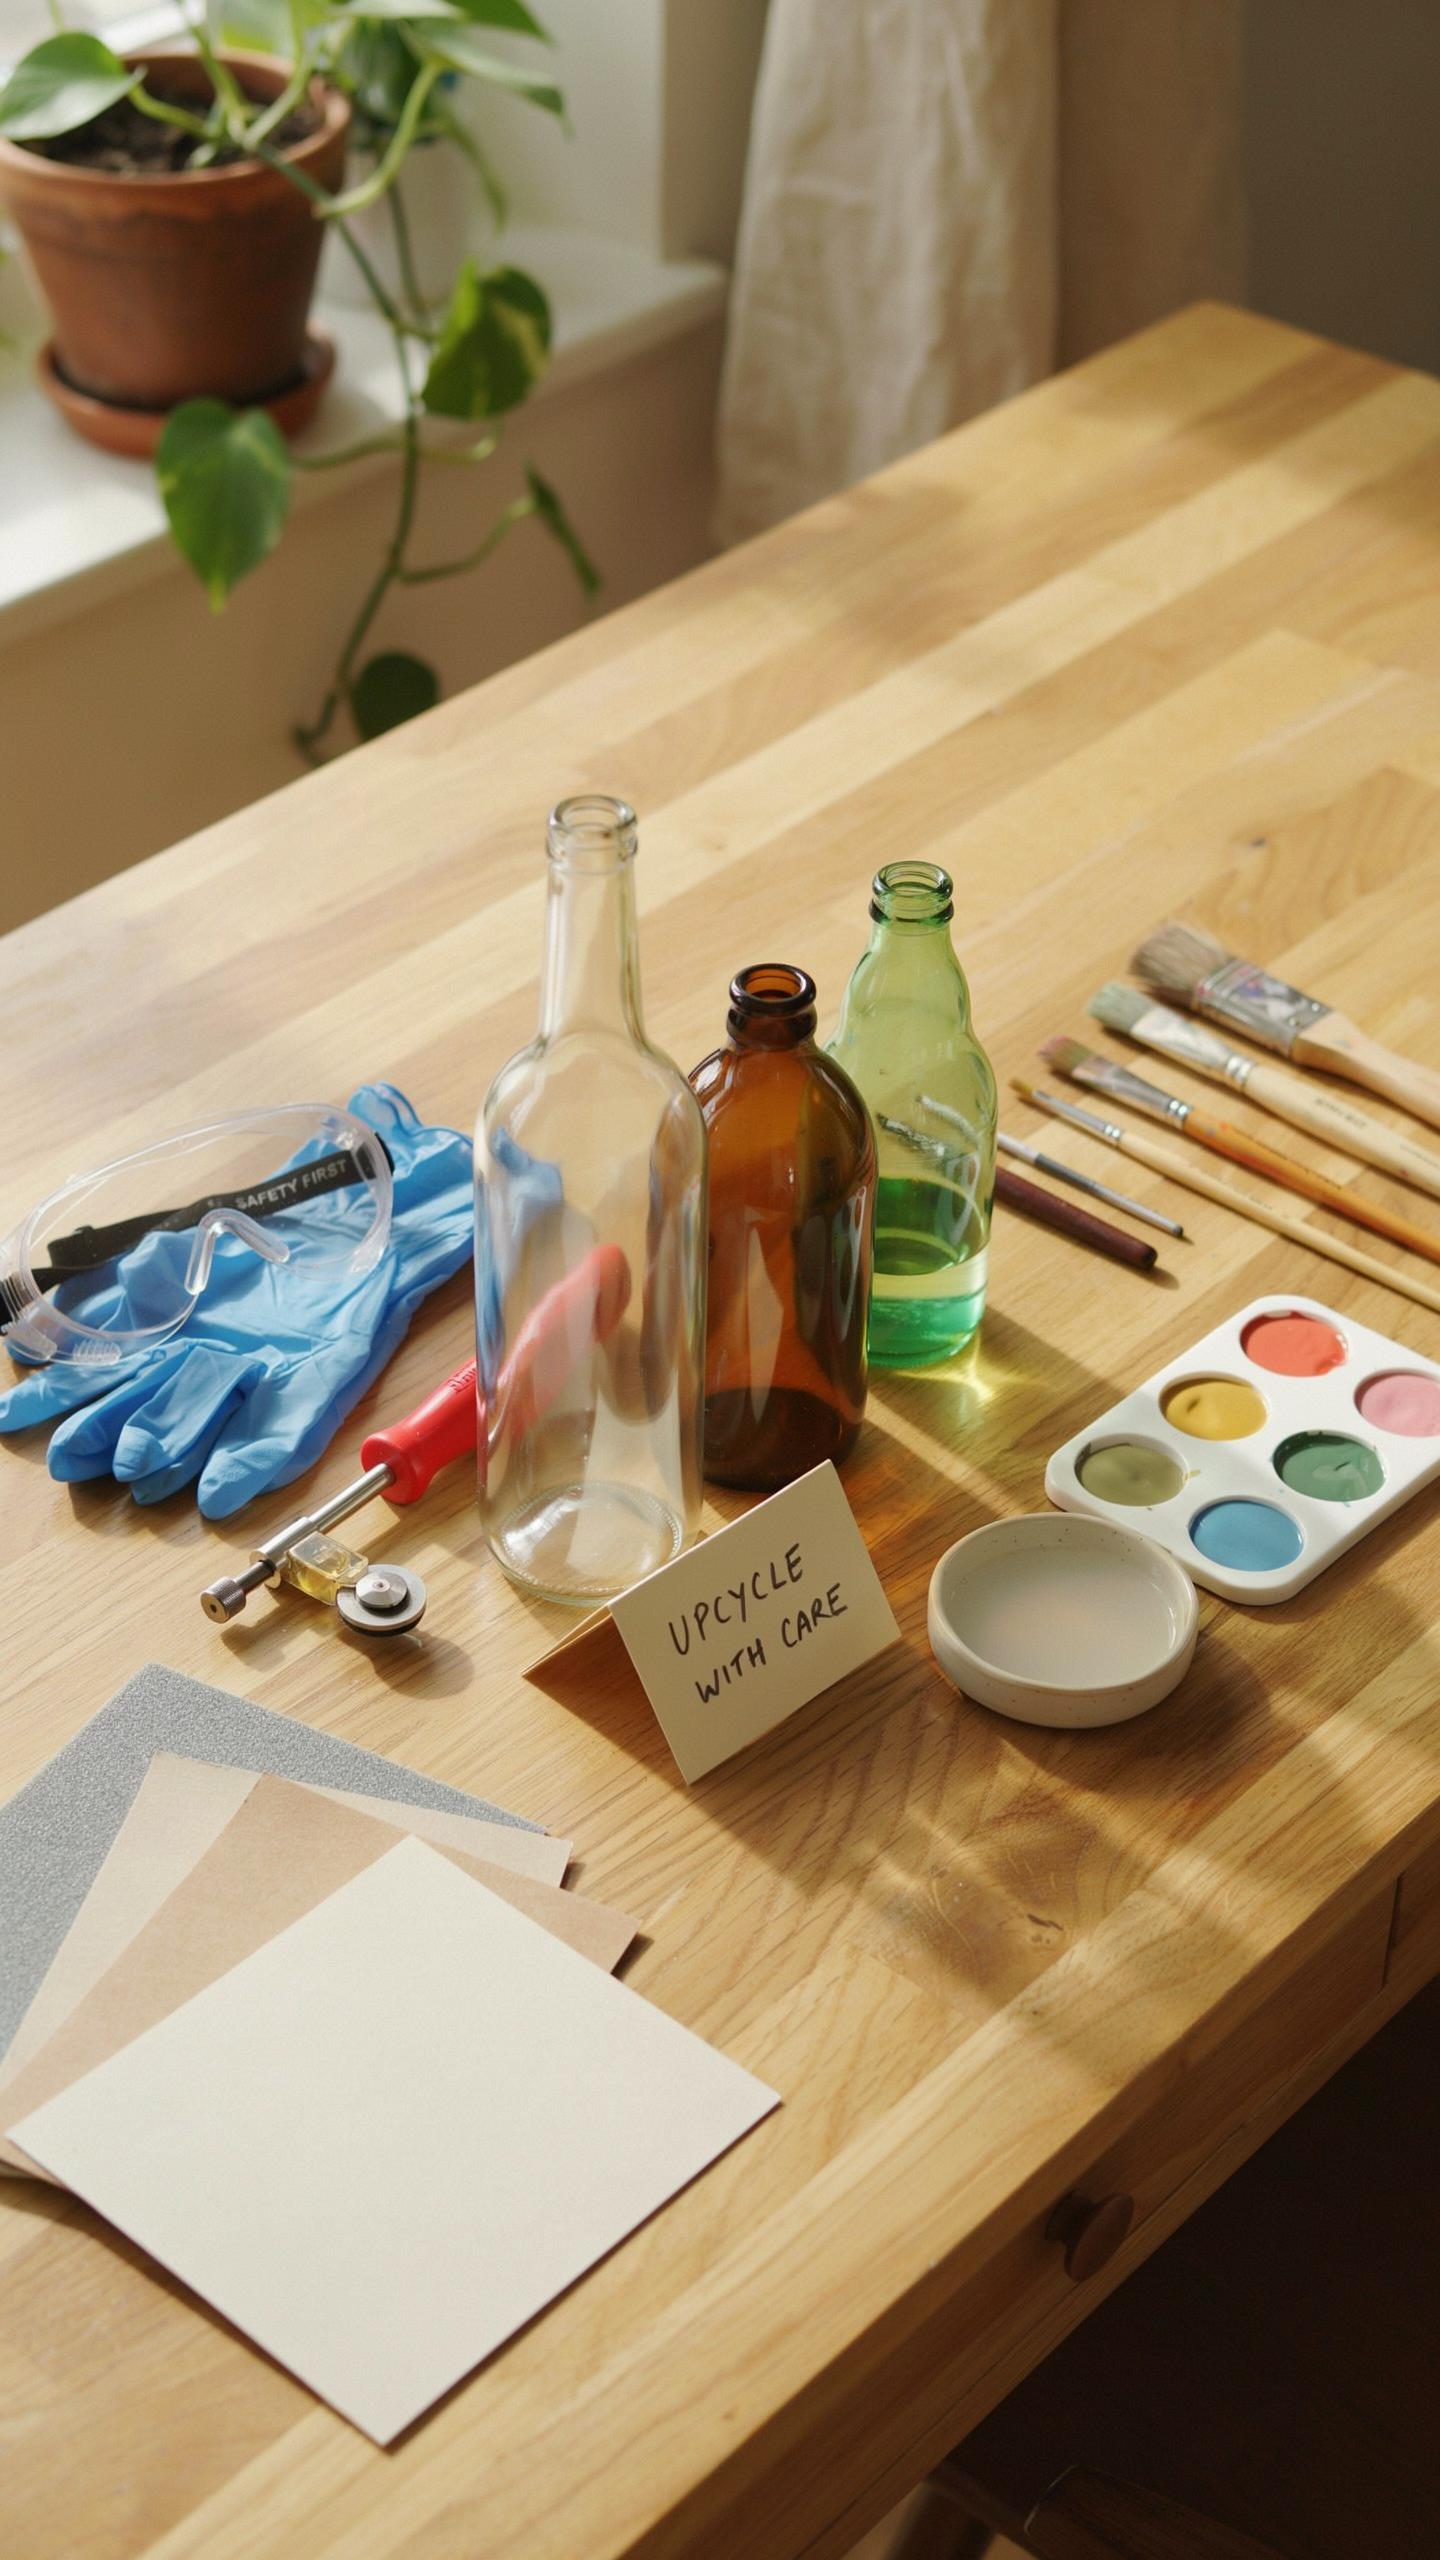
You need specific gear to cut and modify glass without injury. Glass breaks unpredictably and creates sharp edges that cause deep lacerations. Eye protection stops fragments from entering your eyes. Cut-resistant gloves protect your hands during handling and finishing work.
- Safety glasses or face shield: Protects eyes from glass shards ejected during cutting or breaking. Polycarbonate lenses offer better impact resistance than standard eyewear.
- Cut-resistant gloves: Nitrile or leather options prevent hand injuries. Choose gloves rated for sharp materials and broken glass handling.
- Glass cutter tool: Creates controlled score lines on bottles before breaking. Wheel cutters work better than diamond cutters for repeated cuts on curved surfaces.
- Fine-toothed saw or tile saw: Wet saws with diamond blades cut through glass cleanly. They reduce chipping compared to dry cutting methods.
- Sandpaper and finishing stone: Smooth rough edges after cutting. Use 120-grit to 400-grit progressively for safe handling and polished results.
- Work gloves for finishing: Heavy-duty gloves prevent cuts while sanding edges. Protect your palms during the final smoothing stage.
A clean workspace prevents accidents and glass dust inhalation. Set up your cutting station on a sturdy table with good lighting. Wear long sleeves and close-toed shoes to minimize skin exposure to glass fragments.
We can’t help everyone, but everyone can help someone by giving new life to what was once discarded. There is a special kind of magic in transforming a simple glass bottle into a vessel of light and memory.
Cleaning And Prep
Labels and adhesive residue block your view of the glass and interfere with decoration application. You must remove these completely before starting any design work. Warm water alone rarely works because label glue bonds tightly to glass surfaces.

Rubbing alcohol dissolves label adhesive effectively without damaging glass. Soak the bottle in warm water first to soften the label, then apply alcohol and let it sit for five minutes. Scrape with a plastic scraper, not metal, to avoid scratching the surface. For stubborn residue, oil-based solutions like coconut oil or mineral oil work well. Apply oil generously, wait ten minutes, then wipe clean with a cloth. Repeat as needed until no sticky residue remains. Vinegar cuts through lighter adhesives and leaves no chemical residue on the glass. Spray white vinegar on the label area and let it penetrate for several minutes before scraping.
Beginner Friendly Glass Bottle Projects For Weekend DIYers
Painted Vessels
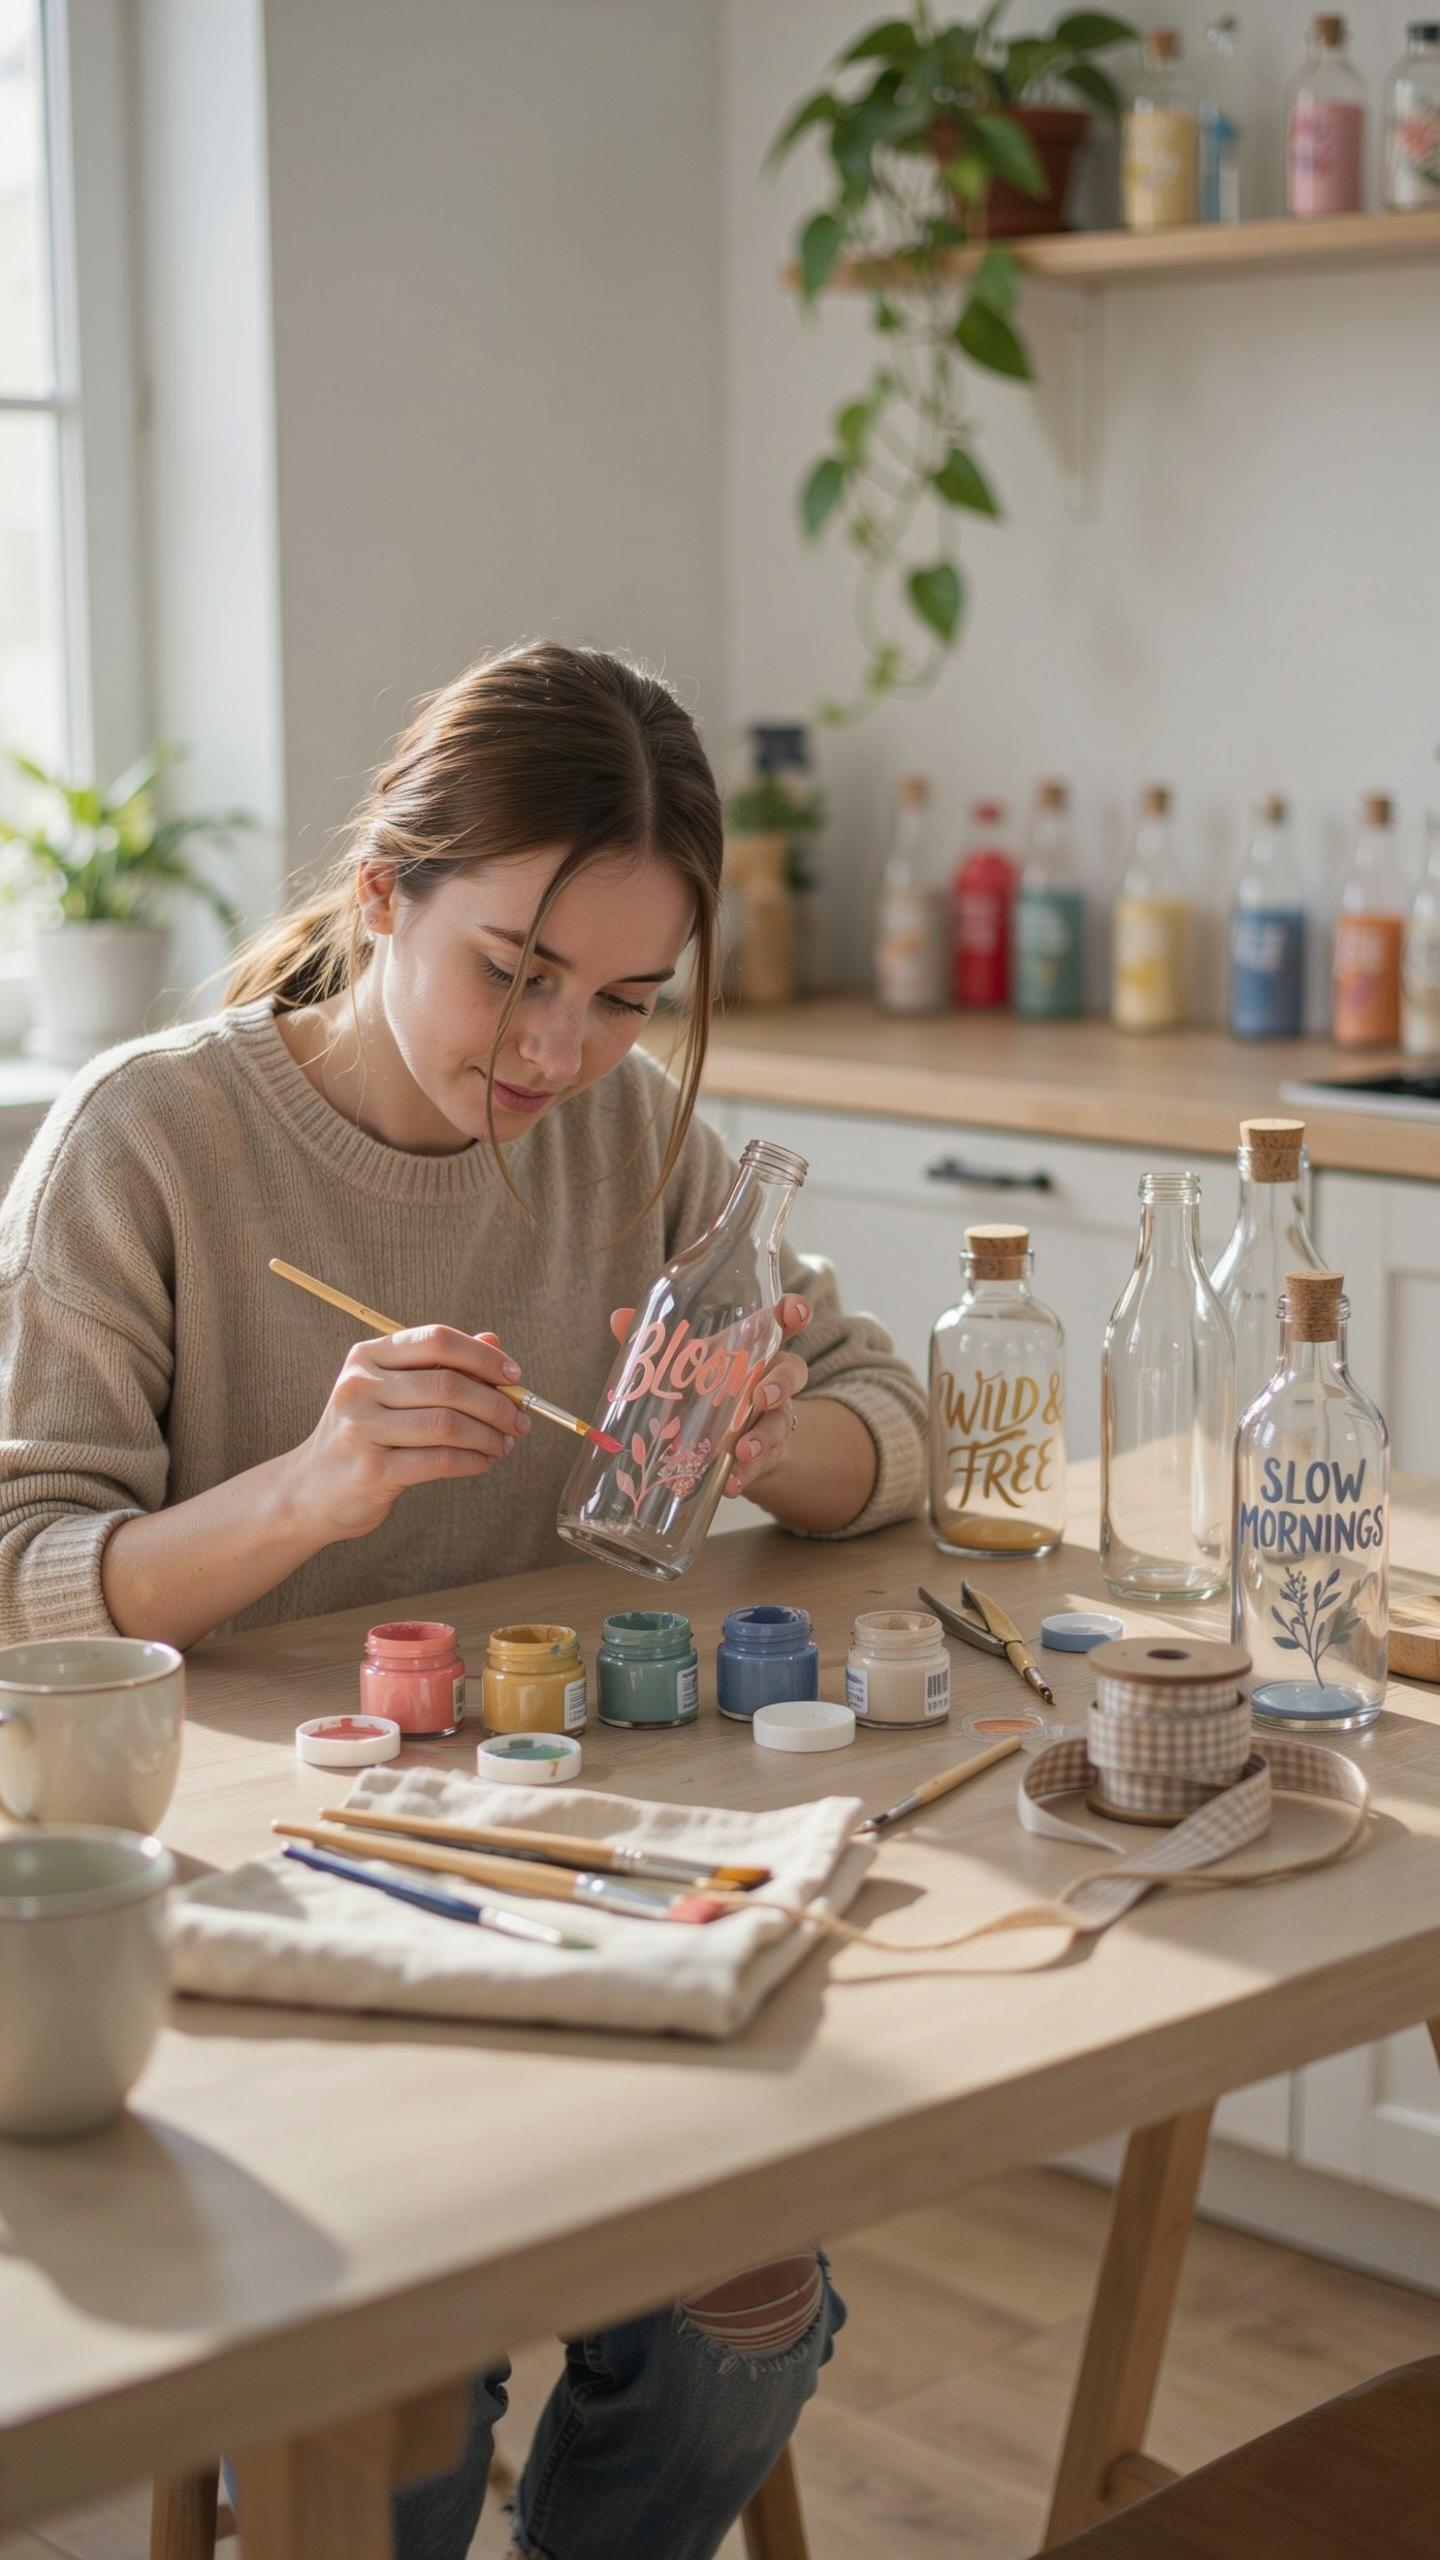
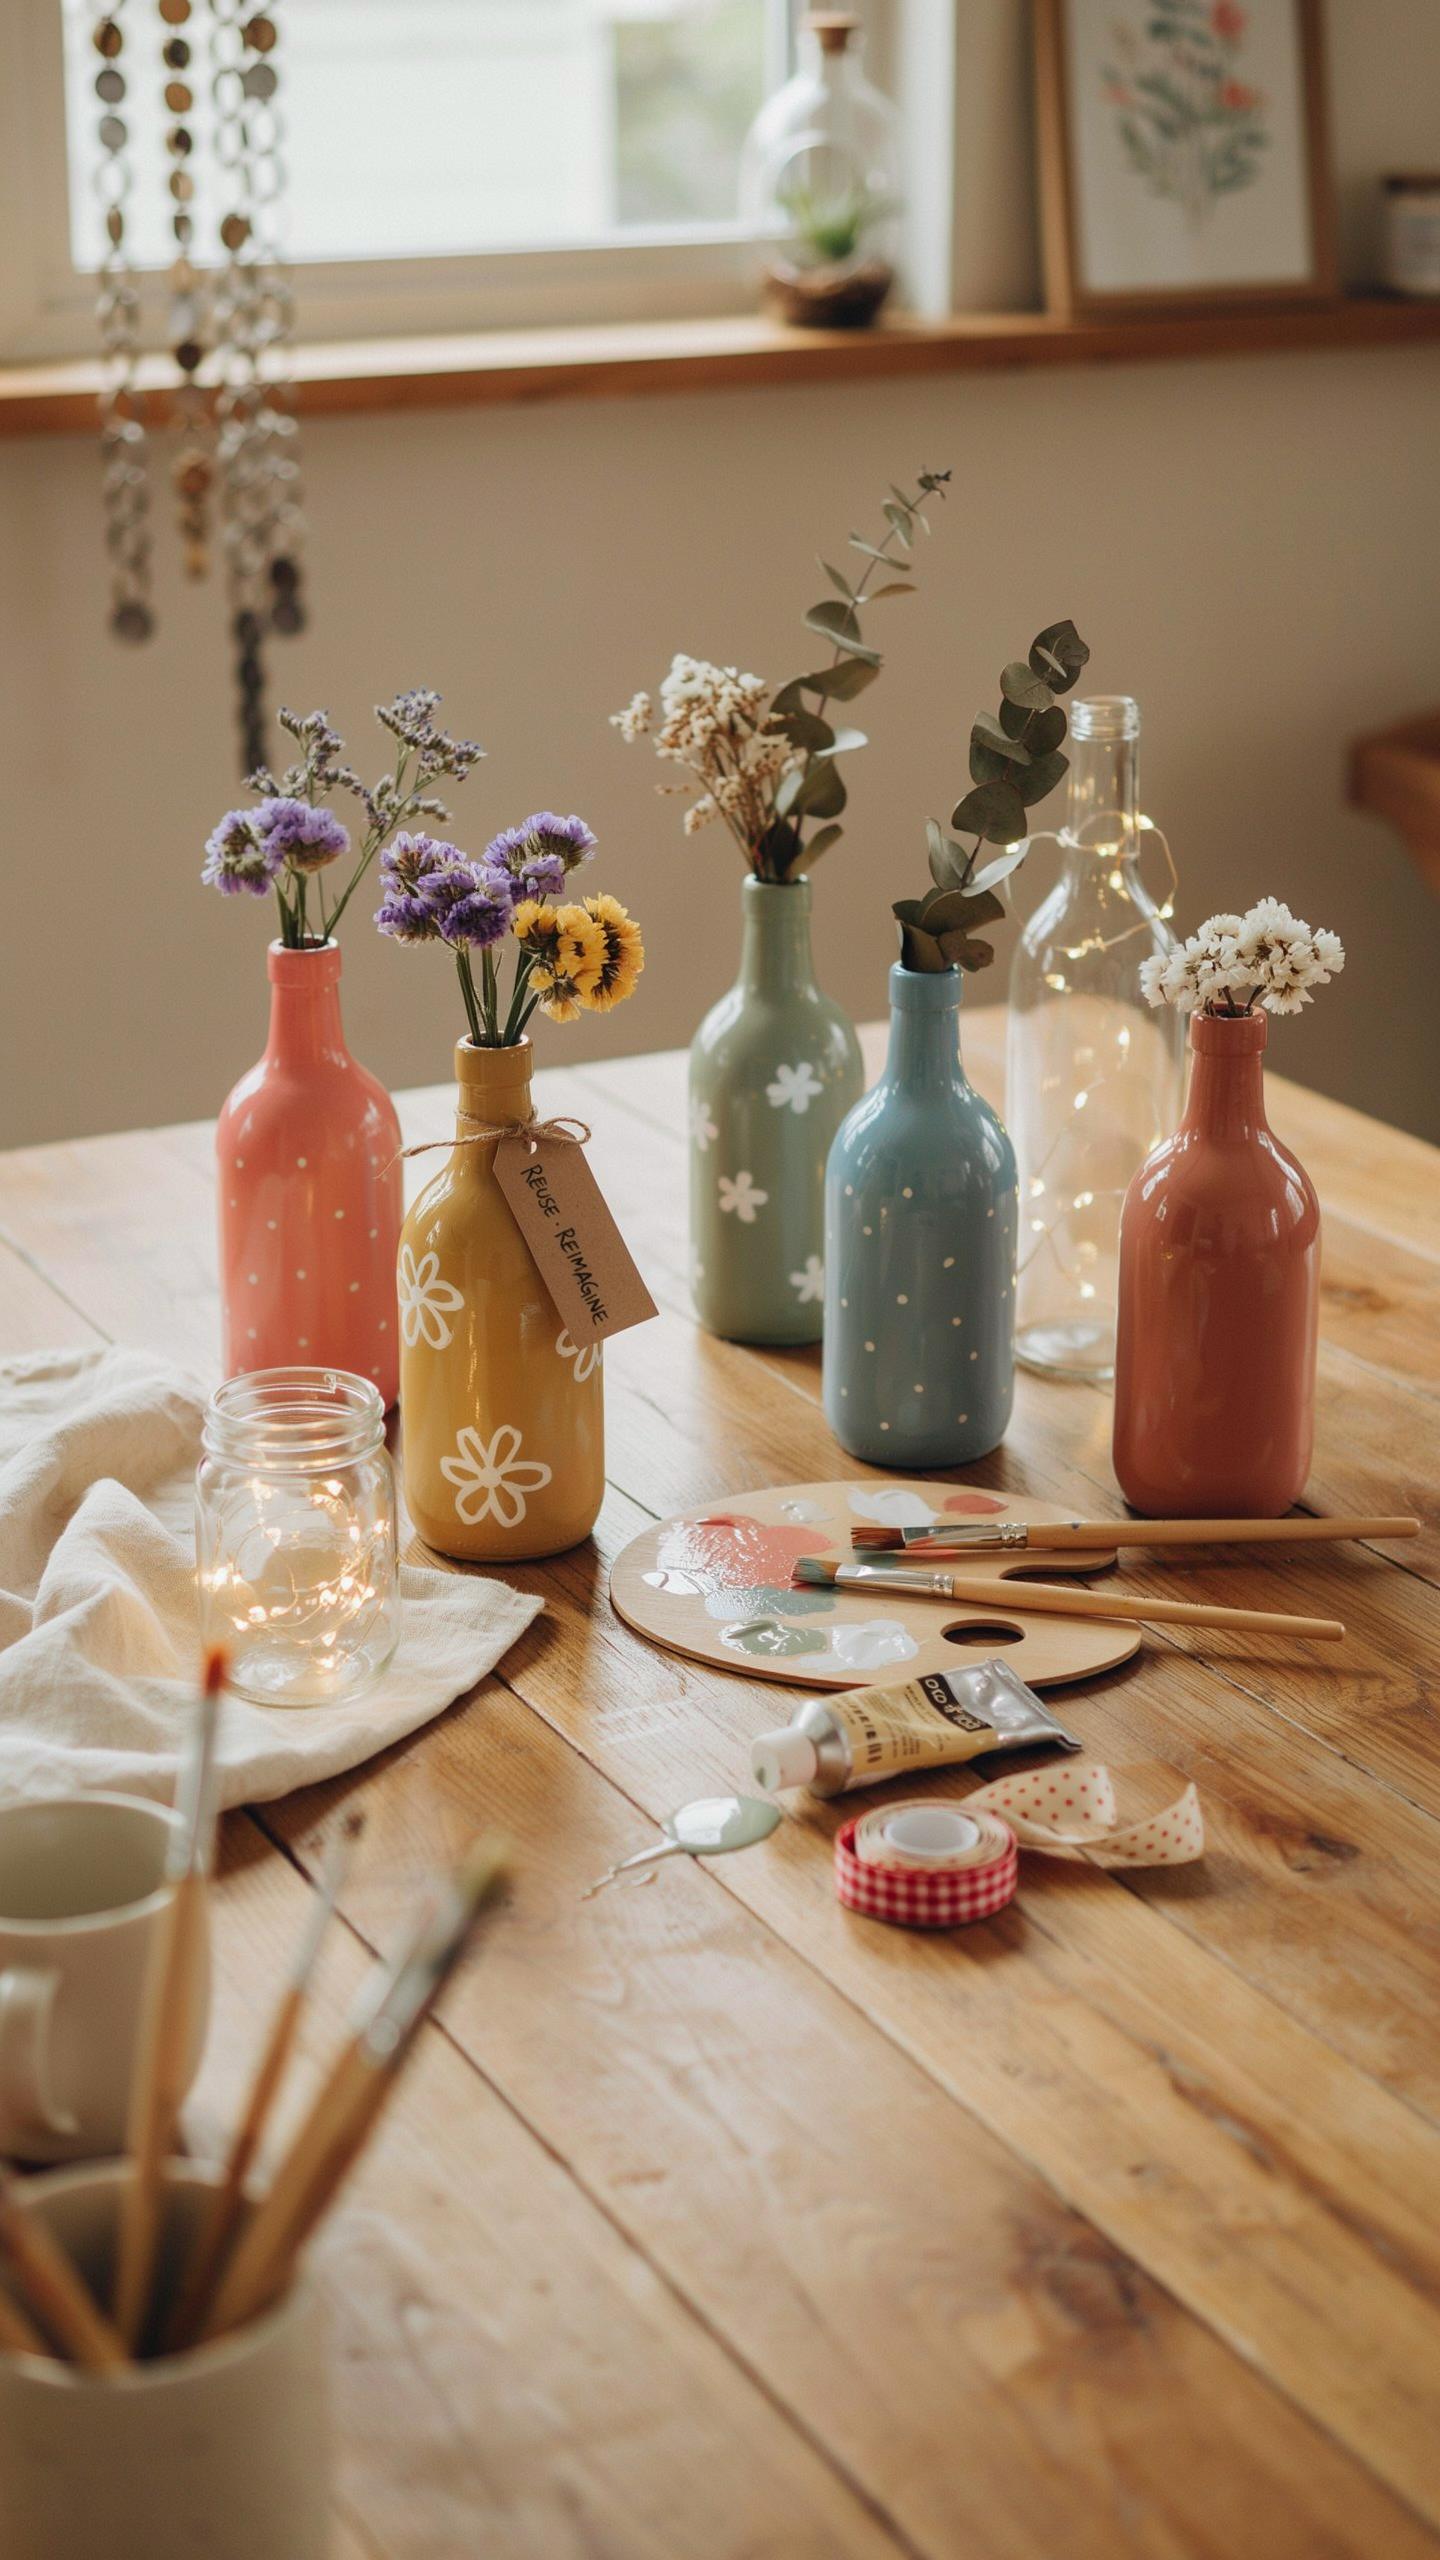
Matte acrylic paint adheres directly to glass without primer when you clean the surface with rubbing alcohol first. The paint dries to a finish that mimics ceramic or stone, masking the transparent nature of the glass. This approach works because acrylic polymers bond to glass better than glossy finishes do. One coat typically covers adequately, though two coats ensure uniform color and opacity on most bottles.
Chalk paint offers a faster alternative for this same effect. It requires no surface preparation and covers glass in a single application. The matte finish appears identical to acrylic once dry. Chalk paint costs more per ounce but saves time for weekend projects when speed matters. Both options produce durable results that last years with normal handling.
Self Watering Planter
Wine bottles work best for this project because their cylindrical shape and consistent diameter make cutting predictable. You score the bottle with a glass cutter at your desired height, then use a hot water and cold water technique to separate the top cleanly. The bottom half becomes your planter vessel while the top half inverts as a water reservoir. This design delivers water gradually to soil through capillary action as the plant drinks.

Fill the inverted top section with water and place it inside the bottom section to create the self watering mechanism. The wick effect happens naturally when potting soil touches both the water source and the plant roots. Change water every two weeks to prevent stagnation. This setup works for herbs and small houseplants that tolerate indirect watering patterns.
Inspirational Upcycle Glass Jars DIY Projects For Storage And Organization
Kitchen Spice Storage
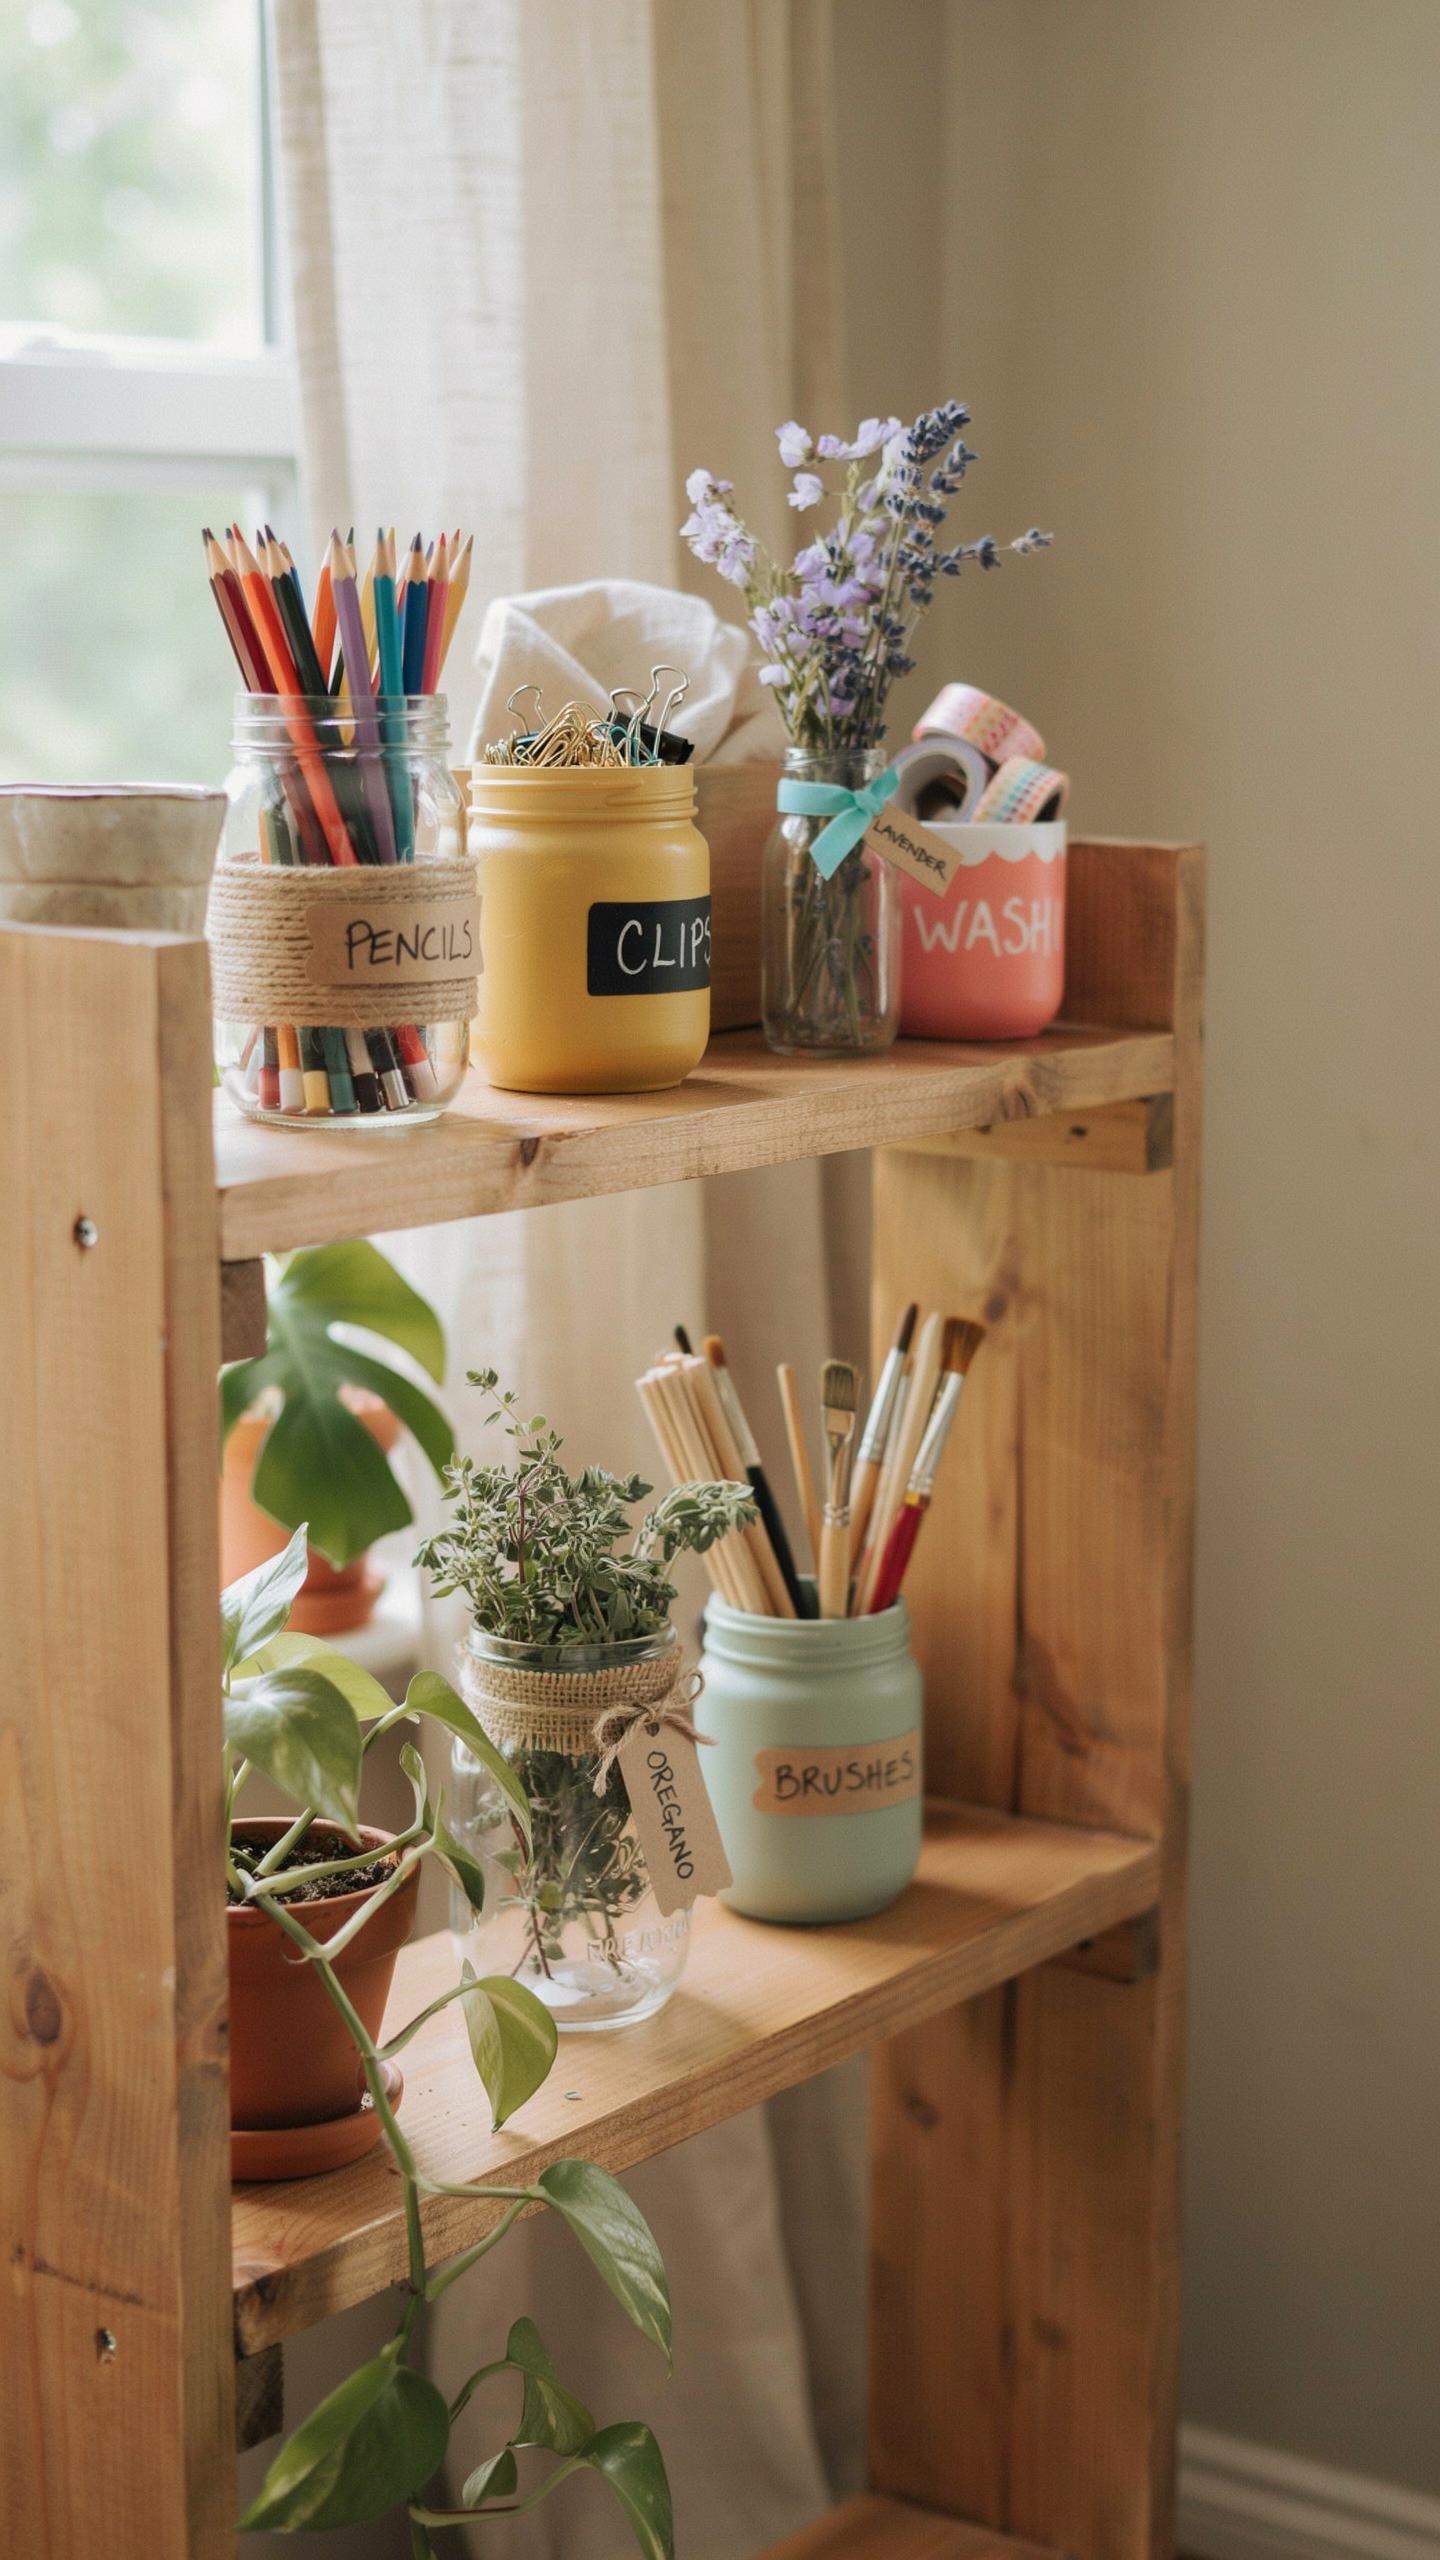
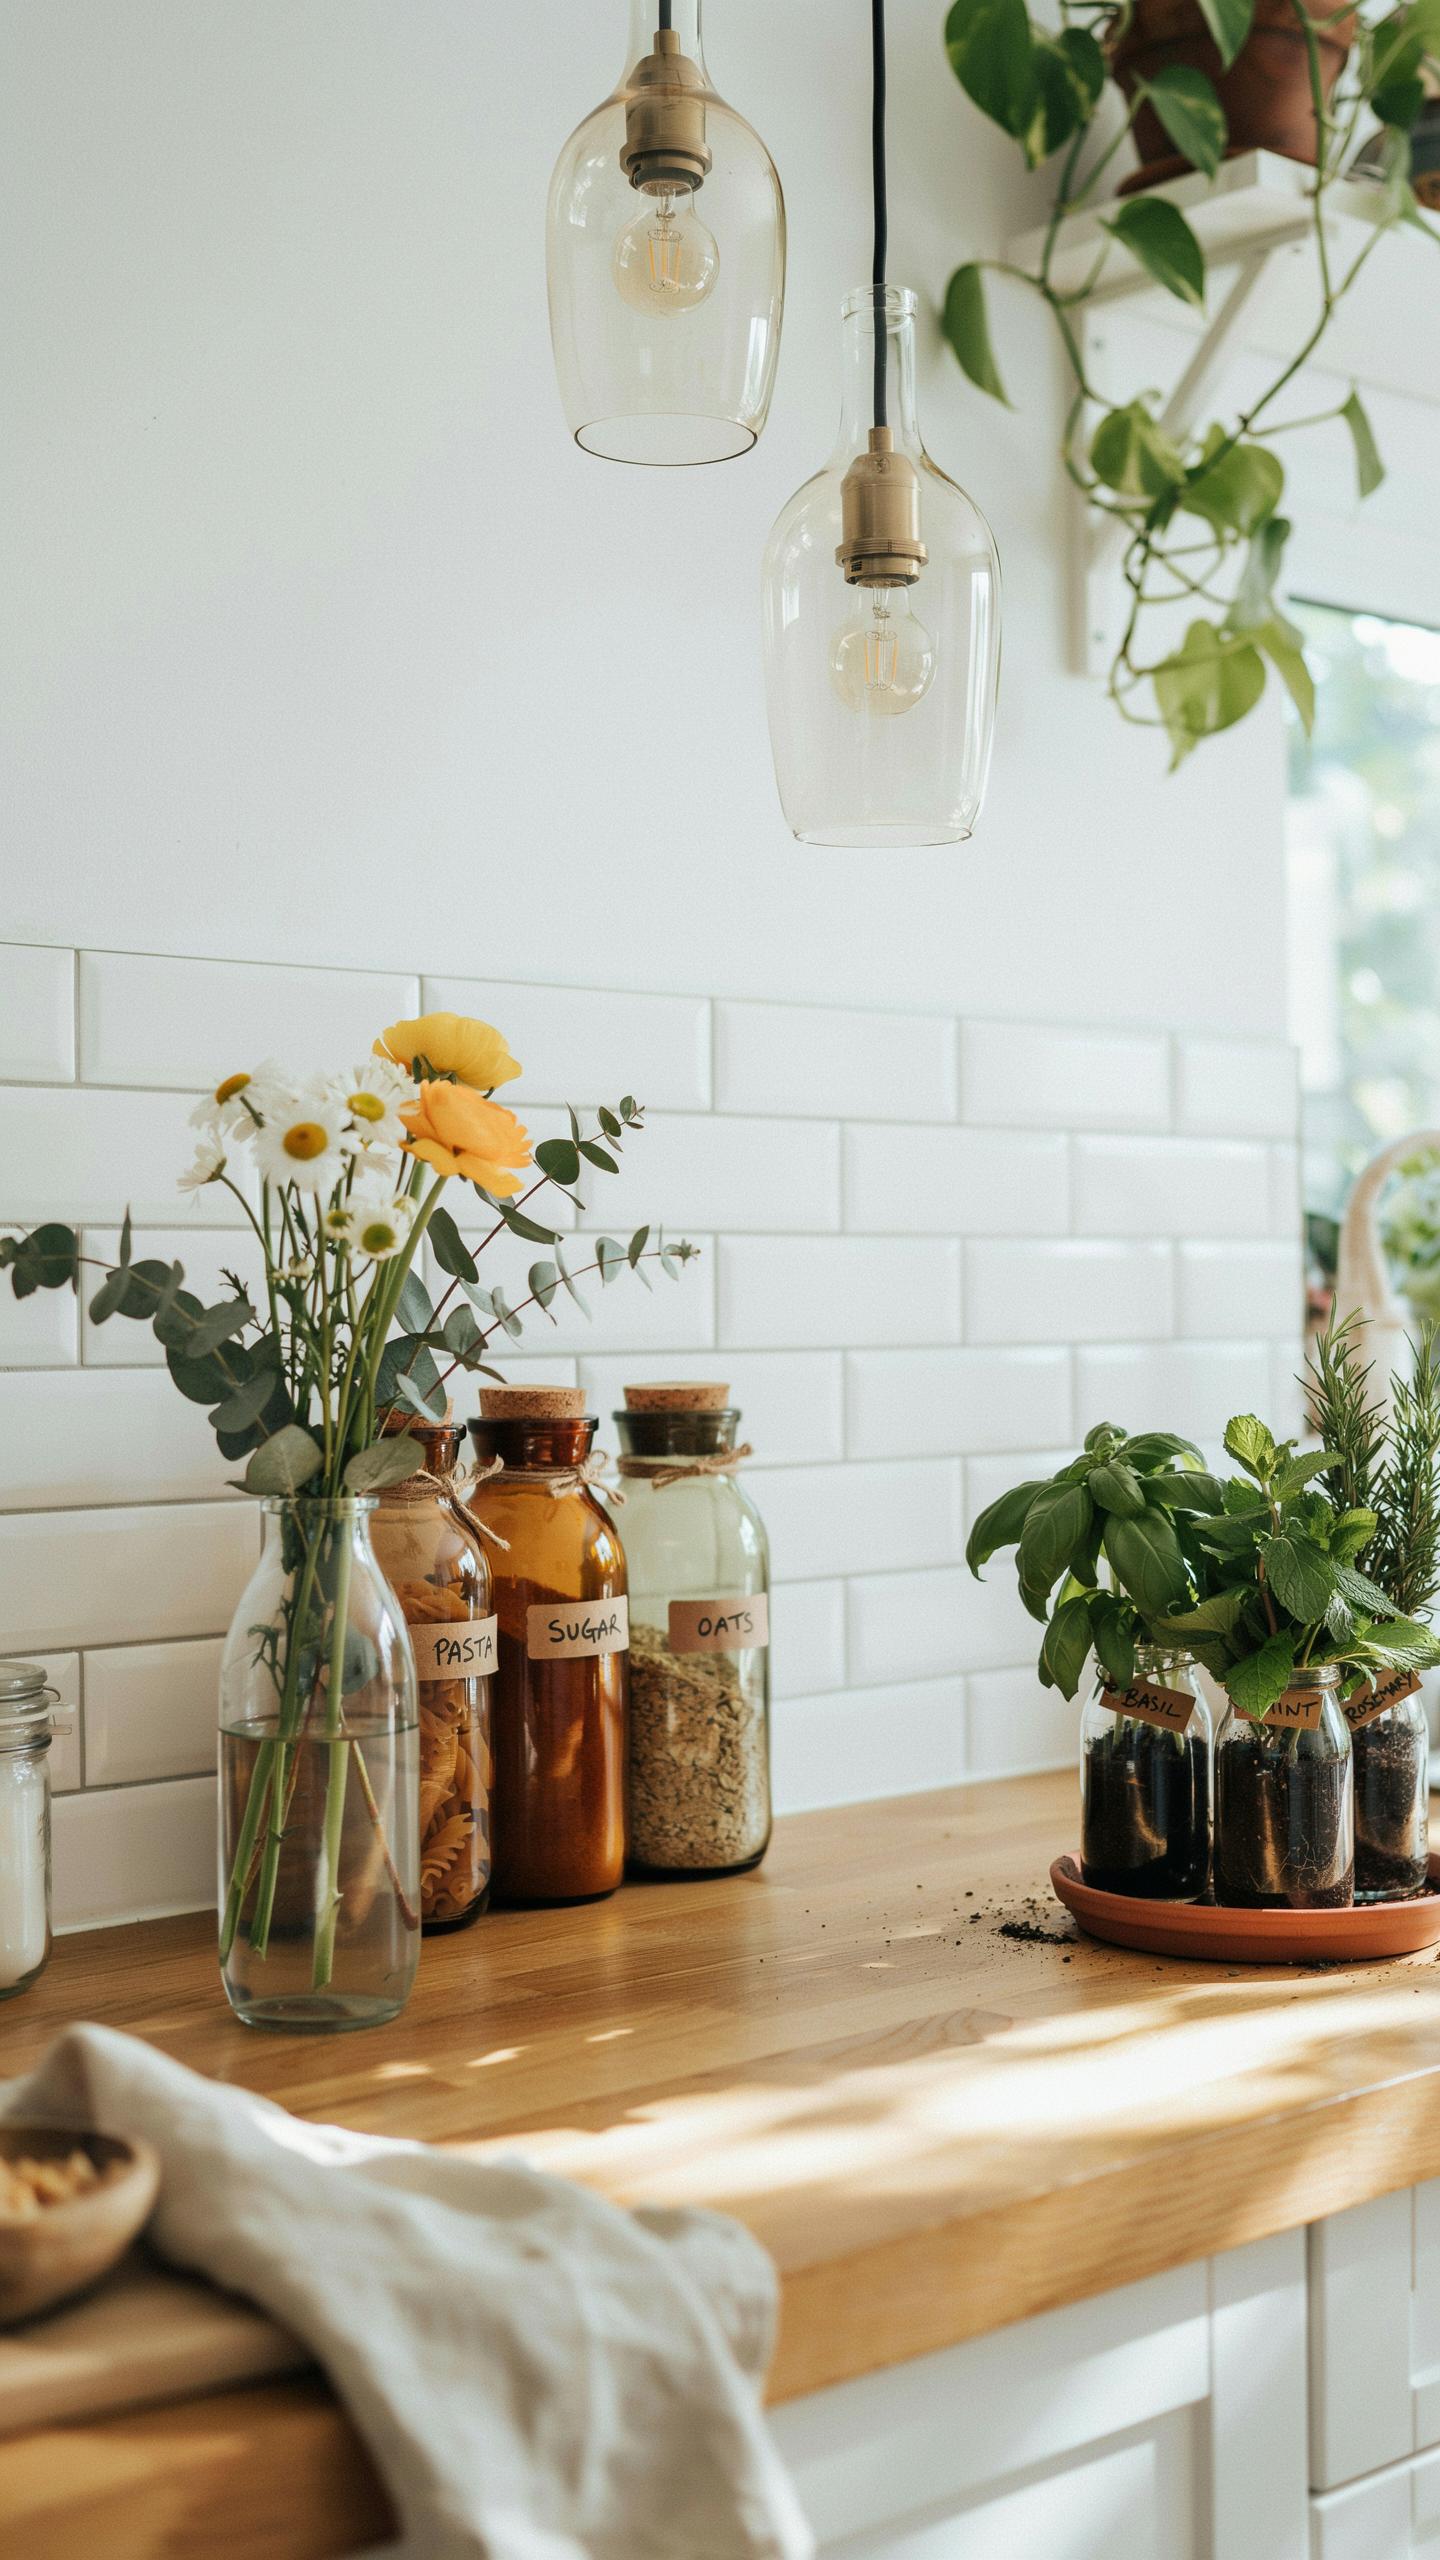
Glass jars solve a core kitchen problem: spice organization. Standard bottles waste space and hide labels. Uniform glass containers stack efficiently, maximize shelf space, and let you see contents at a glance. Matching jars create visual consistency in your pantry. Labeling systems keep inventory accurate and prevent duplicate purchases. This approach cuts meal prep time because you locate ingredients faster.
Jar selection matters for function. Choose containers with tight-fitting lids to preserve spice potency and prevent moisture absorption. Straight-sided jars stack better than curved designs. Size variety accommodates different spices: smaller jars for expensive items like saffron, larger ones for frequently used options like salt or pepper. Avoid clear glass in direct sunlight, as UV exposure degrades spice quality and color over time.
Bathroom Vanity Organization
Glass jars transform bathroom storage from cluttered to functional. Cotton swabs, makeup brushes, and bath salts demand containment. Transparent jars let you monitor supply levels without opening cabinets. Glass resists moisture better than cardboard or plastic alternatives. This system eliminates the search time for specific items during morning routines.

Implement this strategy with intentional placement. Group similar items in matching jars for visual order. Position frequently used containers at eye level for quick access. Taller jars work for brush handles while shorter containers suit cotton swabs and bath salts. Glass cleaning prevents dust buildup and maintains the professional appearance of your vanity setup.
Advanced Projects With Glass Bottles Cutting And Reshaping Techniques
Bottle Cutting Kits
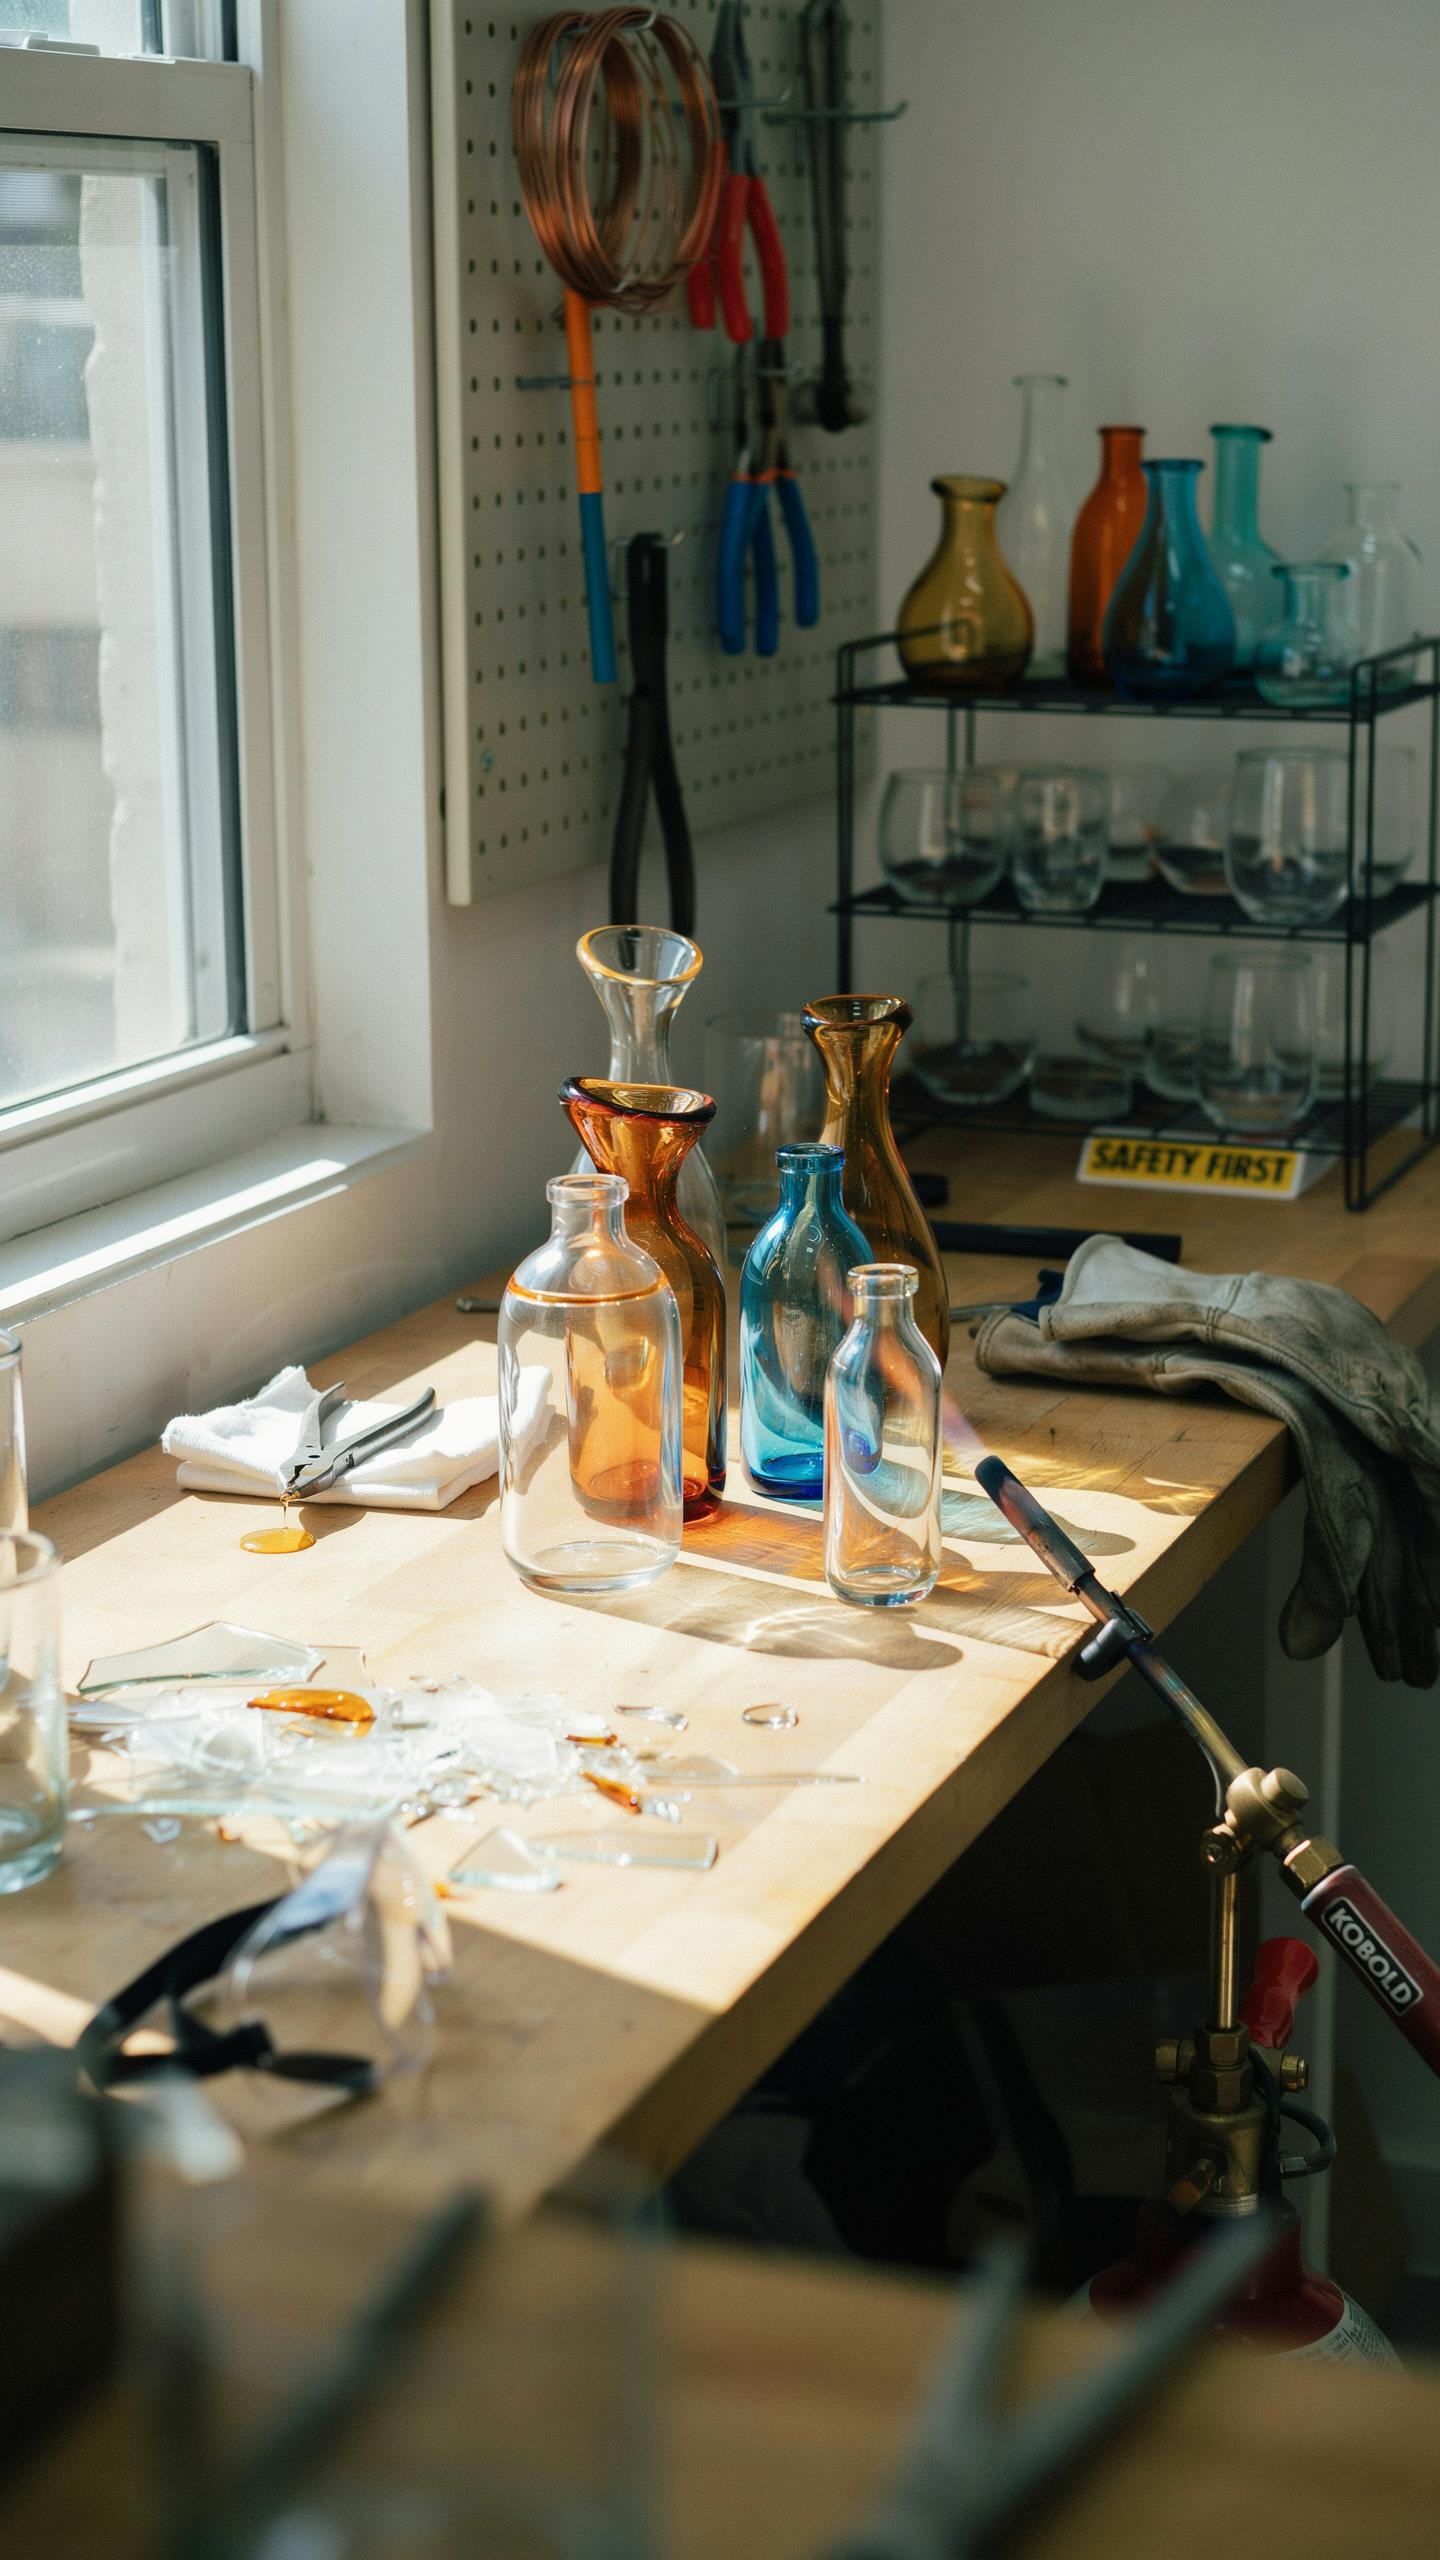
The score-and-heat method works because glass becomes workable when you create a stress line, then expose it to temperature change. A cutting kit includes a carbide wheel that scores the bottle surface in a controlled groove. You fill the groove with water, then alternate between hot and cold exposure to force the glass to separate cleanly along that line. This method produces usable flat edges without jagged breaks that require grinding.
Quality matters with cutting kits. Cheap wheels skip or skip inconsistently, forcing you to repeat scoring passes and wasting bottles. Mid-range kits cost 20 to 40 dollars and deliver consistent results across multiple projects. The key variable is applying steady, even pressure during the scoring phase and maintaining consistent water temperature during the thermal shock stage. Practice on clear bottles first to dial in your technique before moving to colored glass.
Candle Making Vessels
Cut bottle bottoms create ideal candle vessels because they already have containment shape and existing thickness. You pour soy wax directly into the clean cut halves after placing a centered wick tab on the interior base. Soy wax sets faster than paraffin and releases scent more gradually, making it practical for repurposed bottle projects. The glass provides thermal stability and prevents the wax from overheating during burn cycles.
Preparation determines quality output. Smooth any sharp edges from the cut with fine sandpaper or a glass file before pouring wax. Remove all glass dust and bottle residue with warm water and let the vessel dry completely. Pour wax at the correct temperature, typically 170 to 180 degrees Fahrenheit, to avoid adhesion problems and uneven cooling. Allow full cure time before lighting, usually 24 to 48 hours depending on wall thickness and wax type.
Stunning Upcycle Glass Bottles Diy Crafts To Elevate Your Garden Space
Wind Chimes
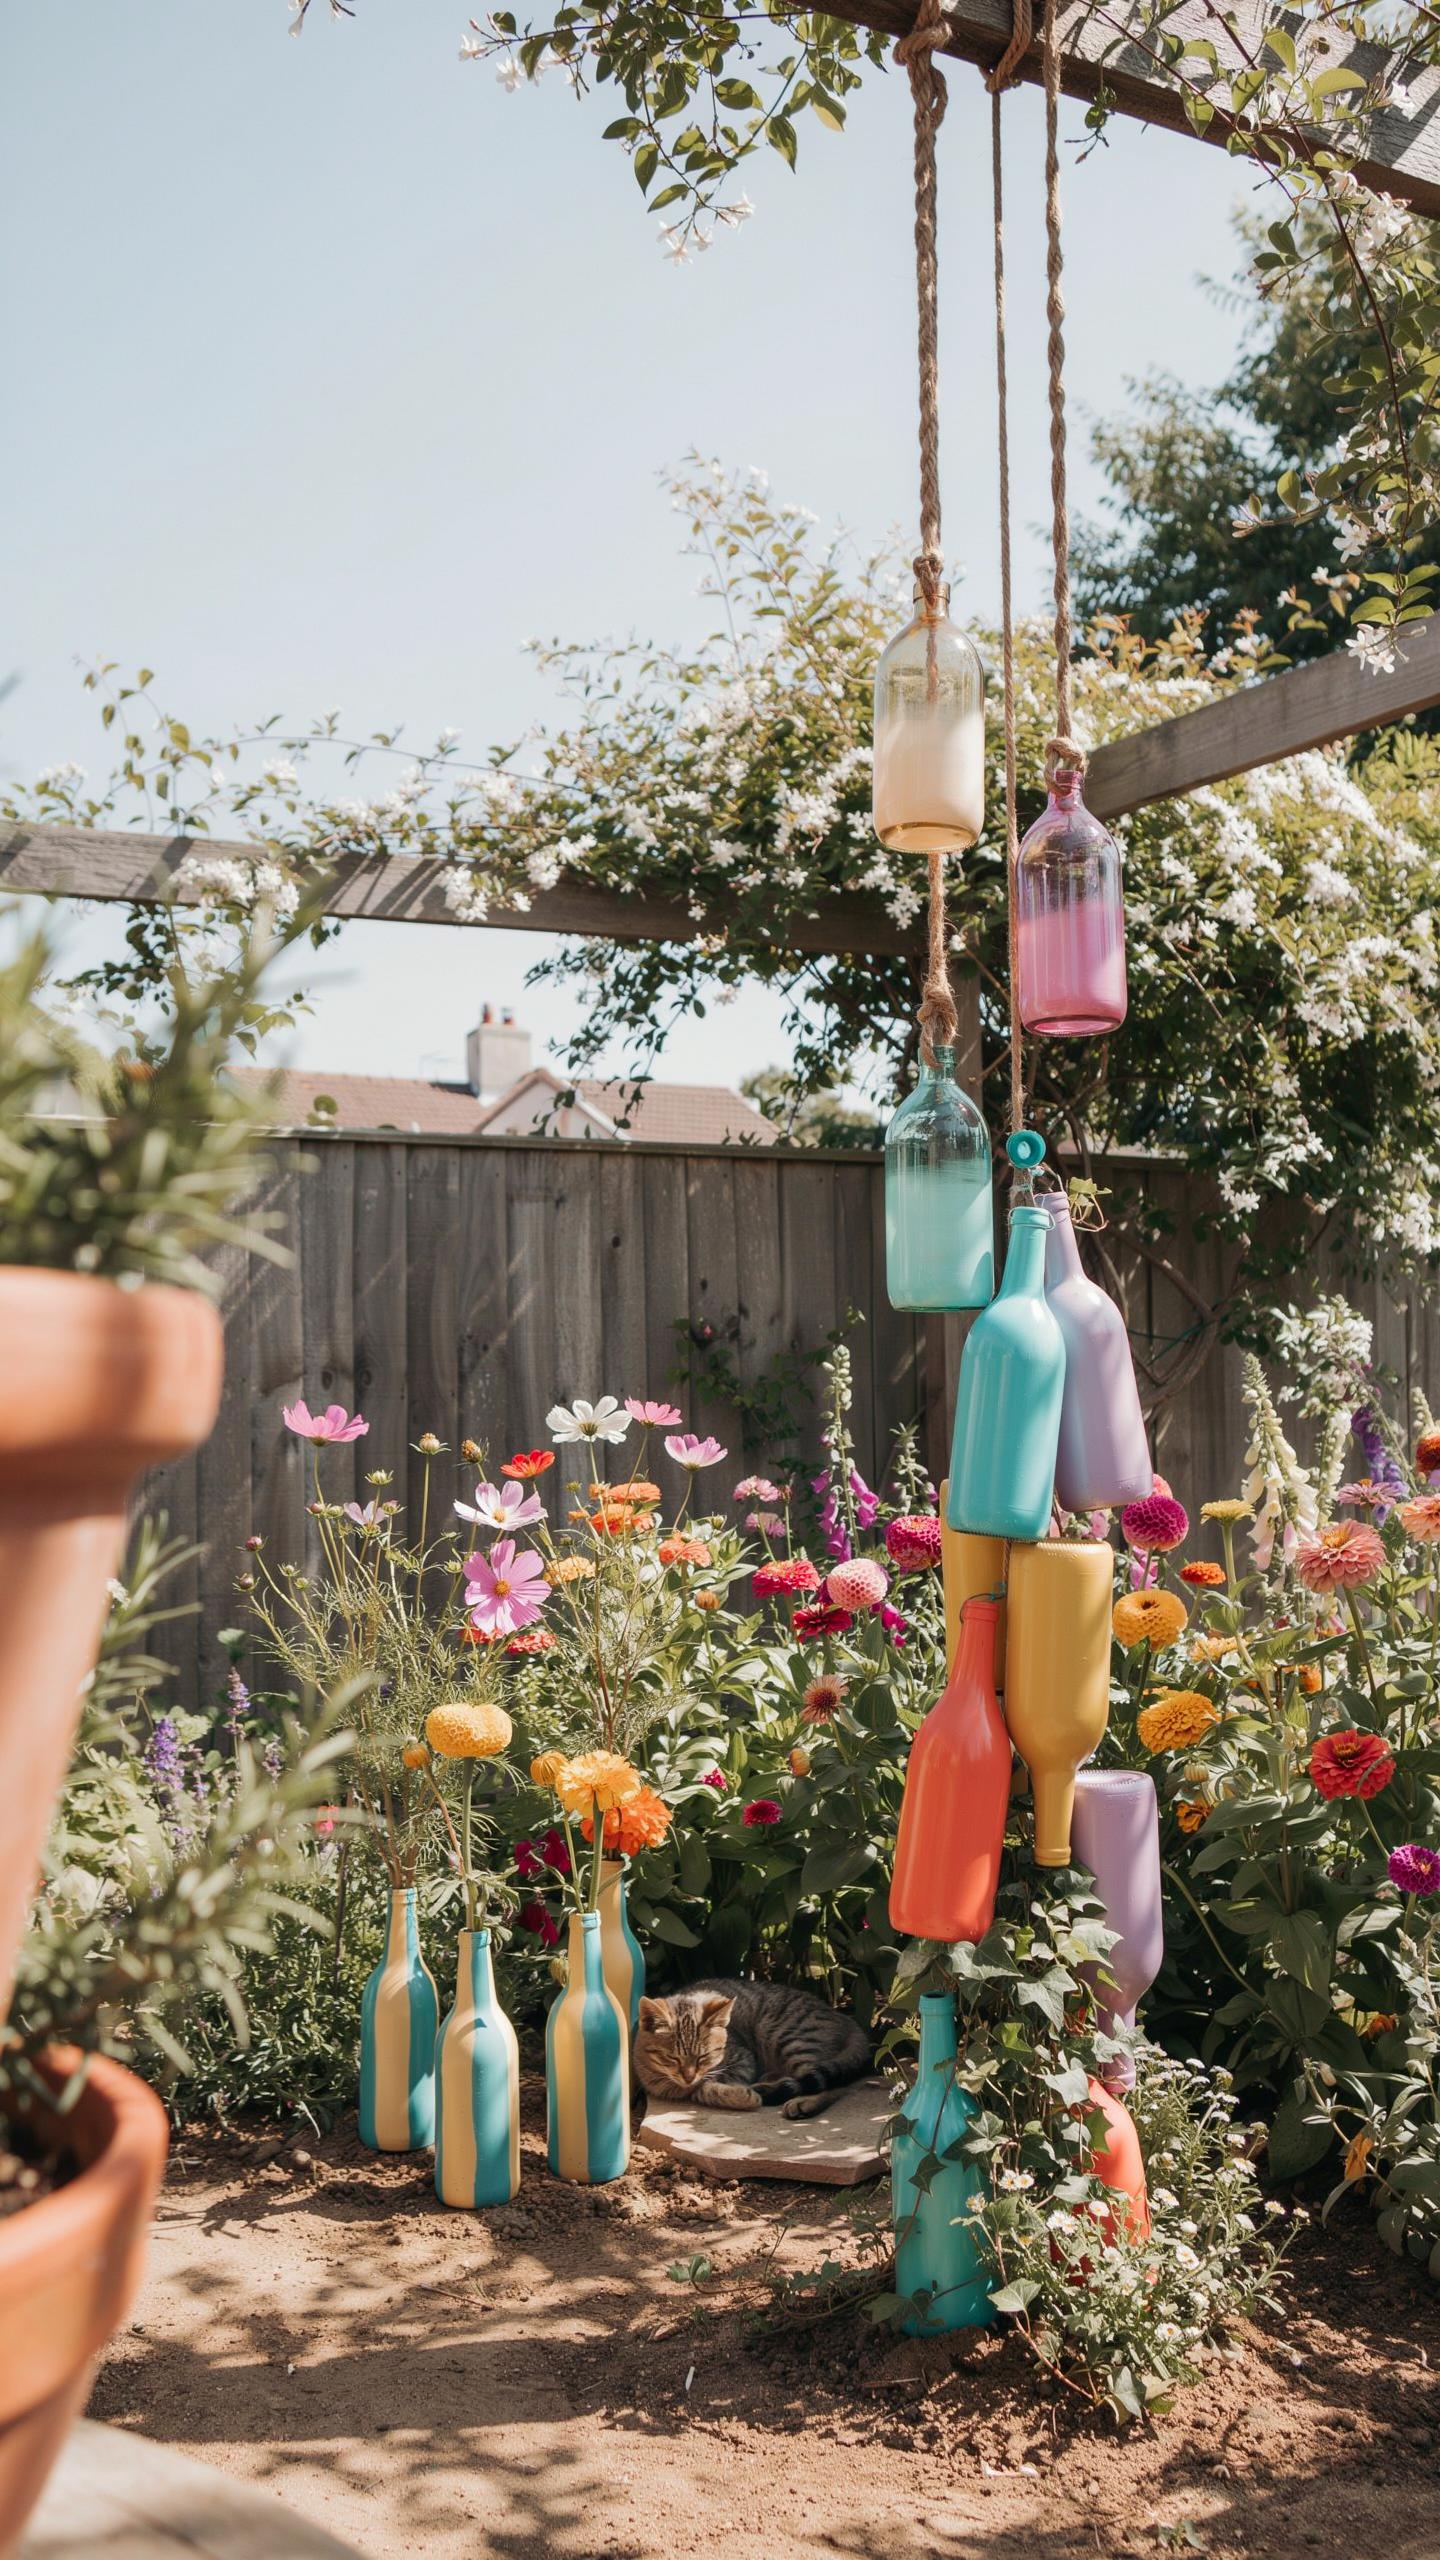
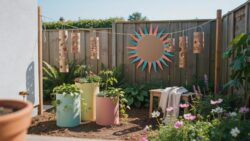
Suspended glass wind chimes use gravity and air movement to create sound. Cut wine bottles into rings using a glass cutter or score-and-snap method. String the pieces with fishing line or wire, spacing them so they contact each other when wind moves them. Anchor the top piece to a sturdy garden structure.
Sea glass pieces add visual appeal and produce distinct tones when they strike bottle slices. Drill small holes through glass sections using a diamond bit at low speed with water cooling. Vary the glass thickness and material to create different pitches. Hang chimes where they catch consistent airflow but stay protected from extreme weather.
Garden Path Borders
Wine bottles create permanent garden bed edges when buried neck-down in soil. Select uniform bottles for consistent visual impact. Dig a trench along your garden bed line and insert bottles at uniform depth, leaving the bottom third exposed. Pack soil firmly around each bottle to lock it in place.

Colored glass bottles produce striking patterns that guide foot traffic and define planting zones. Clear, green, and brown glass each create different visual effects depending on sunlight angle. Bottles withstand freeze-thaw cycles and resist rot unlike wood borders. Replace individual bottles as needed without disturbing the entire border installation.
Surprising Things To Make With Glass Bottles Beyond Standard Vases
Hummingbird Feeder
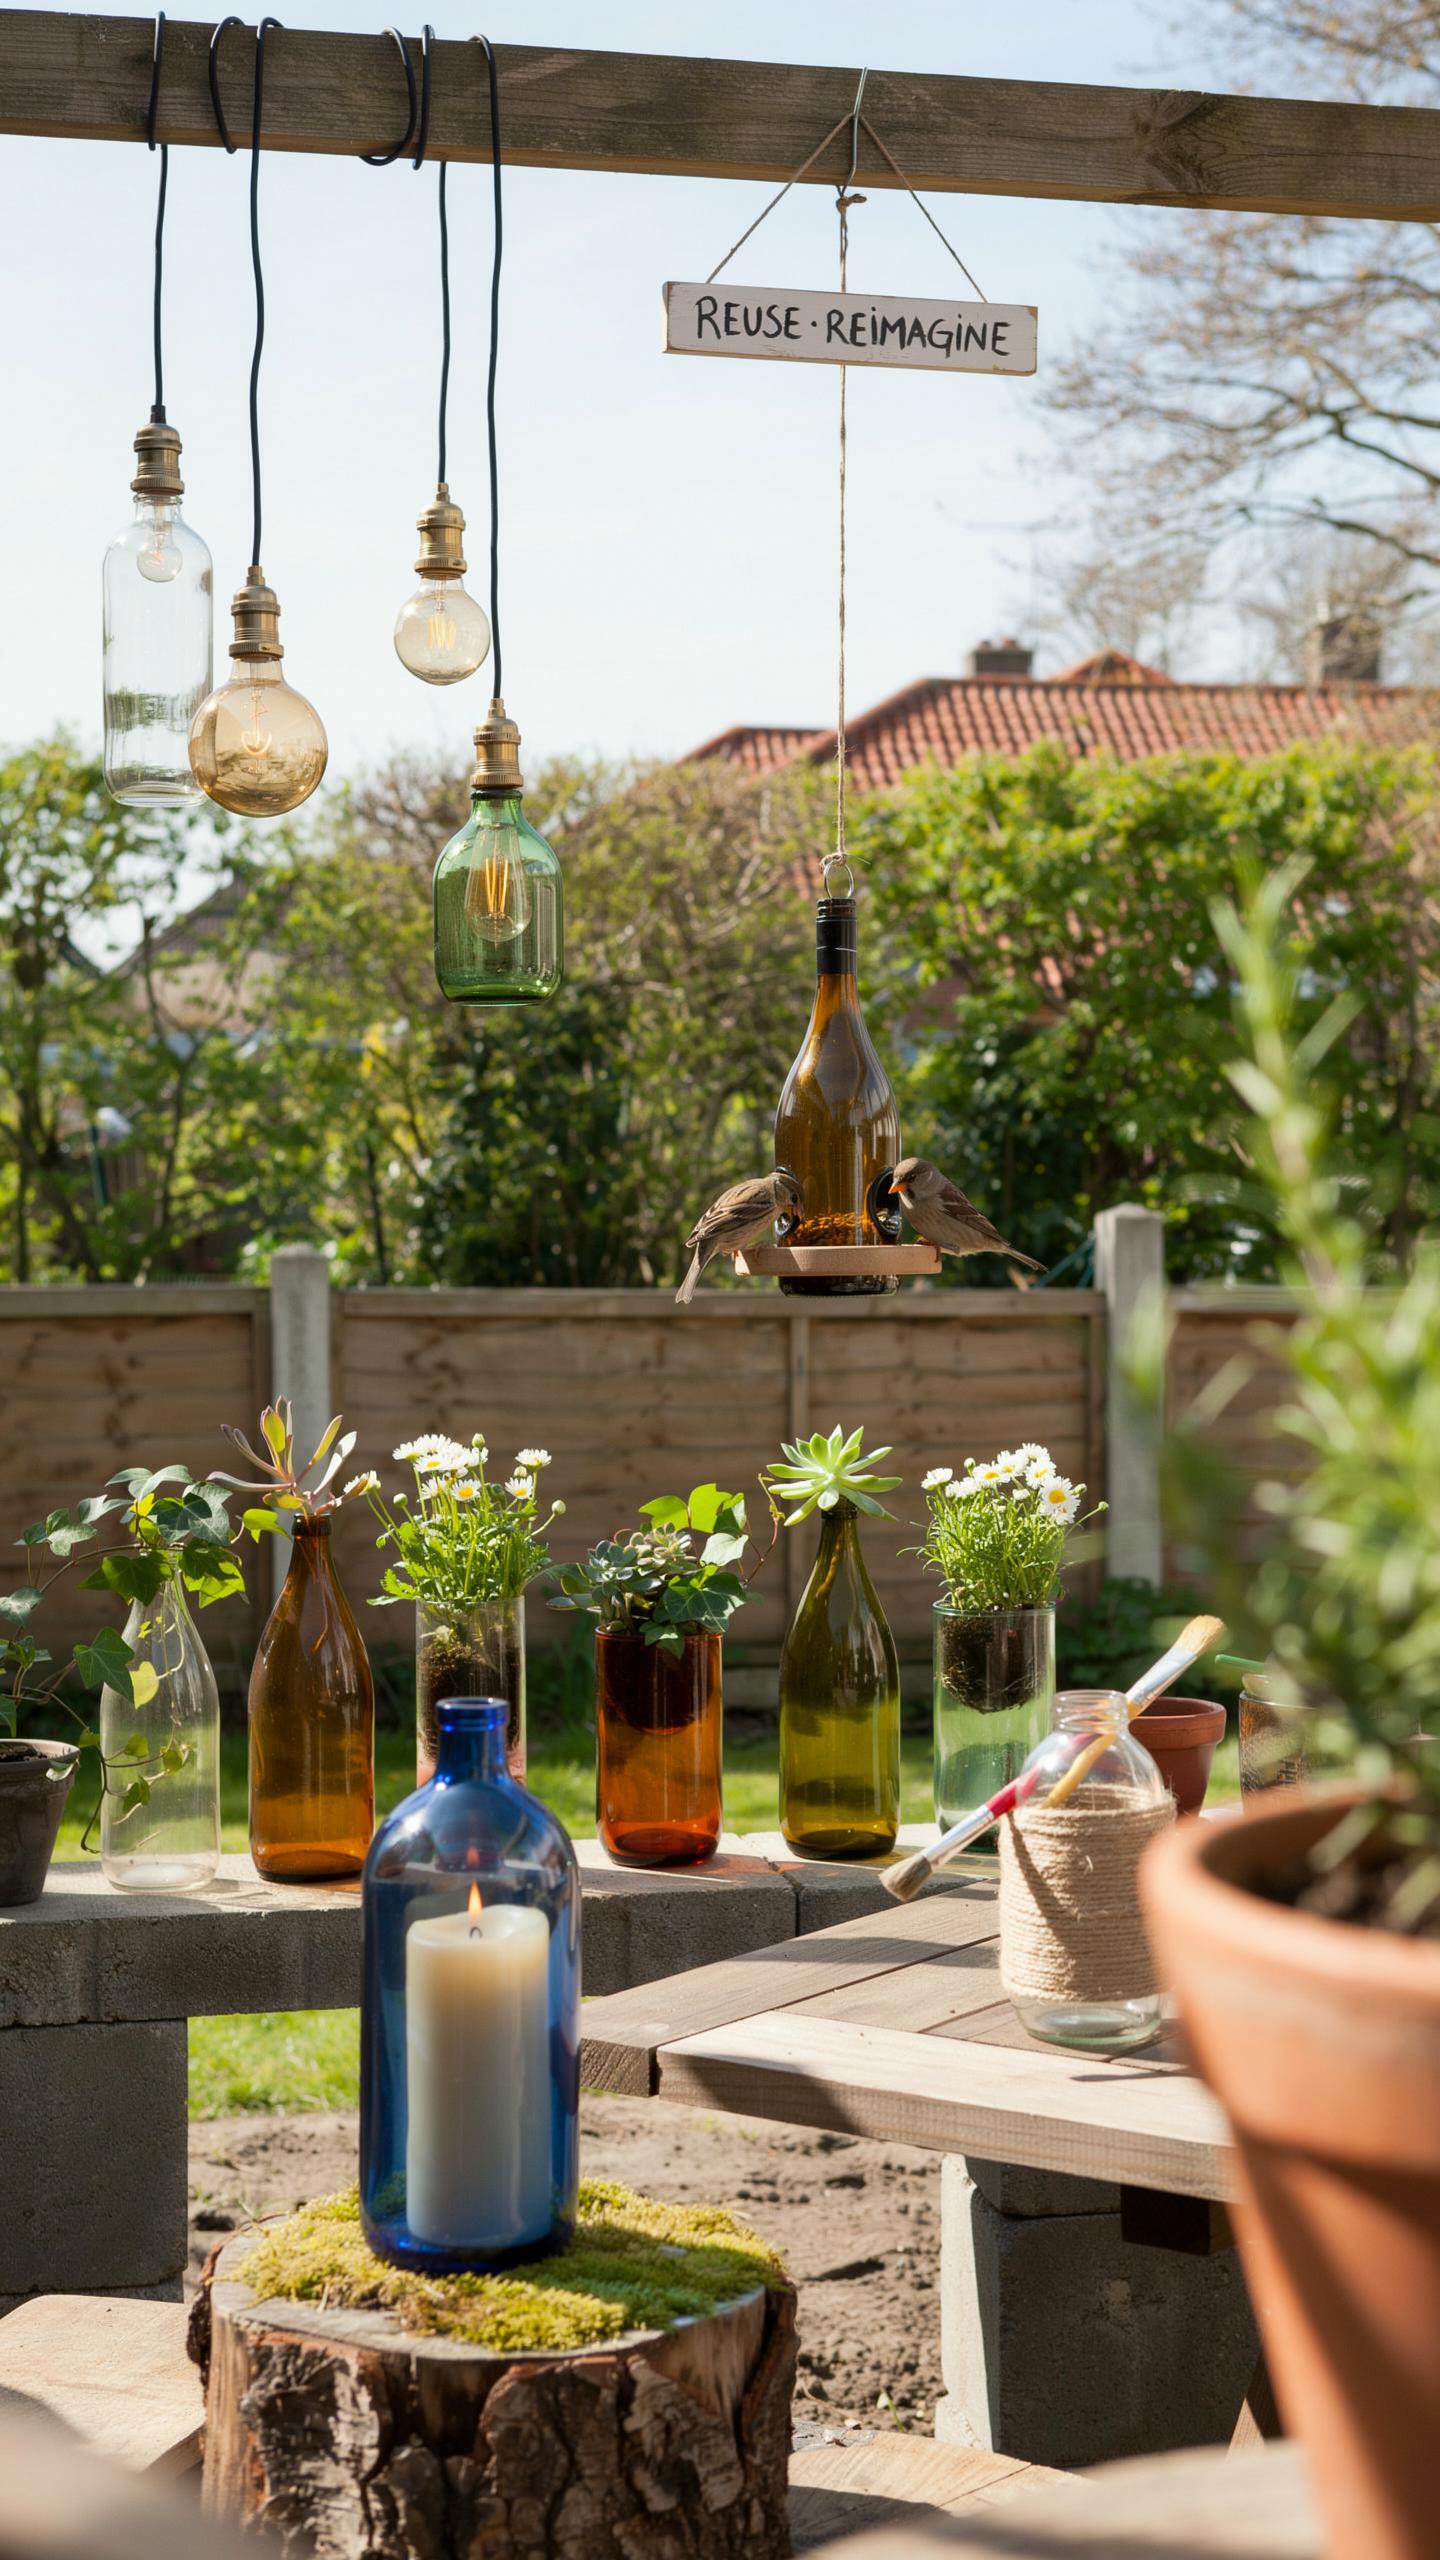
Glass bottles work as hummingbird feeders because they hold liquid safely and allow easy refilling. The key is installing a drip-free feeding tube attachment at the bottle’s opening. These tubes feature small ports that hummingbirds access with their beaks. The tube design prevents sugar water from leaking while birds feed. You’ll need a bottle with a narrow neck to secure the attachment properly.
Assembly takes minutes. Insert the feeding tube into the bottle opening and secure it with the included collar or adapter ring. Fill the bottle with a one-to-four sugar-water ratio and invert it into a hanging fixture. Hummingbirds trigger the feeding ports as they drink, making the system functional and mess-free. Clean the bottle and tube weekly to prevent mold growth that harms the birds.
Liquid Soap Dispensers
Converting a vintage glass bottle into a hand soap dispenser requires a stainless steel pump mechanism and basic assembly. Remove the bottle’s cork or original closure. Insert the pump through the opening until the intake tube reaches the bottle’s base. Stainless steel pumps resist corrosion from soap and water, extending the dispenser’s lifespan significantly compared to plastic alternatives.
Screw the pump collar onto the bottle’s neck threads or secure it with the included adapter for non-threaded bottles. Fill the bottle with liquid hand soap or castile soap diluted with water. The pump dispenses controlled portions with each press. This approach transforms dated glassware into functional bathroom or kitchen fixtures while preserving the bottle’s original character and aesthetic value.
Practical And Creative Everyday Uses For Glass Bottles
Infused Olive Oils
Sterilized glass swing-top bottles preserve herb-infused oils and vinaigrettes effectively. Heat bottles to 180 degrees Fahrenheit for 10 minutes to eliminate bacteria. Cool completely before filling. Add dried herbs like rosemary, thyme, or garlic. Seal tightly. Store in cool, dark places away from direct sunlight. Infusions develop flavor over two to four weeks.
Label bottles with contents and infusion dates. This prevents confusion and tracks freshness. Homemade infused oils make practical gifts. Recipients get functional kitchen items they actually use. Glass preserves oil quality better than plastic. The swing-top seal keeps oxygen out, extending shelf life significantly.
Tabletop Candle Holders
Wine bottles function as legitimate candle holders for taper candles. The narrow neck accepts standard taper diameters without additional hardware. Long-neck bottles elevate candles to dining table height. This creates ambient lighting without taking up surface space. Bottles sit stable on flat bases. The glass body protects flames from air currents.
Group multiple bottles together for visual impact. Varying bottle colors create depth on tables. Clear glass shows candle glow through the bottle itself. This doubles the light effect in the room. Bottles accommodate multiple candle heights when filled with different base materials. The setup requires no tools or permanent modifications to bottles.
How To Recycle Glass Bottles Diy Style Tips For Long Lasting Decor
Finishing And Sealing Tips
Painted glass bottles need protection to survive daily use and environmental exposure. Paint alone chips when bottles experience temperature swings, humidity, or physical contact. Sealing creates a barrier that locks color in place and extends your project’s lifespan significantly.
- Polyurethane topcoat: Apply two to three coats over dried acrylic paint. This creates a durable plastic shield that resists scratching and moisture penetration on indoor and outdoor surfaces.
- Mod Podge sealant: Brush on this water based formula after paint dries completely. It bonds paint to glass and provides moderate protection for tabletop displays and low traffic areas.
- Gloss varnish: Use oil or water based versions for a shiny finish that emphasizes color depth. Varnish hardens faster than polyurethane and works well for bottles you handle frequently.
- Epoxy resin coating: Pour this two part mixture over your entire bottle for professional level protection. Epoxy creates a thick, waterproof shell ideal for outdoor planters or high moisture environments.
- Spray clear coat: Apply thin, even layers from a distance of eight inches. This method works fastest and reaches interior bottle surfaces without brushstrokes or drips.
Sand your sealed bottles lightly between coats using 220 grit sandpaper. This roughens the surface slightly, allowing each layer to bond properly. Let each coat cure for the manufacturer’s recommended time before applying the next layer or handling the bottle.
Mixing Glass Textures
Arrange bottles by transparency level to create visual depth on your display surface. Clear bottles recede visually, frosted ones anchor the middle ground, and opaque colored bottles advance forward. This layering technique builds interest without requiring additional decoration.
Height variation drives the eye across your arrangement and prevents a flat, boring composition. Combine tall wine bottles with short sauce jars and medium beer bottles in one grouping. Stagger them at different depths rather than in a straight line to maximize the textural impact of your collected pieces.
Frequently Asked Questions

What are the best types of glass bottles for a beginner to use in a DIY project?
If you are new to the world of DIY, start with wine or clear soda bottles. These are sturdy, have consistent shapes, and are easy to clean. Using these common items for your first repurposed decor project glass bottles allows you to practice painting or wrapping techniques without worrying about breakage. Once you feel confident, you can move on to vintage perfume bottles or unique apothecary jars for more intricate designs.
How do I remove stubborn labels and adhesive residue from glass bottles?
To prepare for your repurposed decor project glass bottles, soak them in a sink filled with warm water and a few drops of dish soap for thirty minutes. For stubborn adhesive, create a paste using equal parts baking soda and olive oil. Rub the paste over the sticky residue, let it sit for ten minutes, and then scrub it away with a sponge. This ensures a smooth, clean surface for your beautiful new creation.
Do I need expensive tools to start making home decor from old glass bottles?
Not at all! Most bottle projects can be completed using affordable supplies you likely already have at home, such as twine, leftover acrylic paint, or fairy lights. You don’t need glass-cutting tools to make an impact; simple transformations like ombre painting or creating a rustic twine-wrapped vase are incredibly effective. This makes it an accessible, budget-friendly hobby that allows anyone to refresh their living space with unique, handmade accents.



