
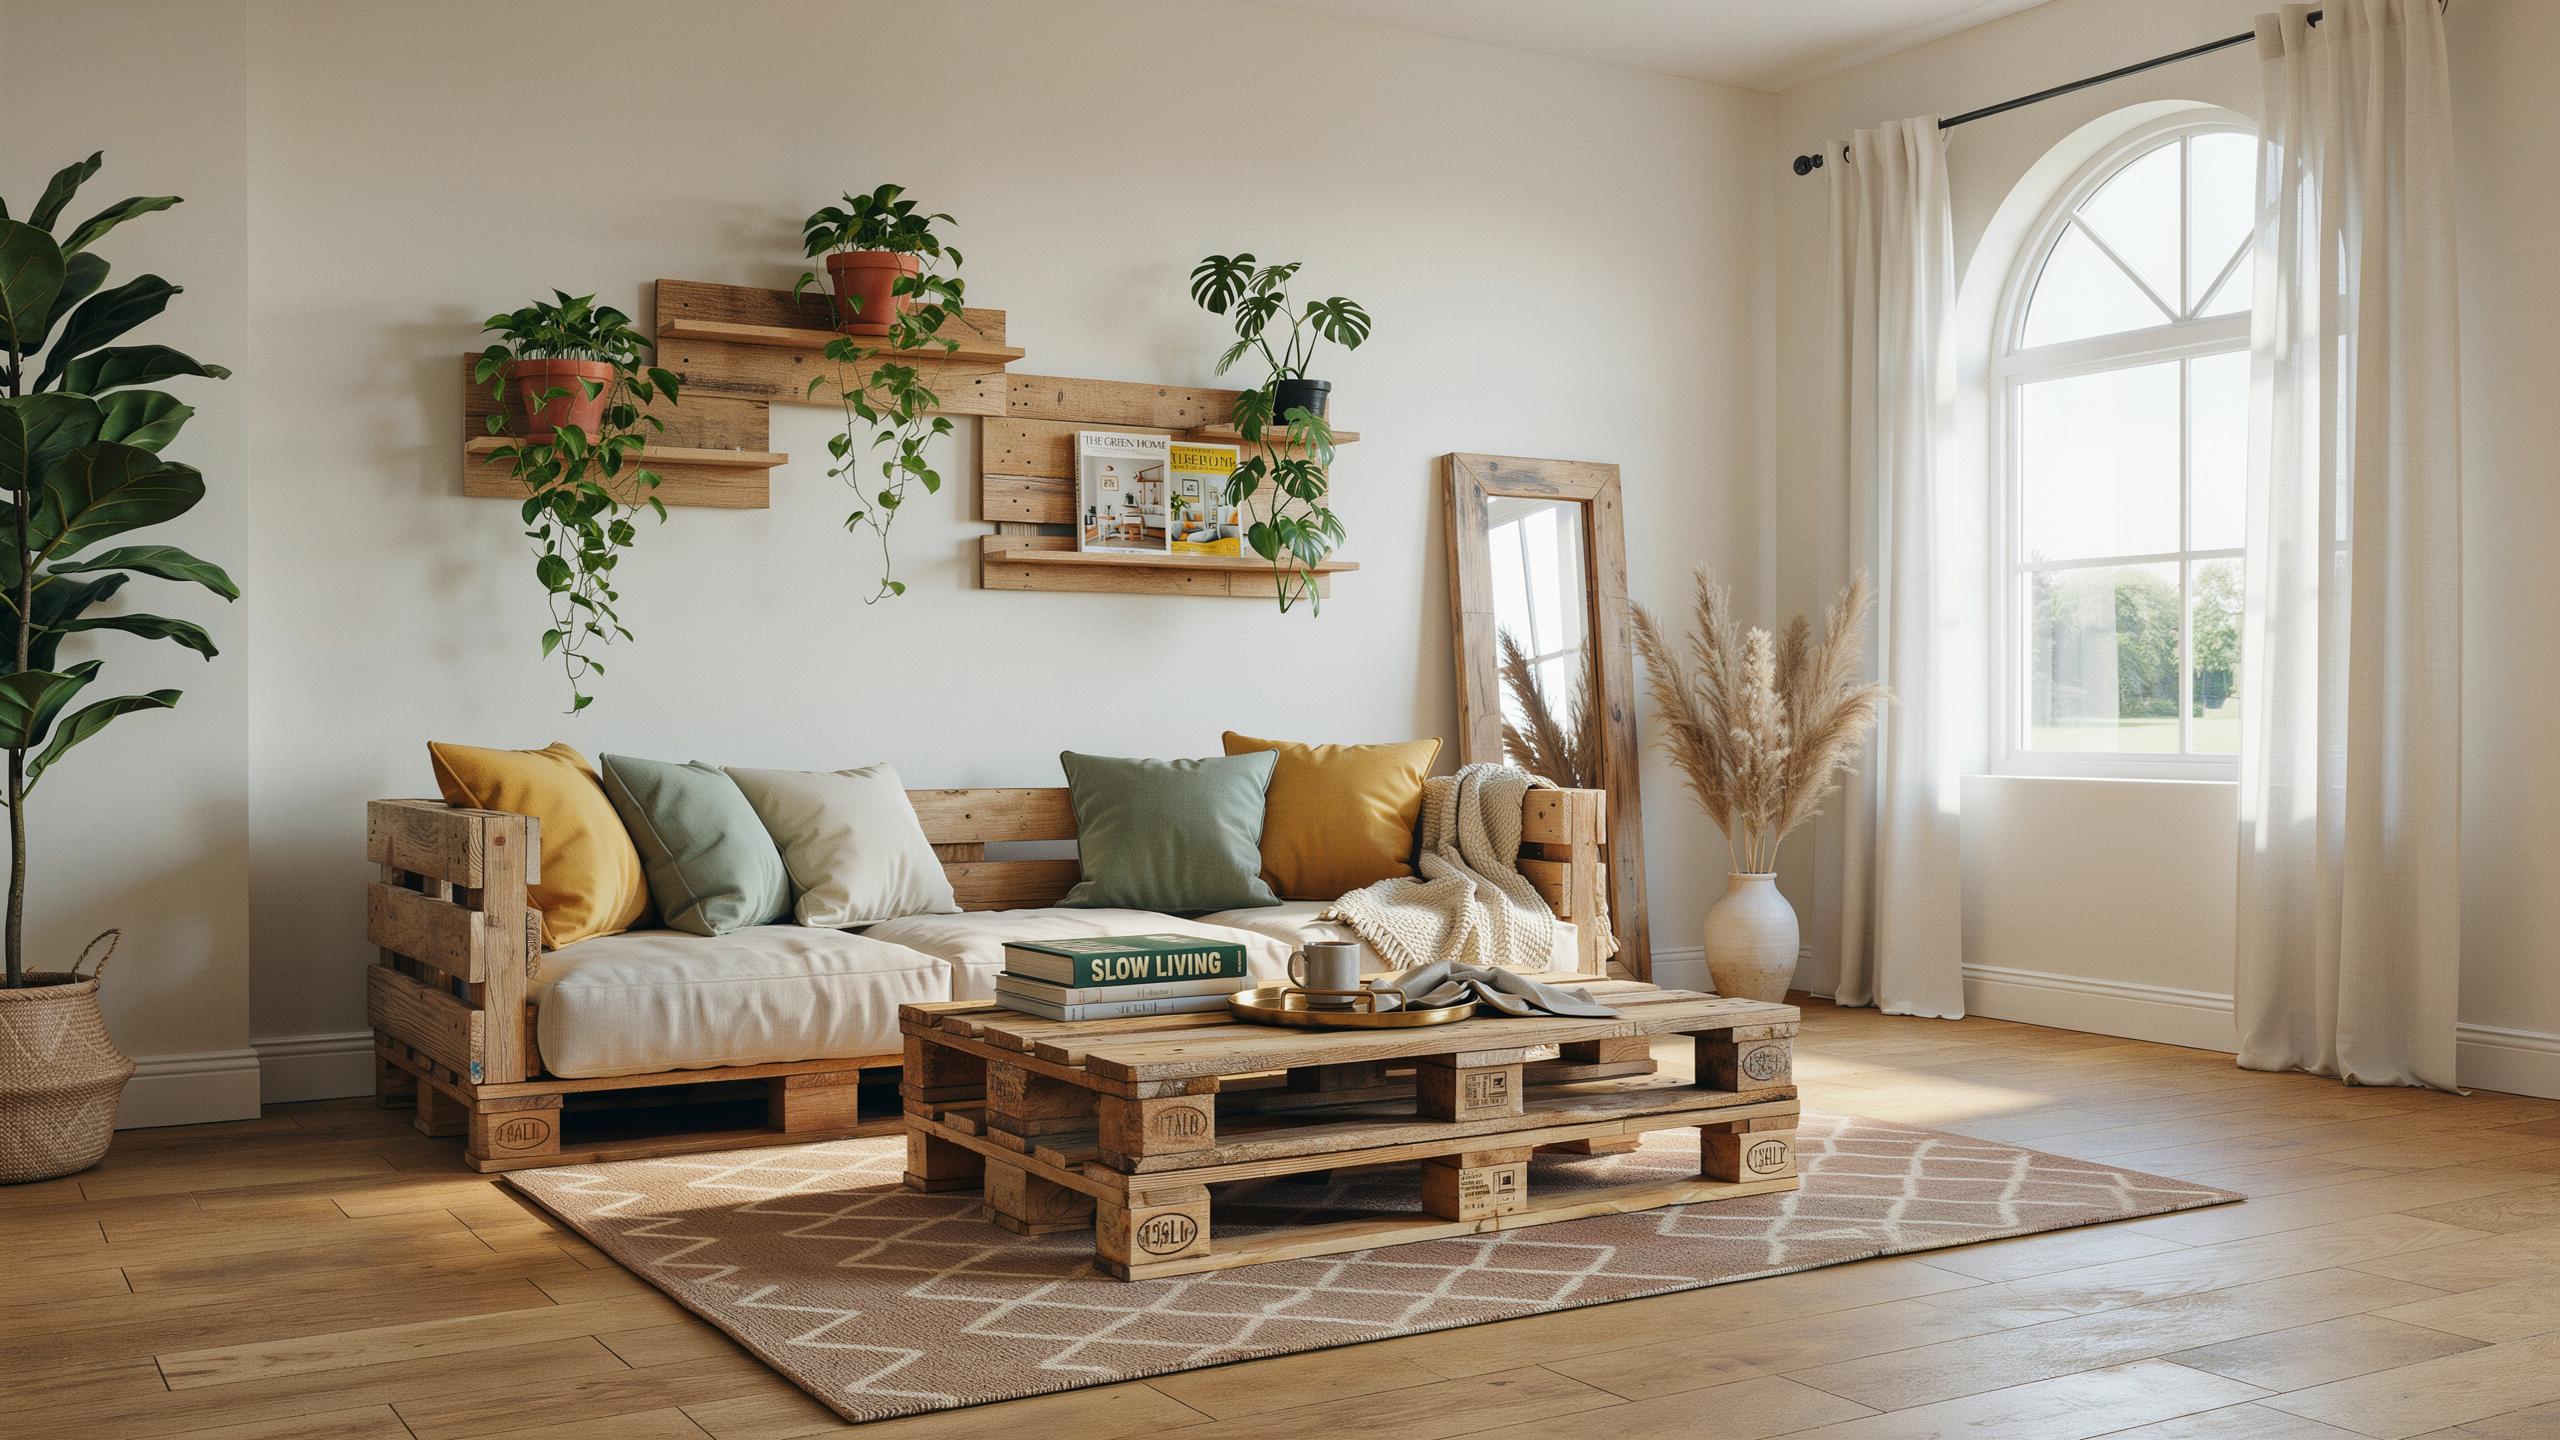
Discovering The Perfect Pallet Idea For Your Living Space
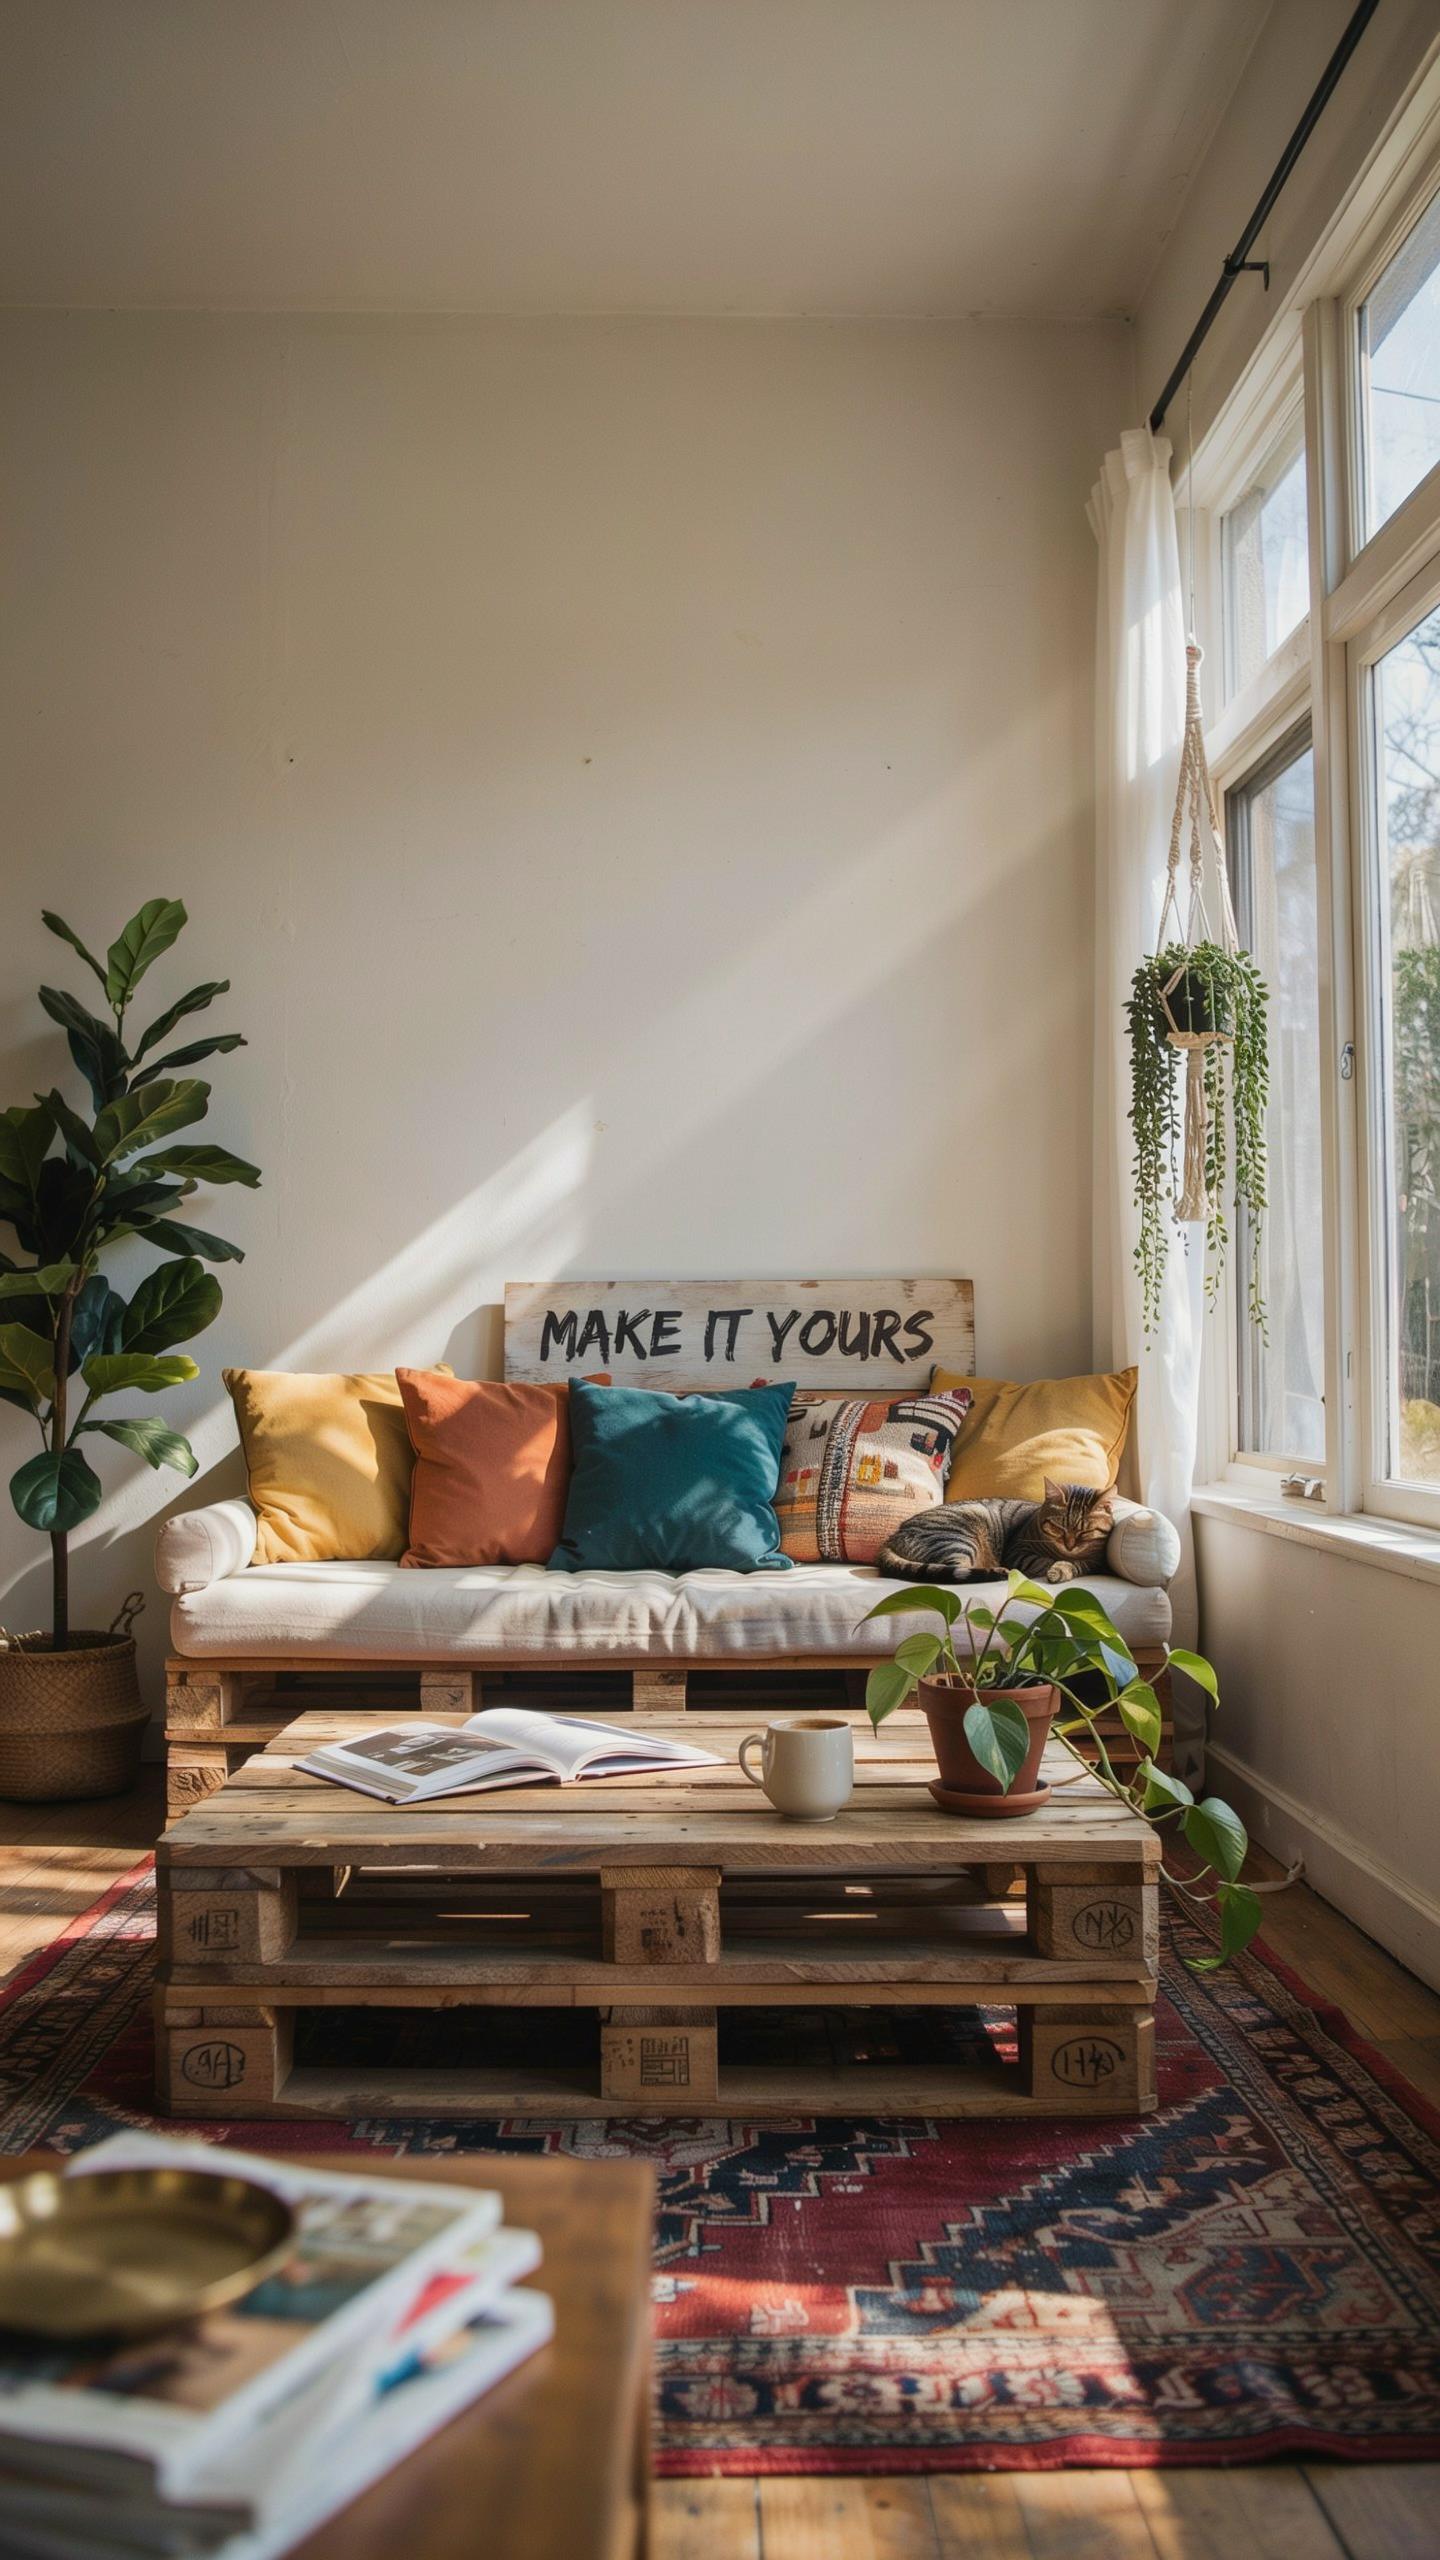
Selecting Quality Wood
You need heat-treated pallets marked with “HT” stamp for indoor projects. This marking indicates the wood underwent heat treatment rather than chemical fumigation with methyl bromide. Pallets marked “MB” contain toxic pesticides and belong nowhere near your home. Source pallets from manufacturers, retailers, or recycling centers rather than industrial sites. Avoid pallets that held chemicals, oils, or food waste. Inspect boards for deep stains, chemical odors, or visible rot before committing to a project.
Heat-treated pallets cost slightly more but eliminate health risks entirely. The HT process kills insects and pathogens without leaving chemical residue. Your family breathes easier when you skip contaminated materials. Quality pallet selection determines whether your decor piece lasts years or deteriorates quickly. Damaged wood compromises structural integrity and aesthetics. Sourcing properly takes time but saves money on failed projects and replacement pieces.
Design Inspiration
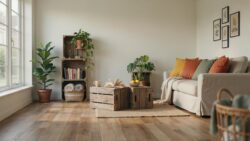
Rustic wood elements work in contemporary spaces through contrast and minimalism. Modern design favors natural materials paired with clean lines and neutral palettes. Pallet projects succeed when they anchor a room rather than overwhelm it. Contemporary interiors use reclaimed wood to add warmth against concrete, metal, or glass features. This approach emerged during the industrial design movement but remains relevant today.
Successful integration requires restraint and intentionality. One statement pallet wall works better than multiple competing pieces. Pair pallet furniture with modern accessories like geometric throw pillows or metal accents. The wood’s weathered character contrasts effectively with polished or sleek elements. This combination creates visual interest without sacrificing the clean aesthetic modern homes demand. Functionality matters as much as appearance in contemporary design applications.

The Art Of Crafting With Repurposed Pallets
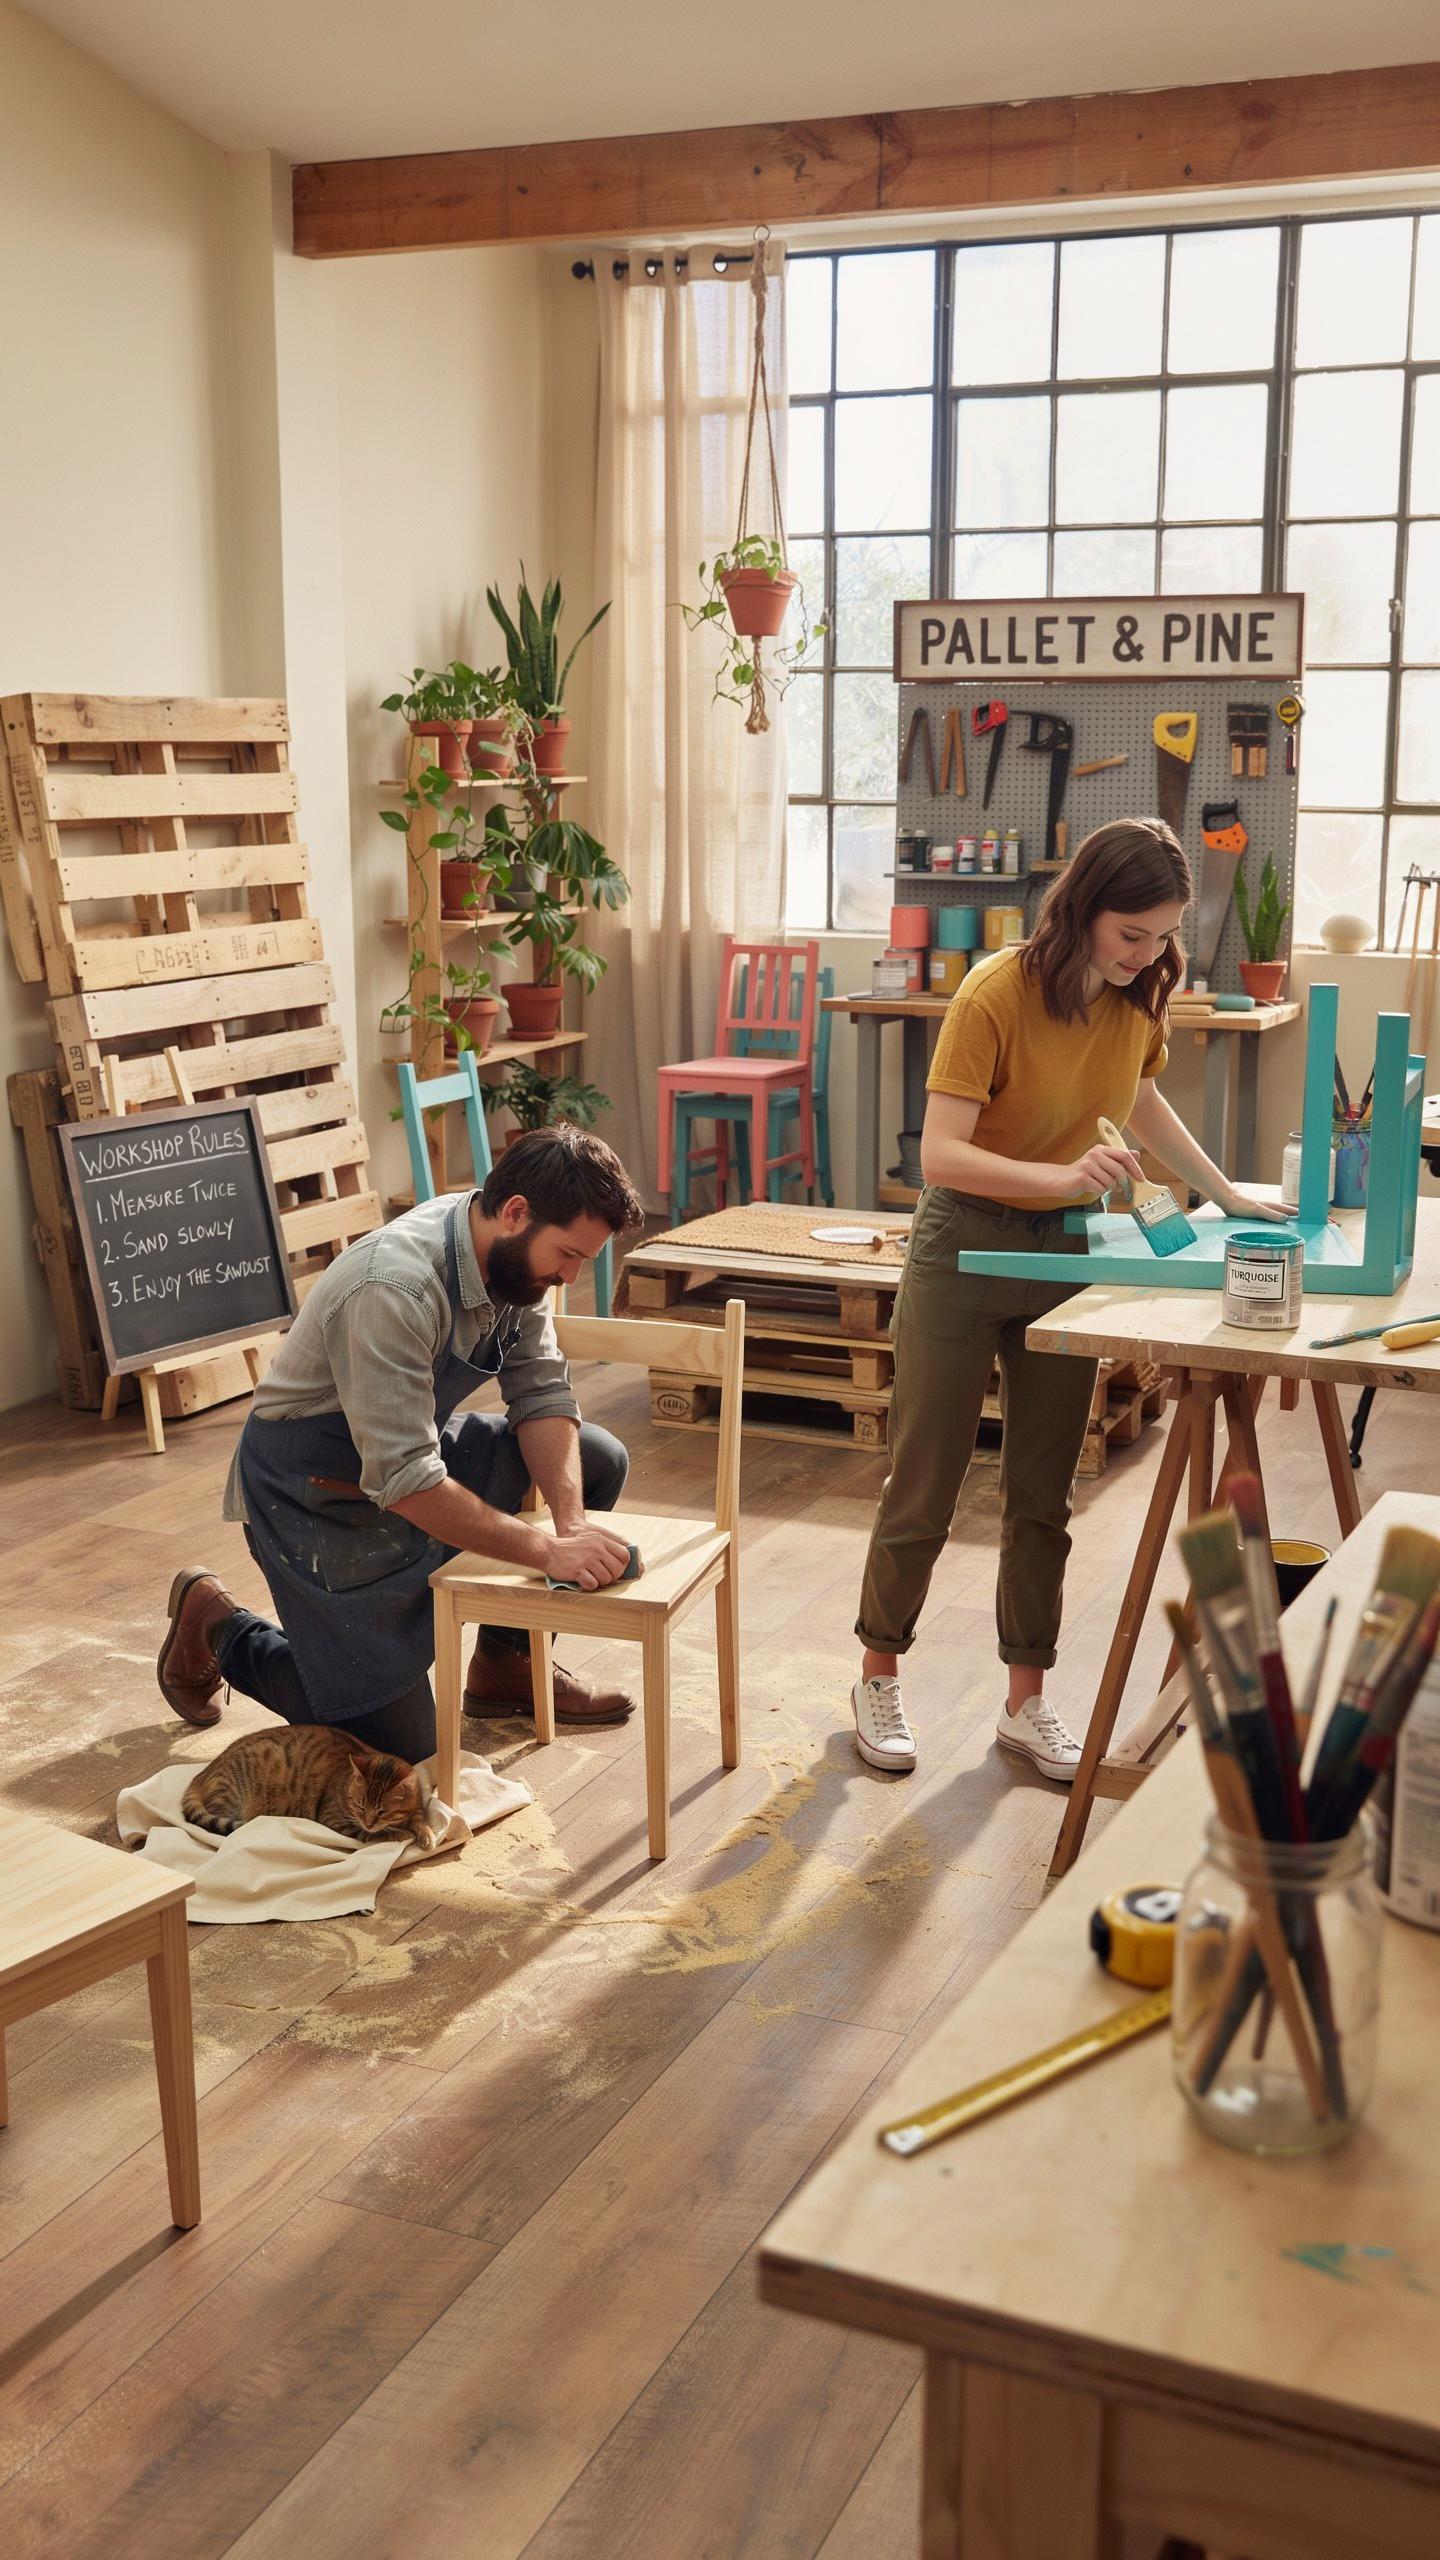
Dismantling And Prepping Wood
Start by identifying the pallet type. Standard pallets measure 40 by 48 inches and use either nails or screws. Remove fasteners with a pry bar or reciprocating saw. Work methodically to avoid splitting boards. Sand all surfaces with 80-grit paper first, then 120-grit for smoothness. This removes dirt, old stains, and splinters that ruin the final product.
After sanding, inspect each board for damage or rot. Discard compromised pieces. Wipe down with a damp cloth and let wood dry completely before applying finish. Moisture content affects how stain and paint adhere. Proper prep work eliminates rework later and guarantees a professional appearance that lasts.
There is a quiet nobility in breathing new life into weathered wood, turning a forgotten pallet into a centerpiece of simple elegance. Real luxury is the art of unearthing the beauty already hidden within the humble materials of our past.
Eco Friendly Stains And Finishes
Water based polyurethane and plant based oils deliver durability without volatile organic compounds. These finishes cure faster than oil based alternatives and emit minimal fumes. Linseed oil and tung oil enhance wood grain naturally while providing protection. Test any finish on scrap wood first to confirm color and sheen before committing to full projects.

Non toxic stains sourced from mineral pigments or natural dyes work effectively on pallet wood. Milk paint and water stains penetrate softwoods without buildup. Seal finished pieces with food grade wax for kitchen projects or additional polyurethane coats for high traffic areas. Match finish type to project location and intended use for optimal results.
Structural Masterpieces Sophisticated Pallet Builds
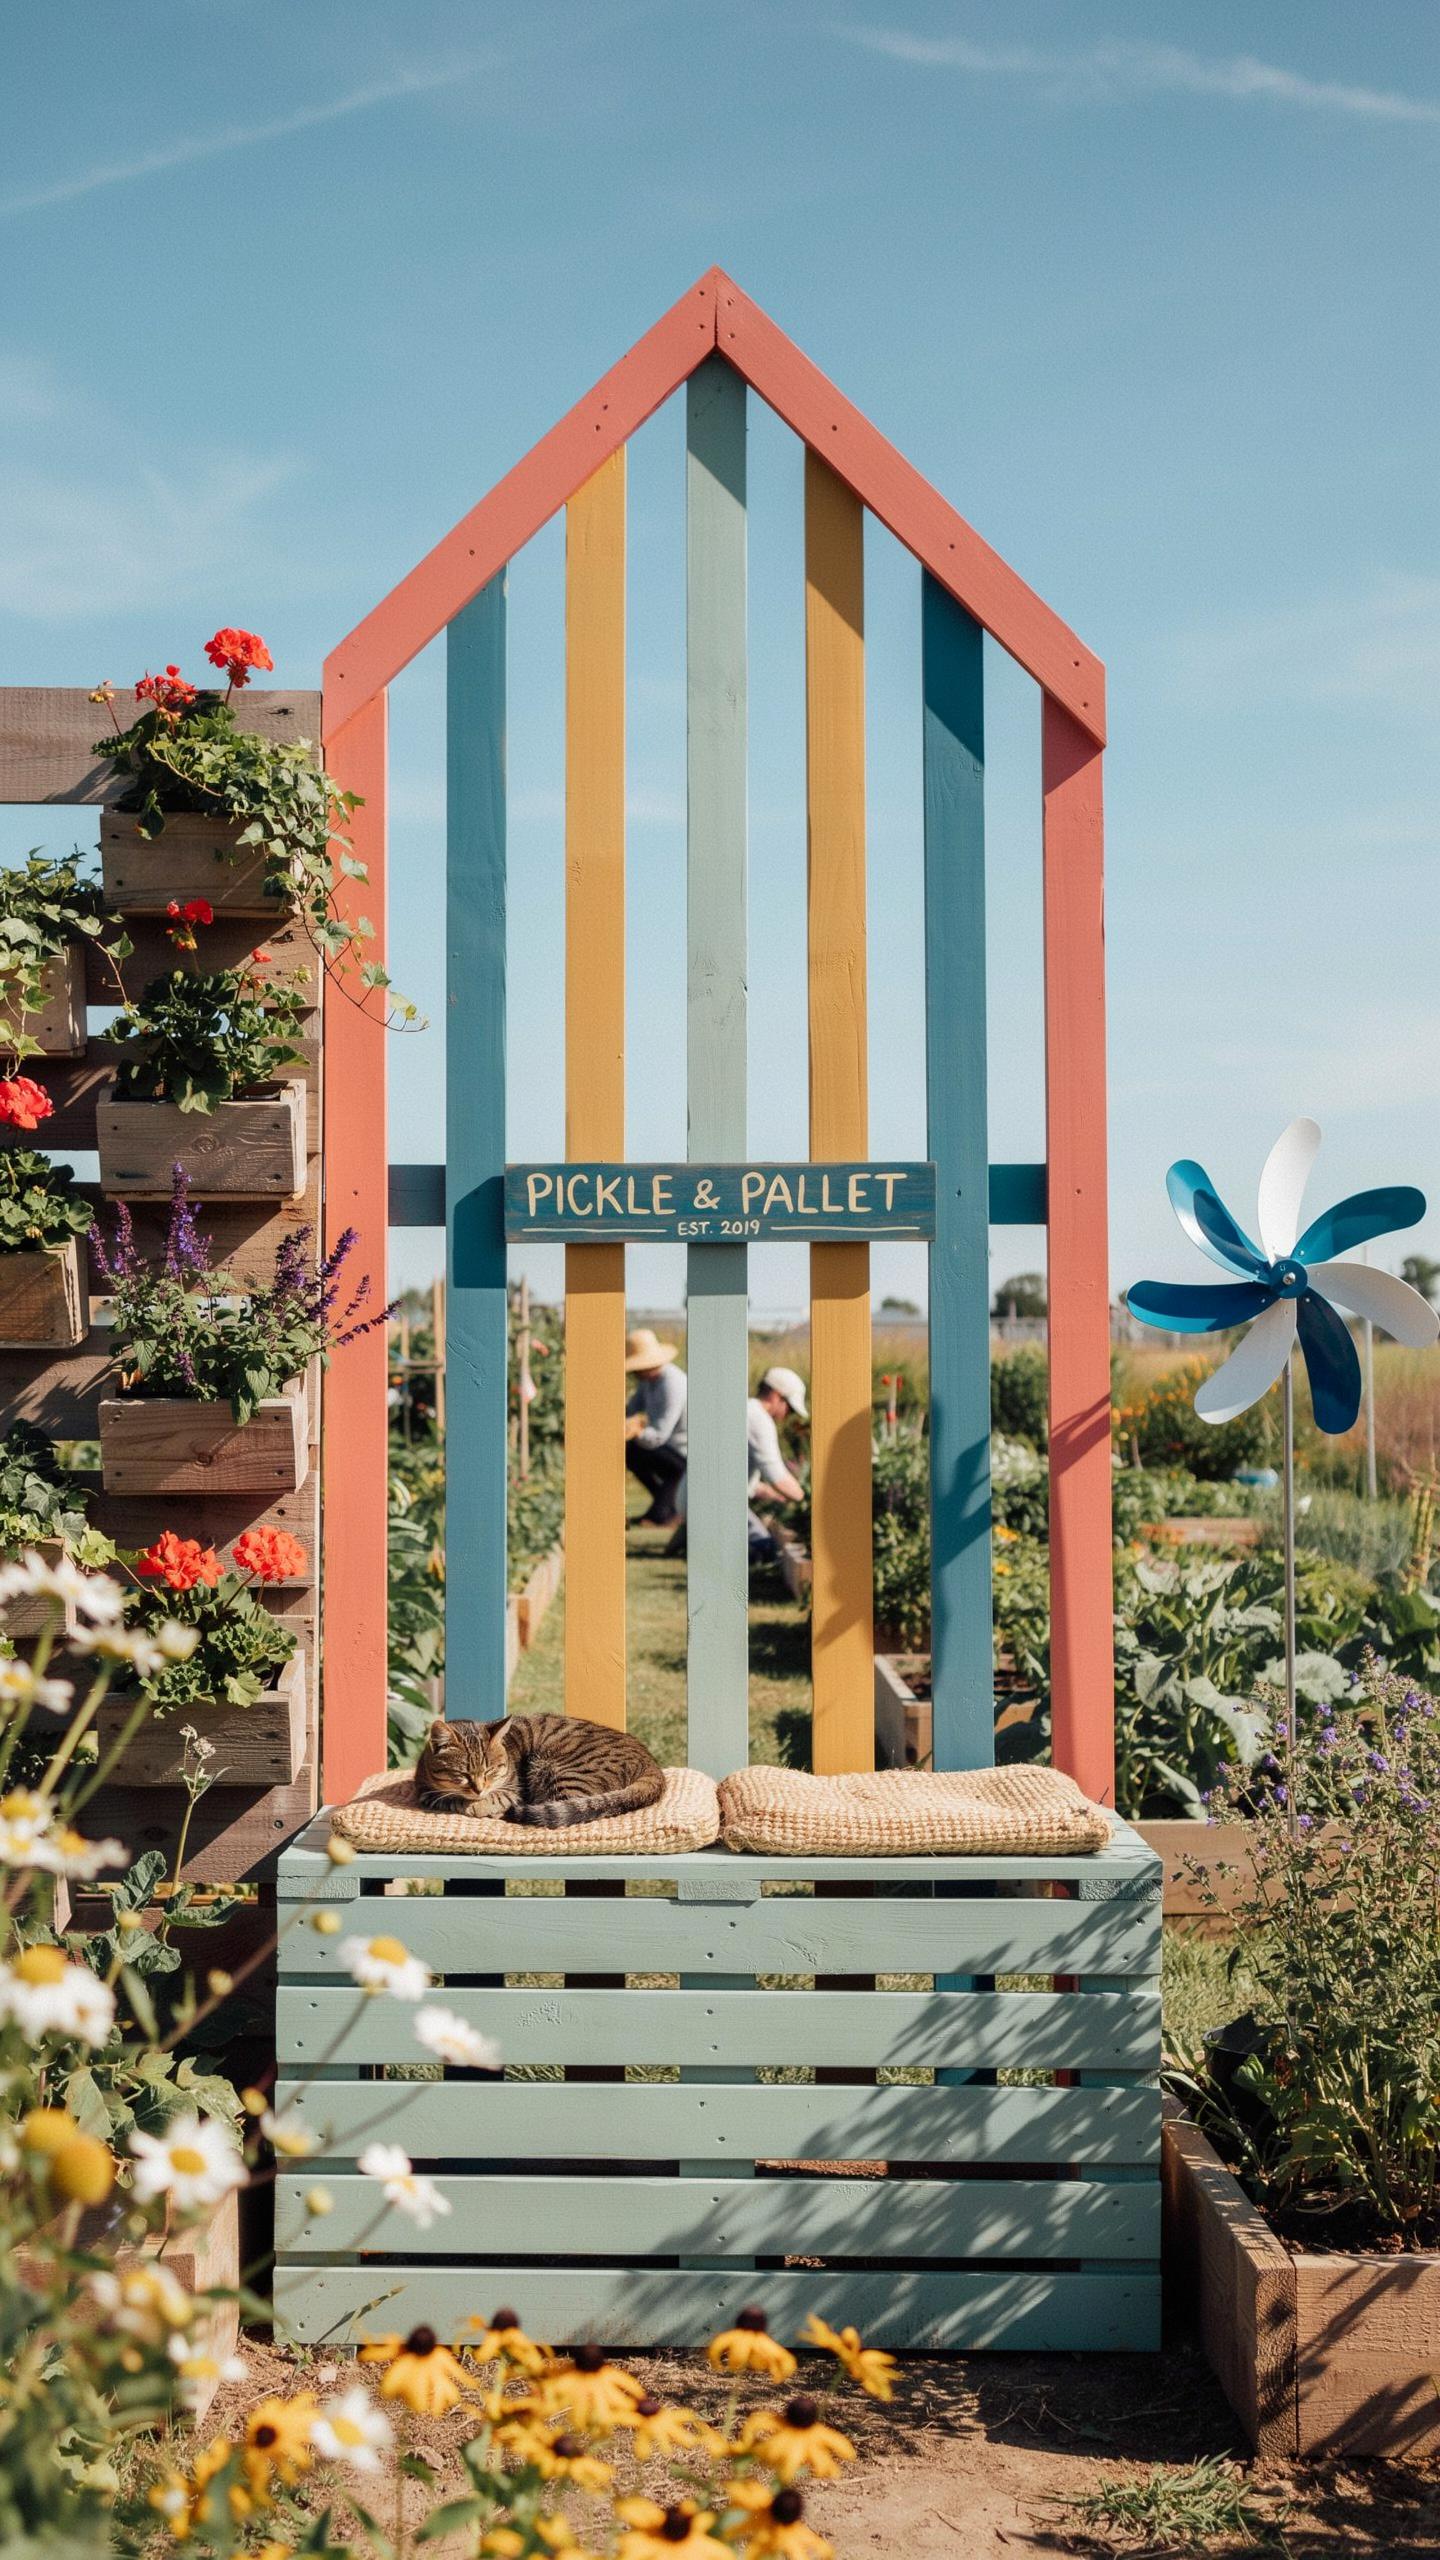
Building Sturdy Accent Walls
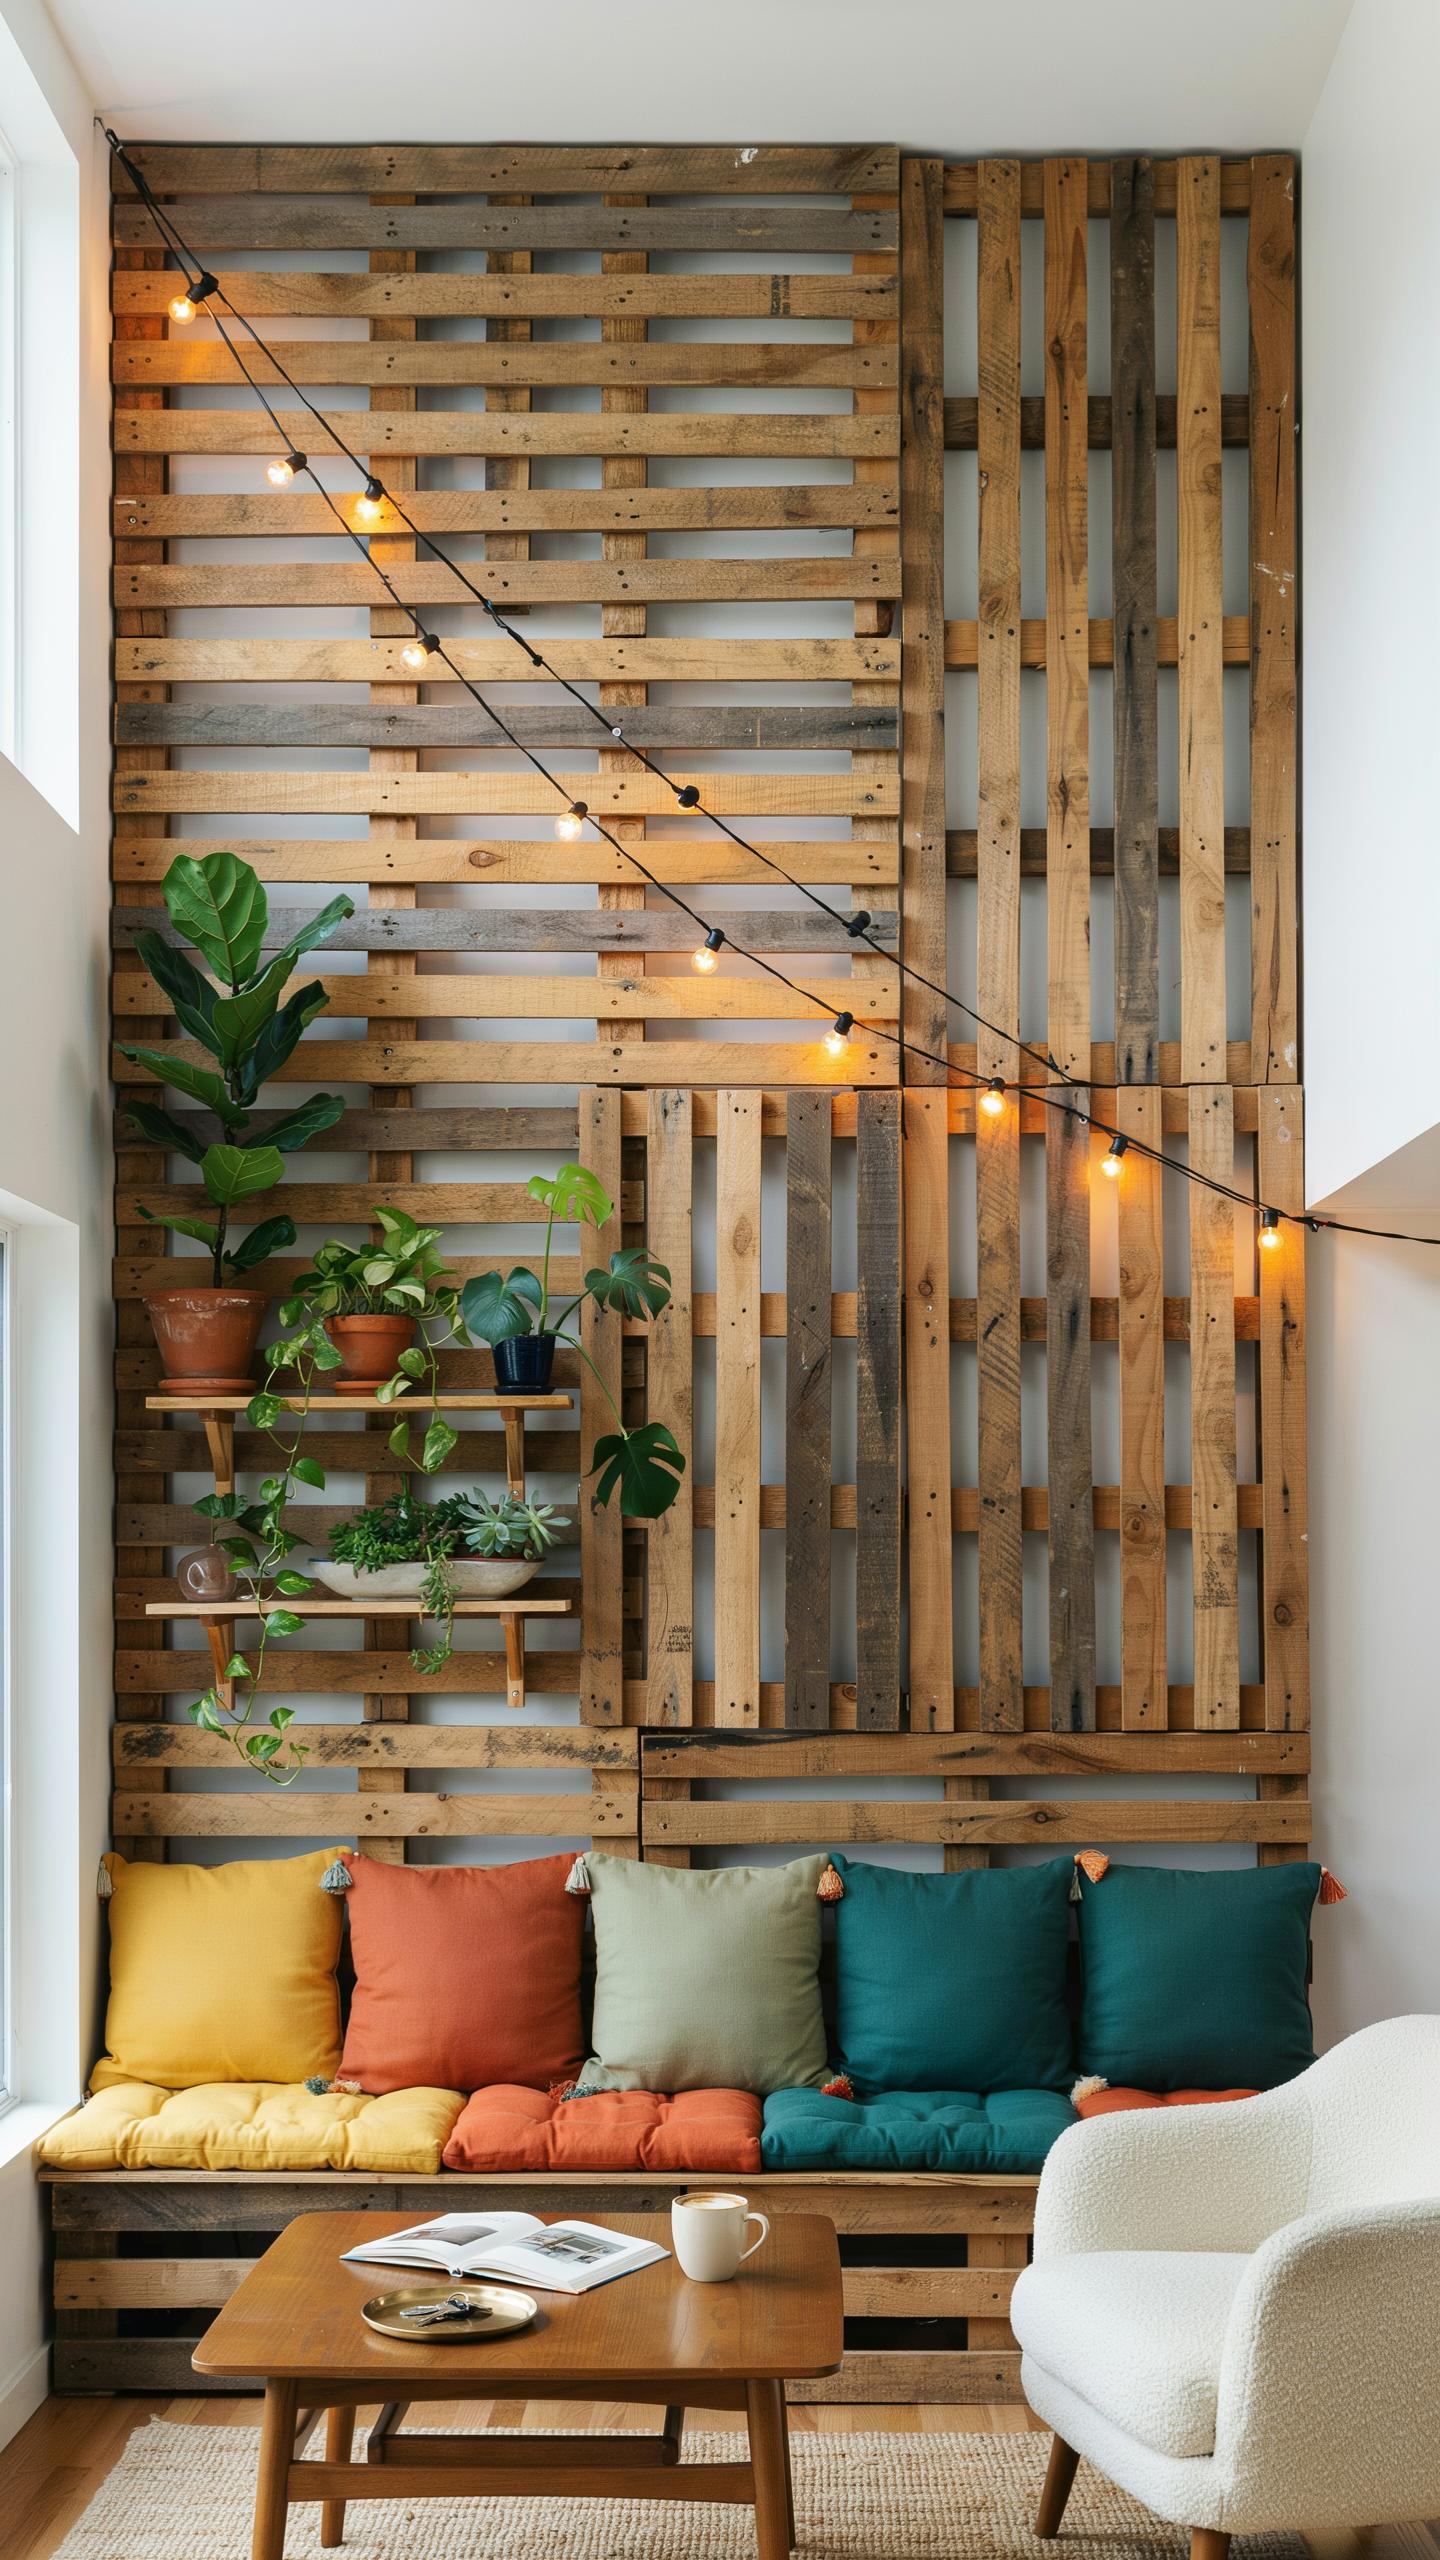
Pallet wood accent walls work because you’re using existing structural materials that already support weight distribution. Standard pallets measure 48 by 40 inches and use kiln-dried or heat-treated lumber, making them safe for interior projects. You install them by securing each pallet directly to wall studs using lag bolts or heavy-duty fasteners. This creates a solid backing that supports the visual weight of the design without requiring additional framing underneath.
The finished wall gains depth through the natural spacing between boards and the varied grain patterns of reclaimed wood. You can arrange pallets horizontally, vertically, or in mixed patterns to control how light interacts with the surface. Sand the wood to smooth out splinters, then finish with stain or paint to match your room’s color scheme. This approach transforms a blank wall into a focal point while keeping costs minimal compared to traditional wall treatments or architectural millwork.
Crafting Custom Shelving Units
Floating shelves from pallets hold weight through proper bracket installation into wall studs, not through the pallet structure itself. A single pallet board typically spans 40 inches and supports 25 to 50 pounds when mounted on quality floating shelf brackets rated for that load. You remove individual boards from the pallet frame and mount them using heavy-duty brackets set at 16-inch intervals, which aligns with standard wall framing. This creates display surfaces that look minimal while performing the actual load-bearing work happens behind the scenes.

Custom shelving units combine multiple pallet boards at varying heights to create architectural interest and practical storage zones. Group shelves tightly for visual cohesion or space them wider for breathing room between functional areas. Sand all edges smooth to prevent splinters and maintain a finished appearance. Stain or paint boards to coordinate with existing trim or leave them natural if your decor calls for that aesthetic choice.
Beginner Friendly Palette Projects DIY
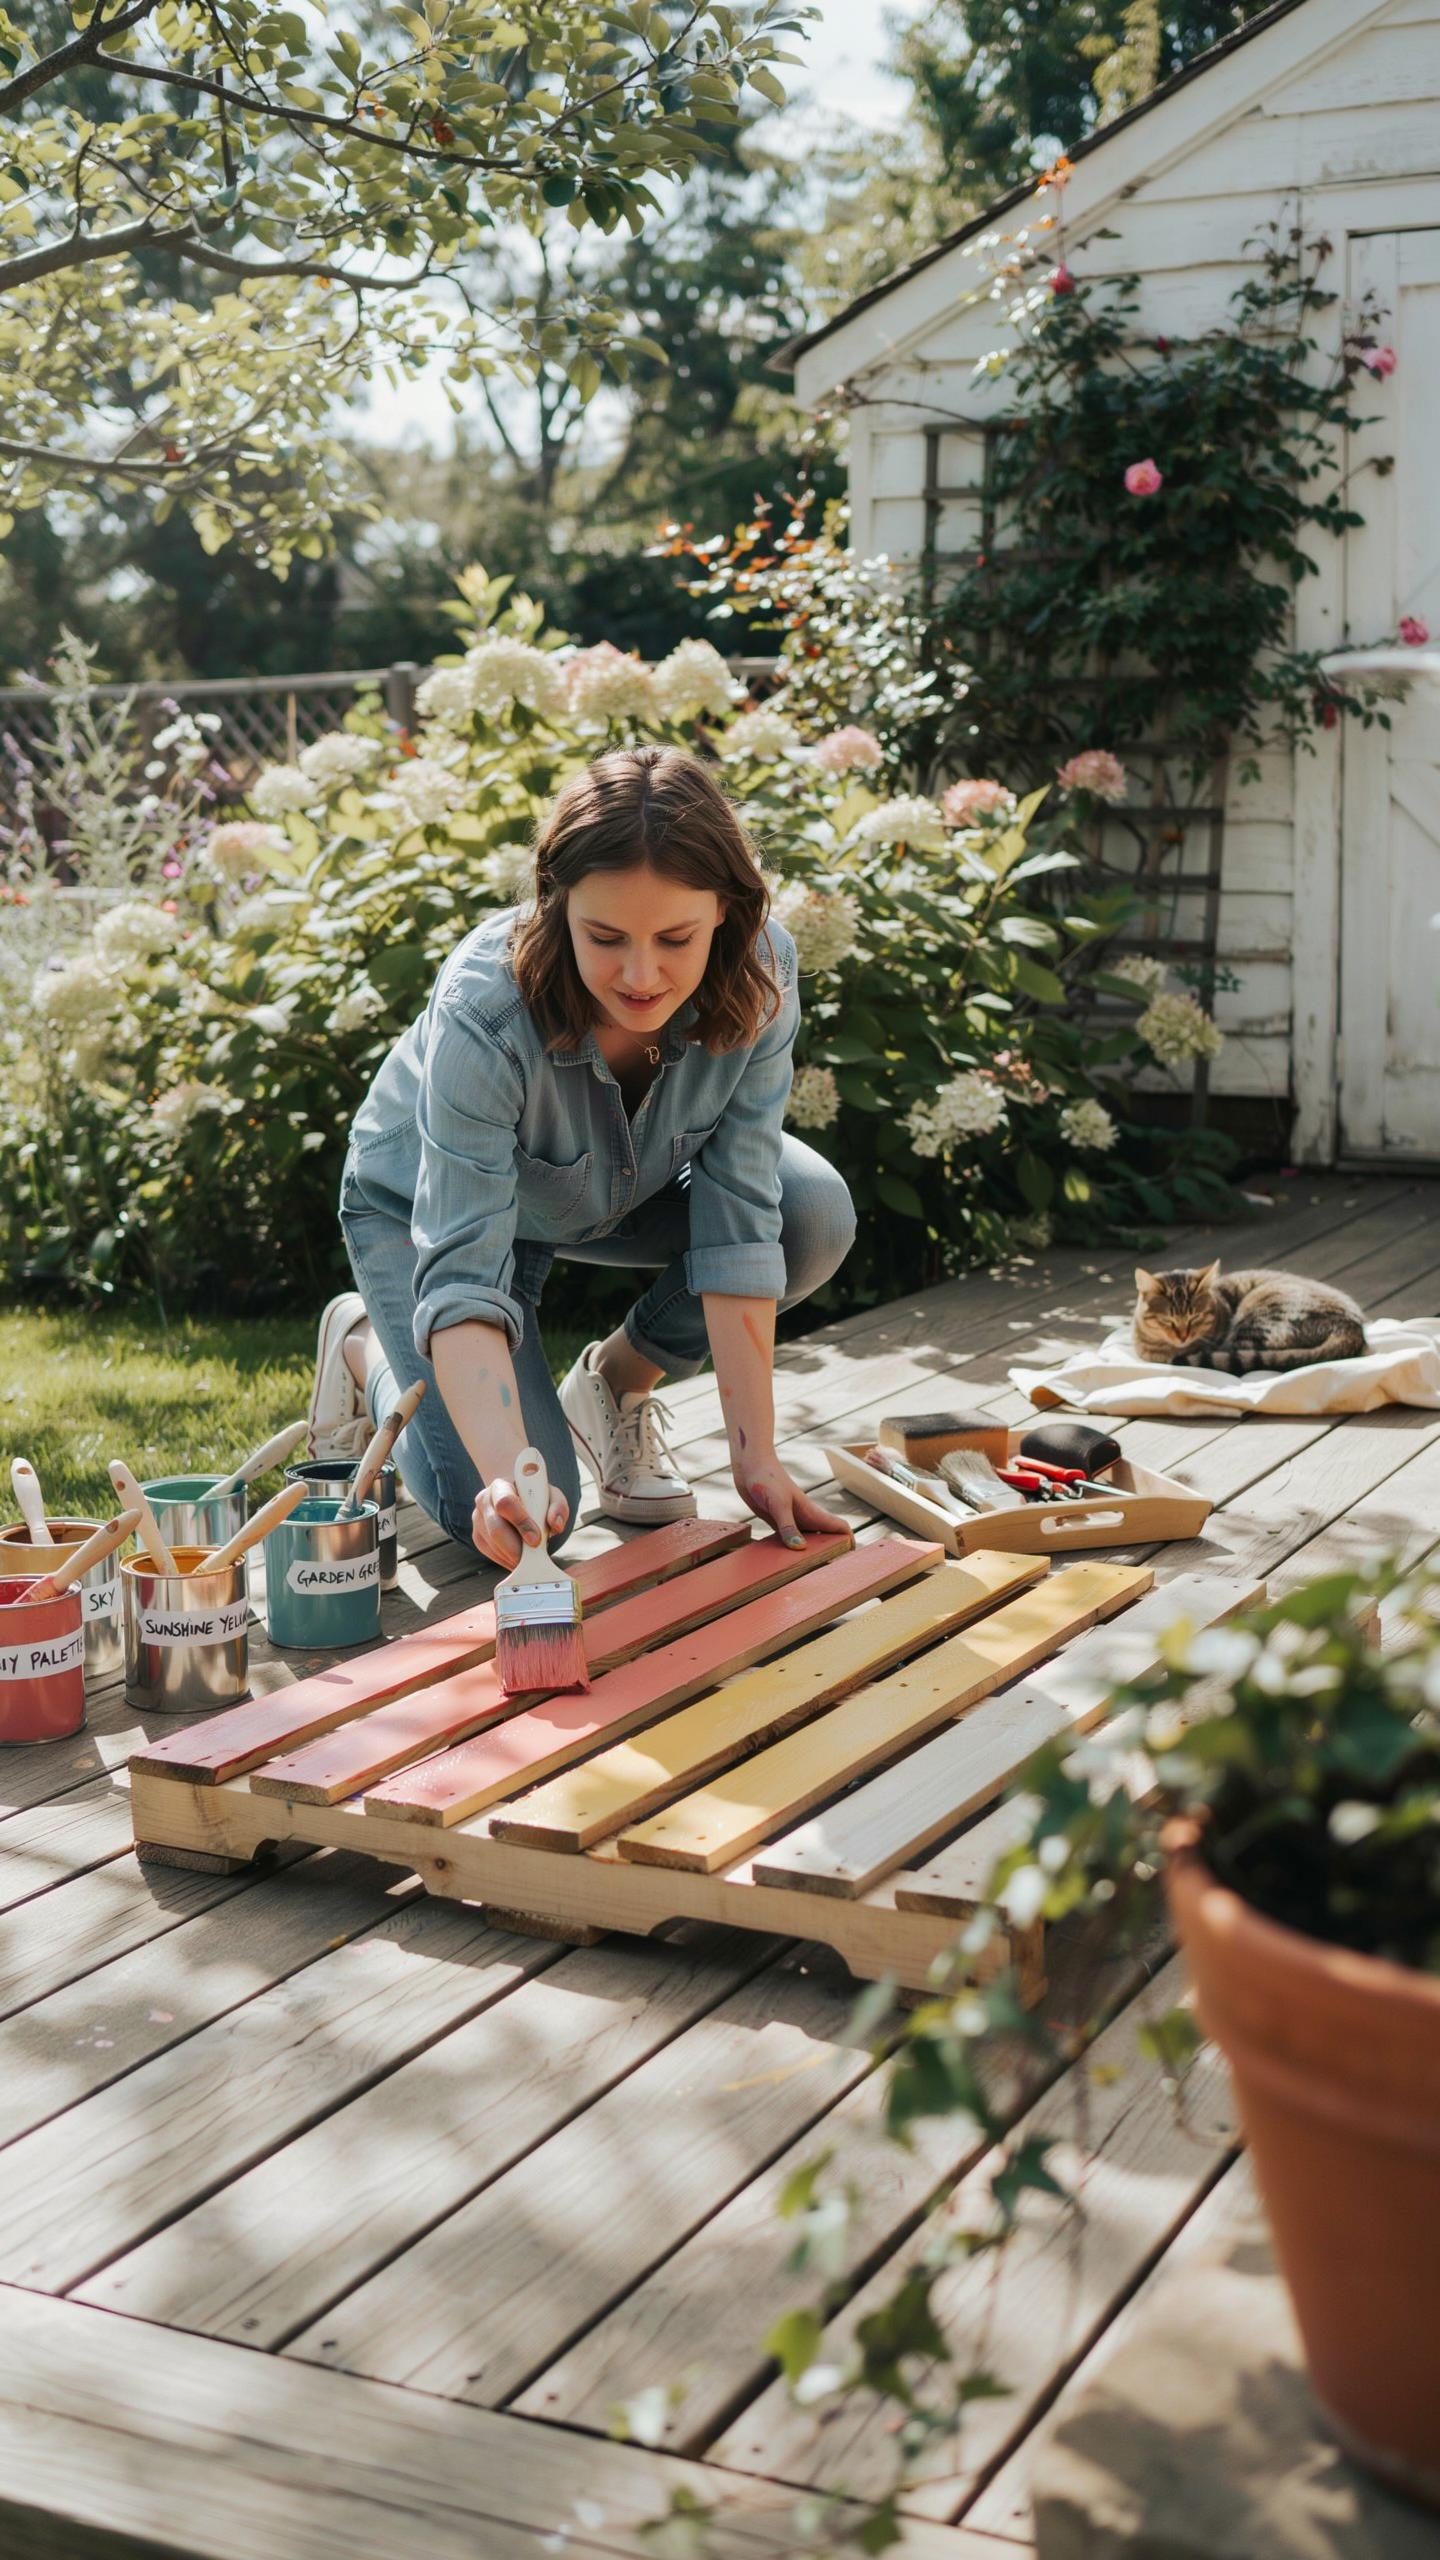
Essential Tools For DIY Beginners
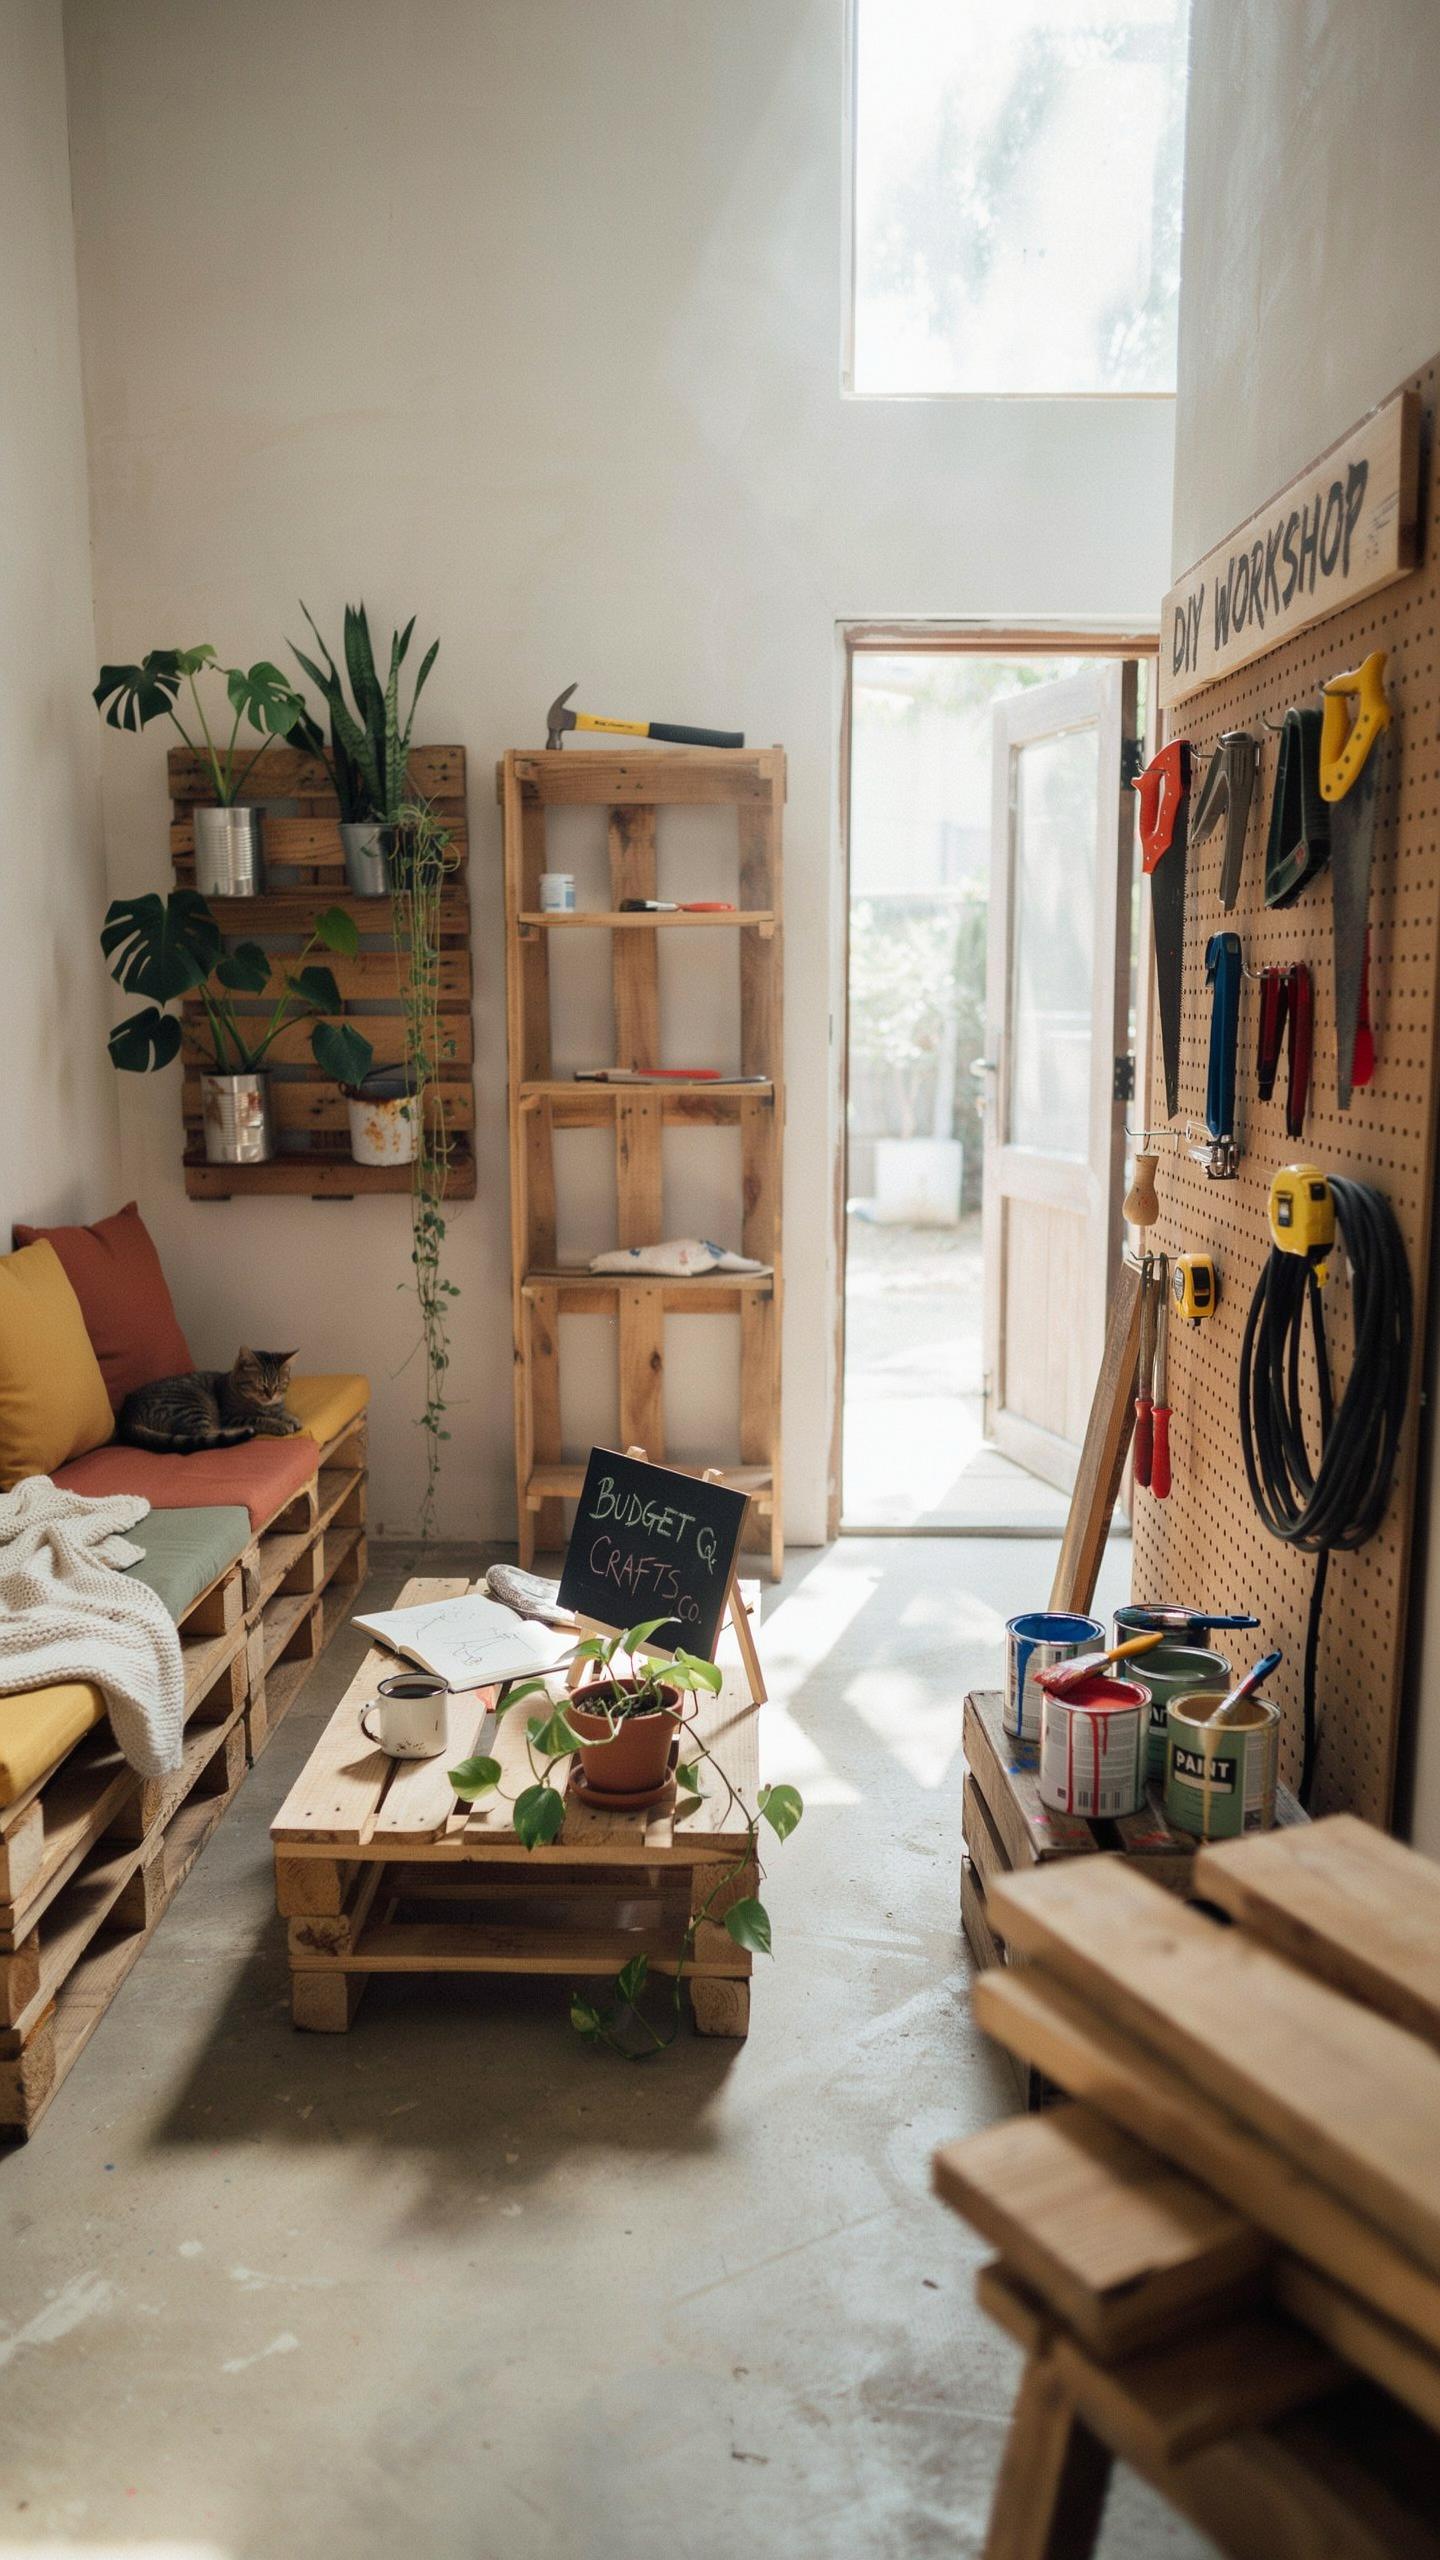
You need specific tools to cut, fasten, and finish pallet wood safely. Hand tools handle basic tasks while power tools speed up production. Start with what you’ll actually use. Buying everything upfront wastes money on tools you won’t touch. Build your collection based on the projects you choose.
- Circular Saw or Reciprocating Saw: Cuts pallet boards quickly and straight. Essential for most projects that require sizing pieces down to fit your design needs.
- Power Drill: Drives screws and creates pilot holes. Prevents wood splitting and makes assembly significantly faster than hand tools alone.
- Measuring Tape and Square: Ensures accurate cuts and level assembly. Mistakes in measurement cost time and materials, so precision tools pay for themselves.
- Orbital Sander: Smooths rough pallet surfaces to prevent splinters. Makes wood safe to touch and creates a finished appearance without excessive manual labor.
- Hammer and Pry Bar: Disassembles pallets and removes nails. These tools separate usable boards from pallets faster than other methods.
- Safety Gear: Work gloves, eye protection, and dust masks protect against injury. Pallet wood contains contaminants and splinters that require proper protection during handling.
These tools address real production needs rather than hypothetical scenarios. Buy quality versions that will survive repeated use. Cheap tools break mid project and cost more in replacement and frustration than investing upfront in reliable equipment.
Simple Coasters And Serving Trays
Coasters and serving trays require minimal cuts and assembly. You can finish either project in under one hour with basic materials. These items teach fundamental techniques like measuring, cutting straight lines, and sanding without complexity. Start here before moving to larger projects that demand precision joinery.

Begin by cutting pallet boards into four inch squares for coasters. Sand all surfaces to eliminate splinters and rough grain. Finish with stain or sealant appropriate for surfaces that contact food and beverages. Serving trays follow the same logic but use rectangular pieces with minimal framing to contain items.
Elevating Your Space With DIY Home Furniture
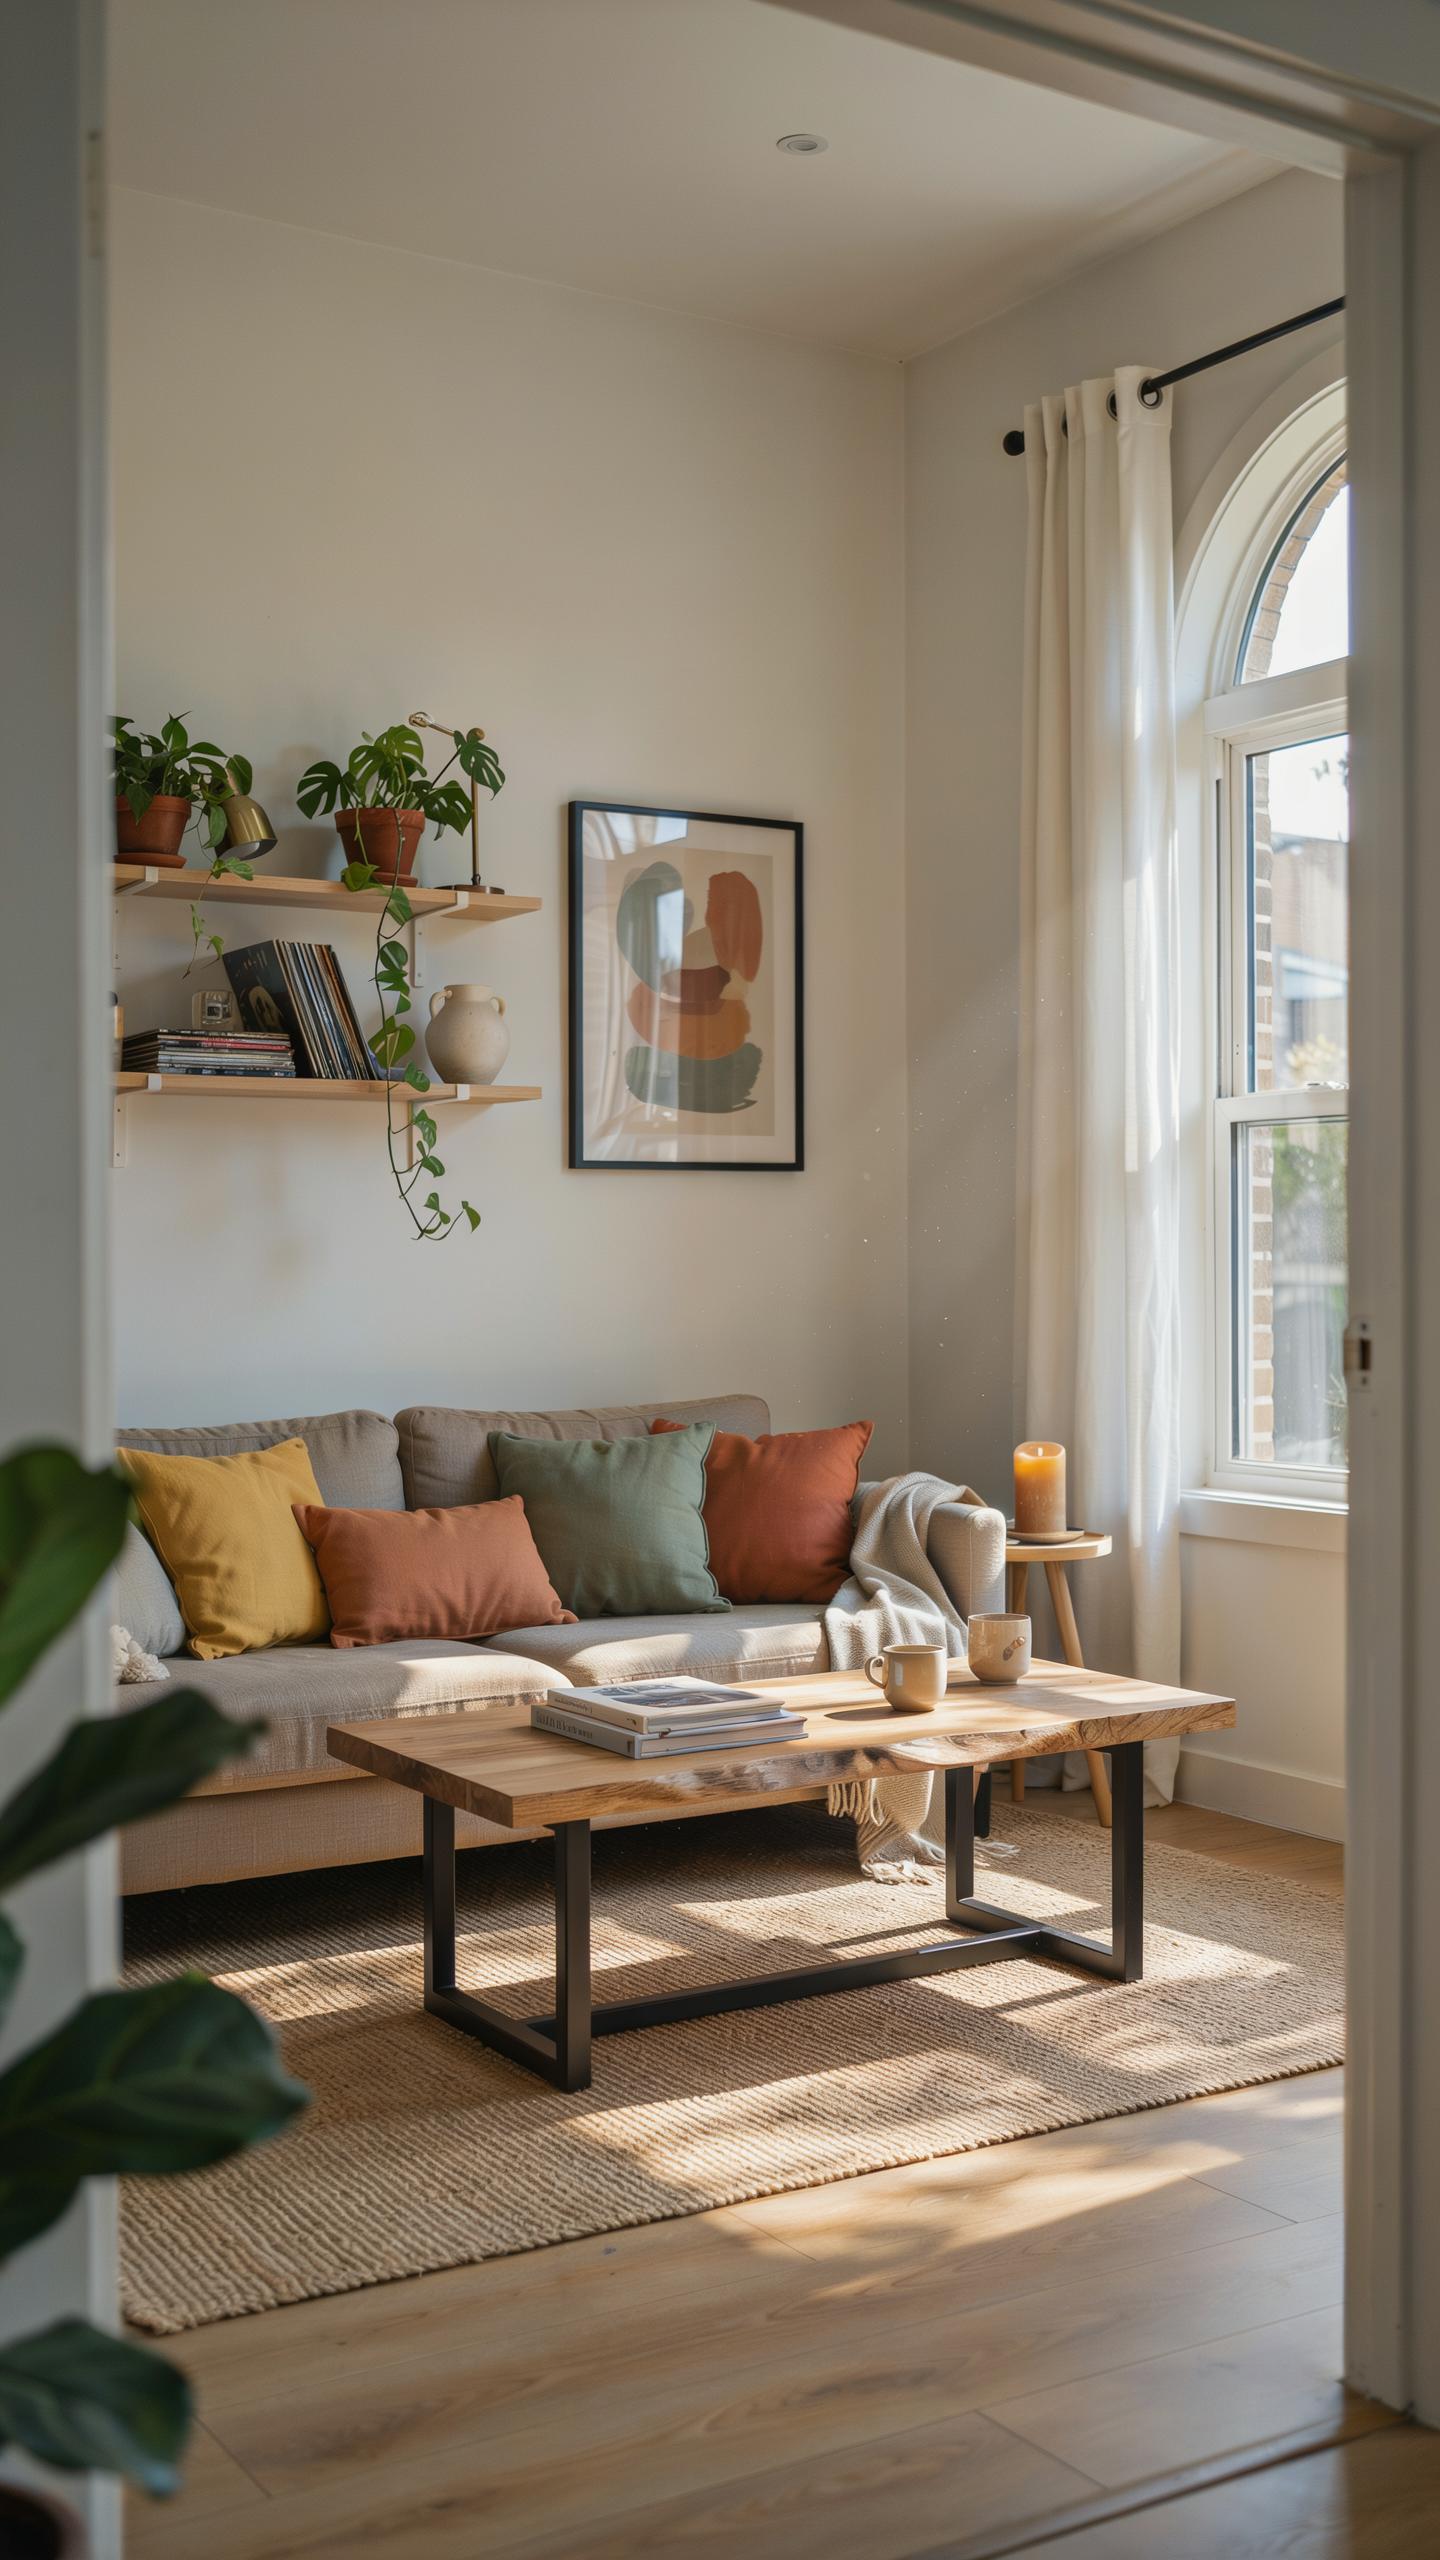
Sleek Coffee Tables With Storage
Pallet coffee tables deliver functional living room centerpieces without breaking your budget. Start with two pallets as your base frame. Sand all surfaces smooth to prevent splinters. Attach caster wheels to the bottom using lag bolts for mobility. This foundation takes two hours to complete.
Add storage by building a shallow box frame on top of your pallet base. Use reclaimed wood or additional pallet boards to create compartments inside. Install a hinged top or removable plywood surface to access stored items. Finish with polyurethane sealant to protect the wood from spills and daily wear.
Chic Bed Frames And Headboards
Low profile platform beds built from pallets provide bedroom focal points without expensive furniture. Stack pallets two to three high to reach standard mattress height. Secure pallets together with construction adhesive and wood screws through frame supports. Sand and stain to match your existing decor or leave natural for rustic appeal.

Build headboards by standing additional pallets vertically behind the bed frame. Attach them securely to wall studs using L brackets rated for your wall type. Paint or stain the headboard to create visual interest and define your bedroom space. This approach costs 60 to 70 percent less than store bought bed frames while delivering industrial or farmhouse aesthetics.
Stunning Terrace Decor DIY For Outdoor Entertaining
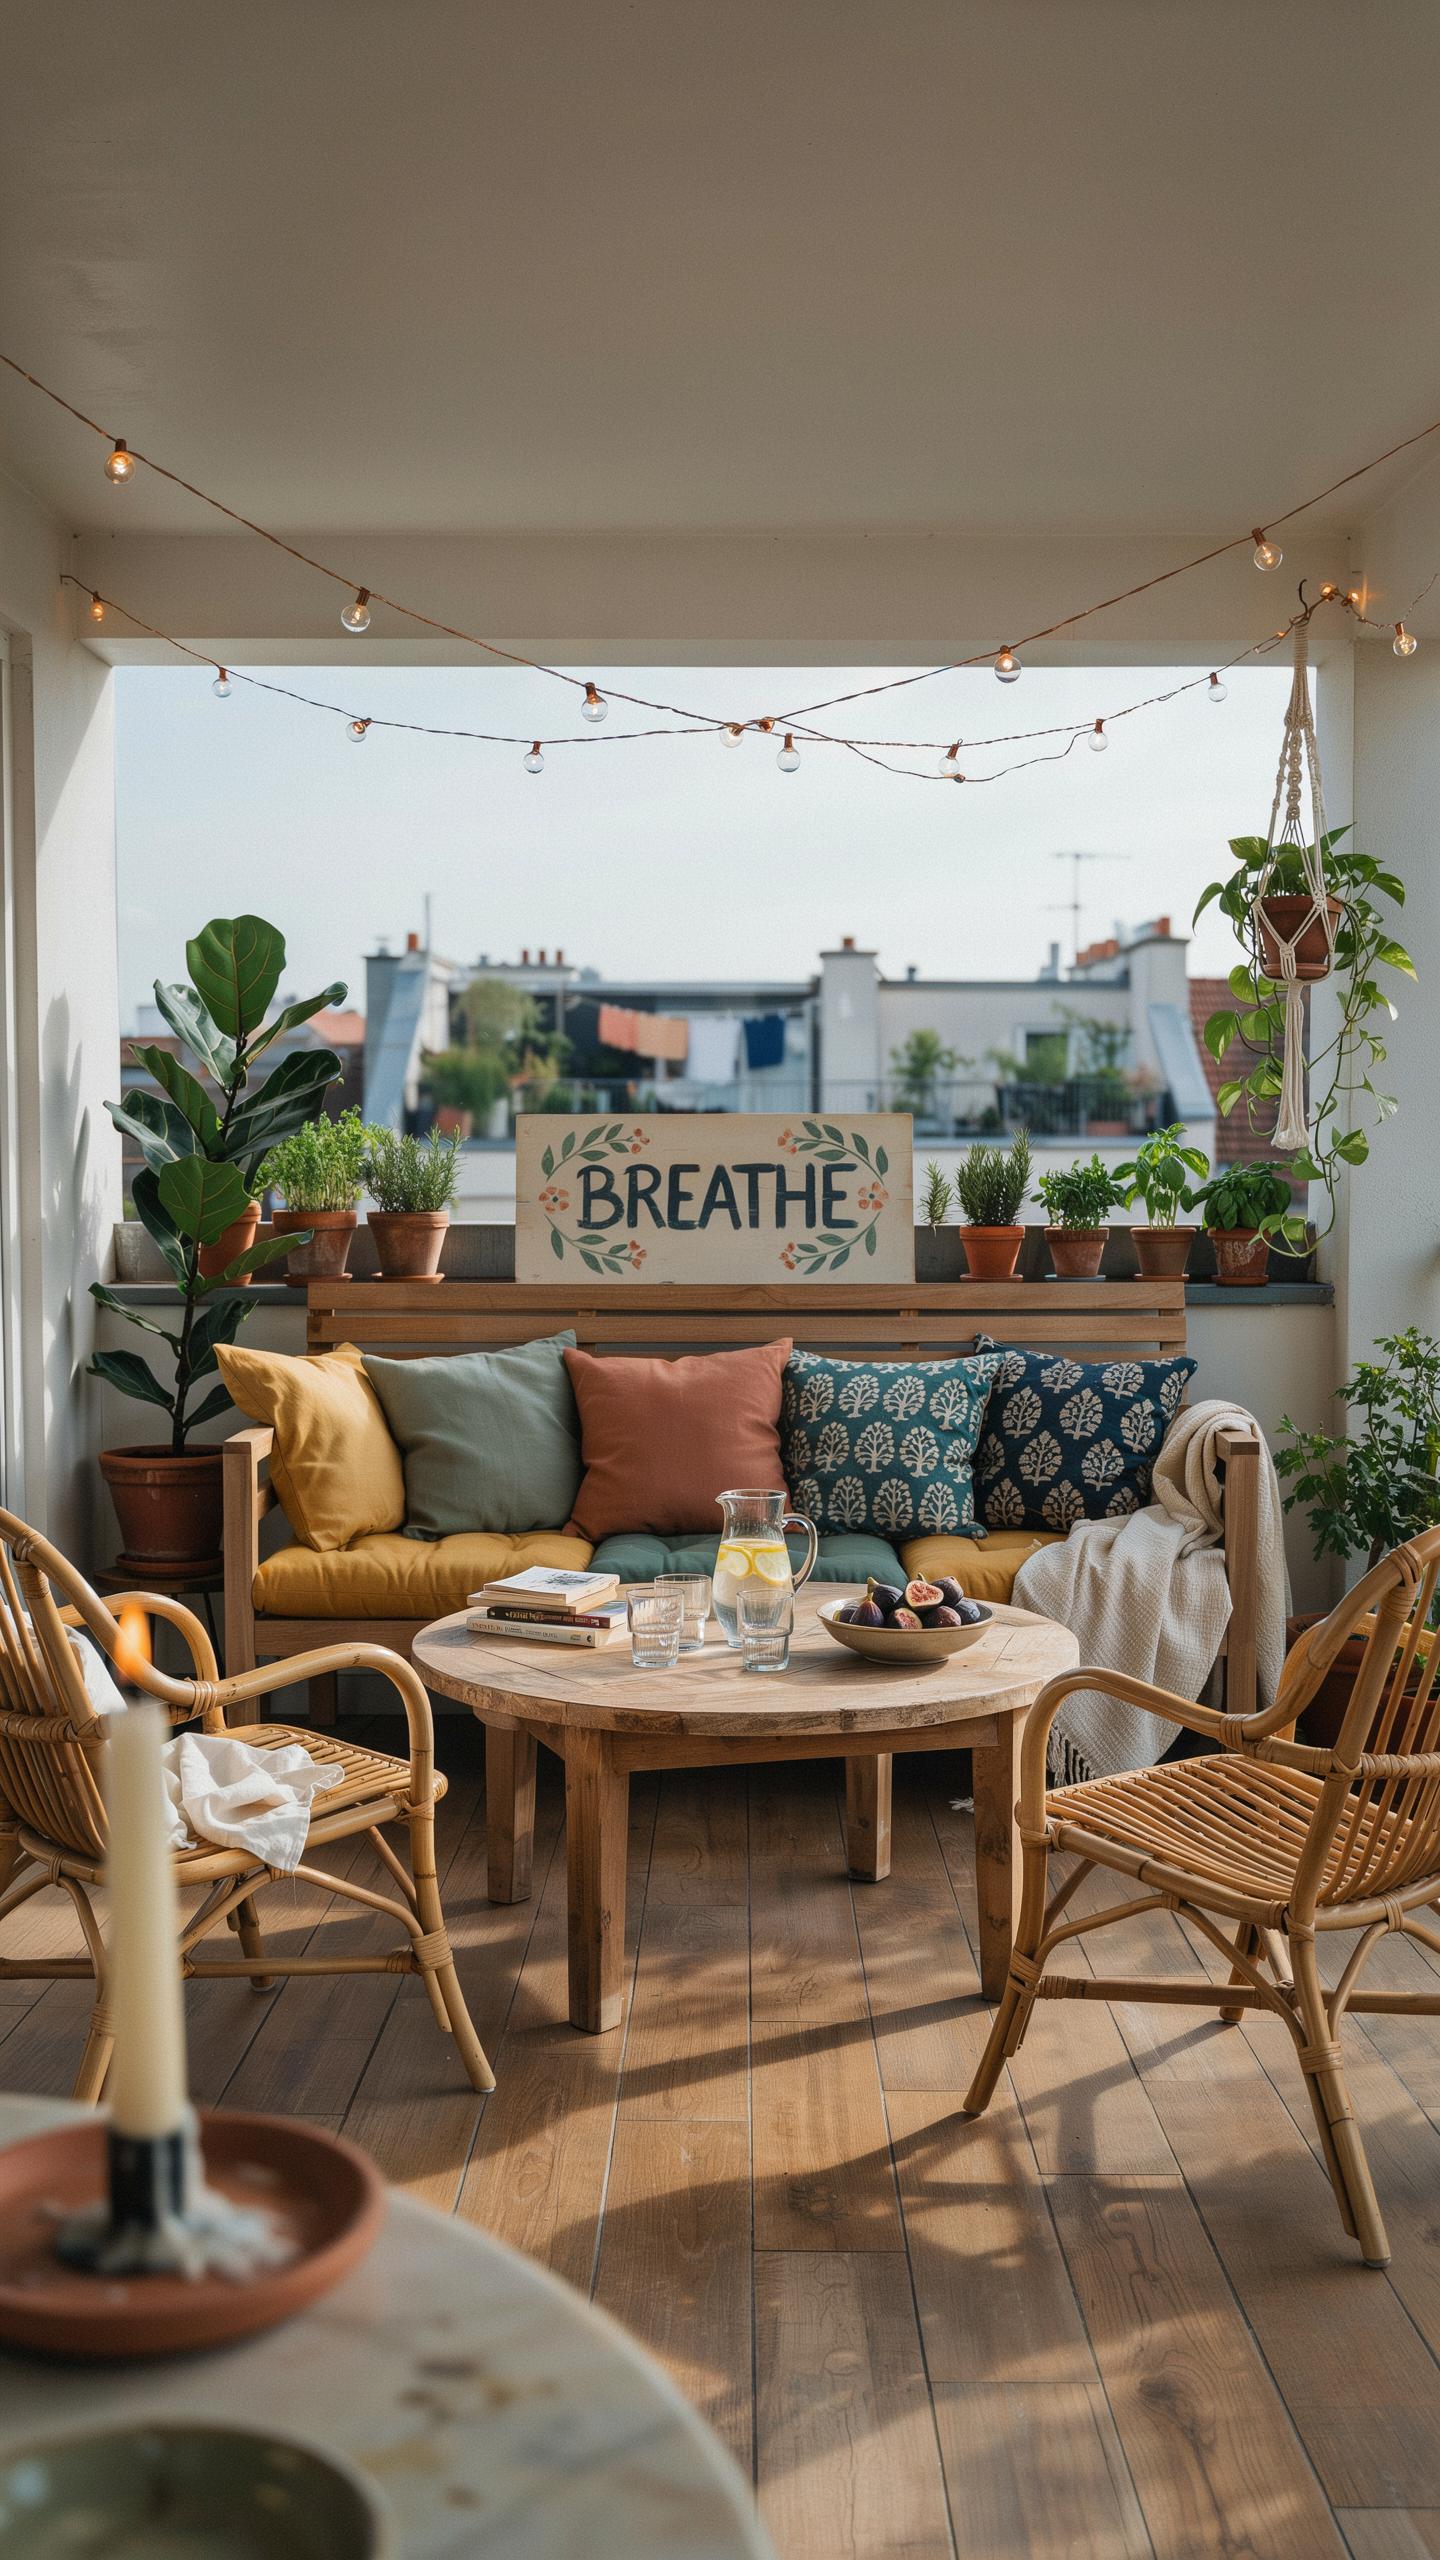
Cozy Outdoor Sectionals And Sofas
Pallet sectionals work because pallets provide a sturdy base that handles outdoor conditions. Stack pallets two to three high, secure them with deck screws, and angle them to create an L-shaped or U-shaped configuration. This setup costs significantly less than buying outdoor furniture while delivering comparable seating capacity for entertaining guests on your terrace.
Top your pallet structure with outdoor-grade cushions rated for weather exposure. These cushions protect the wood underneath while providing comfort for extended sitting. Choose cushions with removable covers you can wash seasonally. The combination of pallet frames and quality cushions creates durable seating that withstands rain, sun, and regular use for years.
Charming Bistro Tables
A bistro table from pallets requires minimal materials and basic tools. Cut a single pallet in half lengthwise to create the tabletop surface, then attach four wooden legs salvaged from another pallet or purchased separately. Sand all surfaces smooth and apply exterior wood stain or sealant to prevent weathering and splintering during daily use.

Bar-height tables position at 36 inches tall, making them ideal for standing conversations or perched seating on your balcony. The compact footprint fits tight spaces without consuming valuable terrace area. This design works in corners or against railings, creating functional zones for coffee service or cocktails without requiring dedicated floor space.
Innovative Wooden Pallet Ideas For Elegant Walls
Framed Pallet Mirror Designs
Pallet wood creates a functional frame for large mirrors. The texture contrasts with reflective glass surfaces. Standard pallet boards measure 3.5 inches wide and vary in thickness from 0.5 to 1 inch. You arrange these boards around mirror edges to build depth. The resulting frame adds visual weight without bulk. Staining or painting the wood shifts the overall aesthetic from casual to refined.
Mirror frames from pallets work in bathrooms, entryways, and bedrooms. Mount the frame securely to wall studs using lag bolts. The wood absorbs and diffuses light, creating dimension on flat walls. This approach costs less than framed mirrors from furniture retailers. The construction process takes 2 to 4 hours depending on frame complexity and your experience level.
Handcrafted Wooden Gallery Walls
Pallet boards cut into custom plaques serve as mounting surfaces for photos and artwork. Cut planks to uniform sizes like 8×10 inches or 12×12 inches for consistency. Sand edges smooth to prevent splinters and achieve a finished look. You drill holes in the back to hang pieces on standard wall anchors. This modular approach lets you rearrange displays without permanent damage to drywall.
Gallery walls using pallet wood work in living rooms, hallways, and home offices. Arrange plaques in grid patterns or staggered layouts based on your space. The wood tone unifies mixed artwork and photographs into a cohesive display. You can paint plaques to match your decor scheme or leave them natural. Seasonal items swap in and out easily without taking down permanent installations.
Creative Things To Make Out Of Pallets On A Budget
Functional Mudroom Coat Racks
Mount a pallet horizontally on your entryway wall and drill holes for cast-iron hooks. Space hooks 12 inches apart to prevent crowding. Add a shallow wooden shelf or slot below the hooks to sort incoming mail and keys. This setup keeps items visible and accessible while using vertical wall space efficiently.
Cast-iron hooks outlast plastic alternatives by decades. They support 25 to 50 pounds per hook when anchored into wall studs. Finish the pallet with weatherproof stain or paint to handle moisture from wet coats and boots. Install hooks at 60 to 72 inches high for comfortable reaching by most adults.
Space Saving Wine Racks And Glass Holders
Cut pallet boards into 36 to 48-inch sections and create diagonal cradles for wine bottles using 2-inch dowels. Space dowels 4 to 5 inches apart to nestle bottles securely without touching. Mount the rack 60 inches above the floor for convenient access and visibility of your collection.
Install wire or rope below the cradles to suspend wine glasses by their stems. Hang glasses 2 to 3 inches below the bottles to use vertical space effectively. Sand all surfaces smooth to prevent splinters that could damage your stemware. This design solves kitchen storage problems while displaying bottles and glasses as functional decor.
Lush And Green Pallet Garden Ideas
Steps To Build A Vertical Herb Planter
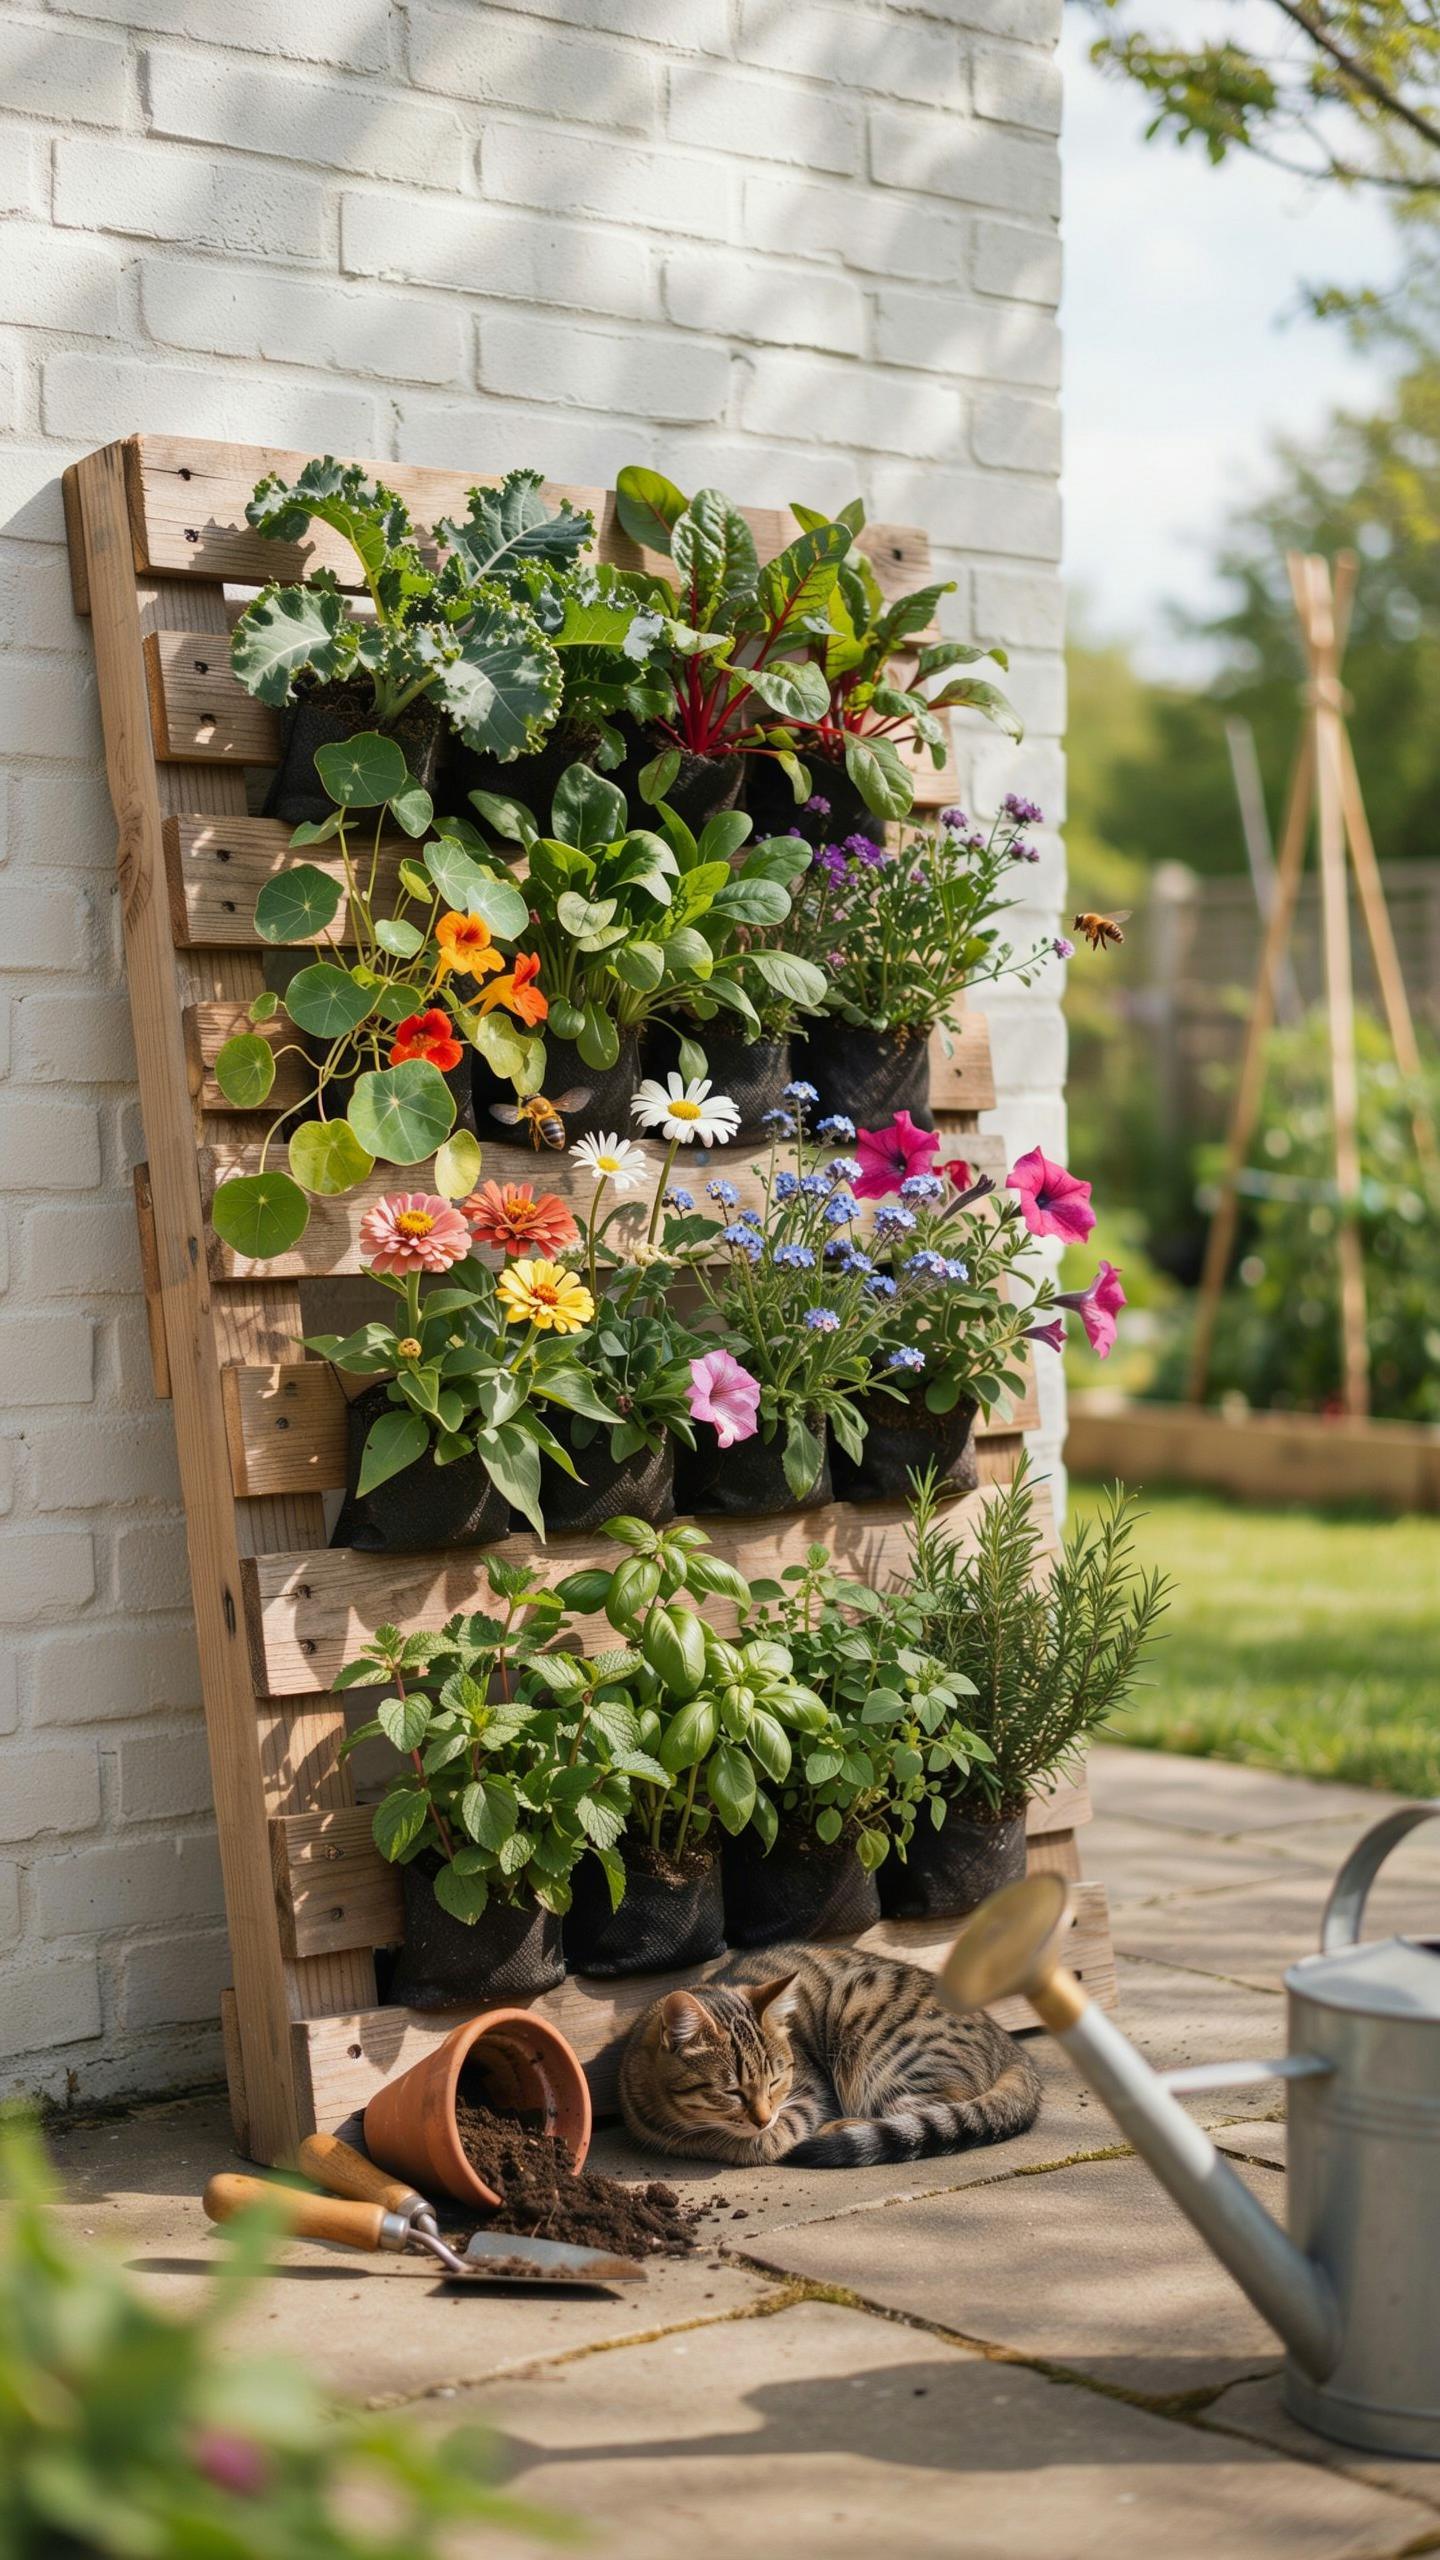
Start with a pallet that measures 40 by 48 inches, the standard size. Inspect it for damage and nails. Sand rough edges. Seal the wood with food-safe stain or leave it untreated if you prefer natural weathering. Mount it vertically on a fence or wall using lag bolts rated for your local climate conditions.
- Line The Back: Staple landscape fabric or burlap to the rear and sides to contain soil while allowing water drainage through the front openings.
- Secure The Sides: Install wooden boards or metal edges along the sides to prevent soil from spilling out during watering and settling.
- Fill With Soil: Use potting mix rated for containers, not garden soil, which compacts and restricts root growth in confined spaces.
- Plant Strategically: Place herbs requiring full sun at the top. Position shade-tolerant varieties like mint and parsley lower on the structure.
- Install Drip Lines: Run soaker hoses or drip irrigation along the top to water efficiently without manual effort for each pocket.
Water herb planters deeply until moisture drains from the bottom. Check soil moisture daily during hot months since vertical gardens dry faster than ground beds. Most herbs thrive in six to eight hours of direct sunlight. Harvest regularly to encourage growth and prevent leggy plants.
Freestanding Raised Garden Beds
Disassemble pallets carefully and use the boards to construct box frames. Build beds 18 to 24 inches deep to accommodate root vegetables like carrots and beets. Stack pallets directly without cutting them for faster assembly. Secure corners with galvanized bolts or corner brackets to prevent shifting during filling.
Position raised beds on level ground or a slight slope to prevent water pooling. Line the bottom with hardware cloth if rodent pressure exists in your area. Fill with a mixture of topsoil and compost, settling everything before planting. Install beds in spring to allow soil to compact before the growing season begins.
Frequently Asked Questions

How can I ensure my pallet furniture looks high-end rather than rustic?
Achieving a polished aesthetic with recycled home decor from pallets starts with meticulous preparation. You must thoroughly sand the wood using progressively finer grits to remove splinters and uneven textures. Following this with a high-quality wood conditioner and a rich stain or matte paint helps bridge the gap between “salvaged” and “sophisticated,” ensuring your DIY pieces look like curated boutique finds rather than basic warehouse leftovers.
What is the best way to clean and prep pallet wood for indoor use?
Safety and cleanliness are vital when creating recycled home decor from pallets. Begin by inspecting the wood for “HT” stamps, which indicate heat treatment rather than chemical preservation. Scrub the wood with a mixture of soapy water and a splash of bleach to kill bacteria. Once completely dry, remove all rusted nails and sand the surface smooth to ensure it is safe, sanitary, and ready for a professional finish.
Is it actually cheaper to build decor from pallets than buying new?
Absolutely. Pallets are often available for free from local businesses or construction sites, making the raw materials virtually costless. While you will need to invest in some basic sandpaper, screws, and a quality finish, the overall expense is a fraction of retail prices. This accessibility allows you to create custom, durable furniture on a strict budget while maintaining an elegant and expensive-looking home interior.



