
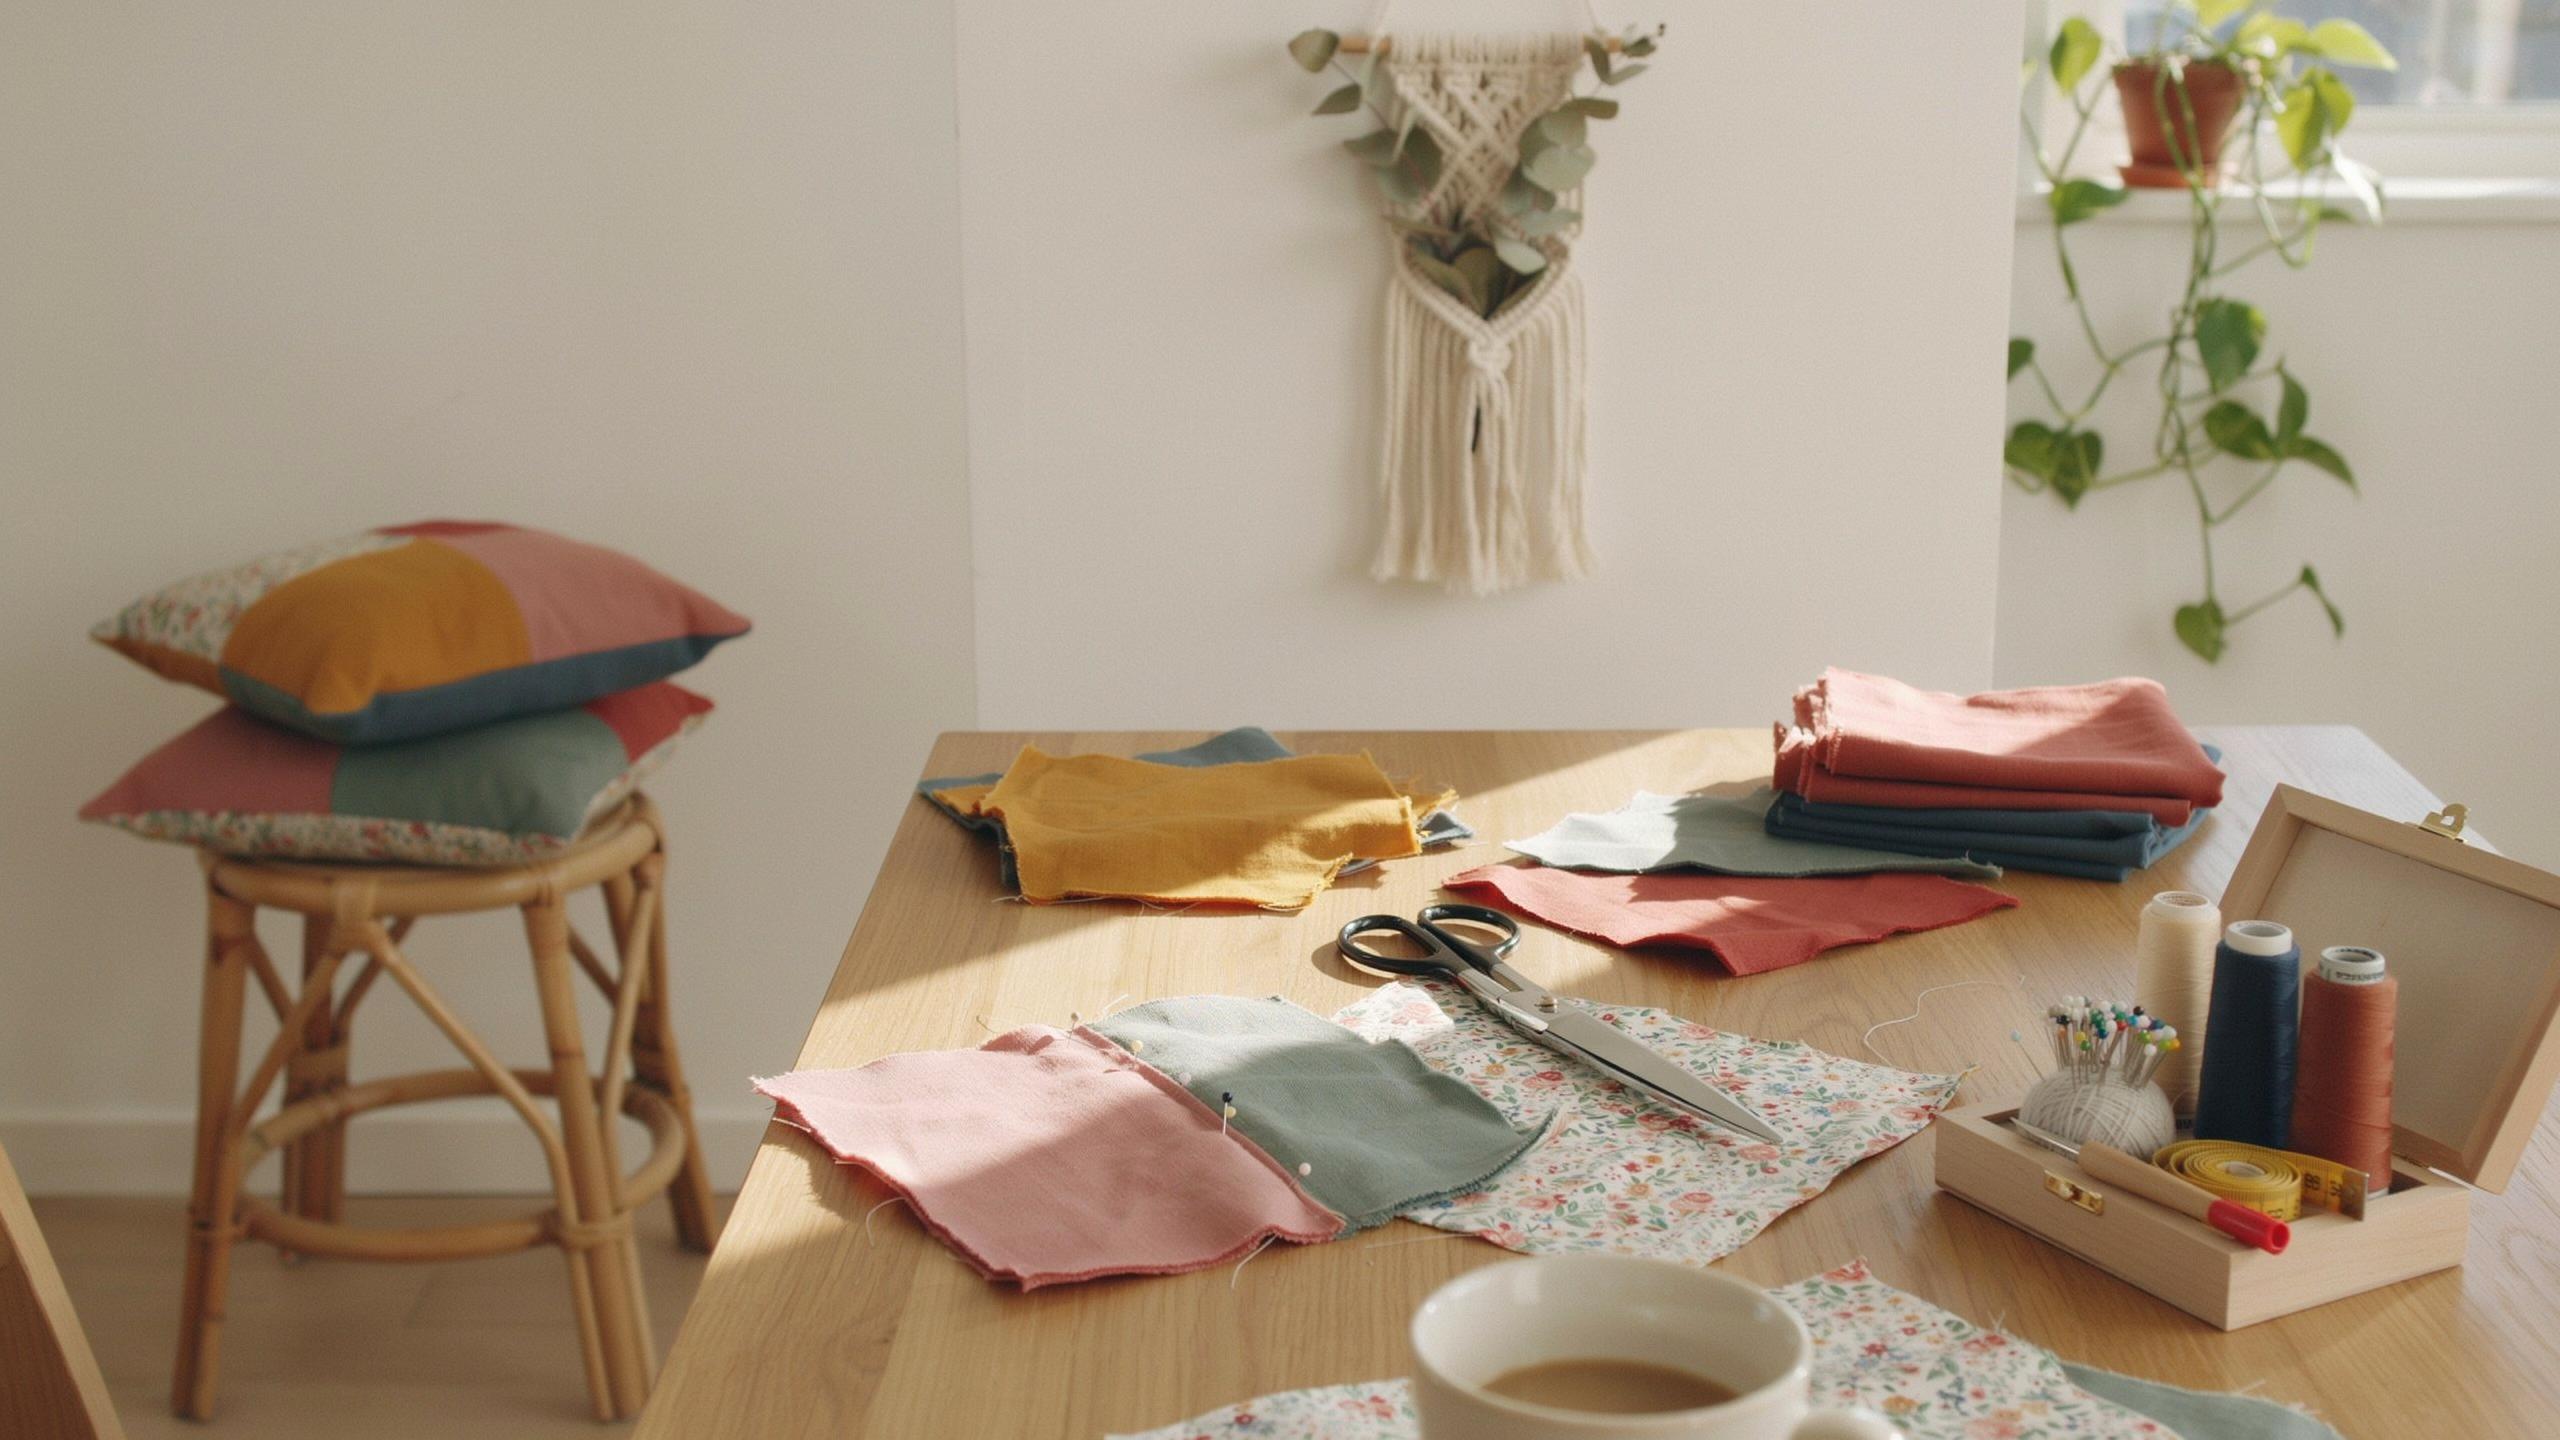
Upcycled Home Decor Ideas Fabric A BeginnerS Guide
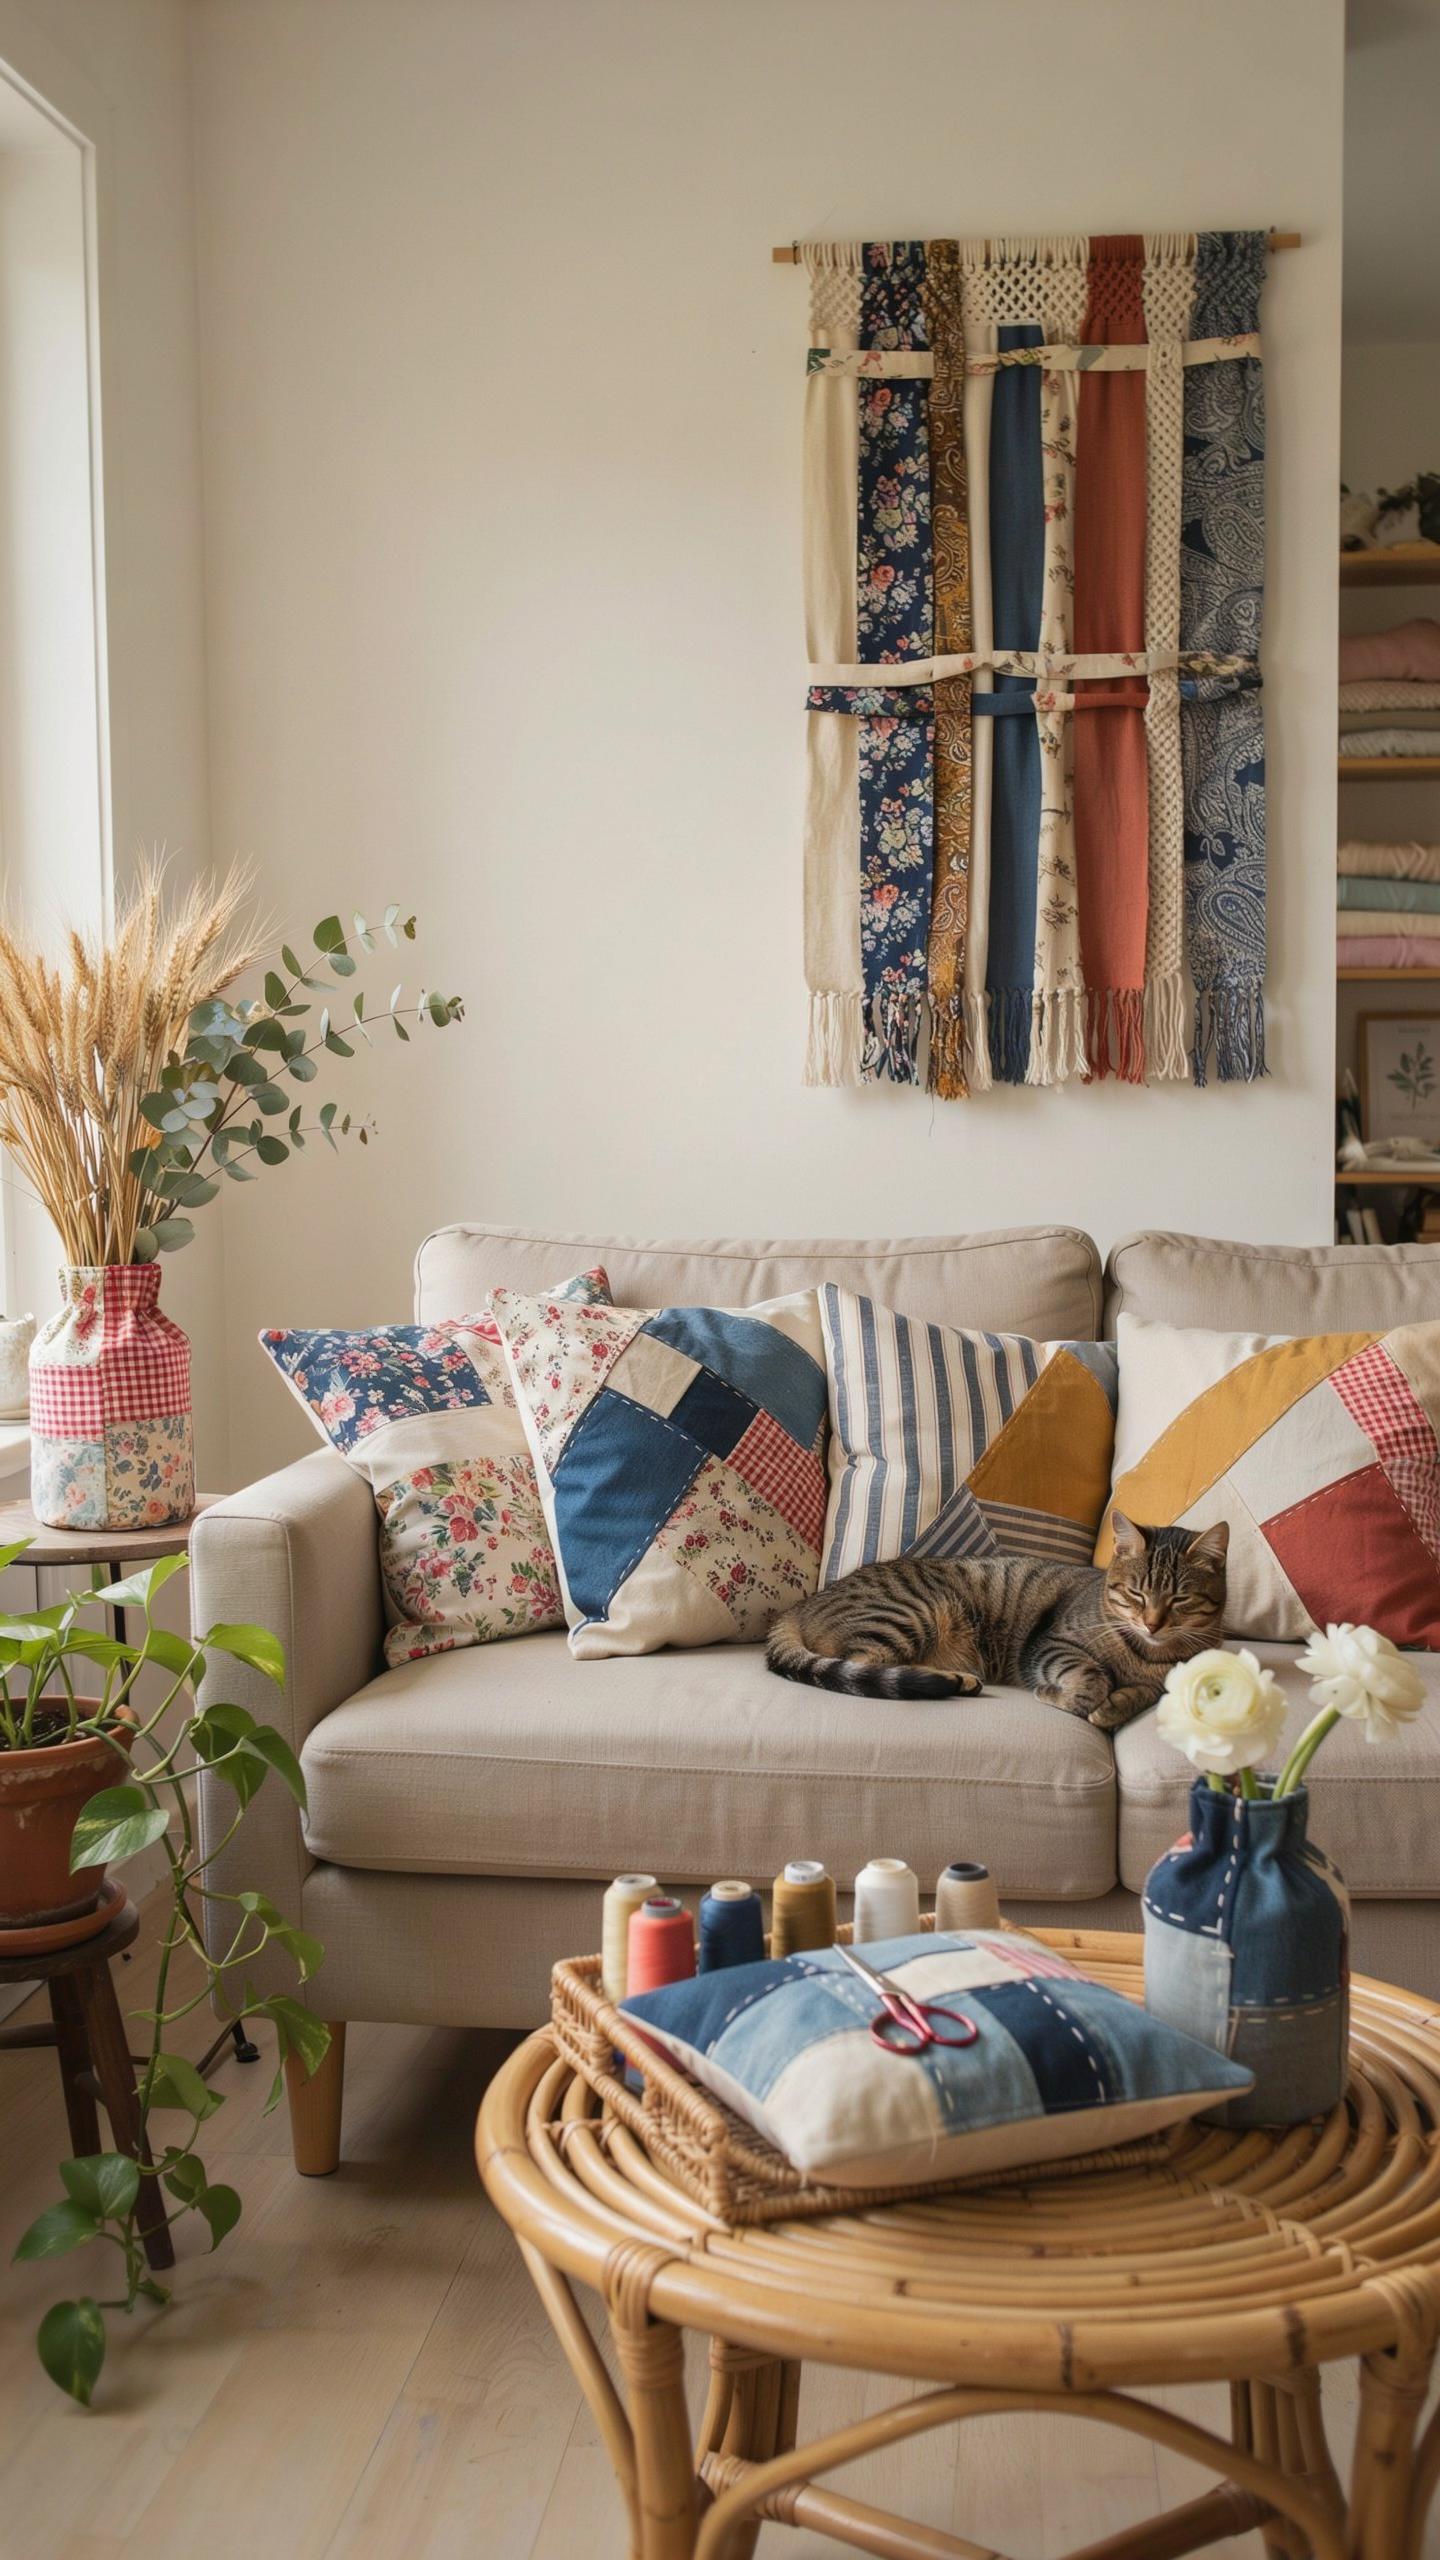
Why Upcycling Textiles Benefits The Environment And Saves Money
Textile waste represents a massive environmental problem. The fashion and home goods industries generate millions of tons of fabric scraps annually that end up in landfills. Upcycling existing textiles keeps usable material out of waste streams. You redirect resources that already exist instead of demanding new production, which consumes water, energy, and chemicals. This approach costs you nothing if you use fabric you already own.
Upcycling textiles directly reduces your household expenses. Store-bought home decor runs expensive, while your unused clothing, old curtains, and worn linens cost nothing to repurpose. You transform items destined for donation or disposal into functional pieces. The financial benefit compounds when you complete multiple projects from a single fabric source. This strategy works particularly well for renters who need affordable decor options without long-term investment.
Essential Tools Checklist For DIY Fabric Upcycling Projects
Start with basic hand tools that handle most fabric projects effectively. Quality scissors cut cleanly through layered material without fraying edges. A seam ripper separates existing stitching quickly when you deconstruct garments. Measuring tape ensures accurate dimensions before you cut or assemble pieces. Pins hold fabric sections in place during marking and assembly stages.
- Fabric Scissors: Sharp blades cut through multiple fabric layers cleanly. Dull scissors damage fibers and create frayed edges that compromise finished projects.
- Seam Ripper: This small tool removes existing stitches without tearing fabric. Essential when deconstructing garments or repurposing sewn items for new projects.
- Measuring Tape: Flexible measurement tool that conforms to irregular shapes. Provides accurate dimensions for cutting and ensures consistent sizing across projects.
- Straight Pins: Hold fabric sections secure during marking, measuring, and assembly. Keep extras on hand since they get lost frequently during project work.
- Hand Sewing Needles: Basic needles work for simple hand-stitching and repairs. Stock multiple sizes to match different fabric weights and thread types.
- Needle Threader: Simplifies threading needles, especially with heavy or delicate fabrics. Saves time and reduces eye strain during extended hand-sewing sessions.
Machine sewing opens more project possibilities but isn’t required for beginners. Hand stitching accomplishes most basic upcycling tasks effectively. Iron your fabric before starting to eliminate wrinkles that distort measurements and create problems during assembly. Work on a clean, flat surface with good lighting to avoid mistakes that waste material.

Creative Leftover Fabric Projects For Cozy Living Rooms
Crafting No Sew Fabric Coasters From Denim And Cotton
No-sew coasters eliminate the need for threading needles or operating machines. You layer fabric scraps, apply fusible webbing between each layer, and heat-set them with an iron. Denim and cotton work best because they hold their shape and resist fraying. This method takes under ten minutes per coaster and requires only an iron and ironing board.
The finished coasters protect surfaces from water rings and heat marks. A four-inch square provides enough coverage for standard drinking glasses and mugs. Stack multiple coasters together and bind them with twine for a functional gift. Store them in a basket near your living room seating for immediate access and visibility.
Making Multi Colored Bunting Garlands For A Welcoming Vibe
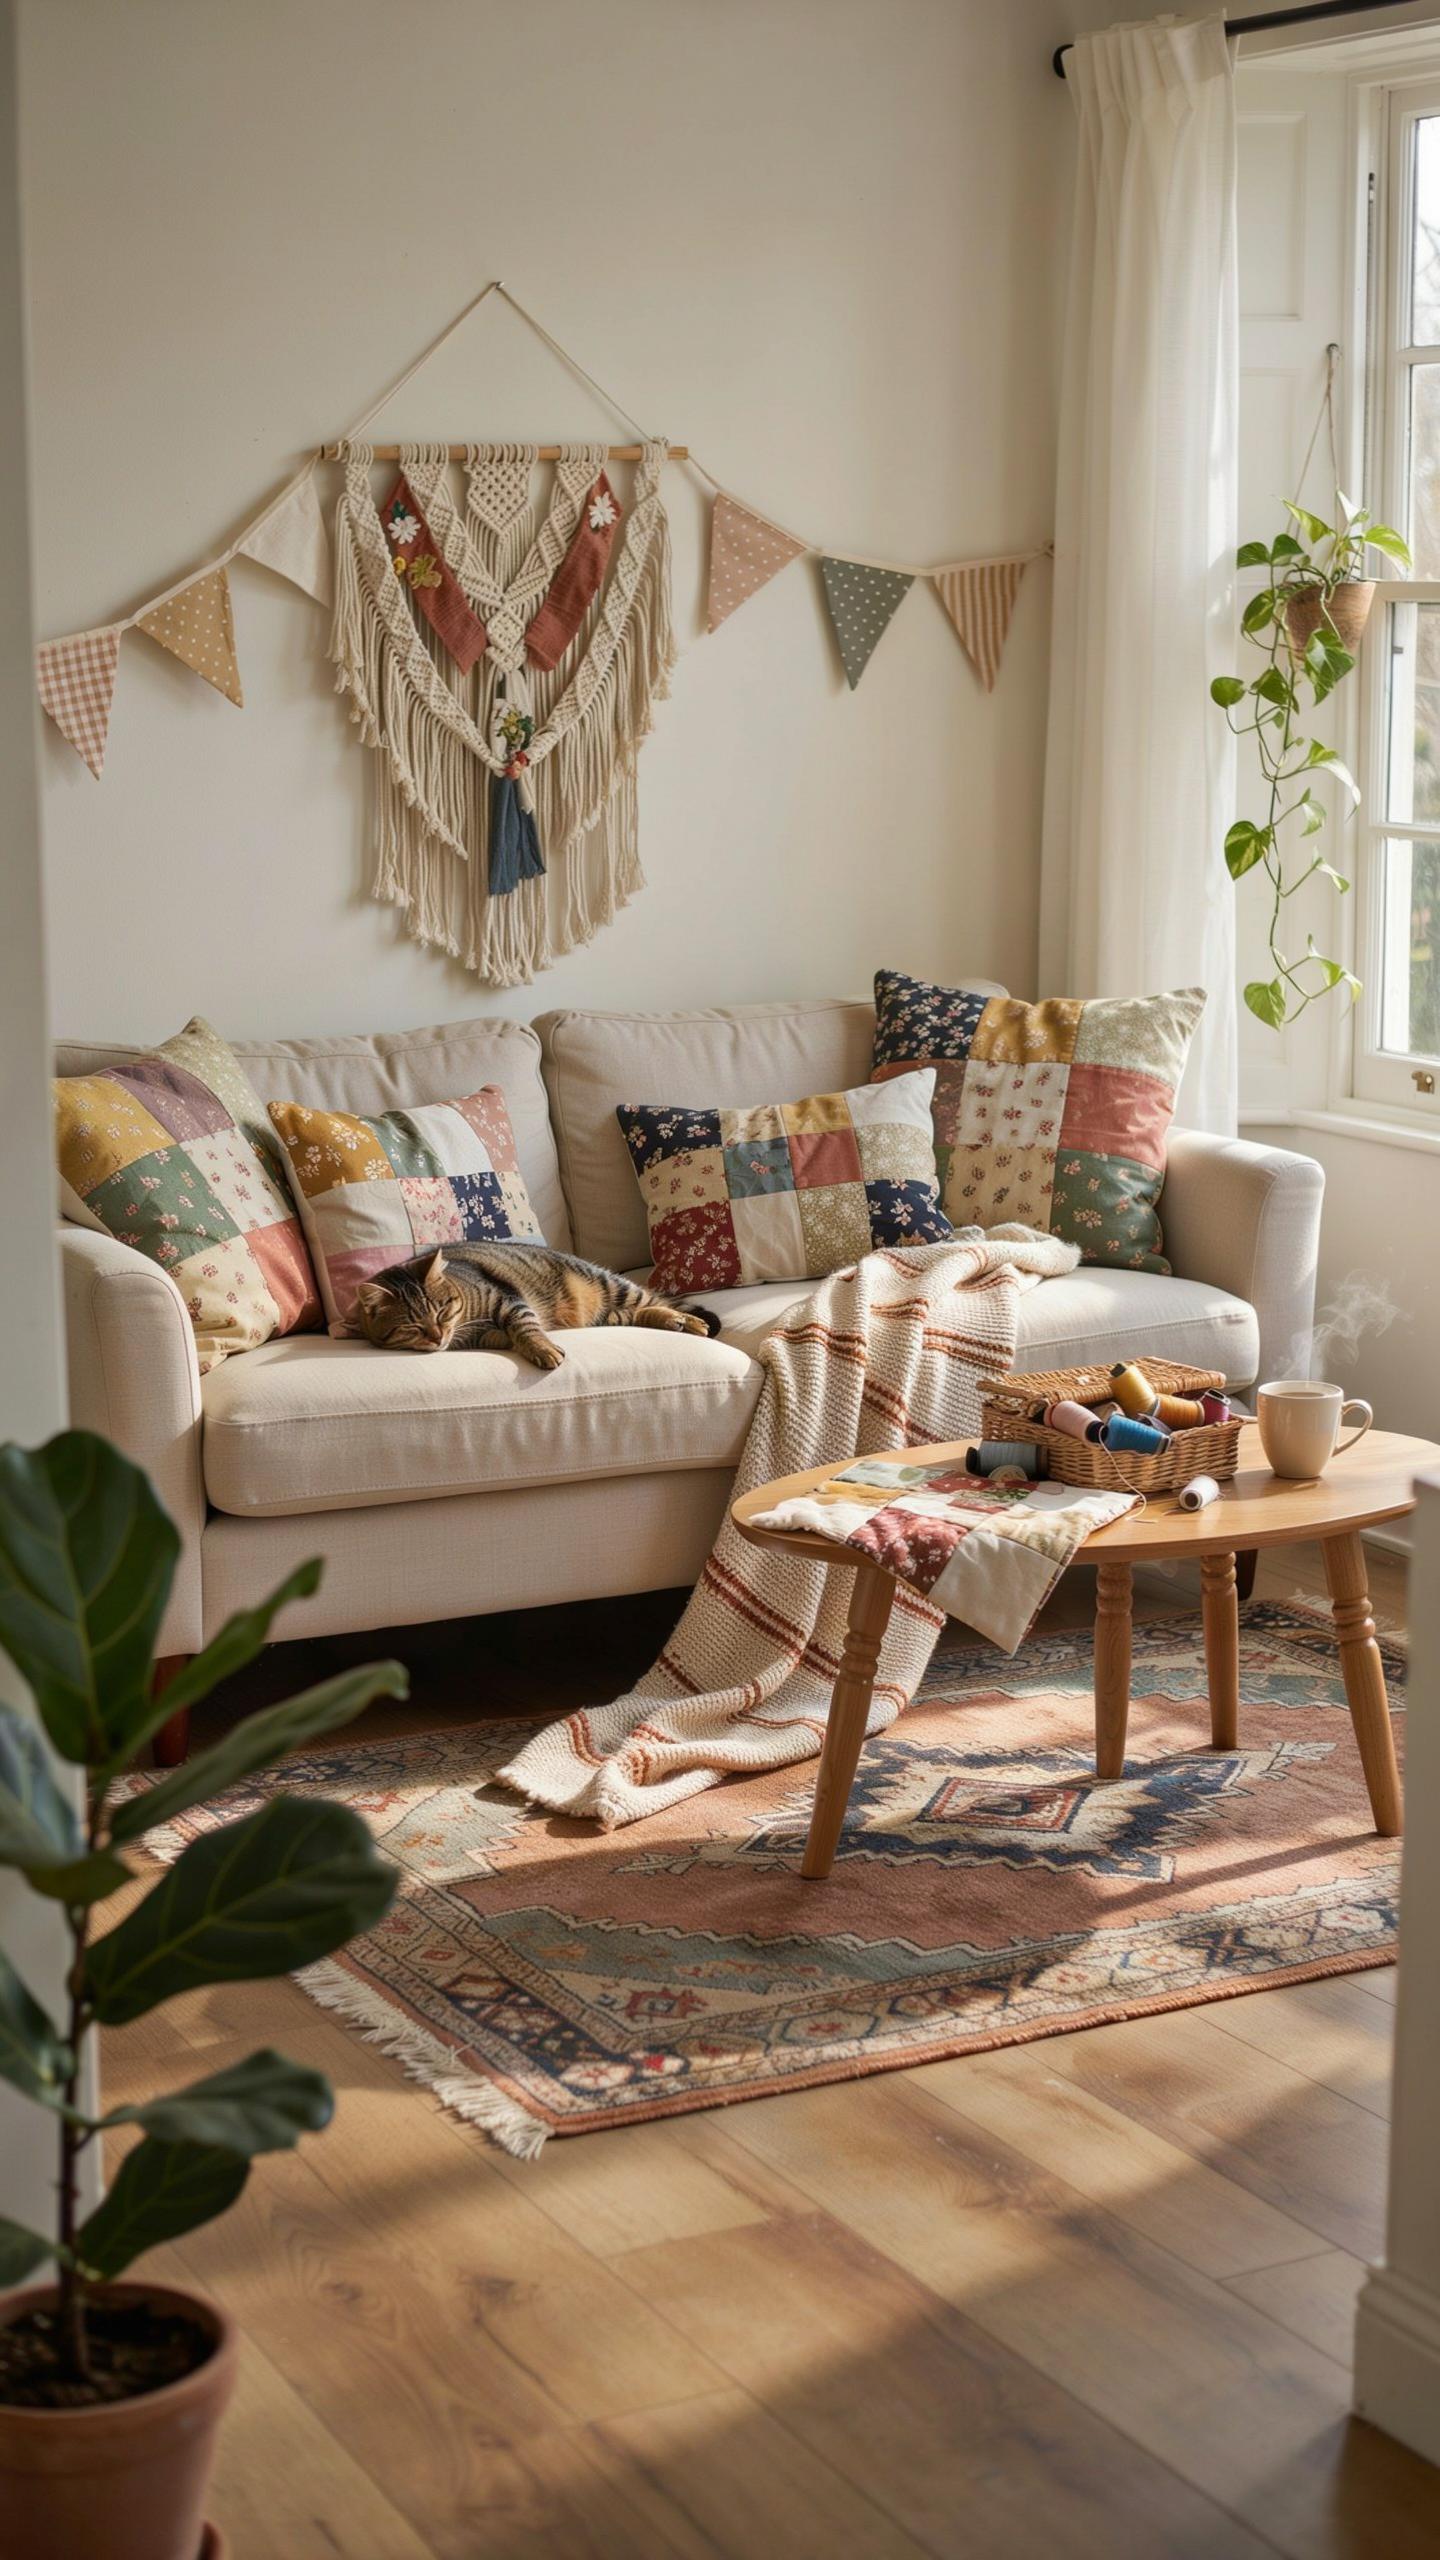
Bunting garlands use fabric scraps cut into triangle or pennant shapes and strung on rope or twine. Cut your fabric pieces roughly four inches wide and six inches tall, then fold and glue them onto a base line. Multi-colored combinations work because varied hues create visual interest without overwhelming the space. Hang bunting along mantels, bookcases, or window frames to add texture and movement.

This project transforms unusable fabric remnants into functional decor that fills empty wall space. One garland requires only scraps from past projects, twine, and basic glue or needle and thread. Bunting hangs flat against walls or drapes loosely between anchor points. Rotate seasonal bunting to refresh your living room without purchasing new items.
Stylish Fabric Decor Ideas To Refresh Your Bedroom
Creating Custom Fabric Wrapped Storage Bins
Fabric-wrapped storage bins solve two problems at once: they hide clutter and add visual interest to your bedroom. Start with cardboard boxes or plastic bins you already own. Measure each side and cut fabric accordingly. Use spray adhesive or fabric glue to attach the material firmly to the container surfaces. This method works with any fabric type, from old sheets to upholstery scraps.
The key is tension and smoothness during application. Pull the fabric taut as you glue to avoid wrinkles and bubbles. Reinforce corners with extra glue or fabric tape for durability. Label bins on one side so you know what goes inside without opening them. These bins stack efficiently on shelves, under beds, or in closets. The entire project costs almost nothing if you use scrap fabric.
Designing A Headboard Using Fabric Panels And Foam
Fabric-wrapped foam panels create a padded headboard that transforms your bedroom instantly. Purchase foam sheets from hardware or fabric stores, typically one to three inches thick. Cut panels to your desired headboard dimensions. Wrap each panel with your chosen fabric, stapling the back side securely. Mount panels directly to the wall behind your bed using construction adhesive or wall brackets.

This approach offers practical benefits beyond aesthetics. Foam absorbs sound and reduces noise in the bedroom. The padded surface provides comfortable back support for reading or sitting up in bed. You can replace fabric panels seasonally without replacing the entire headboard. Panel design works with any bed size and adapts to small or large bedroom layouts.
Repurposed Fabric Projects To Transform Old Clothes
Turning Old T Shirts Into Braided Rugs
T-shirt braiding works because knit fabric stretches without fraying. Cut shirts into strips roughly one inch wide. Connect strips end-to-end by tying square knots. Braid three strands together tightly to create rope. Coil the braid into a flat spiral shape. Stitch each loop to the previous one with needle and thread. The result is a durable floor rug that handles foot traffic.
This method produces rugs that last years with basic care. Larger rugs require more shirts but follow the same process. Machine washing keeps braided rugs clean without damage. The density of the braid determines how firm the rug feels underfoot. Start with five to eight t-shirts for a small entry-way rug measuring roughly two feet in diameter.
Creativity is piercing the mundane to find the marvelous within a scrap of old cloth. Every piece of fabric holds a memory waiting to become a new part of your home.
Transforming Wool Sweaters Into Pillow Covers
Wool sweaters provide ready-made fabric that requires minimal prep work. Felting happens when wool shrinks and densifies in hot water. This process prevents unraveling and strengthens the material. Measure and cut sweater sections to match pillow dimensions plus seam allowance. Stitch three sides closed with a sewing machine or needle and thread. Insert pillow filling through the open fourth side, then stitch it shut.

Felted wool resists pilling better than raw knit fabric. One adult sweater yields one standard pillow cover or multiple smaller decorative covers. Wool provides natural insulation, making these covers ideal for temperature regulation. Select sweaters in solid colors or patterns that match existing room decor. This upcycling method eliminates textile waste while producing functional home items.
Smart Textile Upcycling Ideas For Sustainable Kitchen Accents
Sewing Reusable Waxed Fabric Food Wraps
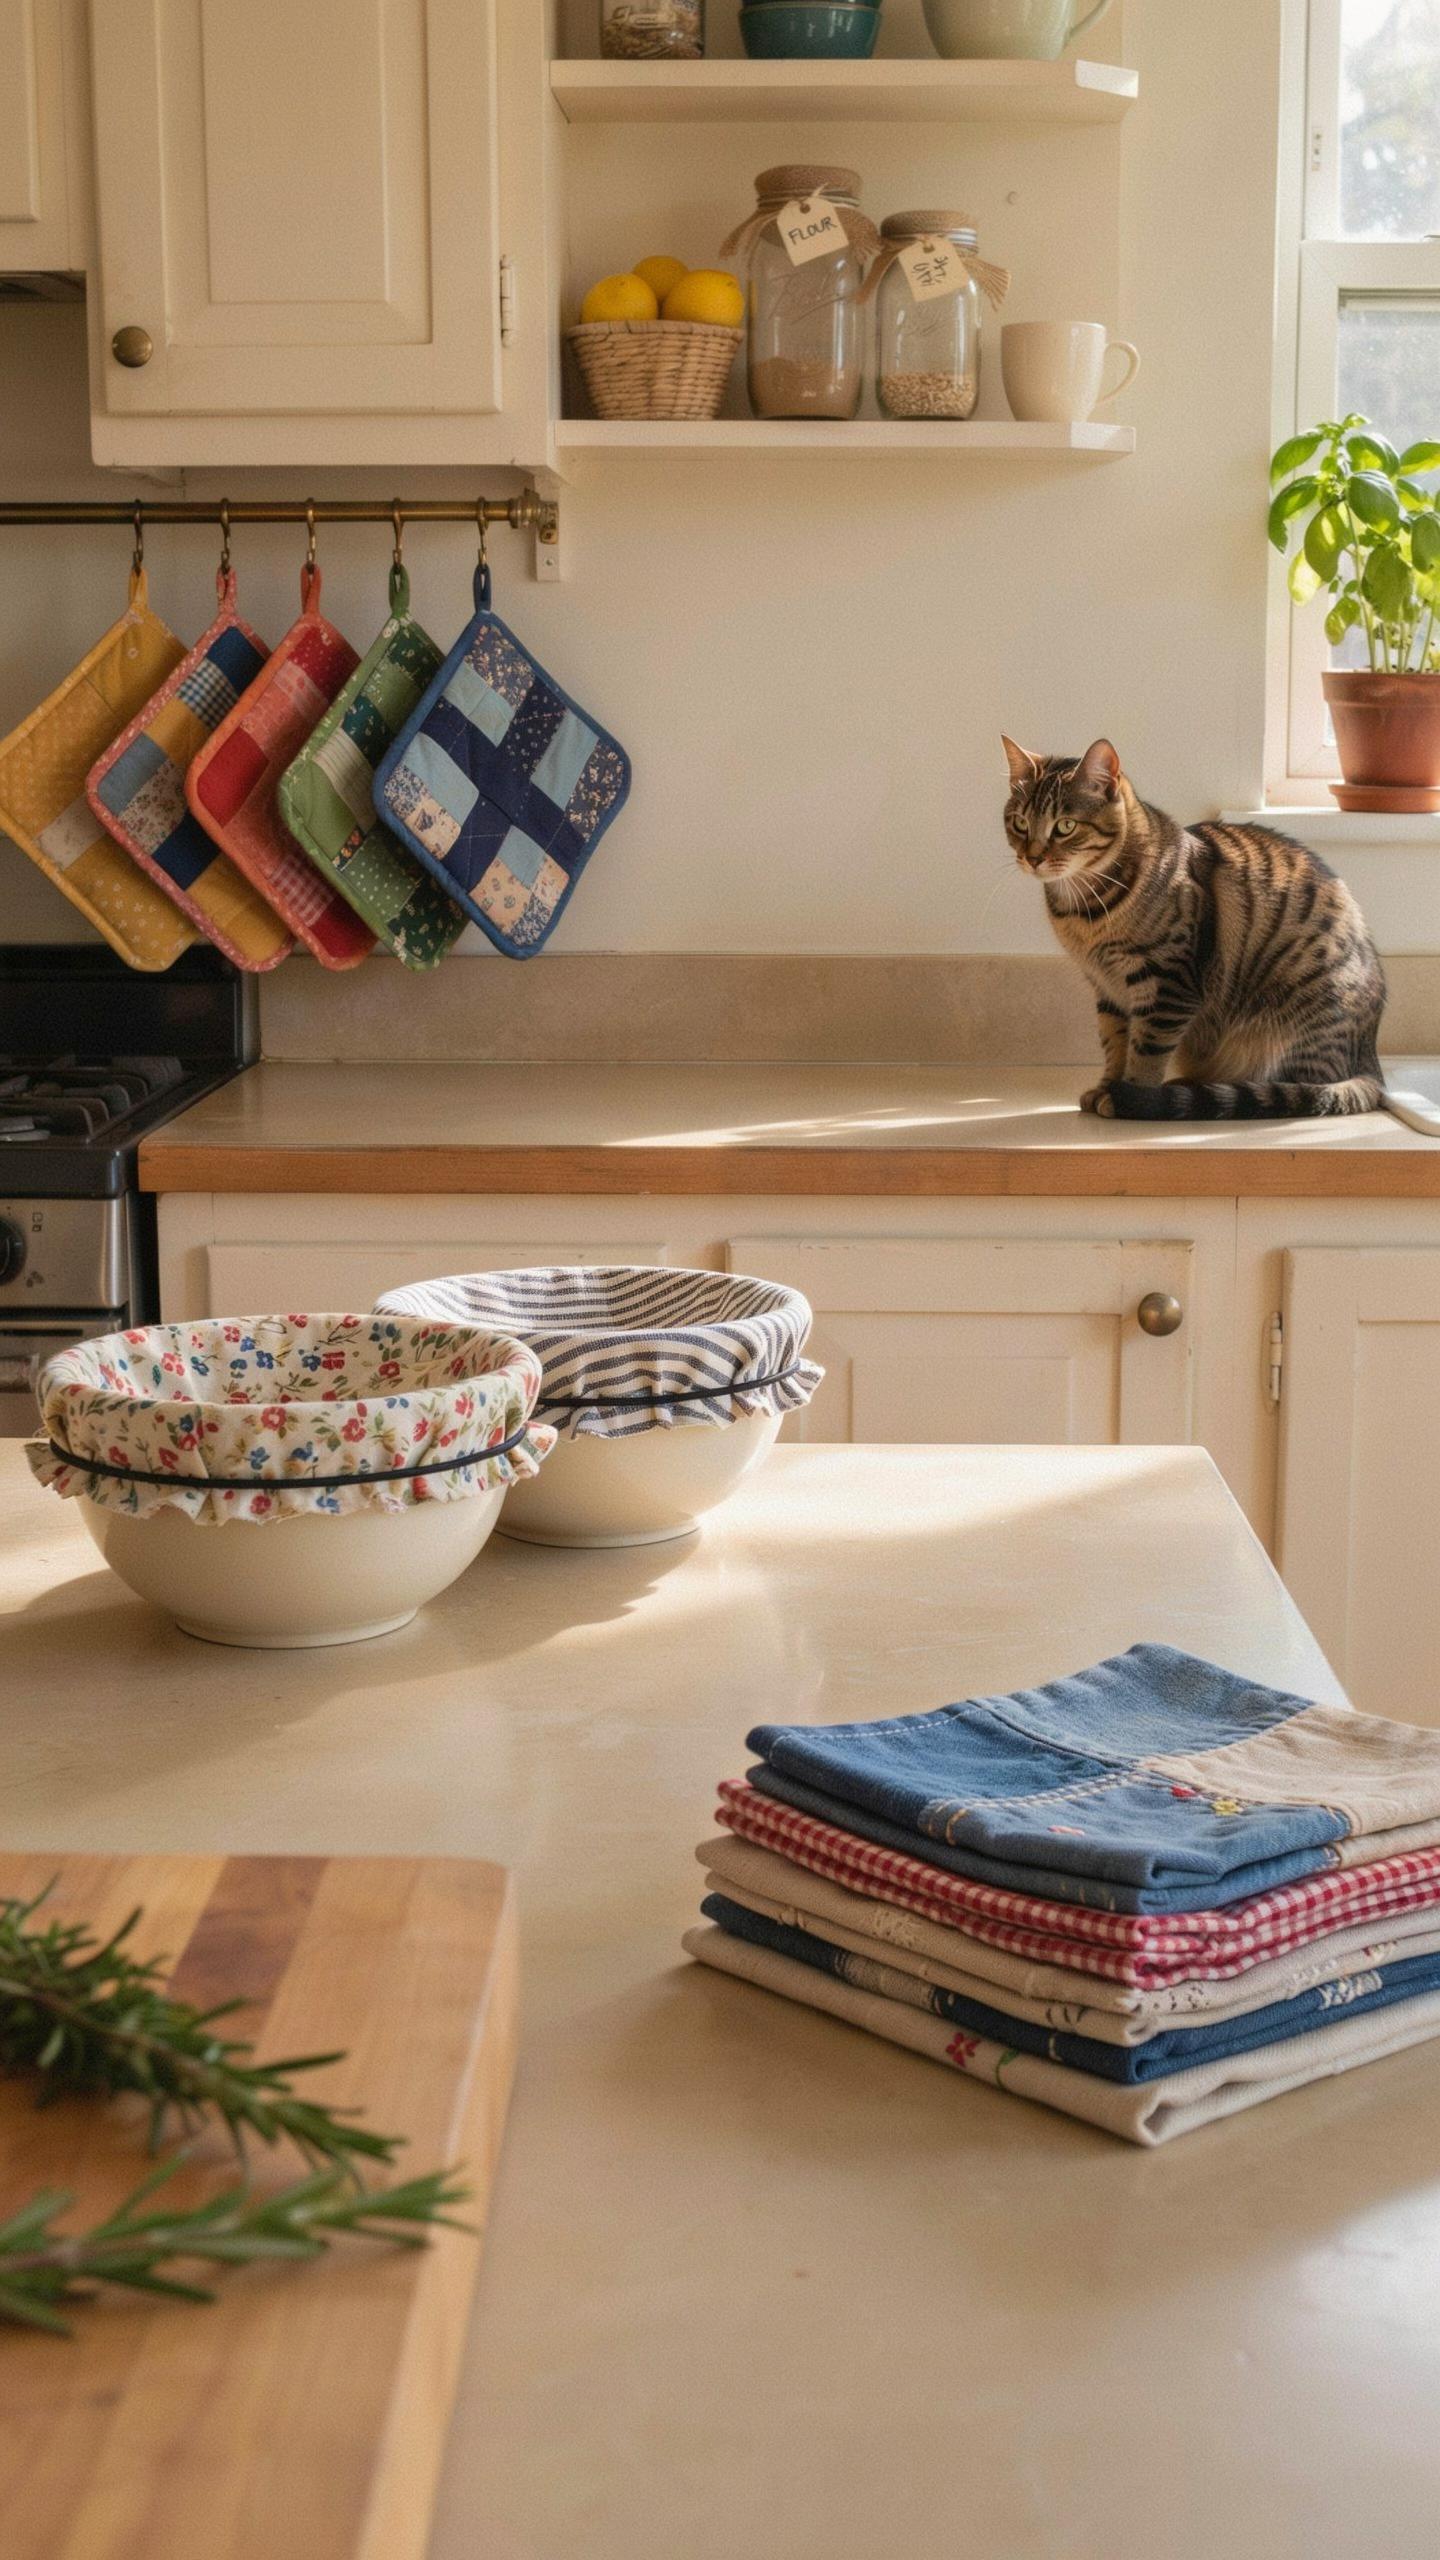
Waxed fabric food wraps replace single-use plastic wrap. You start with cotton fabric, coat it with beeswax or plant-based wax, then heat-seal it. The wax creates a moisture barrier that keeps food fresh. One wrap lasts one to two years before the wax breaks down. This project requires minimal sewing skills and takes thirty minutes per wrap.
The process involves cutting fabric into squares, applying melted wax evenly, and letting it cool completely. Most people use beeswax because it’s food-safe and naturally antimicrobial. Cotton fabric works best because it absorbs wax evenly. You can reuse the wraps by gently reheating them in the oven to refresh the wax coating. One fabric piece yields multiple wraps, making this highly efficient.
Making Double Layer Fabric Napkins And Tea Towels
Double-layer fabric napkins provide structure and absorbency. You sew two complementary fabric pieces together, typically cotton or linen. The inner layer handles moisture while the outer layer shows your design choice. Most home sewers finish these in under an hour per set. Four napkins use roughly one yard of combined fabric.

Tea towels follow the same approach but use larger dimensions. Standard napkins measure twelve by twelve inches while tea towels range from eighteen to twenty-four inches. Stitch three sides completely, turn inside out, press flat, then topstitch the opening closed. This construction method eliminates raw edges and extends durability through multiple wash cycles. Most people make sets of four to six towels at once to maximize efficiency.
Easy Handmade DIY Ideas For Budget Friendly Styling
Wrapping Plain Planters And Pots With Textured Linens
Linen wrapping transforms basic terracotta and plastic planters into finished pieces without cost. Source old linen tablecloths, napkins, or bed linens from thrift stores or your closet. Measure the planter height and circumference, cut your fabric accordingly, then secure it with fabric glue or hot glue. The texture of linen hides imperfections and adds visual interest to windowsills and shelving.
Textured linens work because they don’t slip on smooth planter surfaces and age gracefully without looking worn. Natural linen fibers develop character over time, making this technique sustainable long term. Neutral tones blend with any decor style. You can swap fabrics seasonally or when linens wear, keeping the planter itself in use for years.
Creating Scented Drawer Sachets Filled With Lavender Buds
Scented sachets repurpose small fabric scraps into functional decor that serves dual purposes. Cut two matching fabric pieces approximately 4 by 6 inches from cotton, linen, or linen blends. Sew three sides closed, fill with dried lavender buds, then hand stitch the final side shut. Place sachets in drawers, closets, or hang them in vehicles for fragrance control.

Lavender buds retain scent for six to twelve months depending on storage conditions and initial drying quality. Unlike synthetic fragrances, dried lavender provides consistent scent without chemicals. The sachets cost pennies to produce if you already have fabric scraps and access to dried lavender. This project generates minimal waste while maximizing the utility of leftover textiles.
Gorgeous Diy Fabric Wall Art Ideas For Empty Walls
Framing Vibrant Textile Scraps In Wooden Embroidery Hoops
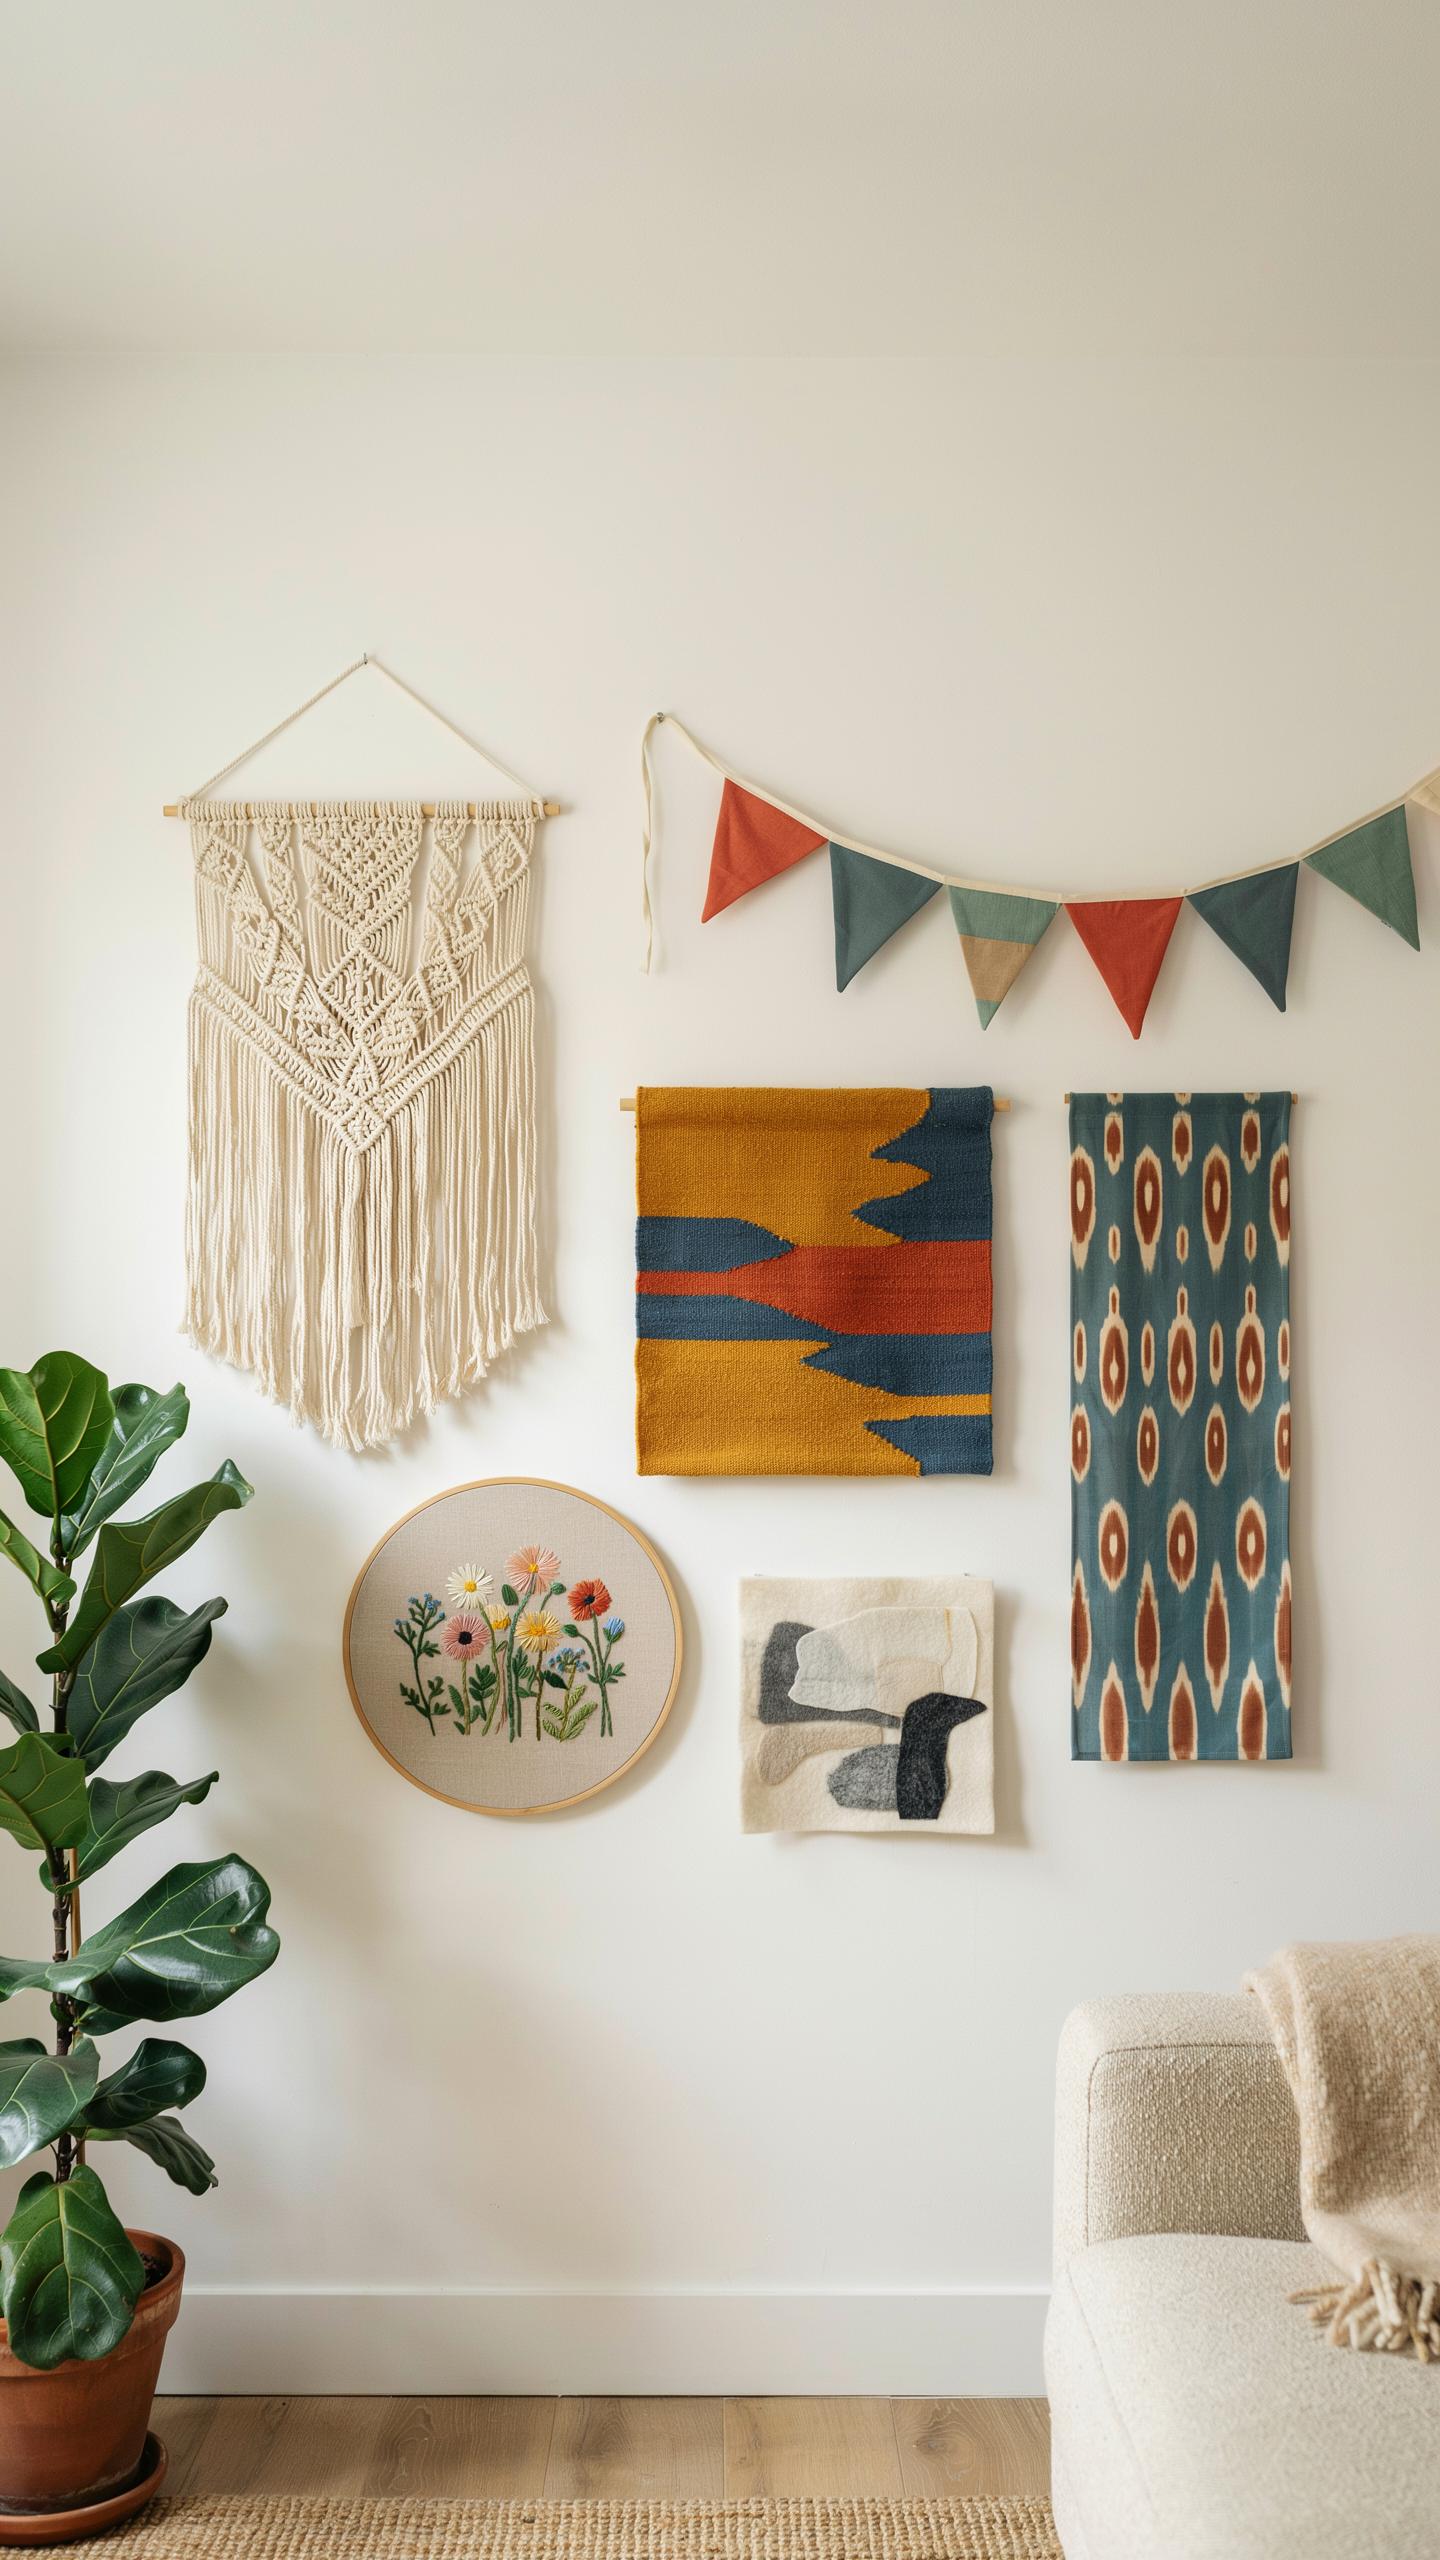
Wooden embroidery hoops transform fabric scraps into instant wall art. The hoop stretches fabric taut and creates a finished frame without additional materials. Choose hoops in sizes from 4 inches to 12 inches depending on wall space. Vintage or patterned fabrics work best because they command visual attention. This method requires only scissors, fabric, and the hoop itself.
Start by cutting fabric larger than your hoop diameter. Center the pattern or design within the hoop opening. Tighten the hoop screw gradually while pulling fabric edges taut from behind. Trim excess fabric flush with the hoop back. Mount multiple hoops in clusters or arrange them in linear patterns for impact on blank walls.
Crafting Large Canvas Wrapped Fabric Panels
Canvas wrapped panels create substantial wall installations from upcycled fabric. Stretch fabric over wooden frames or premade canvas boards to build texture and depth. These panels work well in living rooms and bedrooms because they absorb sound while adding visual interest. The fabric stays permanently fixed through tension and staples on the back frame.

Measure your wall space first and build or purchase frame sizes accordingly. Cut fabric with 3 to 4 extra inches on all sides for wrapping. Staple fabric starting at the center of each side, then work toward corners to avoid bunching. Fold corners like gift wrapping for clean edges. Hang finished panels using wall anchors or studs rated for the combined weight.
Simple Fabric Craft Creations For Custom Table Settings
Making Elegant Fabric Ribbon Tie Backs For Curtains
Fabric ribbon tie-backs solve a functional problem. Curtains need to stay open during daylight hours. Rather than buying new hardware, you repurpose fabric scraps into functional ties. Cut strips from old clothing, linens, or upholstery fabric. Width depends on your preference, but 2 to 3 inches works for most applications. Sew strips together end-to-end if you need length.
Attach your tie-backs using simple methods. Sew D-rings or loops directly to the back of your curtains. Wrap the fabric around the gathered curtain, then hook it into place. This approach requires no permanent installation. You can change tie-back styles seasonally without commitment. Machine or hand stitching both work depending on your skill level and available time.
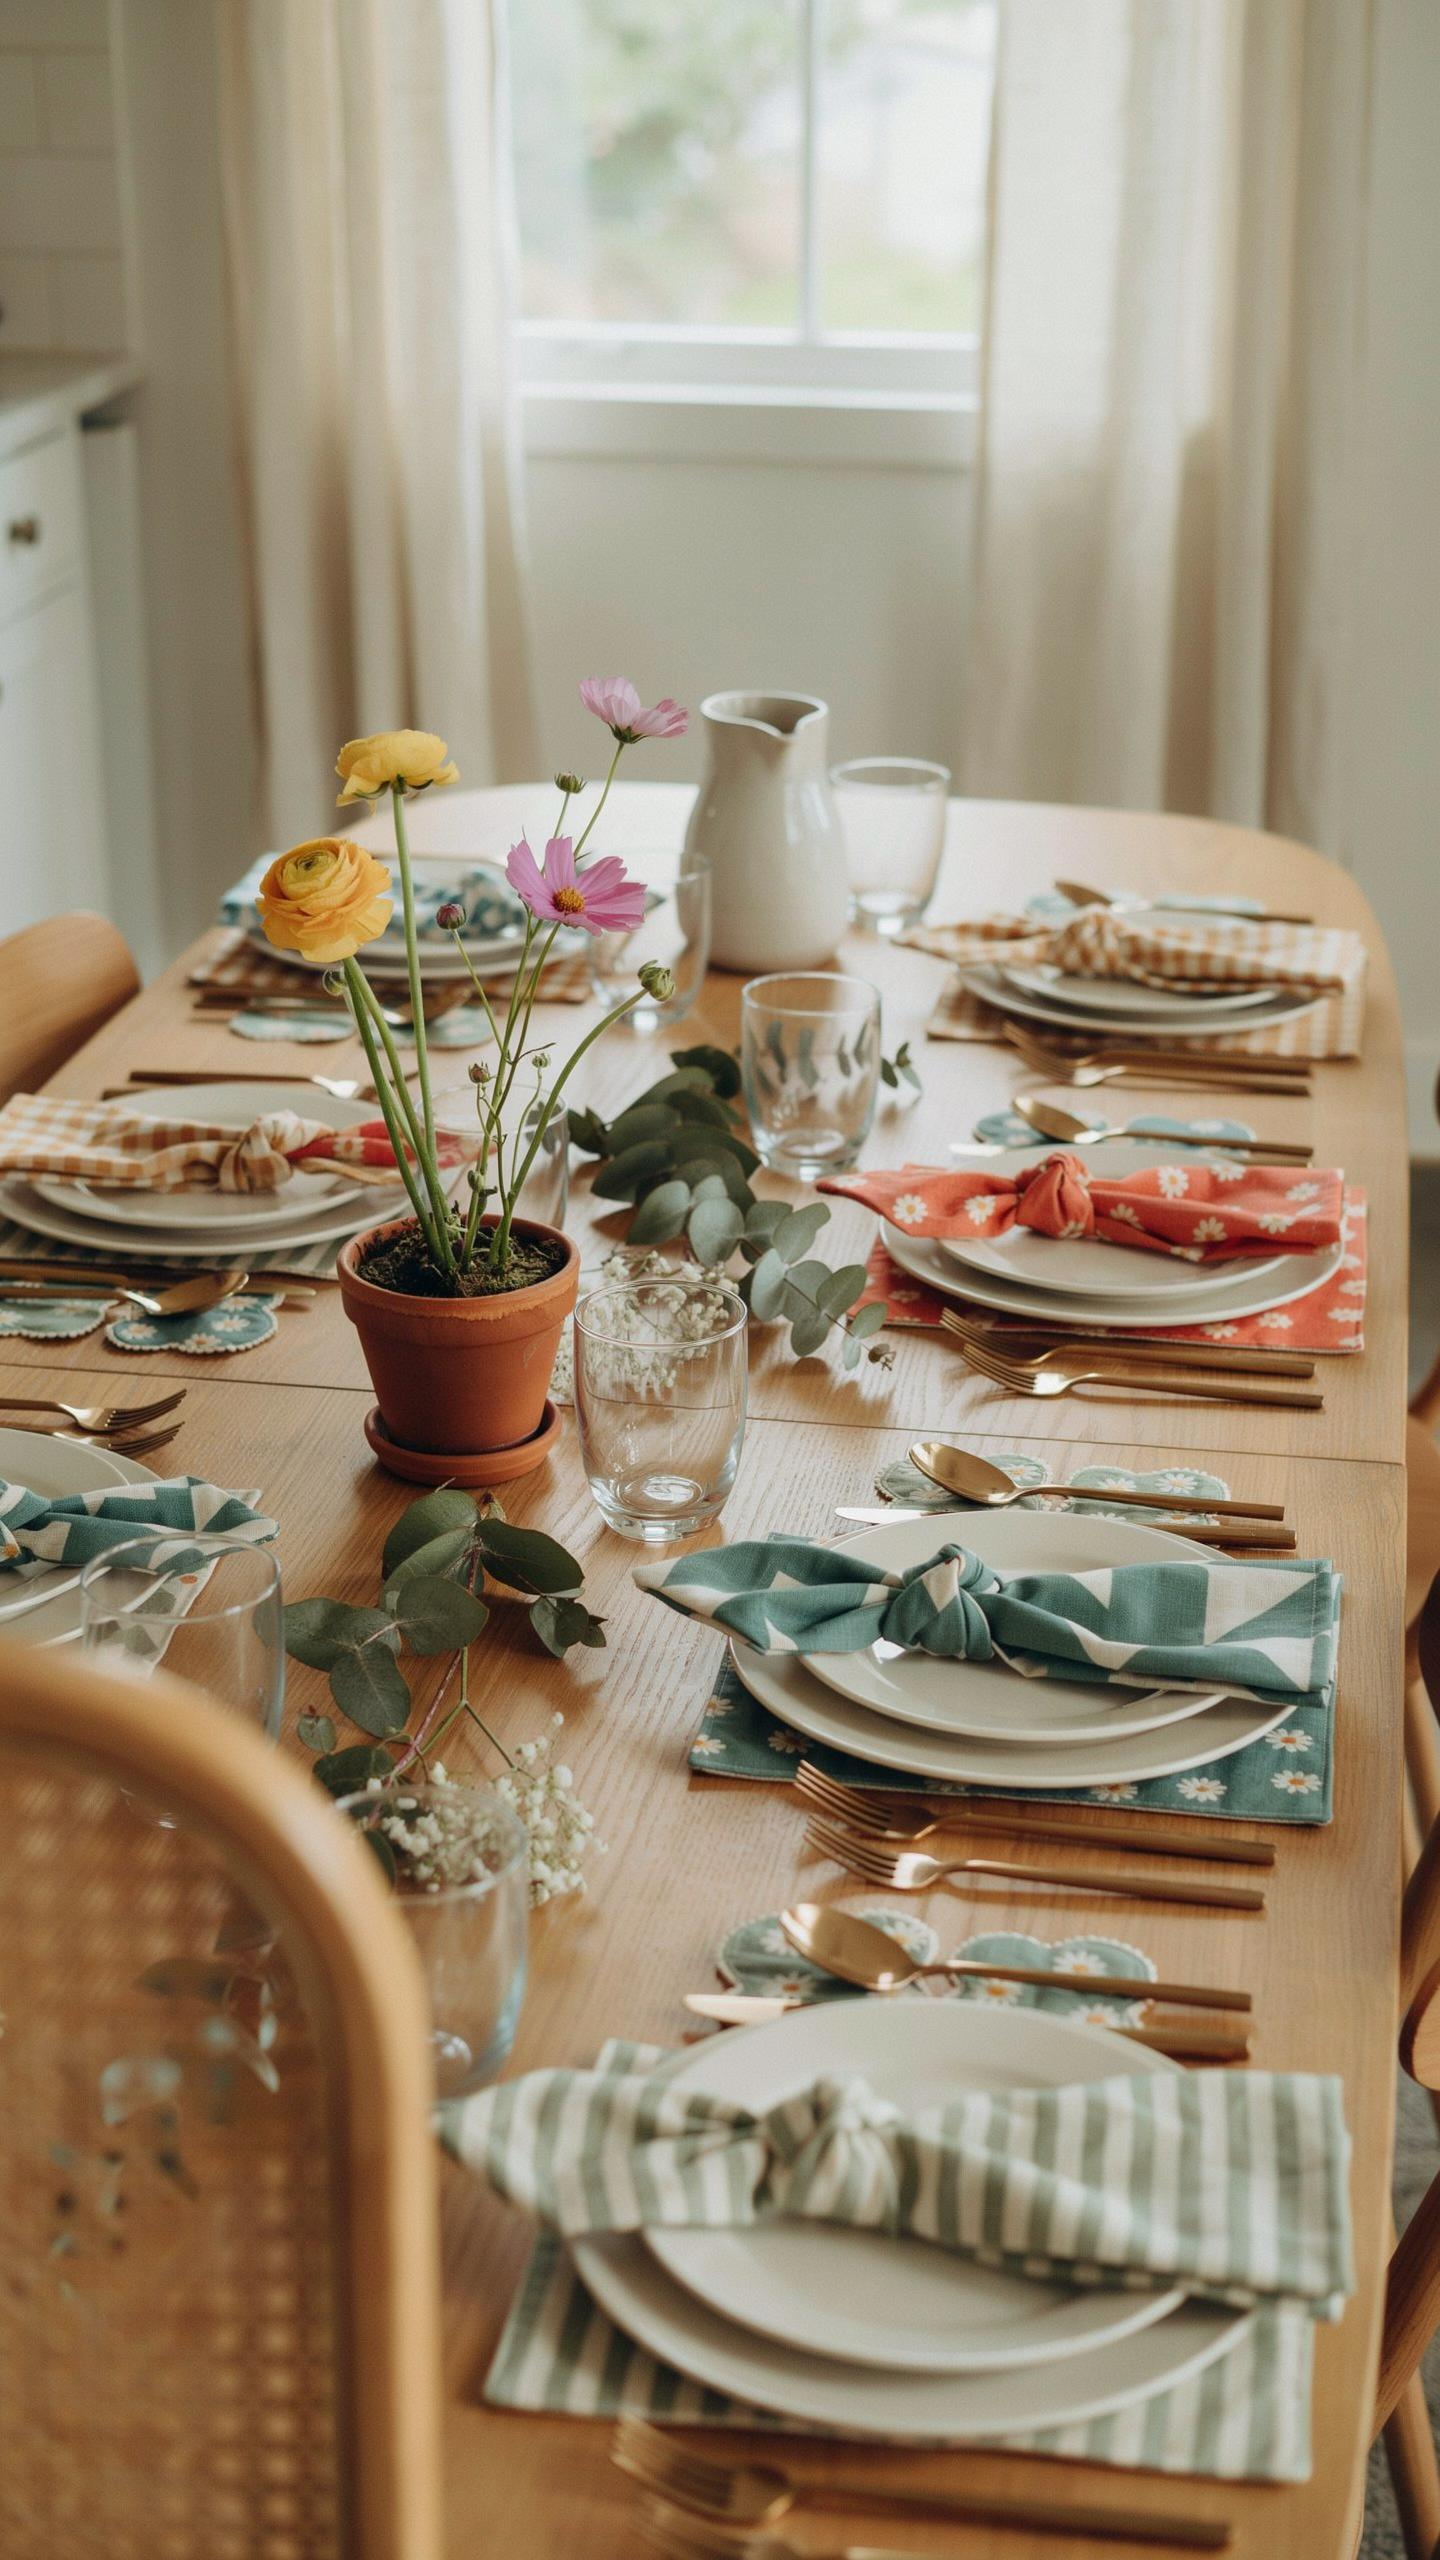
Designing Colorful Fabric Placemats And Table Runners
Placemats and table runners protect your table surface while using fabric scraps efficiently. Cut fabric pieces to your desired dimensions. Standard placemats measure 13 by 19 inches. Table runners typically span 12 to 16 inches wide and extend the full table length. Mix and match fabric patterns from your scrap collection to create visual interest.

Finish edges using basic construction methods. Fold raw edges inward and stitch them down. Alternatively, use bias tape to bind edges neatly. This adds durability and a finished appearance. Back your placemats with cotton to prevent slipping. Topstitching one-quarter inch from edges adds both strength and design definition. These pieces withstand regular use and washing when properly constructed.
Innovative Fabric Scraps Ideas For Unique Throw Pillows
Creating Patchwork Throw Pillow Covers
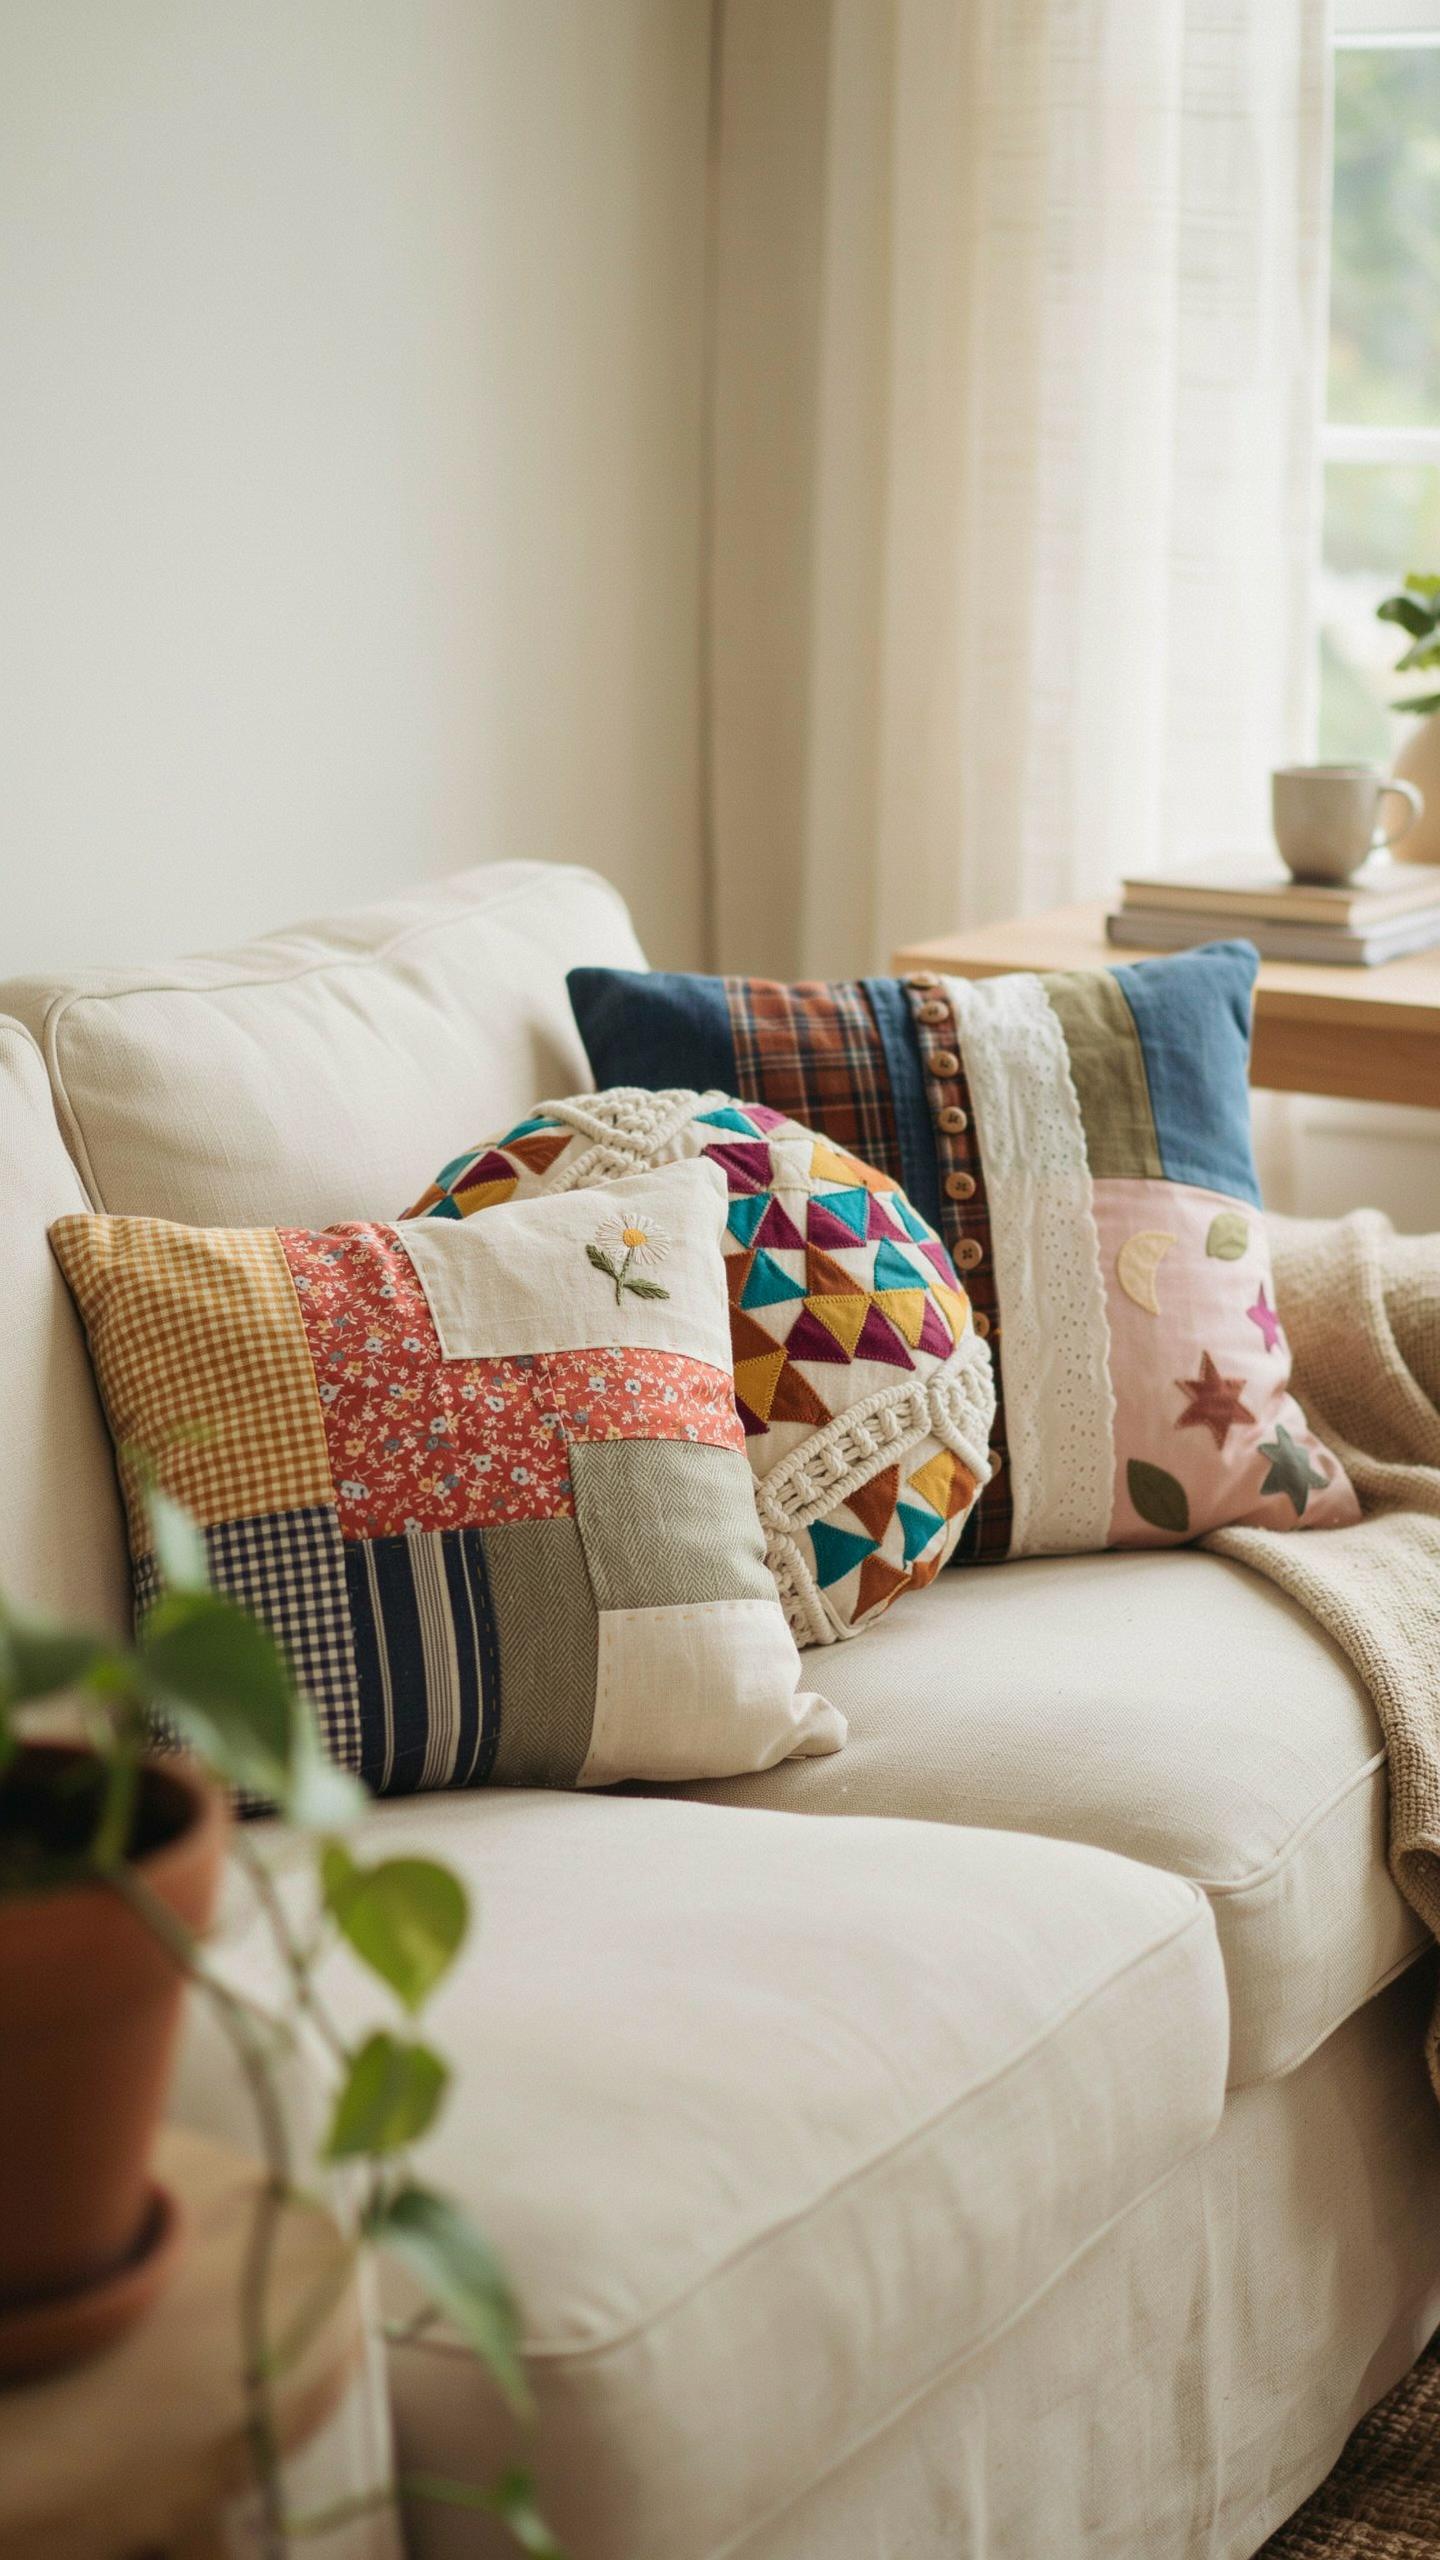
Patchwork pillows use fabric scraps efficiently and require basic sewing skills. Sort scraps by color or pattern to plan your design before cutting. Cut pieces into uniform squares or rectangles, typically two to four inches. Sew pieces together in rows, then stitch rows together to form a front panel. Press seams flat after each step to maintain clean lines and accurate dimensions.
- Square Grid Method: Cut all scraps into uniform squares, typically two inches. Arrange in rows and sew together using quarter inch seams. This creates predictable results and works well for beginners.
- Strip Piecing Technique: Sew long strips of fabric together lengthwise, then cut crosswise into segments. Rearrange segments for varied visual effects without complex planning.
- Log Cabin Pattern: Start with a center square and sew strips around it in a spiral. Each layer adds another color or pattern, building depth systematically.
- Random Scrap Assembly: Combine different sized pieces without a set pattern. Works best with complementary colors to prevent visual chaos.
- Bordered Frame Design: Create a center patchwork square, then frame it with solid or coordinating fabric strips. Simplifies construction while highlighting your patchwork work.
Back your patchwork front with solid fabric or batting. Insert a pillow form between front and back panels. Stitch three sides closed, slip the form inside, then hand stitch the fourth side. Press finished pillow to set seams and shape.
Stuffed Accent Pillows Scrap Filling
Accent pillows work with smaller scrap sizes and irregular shapes. Combine scraps with batting or polyester fiberfill to create textured, dimensional pieces. Stack and layer different fabrics to build visual interest without requiring large continuous pieces.
Stamp designs onto finished pillow covers using fabric paint or ink. Create focal points by adding embroidered details over seams or fabric boundaries. Hand stitching adds texture and emphasizes patchwork edges, giving finished pillows character and craftsmanship appeal.
Elegant Fabric Art Ideas To Personalize Your Entryway
Fabric Covered Welcome Letter Hanger
Start with a wooden letter hanger or mail organizer from a thrift store. Wrap it tightly with fabric scraps using fabric glue or a hot glue gun. Choose durable fabrics like cotton or linen that won’t fray excessively during wrapping. Layer contrasting colors for visual interest. This project takes 30 minutes and costs under five dollars in materials.
Mount the wrapped hanger near your entryway door using sturdy wall anchors or adhesive strips rated for your wall type. The fabric covering hides wear on old wood and protects the surface from dust accumulation. You can swap fabrics seasonally by carefully peeling off the old layer and applying new material. This approach extends the hanger’s lifespan while matching your decor changes throughout the year.
Designing A Functional Hanging Organizer From Sturdy Denim
Repurpose worn jeans by cutting the legs into panels and sewing them into pocket pouches. Denim withstands repeated use and heavy items without tearing, making it ideal for entryway storage. Attach the pouches to a wooden dowel or curtain rod using industrial-strength thread or fishing line. This creates a wall-mounted organizer for keys, mail, and accessories within arm’s reach of your entrance.
Denim’s weight distributes stress across multiple attachment points, preventing sagging over time. The fabric naturally hides stains and maintains appearance despite daily contact. Install the organizer at eye level, roughly 48 to 60 inches from the floor, for comfortable access. Each pocket holds approximately two to four pounds depending on denim thickness and attachment method.
Frequently Asked Questions

What are the best projects to try if I am new to fabric upcycling?
If you are just starting out, the best upcycled home decor ideas fabric projects involve simple shapes and minimal sewing. Try creating “no-sew” throw pillow covers or fabric-wrapped storage bins using old linens. These projects allow you to experiment with different textures and patterns without the pressure of complex tailoring. Starting small helps you build confidence while instantly refreshing your living space with sustainable, personalized accents.
How do I properly prepare old clothing or textiles for home decor projects?
Preparation is key to a professional finish. Always wash and dry your textiles first to ensure they won’t shrink later. Once clean, iron the material flat to remove stubborn wrinkles, making it much easier to cut precise shapes. Using sharp fabric shears or a rotary cutter will prevent fraying, ensuring your upcycled home decor ideas fabric look polished and intentional rather than cluttered or messy in your home.
Can I create stylish fabric decor if I am on a very tight budget?
Absolutely! Fabric upcycling is one of the most cost-effective ways to decorate. Instead of buying new yardage, look through your own closet for worn-out flannel shirts, vintage scarves, or even stained tablecloths where sections are still usable. Thrift stores and remnants bins are also excellent sources for high-quality materials at a fraction of the cost. With a little creativity, you can transform literal scraps into high-end decorative elements.



