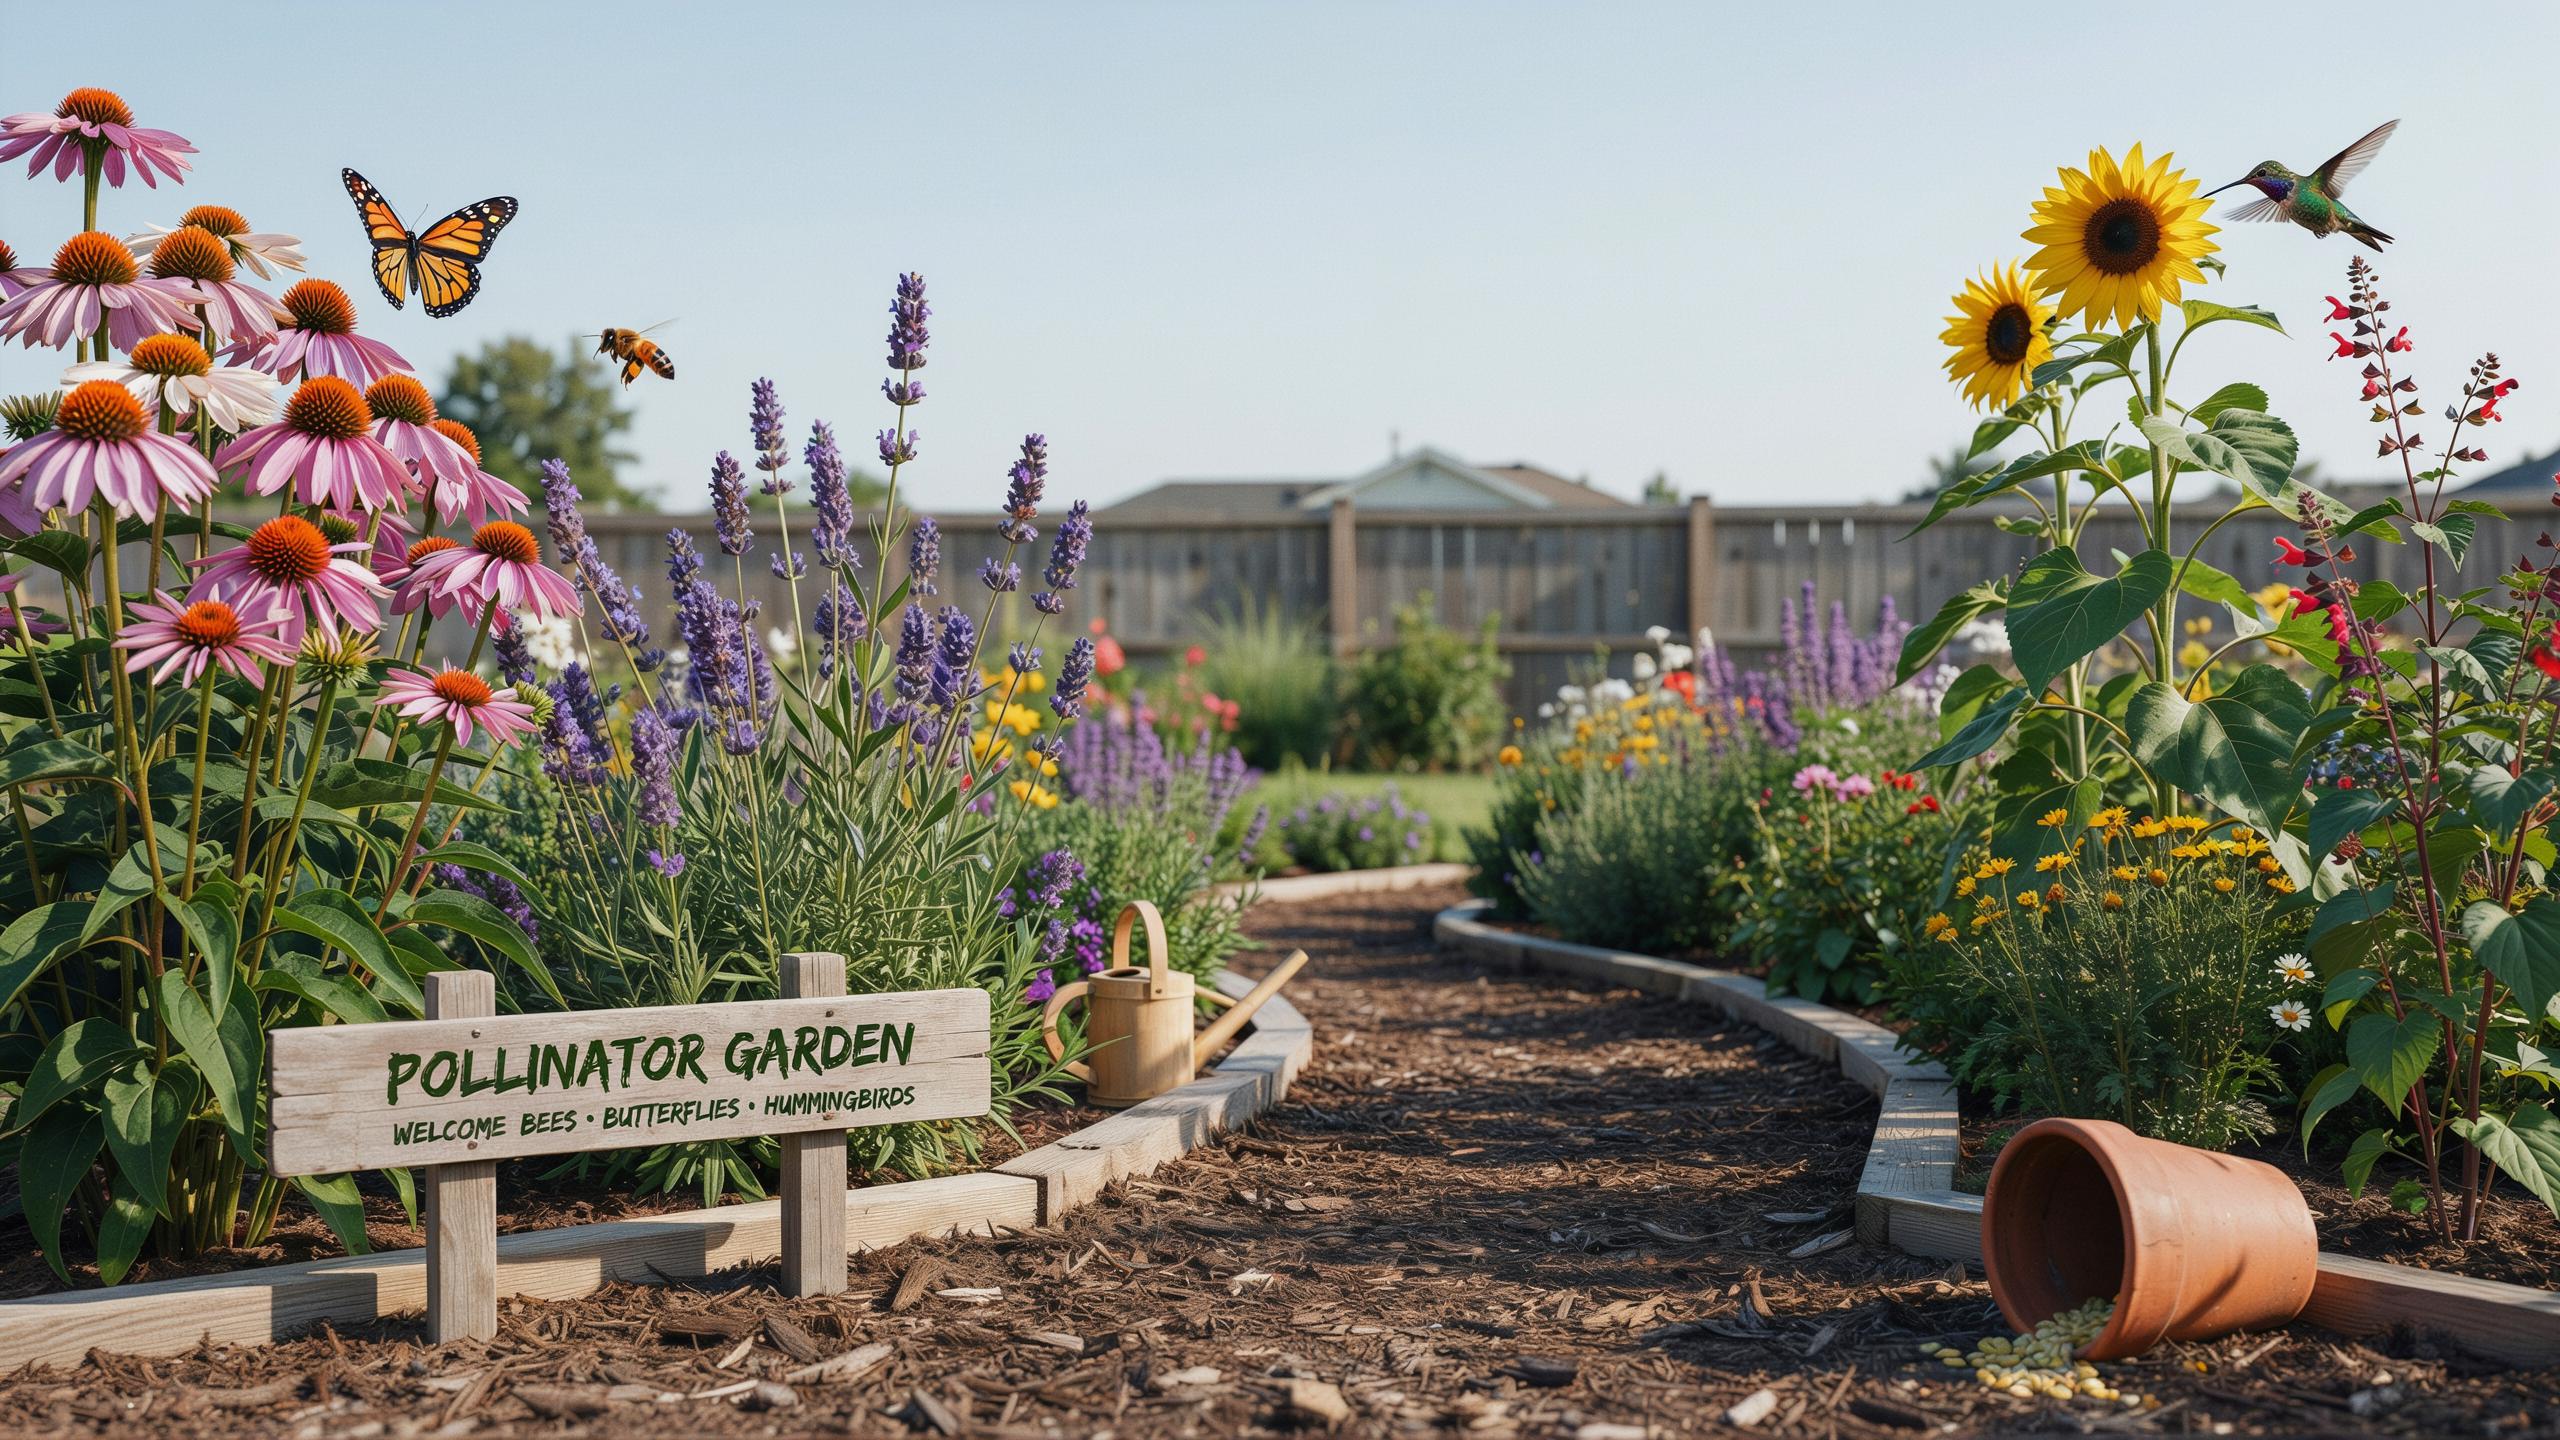
Understanding Pollinator Garden Design Zones For Every Backyard
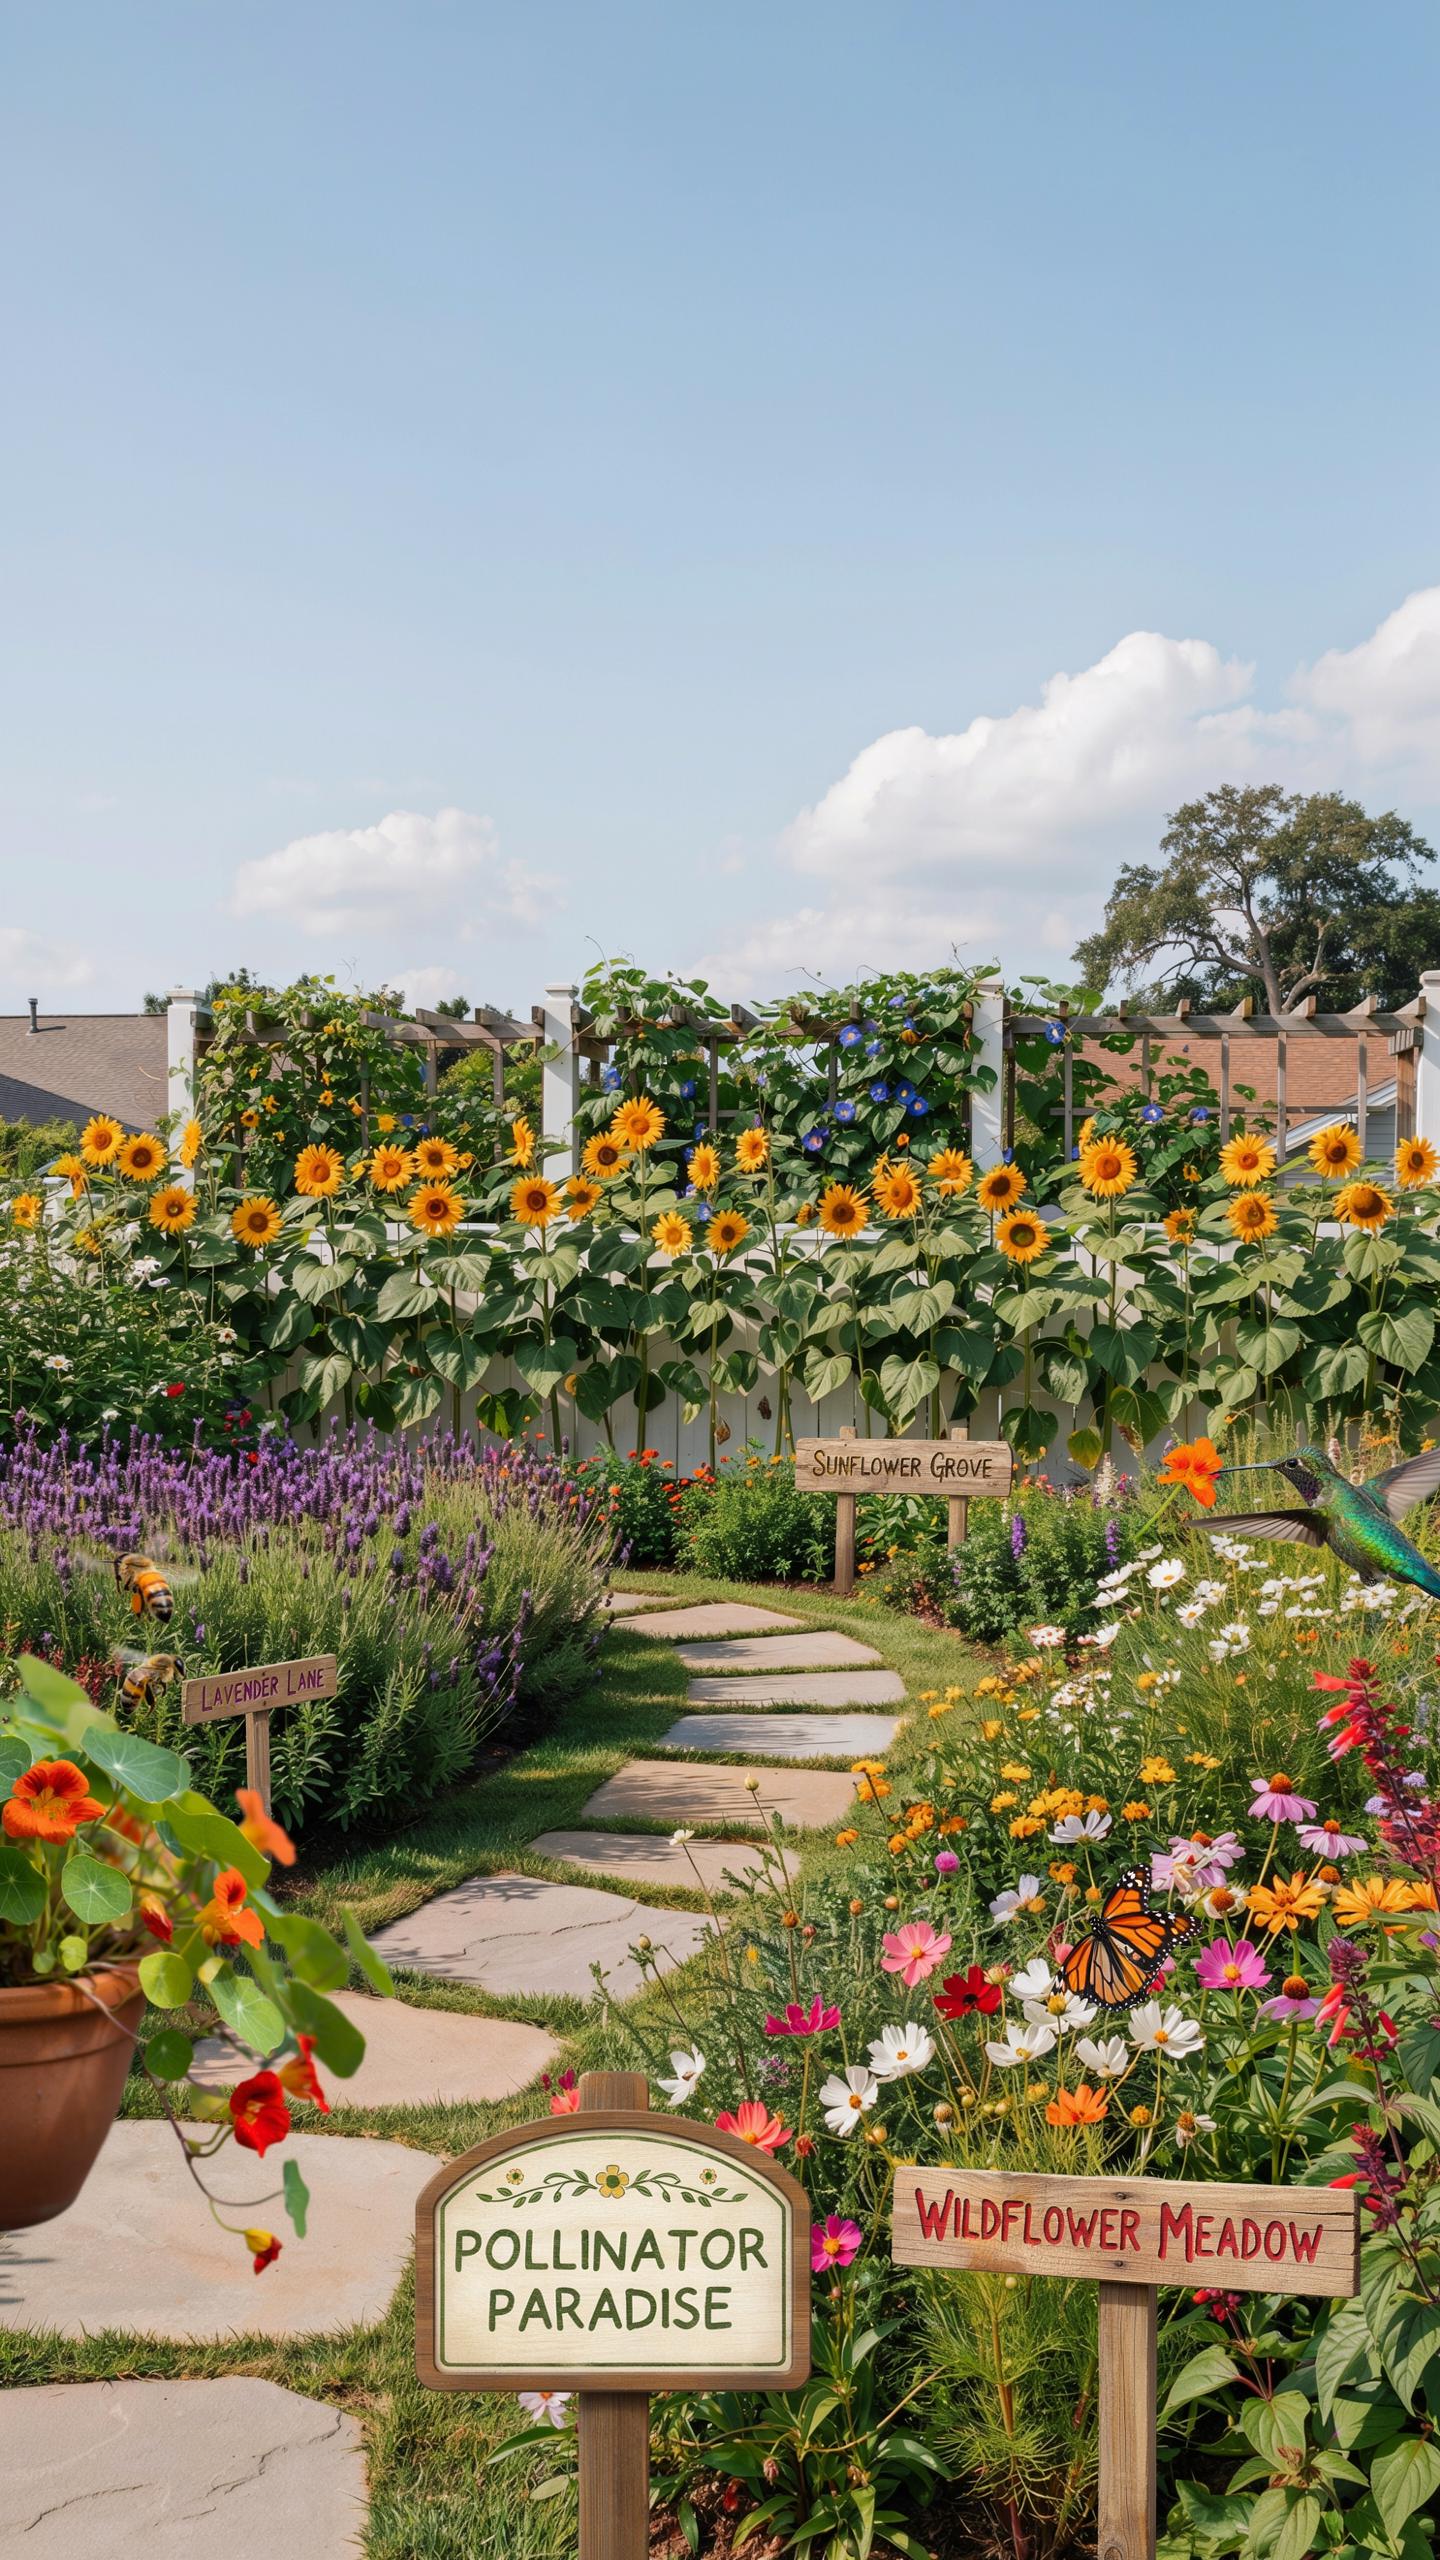
Categorizing Your Yard Into Micro Climates And Zones
Walk your property at different times of day. Identify areas that receive full sun, partial shade, and full shade. Check soil moisture by digging six inches down in multiple spots. Note where wind hits hardest and where it stalls. These observations reveal natural zones where specific pollinators thrive based on their habitat needs.
Each zone supports different plant communities and pollinator species. A dry, sunny zone attracts bees that prefer drought tolerant plants. Shaded areas support shade loving native perennials that appeal to certain butterfly species. Moist zones attract different pollinators entirely. Mapping these conditions lets you work with nature instead of fighting it, reducing maintenance and cost.
Aligning Plant Selection With USDA Hardiness Zones
The USDA Hardiness Zone Map divides North America into zones based on average annual minimum temperatures. Your zone determines which perennials survive winter without replanting. Find your zone on the USDA map using your zip code. This takes five minutes and eliminates guesswork about plant survival.
Native perennials within your hardiness zone establish deep root systems and require minimal amendments once established. You avoid buying plants that die each winter, wasting money and effort. Selecting zone appropriate natives means plants flower reliably, supporting pollinator populations year after year. This is the foundation of budget friendly pollinator gardens that perform for decades.
Inexpensive Pollinator Garden Design Ideas To Maximize Your Space
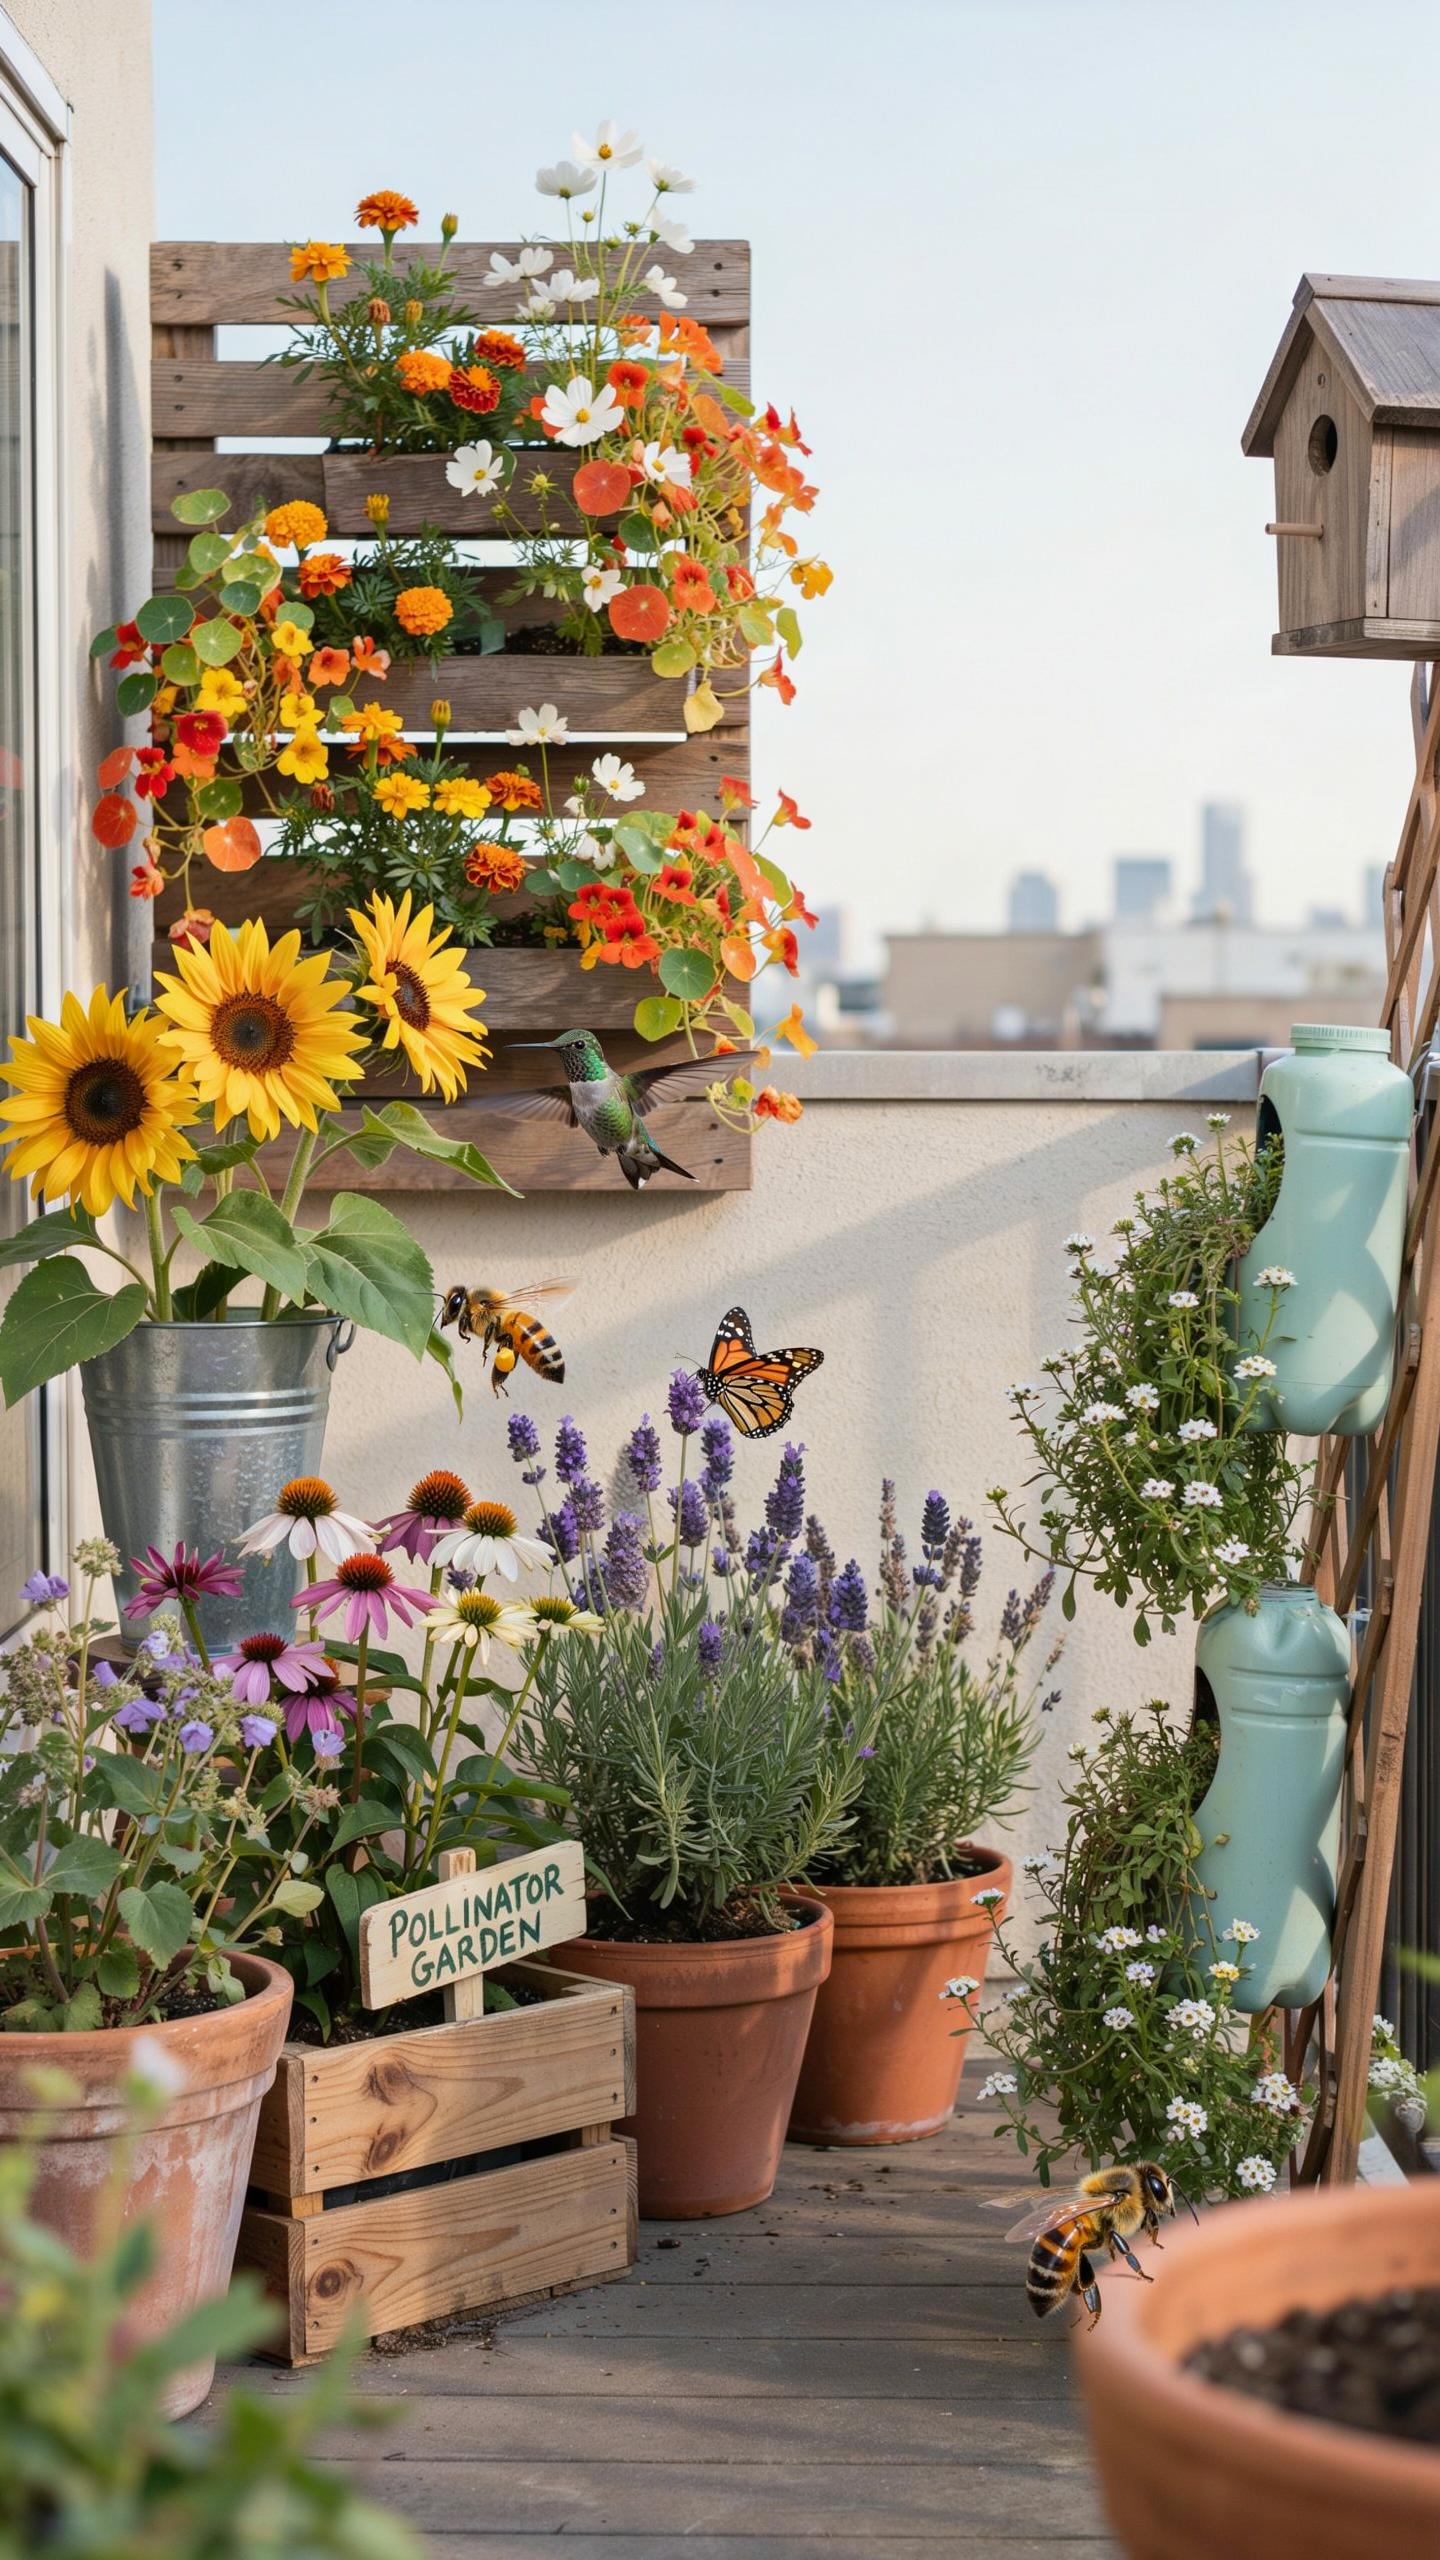
Repurposing Materials For Upcycled Garden Elements
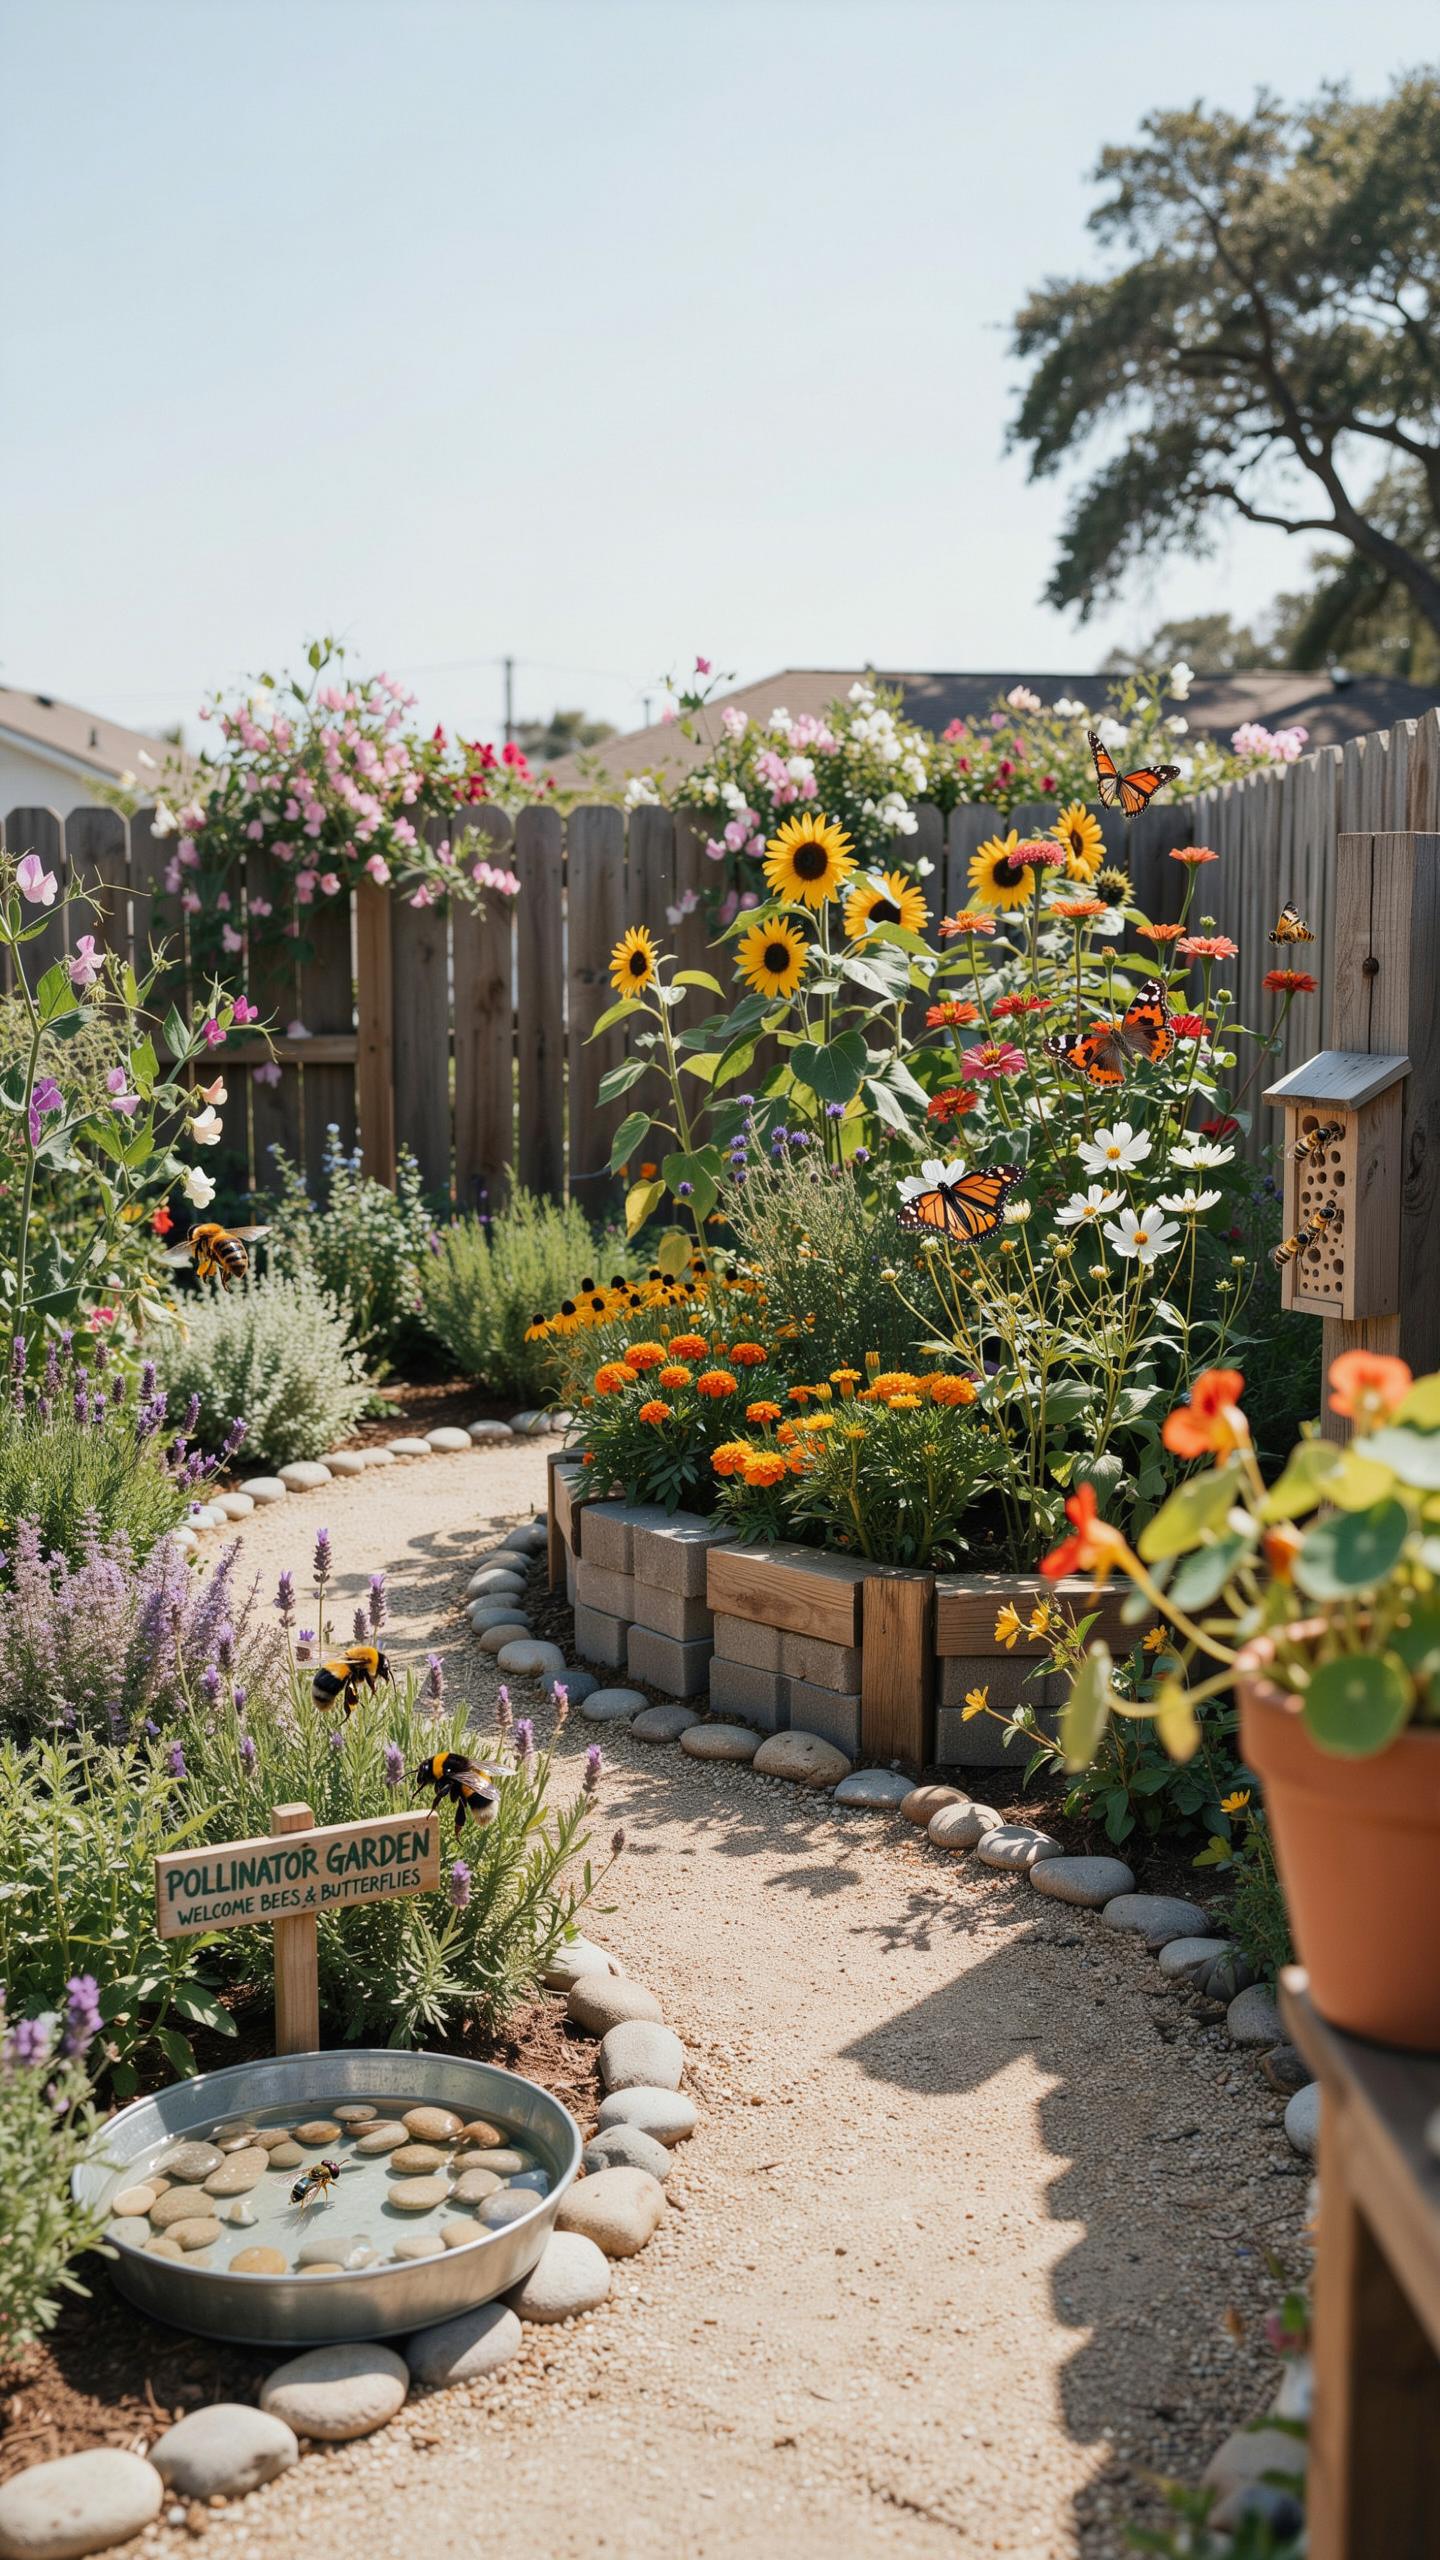
Recycled bricks and untreated wooden pallets cost nothing if sourced from demolition sites, construction waste, or local online marketplaces. Stack bricks to build raised bed borders without mortar. Disassemble pallets to create planting frames or vertical structures. Discarded containers like buckets, cans, and plastic storage bins become functional planting vessels. Drill drainage holes in the bottom of any container before filling with soil.
Untreated wood prevents chemical leaching into soil where pollinators forage. Avoid pressure treated lumber because it contains arsenic compounds. Galvanized metal containers work for shallow-rooted plants but rust over time. Concrete blocks interlock without fasteners to form permanent borders. This approach eliminates material costs while establishing defined garden zones that pollinators navigate easily.
Layering Plants To Create Diverse Vertical Habitats
Vertical layering works by stacking plant heights across your space. Position tall host plants like milkweed or thistles in back rows to reach three to six feet high. Place mid-sized nectar flowers like coneflowers or bee balm in middle rows at two to three feet. Plant low-growing ground covers like creeping thyme or sedum in front rows at under one foot tall.
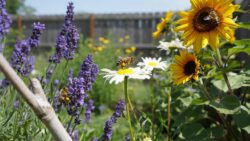
This structure creates distinct foraging levels that pollinators exploit at different times. Bees access nectar at various heights without competing for the same flowers. Butterflies land on tall plants while smaller insects work ground level blooms. The layered design also maximizes photosynthesis across all zones, producing more flowers in compact spaces than single-height plantings achieve.
Drafting A Functional Pollinator Garden Layout Without Expensive Software
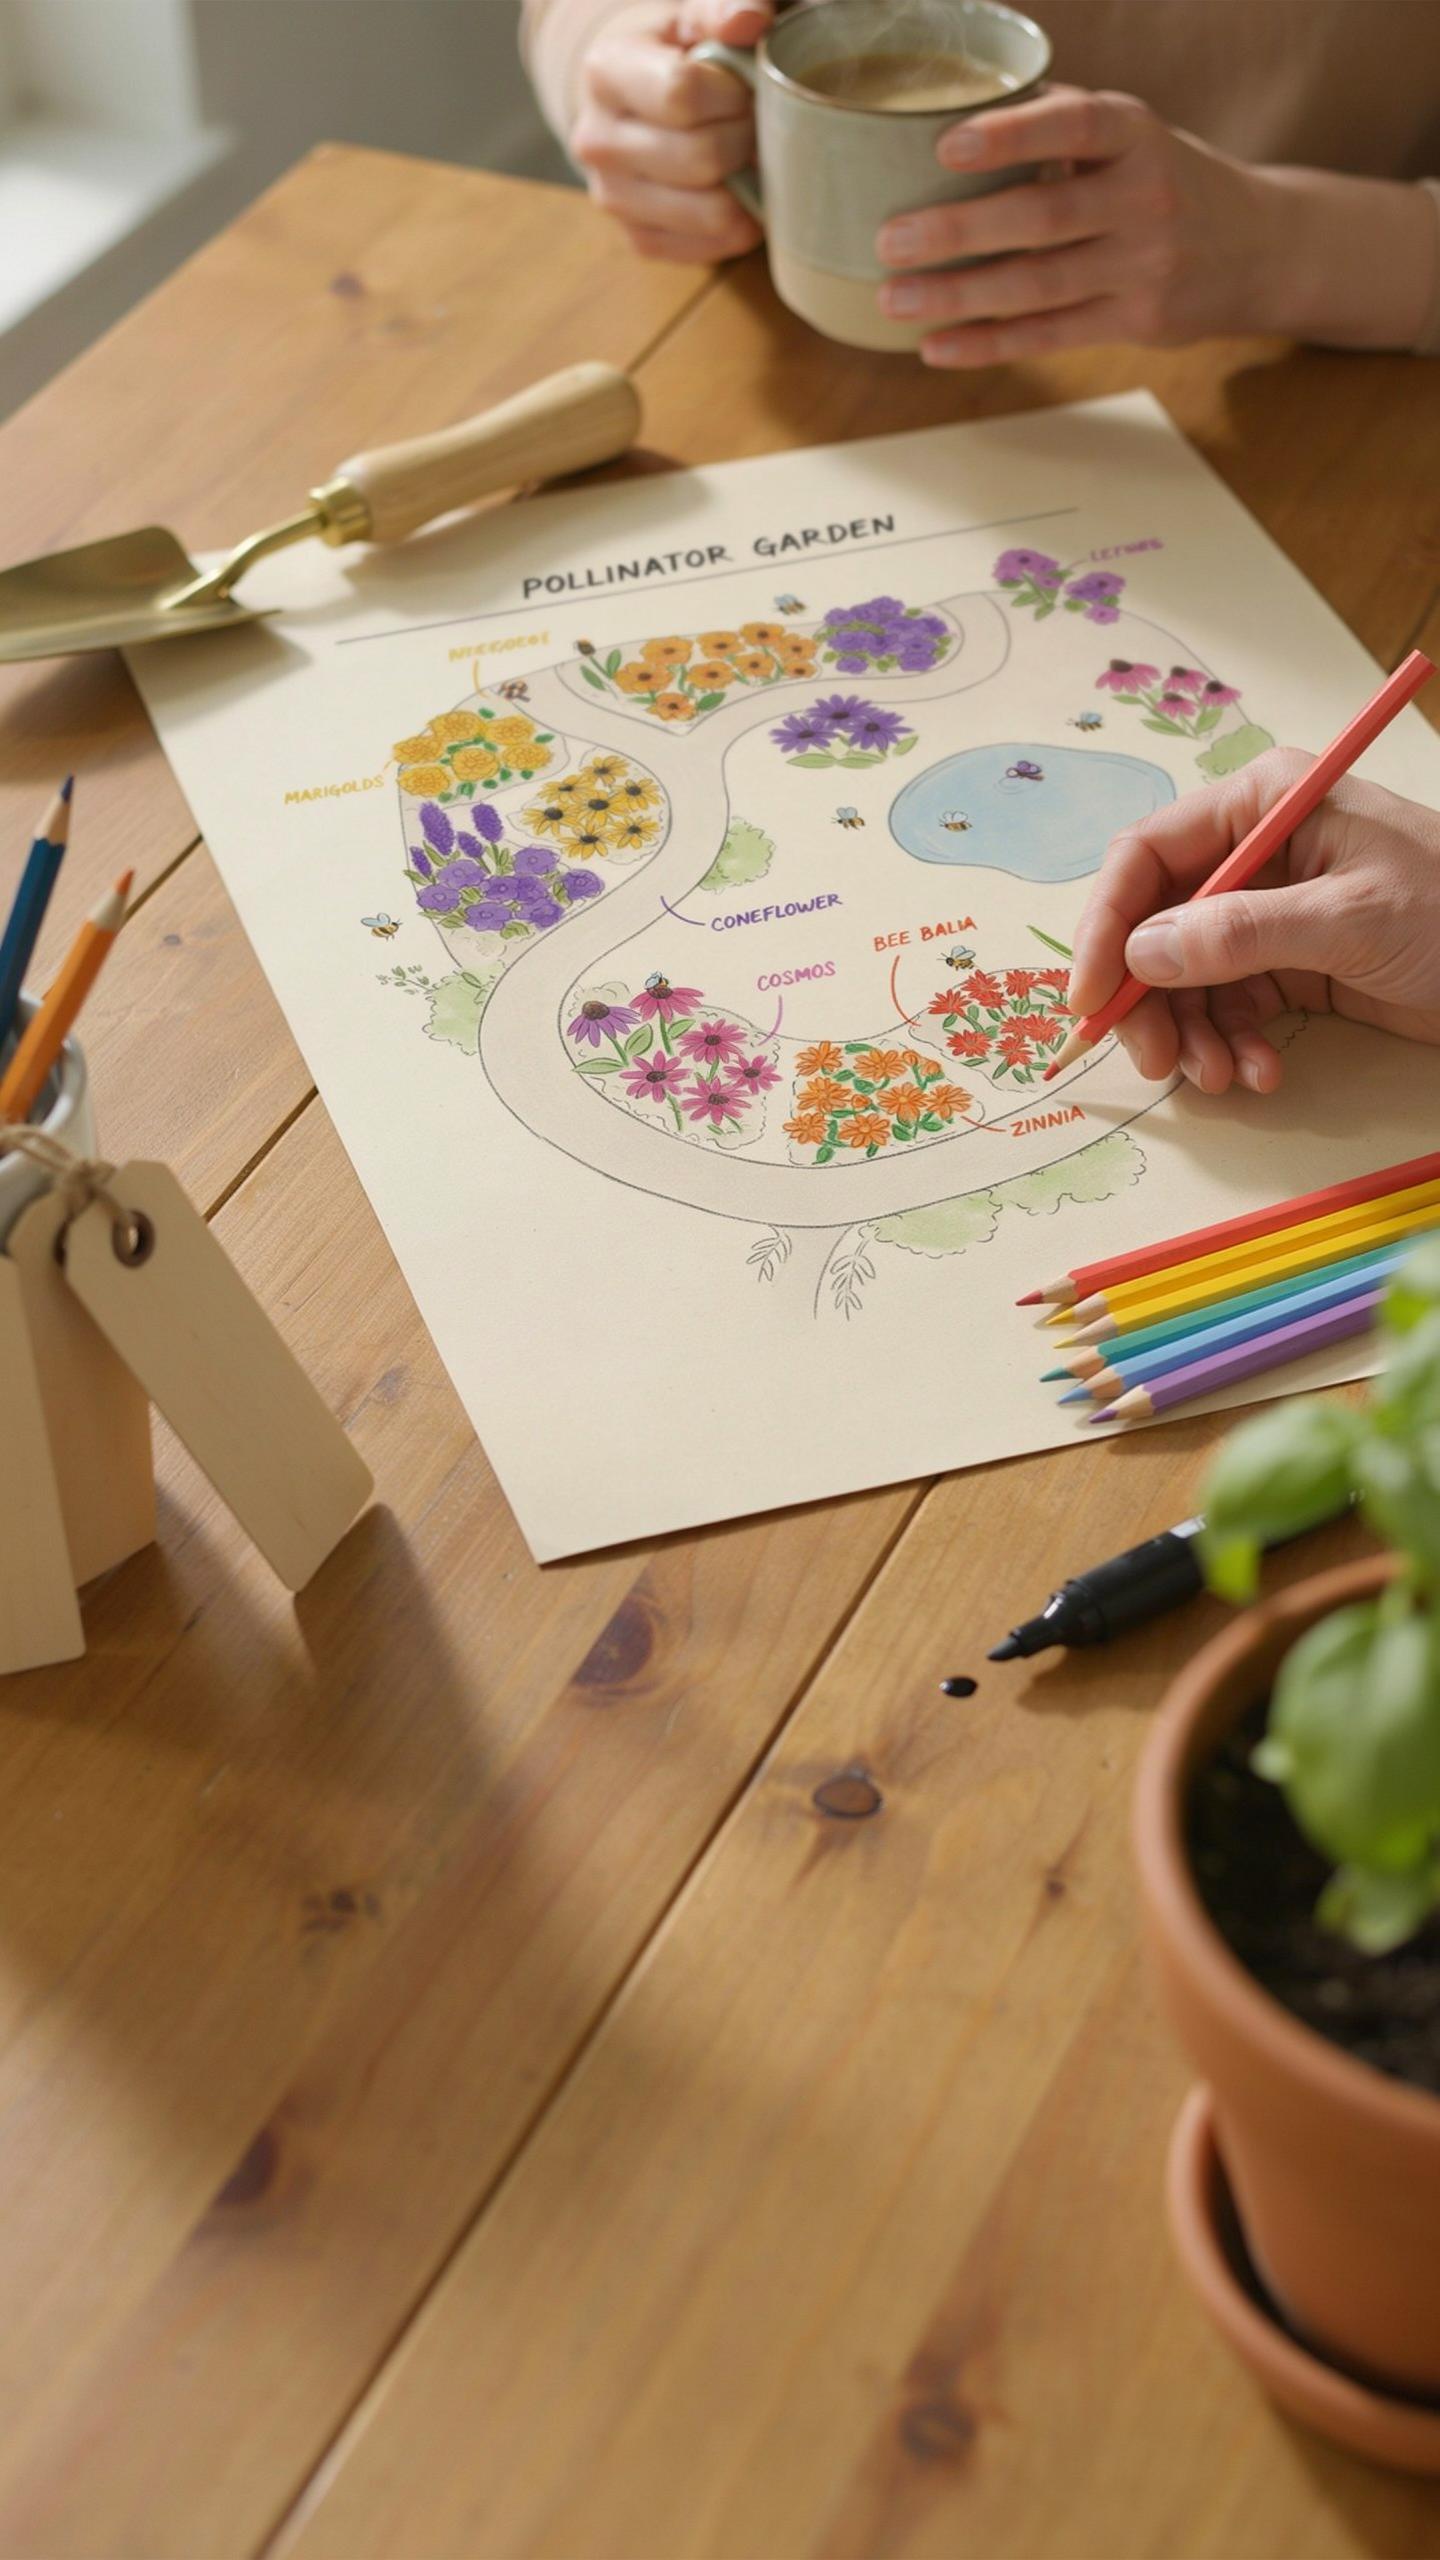
Sketching Your Spatial Grid And Pathways On Paper
Graph paper gives you a controlled way to plan your garden without spending money on design software. Draw your garden boundaries to scale, then overlay a grid to represent planting zones. Mark walking paths at least two feet wide to move through the garden without damaging plants. Leave open corridors between plant groupings so bees and butterflies can navigate without obstacles. This method catches design mistakes before you dig a single hole.
Your sketch becomes a working document you reference during planting. Use one square to represent one foot of actual space, adjusting the ratio based on your garden size. Identify water sources, sun exposure zones, and existing structures on the same grid. This prevents planting shade lovers in full sun or placing tall plants where they block flight paths. A pencil sketch costs nothing and saves expensive replanting later.
Applying The Rule Of Drifts For Maximum Visual And Ecological Impact
Bees and butterflies locate flowers by visual density, not individual plants scattered randomly. Plant identical species in groups of three to five clustered together rather than spread across the garden. This grouping pattern, called drifts, makes flowers easier for pollinators to find and reduces their energy expenditure. Drifts also simplify your maintenance routine because you manage one species location instead of multiple isolated plants.
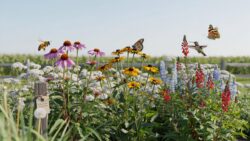
Drifts work across all garden sizes from small urban plots to larger landscapes. A drift of five black-eyed Susans takes up roughly 9 to 15 square feet depending on mature plant width. The economics favor this approach because you buy plants in bulk for one area rather than spending extra money on scattered specimens. Mark drifts clearly on your paper grid with different symbols or shading to avoid confusion during planting execution.
The Core Principles Of Budget Friendly Pollinator Garden Design Zones
Starting From Seeds And Division Rather Than Mature Plants
Growing native wildflowers from seed costs a fraction of buying established plants. You pay for packet seeds, not labor and nursery markup. Dividing mature plants from neighbors or your own garden takes effort but zero dollars. Dense native stands establish faster this way and create the ecosystem structure pollinators need.
Seed germination rates vary by species and region. Some natives need cold stratification or scarification to sprout. Direct sowing in fall lets winter handle dormancy requirements naturally. Division works best in spring or fall when plants have energy reserves to recover and establish new root systems quickly.
Prioritizing Low Maintenance Native Species Over Exotic Cultivars
Native species evolved in your local climate and soil. They handle rain patterns, temperature swings, and pest pressure without intervention. Exotic cultivars demand consistent watering, fertilizer, and pest management. Native plants survive on rainfall alone in most regions and attract the pollinators that co evolved with them for thousands of years.
Selecting tough local species cuts water bills dramatically since you skip supplemental irrigation. Pests rarely devastate native stands because natural predators keep populations controlled. You stop buying fungicides and herbicides. Your garden stabilizes faster and requires minimal weeding once native plants establish dominance over competing species.
Clever Pollinator Garden Ideas For Small And Shared Spaces
Essential Low Cost Container Ideas For Balconies And Patios
Container gardening works in confined spaces because you control the soil quality and plant density. Pollinators need nectar and pollen sources year-round. Containers let you position plants where pollinators travel, typically along building edges and walkways.
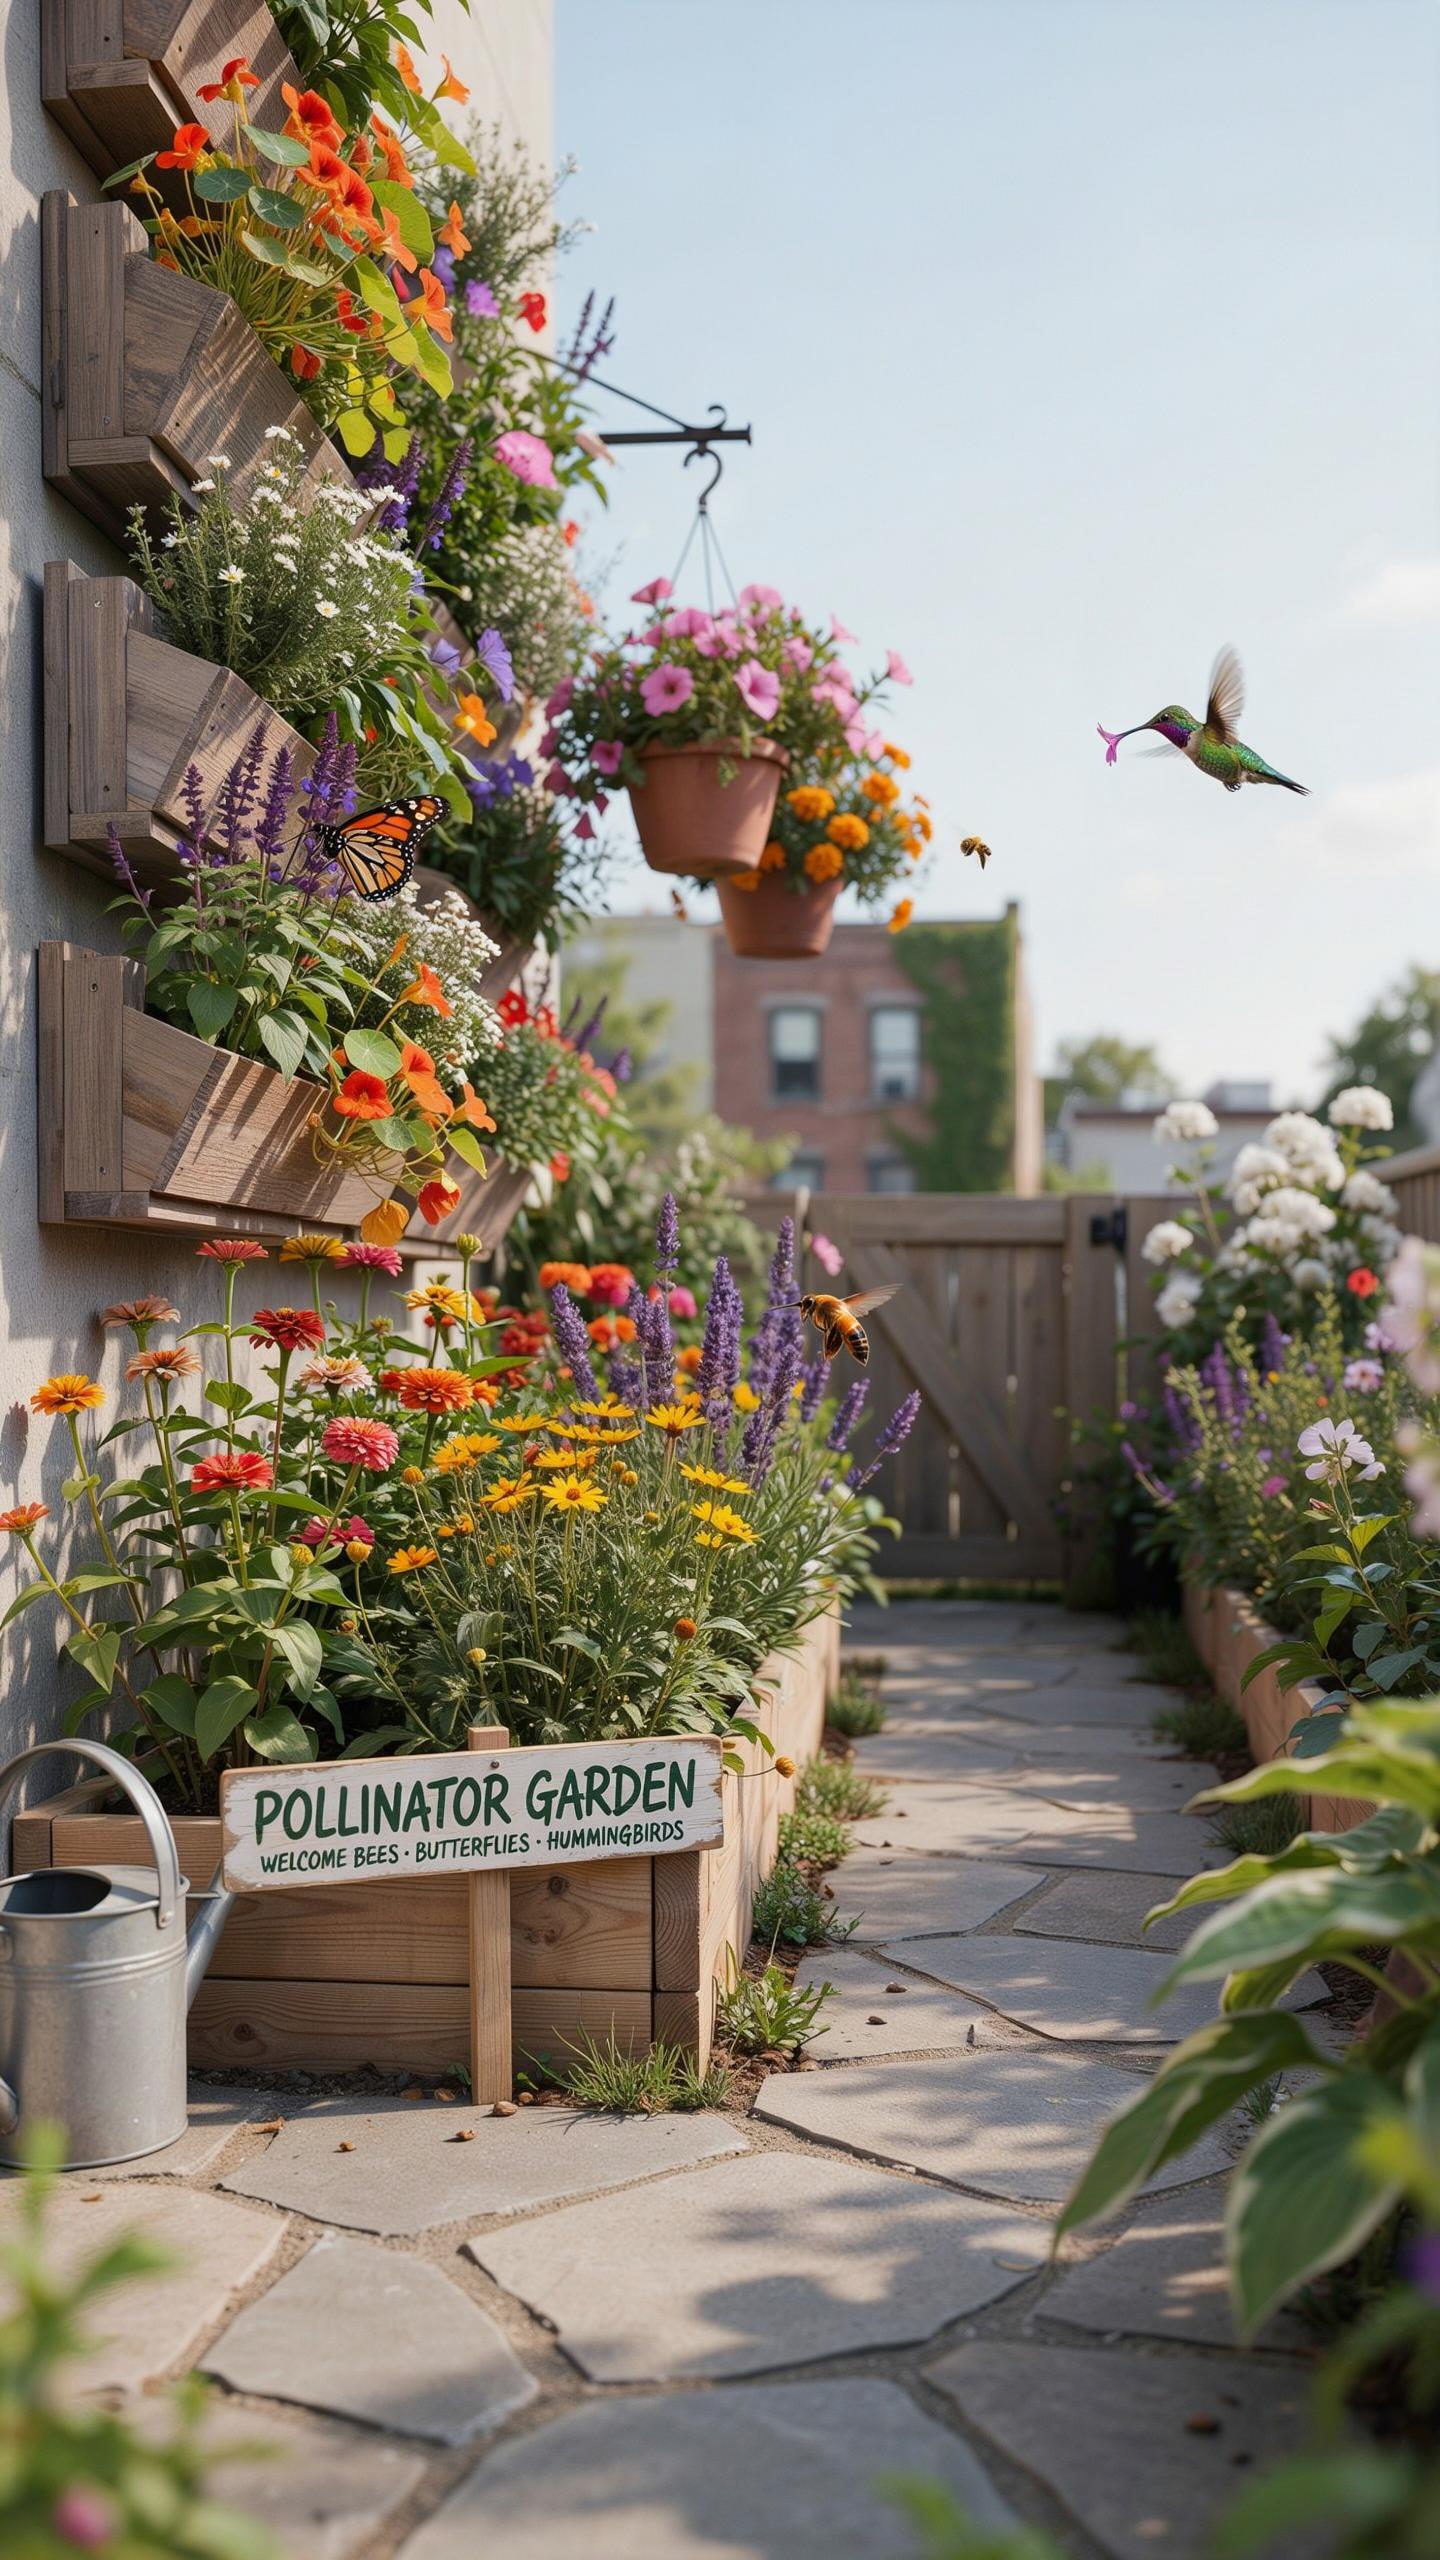
- Native herb containers with dill and fennel: These plants produce small flowers that attract parasitic wasps and other beneficial insects. Plant in five-gallon containers with drainage holes and position near building entrances where pollinators naturally forage.
- Hanging baskets with trailing petunias: Petunias bloom continuously and provide accessible nectar. Hang baskets at eye level on railings or hooks. Choose single-flower varieties over doubles since pollinators cannot access double blooms.
- Grouped terracotta pots: Clustering pots together reduces water evaporation in hot climates and creates visual landing zones for pollinators. Use pot sizes between three and twelve gallons depending on plant root depth.
- Shallow dish containers for ground level plants: Place near patios or deck corners. Fill with drought-tolerant native flowers like creeping thyme or alyssum that bloom over extended periods.
- Vertical stack planters: These tiered systems maximize limited space and create multiple flowering levels. Stack three to four containers and fill with shallow-rooted plants like sweet alyssum and calibrachoa.
Containers require consistent watering in hot months since they dry faster than in-ground beds. Add two inches of mulch on soil surface to retain moisture and reduce watering frequency by thirty to forty percent.
Utilizing Vertical Trellises For Climbing Vines And Sweets
Bamboo stakes cost less than metal trellising and support climbing vines effectively. Native honeysuckle and passionflower vines produce flowers and seed pods that feed pollinators and birds. Training vines upward saves ground space and creates microclimates that protect smaller plants below.
Honeysuckle blooms prolifically and attracts hummingbirds and sphinx moths. Passionflower attracts specialist butterflies and produces fruits pollinators consume. Secure bamboo stakes directly into containers or soil using twine. Space stakes eighteen to twenty-four inches apart to prevent overcrowding and ensure air circulation that prevents fungal issues.
Designing Beautiful Flower Garden Plans With Seasonal Bloom Rotations
Selecting Early Spring Queens And Late Autumn Food Sources
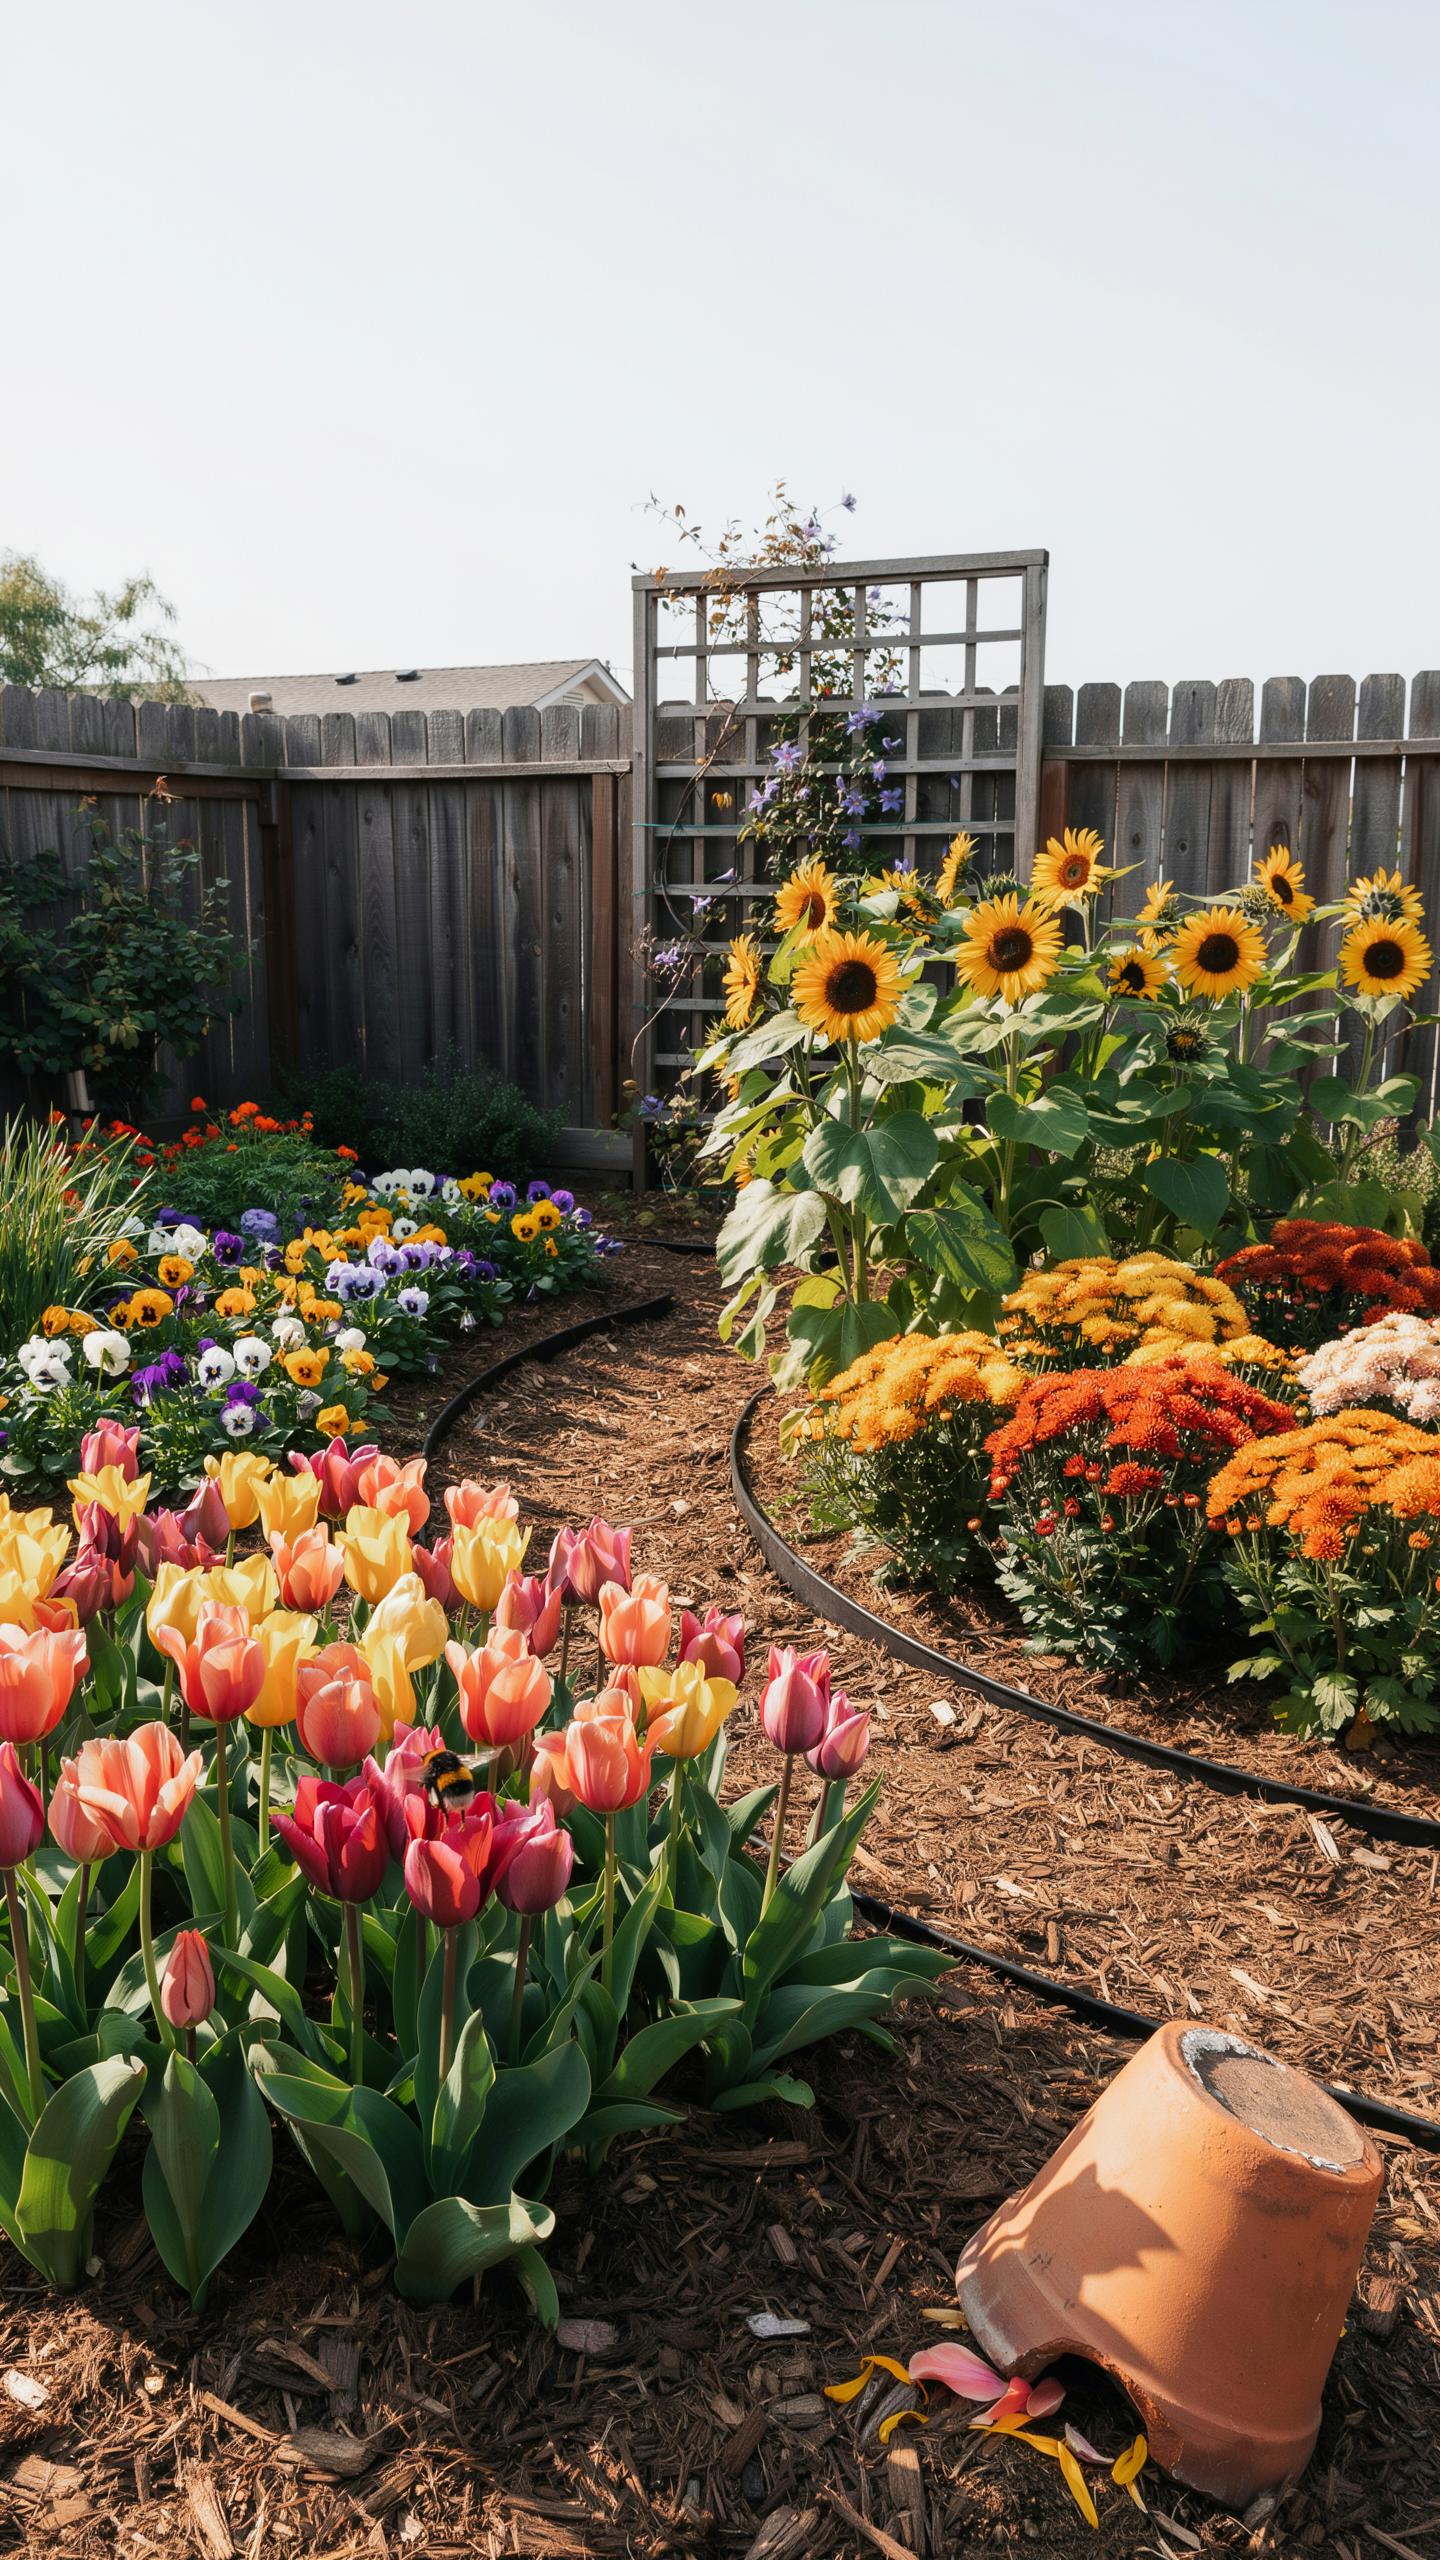
Early spring bloomers emerge when pollinators face critical food shortages after winter. Hellebores, crocuses, and helleborus niger flower when temperatures rise above freezing but before most plants leaf out. These plants sustain hungry bees and early butterflies that need carbohydrates to rebuild colony strength. Timing matters because these insects emerge weeks before reliable nectar sources become available.
Late autumn food sources extend the pollinator season into October and November when temperatures drop. Asters, sedums, and ornamental grasses produce nectar and pollen when summer blooms have faded. Pollinators rely on these plants to build fat reserves before entering dormancy or migrating south. Gap coverage between September and the first hard freeze directly impacts pollinator survival rates.
Nature does not require a fortune to flourish, only a small patch of earth and a heart willing to plant a few simple seeds. By layering even the humblest blooms into life-filled zones, you invite the golden dance of bees back to your own sun-drenched doorstep.
Organizing Color Blocks To Attract Specific Insect Groups
Arrange flowers in solid color masses of 3 to 5 square feet minimum for maximum visual impact. Bees navigate using color recognition and land on flowers that contrast sharply with surrounding foliage. Blues, purples, and yellow flowers trigger strong foraging responses in most bee species. Clustering identical colors reduces the visual search time pollinators need to locate nectar sources.
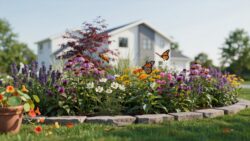
Butterflies show different color preferences than bees and respond strongly to reds, oranges, and warm tones. Red flowers like bee balm and cardinal flower attract swallowtails and monarchs through their visual spectrum sensitivity. Position orange blooms like calendula and zinnias in separate zones from blue blocks to create distinct feeding stations. This spatial separation ensures your garden provides targeted nutrition for multiple pollinator types simultaneously.
Establishing A Low Cost Perennial Garden For Long Term Visual Drama
Investing In Hard Working Long Lived Perennial Root Stocks
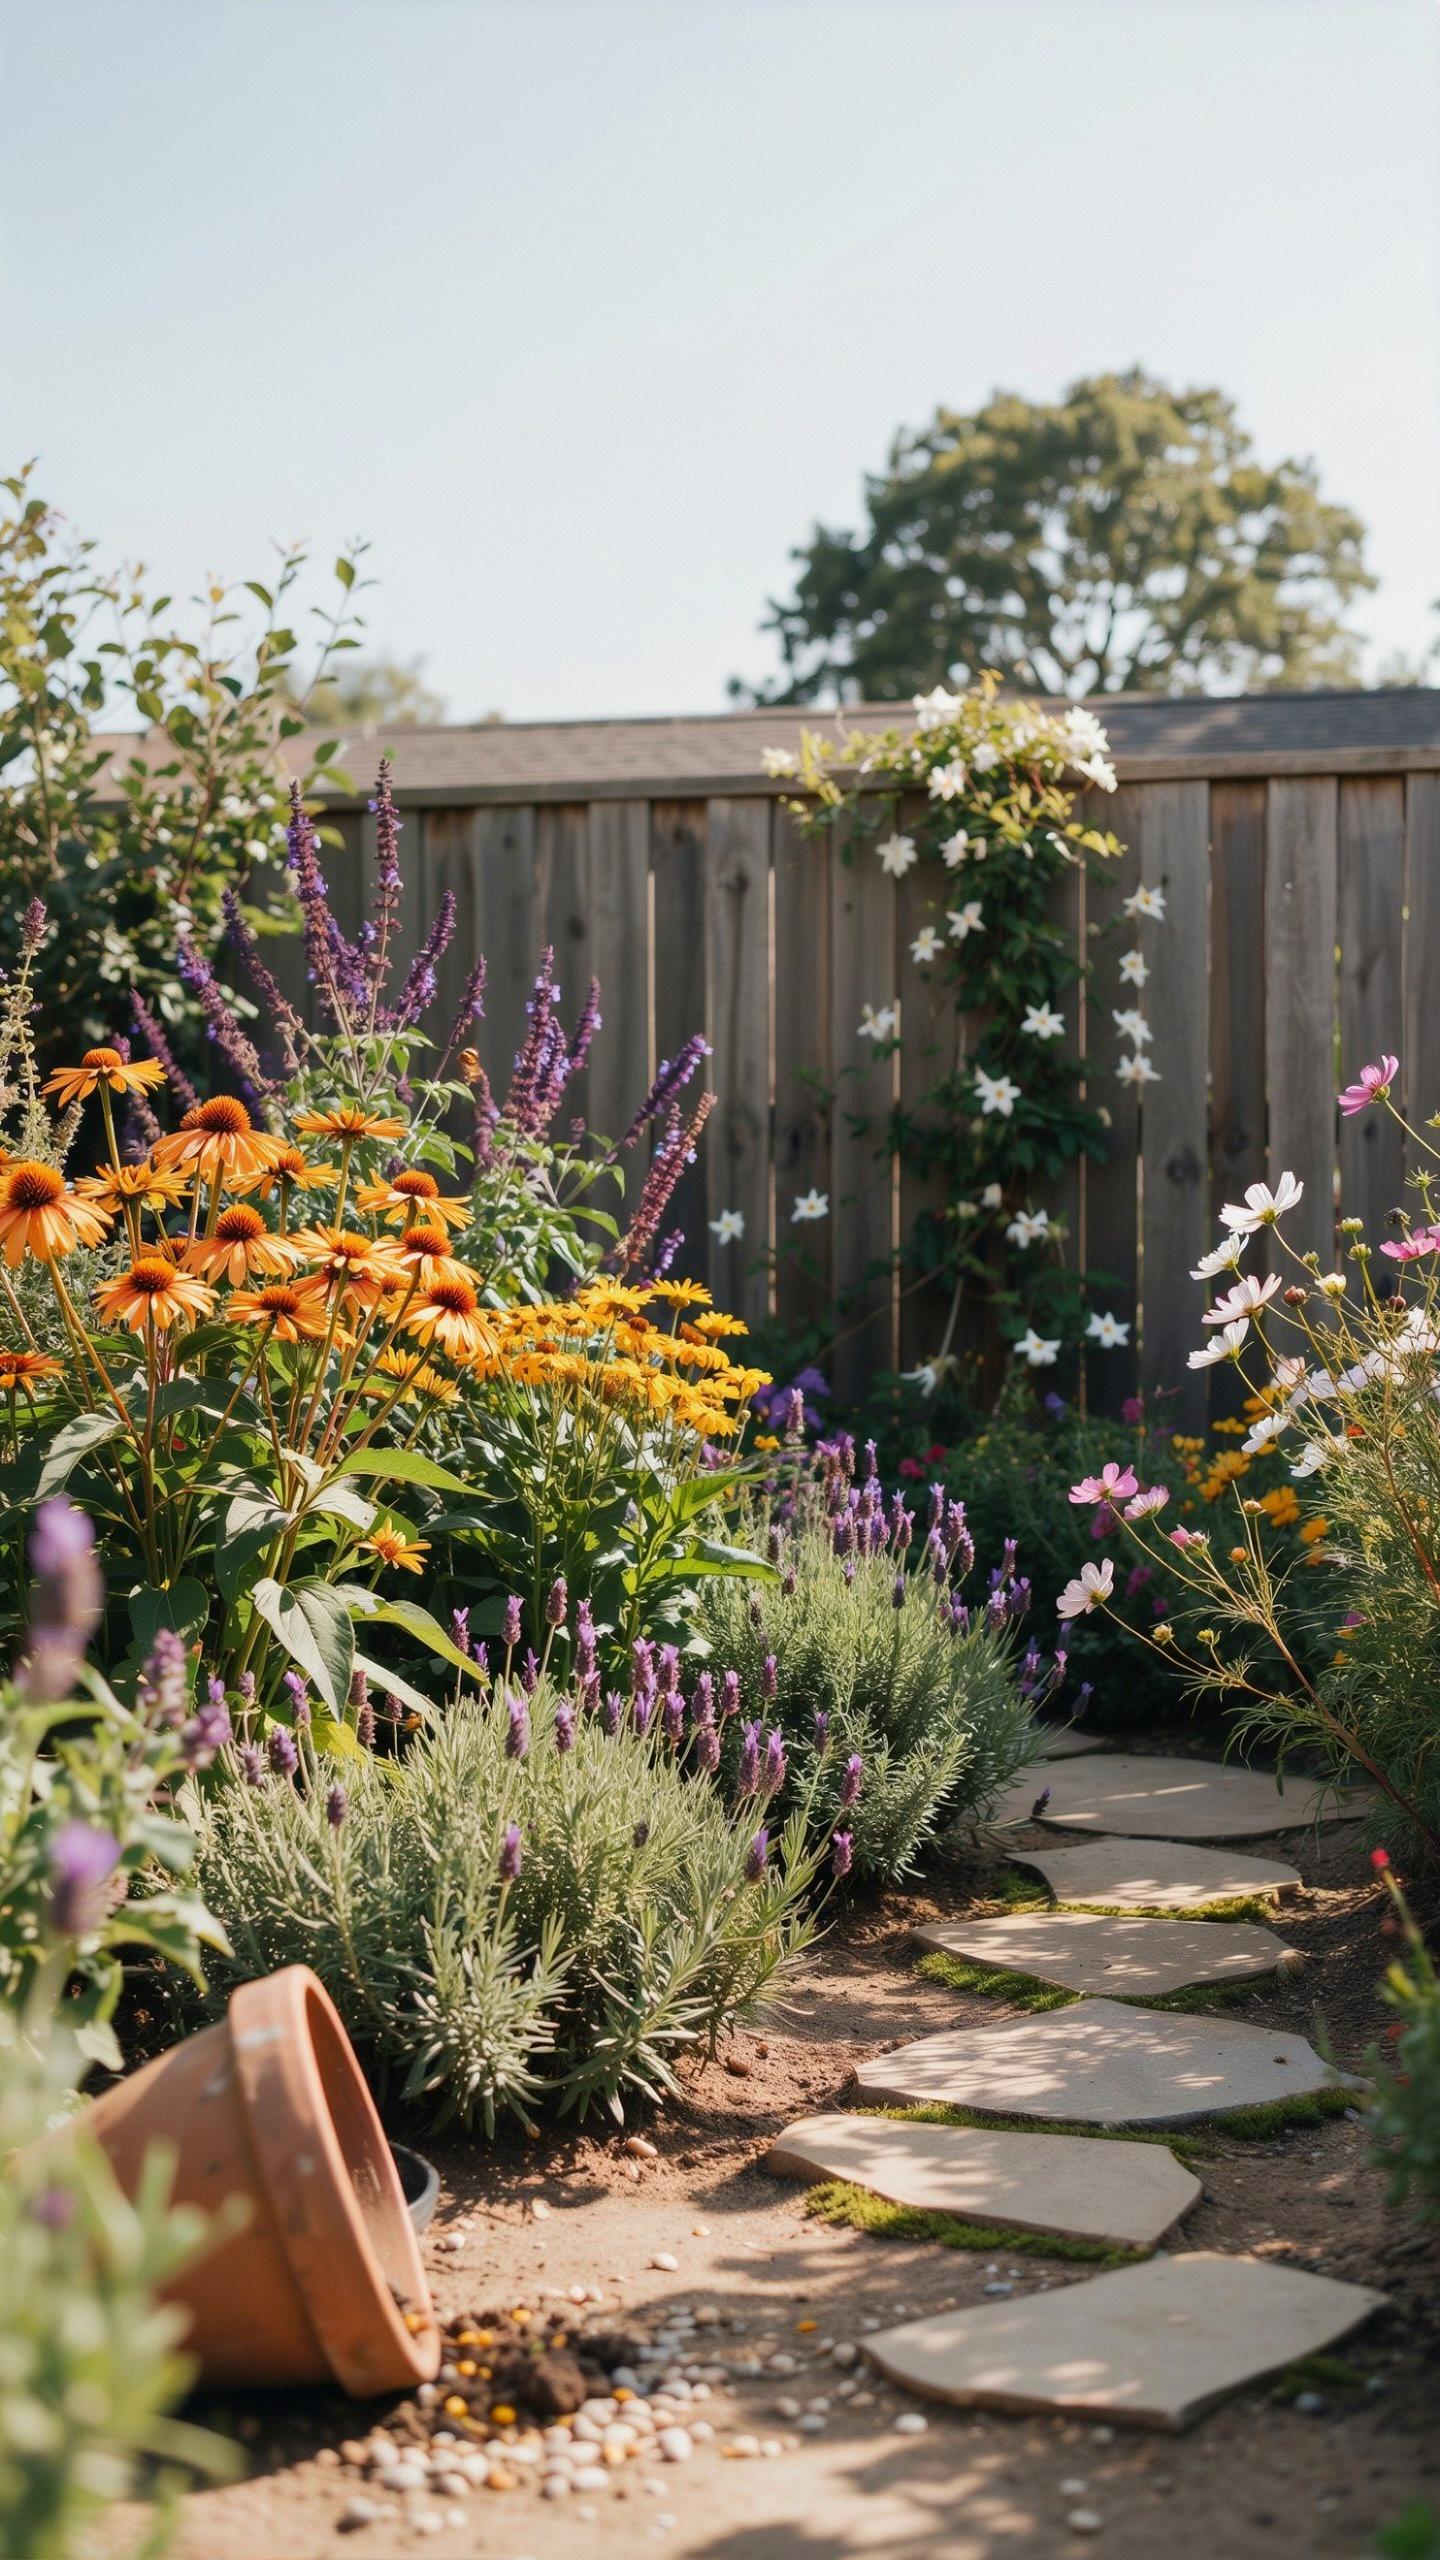
Perennials return annually without replanting, cutting your costs dramatically over time. Coneflowers and black eyed Susans develop deep root systems that access soil moisture annuals cannot reach. These plants tolerate drought, poor soil, and neglect better than annuals. One initial investment in root stock pays dividends for five to ten years or longer depending on the species and your climate zone.
Deep rooting perennials establish quickly and require minimal maintenance after year two. Their root systems improve soil structure naturally over time by breaking up compacted earth and creating channels for water penetration. This means fewer amendments needed later. Your pollinator garden becomes more resilient and requires less intervention each season, freeing up both time and money for other priorities.
Proper Soil Prep Techniques For Lifetime Plant Health
Organic compost and leaf mold improve soil drainage and structure permanently. These materials break down over years, creating stable aggregates that hold water without waterlogging roots. Start with two to three inches of compost mixed into the top six to eight inches of existing soil before planting. This upfront effort prevents drainage problems and nutrient deficiencies that force expensive replanting later.
Leaf mold specifically costs nothing if you source it from your own yard waste. Decomposed leaves take one to two years to fully break down but deliver superior soil conditioning compared to purchased amendments. The organic matter feeds beneficial microbes and fungi that support pollinator plants. This ecosystem vitality reduces pest pressure and disease naturally, cutting your need for treatments over the garden’s lifetime.
Front Yard Pollinator Landscaping That Enhances Visual Curb Appeal
Steps To Design A Structured Front Yard Wildflower Bed
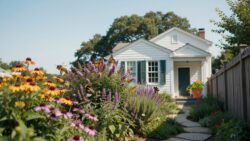
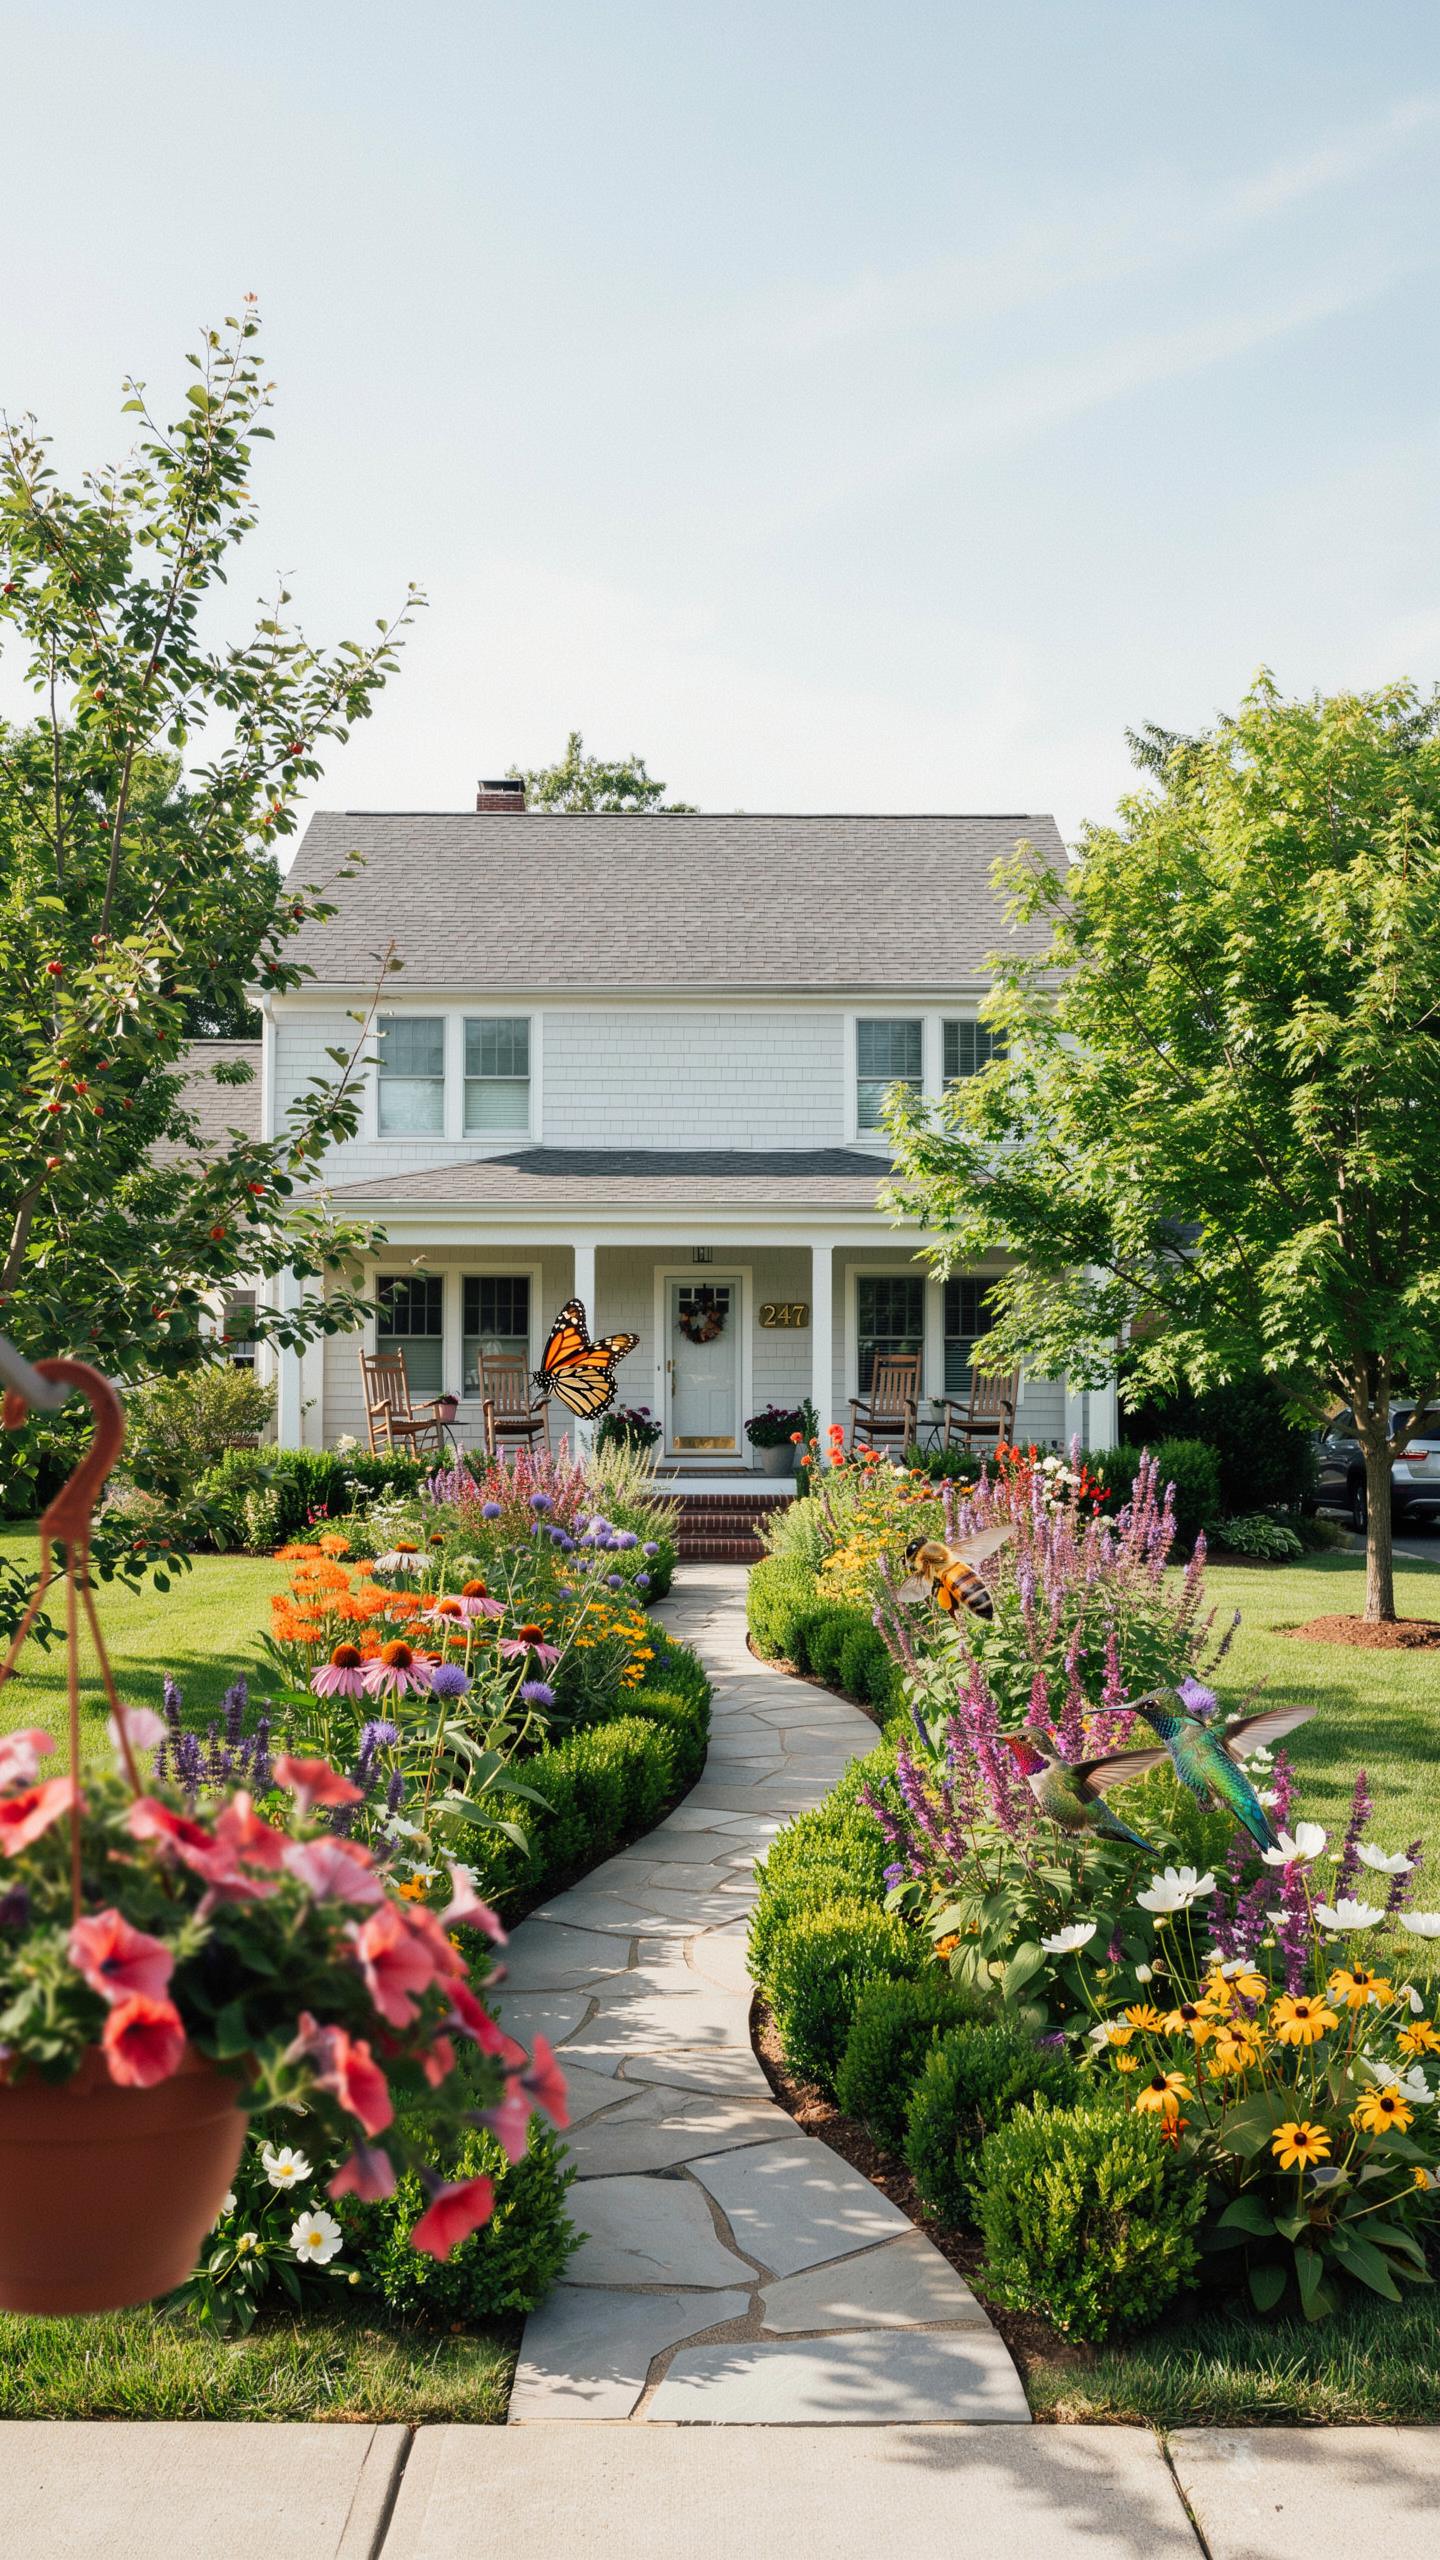
Start by mapping your space and identifying sun exposure patterns. Most pollinator plants need four to six hours of direct sunlight. Sketch where taller plants go and where you want foot traffic. This planning phase prevents costly mistakes and ensures your bed functions as intended for both people and insects.
- Define borders with bricks or stone: Create clean edges using rot-resistant materials. Brick and stone last years and signal intentional design to neighbors and homeowners associations.
- Install solar path lights: Place lights along walking paths at ground level. These mark safe routes through plantings and add functional illumination without wiring costs.
- Position taller shrubs in the back: Plant shrubs three to five feet tall at the rear of beds. This layering creates depth, provides shelter for pollinators, and prevents taller plants from shading shorter wildflowers.
- Use mulched paths to define walking lanes: Spread mulch two to three inches deep on foot traffic areas. This prevents soil compaction on planting zones and clearly delineates where people should walk.
- Grade the bed slightly: Slope the soil away from structures for drainage. Poor drainage kills most native wildflowers and causes root rot in shrubs.
These steps create beds that function for pollinators while meeting neighborhood standards. Structured design reduces maintenance and prevents the “unkempt” appearance that draws complaints. Clean borders and designated pathways communicate that your wildflower bed is intentional, not neglected.
Integrating Native Wildflowers With Clean Hardscape Borders
Deliberate borders work strategically. Stone, brick, or mulch edges contain plant growth and prevent encroachment onto turf or walkways. This containment proves your habitat serves a purpose rather than appearing accidental or abandoned.
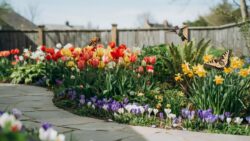
Neat edging also simplifies seasonal maintenance. You can remove dead stems and debris within defined boundaries without affecting neighboring areas. Stone borders withstand years of weather and require no replacement, while mulch needs topping annually. Both materials cost less than professional landscaping and deliver immediate visual results that satisfy community standards while supporting pollinator activity.
Creating A Comprehensive Pollinator Garden Plan For Bees And Butterflies
Designing Mud Puddling And Nesting Zones For Native Bees
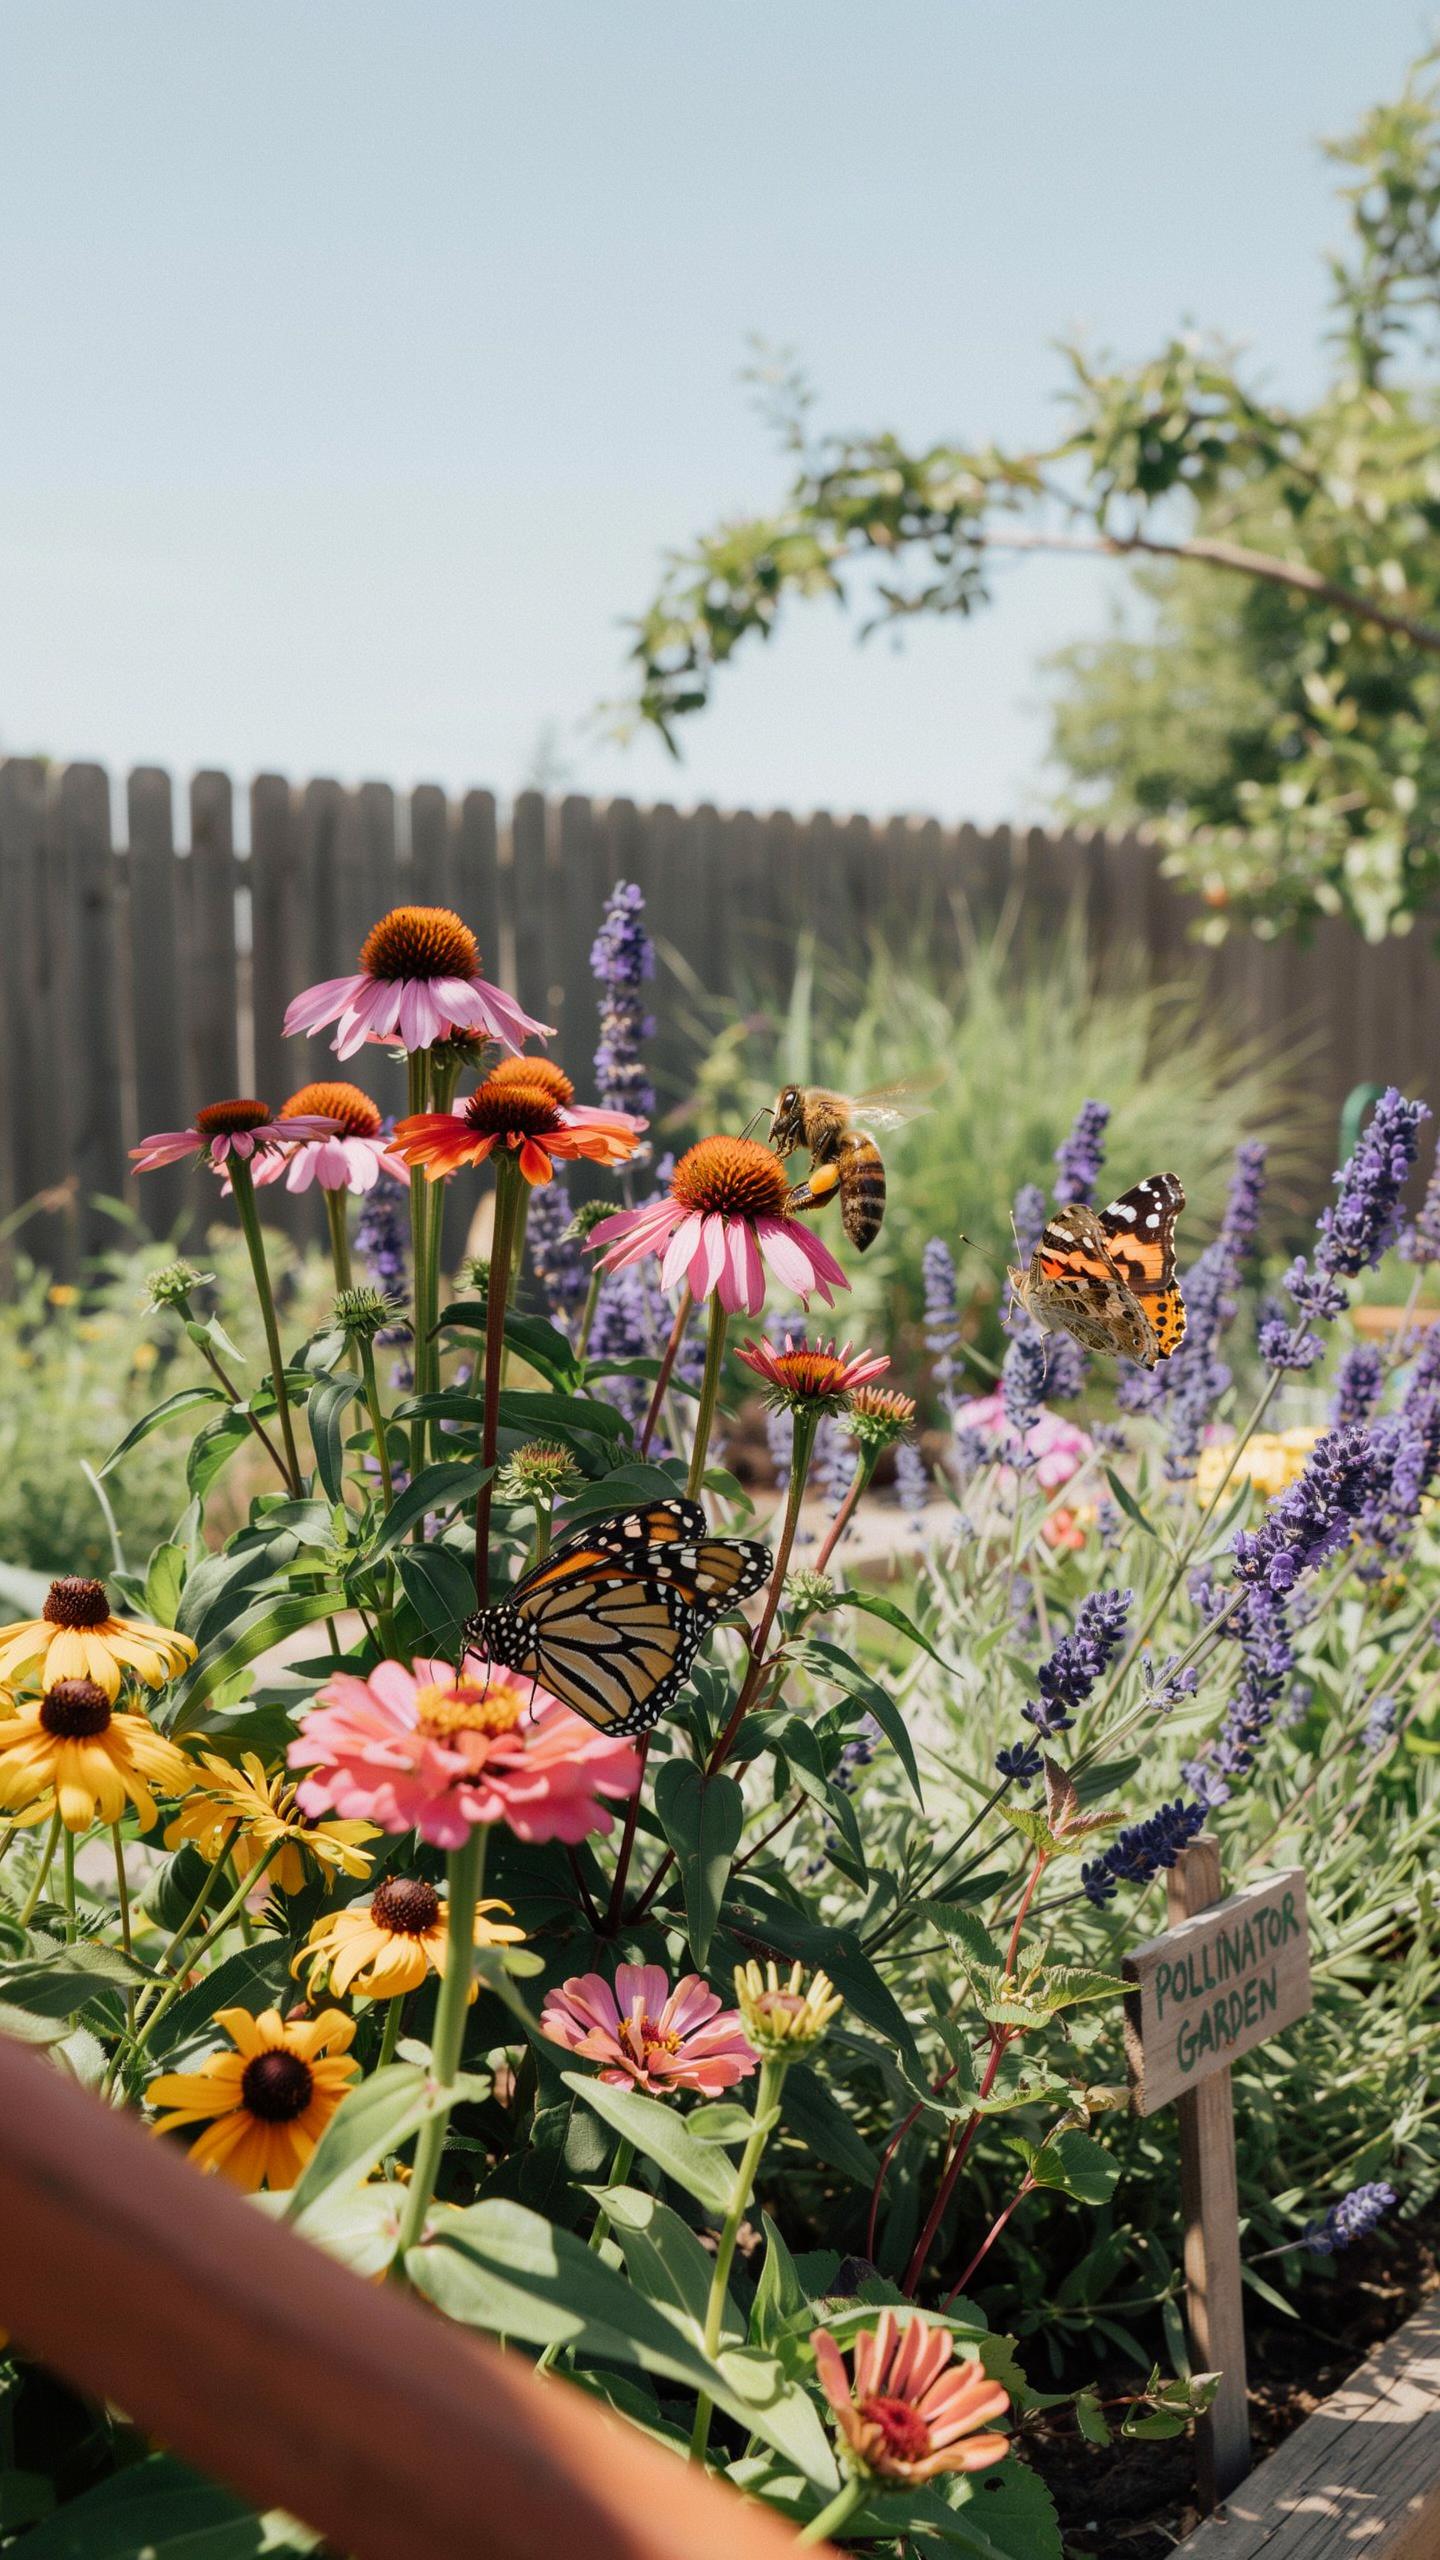
Solitary bees need water and minerals to function. They cannot access standing water like honeybees do. Create a mud puddling zone using a shallow dish, wet sand, and pebbles. This setup costs nothing if you use materials already on hand. Place it near flowering zones where bees actively forage. Refresh the water every few days to prevent mosquito breeding.
Native bees also need nesting habitat to reproduce. Bare ground patches support ground-nesting species like sweat bees and mining bees. Dead wood, hollow stems, and untended brush piles shelter cavity-nesting bees. Leave these features undisturbed during spring and summer months when bees nest. These zones require zero maintenance once established and directly increase local bee populations.
Integrating Host Plants To Support The Complete Insect Lifecycle
Nectar flowers alone will not sustain butterfly populations. Caterpillars require specific host plants to eat and develop. Monarchs depend exclusively on milkweed species native to your region. Swallowtails need plants like fennel, dill, or native citrus varieties. Without host plants, adult butterflies cannot lay eggs and colonies collapse. Research which host plants match your local butterfly species before planting.
Plant host plants in clusters of three or more for caterpillar survival. Combine them with nectar flowers so adult butterflies find food after emergence. Spacing matters because caterpillars must locate their food sources quickly. Space host plant clusters ten to fifteen feet apart throughout your garden zones. This layout supports multiple butterfly generations per season while maintaining visible nectar sources.
Frequently Asked Questions

What are pollinator garden design zones and why do they matter for beginners?
Pollinator garden design zones are designated areas in your yard organized by sunlight, moisture, and plant height to maximize ecological benefits. For beginners, using these zones simplifies the planting process by ensuring the right flowers are grouped together. This strategic organization helps local bees and butterflies navigate your space more efficiently while ensuring your plants thrive in their ideal conditions, making your first gardening project a beautiful success.
How do I choose the right plants for my specific pollinator garden design zones?
To select the best plants, start by observing your yard’s light patterns throughout the day. Map out your pollinator garden design zones by identifying high-traffic areas for insects and matching them with native perennials. Focus on a variety of bloom shapes and seasons within each zone. By choosing native species, you ensure the plants are naturally adapted to your local climate, requiring less maintenance and fewer resources to stay healthy.
Can I create an effective pollinator garden even if I have a very small budget?
Absolutely! You can achieve a stunning landscape by starting small and using cost-effective methods like seed swapping or propagating cuttings from friends. Focus on establishing one zone at a time to spread out costs. Many local conservation groups also offer native plant sales at deep discounts. With a little patience and DIY creativity, anyone can build a vibrant sanctuary for wildlife without spending a fortune on professional landscaping.



