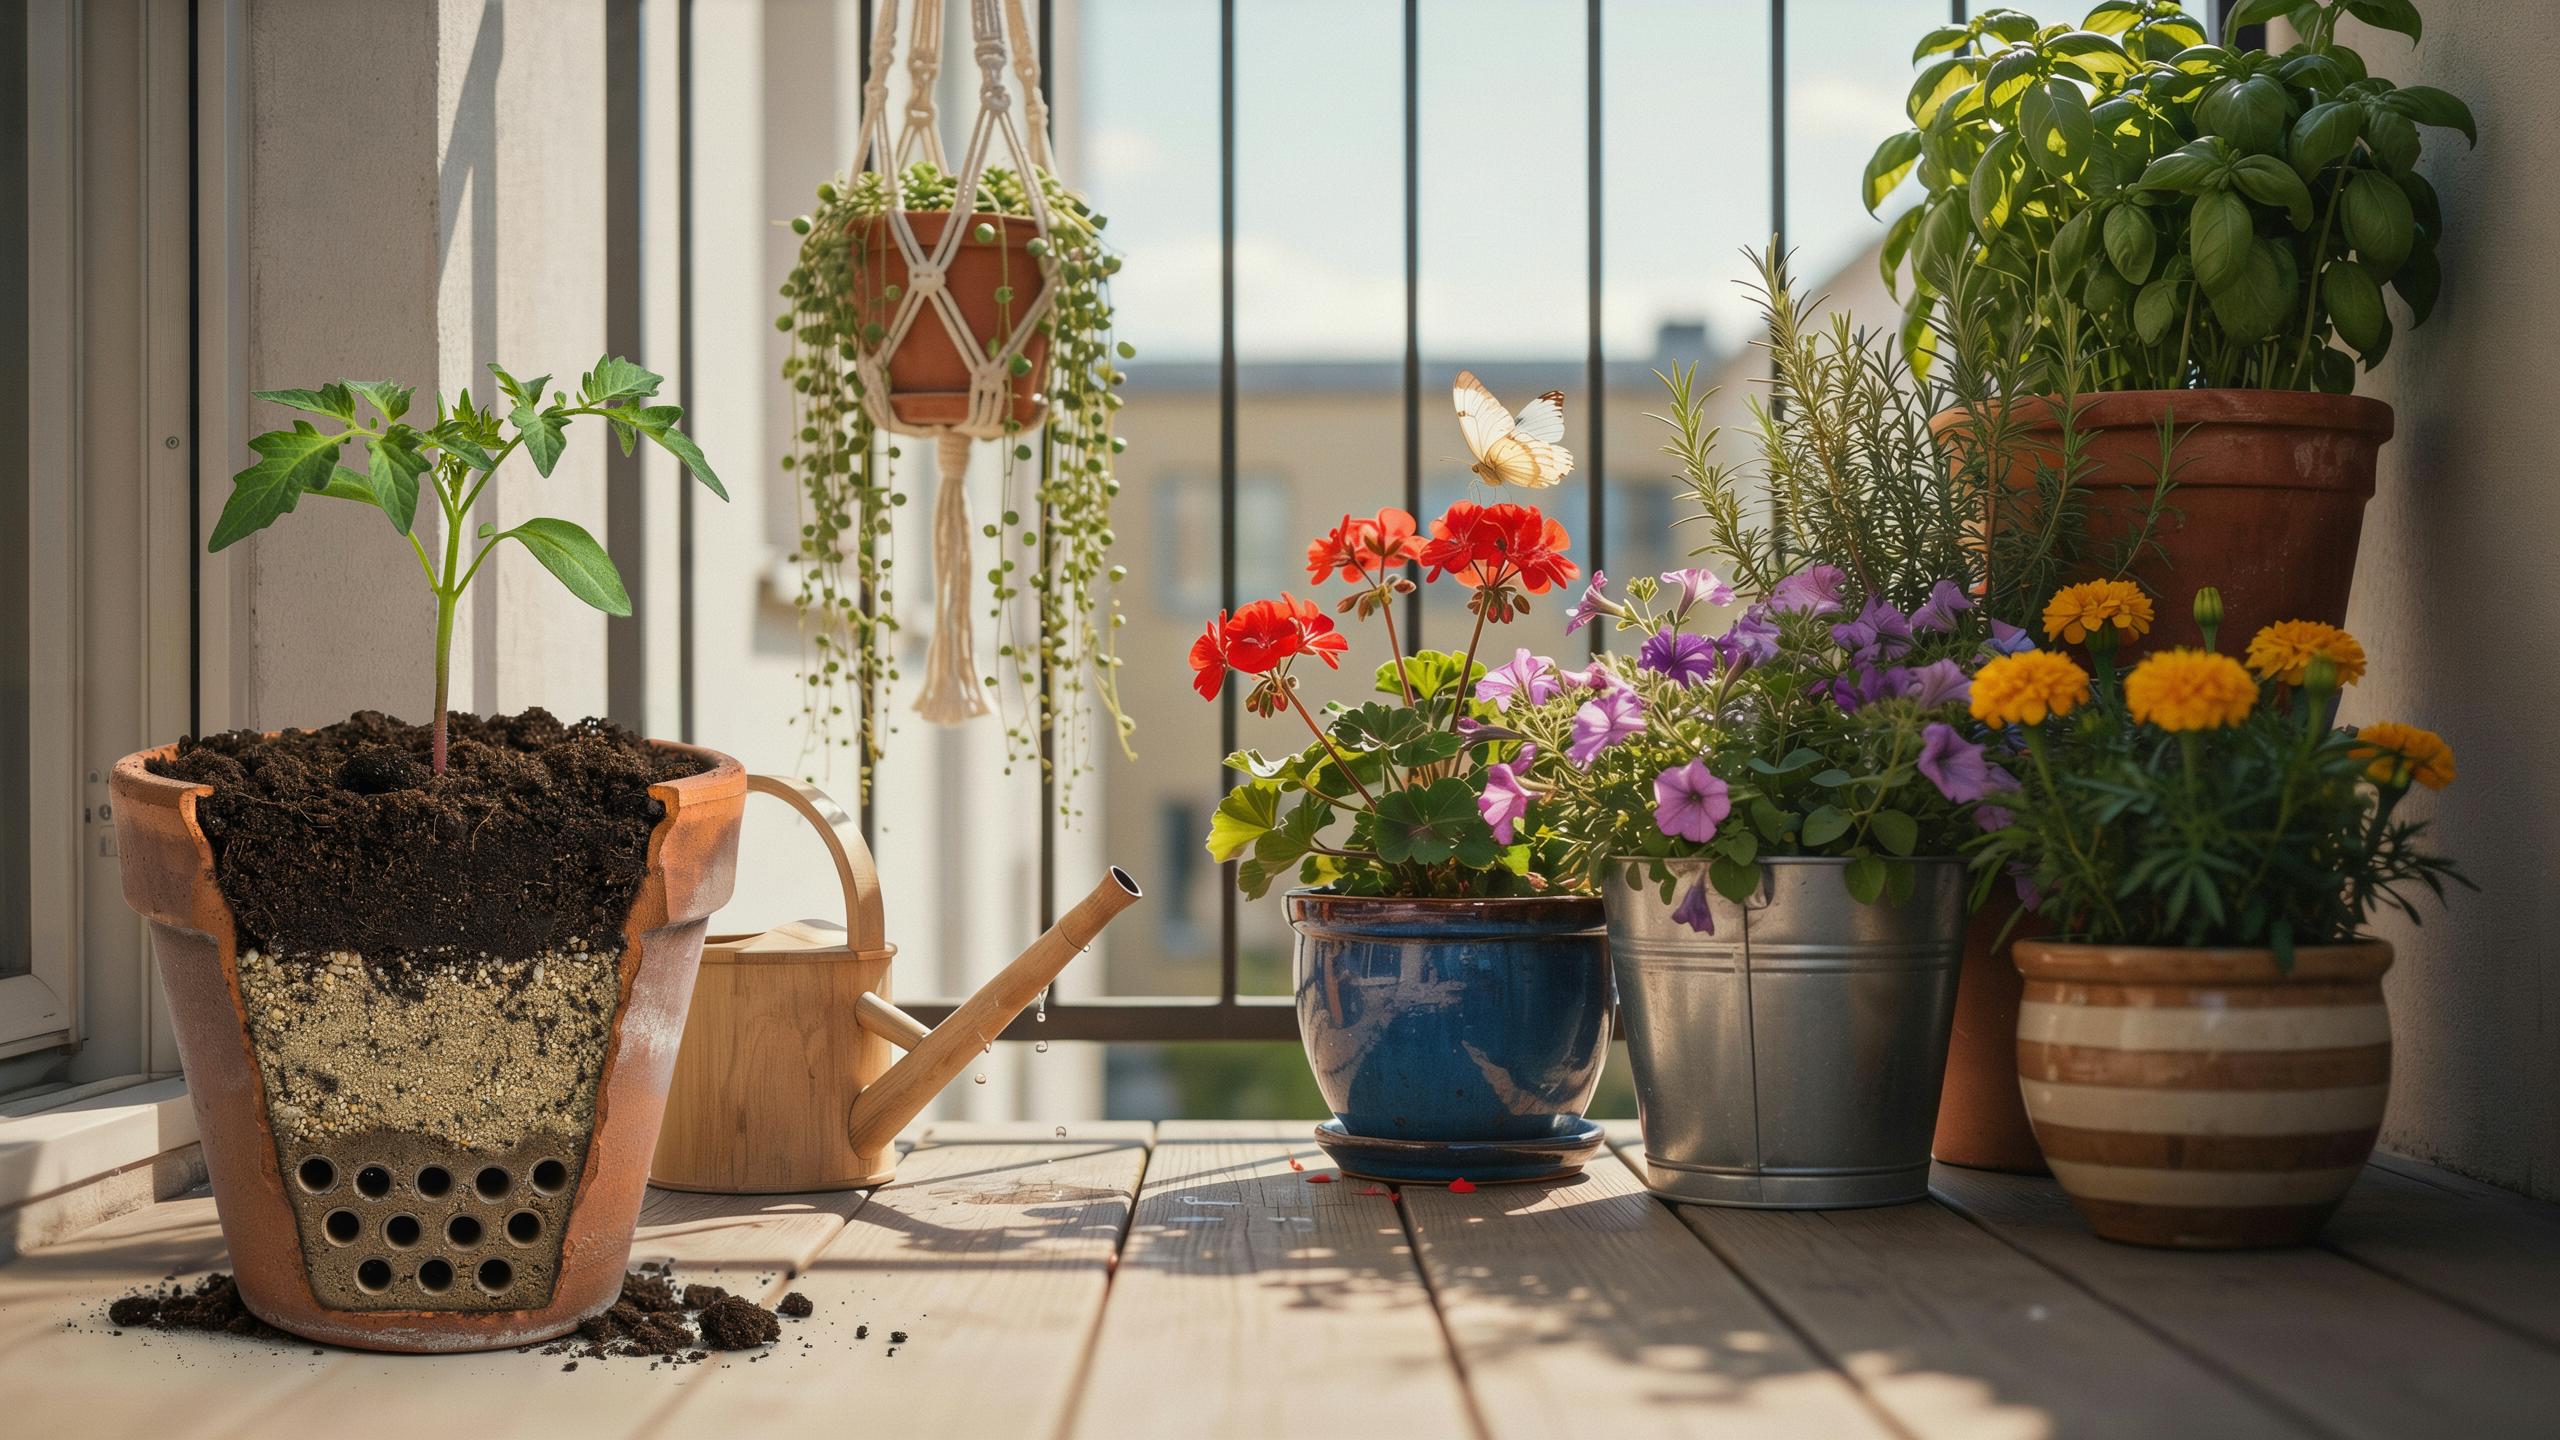
Understanding Plant Drainage Ideas And Why They Matter For Container Gardens
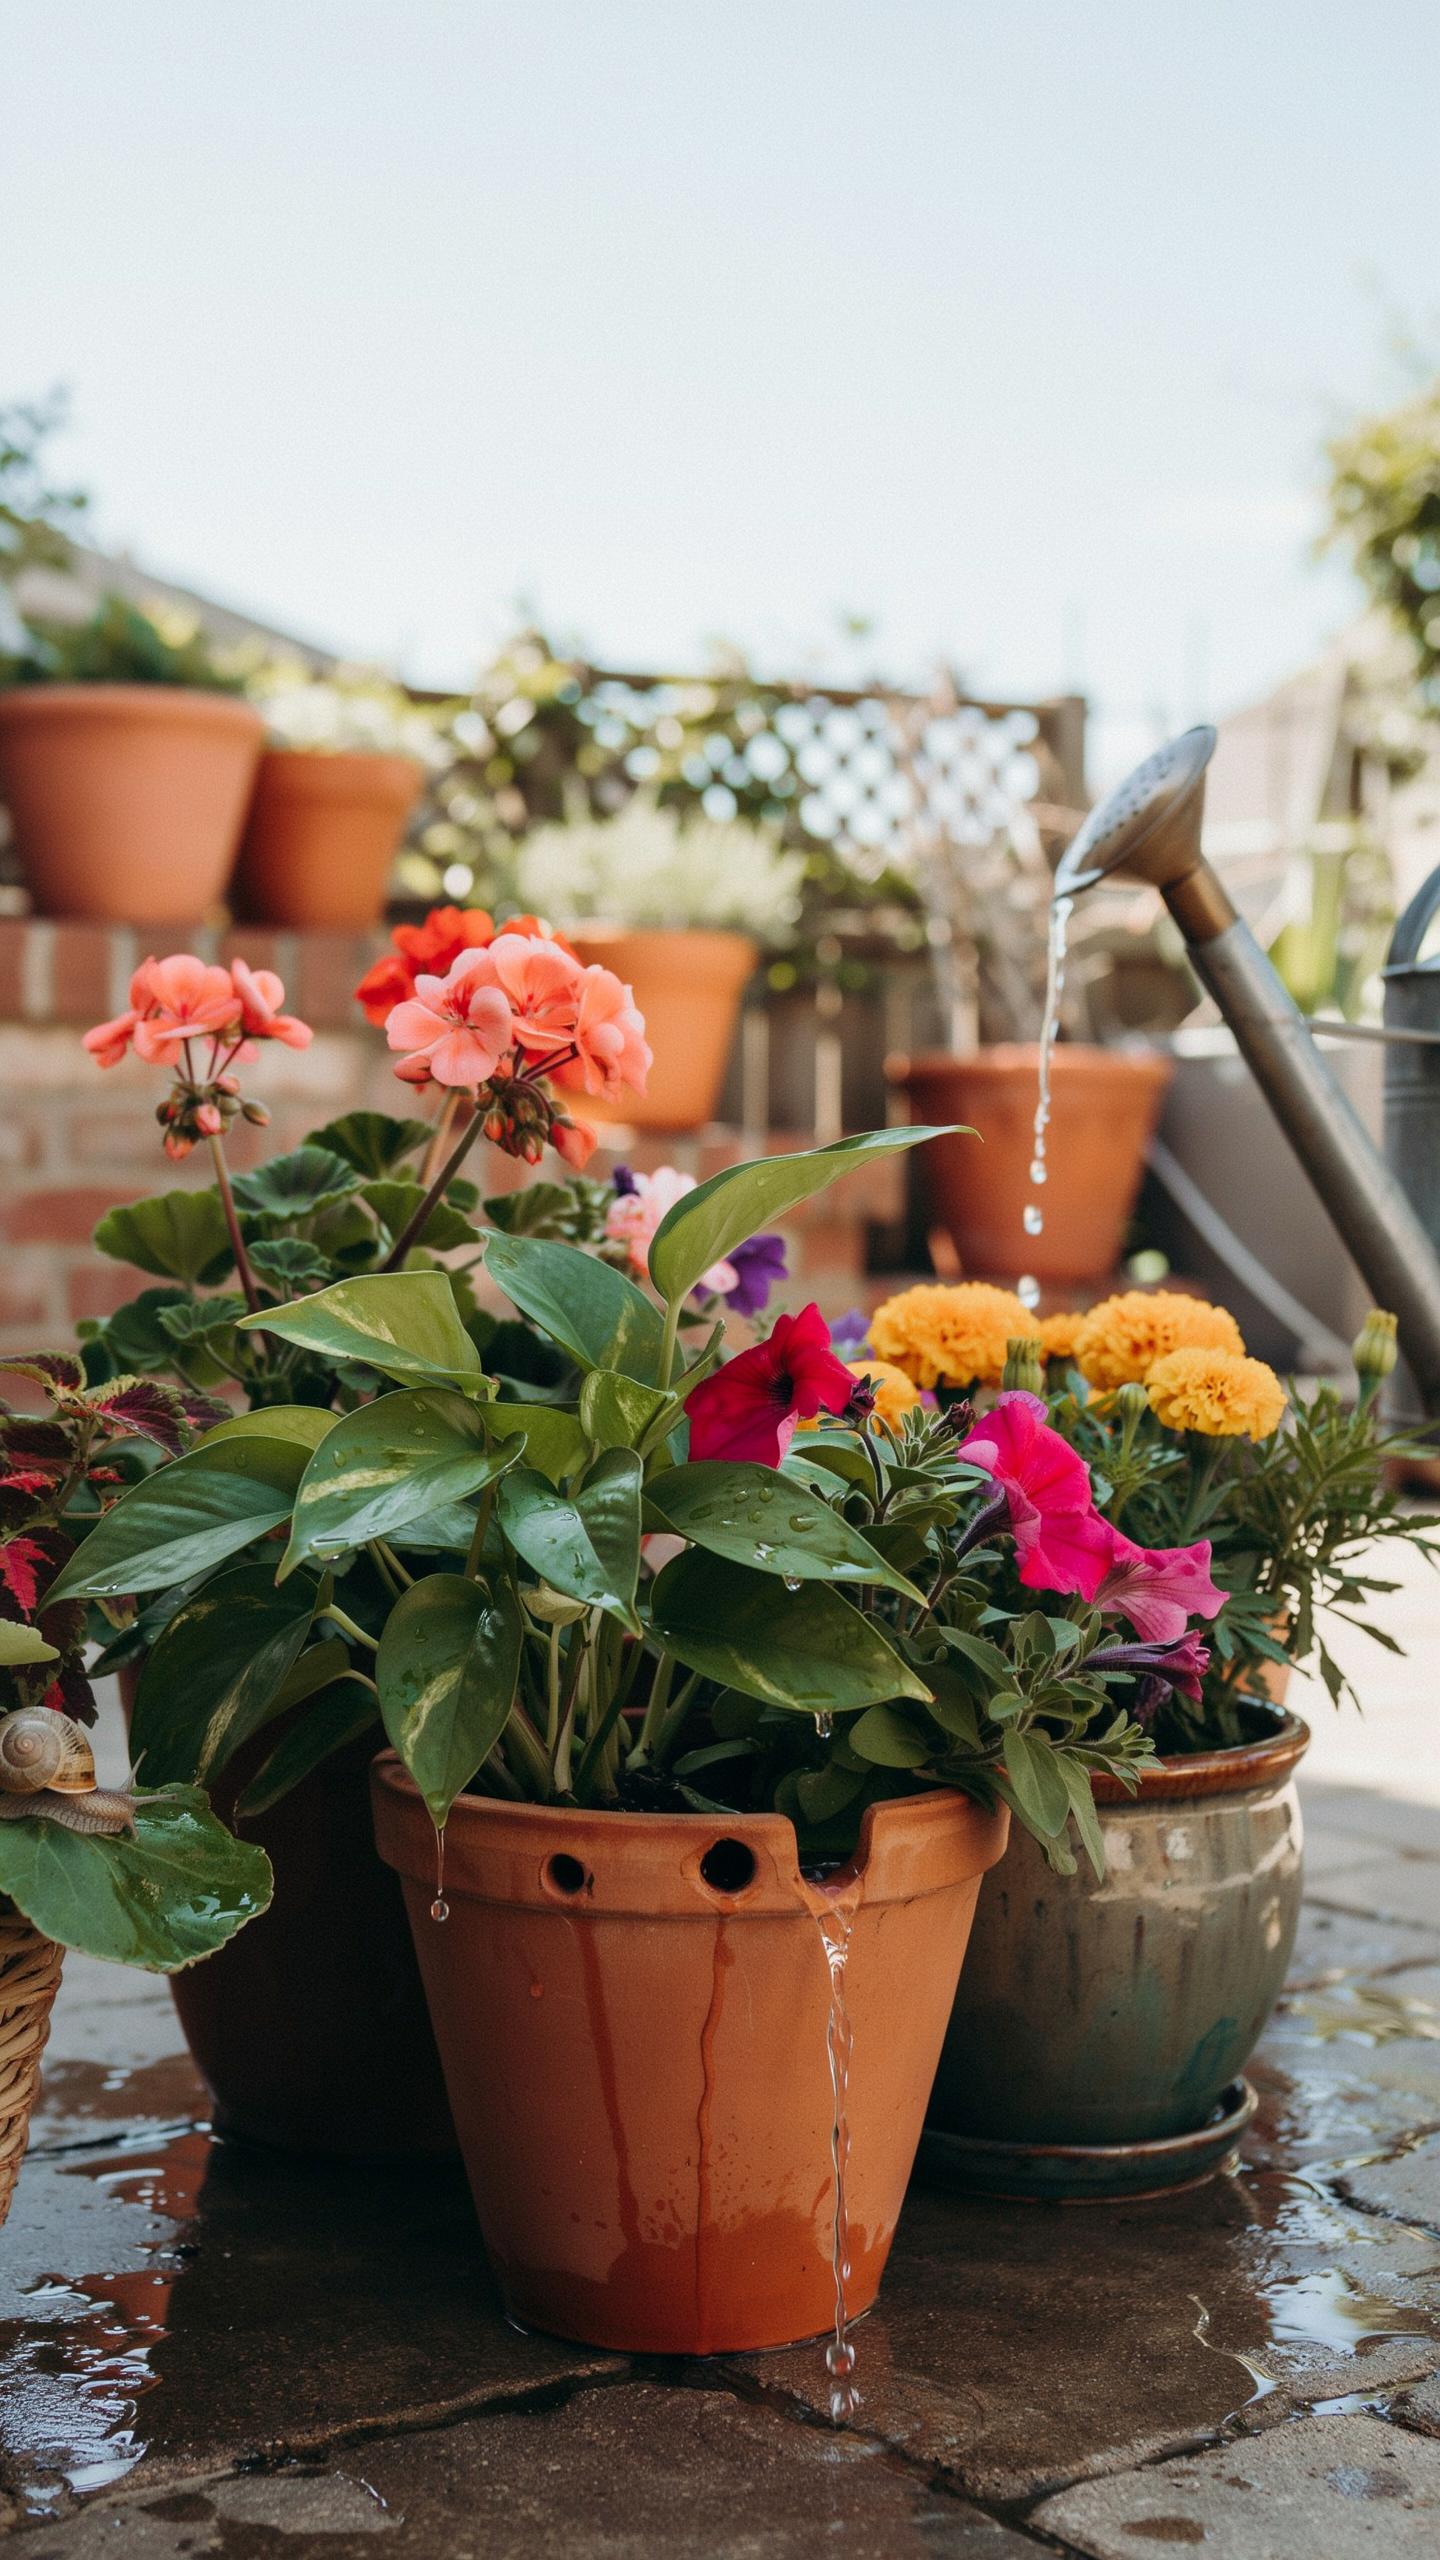
The Science Behind Root Health And Excess Water In Containers
Container plants depend on a specific balance of water and oxygen within the soil. Gravity pulls water through the growing medium to the bottom of the pot. Proper drainage allows excess liquid to exit. This movement creates space for fresh air to enter the soil pores. Roots require this oxygen to perform cellular respiration. Without air, the roots quickly suffocate and stop functioning.
Water behaves differently in containers than it does in the ground. A perched water table often forms at the bottom of the pot. This is a layer of saturated soil that does not drain easily. If the container lacks exit points, this water stays trapped. The soil becomes dense and heavy. This environment prevents the plant from absorbing necessary nutrients. Proper drainage design removes this standing water immediately.
How Poor Drainage Leads To Root Rot And Plant Decline
Stagnant water creates a breeding ground for harmful pathogens. Anaerobic bacteria and fungi like Pythium thrive in wet, low-oxygen conditions. These organisms attack the root system directly. They destroy the outer layer of the roots first. Once the roots turn mushy and brown, they can no longer transport water up to the leaves. The plant will wilt even if the soil is soaking wet.
Visible decline happens fast after root damage occurs. You will notice yellowing leaves and stunted growth. The base of the stem may become soft or discolored. By the time these signs appear, the internal damage is often severe. Fixing drainage is the only way to stop the spread of decay. Professional growers treat drainage as a foundational requirement. You cannot solve a drainage problem with more fertilizer or less sunlight.
Creative Planter Drainage Ideas To Elevate Your Home Aesthetic
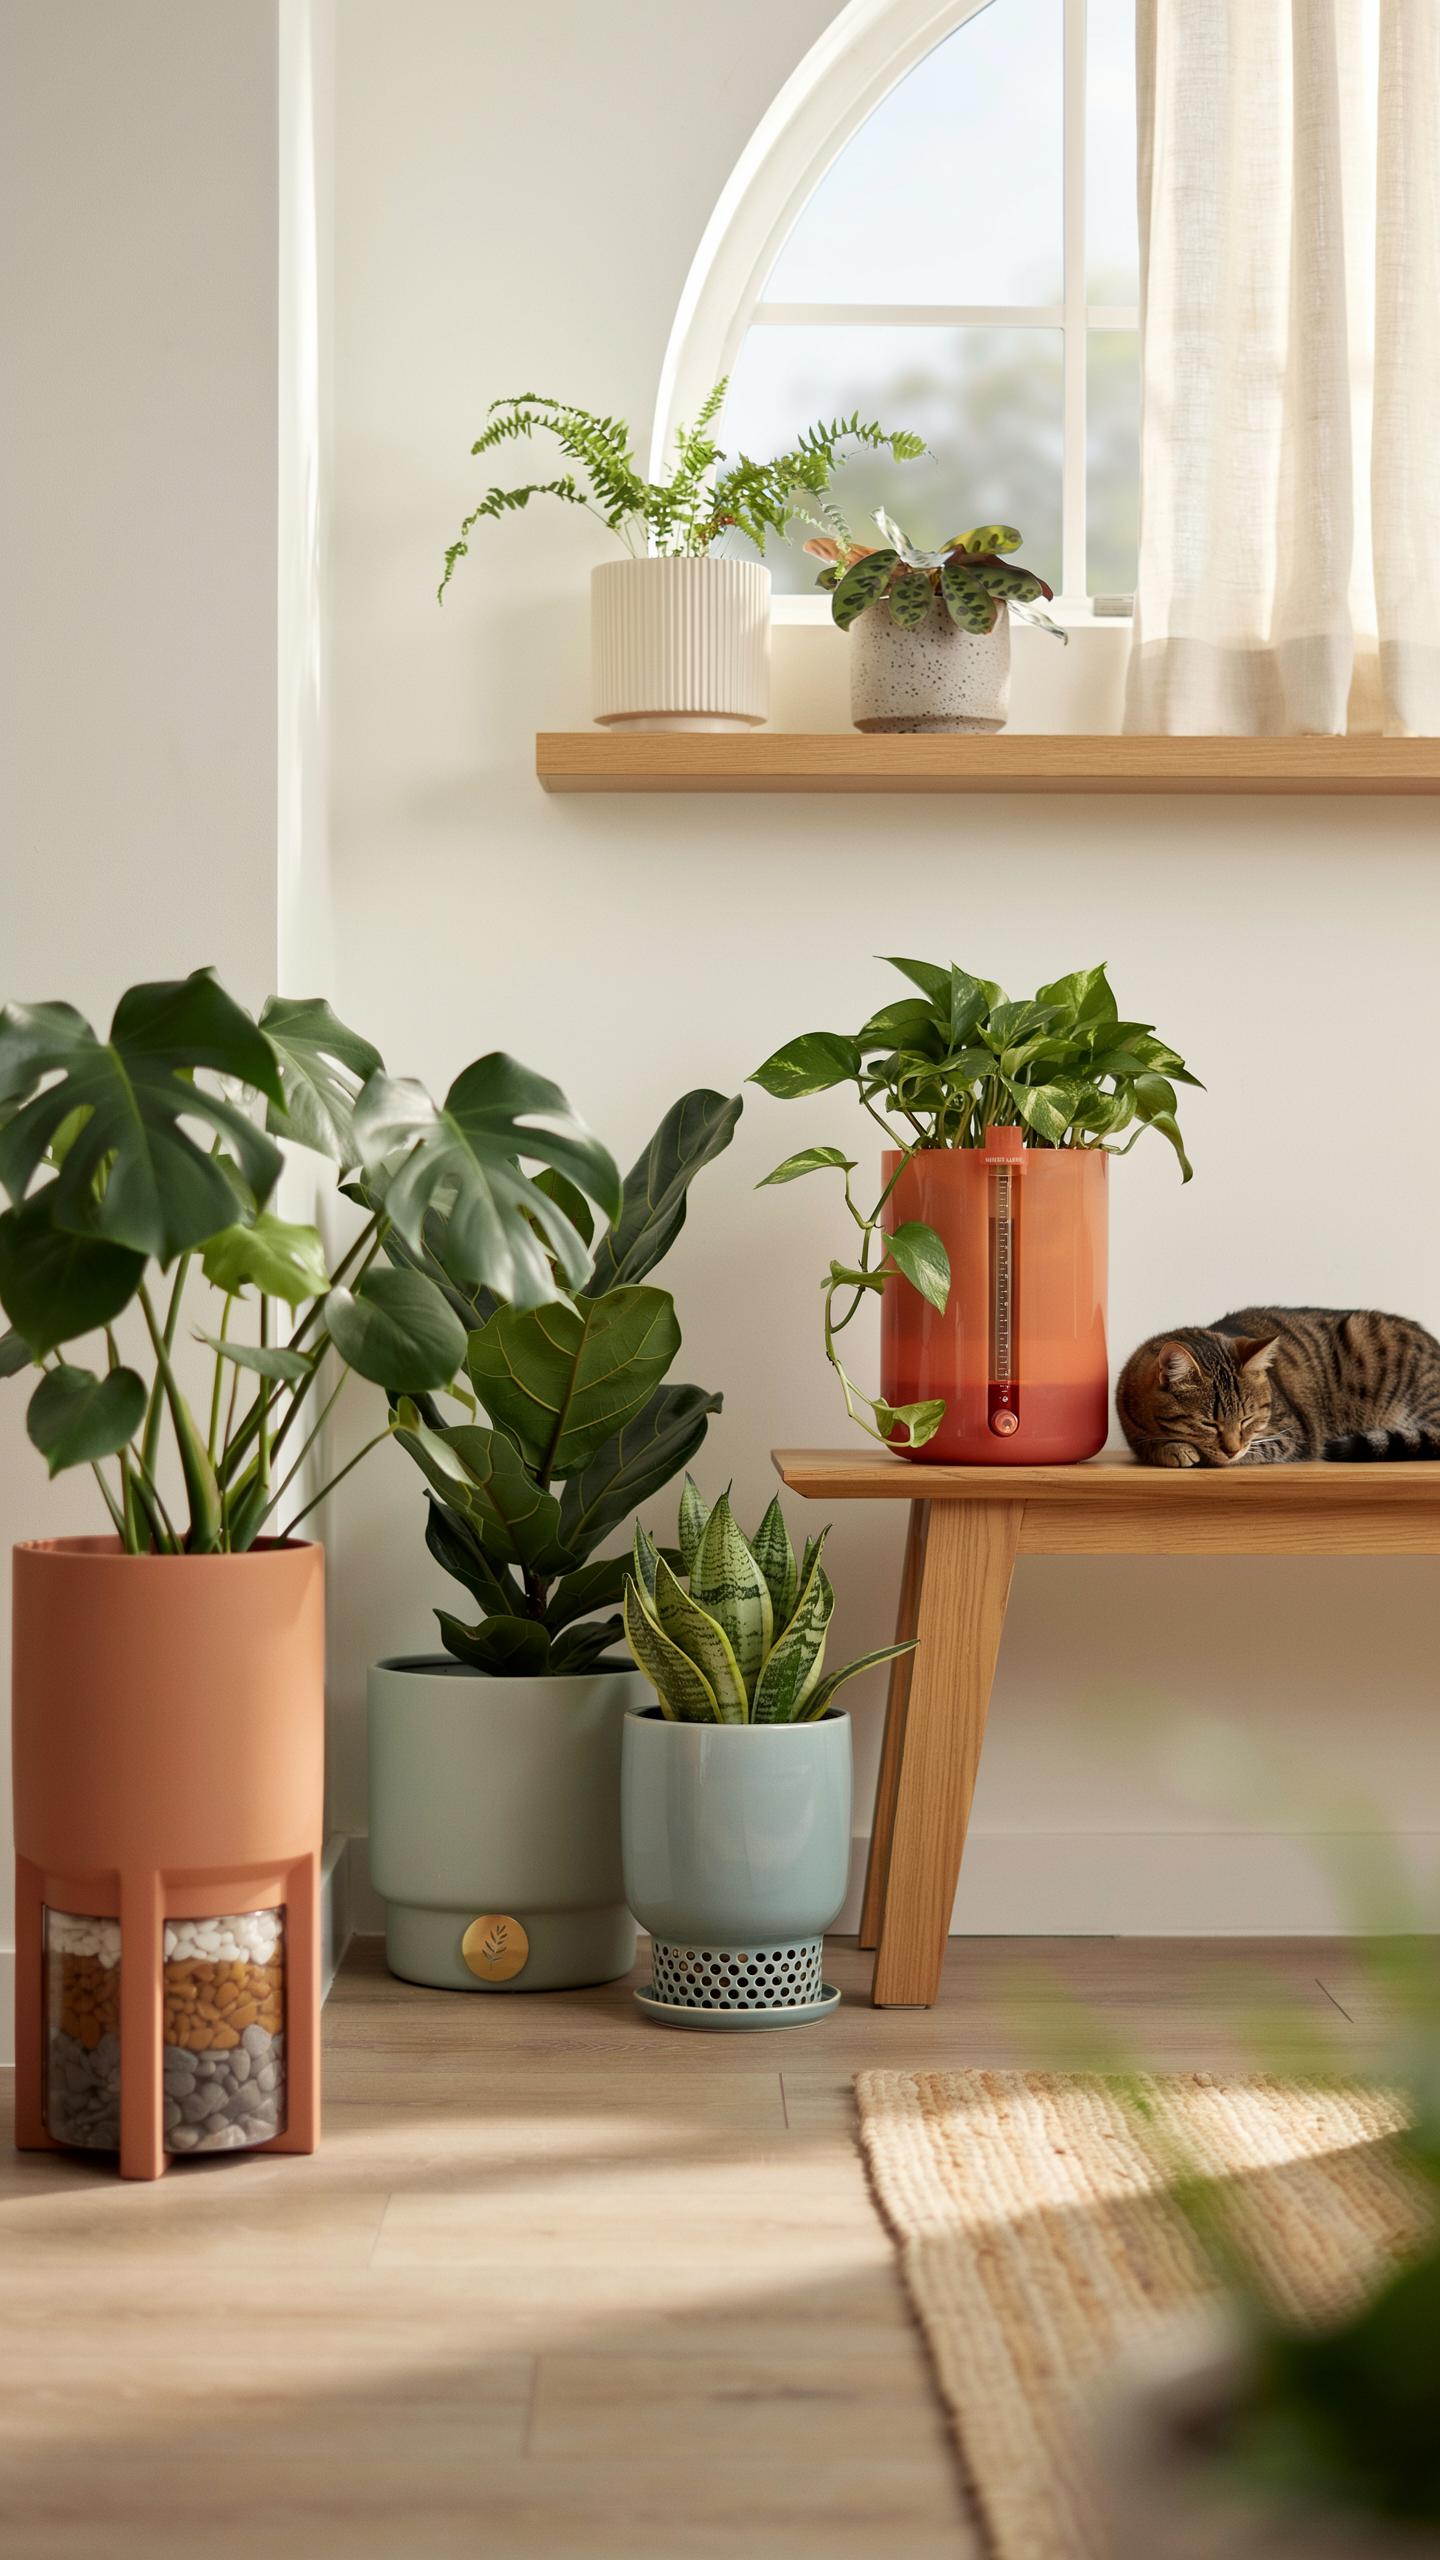
Choosing Planters With Built In Drainage Holes For Style And Function
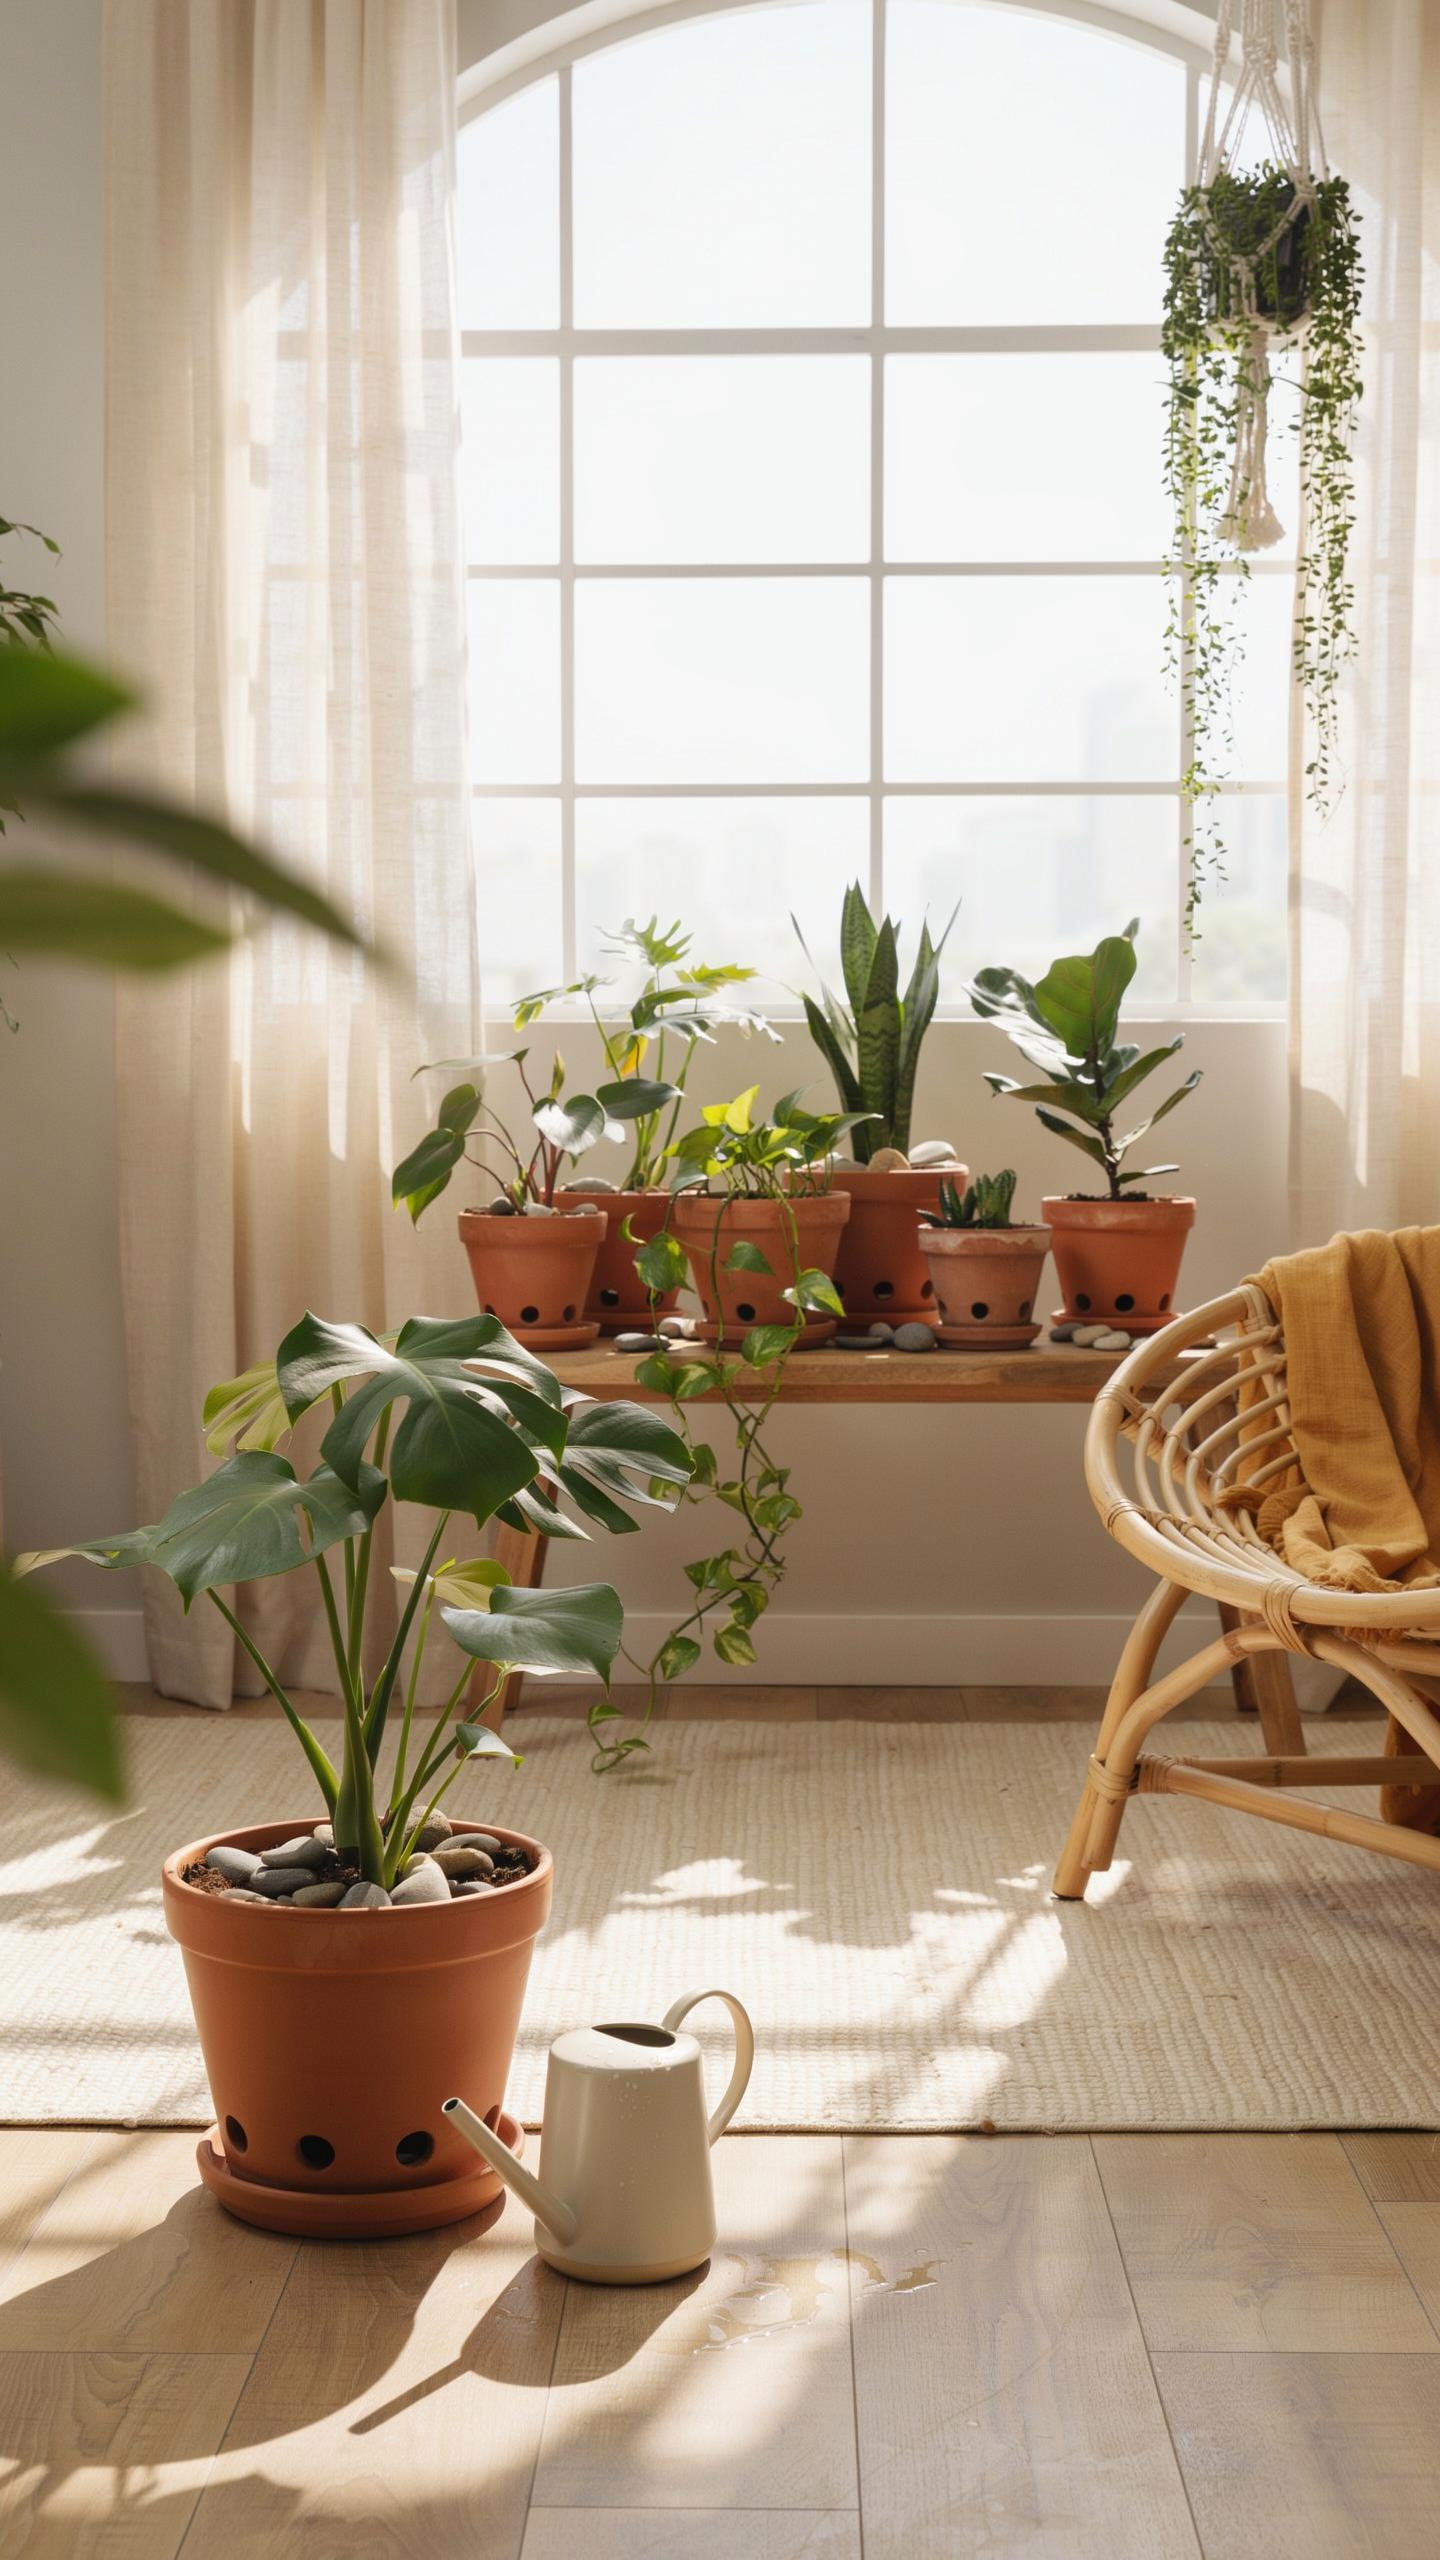
Expert gardeners select pots with pre-drilled holes to prevent root rot. This design choice allows gravity to pull excess water away from the soil. Modern ceramics often feature integrated trays that catch runoff while maintaining a sleek profile. You must ensure the hole size matches the container volume. Small holes clog easily with fine sediment. Targeted selection saves time and prevents plant death.
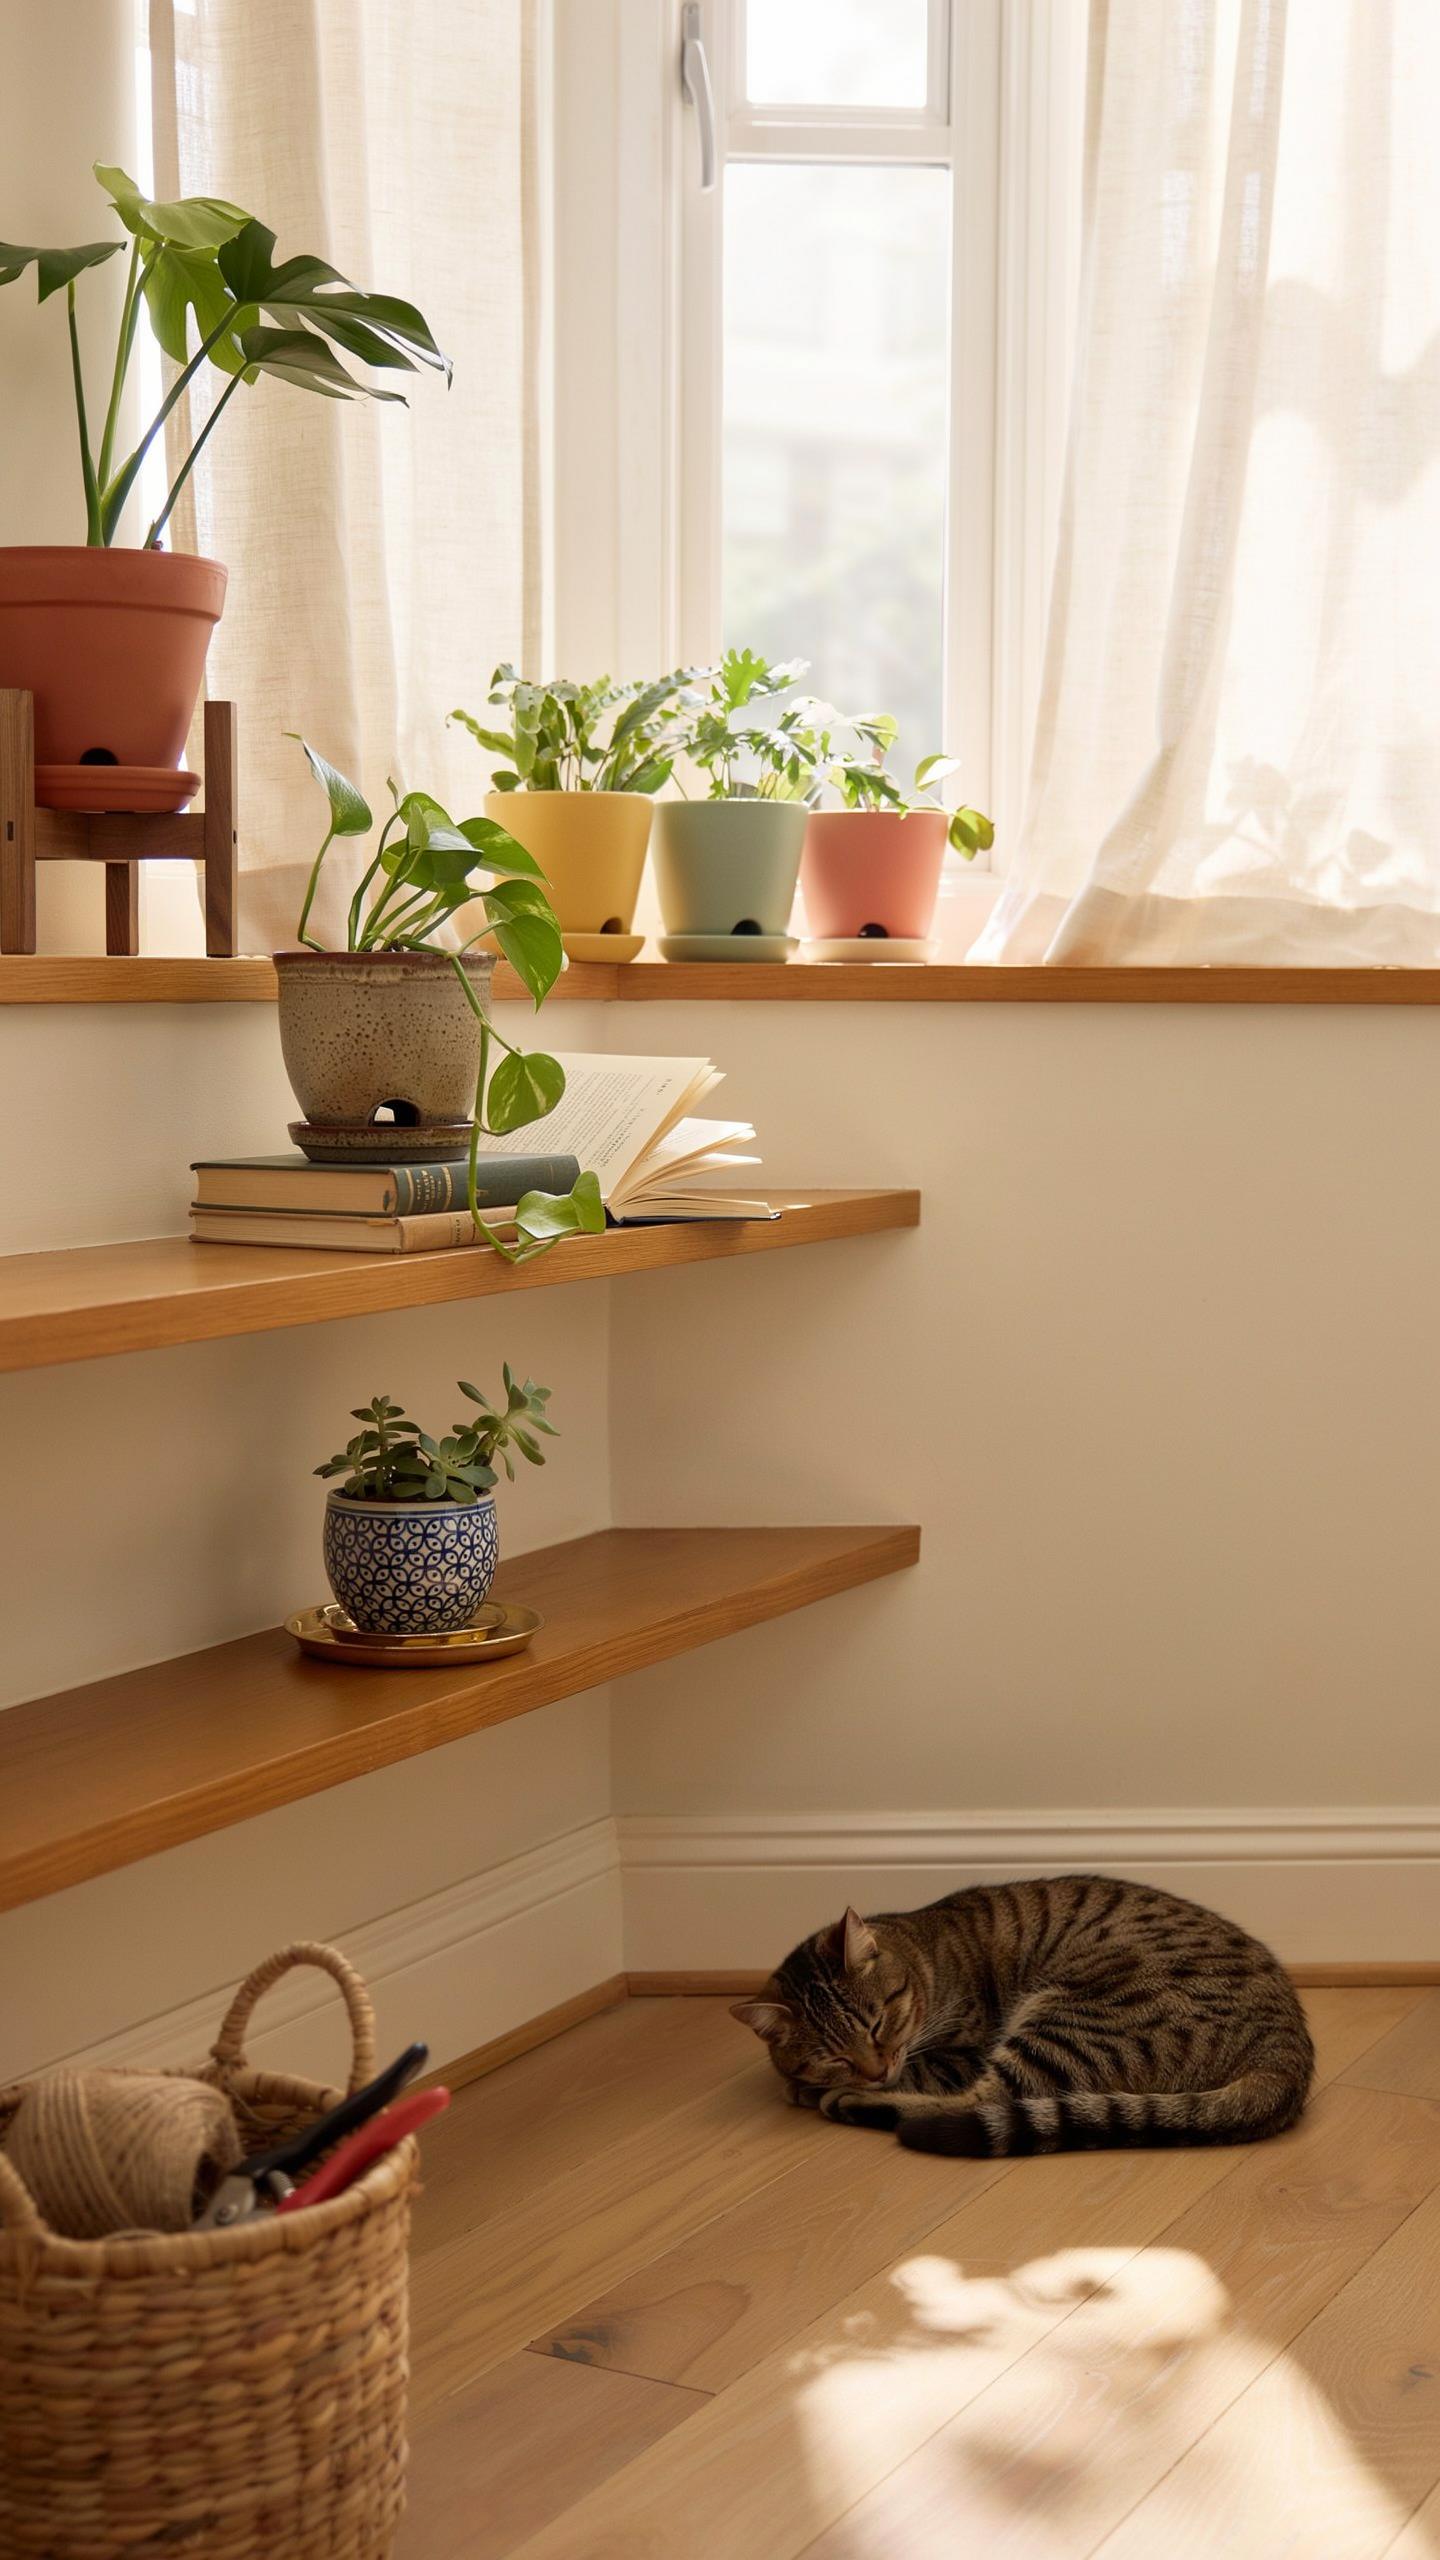
Mid-century modern planters often use elevated stands to hide the drainage exit. This design movement prioritizes clean lines and efficiency. Terracotta remains a standard because the material is porous and breathes through its walls. When buying glazed pots, check the bottom for at least one half-inch opening. Proper drainage holes remove the need for internal gravel layers. You get better soil volume and healthier root systems.
DIY Planter Upgrades That Improve Water Flow Without Sacrificing Decor
You can convert any decorative vessel into a functional planter with the right tools. Use diamond-tipped masonry bits for ceramic or glass containers to prevent cracking. Apply steady pressure and use water as a coolant during the drilling process. This tactical upgrade allows you to use vintage finds or high-end decor as viable homes for plants. It eliminates the limitation of retail options.
Standardize your drainage by adding mesh screens over newly drilled holes. This prevents soil loss while allowing water to exit freely. If you cannot drill the outer pot, use the cachepot method. Place a plastic nursery liner inside the decorative container. Elevate the liner using small stones or specialized pot feet inside the base. This creating a hidden reservoir that keeps the roots dry and healthy.
Best Drainage For Indoor Plants To Keep Your Living Space Lush
Top Soil And Aggregate Combinations That Promote Healthy Indoor Plant Drainage
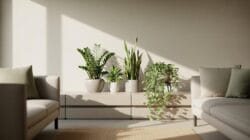
Standard potting soil holds too much water for indoor environments. You must mix organic matter with coarse aggregates to create air pockets. Use perlite or pumice to prevent soil compaction. These materials take up space and allow gravity to pull excess water through the pot. Without these additives, soil particles stick together. This creates a muddy environment that suffocates roots and kills your greenery.
Experienced growers avoid using a layer of rocks at the bottom of the pot. This technique raises the perched water table and increases root rot risk. Instead, incorporate grit directly into the soil mix. Use a ratio of one part drainage agent to three parts organic soil. This balance ensures that moisture moves quickly toward the exit holes. It keeps the root zone aerated and prevents fungal growth.
A garden, even in a small jar, is a place where your soul can find peace, but remember that even the smallest roots need to breathe to keep the home heart beating.
How Pot Size And Material Affect Drainage Efficiency For Indoor Plants
Pot material dictates how fast soil dries out. Porous materials like terracotta pull moisture away from the soil through evaporation. This provides a safety net against overwatering. Non-porous materials like plastic or glazed ceramic trap all moisture inside the vessel. These require more grit in the soil mix to compensate. Choose your material based on how often you intend to water the plants.
Size also impacts water management inside the container. Large pots hold more soil and retain moisture longer than small ones. If a pot is too big for the root system, the soil stays wet for weeks. This stagnant water creates a dead zone where oxygen cannot reach the roots. Match the container size to the current root ball. Incremental sizing prevents water from sitting unused in the bottom of the pot.
What To Put In Pots For Drainage Layers Materials And Smart Choices
The Best Natural And Commercial Materials To Layer At The Bottom Of Your Pots
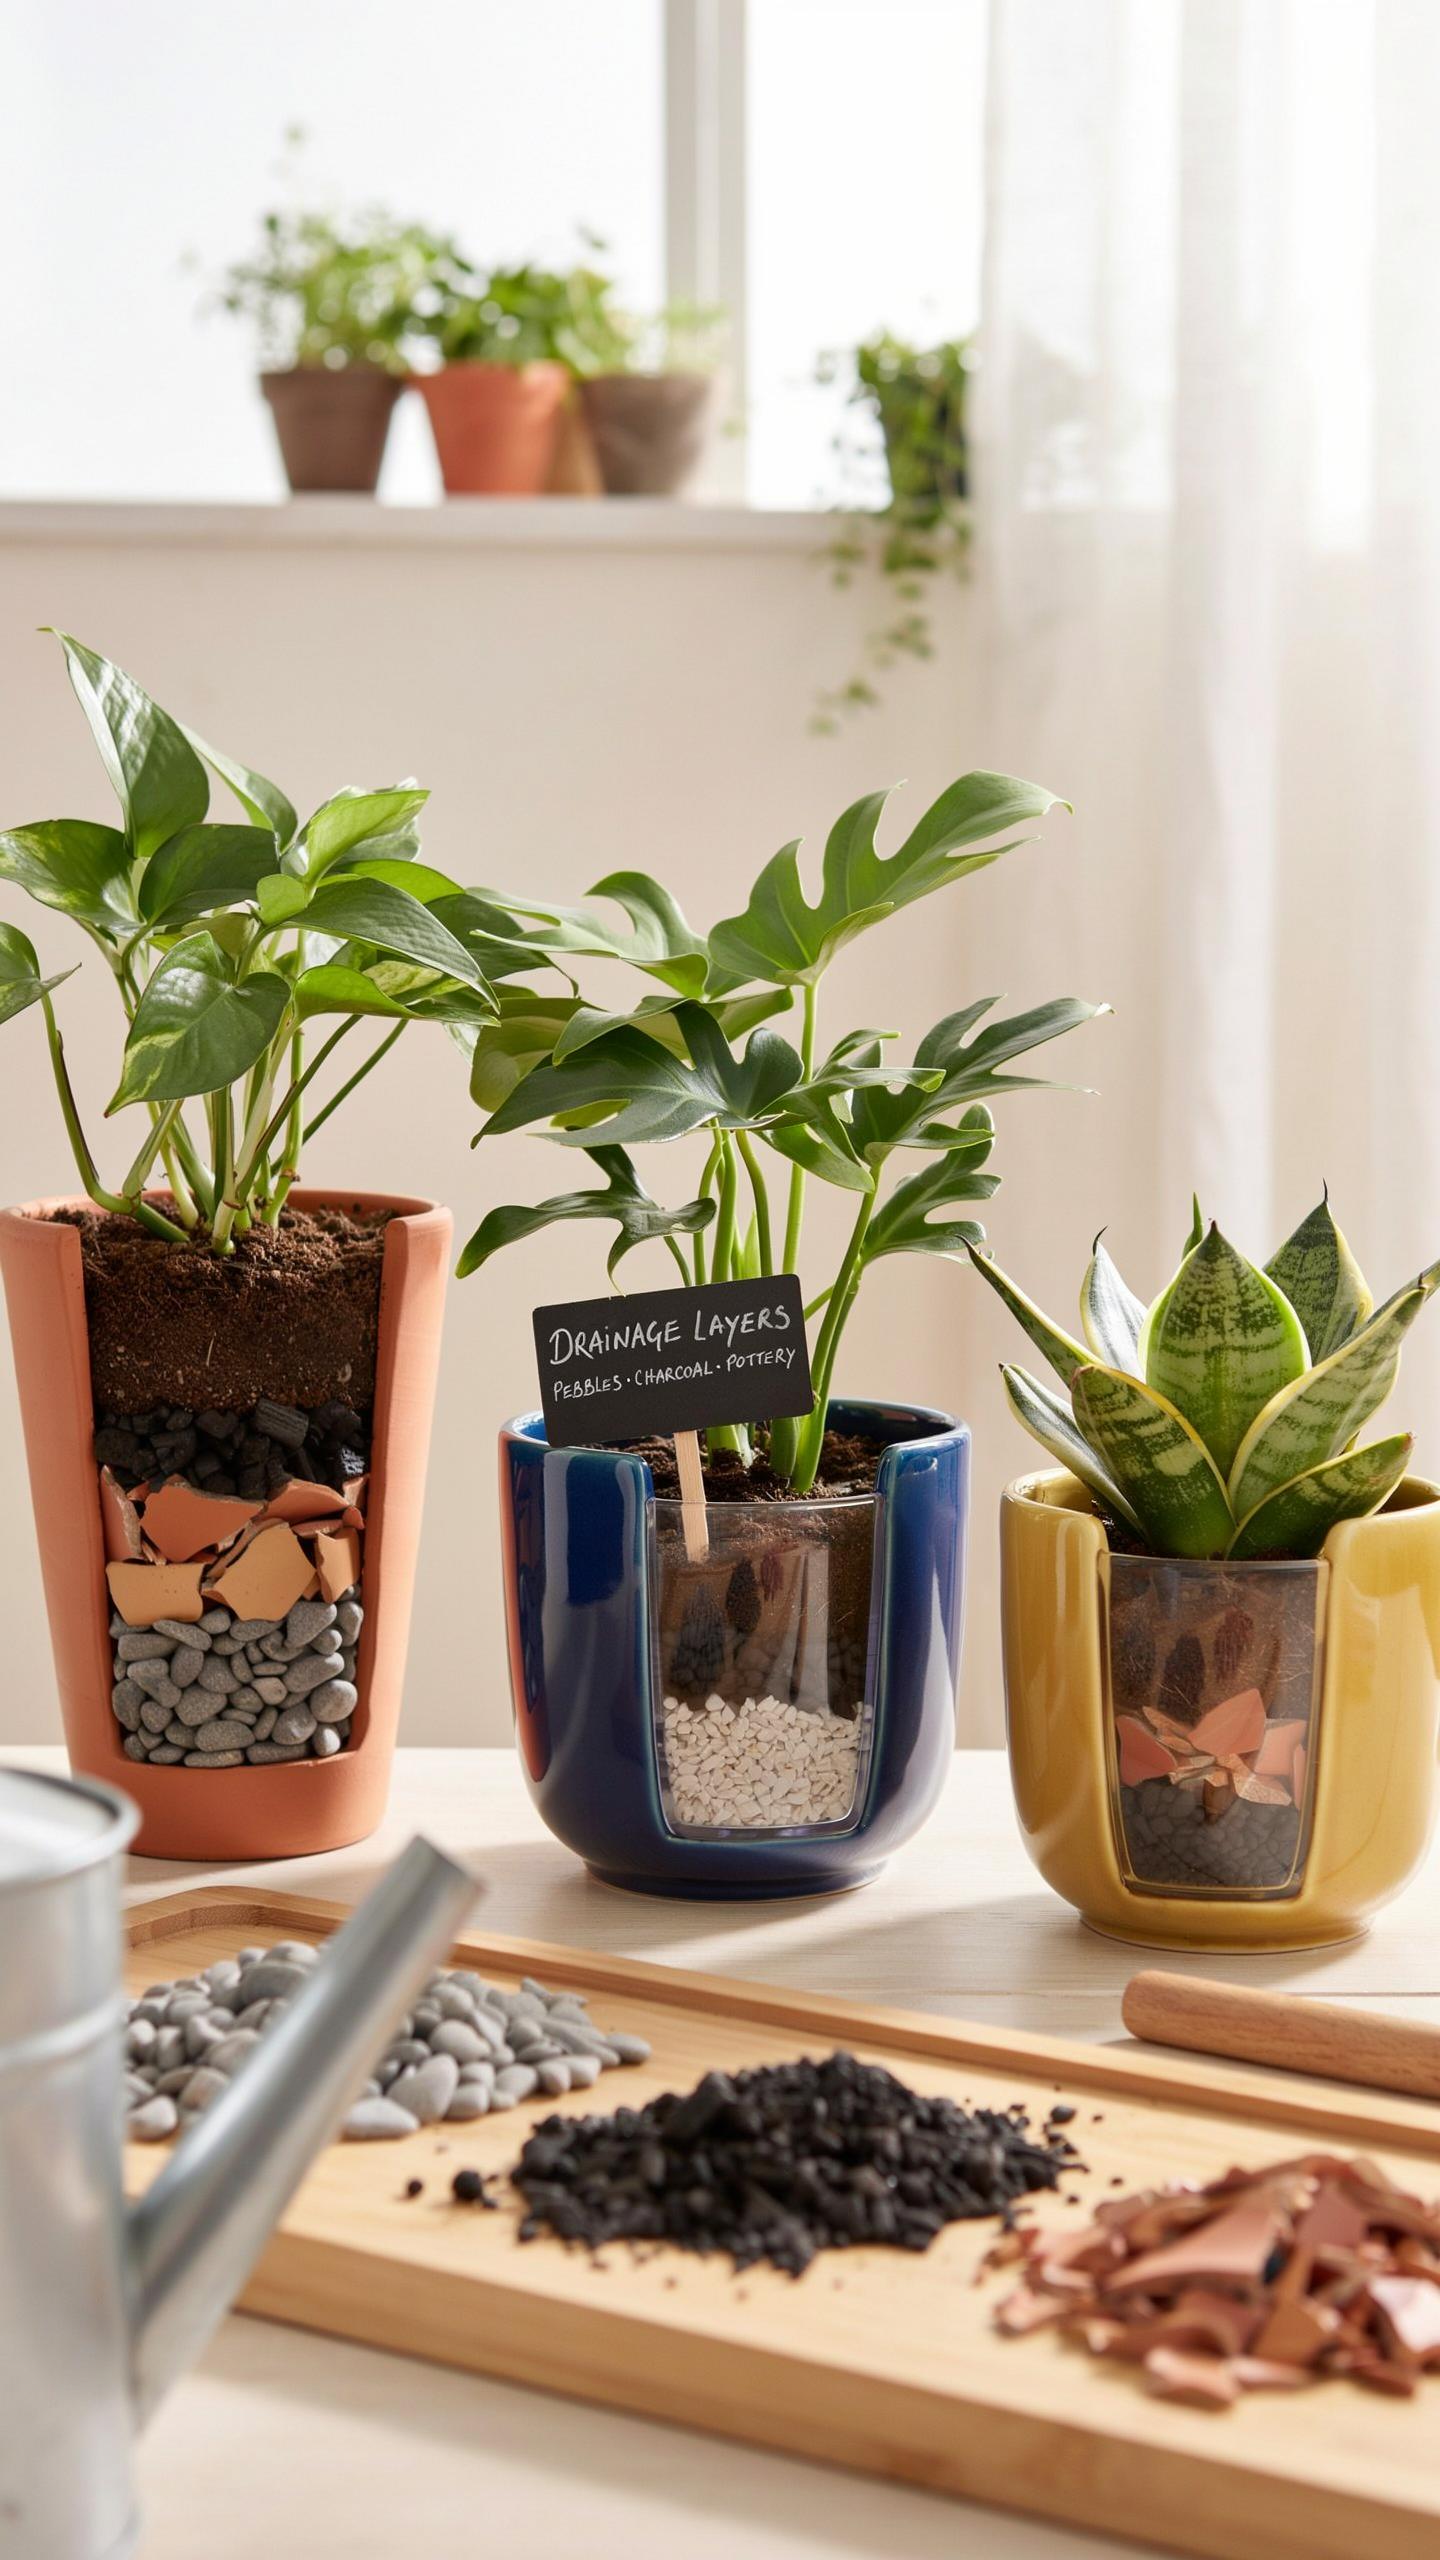
Choosing the right materials for container bottoms determines how effectively water exits the vessel. Proper selection prevents soil compaction and keeps the drainage hole clear. You must use materials that do not decompose or trap stagnant water. Strategic placement of these items creates a path for excess moisture to escape. This protects roots from rot and ensures air flows through the medium.
- Landscape Fabric: Place a small piece over the drainage hole. It prevents potting soil from washing out while allowing water to pass through freely. It keeps your patio clean and saves your soil volume over time.
- Fine Mesh Screen: Use plastic or metal window screening at the base. This material stops soil loss and prevents pests like fungus gnats from entering through the bottom holes. It is a durable and reusable professional solution for all containers.
- Pottery Shards: Position curved pieces of broken terracotta over the hole with the convex side up. This creates a protected void that stops soil from plugging the exit point. It is a traditional method that uses recycled garden waste effectively.
- Coffee Filters: Insert a paper filter at the bottom of small indoor pots. These are cheap and effectively hold soil in place during the first few waterings. They eventually break down but by then the soil has settled and compacted.
- Plastic Grids: Commercial drainage disks fit various pot diameters. These raised platforms create a permanent air gap between the soil and the pot bottom. They provide the most consistent drainage performance for high-value plants and expensive decorative containers.
Avoid using organic matter like wood chips or straw at the bottom of pots. These materials rot and compress, which eventually blocks all water movement. Stick to inert materials that maintain their shape under the weight of wet soil. Professional growers focus on keeping the drainage hole unobstructed rather than filling the pot with heavy debris. Solid drainage starts with a clean exit path.
Why The Gravel Myth Persists And What Research Actually Recommends Instead
Gardening tradition suggests adding a layer of gravel or stones to the bottom of pots to improve drainage. This advice is factually incorrect and harms plant health. Physics proves that water does not move easily from fine-textured soil into a coarse layer of rocks. This creates a perched water table where moisture sits directly against the roots. This stagnation causes root rot.
Research from soil scientists confirms that a uniform soil column drains better than a layered one. The interface between soil and gravel creates a barrier that keeps the upper layer saturated. To ensure health, fill the entire pot with high-quality potting mix from top to bottom. If a pot is too heavy, use inert spacers like empty plastic jugs. This keeps the drainage path clear and light.
How To Add Drainage To A Pot A Practical Guide For Every Skill Level
Step By Step Methods For Drilling Or Modifying Pots To Add Drainage Holes
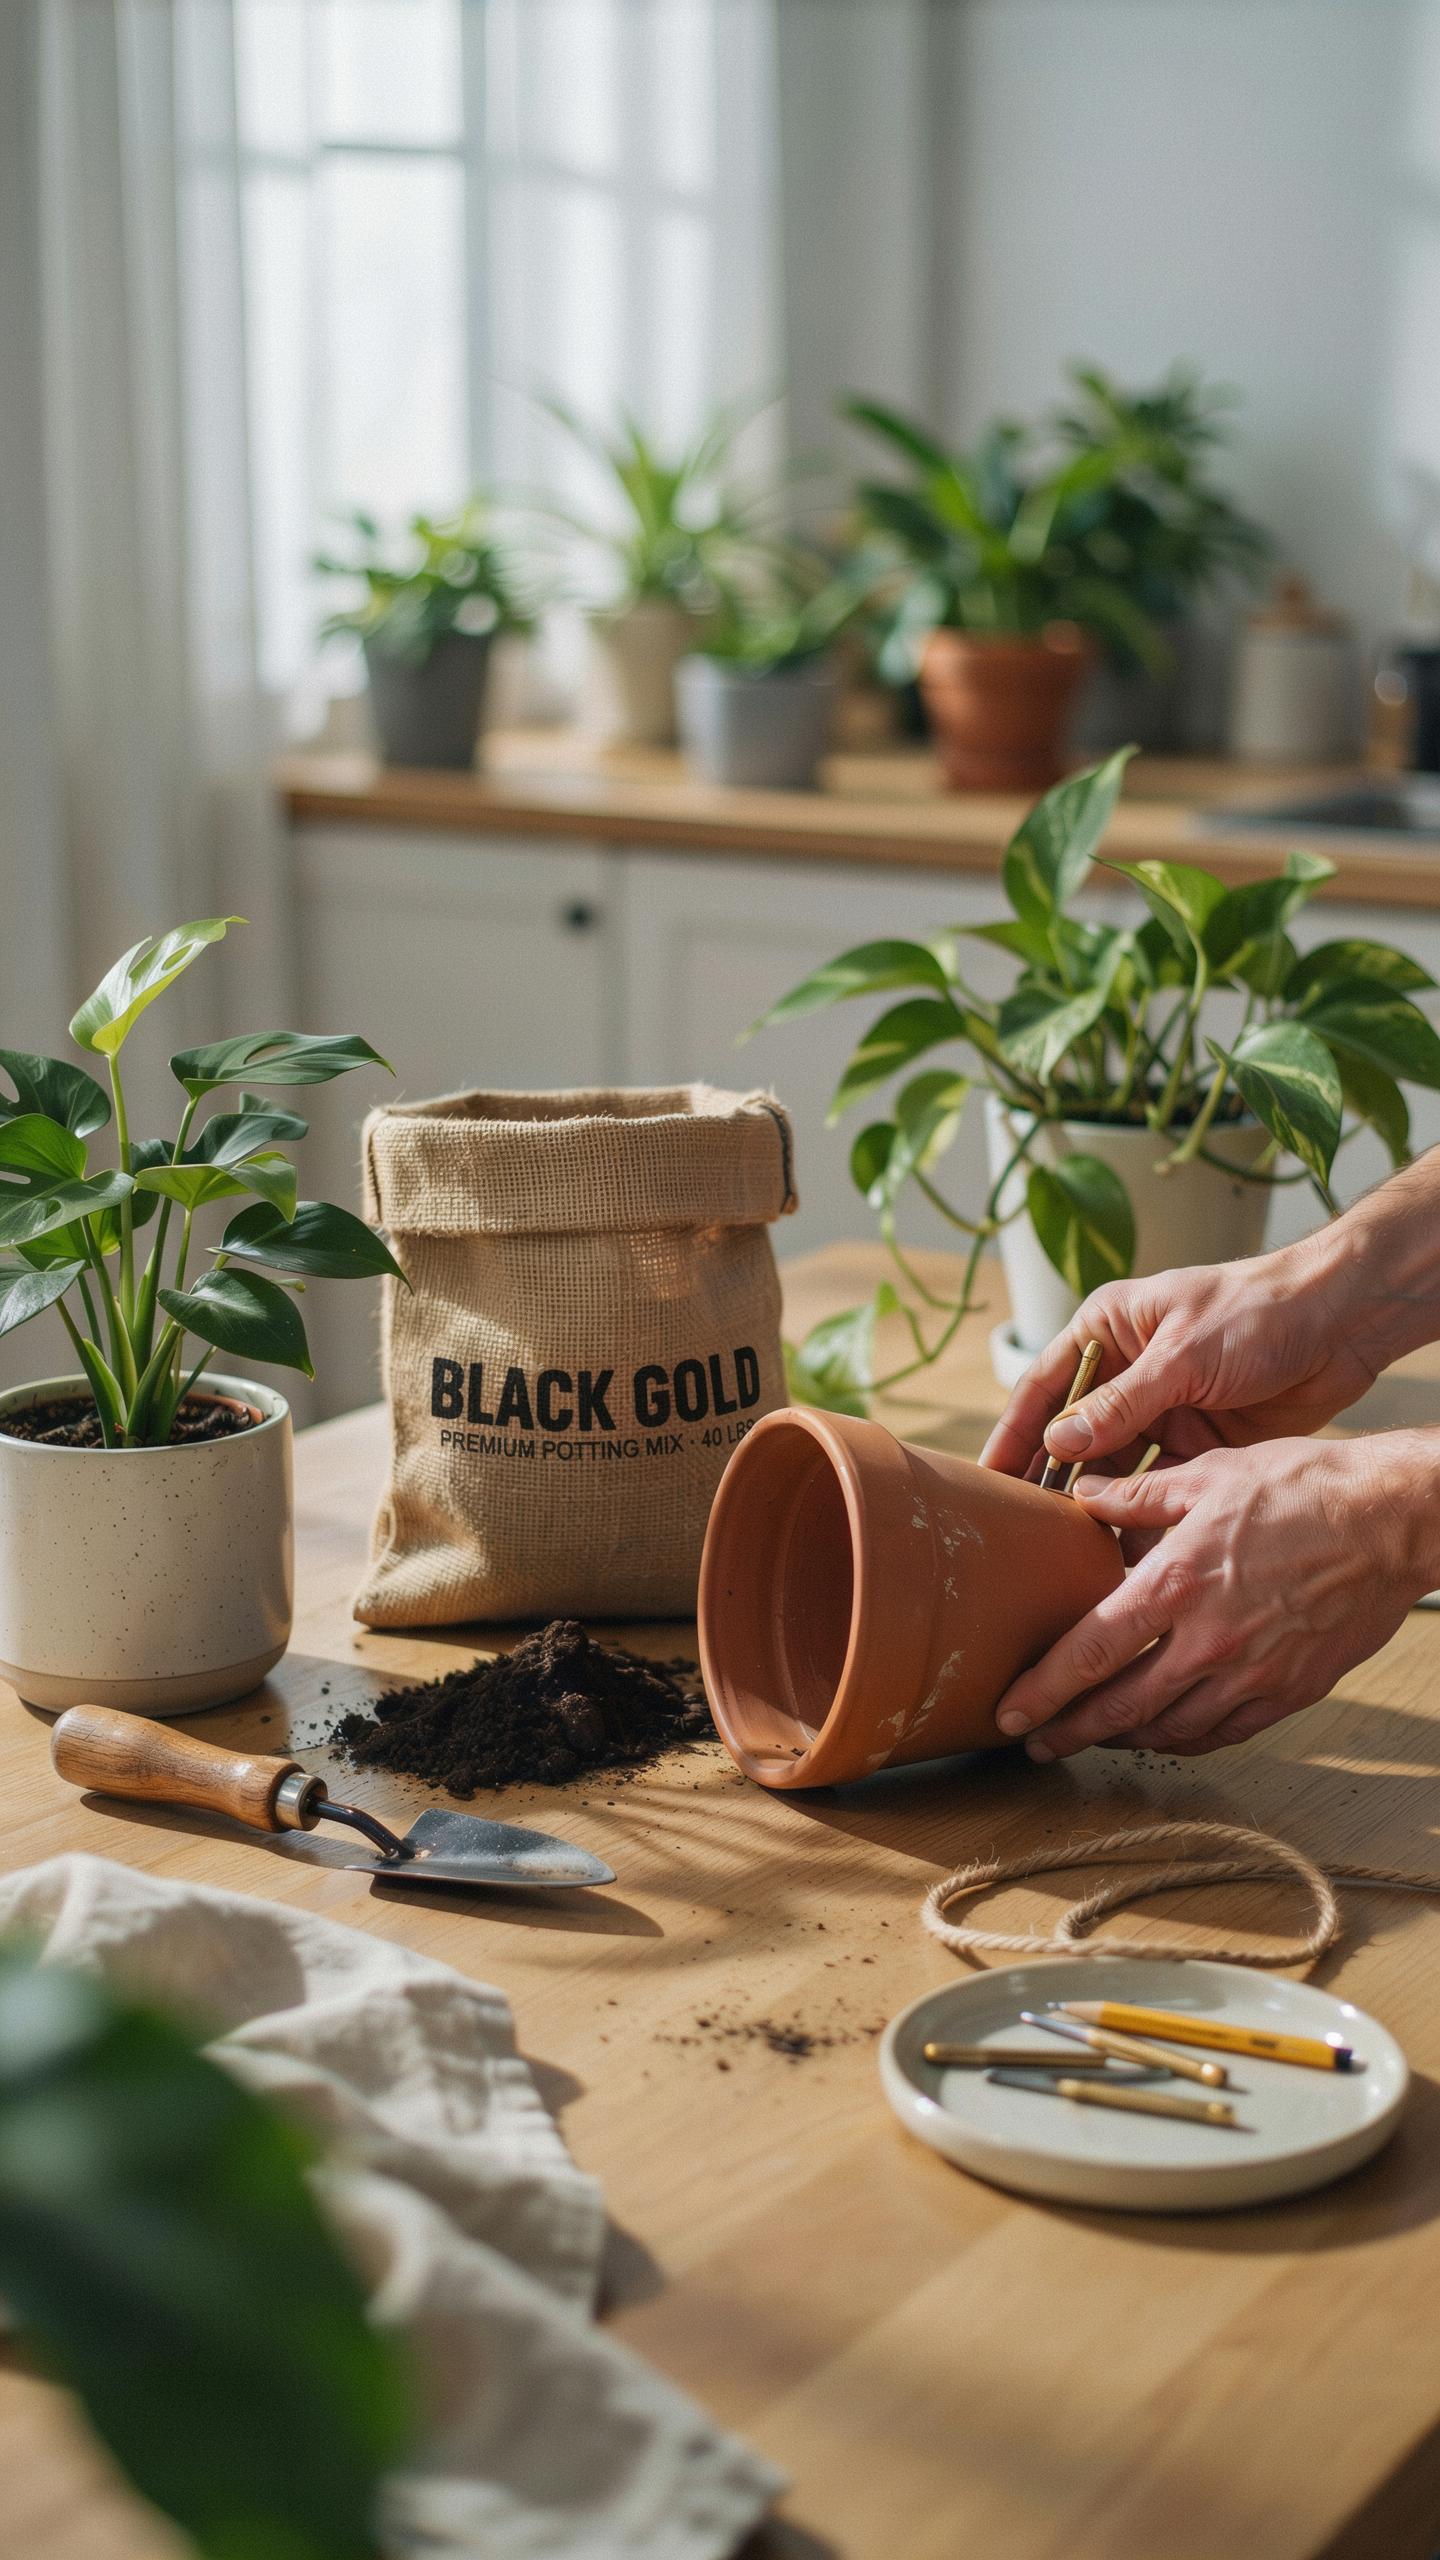
Standard decorative pots often lack exit points for excess water. You must create these holes to prevent root rot and soil saturation. Use a power drill with a bit matched specifically to your pot material. Work at low speeds to maintain control and prevent heat buildup. High heat can crack fragile materials like ceramic or glass. Always wear eye protection when drilling hard surfaces.
- Masonry Bits: Use these carbide-tipped tools for unglazed terracotta and stone. They grind through the material rather than cutting it. Apply firm and steady pressure. Keep the surface damp with a spray bottle to reduce dust and heat.
- Diamond Core Bits: These bits are essential for glazed ceramic and porcelain. Standard bits will slip or shatter the glaze. Start the hole at a forty-five-degree angle to create a groove. Slowly move the drill to a vertical position once the bit bites.
- Hole Saws: Use these for thin plastic or wooden containers. They create clean and large openings quickly. Secure the pot to a stable surface so it does not spin during the process. Run the drill at high speed for smooth edges on plastic.
- Step Bits: These work best for metal containers like galvanized steel or copper. They allow you to increase the hole size incrementally without tearing the metal. Use a center punch first to mark your spot. This prevents the drill bit from wandering.
- Wood Spade Bits: Use these only for timber or thick wooden planters. They clear large amounts of material fast. Place a scrap piece of wood inside the container to prevent the exit side from splintering. This keeps the interior of your planter structurally sound.
Modify the number of holes based on pot diameter. A six-inch pot needs one central hole at least half an inch wide. Larger containers require multiple holes spaced evenly across the base. If a pot sits flush against the ground, the water cannot escape. Add feet or risers to lift the pot. This allows gravity to pull the water away from the roots effectively.
Using Drainage Trays And Liners Effectively To Protect Floors And Furniture
Trays collect runoff to stop water damage on wood floors and rugs. Choose a tray made of non-porous material like plastic, metal, or glazed ceramic. Unsealed terracotta saucers will allow moisture to seep through to the surface below over time. This leads to hidden mold and wood rot. Always check under your trays once a week to ensure the area stays completely dry.
Do not let the pot sit directly in the collected water. Stagnant water in the tray reabsorbs into the soil through capillary action. This keeps the roots too wet and prevents oxygen from reaching them. Place river stones or pot feet inside the tray. This lifts the bottom of the pot above the water line. You get the benefit of drainage without the mess of a spill.
How To Pot A Plant Without Drainage And Keep It Healthy Long Term
Selecting The Right Plants That Tolerate Low Drainage Environments
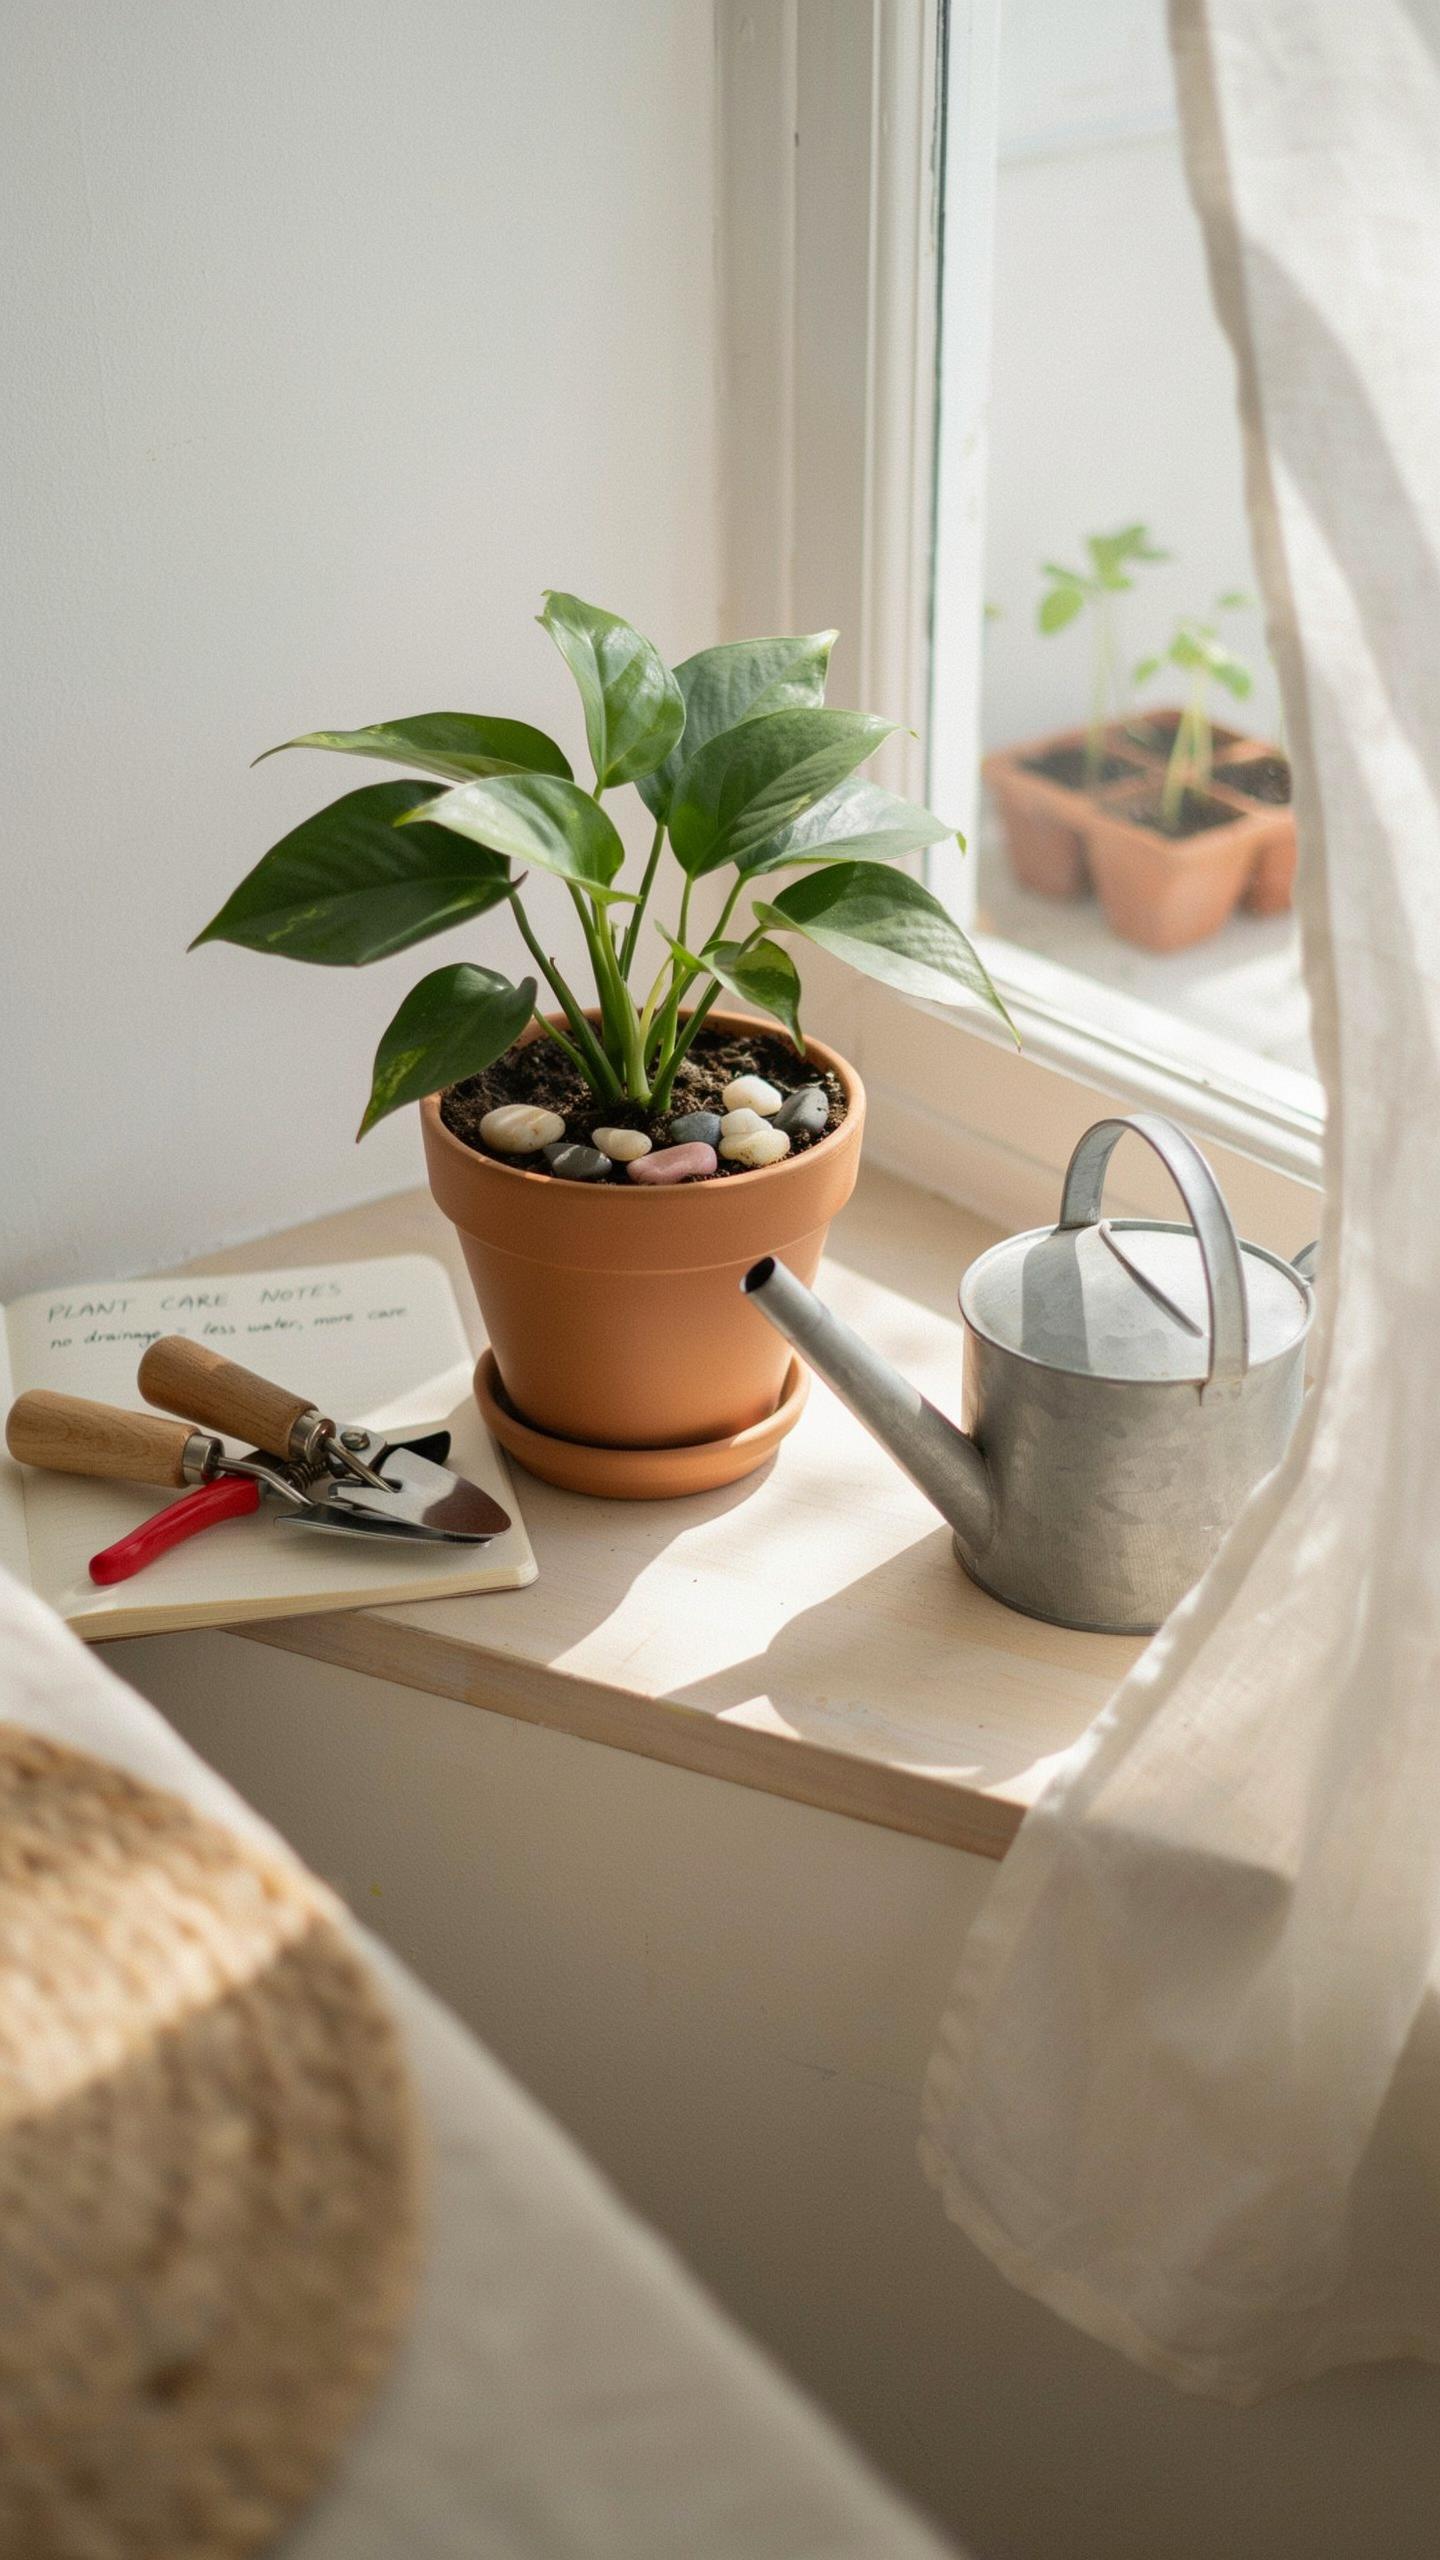
Choose plants that naturally thrive in boggy or high-moisture settings. Most houseplants die when roots sit in stagnant water. Scindapsus and Pothos varieties handle moisture fluctuations better than most. Avoid desert plants like cacti or succulents in sealed pots. They evolve to live in dry sand. They will rot quickly if water pools at the bottom. Start with species known for high resilience to wet feet.
Focus on plants like Peace Lilies or Spider Plants for successful sealed-pot gardening. These species tolerate consistent dampness and survive lower oxygen levels in the root zone. Snake plants can work only if you control water strictly. Do not use sensitive tropicals with high oxygen requirements. Matching the plant biology to the lack of drainage reduces the risk of root rot. Select established plants with strong root systems for better survival.
Watering Techniques And Soil Strategies For Pots Without Drainage Holes
Precision watering is the only way to keep a sealed pot healthy. You cannot flush out excess salts or water from these containers. Use a moisture meter to check the bottom of the pot before adding more. Never saturate the entire soil mass. Add water in small amounts to keep the top layers moist. Stagnant water at the base creates an anaerobic environment that kills the plant.
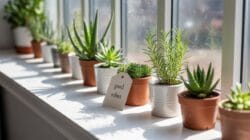
Modify your soil mix to manage water better without holes. Mix in extra perlite or pumice to create air pockets. These gaps allow roots to breathe even when damp. Do not use a bottom layer of gravel for drainage. Research proves this raises the perched water table and drowns roots faster. Use charcoal at the base to filter impurities and keep the soil fresh. Monitor the weight of the pot to judge water levels.
Potted Plant Drainage Ideas That Blend Functionality With Cozy Home DCor
Decorative Cachepots And Double Potting As A Stylish Drainage Solution
Double-potting solves the conflict between aesthetics and plant health. You place a basic plastic nursery pot inside a decorative outer vessel called a cachepot. The nursery pot must have multiple drainage holes to prevent water buildup. This method allows you to use high-end containers that lack drainage holes. It keeps your living space clean by containing excess water within the secondary waterproof shell.
Manage water levels by removing the inner pot during irrigation. Let the plant drain completely in a sink before returning it to the cachepot. Alternatively, place a layer of gravel or a plastic riser at the bottom of the outer pot. This keeps the nursery pot above the standing water. Use this technique for large indoor plants to avoid heavy lifting and messy spills on flooring.
How To Match Drainage Friendly Planters With Your Interior Design Style
Select materials that align with established design movements while providing structural drainage. Mid-Century Modern interiors benefit from ceramic pots with wooden stands and built-on saucers. Industrial themes pair well with concrete or galvanized steel containers. Ensure these metal options have pre-drilled holes to prevent root rot. Unglazed terracotta suits rustic or Mediterranean styles because the porous clay breathes. This material helps evaporate moisture from the soil.
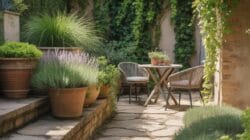
Match the drainage tray to the planter finish for a seamless look. Integrated saucers snap onto the bottom of plastic or ceramic pots. This design maintains a clean silhouette in minimalist spaces. For Scandinavian styles, use matte white or wooden vessels with matching catch plates. Always check that the tray depth can hold the expected runoff. Functional drainage does not require sacrificing the visual harmony of your home.
How To Create Drainage In A Pot For Outdoor And Balcony Container Gardens
Adapting Container Drainage Strategies For Outdoor Weather And Rain Exposure
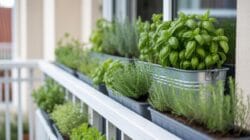
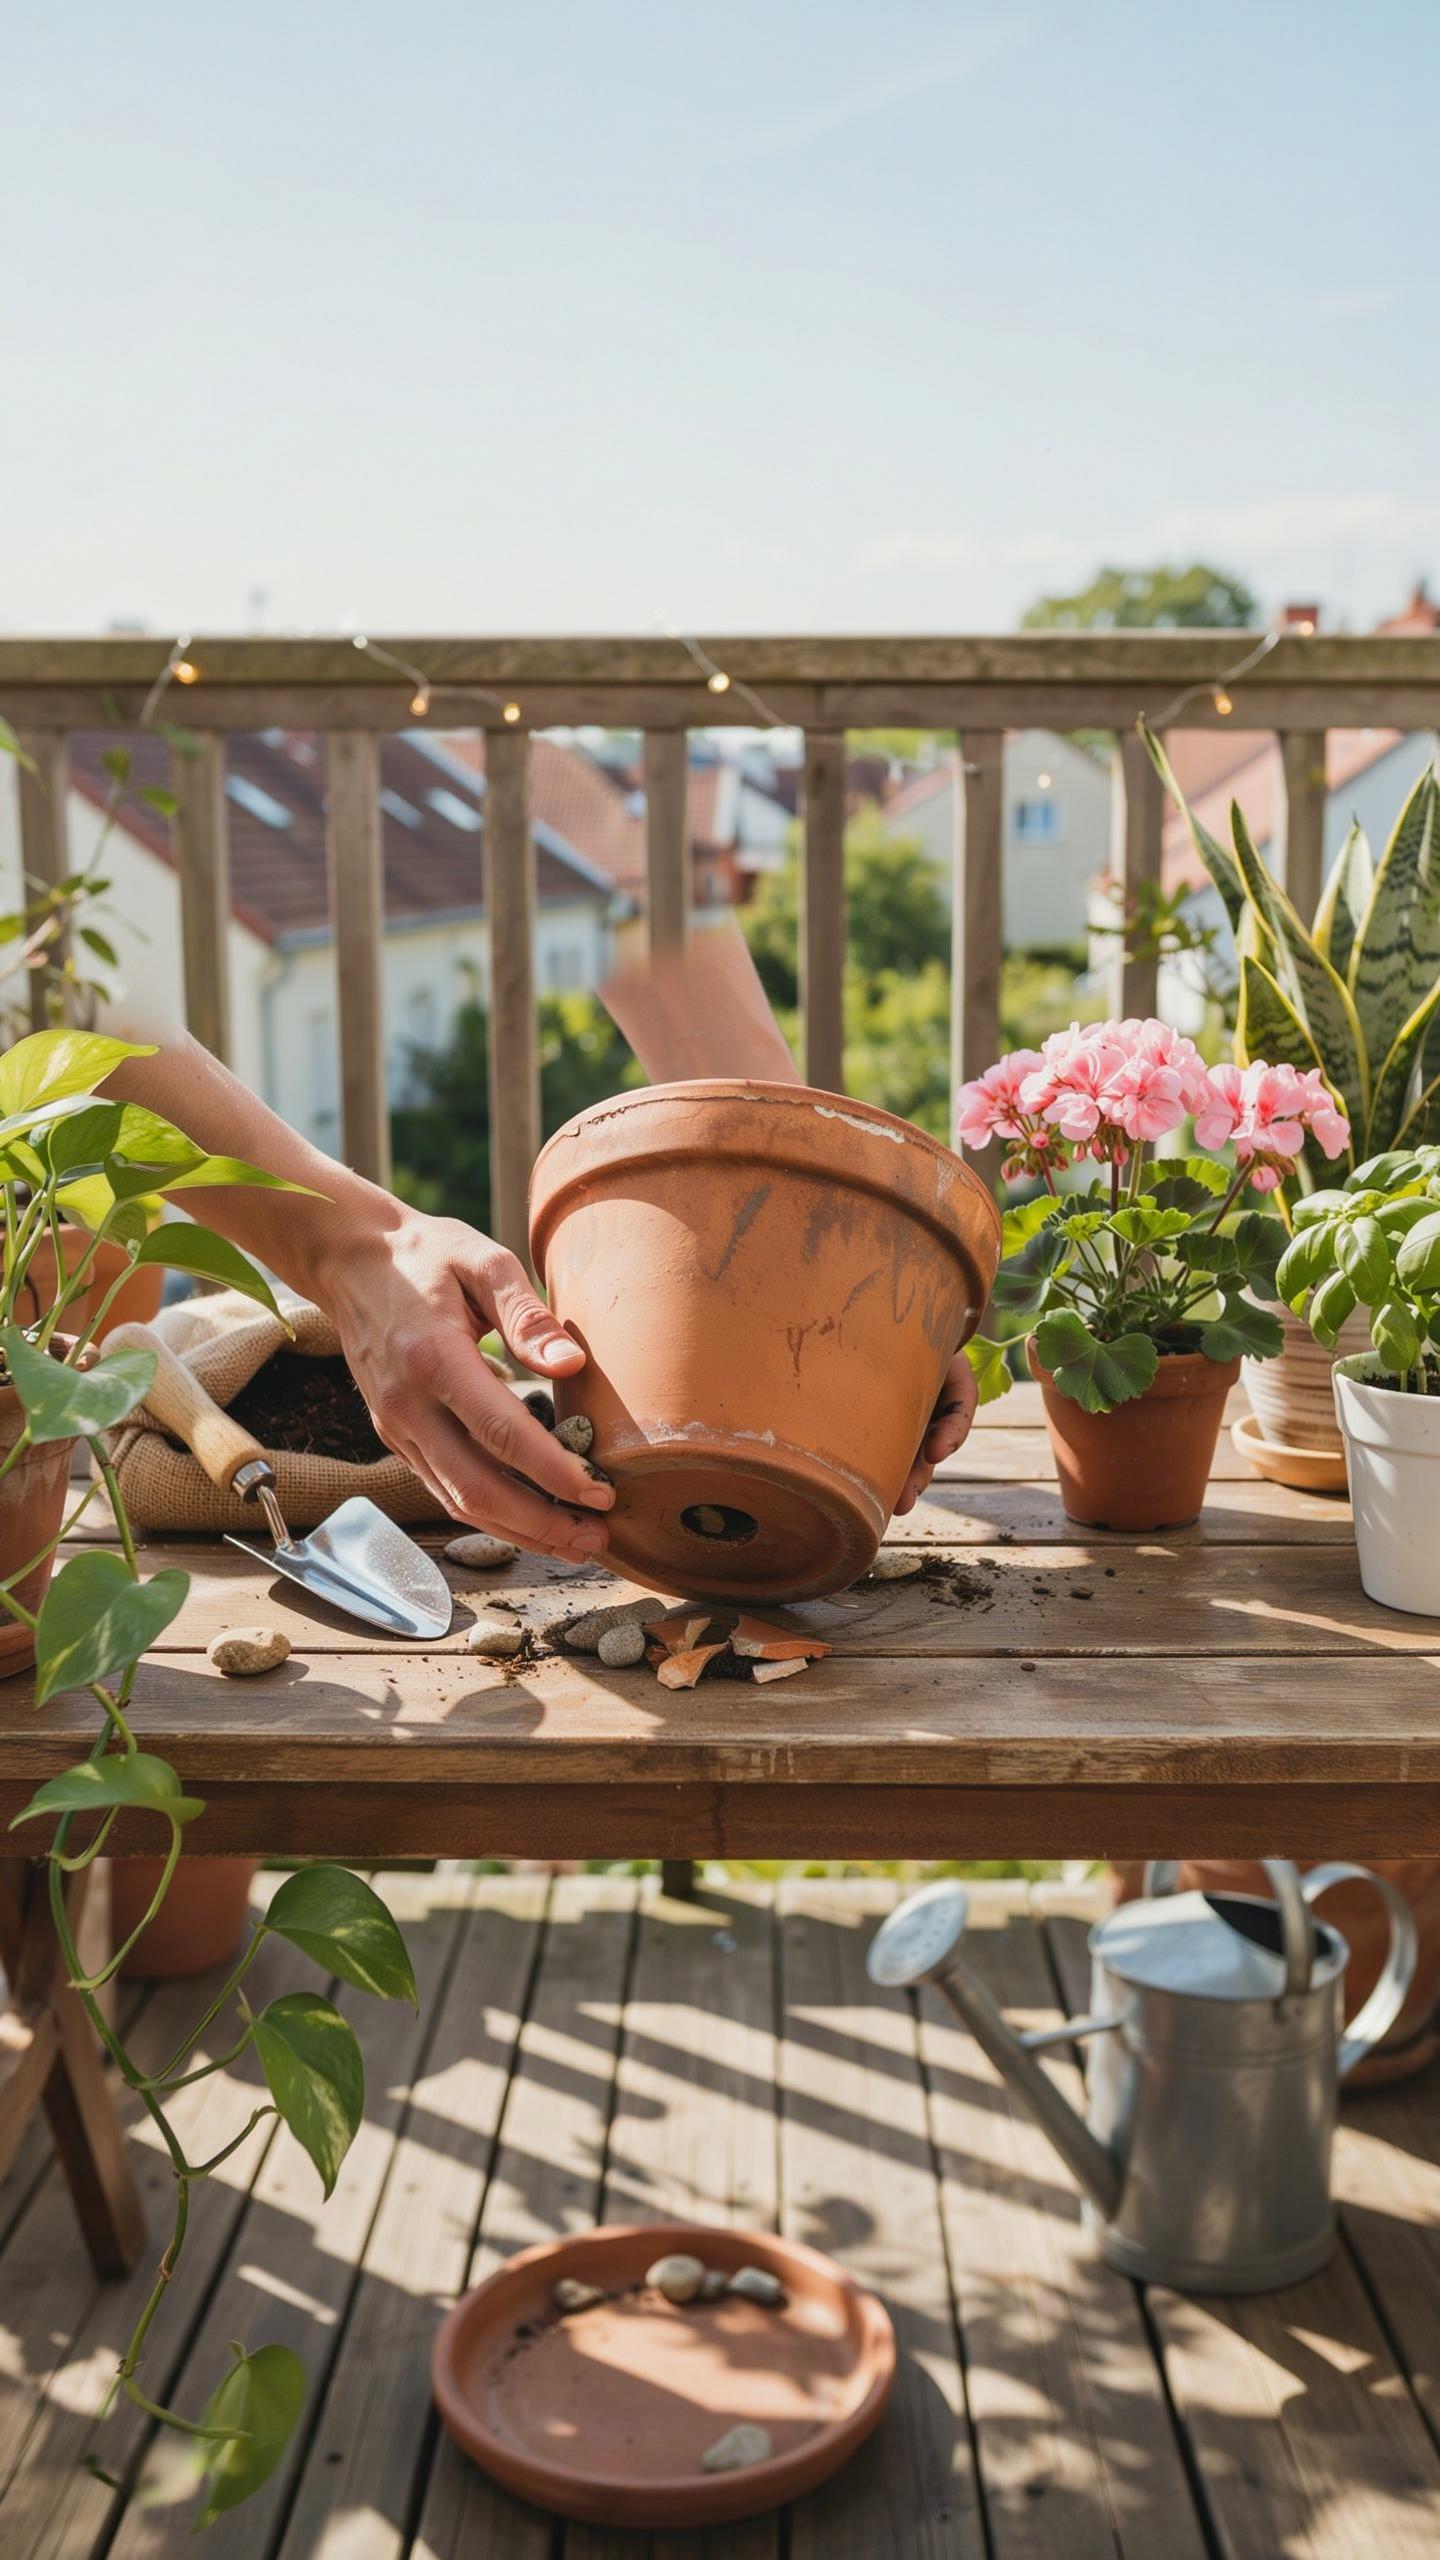
Outdoor pots face heavy rain that saturates soil quickly. You must ensure water exits the container at the same rate it enters. Elevate your pots using feet or bricks to prevent a vacuum seal against the ground. This elevation allows gravity to pull excess moisture out of the drainage holes. Without air space at the bottom, water sits and rots the roots.
Balcony gardens require extra precision to avoid flooding neighbors or damaging building materials. Use saucers to catch runoff, but empty them immediately after a storm. Stagnant water in saucers re-enters the soil and causes fungal growth. Choose pots with multiple small holes rather than one large center hole. This design distributes water exit points more evenly across the container base.
Seasonal Drainage Adjustments To Protect Container Plants Year Round
Winter weather poses a threat to pot structural integrity and root health. Wet soil expands when it freezes and cracks ceramic or clay containers. Switch to fiberglass or heavy duty plastic in cold climates. Reduce watering frequency as evaporation rates drop in low light. Ensure the drainage holes remain clear of ice or debris to prevent water buildup inside the frozen pot.
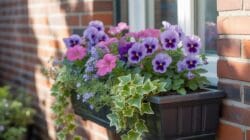
Spring and summer require high flow rates to handle sudden thunderstorms. Check drainage holes for root blockages or compacted soil every three months. Poke a stick into the holes to clear any obstructions. If soil becomes hydrophobic and prevents water from reaching the roots, poke deep holes from the top. Consistent maintenance keeps the drainage system functional through every change in the weather.
Frequently Asked Questions

Why is drainage so important for indoor and outdoor container gardens?
Proper drainage is the lifeline of any potted plant, preventing water from pooling at the base and causing devastating root rot. When you follow effective container garden drainage tips, you ensure that oxygen can reach the roots, keeping your greenery vibrant and healthy. This balance of moisture and airflow is essential for creating that lush, cozy home atmosphere while avoiding the yellowing leaves often caused by oversaturated soil.
How can I add drainage to a pot that doesn’t have existing holes?
You can easily transform any decorative vessel into a functional planter by using a masonry or diamond-tipped drill bit to create several small holes in the bottom. If you prefer not to drill, the “cachepot” method is one of the best container garden drainage tips. Simply keep your plant in a plastic nursery liner with holes and place that inside your solid decorative pot, removing it briefly to water and drain.
What are some low-cost materials I can use to improve drainage on a budget?
You don’t need expensive supplies to keep your plants happy. Instead of buying specialty rocks, try upcycling common household items like broken terra cotta shards, crushed soda cans, or even plastic milk jugs cut into pieces at the bottom of large pots. These lightweight fillers create necessary air pockets above the drainage holes, ensuring your soil stays well-aerated and your garden remains affordable without sacrificing the health of your beautiful home sanctuary.



