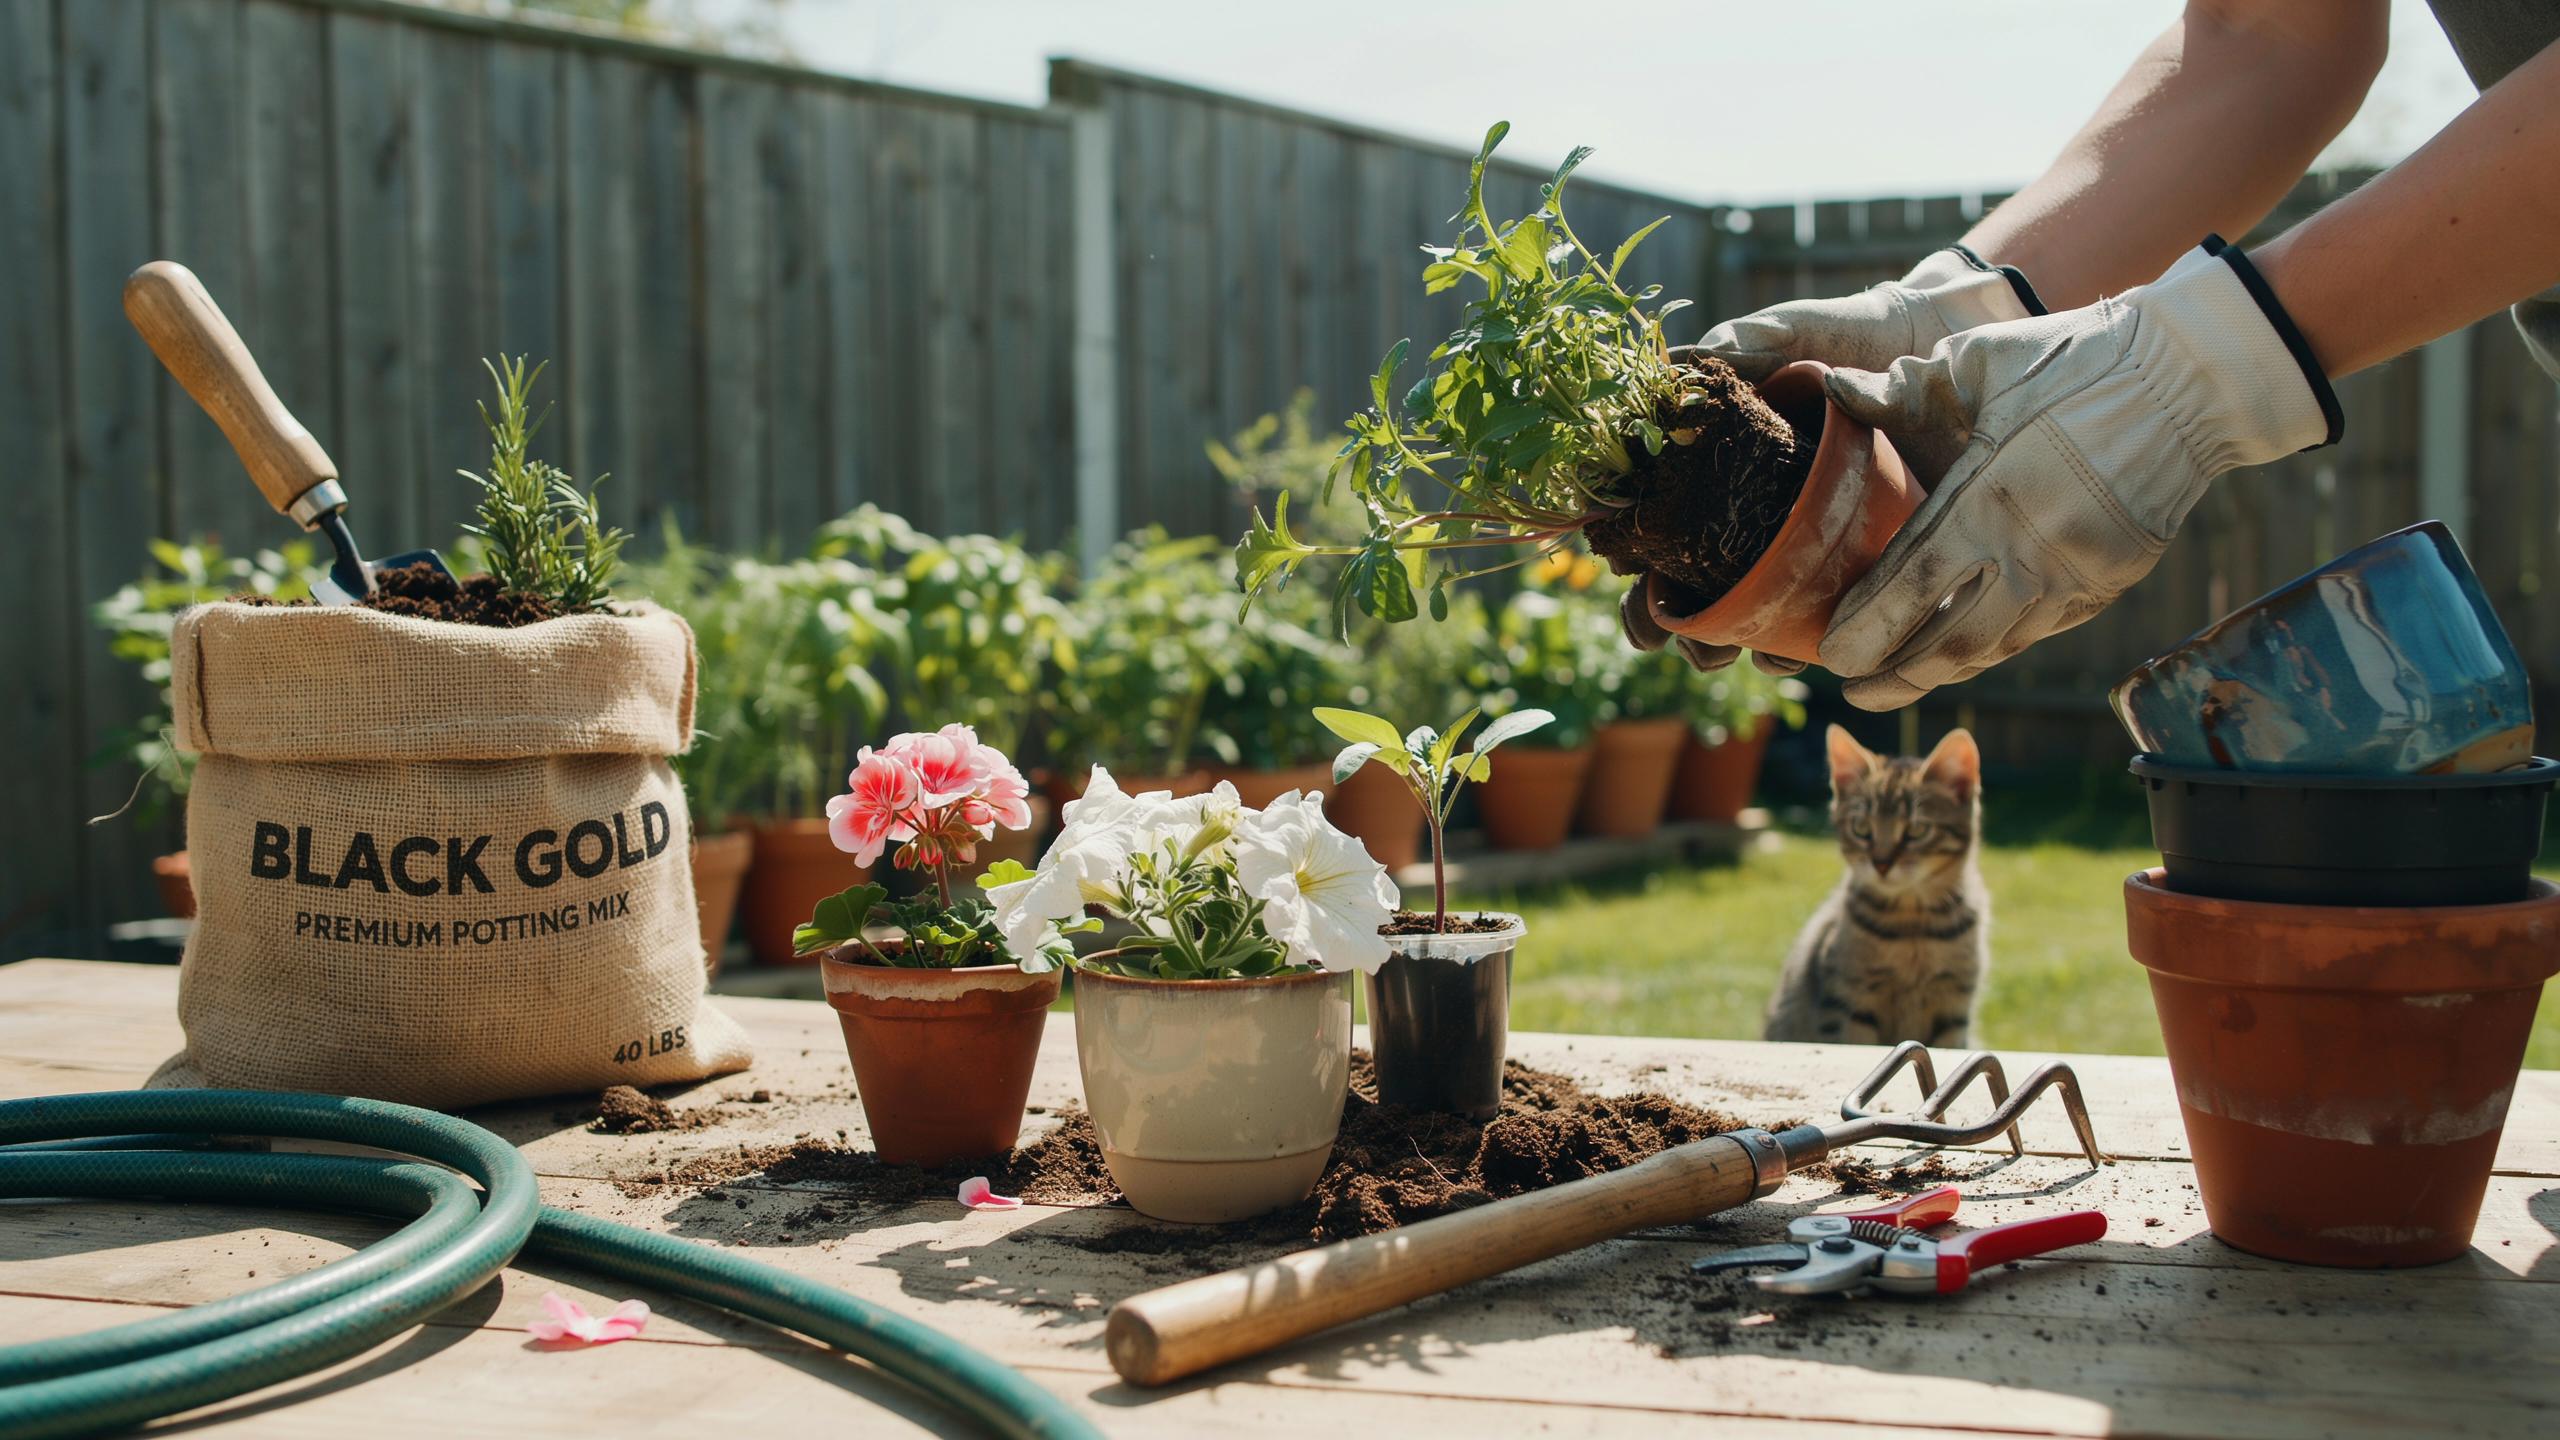
What Is Container Gardening And Why Repotting Plants Matters
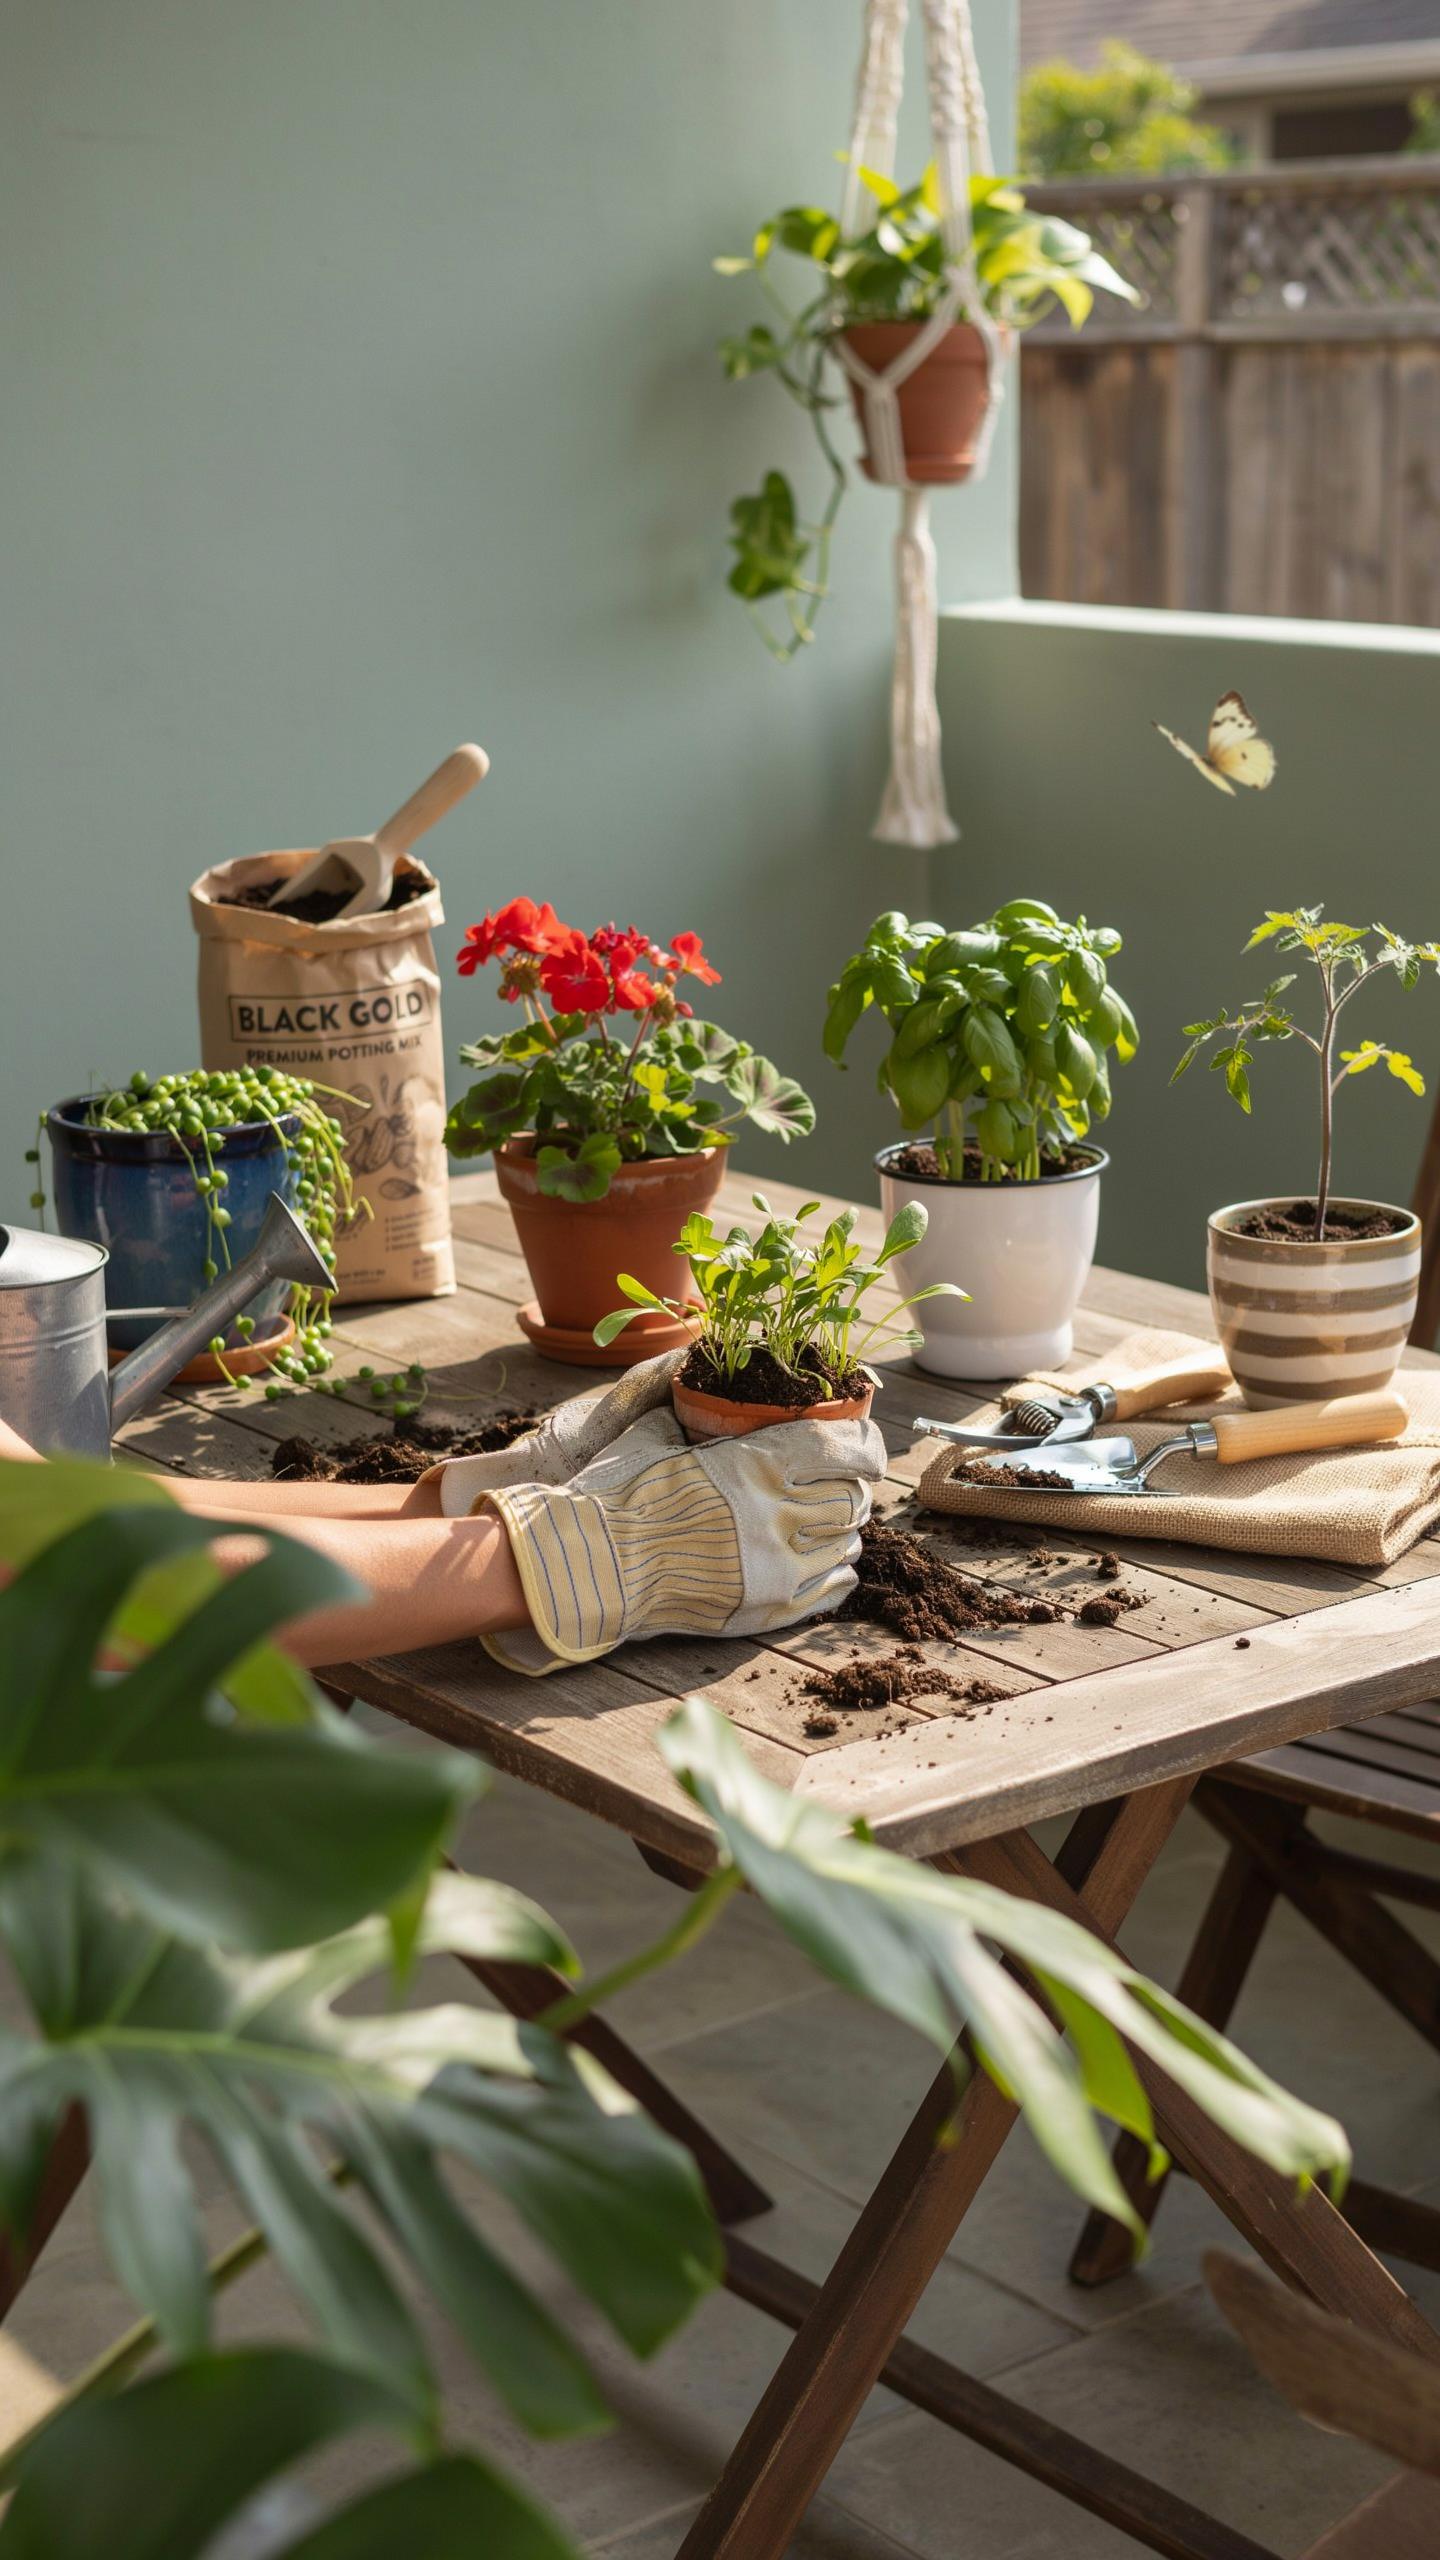
Understanding The Basics Of Container Gardening And Plant Health
Container gardening involves growing plants in confined vessels rather than in the ground. This method requires precise control over the growing medium and drainage. Every plant depends on its roots to absorb water and nutrients from a finite volume of soil. Unlike ground soil, container soil lacks natural renewal cycles. You must manage the environment to maintain plant health.
Healthy container plants require high porosity and stable pH levels. Over time, irrigation water flushes out essential nutrients and leaves behind mineral salts. The physical structure of the potting mix also breaks down and loses its air pockets. When the soil collapses, roots cannot breathe and the plant begins to decline. Regular maintenance ensures the root zone remains functional for continued growth.
How Neglecting Repotting Can Stunt The Growth Of Your Container Plants
Root bound conditions occur when you leave a plant in the same pot for too long. Roots circle the interior of the vessel and form a dense, impenetrable mat. This mass prevents water from reaching the center of the root ball. The plant eventually starves because it cannot access moisture or added fertilizers. This physical restriction directly limits the size of the foliage.
Old soil loses its ability to hold water efficiently. It either holds too much water and causes root rot or becomes hydrophobic and sheds water completely. Compressed soil lacks the oxygen necessary for root cellular respiration. Without fresh substrate, the plant enters a state of permanent stress. Growth stops and the immune system weakens. This makes the plant vulnerable to pests and diseases.
Telltale Signs Your Container Plants Are Ready For Repotting
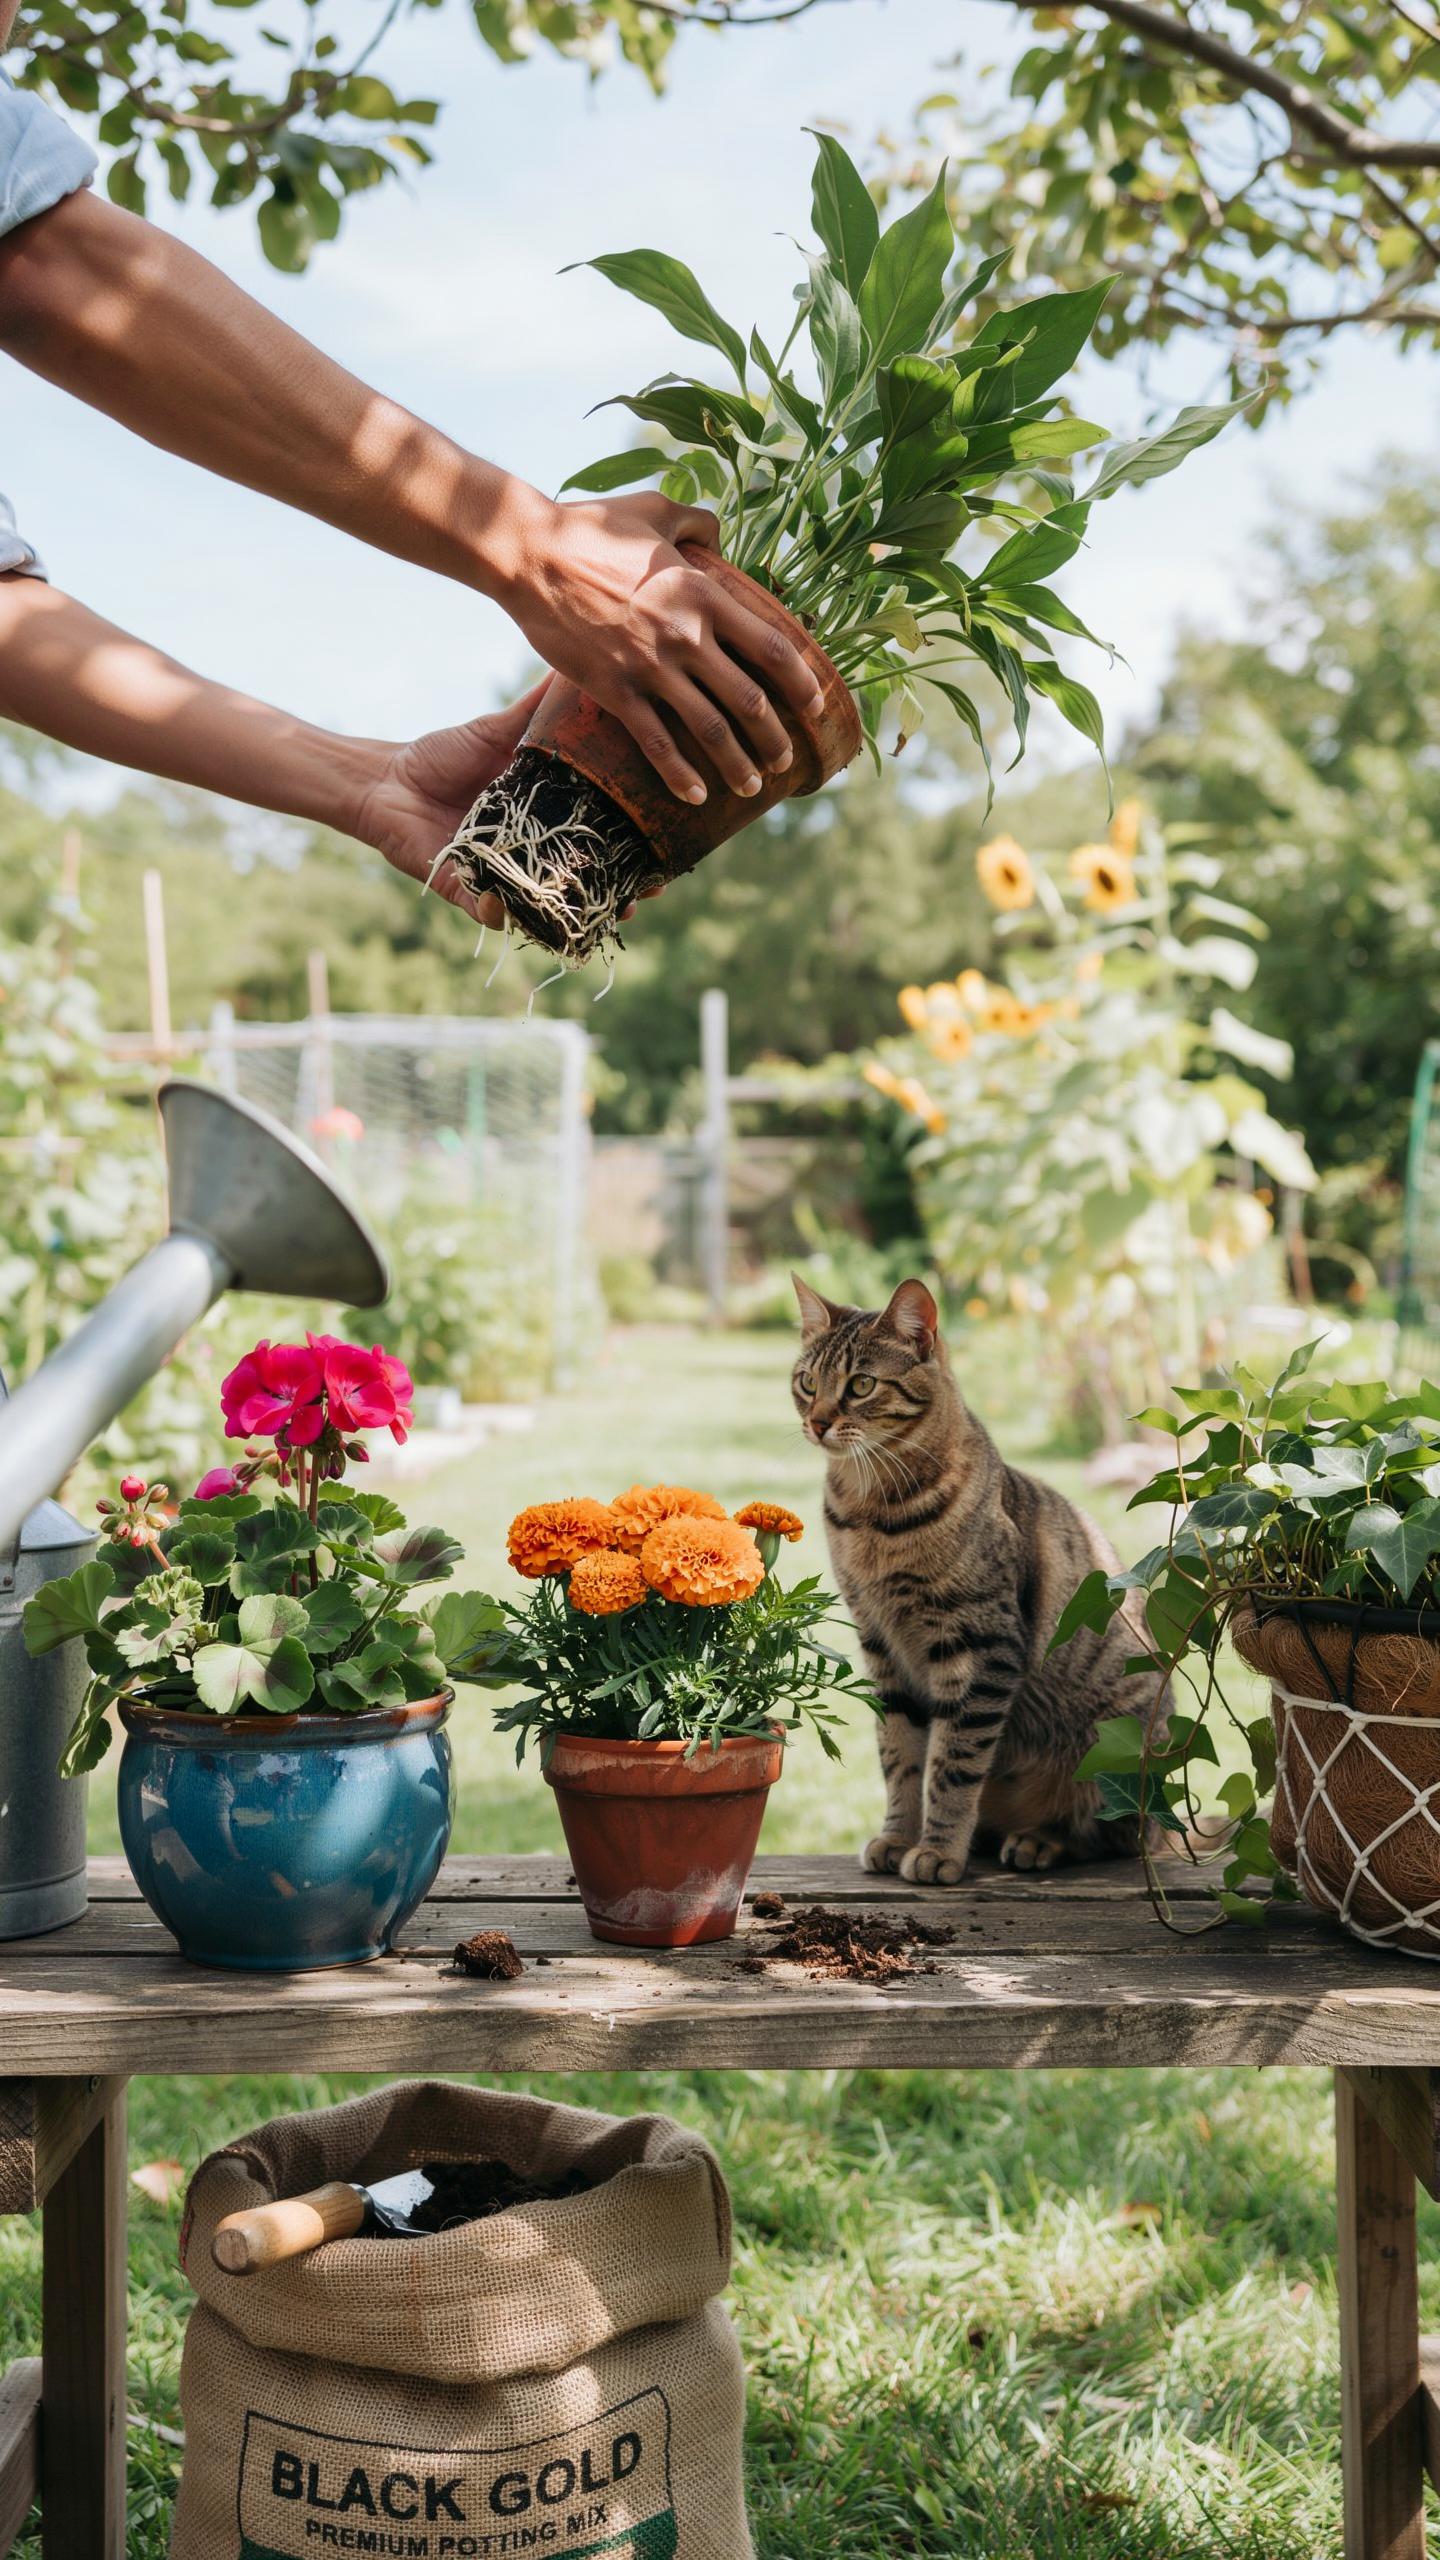
Root Bound Symptoms: What To Look For In Crowded Container Plants
Roots eventually consume all available space in a container garden. You must inspect the drainage holes at the bottom of the pot. Visible roots poking through these openings indicate that the plant has run out of room. When the root system circles the interior wall of the pot, it forms a tight mass. This physical barrier prevents the plant from absorbing necessary oxygen and water effectively.
A root bound plant loses its ability to hold soil moisture. You will notice that water runs straight through the pot without soaking into the medium. This happens because the root mass replaces the soil volume completely. A dense root ball also pushes the plant upward out of the container. If the crown of the plant sits higher than the rim, you have a critical space problem.
To plant a garden is to believe in tomorrow, and repotting our old favorites preserves the soul of our memories. Bringing fresh life to a timeless vessel ensures that beauty will always have a place to bloom.
Visual And Growth Clues That Signal It Is Time To Repot Your Plants
Stunted growth serves as a primary indicator of a cramped environment. If your plant stops producing new leaves during its active growing season, check the roots immediately. Lack of space limits the nutrients a plant can process. This deficiency leads to yellowing leaves or premature foliage drop. Healthy plants maintained in the same sized pots for years eventually exhaust the potting media entirely.
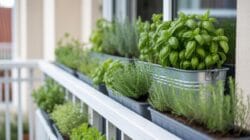
Observe how your plant reacts to regular watering schedules. If a once stable plant now wilts every two days, the root to soil ratio is off. Top heavy plants that tip over in light wind also need larger, heavier bases for stability. Salt buildup on the soil surface or pot edges signals old substrate. Fresh soil and a larger vessel restore the balance needed for sustained health.
Choosing The Right Potting Soil For A Successful Repot
How Potting Soil Differs From Garden Soil And Why It Matters For Container Plants
Garden soil consists of heavy minerals like clay, silt, and sand. It lacks the aeration required for container environments. When placed in a pot, the structure collapses and prevents oxygen from reaching roots. This lead to compaction and root rot. Backyard dirt also harbors pathogens, weed seeds, and pests. Using it in a closed system guarantees failure for your container garden.
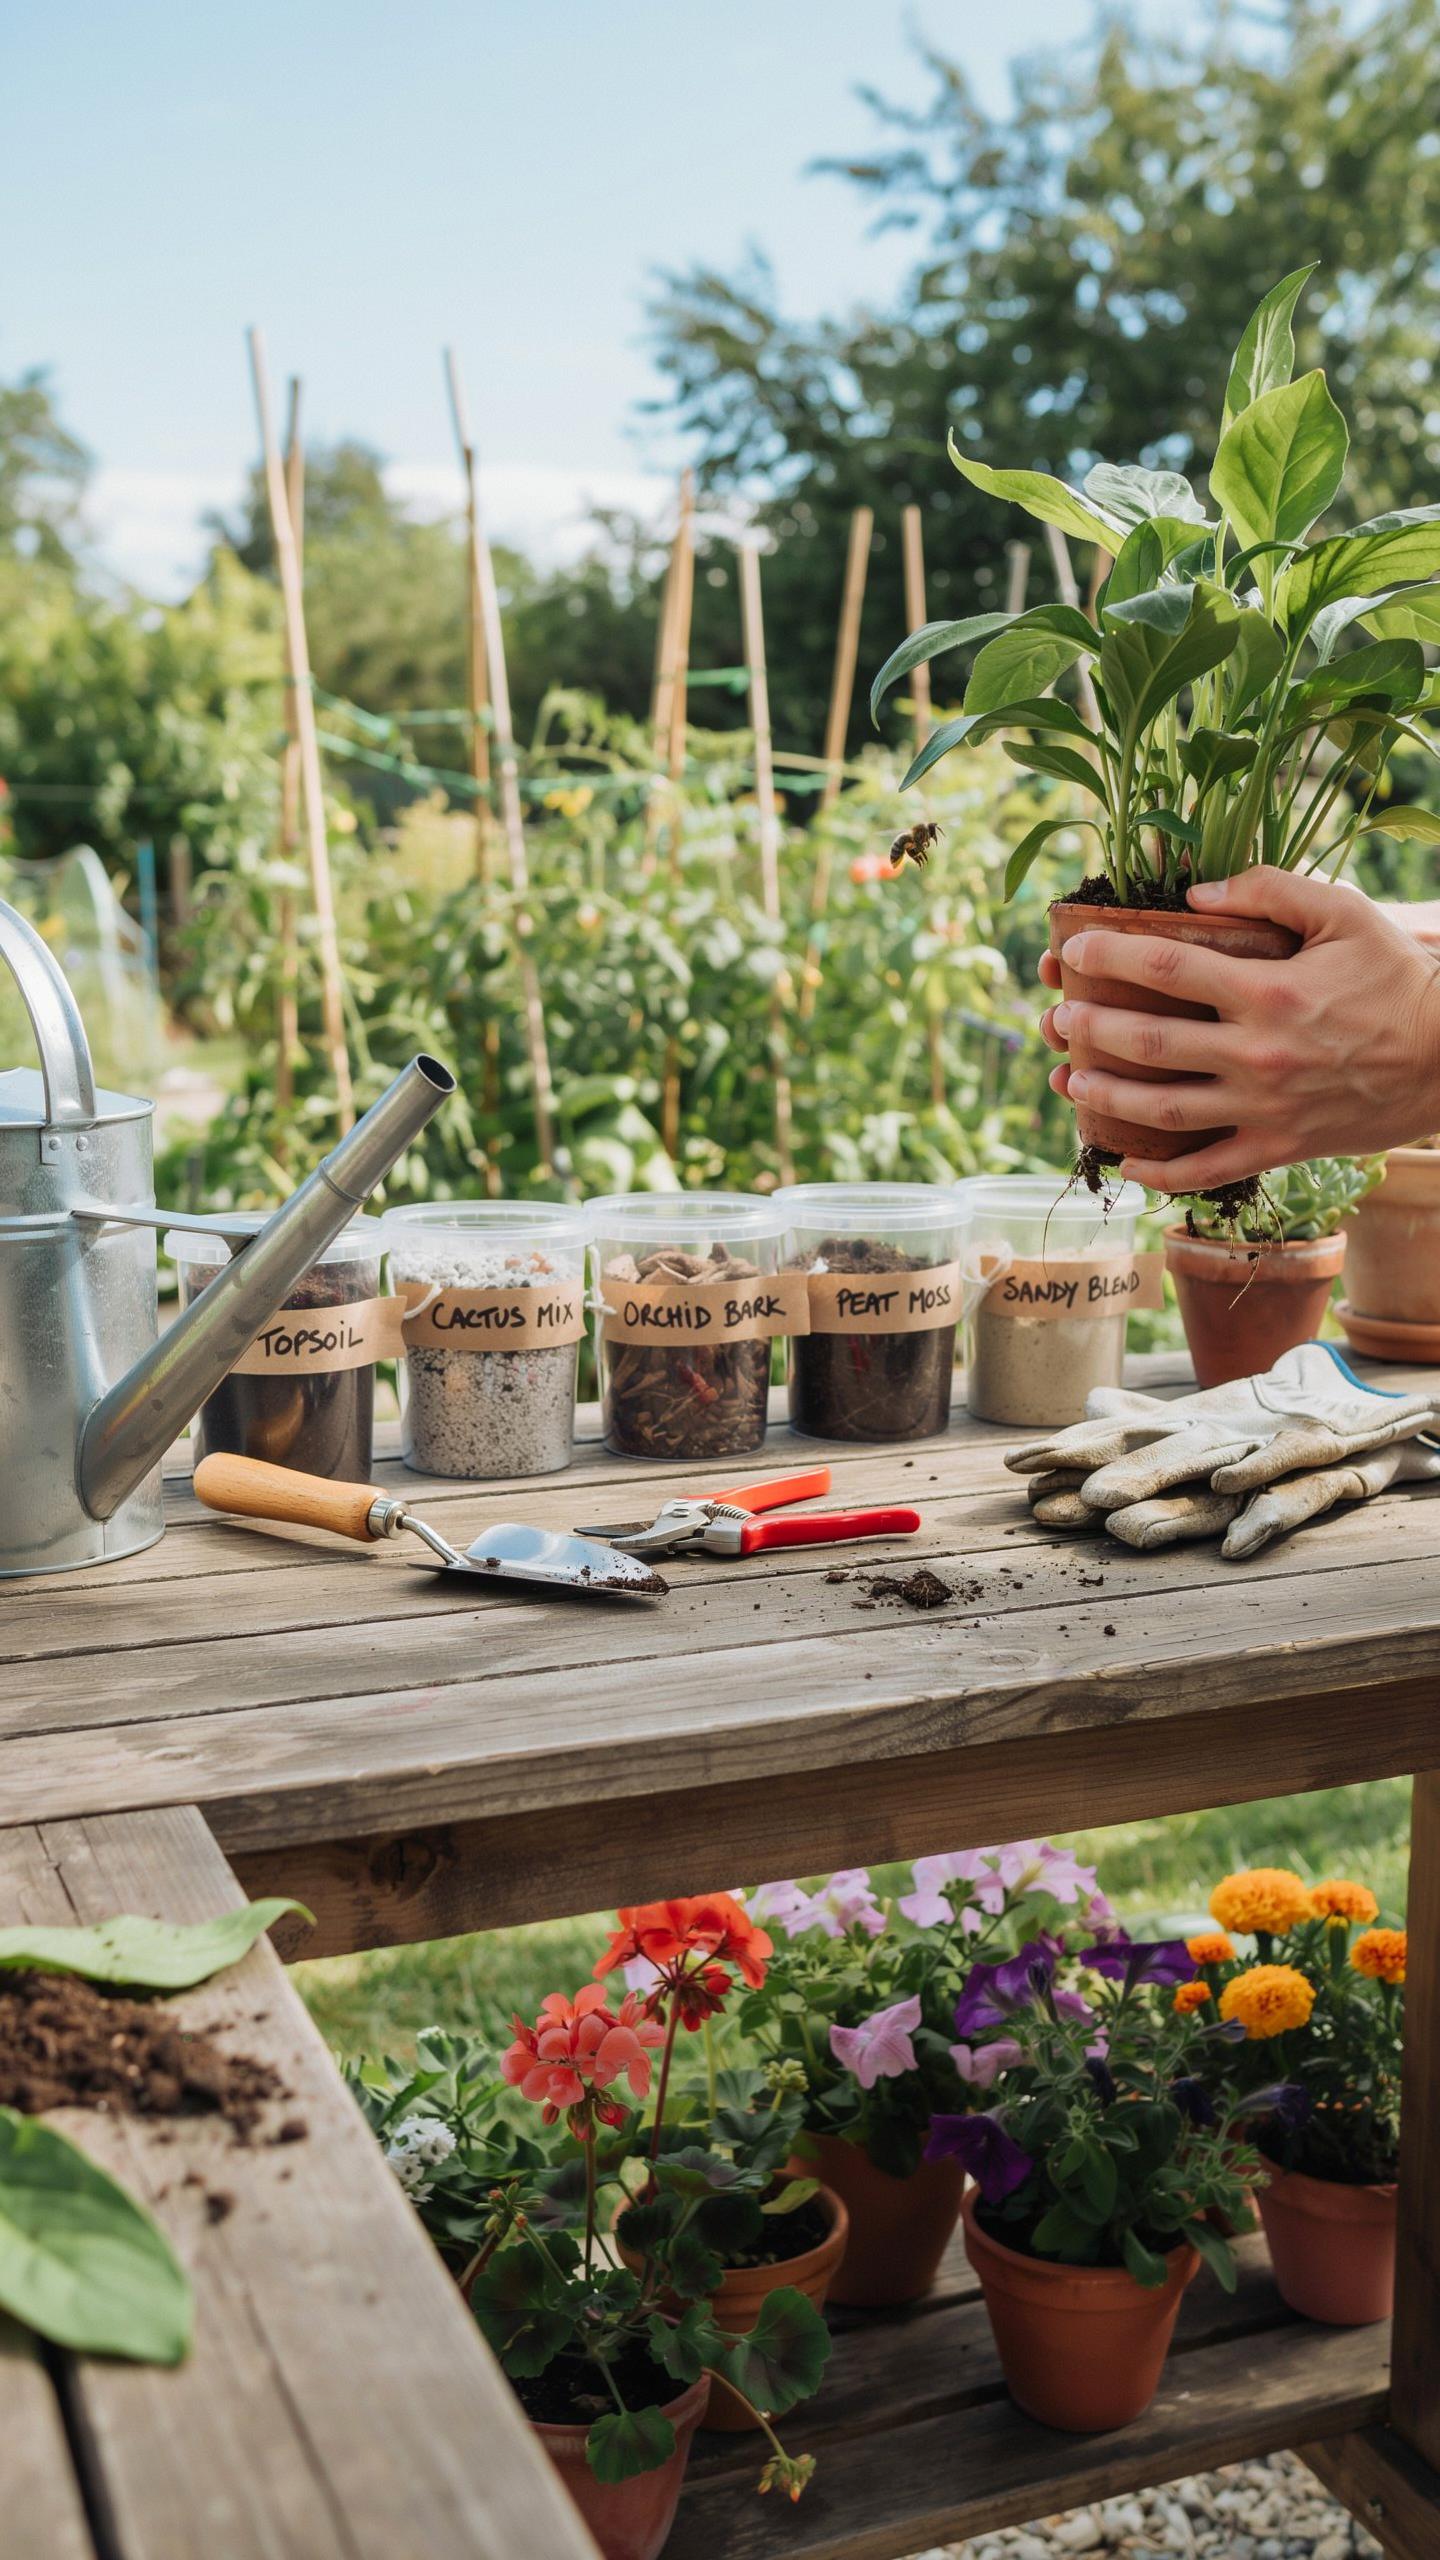
Potting soil is a soilless medium designed for drainage and gas exchange. It typically contains peat moss, coconut coir, perlite, and vermiculite. These materials create air pockets even when wet. Lightweight components prevent the mix from becoming a solid block. This allows water to flow through the root zone effectively. Proper drainage ensures that roots can breathe and absorb nutrients without drowning in stagnant water.
Matching The Right Potting Soil Mix To Your Specific Plant Type
Plants have distinct moisture and nutrient requirements based on their native habitats. Succulent and cactus mixes utilize high ratios of coarse sand and perlite. These materials facilitate rapid drying to prevent rot. Tropical plants require mixes rich in organic matter to retain consistent moisture. Choosing a generic mix for specialized plants leads to poor growth. High-quality mixes often include slow-release fertilizers for immediate support.

Orchids and aroids need chunky substrates like pine bark or charcoal. These materials mimic their natural epiphytic conditions where roots cling to trees. Seedlings require a fine, sterile mix to allow delicate roots to penetrate easily. Always match the water retention capacity of the soil to the plant species. A mismatch forces you to fight against the soil properties during every watering cycle. Proper selection reduces maintenance and increases plant health.
Selecting The Best New Container For Healthy Plant Care
Pot Size, Material, And Drainage: Key Factors For Thriving Container Plants
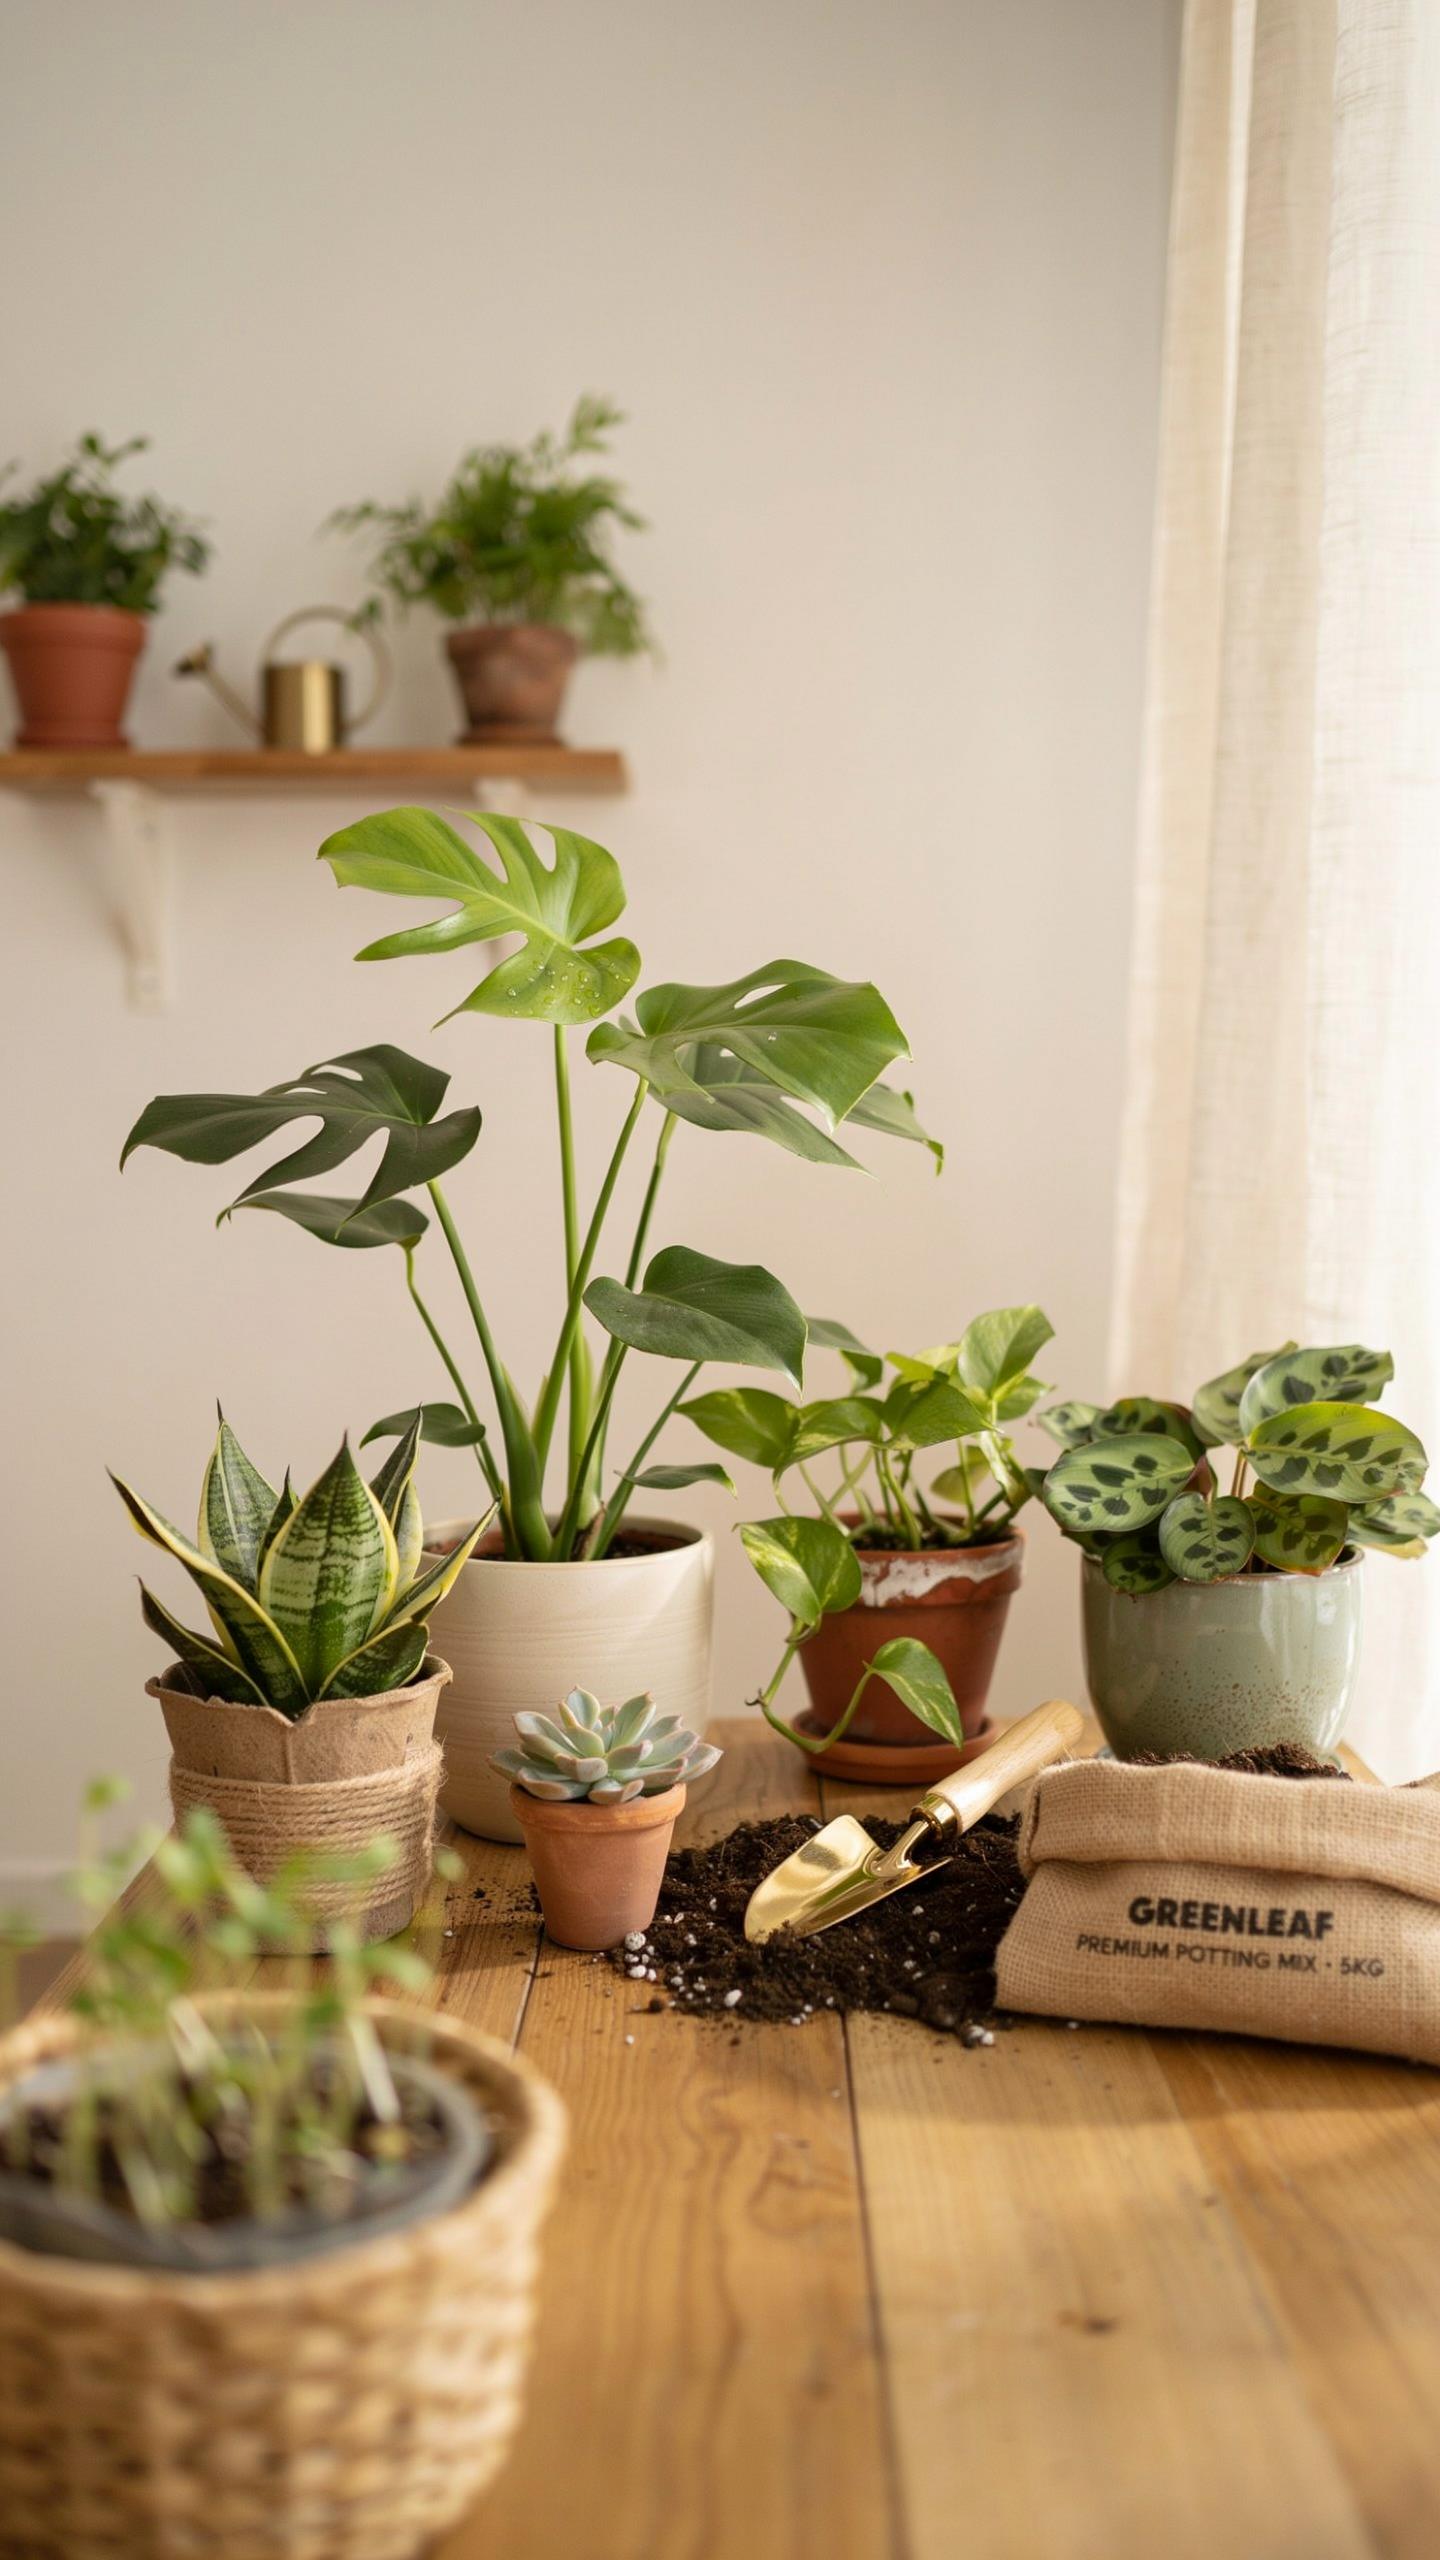
Select a new pot two inches wider than the current one for standard growth. For fast-growing species, use a four-inch increase. Material choice dictates moisture retention and gas exchange. Terracotta is porous and allows air to reach the roots while wicking away excess water. Glazed ceramic and plastic containers hold moisture longer. These materials suit plants that prefer consistent soil hydration levels throughout the day.
Every container must have functioning drainage holes to prevent root rot. Without these vents, water pools at the bottom and kills the plant. Use a mesh screen over the holes to keep soil from washing out. Modern resin pots offer a lightweight alternative to stone but lack breathability. Match the pot weight to the plant height to ensure stability. Heavy clay pots prevent tall plants from tipping over in the wind.
Why Choosing A Container That Is Too Large Can Harm Your Plants
Large pots hold too much soil for a small root system. This excess soil stays wet for a long time because the plant cannot drink all the water. Saturated conditions create an anaerobic environment where pathogens thrive. Roots need oxygen to function and grow. When the soil remains waterlogged, the roots suffocate and stop taking up nutrients. This leads to yellowing leaves and plant death.
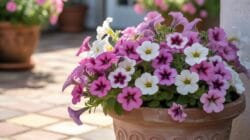
Oversized containers also disrupt the root-to-shoot ratio of the plant. The plant focuses all its energy on expanding roots to fill the vast space. This trade-off stunts the growth of leaves and flowers above the soil line. You lose the aesthetic value of the garden for months. Keeping the pot size proportional ensures the plant balances root development with foliage. Proper sizing leads to a much faster and healthier repotting recovery.
Essential Tools And Materials To Gather Before You Re Pot Plants
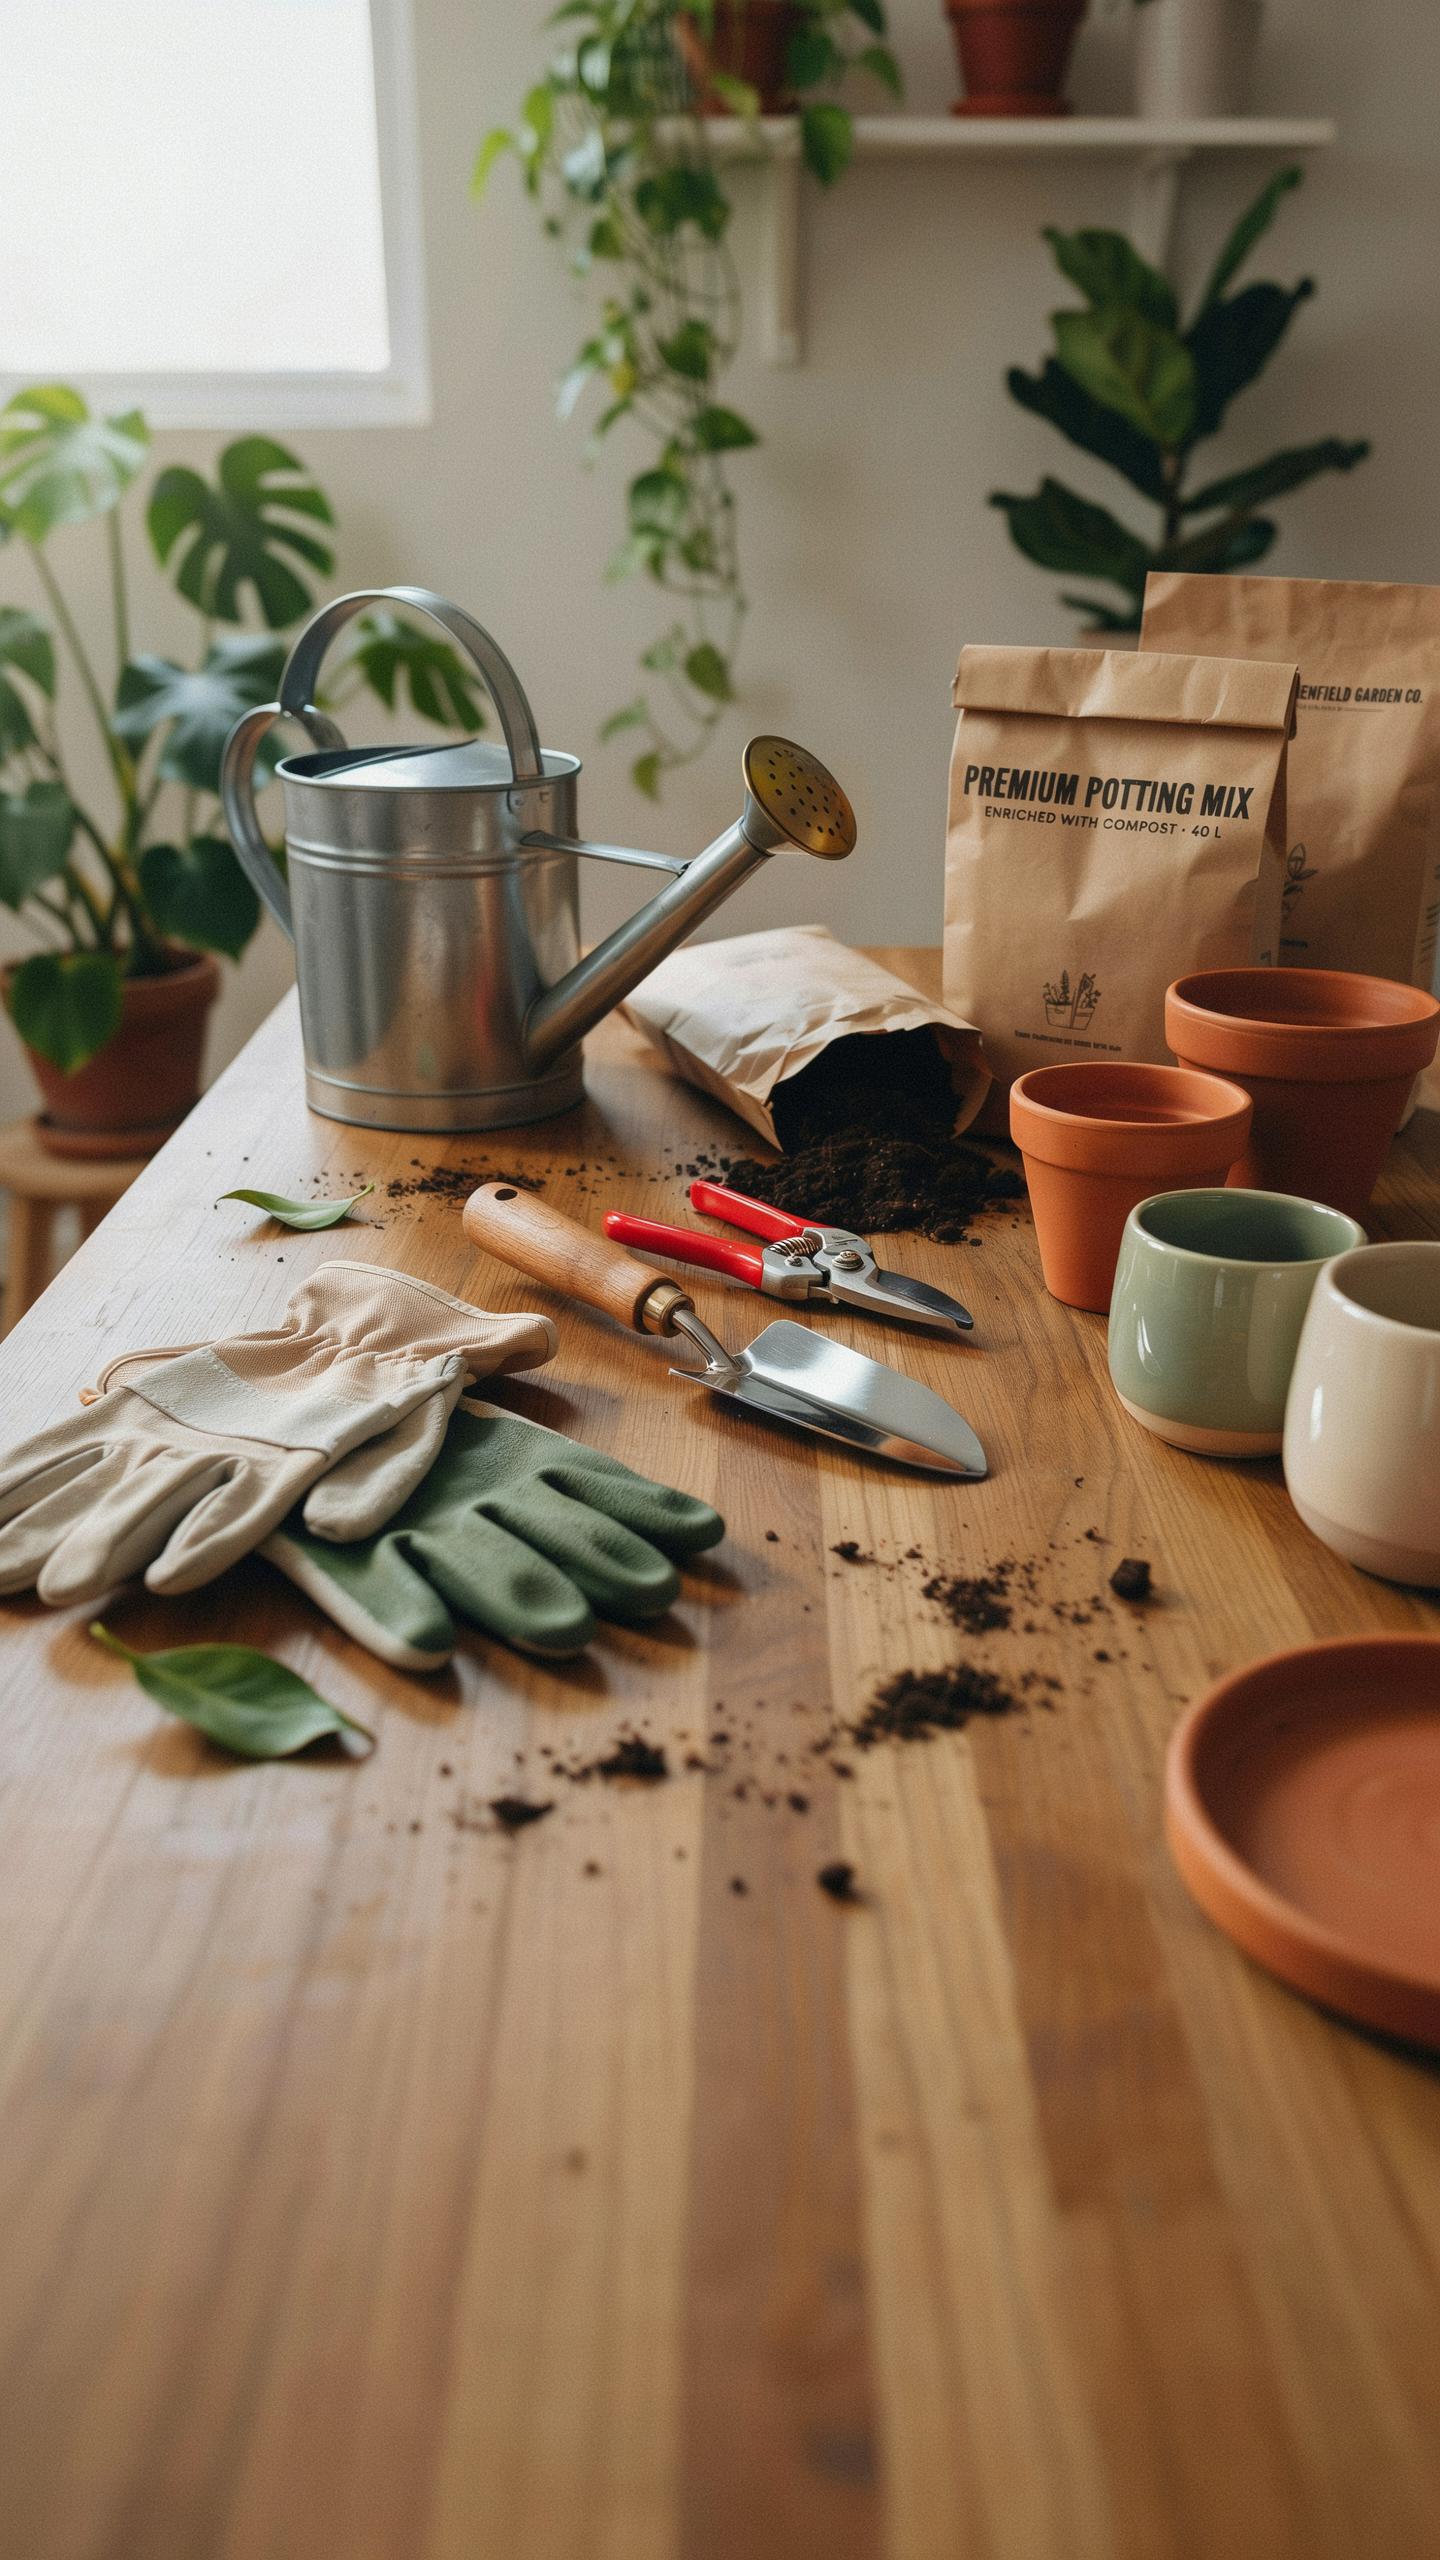
The Must Have Tools Every Gardener Needs Before Starting The Repotting Process
Successful repotting requires specific hardware to minimize plant shock and ensure structural integrity. You must assemble these items before removing any plant from its current vessel. Delays during the process expose delicate root hairs to air and light. This exposure leads to rapid desiccation and potential plant death. Gather your gear to maintain a swift and professional workflow that protects your investment.
- Sterilized Pruning Shears: Use bypass pruners to make clean cuts on dead or circling roots. Sharp blades prevent crushing plant tissue and reduce the risk of pathogen entry. Always wipe blades with 70 percent isopropyl alcohol between different plants to stop the spread of soil-borne diseases.
- Hori Hori Knife: This multipurpose Japanese tool excels at loosening root balls and slicing through dense matting. The serrated edge cuts through woody roots while the flat blade measures depth. It provides more leverage than a standard trowel when extracting plants from stubborn ceramic or terracotta containers.
- Hand Trowel: A narrow blade trowel allows for precise soil placement in tight spaces between the root ball and the pot wall. Look for a stainless steel head to prevent rust and ensure longevity. This tool maintains the correct soil density without over-compressing the new growing medium around the roots.
- Protective Gloves: Nitrile or leather gloves protect your hands from soil bacteria and sharp thorns. They also provide a better grip on heavy wet pots and muddy root systems. Wearing gloves reduces skin contact with fertilizer salts and pH-altering minerals found in many commercial potting mixes and soil amendments.
- Bottom Mesh Screens: Small mesh circles prevent soil from leaching through the drainage holes during watering. These screens keep the workspace clean and stop pests from entering the pot from the bottom. They ensure the drainage hole remains clear for optimal water flow and crucial gas exchange within the root zone.
Quality tools reduce physical strain on the gardener and mechanical stress on the plant. Choose durable materials like forged steel and finished hardwoods for better control. Avoid plastic tools that flex or break under pressure. Investing in professional-grade equipment ensures your container garden repotting guide leads to healthy growth. Clean each tool after use to prevent corrosion and maintain a sterile environment for your next session.
How To Prepare Your Workspace For A Clean And Efficient Repotting Session
Establish a dedicated staging area at waist height to prevent back fatigue. A potting bench or sturdy folding table provides a stable surface for heavy containers. Cover your workspace with a heavy duty tarp or plastic sheeting to catch debris. This setup allows you to reclaim spilled soil and simplifies the final cleanup process. Keep a trash bin nearby to discard old roots and spent growing medium immediately.
Hydrate your new potting mix in a large bucket before you start. Dry soil repels water and can suffocate roots through uneven moisture distribution. Position your new containers on the left and the current plants on the right to create a logical assembly line. This tactical arrangement reduces movement and speeds up the transition. A prepared environment keeps the focus on the plant and ensures a precision repotting execution.
Step By Step Gardening Tips On How To Re Pot Plants Safely
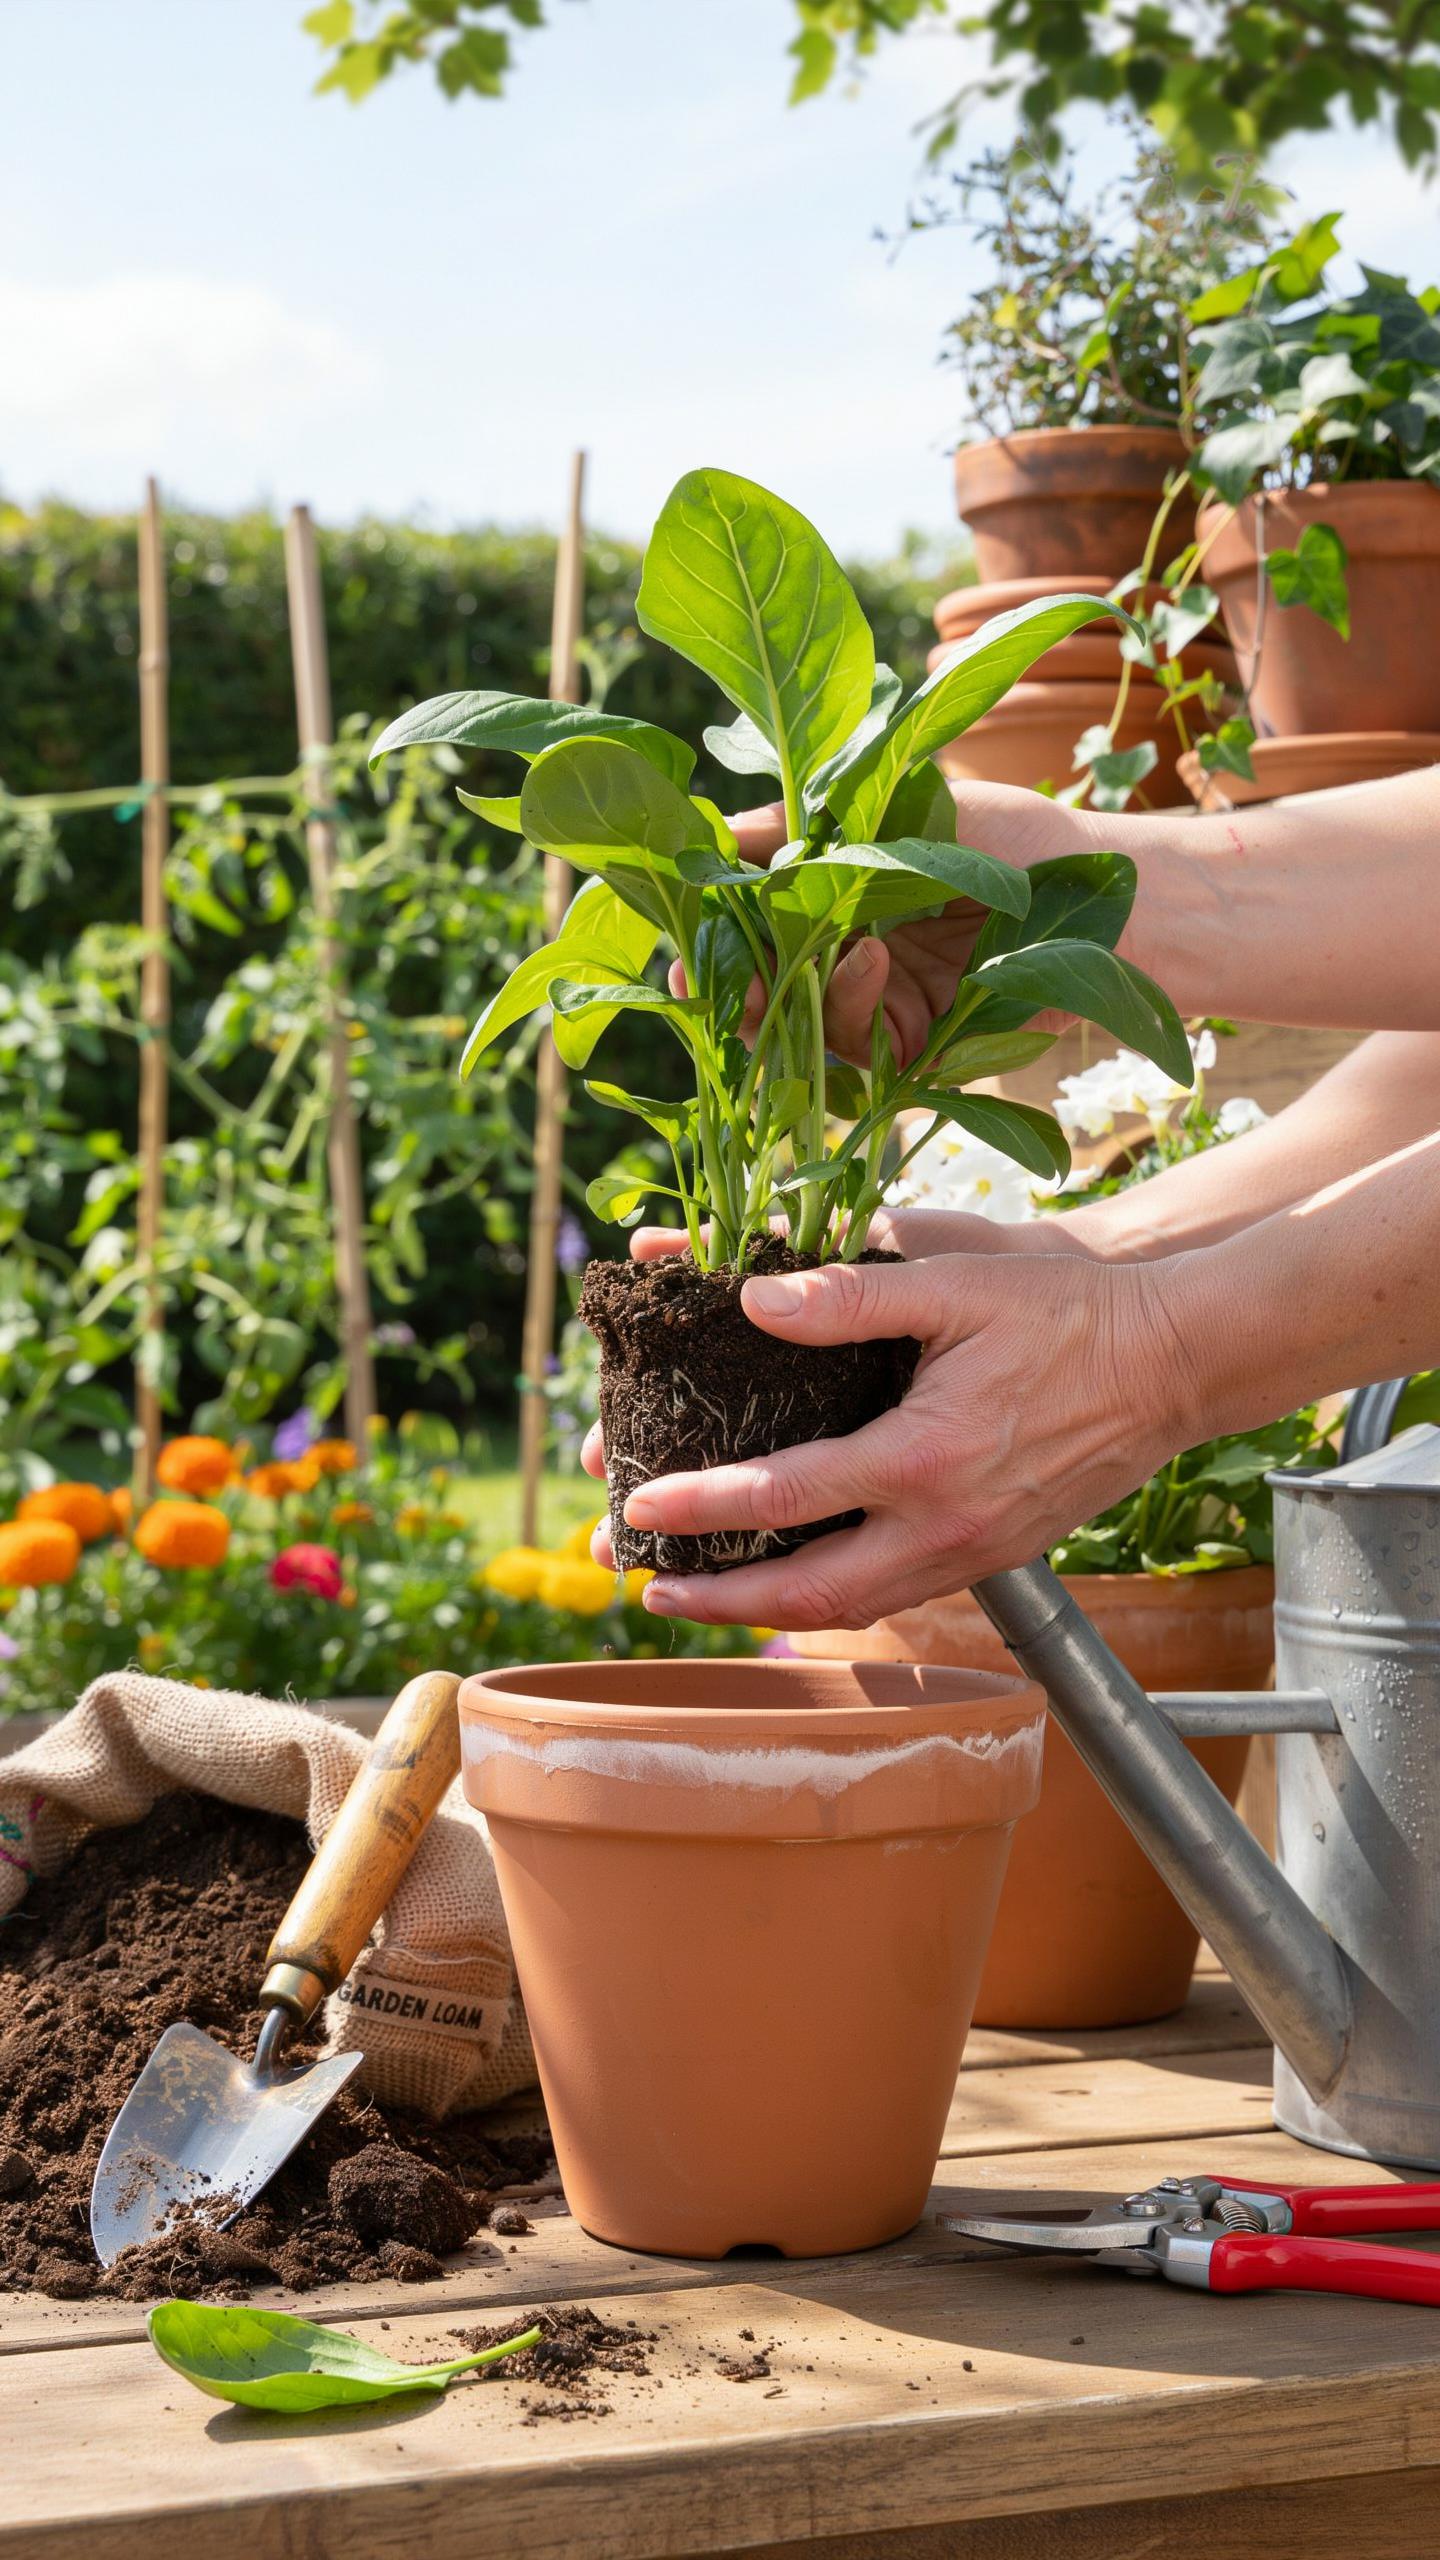
Guidance On How To Carefully Remove A Plant From Its Current Container Without Causing Root Damage
Preparation dictates the success of plant extraction. Water the plant twenty-four hours before repotting to make the root ball cohesive. Avoid pulling the plant by its primary stem. This action severs critical vascular tissues. Instead, place your hand over the soil surface with the stem between your fingers. Invert the pot and tap the base firmly to break the vacuum seal.
Gravity and mechanical pressure are your primary tools. Use a dull knife or spatula to slide along the inner rim of the pot if the plant remains stuck. This releases roots that have adhered to the container walls. Examine the roots once the plant is free. Tease out any circling roots gently to encourage outward growth. Healthy transition depends on maintaining the integrity of the central root mass throughout this process.
Properly Placing And Settling Your Plant Into Its New Pot With Fresh Soil
Start with a clean container that provides adequate drainage holes. Add a base layer of fresh potting media to the bottom of the new vessel. Position the plant so the top of its root ball sits one inch below the rim. This gap prevents water overflow during future irrigation. Ensure the plant stands vertically and sits centered. Proper alignment promotes balanced weight distribution and even light exposure.
Fill the remaining peripheral space with new soil. Press down firmly with your fingers to eliminate large air pockets. Air gaps cause roots to dry out and die. Do not bury the stem deeper than its previous level to avoid rot. Water the plant immediately after settling it. This action collapses small voids and establishes a hydraulic link between the old root ball and the new soil.
Post Repotting Plant Care To Help Your Plants Thrive
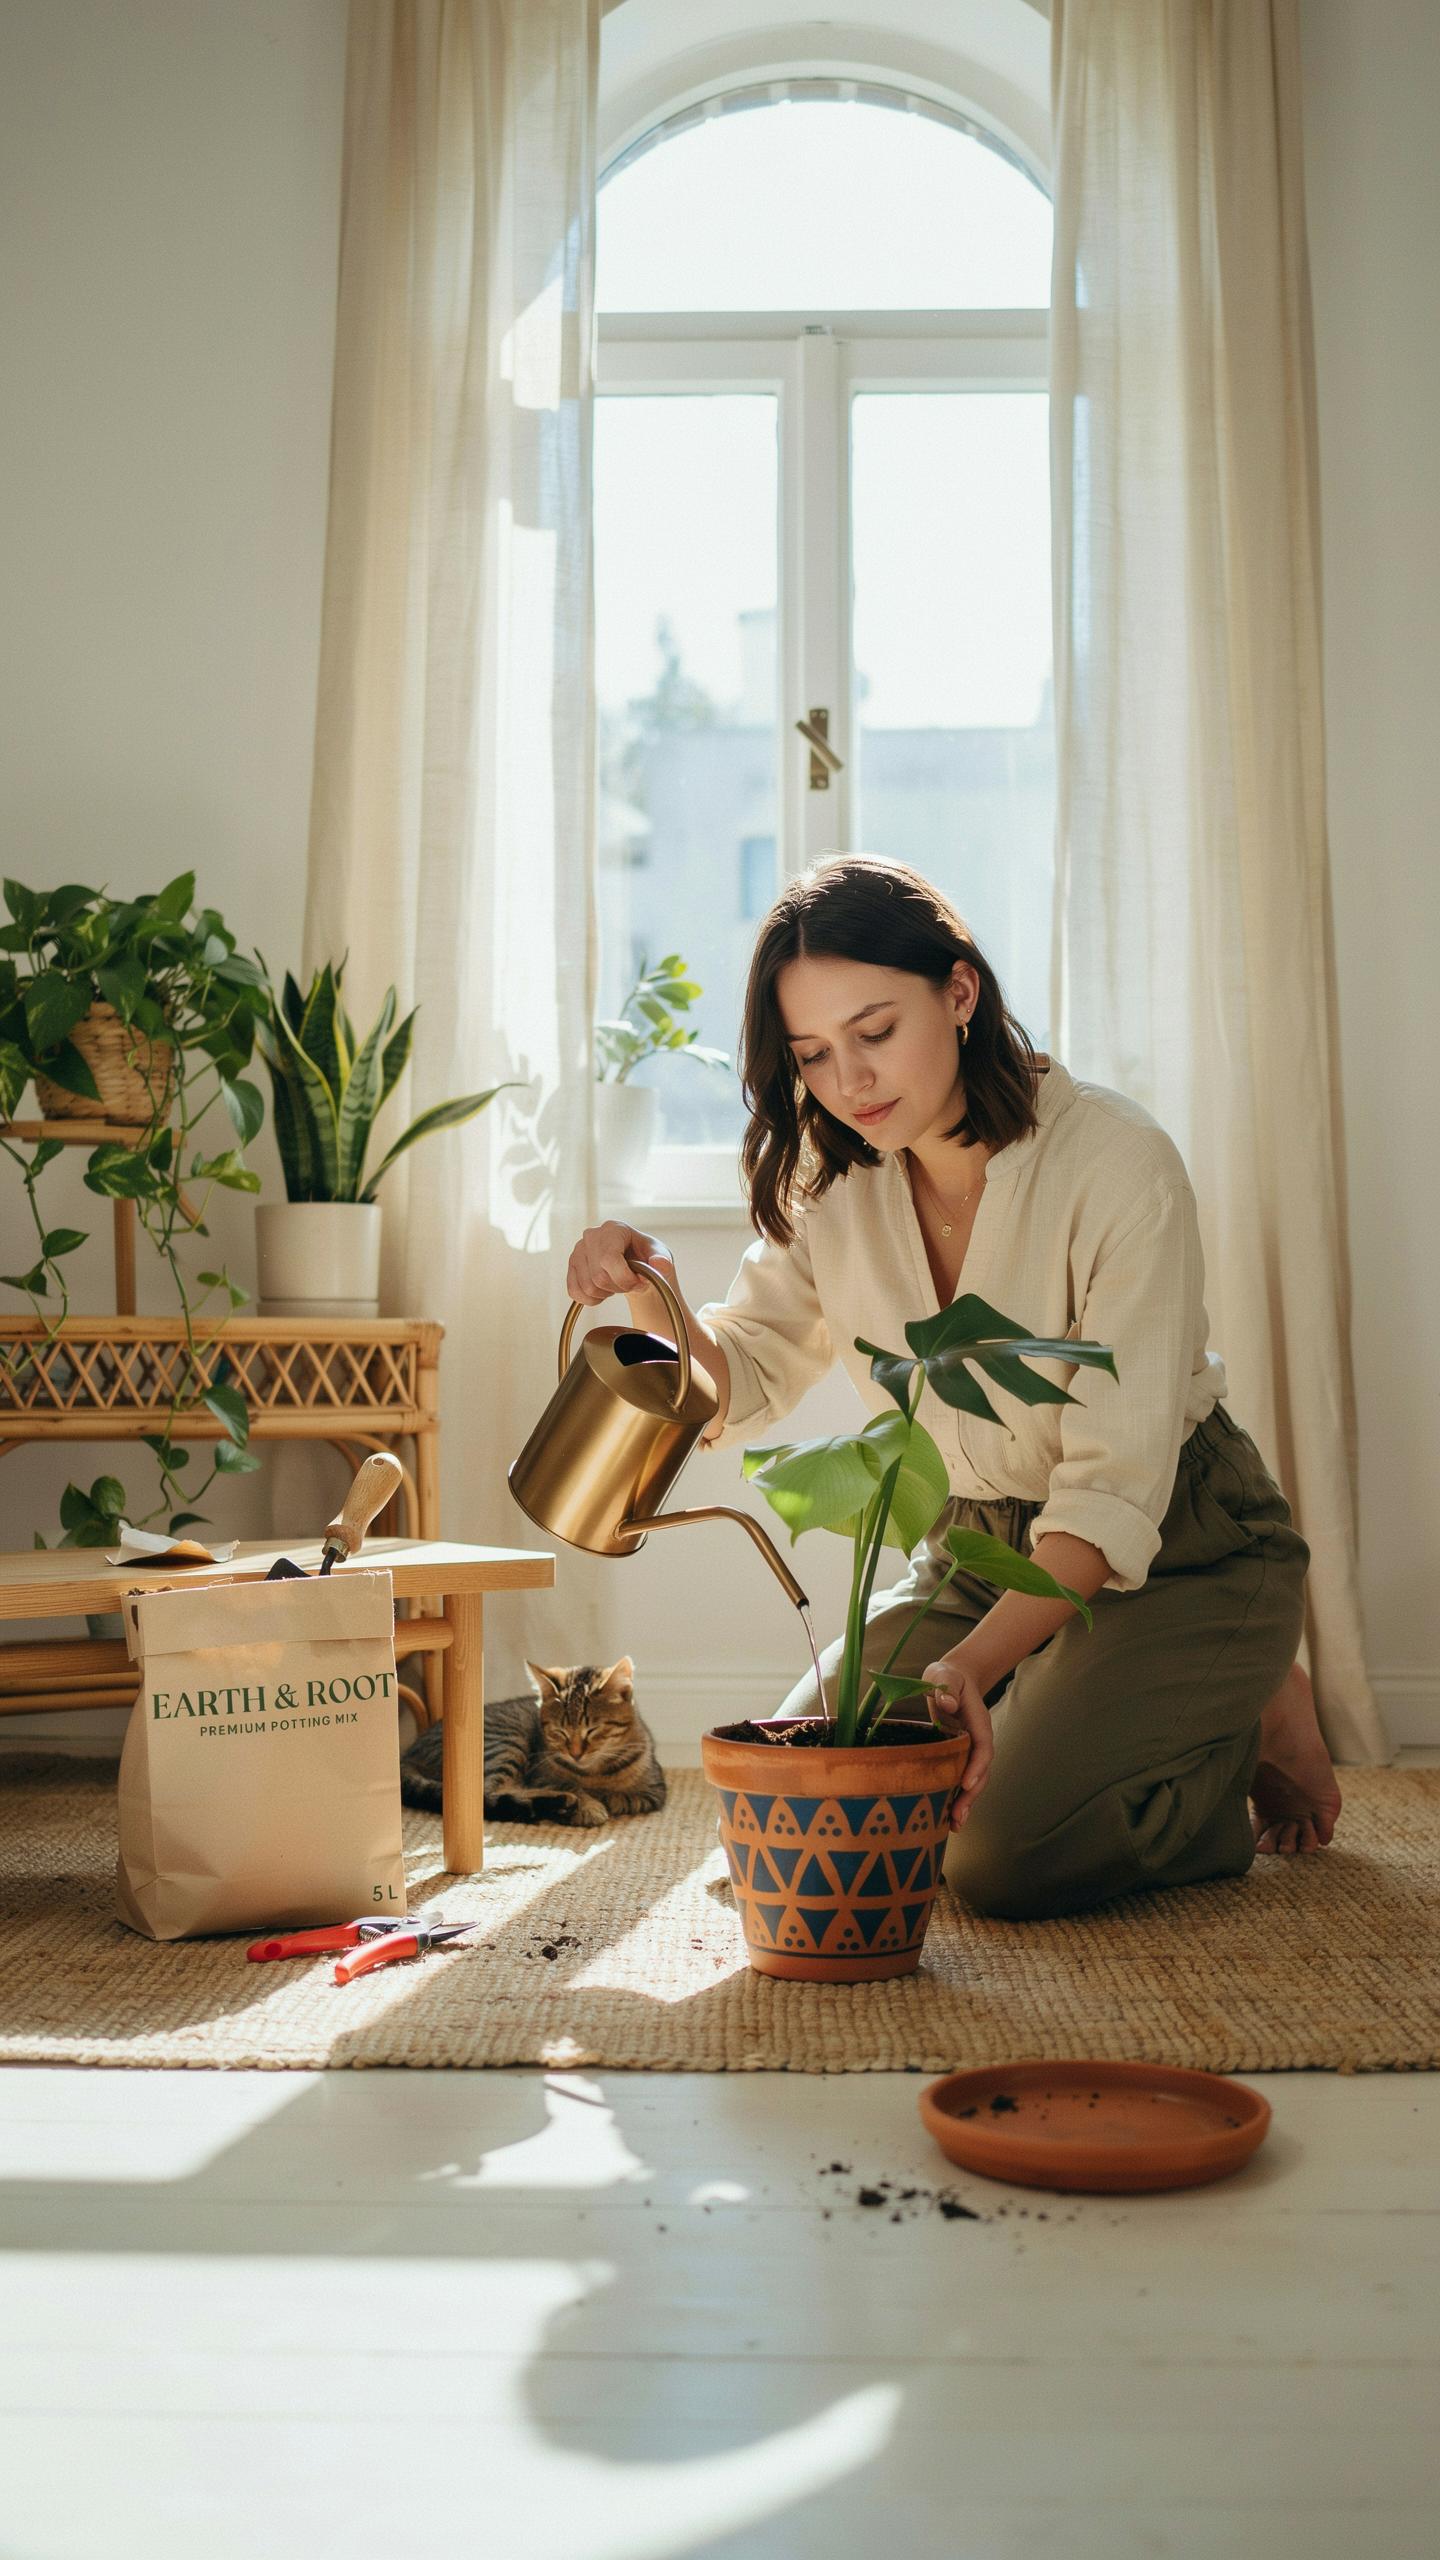
Watering And Light Adjustments To Support Recovery After Repotting Plants
Water the plant immediately after you finish moving it. This settles the soil and eliminates air pockets around the roots. Ensure the water reaches the bottom of the container. Use room temperature water to avoid shocking the system. Moist soil provides the necessary contact for roots to begin drawing nutrients. Stop once water drains freely from the bottom holes.
Keep the plant in indirect light for three to five days. Intense sun stresses the plant while it tries to repair root damage. Avoid placing it in drafty areas or near heat vents. High heat increases transpiration and leads to wilting. Once you see new growth, move the plant back to its standard location. This gradual transition prevents leaf burn and promotes healthy stability.
Understanding Transplant Shock And How To Minimize Stress On Your Plants
Transplant shock occurs when root systems cannot support the foliage after a move. Signs include wilting, yellowing leaves, or sudden leaf drop. This is a physiological response to root disturbance or changed environmental conditions. Minimize this by keeping as much old soil around the root ball as possible. Handle the roots gently to avoid snapping the fine hairs that absorb water and nutrients.

Do not fertilize a newly repotted plant for at least four weeks. Fresh potting mix already contains enough nutrients for initial growth. Adding more salt-based fertilizer can burn the damaged roots and increase stress. Focus on humidity and consistent moisture levels instead. High humidity reduces the workload on the roots by slowing down moisture loss from the leaves. Let the plant stabilize before introducing growth stimulants.
Common Repotting Mistakes And How To Avoid Them In Container Gardening
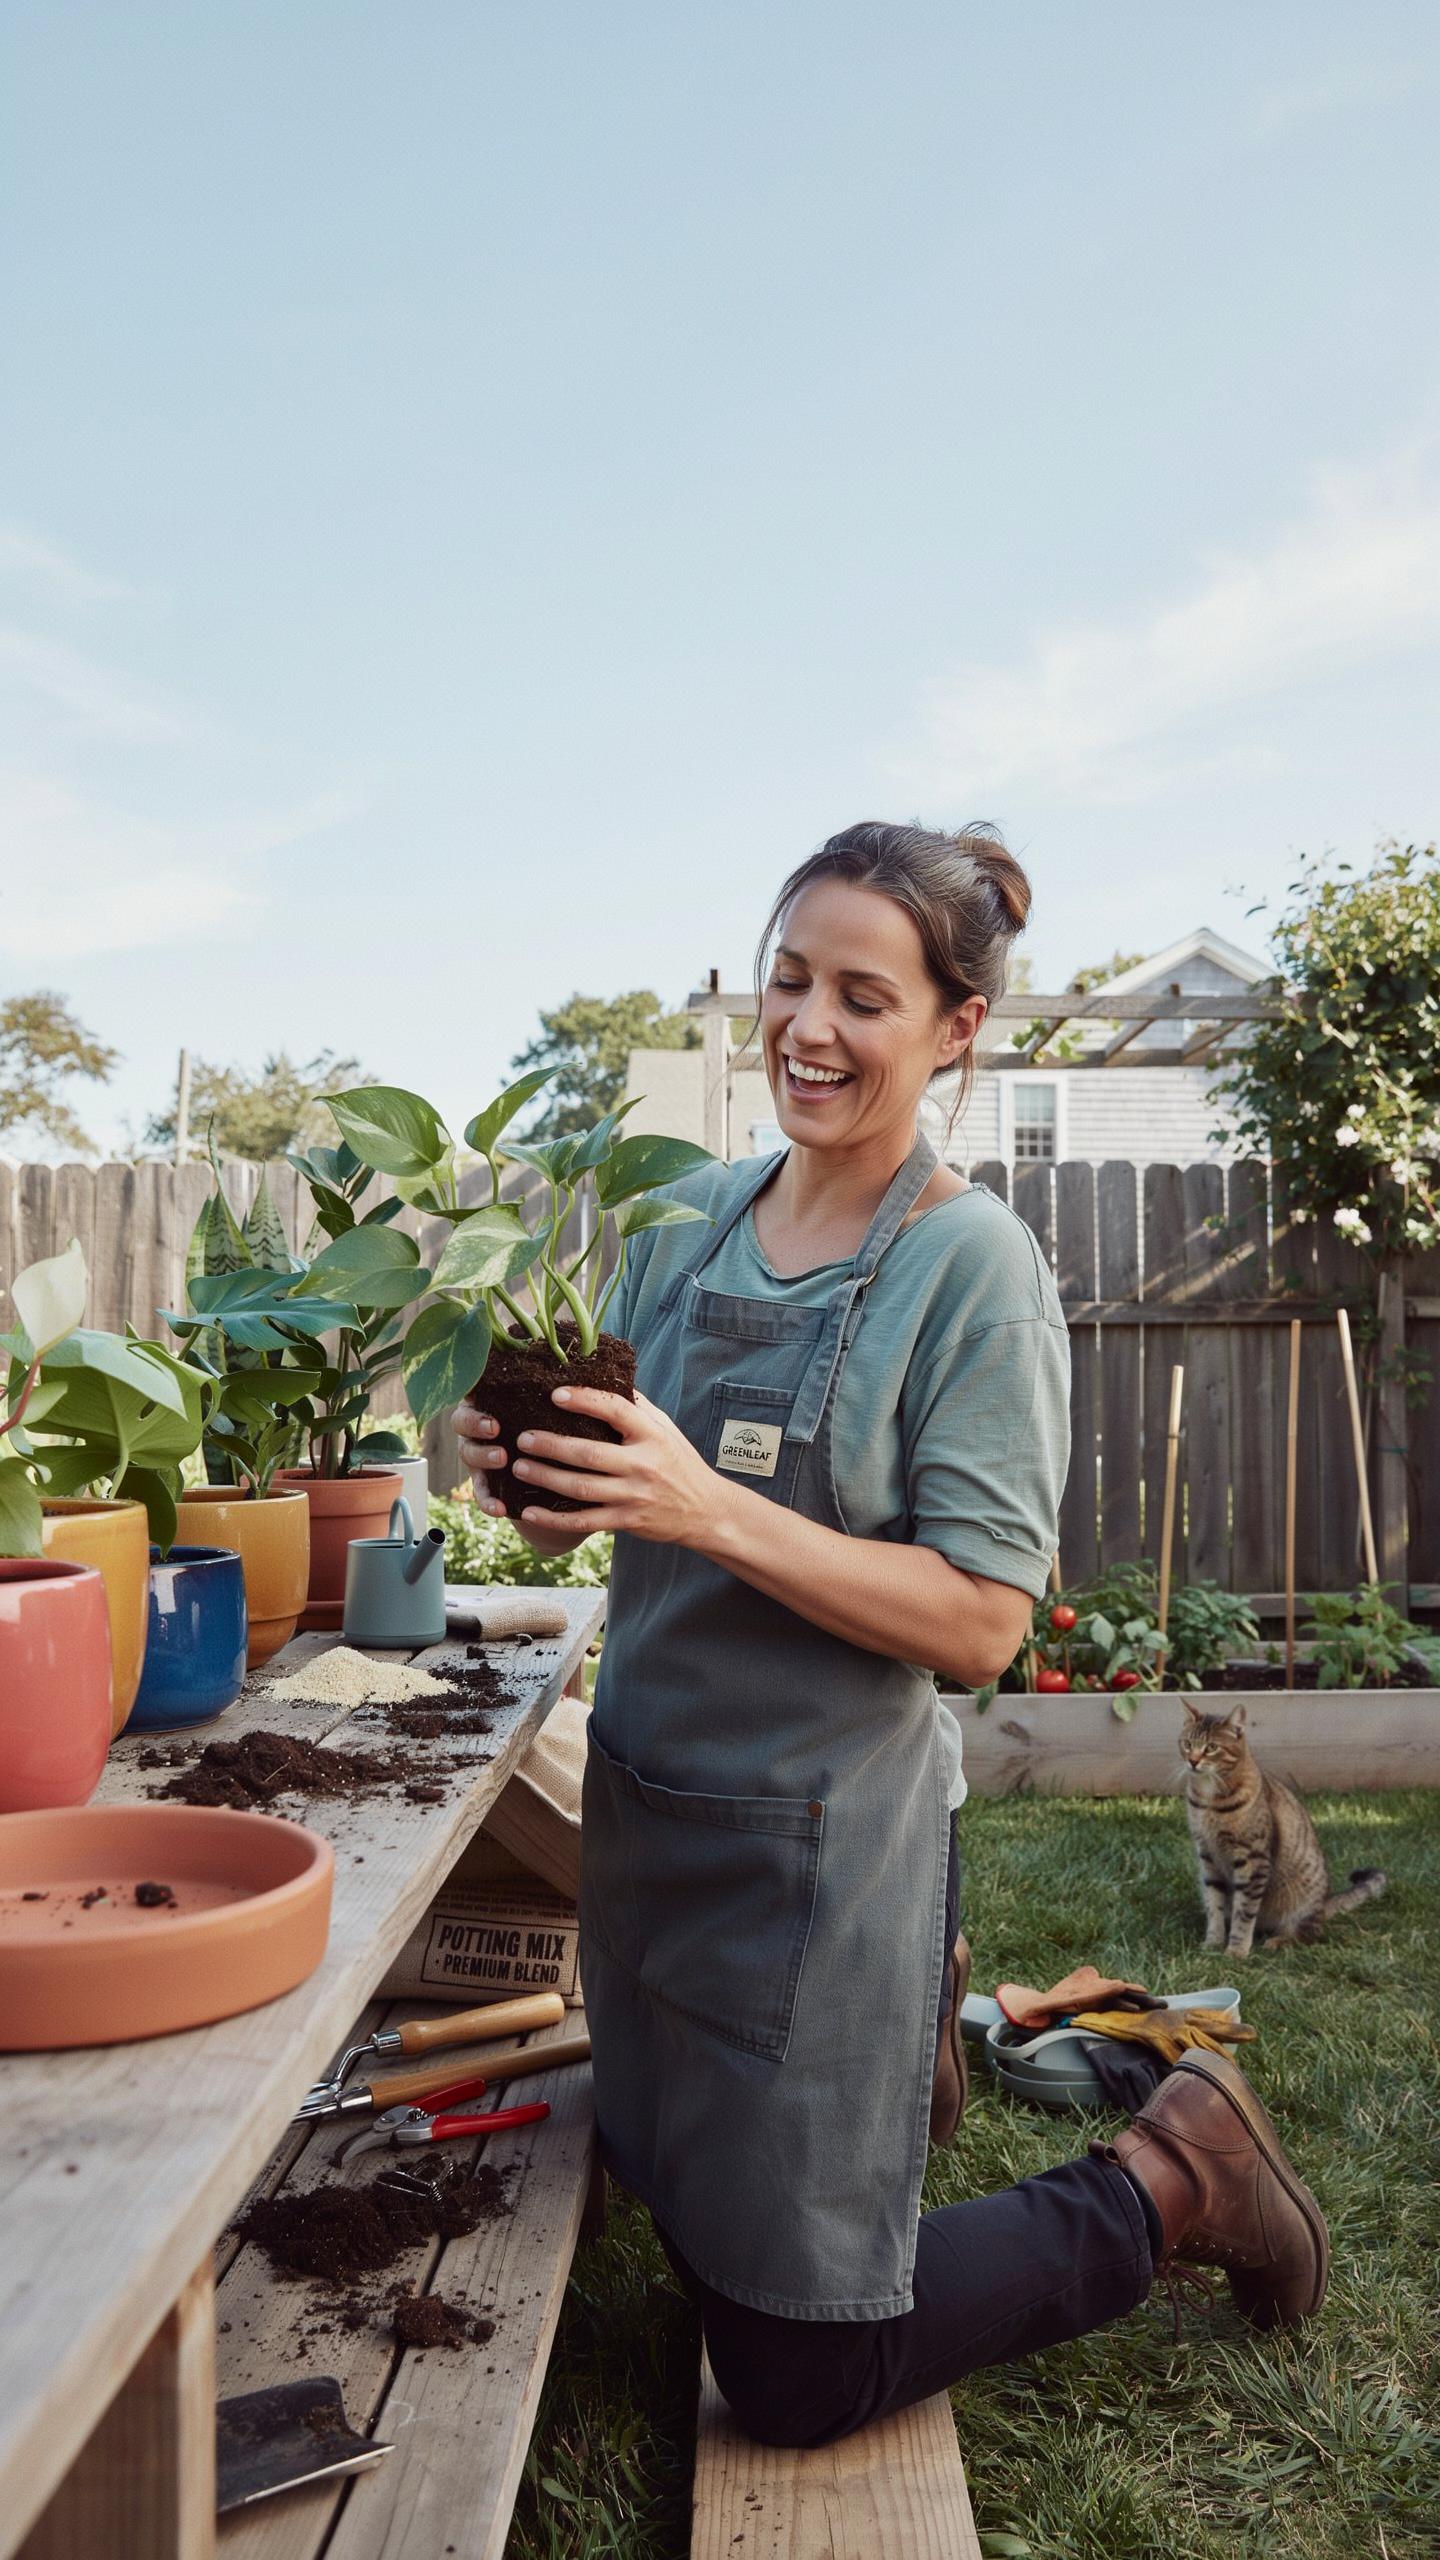
Repotting Too Often Or At The Wrong Season And Its Impact On Soil And Roots
Repotting too frequently disrupts the root system and prevents soil stabilization. Plants require consistent environments to establish nutrient uptake pathways. Constant movement causes transplant shock by breaking fine root hairs. These hairs absorb water and minerals. If you move a plant every few months, it spends energy on recovery instead of new growth. This leads to stunted stems and yellowing leaves.
Timing matters for successful container gardening. Repotting during the dormant winter season causes prolonged stress. Plants lack the metabolic speed to repair root damage in cold weather. Perform this task during early spring when active growth starts. Spring warmth triggers rapid root expansion and prevents soil pathogens from taking hold. Avoid the peak heat of summer. High temperatures evaporate moisture too quickly from exposed roots.
Top Repotting Errors That Can Damage Healthy Container Plants And How To Fix Them
Successful repotting requires precision and the correct materials. Beginners often choose pots that are too large or fail to prepare the root ball. Using the wrong soil density leads to drainage failure or root suffocation. These errors kill healthy plants within weeks. You must handle the root system with care and ensure the new environment matches the specific biological needs of the plant species.
- Upsizing Too Quickly: Selecting a pot more than two inches wider than the current one causes problems. Excess soil stays wet too long because the roots cannot reach the water. This leads to root rot. Only increase pot size by one standard diameter at a time to maintain water balance.
- Burying the Stem: Placing the plant too deep in the new container invites rot. Soil moisture against the main stem softens the tissue and allows fungi to enter. Keep the soil line at the same level as the original pot. This protects the plant base from decay.
- Dry Root Handling: Repotting a plant with dry soil causes the root ball to crumble and snap. This destroys the structural integrity of the root system. Water the plant twenty-four hours before repotting. Moist roots stay flexible and hold the soil together during the transition to the new pot.
- Using Garden Soil: Filling containers with heavy backyard dirt stops air circulation. Garden soil lacks the aeration components found in professional potting mixes. It compacts tightly around roots and prevents drainage. Use a sterilized potting medium containing perlite or vermiculite to ensure oxygen reaches the root zone.
- Ignoring Root Binding: Failing to loosen circling roots prevents the plant from expanding into new soil. Roots will continue to grow in a tight circle even in a larger pot. Use clean shears to make shallow vertical cuts. This forces the plant to send out new lateral roots.
Fix these mistakes by monitoring moisture levels and checking root health regularly. If you identify a drainage issue, move the plant to a pot with more holes immediately. Add grit or sand to heavy soil to increase porosity. Always firm the soil gently rather than packing it down hard. Proper technique ensures your container garden thrives without the risk of stagnant water or mechanical damage.
Best Gardening Tips For Long Term Container Garden Repotting Success
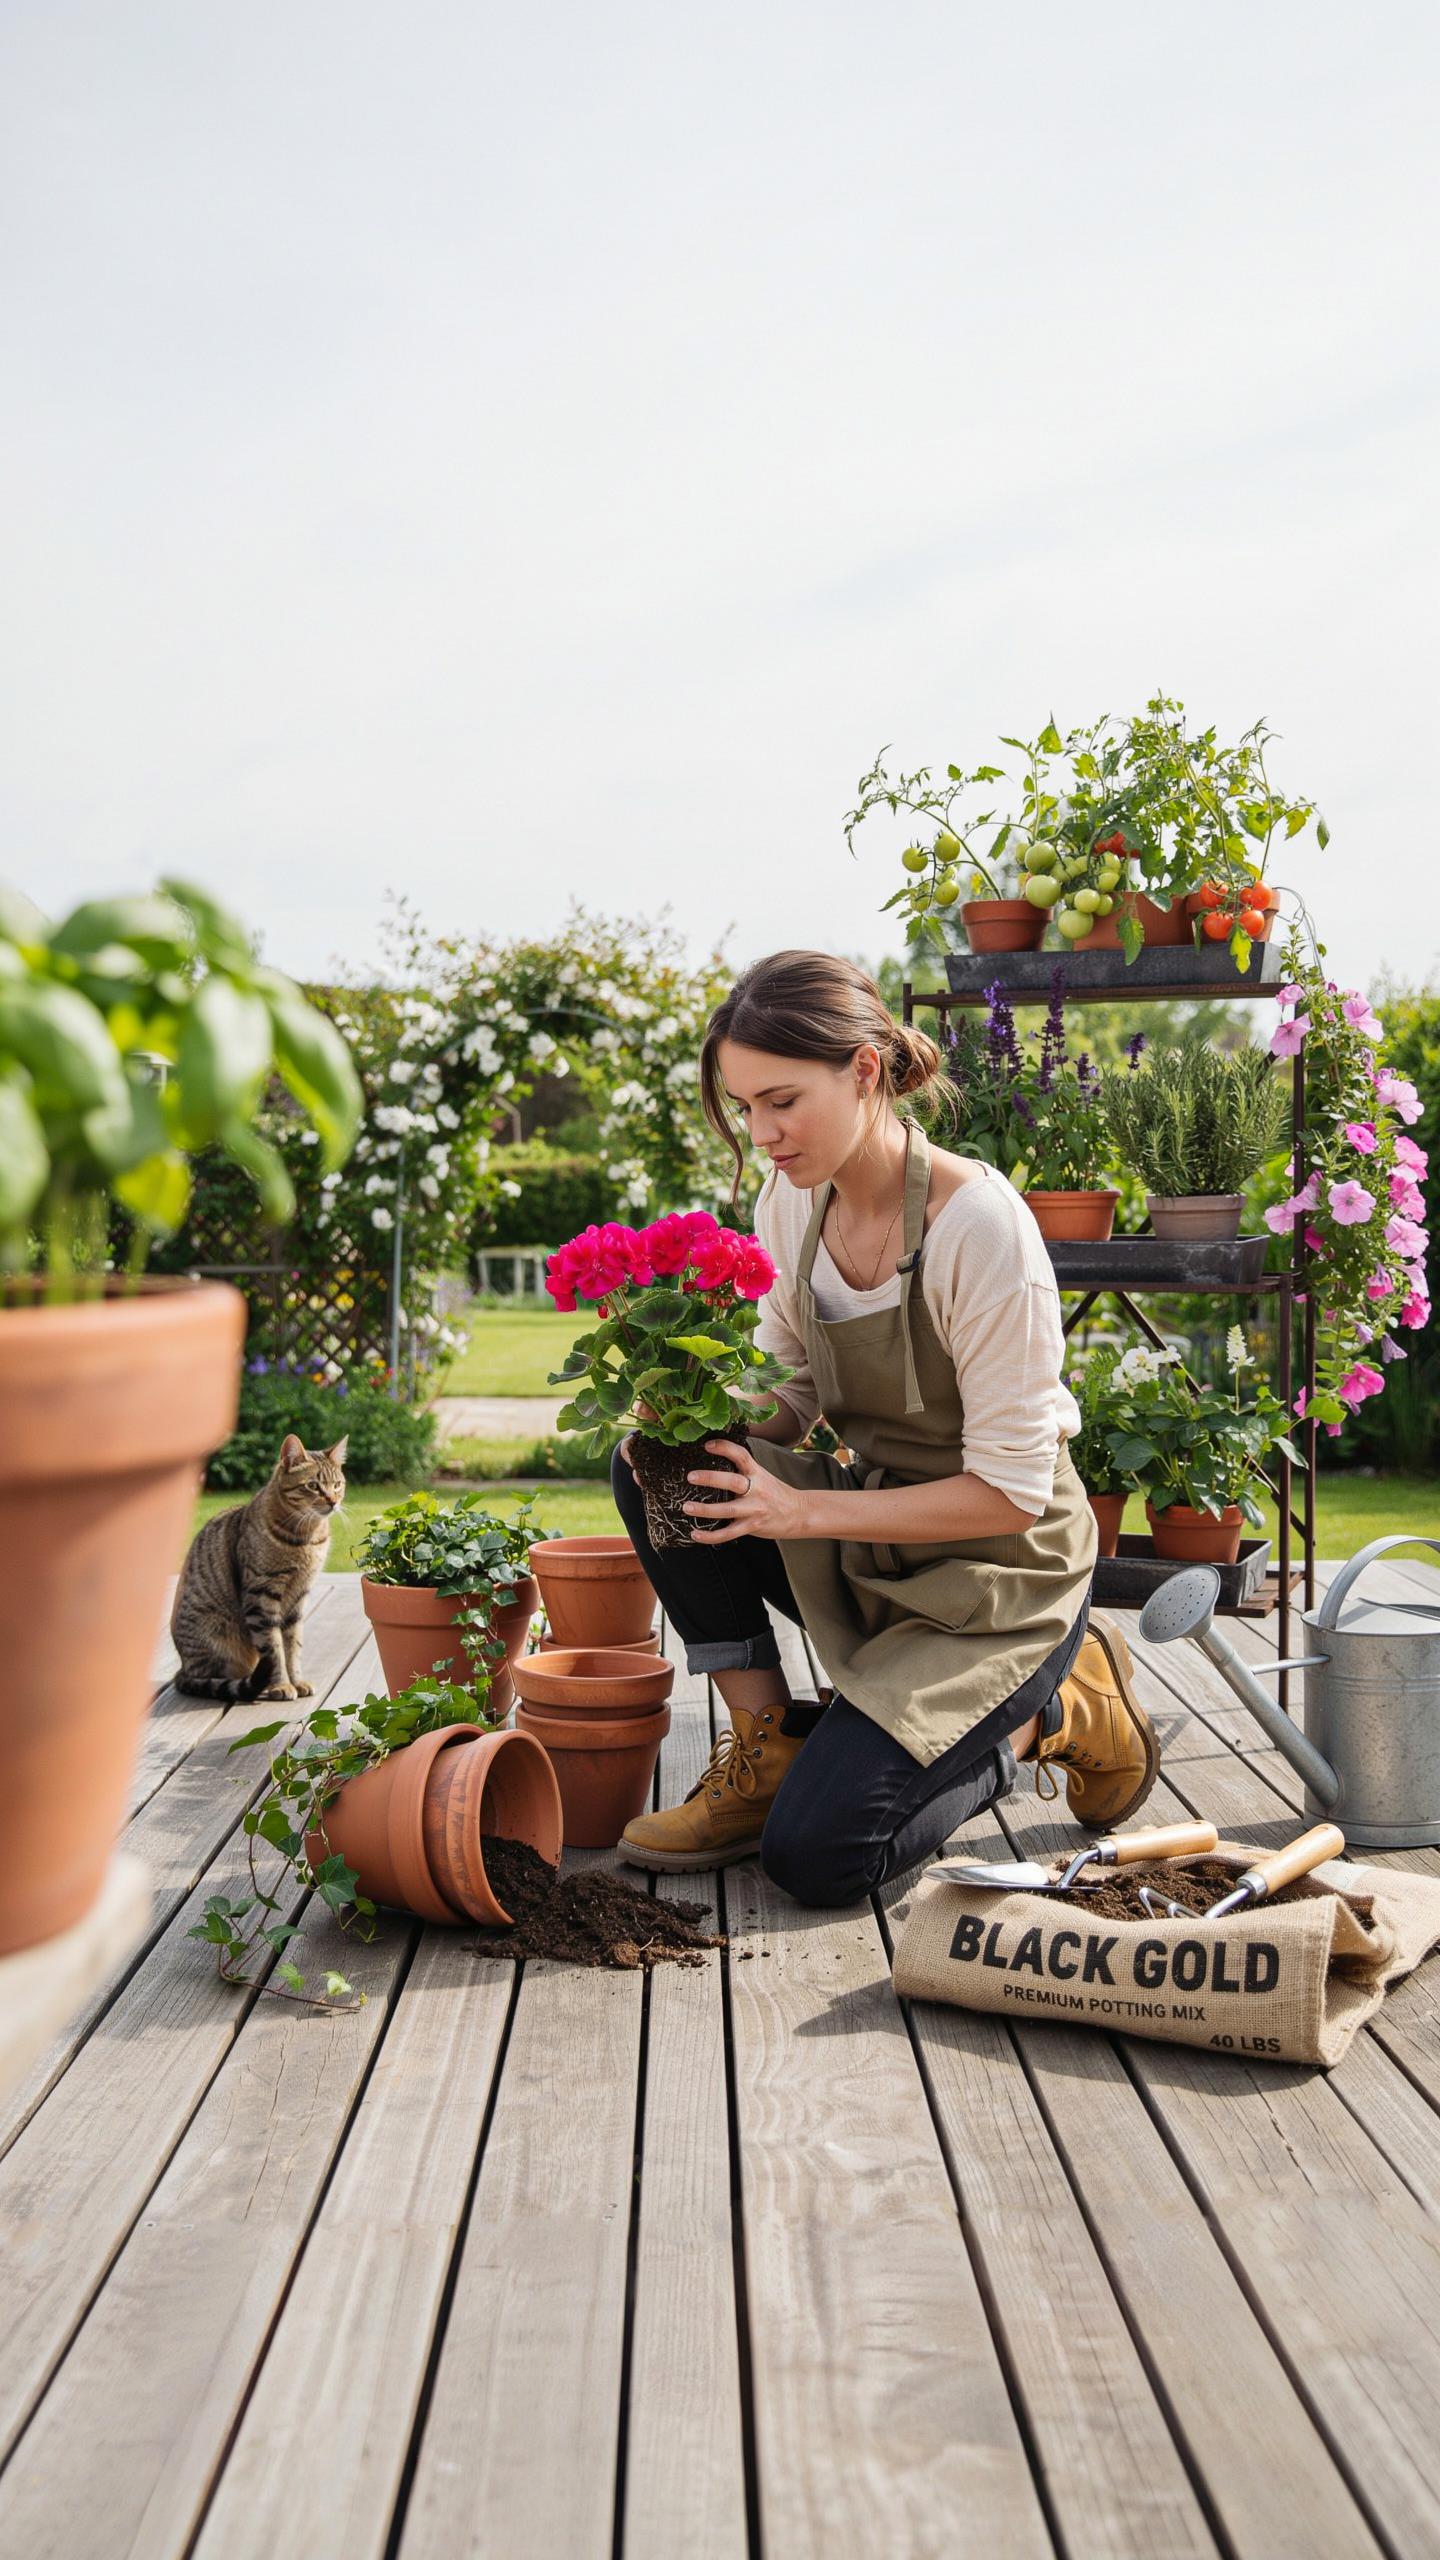
Building A Seasonal Repotting Schedule That Keeps Your Container Plants Healthy Year Round
Repotting follows the biological clock of the plant. Timing ensures the root system recovers before extreme weather hits. Most temperate plants require attention in early spring. This period aligns with the start of the active growing season. You must act before the first buds break. Fast-growing species often need a new container every year. Slower woody perennials may last three years in one pot.
Winter provides a strategic window for planning and preparation. Use this dormant phase to inspect your inventory. Check the drainage holes of every pot for protruding roots. Buy your potting media and amendments in bulk before the spring rush. High-quality soil mixes degrade over twelve months. Fresh substrate restores aeration and water retention. A set schedule prevents the emergency repotting that often kills stressed plants.
How Consistent Plant Care Practices Lead To A Flourishing Container Garden Over Time
Success depends on technical precision during the transition. Always match the new pot size to the current root mass. Moving a small plant into a massive container causes soil saturation. This leads to root rot and anaerobic conditions. Treat the roots with care but remove circling growth immediately. Mechanical pruning of old roots stimulates new feeding hairs. This process keeps the plant young and vigorous.
Maintenance does not end when the plant enters the new pot. Consistent irrigation is critical during the first fourteen days. The new soil and the old root ball have different densities. Water may bypass the roots if you do not monitor moisture levels. Avoid heavy fertilization for one month. Let the roots establish themselves in the fresh medium first. These disciplined actions create a reliable environment for long-term growth.
Frequently Asked Questions

How do I know when it is time to repot my container plants?
Most plants signal their need for more space through visible growth patterns. Look for roots circling the surface or poking through bottom drainage holes. If your plant wilts quickly after watering or has stunted growth despite regular feeding, it is likely root-bound. This container garden repotting guide recommends checking your pots every spring to ensure your favorite greenery has enough room to thrive as the new growing season begins.
What is the best process for moving a plant into a larger pot safely?
Start by gently loosening the plant from its current home, taking care not to pull by the stem. Once removed, lightly tease the root ball to encourage outward growth. Place the plant in a new vessel that is only two inches wider than the previous one. Following a proper container garden repotting guide ensures you use fresh potting mix and leave enough space at the top for easy watering without overflow.
Can I repot my garden on a budget using recycled materials?
Absolutely! You do not need expensive designer planters to maintain a beautiful home garden. Upcycling household items like old buckets, wooden crates, or large tin cans is a fantastic way to save money. Just ensure you drill adequate drainage holes in the bottom of any DIY vessel. Using quality soil is the only area where you shouldn’t skimp, as healthy nutrients are essential for long-term plant vitality and success.



