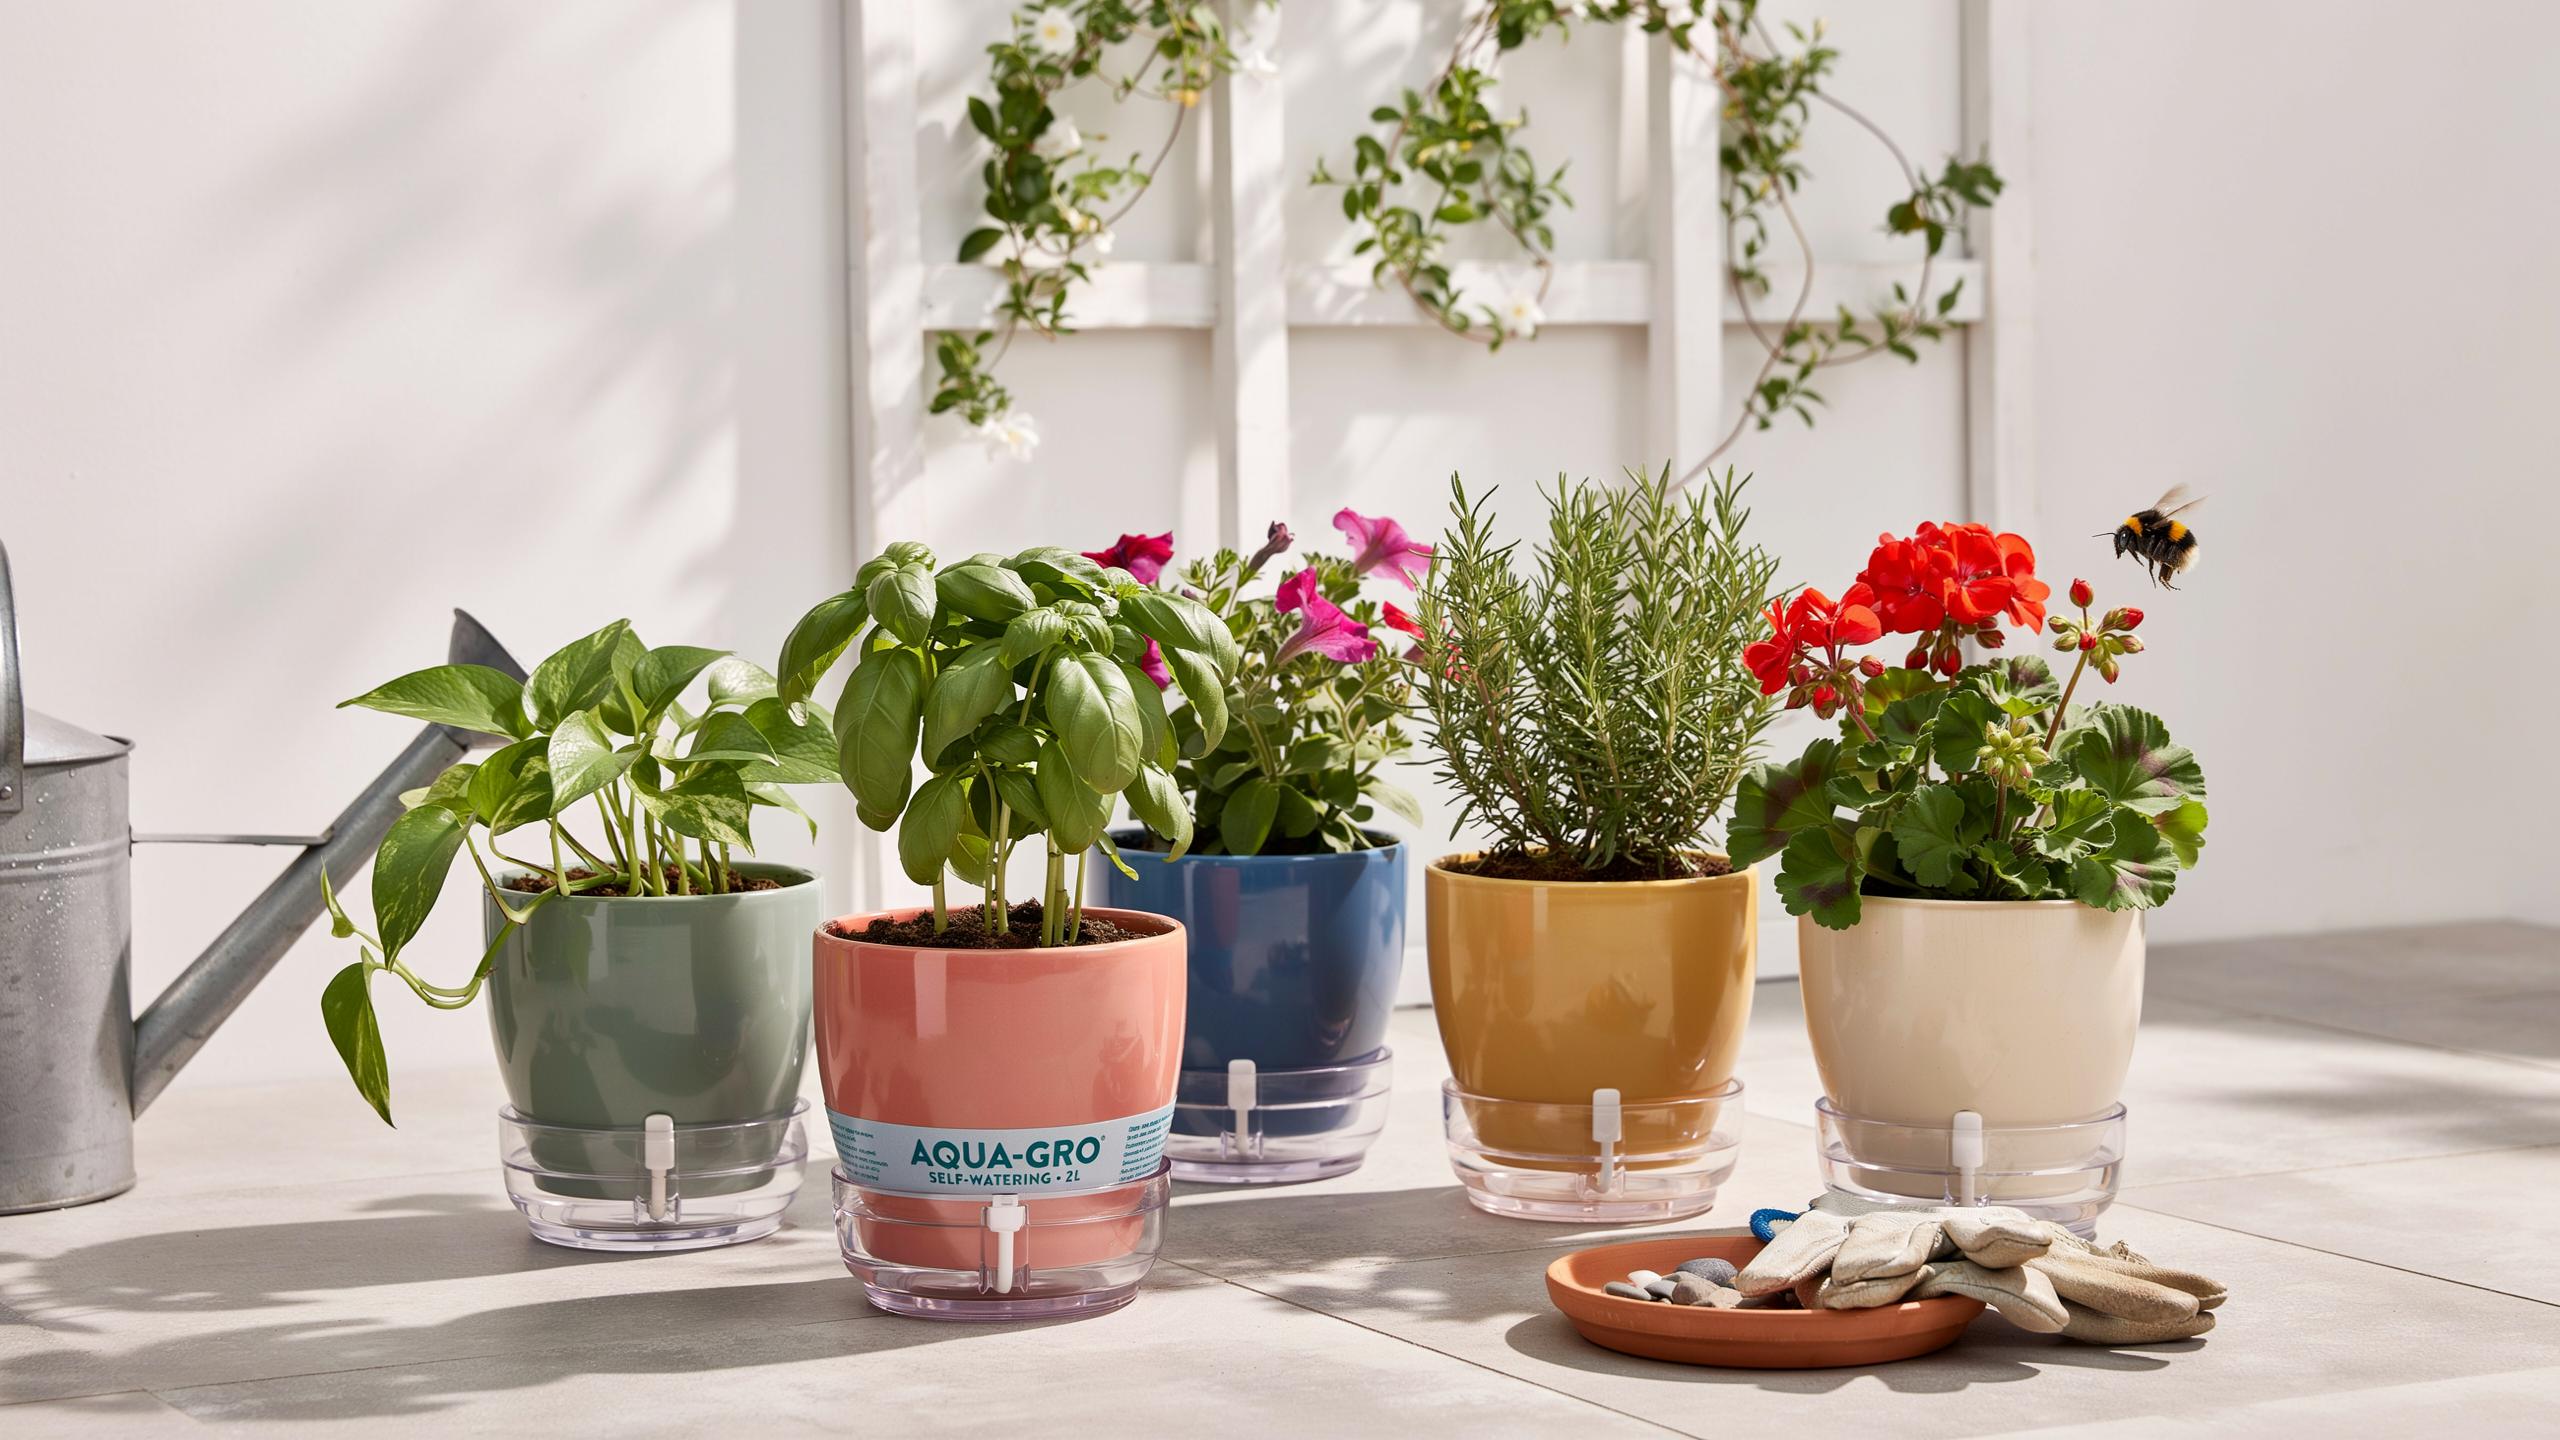
What Is A Self Watering Planter And How Does It Actually Work
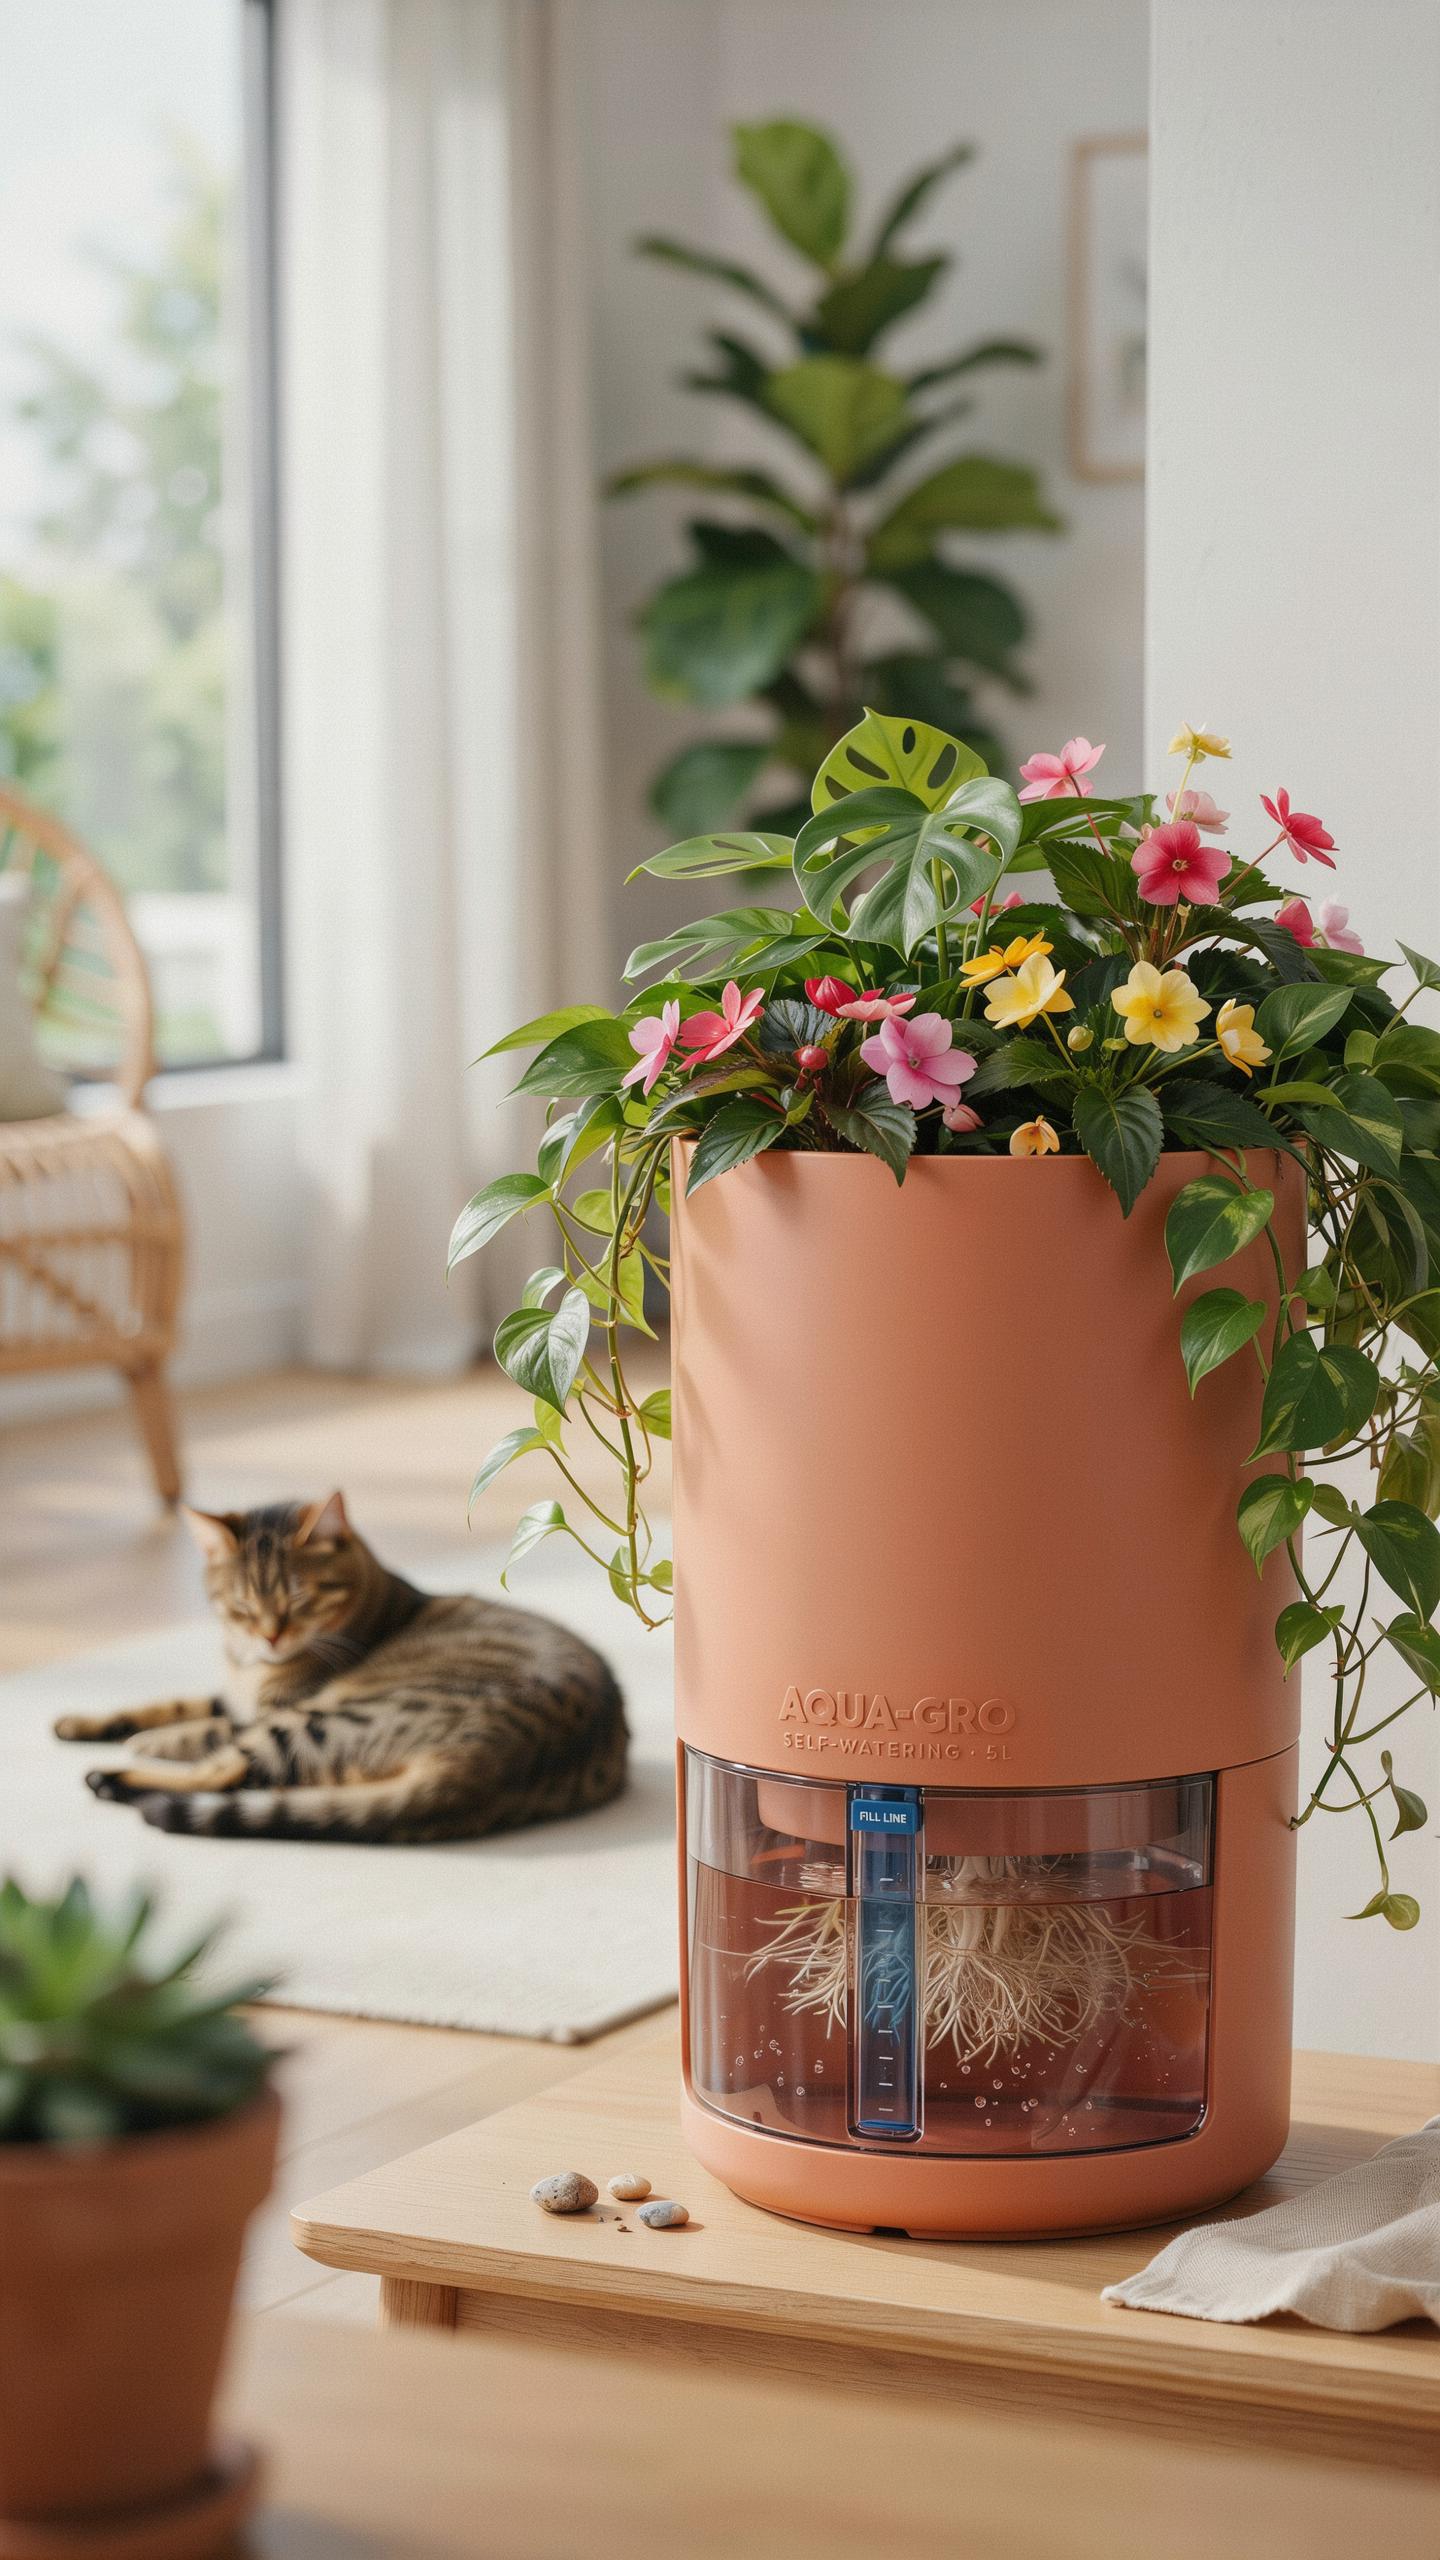
The Science Behind Sub Irrigation In A Self Watering Planter
Capillary action drives the entire self watering container garden setup. This physical phenomenon allows liquid to flow upward through narrow spaces without external force. In a planter, the soil acts as a wick to pull water from a reservoir at the base. Physics dictates that moisture moves from saturated areas to dry areas. This ensures the root zone stays consistently moist but never flooded.
Sub-irrigation mimics natural groundwater systems used by farmers for centuries. Designers refined these principles during the mid-twentieth century to create modern indoor and outdoor systems. This method prevents surface evaporation and protects soil nutrients from washing away. It provides a steady supply of hydration based on the atmospheric demand of the plant. You eliminate the cycle of drought and overwatering that kills most container plants.
Key Components That Make A Self Watering Planter Function Effectively
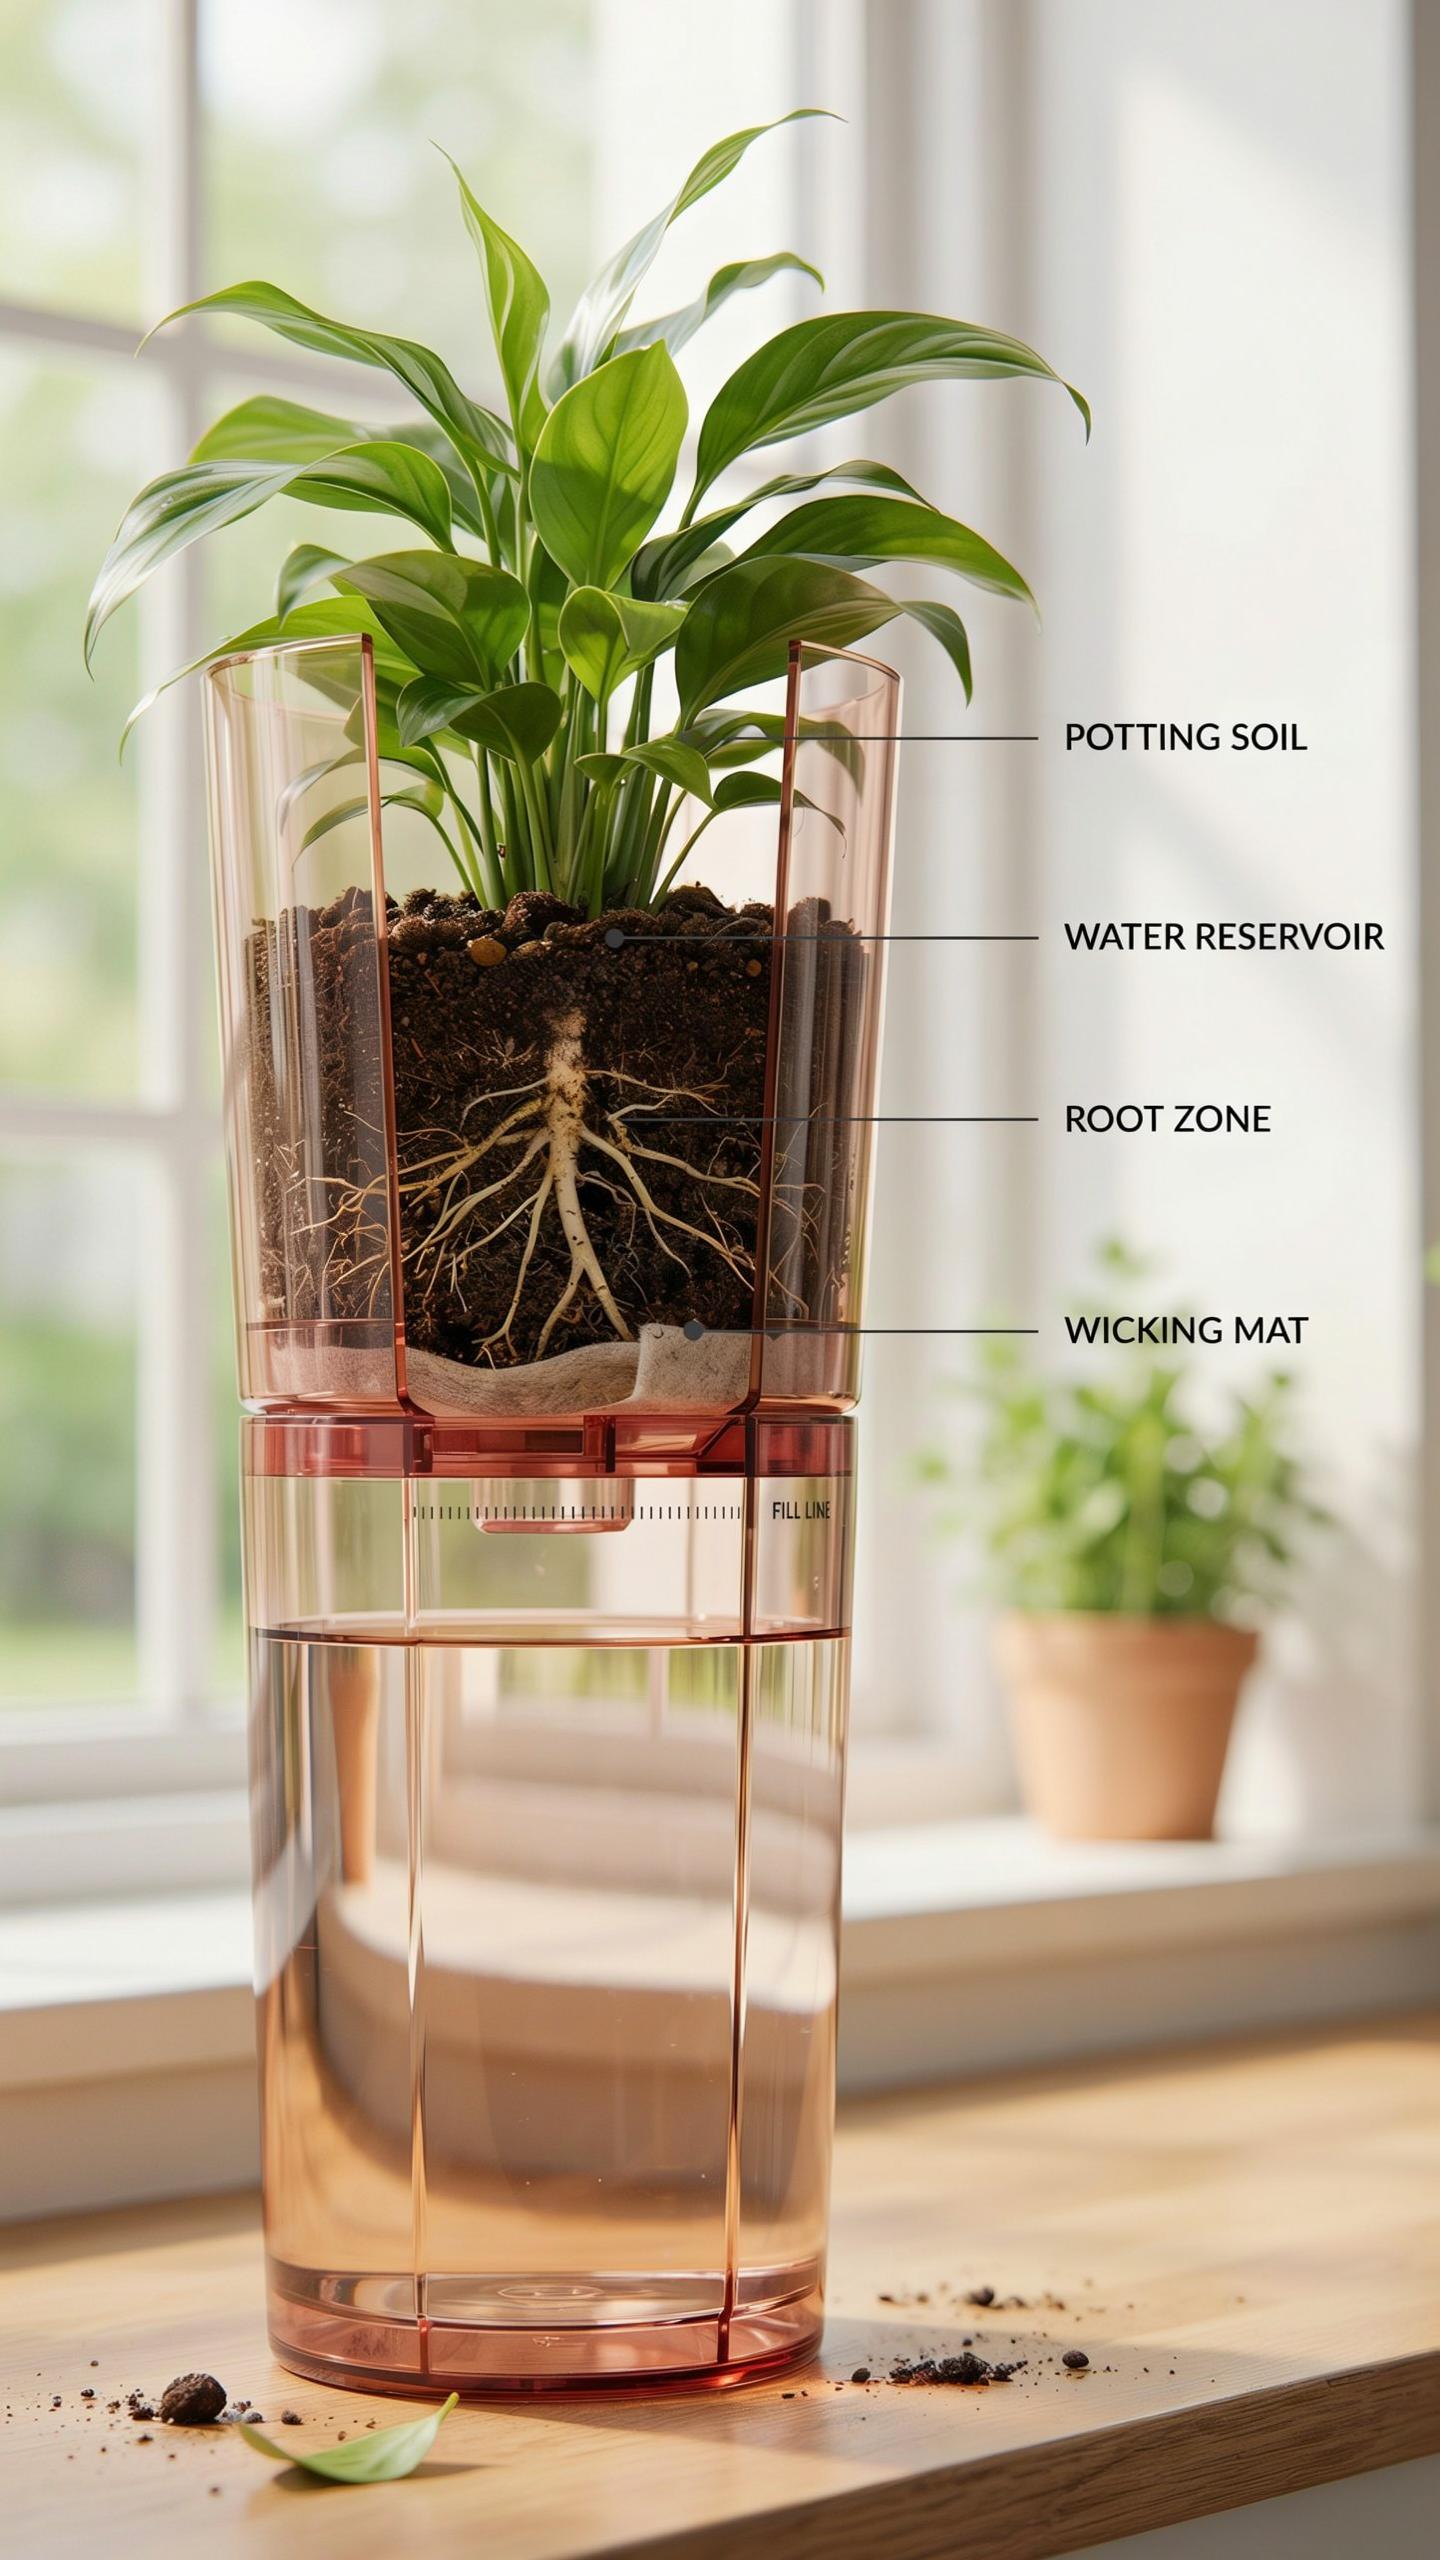
A functional system requires four critical parts to operate correctly. The water reservoir sits at the bottom to hold the supply. Above this, an aeration screen or separator platform keeps the soil from falling into the water. A wicking chamber or fabric bridge connects the soil to the liquid. These components work together to maintain a specific balance of hydration and oxygen within the growing medium.
Proper drainage is the most vital fail-safe in this design. Every professional setup includes an overflow hole to prevent drowning the roots during heavy rain. An fill tube allows you to add water directly to the reservoir without wetting the leaves. This targeted delivery keeps the foliage dry and reduces fungal growth. High-quality systems use durable plastics or lined materials to ensure the reservoir stays watertight over time.
Benefits Of Building A Self Watering Garden For Beginners And Experts
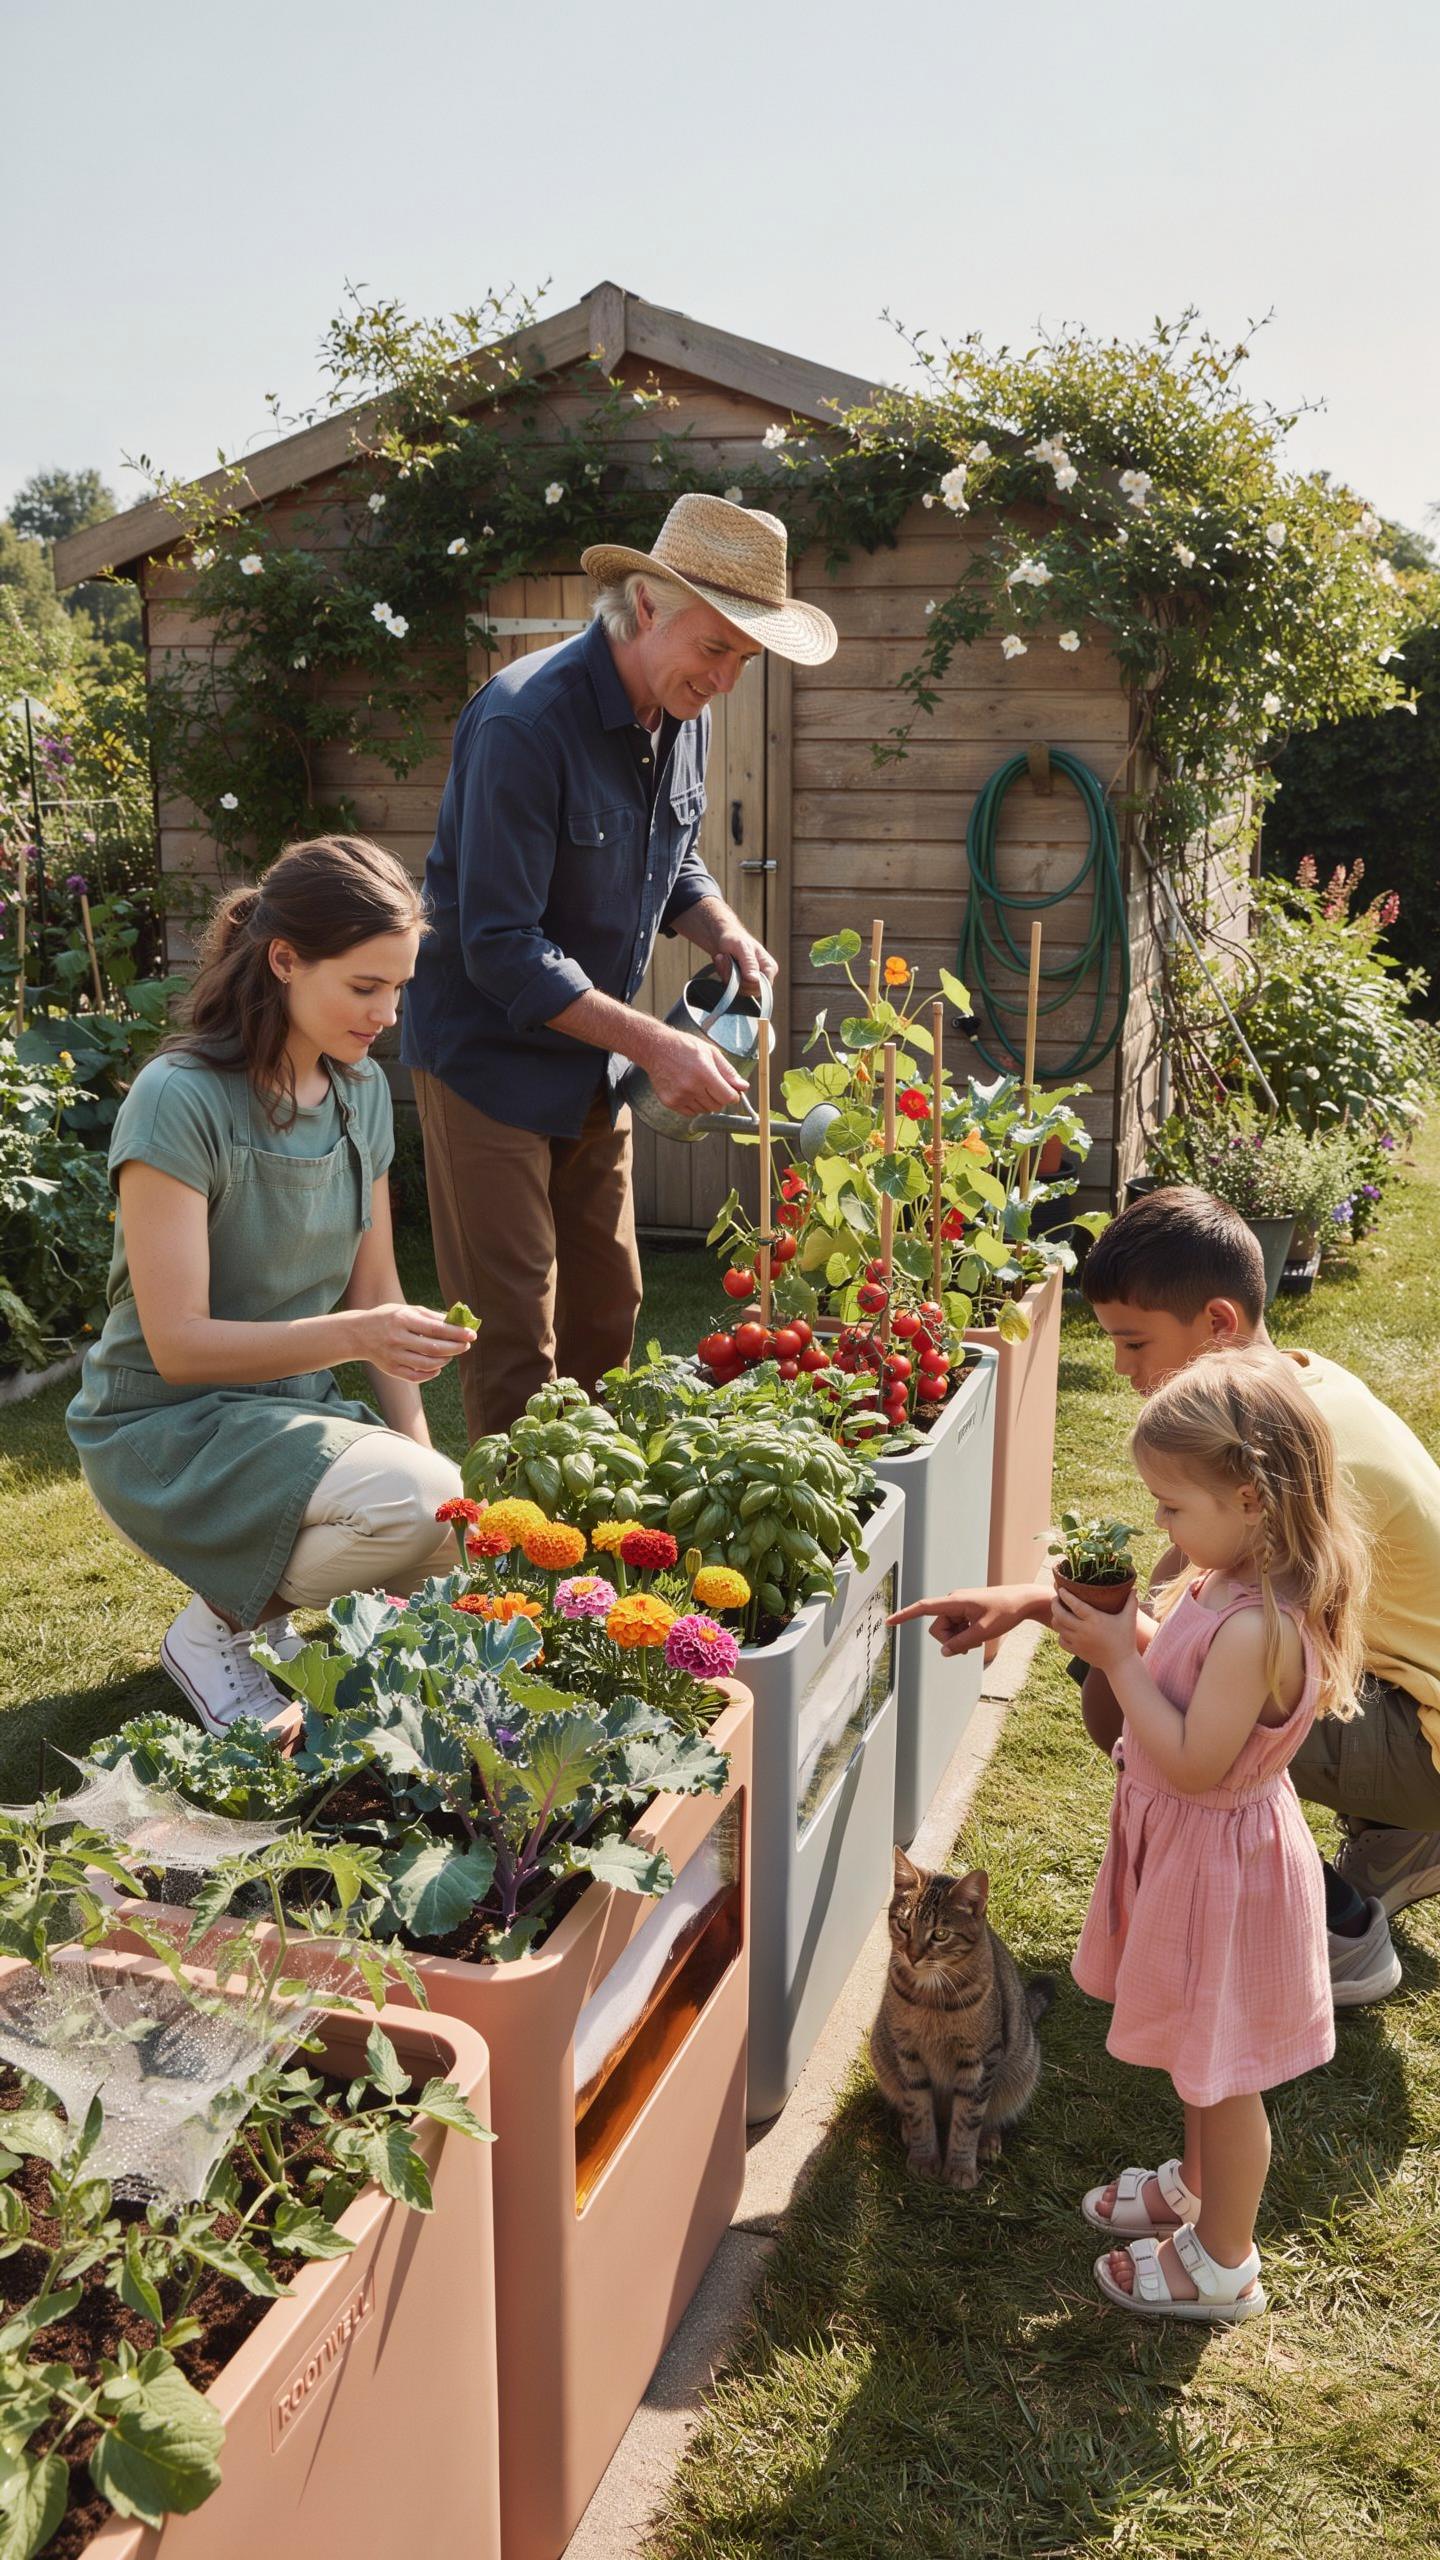
Why A Self Watering Garden Reduces Water Waste And Maintenance Time
Traditional surface watering leads to high evaporation rates because water stays on the soil top. Sub-irrigation systems deliver water directly to the root zone via a reservoir. This design prevents wind and sun from stealing moisture before plants use it. You spend less money on water bills and use fewer resources. It is a precise delivery method that eliminates unnecessary runoff and ground saturation.
These systems automate the hydration process to save you daily labor. You fill a large tank once every week instead of dragging hoses every morning. This schedule frees up your time for pruning and harvesting. Beginners avoid the common mistake of forgetting to water during heat waves. Experts scale their production without increasing their workload. Efficiency is the primary driver for using this specific container technology.
How Consistent Moisture Levels In A Self Watering Garden Boost Plant Health
Plants grow faster when they do not face moisture stress. In standard pots, soil density changes as it dries out and gets soaked. This fluctuation shocks the root system and halts fruit production. Self watering setups maintain a steady capillary action that keeps soil damp but not soggy. Roots remain in a stable environment which allows for maximum nutrient uptake and steady cellular growth.
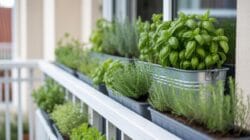
Consistent hydration prevents common physiological disorders like blossom end rot in tomatoes. This condition happens when calcium cannot move through the plant due to uneven water levels. A steady supply ensures every part of the plant receives minerals. You get higher yields and better fruit quality with less effort. Experts rely on this stability to produce professional results in small urban spaces or large residential decks.
Planning Your Self Irrigating Planter DIY Project From Scratch
Choosing The Right Container Size And Material For Your Self Irrigating Planter DIY
Container volume determines the success of your self watering container garden setup. You must match the depth to the root structure of your specific plants. Leafy greens require at least eight inches of depth. Larger fruiting plants like tomatoes need fifteen inches minimum to thrive. Shallow containers dry out too fast. Deep containers maintain the necessary hydraulic pressure to move water upward effectively.
Material choice impacts temperature and durability. Food-grade plastics like high-density polyethylene prevent chemical leaching into your soil. These materials also retain moisture better than porous terracotta. Metal containers heat up quickly and can cook roots in direct sunlight. Choose UV-resistant materials to prevent the structural breakdown of the reservoir over time. Stable materials ensure the wicking system functions throughout the entire season.
Essential Materials And Tools You Need Before Starting Your Self Irrigating Planter DIY
You must gather all technical components before assembly to ensure a tight seal. A sub-irrigation system relies on a physical barrier between the water reservoir and the soil medium. You need a durable pond liner or a secondary internal plastic tub. A fill tube allows manual refilling without disturbing the soil surface. Use high-quality wicking fabric to ensure consistent capillary action between the two chambers.
- Food-Grade Containers: Select two identical buckets or a large trough. The outer container holds water while the inner container holds soil. Use BPA-free plastics to ensure plant safety and long-term durability in outdoor environments.
- PVC Fill Pipe: Use a one-inch diameter pipe to deliver water directly to the reservoir. Cut the bottom at a forty-five-degree angle. This prevents the tube from suctioning to the floor of the container and blocking water flow.
- Aeration Screen: Install a heavy-duty plastic mesh or pond grate. This platform supports the weight of saturated soil. It creates the vital air gap that prevents root rot while allowing the wicking chambers to dip into the water below.
- Wicking Baskets: Use net pots or perforated plastic cups. Pack these tightly with potting mix to bridge the gap between the reservoir and the soil bed. These components utilize capillary action to pull moisture upward against the force of gravity.
- Overflow Drainage Outlet: Drill a hole in the side of the outer container. Place it exactly at the level of the aeration screen. This outlet prevents the soil from becoming waterlogged during heavy rain and ensures the air gap remains functional.
Precision tools are required for a professional build. You need a power drill with a hole saw bit for the drainage outlets and fill tube entry. A utility knife cuts excess plastic mesh for a custom fit. Proper assembly prevents leaks and ensures the system maintains the correct water-to-air ratio. Testing the reservoir for leaks before adding soil saves hours of corrective labor later.
Step By Step Guide To Building A Self Watering Pot DIY At Home
How To Set Up The Reservoir And Wicking System In Your Self Watering Pot DIY
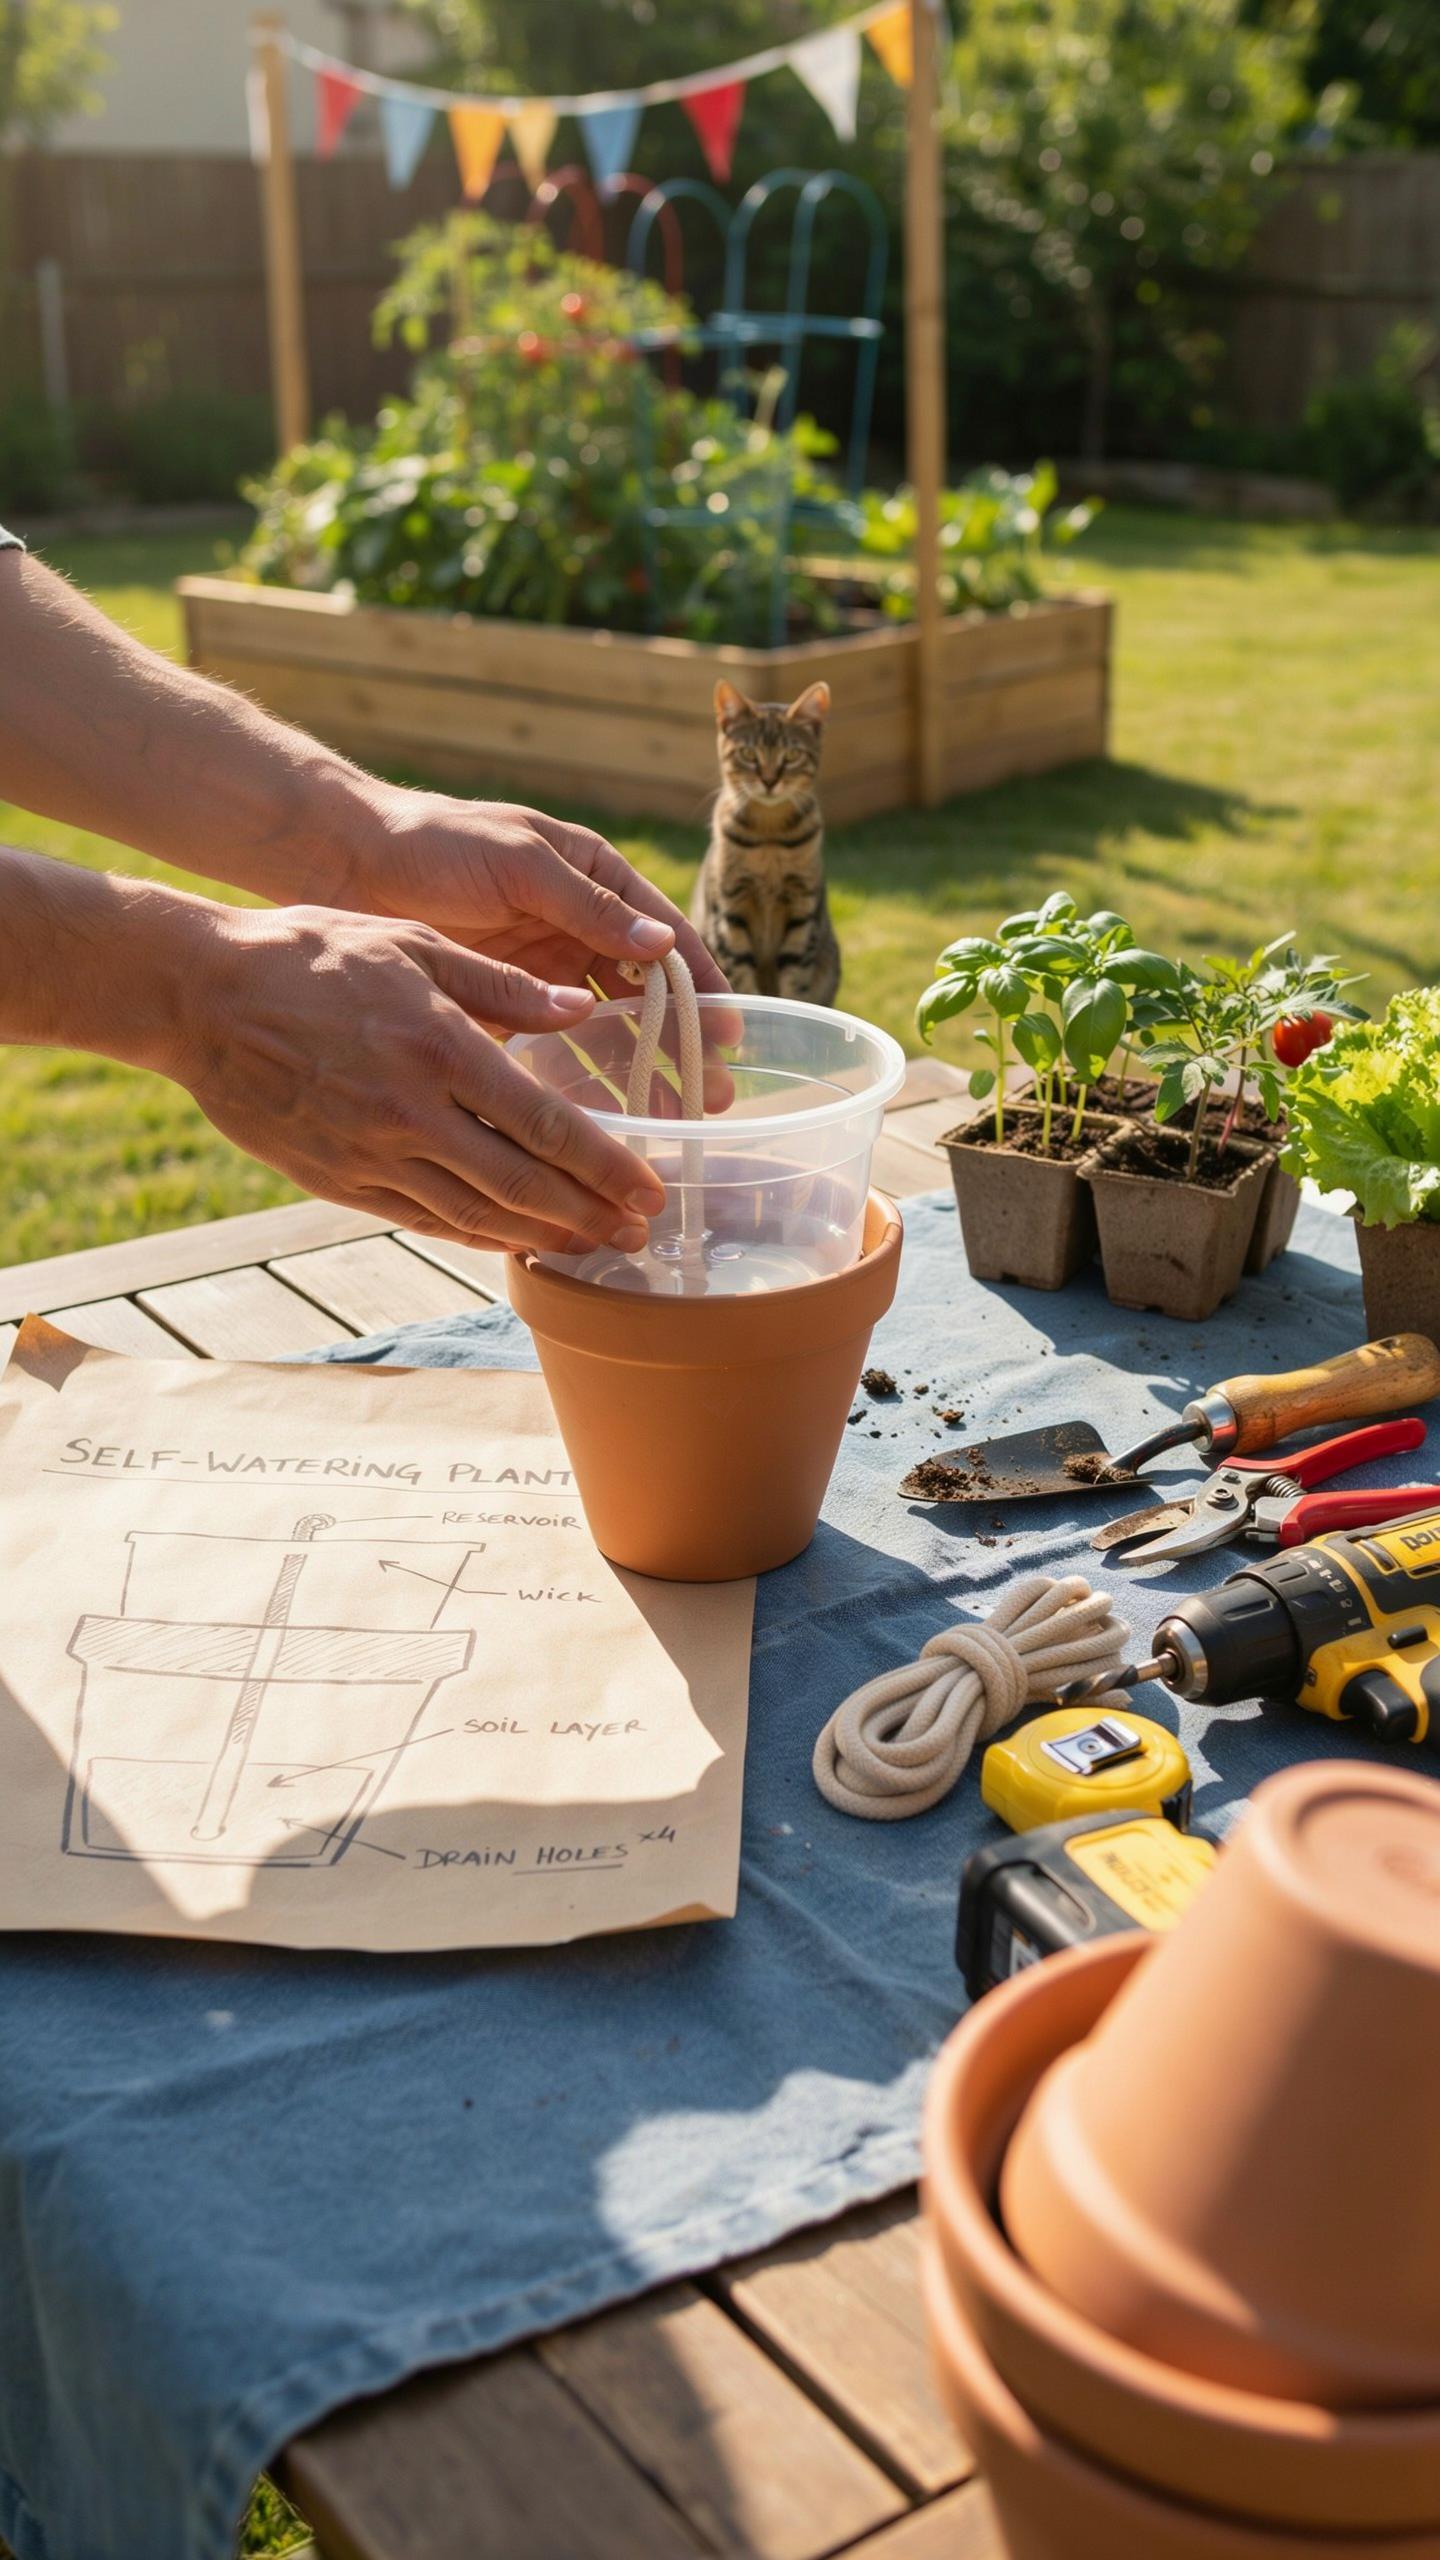
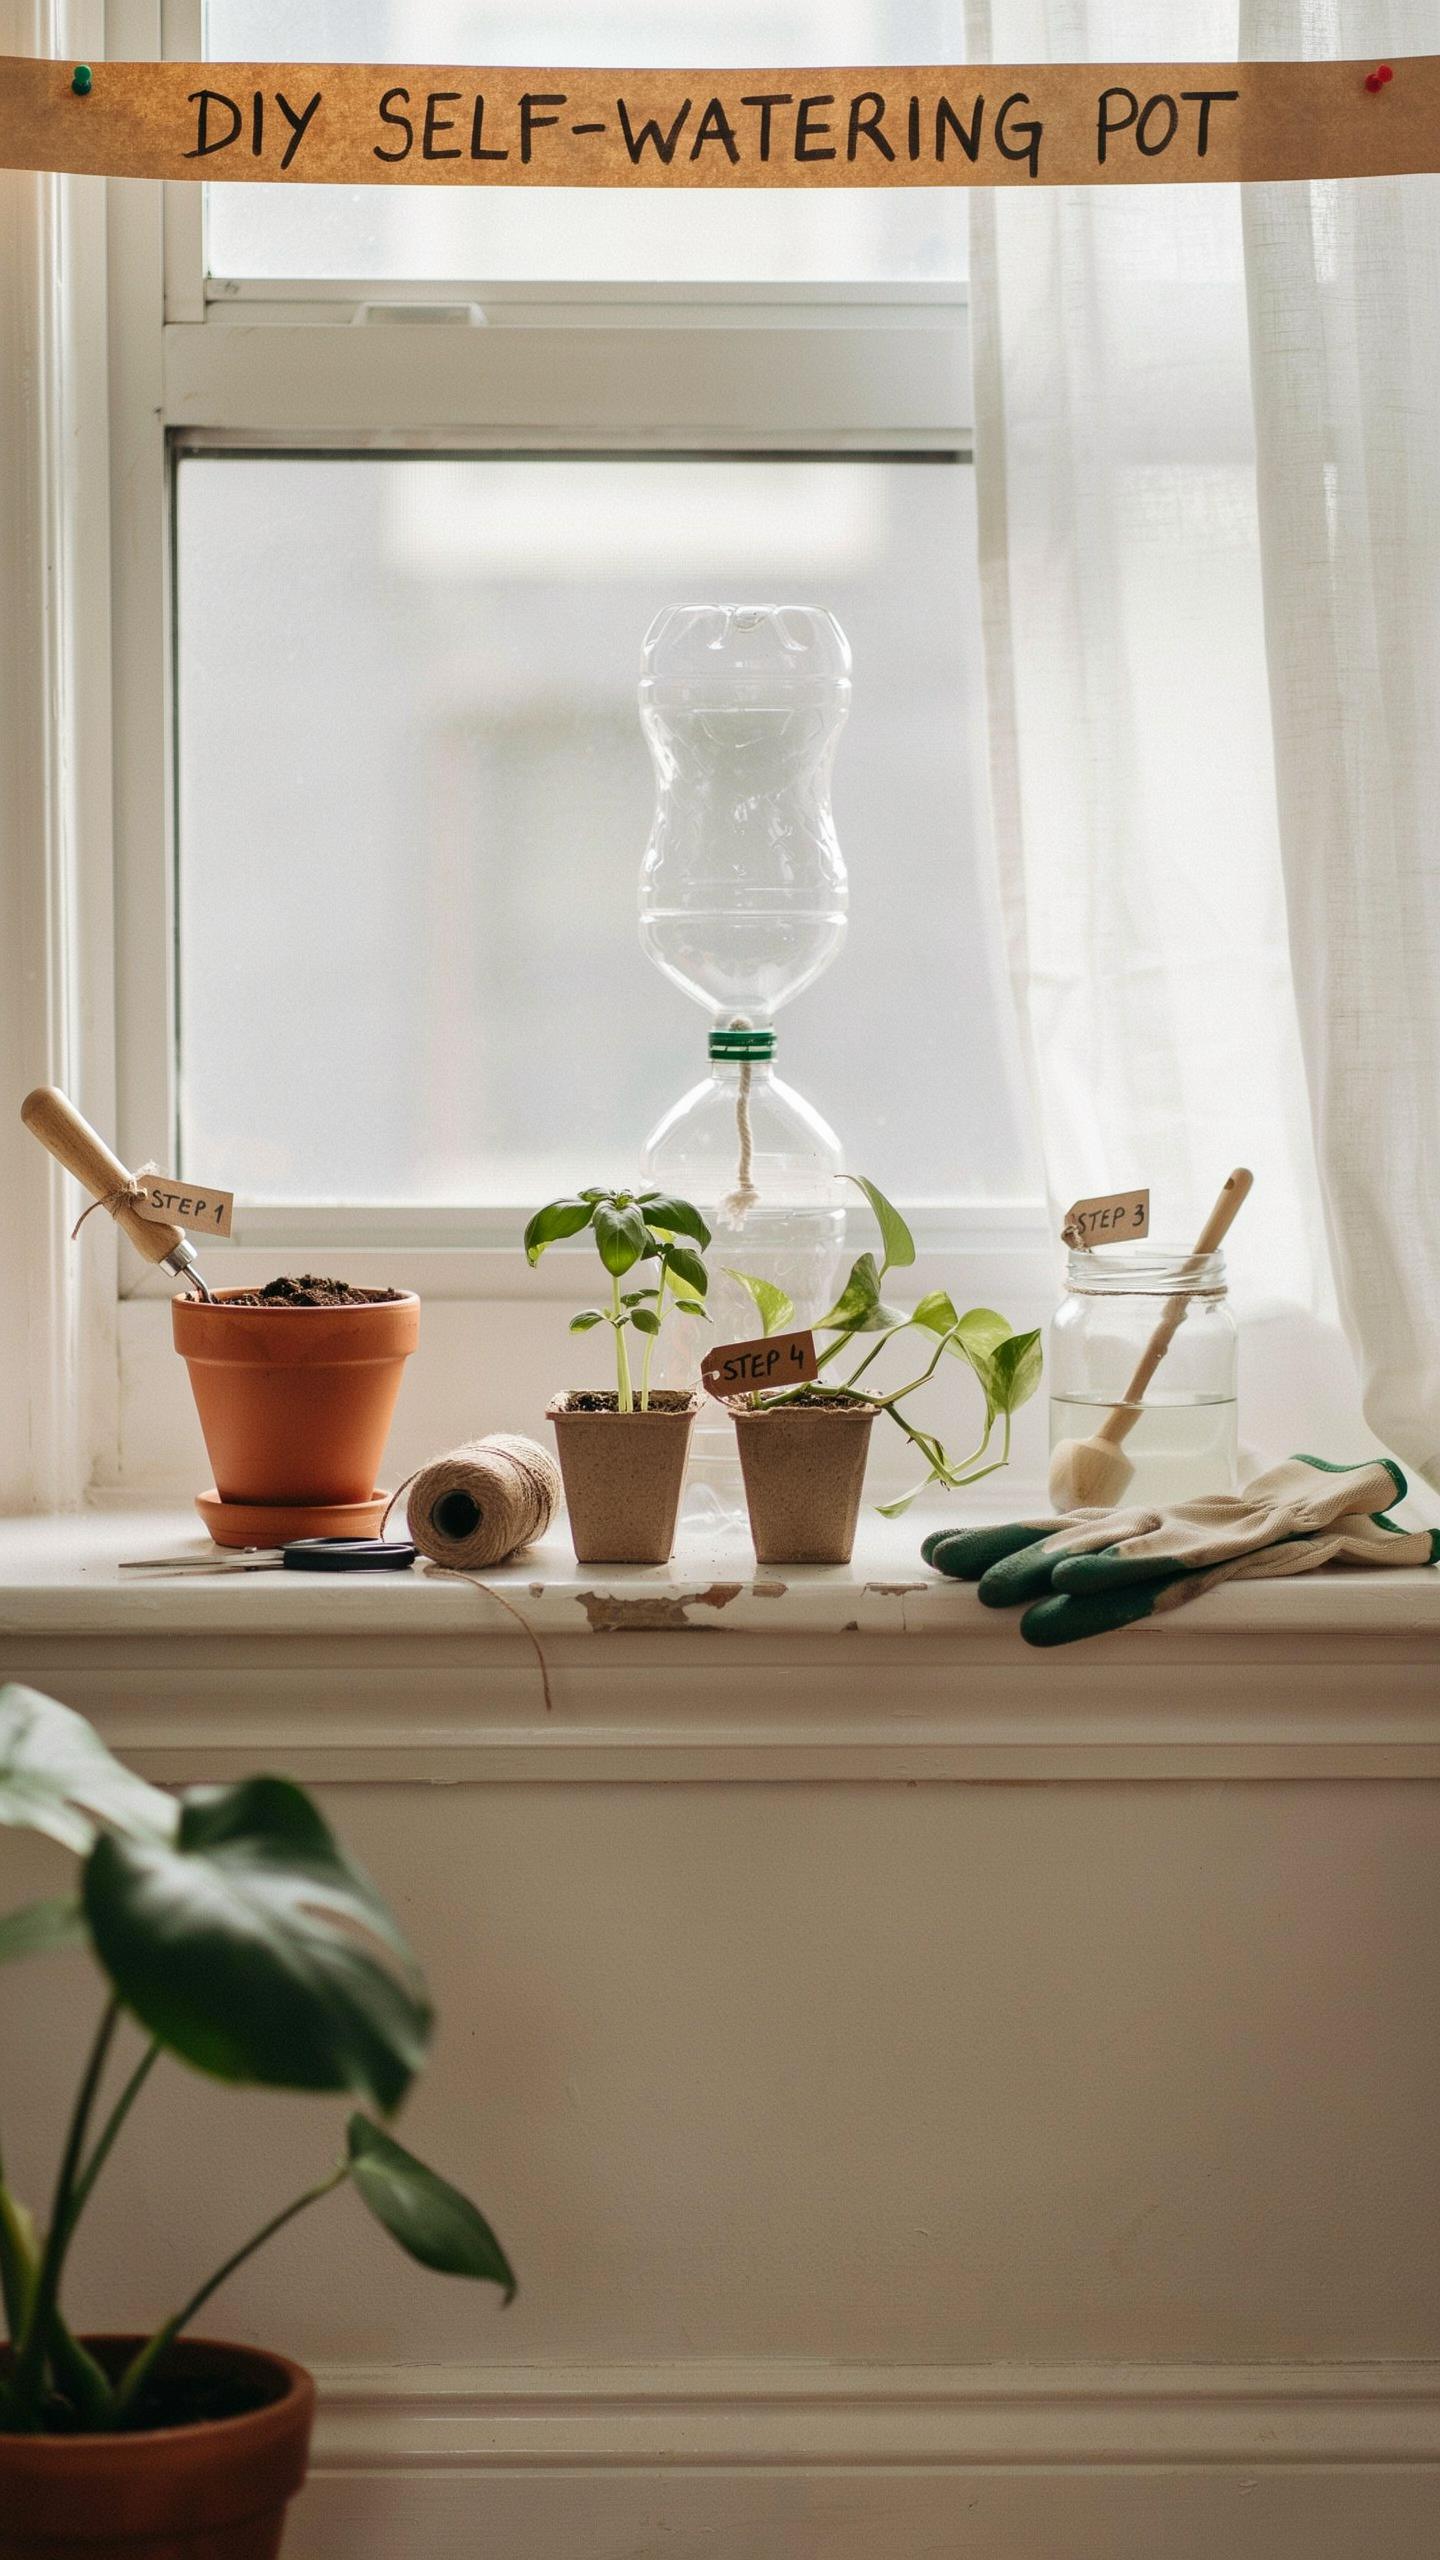
A functional self watering container garden setup requires a separate water chamber at the bottom. You must find a sturdy platform to support the soil above the water. Use a durable plastic spacer or a smaller inverted pot to create this gap. Drill multiple holes in this separator to allow air circulation. These holes prevent the soil from becoming anaerobic and rotting the roots.
The wicking system bridge the gap between the water and the soil. You must use a wicking chamber or a high-capillary fabric like polyester cordage. Cotton and other natural fibers rot quickly in standing water. Ensure the wick remains submerged in the reservoir at all times. This setup utilizes capillary action to pull moisture upward. Most successful systems dedicate ten percent of the surface area to wicking.
A beautiful garden is a testament to the wisdom of working with nature rather than against it. When we simplify our care, we allow the timeless elegance of the earth to truly shine through.
Filling And Sealing Your Self Watering Pot DIY For Long Term Use
Selecting the correct growing medium is vital for moisture transport. Use a peat-based or coco coir mix rather than standard garden soil. Garden soil is too dense and will compact in a closed system. Pre-moisten your potting mix before adding it to the container. This initial saturation ensures the capillary action starts immediately. Pack the mix firmly into the wicking chambers to eliminate air pockets.
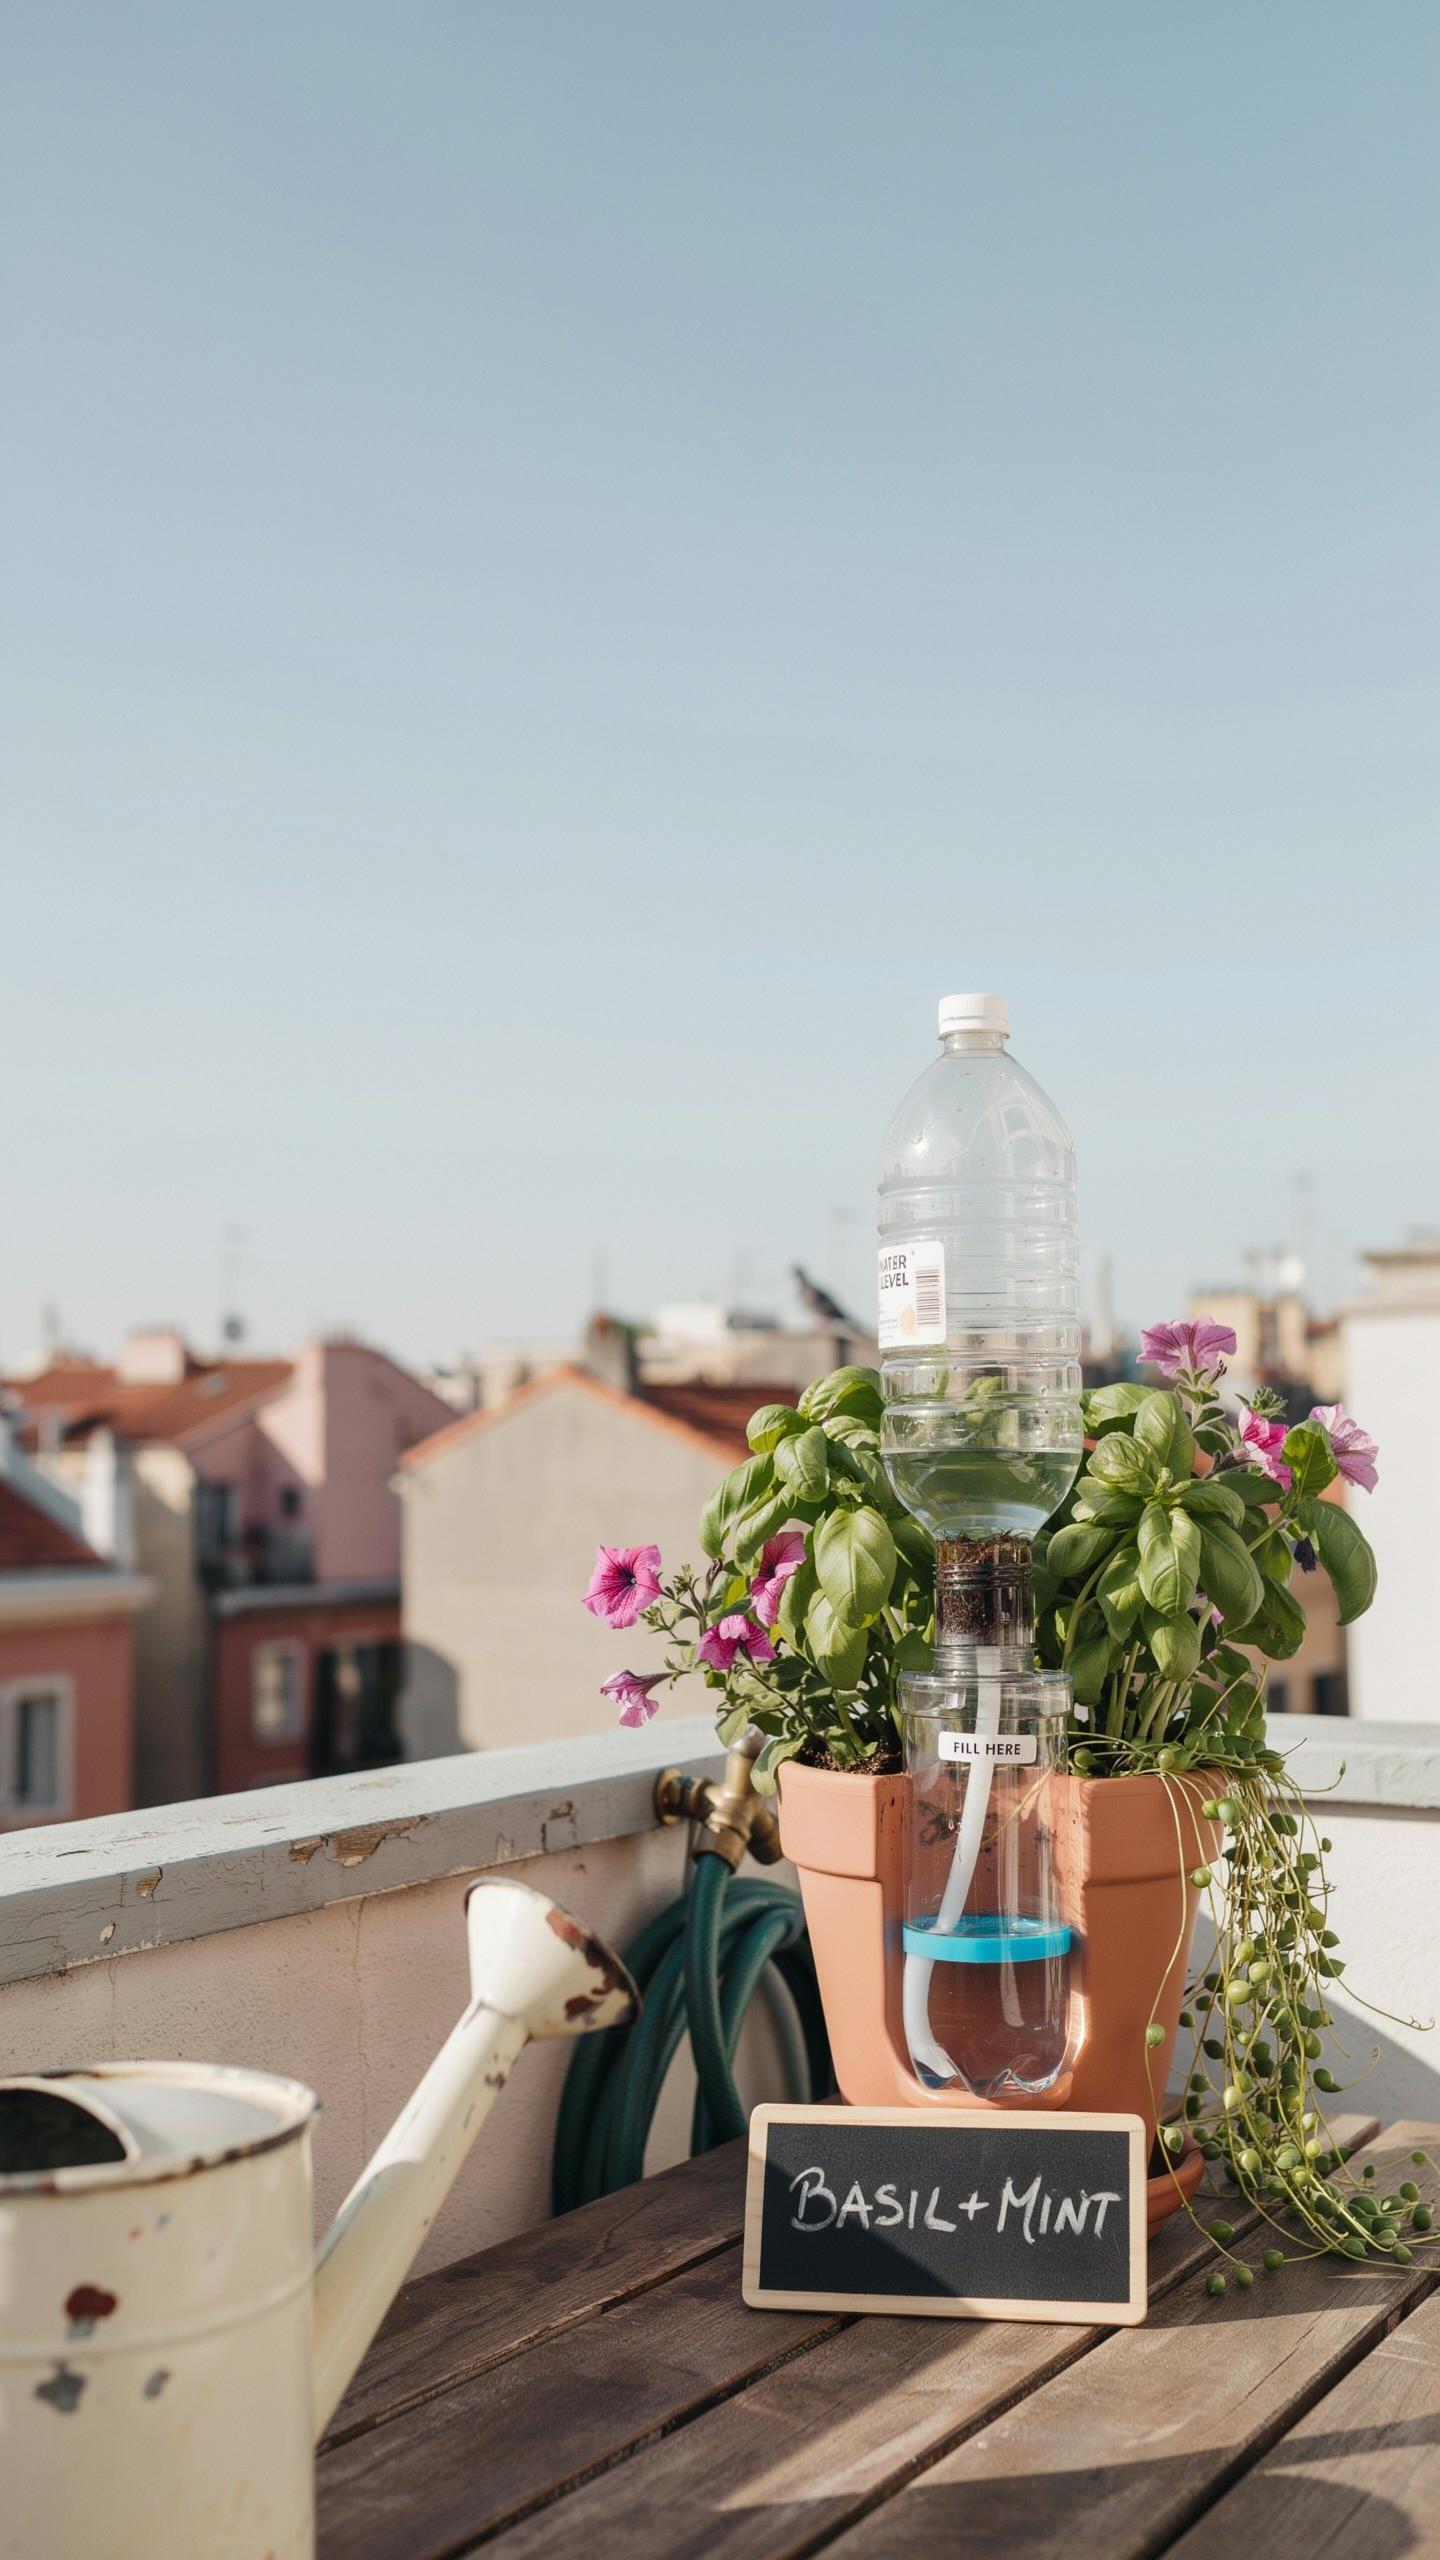
Install a dedicated fill tube that extends from the top of the pot to the reservoir. This pipe allows you to add water without disturbing the soil surface. Drill an overflow hole just below the soil platform level. This hole prevents the water from rising too high and drowning the roots. A proper seal around the edges prevents evaporation. Proper drainage management ensures your plants receive consistent hydration without risk of fungal disease.
Creative Upgrades When You DIY Self Watering Pot Designs
Upcycling Household Items To DIY Self Watering Pot Builds On A Budget
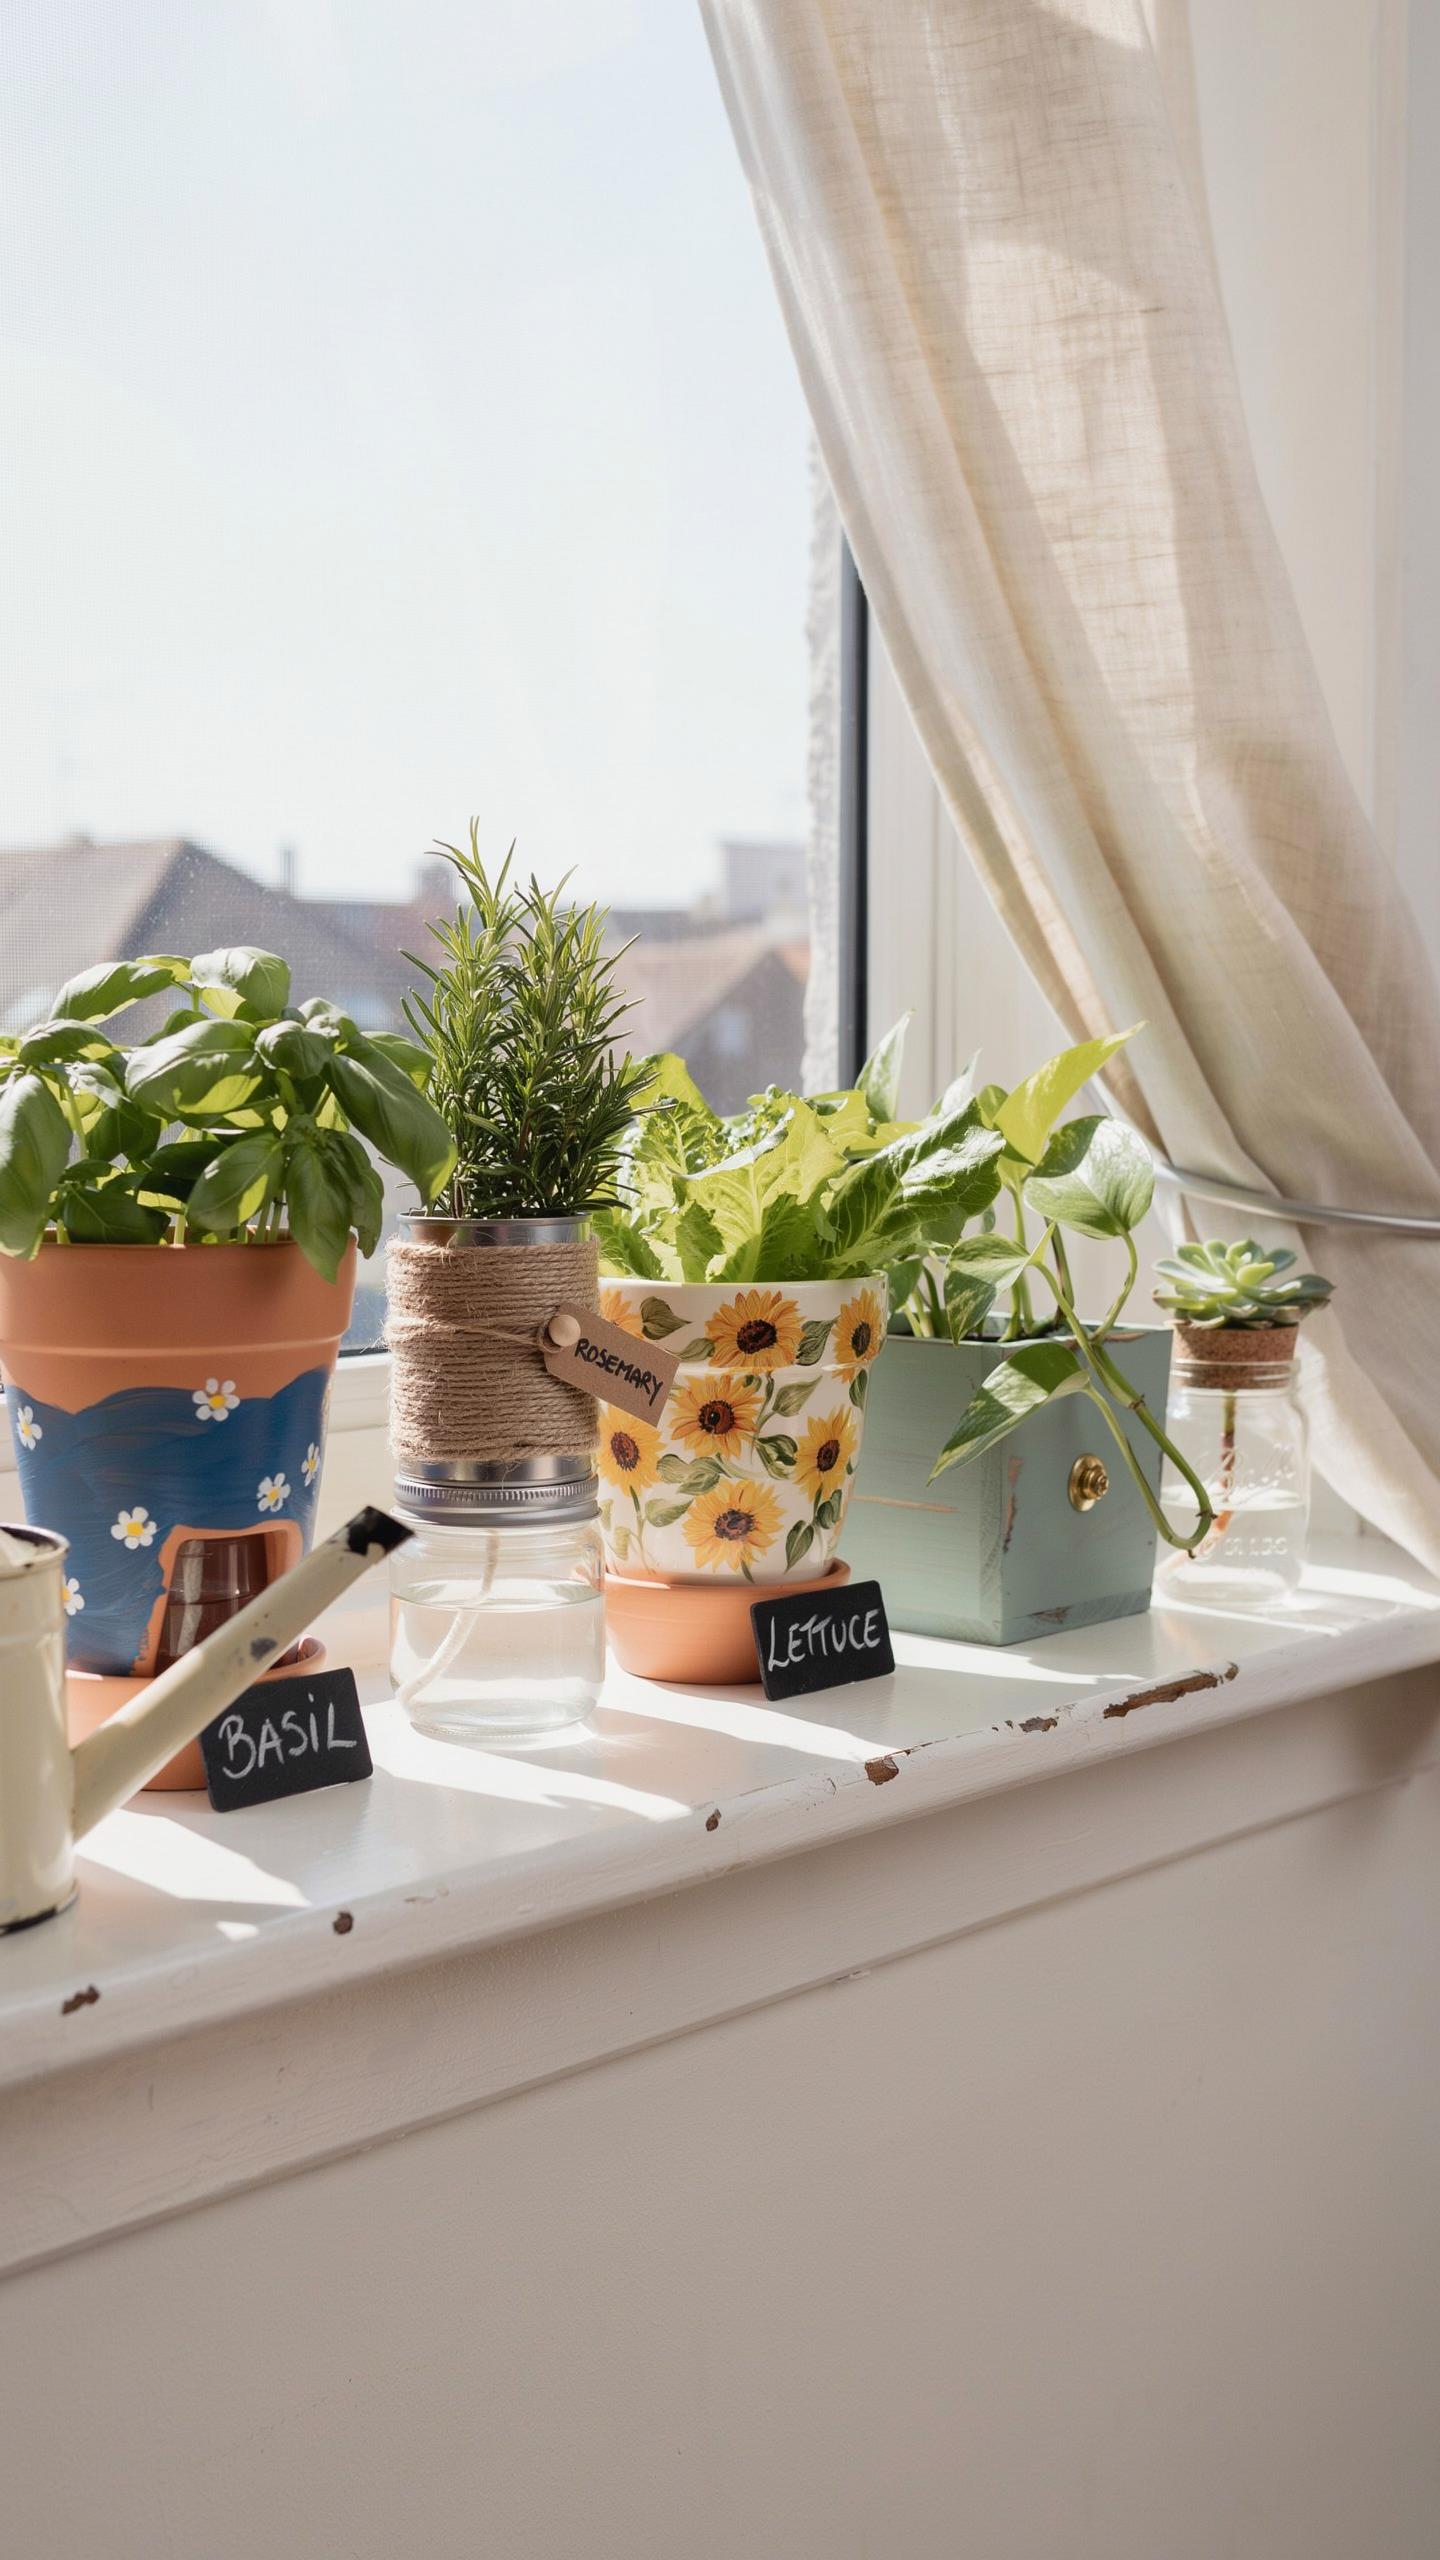
Five gallon food grade buckets provide the most reliable foundation for low cost builds. These polyethylene containers resist UV damage and maintain structural integrity under soil weight. You must use two buckets of the same size to create the water reservoir. Drill holes in the bottom of the inner bucket for drainage and a larger hole for the wicking chamber. This setup mirrors commercial sub irrigation systems.
Plastic storage bins offer a larger surface area for intensive planting. Select bins with opaque walls to prevent algae growth in the water supply. Clear bins allow light to penetrate which triggers biological build up that clogs wicking mechanisms. Use PVC pipe for the fill tube to ensure direct water delivery to the bottom basin. This method reduces water waste by stopping evaporation from the top soil layer.
Decorative Finishing Touches That Elevate Your DIY Self Watering Pot Aesthetic
Raw plastic looks industrial and unfinished in a residential setting. Apply specialized spray paint designed for plastic bonding to change the exterior texture. Choose matte earth tones to mimic terracotta or stone finishes. Avoid dark colors like black if the pots sit in direct sun. Darker shades absorb heat and can cook the root systems of your plants during peak summer months.
Wood cladding provides a high end look while hiding the internal plastic components. Build a simple cedar or redwood frame around your buckets. These wood types resist rot naturally and gray over time for a weathered appearance. Ensure the wooden frame rests on feet to allow airflow underneath the structure. Proper ventilation prevents moisture from trapping against the plastic and causing mold or wood decay over time.
Designing A Beautiful DIY Self Watering Planter For Patios And Balconies
Selecting Plants That Thrive Best In A DIY Self Watering Planter Setup
Self watering systems maintain constant soil moisture through capillary action. This environment suits leafy greens and heavy feeders that require stable hydration levels. High metabolism plants like tomatoes and peppers thrive because their roots never experience drought stress. Avoid succulents or lavender in these setups. These species need dry periods to prevent root rot. Consistency determines success in a closed wicking system.
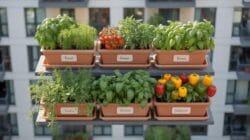
Vegetables like lettuce and spinach produce better yields with bottom up watering. Direct moisture at the root zone prevents fungal diseases on the leaves. Herbs such as mint and basil also perform well because they consume water rapidly. Choose varieties that tolerate high humidity within the soil profile. Ensure the potting mix contains enough perlite or aeration components. This prevents the substrate from becoming anaerobic.
Arranging Your DIY Self Watering Planter Displays For Maximum Visual Impact
Apply the thriller filler spiller design method to create a professional look. Position a tall focal point plant in the center or back of the container. Surround it with mid size foliage to hide the soil surface. Use trailing plants at the edges to mask the plastic rim of the reservoir system. This layering technique mimics natural growth patterns while hiding the functional hardware of the DIY build.
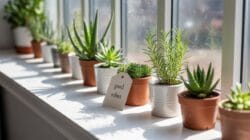
Group multiple planters to create a cohesive microclimate for your garden. Use varying heights to add vertical interest on small balconies. Stick to a limited color palette to maintain a sophisticated aesthetic. Modern design often uses monochromatic schemes with different leaf textures. This approach keeps the focus on the plants rather than the DIY containers. Proper spacing ensures airflow and simplifies the refilling process for each reservoir.
How To Maintain And Refill Your Self Watering Containers Season After Season
How Often To Refill The Reservoir In Your Self Watering Containers
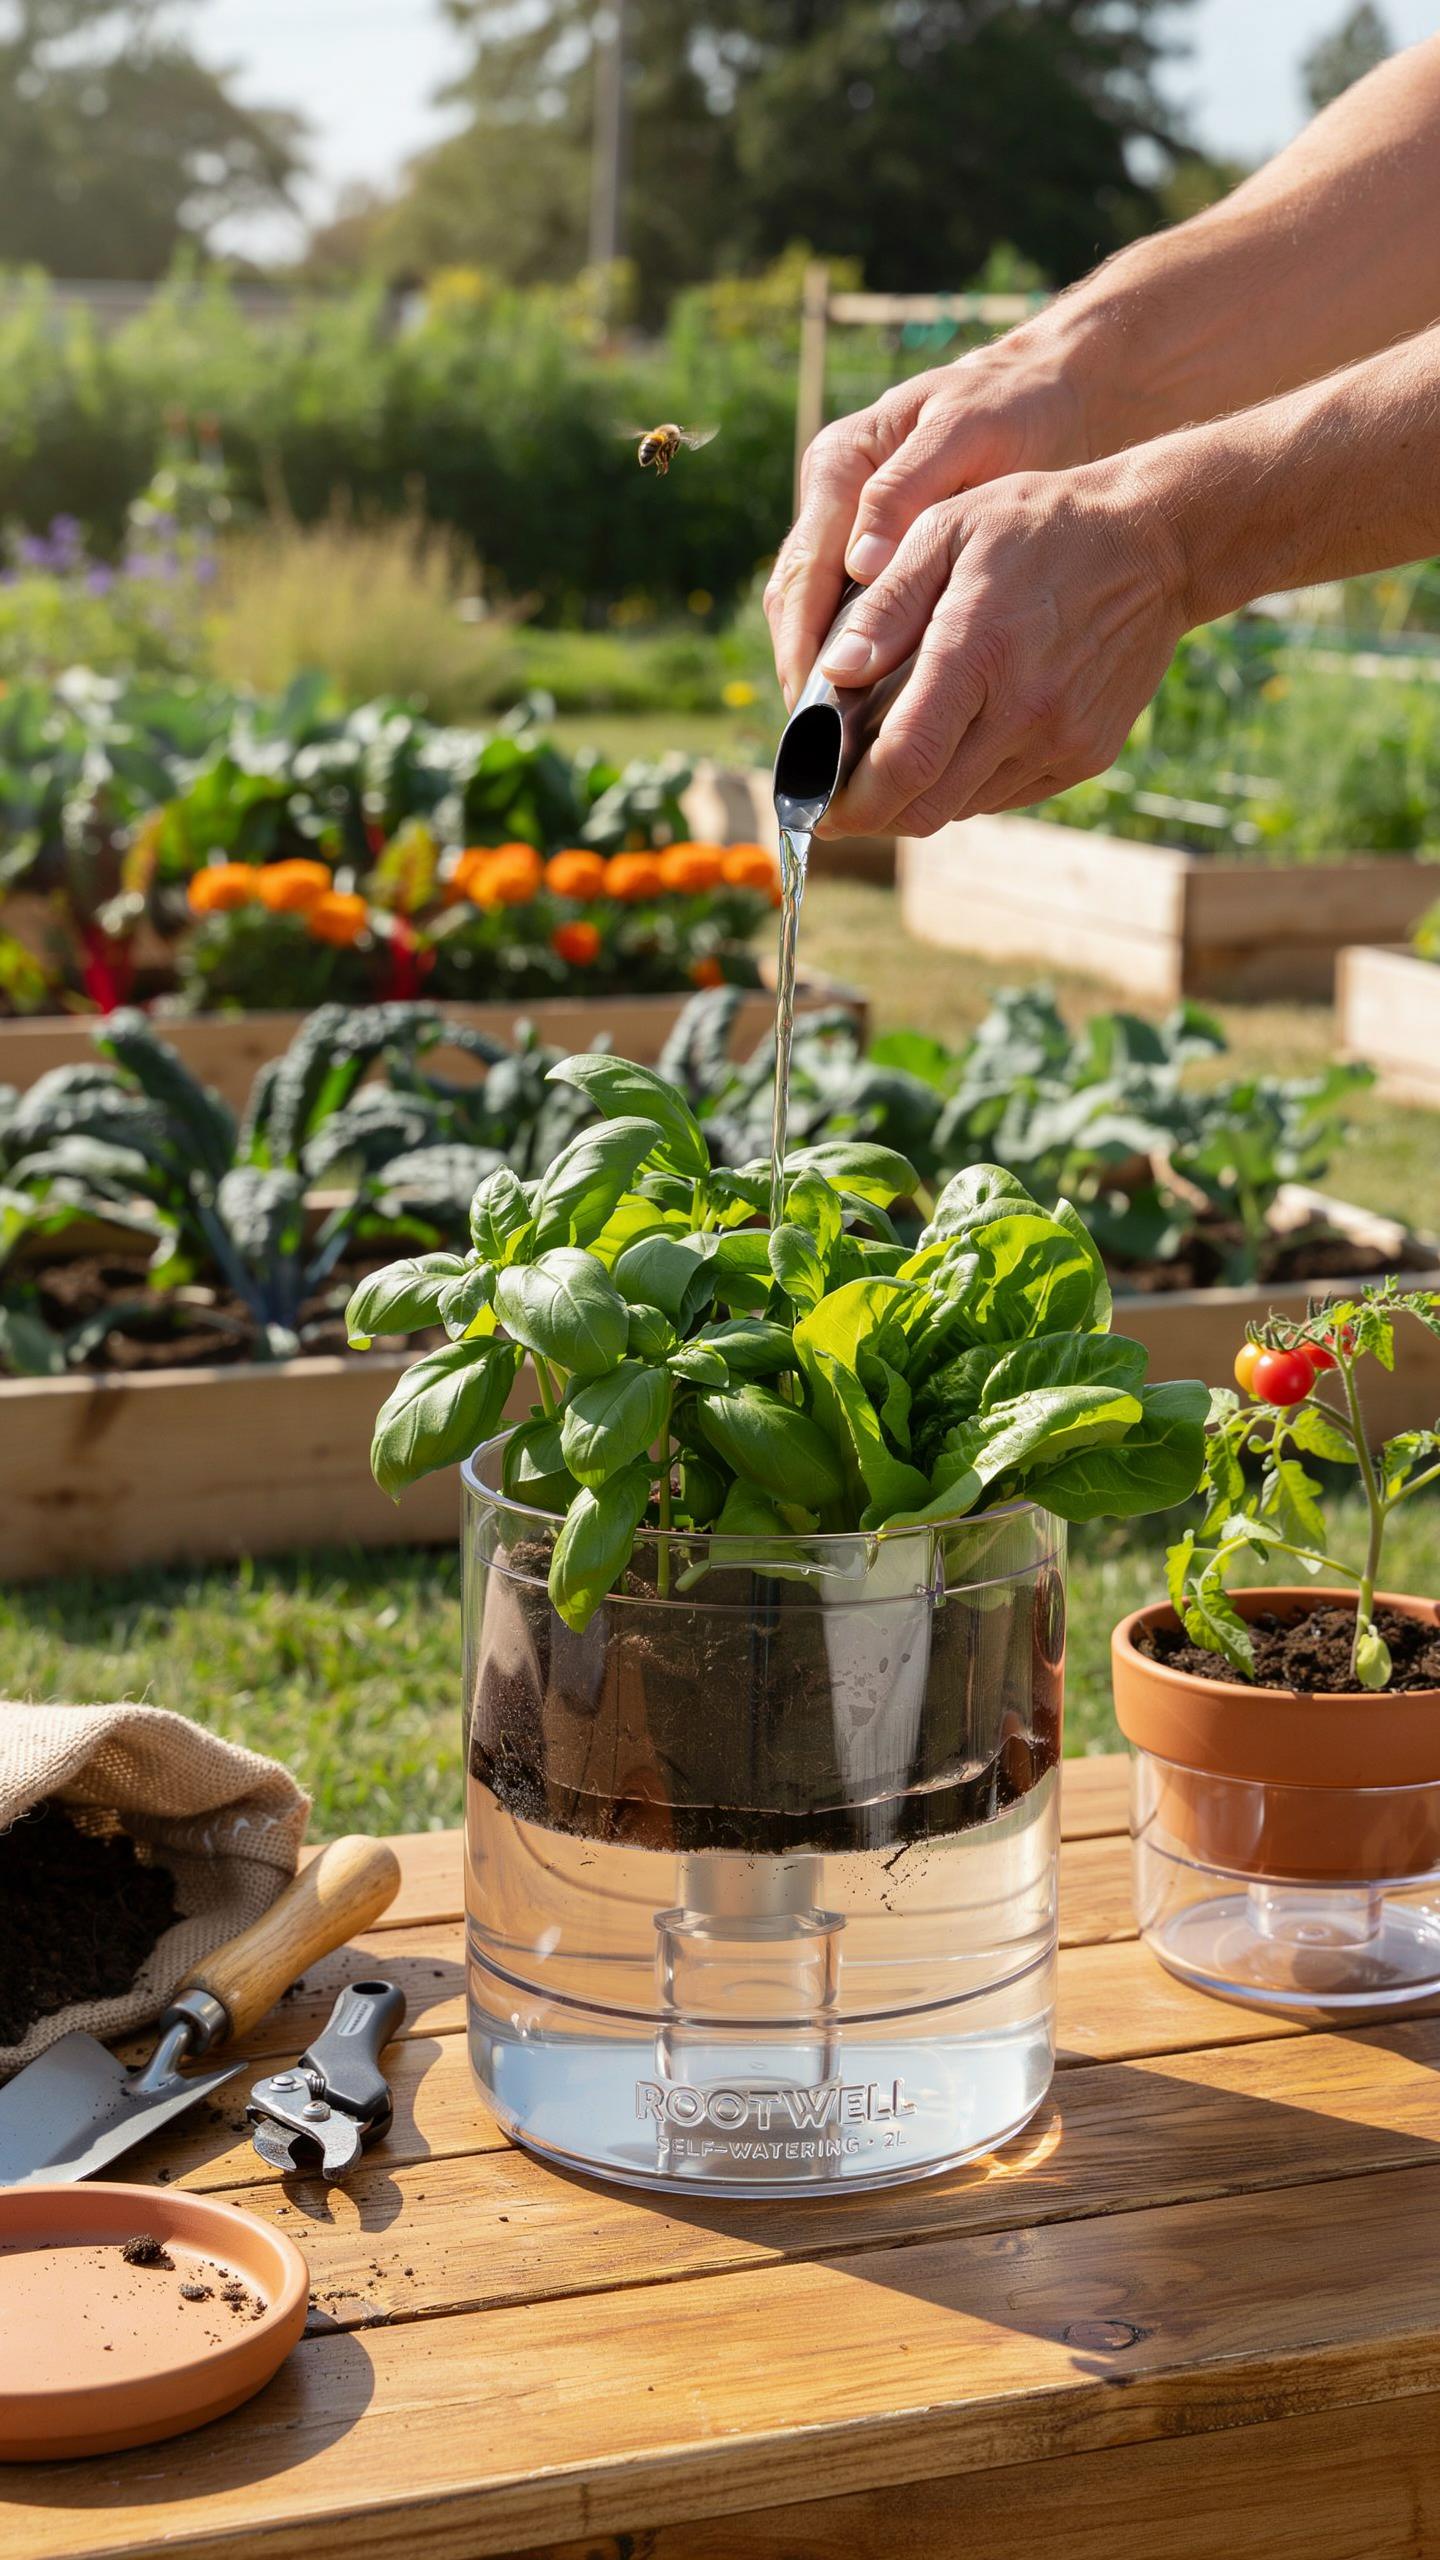
Refill frequency depends on plant growth stage and ambient temperature. Young seedlings consume little water. Mature plants in mid-summer heat transpire rapidly. Check the water gauge every three days during hot spells. Most systems last five to seven days before hitting empty. Do not wait for the reservoir to run dry. Low water levels increase salt concentration in the remaining liquid.
Atmospheric humidity and container material also dictate refilling schedules. Porous materials like unglazed terracotta lose moisture through the walls. Non-porous UV-stabilized plastics or glazed ceramics retain water longer. Use a dipstick if your container lacks a float-style gauge. Consistent water levels prevent blossom end rot in heavy feeders like tomatoes. Refill during the morning to minimize thermal shock to the root system.
Cleaning And Winterizing Your Self Watering Containers To Extend Their Lifespan
Sanitize your system every autumn to prevent pathogen buildup. Stagnant water in the reservoir can host root rot fungi or mosquito larvae. Empty all water before temperatures drop below freezing. Expanding ice cracks plastic reservoirs and weakens the structural integrity of the outer shell. Scrub the wicking chamber to remove mineral crusts. This maintenance ensures the capillary action remains efficient for the next spring.
- Pressure Washing: Use a low-pressure setting to blast away algae and salts from the interior walls. This physical removal prevents biofilm from clogging the wicking material or the overflow drainage hole.
- Vinegar Soak: Mix a solution of one part white vinegar to four parts water. Soak the internal wicking components for several hours. This dissolves calcium deposits and hard water buildup that inhibit water flow.
- Substrate Disposal: Remove and compost the old potting mix at the end of the year. Reusing soil leads to compaction and disease. Starting with fresh, sterile medium ensures the wicking system functions with optimal porosity.
- Indoor Storage: Move empty containers into a garage, shed, or basement. UV rays degrade plastic over time while freeze-thaw cycles damage masonry and ceramics. Keep the units dry to prevent mold growth during the off-season.
- Valve Inspection: Examine any tubes or float indicators for cracks or blockages. Replace damaged parts before spring. Ensuring clear pathways for water and air is critical for the success of your self watering container garden setup.
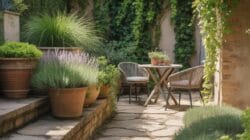
Dry the components thoroughly after cleaning. Residual moisture trapped in the reservoir can lead to mildew growth during storage. Organize the parts together to simplify the assembly process next season. Proper storage protects your financial investment and ensures healthy plant growth. Follow these steps to maximize the life of your equipment. Systematic care reduces the need for expensive replacements every year.
Understanding The Principles Of Self Watering For Healthier Root Systems
How Self Watering Encourages Deep Root Growth Compared To Overhead Watering
Standard overhead watering creates a moisture gradient where the top inch of soil stays wet while the bottom remains dry. This forces plants to develop shallow root systems to survive. Shallow roots make plants vulnerable to heat stress and rapid drying. If the surface dries out, the plant lacks the depth to reach reserve moisture. This cycle creates weak plants that require constant attention.
Self watering systems reverse this dynamic by delivering water to a bottom reservoir. This setup uses capillary action to pull moisture upward through the soil column. Roots naturally grow toward the water source at the base of the container. Deep roots create a more stable and resilient plant structure. These robust root networks allow for better nutrient uptake and protect the plant against harsh surface temperature swings.
The Role Of Soil Mix And Aeration In An Effective Self Watering System
Soil choice determines whether a self watering setup succeeds or fails. You must use a specialized potting mix rather than standard garden soil. Garden soil is too heavy and will compact when wet. Compacted soil prevents water from moving upward and kills roots by cutting off oxygen. A proper mix uses peat moss or coconut coir to pull water up while staying light.
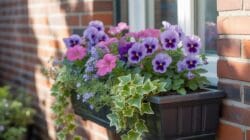
Aeration is the second critical factor for root health. Roots need air as much as they need water. High quality systems include an air gap between the water reservoir and the soil platform. This gap prevents the soil from becoming a muddy mess. It allows roots to breathe while they drink. Without proper aeration, stagnant water causes root rot, which destroys the plant from the bottom up.
Inspiring Self Watering Garden Ideas To Elevate Any Outdoor Or Indoor Space
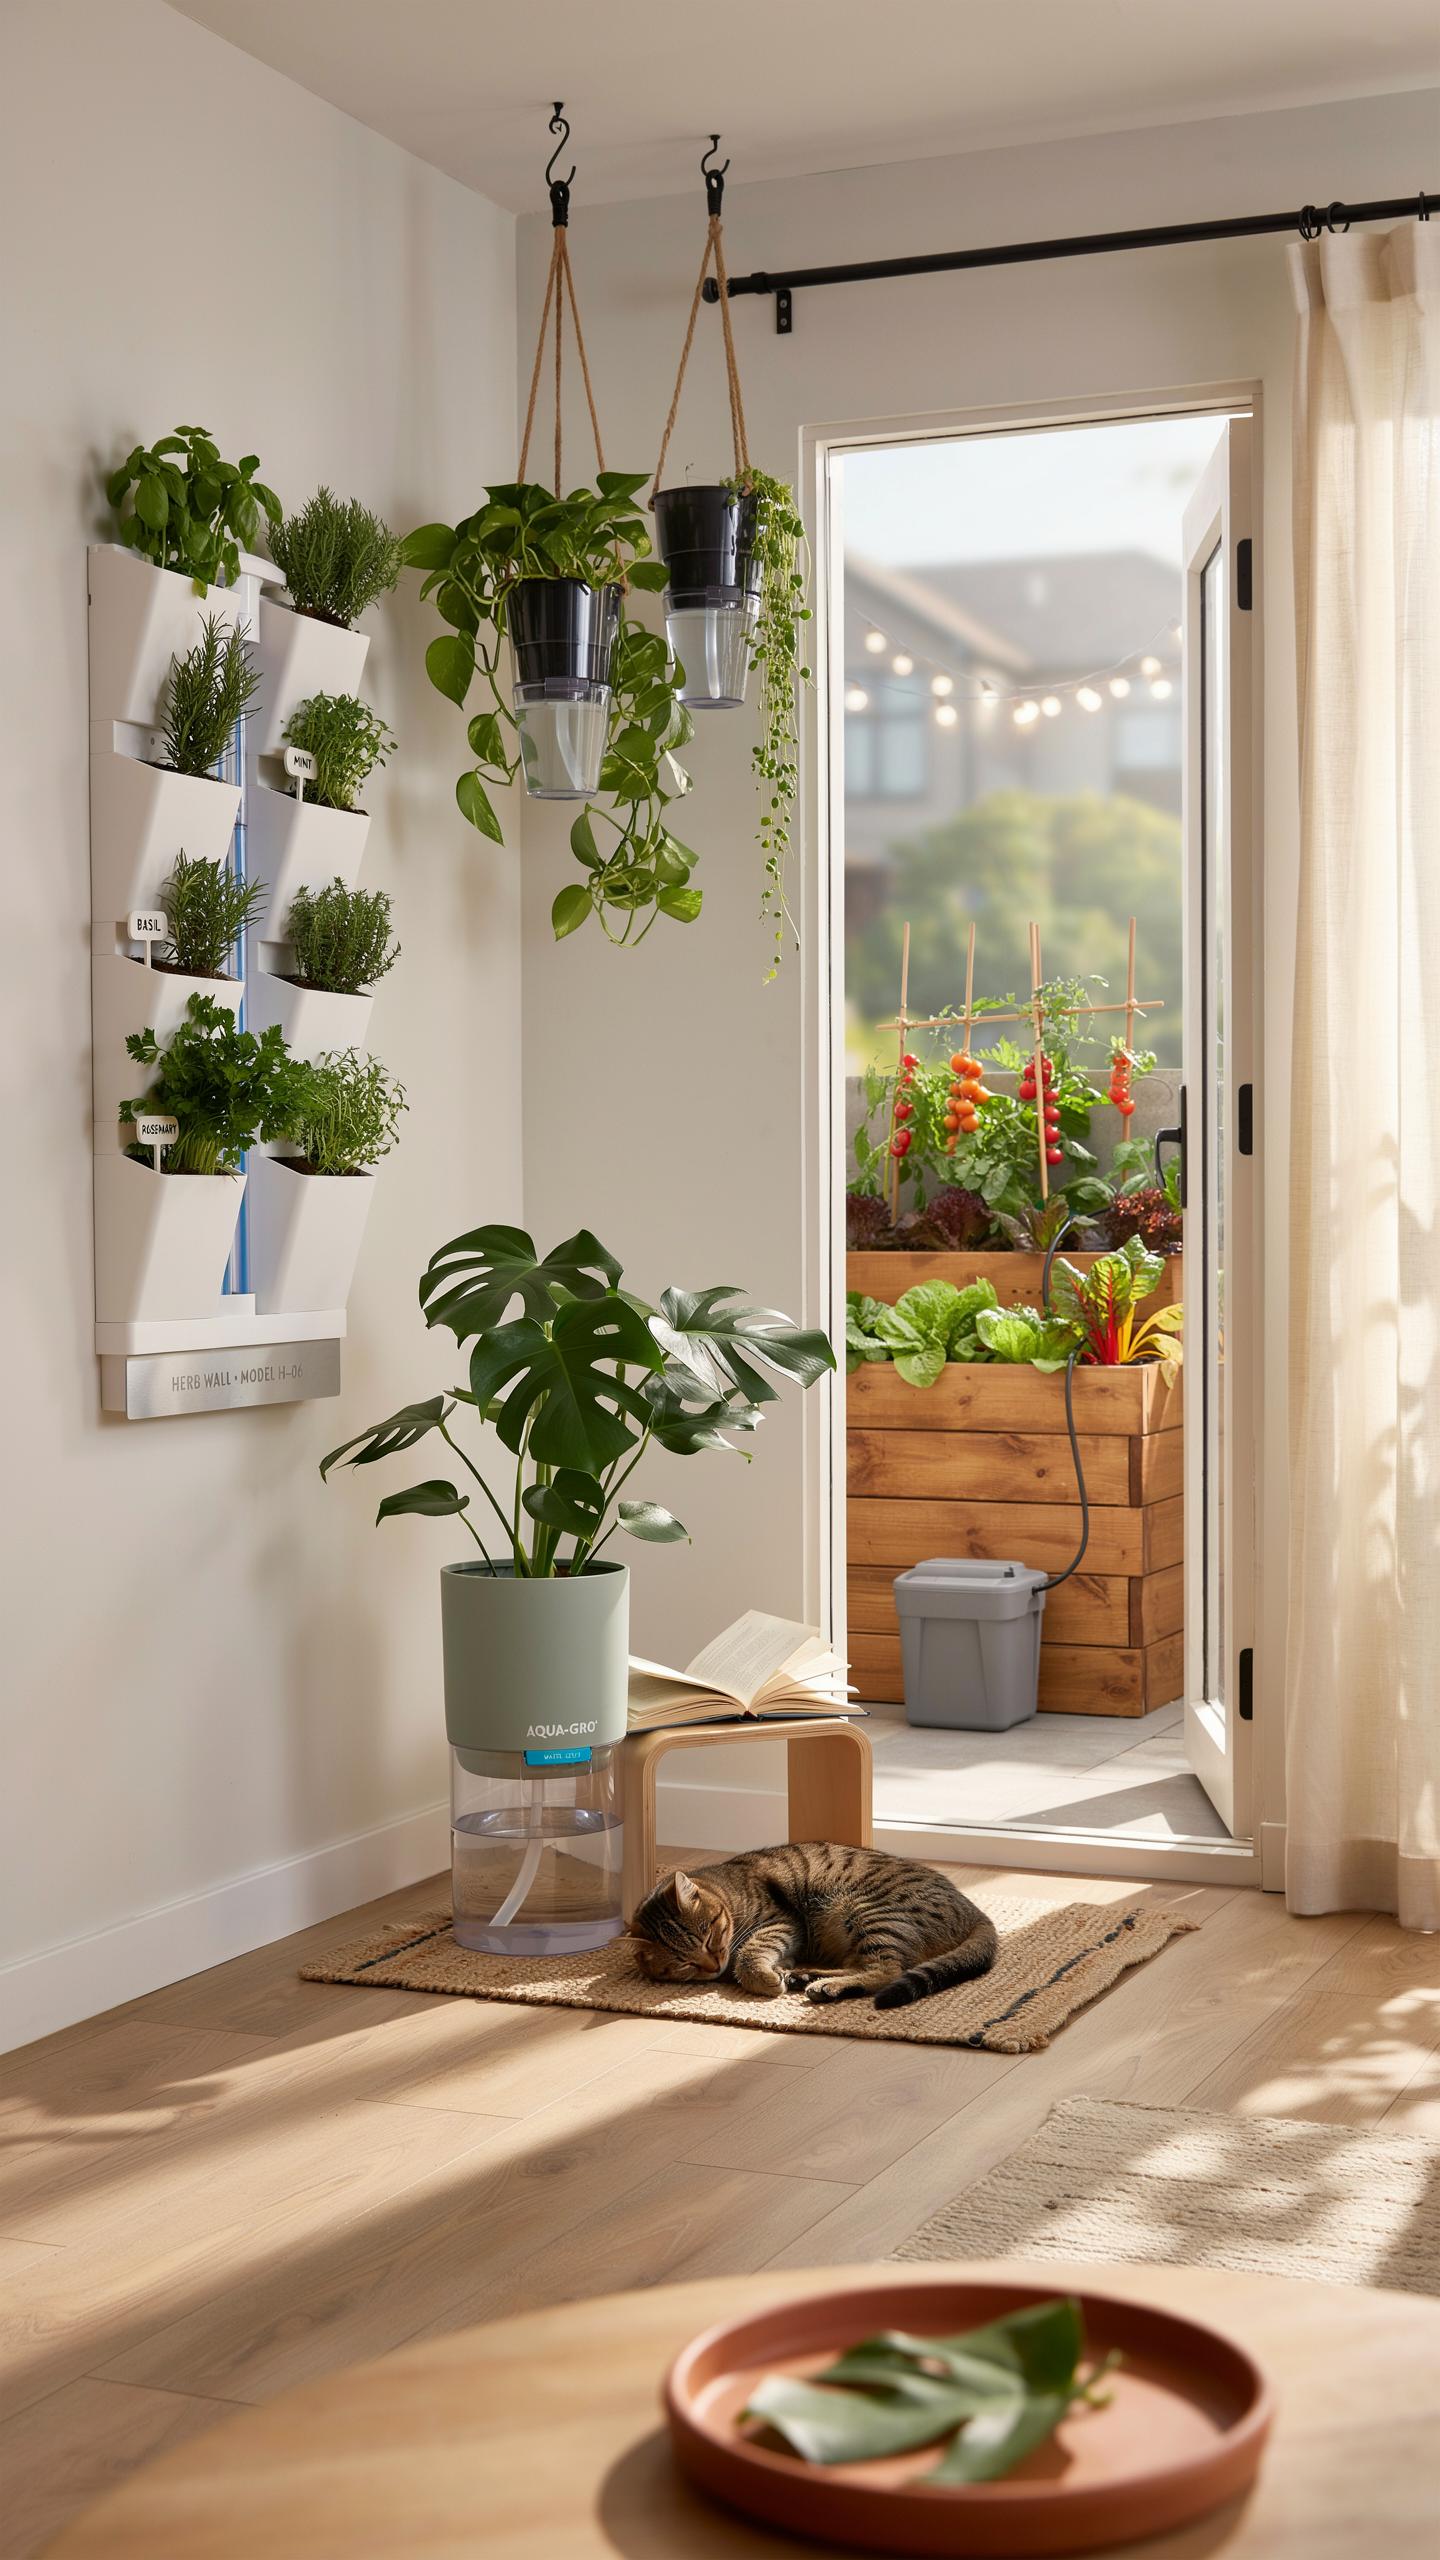
Vertical And Tiered Self Watering Garden Ideas For Small Space Gardening
Vertical self watering systems maximize tight footprints by utilizing wall space. Modular wall planters use a central reservoir or a daisy chain of sub-irrigation tanks. This setup works well for urban balconies or narrow patios. Gravity-fed systems move water from top levels down to lower tiers. This reduces the need for multiple refill points and saves time. Engineering these systems requires stable mounting hardware to support the heavy water weight.
Tiered garden towers use stacking layers to grow dozens of plants in a two-foot circle. These units typically feature a bottom-fed wicking system or a central internal column. Professional setups include overflow drains to prevent root rot in lower sections. You can move these towers easily if they have heavy duty casters. Proper light exposure remains the priority when positioning vertical structures. Ensure all levels receive adequate sun based on specific crop needs.
Herb, Vegetable, And Flower Combinations In Self Watering Garden Ideas For A Polished Look
Mixing edible and decorative plants creates a functional but high end aesthetic. Combine trailing herbs like oregano with upright flowering plants like marigolds. Marigolds deter pests while the herbs provide a dense green base. Grouping plants with similar water needs in one container ensures the wicking system stays efficient. Consistent moisture levels in self watering pots prevent the bitter taste often found in water stressed greens and herbs.
Contrast leaf textures to achieve a professional design look. Pair broad leaf vegetables like kale with fine textured flowers like alyssum. This method fills the container surface and reduces evaporation from the soil. Use deep reservoirs for heavy feeders like tomatoes and peppers to maintain constant growth. Strategic planting helps hide the functional parts of the irrigation system. A full canopy of leaves protects the soil biology and keeps the reservoir cool during peak heat.
Frequently Asked Questions

What are the primary benefits of using a self-watering system for home gardening?
The biggest advantage of a self watering container garden setup is the consistent moisture delivery it provides to your plants. By utilizing a built-in reservoir, these containers allow plants to drink at their own pace via capillary action. This prevents the common cycle of overwatering and underwatering, leading to lusher foliage and more vibrant blooms while saving you significant time on daily maintenance and manual watering chores.
How do I properly set up my pots to ensure the self-watering feature works correctly?
To achieve a successful self watering container garden setup, start by placing the aerated platform at the base and adding a high-quality, lightweight potting mix. Avoid using heavy garden soil, which can compact and prevent wicking. Gently pack the soil into the wicking chambers first, then fill the remainder of the pot. Finally, add your plants and water from the top initially to settle the roots before filling the reservoir.
Can I create an attractive and effective self-watering garden on a limited budget?
Absolutely! You don’t need expensive designer pots to achieve a polished look. Many affordable resin planters now include hidden reservoirs, or you can easily convert your favorite decorative ceramic pots using inexpensive insert kits. By choosing uniform colors and styles, you can maintain a high-end aesthetic without overspending. This approach makes a functional garden accessible to everyone, regardless of their space or budget constraints.



