The Mulch Illusion: Why Your “Great Ideas” Fail

You’re Choosing Mulch To Feel Competent
You want people to see your flower beds and think you know what you’re doing. Here’s what actually happens: most people pile mulch based on what looks rich and dark, then watch it compact, disintegrate, or create drainage problems they didn’t anticipate. The mechanism is simple. Mulch performs two separate jobs—moisture retention and temperature regulation—and these goals conflict depending on your climate and soil type. Pick the wrong material and you’re fighting against physics for three seasons instead of working with it. Mulch doesn’t fail because you’re lazy. It fails because you’re optimizing for appearance before function.
The real cost of aesthetic-first thinking shows up in July. You chose cedar because it smells good and looks burgundy for the first month. By mid-summer, it’s broken down into a mat that holds water against plant roots. Your perennials either rot or you spend weekend after weekend raking it loose. You’ve now invested time you can’t get back, plus replacement mulch in the fall. The flower bed didn’t fail because mulch is unreliable. It failed because you treated mulch selection as a design choice instead of an engineering choice.
The Hidden Price Of Looking Good Now
Mulch aesthetics are borrowed from commercial landscaping, where crews replace beds every two years anyway. That standard doesn’t apply to your yard. You’re building for continuity, not quarterly turnover. When you choose mulch purely on color—dark mulch looks expensive, light mulch photographs well—you’re ignoring decomposition rates and nutrient impact. Red mulch dyes fade within 18 months. Hardwood mulch breaks down so fast in humid climates that you’re buying more annually instead of every two to three years. You’re paying the aesthetic tax every season.
The compounding cost isn’t just money. It’s the labor of maintenance at the wrong intervals. You rake because the mulch settled. You add more because it decomposed faster than expected. You pull weeds through because cheap mulch didn’t suppress them adequately. The solution is to choose mulch based on decomposition rate first, appearance second. Pine bark nuggets last longer in moist climates and suppress weeds effectively, even if they don’t photograph like premium cedar. Shredded hardwood works better in drier regions. Measure your climate’s actual moisture and temperature patterns, then select material that aligns with those conditions, not your Instagram feed.
Organic Mulch: The Engine Of Ecosystem Design

How Soil Actually Improves Under Organic Mulch
You want your flower bed to look effortless and maintained without constant work. That’s the real reason you’re reading this. Here’s what actually happens: organic mulch operates like a biological factory. As it breaks down, it feeds decomposer organisms—bacteria, fungi, earthworms—that restructure soil particles into stable aggregates. This isn’t decoration. It’s the mechanism that transforms compacted, lifeless dirt into structured growing medium.

Bark chips, wood chips, and shredded leaves don’t just sit on top. They establish a temperature buffer that keeps soil cooler and moister, which accelerates microbial activity. The organisms colonizing decomposing mulch create humus, a carbon-rich substance that binds soil particles together. Better structure means better water infiltration and root penetration. The bed becomes genuinely easier to dig in and plant into after one season of organic mulch coverage.
Nutrient Flow And What Plants Actually Absorb
Most mulch advice ignores the real timeline: organic matter doesn’t release nutrients instantly. It releases them as decomposition progresses, creating a slow-release effect that lasts months. The fungi breaking down wood material form mycorrhizal networks that extend plant root systems deeper into the soil, accessing nutrients plants couldn’t reach before. Your plants don’t just get more nutrients. They get better access to existing ones.
The carbon-to-nitrogen ratio of your mulch determines decomposition speed and nitrogen availability. Wood-heavy mulches like cedar or pine chips break down slower and tie up available nitrogen temporarily, which isn’t ideal for flowering plants needing immediate nutrient access. Leaf-based mulches or compost-blended options decompose faster and release nitrogen more predictably. Match your mulch type to your flower bed’s plant needs and desired decomposition timeline, then refresh annually to maintain the nutrient cycling rate your flowers require.
The Wood Mulch Protocol: Strategic Application For Longevity
Match Wood Type To Root Biology
You want your beds to look intentional, which means the mulch can’t work against what’s already growing there. That’s the real game. The mechanism is root chemistry: different wood species decompose at different rates and release different nutrient ratios as they break down, which either feeds or starves the plants you’ve chosen.

Hardwood mulches like oak and hickory decompose slower and create a denser surface, working best for established shrubs and perennials that don’t need constant nutrient turnover. Softwood mulches like pine and cedar break down faster, releasing more nitrogen early, which benefits newly planted annuals and shallow-rooted flowers. Cedar also repels certain insects naturally, a tactical advantage if pest pressure matters in your region. The wrong pairing doesn’t kill plants, but it creates invisible friction: slower growth, weaker blooms, constant fighting against conditions the mulch created.
Depth Windows And Replacement Timing
The standard advice is “two to four inches” and then people ignore it. That’s incomplete because depth works like an investment portfolio: you need rebalancing cycles, not a set-it-once strategy. Too shallow and mulch compacts or washes away in heavy rain within one season. Too deep and you create anaerobic conditions that rot roots and attract fungal issues.
- Initial Application: Lay two inches for newly planted flower beds. This prevents soil splash while allowing water penetration without suffocation.
- Annual Top-Dressing: Add one inch each spring after mulch settles and decomposes. This maintains the two to three inch target zone.
- Full Replacement Cycle: Remove and replace all mulch every three to four years. This prevents compaction buildup and fungal mat formation.
- Seasonal Adjustment: Reduce depth by half an inch in late fall if your region gets heavy snow. Compressed mulch under snow weight creates ice barriers that damage plant crowns.
- Heavy Rain Protocol: Check mulch depth after storms. Erosion on slopes requires immediate restoration to maintain effectiveness.
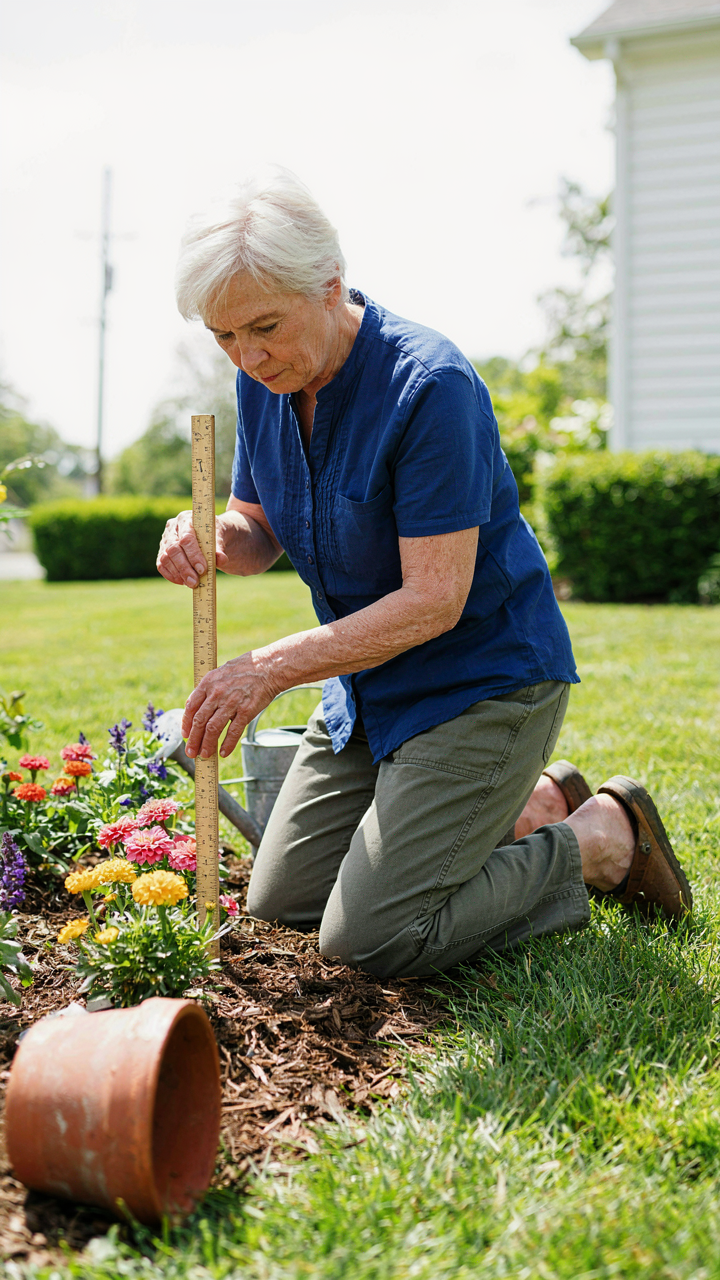
Mark your calendar for spring top-dressing now, not when you remember. The mechanism is simple: mulch degrades on a predictable timeline, and staying ahead of that timeline prevents the slow decline that looks like a design failure but is actually just material entropy. Check depth with a ruler, not your eye.
Brown Mulch Vs. Colorized: The Unseen Trade Offs

Natural Aesthetics And Long Term Fading
You want brown mulch to look intentional, not cheap. Here’s what actually happens: brown mulch fades because UV exposure breaks down the lignin in wood fibers over time. This isn’t a design flaw—it’s physics. The mulch degrades at predictable rates based on climate, sun exposure, and wood type, which means your flower bed doesn’t maintain a static appearance. You’re managing a decay curve, not a permanent installation.

Natural brown mulch typically originates from hardwood chips or bark. It starts darker when freshly applied because the wood hasn’t oxidized yet. Within six to twelve months in direct sunlight, it shifts to a lighter gray-brown tone. This fading isn’t hidden or prevented by most landscapers—they simply reapply mulch annually. The trade-off is straightforward: brown mulch looks authentic and improves soil as it breaks down, but it demands consistent reapplication to maintain visual continuity.
Chemical Dyes And Soil Impact Considerations
Colorized mulch uses iron oxide or synthetic dyes to maintain appearance longer than natural brown. The mechanism here comes from chemistry: dyes bond to wood fibers and resist UV degradation better than the wood’s natural lignin. But here’s what gets omitted from marketing copy—these dyes sit on the soil surface and can alter pH balance over time, particularly with red or black varieties containing compounds that shift soil acidity as they break down and leach into the root zone.
Most commercial dyes are iron oxide based and considered safe for ornamental beds. However, they don’t improve soil nutrition the way natural mulch does because the dye coating slows decomposition. You gain 18 to 24 months of color stability but lose the organic matter contribution that naturally brown mulch provides. The practical decision hinges on whether you prioritize visual consistency or soil building. If you choose colorized, reapply every two years and monitor soil composition annually to catch pH drift before it affects plant performance.
Rubber Mulch: Deconstructing The “Maintenance Free” Myth
Where Rubber Mulch Actually Fails
You want rubber mulch because you believe it solves the problem of replacing organic mulch every year. It doesn’t. In permaculture, energy flow describes how systems either build or deplete their own resources. Rubber mulch creates a closed loop that produces nothing: it sits inert, breaks down into microplastics instead of nutrients, and actively prevents the soil ecosystem from regenerating itself the way wood chips or bark do.

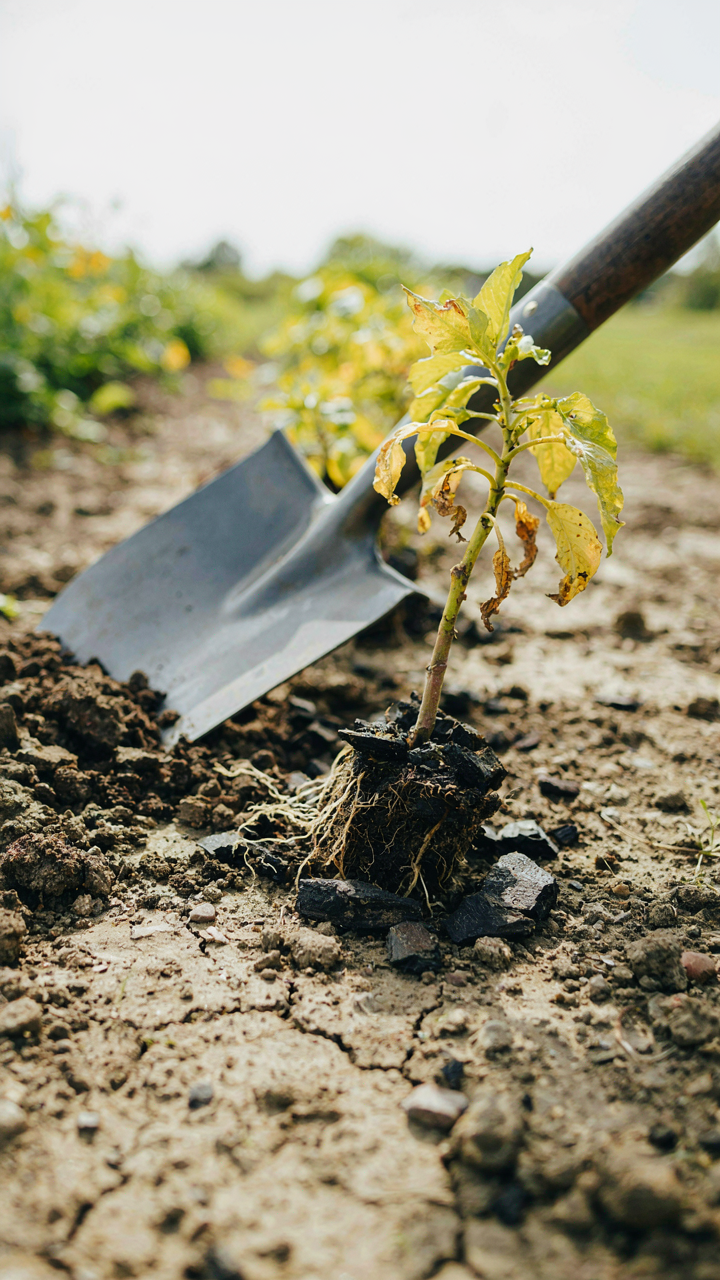
Rubber mulch came from tire recycling in the 1990s. It had real appeal for playgrounds and animal facilities where rot matters less than durability. But flower beds aren’t playgrounds. Rubber doesn’t decompose into humus. It doesn’t feed soil biology. It traps heat during summer, which stresses shallow-rooted plants. After five to ten years, you don’t replace the mulch. You remove rubber fragments mixed with soil and start over anyway, which costs more than organic mulch ever would.
The Real Cost Of Neglecting Soil Health
The common pitch is that rubber needs no replenishment. That’s incomplete. Rubber needs no replenishment because it does nothing. Organic mulch breaks down, enriches soil, builds tilth, feeds microorganisms, and regulates moisture naturally. Your flower bed becomes a living system that improves each season. Rubber just delays the inevitable while your soil underneath stays depleted and compacted.
Once rubber fragments into the soil, they don’t vanish. Microplastics accumulate in flower beds year after year. Plant roots don’t thrive in rubber-contaminated soil the way they do in humus-rich beds. If you use rubber mulch and want healthy flowers later, you’ll excavate it all out and replace the topsoil underneath. Do the math on labor and material cost. Organic mulch refreshed annually costs less over a decade than one rubber removal and remediation cycle. Replace rubber mulch with wood chips or shredded bark every spring and watch your flowers actually get better.
Landscaping With Mulch: Beyond The Edges

Designing Pathways And Borders With Mulch
You want your yard to look intentional, which means you’re actually afraid it looks random. The mechanism is contrast. Mulch defines space because it’s visually distinct from lawn and planting zones. Borders create perception of control. Hard edges between mulch and grass signal that someone made a deliberate choice here, not that nature happened to arrange itself this way. A clean border does the work that expensive landscaping does for people with actual budgets.

The most common mistake is treating mulch borders as static lines. They’re not. Mulch pathways work because they direct foot traffic while reducing mud and compaction damage to soil around plants. Use a metal or plastic edging strip along grass lines to prevent creep, and maintain a two to three inch depth in pathways. The depth matters because shallow mulch fails to suppress weeds effectively, and foot traffic will scatter it. Refresh these zones annually or as the mulch breaks down.
Creating Visual Cohesion Across Garden Spaces
Garden design borrows from visual hierarchy in graphic design. Mulch functions as your negative space—the element that makes other elements pop. Without consistent mulch color and type across beds, your garden reads as fragmented. One bed with pine bark, another with cedar chips, a third with rubber creates visual noise instead of flow. Choose one mulch type and deploy it across your entire front or backyard landscape.
The integration step is mechanical, not artistic. Map your beds and pathways on paper, measure total square footage, then order mulch accordingly so you’re installing it all at once. This prevents the amateur move of adding mulch piecemeal over months, which creates visible color variation as UV exposure ages older material differently. Apply it to a consistent depth across all zones, and the garden reads as one intentional system instead of accumulated decisions. Install mulch in early spring or late fall to minimize maintenance through peak growing season.
Mulch Bed Design: The Efficiency Dividend
Shape Your Beds Like Catchment Systems
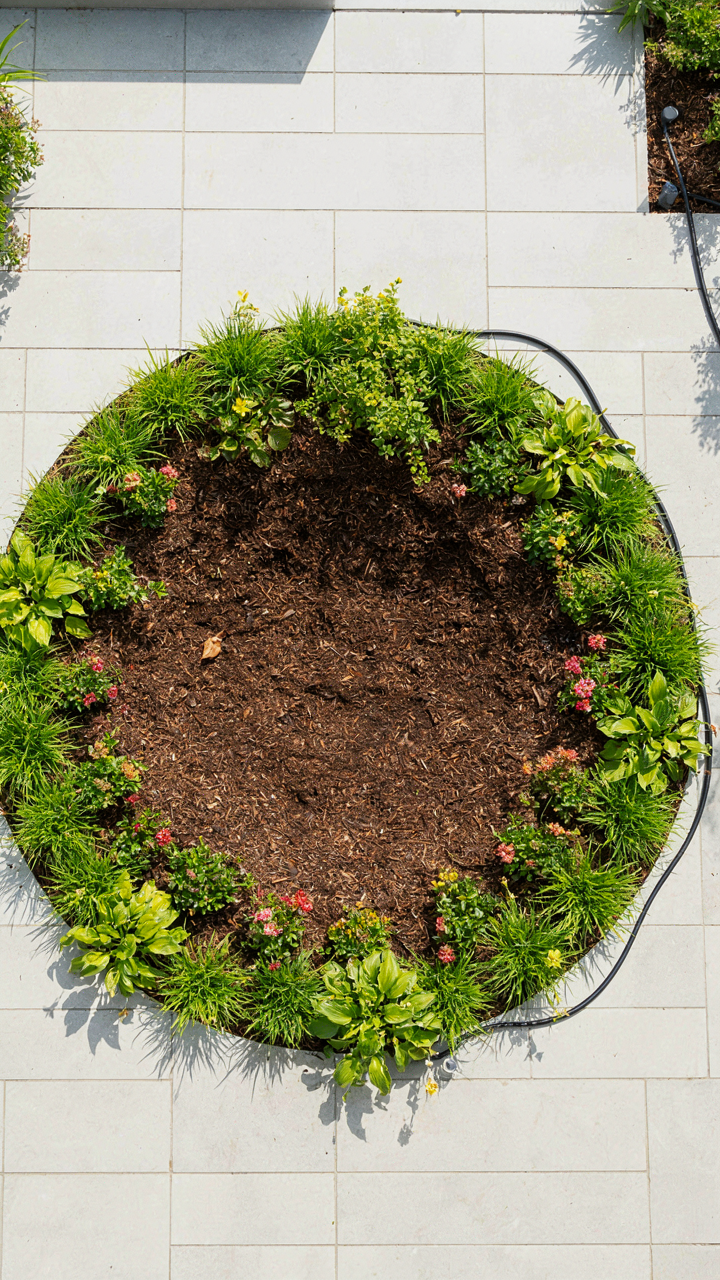
You want your flower beds to look intentional, not like you’re fighting water runoff every time it rains. Here’s the mechanism: bed shape controls where water pools and where it drains, which determines how long moisture stays available to roots. A swale is a hydrology term for a shallow channel that captures and slows water movement. Apply that principle to flower beds by building them slightly concave rather than flat or peaked. Water moves slower through a concave surface, which means soil absorbs more instead of shedding it downslope.

Most people build beds flat or crown them in the middle, which is backwards. Crowned beds shed water to the edges. A gentle inward slope toward the center of the bed, about one to two inches per three feet, moves water inward and down where roots actually sit. You don’t need surveying equipment. Visual inspection works: the bed center should sit lower than the perimeter. Mulch settles over time, so build the slope slightly exaggerated at installation.
Mulch Depth As Barrier Technology
Weed suppression isn’t decoration; it’s a physical barrier problem solved by the right material thickness and density. The common advice says two to three inches of mulch stops weeds, but that misses why. Weed seeds need light exposure to germinate, and they need to push through to the surface. Mulch blocks both simultaneously.
- Bark chips (2-3 inches): Dense enough to block light penetration and create resistance for emerging seedlings. Breaks down slowly, requiring replacement every two to three years in temperate climates.
- Wood fiber (3-4 inches): Compacts tighter than chips, creating a more effective physical barrier. Holds moisture longer but can mat if over-watered, reducing permeability.
- Pine needles (3-4 inches): Naturally acidic and slower to decompose. Creates airflow even at depth, preventing anaerobic breakdown that attracts fungal issues.
- Shredded hardwood (2-3 inches): Denser than softwood and resists compression better. Takes longer to break down, extending the replacement interval to three to four years.
- Stone or gravel (2-3 inches): Permanent physical barrier with zero decomposition. Conducts heat differently than organic mulch, potentially stressing heat-sensitive plants in direct sun.
The depth threshold matters more than the material type. Below two inches, enough light reaches dormant weed seeds to trigger germination. Above four inches, you create an insulating layer that keeps soil too cold in spring or too hot in peak summer, stressing roots. Measure your mulch depth at installation, then check it annually since settlement and breakdown reduce coverage over time.
Garden Mulch: Cultivating A Resilient Future
Mulch Timing Matches Your Climate
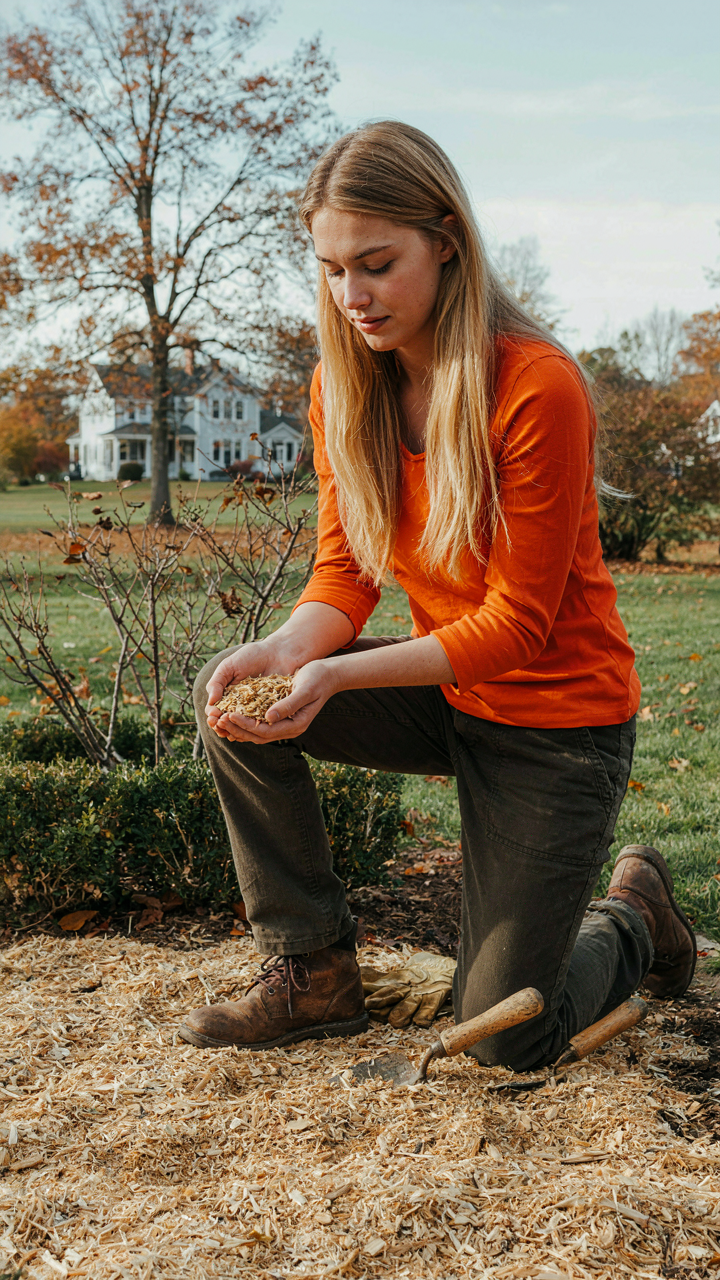
You want your flower beds to look maintained without constant work. That’s the real reason this matters. The mechanism is simple: mulch application timing controls moisture retention, temperature regulation, and decomposition rates. Different climates require different schedules because soil temperature and rainfall patterns dictate when mulch does its job or works against you.

In cold climates, apply mulch in fall after the first hard frost to insulate roots through winter. Spring application risks trapping cold soil and delaying plant emergence. In hot, dry regions, mulch in early summer before peak heat arrives. This blocks sun exposure and reduces evaporation when soil needs protection most. The timing isn’t arbitrary. It’s synchronized with the thermal and hydrological cycle of your specific region.
Soil Structure Compounds Over Seasons
Everyone says mulch improves soil. They’re wrong about the timeline. The real benefit emerges through repeated annual application, not single applications. Mulch only builds soil health when decomposition cycles complete. This takes years, not months. Each layer breaks down incrementally, adding organic matter and creating better water infiltration and root penetration.
The mechanism mirrors nutrient cycling in agriculture. Apply mulch consistently at the same depth each season, removing old mulch only when it’s fully decomposed or compacted. Fresh application every 12-18 months maintains structure without creating a suffocating barrier that repels water instead of absorbing it. Track application dates and depths. Soil health compounds measurably only when you treat mulching as a protocol, not a decoration.
The Real Obstacle Isn’t Finding Great Mulch Ideas; It’s Your Addiction To Instant Gratification Over Systemic Intelligence
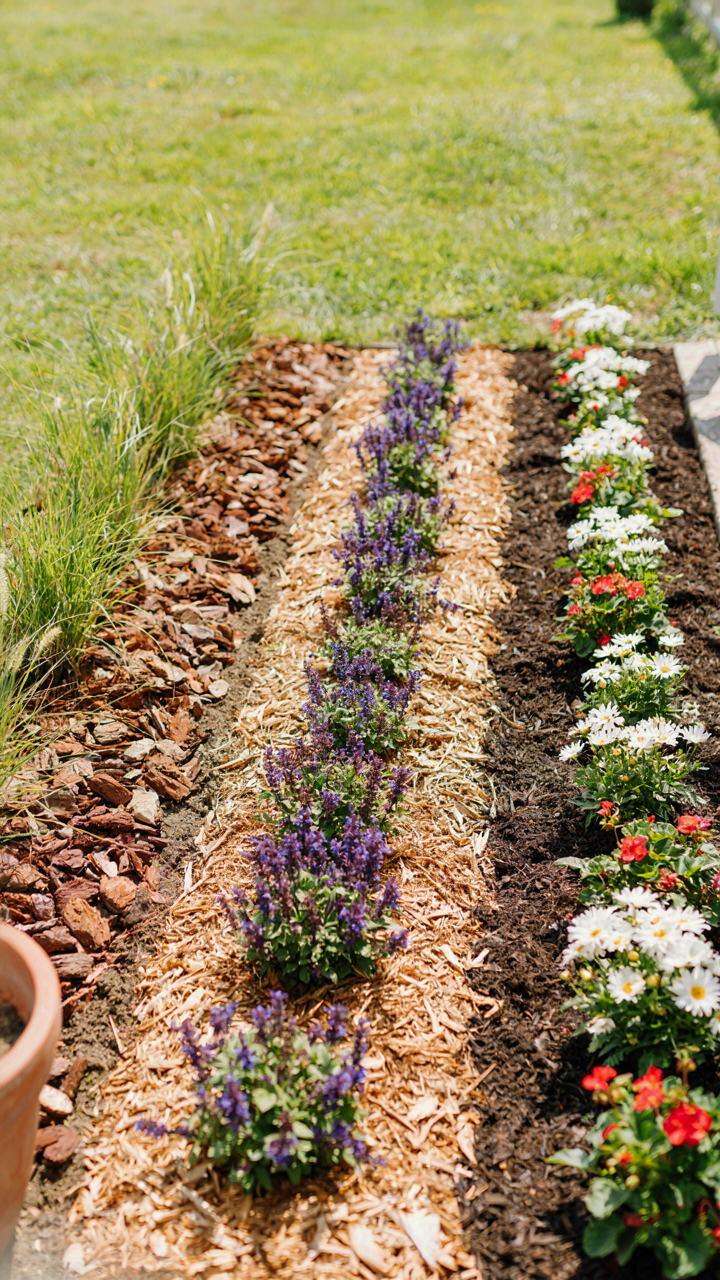
You want mulch that transforms your beds overnight. The truth? Every mulch idea works only if you stop treating your flower beds like a decoration project and start treating them like a system. Bark chips, wood fiber, stone, compost—they all fail when you choose based on aesthetics alone instead of soil health, drainage, and maintenance reality. Pick one mulch type today that matches your climate and commit to it for a full season. Your beds won’t look magazine-ready in week one, but they’ll actually work.