
The Minimalist’s Mandate: Why Fewer Tools Mean Better Storage

What You Actually Need To Own
You want to feel competent and prepared, which is why your shed probably holds tools you’ve never touched. The real mechanism is inventory discipline. You don’t store tools well because you own too many of them, period. Most homeowners keep 40 to 50 percent more tools than they use in a year. The distinction between essential and superfluous hinges on use frequency and task specificity. A spade, hoe, and pruner handle 80 percent of typical garden work. Everything beyond that serves a narrow purpose or gets replaced by something else within two seasons.
Start by listing every tool you own, then track which ones you actually grabbed in the last twelve months. Tools you didn’t touch get eliminated or gifted. This produces a baseline inventory that reflects your actual gardening habits, not your fantasy version of them. Your storage problem isn’t a storage problem; it’s an ownership problem. Solve ownership first and storage becomes straightforward. The fewer items you have to organize, the faster you find what you need and the less space you waste on dead weight.
Storage Friction Collapses When Clutter Disappears
Economics teaches the principle of opportunity cost, and your tool shed operates the same way. Every unused tool occupies space that could accelerate retrieval of tools you actually need. Clutter creates friction. When you store thirty tools in a ten-tool space, finding the one spade you need takes three times longer. Longer retrieval time means people don’t use their tools, which means they buy duplicates. The cycle deepens because the shed now feels chaotic and unusable.
Tool longevity drops in cluttered sheds because tools get damaged during extraction. You yank a shovel out and it cracks a rake handle leaning behind it. Metal tools corrode faster when stacked loosely because moisture pools between them. Organize ruthlessly by removing items first, not by buying more storage bins. A half-empty wall with proper spacing keeps tools in working condition longer than a packed cabinet with fancy dividers. Start with subtraction, then design storage around what remains.
The Hot Zone Protocol: Prioritizing Frequently Used Garden Tools

Eye Level Storage For Daily Reach
You want your shed to look organized because you think it proves you have your life together. That’s not the mechanism. The real one is simple: tools you can’t see fast don’t get used, and tools you don’t use pile up and waste space. Ergonomics borrows from assembly line logic. In manufacturing, the “power zone” is where workers grab parts most often without bending or reaching overhead. Your garden tools need the same treatment. Hand tools you use weekly go at eye level, between your shoulders and hips. Shovels, pruners, and rakes live here first.

Height matters because it cuts decision friction. When you reach for a spade and it’s exactly where your arm expects it, you grab it and move. When you hunt for it in a dark corner or dig through a pile, you’ve already lost momentum. Wall-mounted pegboards, shadow boards, or simple hooks at 48 to 60 inches off the ground create this zone naturally. The cost is minimal. The time saved compounds because you use these tools dozens of times per season.
Perimeter Positioning For Zero Wasted Steps
Everyone says to organize by tool type. That’s wrong. You should organize by the sequence you use them. When you start yard work, you grab your pruners before your shovel. Your shovel comes out before your wheelbarrow. Layout your hot zone along the edge closest to your exit or work area, not scattered around the shed. This is task sequencing applied to physical space. You reduce what industrial engineers call “non-value-added movement,” which means steps that produce nothing. Walking to three different corners of your shed to collect three tools is friction you engineered into your routine.
Place your most-touched tools within two steps of your natural entry point. Test this for two weeks by noting which tools you grab first each session. Then mount them there permanently. Don’t reorganize based on aesthetics or what looks balanced. Organize based on your actual workflow. The moment you stop treating your shed like a display and start treating it like a workstation, storage decisions become obvious.
Vertical Victory: Leveraging Garden Tool Wall Storage
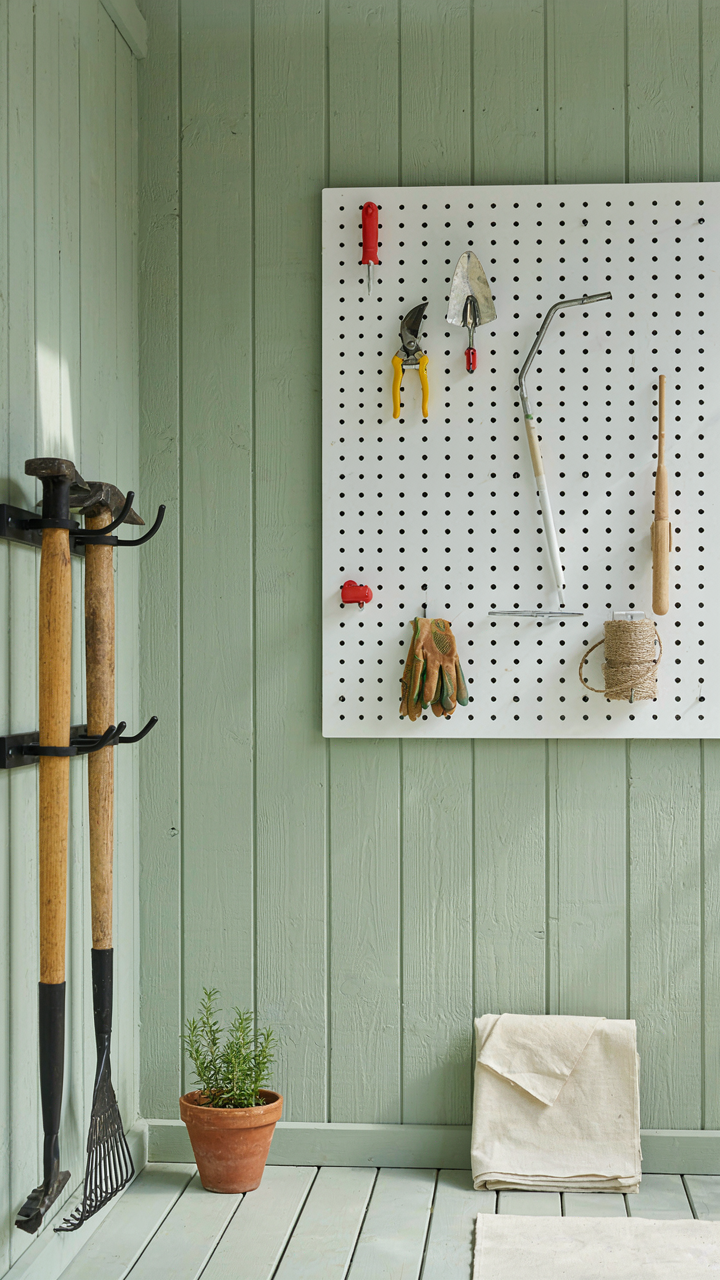
Hooks, Racks, And Pegboards For Maximizing Space
You want to look organized without actually spending time maintaining the system. The real mechanic here is load-bearing capacity per square foot—borrowed from architecture—and how it determines what goes where on your wall. Pegboards hold light tools because they distribute weight across many small contact points. Hooks handle single heavy items by concentrating load on one anchor. Racks bridge both by supporting moderate weight across a defined span. Mount everything into studs or use rated anchors rated for double the tool weight you’re hanging.

The mistake most people make is treating wall storage like decoration instead of engineering. Your wall can fail silently until a spade falls on your foot. Calculate total weight before installation. A single stud holds 80 to 100 pounds when properly anchored. Heavier items like mattocks and crowbars go low and centered on studs. Lighter hand tools scatter across pegboard. This isn’t about aesthetics—it’s about prevention and retrieving what you need without collateral damage.
Arrangement That Stops You From Wasting Motion
Visual identification works only if your brain creates a spatial map on first sight. Organize by use frequency and weight, not by tool type. Tools you grab weekly go at waist height and within arm’s reach. Seasonal or occasional tools go higher or to the sides. This mirrors the Pareto principle from economics: 20 percent of your tools get 80 percent of use. Place those in the prime real estate. The rest fill secondary zones.
Color and silhouette matter more than labels. Paint tool handles or use contrasting tape on handles that blend into backgrounds. When you see the tool’s outline instantly, you grab it without mental delay. Hang handles pointing down for quick grip entry and to prevent trip hazards at eye level. Stack similar-sized items together so your hand lands on the right tool even in low light. This system runs on pattern recognition, not remembering where you put things last week.
The Weatherproof Imperative: Protecting Outdoor Garden Tool Storage

Material Choices For Shed And Patio Storage
You want your tools to look intentional and organized because it signals you have your life together. The real mechanism is this: materials either stop moisture or they don’t. Wood rots. Metal rusts without protection. Plastic degrades under UV. The hierarchy matters more than aesthetics.

Galvanized steel and stainless steel resist corrosion without constant maintenance. Powder-coated metal adds a layer of protection against moisture and extends tool life significantly. For sheds, pressure-treated lumber handles humidity better than standard wood, though it still requires periodic sealing. Plastic storage boxes work for dry climates but fail in high-humidity regions because condensation pools inside and accelerates rust on metal tools stored within.
Rust Prevention And Blade Maintenance Strategies
Everyone says to “keep tools dry,” which is useless advice because tools live outside where moisture arrives whether you plan for it or not. The mechanism is prevention through barrier creation, borrowed from corrosion engineering: you create an electrolytic barrier that stops oxidation at the metal surface level.
Oil coatings work. A light coat of machine oil or specialized tool oil on blades and metal surfaces creates a moisture barrier. Silica gel packets in storage boxes absorb ambient humidity before it touches metal. For high-value tools, wax-based products provide longer-lasting protection than oil. Sharpen blades before storage to reduce surface area vulnerability and ensure they perform immediately when needed, eliminating the friction cost of using dull tools.
Modular Mastery: Adaptive Storage For Garden Tools
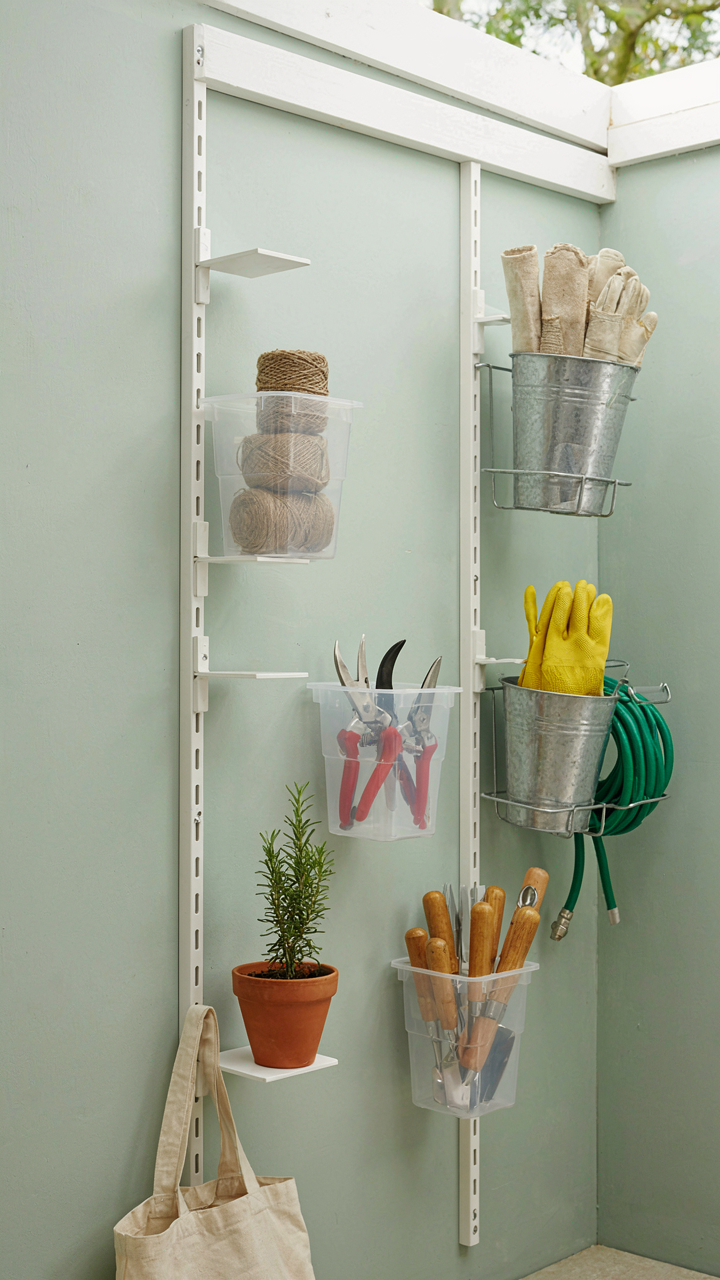
Containers For Small Tools And Supplies
You want modular storage because you think it looks organized. The real reason you need it is that small items disappear. A rake handle stays visible. Fertilizer packets, pruning twine, and grafting tape vanish into chaos. Container systems solve this through inventory visibility, the same principle logistics uses to track parts in warehouses. Each container holds a category. You see what’s there and what’s gone.

Plastic bins with labels work because they’re transparent or translucent. Metal baskets mounted to walls handle moisture better than closed containers in humid sheds. The key is compartmentalization, not aesthetics. One container per item type. When you grab a trowel, you know exactly which bin holds the rest of your hand tools. Consistency matters more than matching sets.
Solutions That Scale With Your Collection
Most storage advice assumes your tool collection stays static. It doesn’t. You buy a second pruner. You add a power drill. You inherit your neighbor’s hedge trimmer. Scalable storage means you design the system with expansion slots, not maximum capacity. Start with a wall-mounted rail system rather than a fixed cabinet. Rails accept hooks, baskets, and shelves infinitely. You add arms when you need them.
Vertical expansion beats horizontal sprawl in sheds under 200 square feet. Install rails at twelve-inch intervals up the wall, not just along one line. When your collection grows, you move existing items up and add new hooks below. This prevents the slow creep toward buying a second shed. The mechanism is simple: design for the tool collection you’ll have in three years, not the one you have today.
The “First In, First Out” Fallacy Of Gardening Organization Ideas

Access Cost Beats Storage Density
You want to feel like you have it all organized so you can stop thinking about where things are. That’s the real driver here. But most garden tool storage advice treats this like a warehouse inventory problem, and it’s not. Economics has a concept called opportunity cost: the value of what you give up when you choose one thing over another. Every second spent hunting for a shovel is time stolen from actual work. The cost of storing tools densely in the back of a shed is paid every single time you need them.

The friction between storage location and tool use is what actually determines whether a system works. You can pack fifty tools into a ten-by-ten space, but if the one you use three times a week lives behind seven others, you’ve created a tax on every project. The tools you reach for constantly should occupy the most accessible real estate, not the densest corner. This isn’t organization theory. This is basic resource allocation.
Movement Pattern Beats Category
Most people organize by tool type: rakes together, shovels together, small hand tools in one bucket. This makes the storage system feel rational. But you don’t retrieve tools by category. You retrieve them by task sequence. If you’re preparing a bed, you grab the fork, then the rake, then the hoe, in that order. Storing them by the path you walk them, not by what they are, cuts retrieval time and eliminates the cognitive load of remembering where you filed something.
Map your actual digging, planting, and maintenance routines for a week. Track which tools you touch and in what order. Position high-frequency tools at waist height near the exit. Mid-frequency tools on lower shelves. Seasonal or specialty tools higher up or deeper in. The second you need something, you shouldn’t have to reconstruct a filing system in your head. The system should route you directly to the next tool in your workflow sequence.
Beyond The Shed: Distributed Lawn Tool Storage Ideas
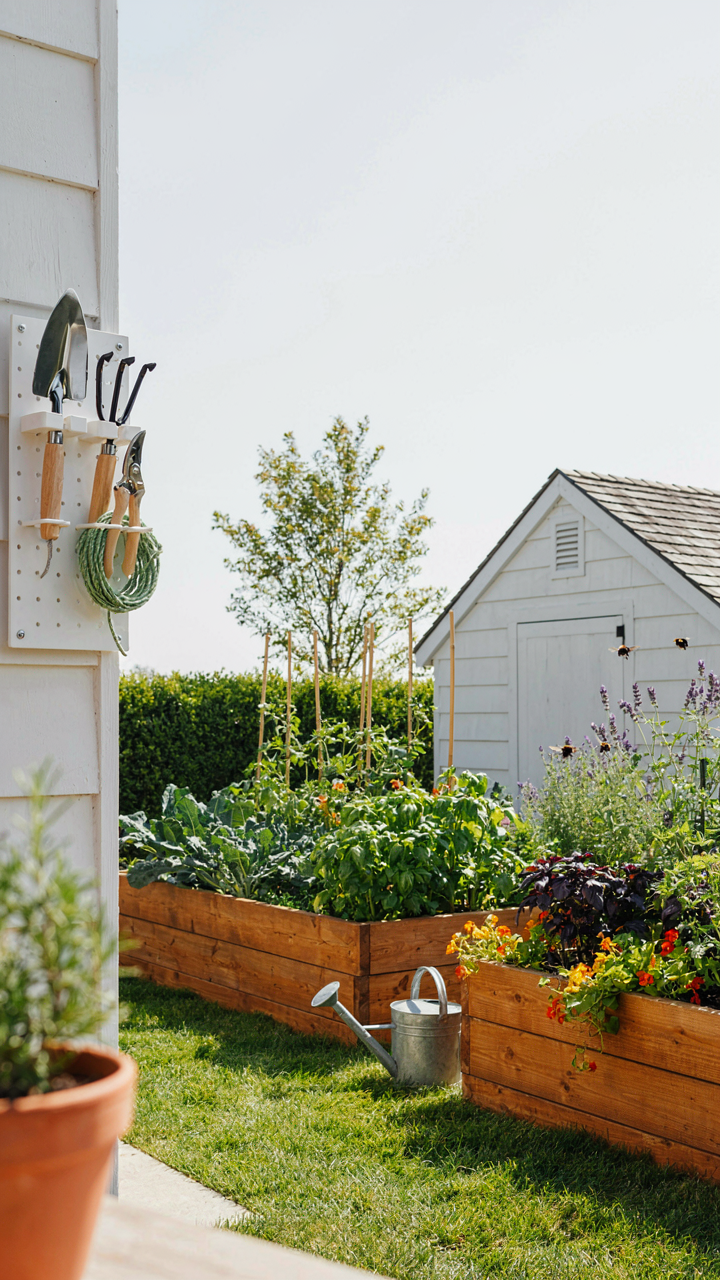
Strategic Placement Near Work Zones
You want to believe one central shed solves everything because it feels organized. It doesn’t. The real mechanism is friction: every step between tool and task is a step you won’t take, so you’ll leave equipment scattered instead. Economics calls this the cost of retrieval. Place tool caches near where work actually happens—the garden bed, the fence line, the patio edge—and you eliminate the decision to abandon tools mid-task.

A wall-mounted caddy near raised beds holds hand tools you use twice weekly. A weatherproof cabinet by the side gate stores shears and pruners before hedge trimming. A utility hook on the shed’s exterior wall catches the edger before you mow. These aren’t backups. They’re positioned storage that matches your workflow, not your storage fantasies. The closer the tool sits to its point of use, the lower the activation energy to actually use it.
Minimizing The Haul Between Zones
Most advice says organize by tool type. Wrong. Organize by work zone and task frequency. This cuts transport time and eliminates the mental tax of deciding what you need before you start. A gardener who weeds the front beds every three days doesn’t need weeding tools in a rear shed two hundred feet away.
Build small station caches at each work zone. Front border gets its own set of hand tools in a compact organizer. Vegetable garden gets stakes, twine, and pruners in a separate weatherproof box. This redundancy feels wasteful until you realize you’re actually completing tasks instead of making four trips to retrieve scattered equipment. The system works because it removes the barrier between intention and action.
The “Shadow Board” Discipline: Visual Control For Outdoor Tool Storage Ideas
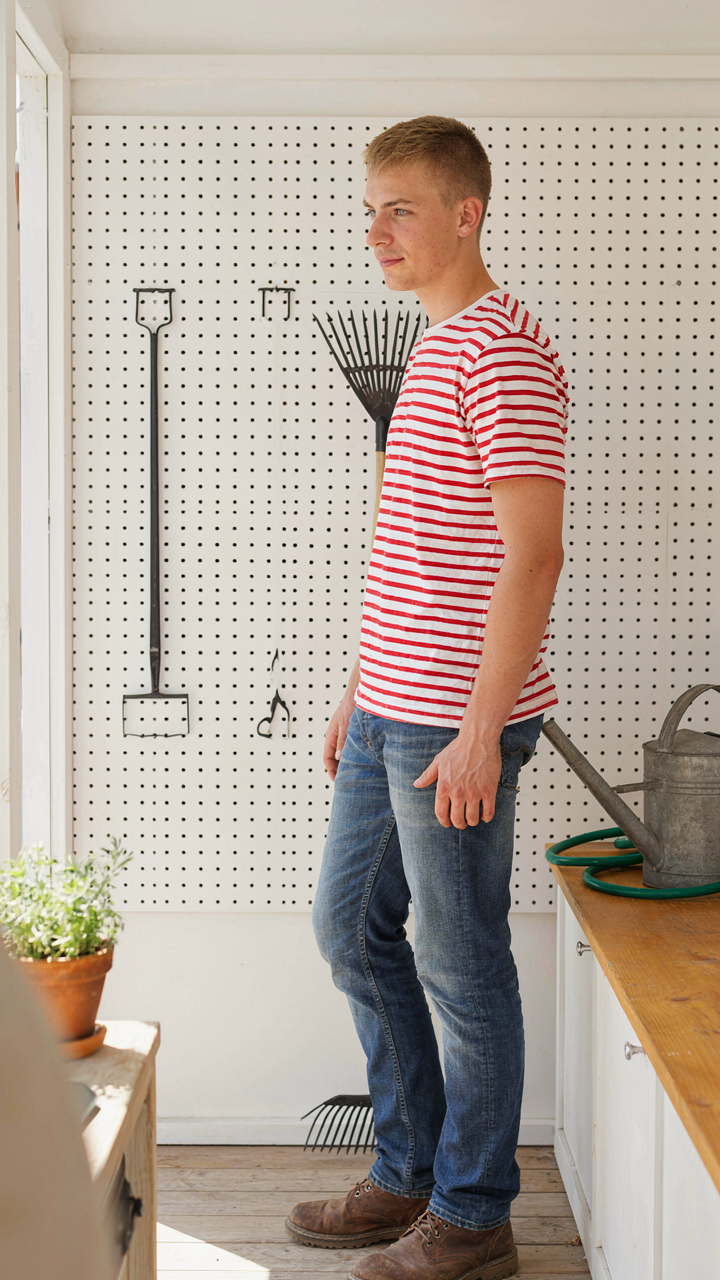
Mapped Positioning For Immediate Detection
You want a system that makes you look organized without actually having to think about it. The real mechanism here is borrowed from manufacturing’s visual management discipline: outline every tool’s exact resting place so absence becomes impossible to miss. When a shovel belongs in one specific spot, you notice it’s gone in under two seconds.

A shadow board works because it removes decision-making from tool retrieval and return. Paint or tape an outline for each implement on pegboard, wall-mounted panels, or shed interior. The outline acts as a visual inventory system. You grab what you need, use it, return it to the marked spot. No scanning. No guessing. No “where’d I leave that pruner.”
- Pegboard With Traced Outlines: Mount pegboard at eye level and trace tool silhouettes with permanent marker or paint pen. Makes missing tools instantly obvious.
- Magnetic Tool Rails: Steel strips hold metal-handled tools. Gaps reveal what’s out of the shed immediately without searching.
- Wall-Mounted Wooden Strips: Drill holes or cut notches sized for specific tool handles. Each tool returns to its exact position every time.
- Labeled Hook Zones: Paint colored sections on walls, one zone per tool category. Color blocks create visual rhythm that breaks if items go missing.
- Garage Floor Painted Zones: For larger equipment, mark tool placement spots directly on concrete using epoxy paint. Forces intentional positioning instead of random stacking.
The psychology here matters less than the friction it eliminates. When returning a tool requires placing it in one marked location instead of anywhere nearby, you build a feedback loop. Missing tools become visible within seconds. You catch problems before they compound into lost equipment.
Ownership Through Visibility
Accountability doesn’t come from rules—it comes from making the current state undeniable. A shadow board system exposes reality instantly. If a tool is missing, someone knows it within moments because the empty outline screams absence.
This transparency shifts behavior without speeches. Family members or employees who use the tools see the visual system and internalize it. Nobody wants to be the person who left a gap. The board becomes the enforcer, not you. Establish the rule once: tools return to their outline positions after every use. Then step back. The system maintains itself because visibility creates peer pressure and personal accountability simultaneously.
Specialized Solutions: Handling Awkward Gardening Equipment

Custom Brackets And Slings For Unwieldy Items
You want these tools out of sight because they signal you actually use your shed instead of just owning it. The real problem isn’t storage—it’s that long-handled tools create leverage points that destabilize everything nearby, which is basic physics applied to your shed floor plan. Rakes, shovels, and hoes need fixed attachment points, not leaning positions that shift when you grab one tool.

Wall-mounted brackets work because they transfer load directly to framing rather than relying on friction or balance. Heavy-duty L-brackets bolted to wall studs handle rakes and shovels without flex. For items like garden forks and cultivators, horizontal slings made from nylon webbing or rope distribute weight across multiple anchor points instead of concentrating it on a single hook. The sling approach prevents handle splitting that occurs when tools hang by their necks alone.
Preventing Damage To Specialized Tools And Equipment
Most storage advice treats all tools the same, which is why people destroy their equipment. Pruning shears corrode differently than spades, and loppers require different protection than hoes because their cutting surfaces oxidize on exposed metal. The storage method must match the tool’s material vulnerability, not just its shape.
Store pruning equipment with handles vertical and blades covered to prevent moisture from sitting on cutting surfaces. Use silicone tube covers or PVC sleeves that slip over the blades themselves. For specialized items like power tools or oscillating cultivators, mount them on pegboards with rubber grommets that isolate them from vibration and direct contact with wall studs. Keep fertilizer and chemicals in locked containers away from tool storage to prevent chemical damage to handles and metal parts through vapor exposure or accidental spilling.
The “Tool Audit” System: Periodic Review Of Garden Tool Storage
When You Actually Use What You Own
You’re hoping this system makes you feel organized without forcing you to confront how many tools you’ve bought but never touched. Here’s the mechanism: you own redundant tools because buying feels like progress, and you store them because throwing them away feels like admitting waste. Inventory checks force that admission early, when the tool still has resale value. Most people skip this step entirely and just keep accumulating.
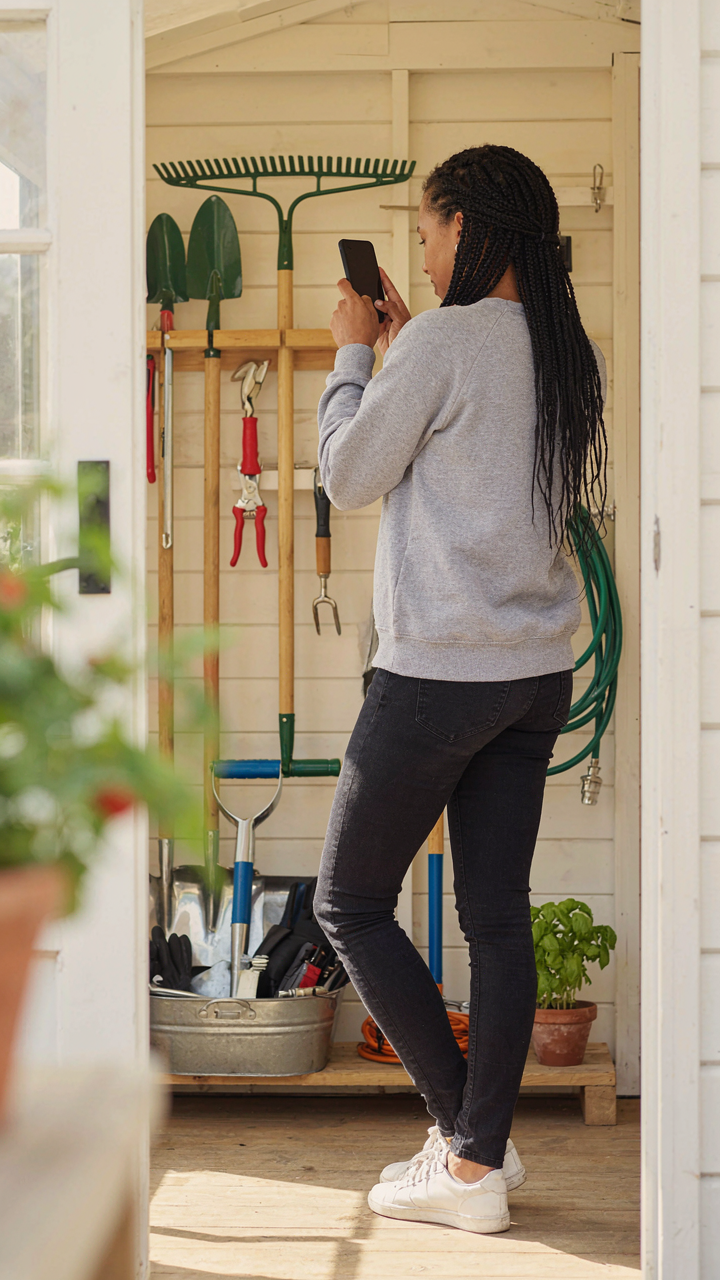
Spend thirty minutes every six months physically counting what’s in storage and noting condition. Mark broken handles, rusted blades, or tools you haven’t used in a year. Take photos of the inventory on your phone. This isn’t busywork—it’s the only data point that shows you what your actual tool needs are versus what you thought they were when you bought them.
Storage That Shifts With Your Calendar
Seasonal tool rotation applies inventory theory to garden work: you concentrate resources where demand is highest, then redistribute them when demand drops. Winter requires different tools than spring. Your storage system should reflect this rhythm, not fight it. The common advice is to “just have everything accessible year-round,” which wastes prime shelf space on tools you’ll use twice annually.
Build a secondary storage zone for off-season tools—a back shelf, a basement corner, or a sealed plastic container. Move heavy-use summer tools to eye level and arm’s reach in spring. As seasons turn, swap them out. Document what goes where and when by taking a photo of your storage layout before and after seasonal rotations. This repeatable pattern cuts your active storage footprint and makes seasonal prep automatic instead of chaotic.
The Ultimate Obstacle Isn’t Your Tools, It’s Your Undisciplined Approach To Their Management

You don’t need better garden tool storage ideas. You need to stop treating your shed like a dumping ground and your tools like they don’t matter. The system fails because you fail first. Pick one spot today. One hook, one shelf, one wall. Put your most used three tools there and actually use that spot tomorrow. The difference between a tidy shed and chaos isn’t organization. It’s you deciding that your space reflects your standards.



