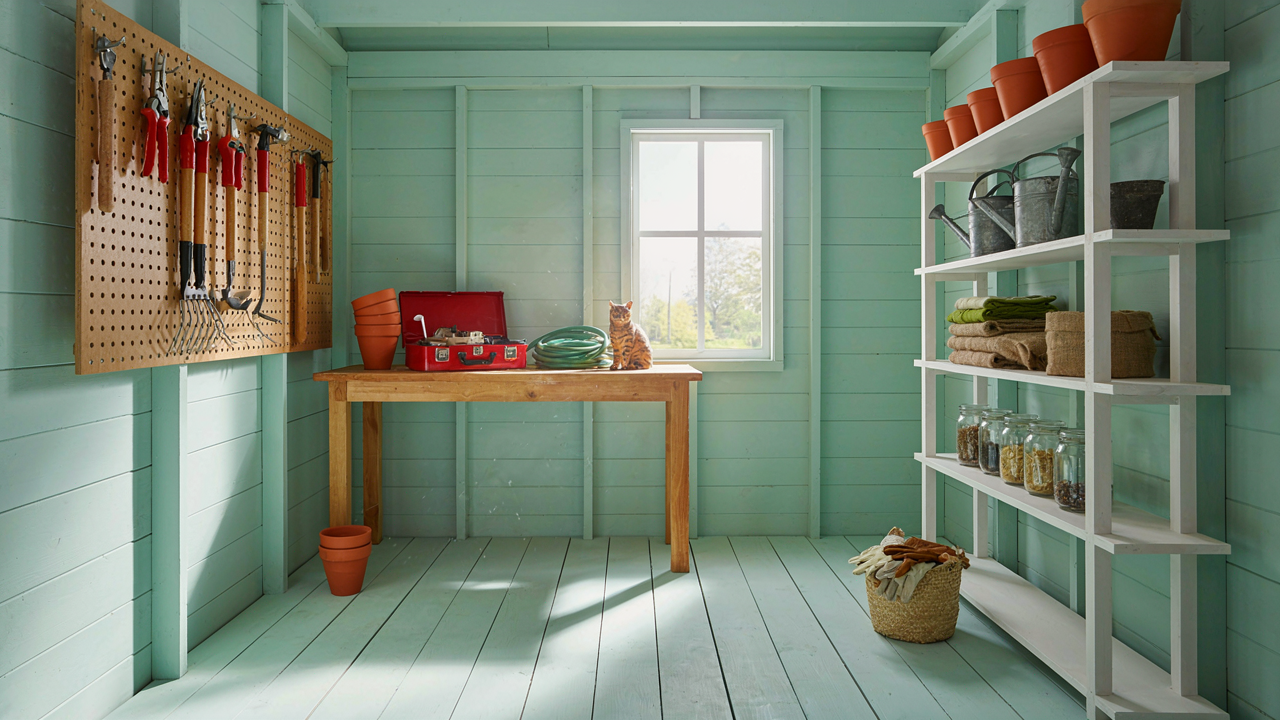
The Deletion Protocol: Purging The Productivity Drain
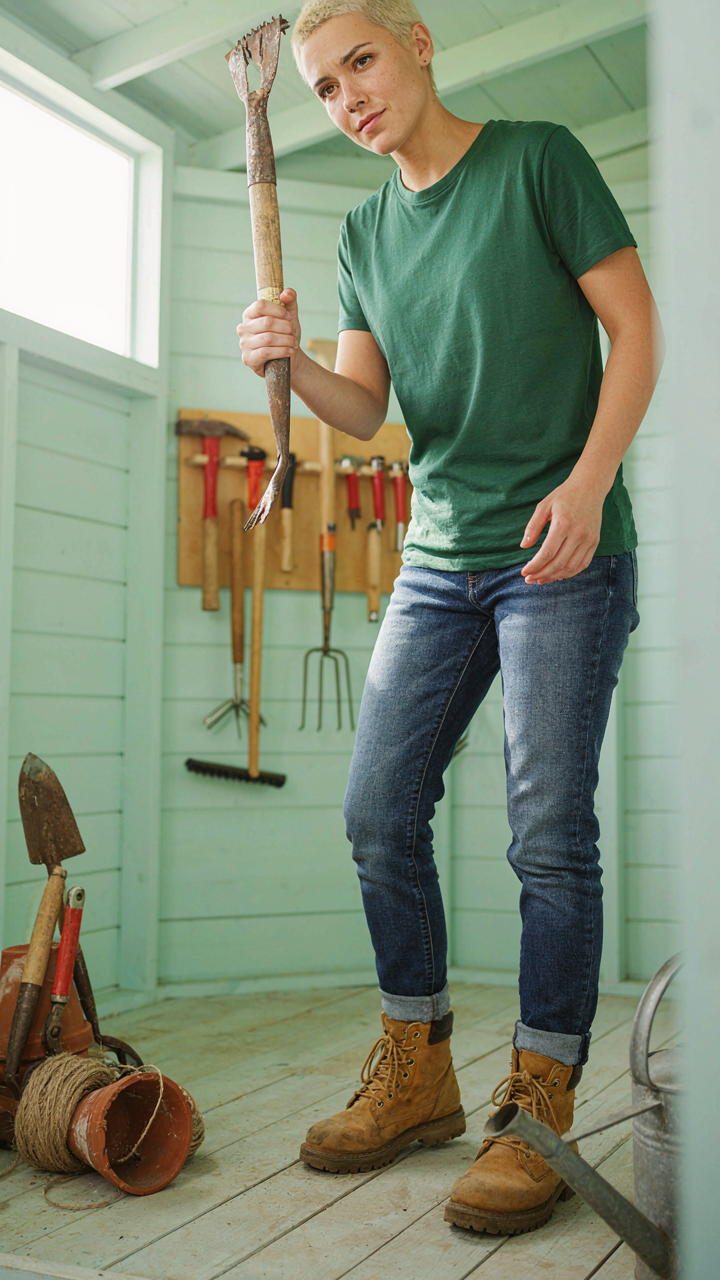
What’s Actually Taking Up Space
You’re keeping tools because you think you might need them someday, and that scares you more than admitting the real reason: you don’t want to feel wasteful. The mechanism is simple. Every item in your shed creates a decision tax. You move past it, around it, or over it dozens of times a year. That friction compounds. A broken spade, a duplicate rake, a pot with a crack you’ll never fill—these don’t organize around themselves. They multiply in your mind’s eye every time you search for something that matters.
Start by identifying what actually doesn’t work. Walk through your shed. Pick up each tool. Does it function? If not, it goes. Redundancy comes next. You don’t need three hand cultivators. You don’t need five clay pots when you use two. Be specific about what you use in a growing season and what’s genuinely surplus. This isn’t sentimental work. It’s accounting. The items that remain will occupy less space and demand less mental load.
The Math That Breaks The Sentimental Argument
Economics calls this the sunk cost fallacy, and your shed is full of it. You spent money on that tool five years ago, so you keep it to feel like the money wasn’t wasted. That’s backward. The real cost is the space it occupies now, the time you spend working around it, and the friction of deciding whether to keep it every time you reorganize. Keeping something broken doesn’t recover the original purchase price. It only delays the decision and adds interest.
Compare replacement cost against retention cost. A new hand trowel costs twelve dollars. The space it would occupy in a compact shed is worth more than that in terms of accessibility and mental clarity. A broken pot takes up the same real estate as a functional one. You will never fix it. Accept that and move forward. The deletion protocol works like this: item identification, cost-benefit calculation, removal, and reinvestment of that space into tools and containers you actually use.
The 3 Zone Efficiency System For Shed Storage
Daily Use Tools At Arm’s Reach
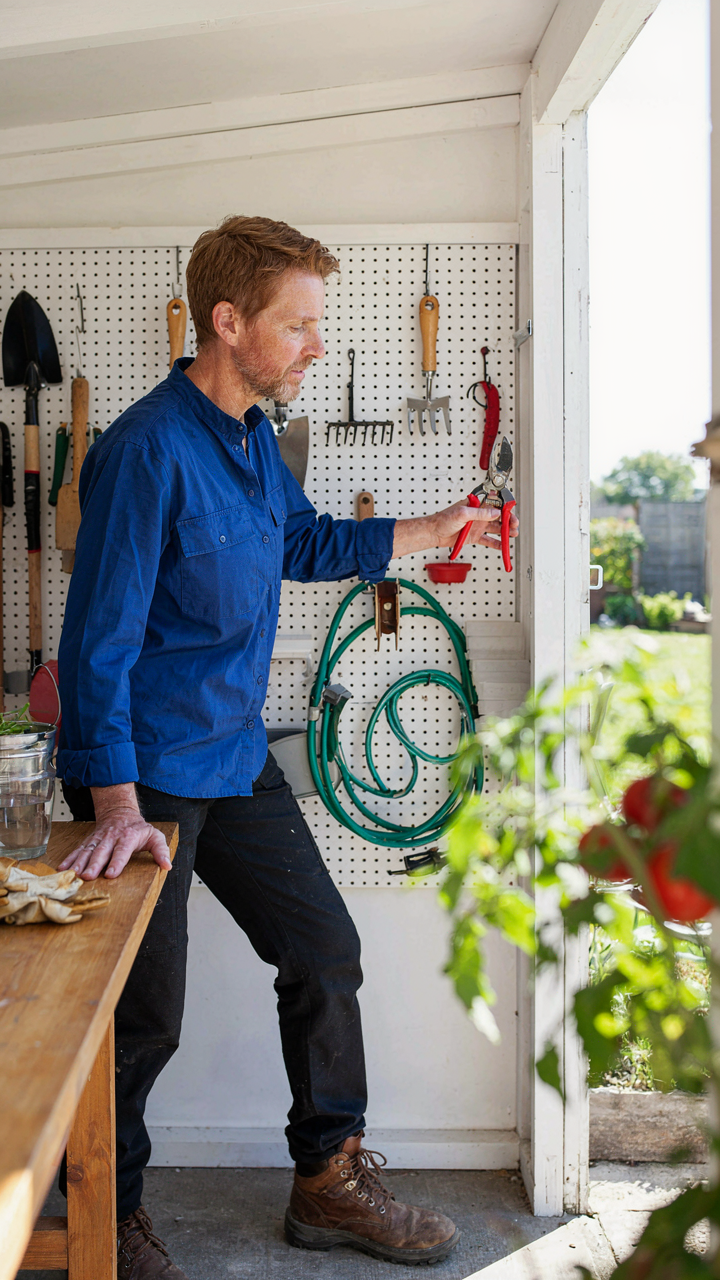
You want your shed to feel organized so you look competent, but the real mechanism is this: friction kills consistency. Every extra step between intention and action makes you less likely to maintain your space or use the right tool. Borrow from warehouse logistics, where the “fast-moving inventory” principle means highest-velocity items sit closest to the exit. Your daily tools—pruners, hand trowel, gloves—live at eye level, within one arm’s movement from your shed door or primary work zone. Not buried. Not requiring you to move other items first.

The payoff is behavioral, not aesthetic. When your most-used tools demand zero friction to access, you stop leaving them scattered on the workbench. You return them to the same spot because the spot is so obvious it costs nothing. Mount a pegboard or install wall hooks at shoulder height. Hang pruners on the same hook daily. This isn’t motivation. It’s architecture designed to make the correct action the easiest action.
Seasonal And Specialized Items Behind The Line
Most advice suggests labeling everything clearly, then tells you nothing about spatial hierarchy. The mistake is treating all off-season tools equally. Winter equipment, specialized pruning gear, and rarely-touched items need physical distance from your active zone, but not invisibility. Store them on higher shelves or deeper sections where they don’t clog your decision-making when you’re actually working.
The mechanism here is cognitive load. Every item in your visual field costs mental processing power. Push seasonal tools to opaque bins on upper shelving or the back wall. This removes them from working memory but keeps them findable through simple categorization by season or tool type. When spring arrives and you need the hedge trimmer, you know exactly which bin holds seasonal equipment. No scrambling. No second-guessing. Spatial separation creates mental clarity.
Vertical Dominance: Reclaiming Wall Space With Shelving For A Garden Shed

Shelving Units: Types And Strategic Placement
You want wall shelving because you’re tired of stepping over things, and you think organized storage will make you feel in control. What actually matters is load capacity relative to what you store. This is basic physics: force distribution. Heavy pots and tools require shelves that don’t sag, and sagging happens when you underestimate weight or ignore the span between brackets. Your shed walls are real estate with carrying limits, not just empty space begging for stuff.
- Metal industrial shelving: Handles 500+ pounds per shelf, resists moisture, bolts to studs. Best for clay pots and cast iron tools that accumulate weight fast.
- Wood shelving on brackets: Lighter aesthetic, costs less, but wood absorbs water unless sealed. Works for seed packets and lightweight hand tools only.
- Wall-mounted cabinet shelving: Enclosed units protect contents from dust and temperature swings. Takes more space per item stored compared to open shelving.
- Floating corner shelves: Maximize dead zones where walls meet. Limited capacity but ideal for displaying frequently used items like pruners or twine.
- Ladder-style shelving units: Leans against walls without drilling. Unstable on uneven floors. Test stability before loading anything heavy.

Placement matters more than the shelf type itself. Install shelves at eye level for items you grab weekly, lower shelves for dense tools, upper shelves for seasonal stock. Studs carry the load, not drywall. Find them with a stud finder or knock test, then mount brackets directly into wood. This prevents the slow-motion collapse that ruins tools and morale.
Pegboards And Hooks: Maximizing Tool Visibility
Pegboards work because they create forced visibility. Tools hidden in drawers get forgotten and replaced, which wastes money and space. When a tool hangs directly in your line of sight, you use it, return it, and stop duplicating purchases. The mechanism is simple: friction drops when retrieval takes three seconds instead of thirty.
The common advice says hang everything on pegboards. That’s incomplete. Pegboards fail with heavy items like axes, post-hole diggers, and large spades. The hooks pull away from the board, especially in sheds that heat and cool seasonally. Use pegboards for hand tools under five pounds: pruners, cultivators, trowels, clippers. Mount heavy leverage tools on individual heavy-duty hooks bolted directly into wall studs. Your pegboard becomes a reference grid for what exists, not the only storage method.
Tool Triage: Categorization For Outdoor Garden Tool Storage

Function First, Size Second
You want your shed to look intentional. That’s the real motive. But the mechanism that actually works comes from logistics, not aesthetics. Organize by function because you grab tools by task, not by how they fit on a wall. A rake, shovel, and hoe all do soil work. They live together. Size grouping fails because a small pruner and large hedge shears do different jobs, so you waste time hunting across zones.

Function-based organization cuts decision fatigue at the point of use. When you need to weed, you move to the weeding section. When you need to dig, you move to the digging section. This mirrors how your brain actually works in the garden. You don’t think “I need something medium-sized.” You think “I need to prune.” Store accordingly.
Labels That Stick In Shared Spaces
Most labeling systems fail because they assume people care about following the system. They don’t. In shared sheds, the label needs to make compliance automatic, not aspirational. Use large, weatherproof labels with simple silhouettes or photos, not just words. A picture of a rake beats the word “rakes” because no interpretation is required. Mount labels at eye level on the container or wall space, not above or below where people won’t see them.
The secondary function of labeling is friction reduction during borrowing. When someone borrows a tool and returns it to the wrong spot, a clear label makes them notice the mistake before they close the door. Return protocols work only when the target is visible and unavoidable. Laminated labels on containers outlast handwritten tags by years and cost pennies more.
The “Containerization” Principle: Pots And Small Garden Shed Storage Ideas
Stacking Solutions For Varying Pot Sizes
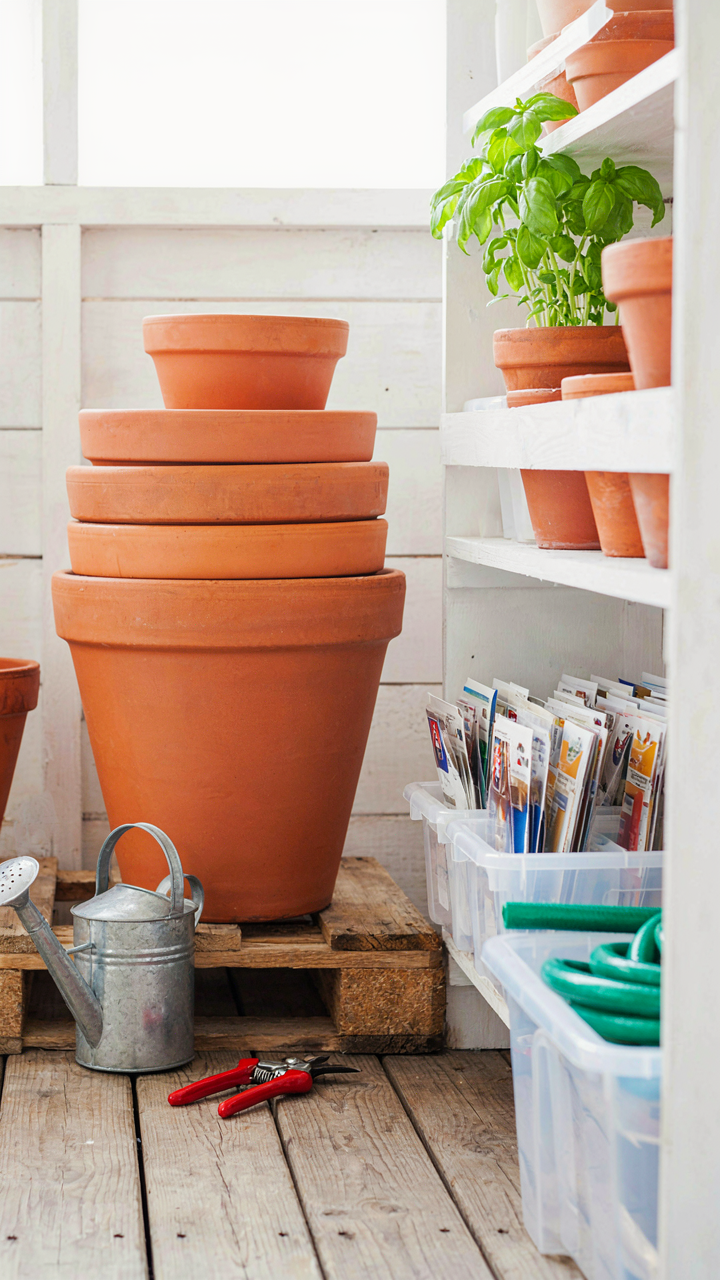
You want your shed to look intentional because chaos reads as failure, even when it functions fine. The real mechanism here is density optimization from warehouse logistics: you’re treating pot storage like inventory turnover. Nested pots waste horizontal space. Vertical stacking multiplies your usable footprint without building outward.

Terra cotta, plastic, and ceramic pots stack differently because material thickness and rim design vary. Terra cotta breaks under uneven weight and needs a flat surface between each layer. Plastic pots handle compression but warp if stacked unevenly when exposed to heat. Create dedicated zones by pot type and size, not by material alone. Use small wooden pallets or metal shelving with adjustable brackets to separate stack layers by 18 to 24 inches. This prevents crushing lower pots while keeping everything accessible without lifting heavy stacks to grab what’s underneath.
Clear Bins For Small Items And Consumables
Most people store seed packets, fertilizer labels, and potting soil scraps in opaque boxes and forget what’s inside within weeks. Clear plastic bins eliminate the guessing game and force you to see fullness before overbuying duplicates. The mechanism is visual accountability: you can’t ignore what’s sitting in front of you.
Label each bin by content type and category: seeds by season or plant family, fertilizers by NPK ratio, pest treatments by target problem. Stack bins on a designated shelf or wall-mounted rack. Keep consumables like potting soil, perlite, and peat moss in sealed clear containers rather than torn bags. The moment a bin hits 80 percent capacity, you refill or dispose before overflow creates chaos. This one action prevents shed clutter from compounding into a storage crisis.
The Ergonomics Of Access: Designing For Human Movement
Store Tools Where You Actually Use Them
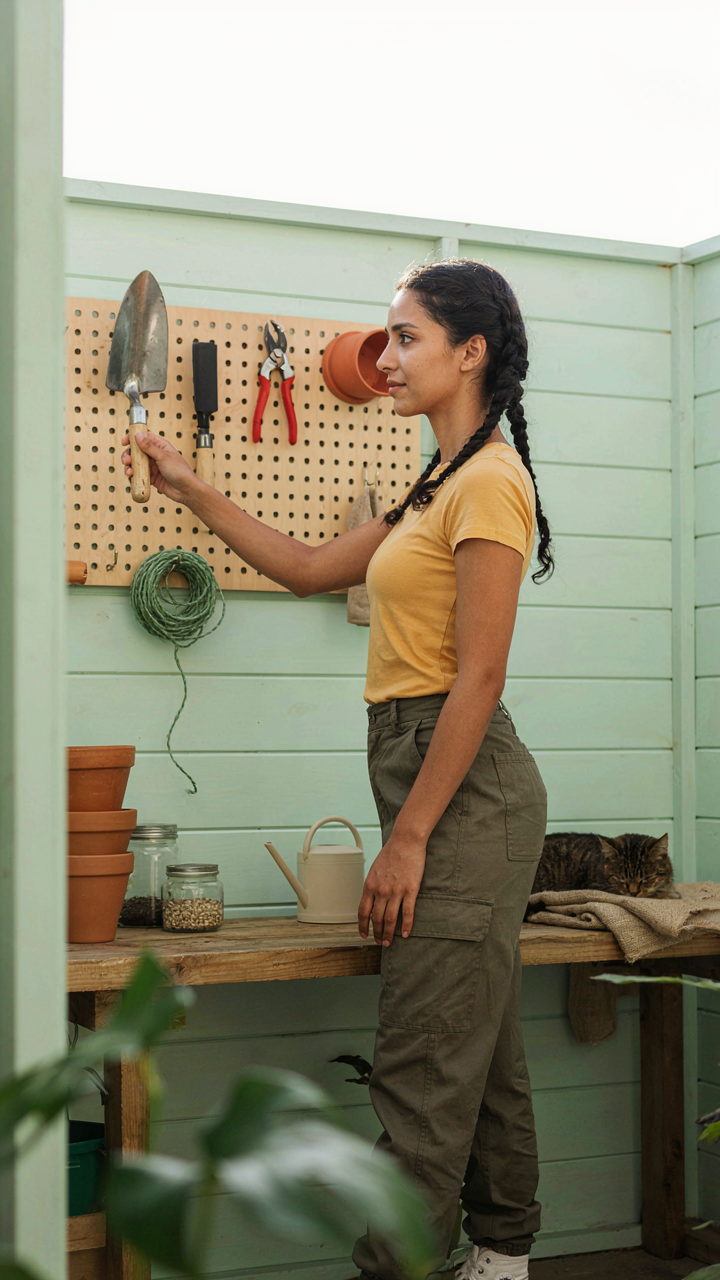
You want your shed to feel organized so you can tell yourself you’re efficient. The real mechanism is this: every step you take to retrieve a tool is wasted motion you’ll avoid next time, which means you won’t use the tool at all. Workflow optimization borrows from manufacturing’s concept of “point of use” storage. Tools should sit within arm’s reach of where the work happens, not grouped by category in some neat corner. A pruner belongs near the potting bench or the door you exit through to the garden, not alphabetized with other cutting tools in a cabinet ten feet away.

The difference between organized and functional is whether your system creates friction or removes it. Hand tools used during planting should live on a wall or pegboard facing your work surface. Seasonal tools rotate into deep storage only when that season ends. This isn’t about prettiness. It’s about reducing the gap between intention and action. When reaching for something takes three seconds instead of thirty, you actually reach for it.
Chest Height Is Where Work Happens
Physics calls it the zone of comfort, and your shed layout should recognize it. Bending down to grab a tool or pot costs energy and creates avoidance. Items you touch daily should sit between your waist and shoulder height. Heavy pots belong on lower shelves closer to ground level where leverage works in your favor. Small hand tools, seed packets, and fasteners go at eye level where you spot them without scanning.
Most shed advice treats storage like a filing cabinet problem. Wrong. Your body does the work, so your body’s mechanical limitations should drive the layout. A wall-mounted tool rack at chest height with frequently used items clustered in a triangle formation minimizes head turns and arm reaches. Arrange your most-used items in the center of that zone, secondary tools on the edges. This single adjustment cuts your average retrieval time by half.
Maximizing An 8×12 Shed Organization: Beyond The Basics

Corner Utilization For Awkward Spaces
You want a shed that looks intentional because you think it signals competence. What actually matters: corners are wasted real estate in most sheds because people treat them as dead zones. The mechanism is simple. Corners create two walls meeting at 90 degrees, which means you can build or install storage that uses both surfaces instead of one. This doubles your usable area without eating into floor space where you actually work.

An 8×12 shed has four corners. Two will be exterior wall junctions, two will be interior. Install corner shelving units or pegboard systems that wrap both walls. Triangular shelves fit the geometry better than rectangular ones because they use the corner angle instead of fighting it. Mount them 12 to 18 inches off the floor for hand tool storage, or higher for pots and seasonal items you access less. The depth should not exceed 12 inches or you’ll create a blind spot where items disappear.
Door Mounted Storage For Thin Profile Tools
Every shed door is real estate you’re currently ignoring. Thin profile tools, supplies, and small pots hang on doors because they’re vertical surfaces that already exist. Don’t mount heavy items here, the door frame wasn’t engineered for load-bearing storage. Instead use magnetic strips for metal hand tools, adhesive hooks for rope and cords, and shallow pegboard for lightweight supplies like pruning twine, labels, and small fasteners.
The inside of your shed door should become a high-frequency access zone. Place items you use on every visit here: hand pruners, gloves, ties, and labels. This reduces the number of steps you take into the shed and back out. Install a magnetic strip 36 inches from the floor for maximum reach without bending. Use adhesive-backed pegboard if you want to avoid drilling, though screwed installation holds longer. The door frame itself becomes your command center for the work you do most often.
Year Round Ready: The Seasonal Rotation Method For Yard Equipment Storage Ideas

Off Season Tool Protection And Deep Storage
You want to believe your tools will last forever if you just store them right—but you’re really afraid of rust, rot, and replacing expensive equipment. The mechanism is simple: tools fail when moisture traps against metal or wood sits in humid air. Off season storage works like inventory rotation in manufacturing—your least used items move to the hardest to reach spots, protected by layering and desiccants.

Clean every tool before storing it. Remove soil, sap, and moisture. Coat bare metal with a light machine oil or paste wax. Store tools vertically or horizontally with airflow around them, never stacked flat where condensation pools underneath. Use silica gel or calcium chloride packets in sealed containers holding smaller hand tools. The key action: inspect and oil tools monthly during off season, not once at storage.
Pre Season Staging: What You Need, When You Need It
Stop buying the same tools twice because you forgot what you buried in the back. Pre season staging means pulling exactly what you’ll use in the next twelve weeks and positioning it within arm’s reach of your shed door. This is logistics applied to yards—your high velocity items occupy premium real estate.
Create a staging zone near your shed entrance three weeks before each season begins. Pull pruners, spades, and hoses you’ll use in April or May. Inspect them for damage or missing parts. Store seasonal tools on wall hooks or in shallow bins at waist height where you can grab them without hunting. The concrete step: label a shelf or wall section with the season name and date you staged it, then rotate stock the moment you swap seasons.
The “She Shed” Anomaly: Organization With Purpose

When Function Demands Layout, Not Instagram
You want this space to feel intentional because you’re tired of defending hobbies that don’t produce income. Here’s the mechanism: a shed optimized for multiple activities requires zoning, not decoration. Zoning means dedicating physical territory to specific tasks, then building storage around those zones instead of cramming everything into one wall. This comes from warehouse logistics—the principle of “activity-based layout” ensures tools stay near where they’re used, not where they look good. A potting zone needs soil, pots, and water access. A craft zone needs flat surfaces and drawer organization. A storage zone needs vertical density. These three cannot coexist in the same six feet of space.

The common mistake is treating the shed like a living room that happens to have shovels. You paint it, hang aesthetic pegboards, arrange pots by color, then wonder why you can’t find anything when you actually need to work. The shed is not a backdrop for your personality. It’s a production facility for your garden. Layout first, then aesthetics if you have leftover energy. The zone approach eliminates friction between different activities competing for the same real estate.
Compartmentalization Across Multiple Workflows
A multi-use shed demands clear physical boundaries, not an open-plan fantasy. Wall-mounted tool storage occupies one section. Potting benches with soil storage occupy another. Craft supplies stay in a third zone with shelving and small-item containers. The reason this works is simple: muscle memory. Your hands learn where things live. You grab potting soil from the same shelf every time. You reach for craft scissors in the same drawer. No searching. No decision fatigue. This reduces the actual time spent organizing mid-project by eliminating the hunt for supplies.
The practical protocol is this: measure your shed, draw a rough overhead layout, assign each activity a corner or wall section, then stock that zone with only the tools and materials that activity requires. Install wall-mounted pegboards or rail systems in the tool zone. Build or buy a potting bench with bins beneath for soil and amendments. Use rolling carts or shelving units to define boundary lines between zones. Once layout is locked in, individual storage solutions follow naturally because they serve a specific zone’s demands.
The Cluttered Shed Isn’t A Storage Problem; It’s A Decision Problem

Your shed doesn’t need another shelf. It needs you to stop buying tools you’ll never use and keeping pots you’ve outgrown. Organization fails because you haven’t decided what stays and what goes. Pick one corner today. Remove everything. Touch each item and ask: do I use this? Keep only what you actually grab. This single act rewires how you think about your space. A cluttered shed is just postponed decisions taking up rent.



