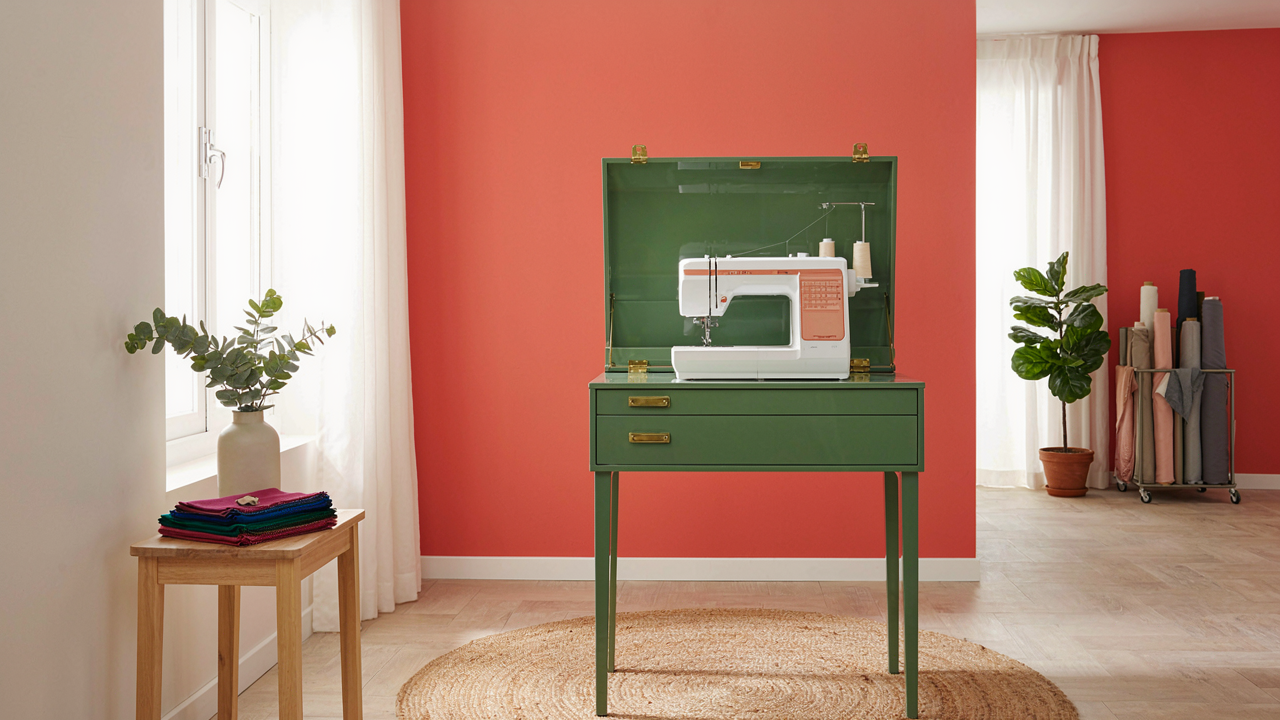
The “Save What Works” Manifesto: Why Most Makeovers Fail
Check The Frame Before You Touch Anything
You want this project to feel like progress, not like you’re throwing money at a problem. Here’s the mechanism: most cabinet failures stem from frame rot or joint failure, not surface damage. Borrowed from structural engineering, load-bearing capacity determines what your cabinet can actually hold. A sewing machine cabinet that can’t support its own machine weight becomes a liability the moment you refinish it.
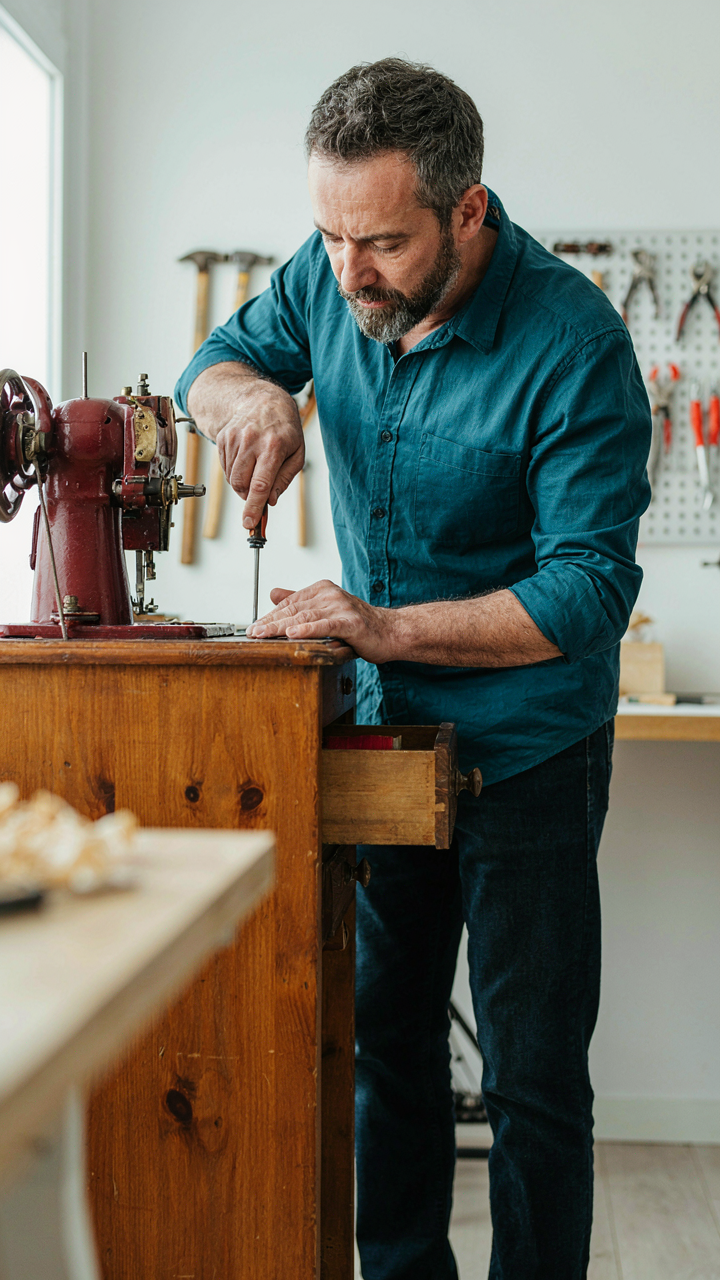
Start by pressing a flathead screwdriver into the wood at each corner joint and along the base. If the screwdriver sinks more than a quarter inch, you have soft wood from moisture or insect damage. A cabinet with compromised joinery will rack and twist under the machine’s weight no matter how fresh the paint looks. Skip this step and you’re not makeover-ing a cabinet. You’re delaying its collapse.
Separate The Story From The Function
Most people confuse “my grandmother owned this” with “this cabinet works for my needs.” The cabinet’s history doesn’t change whether it fits your current space, your machine model, or your actual workflow. Sentimentality locks you into keeping broken hardware, inadequate shelf depth, or a footprint that no longer fits your sewing setup. None of those problems improve with new stain.
Ask yourself one question: would you buy this exact cabinet new today if it weren’t inherited? If the answer is no, you’re restoring a relic instead of upgrading your workspace. The real decision is whether the frame and basic dimensions serve you now, not whether keeping it honors the past. Functional utility determines whether a makeover makes sense. Emotion shouldn’t drive the timeline or budget.
Beyond Paint: The Functional Audit Protocol For Vintage Sewing Tables

What You’re Actually Fixing When You Fix Storage
You want this makeover to feel like progress instead of just rearranging clutter. Here’s the mechanism: vintage sewing tables weren’t designed for modern thread volume or the needle varieties that exist now. You own more stuff than the cabinet was built to hold, so you’re either cramming it inefficiently or pretending that doesn’t matter. Start by opening every drawer and compartment. Measure the actual space. Count what lives there now versus what you use weekly.

The real work is watching yourself sew for two sessions and noting every time you reach for something, pause, or dig. That friction point is your target. Most cabinet makeovers fail because people reorganize phantom problems instead of solving the friction they experience every time they sit down. You need a baseline of your actual workflow before you touch the structure. Document where your hands go first, what you grab most, and what lives in dead zones you never access.
Elevation And Reach Span The Whole System
People fixate on drawer dividers and miss the architecture underneath. Think in terms of biomechanics, not decoration. Your arm has a natural reach zone from elbow to fingertip when seated and leaning slightly forward. Most vintage tables place their primary work surface 28 to 30 inches high, which was standard for treadle machines. That height is locked into the cabinet structure. But the secondary storage above or beside the work surface determines whether you strain your shoulder or work in neutral posture.
Measure your seated reach zone right now. Mark a baseline at elbow height, then measure how far your fingers naturally extend. That’s your prime real estate for thread, needles, and presser feet. Anything above that zone requires you to elevate your arm, which burns out your shoulder over time. Vintage tables often have pigeonhole storage positioned too high for daily access. Move your most-used items down into your natural reach zone, and move occasional tools up. This single shift cuts fatigue and speeds up your work pace.
Repurpose Sewing Machine Table: The Economic Leverage Principle
When New Costs More Than You Think
You’re drawn to this because you want permission to keep something instead of replacing it, and that permission feels smart. Here’s the mechanism: economics calls this opportunity cost. When you buy new furniture, you’re not just spending money on the object itself. You’re spending the disposal cost of the old piece, the delivery time, the assembly labor, and the cognitive load of decision fatigue. A sewing machine cabinet makeover trades all of that friction for focused, finite work on what you already own.

The real calculation isn’t cabinet versus new table. It’s the total resource burn of replacement versus the resource burn of transformation. Most people skip this math entirely and call it sentimental. It’s not. It’s the difference between scattered spending and concentrated investment. A vintage cabinet costs nothing if it’s already in your home. A new table costs money plus time you’ll never recover. Do the comparison once, properly, and the decision collapses in one direction.
Time Allocation Beats Tool Collection
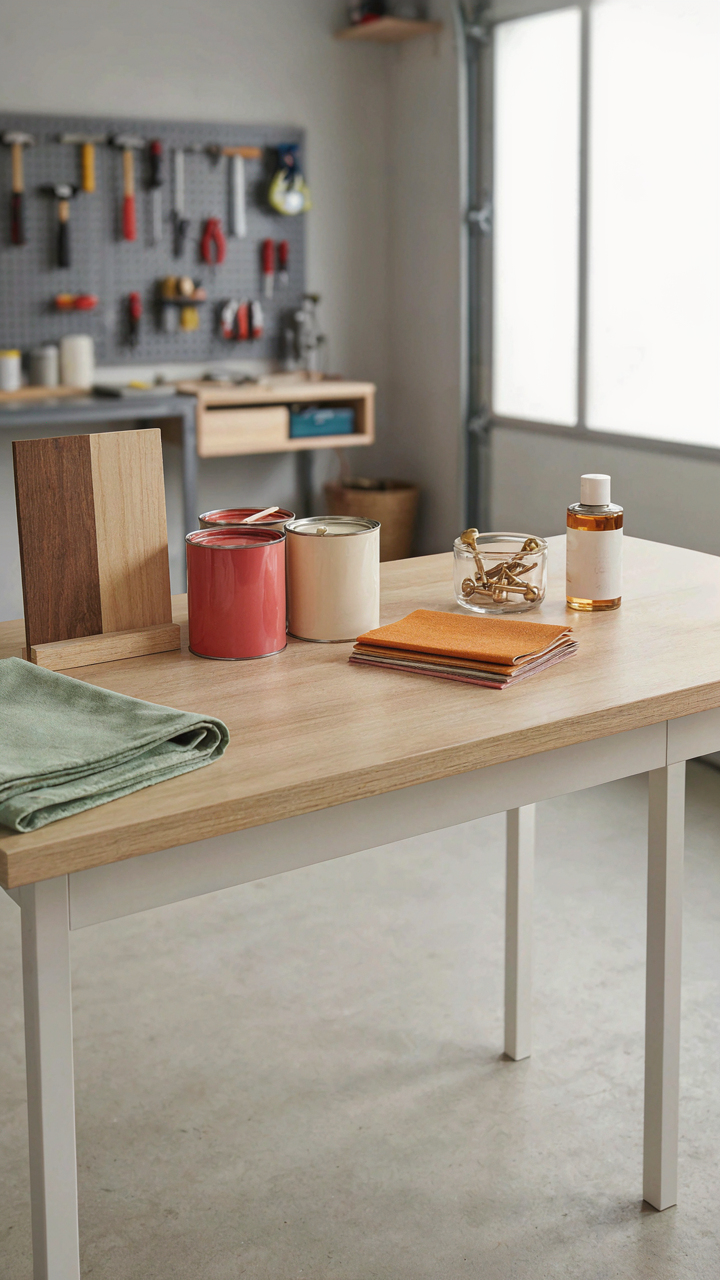
Forget the narrative that you need every tool to start. That’s backward and it keeps people stalled. You need the right tool for your specific material and one clear method to use it. A cabinet makeover typically requires a orbital sander, wood stain or paint, basic hardware replacement, and a finish. That’s it. Most makers already own a sander or can borrow one. Adding decorative tools doesn’t reduce the time it takes.
Time allocation is where amateurs leak hours without noticing. You spend forty minutes choosing between stain colors instead of thirty minutes actually applying stain. You gather materials across four shopping trips instead of one. You watch YouTube tutorials instead of starting with your actual cabinet in front of you. Set a material budget, set a three-week deadline, and execute the work in phases. Material efficiency follows time discipline, not the other way around.
The Minimalist’s Approach To Old Sewing Cabinet Reinvention
Strip Away The Bloat First
You want to keep the cabinet because throwing it out feels wasteful, but you’re really avoiding the work of deciding what stays. Here’s the mechanism: old sewing cabinets were built to store everything a seamstress owned in one place, which means they’re packed with compartments, drawers, and dividers designed for a different era’s workflow. That bulk is the problem, not the solution.

Start by removing every internal shelf, divider, and drawer organizer that doesn’t directly hold your actual sewing machine or the tools you use weekly. Most vintage cabinets have five or six internal compartments you’ll never touch once the machine sits inside. Strip them out completely. This isn’t about aesthetics yet. It’s about creating usable space where the cabinet’s original design creates dead zones and wasted square footage.
Function Before Everything Else
Design thinking borrows from systems engineering: a system works best when it has one clear input and output, with nothing extraneous in between. Your sewing cabinet’s input is “I need to sew.” Its output should be “I access my machine and essentials in under thirty seconds.” Everything else is friction.
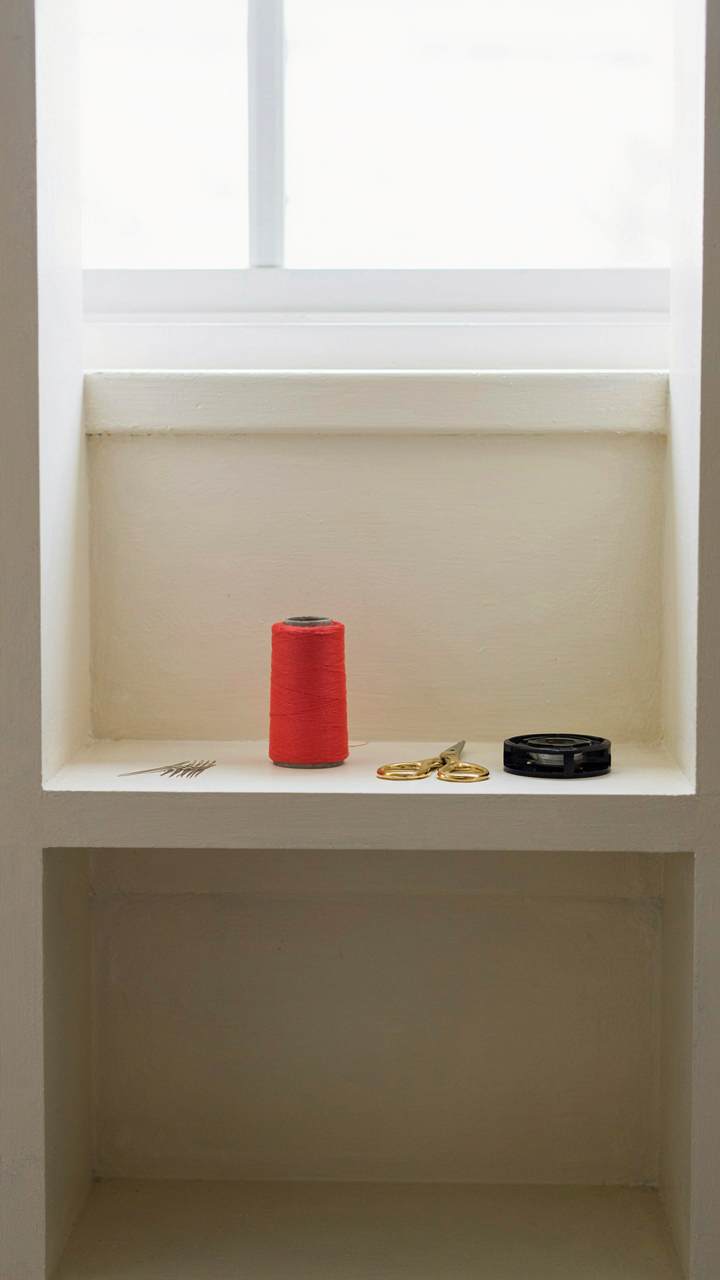
Most makeover guides tell you to paint, add lighting, and organize supplies decoratively. That’s backwards. First, confirm your machine fits with the cabinet doors closed and opens without jamming. Second, identify the five to seven items you actually grab before sewing: thread, needles, scissors, presser feet, bobbin case. Everything else belongs elsewhere. Once those items have a single home inside the cabinet, stop adding features. A cabinet that does one thing well beats one that does ten things poorly.
Upcycle Sewing Machine Cabinet: Strategic Material Selection

Build For Decades, Not Instagram
You want your cabinet to look intentional because you’re tired of projects falling apart. The real mechanism here is load-bearing capacity paired with finish stability. Vintage sewing machine cabinets were built from solid wood or steel because they had to support weight and vibration for decades. Modern particle board fails under that same stress within years. Choose materials that handle both the machine’s operational load and seasonal humidity swings without warping or degrading.

Wood selection matters tactically. Hardwoods like oak, maple, and walnut resist warping better than softwoods when humidity shifts. Steel hardware and hinges outlast brass fittings in high-use environments because they absorb movement without loosening. Your cabinet’s internal frame should be 3/4-inch plywood or solid wood, not 1/2-inch. The difference seems minor until you’re replacing hardware for the third time because screws pulled loose from cheap substrate.
Found Materials With Real Utility
First paragraph here names the mechanism from structural engineering: load-bearing capacity. Your reclaimed wood carries hidden structural advantages because it’s already stabilized through age, meaning it resists the wood movement that plagues new lumber. This isn’t romantic salvage culture, it’s material science.
- Reclaimed hardwood flooring: Comes tongue-and-groove, pre-finished in many cases, and has already settled. Use it for cabinet siding and internal shelving without worrying about cupping.
- Salvaged steel hinges and hardware: Vintage cast iron hardware bears load better than modern stamped steel equivalents. Check weight and thickness before sourcing.
- Repurposed cabinet doors: Existing doors from old dressers or kitchen cabinets save refinishing time. Measure openings carefully—modification costs money fast.
- Reclaimed metal legs and frames: Steel angles and channel stock from old machinery provide structural integrity that new metal seldom matches at comparable cost.
- Salvaged drawer slides: Ball-bearing slides from commercial furniture handle weight and repetition better than residential-grade modern alternatives sourced cheaply.
Source reclaimed materials through architectural salvage yards, not random marketplace sellers who don’t guarantee integrity. Ask whether wood has been treated with harmful finishes before committing. Verify hardware functionality by testing hinges and slides on-site before purchase. Structural weakness is irreversible once built into your cabinet.
What To Do With An Old Sewing Machine Cabinet: The Modularity Mandate
Break Down The Unit Into Adaptable Components
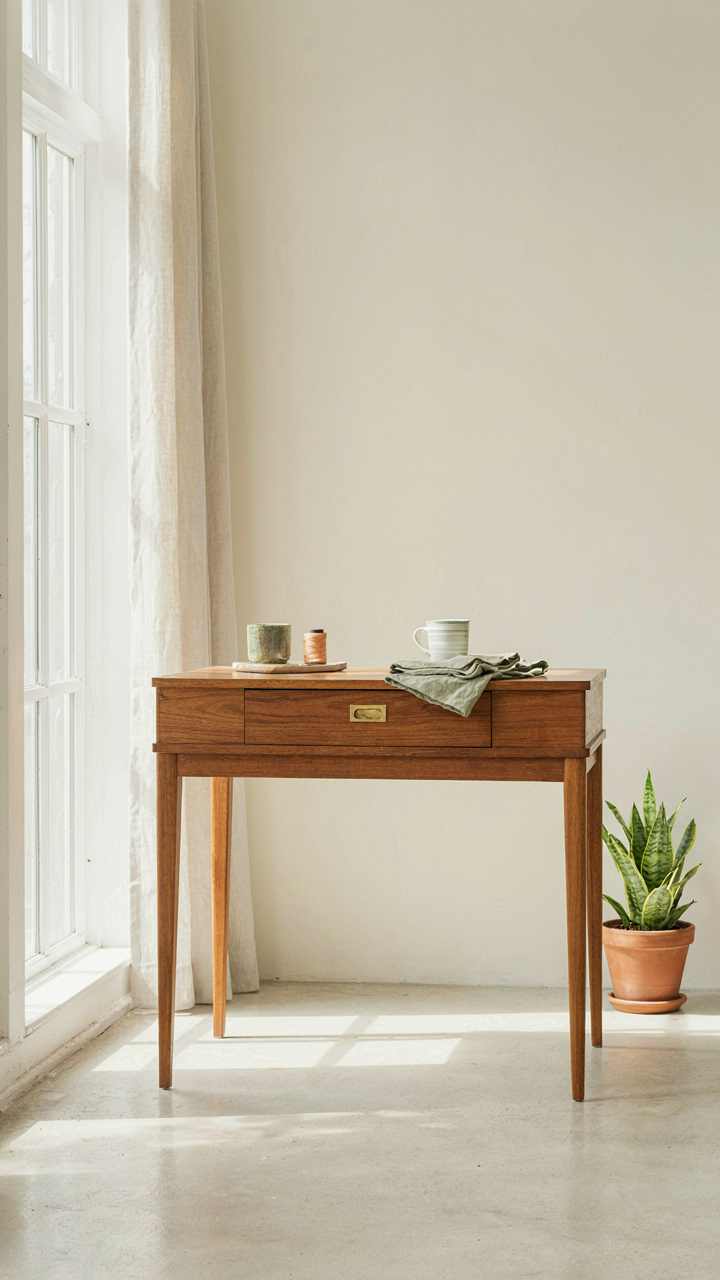
You want to believe the cabinet is worth keeping as-is because throwing it away feels wasteful, but the real reason you’re here is that you sense it could become something else entirely. The mechanism is simple: vintage sewing machine cabinets were built with discrete, separable parts. The base cabinet, the machine mounting plate, the hinged top, the storage drawers, the side panels—they’re not fused together. Most early-to-mid-century cabinets used wood joinery, bolts, or simple hardware that you can actually reverse without destroying the piece.

Start by identifying what physically separates from what. Remove the sewing machine from its mounting plate. Test whether drawers slide out as complete units. Check if the top hinges away cleanly. Document this before you commit to any changes. This inventory tells you which components can move to different locations or serve different functions. A cabinet base becomes a console table. The mounting plate becomes a template for a new work surface. The drawers become standalone storage boxes. You’re not reimagining the cabinet—you’re restoring its original state of independence.
Design For Multiple Future Configurations
Biological systems don’t optimize for one fixed state; they build redundancy and adaptability into their base structure. A sewing machine cabinet makeover should steal this logic: design your final configuration so each component could relocate or reassign without requiring rebuilding. This means you prioritize materials and joints that don’t demand permanent attachment. Treat the cabinet as a kit of parts rather than a fixed object.
When you refinish or modify the cabinet, avoid gluing components that were originally bolted or screwed. Keep hardware visible and functional. Paint or stain the components in ways that let them work independently. A drawer painted navy looks intentional as a side table storage box or a wall-mounted shelf unit. The cabinet base, left modular, becomes a kitchen island, a TV stand, or a craft room workbench. The specific next use doesn’t matter during the makeover phase. What matters is you’ve built the cabinet for adaptation, not permanence.
Vintage Sewing Table Repurpose: Beyond The Sewing Room

Home Office Expansion Integrated Workstation Solutions
You want to justify keeping furniture that doesn’t match your current life. That’s not shallow—it’s the mechanism most people miss: a vintage sewing cabinet already has built-in storage, a stable work surface, and industrial-grade construction that modern flat-pack desks don’t touch. Think of it through systems design: the cabinet is your constraint that forces optimal spatial arrangement. A sewing table becomes a secondary workstation when you add a monitor arm, route cables through existing drawer openings, and use the machine bed space for keyboard and mouse.

The real play here is fabric storage converting to document storage without modification. Those shallow drawers originally designed for thread spools hold hanging file folders or office supplies in their original footprint. The cabinet’s height and depth already match ergonomic desk standards because they were engineered for seated work. You’re not forcing the furniture into a new role—you’re returning it to its actual function: a focused work surface with organized storage underneath. Mount the cabinet against a wall, add proper task lighting above, and route your cables down the back leg using adhesive clips before you position it permanently.
Entryway Command Center Mail Keys And Charging Hub
The common advice here is wrong: people treat this like décor, not infrastructure. Treat it like a command center blueprint instead. A sewing cabinet’s narrow profile fits tight entryway spaces where standard furniture can’t survive. The drawers become sorting bins for mail, keys, and packages—each drawer a category that forces you to decide what belongs where before chaos compounds.
The mechanism that works is constraint plus visibility. Open the top drawer and see your keys immediately instead of searching. Drill two holes in the cabinet back for power cables, add a power strip inside the top drawer, and your devices charge while staying out of sight. Most people scatter chargers across their home and never know where their phone is. The cabinet forces centralization: when everything charges in one place, you know exactly where to grab your device before leaving. Install it within arm’s reach of your door and make one trip to gather everything you need.
Sewing Machine Cabinet Makeovers: The ‘Investment’ Mindset
Skills You Actually Gain During The Work
You’re here because you want permission to spend money on this without feeling wasteful. Here’s the mechanism: a cabinet makeover forces you to develop spatial reasoning, finish assessment, and basic carpentry literacy. These transfer to every future project you touch.

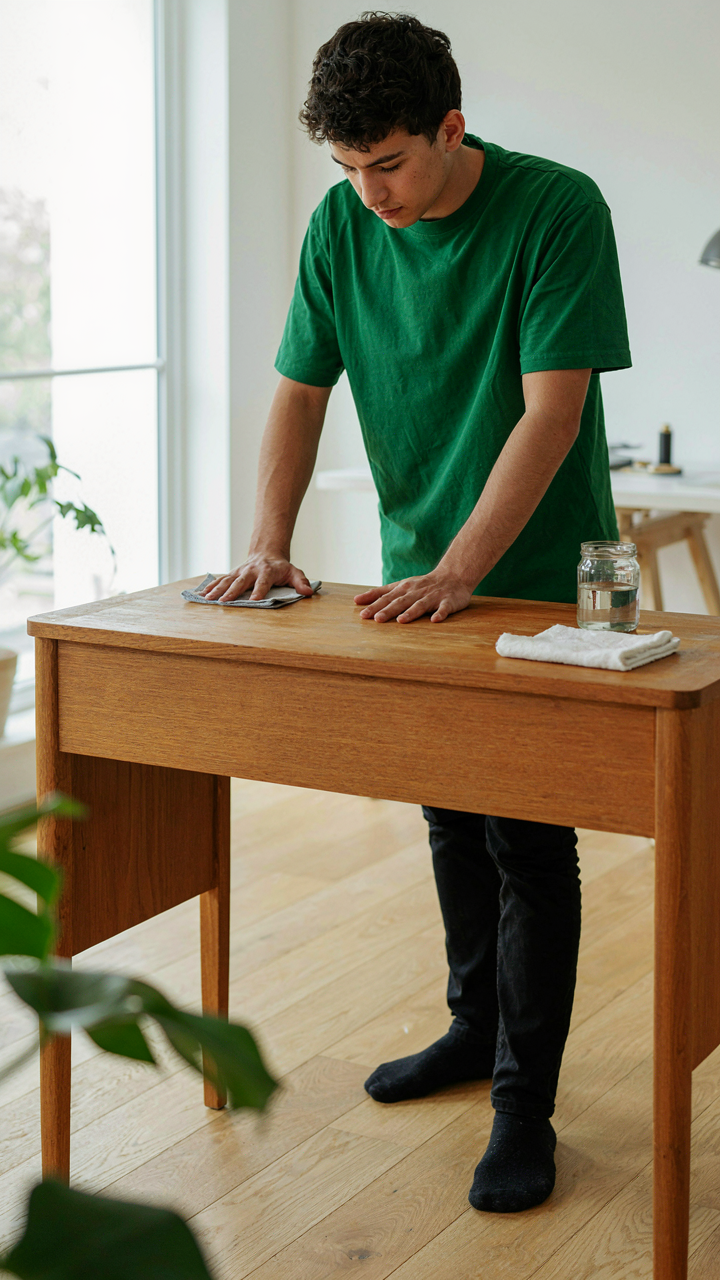
Most people treat a makeover as decoration. It’s not. You learn wood grain direction by sanding. You understand joinery by examining what holds the cabinet together. You discover finish compatibility by testing stain on hidden surfaces. These aren’t optional skills that vanish when the project ends. They compound.
What Actually Holds Value Over Time
The common advice says “update it to match current trends.” That’s how you guarantee obsolescence. Real value comes from structural integrity and timeless proportion, not paint color.
A cabinet from the 1960s or 1970s that you refinish with solid wood stain, new hardware, and functional upgrades becomes more valuable than it was. You’re not chasing design trends. You’re restoring function and building something that works harder than it did on day one. Start by assessing the cabinet’s original construction. If the frame is solid wood and joinery is tight, refinishing pays dividends. If veneer is separating or joints are failing, stop. Your effort compounds only when the foundation justifies it.
Old Sewing Machine Table Repurposed: The Antidote To Disposable Decor

When Function Outlasts Trends
You want permission to keep something old because throwing it away feels wasteful, but you need it to look intentional first. That’s the real mechanism here. An old sewing machine cabinet survives because it was built to absorb repetitive stress—the same principle that makes industrial equipment outlast consumer goods. A vintage cabinet’s wood frame, metal hinges, and joinery handle decades of opening, closing, and loading weight that modern particle-board furniture collapses under in three years. The makeover doesn’t save a relic; it reclaims function that never actually broke.

The cabinet you inherit or find already has structural integrity baked in. The work isn’t restoration theater—it’s honest modification of something that already performs. You remove the machine, refinish the surfaces, adjust the interior logic for whatever you actually need to store, and suddenly it becomes useful again. A sewing machine cabinet repurposed stops being an artifact and becomes a tool. That shift in purpose is what makes keeping it feel rational instead of nostalgic.
Building Resilience Into Your Spaces
Reject the framing that a makeover is cosmetic. Furniture durability is an economics problem, not an aesthetics one. Mass-produced cabinets use veneers over compressed wood that delaminates when humidity shifts or weight distributes unevenly. Vintage sewing cabinets use solid wood construction with mortise and tenon joinery that actually gets stronger over time if you maintain it. The real cost isn’t in making it look new—it’s in making it withstand actual use without planned obsolescence kicking in after five years.
Your intervention should focus on the parts that determine longevity: reinforcing joints where stress concentrates, replacing hardware that controls how doors open and close, sealing wood against moisture damage. These decisions are invisible in the final result but determine whether the cabinet functions for another twenty years or becomes landfill in 2030. The makeover succeeds when you address wear patterns from the original design, strengthen what broke under real use, then stop. That’s the entire protocol.
Your Real Obstacle Isn’t Lack Of Ideas; It’s A Lack Of Courage To Abandon Mass-produced Mediocrity For Enduring, Customized Utility
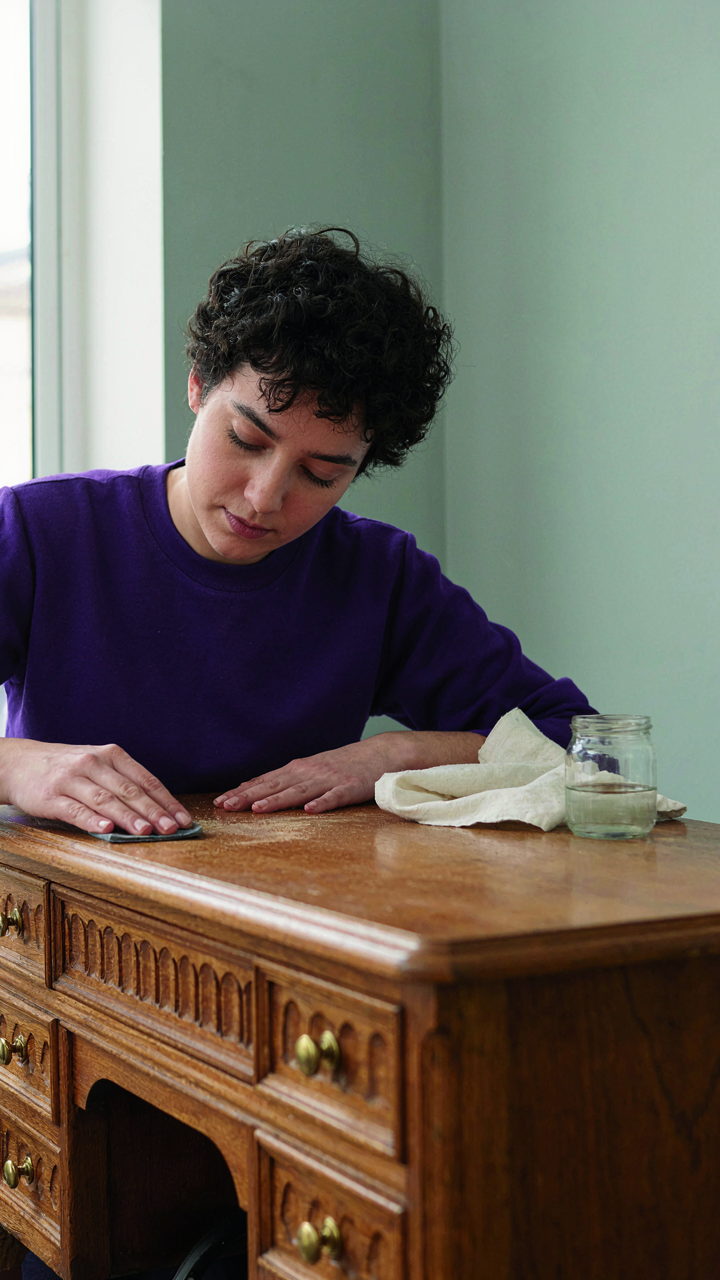
Most people never touch their sewing machine cabinet because they’re waiting for permission from a design blog. Stop. Pick one element you hate about your current setup today and change it. Pull out a drawer. Sand a corner. Add a single shelf. The sewing machine cabinet makeover doesn’t require perfection or a complete overhaul. It requires you to treat your workspace like it belongs to you, not like it belongs in a showroom. A tool that fits your hands beats a tool that fits your Instagram feed every single time.



