
The Unseen Value: Why A Dresser Into Bathroom Vanity Isn’t A Budget Hack
Character Over Commodity
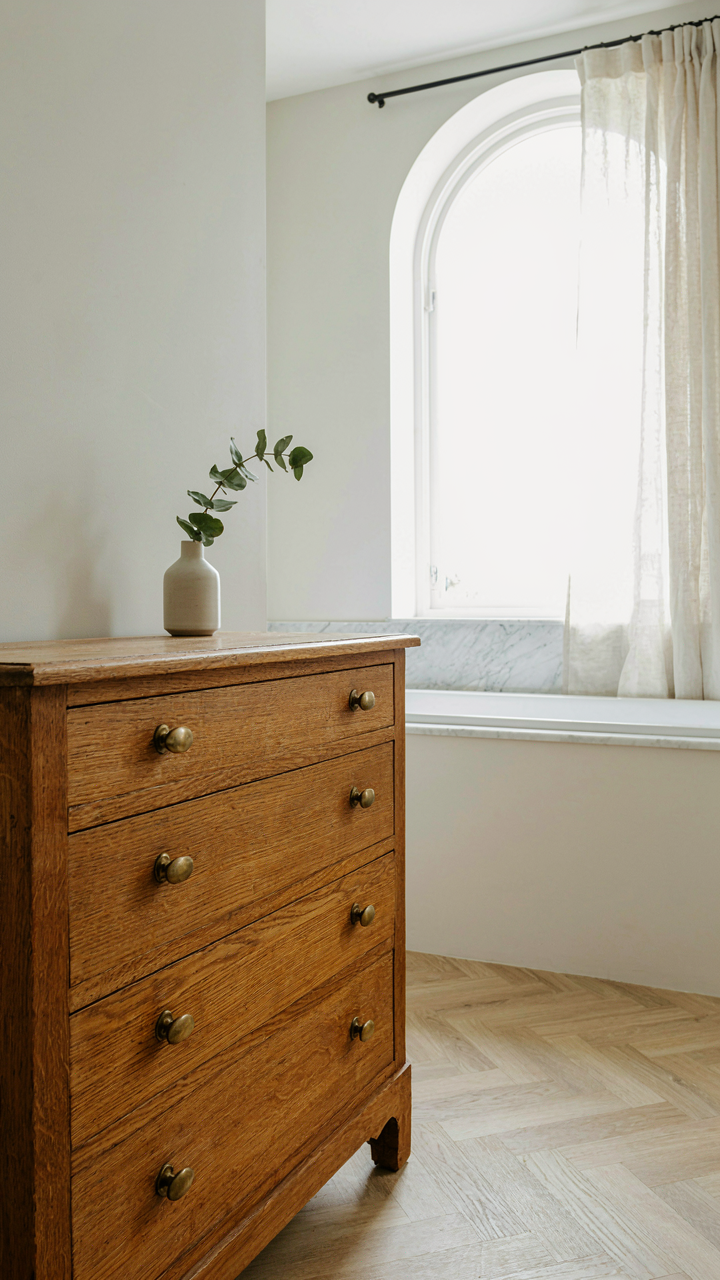
You want to believe this is about saving money. It’s not. The real draw is ownership. A dresser vanity carries the weight of intentional choice instead of the blank anonymity of builder-grade cabinetry. This matters because design works through recognition. Your brain registers handmade or salvaged differently than mass-produced. A dresser has proportions, wood grain, hardware history. Factory vanities have none of that. You’re not choosing cheaper. You’re choosing specific.
The mechanism is simple: constraint breeds distinctiveness. When you’re limited to what exists rather than what a catalog offers, you end up with something no algorithm predicted. Stores cannot commodify the particular. That’s why a repurposed dresser reads as intentional while identical bathroom vanities read as default. The cost difference becomes irrelevant once you understand this isn’t a budget solution masquerading as design. It’s the opposite. It’s design that happens to cost less.
Immunity To The Next Trend
Everyone says trends fade fast, then buys trending bathroom fixtures anyway. This is denial dressed up as wisdom. A dresser vanity survives trend cycles because it was never chasing one. Mid-century modern, farmhouse, maximalist, minimalist, industrial. A well-built dresser works in all of them. The wood grain stays constant. The functionality stays constant. The era it came from remains consistent even as design language around it shifts.
The real mechanism here is material honesty. A dresser built in 1960 still looks like something from 1960. It doesn’t pretend to be current. Current bathroom vanities, by contrast, announce their moment loudly through finish choice, handle style, and cabinet profile. In five years they look dated because they were designed to feel new. A dresser vanity sidesteps this trap entirely. You select it precisely because it’s already aged. That’s not nostalgia. That’s structural resistance to obsolescence.
Dresser To Sink Vanity: The Structural Integrity Blueprint
Know Your Wood Before You Commit
You’re doing this because you want to save money while looking intentional. The real issue is you’ll waste more money on repairs later if you skip this step. Wood type determines whether your dresser can handle the weight and moisture of a sink without failing.

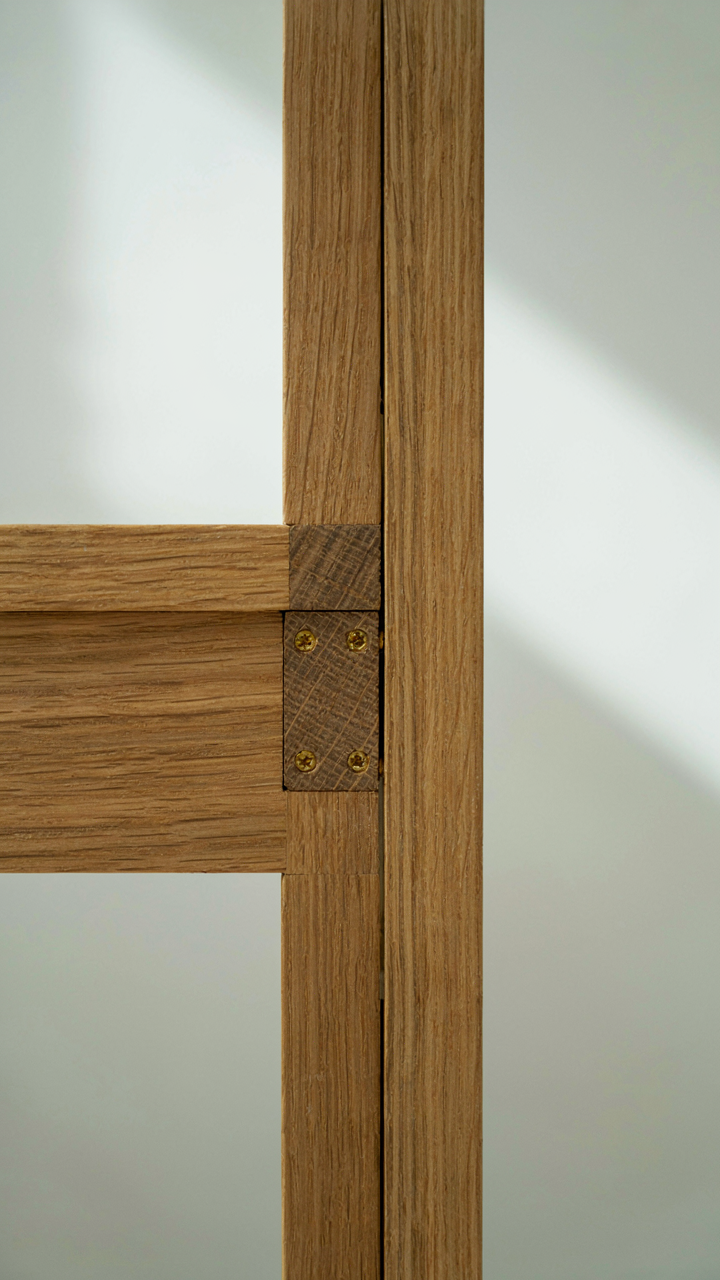
Examine the dresser’s construction closely. Solid wood like oak, cherry, or maple holds water damage better than plywood or particle board. Check drawer joints, the frame corners, and any visible interior construction. Look for separation, gaps, or soft spots. If the wood feels spongy or shows visible rot, stop. Refinishing hides nothing about structural capacity.
Points Where Failure Happens First
Think of your dresser’s joint system like load-bearing architecture. The sink and plumbing create downward force at specific points. Where the top meets the frame legs is your critical load path.
- Leg to frame connection: The corner blocks gluing the legs to the frame rails take all vertical weight. If these joints are doweled only, reinforce them with L-brackets underneath before mounting the sink.
- Top attachment points: Most dressers use figure-eight fasteners or pocket holes to attach the top. These flex and fail under sink weight. Replace with through-bolts or lag bolts at four points minimum.
- Center support beam: The interior frame running lengthwise under the top often lacks reinforcement. Add a 2×4 support running front to back if the dresser is wider than 30 inches.
- Sink cutout edges: Cutting the hole weakens the top significantly. Reinforce the perimeter with hardwood edging glued and screwed, not just sealed.
- Plumbing penetration zones: Holes for drain and supply lines create weak points. Seal these with epoxy and reinforce the underside with a backing plate bolted through the dresser frame.
The mechanism is simple: concentrated load plus structural gaps equals failure. Build redundancy at every connection point before you install the sink.
The Plumbing Predicament: Rerouting For A Dresser For Bathroom Vanity

Strategic Cutouts: Drain And Water Lines
You’re afraid this will leak. That fear is justified, but it’s also fixable if you understand the actual mechanics. Plumbing works on gravity and pressure: water flows down through drains and gets pushed through supply lines under force. A dresser becomes a vanity when you interrupt both systems at precise points, then reconnect them without breaking the seal.

Cutting holes in a dresser demands accuracy. The drain hole sits lower than the sink basin, sloping toward the exit point. Supply lines run hot and cold water to the faucet, so you need two separate holes positioned to avoid the dresser’s internal structure and frame supports. Measure twice, mark with a template, then drill with a spade bit or hole saw. Rough cuts fail because they split the wood grain and create gaps water exploits.
Moisture Defense: Sealing Against Water Damage
The real problem isn’t a single leak, it’s cumulative exposure. Wood absorbs water over months and years, and a dresser wasn’t engineered for constant moisture the way a bathroom vanity cabinet was. You need a moisture barrier that blocks water from the wood itself, not just covers the surface.
Epoxy sealant works better than caulk alone because it creates a hardened membrane rather than a flexible joint. Apply it around the drain opening, where the faucet penetrates the top, and anywhere water might pool or seep. The underside matters equally: seal the undercarriage and interior walls with polyurethane or epoxy to stop moisture from wicking up through the dresser’s bottom. Run a bead of sealant every six months and inspect for peeling or gaps that let water reach the wood substrate.
Dressers As Bathroom Vanities: Surface Protection Against The Elements
Waterproof Sealant Selection Determines Longevity
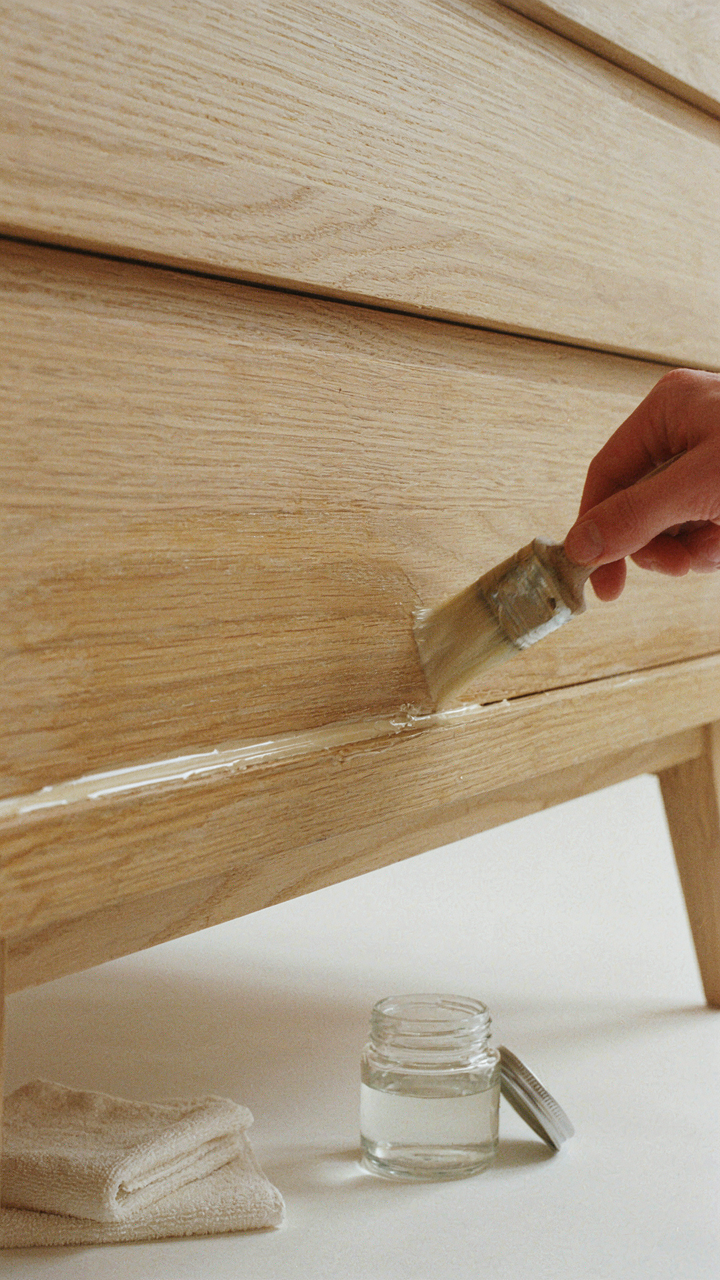
You’re doing this because you want to save money while pretending the dresser choice was intentional design. The mechanism is simple: wood absorbs water. Moisture migrates into the grain, swells the fibers, and the finish cracks. You need a sealant that blocks water entry, not one that sits on top looking pretty. Polyurethane-based products penetrate wood and cure into a hydrophobic layer. Epoxy coats harder but doesn’t flex as the wood naturally moves with humidity changes, creating micro-fractures. Water finds those cracks.

Apply sealant to all exposed surfaces, including the underside of the top and interior walls where pipes sit. Two coats minimum. The first coat soaks in. The second creates the actual barrier. Most DIY failures skip the underside because it’s invisible. Water doesn’t care about visibility. Reapply sealant every two to three years in high-moisture bathrooms, or annually if you run the exhaust fan inconsistently. The cost of resealing beats the cost of replacing a rotted dresser.
Mold And Rot Prevention Through Airflow Design
Think of this in biological terms: mold needs three inputs to proliferate, and moisture is non-negotiable in a bathroom. You control the other two. Eliminate standing water around the base and ensure air moves behind and underneath the vanity. Install the dresser at least two inches off the floor using furniture legs or a platform. This creates a gap that prevents moisture from pooling underneath. Moisture that sits breeds rot and fungal growth. Moisture that moves dries.
Ventilation matters as much as the sealant. Run your exhaust fan during and for 20 minutes after every shower. If your bathroom has no fan, install one. A dresser without ventilation will rot regardless of sealant quality. Check behind the vanity monthly for soft wood or discoloration, especially around the back where water splashes from the sink or pipes leak unnoticed. Early detection stops replacement before it happens.
The Integration Protocol: Making A Dresser Into Vanity Seamless

Scale The Piece To Your Bathroom Footprint
You’re worried this won’t look intentional. You think a dresser sitting in a bathroom will read as a mistake instead of a choice. The mechanism that separates those outcomes is visual weight—the perceived mass of an object relative to the space around it. A dresser that dominates the bathroom creates friction. A dresser that breathes creates harmony. Measure your bathroom width, ceiling height, and the wall where the vanity sits. A standard dresser runs 30 to 48 inches wide. Most bathrooms can absorb a 36 to 42 inch piece without the space feeling cramped. If your bathroom is under 40 square feet, drop to a narrower dresser or wall-mount it. Proportion isn’t about perfect ratios—it’s about the viewer never noticing the object at all. When they see the bathroom, they see the whole room, not a furniture piece that commands attention. Mount the dresser 12 to 18 inches above floor level to match standard vanity height and prevent the base from visually sinking into the floor plane.
Movement And Clearance Create Usability
Urban planning teaches flow—the principle that people move through space without resistance, without thinking about obstacles. A bathroom vanity operates on the same constraint. You don’t want users calculating trajectories around the dresser. The standard approach ignores clearance entirely. It just drops a dresser against a wall and calls it done. That produces bottlenecks. Leave minimum 18 inches of open floor space in front of the vanity for a person to stand while using the sink. If your bathroom door swings inward, account for that arc—the dresser cannot block it or interrupt the swing. The sink and faucet should sit at least 6 inches from the back wall to allow full arm extension for cleaning. If the dresser has a back panel, remove it to mount the piece directly against the wall, reducing protrusion into the bathroom. Flow is invisible only when nothing impedes it.

DIY Dresser Vanity: The Faucet & Sink Selection Matrix
Matching Sink Size To Dresser Depth
You want this to look intentional, not like you’re hiding a mistake. The real constraint isn’t aesthetics—it’s that a sink larger than your dresser’s depth will hang past the front edge and force you to stand too far back or crouch to use it. This is a spatial problem, not a design one.
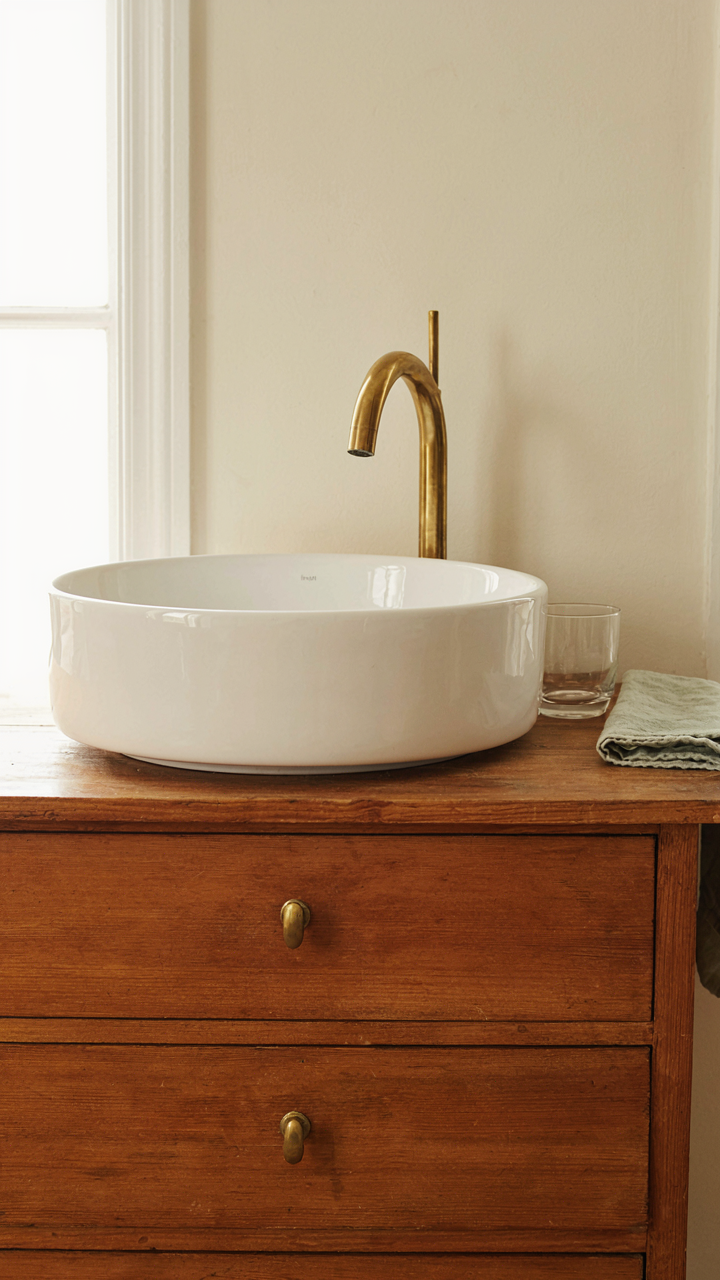
Most standard dressers run 16 to 20 inches deep. Your sink basin should not exceed 14 inches front to back, leaving clearance for the faucet base and your hands. A 30-inch-wide dresser can handle a 24-inch sink comfortably. A 36-inch dresser accommodates 30 to 36-inch options. Measure your actual dresser, not the listed dimensions—those numbers lie.
Undermount Versus Vessel: Installation Reality
Undermount sinks sit below the counter surface and demand routing from underneath, which means access and structural support you rarely have in a dresser. Vessel sinks sit on top and bolt down from above, which works. Most people choose vessel without understanding why undermount fails here.
Vessel sinks hide the vanity’s top edge, which matters because old dressers have visible seams and wear. They require minimal structural modification and adapt to uneven surfaces without failing. Drop an undermount into a dresser, and water will pool in gaps between the rim and top, then rot the wood in months. Pick vessel and drill four holes from above—you’re done.

Dresser To Vanity Conversion: Maximizing Storage And Functionality
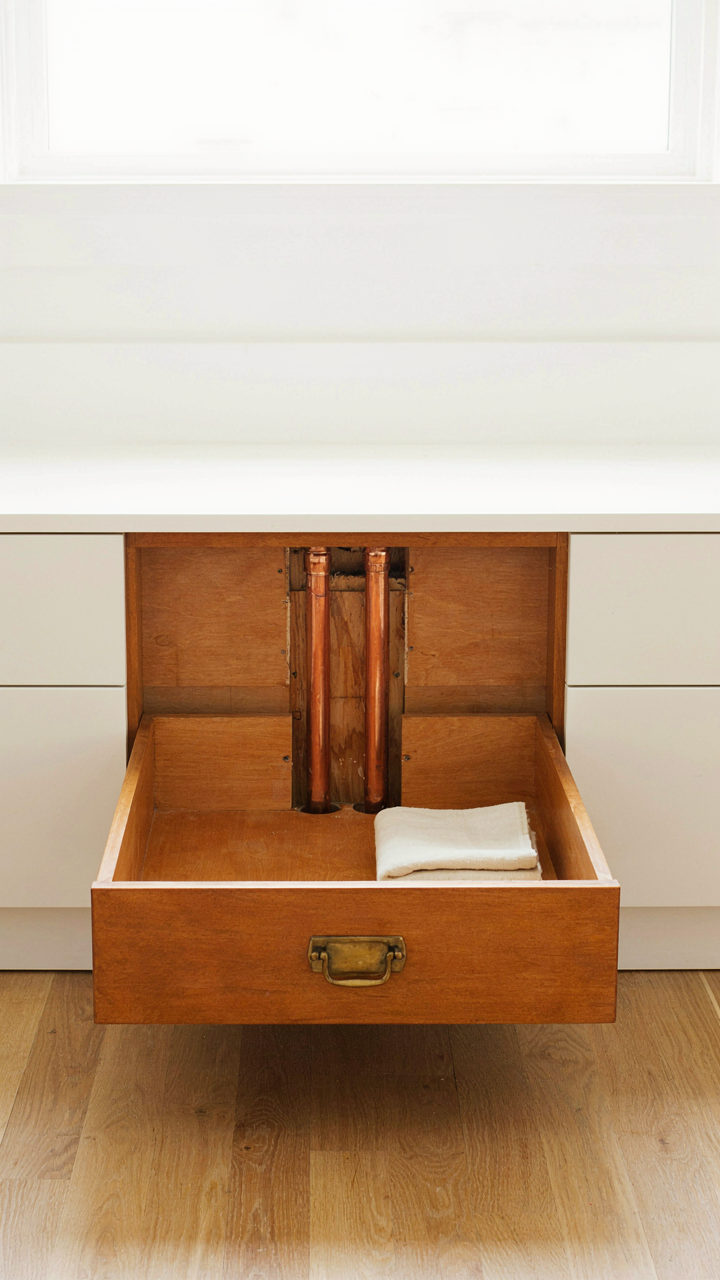
Cutting Through The Drawer For Plumbing
You want this to work because you’re afraid of hiring a plumber and wasting money on a custom build. The real mechanism is simple: dressers have a fixed internal cavity. Plumbing needs a route. You either remove part of the structure or reroute the pipes around it.
Most guides tell you to “carefully cut an opening” without explaining the load-bearing problem. The sides and bottom of a dresser drawer support the structure above them. Cut carelessly and the frame fails under weight. Remove the drawer entirely, cut a notch in the back panel where pipes run vertically upward, and reinforce the remaining frame with plywood blocking behind the cut. This keeps structural integrity intact while giving plumbing clearance.
Smart Storage Where Pipes Don’t Live
The space below the sink isn’t useless—it’s just constrained. You work with the geometry, not against it. Pipes occupy the center. The perimeter remains. Install pull-out drawers or tiered shelving in the open zones flanking the p-trap and supply lines. Measure twice. Most under-sink kits assume standard plumbing depths. Your dresser’s drawer depth might differ, requiring custom-cut dividers.
False bottoms in remaining drawers above the sink create sealed compartments for items that can’t touch moisture. Use thin plywood and weatherstripping tape along edges to prevent water infiltration. Stack drawers strategically: wet-zone storage low, dry goods high. This segregation prevents a single plumbing leak from ruining your entire stock of linens and supplies.

Dresser Turned Into Bathroom Vanity: The Finishing Touch Fallacy

Paint Isn’t The Real Problem Here
You want to believe a fresh coat of paint solves the moisture problem because it’s cheap and visible. It doesn’t work that way. Paint alone fails in bathrooms because water doesn’t respect surface coating—it moves through wood grain, seeps into joints, and attacks from underneath where you can’t see it. The mechanism is osmotic pressure: moisture migrates through any wood not sealed at the cellular level, and standard paint only addresses the top layer.
Real durability requires a system, not a shortcut. Apply primer designed for moisture-prone environments first, then use urethane or conversion varnish rated for kitchen and bath use. These finishes cure harder and block water penetration at depth. Sand between coats to ensure adhesion. Polyurethane outlasts latex paint in wet zones by years because it forms a continuous barrier. The dresser’s top surface especially needs marine-grade spar urethane if you plan sink installation above it.
Metal Hardware Outlasts Brass Every Time
Hardware selection forces a choice between aesthetics and longevity that most people ignore. Brass, chrome, and vintage nickel corrode in constant humidity. Salt from tap water accelerates oxidation. Stainless steel hardware costs more upfront but resists corrosion in ways traditional metals cannot. The corrosion mechanism is electrochemical: moisture plus oxygen plus base metals equals degradation. Stainless steel’s chromium layer stops this reaction cold.
Verify hardware grade before purchase. 304 stainless resists bathroom moisture. 316 stainless resists saltwater environments and costs more than necessary here. Avoid plated hardware—once the plating chips, the base metal corrodes faster than unplated alternatives. The drawer pulls and sink faucet handle you choose today determine maintenance frequency for the next five years. Select stainless, install it with washers to prevent wood swelling around fasteners, then stop thinking about hardware failure.

The Resale Repercussion: When A Dresser For Vanity Adds Or Detracts Value
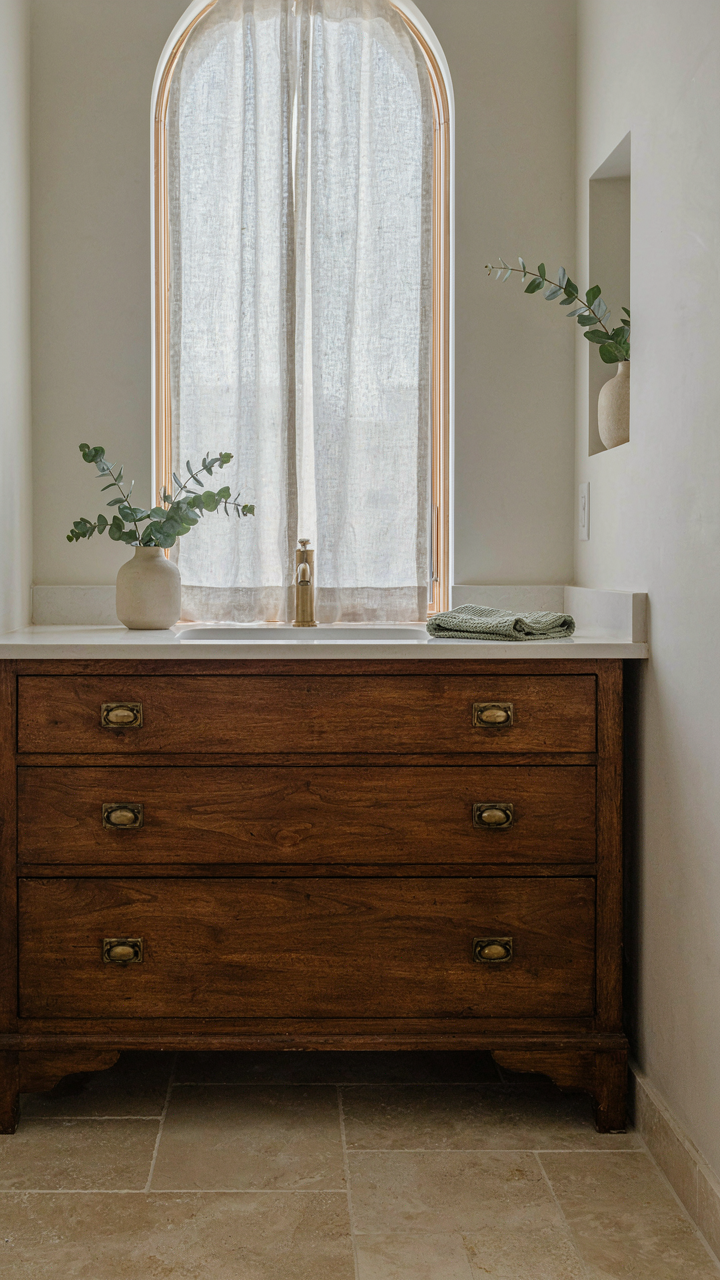
How Installation Quality Determines Buyer Signal
You care about this because you’re worried the thing won’t look intentional—that it’ll read as cheap or lazy instead of resourceful. Here’s the mechanism: real estate appraisers and buyers think in systems. A dresser becomes a vanity only when it’s plumbed, sealed, and integrated at the standard of built-in cabinetry. Sloppy caulking, visible gaps, or amateur pipe routing signals cost-cutting. Professional installation signals design choice. The difference is measurable in appraisal language.
Proper installation means supply lines routed behind the wall or inside the cabinet, drain placement that doesn’t interfere with drawer operation, and finish work that looks factory-standard. This requires coordinating with plumbers who understand spatial constraints. Many DIY conversions fail here because the builder prioritizes ease over precision. A vanity that catches water behind the backsplash or has visible metal straps loses resale value immediately. Buyers see liability, not vision.
Custom Build Versus Off The Shelf Perception
The economics here favor custom perception over actual customization. A dresser conversion triggers two competing signals in the buyer’s mind: resourcefulness or poor planning. That gap closes only when the final piece reads as intentional rather than improvised. A refinished mid-century oak dresser with integrated vessel sink plays differently than a particleboard dresser from ten years ago with a standard undermount basin. Material history matters because it anchors the decision to repurpose in authenticity, not constraint.
The real play is this: a dresser vanity adds value only in markets where design-forward buyers congregate and only when the original furniture piece had material or design credibility to begin with. In standard suburban markets, it reads as a workaround. Appraisers compare your bathroom to the neighborhood standard, not to design blogs. Your conversion must match or exceed that standard or it drags the comp down. If you’re selling in two years, this matters. If you’re staying ten, it doesn’t.

The Anti Generic Rulebook: What Not To Do With Your Dresser Into Bathroom Vanity
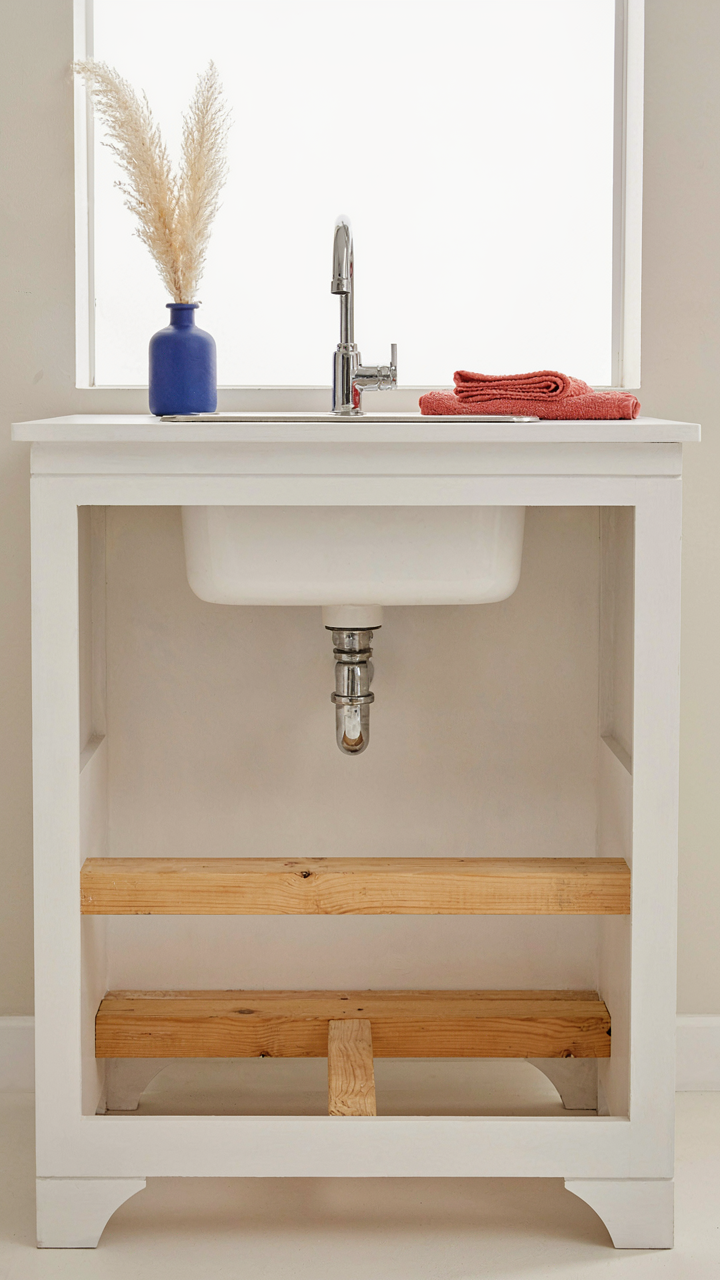
Structural Failures Nobody Admits Until Water Damage Shows
You’re afraid this won’t work and you’ll waste the dresser. That fear is rational, but it points to the real mechanism: dressers fail as vanities because wood expands and contracts differently than plumbing fixtures, creating stress at connection points. Think of it like load-bearing architecture. A dresser was engineered to hold folded clothes vertically. A vanity must handle lateral water pressure, vibration from plumbing, and constant humidity swings. The wood fibers don’t adapt.
Don’t skip reinforcing the interior cabinet structure before cutting the sink hole. Cheap advice says just drill and install. The actual requirement is crossbracing the underside with 2×4 lumber that distributes sink weight across the entire frame rather than concentrating it at two edges. Neglect this and the drawer box separates from the legs within two years. Water then pools inside and the veneer delaminates from the outside in.
Ignoring What The Space Actually Demands
Most people pretend bathroom conditions are optional details. They’re not. A dresser in a bedroom tolerates dust and temperature shifts. A bathroom vanity endures 80-95% humidity, direct water spray, heat from exhaust fans, and product splashes that wood wasn’t designed for. The dresser’s original finish and construction method become liabilities the moment you move it into that environment.
You need to seal every exposed surface before plumbing installation. Not priming. Sealing. That means two coats of exterior-grade polyurethane on the underside, interior walls, and any raw wood created by the sink cutout. Without this, wood swells unevenly, pushing the sink up and breaking the caulk seal. Once that fails, water wicks into the cabinet and the whole project rots from the inside out within eighteen months.
Your Real Obstacle Isn’t The Project; It’s Your Scarcity Mindset. Stop Overthinking And Start Building

You already own the dresser. You already have the tools. What you’re actually afraid of is wasting money on a vanity that turns out imperfect. That fear keeps you scrolling instead of measuring. Measure your bathroom today. Pick one old dresser from a thrift store this week. The imperfect vanity you build beats the perfect one that never exists.



