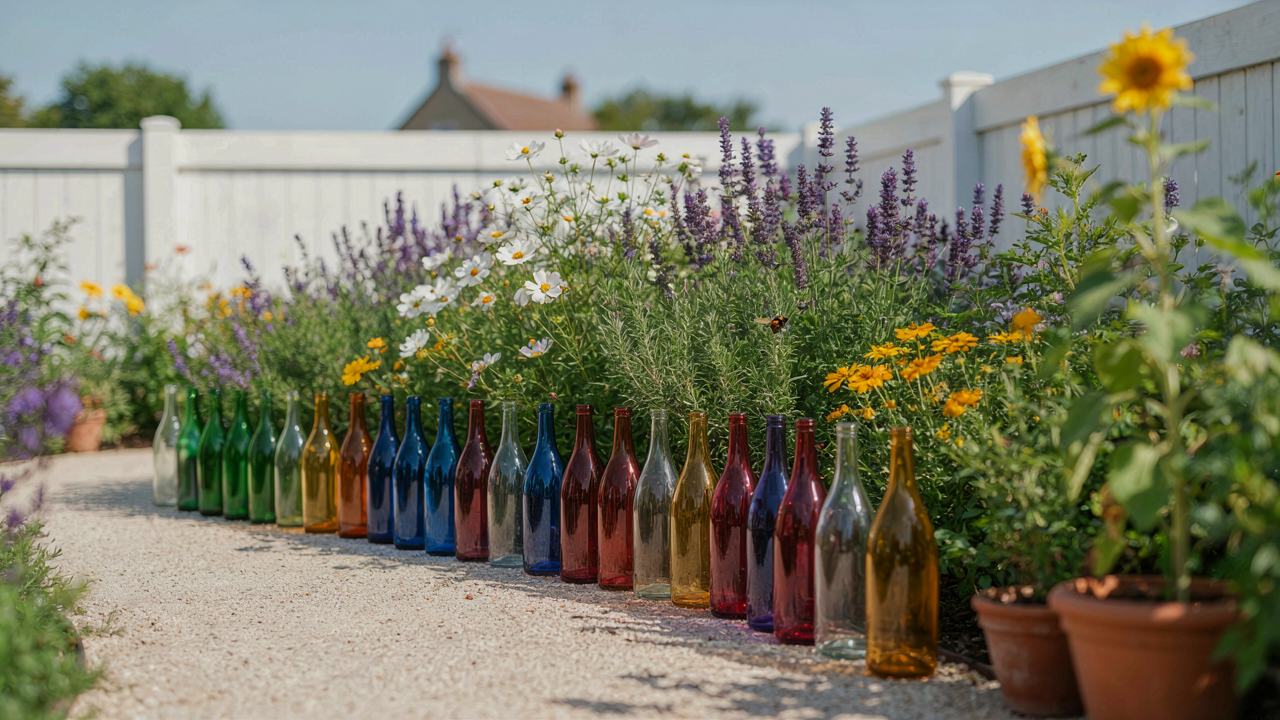
The Fragility Fallacy: Why Your “Whimsical” Wine Bottle Border Will Fail
Glass Properties Under Stress
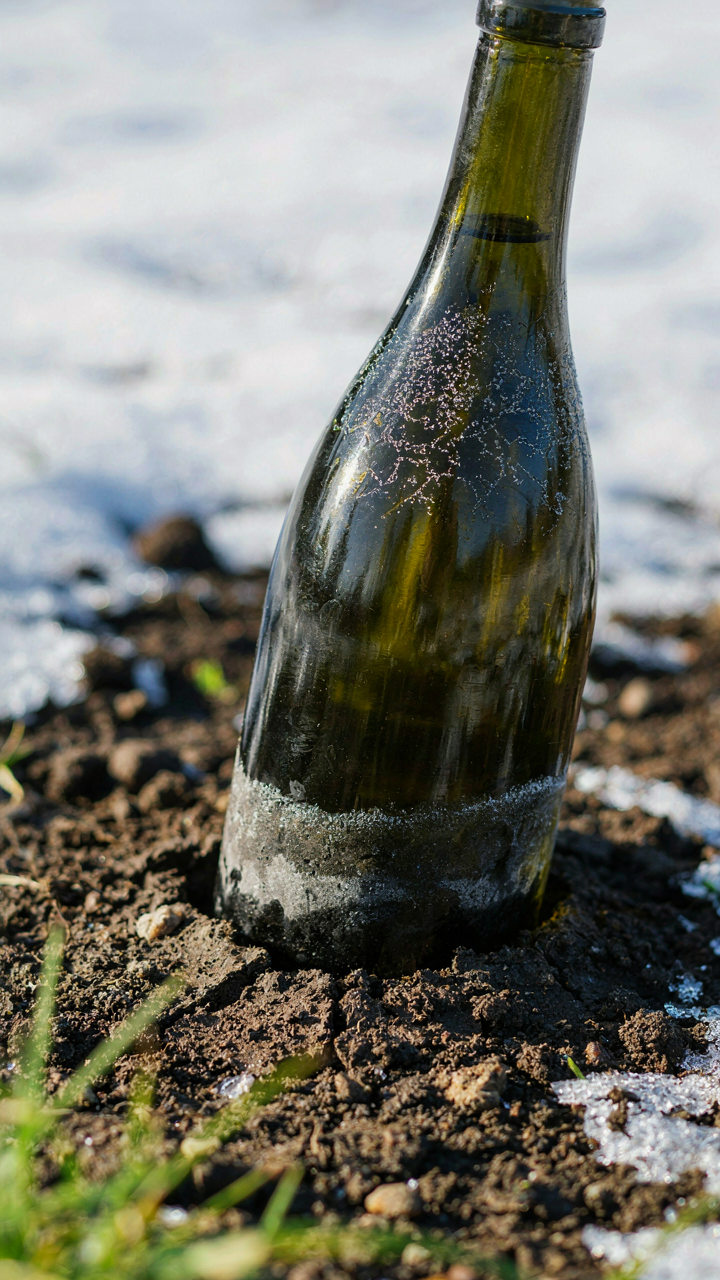
You want this to work because you’ve already bought the bottles and spending money on something feels like it has to pay off. Here’s the actual mechanism: glass behaves like a brittle solid under thermal stress, which means it doesn’t bend or absorb energy the way resilient materials do. When soil freezes and expands around buried bottles, or when the sun heats buried glass while cooler soil surrounds it, micro-fractures form silently inside the material. These fractures don’t announce themselves until a single freeze-thaw cycle or a foot stepping near the edge triggers catastrophic failure.
Wine bottles fail fastest at the transition zone where glass meets soil because stress concentrates there. The buried portion stays cooler while the exposed rim absorbs heat, creating a temperature gradient that glass cannot handle. Most people assume bottles will last decades because glass feels permanent. They don’t account for the fact that ordinary wine bottles aren’t engineered for ground installation. They’re engineered for storage and transport, which is an entirely different demand profile.
Unrealistic Expectations Against Natural Forces
The common advice is that wine bottle borders are durable garden features. That’s incomplete. The real constraint is that you’re asking a container engineered for liquid storage to function as structural edging against freeze-thaw cycles, soil pressure, and UV exposure. Soil expands when wet. Soil contracts when dry. Bottles experience these pressures from every angle simultaneously. The glass cannot accommodate this movement without cracking.
Winter is when your border collapses. Freezing water in soil expands with approximately nine percent volumetric increase, pushing outward against bottle walls with force that glass simply cannot resist. Spring thaw reverses this pressure, creating a second stress event. Repeat this cycle across one season and most bottles fracture internally, showing visible chips or clouding by year two. If you want edging that lasts, stop positioning glass as the primary load-bearing element and use it only as visual accent over structural support.
Beyond Aesthetics: The Unseen Mechanics Of A Durable Glass Bottle Garden Edging
When Frost Heave Destroys Your Border
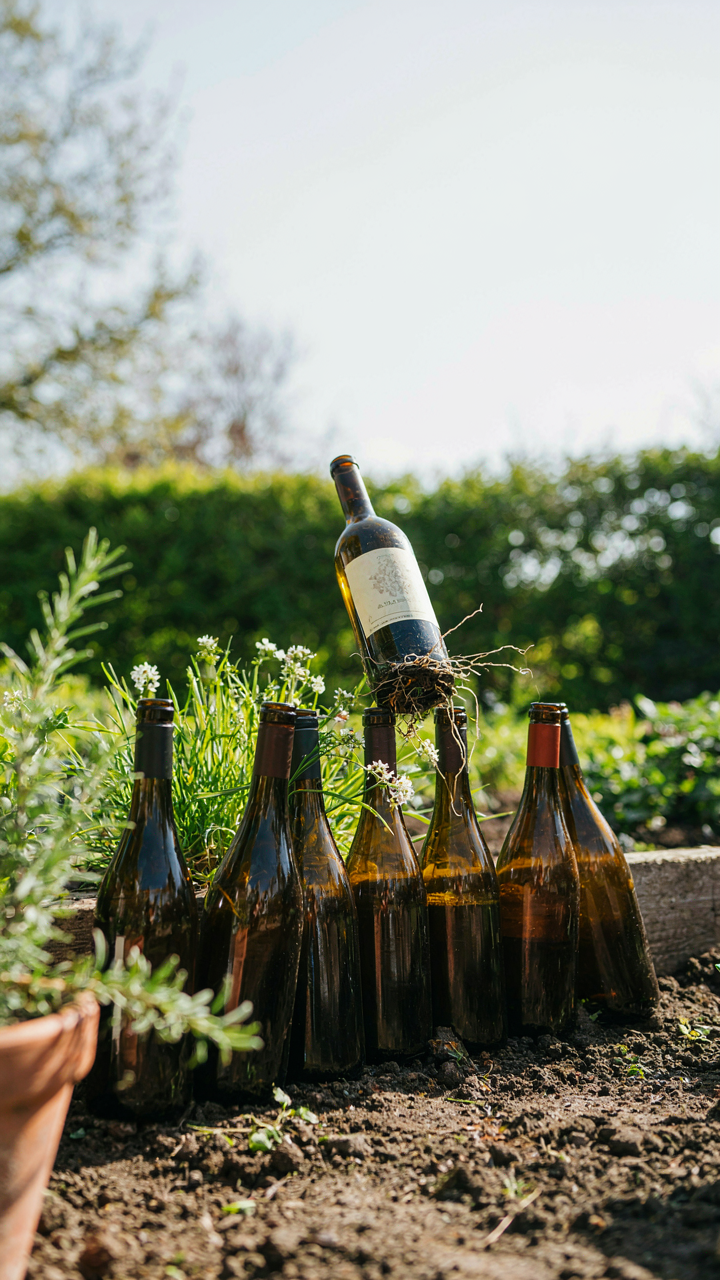
You want the edging to stay put so you don’t have to think about it again. Here’s what actually happens: frost heave operates like a hydraulic press. Water in soil freezes, expands, and lifts everything sitting on top of it. Glass bottles, being rigid and non-anchored, don’t move with the soil. They pop up. Winter pushes them out. Spring leaves gaps. Summer weeds fill them.

The mechanism is physics, not metaphor. Soil compaction dynamics work the opposite direction. As soil settles over seasons, it compacts downward. Bottles sunk shallow don’t follow that movement. They sit higher. Your border becomes uneven within two freeze-thaw cycles. Burying bottles at least eight inches deep, below the frost line for your region, prevents this. Shallow installation is why most bottle borders fail. Go deep or don’t bother.
When Plants Turn Into Demolition Crews
Root systems don’t respect glass. They’re not trying to break your edging, but they will. This is biology at work: plant roots exert directional pressure searching for water and minerals. A bottle border placed against soil where perennials or shrubs grow will experience root intrusion. Roots find the path of least resistance. Glass provides none. They push. They crack. You get shards in your garden bed.
The common advice says bottles last forever. It doesn’t. Aggressive root systems like those from ornamental grasses, daylilies, or young shrubs will compromise bottles within three to five years if roots are in direct contact with the glass. Install a root barrier between the garden bed and the bottle line. Use landscape fabric or a permeable membrane. This stops root pressure before it reaches the glass. Maintenance means checking this barrier annually and replacing it when it degrades.
The Substrate Strategy: Foundations For An Indestructible Wine Bottle Garden
How Bottles Actually Stay Put
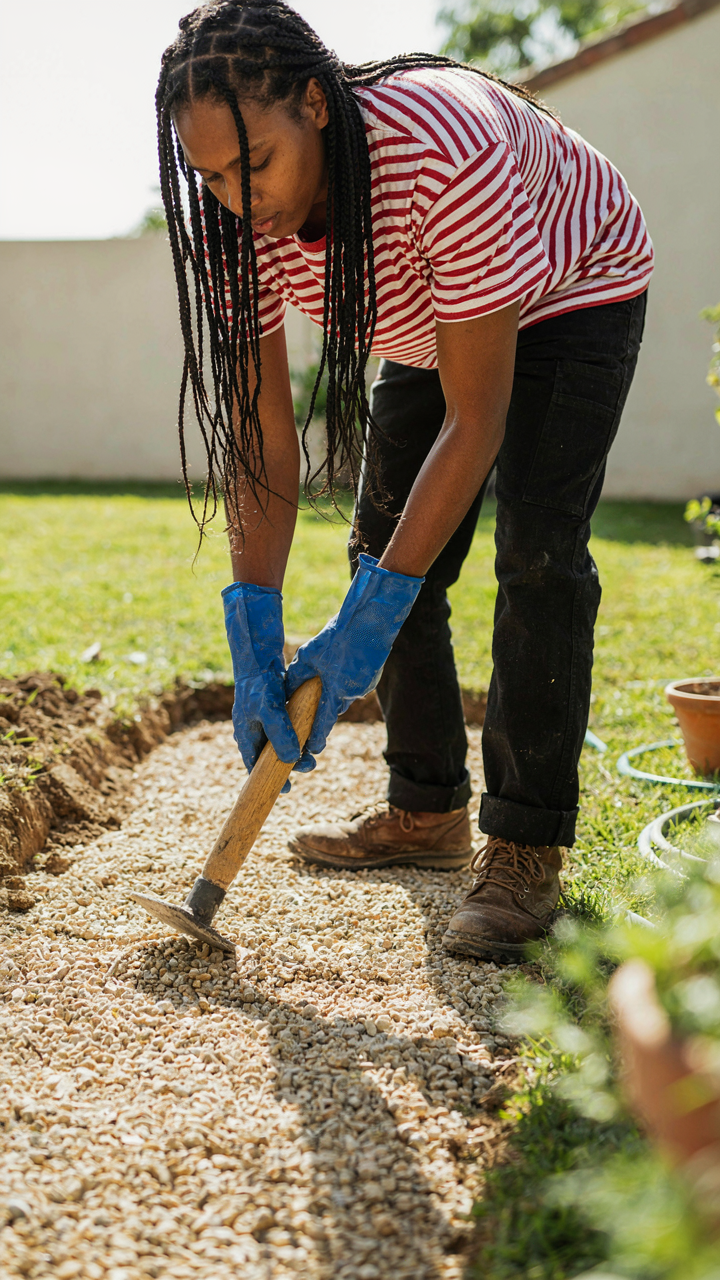
You want your edging to look intentional, not like you buried trash during a hangover. The real issue is this: bottles shift because soil moves, frost heaves, and gravity works on uneven surfaces. Military fortification uses a principle called layering—multiple defensive lines that reinforce each other. Wine bottle edging works the same way. You don’t just shove glass into dirt and hope. You build a substrate that resists vertical movement and lateral drift.
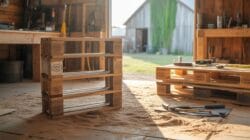
The mechanism is friction and compression. Bottles need contact surface below them, not air gaps. Loose soil compresses unevenly, creating pockets where bottles tilt or sink. Hard frosts lift bottles upward through the soil column. Proper substrate stops both problems before they start. The bottle doesn’t fail. The foundation does. Fix the foundation first.
Gravel, Sand, And The Load Path
Most guides skip this or bury it in vague talk about “preparing the ground.” Wrong. Preparation is where edging lives or dies.
- Coarse gravel base layer (2 to 3 inches): Creates drainage plane and prevents water pooling. Angular stone locks better than rounded. Place directly on undisturbed soil to establish stable load path for bottles above.
- Pea gravel transition (1 inch): Fills voids in coarse layer. Smaller stones wedge between larger ones, creating compression lock. Reduces bottle rocking on uneven surfaces beneath.
- Coarse sand bedding (1 to 2 inches): Final contact surface for bottle base. Sand compacts uniformly under weight. Provides 360-degree contact with curved glass surface, unlike gravel alone.
- Soil stabilization (optional, in frost zones): Mix native soil with sand at 3:1 ratio, compact in 1-inch lifts. Reduces heave in freeze-thaw cycles by lowering water retention in substrate.
- Perimeter compaction edge (6 inches wide, alongside bottle line): Hand-tamp soil zone running parallel to edging. Prevents lateral soil creep that pushes bottles inward over seasons.
Install these layers before placing bottles. Total substrate depth: 4 to 6 inches depending on climate. Compact each layer as you go—don’t wait until the end. Bottles placed on uncompacted substrate will settle within weeks, breaking the line you spent time establishing.
The “Entropy Tax”: Long Term Costs Of A Disorganized Wine Bottle Pathway Garden Borders
When Bottles Become Maintenance Traps
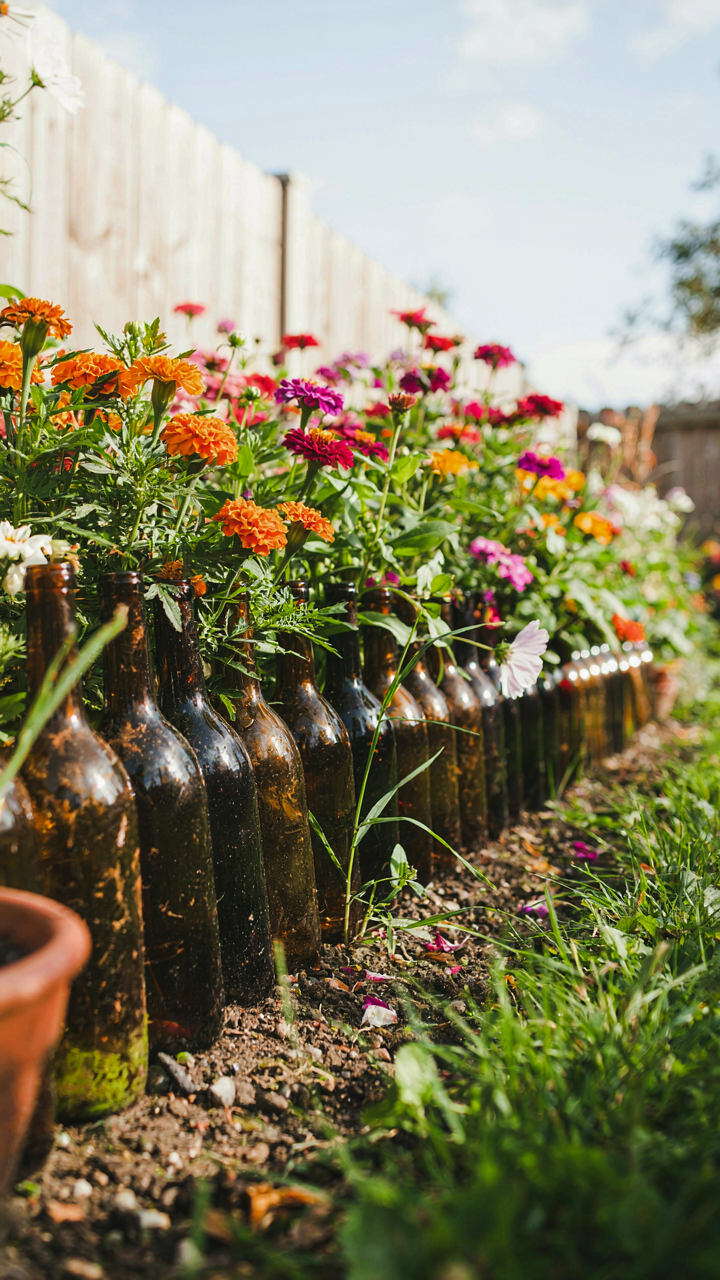
You’re picturing the Instagram version: bottles planted once, then forgotten. That’s denial. Borrowing from thermodynamics, entropy is disorder accumulating over time, and wine bottle edging has a terrible entropy coefficient. Weeds don’t care that your bottles look intentional now. They exploit gaps between glass and soil, where your hand can’t reach and a hoe destroys the arrangement.

Bottle replacement happens faster than you think. Ground settling, frost heave in cold climates, and animals nudging glass shift bottles out of line within one season. You’re either pulling bottles to reset them annually or living with misalignment. The math is brutal: a fifty-bottle border takes four to six hours to maintain properly each growing season. Most people stop after year two.
Dirt And Neglect Compound Visibly
Moss and algae colonize bottle surfaces within months in humid climates. This isn’t cosmetic damage—it’s the visible marker that you’ve abandoned the project. Bottles become greenish, the soil around them looks carelessly maintained, and the border reads as accidental rather than intentional. The aesthetic completely inverts.
Muddy bottles from splashing soil during rain or watering destroy the original visual logic. The contrast between clear glass and dark earth was the whole appeal. Once that contrast erodes into a grimy patina, repositioning bottles or replacing them becomes the only fix. Plan for biannual cleaning or accept the border will look neglected by mid-season.
The Zero Waste Protocol: Ethical Sourcing For Your Wine Bottle Garden Border
Where To Actually Get Bottles
You want to feel good about this project without actually inconveniencing yourself. That’s the real motive here, and the mechanism is simple: sourcing determines whether you’re repurposing or just collecting trash. The distinction matters because supply chains work backward from demand. If you pull bottles from existing waste streams instead of buying new ones, you collapse the justification for further production.
- Restaurant partnerships: Establishments discard hundreds of bottles weekly. Contact local restaurants, wineries, or breweries directly. Most donate immediately rather than pay disposal fees.
- Community buy-nothing groups: Facebook and Nextdoor host active exchanges. Bottles cycle through locals who drank them already, requiring zero new purchasing.
- Recycling centers pre-sort: Some facilities allow gleaning before crushing. Call ahead. You’ll find intact bottles others abandoned during drop-off.
- Friends and family networks: Host a bottle-collection announcement. People accumulate empties faster than they recycle them and prefer directed reuse.
- Office and event venues: Corporate locations and party hosts generate large quantities weekly. Direct your ask toward facilities managers, not random staff.
The real test of ethical sourcing is whether you’d source the same way if no one watched. Restaurant partnerships and community networks pass that test because they require nothing from you except the ask. You’re not performing sustainability. You’re solving someone else’s disposal problem while getting materials free.
Stripping Labels And Removing Residue
Most advice here tells you to soak labels until they fall off. That’s incomplete. The mechanism is adhesive breakdown plus time waste. What actually works depends on label type and glue composition. Wine bottle labels use different adhesives than beer bottles, and modern labels sometimes resist water entirely.
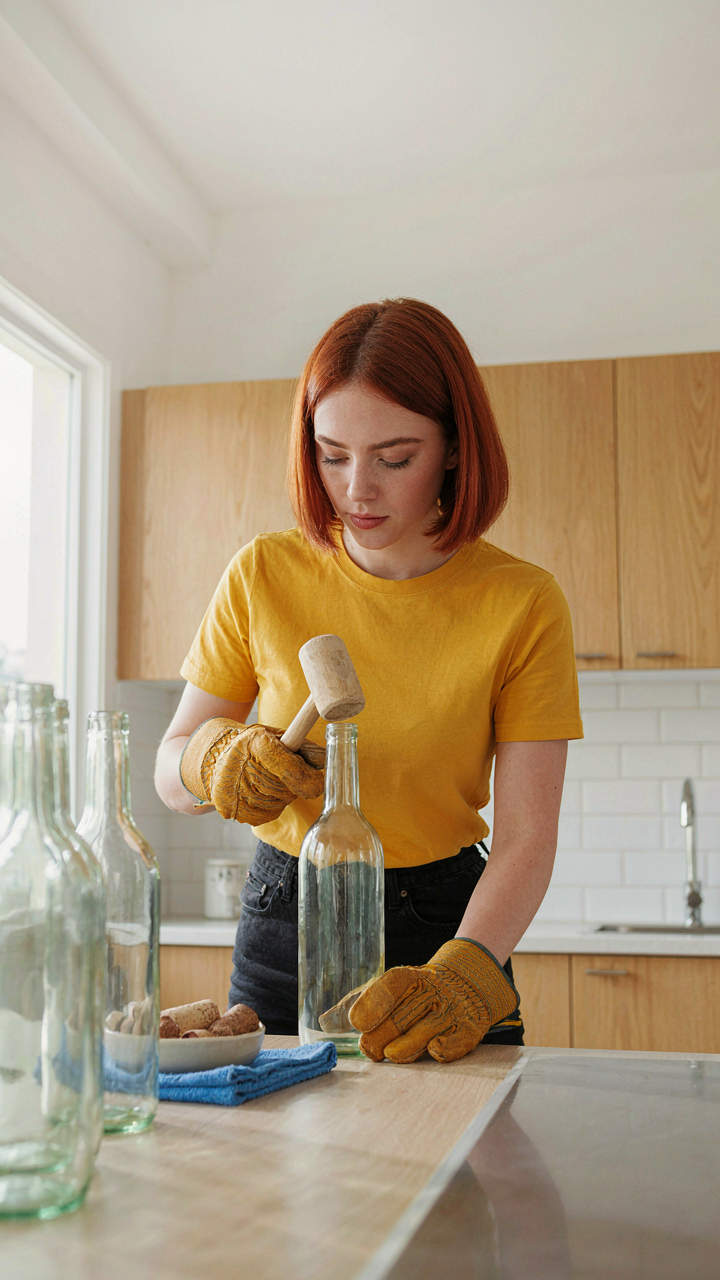
For wine bottles specifically, hot water and baking soda paste removes most adhesive in under five minutes without soaking. Beer bottle labels peel easier with dry scraping first, then a quick water rinse. The residue that remains inside requires drying time more than scrubbing. Leave bottles inverted in direct sun for two to three days and any remaining liquid hardens to powder that falls out during initial installation. Never cut yourself on bottle edges during prep. Wear work gloves, sand the rim with 120-grit sandpaper, then wipe the dust off. Sharp glass kills the zero-waste angle immediately when it causes injury and medical bills. Test each bottle’s structural integrity by tapping it gently. Discard any with stress fractures. Cracked glass fails in soil when frost cycles expand and contract moisture inside the bottle wall.
The Drainage Dilemma: Protecting Your Wine Bottle Garden Edging From Water’s Wrath
Where Water Goes Wrong
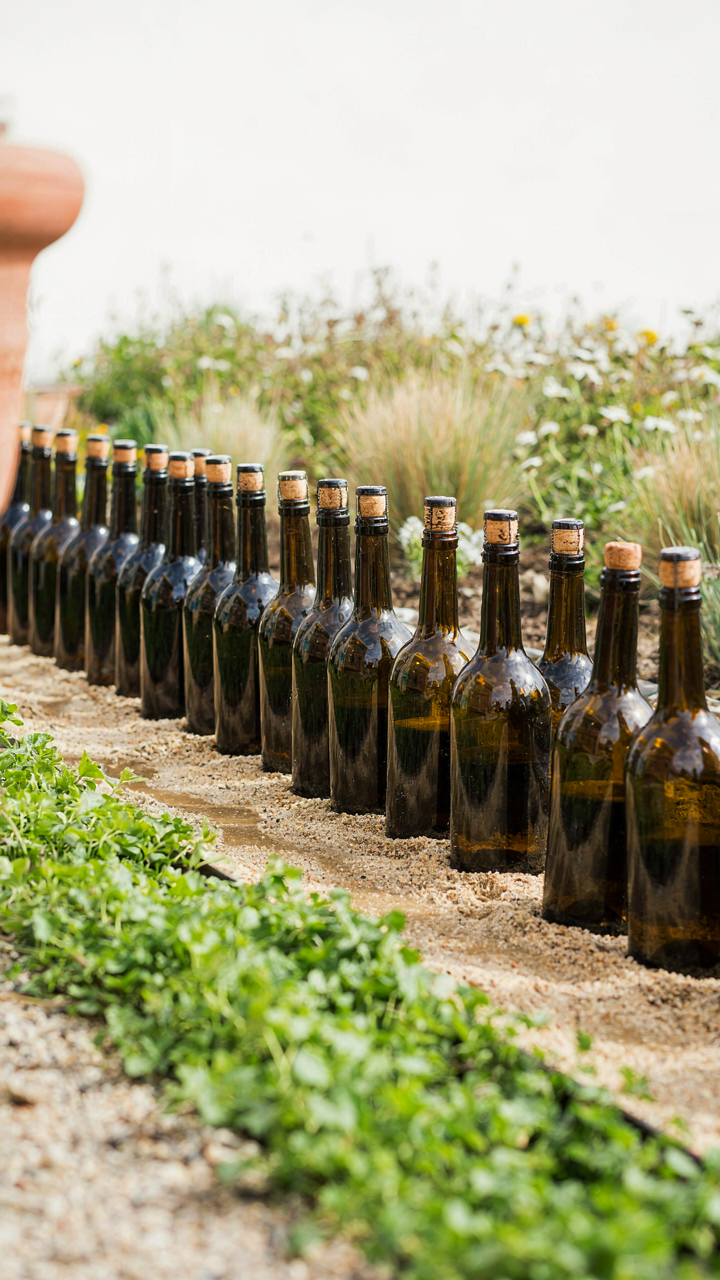
You want your bottles to look intentional, not like they’re fighting the soil around them. Here’s what actually happens: water doesn’t flow around wine bottle edging—it pools against it, finds the weakest point, and erodes the soil foundation your bottles sit on. This is physics, not philosophy. In hydraulic engineering terms, wine bottle edging acts as a dam. Dams fail when water pressure builds on one side without a controlled release mechanism.
The standard advice says “just tilt your bottles” and calls it done. That’s incomplete. You need slope gradient on the soil bed itself, working together with bottle placement. Install your bottles at a slight angle downslope—roughly five to ten degrees from vertical. Run a shallow drainage channel parallel to your edging line, positioned six inches behind the bottles. This channel intercepts water before it pools and redirects it along the border rather than through it.
Moisture Creep And Soil Stability
Capillary action pulls water upward through soil against gravity, and wine bottles sitting half-buried create a perfect capillary bridge between wet ground and dry soil above. Soil touching the bottle absorbs moisture, swells, and destabilizes the bottle’s base. Your edging shifts. Roots exploit the gaps. The structure fails quietly over one season.
Break the capillary chain by laying landscape fabric perpendicular to your edging line, starting three inches below the soil surface where bottles rest. The fabric acts as a capillary break—water moves through it horizontally but won’t climb vertically up the bottle side. Backfill with coarse sand or small gravel instead of topsoil in the zone directly around bottle bases. Compacted clay soil behind bottles traps water; loose, draining material prevents it from ever reaching the bottles in the first place.
The Pest Perimeter: Using Your Wine Bottle Garden Border As A Barrier, Not A Bridge
Stopping Slugs And Snails At The Edge
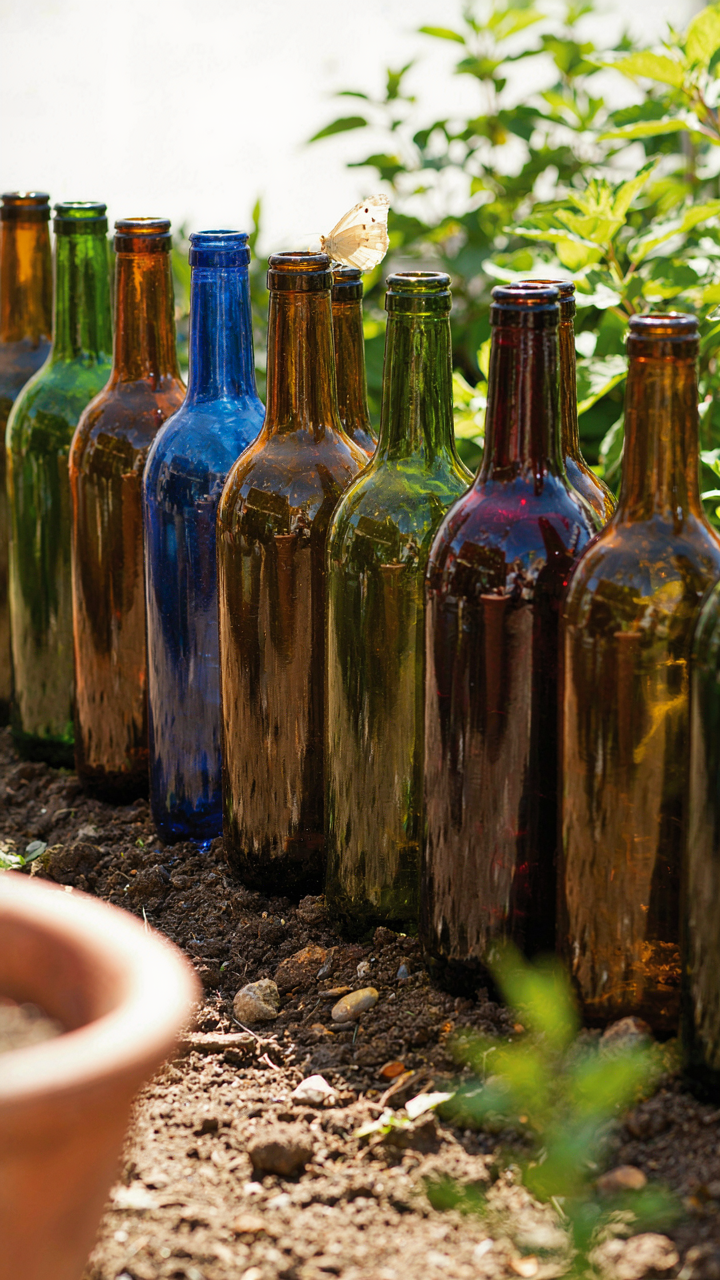
You want a garden that works without constant vigilance, but most people install bottle borders without understanding they’ve either created a moat or a highway depending on placement. Borrow from entomology: gastropods navigate using moisture gradients and tactile cues, so your bottles function as either a friction barrier or a thermal shortcut depending on orientation. Bottles buried neck-down with the rim sitting two inches above soil create a genuine cut hazard—the jagged edges of broken glass or the bottle’s shoulder edge forces slugs and snails to either climb vertically or retreat. Horizontal placement does nothing; vertical installation with exposed edges actually matters.
The mechanism isn’t mystical. Slugs detect sharp texture through their muscular foot and avoid it. Position bottles so their broken rims face outward toward the garden beds, not inward toward the plants you’re protecting. Bury them deeply enough that soil doesn’t create a ramp around the base, which negates the barrier entirely. The edge itself must remain exposed and unsmoothed—don’t sand or cover bottle rims with soil or mulch, or you’ve eliminated the only functional part of the installation.
Controlling Ground Access Points
Rodents treat garden beds as tunneling highways, and a wine bottle border stops this only if it interrupts their existing burrow network. Rodent control depends on denial of entry, not decoration. Bottles buried vertically and packed tightly leave gaps at ground level where mice and voles simply navigate around them. The real protocol: bury bottles 12 to 16 inches deep so their bases sit below the active burrow zone, which typically runs 8 to 10 inches underground in residential soil. This forces rodents to tunnel deeper than their habitual routes, creating friction they avoid.
The second layer is perimeter tightness. Space bottles no more than three inches apart center to center, and pack soil firmly around each bottle’s sides and base to eliminate voids. Any gap wider than a pencil becomes a passage. Rodents will test the perimeter systematically, so inconsistent burial depth or spacing creates weak points they exploit immediately. Install the border in autumn before rodent activity peaks in winter, and inspect it quarterly for soil settling that reopens gaps around individual bottles.
The Visual Leverage Method: Maximizing Impact With Minimalist Wine Bottle Garden Border Ideas
Color Blocking With Bottle Hues
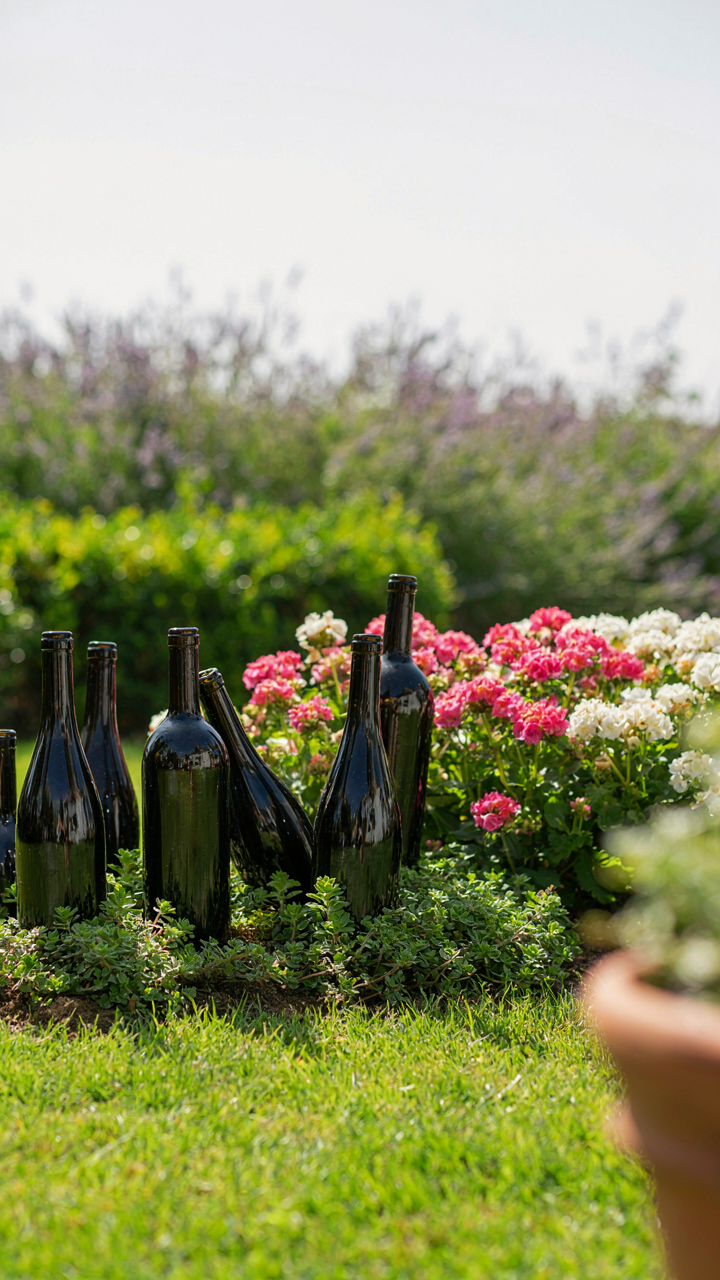
You want your garden to look intentional without spending money or time. That’s the real driver here. The mechanism is contrast ratio—borrowed from graphic design—where adjacent colors create perceived separation and boundary definition. Dark glass bottles (green, brown) against light soil read as borders. Clear or amber bottles against dark mulch do the same. The choice isn’t aesthetic preference. It’s optical function.
Most people scatter bottles randomly and wonder why the border looks chaotic. Stop doing that. Select one bottle color and commit to it across the entire edge. Green glass works against tan or red soil. Brown glass works against black mulch or gray gravel. The uniformity forces the eye to register the line as intentional boundary rather than yard clutter. Consistency is the only rule that matters.
Height Variation For Dynamic Visual Interest
Tiered bottle placement creates depth without adding materials or complexity. Bury bottles at different depths—some flush to soil, others angled at forty-five degrees, a few standing fully upright—and you generate visual rhythm across a flat plane. The variation stops the border from reading as monotonous tape. Landscape architects call this “layering.” Wine bottles achieve it with zero additional cost.
The standard mistake is burying all bottles at the same depth in a straight line. The border becomes a fence, not a feature. Alternate heights every third or fourth bottle. Angle some bottles toward the garden center. Plant creeping ground cover around the base of taller specimens. This creates shadow variation and surface complexity that makes a small garden edge appear deeper and more considered than it actually is.
Your ‘Whimsical’ Garden’s Greatest Enemy Isn’t Lack Of Creativity, It’s Lack Of Calculation
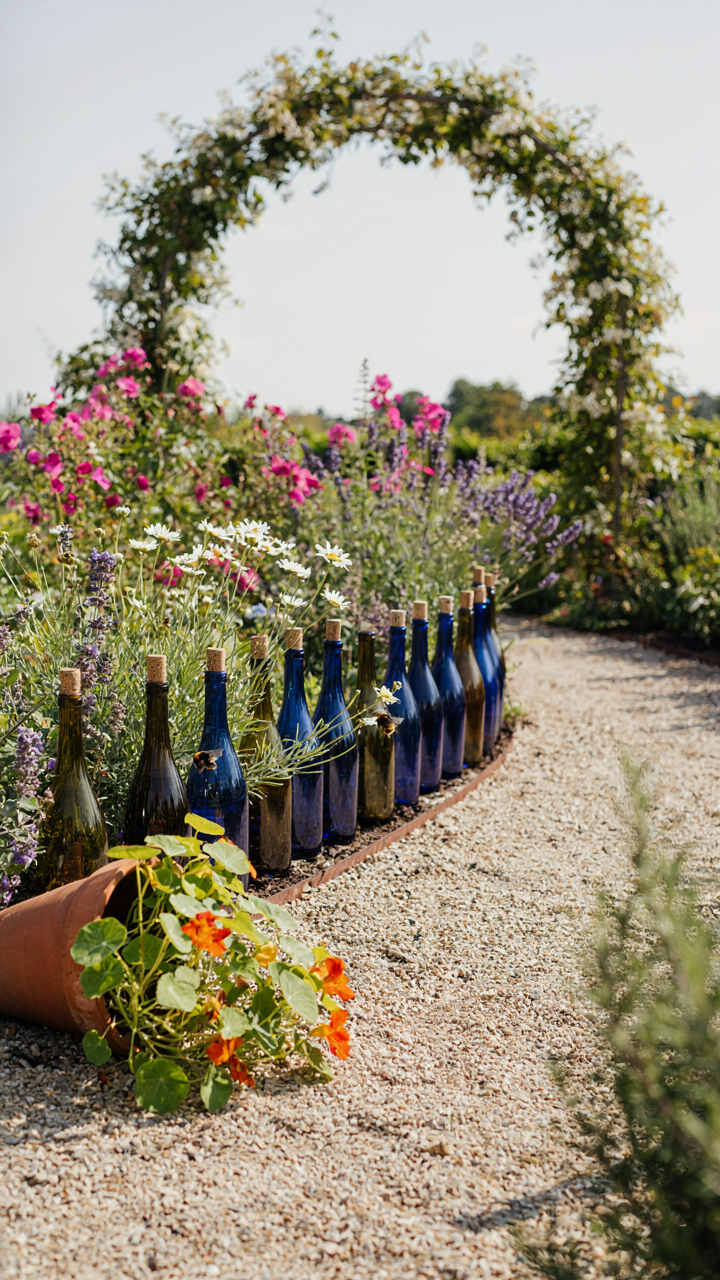
Most people fail at wine bottle garden edging because they treat it like decoration instead of infrastructure. You need to measure your space, calculate bottle depth, and account for soil displacement before you touch a single bottle. Spend thirty minutes today mapping your garden perimeter and writing down exact measurements. A whimsical border that collapses in three months teaches you nothing except that you skipped the math.