
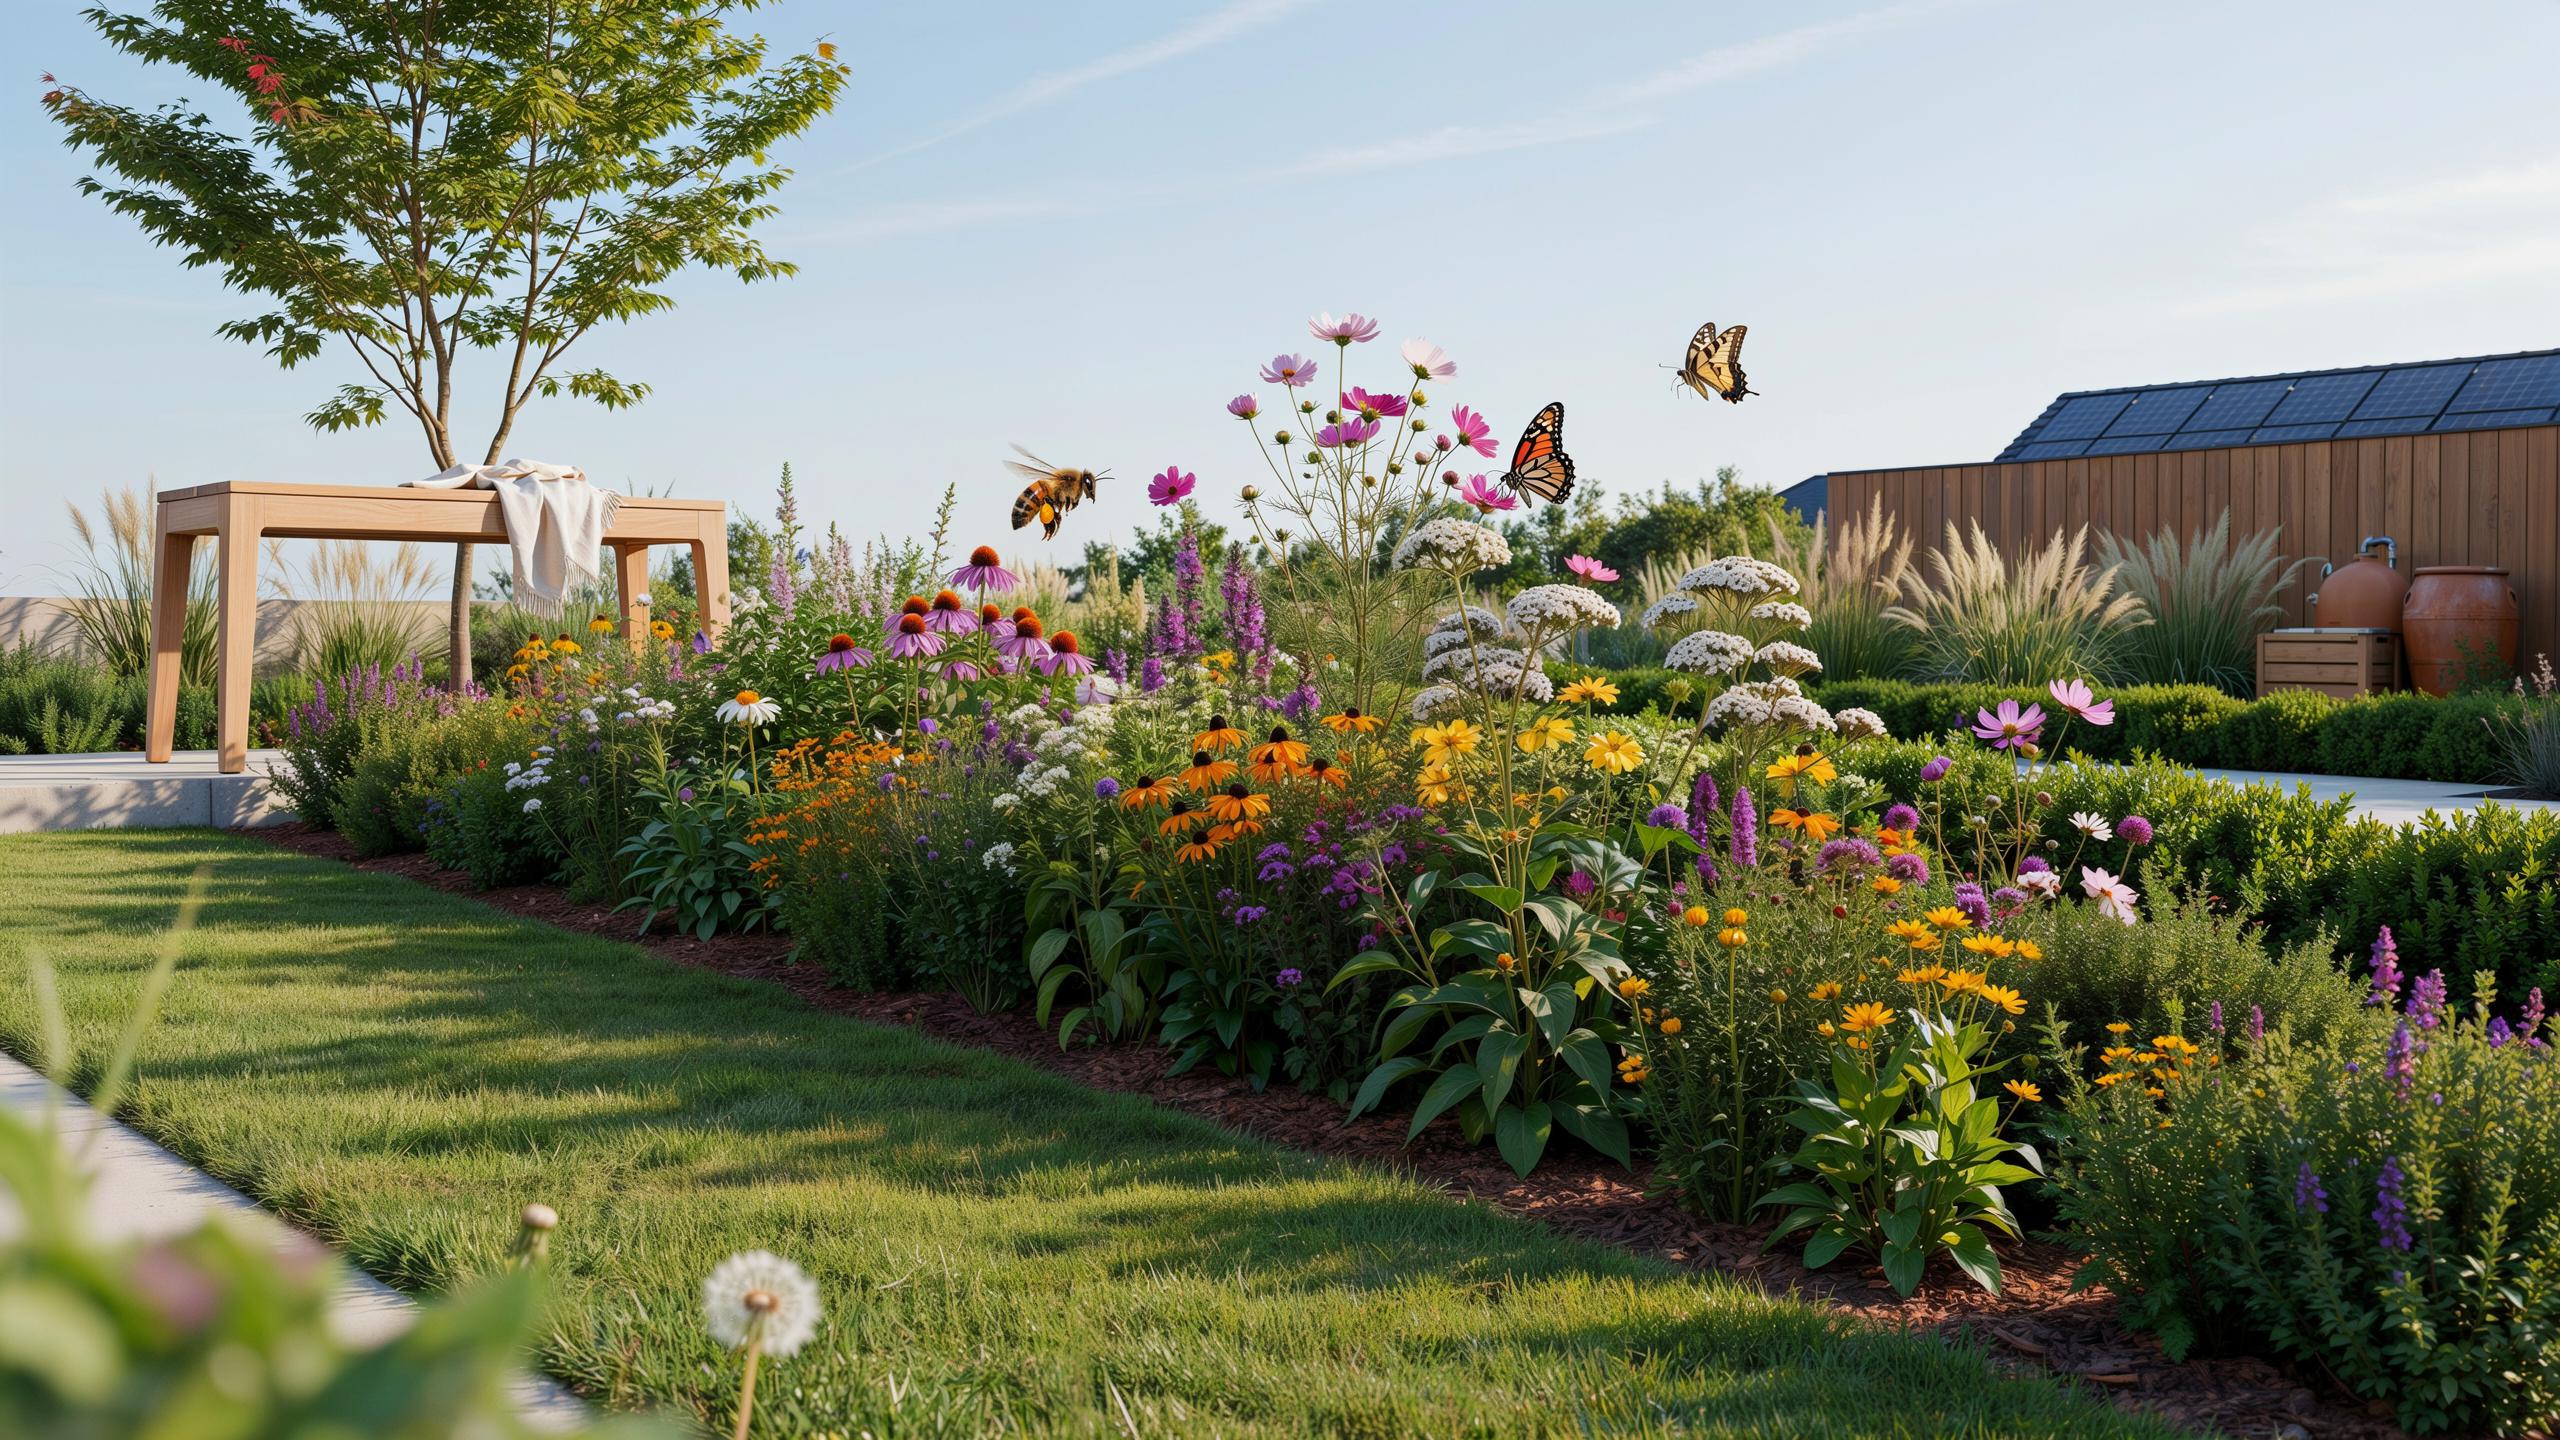
The Rise Of Sustainable Landscaping Pollinator Strips In Modern Design
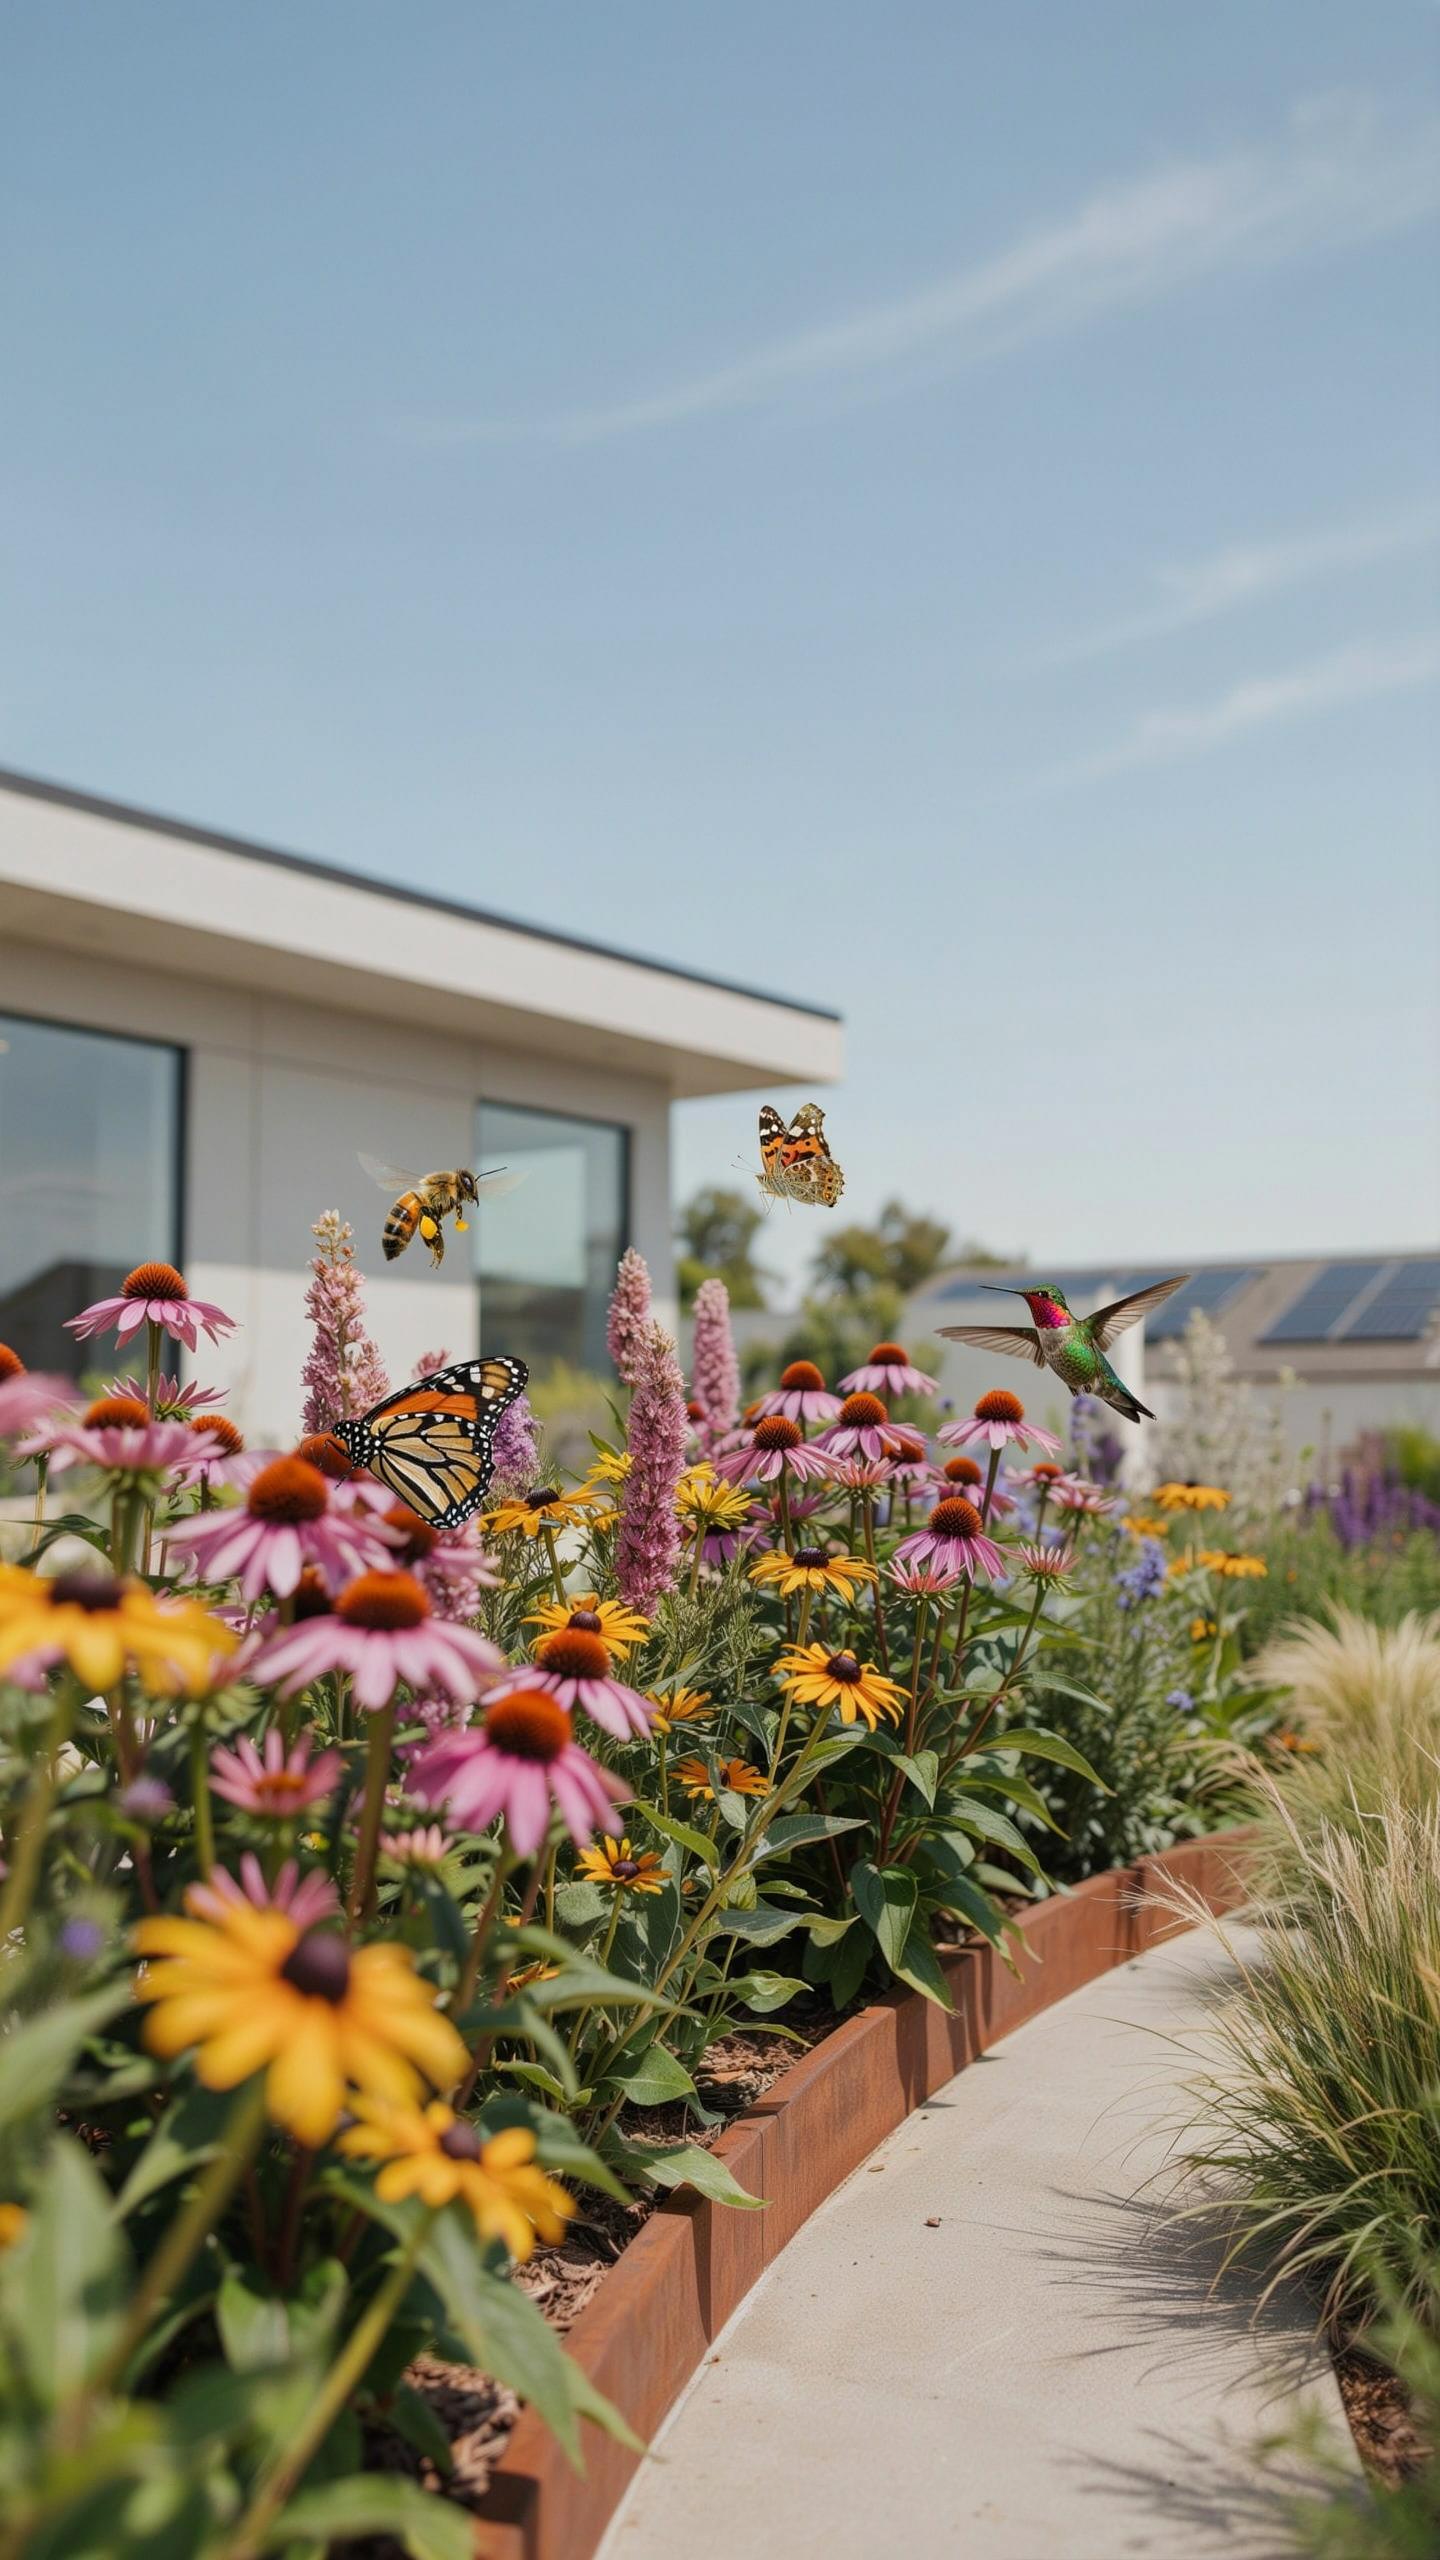
What Are Pollinator Strips?
Pollinator strips are designated land areas planted with native flowering plants, shrubs, and grasses. These zones provide nectar, pollen, and shelter for bees, butterflies, moths, and other beneficial insects. Property owners install them along property edges, between crop rows, or as standalone garden beds. The plants sustain pollinator populations by offering food sources across multiple seasons and creating breeding habitat that conventional lawns cannot provide.
Pollinator strips function as ecological corridors that connect fragmented habitats in developed areas. They allow insect populations to move between food sources and breeding grounds without crossing exposed ground or roadways. The dense vegetation structure offers protection from predators and weather. Homeowners and land managers use these strips to reverse habitat loss caused by turf monocultures and urban development.
The Ecological Benefits Of Eco Friendly Lawns
Replacing traditional turf with native pollinator plantings reduces water consumption significantly. Native plants establish deeper root systems that access groundwater more efficiently than shallow lawn grass roots. This lower water demand translates to reduced irrigation needs and lower utility costs. The elimination of chemical fertilizers and pesticides means less runoff contaminating groundwater and surface water supplies.
Native plant strips improve soil structure and microbial activity over time. The diverse root systems of different plant species prevent compaction and increase organic matter. Soil organisms thrive in chemical free environments, creating healthier soil food webs. This biological activity enhances nutrient cycling, reduces erosion, and builds carbon sequestration capacity in the top soil layers.
Garden Planning Designing With Purpose And Style
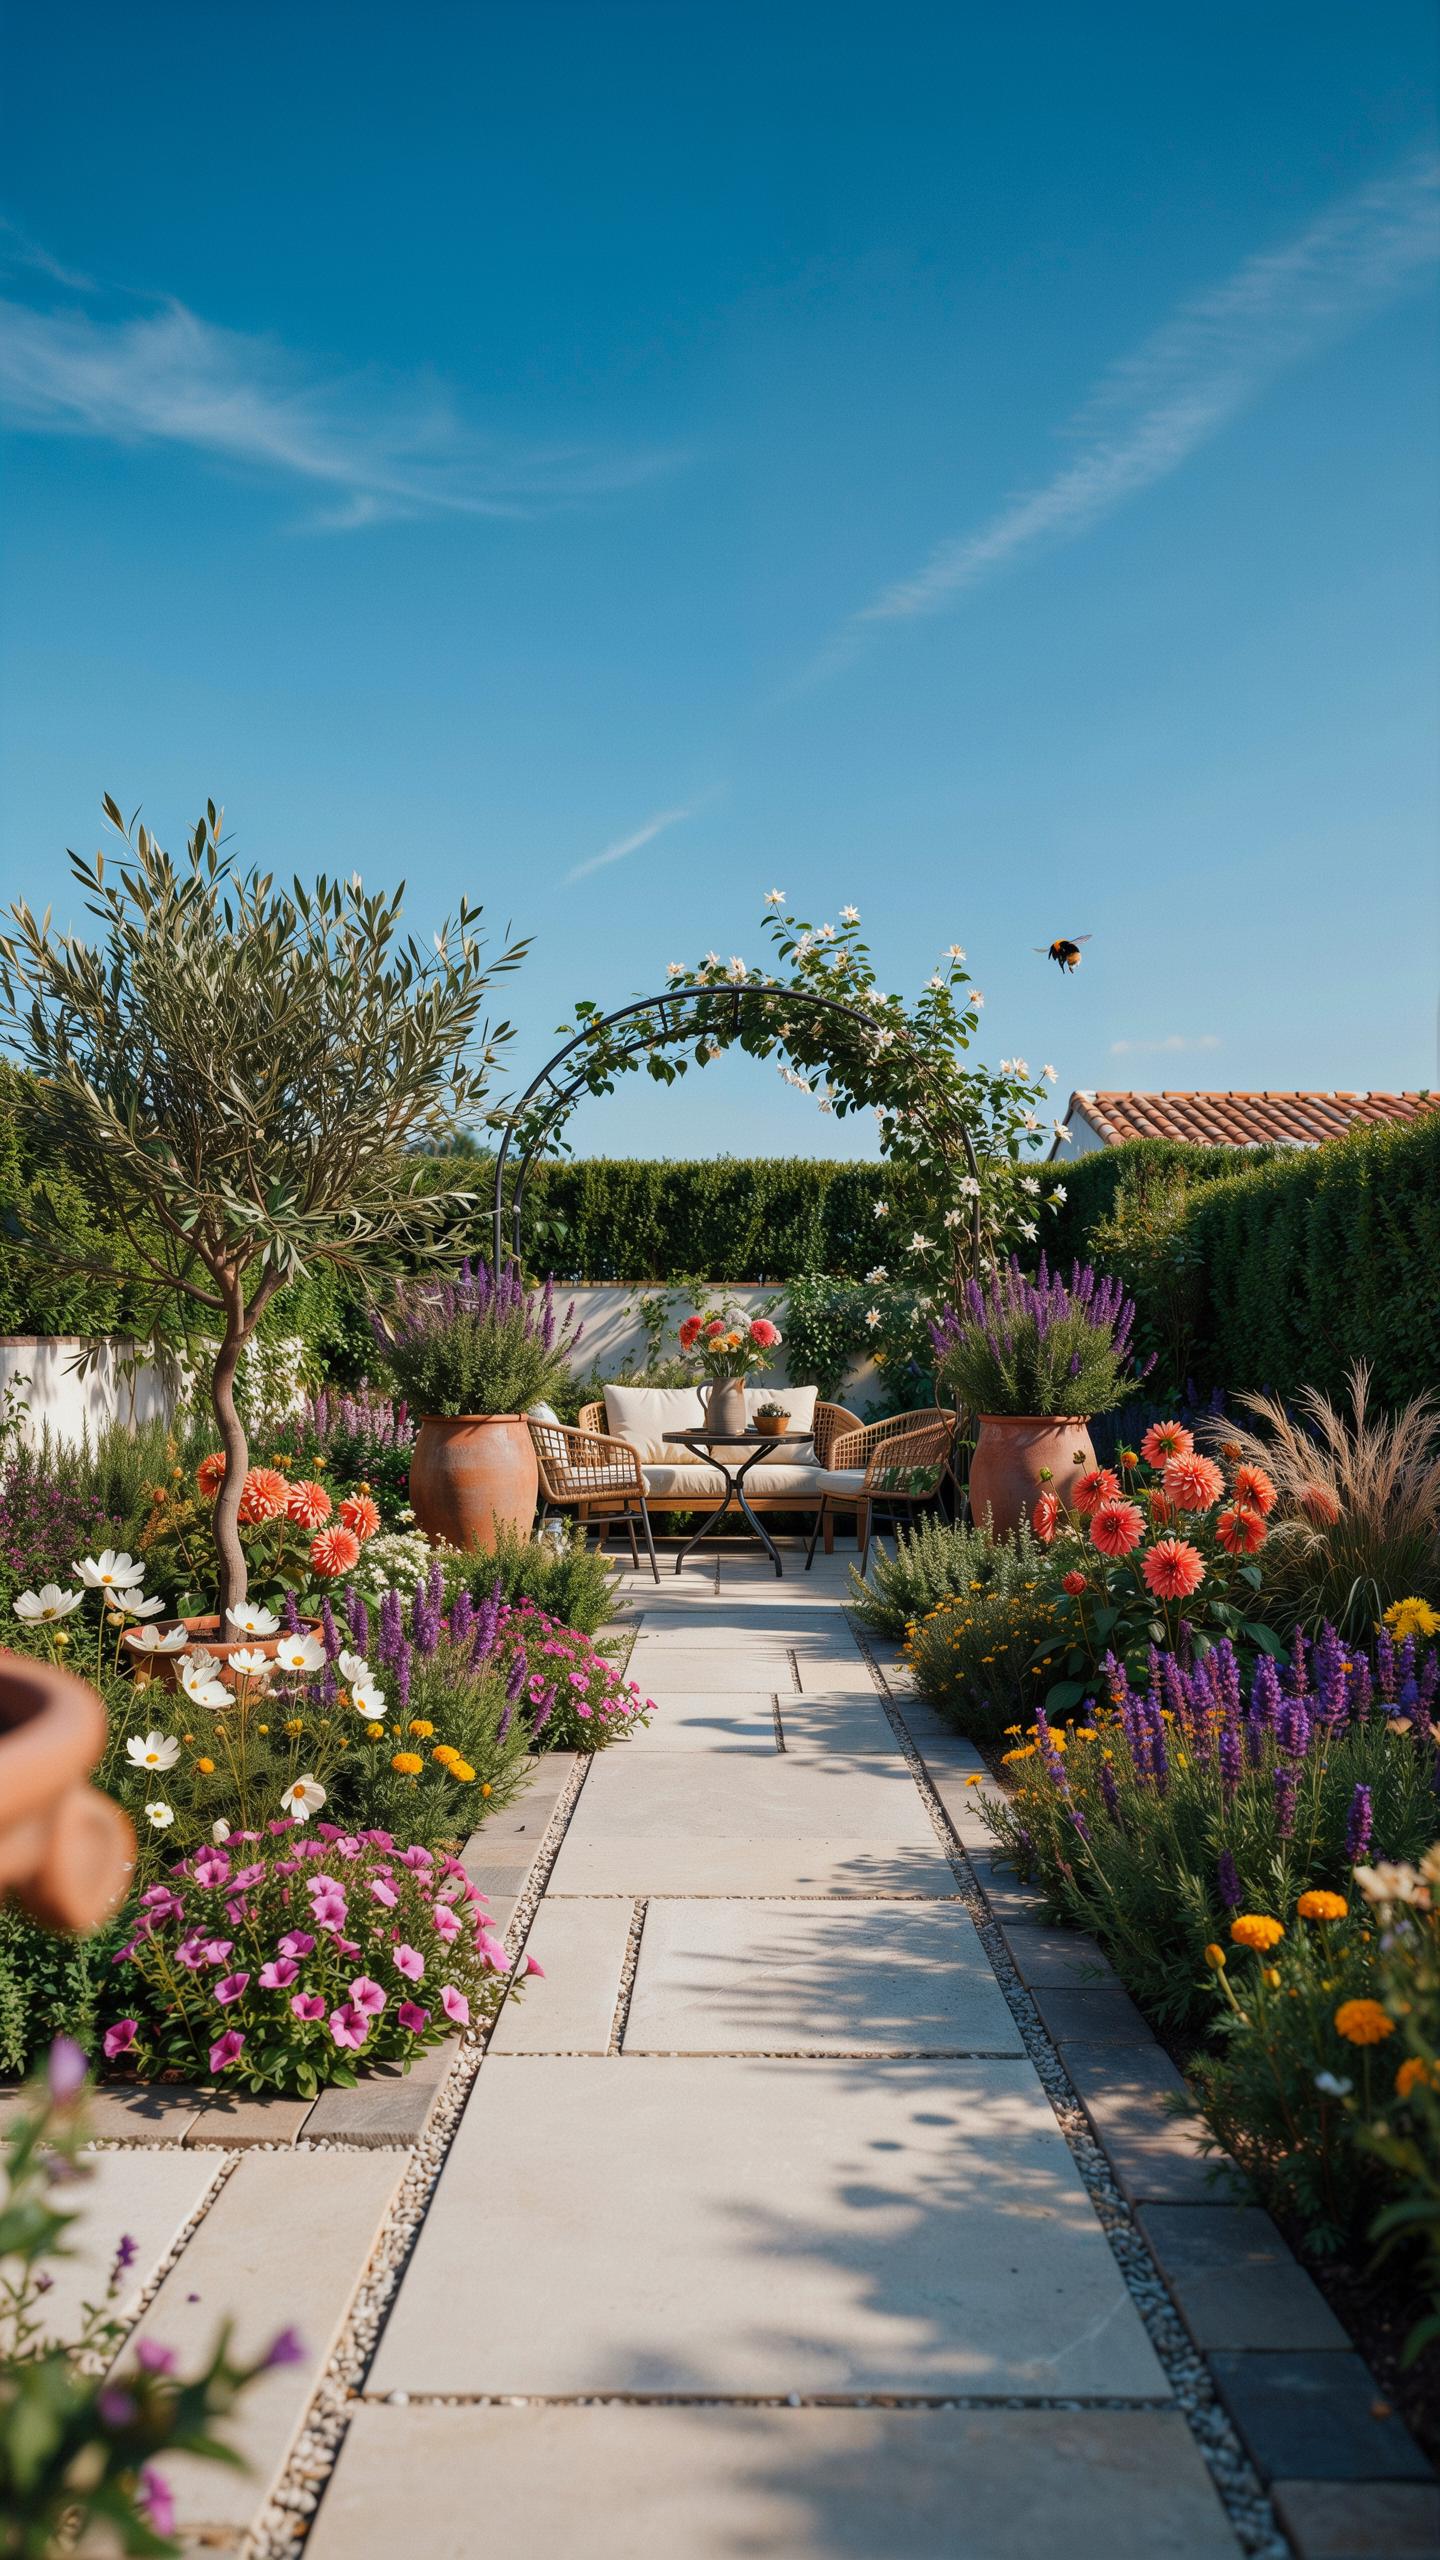
Assessing Your Outdoor Space And Sun Exposure
Sunlight determines which plants survive in your pollinator strip. Map your space over two weeks, noting which areas receive full sun (6+ hours), partial sun (3-6 hours), and shade (under 3 hours). Most native pollinator plants need full sun. Document soil type by observing how water drains after rain. Clay soil drains slowly. Sandy soil drains fast. Loamy soil strikes the balance most plants prefer.
Drainage directly impacts plant health and strip longevity. Dig a hole, fill it with water, and time how long drainage takes. Standing water kills roots within days. Soggy conditions attract disease and weeds. Elevated strips work better in wet areas. Test soil pH if possible. Most native plants tolerate pH between 6.0 and 7.5. These assessments prevent costly mistakes before you plant.
Selecting The Right Location For Maximum Ecological Impact
Place your pollinator strip where water naturally flows across your property. Runoff from roofs, driveways, and slopes carries sediment and nutrients. Position the strip to intercept this flow before it leaves your land. This placement reduces erosion, filters water, and traps nutrients that plants use. Buffer zones between manicured lawn and natural areas work best. Install strips at least 10 feet from structures to avoid foundation issues.
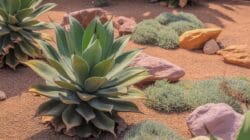
Width and length matter for ecological function. Strips should measure at least 4-6 feet wide to support diverse plant communities. Length varies by property size, but continuity improves pollinator movement. Create visual breaks with curves rather than straight lines. Curved edges blend into landscapes more effectively than rigid geometry. This positioning maximizes habitat while maintaining property aesthetics and practical access for maintenance.
Crafting The Perfect Pollinator Garden Layout
Structuring Heights And Layers For Visual Depth
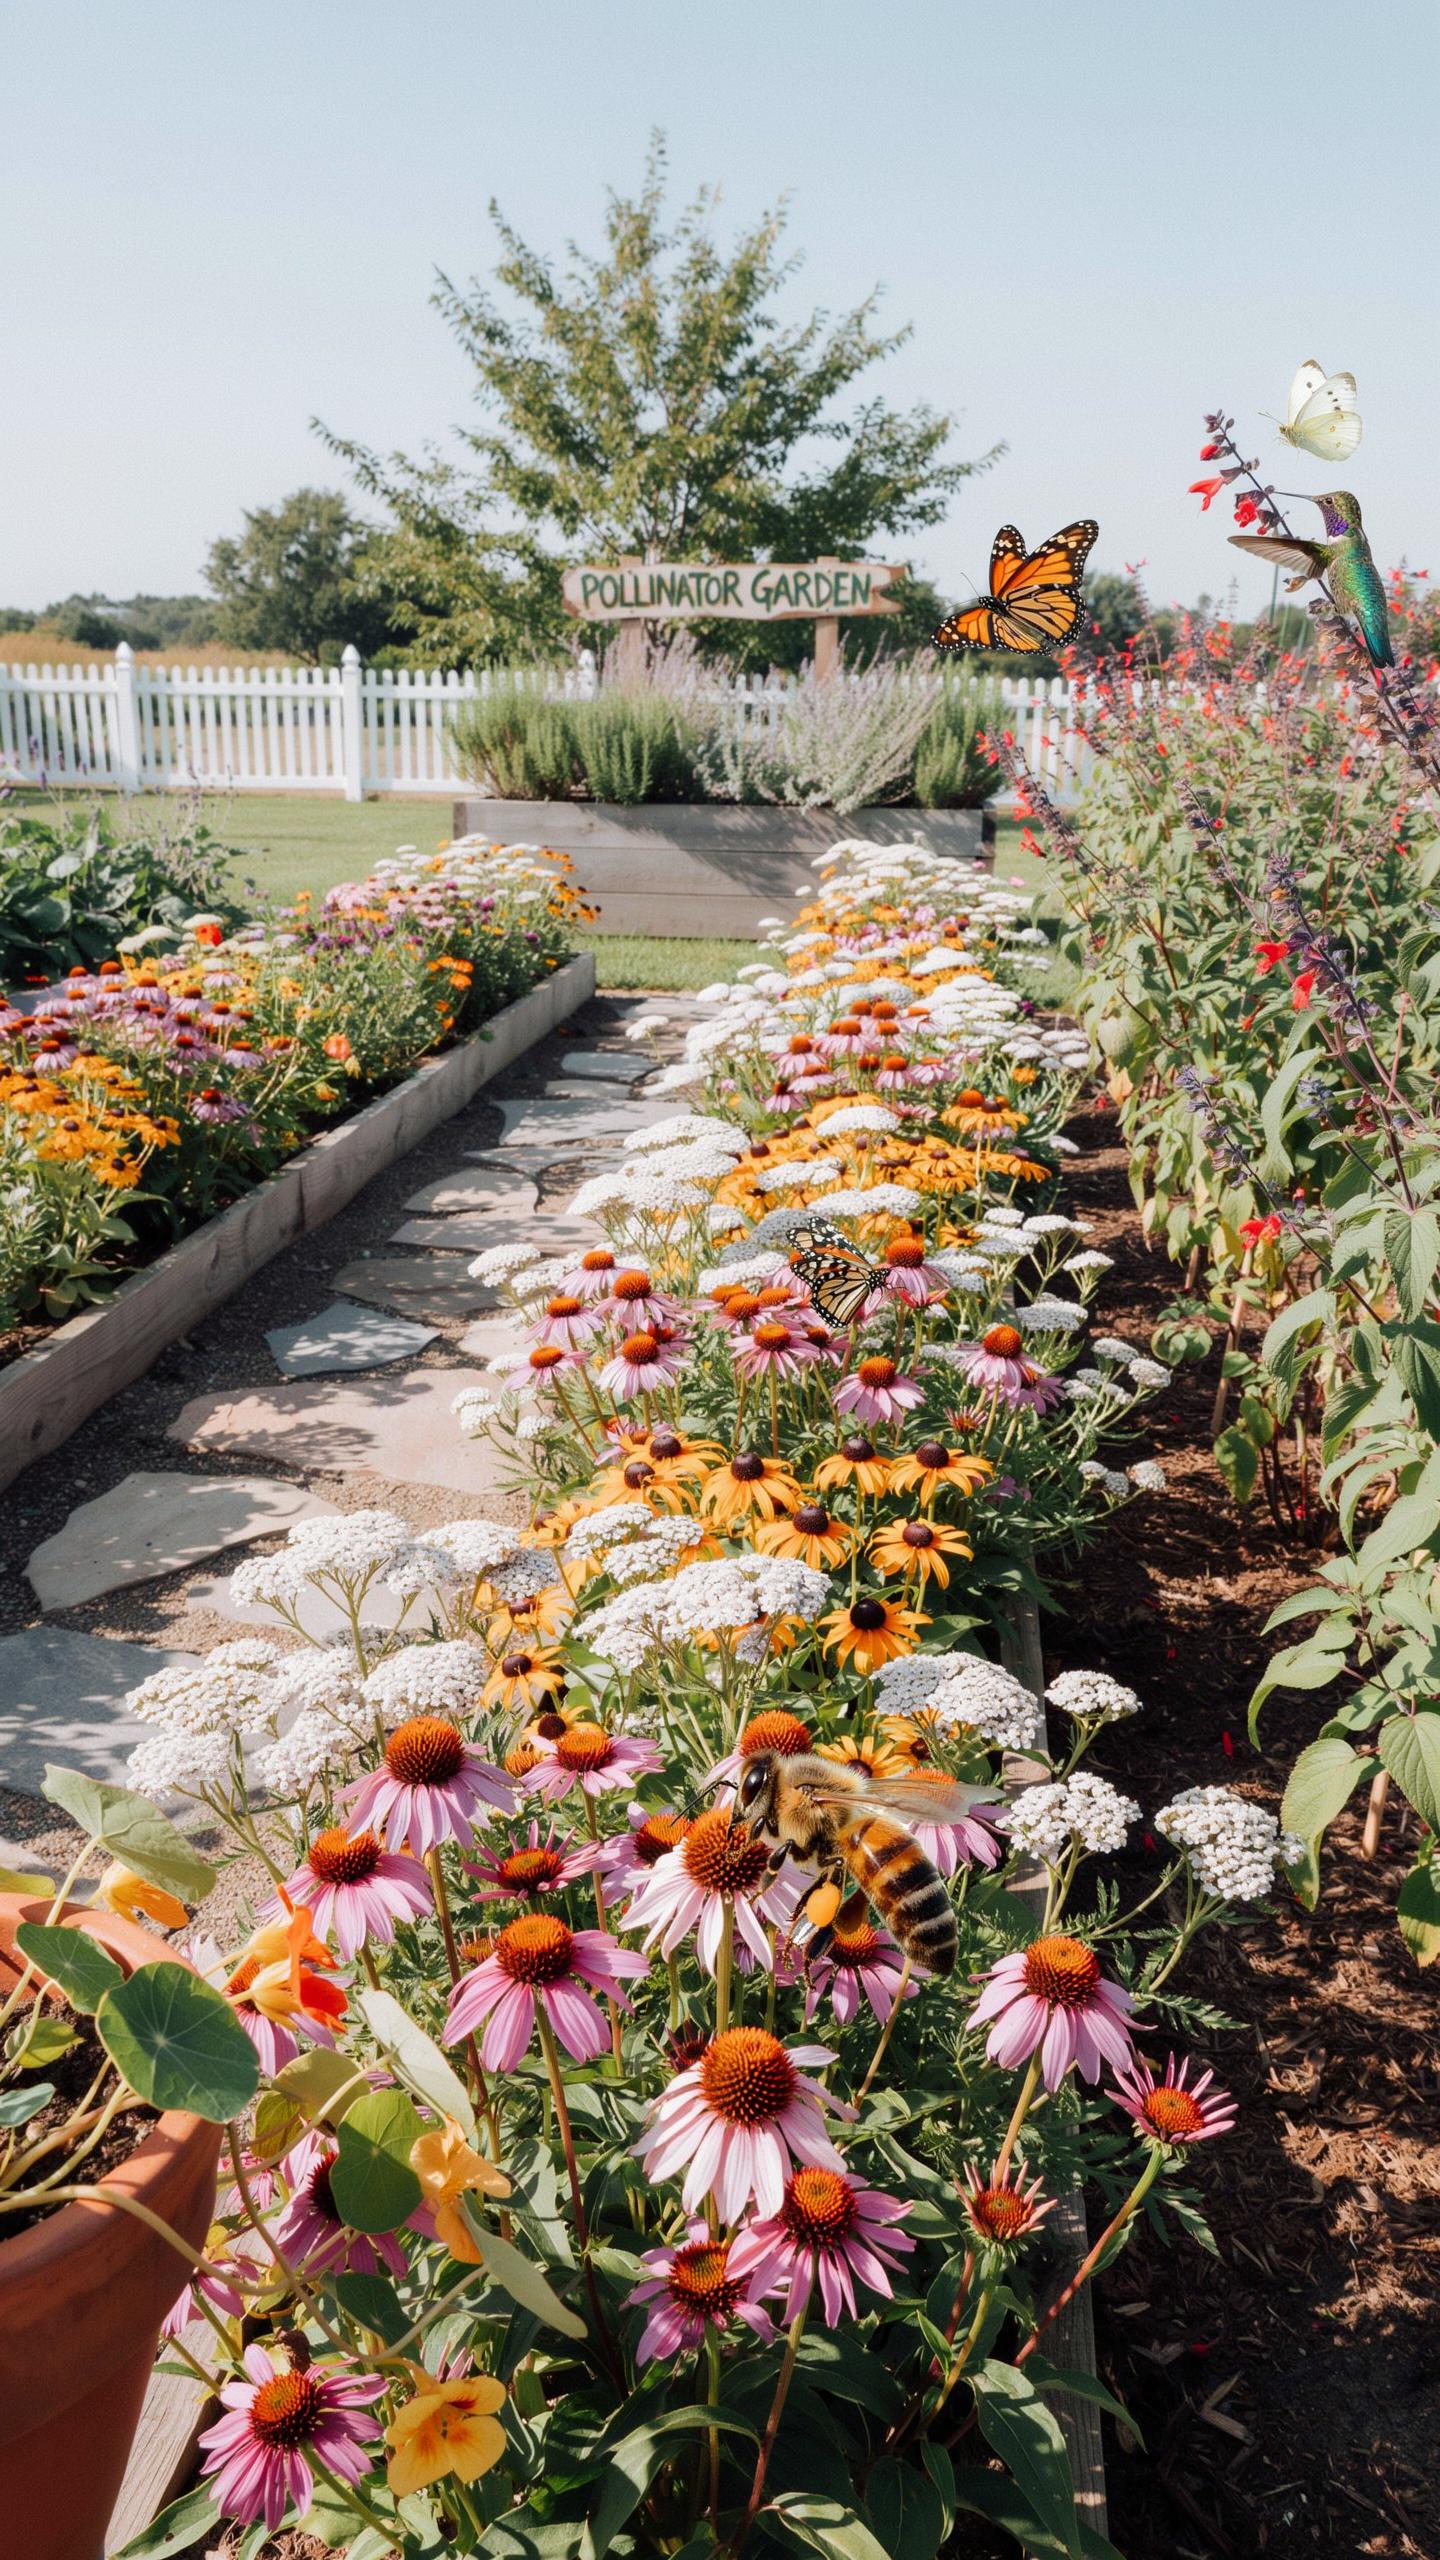
Layering plants by height creates functional pollinator habitat while maximizing visual impact across your space. Position tall plants like native asters, coneflowers, or Joe-Pye weed at the rear to form a backdrop. Mid-height plants such as black-eyed Susans or bee balm occupy the middle zone. Ground-level plants like creeping thyme or native sedums form the front edge. This tiered approach ensures pollinators access nectar at every level while preventing tall plants from shading shorter species.
The layering principle originated in landscape design to improve sight lines and create spatial depth. Applied to pollinator strips, this method increases plant density and resource availability for different pollinator species. Bumblebees forage at various heights depending on flower structure and accessibility. Butterflies prefer landing platforms on mid-height flowers. Native bees often work flowers closer to ground level. Structuring your garden vertically forces you to select diverse plant species, which naturally extends bloom periods and supports varied insect populations.
Ensuring Year Round Blooms And Ecological Continuity
Select early-season bloomers like phlox, lupines, and native bleeding hearts to fuel pollinators emerging from winter dormancy in spring. Mid-season performers such as coneflowers, yarrow, and bee balm sustain populations through summer. Late bloomers including asters, goldenrod, and Joe-Pye weed provide critical food resources before winter. This staggered approach maintains continuous nectar and pollen availability from March through October in most temperate zones.
Ecological continuity prevents pollinator population crashes caused by food gaps. When blooms end abruptly, pollinators lose their energy source mid-season, forcing migration or causing mortality. Native plant species evolved alongside regional pollinator species, creating predictable bloom sequences. Selecting regionally appropriate natives ensures your garden aligns with actual pollinator lifecycles. Research your specific hardiness zone and local native plant lists from your state’s extension service. This removes guesswork and guarantees your strip provides real, measurable food security.
The Best Flowers Perennials For Low Maintenance Beauty
Top Native Flowering Perennials For Your Strip
Native perennials eliminate annual replanting and chemical inputs. These species survive regional climate stress and produce consistent blooms across multiple seasons. Select varieties that match your USDA hardiness zone and local precipitation patterns. Native plants require establishment watering for one to two growing seasons, then function independently in most cases.
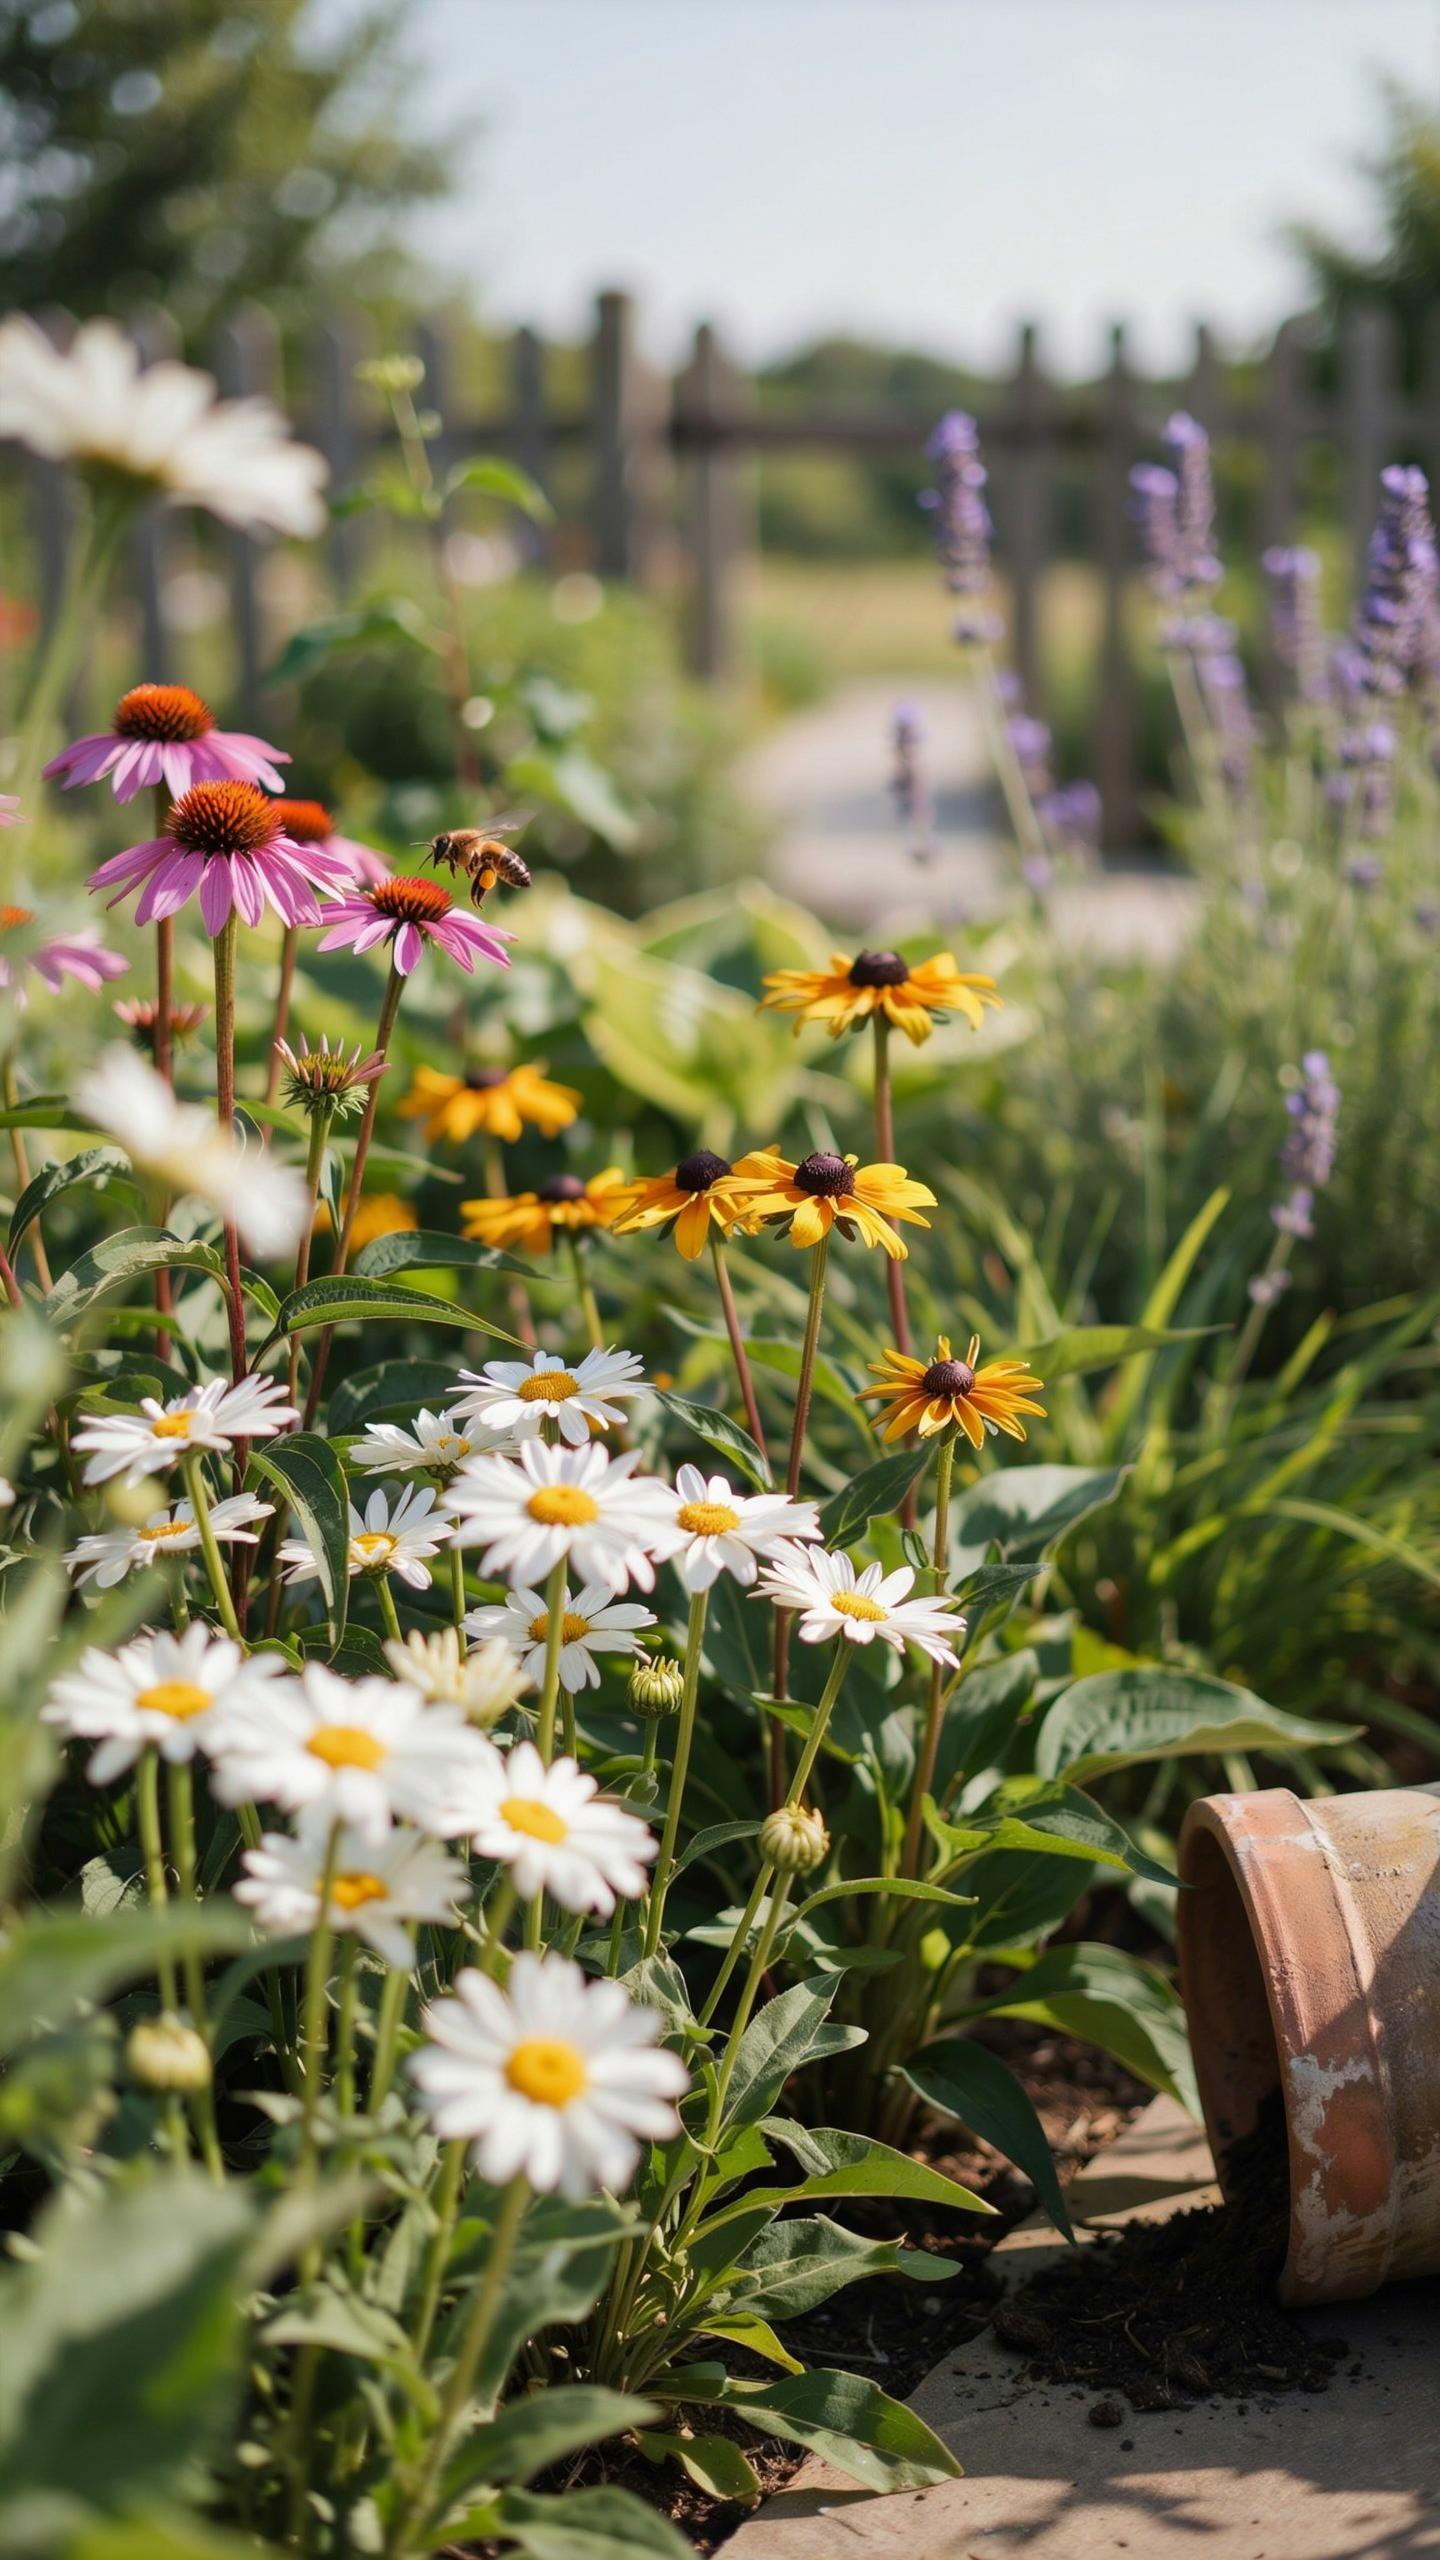
- Purple Coneflower (Echinacea purpurea): Tolerates drought and poor soil. Blooms mid-summer through fall. Attracts bees, butterflies, and seed-eating birds. Reaches two to four feet tall depending on variety and conditions.
- Black Eyed Susan (Rudbeckia hirta): Establishes quickly in full sun locations. Produces yellow flowers with dark centers. Reseeds naturally in subsequent years. Handles clay and sandy soils without amendment.
- Butterfly Weed (Asclepias tuberosa): Critical host plant for monarch butterfly larvae. Bright orange flowers bloom June through August. Deep taproot accesses water in drought conditions. Requires well drained soil and full sun exposure.
- Wild Bergamot (Monarda fistulosa): Attracts bees and hummingbirds. Lavender pink flowers bloom mid to late summer. Tolerates partial shade and spreads through underground rhizomes. Thrives in medium moisture soils.
These four species establish pollinator strip foundation plantings across most North American regions. Combine them based on your site’s sun exposure, soil drainage, and moisture availability.
Why Native Varieties Outperform Cultivated Hybrids
Native perennials evolved alongside regional pollinators over thousands of years. This co evolution produced nectar compositions and bloom timing that match pollinator life cycles precisely. Cultivated hybrids, bred for appearance and extended blooming, often contain reduced nectar volumes and altered chemical profiles that pollinators cannot access efficiently.
Commercial breeding prioritizes visual traits over pollinator nutrition. Double flowers contain fewer reproductive structures, limiting pollen availability. Hybridization frequently reduces pest resistance traits that native genetics maintain. Native species allocate energy toward survival and reproduction rather than ornamental characteristics, making them reliable performers in pollinator strips with minimal intervention.
Innovative Pollinator Garden Ideas For Small And Large Spaces
Formal Vs. Informal Pollinator Strip Aesthetics
Formal pollinator strips use geometric patterns and defined edges to structure planting beds. Straight lines, symmetrical layouts, and uniform spacing create visual order while supporting native bee species and butterflies. This approach works well in residential settings where landscape continuity matters. Structured borders using hardwood edging or metal strips contain plants and prevent encroachment into adjacent areas.
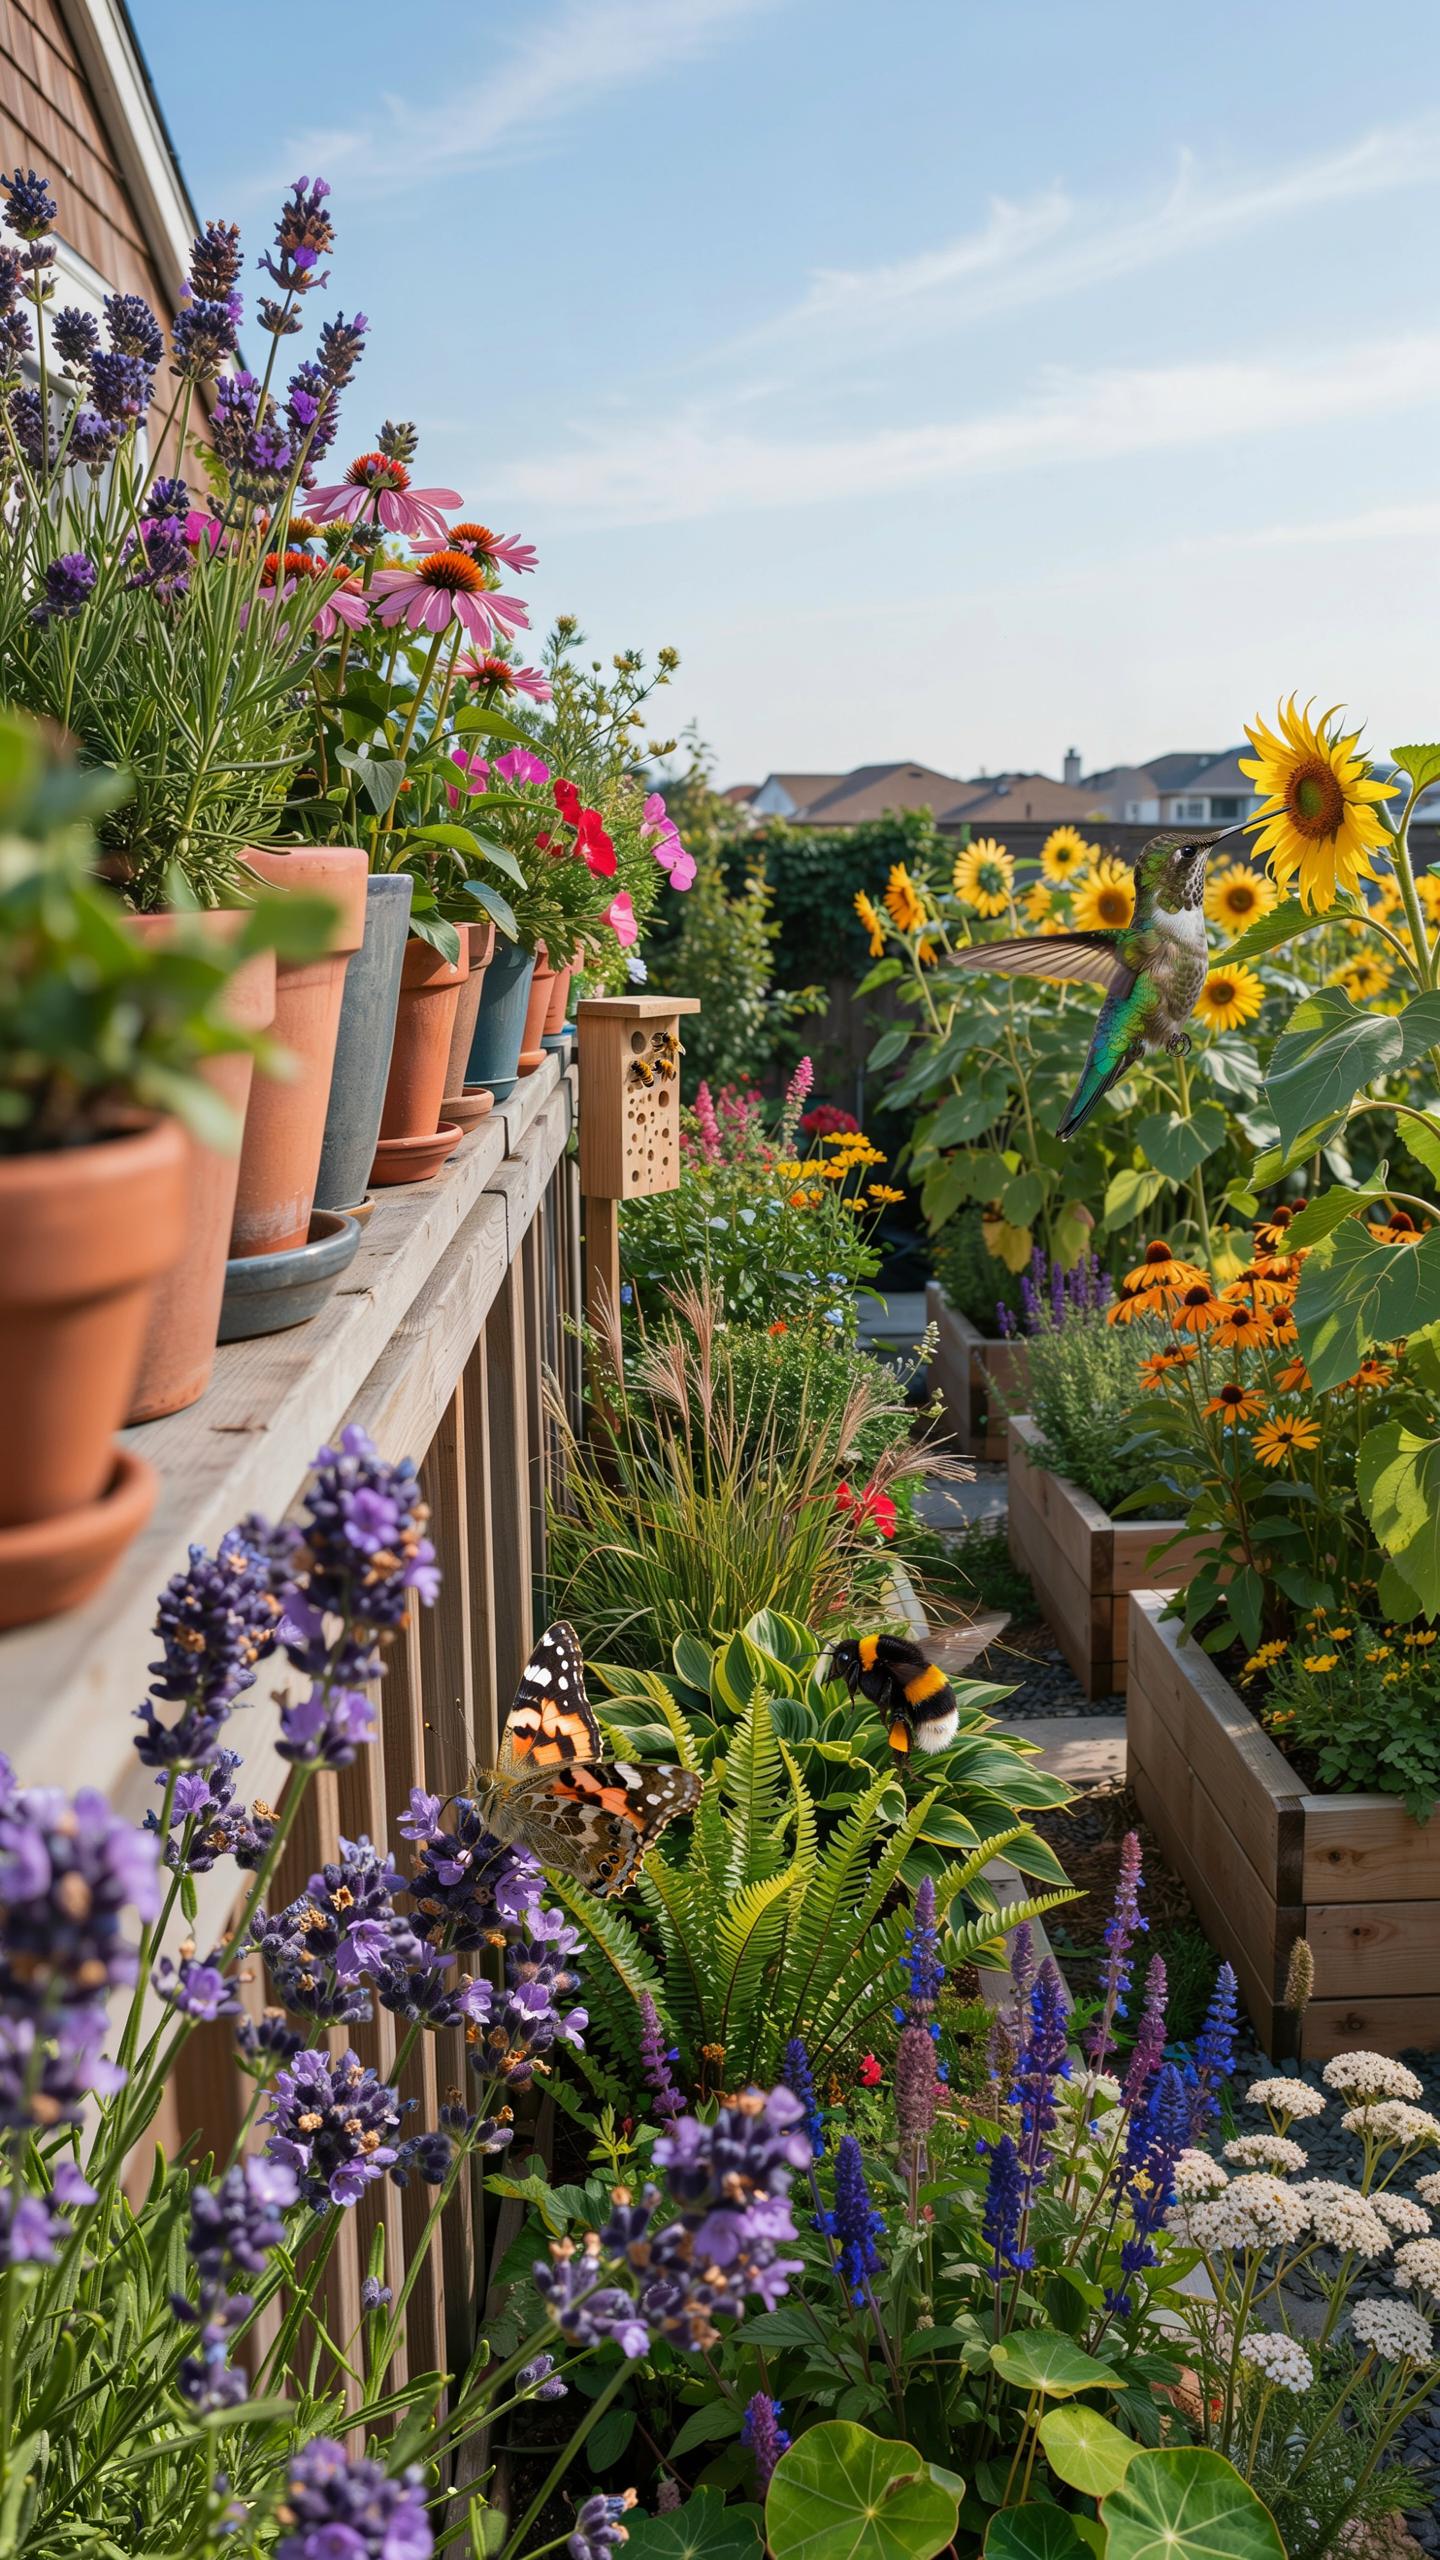
Informal meadow-inspired strips embrace asymmetrical planting and layered vegetation. Plants self-seed and fill space naturally, mimicking native habitat conditions. This style supports higher pollinator populations because dense, varied planting provides multiple nectar sources and shelter. Informal designs require less maintenance once established because you allow natural plant succession and volunteer seedlings to thrive.
Integrating Hardscaping And Water Features
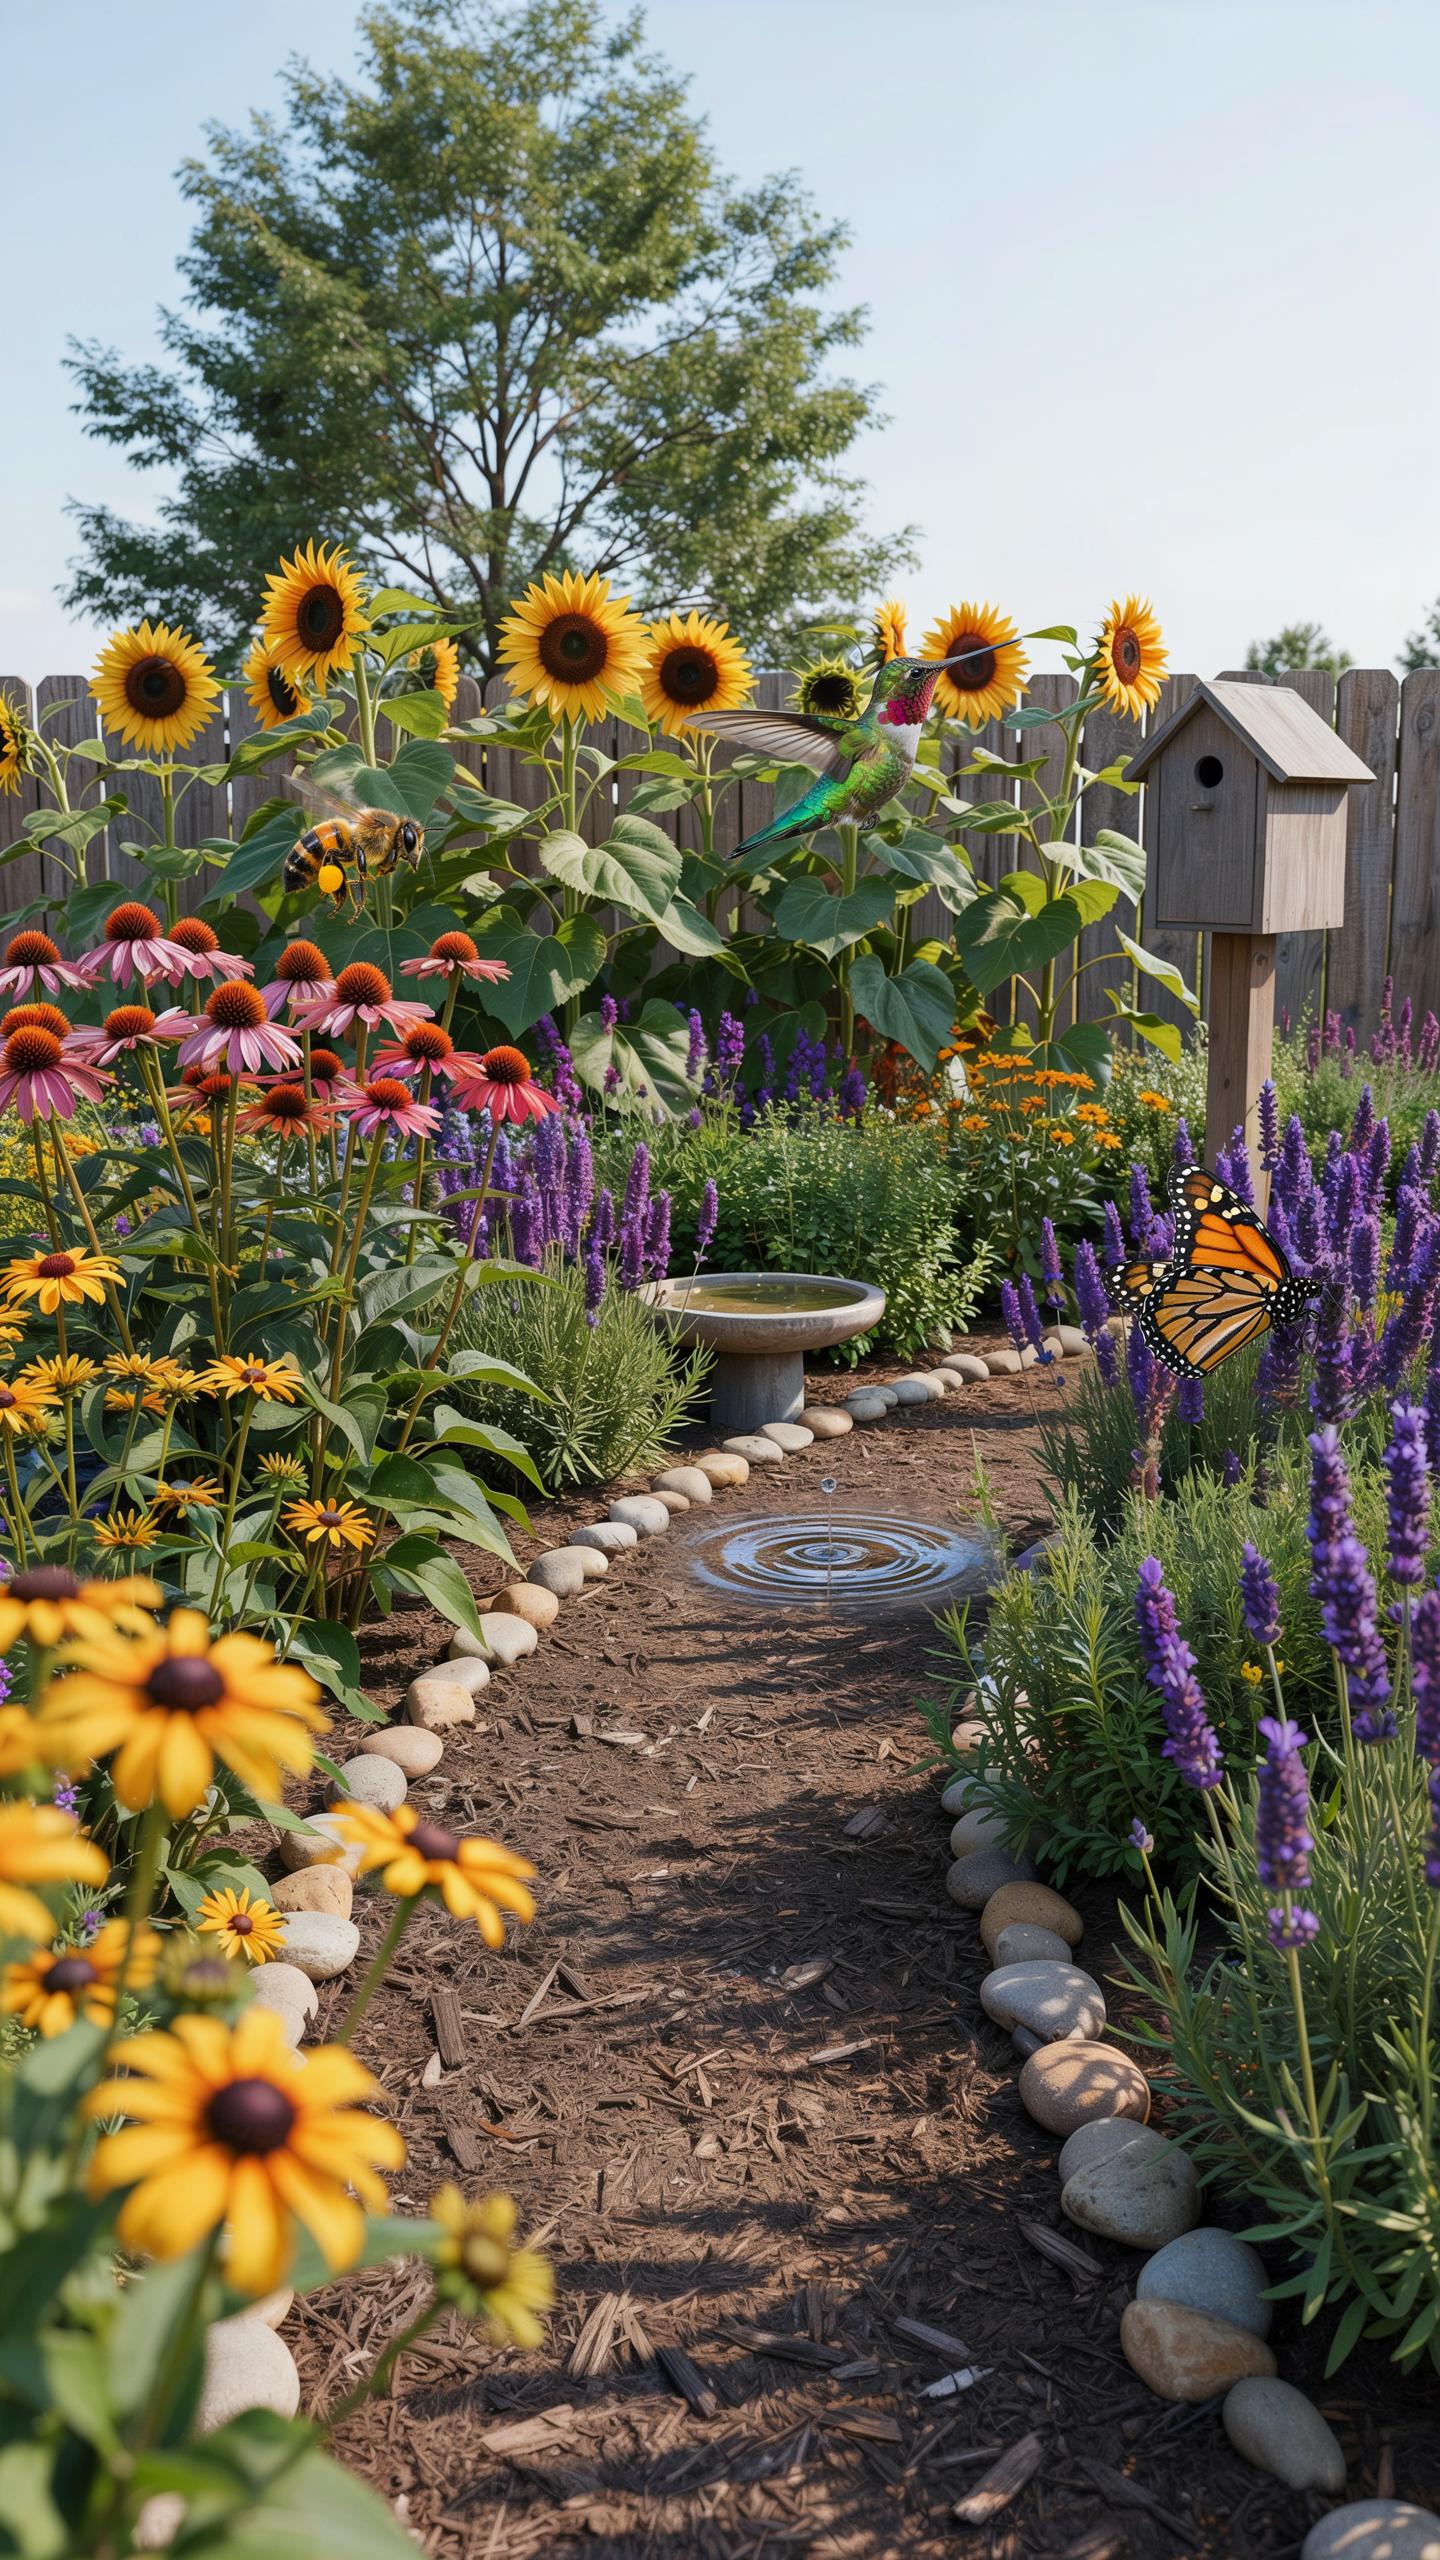
Flagstone pathways through pollinator strips improve access for maintenance while reducing soil compaction in planted areas. Position stones to allow gaps where creeping flowers grow between and around them. Water features serve functional purposes: shallow ceramic dishes or stone basins filled with water and pebbles give bees and other pollinators safe drinking stations. Change water every two to three days to prevent mosquito breeding.
Decorative logs placed horizontally create microhabitats that native bees use for nesting and shelter. Wood debris naturally attracts beneficial insects and fungi that support pollinator ecosystems. Combine hardscaping strategically to frame views and direct foot traffic without overwhelming planted areas. These elements integrate structure with function, enhancing both the usability and ecological value of your pollinator strip.
Hell Strip Landscaping Ideas Transforming The Parkways
Navigating The Challenges Of Sidewalk Planting Zones
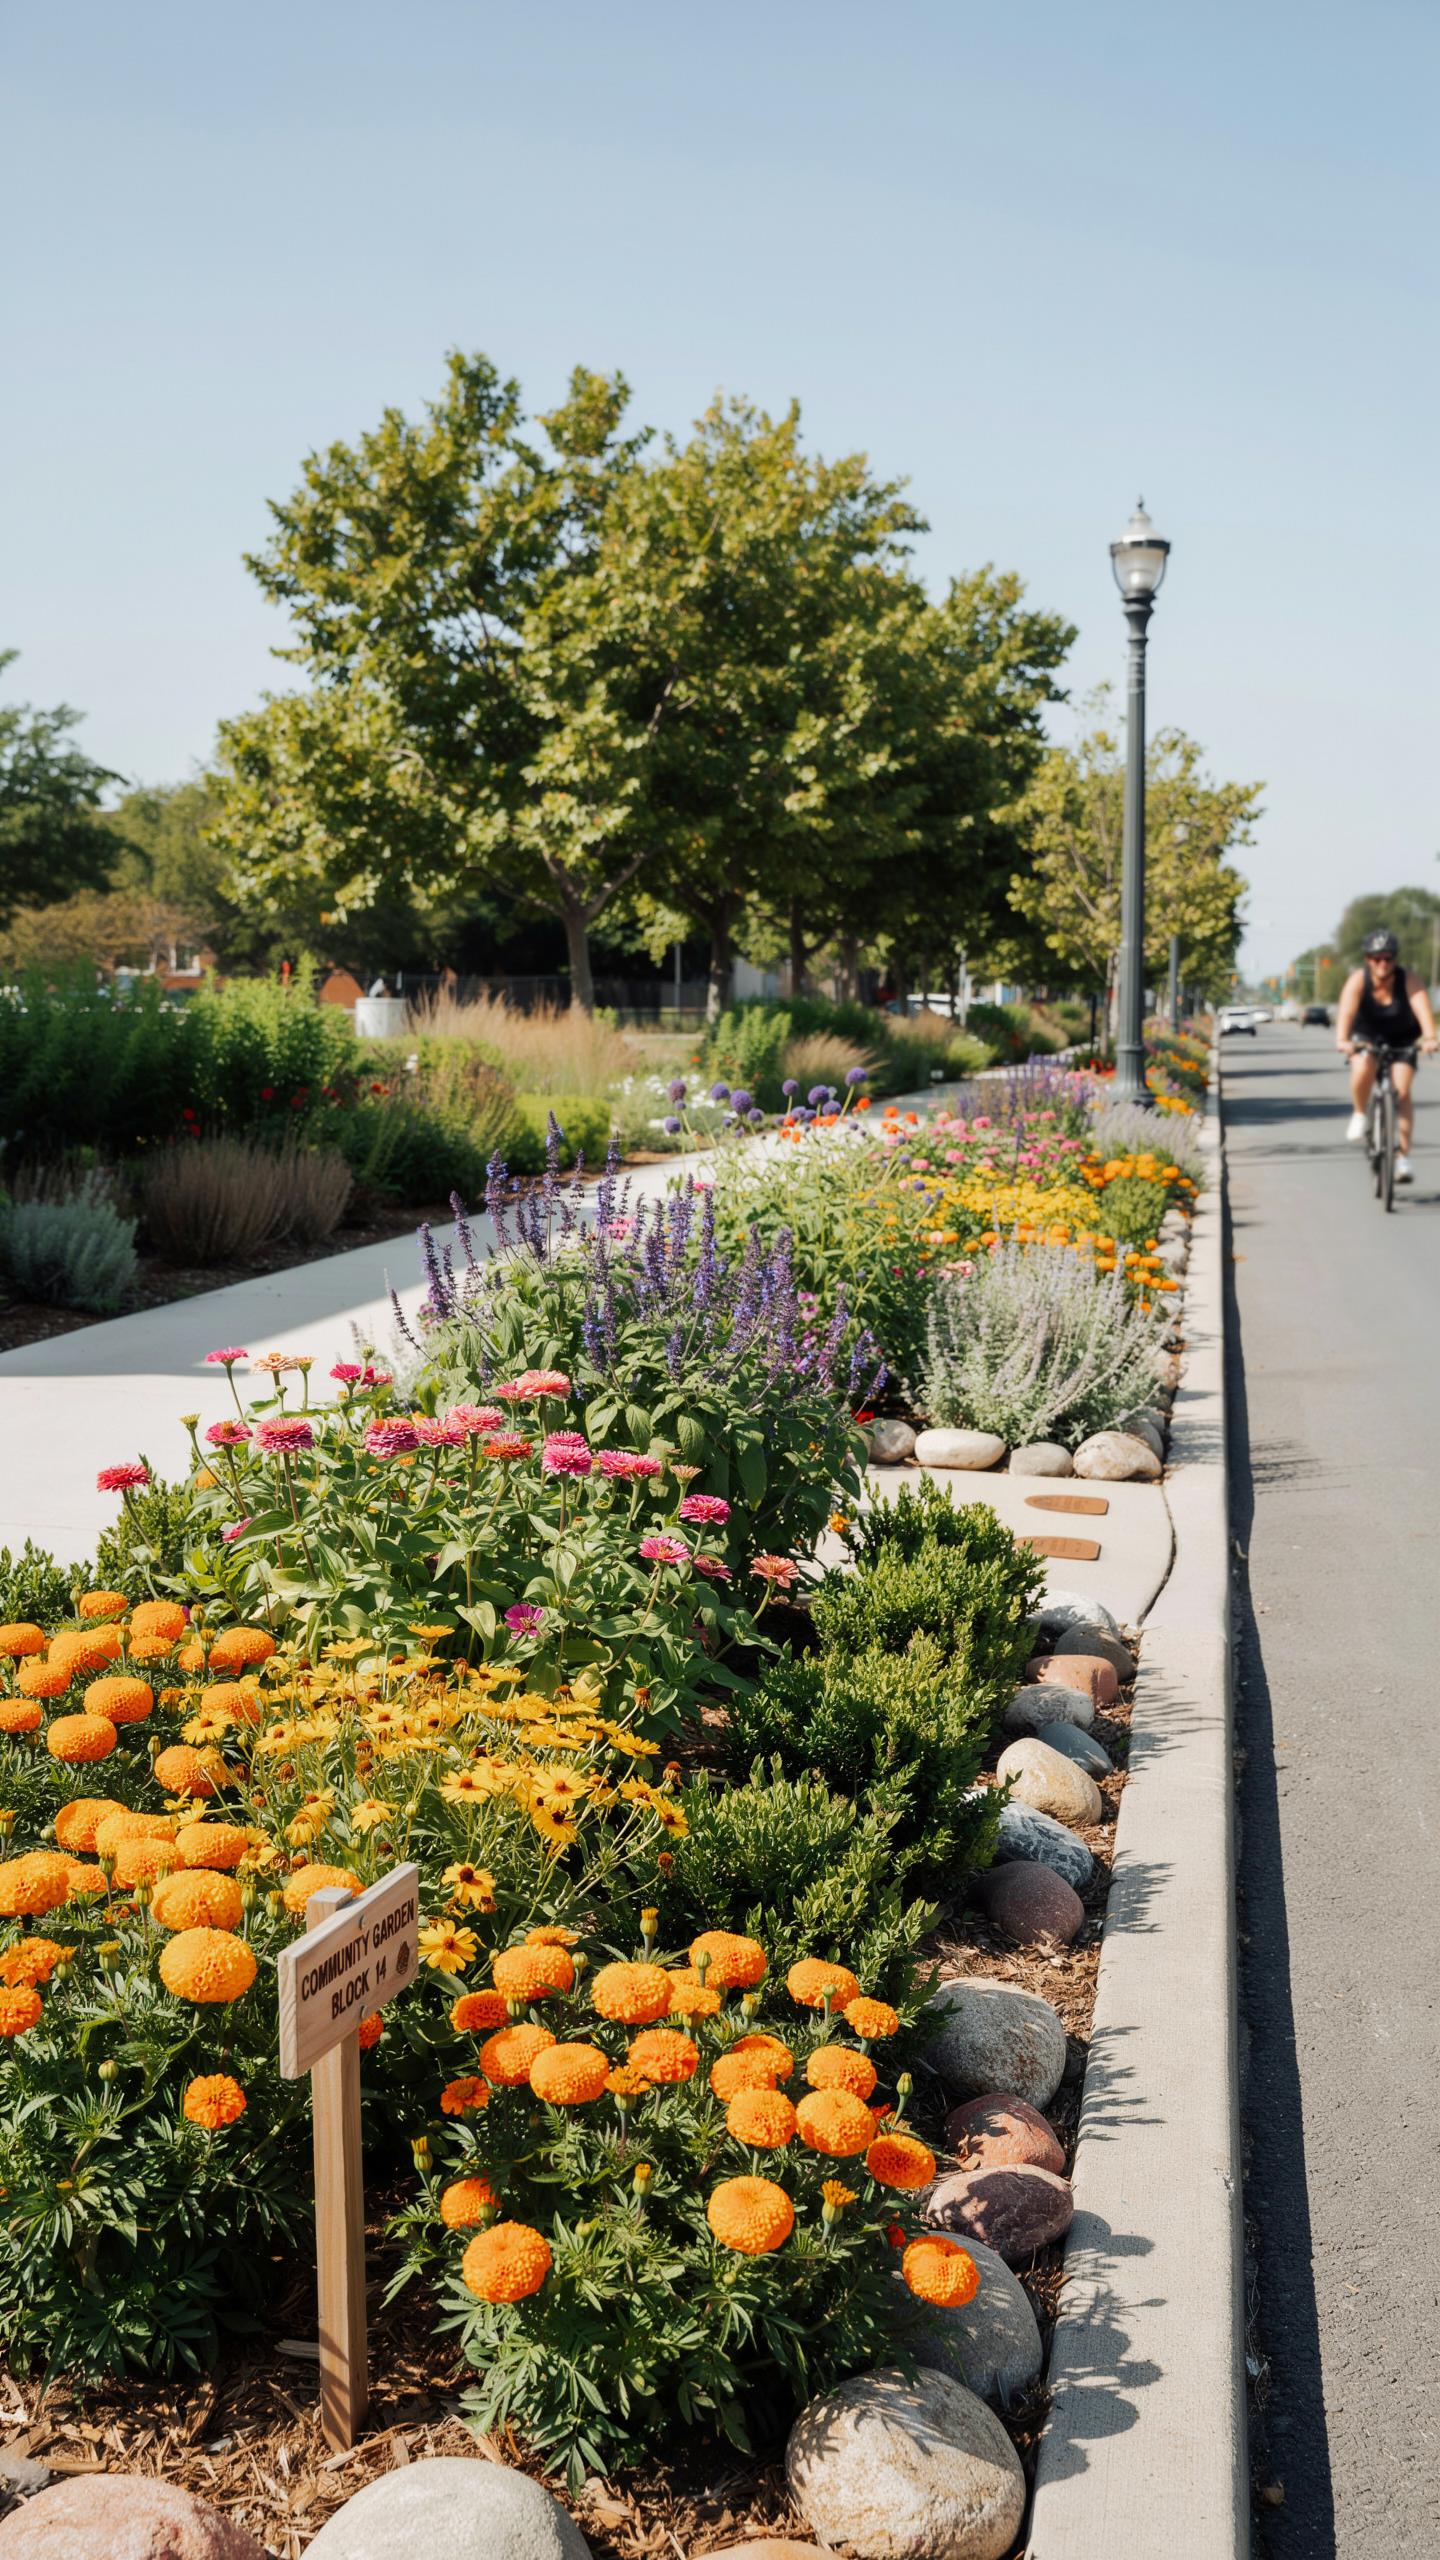
Curb strips face four primary obstacles that kill most plantings. Road salt runoff from winter maintenance damages soil chemistry and plant tissues. Soil compaction from foot traffic and vehicle weight restricts root expansion. Asphalt radiates intense heat, raising soil temperatures well above surrounding areas. Municipal codes typically cap plant height at 24 to 36 inches to maintain sightlines.
These conditions demand species selection based on tolerance, not aesthetics alone. Plants must handle sodium accumulation, resist root confinement, and withstand temperature extremes. Success requires understanding local ordinances before installation. Site assessment reveals which challenges dominate your specific curb strip location.
Durable And Salt Tolerant Plant Choices For Curb Edges
Yarrow tolerates road salt, compacted soil, and intense sun exposure with minimal maintenance. The plant establishes quickly and produces consistent blooms throughout the growing season for pollinator support. Ornamental grasses like Feather Reed Grass and Panicum offer structural resilience and salt tolerance. These grasses establish deep roots that navigate compacted soil and provide season-long visual interest without fading.

Stonecrop sedums survive extreme conditions through water storage in fleshy leaves, reducing irrigation needs in harsh curb environments. Species like Autumn Fire and Dragon’s Blood handle both salt exposure and temperature fluctuations. All three plant categories support pollinators while requiring less maintenance than conventional curb plantings. Native varieties of these species perform better than non-native cultivars in most regions.
Enhancing Curb Appeal With Modern Eco Friendly Borders
Blending Ecological Strips With Traditional Turf Lawns
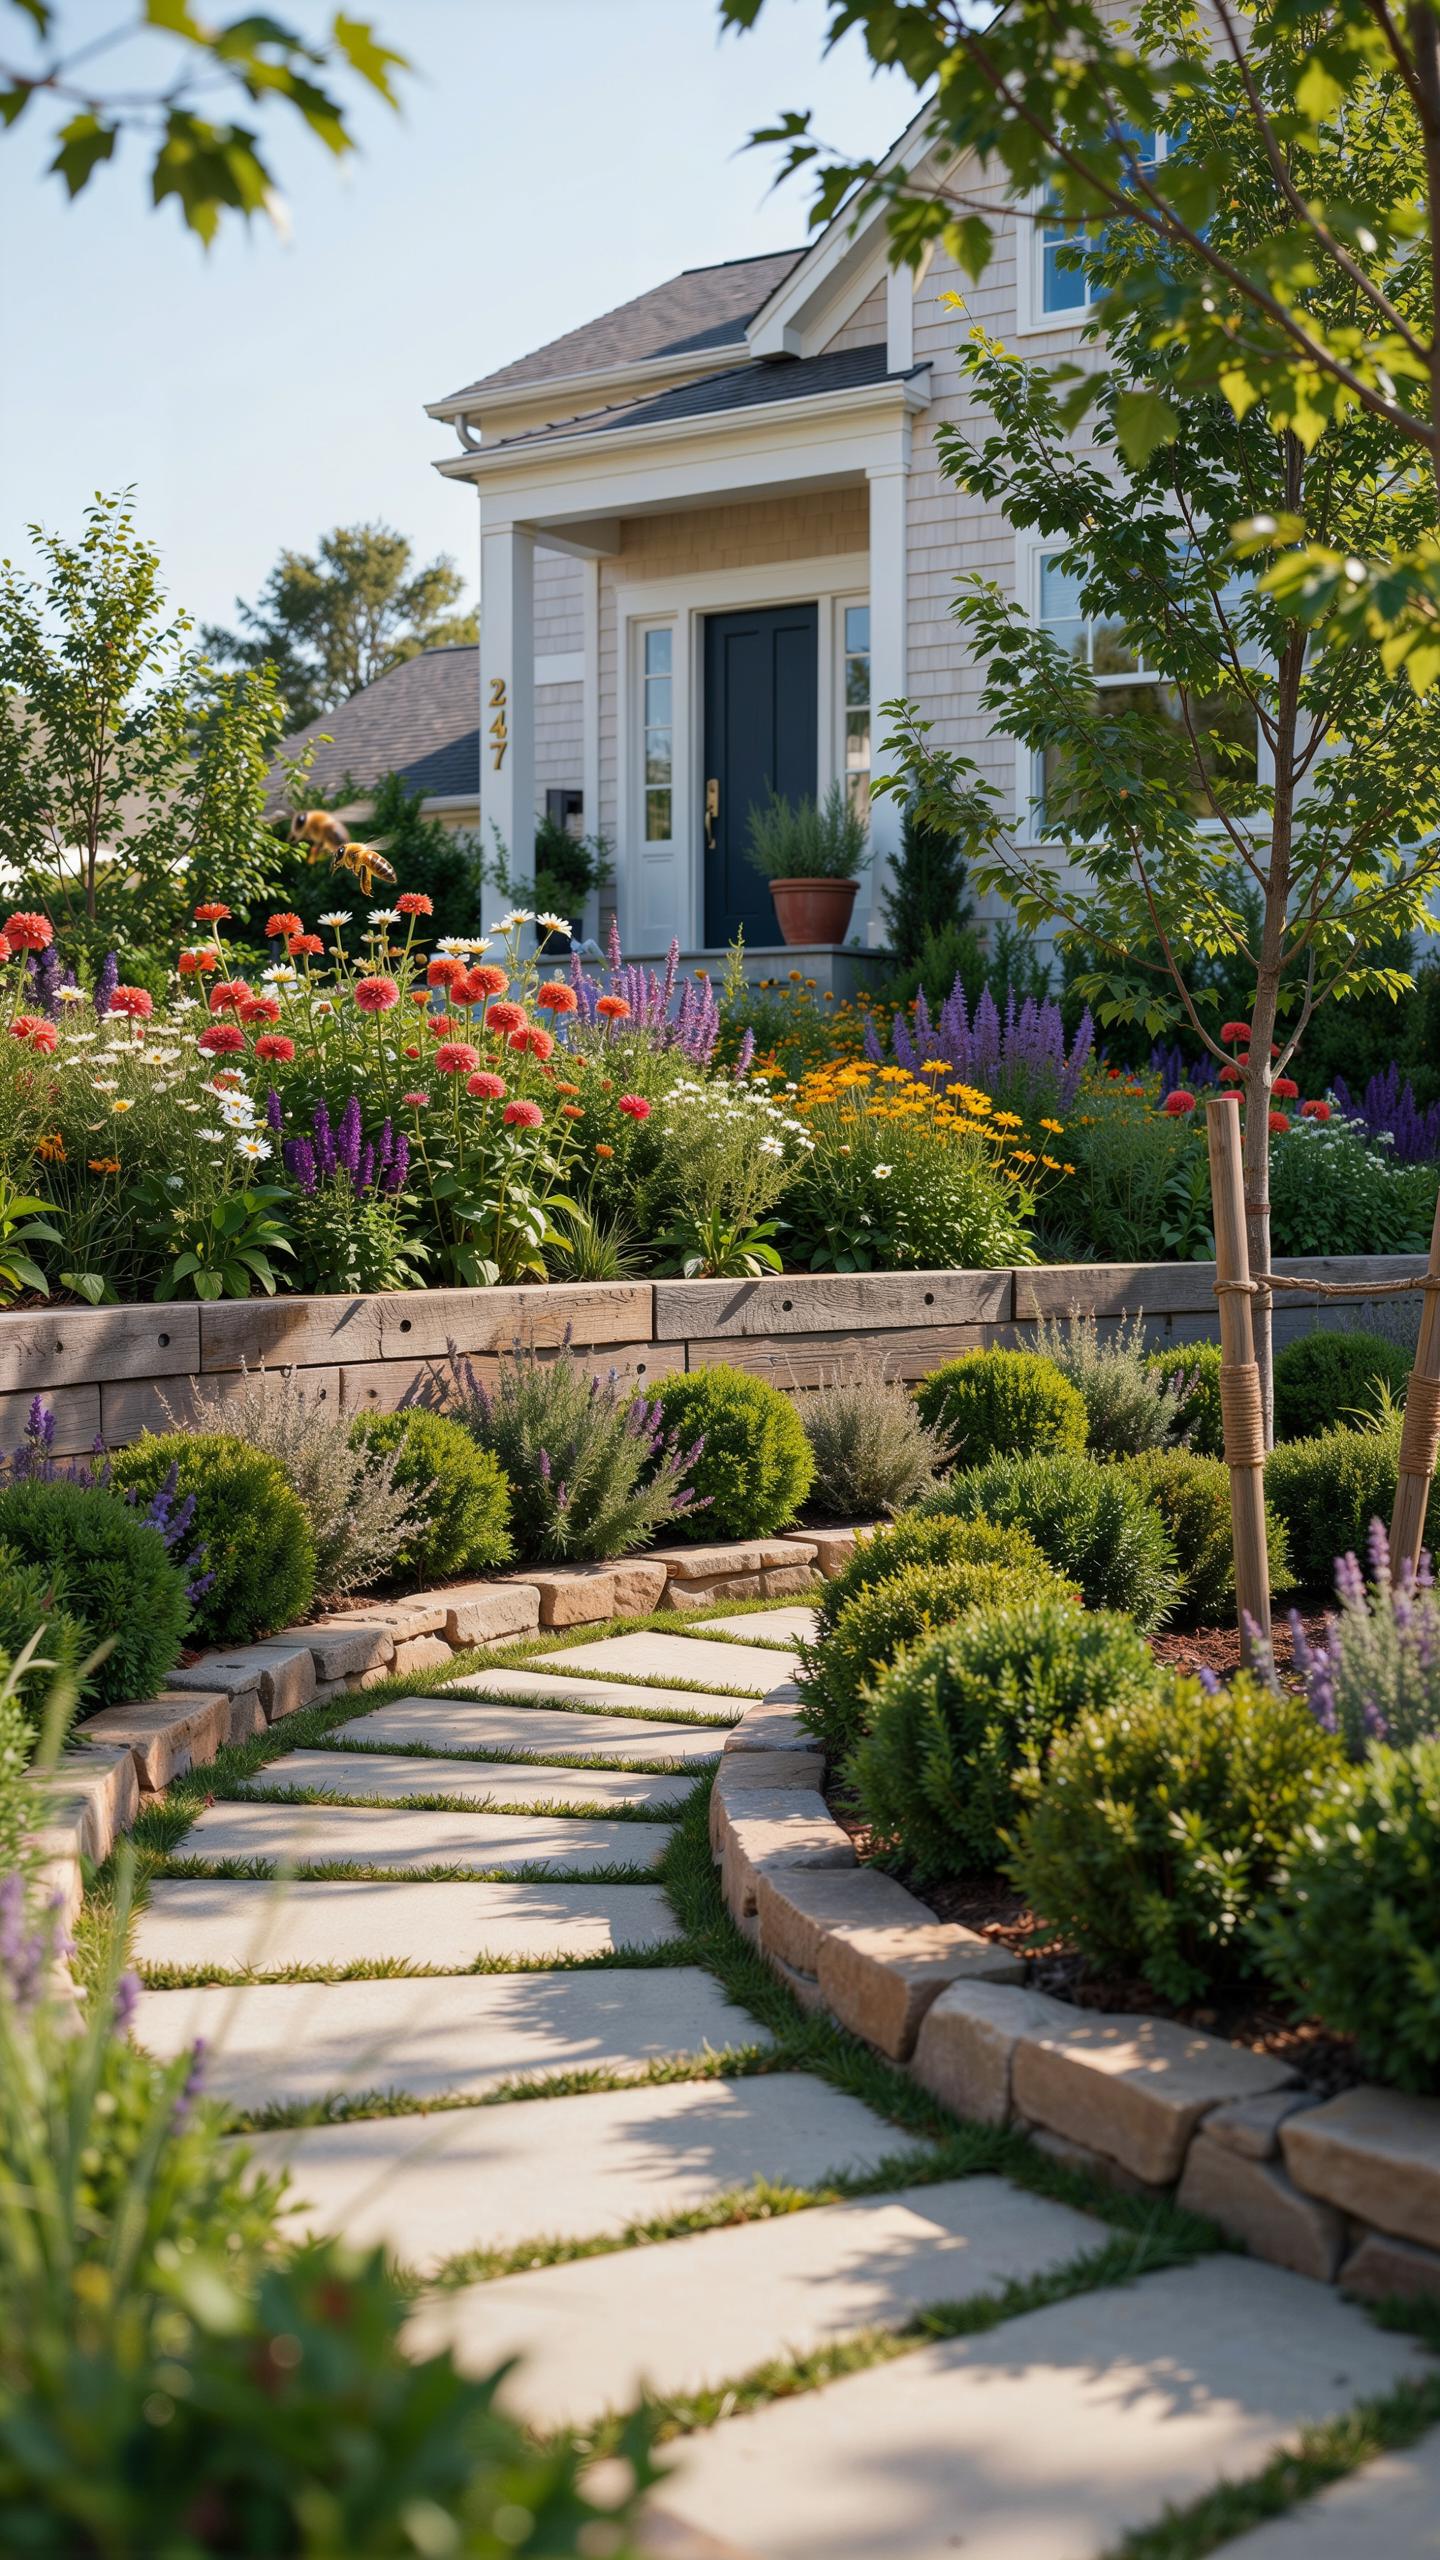
Metal and stone borders create visual separation between pollinator strips and conventional lawn areas. This delineation signals intentional design rather than neglect to neighbors and passersby. Edging materials like steel, aluminum, or natural stone establish clean lines that communicate landscape purpose. The border itself becomes a design feature that grounds the ecological plantings in deliberate strategy rather than accident.
Pollinator strips function as landscape focal points when properly framed with borders. Homeowners use these transitions to signal ecological commitment without sacrificing neighborhood aesthetics. Strategic edging prevents turf encroachment into native plantings while maintaining visual cohesion. The contrast between manicured lawn edges and flowering strips creates defined zones that enhance overall property appearance.
Adding Aesthetic Value And Property Appeal
Flowering pollinator strips attract visible wildlife like butterflies and native bees that enhance exterior visuals. This activity draws attention and creates dynamic landscape elements absent in conventional turf lawns. Properties featuring established pollinator strips often display more ecological diversity than surrounding yards. The abundance of color and movement during growing seasons directly impacts curb presence and neighborhood distinction.
Real estate market data shows buyers increasingly value native plantings and pollinator friendly landscapes as property features. Homes with established ecological landscaping demonstrate environmental stewardship and reduce long term maintenance costs. Vibrant flowering strips communicate landscape sophistication and intentional design choices. Properties featuring these elements stand out in competitive markets where green infrastructure indicates owner commitment to sustainability and property value preservation.
Practical Steps For A Successful Pollinator Garden Design
A Step By Step Guide To Planting Your Strip
Establish your pollinator strip by removing competition first. Clear existing turf and weeds using sheet mulching, which kills vegetation without chemicals, or manual removal for small areas. Amend exposed soil with organic compost to improve drainage, nutrient content, and microbial activity. These steps create conditions where native plants and pollinator-friendly species establish quickly and thrive.
- Clear existing turf and weeds using sheet mulching or manual removal: Smother vegetation with cardboard or newspaper layers, then add compost. Manual removal works for smaller areas where you dig out sod and roots to expose bare soil.
- Amend the soil with organic compost to improve texture and microbial life: Mix two to four inches of finished compost into the top six to eight inches of soil. This feeds beneficial soil organisms and improves water retention.
- Lay out potted plants according to your layout sketch: Position plants on the surface before digging to confirm spacing and sight lines. Adjust placement to match your design before committing holes to ground.
- Dig planting holes, insert the root balls, and backfill with soil: Make holes slightly wider than the root ball to encourage outward root growth. Backfill with amended soil and press firmly to eliminate air pockets.
- Apply a two inch layer of organic mulch and water thoroughly: Use shredded bark or wood chips to retain moisture and suppress weeds. Water deeply after mulching to settle material and hydrate roots.
Spacing matters for mature plant size and pollinator access. Plant native perennials and native annuals according to their species requirements, typically twelve to twenty four inches apart depending on type. This prevents overcrowding that reduces airflow and increases disease pressure. Proper spacing also allows you to add plants strategically later if gaps emerge.
When we plant a modern meadow, we are weaving the wild beauty of our childhood memories back into the elegant edges of our homes. A pollinator strip is more than a garden; it is a stylish bridge that welcomes the humming life of nature back to our doorstep.
Essential Establishment And Watering Schedules
New plants require consistent moisture during their first growing season to develop deep root systems. Water deeply two to three times weekly during establishment, delivering water at the soil level rather than overhead. Deep watering encourages roots to grow downward rather than staying shallow. This root depth becomes critical once plants mature and face summer drought conditions without supplemental irrigation.
Reduce watering frequency after the first season as roots establish and access deeper soil moisture. Monitor soil moisture by pressing your finger two inches into the soil. If soil feels dry at that depth, water deeply. Most native plants adapted to your region need minimal supplemental water once established, typically only during extended dry periods exceeding two weeks without rainfall. Tailor watering to your specific climate and soil type rather than following rigid schedules.
Inspiring Pollinator Garden Design Ideas For Every Season
Spring And Summer Highs: Maximizing Color And Life
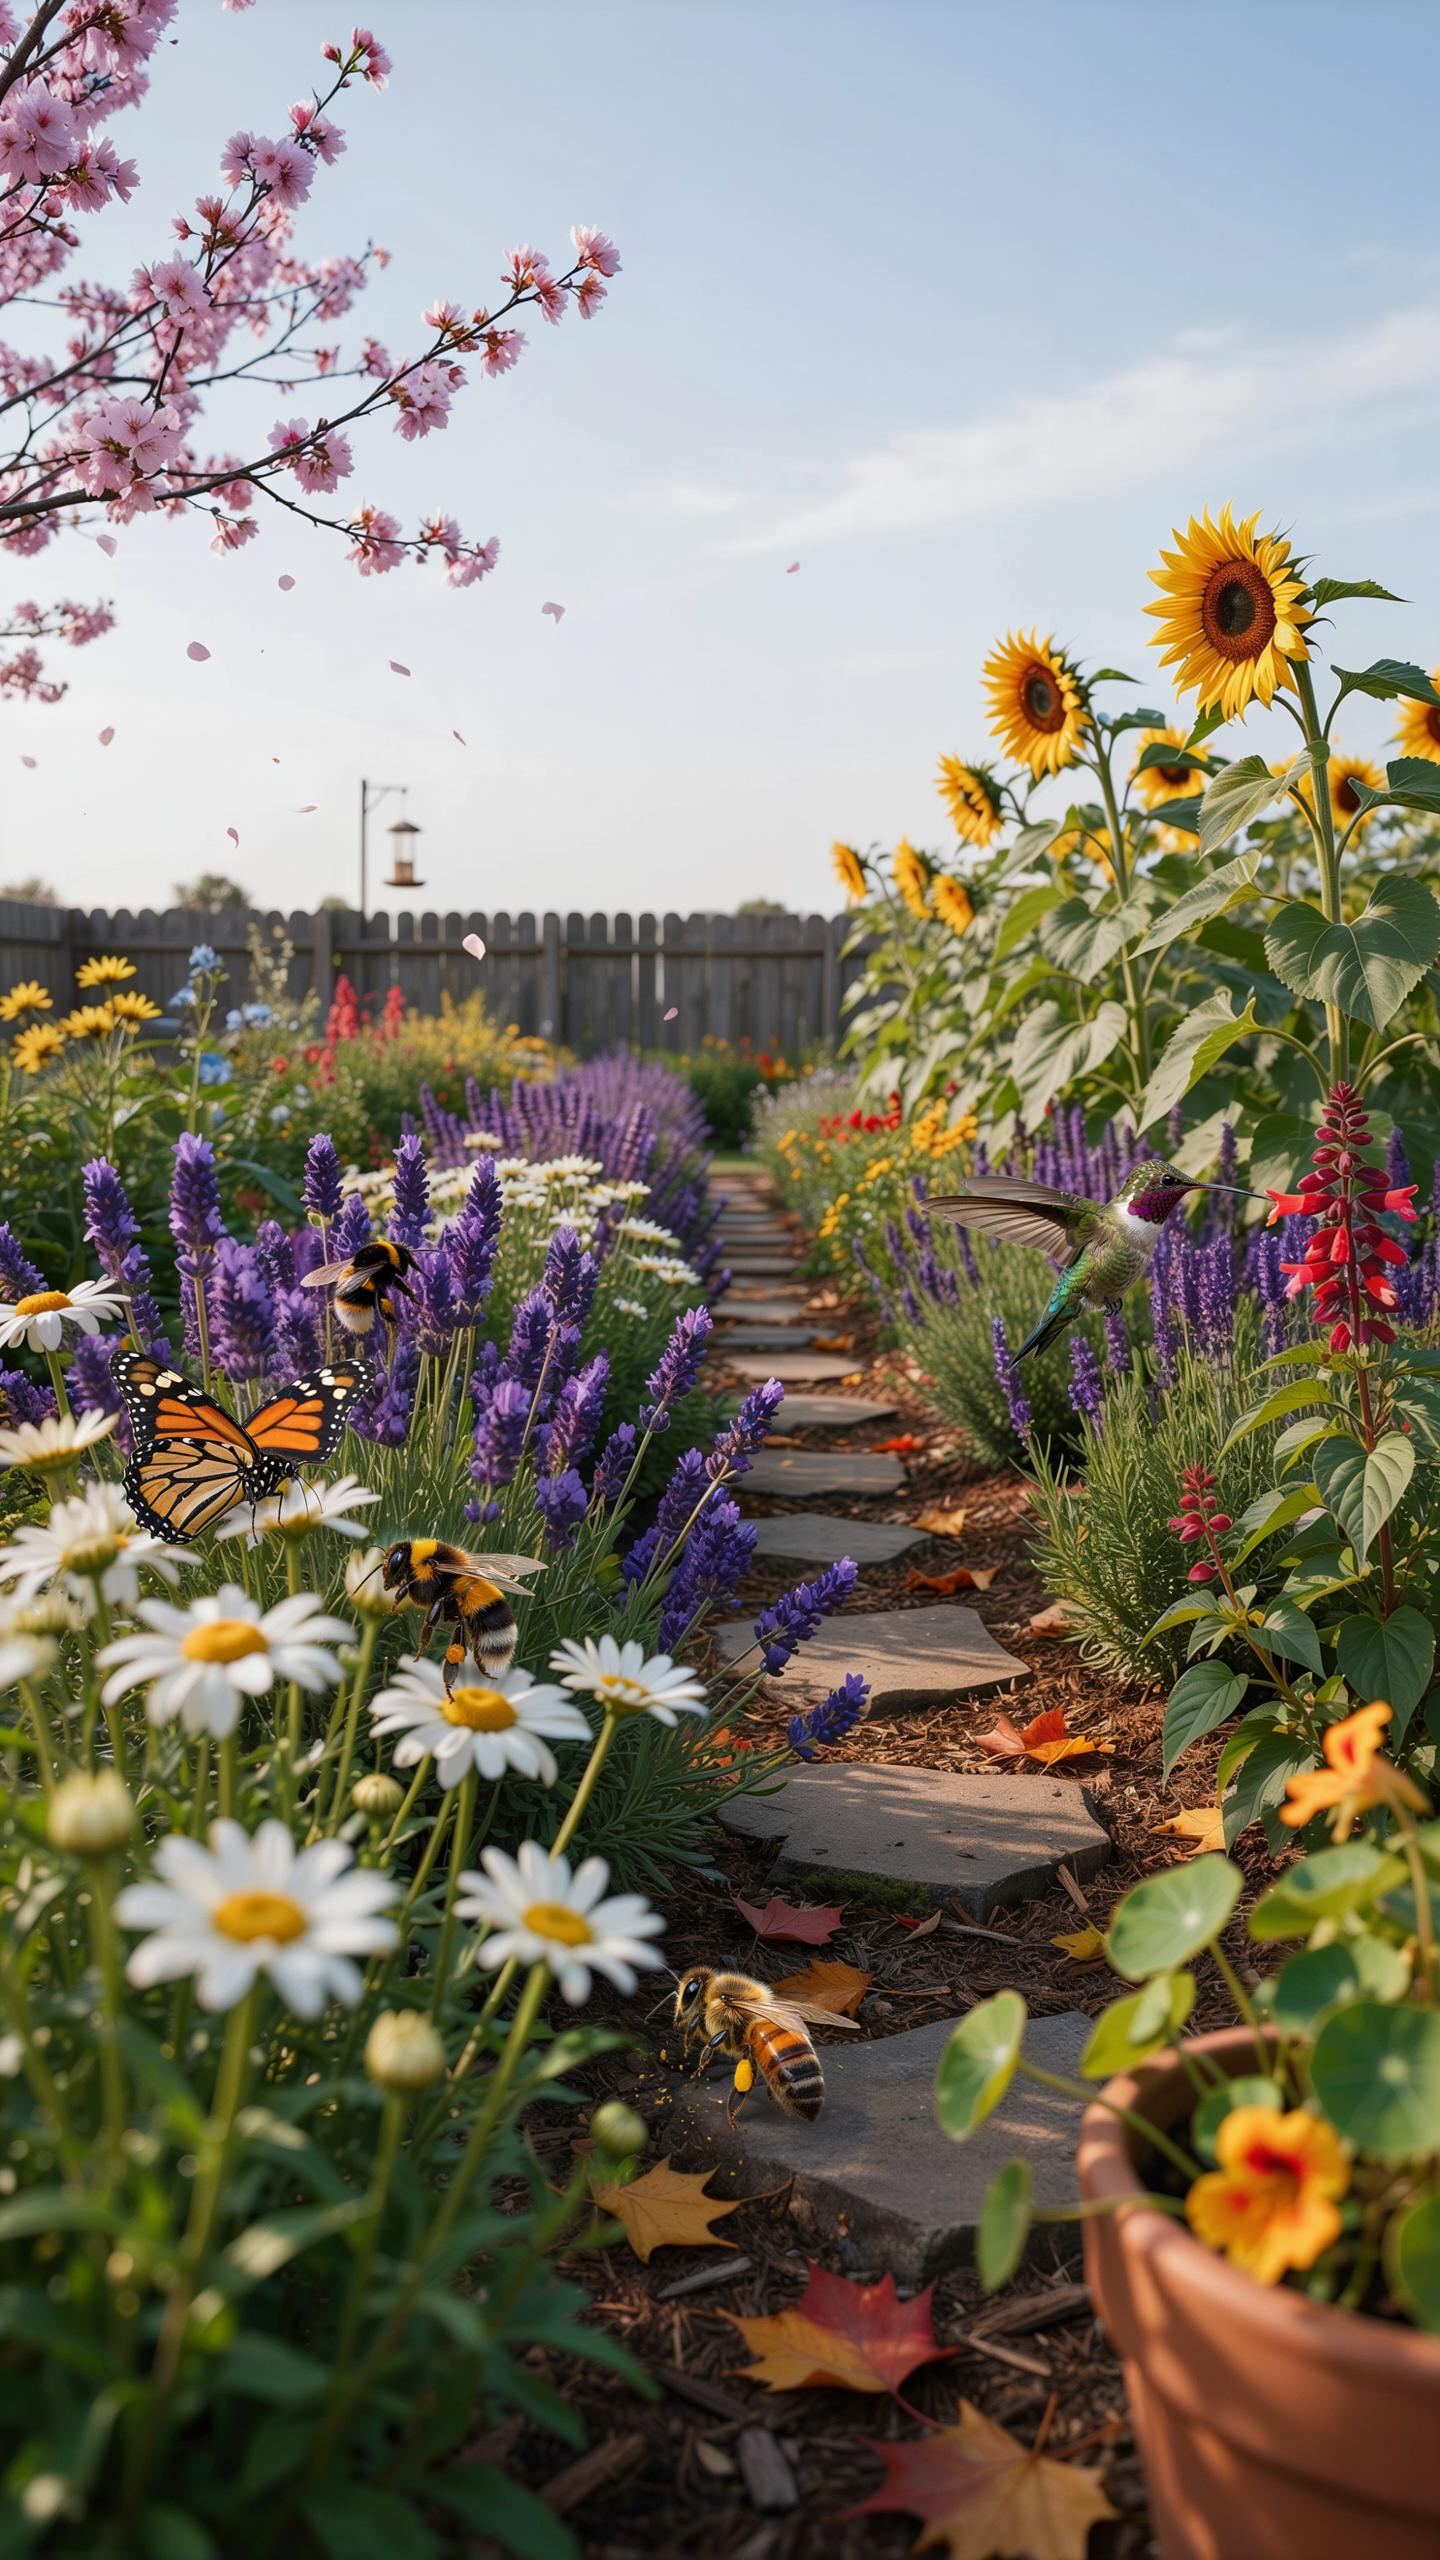
Early spring bloomers like crocuses and hellebores fuel pollinators emerging from dormancy. Plant these alongside mid-spring species such as pulmonaria and hellebores to bridge the gap before summer nectar sources peak. Summer demand intensifies as pollinator populations expand. Deploy high-nectar plants like coneflowers, bee balm, and zinnias in concentrated blocks to maximize foraging efficiency and reduce pollinator search time across your landscape.
Timing matters more than variety. Stagger plantings so something blooms every two weeks from March through September. Early bloomers sustain pollinators before major food sources arrive. Mid-season plantings maintain consistent nectar flow. Late bloomers prepare pollinators for fall and winter transitions. This creates predictable feeding stations that support population growth during months when pollinators need energy most for reproduction and survival.
Fall And Winter Interest: Supporting Overwintering Wildlife
Stop deadheading in late summer and allow seed heads to mature fully through fall and winter. Native birds including goldfinches and nuthatches depend on these seeds for calories during cold months. Standing stalks provide shelter for beneficial insects seeking protection from freezing temperatures. Coneflowers, black-eyed Susans, grasses, and milkweed retain viable seeds insects and birds access throughout winter.
Leave structural elements intact until late March or early April when temperatures consistently exceed 50 degrees Fahrenheit and native plants begin active growth. This timing protects overwintering insects still in dormant stages while allowing adequate decomposition before new growth emerges. Your restraint in autumn cleanup directly increases spring pollinator populations by providing survival resources during their most vulnerable season.
Frequently Asked Questions

What are pollinator strips and how do they benefit a modern garden?
Pollinator strips are intentionally planted rows of native flowers and shrubs designed to provide food and habitat for bees, butterflies, and birds. Incorporating sustainable landscaping pollinator strips into your yard enhances biodiversity while adding a vibrant, natural aesthetic. Beyond their beauty, these strips improve soil health and provide natural pest control, making your outdoor living space both environmentally responsible and visually striking for a contemporary lifestyle.
How do I choose the right plants for a stylish pollinator strip?
To maintain a modern look, choose a structured palette of native perennials with varying heights and textures. Focus on repeat-blooming species and ornamental grasses that provide year-round visual interest. When planning your sustainable landscaping pollinator strips, group plants in masses rather than scattering them. This “drift” planting technique looks professionally designed while making it much easier for pollinators to locate their favorite nectar sources in your garden.
Can I create a pollinator strip on a limited budget?
Absolutely! Creating an eco-friendly landscape doesn’t require a massive investment. You can start small by converting a narrow border or a sunny patch of lawn using affordable seed mixes or small starter plugs. Many local conservation districts even offer native plant sales at discounted prices. With a little patience, these plants will naturally spread and fill in, providing a high-end, lush appearance without the premium designer price tag.



