
The Illusion Of Limits: Why Your Scrap Wood Art Isn’t “Just Scraps”
Stop Designing For The Approval You Don’t Need
You’re worried this won’t look intentional. That’s the real fear underneath the “what should I make” question. The truth is simpler: predetermined forms are the enemy of scrap wood mosaic because they force you to hunt for materials that fit a fantasy instead of building from what you actually have. The best mosaics don’t start with a picture in your head. They start with inventory.
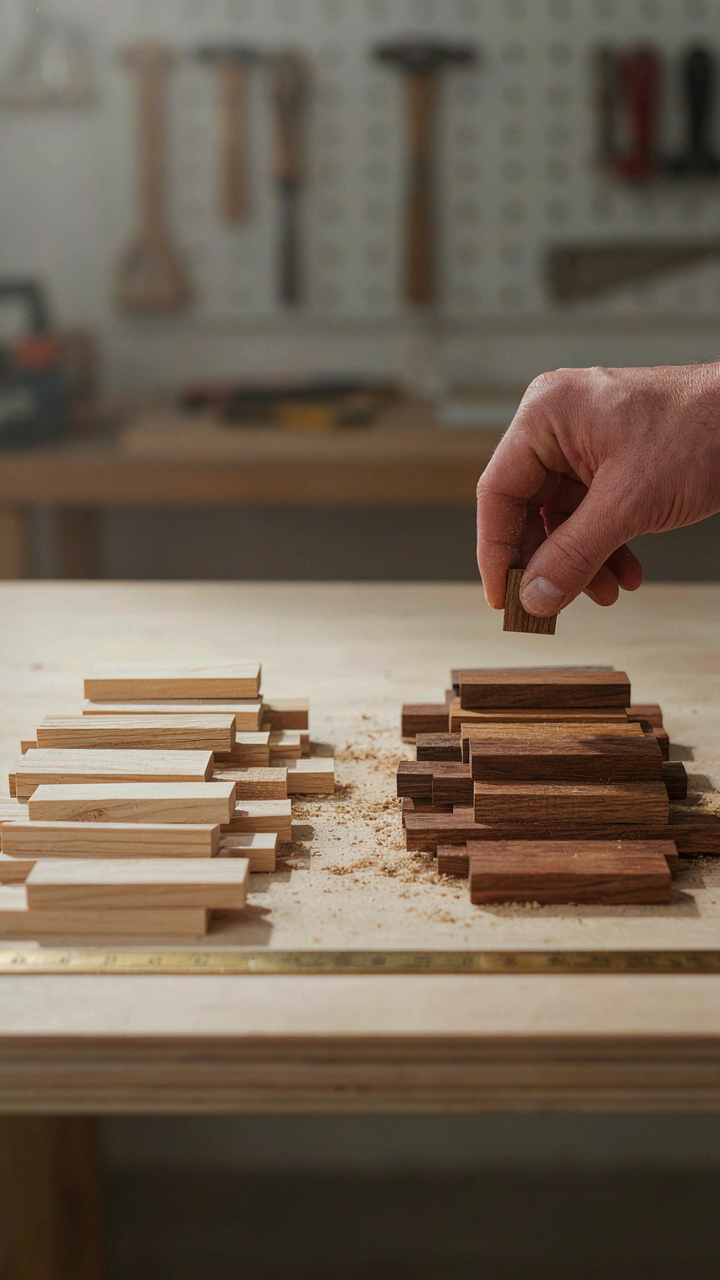
Most DIY advice tells you to sketch first, then source materials. Reverse this. Sort your wood by tone, grain direction, and thickness. Look at what patterns emerge from the physical objects in front of you. Your constraints become your design language, not obstacles to work around. The artist’s eye develops by responding to what exists, not by defending what you planned.
The Craft Beyond The Hashtag
The “rustic farmhouse” aesthetic killed serious scrap wood mosaic work because it made the practice about performing authenticity instead of solving compositional problems. Real mosaic work borrows from visual hierarchy principles used in traditional tile and stone work, where individual pieces create rhythm through contrast and repetition. Your scattered wood fragments are units of value, not decoration.
This means treating tone gradation like a painter treats value studies. Light pieces read as advancement. Dark pieces recede. Mix them deliberately or the piece reads as accident. The difference between gallery-quality work and social media content is whether your composition controls the viewer’s eye movement or just fills wall space. Start with one edge that anchors the whole composition, then build outward with intention.
Deconstructing “Perfection”: The Anti Template Approach To Wood Mosaic
Embracing Asymmetry And Raw Edges
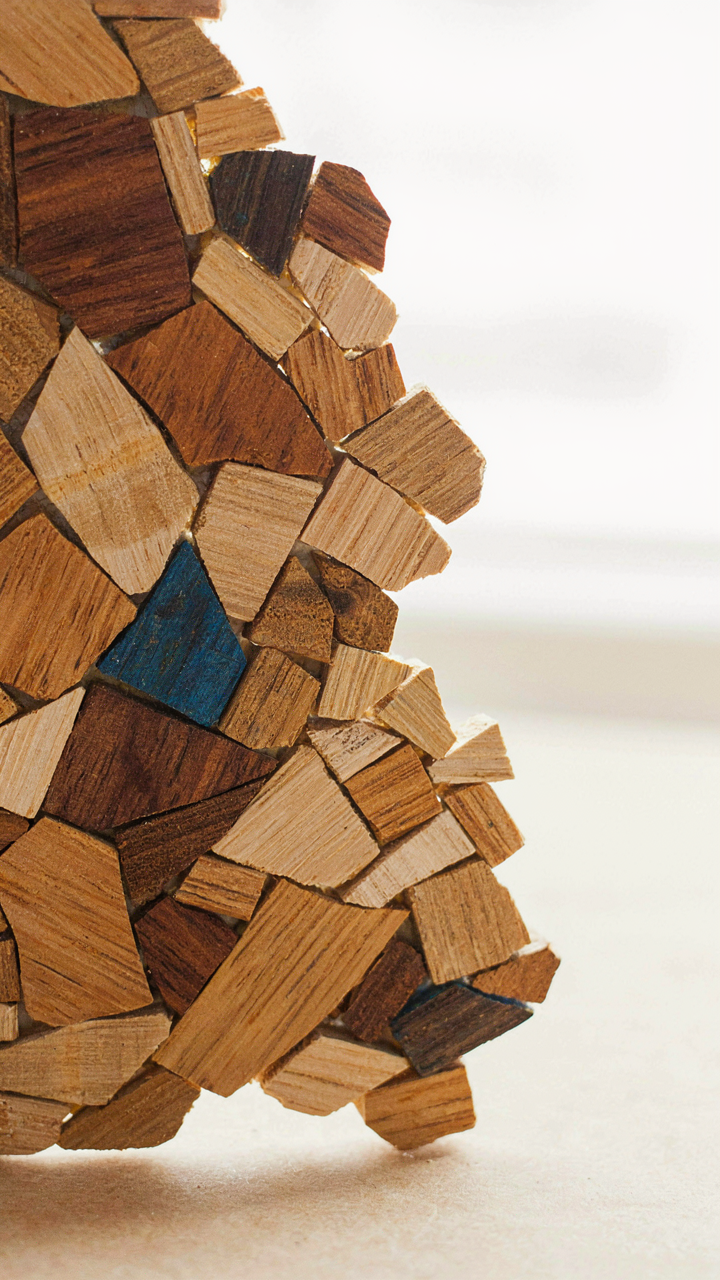
You’re worried symmetry proves competence. It doesn’t. The mechanism at work here is perception lag: your eye expects balance because mass-produced design trained it to. Asymmetry breaks that expectation, which makes the viewer actually look instead of scroll past. Raw edges amplify this effect because they signal intention rather than accident. A scrap wood mosaic with intentional irregularity reads as deliberate craft, not mistake correction.

Most people sand their edges smooth because they learned that polish equals quality. Wrong framework. Wood mosaic thrives on the jagged edge—it’s literally the material’s default state when you’re working with salvaged scraps. The exposed grain, the slight splinter, the irregular surface plane: these create shadow variation that flat, finished edges eliminate. Your wall catches light differently. The piece commands attention through texture, not through symmetrical perfection.
Controlled Chaos As Design Principle
Controlled chaos borrows directly from entropy in physics: the idea that disorder contains more information than order. Apply this to wood mosaic and you’re working with randomness that still obeys visual gravity. You’re not throwing scraps at a board. You’re placing them so the eye can follow a path through apparent randomness—usually a focal point that emerges from strategic density or color clustering.
The common advice says “plan your design first.” Incomplete. You plan your constraints instead. Decide your color palette, your piece dimensions, your focal zone. Then you place scraps within those boundaries with deliberate flexibility. This isn’t freestyle—it’s structured improvisation. The mechanism: rigid planning kills the energy that makes scrap wood mosaic distinct. Constraint-based placement keeps the energy alive while preventing visual collapse into meaningless clutter.
The Material Reckoning: Sourcing Scrap Wood For Unconventional Impact

Beyond The Lumberyard: Urban Foraging
You want permission to skip the expensive supply chain and look resourceful doing it. The real mechanism is scarcity creates constraint, and constraint forces better design decisions. When you can’t buy what you want, you build what matters. Urban wood sourcing works because demolition sites, pallet yards, and furniture shops discard material faster than you can use it. Most people won’t touch it because it requires legwork. That friction is your actual advantage.
The wood you find has story embedded in it: old finish, nail holes, weathering patterns. This becomes visual texture that new lumber cannot manufacture. Reclaimed flooring from 1920s buildings, barn siding, pallets from industrial operations, rejected furniture frames from makers and refinishers. You’re not collecting scraps for virtue. You’re collecting them because they already possess the visual weight that would cost money to fake or sand away.
Wood Scrap Art As Material Curation
Material curation borrows from museum economics: scarcity drives perceived value. You don’t arrange random wood pieces. You audit what you have, identify repeating colors and grain patterns, then build intentional visual relationships between them. This is opposite to the generic advice that tells you to “just glue wood onto a board.” That approach produces visual noise.
Start by sorting scraps into three categories: primary (dominant color or grain), secondary (supporting tones), and accent (rare pieces that break the pattern). Build your mosaic around the primary pieces first. Secondary pieces create rhythm. Accents provide the visual punctuation that forces the eye to move. You’re not creating a patchwork quilt. You’re creating a hierarchy that makes people stop and study it instead of scroll past it.
The Provocation Protocol: Designing Wood Collage For Visual Disruption
When Wood Grain Becomes Contrast
You want this piece to stop people mid-stride. That’s the real ask here. Most people treat scrap wood mosaic like decoration, when it’s actually about creating cognitive friction. Borrow from signal detection theory in neuroscience: your brain processes contrast first, then color, then detail. Wood grain operates as signal noise that either amplifies or kills your message.

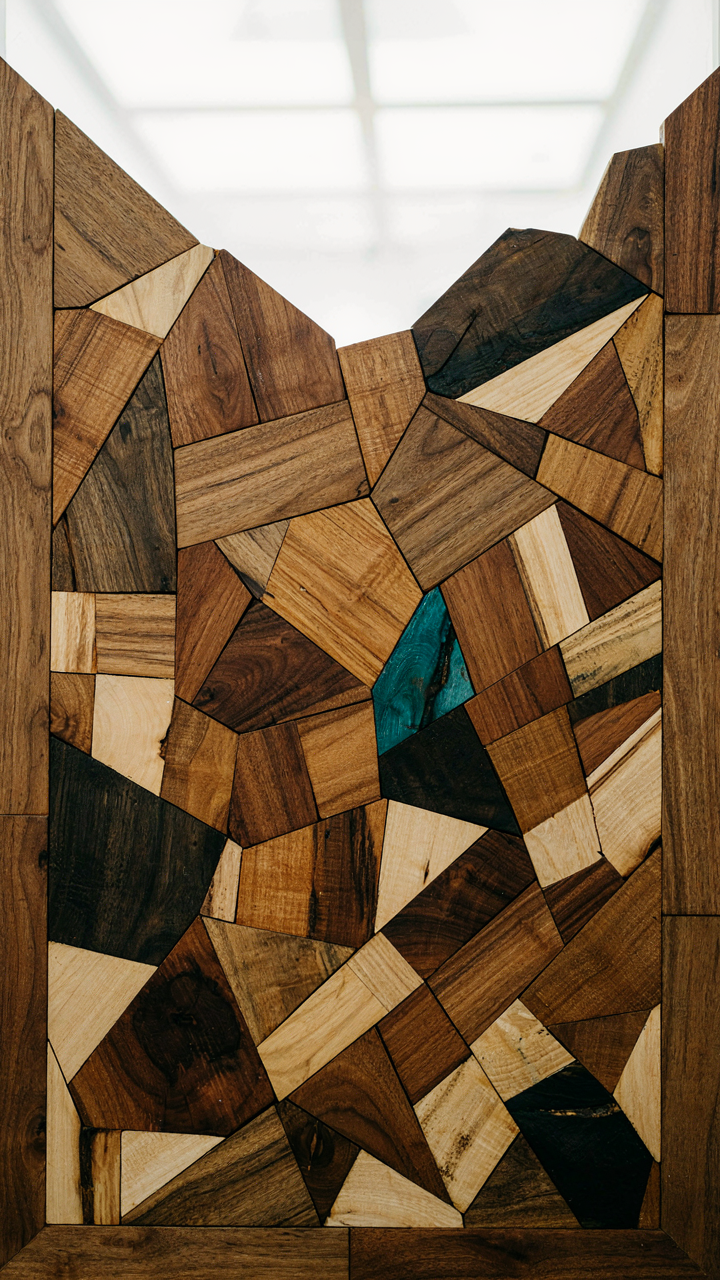
The mistake everyone makes is assuming wood naturally looks good together. It doesn’t. Raw scrap wood is often uniform in tone and grain direction. You have to engineer opposition. Contrast works through three channels: grain direction, surface finish, and wood species pairing.
- Opposing Grain Patterns: Cross two pieces at 90 degrees so grain lines create visual collision, not flow. This breaks the eye’s ability to scan smoothly and forces engagement.
- Matte Against Sealed: Pair raw, unsealed wood with polyurethane-finished pieces. The light absorption difference creates depth without adding color.
- Dark Walnut With Light Pine: Species contrast is harder to fake than grain direction. Walnut’s natural darkness against raw pine creates immediate hierarchy.
- Weathered Versus Fresh: Aged wood has chemical breakdown that darkens it. Fresh-cut wood reflects differently. Stack both in the same composition for temporal contrast.
- Rough Sawn Against Planed: Surface texture changes how light hits wood. One rough, one smooth in adjacent tiles breaks visual monotony at the material level.
The composition rule: never let more than 40 percent of your visible pieces share the same grain direction. When 60 percent of your mosaic pieces align, your eye treats it as a pattern rather than a statement. You want viewers to feel unsettled enough to keep looking.
The Grid Lies, Placement Doesn’t
Scale and placement aren’t about aesthetics. They’re about forcing specific eye movement patterns and holding attention duration. Most people center their mosaic on a wall like it’s a framed print. That’s passive. Active placement disrupts the room’s existing visual hierarchy.
The dominant piece should never be at eye level center. Place your largest or most contrasting wood element at the upper third of the wall, slightly off-center. This pulls the eye upward and forces the viewer to scan the entire composition rather than land on a resting point. The piece needs to occupy no more than 15 to 20 percent of your total wall space, or it becomes a single focal point instead of a system that demands navigation.
Smaller pieces cluster toward the bottom and margins. This creates tension between weight and placement. Your brain expects heavy visual elements to anchor the bottom. When you reverse that, the viewer’s eye stays active longer. Spacing between clusters matters more than the clusters themselves. Inconsistent gaps signal intentionality. Consistent gaps signal decoration. You want viewers to feel the work was deliberate, not random.

Beyond The Glue Gun: Secure Fastening For Lasting Wood Scrap Wall Art
Mechanical Fasteners That Actually Hold
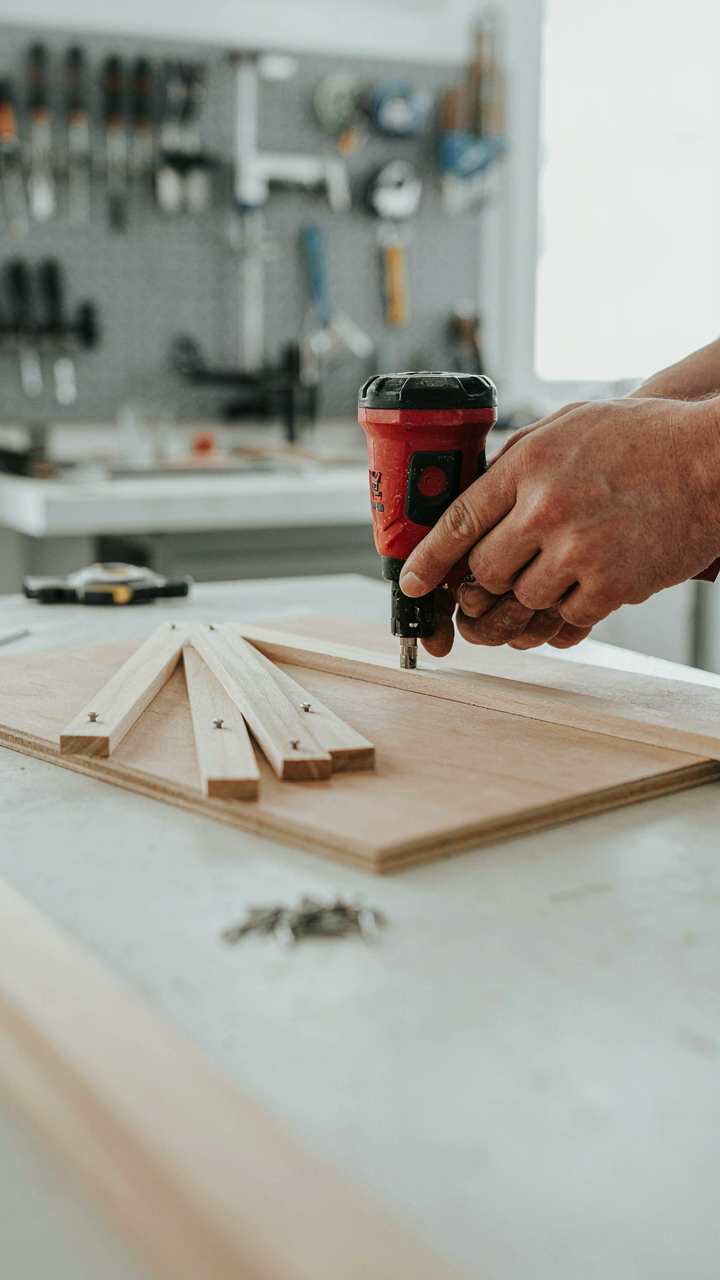
You want this to last because replacing wall art is annoying, not because you care about permanence as a virtue. That’s the real driver here. The mechanism is simple: adhesive alone fails because wood moves with humidity and temperature, creating stress fractures in the bond line. Nails and screws work because they distribute load across multiple wood fibers instead of relying on surface chemistry. Dados, the grooved joints, work even better by mechanically locking pieces together before any fastener enters the equation.
Most people skip mechanical fasteners because they seem fussy next to a glue gun. Wrong choice. Finish nails work best for thin scrap pieces because they create minimal surface damage and hold under shear stress. Pocket hole screws hide completely and handle thicker stock. Dados require planning but eliminate fastener visibility entirely by routing channels that interlock pieces. The wall’s structural integrity matters too—anchor into studs when possible, use toggle bolts into drywall when you cannot.
Durability Over Convenience
Adhesive fails on a timeline you cannot predict. Mechanical fasteners fail only when subjected to force beyond their rated capacity—which on a wall almost never happens. The real game is this: choose the fastening method that matches the wood thickness and grain direction of each piece, then reinforce it with quality adhesive as a secondary system. Never use adhesive as the primary hold.
Start by assessing your scrap wood. Thin veneer or plywood needs different fasteners than solid hardwood. Test your fastener choice on scrap first—drive it, check pull resistance, examine the hole. This takes fifteen minutes and prevents a failed installation months in. Once you verify the fastener works, apply polyurethane adhesive or epoxy around the hole site, then seat the fastener fully. This dual-system approach stops both creep and impact failure.

The Resonance Principle: Infusing Meaning Into Your Reclaimed Wood Collage
Status Through Unique Creation
You want people to know you made something nobody else could replicate. That’s the real driver here, and it matters because uniqueness signals competence in a world drowning in mass production. Evolutionary biology calls this costly signaling: you invest time and resources into something hard to fake. A scrap wood mosaic works the same way. The irregular grain patterns, the specific woods you source, the composition you choose—all of it proves you didn’t buy from a catalog. Observers recognize the asymmetry between effort and the result.
The mechanism is simple: rarity creates perceived value. When someone sees a scrap wood mosaic on your wall, they’re not just seeing wood. They’re seeing proof that you know how to see potential in discarded material, that you can execute a complex visual idea, and that you’re willing to spend hours on something invisible to people who don’t look closely. That combination doesn’t exist in furniture store art. The wood grain itself becomes a status marker because natural variation can’t be faked at scale.
Natural Forms Drive Visual Hierarchy
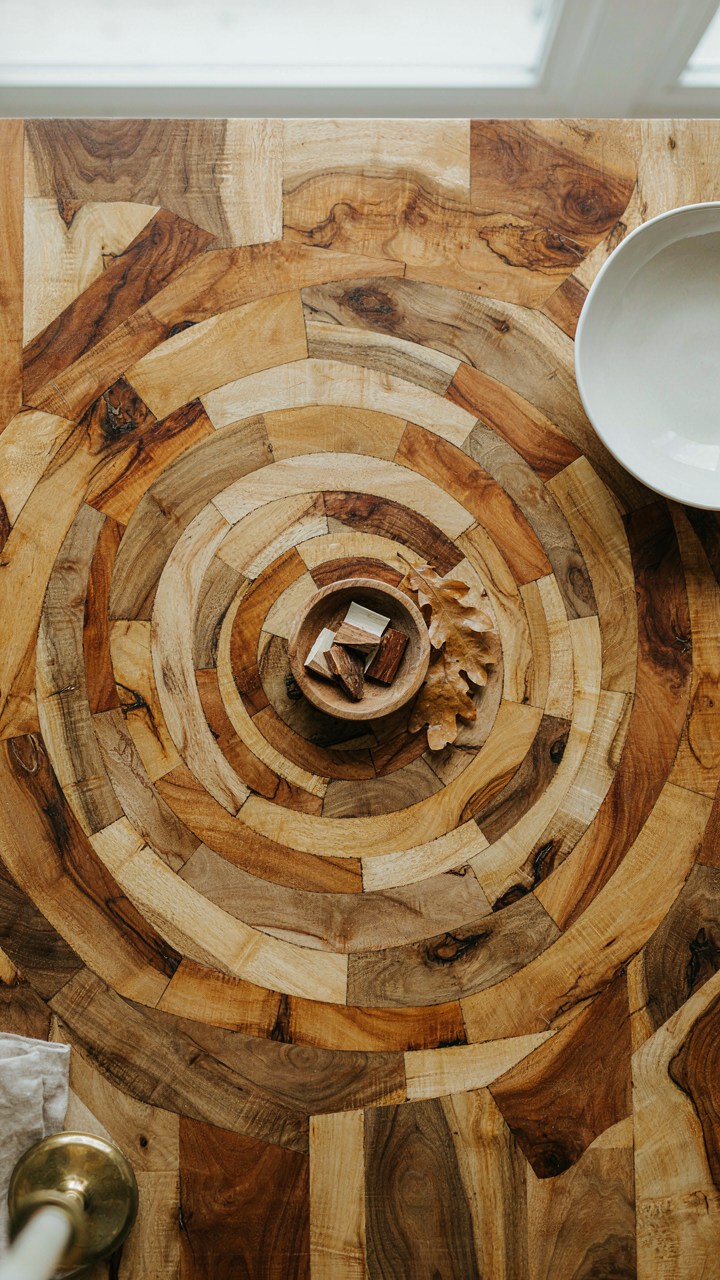
Biomimicry isn’t about copying nature—it’s about stealing the organizational systems nature already solved. The advice to “add organic shapes to your mosaic” misses the point entirely. You’re not decorating with randomness. You’re borrowing the growth patterns that humans find compelling because we evolved around them. Spiral phyllotaxis in seed heads, branching patterns in rivers, radial symmetry in cross-sections: these structures appear throughout nature because they’re efficient. Your scrap wood mosaic becomes legible when it echoes these patterns.
The tactical move is this: arrange your wood pieces to create focal points that radiate outward or spiral inward, rather than distributing them uniformly across the wall. Look at the tree rings and growth lines in your scrap wood, then let them guide your orientation. Don’t fight the grain—align pieces so the natural lines create visual pathways that pull the eye through the composition. This transforms a random assembly into something your brain recognizes as intentional, which deepens the resonance and makes people remember the piece.

Finishing With Conviction: Protecting Your Scrap Wood Wall Art

Matte Or Gloss: The Actual Choice
You want your piece to look intentional, not like you forgot the final step. The real mechanism here comes from material science: surface texture controls light reflection, which determines how viewers perceive depth and wood grain variation. Matte finishes scatter light across the wood’s irregular surface, making grain patterns read as texture rather than shine. Gloss finishes concentrate light reflection, turning your mosaic into a mirror that competes with the wall itself.
Matte wins for scrap wood mosaics because it preserves the raw character you built. Gloss hides wood imperfections under a reflective layer, which defeats the point of visible grain variation and color contrast. Apply matte polyurethane or water-based matte polycrylic in thin coats. Two to three coats beat one thick coat that pools in recessed joints. Sand lightly between coats with 220-grit paper to kill the buildup sheen and ensure adhesion.
What Actually Kills Scrap Wood Finishes
Most finishing advice ignores the real enemy: moisture cycling and UV exposure acting together over time. Temperature swings make wood expand and contract. A glossy or improperly sealed surface can’t flex with that movement, so it cracks. UV light breaks down the binder in any finish, causing discoloration that starts at the exposed edges where wood meets adhesive or seams.
The fix is two-part. Use a pre-stain wood conditioner on softwoods before sealing to prevent blotchy absorption that accelerates degradation. Apply UV-protective finish, not standard polyurethane. Water-based polycrylic with UV inhibitors works. Apply your final coat in a thin, even layer at room temperature and humidity around 50 percent. Seal the back and edges of your mosaic frame too. Unprotected wood draws moisture from behind, causing the piece to warp and joints to separate.

Installation As Statement: Hanging Your Scrap Wood Mosaic With Intent
Where It Lives Matters More Than You Think
You want the piece to look intentional, not like you hung it wherever wall space opened up. The real mechanism is visual hierarchy: your scrap wood mosaic competes with every other object in the room for attention. Placement determines whether it dominates or disappears. Mount it opposite the entry point so people’s eyes land there first. This isn’t decoration theory—it’s how human attention actually works. The eye travels to contrast and interruption before it settles anywhere else.
Wall height changes everything. Center the piece at 57 to 60 inches from floor to middle point—standard eye level when standing. Scrap wood mosaics with dimensional depth need breathing room around them, so don’t wedge it between furniture or windows. The piece needs isolation to register as art rather than just something on the wall. If the mosaic’s tallest protrusion juts out more than two inches, account for that when calculating sightlines and keep clearance around it.
Angle The Light To Create Dimension
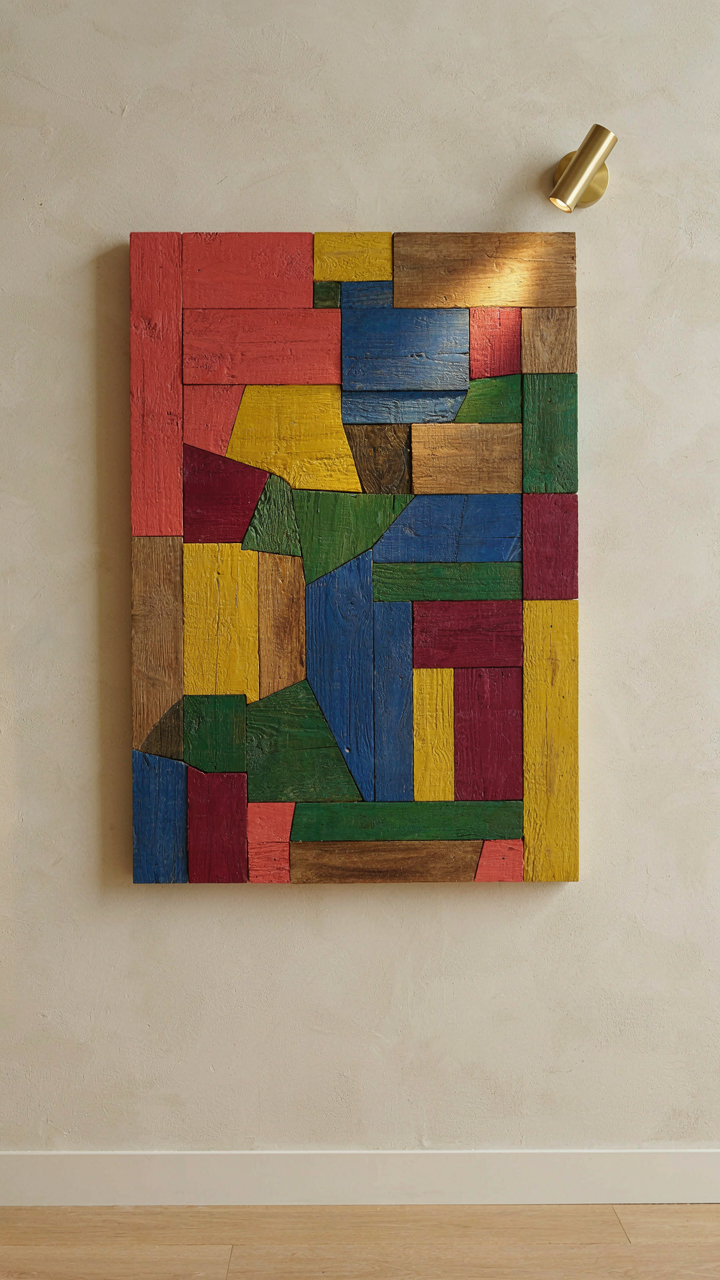
Lighting isn’t decoration—it’s physics applied to surface. The varying wood grain, exposed nails, and recessed gaps in scrap wood mosaics create shadow planes. Directional light from one side exploits these planes and makes the work appear three-dimensional rather than flat. Diffuse overhead lighting erases all that texture and reads as amateur. The mechanism is shadow contrast: where light falls at an angle, shadow depth becomes visible.
Install a focused light source—track lighting, picture light, or directional wall sconce—positioned 30 to 45 degrees from the wall plane. This angle maximizes the interplay between highlighted wood surfaces and recessed shadow zones. Never use backlighting alone. Test the angle before securing anything permanently. Stand in the space at different times and watch how daylight changes the effect. The final setup should make wood grain and structural depth unmissable.

The Rebellious Remix: Evolving Your Scrap Wood Art Over Time
Build In Seams, Not Finish Lines
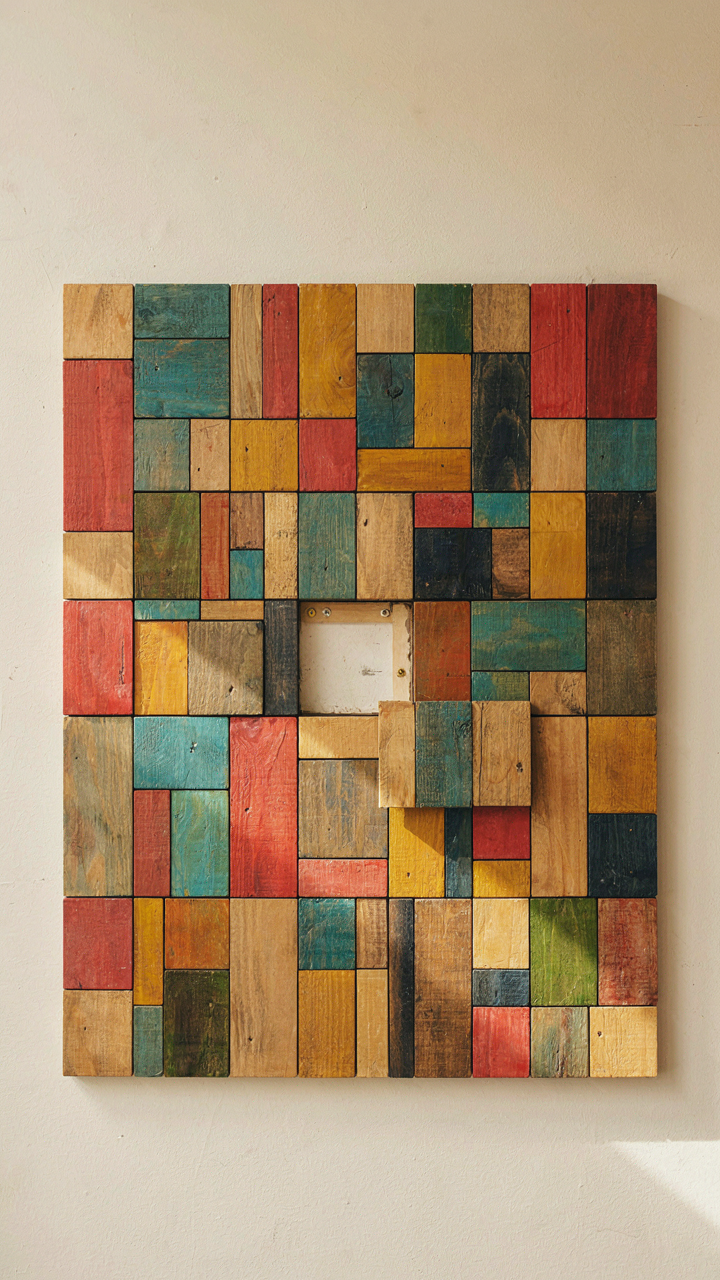
You want this piece to feel permanent, but you’re scared of committing to a static wall. That fear is the mechanism at work—and it’s the exact reason modular design beats the sealed-panel approach every time. Think in systems language: design for modularity, not monoliths. Your scrap wood mosaic should use a framework where individual sections connect without relying on permanent adhesive across all contact points.
Start with a grid-based backing system. Attach wood sections to individual frames or panels that mount independently to the wall. Use French cleats, rail systems, or magnetic mounting strips between panels so you swap, rotate, or add sections without touching existing pieces. This isn’t a nice-to-have feature. It’s the only way to avoid the trap of completing something you’ll resent in six months.
Material Drift Without Collapse
The common advice says “stick to one wood tone for cohesion.” This is incomplete thinking. Real evolution means integrating stone, metal, or resin into your existing grid without the piece looking fractured. Treat this like structural load: each new material carries its own weight class, so your backing system must accommodate different thicknesses and densities.
Plan for material integration during the initial build phase, not after. Leave strategic gaps or recessed zones where you can slide in contrasting materials later. Brass sheet, slate chips, or epoxy-filled sections slot into the same modular frame without requiring new hardware. The mechanism isn’t about finding matching pieces—it’s about designing anchor points that accept anything within a thickness range you’ve predetermined.
Monetizing Mastery: From Scrap Wood Mosaic To Collectible Art
Building Recognition Through Distinctive Work
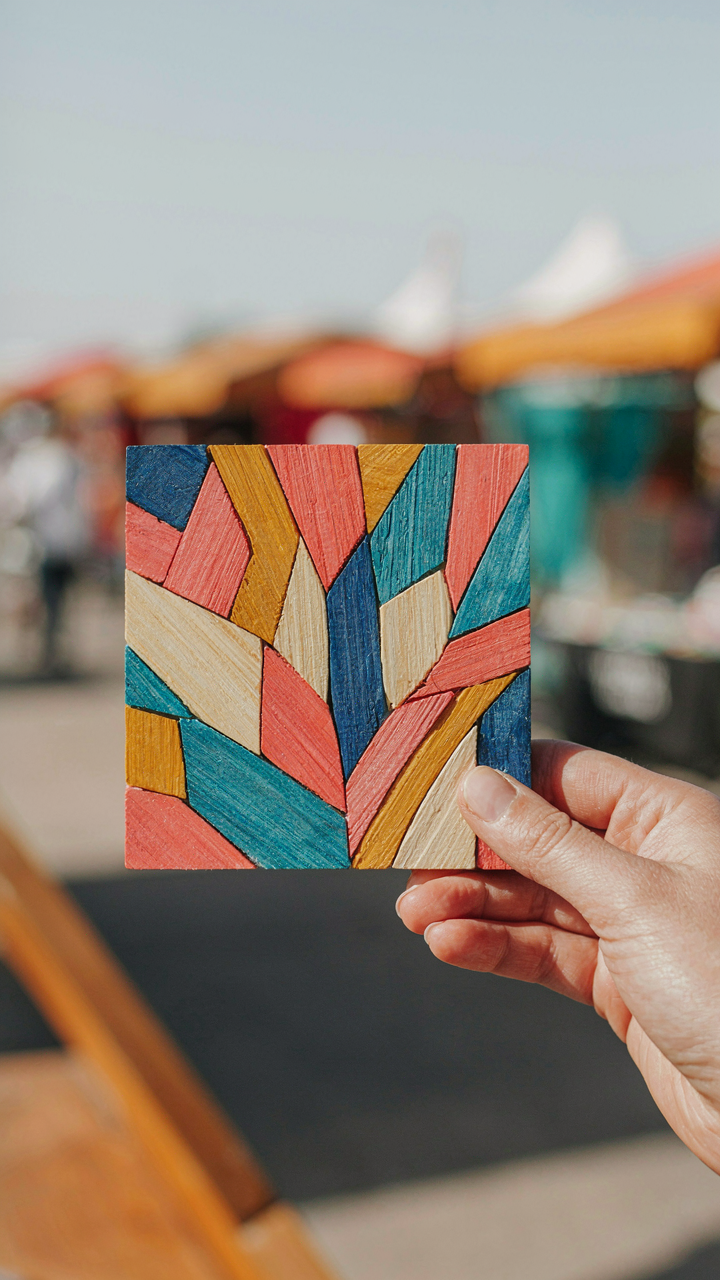
You want permission to believe your work matters enough to charge real money for it. Here’s the mechanism: scrap wood mosaic sits in a gap between craft and fine art, which means there’s no established price floor crushing your margins. The real play is differentiation through constraint. Artists who limit their color palette, repeat specific wood species, or develop a signature pattern style become recognizable. That recognition is what converts browsers into buyers. Your work doesn’t need to be objectively better than competitors. It needs to be unmistakably yours in a way that sticks in someone’s head.
The brand forms around consistency, not versatility. Post the same type of piece repeatedly. Document your process. Show the wood selection, the layout decisions, the gaps you intentionally leave. Collectors don’t buy scrap wood mosaics because they need wall coverage. They buy because they recognize the maker’s hand and want to own a piece of that specific vision. This is how unknown makers reach four-figure sales while technically skilled artists stay stuck at craft fair prices.
Pricing Unconventional Skills Accurately
The common advice is garbage: charge hourly rates or copy what others charge. Both destroy your actual value. Economics teaches marginal utility, which in this context means the price should reflect what a buyer loses by not owning your specific piece, not how many hours you spent sourcing materials. A scrap wood mosaic that took four hours but represents six months of developed style is worth exponentially more than a rushed piece that took eight hours.
The real valuation step is this: find the cheapest comparable piece in the secondary market that matches your skill level and style, then price new work 20 to 30 percent above that floor. As you sell, track which pieces move fastest. Raise prices on work matching that profile. Document each sale price and sale speed in a spreadsheet. After ten to fifteen sales, you’ll see the actual demand curve for your work. That data becomes your pricing bible, not your gut or someone else’s rate card.
Your Fear Of Imperfection, Not The Wood, Is The Real Obstacle To True Wood Mosaic Mastery

Every scrap wood mosaic you’ve seen that stopped you cold had one thing in common: the artist didn’t wait for permission. They glued uneven pieces. They left gaps. They broke symmetry on purpose. You’re not afraid of failing at wood mosaic. You’re afraid of failing publicly. Start today by grabbing five random scraps and gluing them to cardboard with zero plan. Post it. Watch how fast your perfectionism dissolves when you realize nobody cares about the flaws except you. The wood doesn’t judge. Stop waiting for it to.



