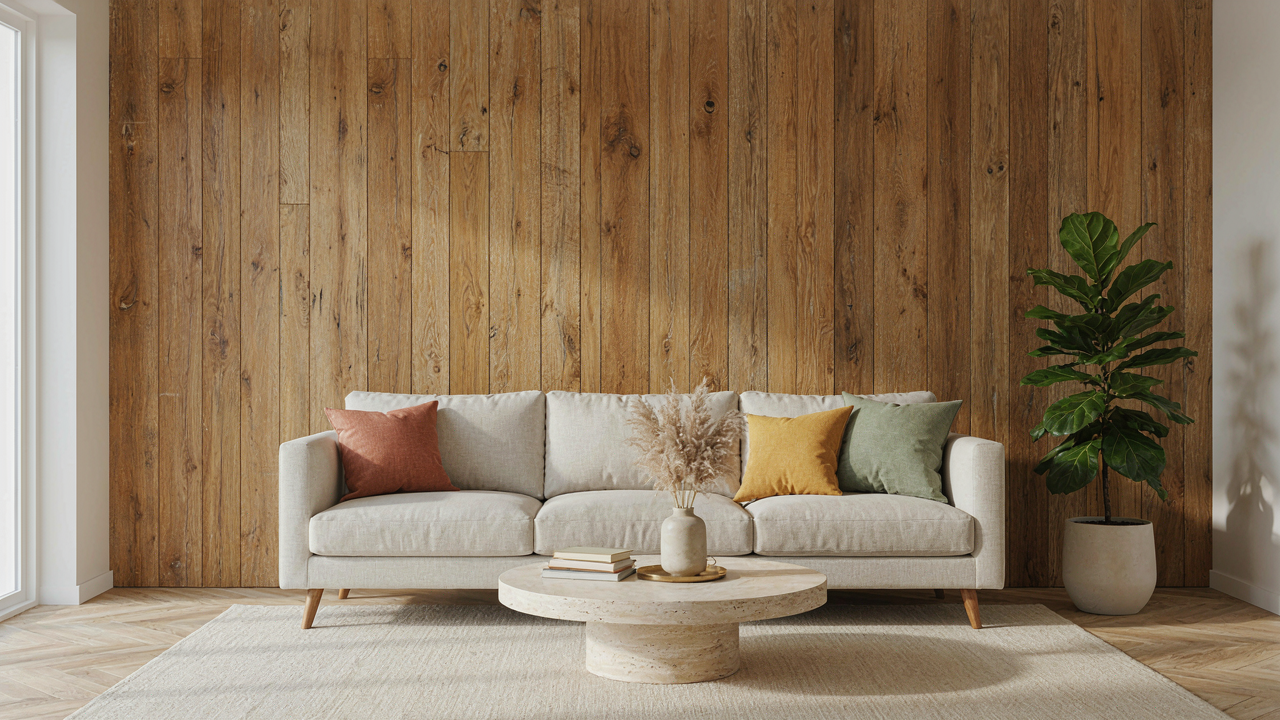
The Pallet Paradox: Why Most “Rustic” Walls Fail
The Wood You Don’t See
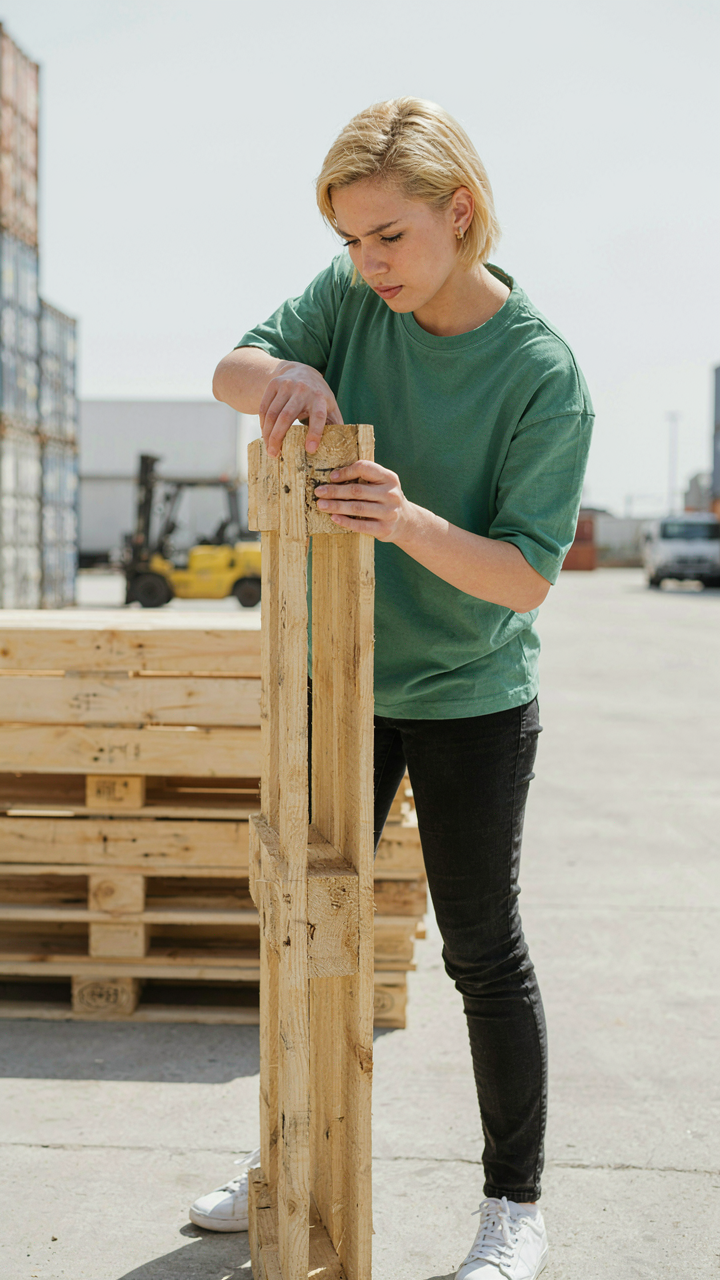
You want this to look effortless. That’s the real reason you’re reading this section, and it’s why you’ll skip the hard part. Most pallets arrive contaminated. Shipping pallets get treated with pesticides, fumigants, or chemicals to prevent insect damage during transit. The letters “HT” stamped on wood mean heat-treated and safe. “MB” means methyl bromide, a toxic fumigant banned in many countries but still present on older pallets. You cannot see this. You cannot sand it away. It stays in the wood.
The cost difference between grabbing free pallets and sourcing IPPC-certified heat-treated wood is minimal, yet most people choose the free option and install it indoors. Untreated pallets also absorb moisture differently than finished lumber, causing warping and mold growth behind walls. If you’re attaching pallets to drywall without a vapor barrier, you’re creating a humidity trap. The aesthetic fails within two years, but by then you’ve already decided it’s “rustic charm” rather than material failure.
Wall Assembly Matters More Than Finish
Structural integrity is engineering, not decoration. Think of your pallet wall like load distribution in construction: the visual surface is just the finished layer. The real system sits behind it. Most pallet walls fail because people nail them directly to drywall studs without understanding weight distribution. Pallets weigh between 30 to 50 pounds depending on wood density and moisture content. A 4×8 wall section built from stacked pallets can easily exceed 200 pounds.
Drywall anchors alone will not hold this. You need direct stud attachment, and you need fasteners rated for the load. Screws beat nails here because they resist shear forces better than nails do when the wall shifts. Pallets also shrink and swell with seasonal humidity changes. If you screw them too tightly to the frame, they’ll crack. If you leave gaps, they’ll separate from the wall. The answer is pilot holes with slight clearance, allowing the wood to move while staying anchored. Install blocking between studs before mounting, then fasten pallets to blocking, not drywall.
The Deconstruction Protocol: Preparing Pallets For Longevity
Clean Before You Commit
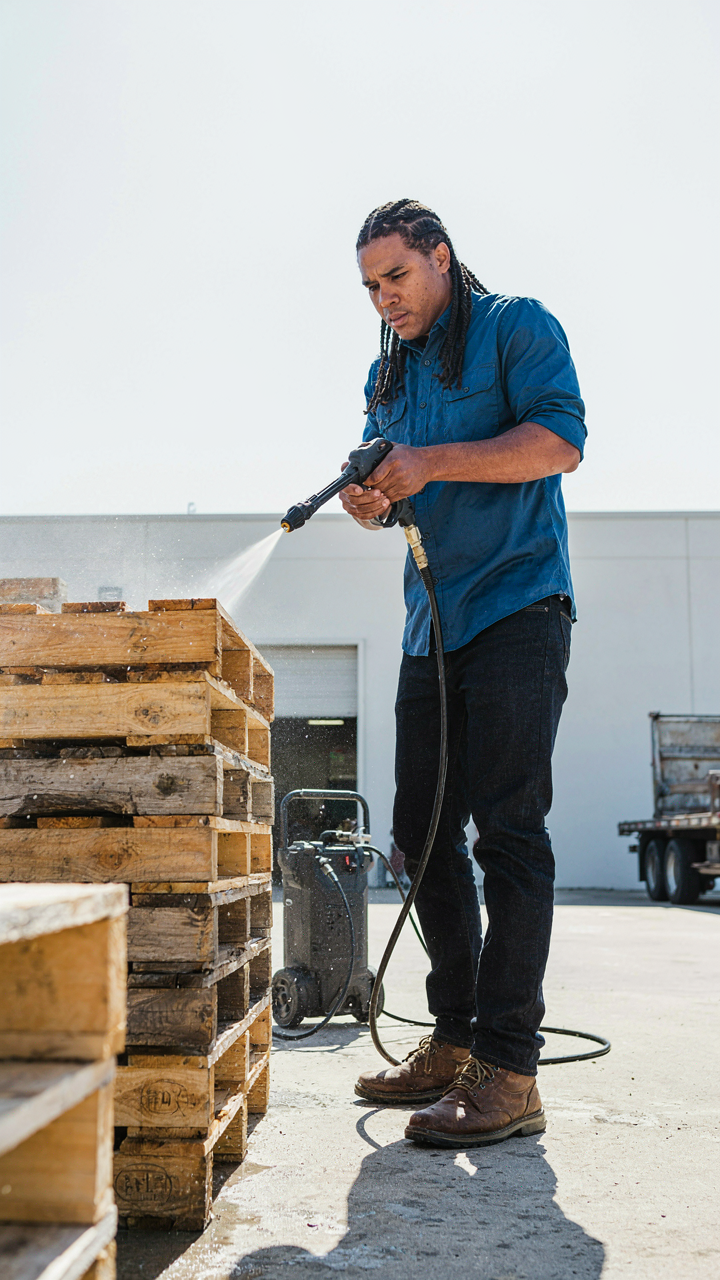
You’re skipping this step because you think it’s obvious, and that’s exactly why your wall will fail. Pallets spend months or years in warehouses, trucks, and loading docks accumulating pesticide residue, mold spores, and industrial contamination. The mechanism is simple: what you don’t remove now migrates into your home’s air and degrades wood fiber from the inside out. Start with a pressure washer set below 3000 PSI to avoid splintering, or use a stiff brush and white vinegar solution for interior pallets that won’t take extreme water exposure.
- Pressure washing: Use 2500 PSI or lower on a 15-degree nozzle angle. Keep distance consistent to avoid gouging soft wood grain. Let pallets dry fully before moving to next step.
- Vinegar rinse: Mix one part white vinegar to three parts water. Scrub all surfaces with a deck brush. This kills mold and removes chemical coatings without harsh fumes.
- Disinfectant soak: For pallets exposed to food or chemical transport, use a borax solution (one cup per gallon of water). Submerge overnight if possible, or apply and let sit 24 hours.
- Air drying protocol: Stack pallets horizontally with spacers between each layer. Leave 2 to 3 inches of air gap on all sides. Drying takes 2 to 4 weeks depending on climate and wood thickness.
- Inspection checkpoint: After drying, inspect for soft spots, deep stains that indicate rot, and insect damage. Mark any compromised sections for removal or reinforcement before installation.

Most people think cleaning means rinsing dirt off the surface. It doesn’t. Industrial pallets carry absorbed contaminants that water alone won’t lift. Vinegar or borax breaks down these residues at the molecular level, which is why the extra wait matters. Your wall’s lifespan starts here, not at installation.
Sand, Seal, And Stop Deterioration
Wood exposed to humidity cycles without protection becomes a vector for expansion and contraction that splits joints and splinters surfaces. Sanding removes the weathered outer layer where contaminants hide, while sealing creates a vapor barrier. This is basic material science applied to pallet wood: seal the substrate to control moisture movement. Use 80-grit sandpaper to strip the surface, then 150-grit to smooth, working with the grain direction to prevent tearout.
After sanding, apply a penetrating oil sealer designed for interior wood, not exterior deck stain. Interior walls don’t need UV protection, and heavy film coatings create a plastic appearance that defeats the rustic aesthetic. Penetrating sealers stabilize the wood from within while maintaining the natural grain texture. Apply two coats with 24-hour curing between applications. This single decision determines whether your wall looks aged in five years or destroyed.
Wooden Pallet Wall: The Strategic Installation Blueprint
Where Your Fasteners Actually Matter
You want this to look permanent, not like you’re renting. That fear drives most people to overthink mounting, when the real issue is simpler: you’re choosing between two load-bearing systems, and one fails silently. Studs carry weight through the wall’s skeleton. Anchors suspend weight from drywall alone. The distinction isn’t decorative—it determines failure mode and longevity.
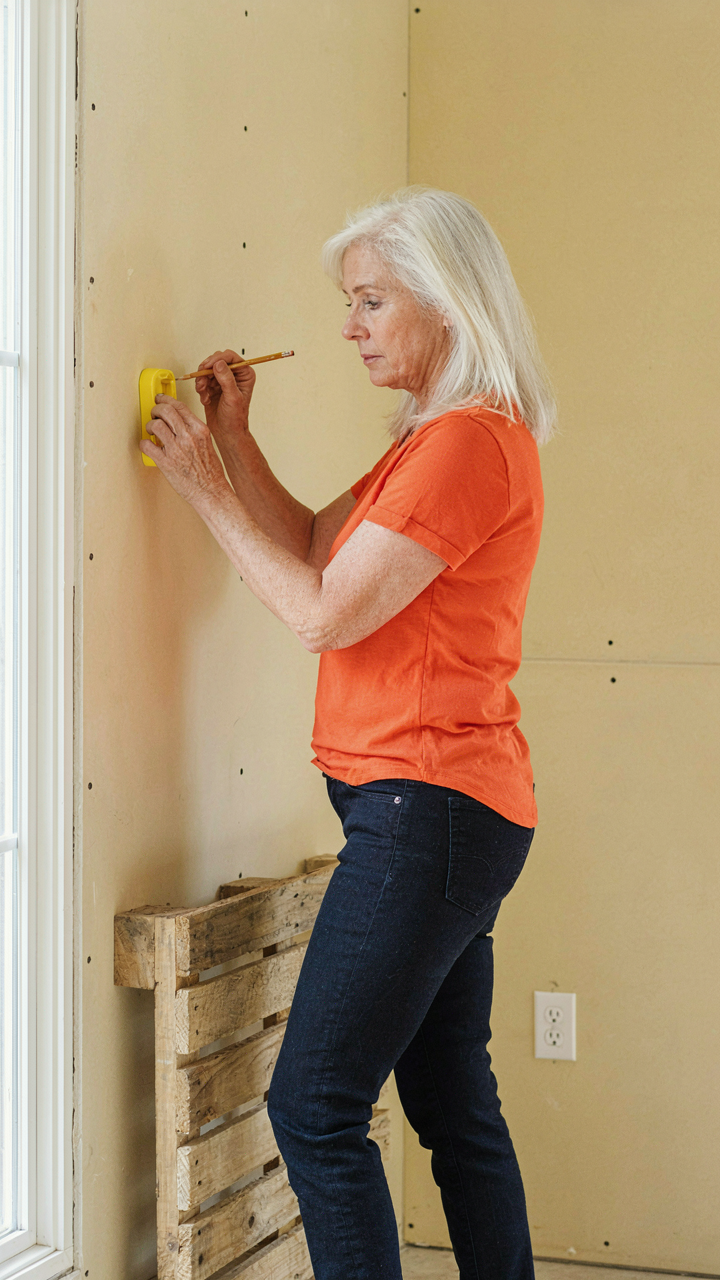
Pallets weigh between 30 and 50 pounds depending on wood density and moisture content. A single pallet mounted to drywall anchors alone will sag within months as anchors creep. You mount through drywall into wall studs with 3-inch lag screws or structural fasteners rated for shear load. Find studs with a stud finder, mark them, drill pilot holes, then screw directly through the pallet’s top and bottom rails into the framing. If studs don’t align with your layout, you accept the constraint or you cut and relocate pallets to match. Anchors alone work only for decorative, non-load-bearing arrangements—single pallets hung as standalone art, not as a wall system.
Layout Intention Beats Random Assembly
Most people stack pallets like Tetris, hoping symmetry emerges. It doesn’t. Industrial design borrowed from manufacturing—the concept of a “grid”—applies here: you decide the underlying structure first, then fill it. A grid is the invisible framework that makes composition readable. Without it, pallet walls read as clutter, not design.
Choose your grid before installing the first fastener. Vertical stacking creates a column rhythm. Horizontal offset creates a brick pattern. Diagonal angles create tension but demand precise measurement and waste material. Commit to one grid system across the entire wall. Measure distances between pallets—consistency is the difference between intentional and accidental. Uneven gaps destroy visual weight distribution. Lock your layout with chalk lines on the wall before you mount anything. This step prevents the waste of unmounting and remounting pallets because your eye changed midway through.
Wall Pallet Ideas: The “Adaptive Reuse” Economic Model
From Waste To Value: Understanding Material Arbitrage
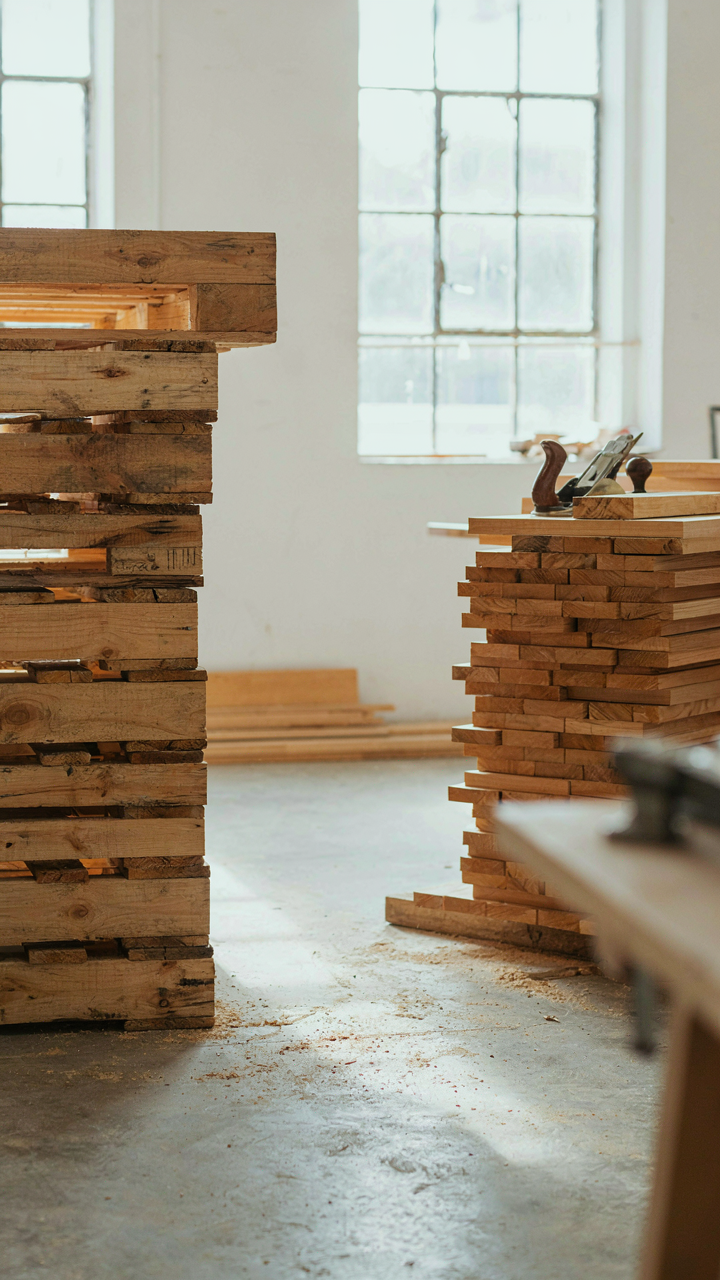
You want pallet walls because you think they’re cheap. That’s not the real reason you care—you care because you want to look resourceful without actually being poor. The mechanism here is material arbitrage, borrowed directly from economics: buying an asset in one market where it’s undervalued and selling or deploying it in another where it commands higher perceived value. Pallets are trash in logistics. They’re inventory cost. Retailers pay to dispose of them. You acquire them free and install them as design, instantly converting disposal liability into aesthetic capital.

The gap between a pallet’s cost-to-move-and-store versus its visual impact in a room is where the actual economics live. A pallet costs a business money to handle. To you, it costs zero dollars and maybe an hour of labor. That same pallet, once sanded and stained, occupies wall space that would otherwise require drywall, paint, and texture work. You’ve compressed three materials into one material by exploiting the difference between what something costs to eliminate and what it costs to showcase.
Cost Benefit Analysis: Free Vs Finished Lumber
The conventional advice says pallet walls save money. That’s incomplete. You don’t save money—you trade time for materials. Free pallets require sourcing, inspection for chemical treatment, disassembly, sanding, stain or finish, fastening, and sealing. That’s six to eight hours of labor minimum per accent wall. Finished lumber from a retailer costs money upfront but arrives ready to install in two to three hours.
The real calculation isn’t pallet cost versus lumber cost. It’s whether your hourly rate justifies the time. If you value your time at forty dollars per hour, eight hours of pallet work costs you three hundred twenty dollars in opportunity cost, plus materials. New lumber might cost two hundred fifty dollars and take three hours. The time difference alone makes finished lumber cheaper for most people, but nobody frames the question that way. Choose pallets only if the sourcing and prep work genuinely interest you, not because you’re chasing savings that disappear when you factor in your actual time.
Beyond Flat: Integrating Crates For Shelves And Storage
Homemade Shelving: Structural Stability For Practical Use
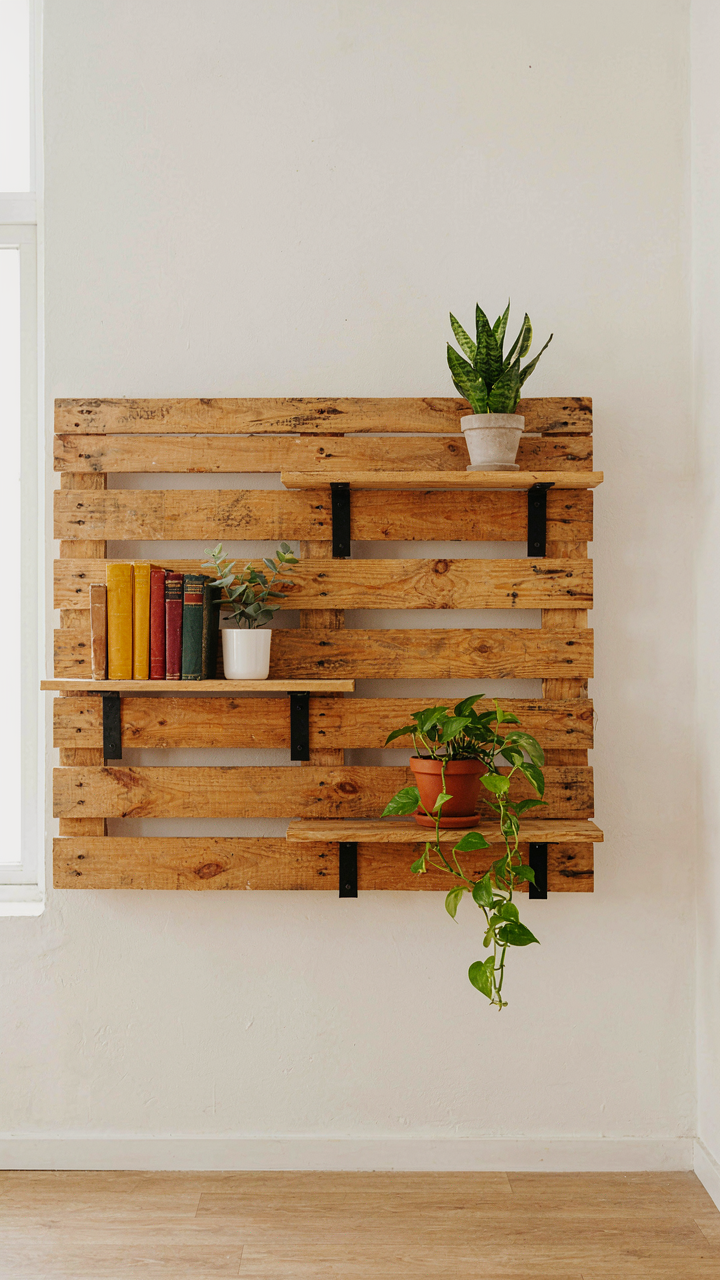
You want this to look intentional, not like you’re one step away from collapse. The real mechanism here borrows from structural engineering: load distribution. A single pallet or crate mounted to drywall fails because you’re concentrating weight on fasteners that can’t handle it. The wall itself becomes your weak point.

Stack crates vertically and anchor them to studs, not drywall. This spreads the load across the frame of your house instead of punching holes in surface material. Use L-brackets rated for the total weight you plan to store, then multiply that by 1.5 as a safety margin. Screw into studs directly. Drywall anchors fail under real-world conditions with books, plants, or anything with actual heft.
Crate Desk Ideas: Engineering Functional Integrated Units
People build crate desks and pretend they’re shocked when the surface sags after three months. You’re not building sculpture, you’re building a tool that takes mechanical stress every time someone sets a laptop down. The mechanism is simple: a crate desk is a cantilever beam problem. One side anchors to the wall. The other side carries load. That load multiplies as distance from the anchor increases.
Build the desktop from solid material at least one inch thick, never plywood alone. Mount crates as the frame, but reinforce the underside with a continuous support rail running front to back. This turns a weak crate structure into a truss. Anchor that rail to wall studs with heavy-duty brackets rated for at least 200 pounds distributed weight. The desk won’t move, and it will still look like reclaimed storage.
The “Visual Weight” Principle: Mastering Pallet Wall Composition
How Pallets Distribute Visual Mass
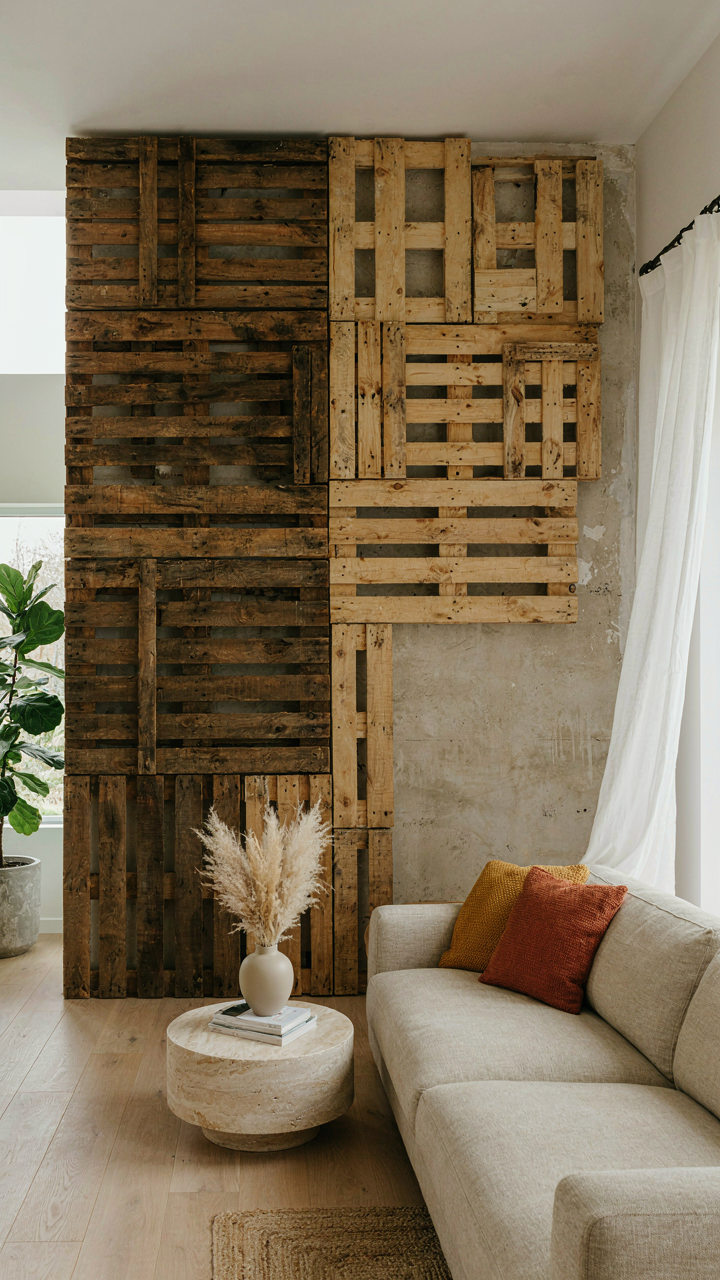
You want your pallet wall to look intentional instead of like you ran out of wall space. Visual weight in design comes straight from physics: objects with mass occupy space and create gravitational pull. On a pallet wall, darker stains, larger elements, and denser arrangements pull the eye like gravity pulls objects downward. The mechanism is simple: your brain processes visual density the same way it processes physical density. Imbalance creates tension. Tension reads as either purposeful or sloppy.

Most people scatter pallets randomly and call it “rustic.” This is lazy, not authentic. Authentic rustic design uses intentional asymmetry, not randomness. Weight a pallet wall by clustering darker or fuller pallets on one side, then balance with negative space or lighter elements on the other. This mirrors how humans naturally read composition: we expect equilibrium, even in unconventional layouts. The eye finds rest when visual mass distributes evenly across the vertical plane, even if elements are staggered.
Where The Eye Actually Stops
Stop assuming a focal point means adding the most ornate element. That’s backward. A focal point works through contrast, not decoration. On a pallet wall, your focal point is the area where visual density changes most dramatically from its surroundings. This could be a single refinished pallet against unfinished ones, a mounted object in an otherwise flat wall, or a clear geometric break in the pattern.
The mistake most people make is treating the entire pallet wall as the focal point. When everything competes for attention, nothing wins. Pick one zone, usually center or off-center at eye level, and architect that area with intention. Mount a single element there, shift the wood orientation, or introduce finish contrast. That zone becomes the anchor. Everything else supports it through repetition, negative space, or subordinate visual weight. This prevents the eye from wandering into fatigue.
Pallet Wall Ideas: Lighting & Embellishment That Elevates
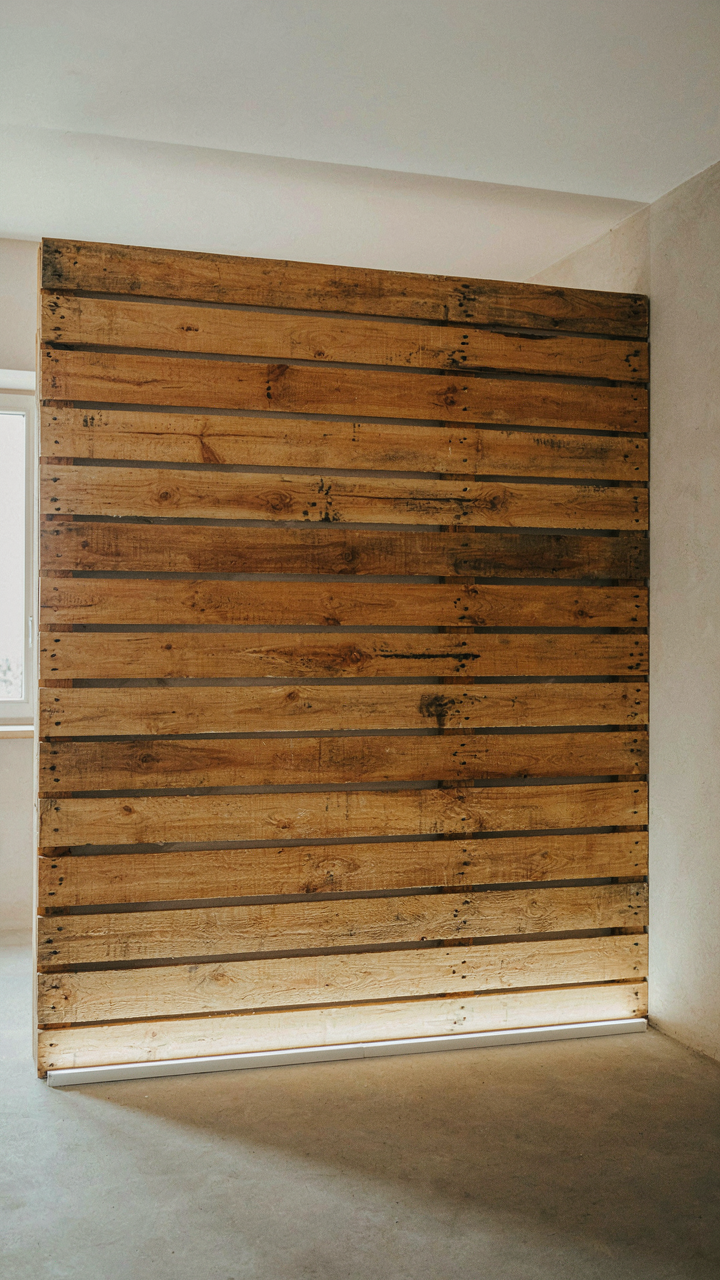
How Light Sculpts Wood Texture
You want the wall to look expensive without spending more money. The mechanism is light direction. Architectural lighting (borrowed from stage design) uses angle and intensity to reveal or hide surface detail. Pallets have inherent texture: wood grain, weathering, gaps between boards. Unlit, all that texture flattens into visual noise. Directional light turns it into depth.
- Uplighting from floor level: Casts long shadows across board edges, emphasizing horizontal lines and creating depth without additional fixtures.
- Downlighting from ceiling: Reveals wood grain and weathering marks across the wall surface while defining the top edge clearly.
- Side-mounted spotlights: Grazes the pallet surface at shallow angles, maximizing shadow play and making aged finishes appear intentional rather than neglected.
- Warm LED strips along gaps: Backlit gaps between boards add dimension and separate the pallet wall from its surroundings without looking theatrical.
- Recessed wall washers: Distribute even light across the entire wall while maintaining texture visibility, working well in minimalist schemes where mood matters more than contrast.

Placement determines function. An uplighter in a corner creates mood for evening living spaces. Overhead ceiling fixtures work for kitchens where visibility takes priority. The goal is not brightness but intentional shadow. Every shadow confirms the wall is dimensional, not flat paint.
The Case Against Visual Clutter
Most pallet wall advice tells you to hang everything: mirrors, signs, plants, string lights, family photos, floating shelves. This is wrong. A pallet wall with texture and grain already demands visual attention. Adding objects treats it like blank drywall. You lose the reason you built it.
Strategic restraint works differently. Pick one type of embellishment: either floating shelves for function, or a single large mirror for reflection, or minimal sculptural pieces. The rule is this: if the object doesn’t either amplify the wall’s texture or serve a genuine storage need, it competes for attention instead of complementing. Pallet walls succeed through subtraction, not accumulation.
Room Decor Ideas Rustic: Future Proofing Your Pallet Wall
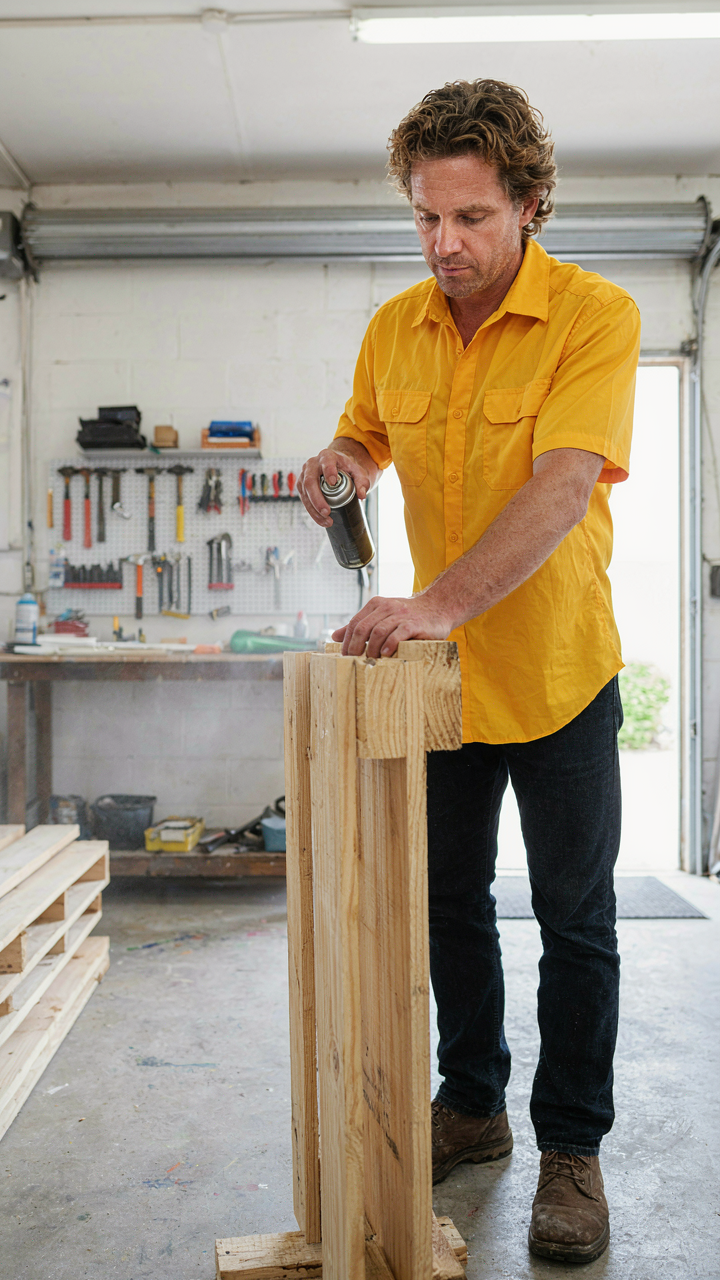
Keep Your Build From Rotting
You want this wall to outlast your lease or mortgage so you don’t have to rebuild it in five years. The mechanism is simple: wood fails when moisture penetrates the fiber structure and bacteria colonize the material. Pallets sourced from outdoor storage already carry moisture load, and interior walls create temperature differentials that trap condensation against the wood. You prevent this by sealing the wood before mounting and establishing airflow behind the structure.

The protocol: Apply exterior-grade polyurethane or spar urethane to all pallet surfaces before installation, especially the back face and edges where contact happens. Use shims or spacers to create a one-inch gap between the wall and pallet structure. This gap allows air circulation and prevents moisture from accumulating. Inspect quarterly for discoloration or soft spots, which signal early rot. Sand and recoat problem areas immediately rather than waiting for structural compromise.
Redesign Without Demolition
The common advice is to paint over your pallet wall or swap out individual boards. That’s wrong. Real adaptability means the structure accommodates evolution without forcing you to start over. Think in terms of load-bearing capacity from engineering: your pallet framework is the foundation that stays, and everything else becomes modular. This means mounting secondary elements that can change while the base structure remains untouched.
Install pallet walls with built-in anchor points spaced at regular intervals. Use these points to hang removable shelving, fabric panels, metal accents, or additional smaller pallets rather than bolting everything permanently. Paint the backing wall a neutral tone so color changes happen through attached elements, not demolition and repainting. This approach lets you shift aesthetic direction yearly without picking up tools. The physical bones of the wall become investment; the visual layer becomes consumable.
The Real Obstacle Isn’t Your Aesthetic; It’s Your Willingness To Build, Not Just Assemble
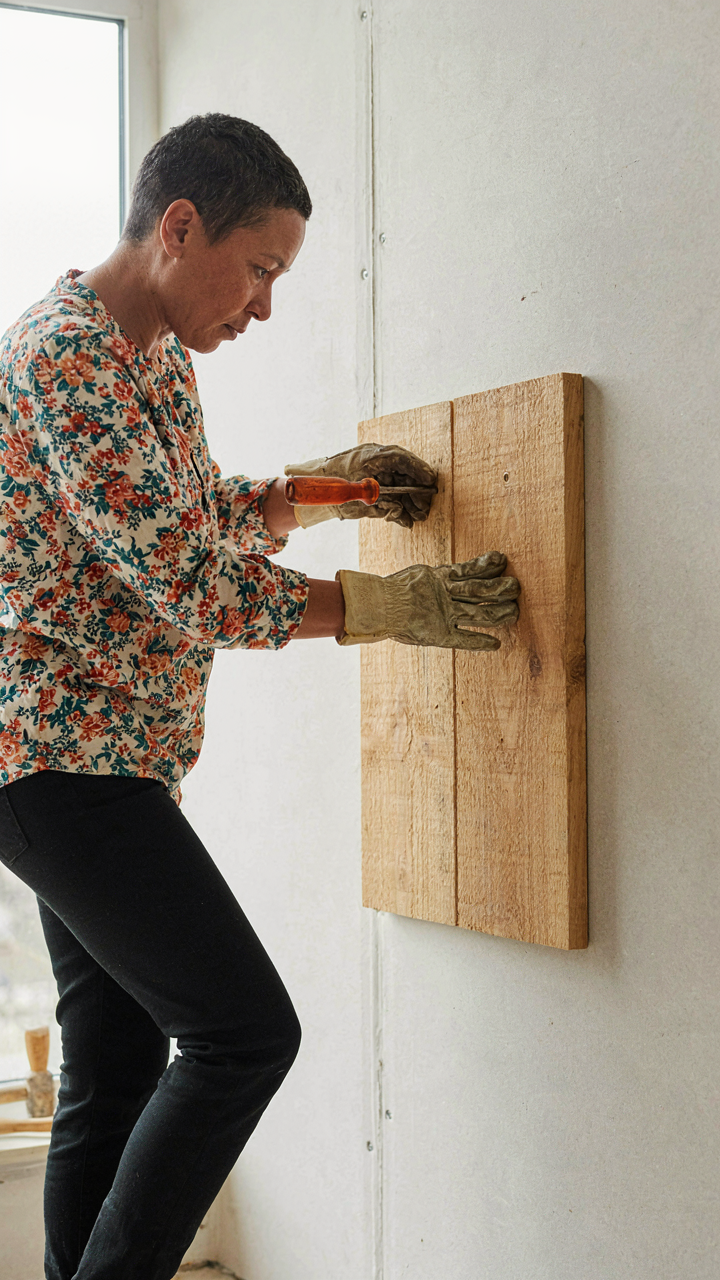
Most people never build a pallet wall because they’re waiting for inspiration that never comes. You don’t need another idea. You need to pick up a pallet this week, sand it down, and mount it. The aesthetic follows the action, not the other way around. Your space won’t transform until you do. Stop scrolling for the perfect design and start with an imperfect one you actually built yourself.