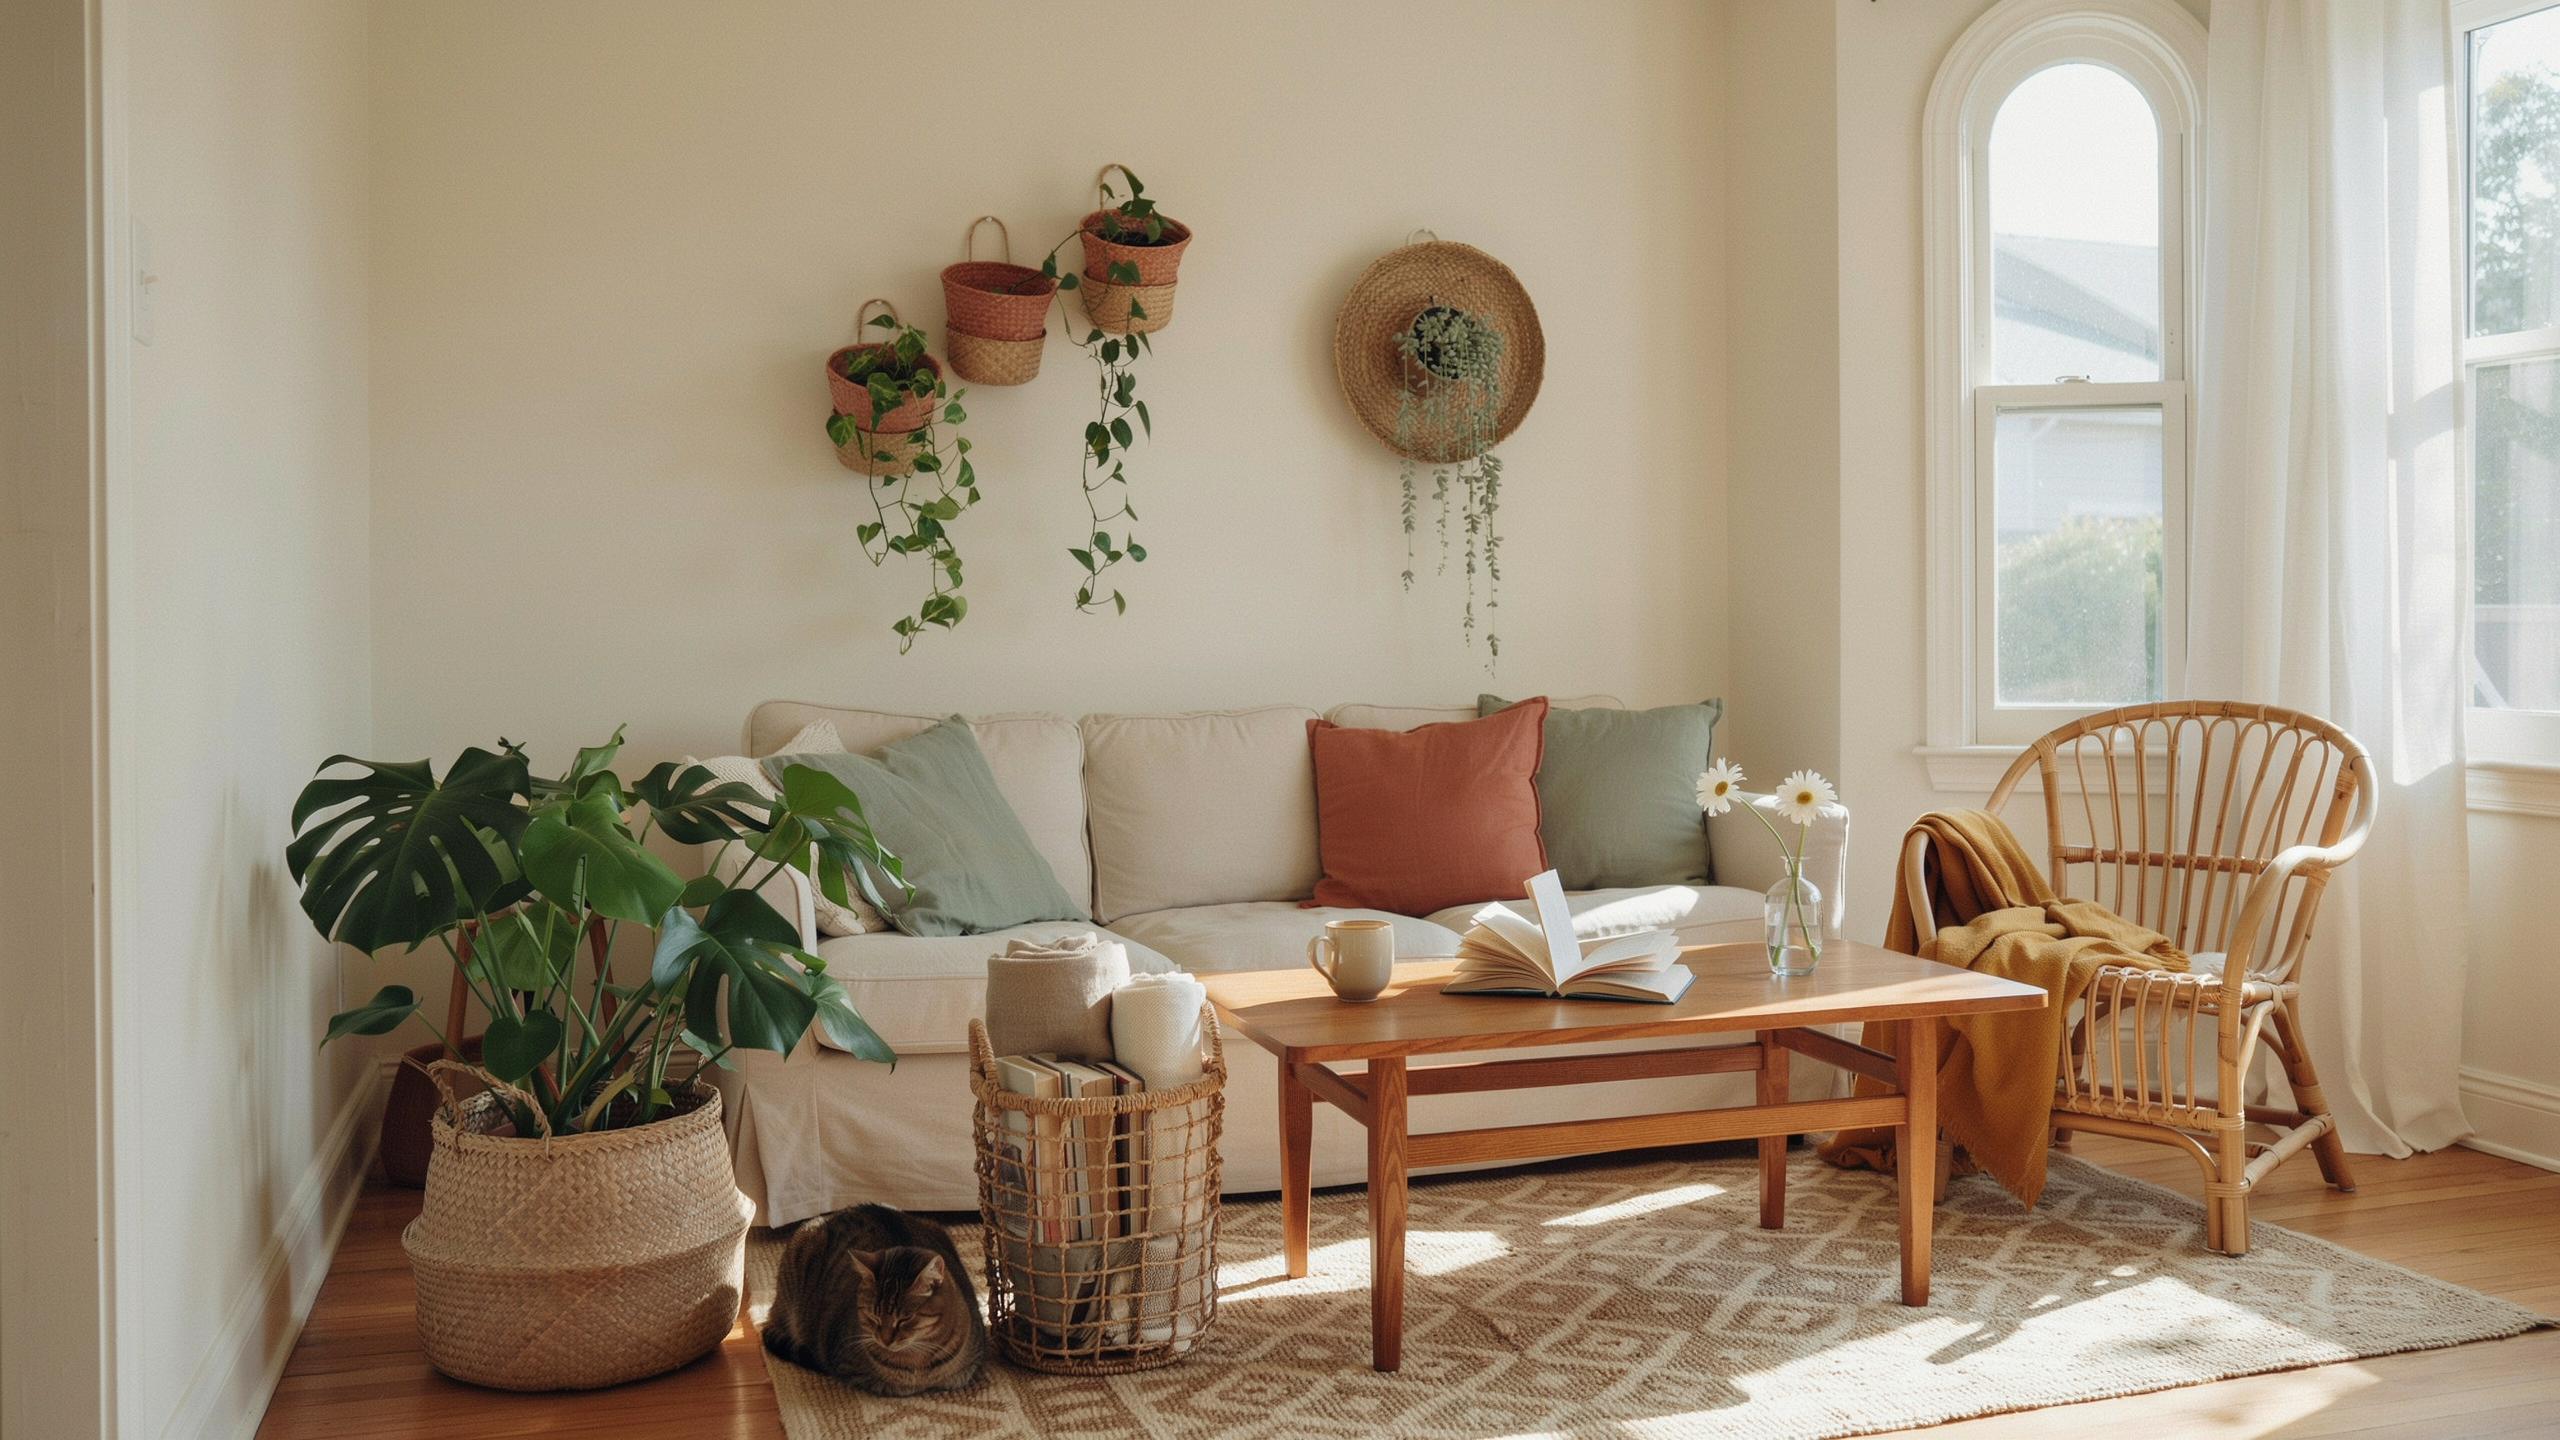
Inspirations For Your Next Basket Repurpose Ideas Project
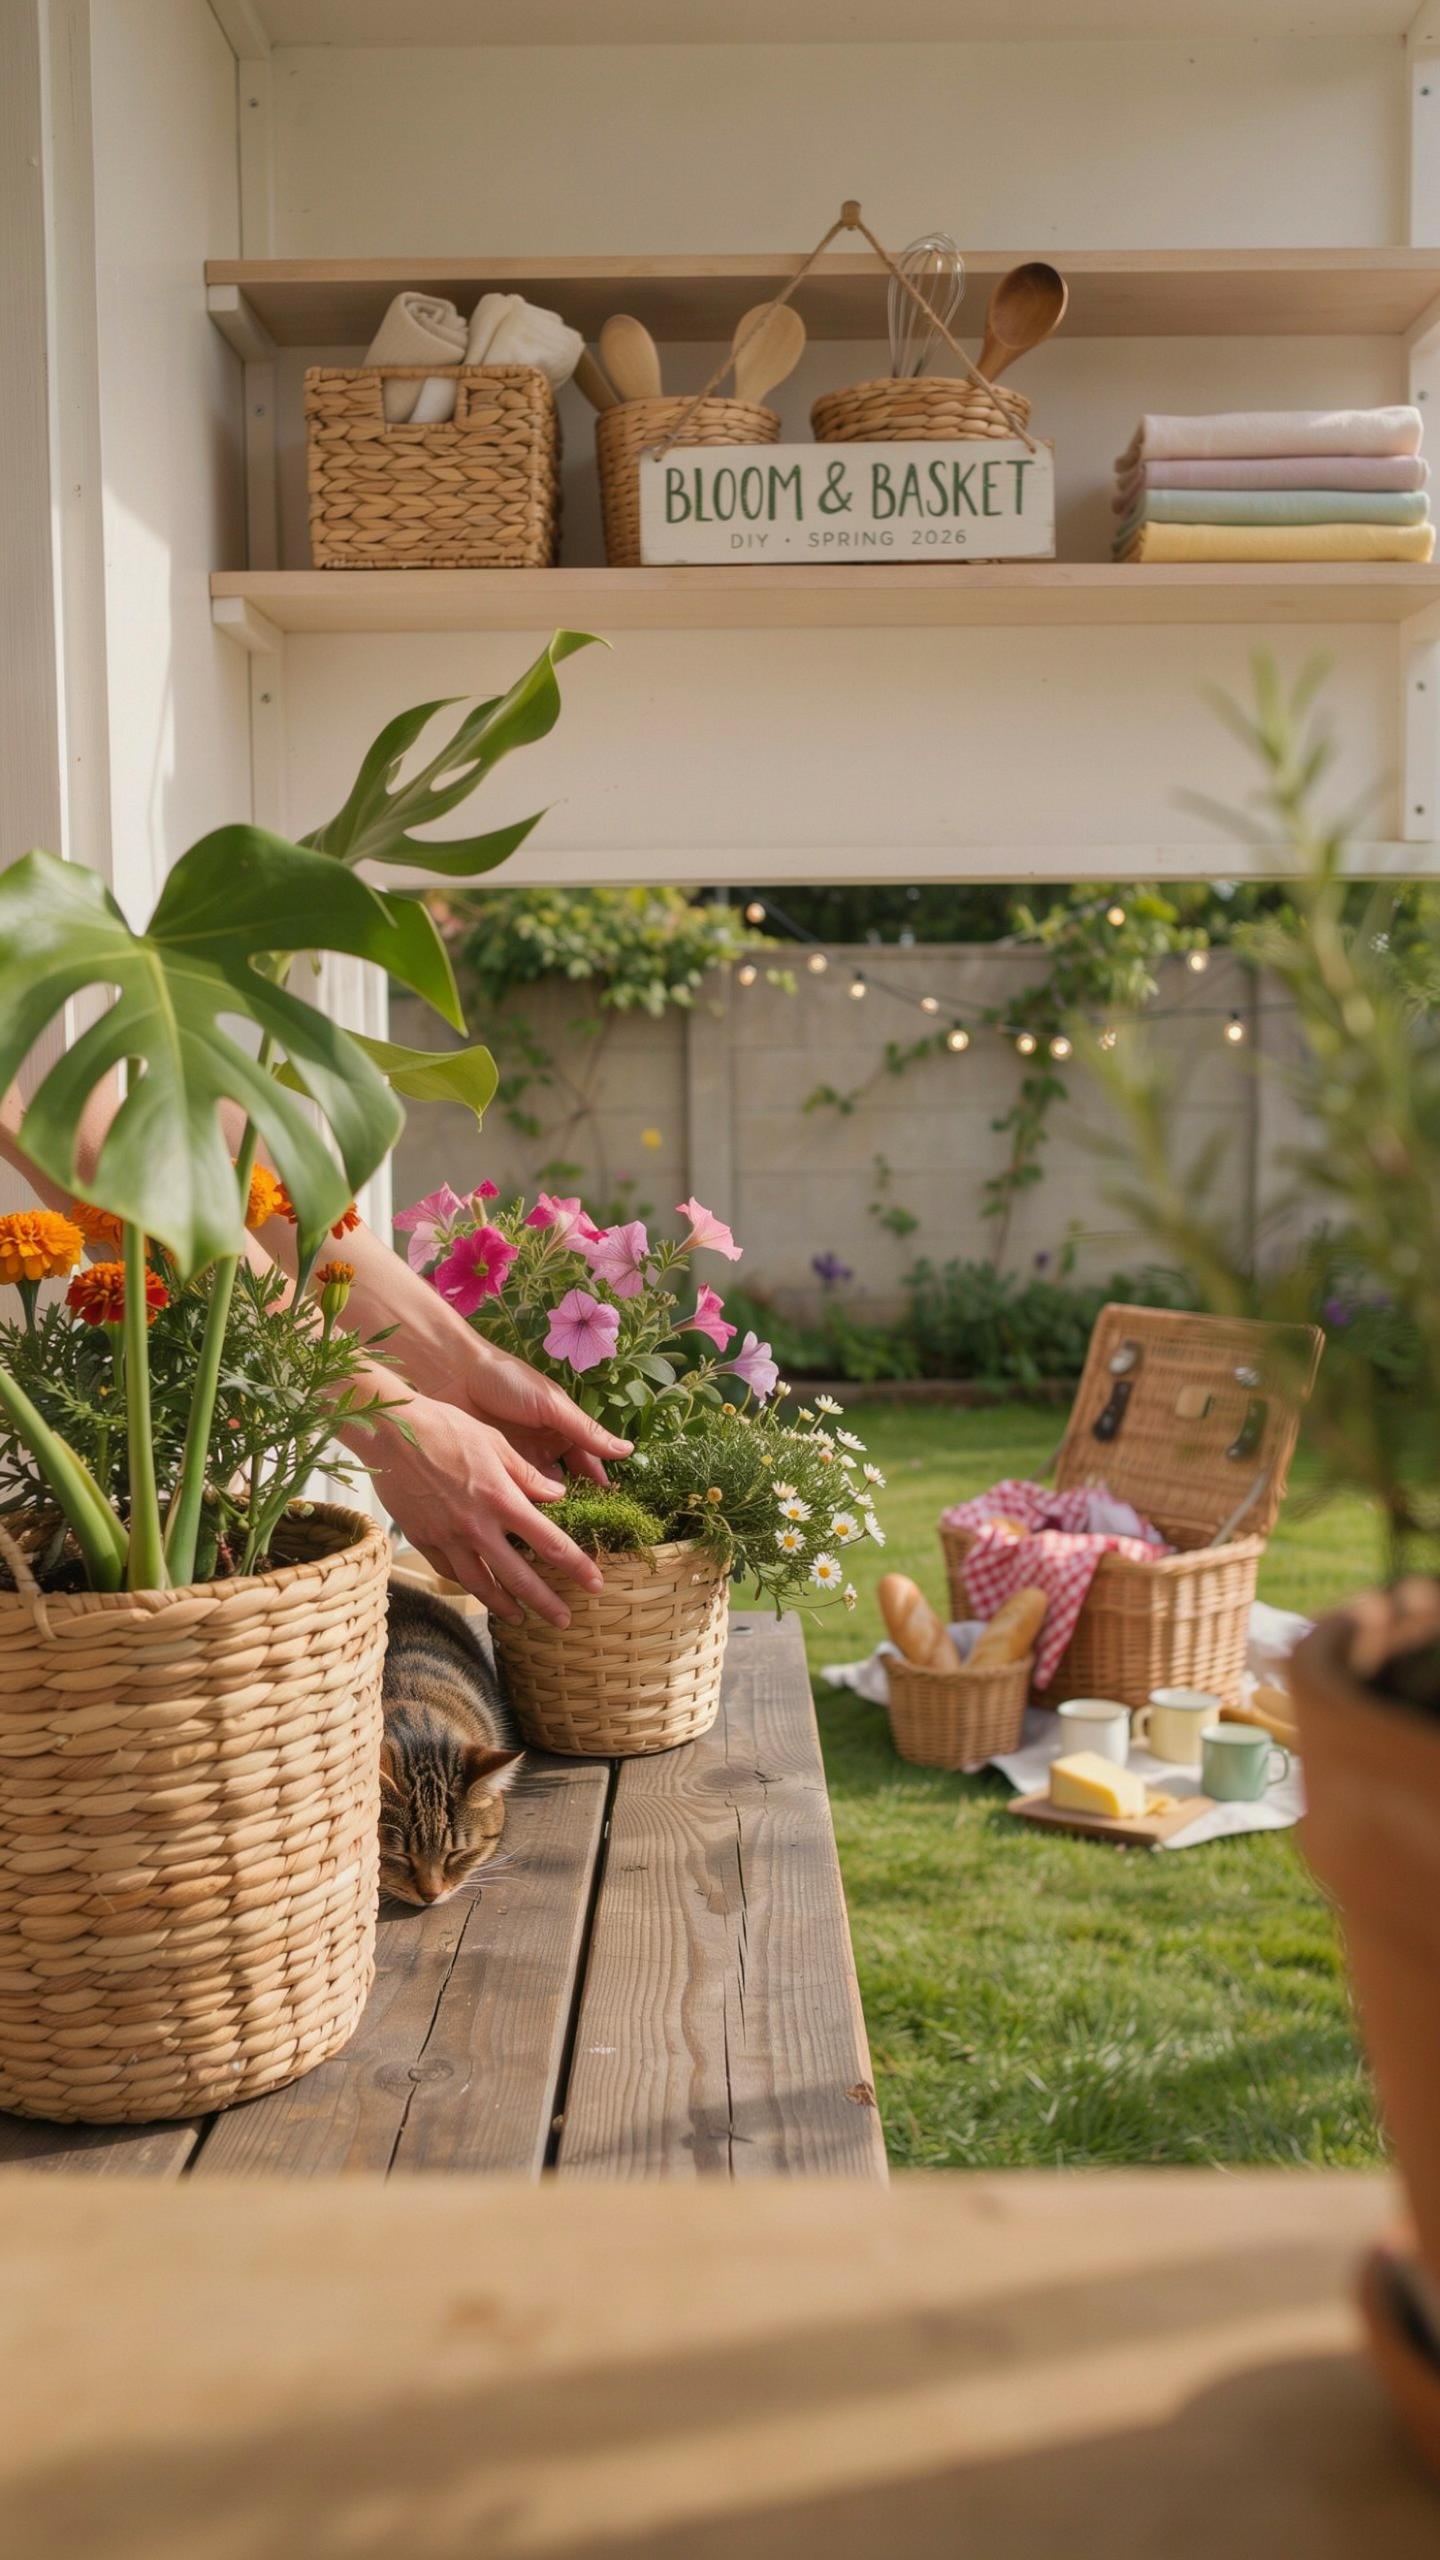
Repurposing Woven Baskets Into Unique Living Room Planters
Woven baskets work as plant containers because their structure allows water drainage and air circulation around soil. You line the interior with plastic sheeting or a waterproof barrier, then add potting soil and plants. The basket material adds texture to your living room while protecting floors from water damage. Size matters here: use larger baskets for floor placement and smaller ones for side tables or shelving.
The basket weave pattern creates visual interest that complements plant foliage. Natural materials like seagrass, rattan, and wicker age well around moisture. You can repurpose baskets in various colors to match your room’s existing palette. This approach costs less than buying dedicated planters while giving baskets a functional second life in your home.
Creating Rustic Kitchen Plate Displays From Shallow Flat Baskets
Shallow flat baskets mount on kitchen walls to display plates as functional decor. You attach the basket securely to wall studs, then position plates inside using plate stands or wedges. This method keeps dishes accessible while freeing up cabinet space. Flat baskets work better than deep ones because they maintain visibility of your plate selection.
Wicker and woven materials suit farmhouse and cottage kitchen styles naturally. Plates stored this way stay dust-free when you use the display actively for everyday serving. You can rotate plates seasonally or by color to refresh your kitchen’s appearance. The basket’s neutral tone lets your plates become the visual focus of the wall space.

Getting Creative With Upcycle Baskets In The Garden And Patio
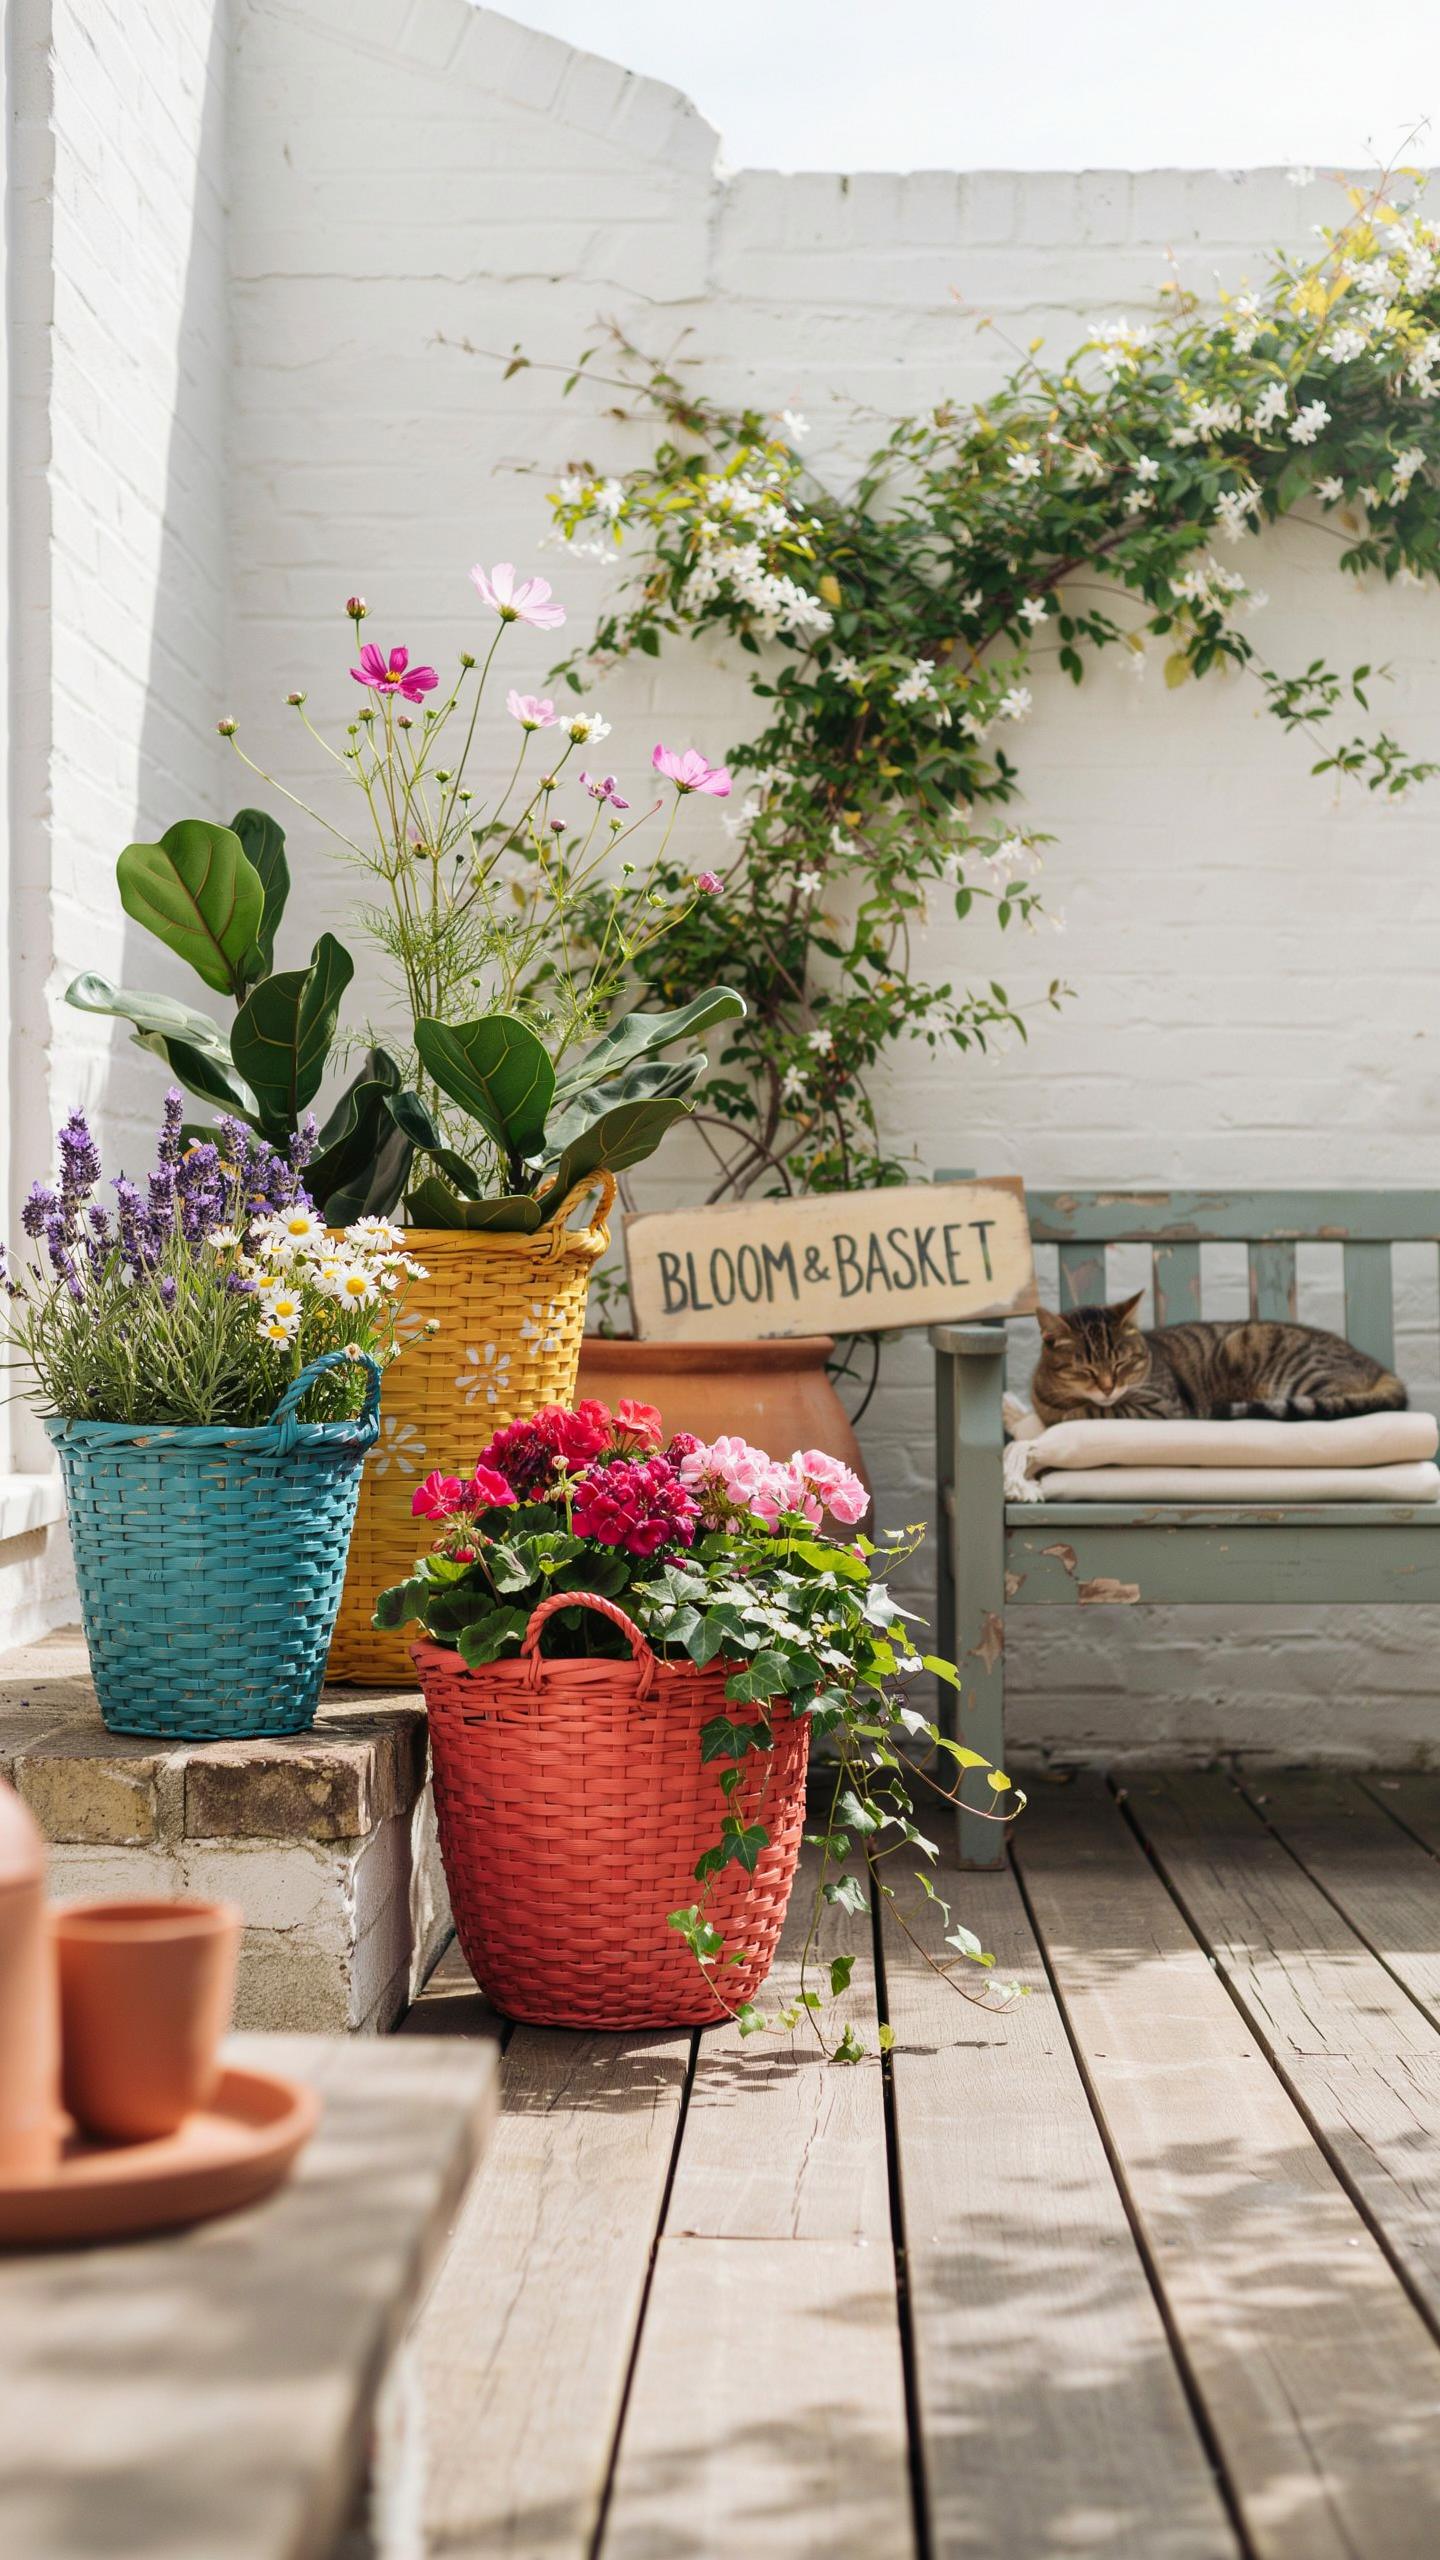
Constructing Hanging Flower Pockets For Your Outdoor Fence
Repurposed baskets work as vertical planters when mounted on fence lines. You secure them directly to fence posts or rails using rust-resistant hardware. This approach maximizes limited ground space while creating visual interest at eye level. The baskets hold soil and shallow-rooted plants effectively. Choose baskets with drainage holes or add them yourself to prevent water pooling.
Line baskets with landscape fabric before filling with potting soil. This keeps soil contained while allowing water drainage. Plant shallow-rooted species like sedums, petunias, or trailing ivy. Water these pocket gardens more frequently than ground plants since elevation increases evaporation rates. Check soil moisture every two to three days during growing season, particularly in direct sunlight.
Using Heavy Duty Wire Baskets For Weather Resistant Yard Storage
Heavy-duty wire baskets handle outdoor conditions without deteriorating quickly. Unlike woven baskets, wire construction allows water to pass through rather than trap moisture against materials. These baskets store garden tools, potting supplies, rope, and seasonal items without rotting. Galvanized or powder-coated wire options resist rust more effectively than bare metal. Place them on covered patios or porches to extend durability.

Wire baskets organize yard work efficiently while keeping items visible and accessible. Stack multiple baskets to maximize vertical storage on limited patio space. Line the interior with burlap or heavy canvas if storing items that need protection from direct contact with wire. Replace linings annually if exposed to intense weather. This maintenance approach keeps wire baskets functional for years of outdoor use.
Functional Repurpose Baskets Ideas For Smart Home Organization
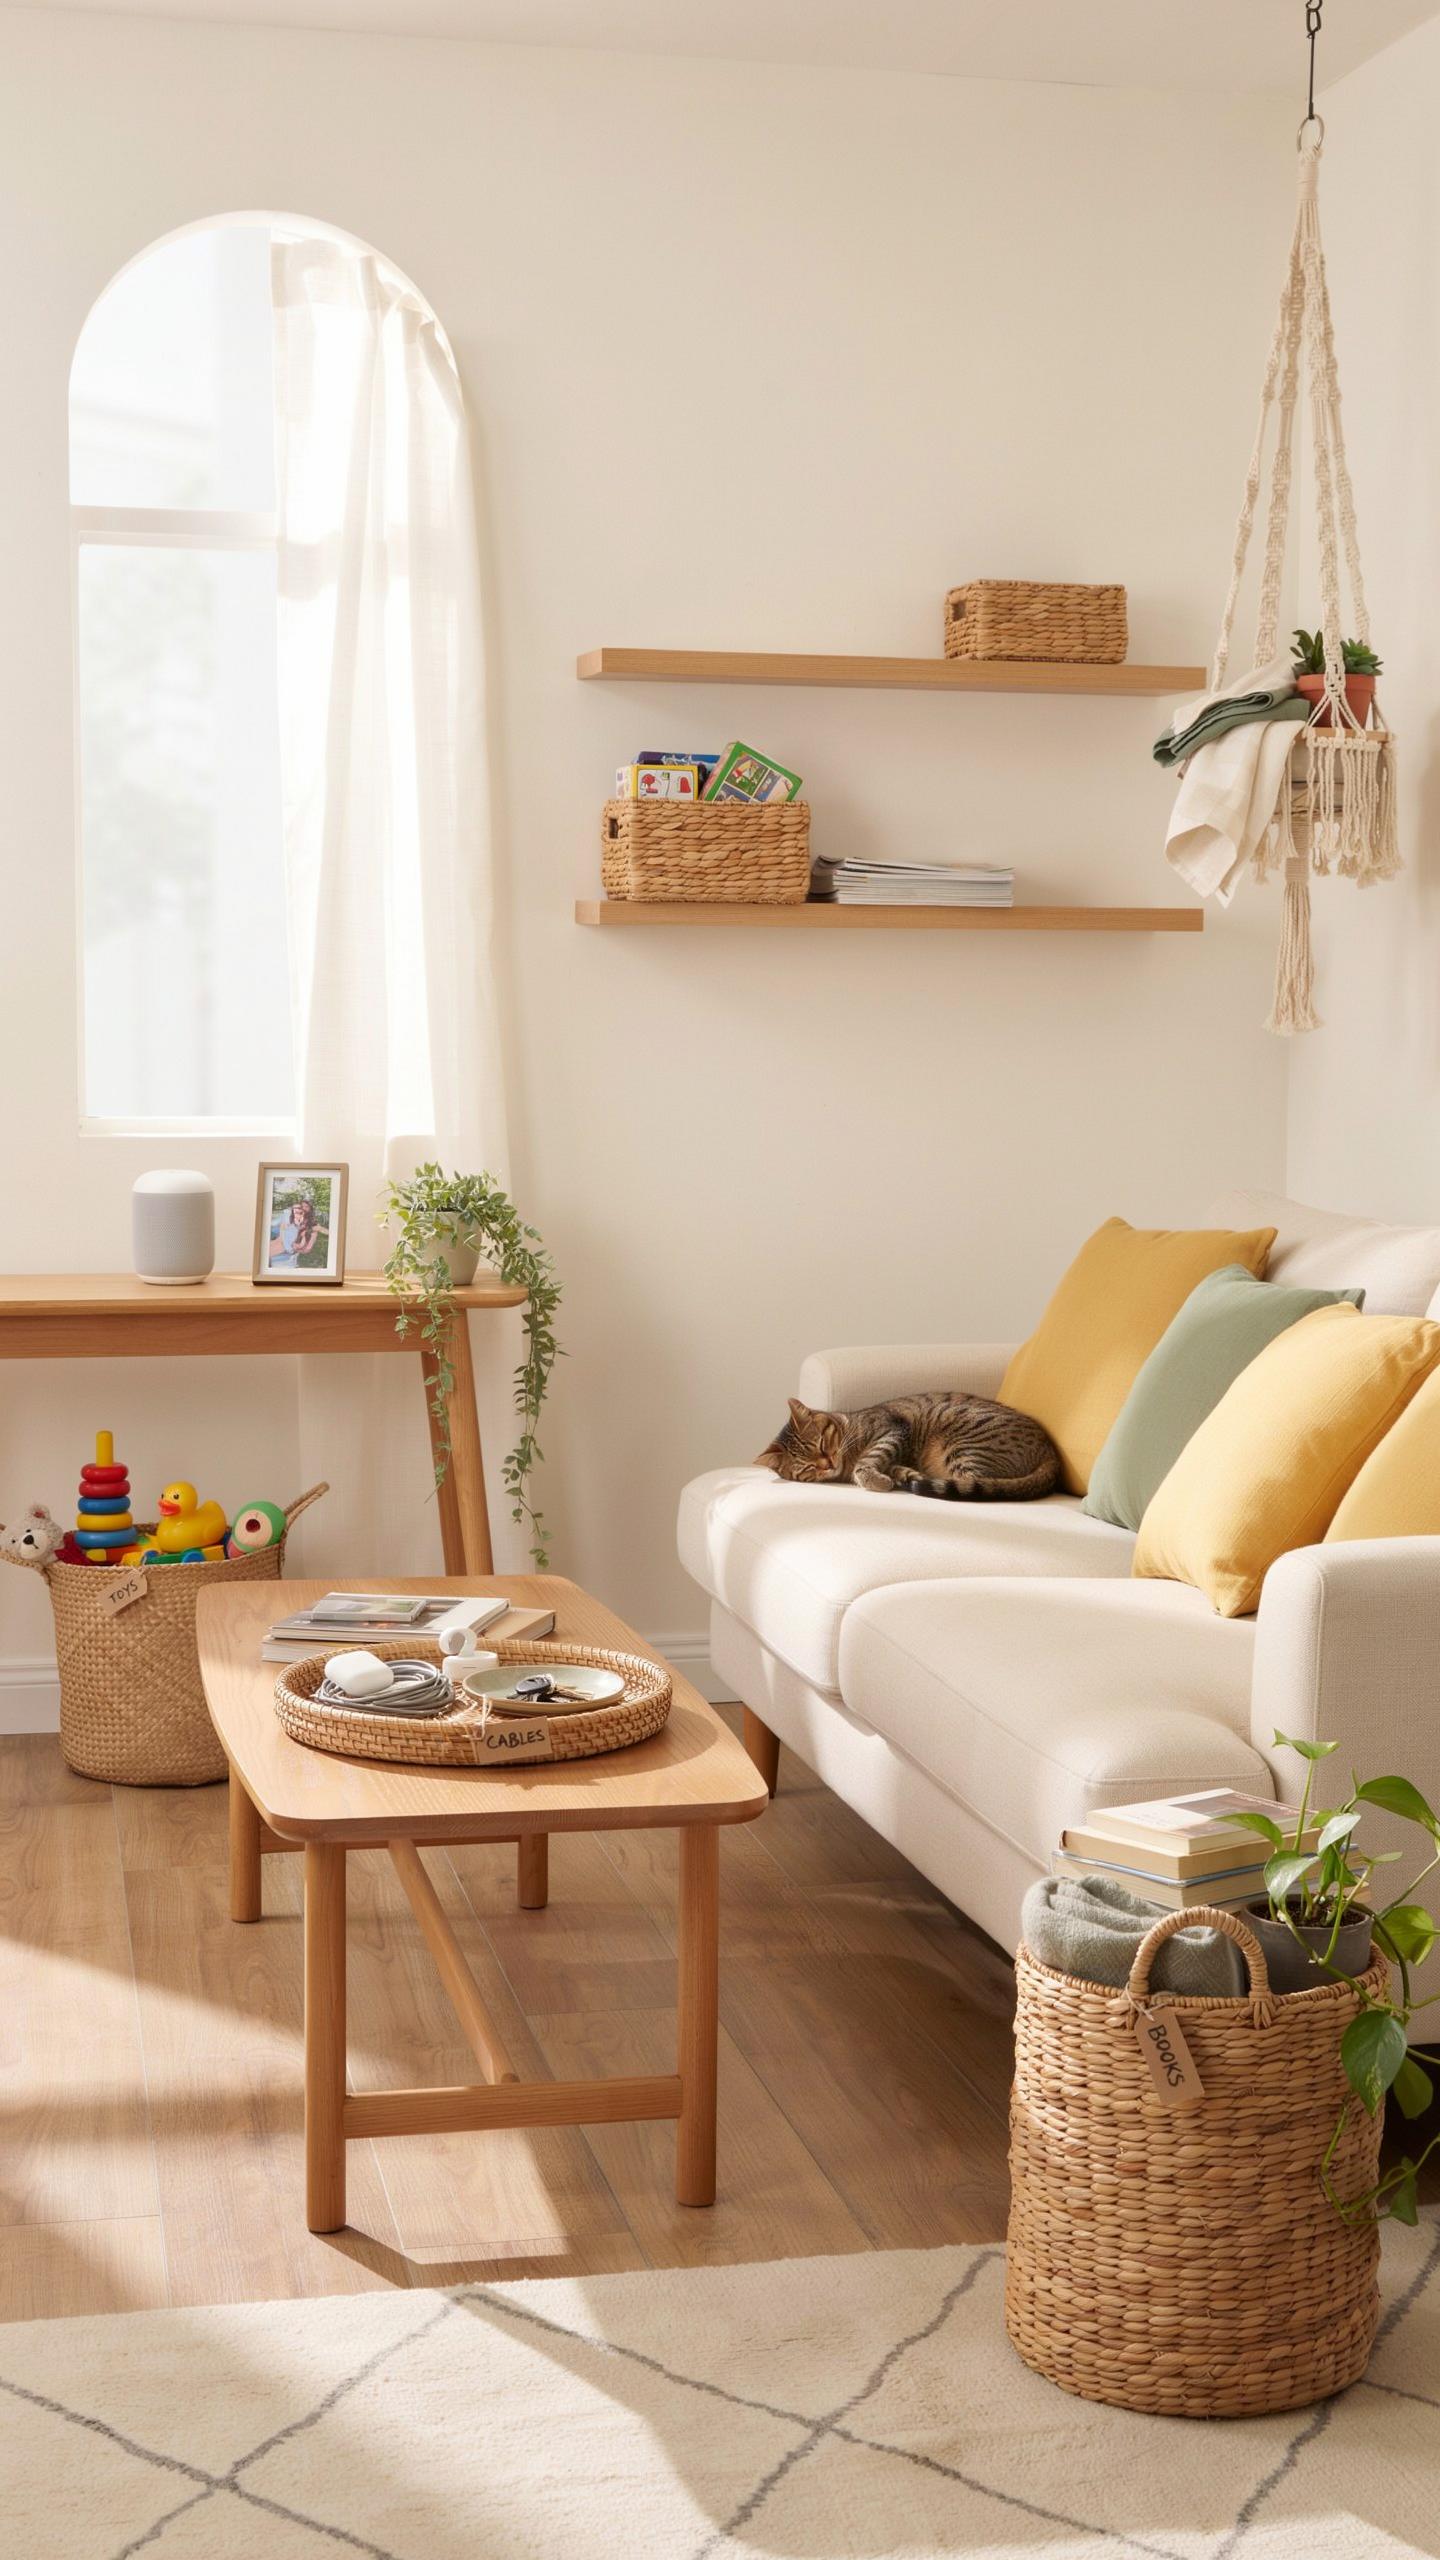
Sorting Mail And Documents With Wall Mounted Mailbox Baskets
Wall-mounted baskets solve a specific problem: paper clutter accumulates fast and consumes desk space. Mounting baskets on walls near entry points or home offices keeps mail, bills, and documents within arm’s reach. You control the sorting system by assigning one basket per category, like incoming mail, bills to pay, or documents to file. This approach eliminates the need for multiple desk organizers and frees up surface area for work.
Baskets made from wire, woven materials, or metal hold documents without tearing them. The vertical storage method works because gravity keeps papers in place and visibility remains high. Size matters here, so choose baskets with enough depth to accommodate standard letter-size papers. Mount them at eye level for easy access and to prevent reaching too high or bending too low during daily use.
Essential Materials Needed For Mountable Wall Storage Baskets
Preparing your walls and baskets requires specific items to ensure secure installation and long-term functionality. Baskets shift under weight if mounted incorrectly, so gather everything before starting work.
- Wall anchors or studs: Use toggle bolts for drywall or wood screws for studs to support basket weight. Toggle bolts hold 25 to 50 pounds depending on size. Locating studs prevents future sagging.
- Mounting hardware: Brackets, L-brackets, or metal strips attach baskets to walls. Hardware quality directly affects load capacity and longevity. Choose stainless steel or powder-coated options for durability.
- Drill and bits: A power drill speeds up hole creation in both walls and basket backing. Use appropriate bit sizes for your specific anchors. Manual drilling works but requires more time and effort.
- Level tool: A standard level ensures baskets hang straight, not tilted. Crooked baskets look unprofessional and shift items inside. A 24-inch level provides accuracy for single or multiple baskets.
- Measuring tape: Precise spacing between baskets improves visual balance and functionality. Measure twice before drilling to avoid mistakes. Consistent gaps of 6 to 12 inches work for most configurations.
- Pencil or marking tool: Mark drill points before committing to holes. A pencil marks clearly on drywall and wood. Marking tape helps on textured surfaces where pencil marks fade quickly.

Installation speed depends on having materials ready before you start. Gathering supplies beforehand prevents trips back to the hardware store mid-project. Most installations complete in 30 to 60 minutes once you have all tools present. Test basket stability by applying downward pressure after mounting to confirm secure placement.
Budget Friendly Diy Basket Makeover Ideas To Match Your Aesthetic
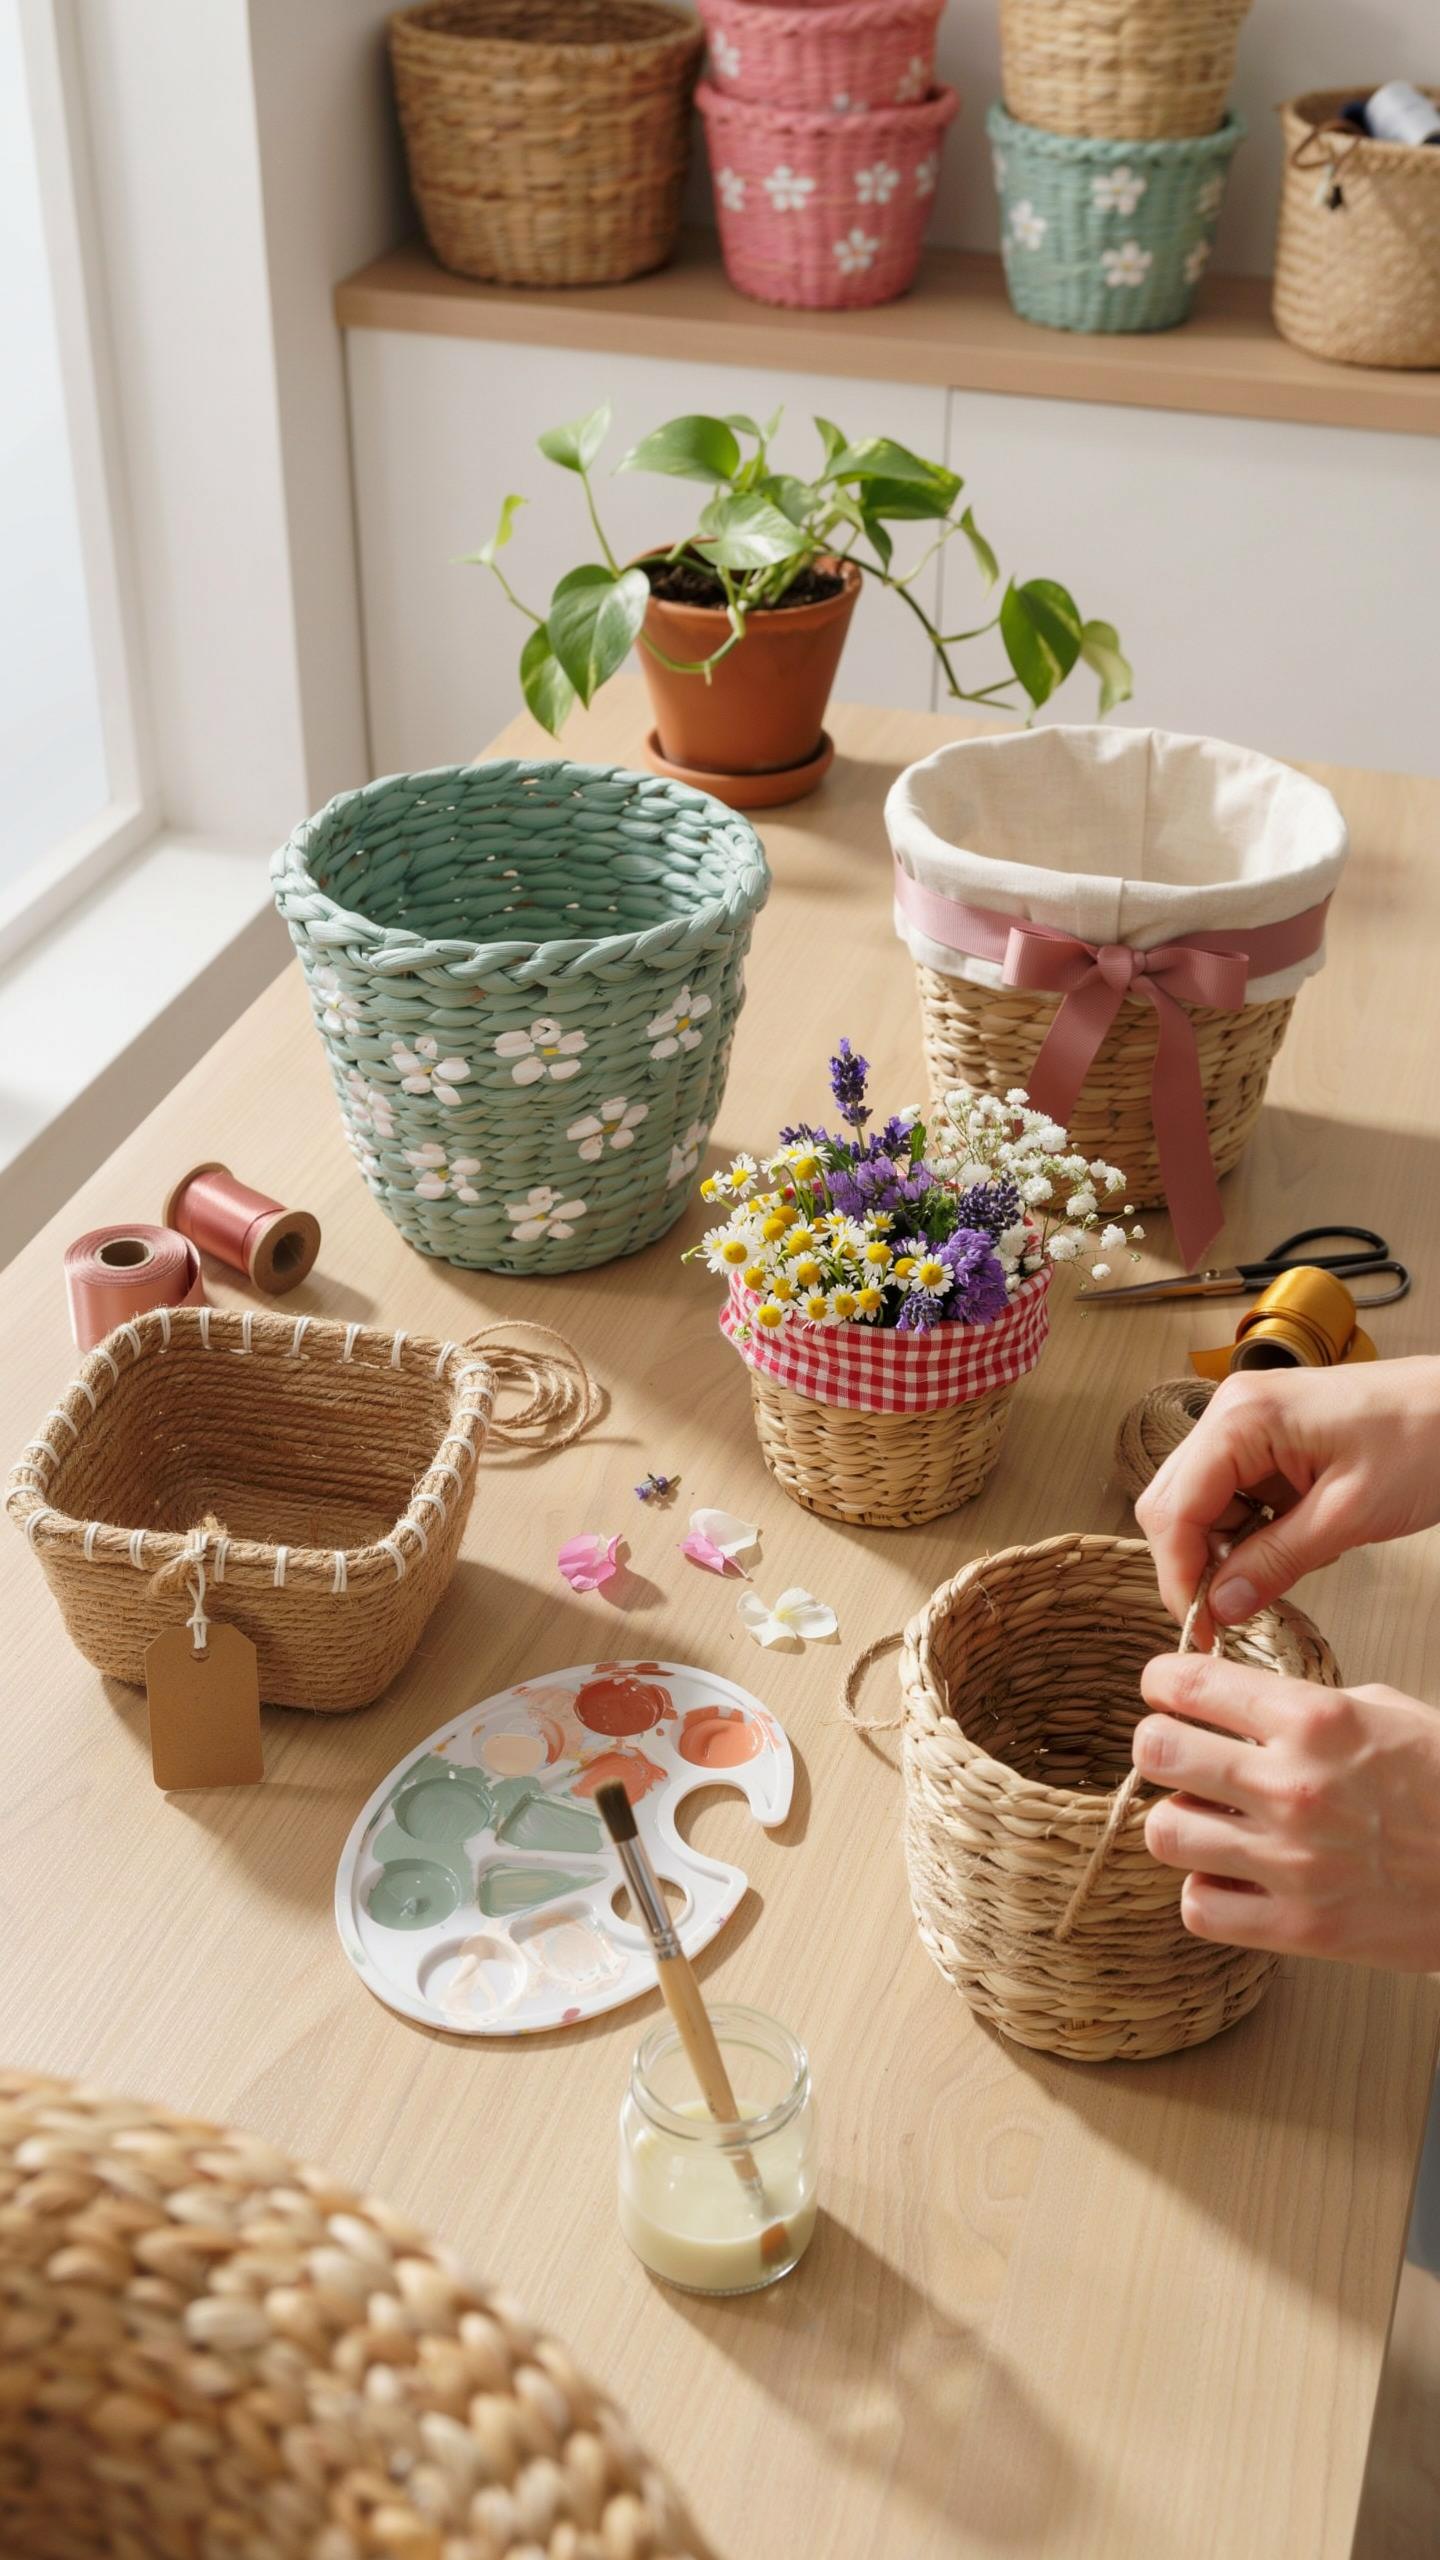
Applying Chalk Paint And Distressing Techniques For A Vintage Look
Chalk paint adheres to wicker and woven surfaces without primer, making it the practical choice for basket projects. The paint dries fast and produces a matte finish that reads as intentional rather than glossy. Apply two coats for solid coverage. Sand edges and raised areas after the paint dries to expose the underlying material. This reveals texture and creates the worn appearance associated with vintage design aesthetics from the mid 20th century onward.
Distressing works because it removes paint strategically to show age. Focus on handle areas, corners, and any natural wear points on the basket. Use 120 to 150 grit sandpaper for controlled results. The goal is authentic looking wear, not random damage. This technique costs almost nothing beyond the paint itself. The result functions as functional storage while displaying intentional design choices that fit farmhouse, cottage, or shabby chic room schemes.
Weaving Colorful Ribbons And Fabric Scraps Into Worn Wicker Patterns
Ribbon weaving works on baskets with open weave patterns where gaps exist between wicker strands. Thread ribbons horizontally or diagonally through existing gaps to add color without covering the basket structure. Use cotton or grosgrain ribbons for durability. Start at one end and work systematically to maintain tension and alignment. This method requires no tools and produces immediate visual impact. Secure ribbon ends with small stitches or fabric glue on the basket interior.

Fabric scraps repurpose clothing, linens, or upholstery material that you already own. Cut strips approximately one inch wide and thread them the same way as ribbon. Cotton strips hold color better than synthetics and age gracefully. Mix patterns and solid colors for visual interest. Fabric scrap weaving costs nothing if you source materials from worn clothing or fabric remnants. The basket becomes functional storage that coordinates with your existing textile palette in the home.
Transforming Your Space With Repurposed Baskets Upcycle Projects
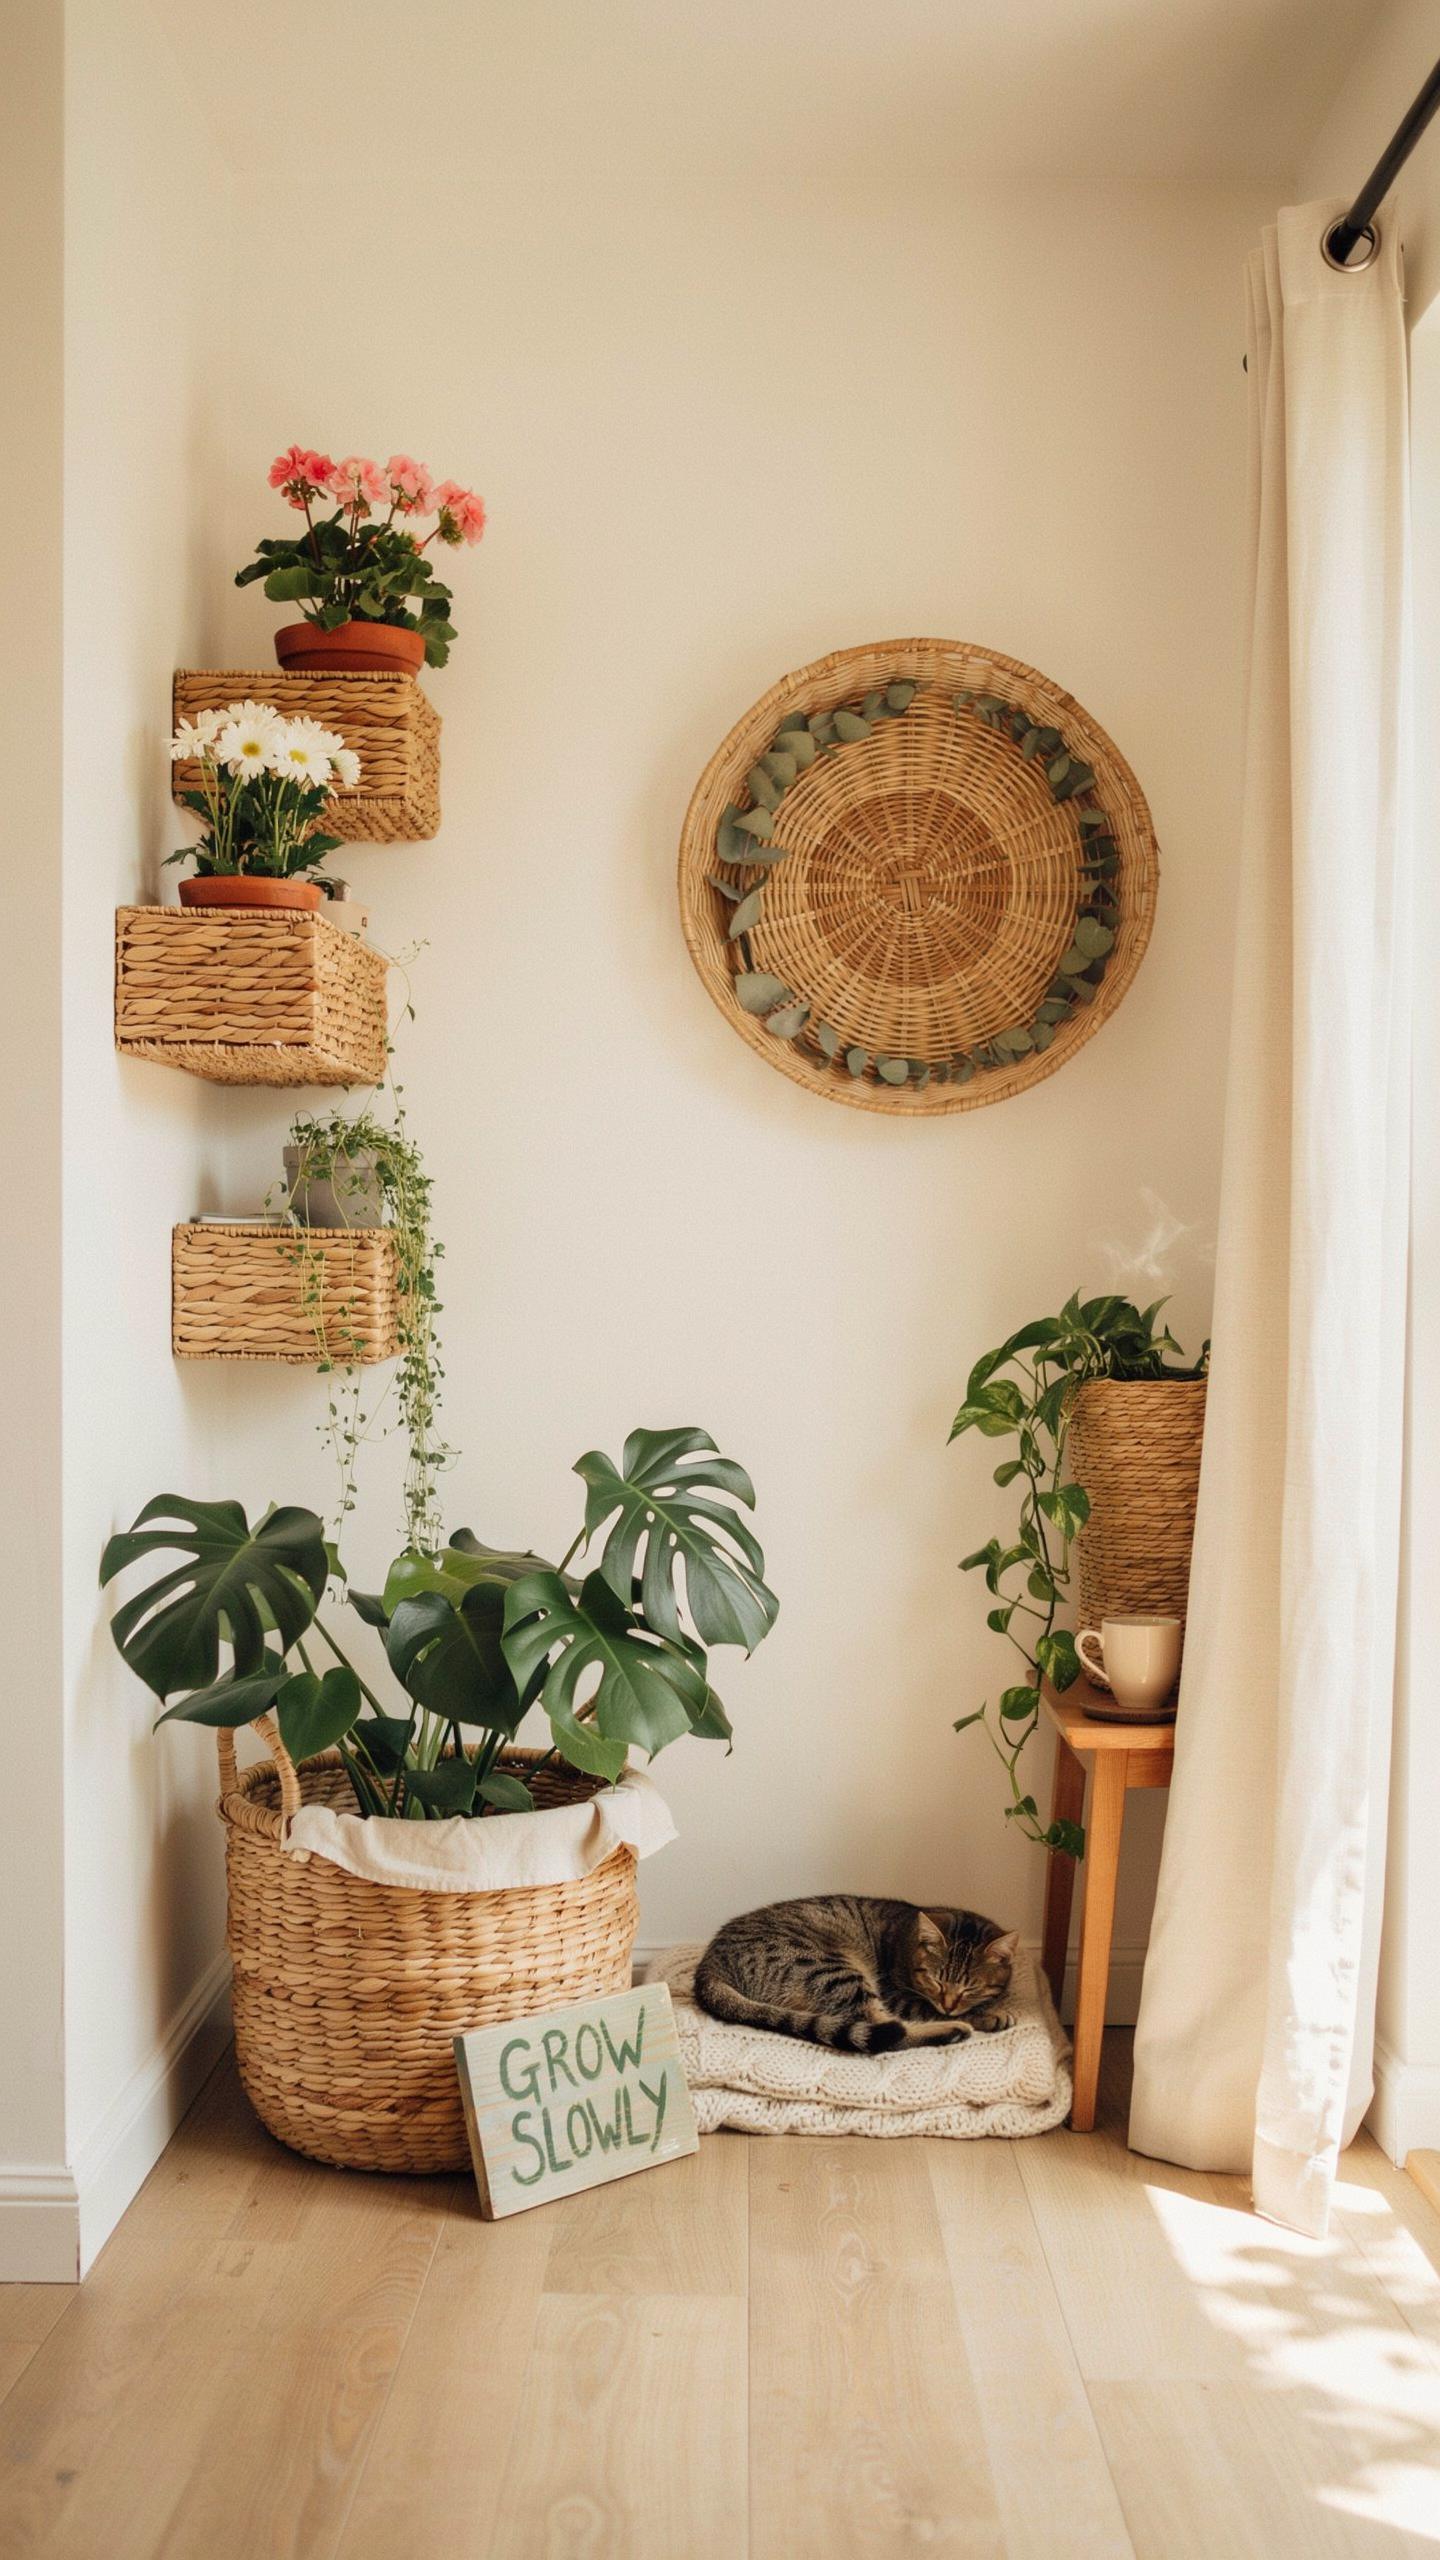
Assembling Chic Bathroom Towel Racks Using Tiered Hanging Baskets
Tiered hanging baskets serve a practical function in bathrooms when you mount them vertically on walls. Each tier holds rolled towels, washcloths, or toiletries without requiring permanent fixture installation. Use baskets made from wire, woven materials, or wood depending on your bathroom’s moisture level and aesthetic. Wire baskets dry quickly in humid conditions. Woven baskets work in well-ventilated spaces. Secure mounting hardware to wall studs for weight distribution and stability.
The conversion requires basic tools: a drill, wall anchors, and screws appropriate for your wall type. Install baskets at staggered heights to maximize vertical space and create visual interest. Standard towels fit comfortably in medium-sized baskets, roughly twelve inches deep. Test weight capacity before loading, as older baskets may not support heavy wet textiles. This approach eliminates the need for bulky towel bars and frees up floor space.
Converting Deep Picnic Baskets Into Hidden Living Room Toy Chests
Deep picnic baskets transition effectively into storage containers for toys, blankets, and seasonal items in living rooms. Their hinged lids close completely, concealing contents from view and containing mess. Picnic baskets typically measure between eighteen and twenty-four inches in length, offering substantial capacity. Wicker and wood construction blend with most decor styles. Check interior dimensions before purchasing to ensure the basket meets your storage needs.

Place the repurposed picnic basket against a wall or under a window to anchor your room layout functionally. Line the interior with fabric or kraft paper to protect textiles from rough surfaces and prevent dust accumulation. Add small labels inside the lid to track contents quickly. The basket’s weight when full means it stays stationary on hardwood or tile floors without shifting during use. This storage method keeps toys accessible to children while maintaining a tidy living space.
Stunning Lighting Fixtures Crafted From Upcycled Baskets
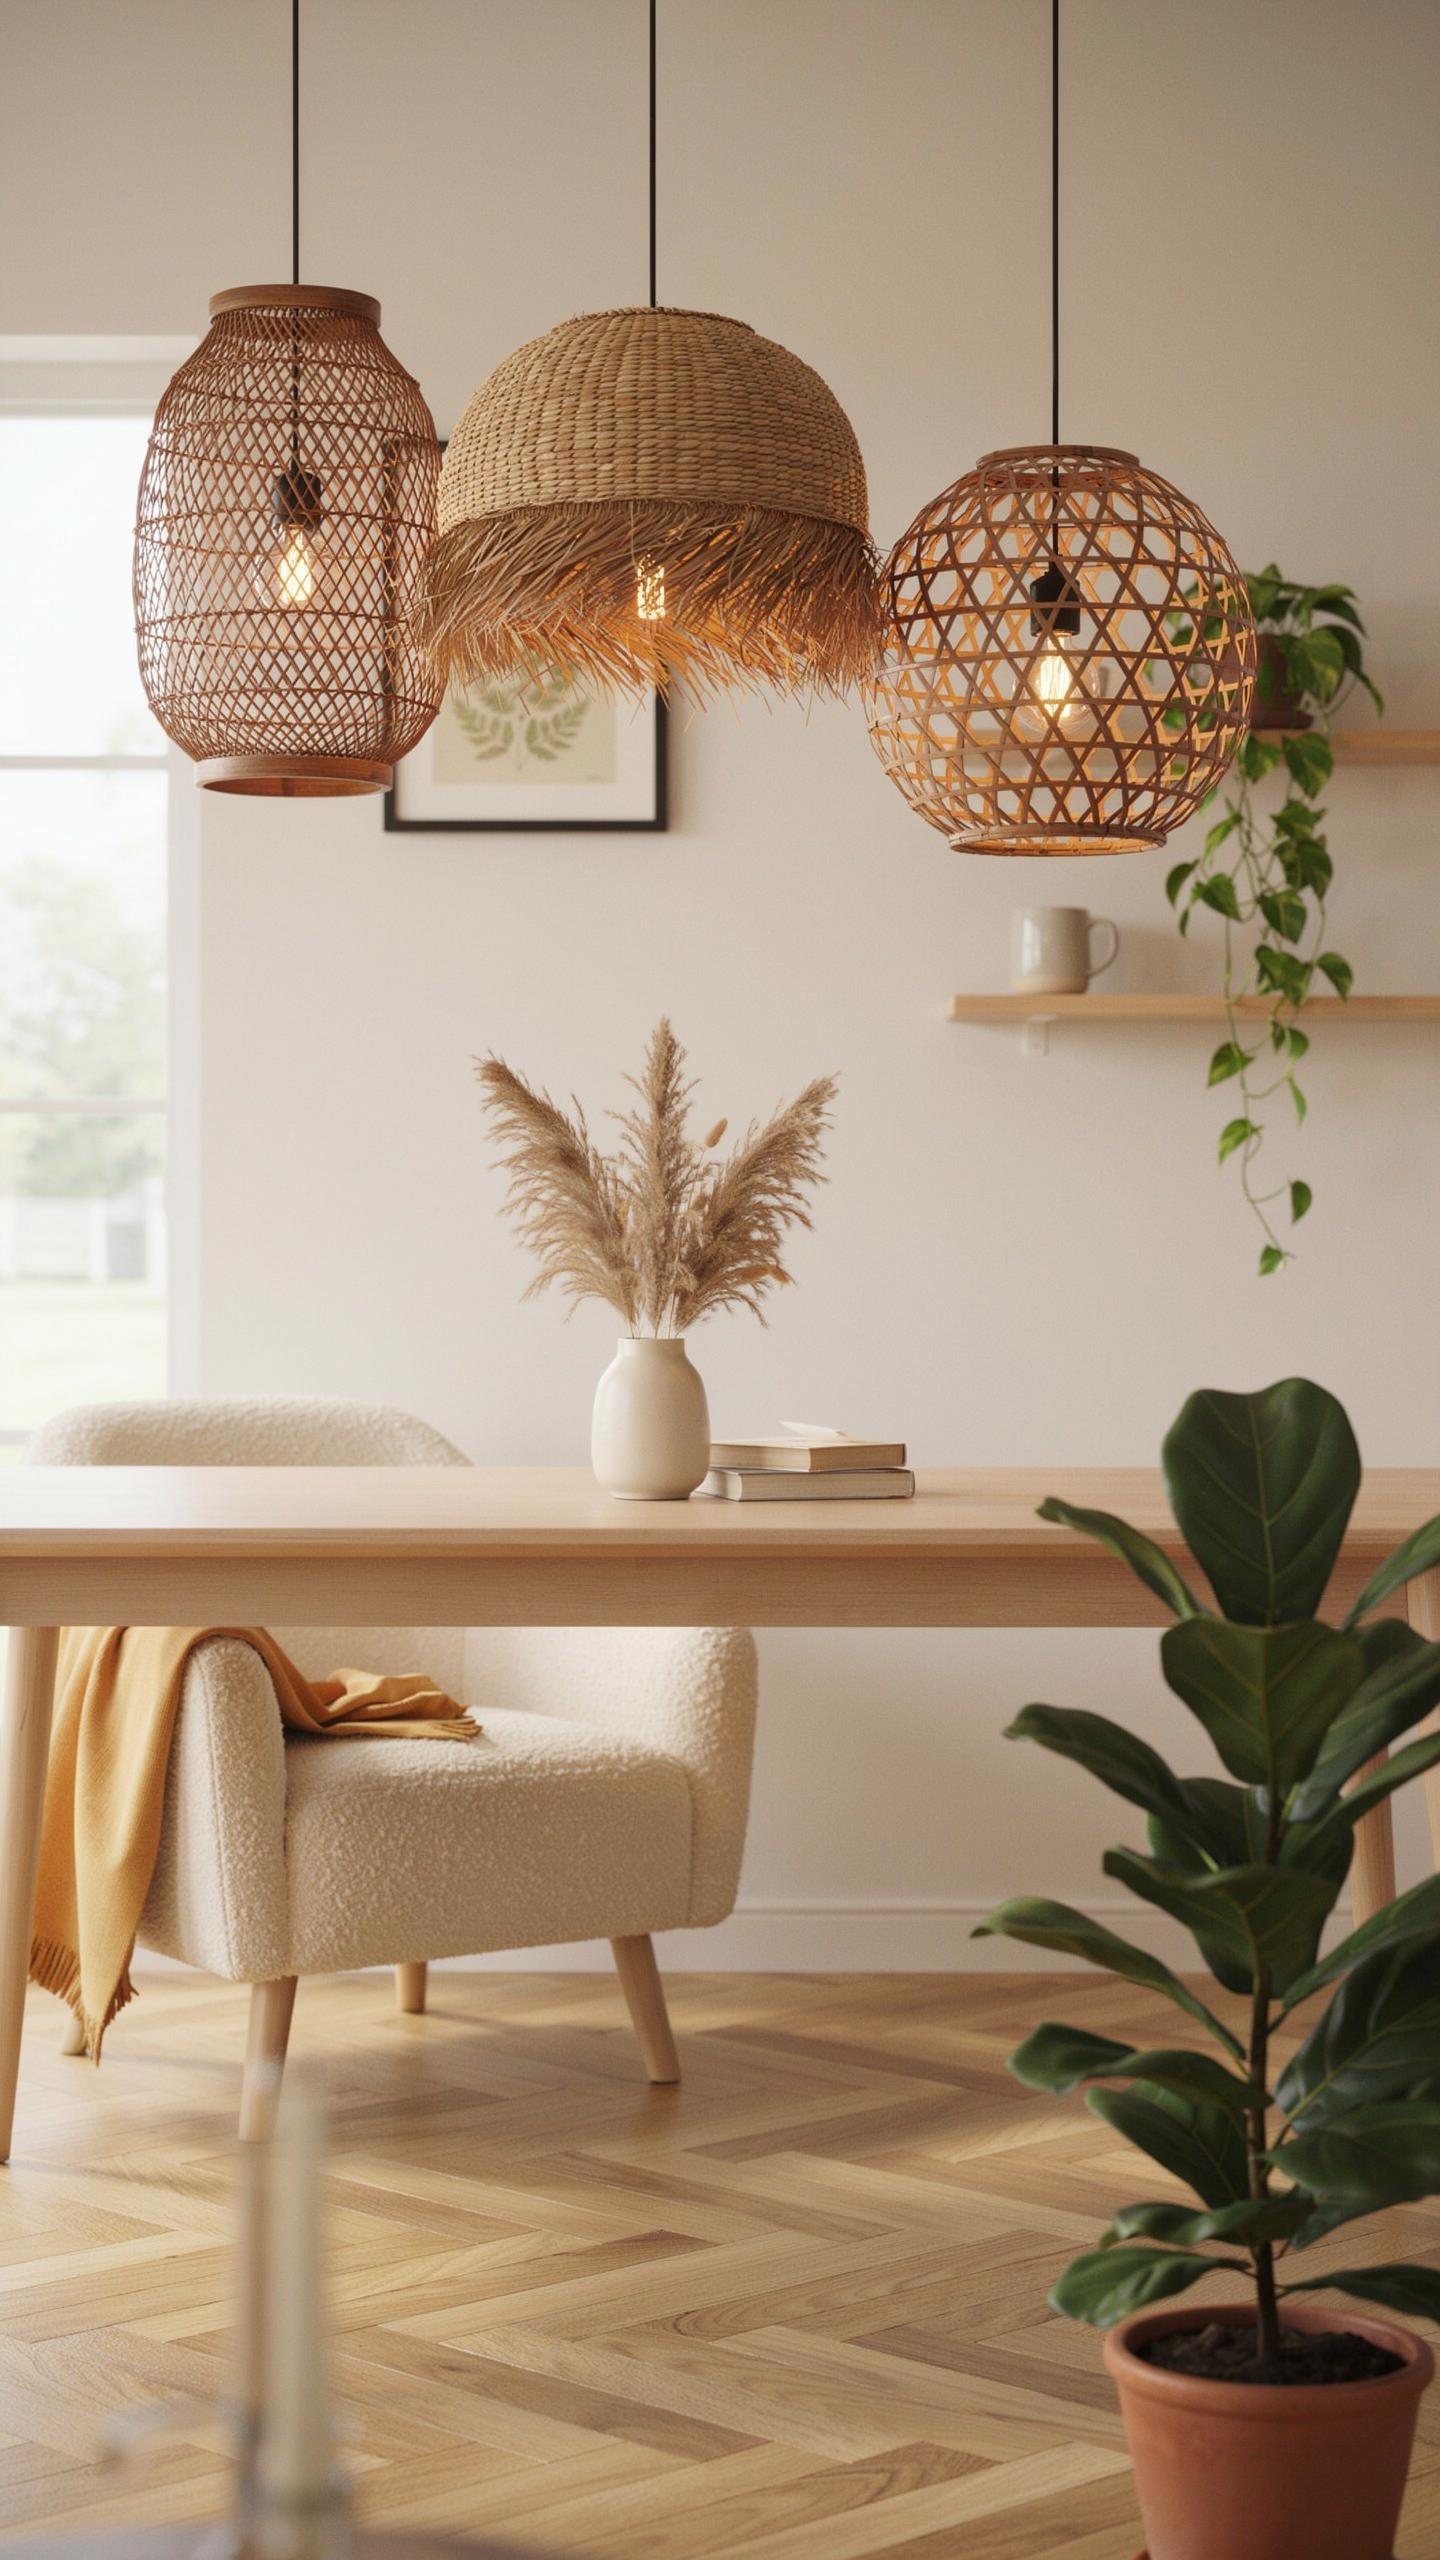
Fitted Pendant Light Covers Made From Wicker Wastebaskets
Wicker wastebaskets work as pendant light covers because their open weave allows light to pass through while diffusing it evenly. The basket structure creates a cage that protects the bulb from contact while maintaining aesthetic appeal. Standard pendant kits fit inside most baskets without modification. The wicker material withstands heat from LED bulbs, which produce minimal thermal output compared to incandescent alternatives.
Measure your basket’s interior diameter before purchasing a pendant fixture to ensure proper fit. Remove the basket’s bottom if it has one, allowing light to escape downward. Use heat-resistant adhesive to secure the fixture ring to the basket’s interior rim. Test the assembly with the bulb installed before hanging to verify stability and light output.
Every basket carries the warmth of the hands that held it, ready to be woven into the soul of your home. By giving old things new life, we honor the stories they still have to tell.
Safely Wiring Basket Chandeliers For High Ceiling Dining Rooms
Basket chandeliers require professional electrical work when installed in dining rooms with high ceilings. The weight distribution matters because baskets add significant load compared to traditional chandeliers. Use heavy-duty ceiling anchors rated for at least three times the combined weight of the basket, fixture, and bulbs. Hire a licensed electrician to run new circuits if your existing outlets cannot handle the amperage draw.

Mount the fixture to a ceiling brace specifically designed for pendant lighting, not to drywall anchors alone. Position multiple baskets at varying heights to create visual interest and ensure even light distribution across the table. Test all connections before final installation and inspect wiring annually for wear. Keep bulb wattage within the fixture’s rated capacity to prevent overheating inside the enclosed basket space.
Easy Steps For An Old Basket Makeover Using Natural Textures
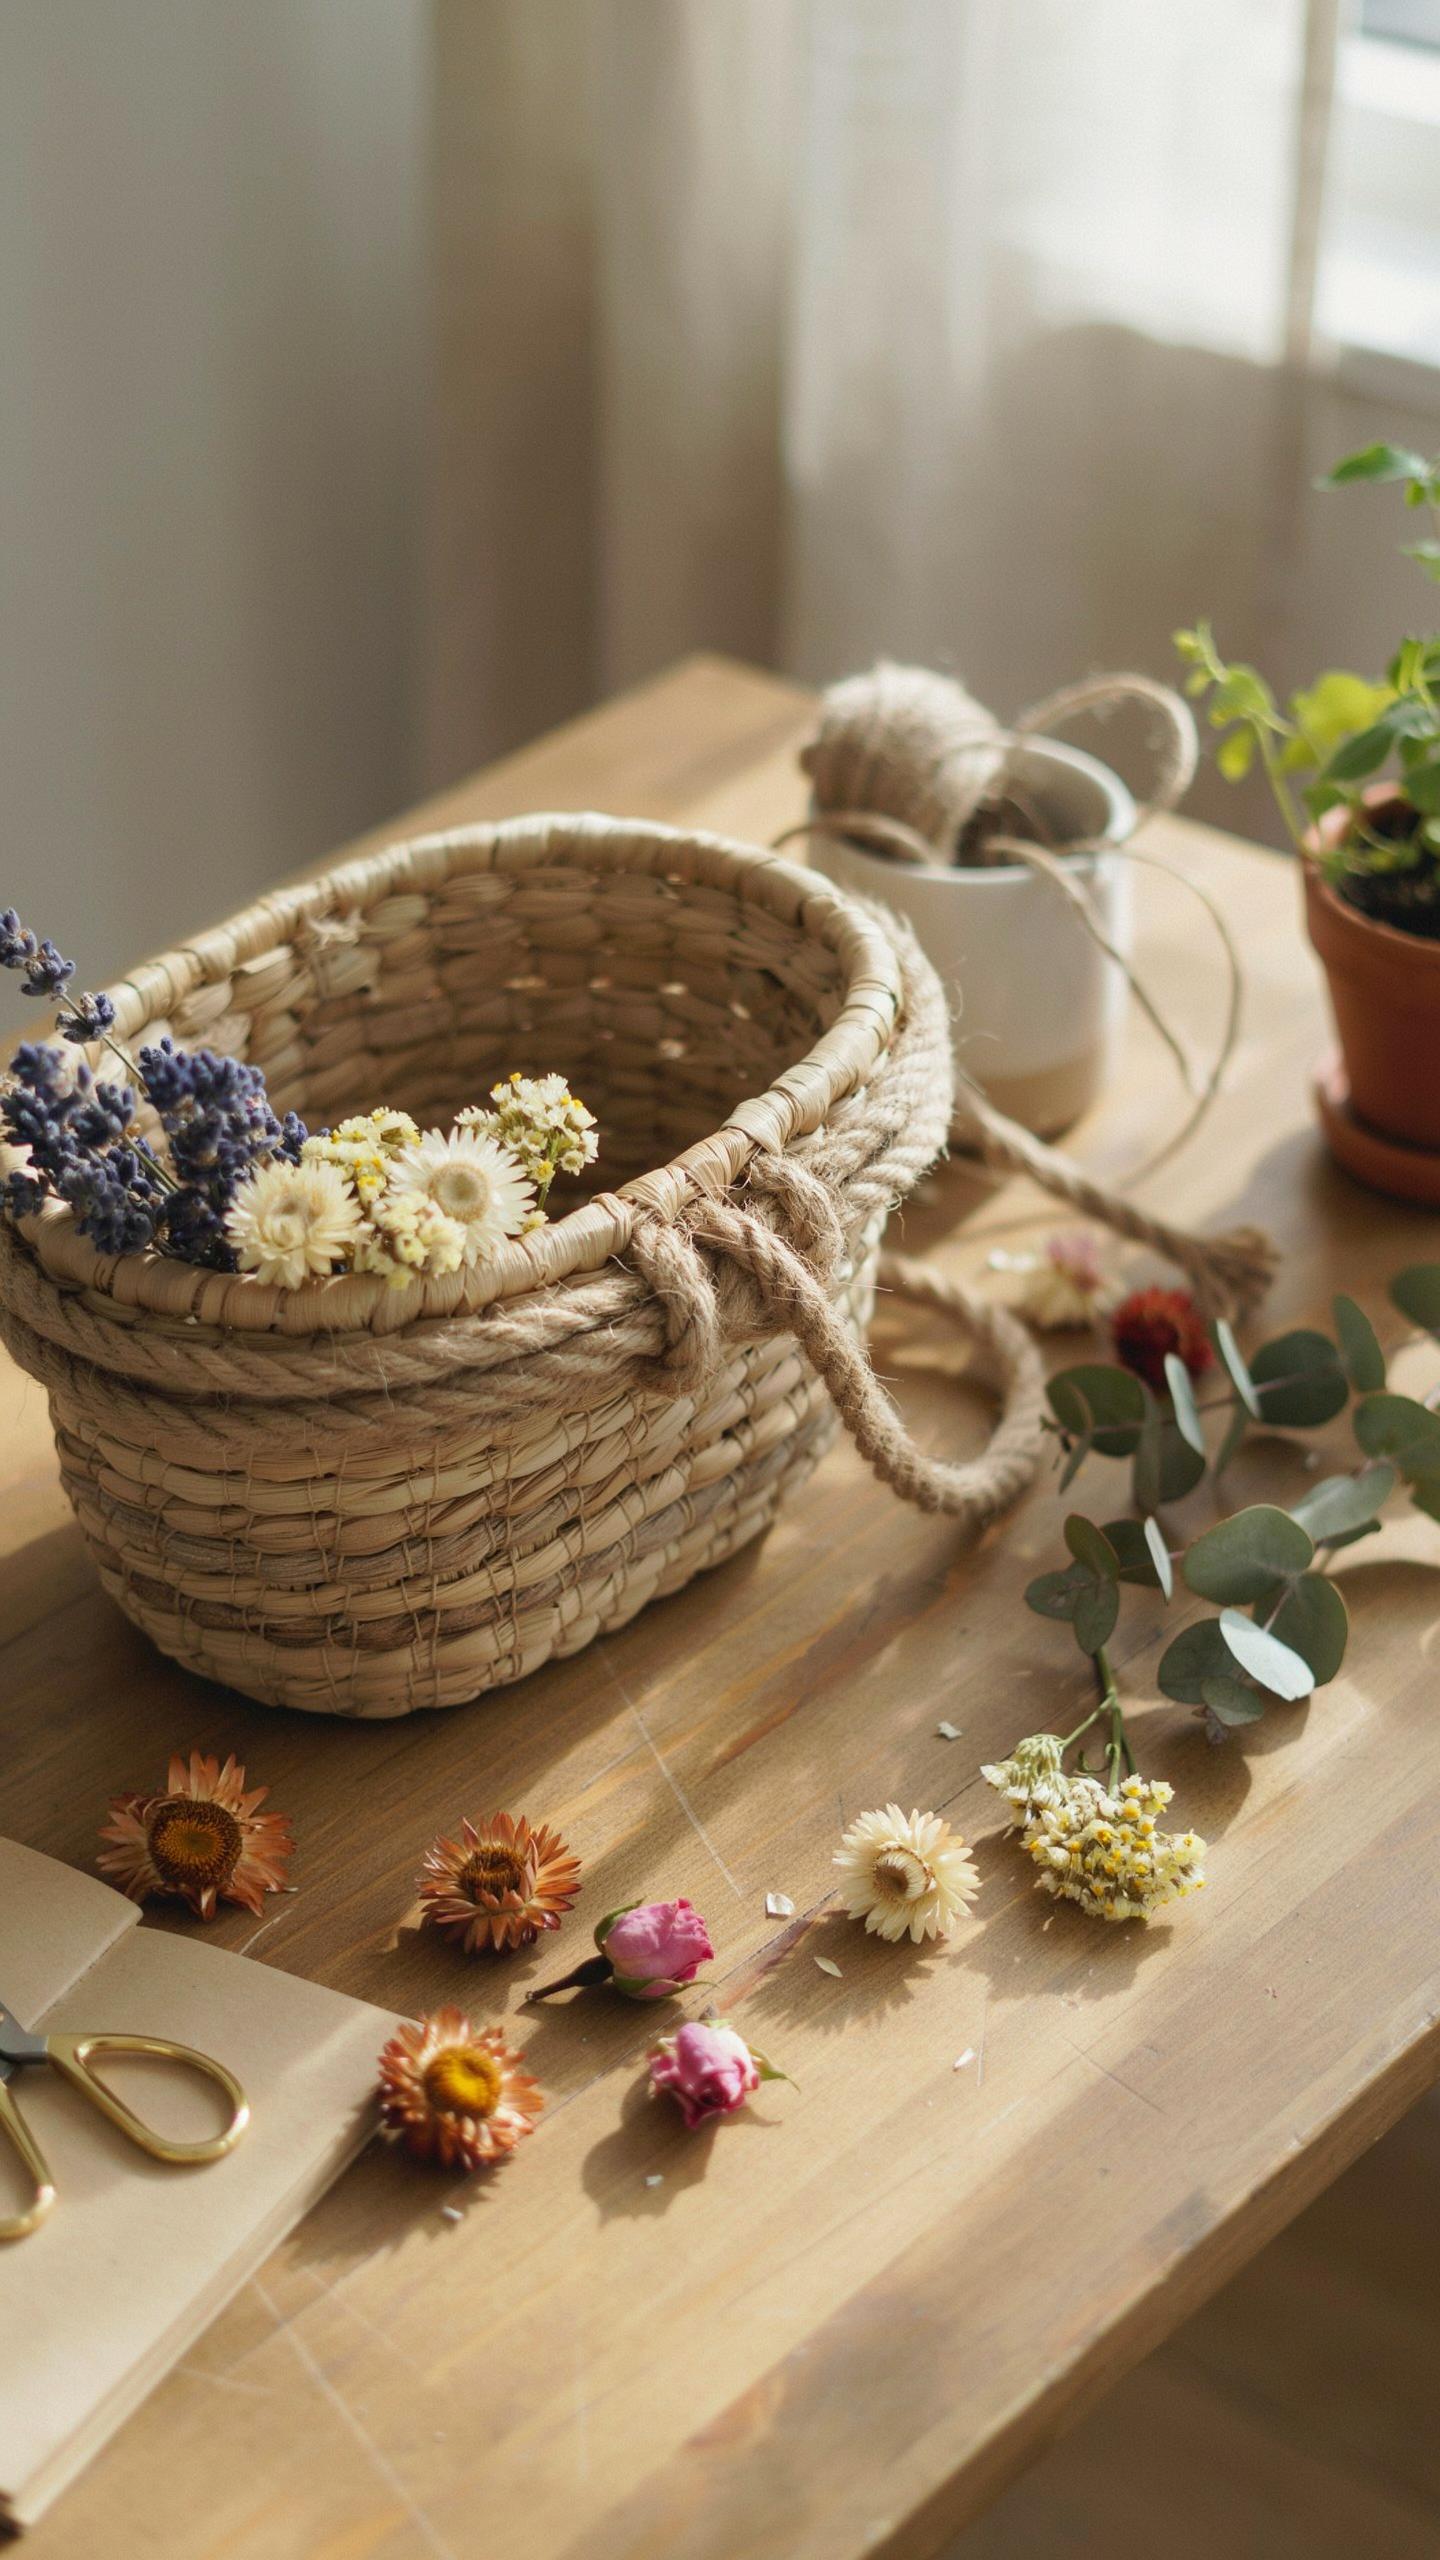
Step By Step Guide To Wrapping Old Baskets With Natural Jute Rope
Start by measuring your basket’s perimeter and height to determine rope length needed. Clean the basket surface thoroughly to remove dust and debris. Jute rope wrapping works best on baskets with visible seams or structural lines where you can anchor the material securely.
- Measure and cut rope: Calculate total length by wrapping a test piece around the basket. Add 10 percent extra for overlaps and knots at connection points.
- Secure the starting point: Tie rope to a structural seam using a square knot. Position the knot on the basket’s interior or bottom to hide it from view.
- Wrap in consistent rows: Wind rope around the basket in parallel lines. Keep tension even to prevent sagging or loose sections between wraps.
- Finish the end securely: Tie off the final rope end using a double knot. Trim excess rope and tuck the tail behind wrapped sections for a clean finish.
- Test structural integrity: Gently shake the basket after wrapping. Ensure rope doesn’t shift and the basket maintains its shape under light weight.
Jute rope adds texture while protecting underlying weaves from wear and handling damage. The natural fiber resists fraying when cut properly and develops a subtle patina over time from normal use and exposure.
Adding Durable Fabric Liners To Protect Loose Weaves And Delicate Items
Fabric liners create a barrier between basket interiors and stored items, preventing small objects from falling through gaps. Use natural fibers like linen or canvas for optimal durability and moisture management. These materials breathe better than synthetics and resist deterioration when exposed to varying humidity levels.
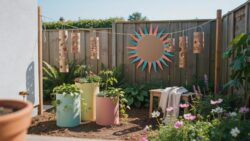
Cut fabric pieces slightly larger than the basket’s interior dimensions to account for overlap along the rim. Secure the liner using upholstery tacks or fabric adhesive applied to the upper interior edge. Avoid permanent attachment methods that prevent future liner replacement when wear occurs.
Curating Wall Art Collection With Old Baskets Ideas Decorative Style
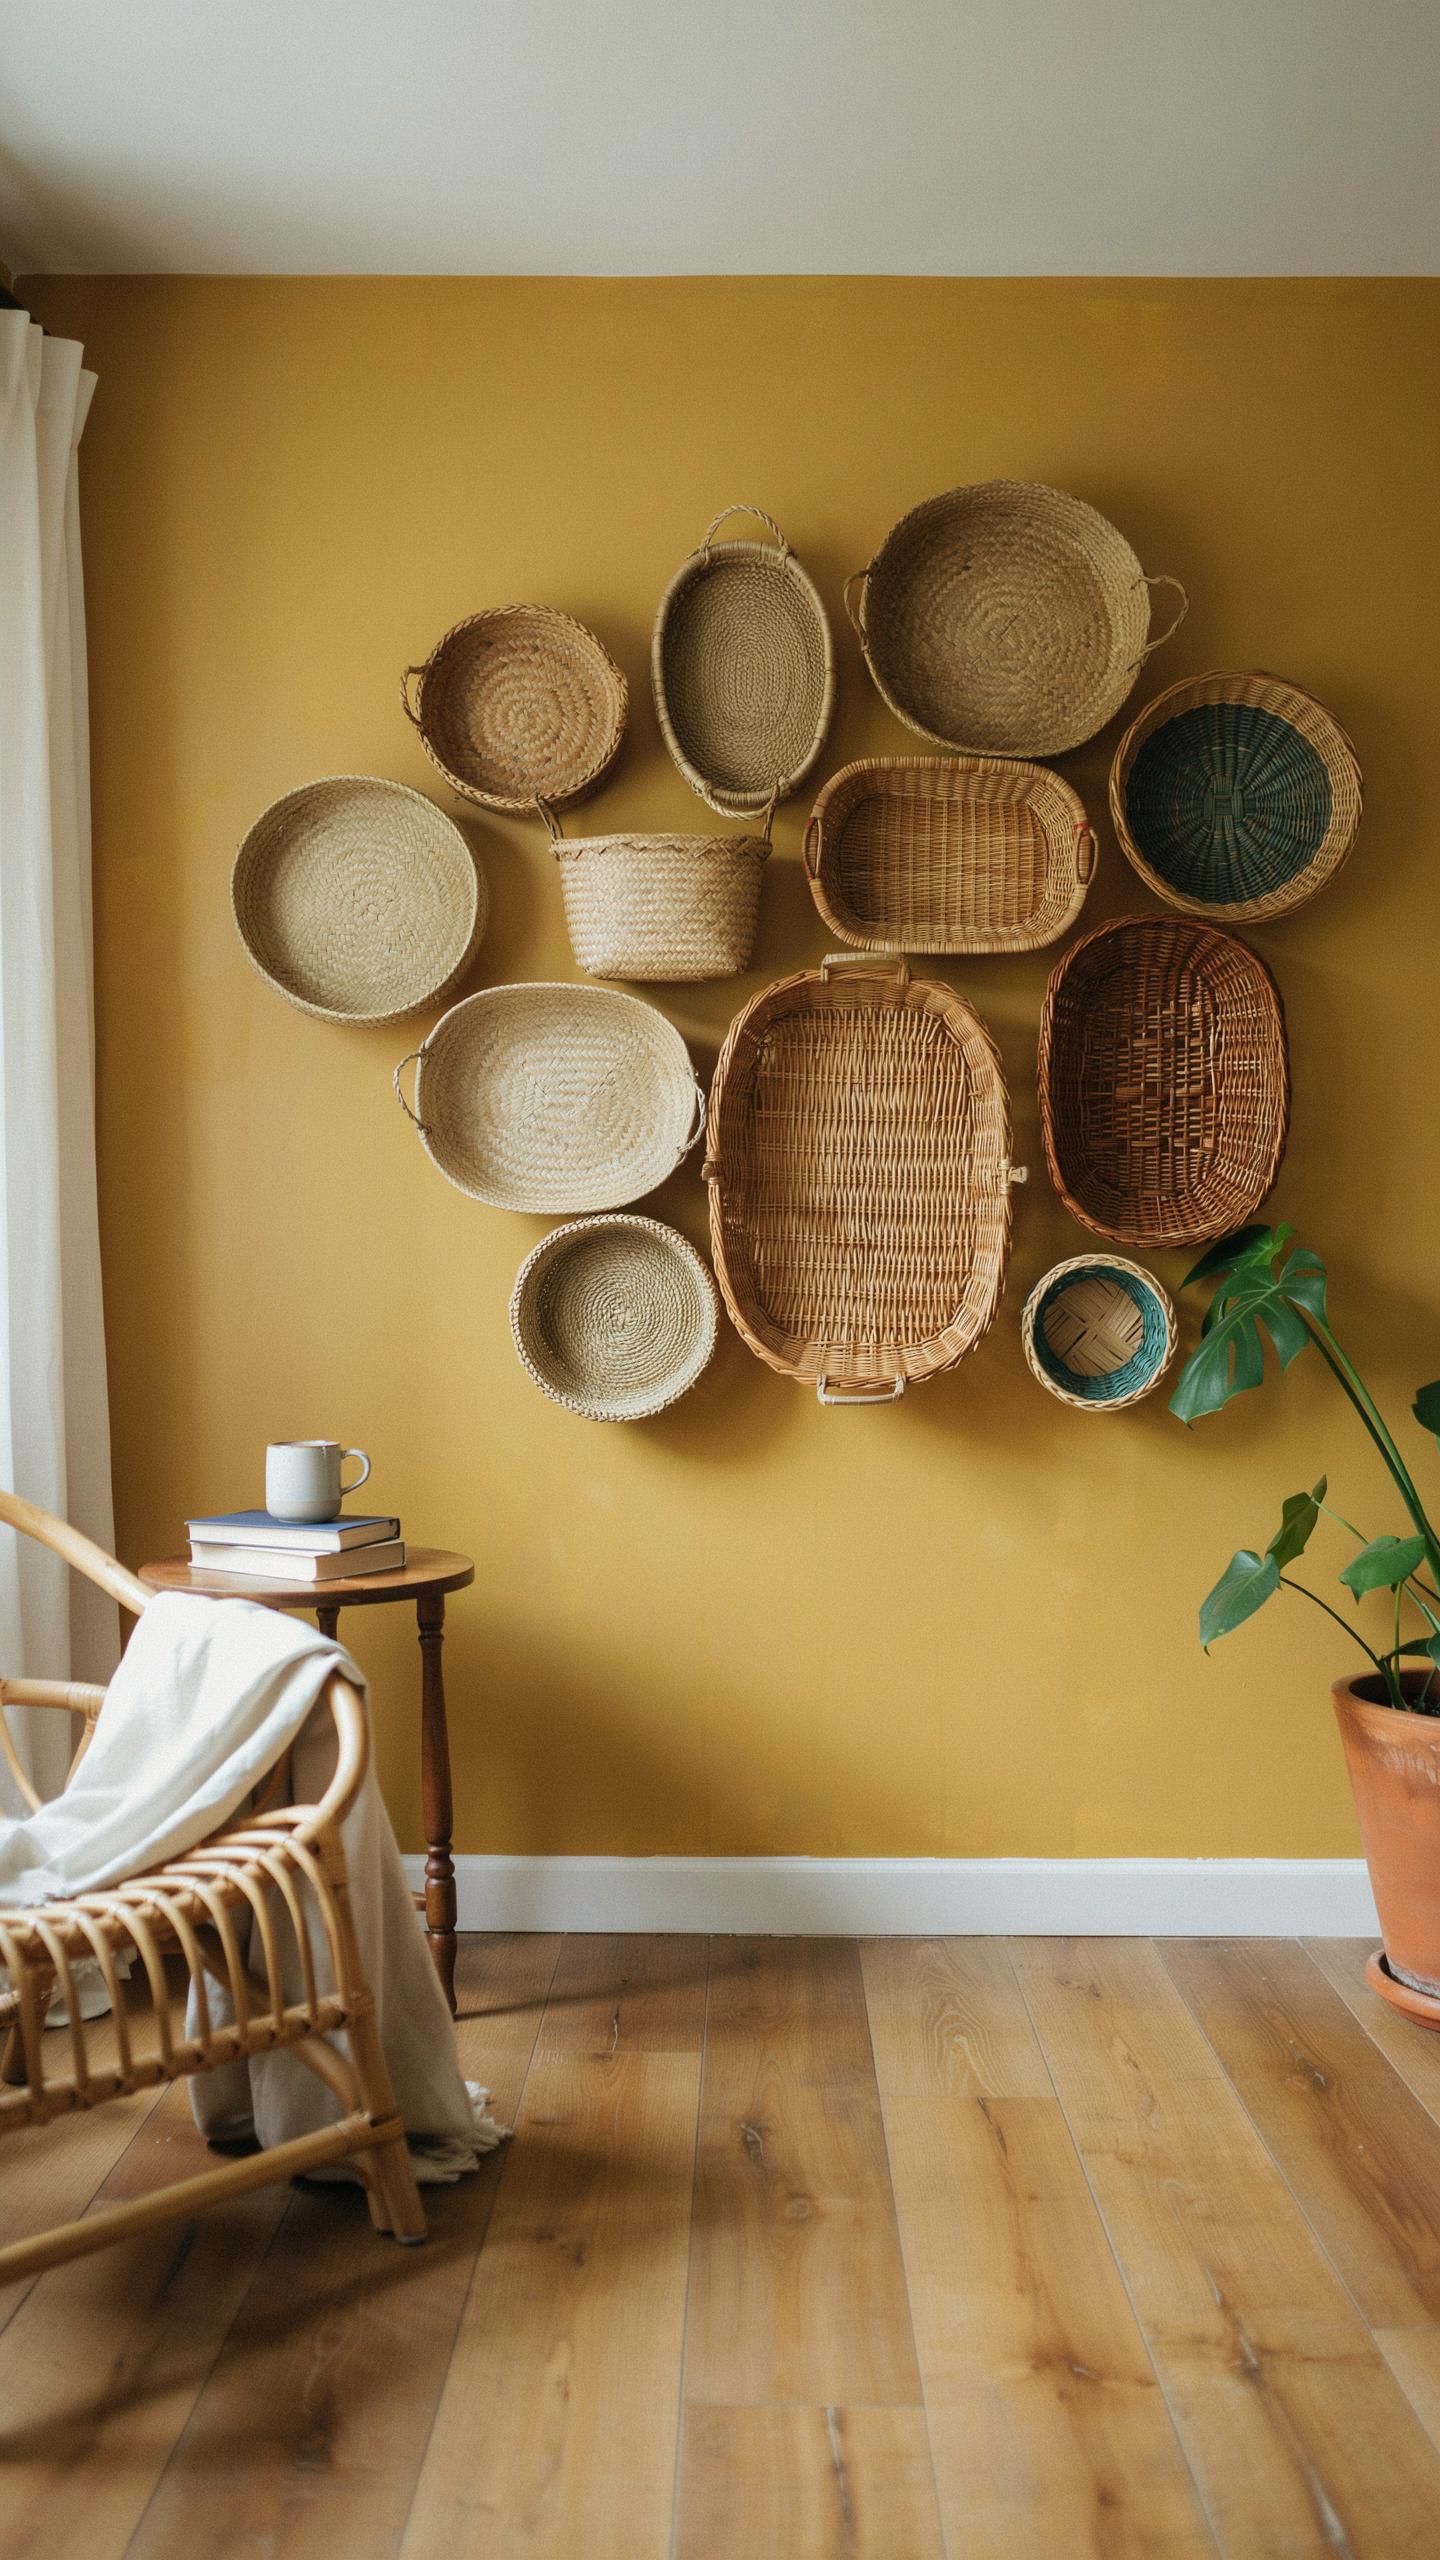
Designing Balanced Layouts For A Bohemian Gallery Wall Exhibit
Bohemian gallery walls require intentional spacing and rhythm. Mount baskets at varying heights, typically 12 to 18 inches apart, to prevent visual clutter. Use odd numbers of pieces when grouping baskets together. This approach creates natural focal points without overwhelming the wall surface. Consider your room’s square footage to determine how many baskets work effectively.
Anchor your composition with one larger basket, then scale smaller ones around it. The goal is movement across the wall, not random placement. Measure your wall space and sketch the layout on paper first. This prevents costly installation mistakes and ensures balanced distribution. Test arrangements with painter’s tape before committing to wall holes.
Mixing Geometric Paint Patterns With Natural Grass And Reed Textures
Paint geometric shapes directly onto basket surfaces to establish visual structure. Use two or three colors maximum to maintain clarity. Stripes, chevrons, and triangles work well on woven grass and reed baskets. The painted elements ground natural textures and prevent the display from feeling too organic. Select paint finishes that withstand moisture and resist fading.

Combine painted geometric patterns with unpainted sections to preserve texture visibility. The contrast between crisp lines and organic weaving creates visual interest. Reed and grass baskets absorb paint differently than solid surfaces, so test small areas first. Layer different basket weave densities to add depth. The interplay between man made patterns and natural materials drives the design impact.
Frequently Asked Questions

What are the best types of baskets to use for a DIY upcycling project?
When starting your first repurposed decor project baskets journey, look for sturdy materials like wicker, seagrass, or wire. Thrift stores are goldmines for vintage pieces with unique shapes. Even if a basket is discolored or slightly frayed, you can easily revive it with a bit of spray paint or decorative trim. Focus on the structural integrity of the base to ensure your new creation remains functional and beautiful for years.
How can I safely clean and prep old baskets before transforming them?
Before starting your repurposed decor project baskets, it is essential to remove years of dust and debris. Begin by vacuuming the crevices with a brush attachment. For deeper cleaning, wipe the material down with a damp cloth and mild soap, but avoid soaking natural fibers to prevent warping. Allow the basket to air dry completely in a well-ventilated area before applying any paint, fabric liners, or decorative hardware to the surface.
Can I create high-end looking basket decor on a very tight budget?
Absolutely! You can achieve a luxury aesthetic without spending much by using items you already have at home. Consider wrapping inexpensive plastic bins with jute twine or transforming old fruit crates into rustic wall hangings. Adding leather scraps as handles or using leftover fabric for custom liners can make basic containers look like designer boutique finds. Creativity is far more valuable than a big budget when it comes to styling your home.



