
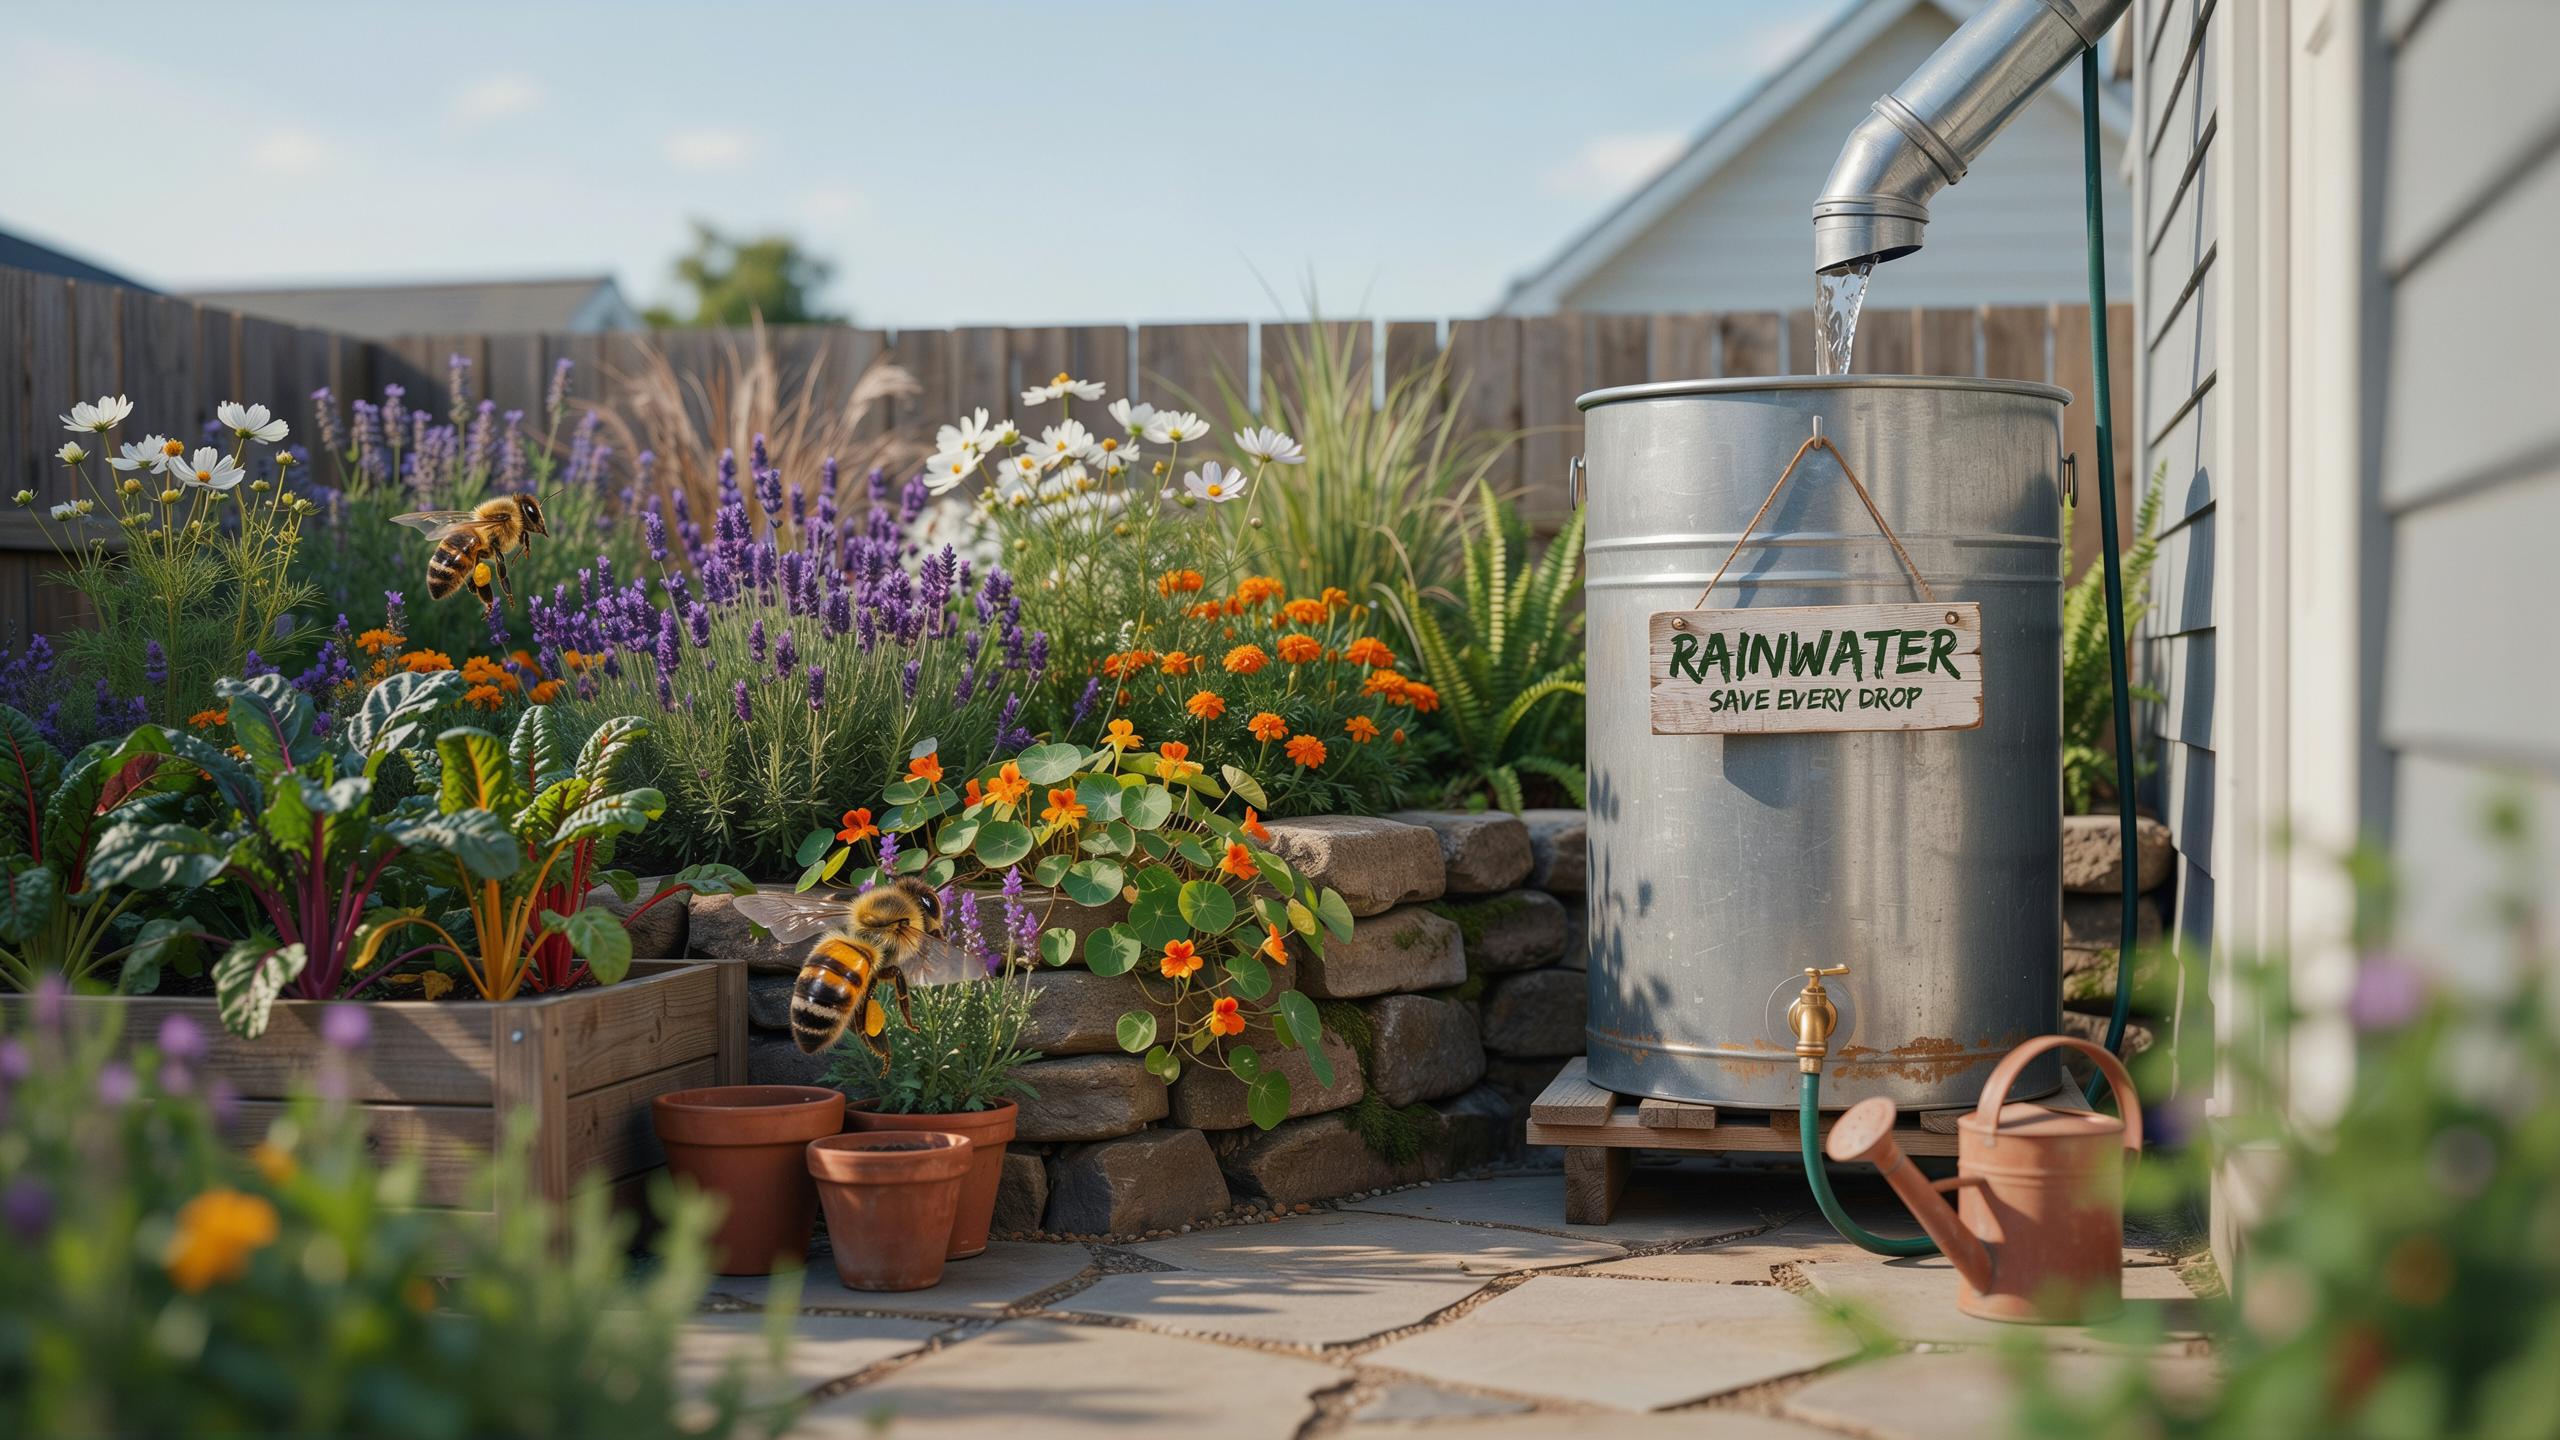
The Fundamentals Of Sustainable Landscaping Rainwater Collection
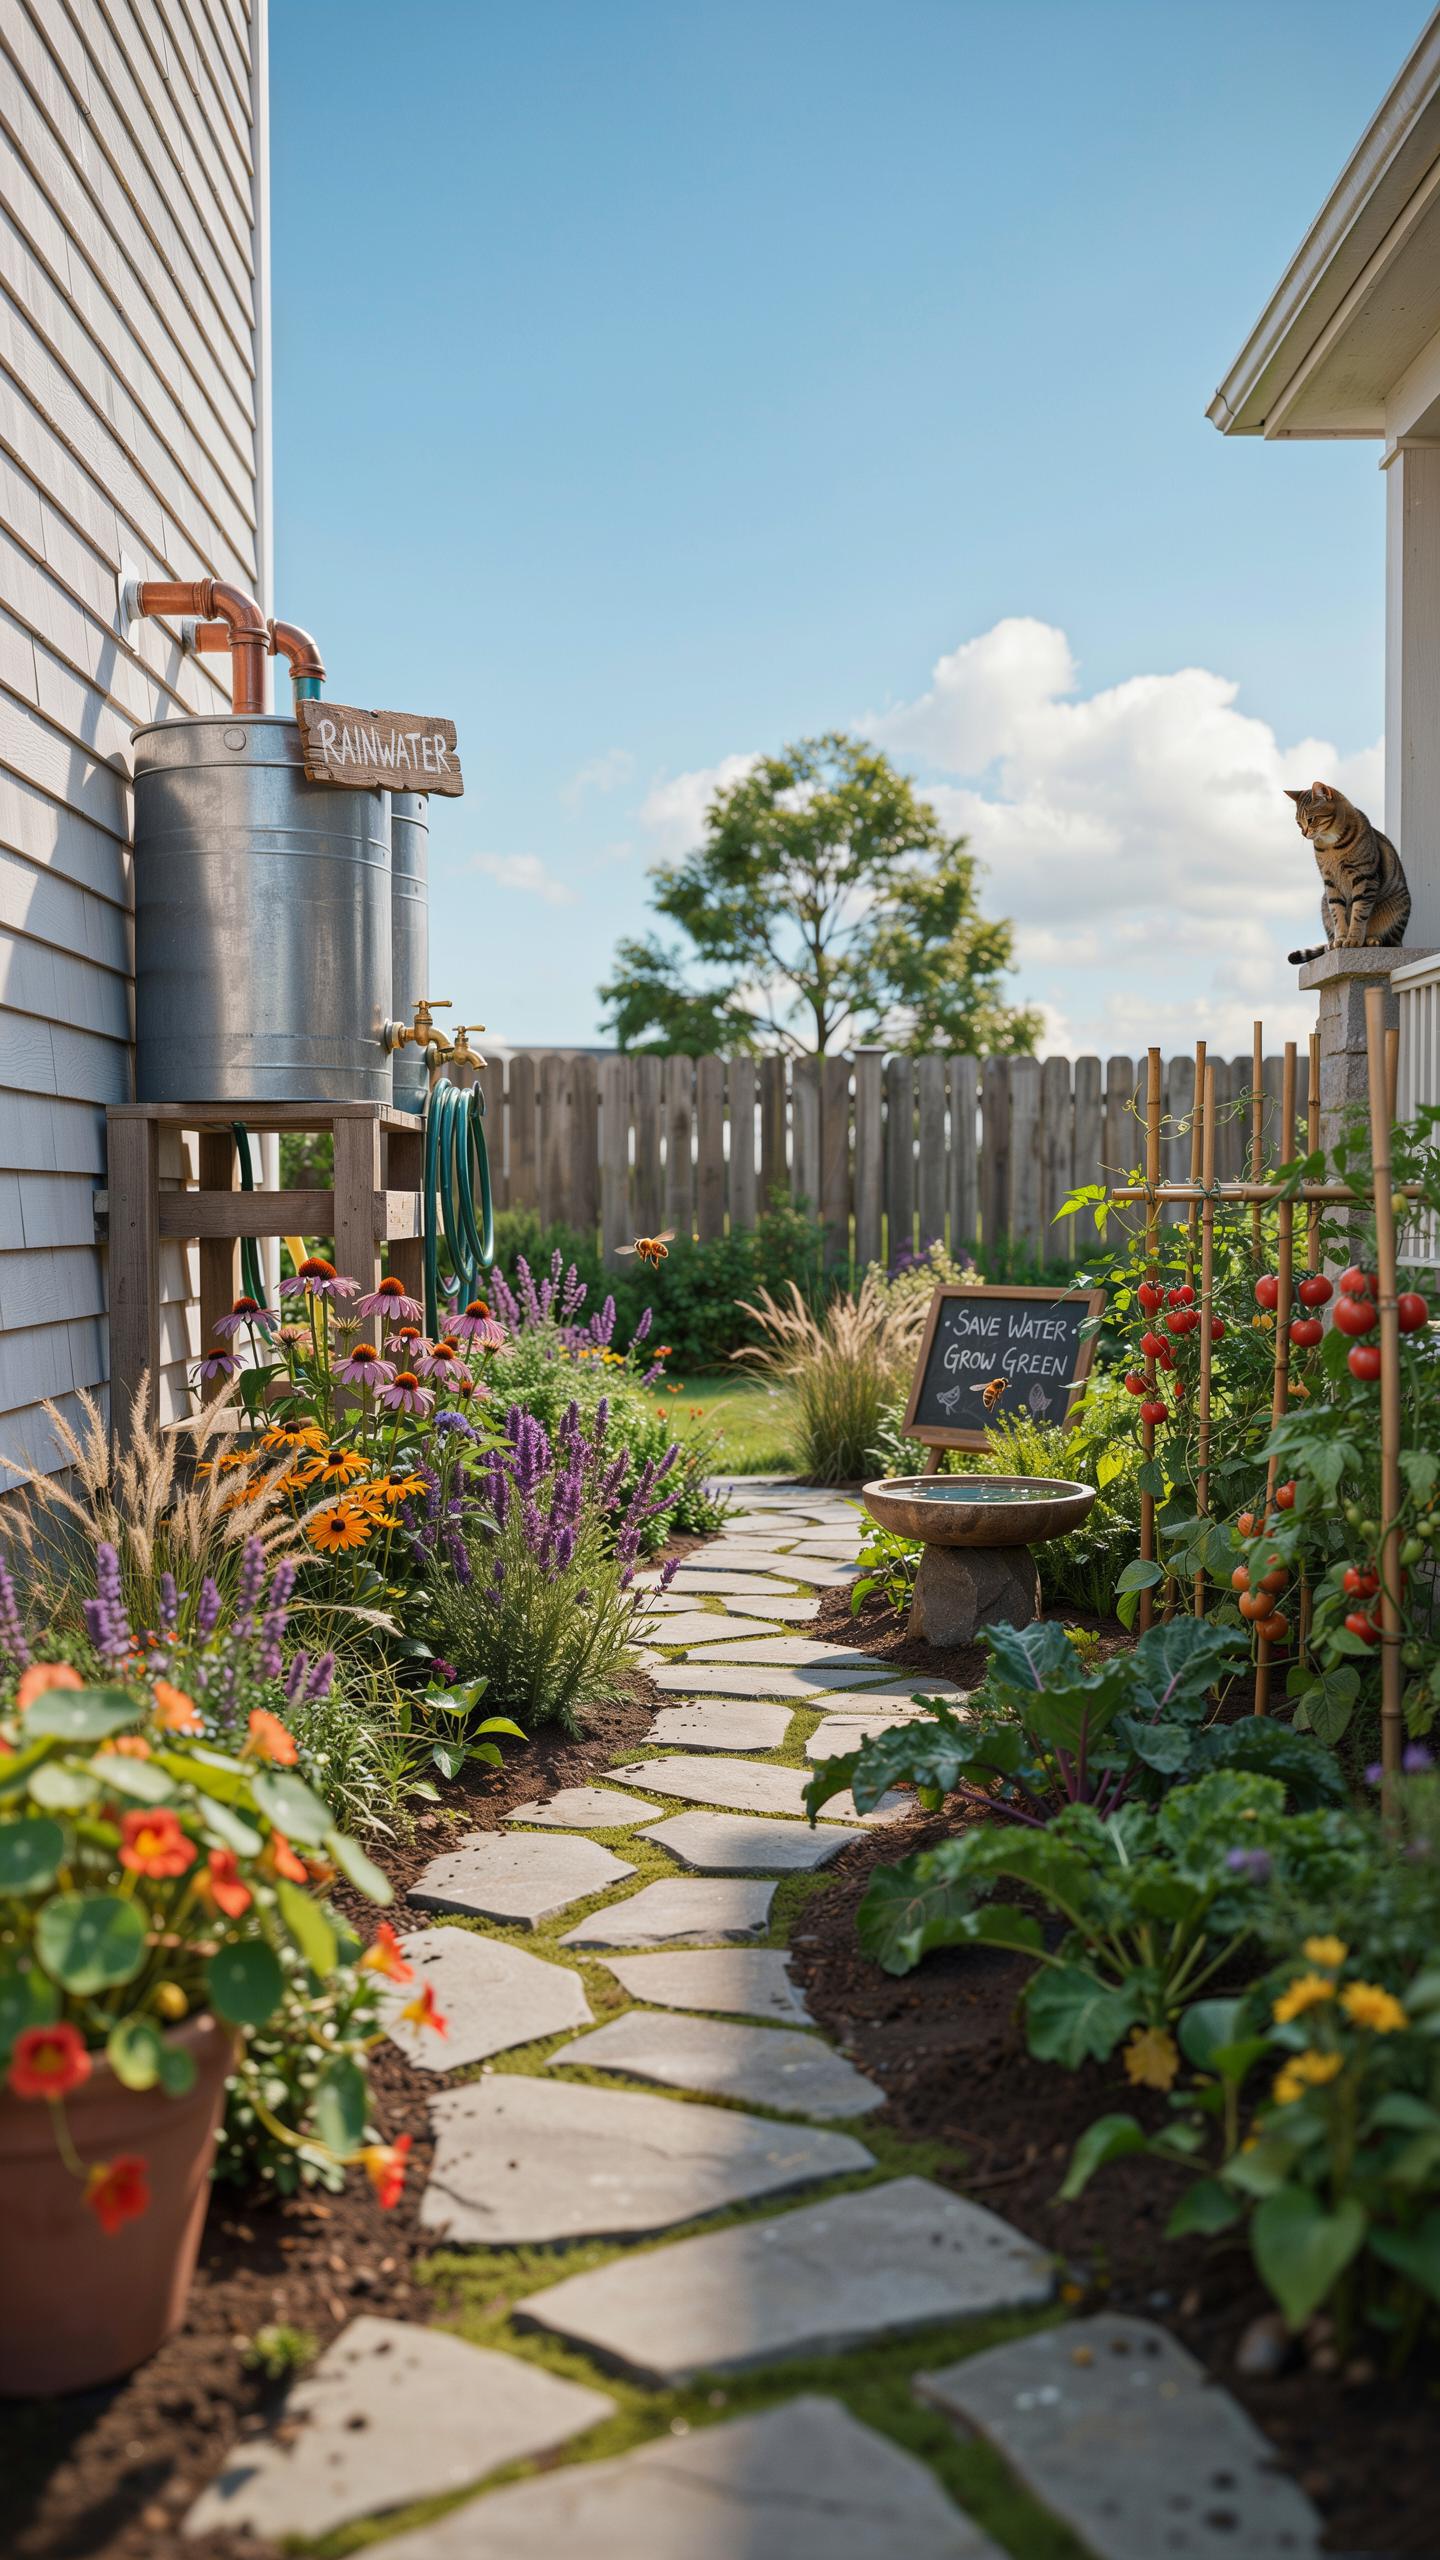
Understanding The Natural Hydrologic Cycle At Home
Water moves through a continuous cycle: evaporation, condensation, precipitation, and infiltration. Rainwater collection taps directly into this cycle by capturing precipitation before it leaves your property as runoff. This interruption reduces localized flooding, decreases erosion, and allows water to permeate soil instead of overwhelming storm drains.
Groundwater tables depend on consistent infiltration. Traditional hardscaping diverts rain away from soil, starving aquifers and causing wells to run dry. Collected rainwater you apply to landscape vegetation restores this natural balance. The water either infiltrates gradually through soil or gets absorbed by plants, mimicking what undeveloped land does naturally.
Environmental Benefits Of Conserving Municipal Water Supplies
Municipal water systems consume massive energy pumping, treating, and distributing water across distribution networks. Every gallon you use triggers energy-intensive processes at treatment facilities and pumping stations. Rainwater collection eliminates this demand for processed water, directly reducing the electrical load on community infrastructure.
Stored precipitation serves landscape irrigation, toilet flushing, and cleaning needs without touching municipal supplies. This shift cuts both energy consumption and chemical treatment requirements at water facilities. Properties with rainwater systems reduce strain on aging water infrastructure, particularly during drought periods when municipal systems operate at maximum capacity and rationing becomes necessary.

An Introduction To Rainwater Harvesting Principles

The Key Components Of Catchment Chemistry
Surface materials determine runoff quality before water enters storage. Asphalt shingles leach toxins into collected water. Metal roofing and sealed concrete shed cleaner runoff. First-flush diverters remove initial debris and contaminants from the roof surface. This step protects your storage tank from organic matter and bird droppings that accumulate between rain events.
Water quality depends on roof maintenance and material selection. Copper and zinc-coated metals corrode and contaminate catchment. Concrete tiles trap algae and bacteria. Ceramic or standing-seam metal roofing performs best for potable storage systems. Install leaf screens and mesh guards to block debris before water reaches downspouts and collection tanks.
Sizing Your Catchment Potential Based On Annual Rainfall
Calculate available water by multiplying roof area by regional rainfall depth. One inch of rain on 1,000 square feet of roof yields approximately 600 gallons. Your local weather service provides historical annual rainfall data for your zip code. Multiply this by your roof footprint to estimate total seasonal capture capacity and guide tank sizing decisions.

Dry seasons determine your storage requirements. In arid regions, capture winter and spring rainfall for summer use. In temperate climates, collect spring runoff for summer irrigation. Calculate months without meaningful precipitation in your area. Size storage tanks to bridge this gap without overflow or depletion. Most residential systems require 500 to 5,000 gallons depending on property size and local rainfall patterns.
Selecting The Right Rainwater Harvesting System For Your Site
Active Vs Passive Storage Solutions
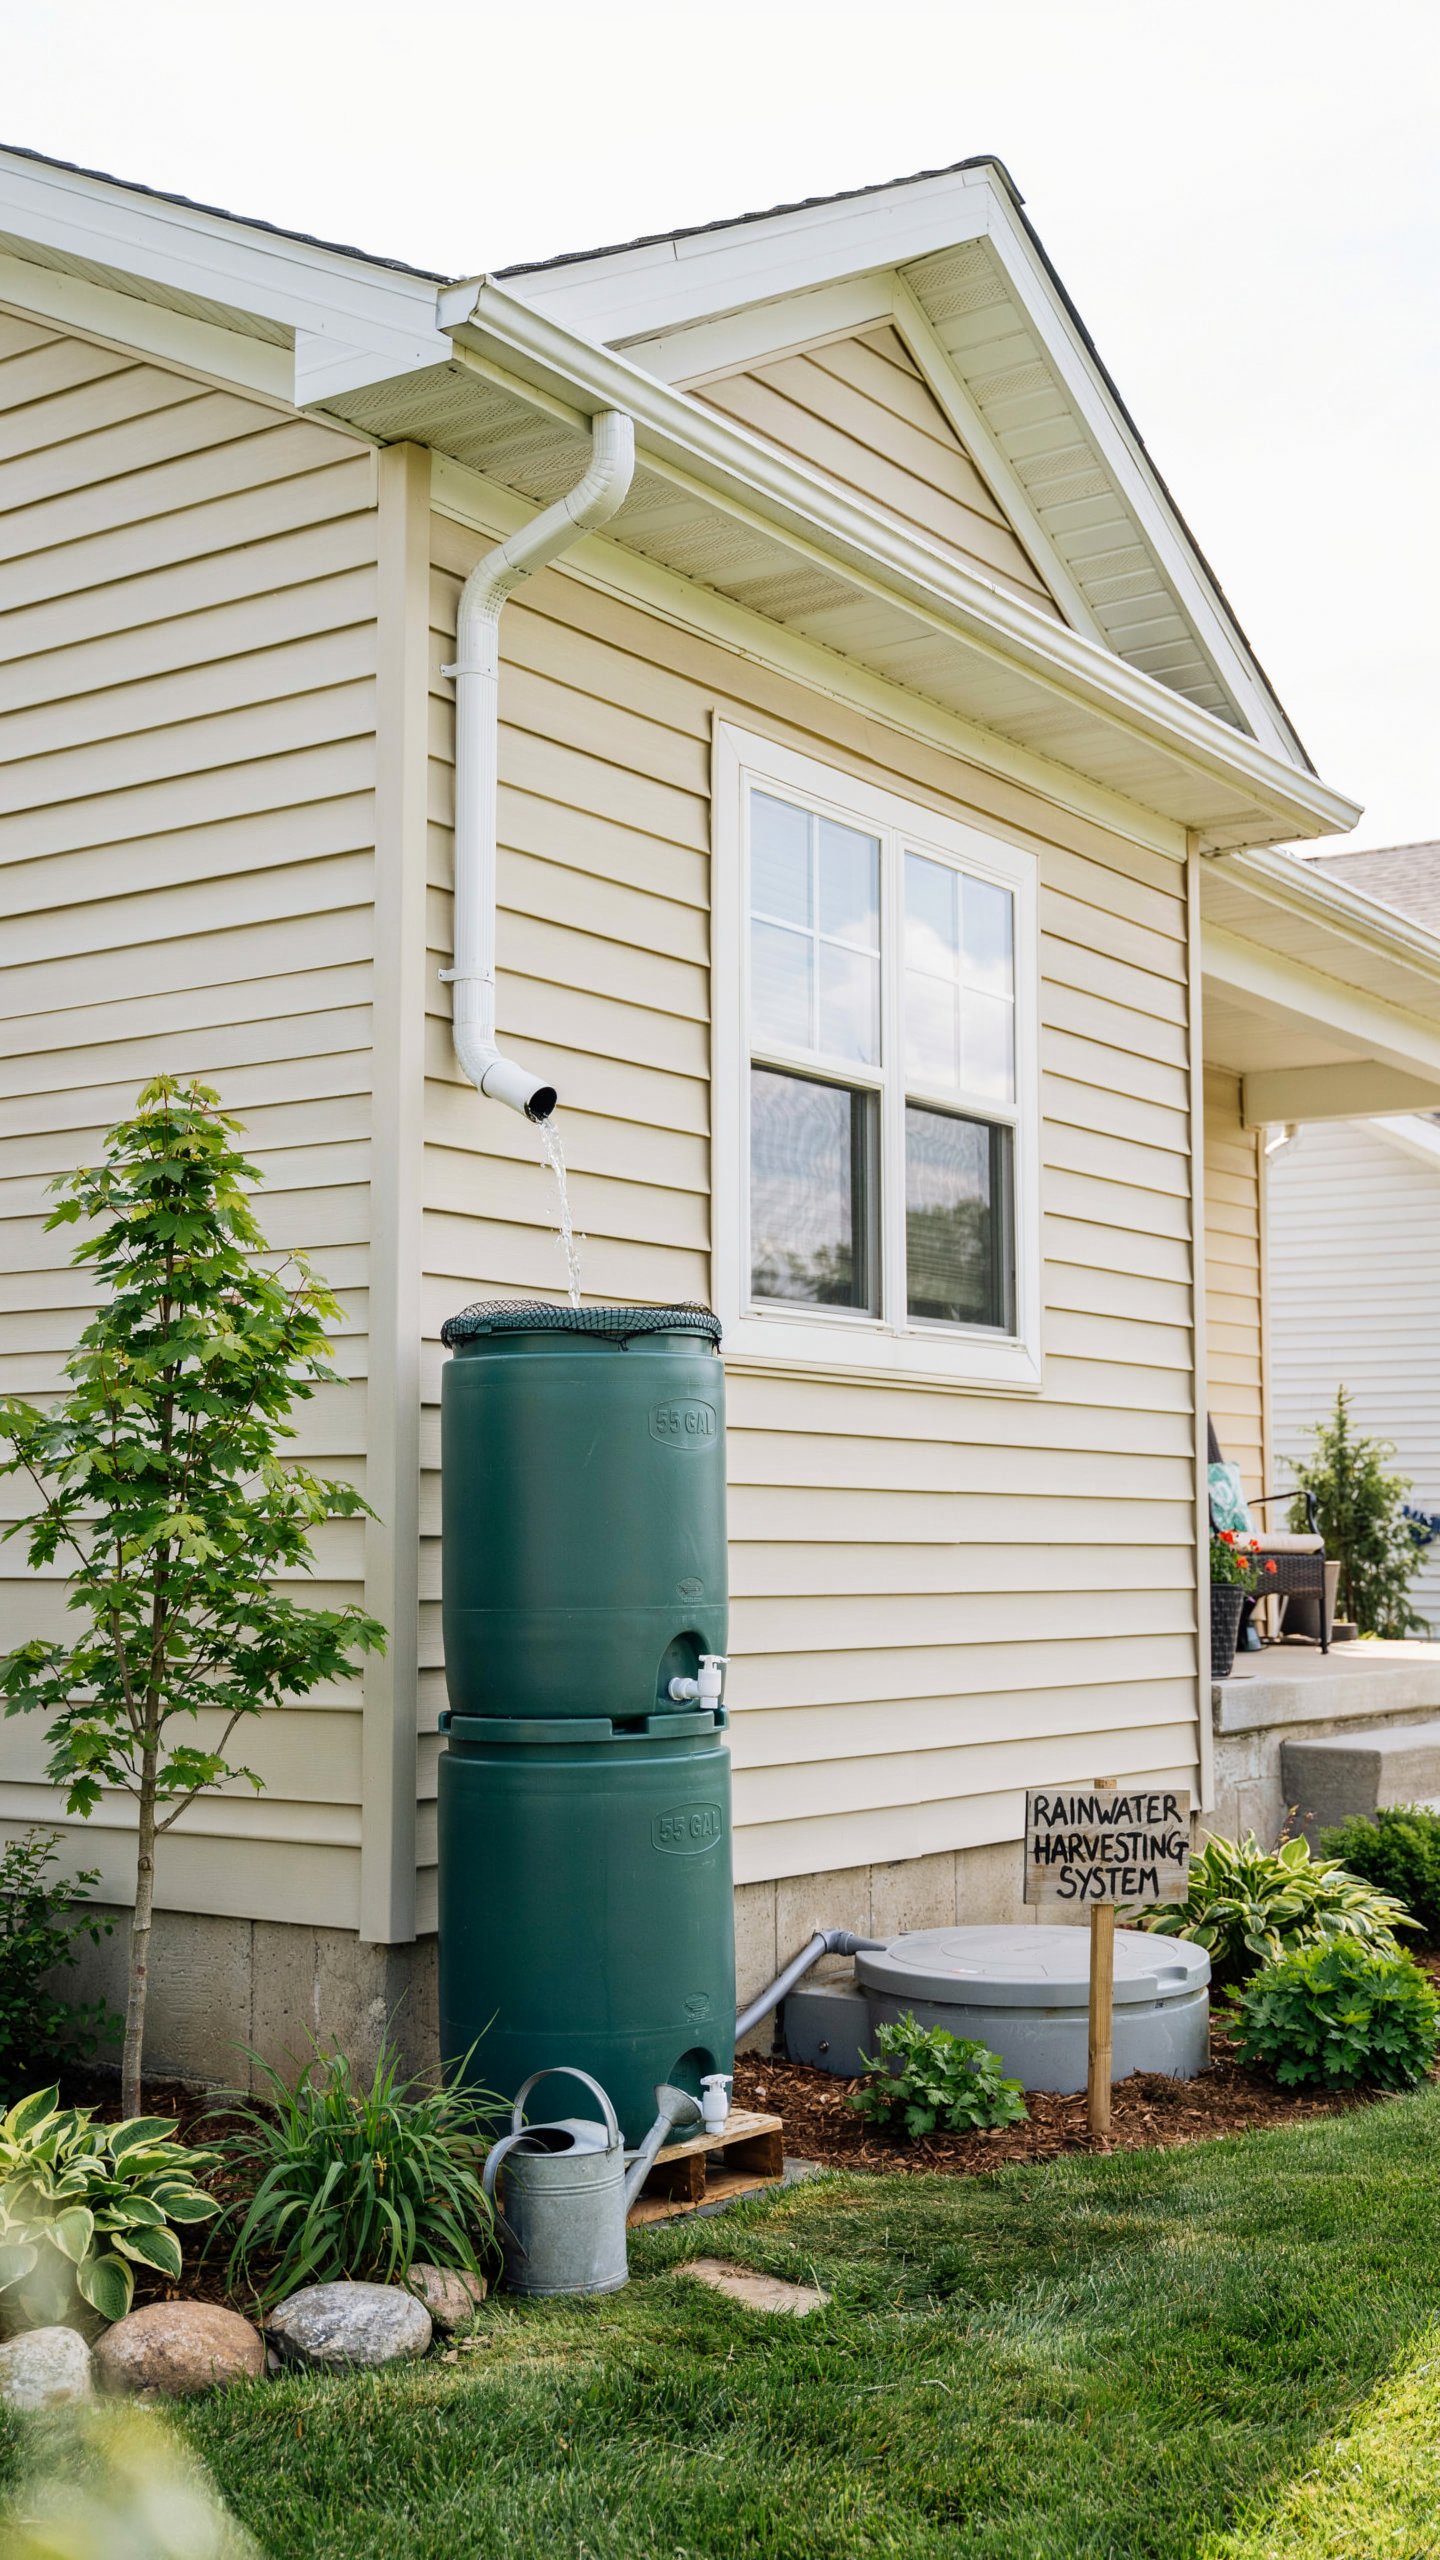
Active systems use electric pumps to move water from storage tanks through pressurized irrigation lines. Passive systems rely on gravity alone, requiring no electricity or mechanical intervention. Active systems deliver water uphill and across flat terrain with consistent pressure. Passive systems work only where elevation allows gravity to push water downward to lower zones.
Choose active systems when your landscape sits above storage tanks or requires pressurized drip irrigation across multiple zones. Choose passive systems for sloped properties where storage sits uphill from planting areas. Active systems cost more to install and operate but offer precise control and flexibility. Passive systems cost less to maintain but demand careful site assessment and proper tank placement.
Integrating Above Ground And Below Ground Tanks
Above-ground tanks occupy visible space on your property but cost less to install and easier to access for maintenance. Subterranean cisterns hide from view, preserve landscape aesthetics, and maintain water temperature better underground. Above-ground barrels work well for small properties and visual acceptance matters less. Underground cisterns suit larger properties and formal landscape designs where storage should remain invisible.

Above-ground tanks suit retrofits because you avoid excavation costs and soil disruption. Underground tanks require heavy equipment, site prep, and permitting in many jurisdictions. Above-ground systems drain and clean faster since you access them without digging. Underground systems protect water from sunlight, reducing algae growth and maintaining cooler temperatures for irrigation.
Designing An Efficient Rainwater Collection System

First Flush Diverters And Pre Filtration Mechanics
First-flush diverters automatically route the initial water volume away from your storage tank. This initial runoff carries roof debris, dust, bird droppings, and organic matter that accumulated between rainfall events. By diverting this contaminated water, you protect your stored supply from sediment and microbial growth that reduces water quality and clogs distribution systems.
A properly sized first-flush diverter diverts between 0.5 to 1 gallon per 100 square feet of collection surface. After the dirty water passes through, a valve or float mechanism closes and directs subsequent clean water into storage. Pre-filtration screens installed below gutters and downspouts provide a second defense, catching leaves and large debris before water enters the diverter, reducing maintenance frequency and protecting valve mechanisms from blockage.
Overflow Management And Prevention Of Soil Erosion
When storage tanks reach capacity during heavy rain, excess water must exit your system without damaging property or creating erosion zones. Direct overflow away from building foundations using solid piping or channels that extend at least six feet from the structure. This protects concrete slabs and foundation walls from water saturation, which weakens structural integrity and creates moisture problems inside basements and crawl spaces.

Route overflow water toward designated drainage areas or existing storm drain systems on your property. Grade these zones slightly downward to prevent water pooling near the tank or building. If your lot slopes toward a neighbor’s property, confirm easement agreements exist before directing water across their land. Properly managed overflow prevents soil erosion, protects landscaping investments, and maintains surface stability around planted areas and hardscapes.
Creative Rain Water Collection System Diy Ideas For Homeowners

Essential Materials For Building Your Own Rain Barrel
You need specific components to build a functional rain barrel that collects and stores water without leaks or contamination. Start with quality materials that handle repeated water exposure and UV exposure over years of use. Food-grade containers matter because they don’t leach chemicals into water you’ll use on edible plants.
- Food-grade plastic drums: 55-gallon drums provide standard capacity for most residential systems. Verify the drum previously held food products, not chemicals or petroleum products, to avoid contamination.
- Brass spigots: Install near the barrel base for water withdrawal. Brass resists corrosion better than steel and won’t degrade from constant water contact.
- Rubber washers: Create watertight seals at spigot connections and threaded openings. Replace washers annually as UV exposure and water degradation harden them over time.
- Teflon tape: Wrap around male threads before connecting fittings. This tape prevents leaks at connection points without requiring heavy-duty sealants that fail under pressure.
- Overflow valves: Prevent barrel overflow during heavy rain by diverting excess water away from your foundation. Choose valves rated for your barrel capacity and expected rainfall volume.
Assemble these components in a logical sequence. Connect the spigot first, then add overflow protection, then screen the inlet opening to block debris. Most homeowners complete a functional barrel in two to three hours with basic tools like wrenches and a drill.
Constructing A Gravity Fed Gravity Dripline Connection
Position your rain barrel on a raised platform to generate water pressure without a pump. Elevation matters because gravity creates natural flow through drip lines when the barrel sits higher than your garden beds. A two-foot height differential produces enough pressure for micro-irrigation systems designed for residential use.

Run your primary supply line from the barrel spigot downhill toward your garden beds. Connect the line to drip tubing using compression fittings that accommodate different hose diameters without tools. Lay drip lines along plant rows and secure them with landscape stakes to maintain consistent positioning during watering cycles. Adjust flow using in-line valves or drip emitters rated for your water volume and garden size. Test your system by filling the barrel and observing water flow patterns before relying on it for regular irrigation.
Transforming Your Yard With Inspired Rain Garden Ideas

Enhancing Property Aesthetics With Seasonal Wet Dry Beds
Rain gardens function as landscape depressions that capture stormwater runoff from roofs, driveways, and hardscaping. These beds sit 4 to 8 inches below surrounding grade, allowing water to infiltrate soil rather than run into storm drains. The design works because native soils filter water naturally while reducing erosion and flooding on your property.
The aesthetic advantage comes from the variety of plant material and seasonal interest you can establish. During dry months, rain gardens read as planted garden beds with no visual distinction from traditional landscaping. When storms occur, the beds temporarily hold water, creating dynamic landscape features that demonstrate functional design rather than masking it.
Those who contemplate the beauty of the earth find reserves of strength that will endure as long as life lasts. There is something infinitely healing in the repeated refrains of nature—the assurance that dawn comes after night, and spring after winter.
Choosing Native Perennials That Thrive In Variable Moisture
Native perennials survive both saturation and drought because their root systems evolved to handle your local climate. Plants like coneflowers, black eyed Susans, and joe pye weed tolerate temporary standing water without rotting. Once established, these plants need minimal supplemental irrigation since they access water stored in rain garden soil.

Species selection depends entirely on your geographic region. In the Midwest, switch grass and New England asters perform well in wet dry cycles. In the Southeast, ironweed and native sedges handle both conditions effectively. Research your USDA hardiness zone and local native plant species before purchasing plant material for your beds.
Mastering Rain Garden Design For Optimal Runoff Filtration
Determining Sizing And Soil Excavation Depths
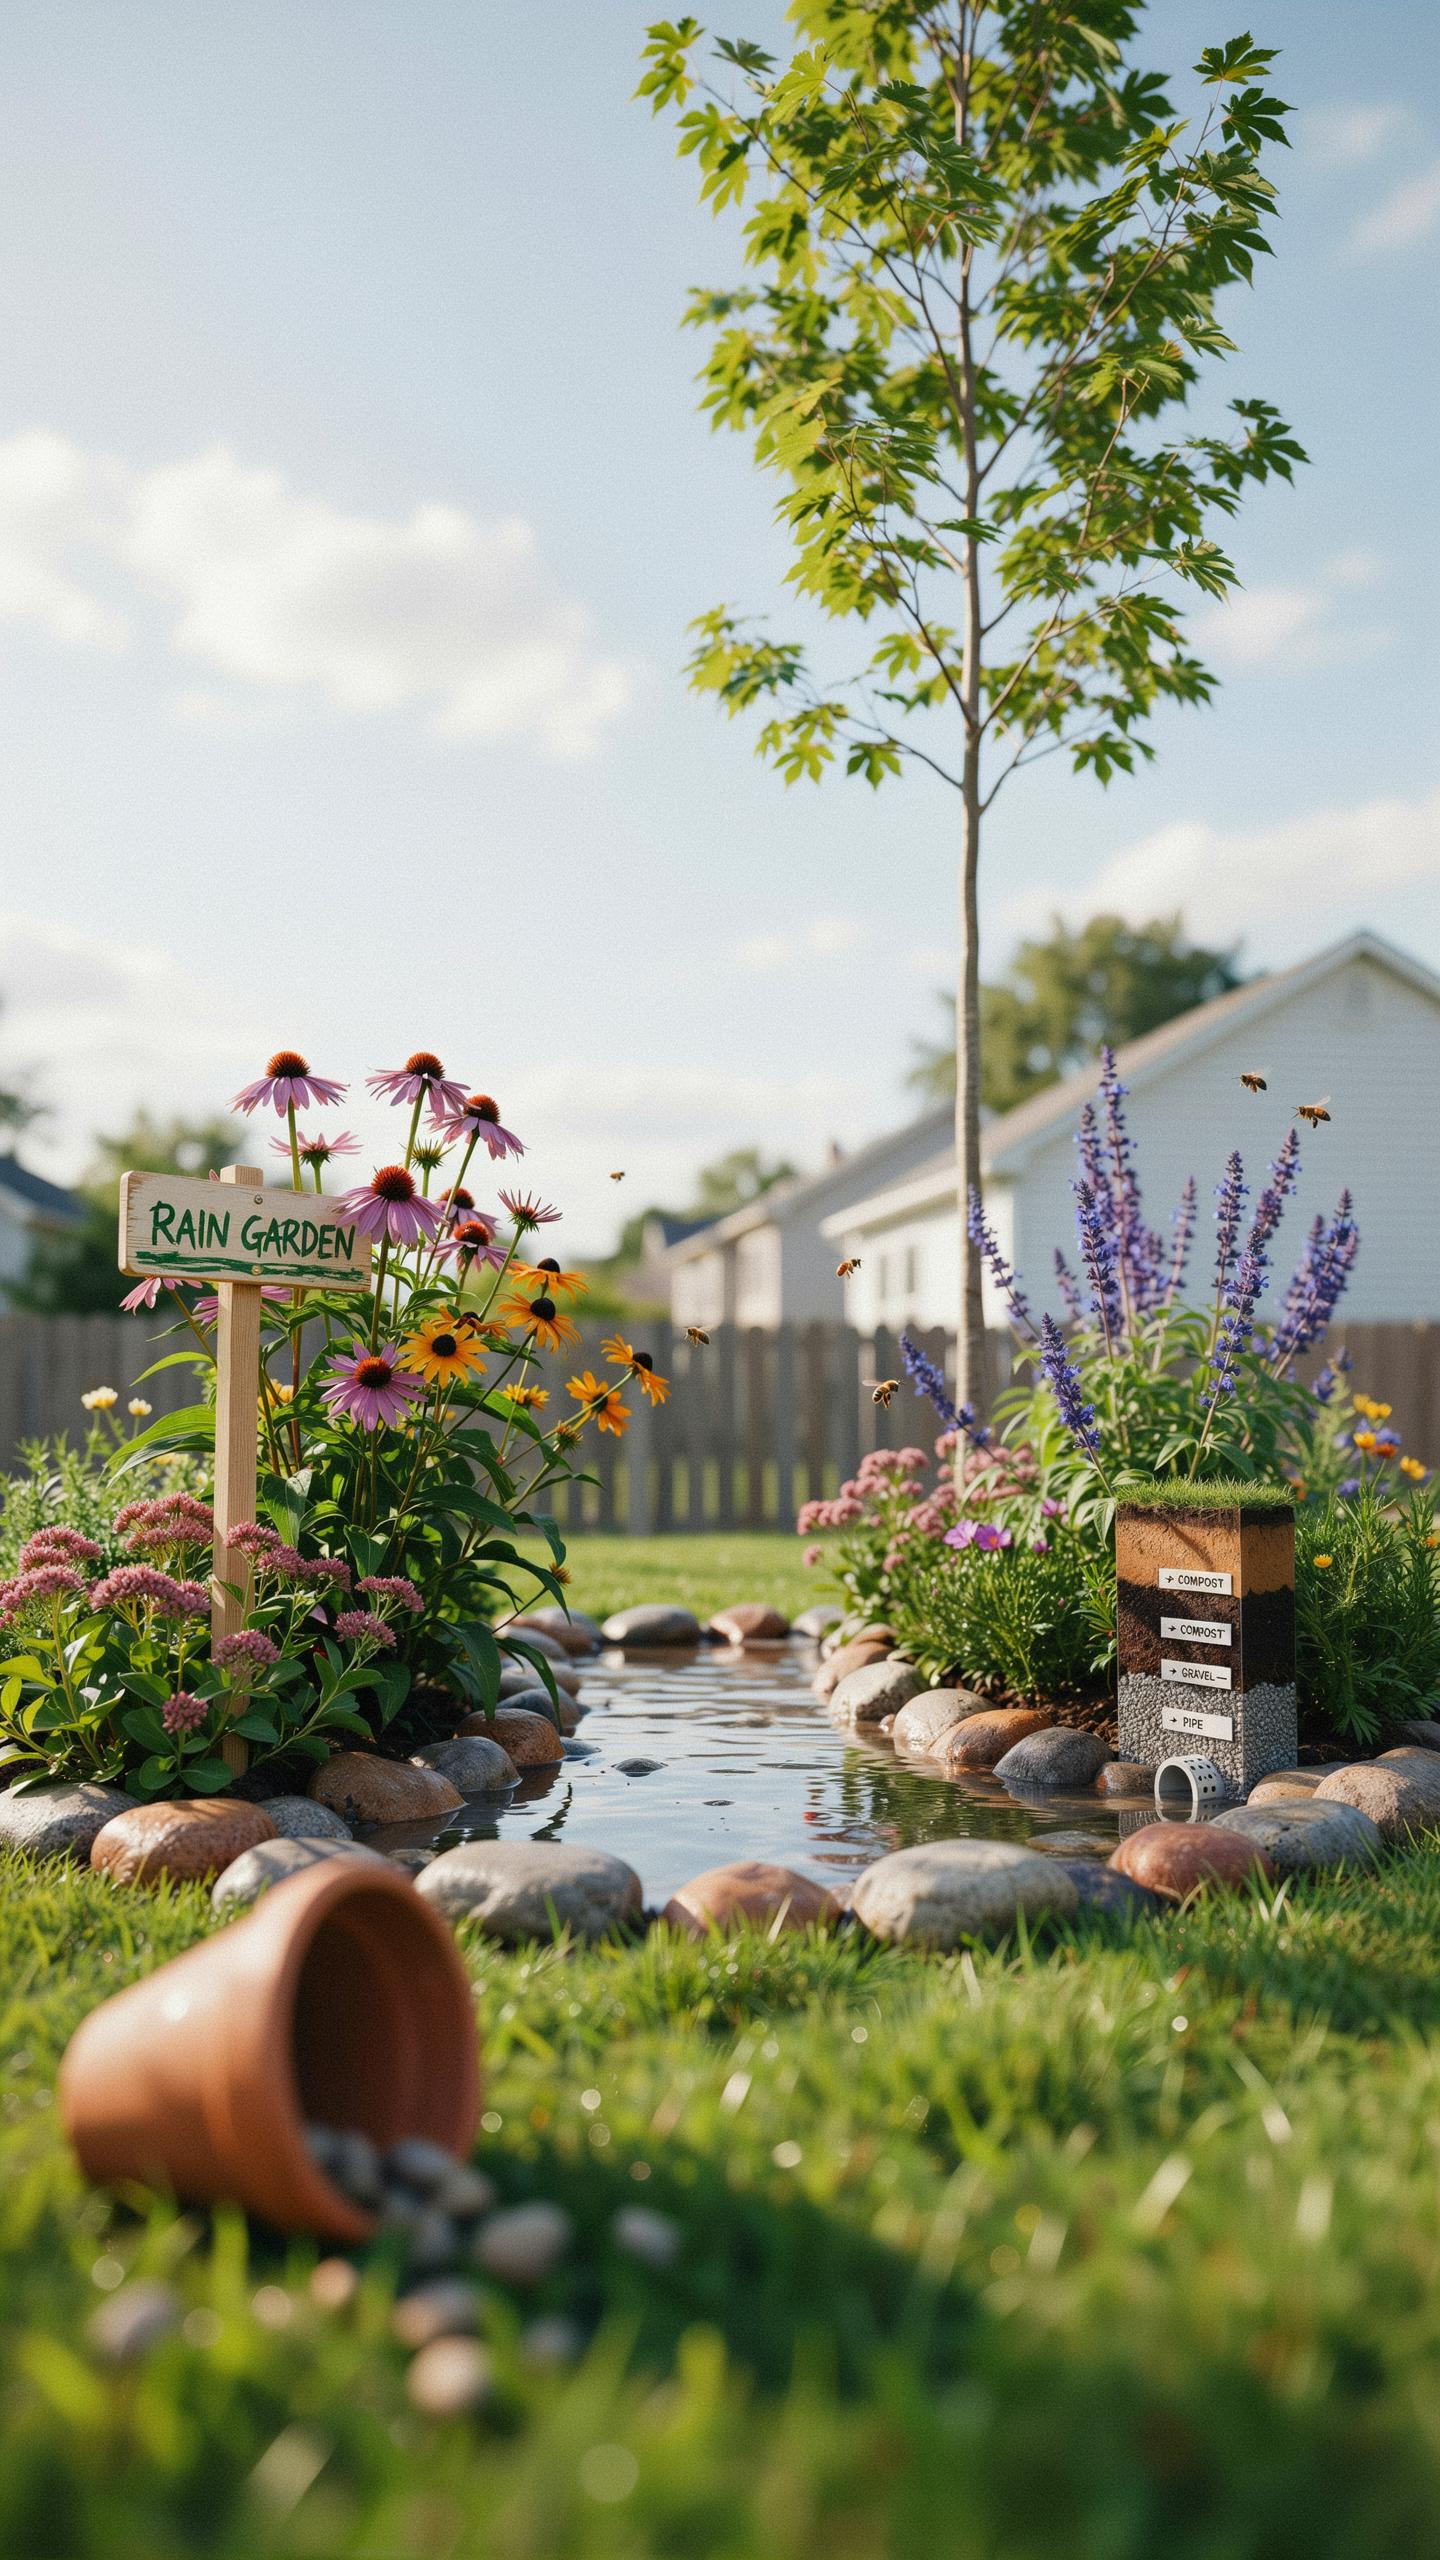
Calculate rain garden surface area using this formula: multiply your roof area by local annual rainfall, then divide by 36 to get square feet needed. A standard guideline targets one square foot of rain garden per 100 square feet of roof. Excavate 6 to 8 inches deep to prevent water from sitting longer than 24 hours, which indicates poor drainage and potential mosquito breeding.
Soil type determines how fast water drains. Sandy soil drains too quickly and doesn’t filter adequately. Clay soil drains too slowly and causes pooling. Test your existing soil by digging a hole, filling it with water, and measuring drainage rate. Most rain gardens need excavation to remove native soil and replace it with engineered bioretention mix designed for the 24-hour drainage window.
The Science Of Bioretention Soil Mixtures
Mix bioretention soil in these ratios: 40 percent sand, 30 percent topsoil, and 30 percent compost. This combination balances infiltration speed with nutrient availability and plant root respiration. Sand provides drainage capacity. Topsoil supplies nutrients and structure. Compost adds organic matter that feeds microbes responsible for breaking down pollutants and improving soil biology over time.

Particle size matters significantly in bioretention mixes. Use medium sand, not fine sand, to avoid compaction that blocks water movement. Screen topsoil to remove debris and clumps. Quality compost should be fully finished with no ammonia smell or active decomposition. This engineered mix achieves infiltration rates between 0.5 to 2 inches per hour, hitting the target range for effective runoff treatment while maintaining plant health.
Practical Rain Garden DIY Steps For Weekend Landscapers

Step By Step Excavation And Installation Guide
Start with a percolation test to measure soil drainage. Dig a hole 12 inches deep, fill it with water, and time how long it takes to drain. Most rain gardens work best in soil that drains between half an inch to two inches per hour. This test determines whether your site works and how deep to dig your basin.
- Test soil drainage rates: Dig a 12-inch hole, fill with water, and measure drainage speed. Results tell you if the site works and basin depth needed.
- Flag the perimeter contour: Use spray paint or stakes to mark the garden outline. Mark the high and low points of your basin to ensure proper water flow direction.
- Excavate the basin slope: Dig with a 1 to 3 percent grade toward the center. Create a shallow bowl shape that slopes gently inward to capture and hold water.
- Lay down bioretention mix: Install a 6 to 12 inch layer of engineered soil blend. Use compost, sand, and topsoil in proper ratios to support plant growth and water filtration.
- Plant your selected varieties: Choose native plants that tolerate both wet and dry conditions. Space plants according to mature width to avoid crowding and ensure air circulation.
Finish by raking the bioretention mix smooth and watering newly planted vegetation. Most rain gardens need one to two weeks to settle before they handle heavy rainfall. Mark the garden edges with stakes or low edging to prevent foot traffic damage during establishment.
Mulching And Edging Techniques To Prevent Soil Washout
Place heavy wood chips around plant bases to absorb impact from incoming water streams. Use three to four inches of mulch depth for protection. At high velocity inlet points where water enters the garden, apply river rocks or large aggregate to slow water speed before it hits bare soil. This prevents scouring and erosion during intense storms.

River rocks serve a dual purpose: they dissipate water energy and allow water to pass through while slowing its movement. Position rocks along swales or downspout discharge areas. Wood chips break down over time, so inspect and refresh mulch annually. Combine both materials at critical entry points for maximum soil protection and durability.
Curating Diverse Rain Gardens Ideas Across Different Climates
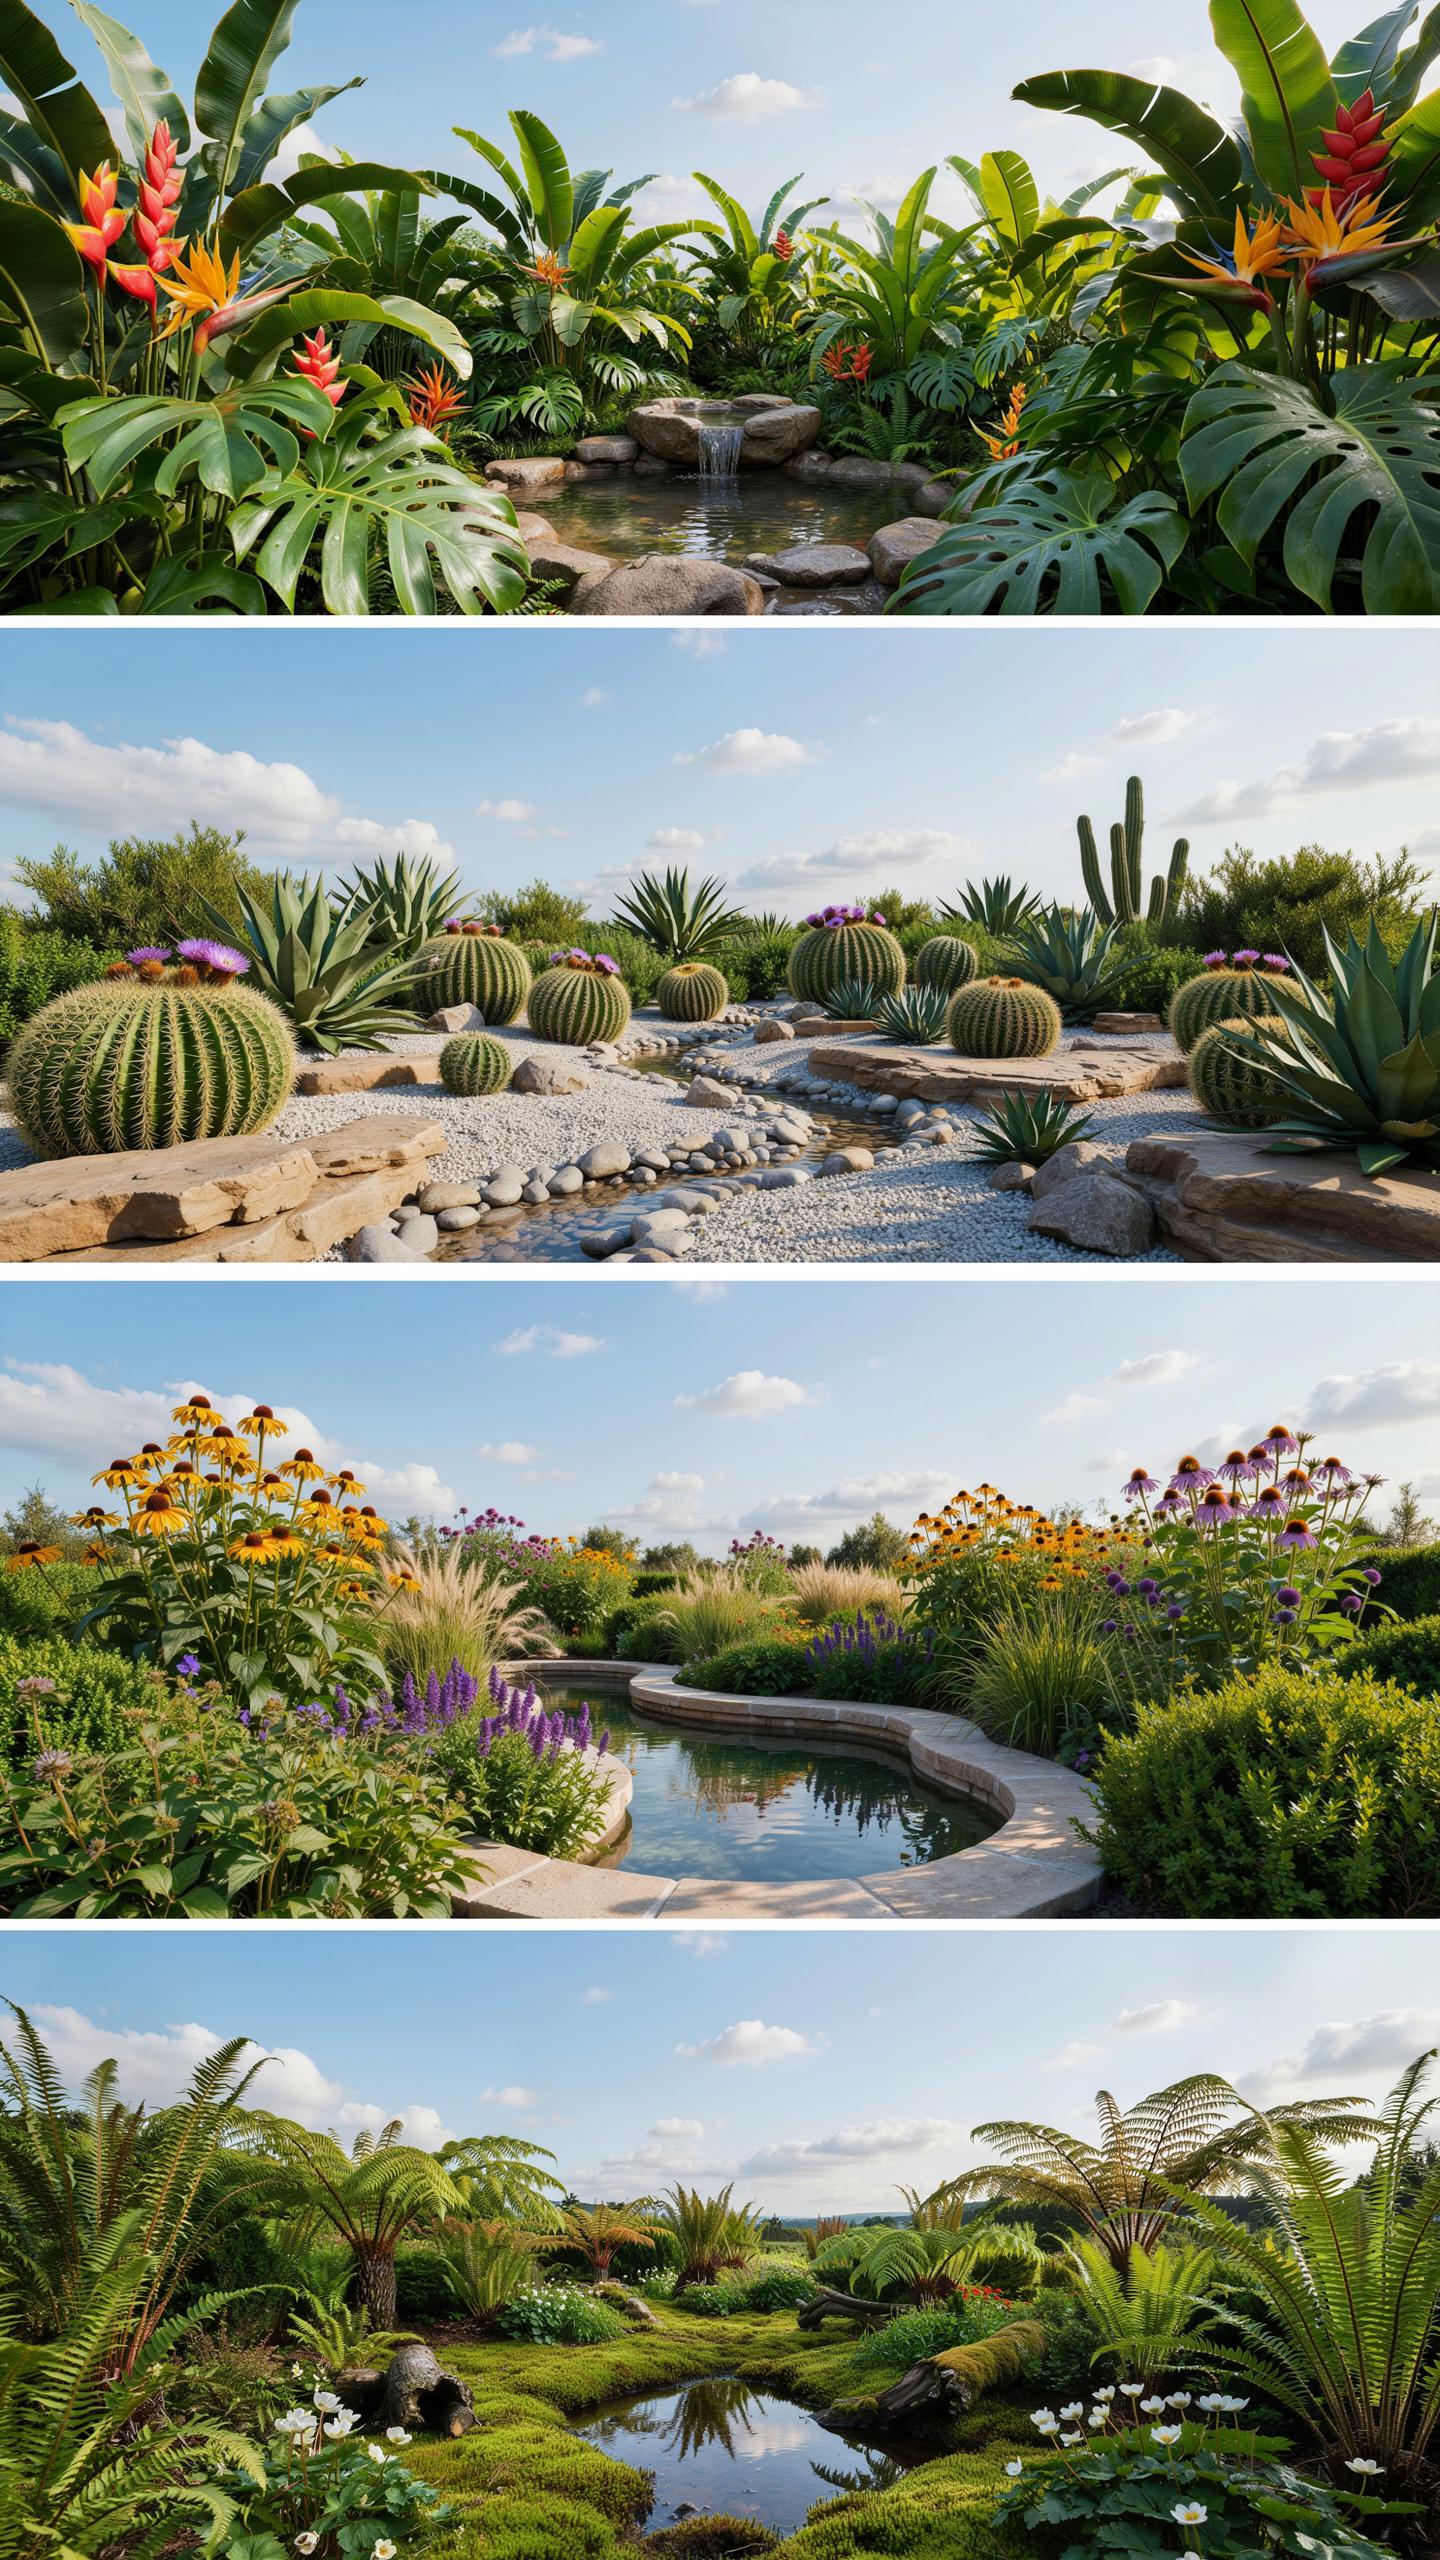
Arid Region Solutions Utilizing Xeriscaping Principles
Desert climates demand rain gardens that maximize infiltration while minimizing evaporation. Dry creek beds channel water to collection zones during infrequent storms. Deep-rooting native grasses stabilize soil and access subsurface moisture. Rock-pocket catchments create micro-basins that trap runoff. This approach works because arid soils absorb water rapidly when designed correctly, allowing capture before it runs off entirely.
Xeriscaping principles reduce maintenance and water loss in rain gardens. Native desert plants like Apache plume and four-o-clock require minimal supplemental watering once established. Gravel mulch slows evaporation and defines water pathways. Slope design moves runoff toward collection points efficiently. These systems perform year-round in low-precipitation zones while supporting native species adapted to survival without frequent irrigation.
Wet Climate Adaptations With High Capacity Infiltration Zones
High-rainfall regions require rain gardens with capacity to handle continuous water input without flooding. French drains installed underground provide lateral water movement and prevent surface pooling. Bog-friendly species like joe-pye weed and sedges tolerate saturated soil conditions. Layered soil composition with sand, compost, and gravel ensures water passes through filtration before reaching groundwater.
Complex subsurface drainage systems manage seasonal deluge in temperate and tropical climates. Multiple infiltration zones staggered across the property distribute water load and prevent oversaturation. Perforated drainage pipes installed beneath rain gardens direct excess water to secondary collection or dispersal areas. This redundant approach prevents erosion, foundation damage, and mosquito breeding while capturing quality water for landscape use.
Cultivating A Sustainable Backyard Paradise
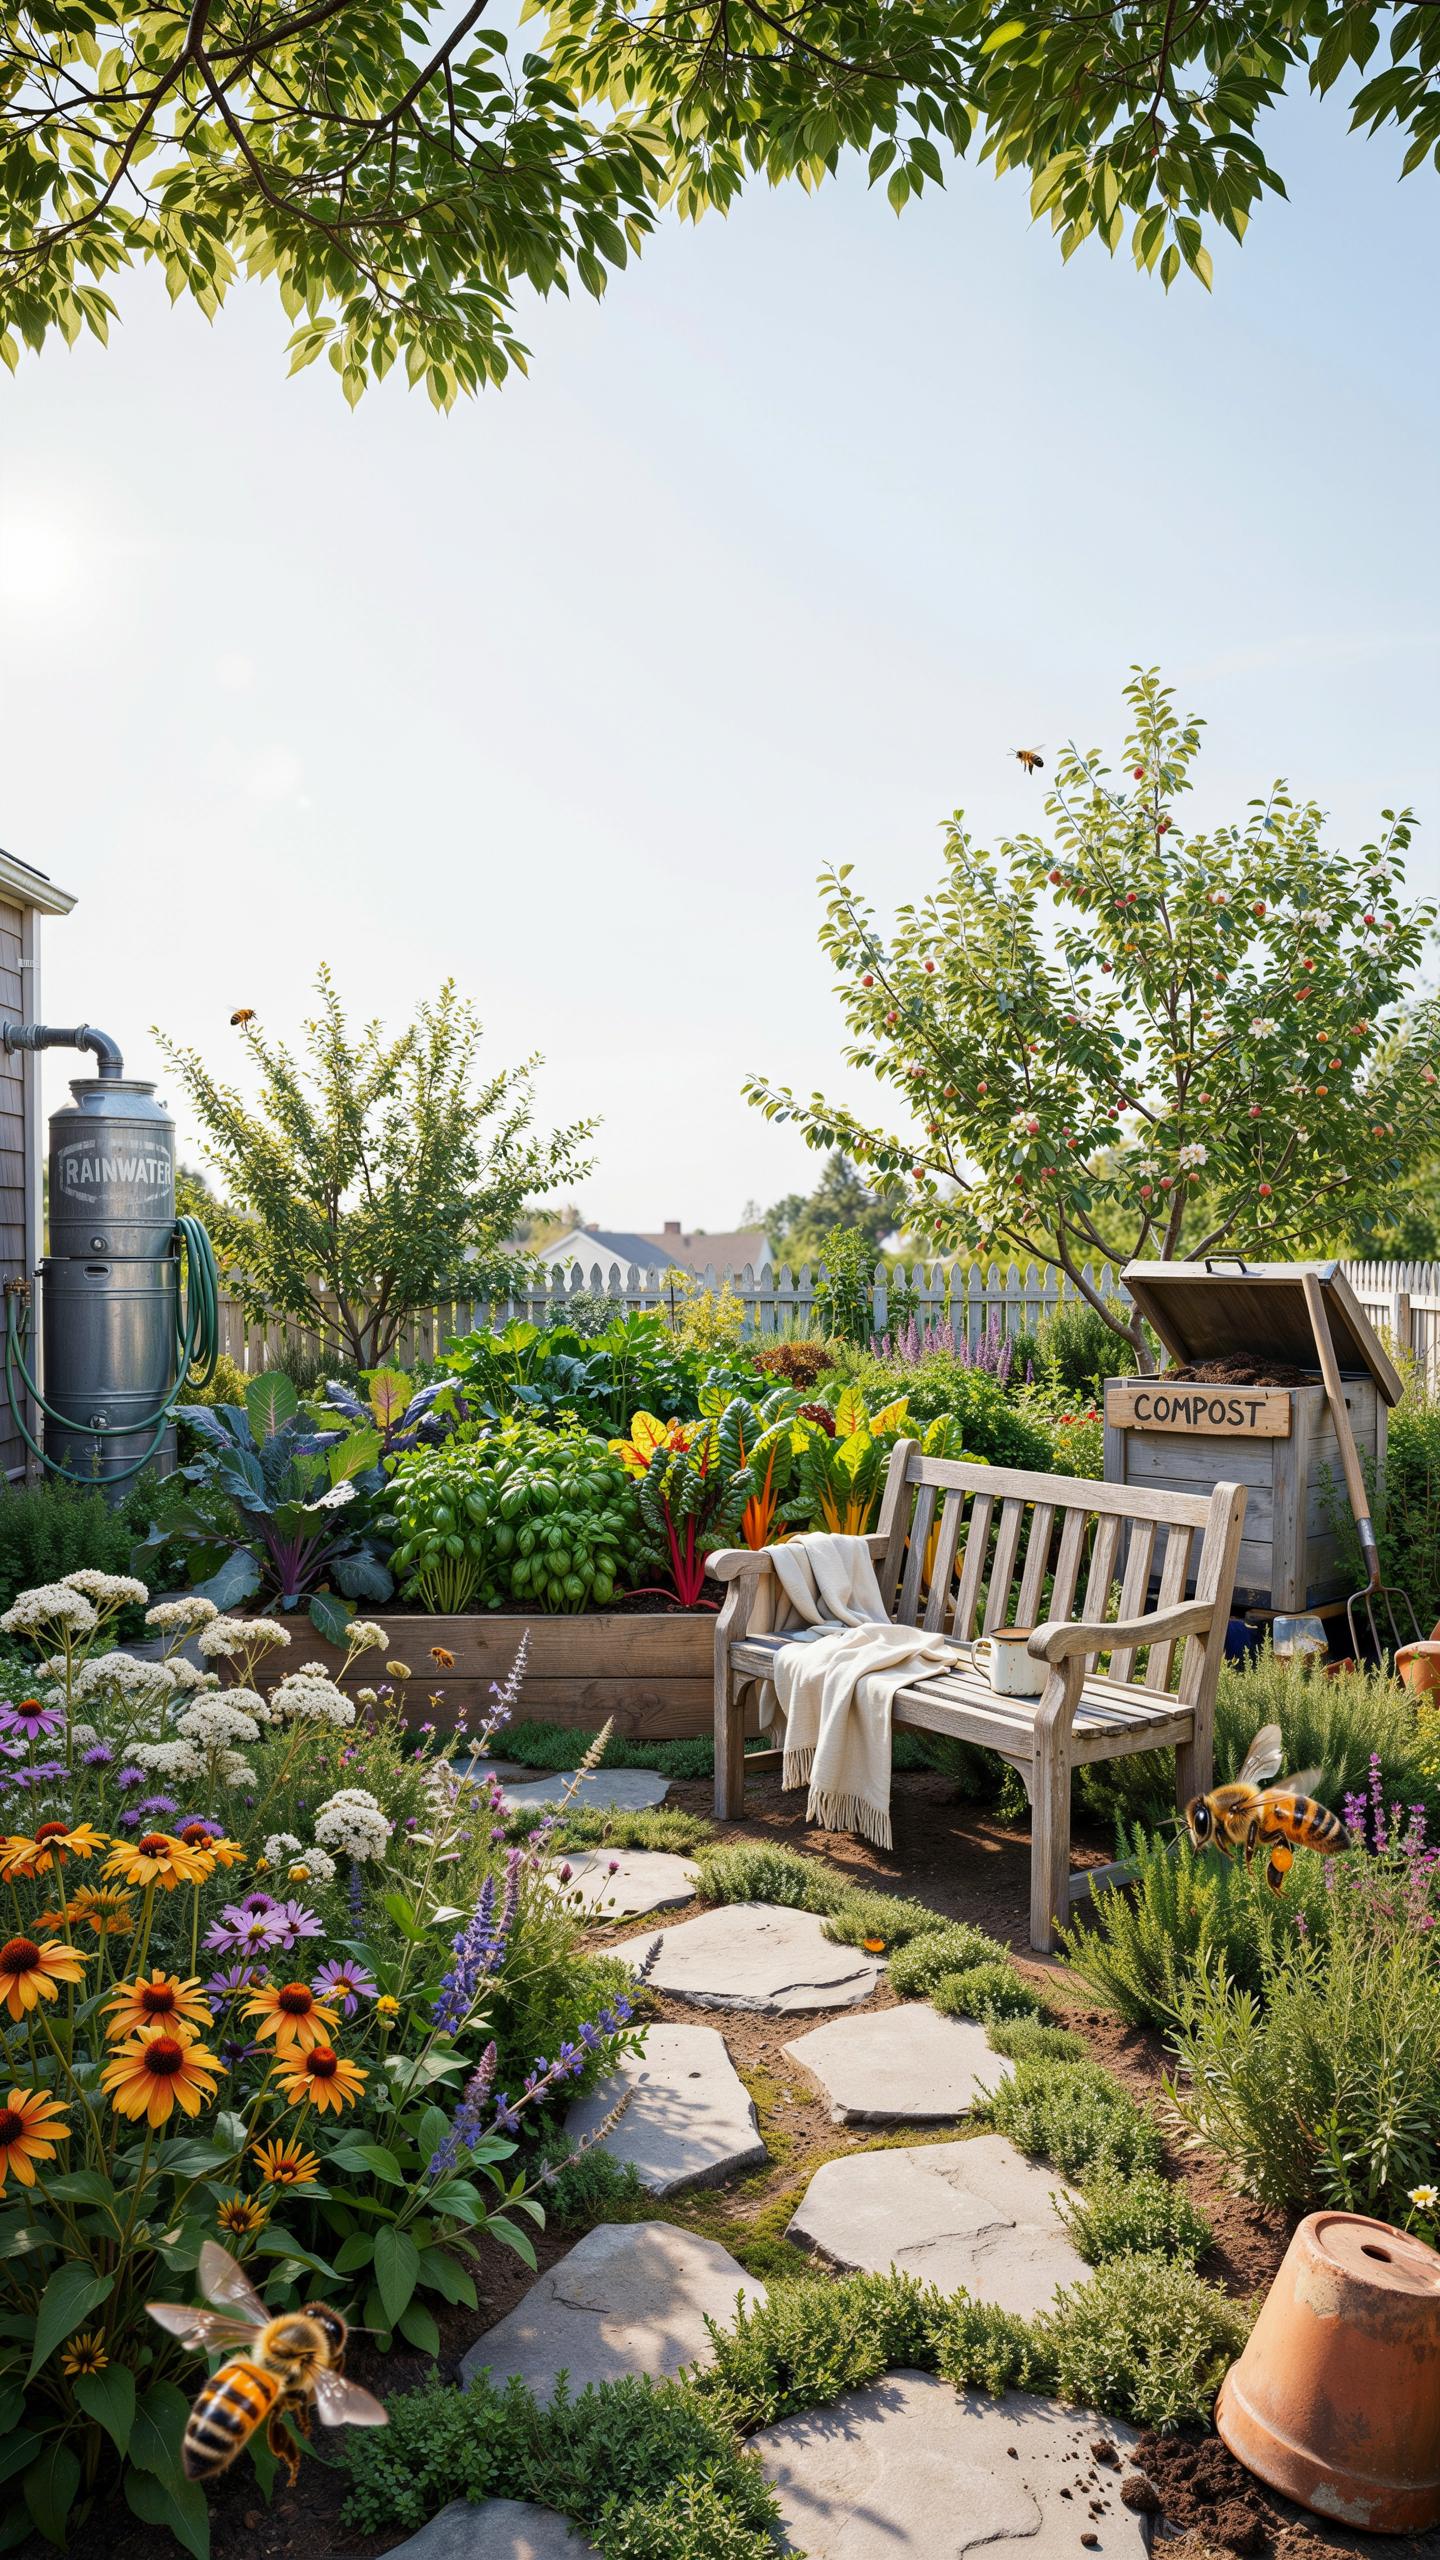
Blending Functionality With Wildlife Habitat Creation
Rainwater collection systems create conditions that attract pollinators and predatory insects. Rain barrels and bioswales become water sources during dry periods. Native plants surrounding these features provide nectar and shelter. Birds use collected water for drinking and bathing. This ecological integration turns your water management into a functioning habitat that supports local species while reducing your irrigation needs.
Design your rainwater system with wildlife in mind. Position collection features near native plantings that bloom at different times. Install shallow basins or bird baths fed by overflow pipes. Leave some plant material standing through winter for insect shelter. These choices transform your rainwater setup into an active ecological zone that sustains beneficial organisms year-round while managing stormwater effectively.
Long Term Maintenance For Thriving Closed Loop Landscapes
Seasonal maintenance protects your rainwater investment and keeps plants healthy. Spring requires clearing winter debris from gutters and screens. Summer involves checking for algae growth in barrels and adjusting irrigation schedules. Fall demands pruning native plants and inspecting downspout connections. Winter calls for winterizing exposed pipes in cold climates. These simple tasks prevent equipment failure and ensure consistent water availability.
Establish a quarterly inspection routine to catch problems early. Check filtration screens for blockages and replace them if water flow slows. Monitor native plantings for disease and remove dead growth. Test soil moisture near planted areas to confirm your system delivers adequate water. This systematic approach maintains system efficiency while keeping your landscape productive and your water cycle closed.
Frequently Asked Questions

What are the primary benefits of integrating rainwater harvesting into my garden design?
Beyond environmental conservation, sustainable landscaping rainwater collection significantly reduces your utility bills and dependency on municipal water sources. By capturing runoff, you provide your plants with mineral-rich, chlorine-free water that promotes healthier root systems. This eco-friendly approach also prevents soil erosion and manages stormwater runoff, ensuring your property remains both beautiful and resilient against changing weather patterns while supporting a more self-sufficient lifestyle.
How can I effectively set up a rainwater collection system for my backyard?
To start with sustainable landscaping rainwater collection, begin by installing a high-quality rain barrel at the base of your downspouts. Ensure the barrel has a secure lid and a debris screen to keep out leaves and insects. For a more integrated look, connect the barrel to a gravity-fed soaker hose system. This allows you to direct stored water precisely to your flower beds and vegetable gardens with minimal effort.
Is rainwater harvesting an affordable project for homeowners on a tight budget?
Absolutely! You can create a functional system starting with a simple, repurposed food-grade barrel and basic PVC fittings found at any hardware store. Many local municipalities even offer rebates or free workshops to encourage water conservation. Starting small allows you to gradually expand your setup as your garden grows, making it one of the most cost-effective ways to enhance your home’s curb appeal and ecological footprint simultaneously.



