
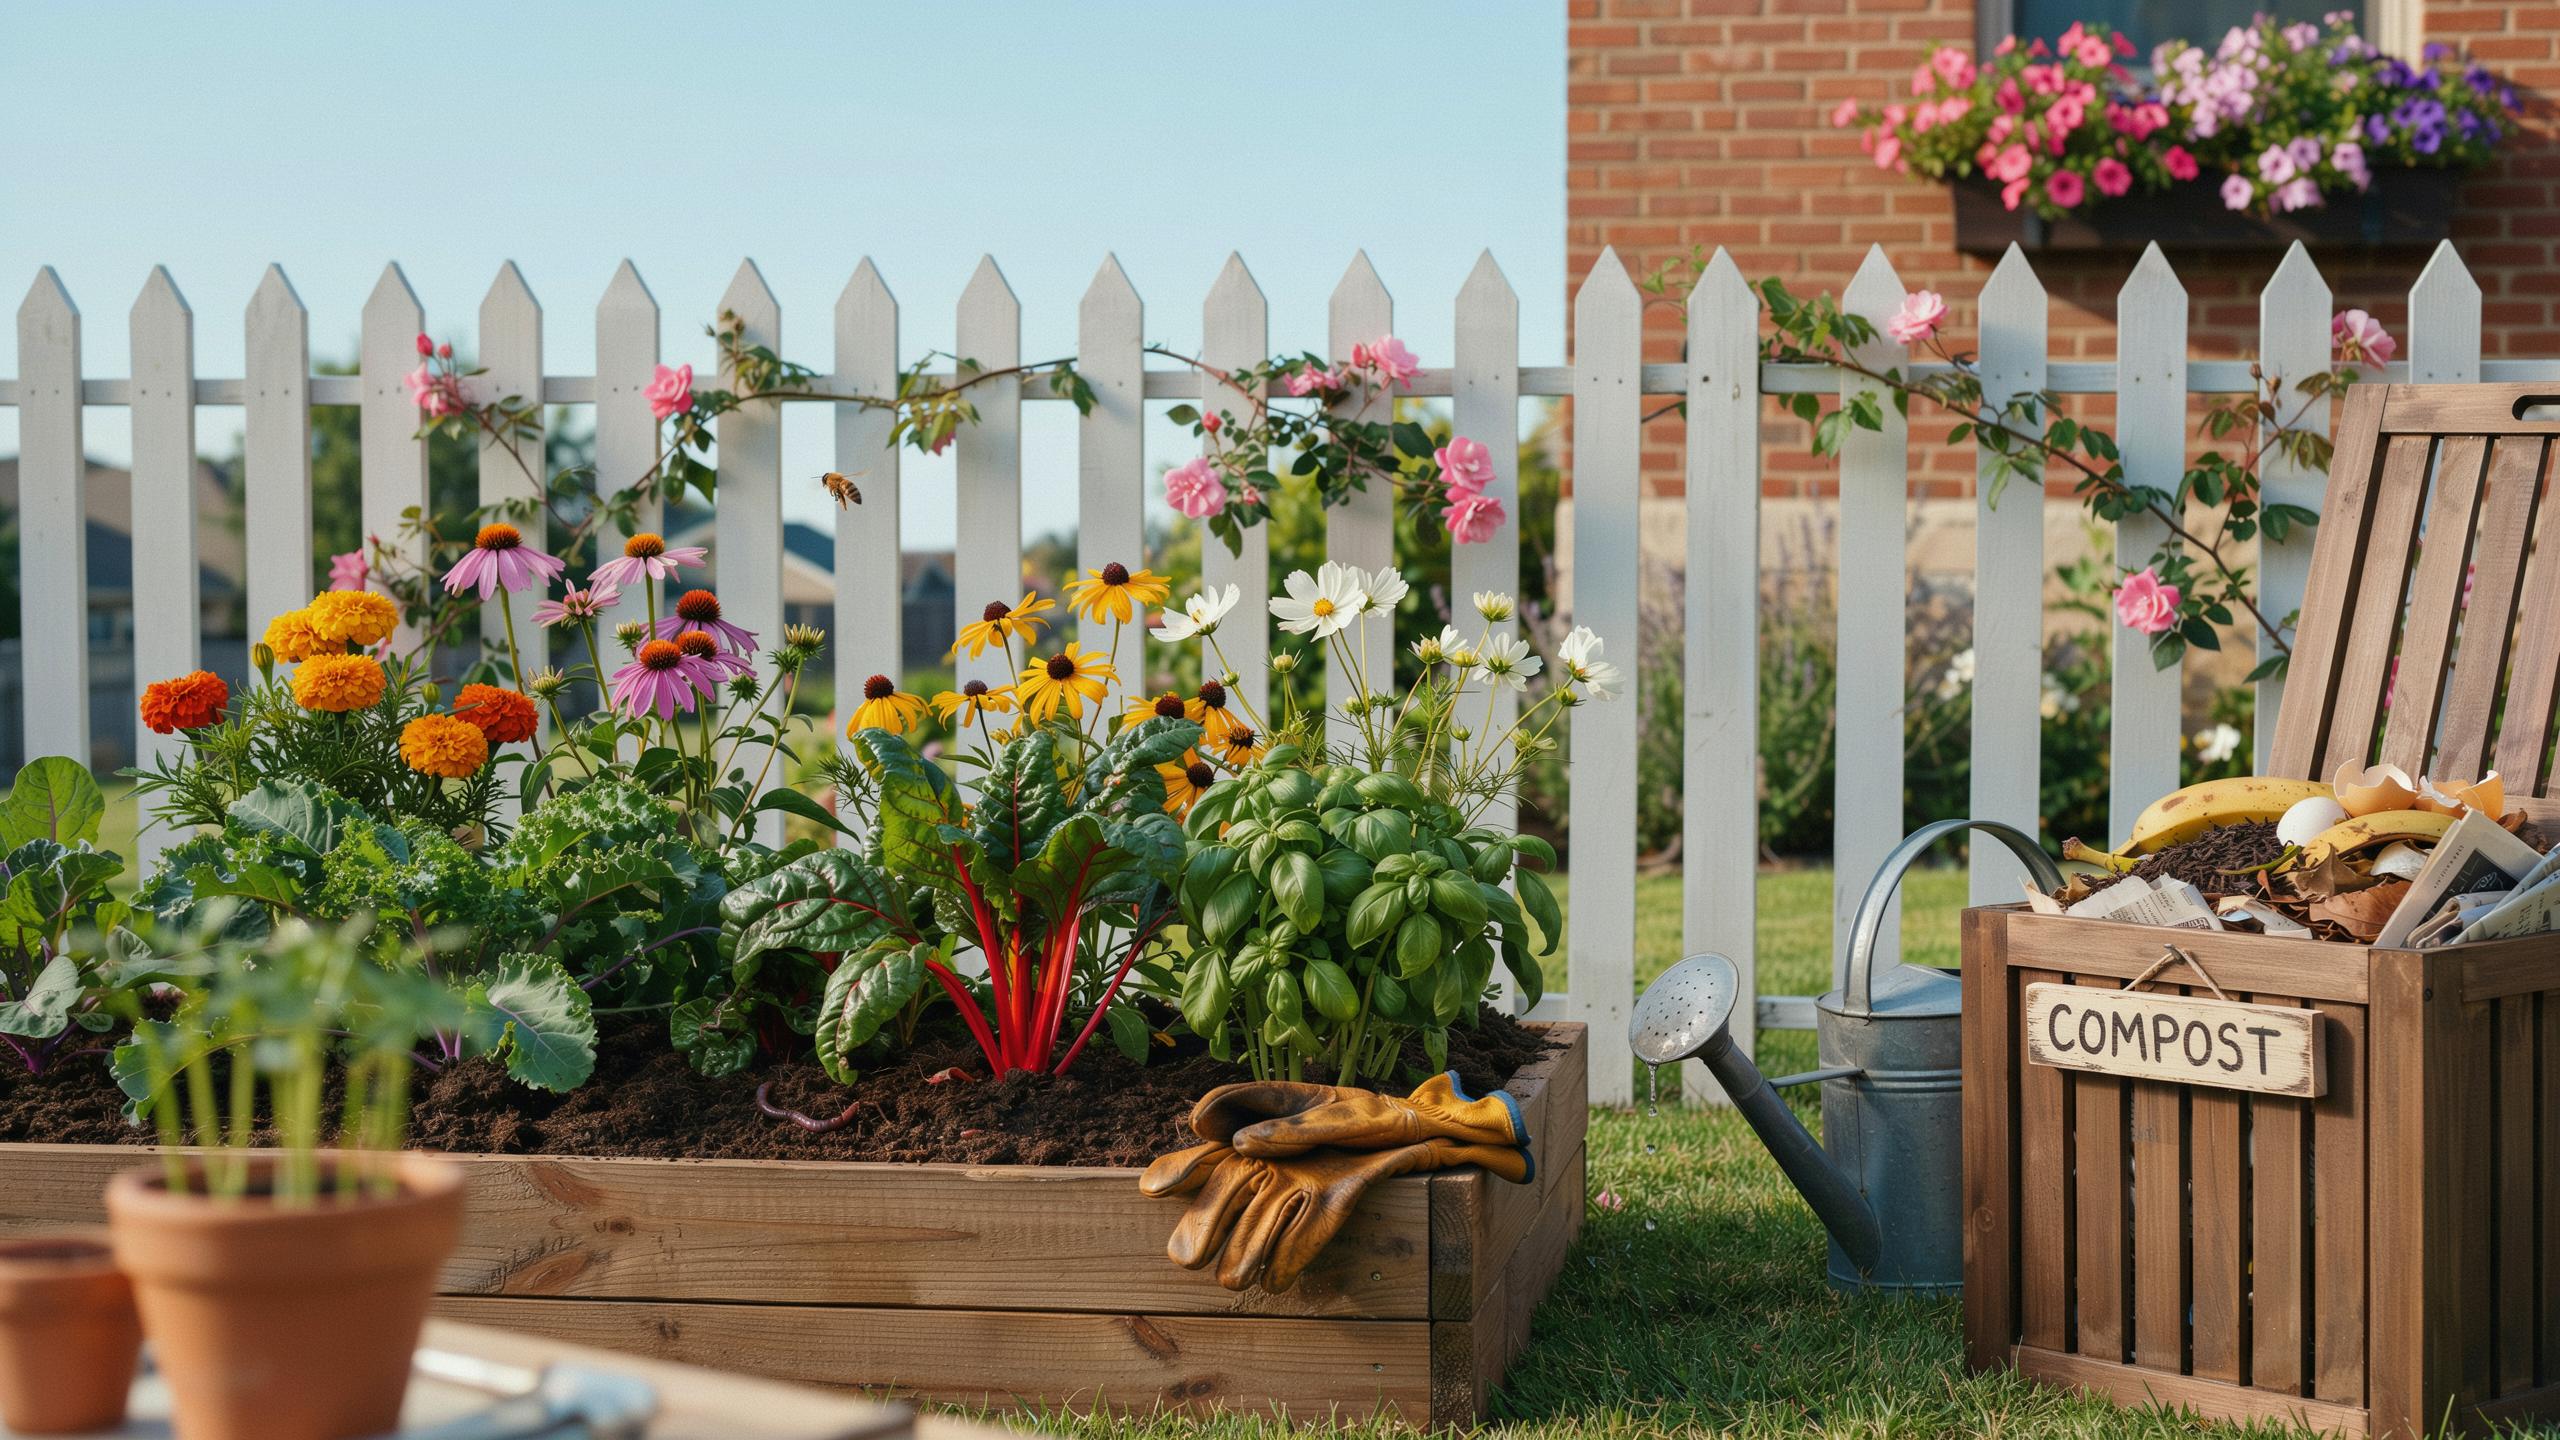
Understanding The Science The Optimal Compost Ratio For Healthy Soil
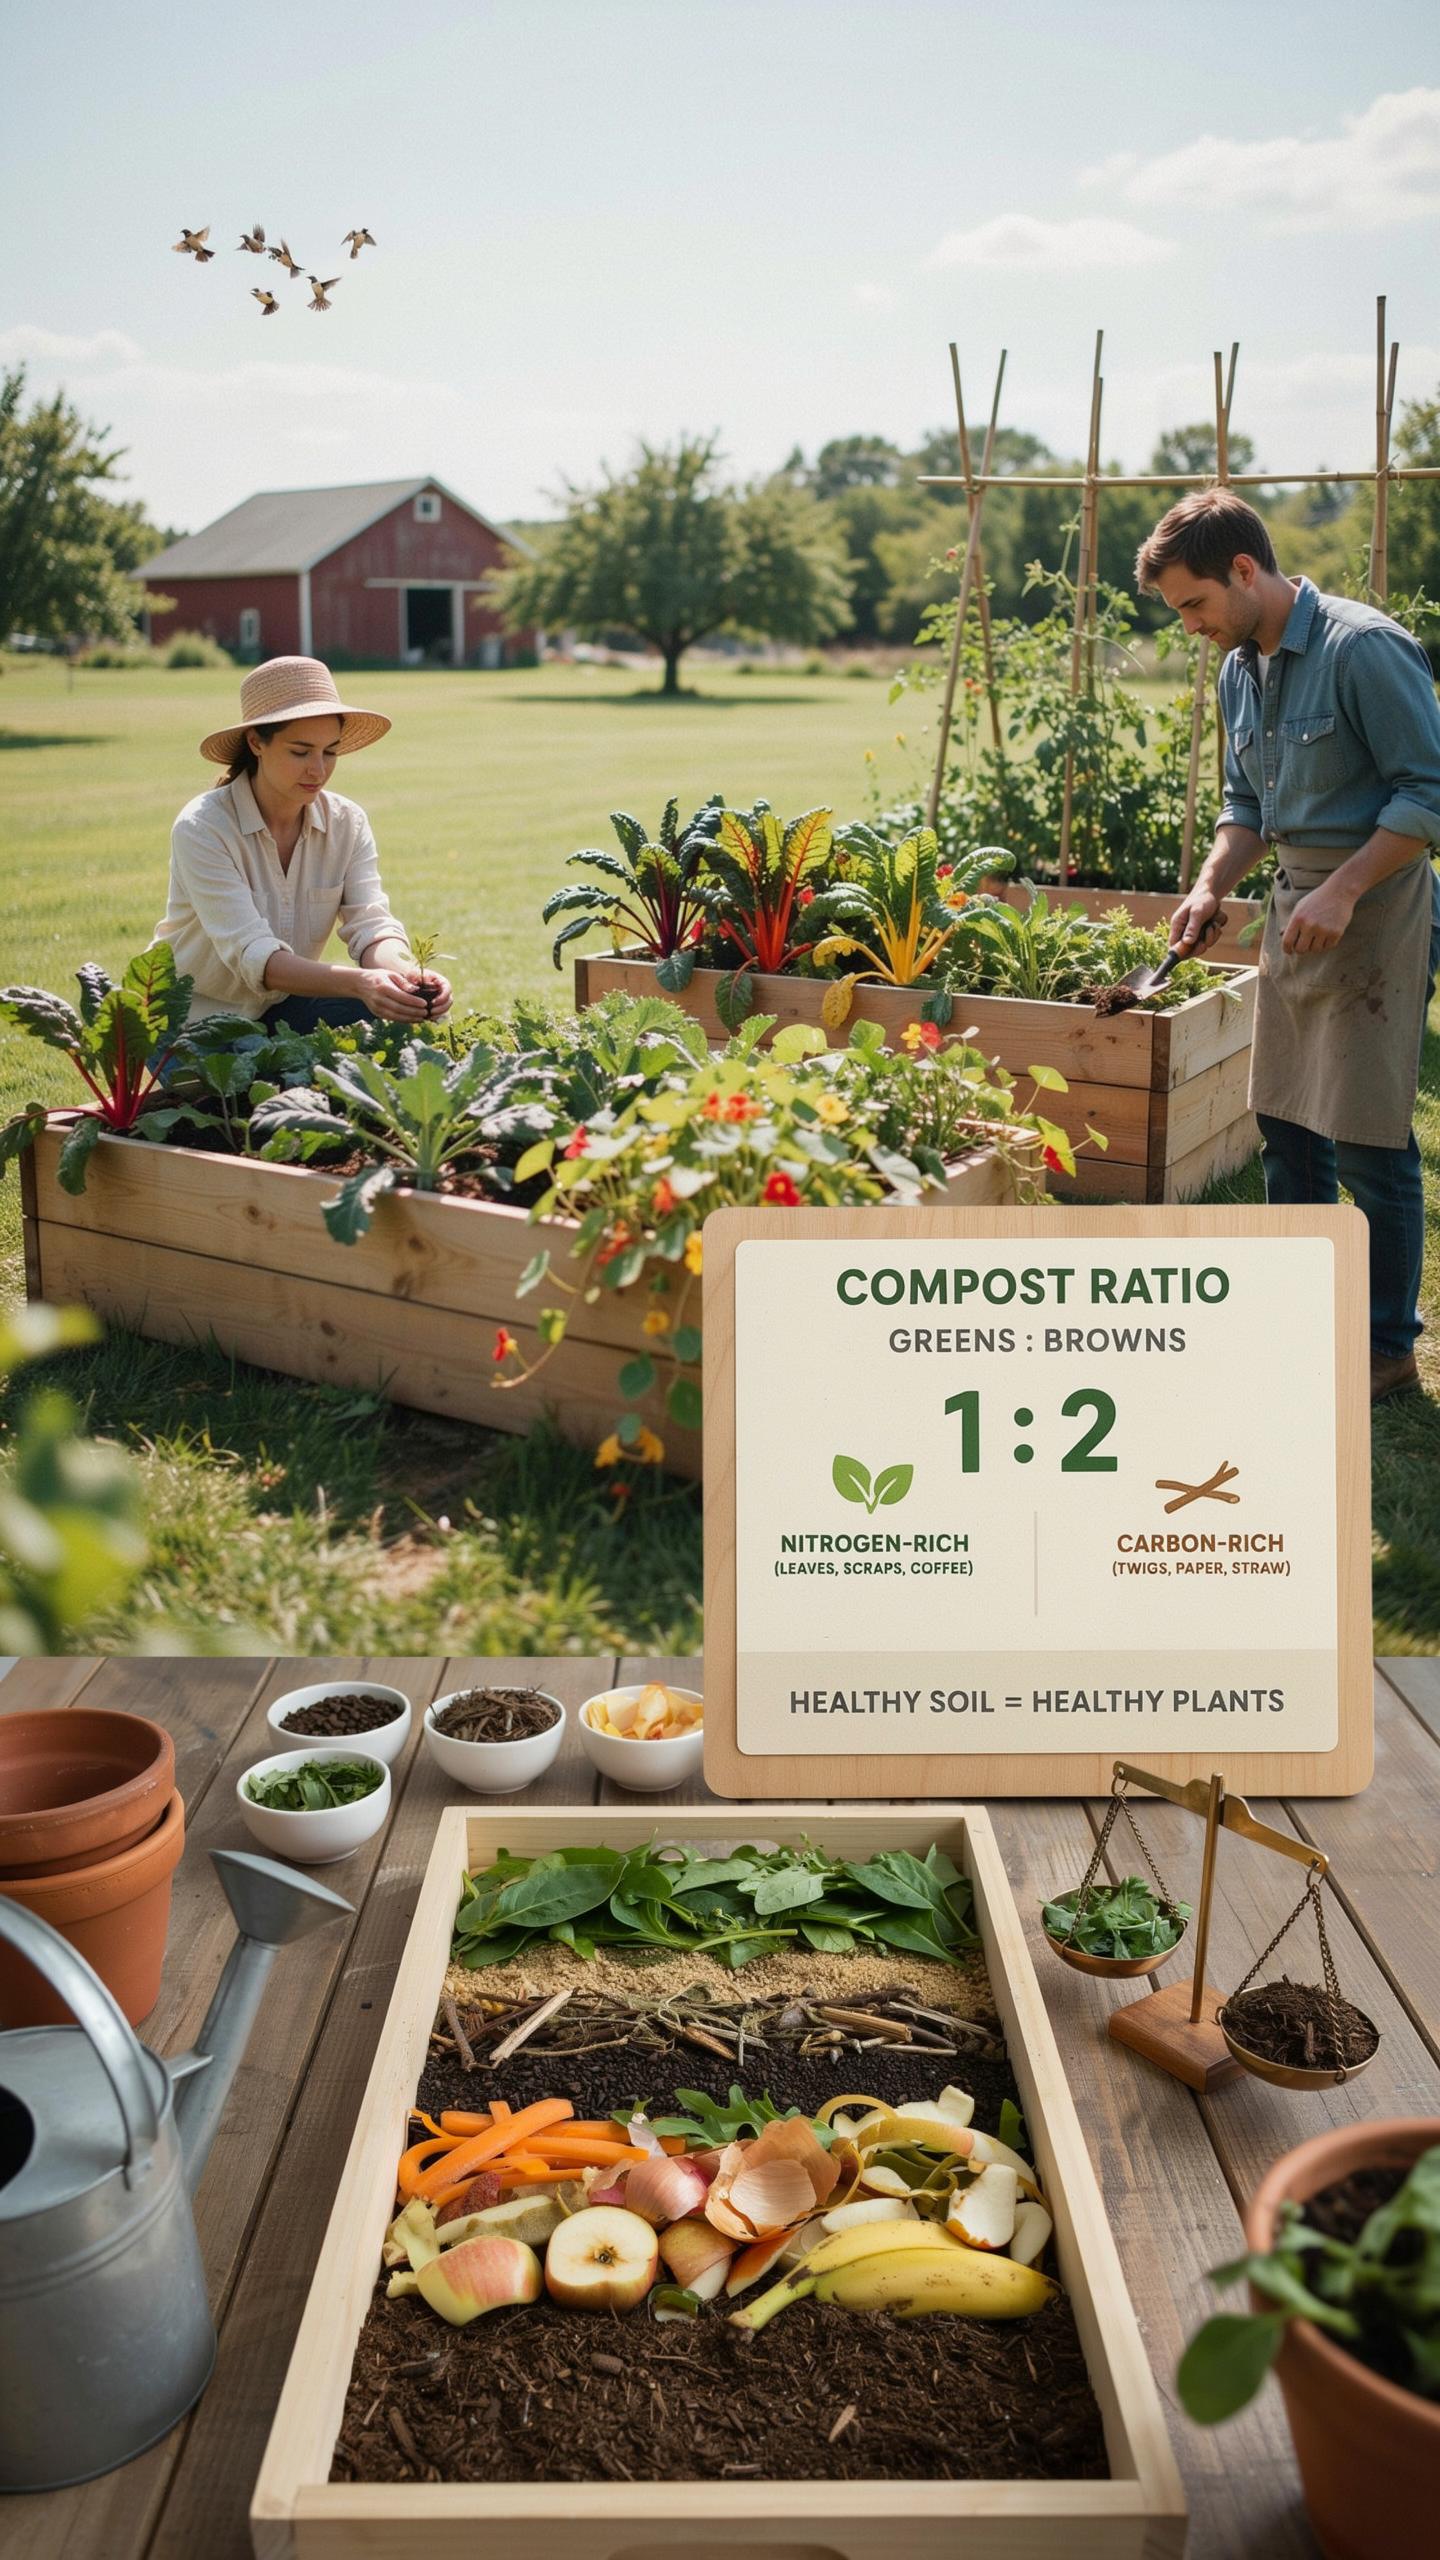
Balancing Nitrogen And Carbon Materials
The 30:1 carbon-to-nitrogen ratio drives decomposition. Brown materials like leaves and wood chips provide carbon. Green materials like grass clippings and food scraps provide nitrogen. Microorganisms consume both to break down organic matter. Too much nitrogen causes ammonia buildup and foul odors. Too much carbon slows decomposition to a crawl.
Getting this ratio right prevents common compost failures. A 30:1 ratio sustains robust microbial populations without creating anaerobic conditions. You don’t need precision scales. Aim for roughly three parts brown to one part green by volume. This keeps decomposition active and your compost pile manageable.
Monitoring Moisture And Aeration Levels
Microorganisms require oxygen and water to function. Your compost should feel like a wrung out sponge, not soggy or bone dry. Moisture alone isn’t enough. Regular turning introduces oxygen throughout the pile. Turn your compost every two to three weeks for faster decomposition.
Oxygen levels drop without turning. Anaerobic bacteria take over and produce methane and hydrogen sulfide. You’ll know by the smell. Aerobic decomposition produces an earthy odor. Maintain moisture between 40 and 60 percent to keep microbes active and your pile functioning properly.

Designing Your Outdoor Space With A Stylish Compost Aesthetic
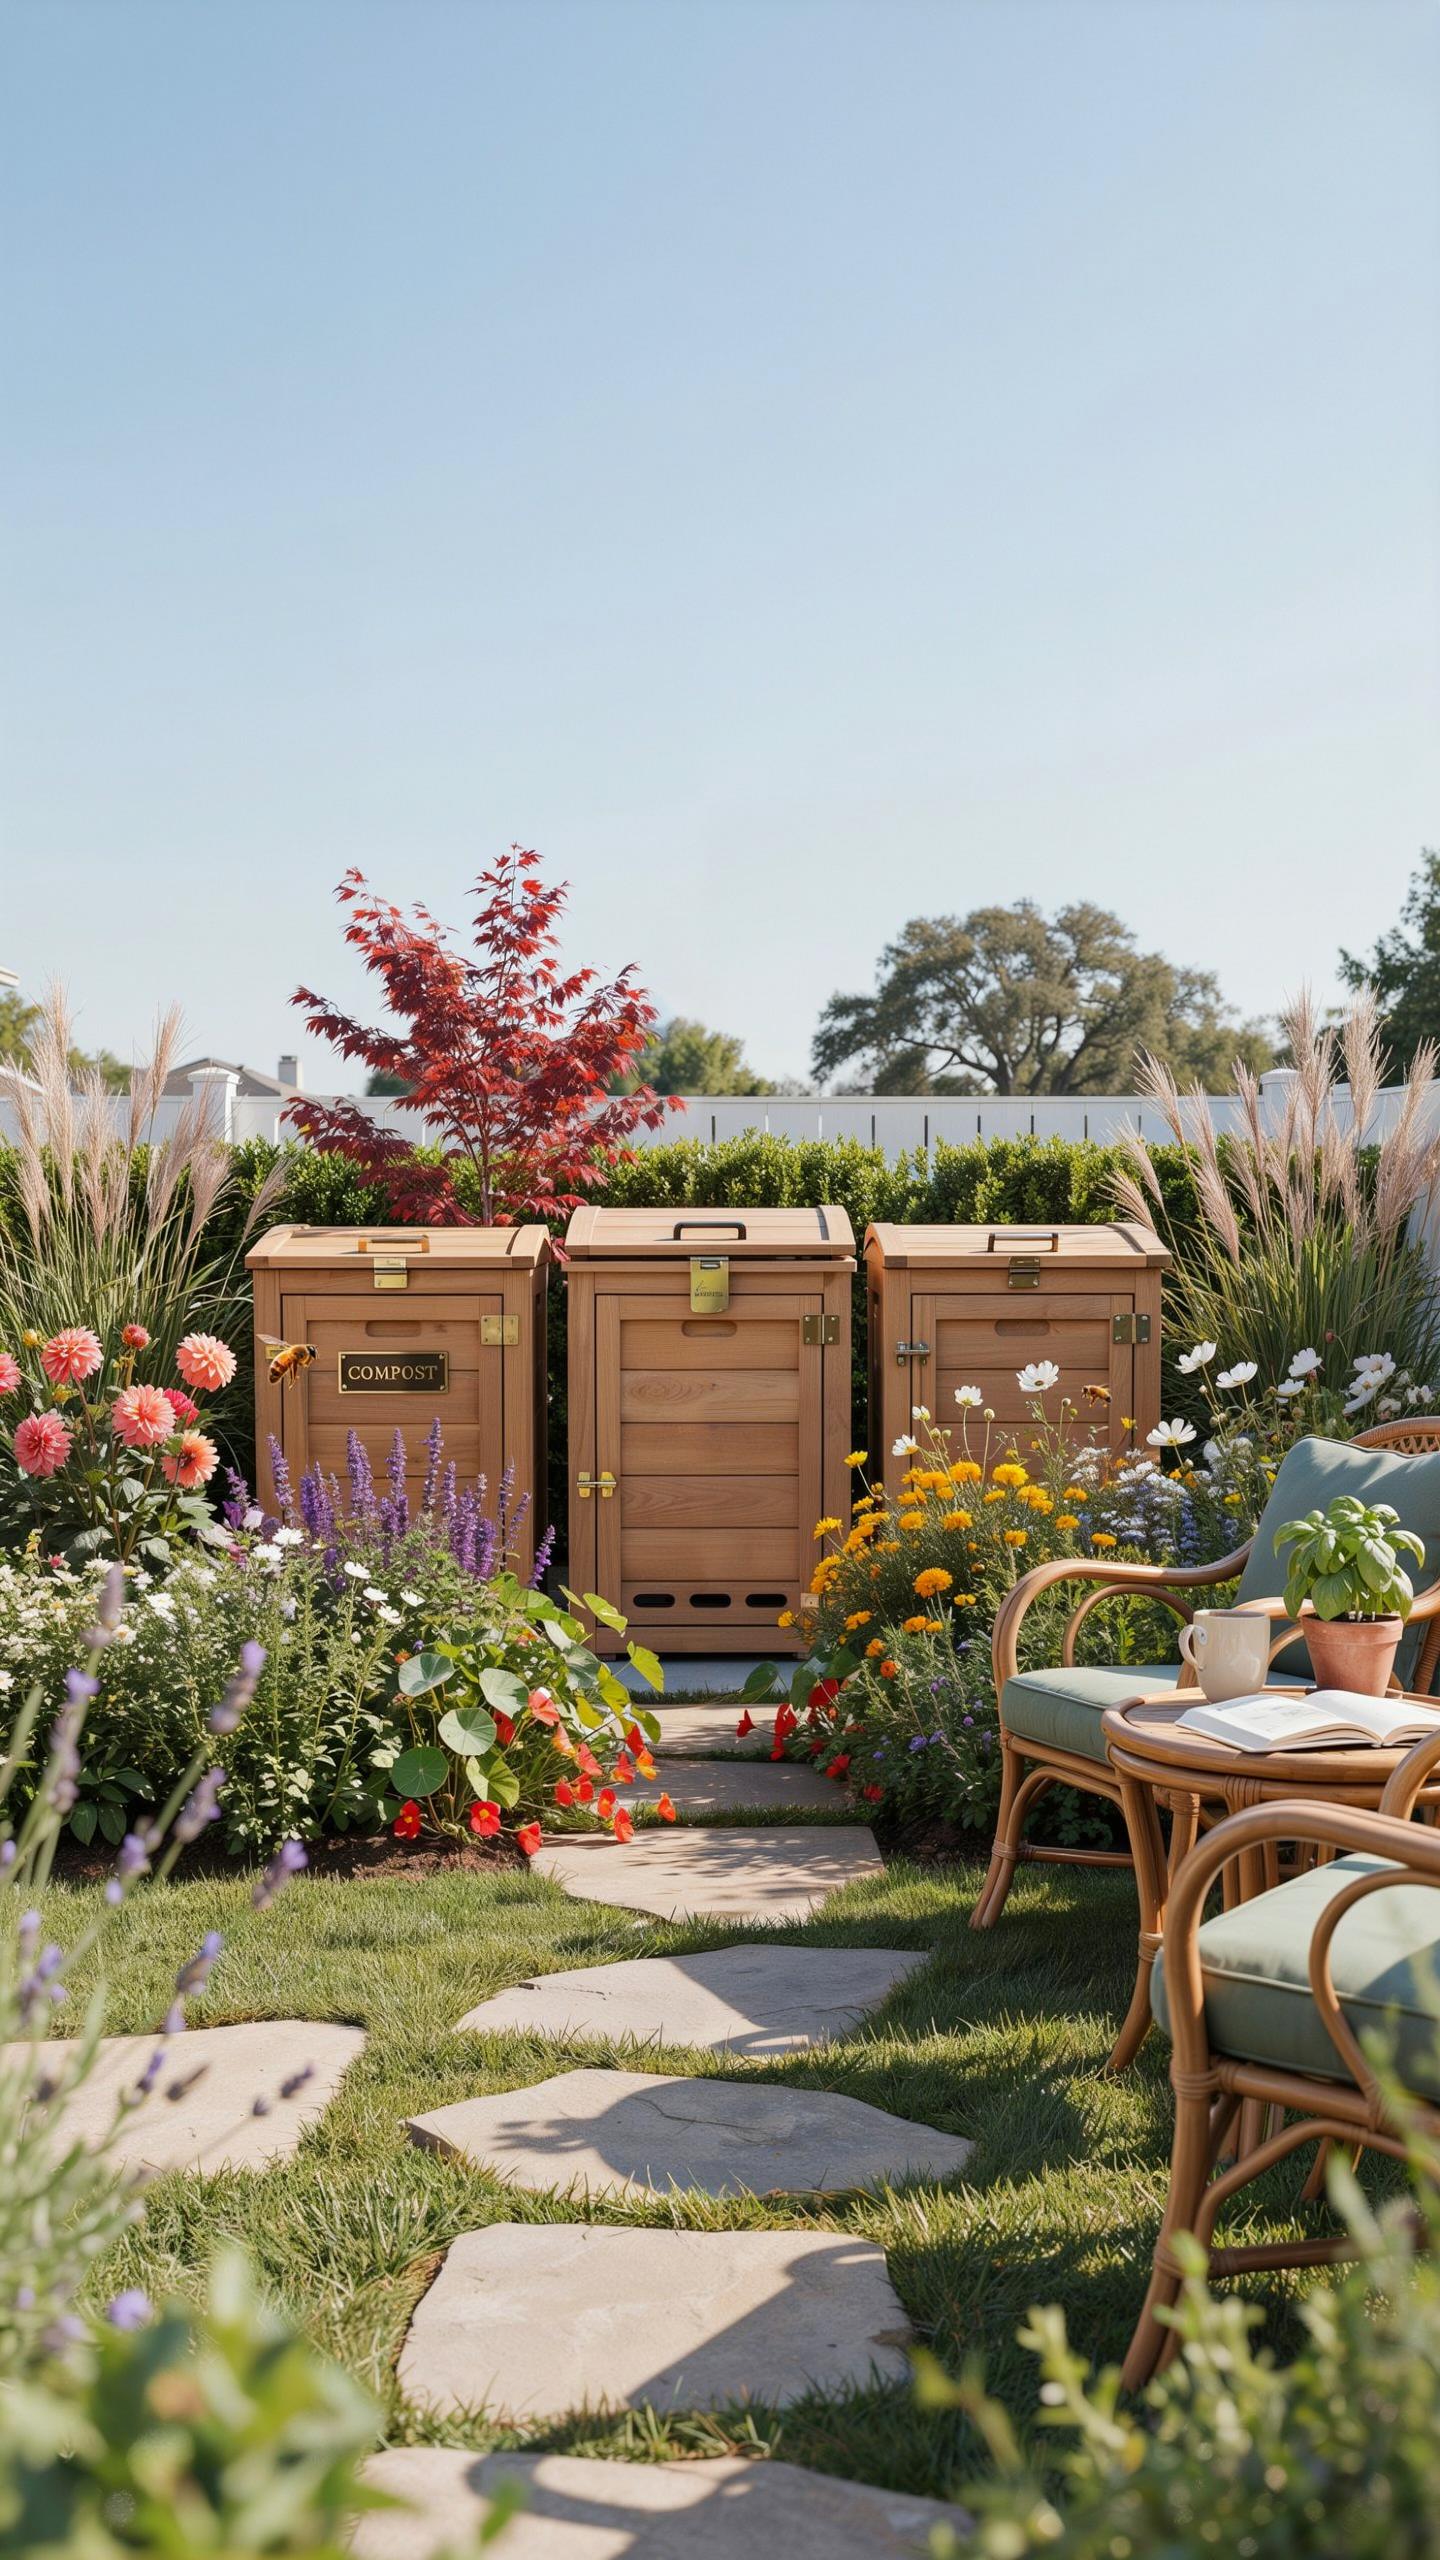
Selecting Materials That Blend With Your Garden
Compost bins don’t need to look like utility equipment. Match bin enclosures to your existing hardscape by using materials already present on your property. Natural wood, weathered metal, and stone are proven choices. They integrate with patios, retaining walls, and garden beds without creating visual conflict. This approach eliminates the need for screening later.
Material selection drives functionality and appearance simultaneously. Wood slats rot over time but age gracefully and blend into garden environments. Metal bins withstand weather better and suit modern landscapes. Stone enclosures last decades and complement traditional homes. Choose based on your home’s existing materials, not trends.
Using Screening Plants To Harmonize Bin Structures
Strategic plant placement solves the visibility problem without requiring structural changes. Evergreen shrubs block compost areas year round and provide consistent coverage. Ornamental grasses add texture while maintaining sightlines. Climbing vines on trellises create living screens that develop character over seasons.

Plant selection depends on your climate zone and sun exposure. Dense evergreens like boxwood or privet work in most regions. Ornamental grasses tolerate varied conditions and don’t require frequent pruning. Install screening plants six to twelve months before the compost bin reaches full visibility, allowing growth time. This timing prevents the bin from appearing suddenly unveiled in your landscape.
Selecting The Best Compost System For Your Property Size
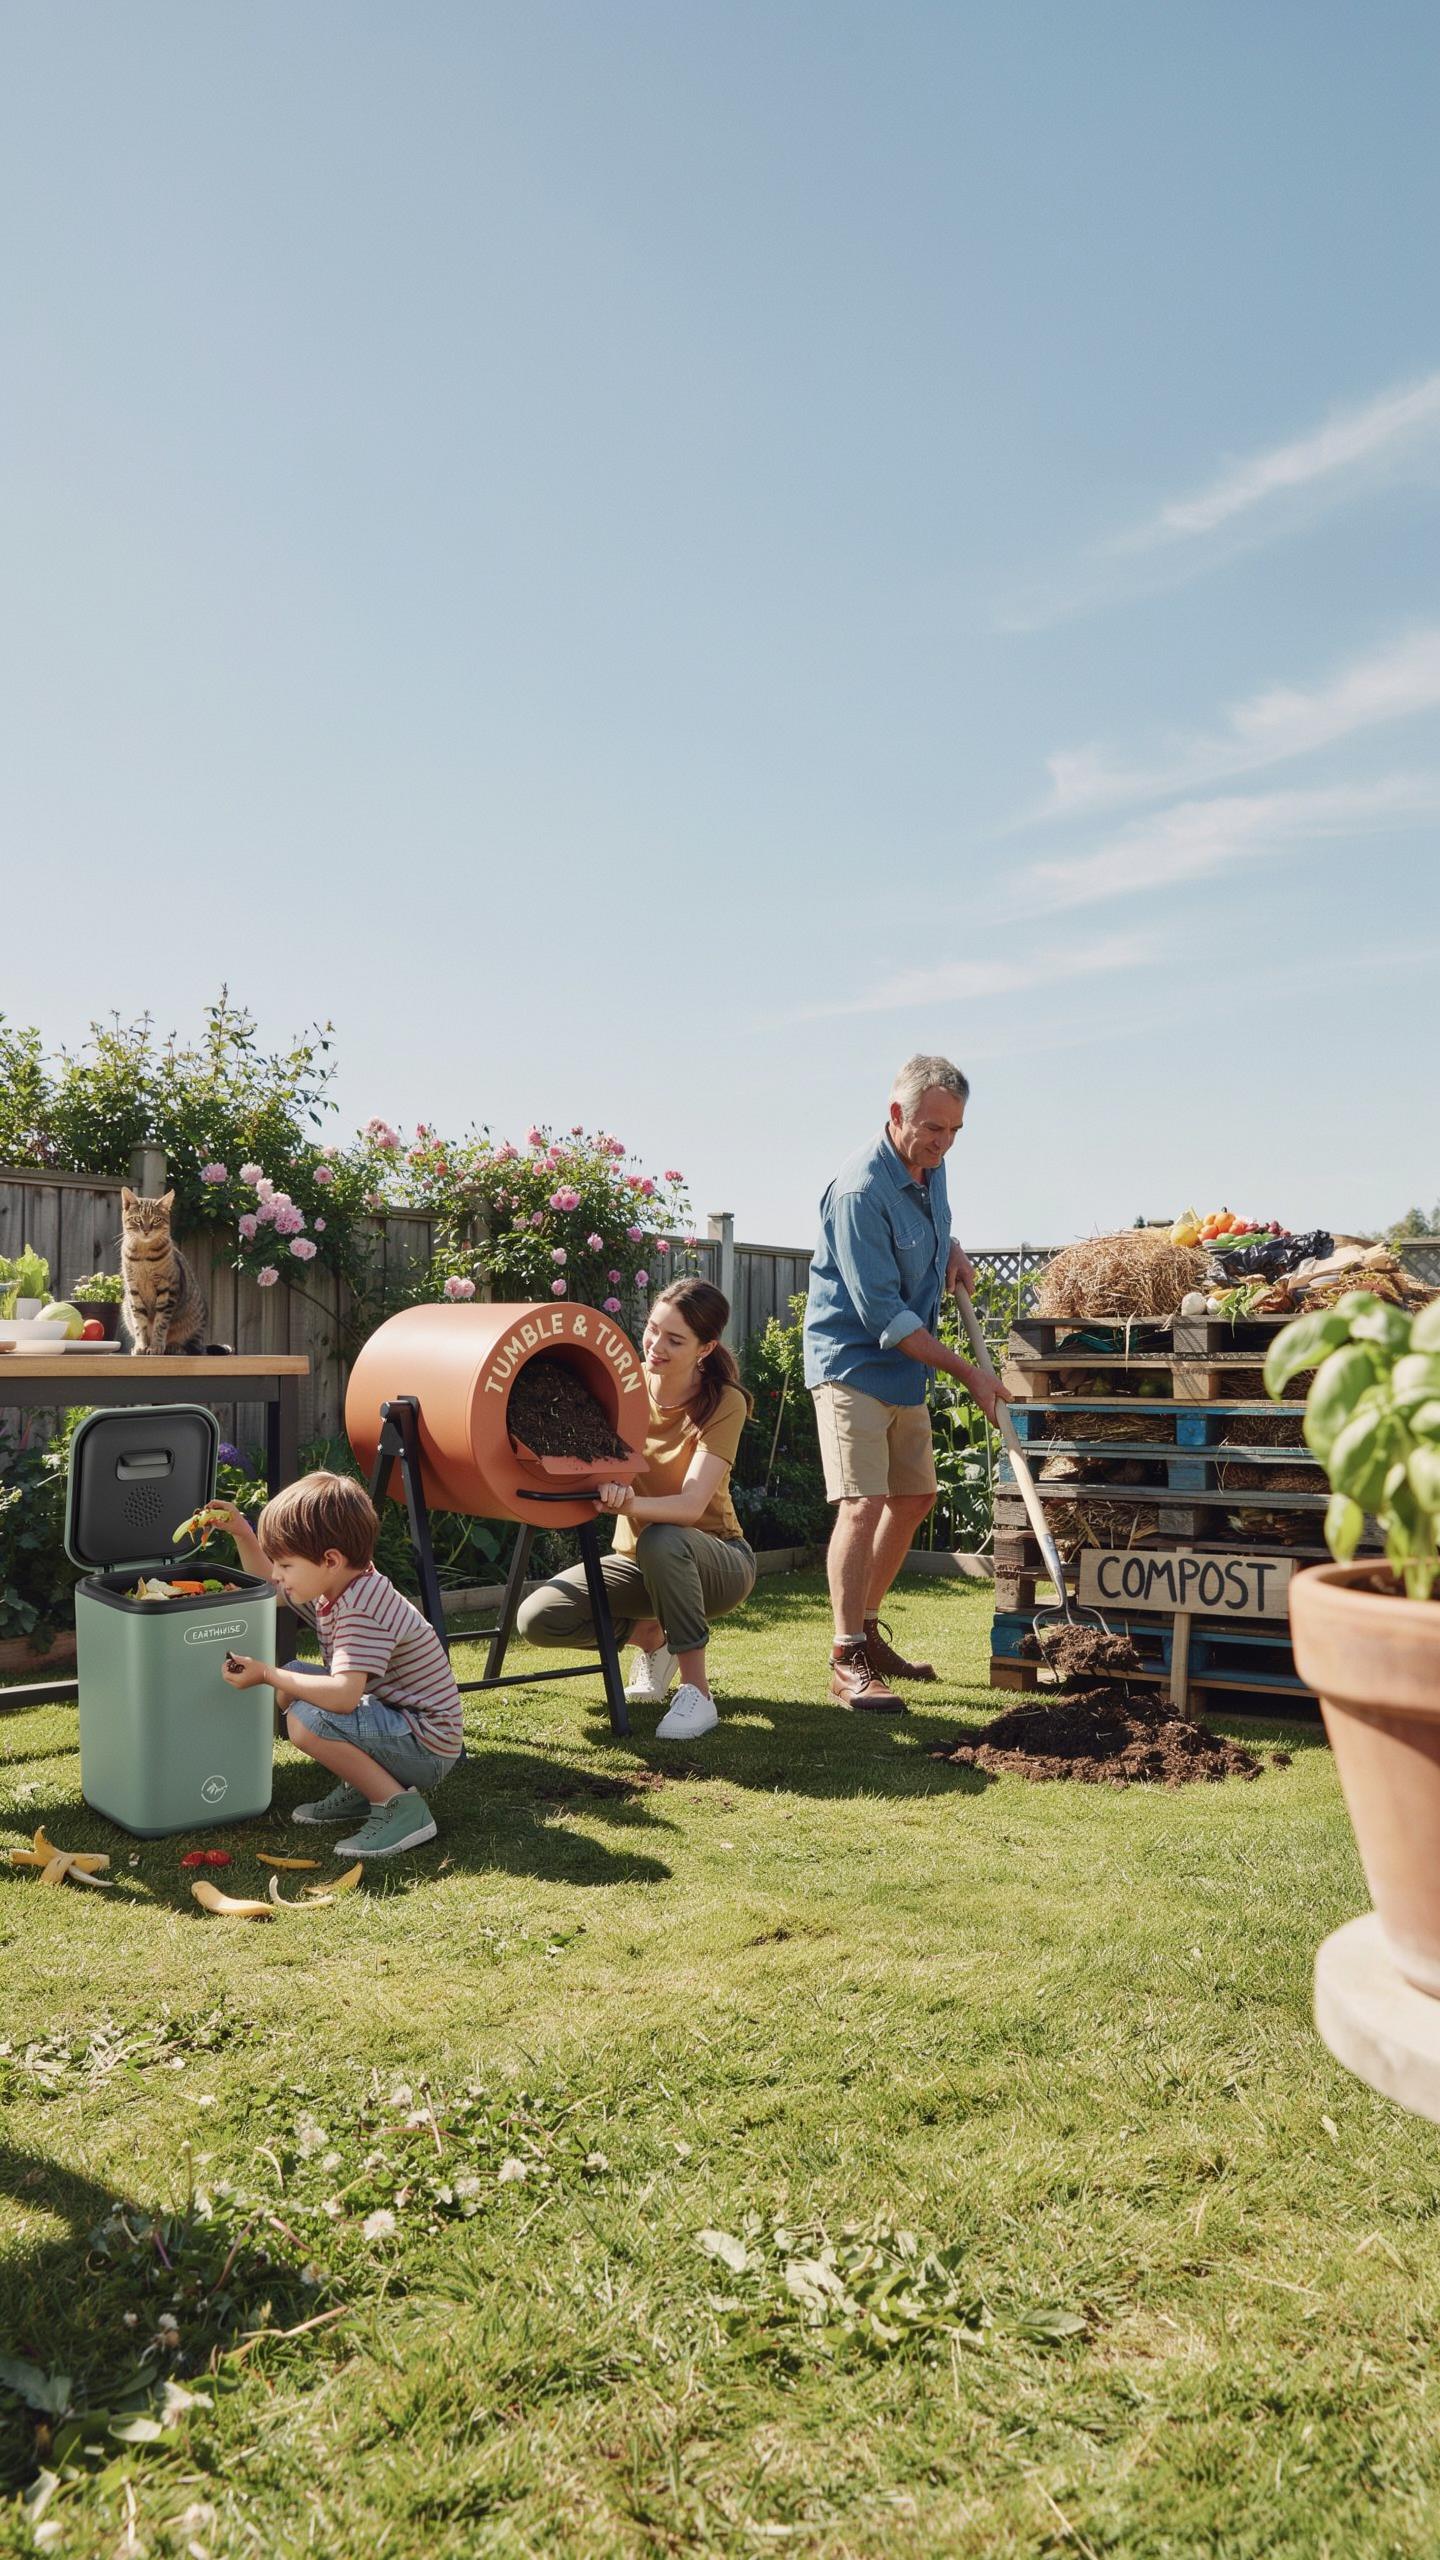
Comparing Multi Bin Units And Tumblers
Multi-bin systems excel for large suburban yards that generate consistent organic waste. These units stack material in separate chambers, allowing you to manage multiple batches simultaneously. The design accommodates high volume and creates finished compost while new material breaks down in adjacent bins. Large properties benefit from this approach because you maintain steady compost output.
Rotating tumblers work best for small paved spaces and urban environments. Their enclosed design keeps pests out while the rotation mechanism aerates material efficiently. Tumblers produce finished compost faster than static systems, typically in four to eight weeks. Choose tumblers when property size limits options or pest pressure demands a sealed container.
Essential Tools To Manage Your Setup
Proper equipment streamlines your composting workflow and reduces physical strain during maintenance. These tools address the core tasks that determine system success: turning material, monitoring temperature, and introducing oxygen where decomposition stalls.
- Compost Pitchfork: A four-pronged fork with a long handle lifts and turns heavy, compacted material without requiring excessive force or damaging bin structures during regular turning cycles.
- Long Stemmed Compost Thermometer: This probe extends deep into pile centers to measure internal heat, confirming active decomposition occurs and tracking when material reaches optimal breakdown stages.
- Bin Aerator Tool: A hollow or slotted shaft pushed through dense layers creates air channels that bacteria need, accelerating breakdown in compressed sections that restrict oxygen flow.
- Garden Gloves: Heavy duty leather or reinforced fabric protects hands from sharp materials, rough textures, and potential contaminants when handling raw and finished compost batches.
- Compost Sifter or Screen: A mesh tool separates finished compost from unbroken debris, ensuring you apply only refined material to landscape beds and gardens.

These tools transform compost management from guesswork into a controlled process. Invest in quality versions that withstand repeated use and resist corrosion from moisture exposure.
The Practical Benefits Of Implementing In Ground Composting
Understanding Trench And Pit Methods
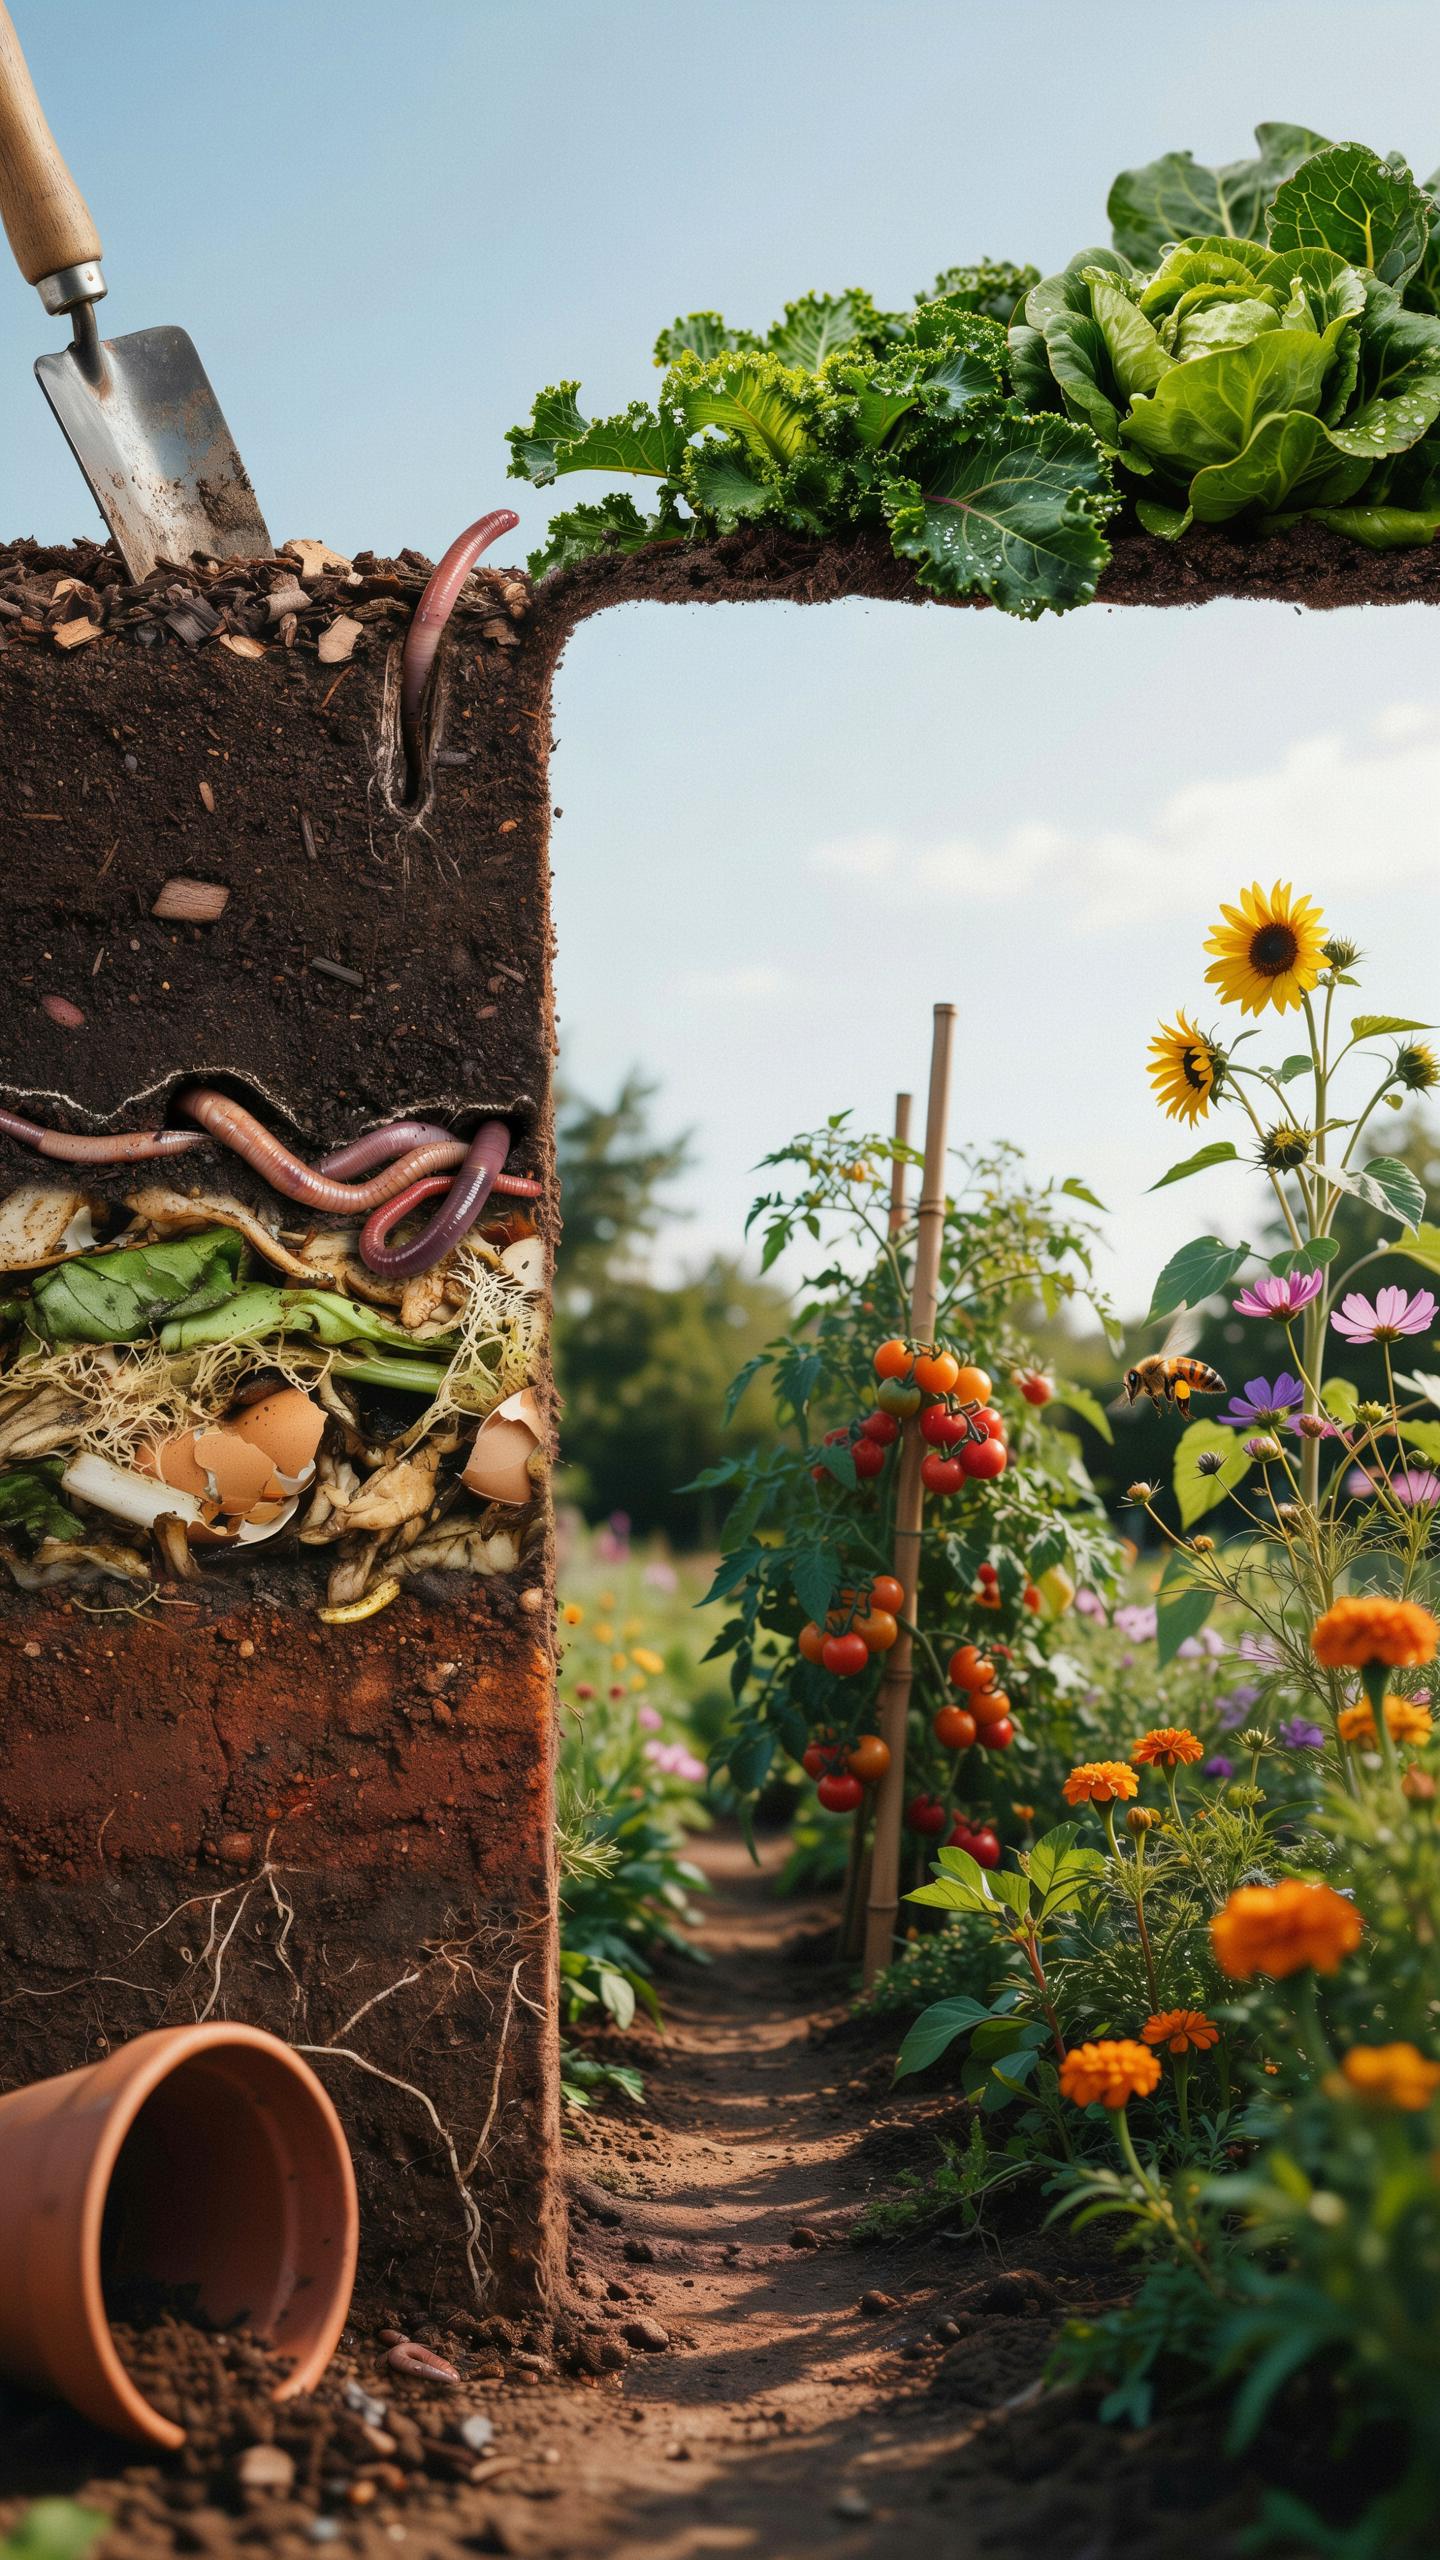
In-ground composting works by burying organic kitchen waste directly into garden trenches. Earthworms and soil bacteria colonize the buried material and break it down where it sits. This method eliminates the need for a separate compost bin. The decomposition happens in place, at root level, where plants can access nutrients as they form.
Trench composting requires minimal setup. Dig a hole or trench 12 inches deep in your garden bed. Add kitchen scraps, yard waste, and soil layers. Cover with soil and wait. Pit composting follows the same principle but uses a deeper hole, typically 2 to 3 feet deep. Both methods work year-round in most climates.
Maximizing Root Zone Nutrient Delivery
Burying organic matter underground places nutrients directly where roots need them. As decomposition occurs, nitrogen, phosphorus, and potassium release slowly into the surrounding soil. This targeted placement means less nutrient loss compared to surface composting. Moisture stays trapped underground, reducing evaporation and keeping the nutrient solution accessible to plant roots.

The root zone becomes a nutrient factory. Microorganisms work continuously to break down organic matter and convert it into forms plants can absorb. You eliminate transportation and application steps. Plants pull exactly what they need from the soil surrounding the buried material. This efficiency reduces fertilizer costs and improves soil structure over time.
Sustainable Landscaping Compost Integration Enhancing Your Garden Beds
Applying Top Dressing And Organic Mulch
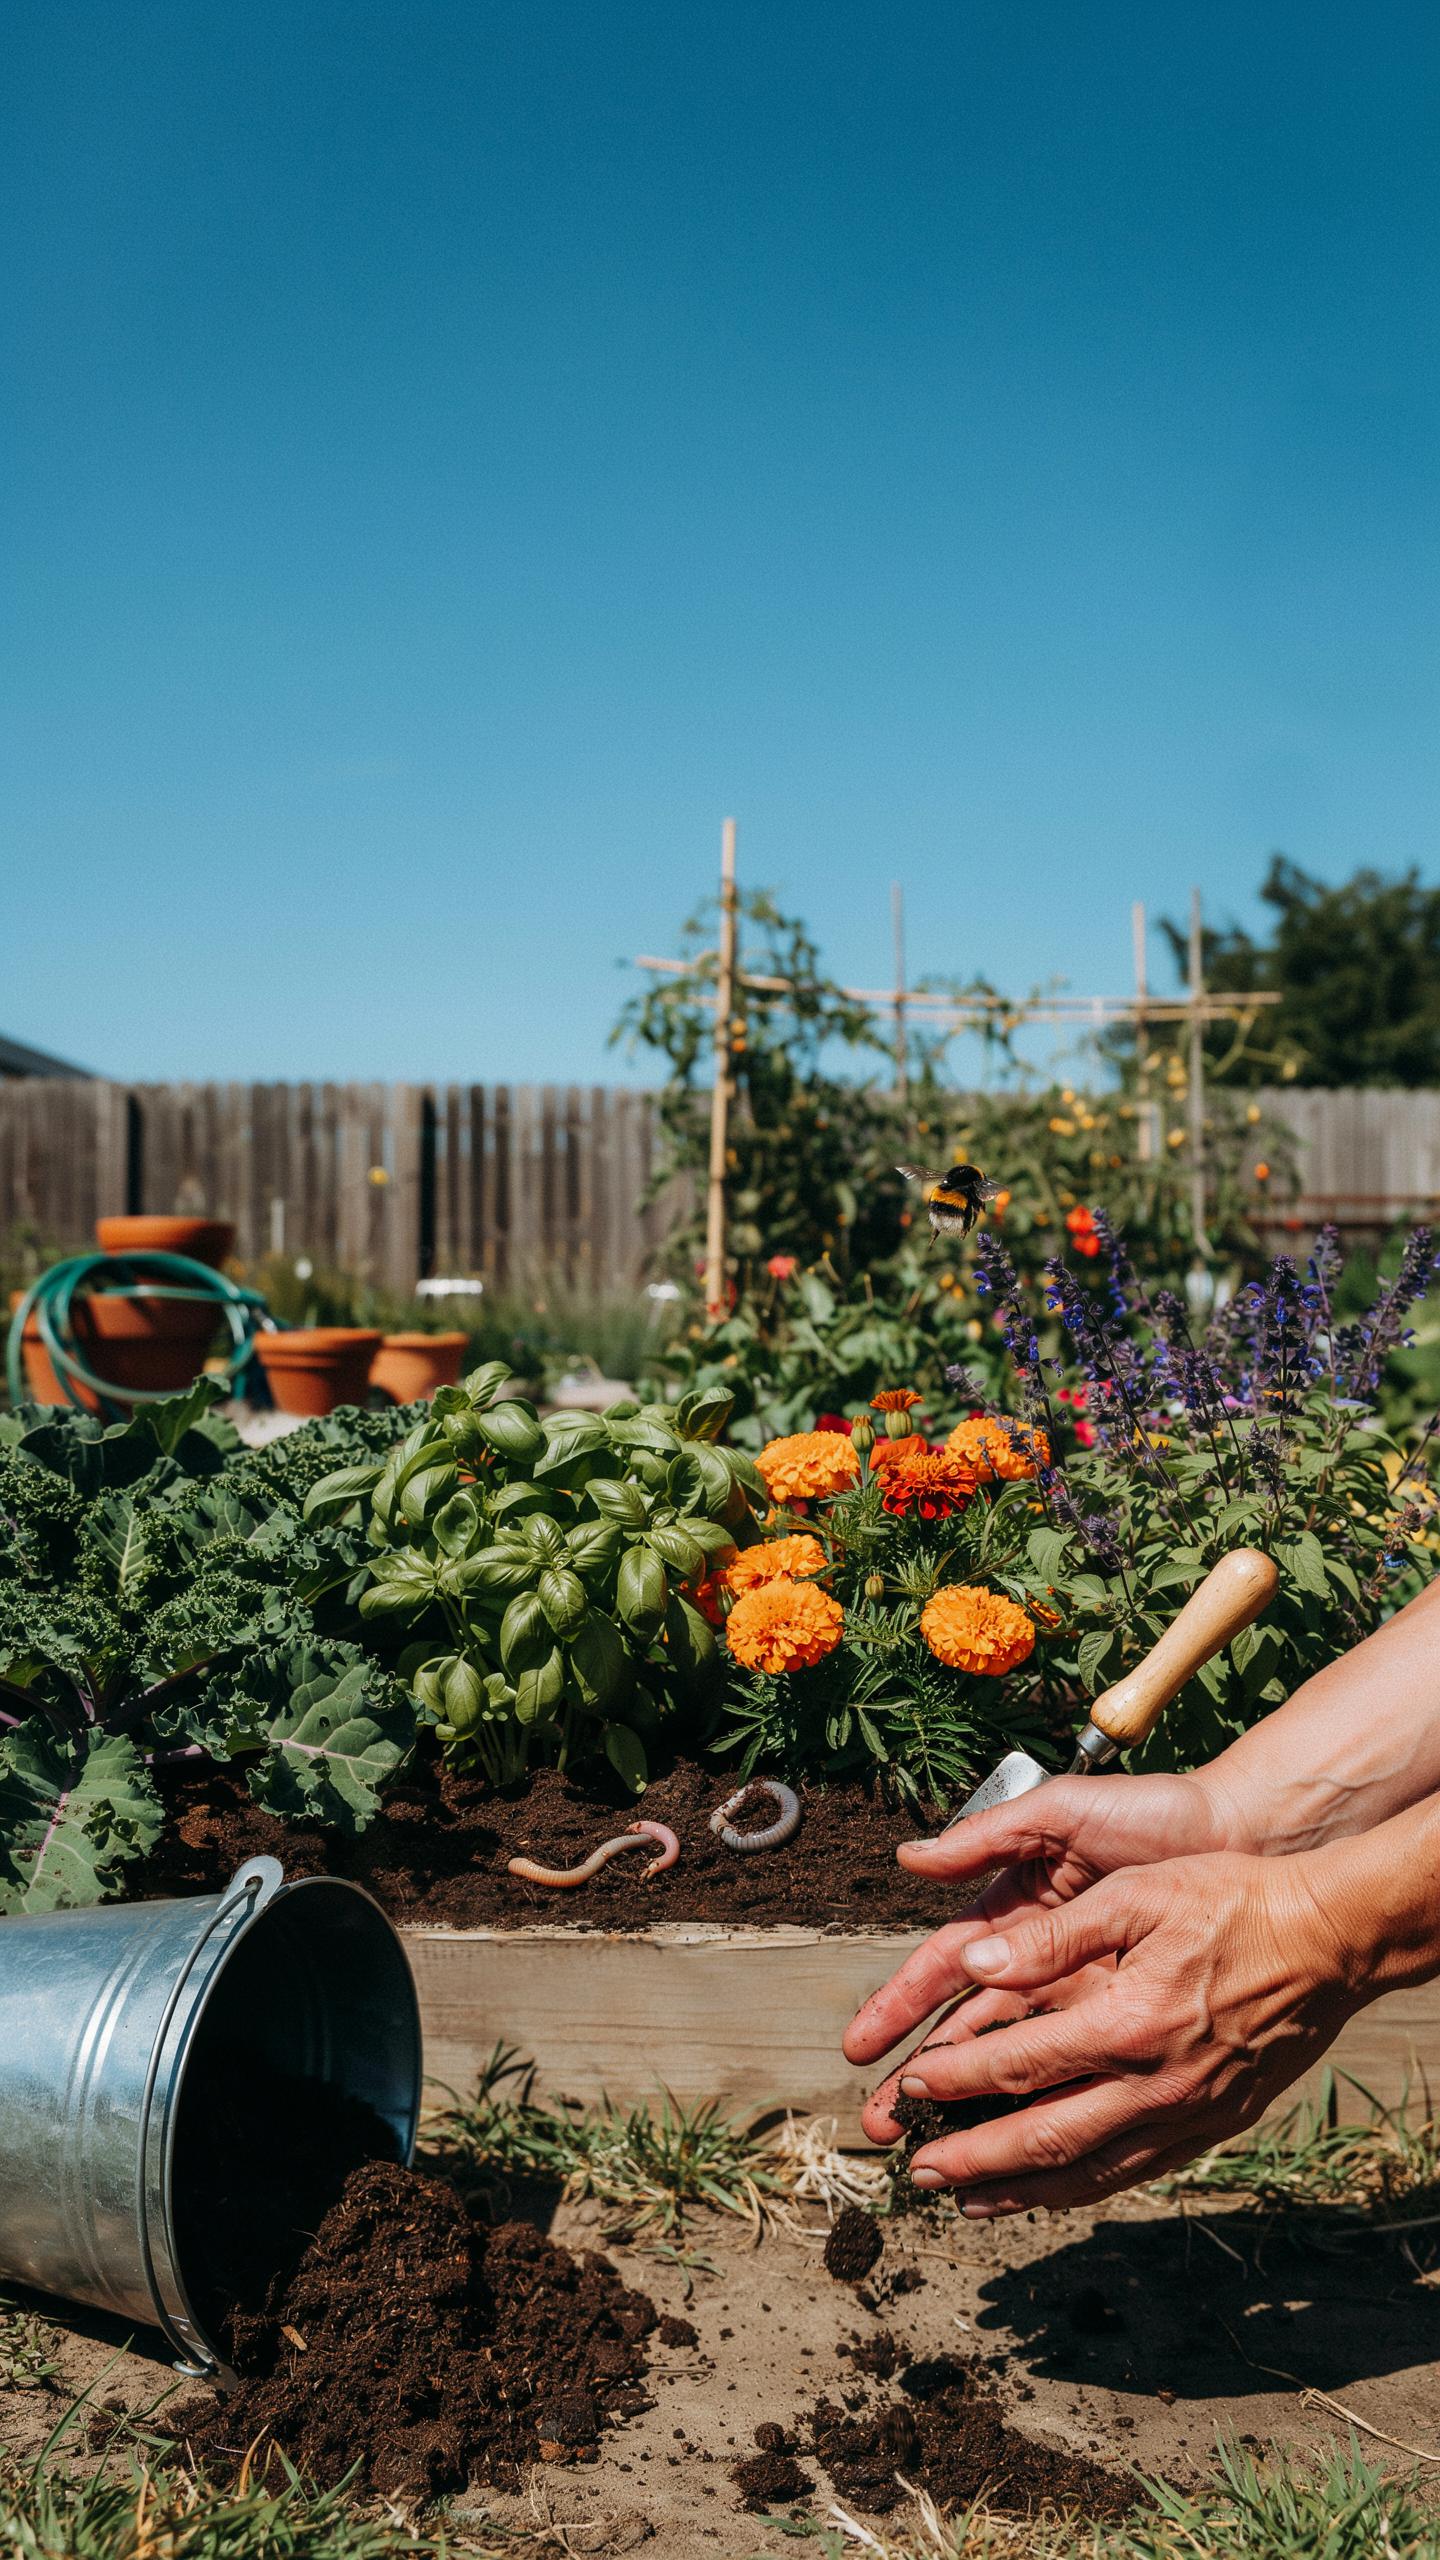
Finished compost applied as top dressing directly addresses three soil management problems. A 2-4 inch layer reduces water evaporation from soil surface, cuts weed seed germination by blocking light, and moderates soil temperature swings between seasons. This approach works because compost acts as a physical barrier while adding microbial activity that supports plant health.
Apply compost after spring planting or fall cleanup when soil has settled. Spread material evenly across beds, keeping it 2-3 inches from plant stems to prevent rot and pest issues. The decomposed organic matter breaks down gradually, feeding soil organisms and releasing nutrients available to roots over time rather than all at once.
Improving Soil Structure And Water Retention
Compost integration directly fixes soil texture problems that limit root access and water movement. Sandy soils lack organic matter to trap moisture, so added compost fills pore spaces and increases water-holding capacity. Clay soils compact easily and drain poorly, but compost particles wedge between clay particles, creating channels for air and water penetration.

Work finished compost 6-8 inches deep into existing soil or use it as a base layer when building raised beds. This depth reaches the active root zone where plants absorb water and nutrients most efficiently. The structural improvement persists for multiple seasons as soil organisms incorporate organic matter throughout the profile, reducing reliance on frequent supplemental irrigation.
Creative Composting Ideas For Urban Gardeners And Small Yards
Setting Up Indoor Worm Bin Vermicomposting
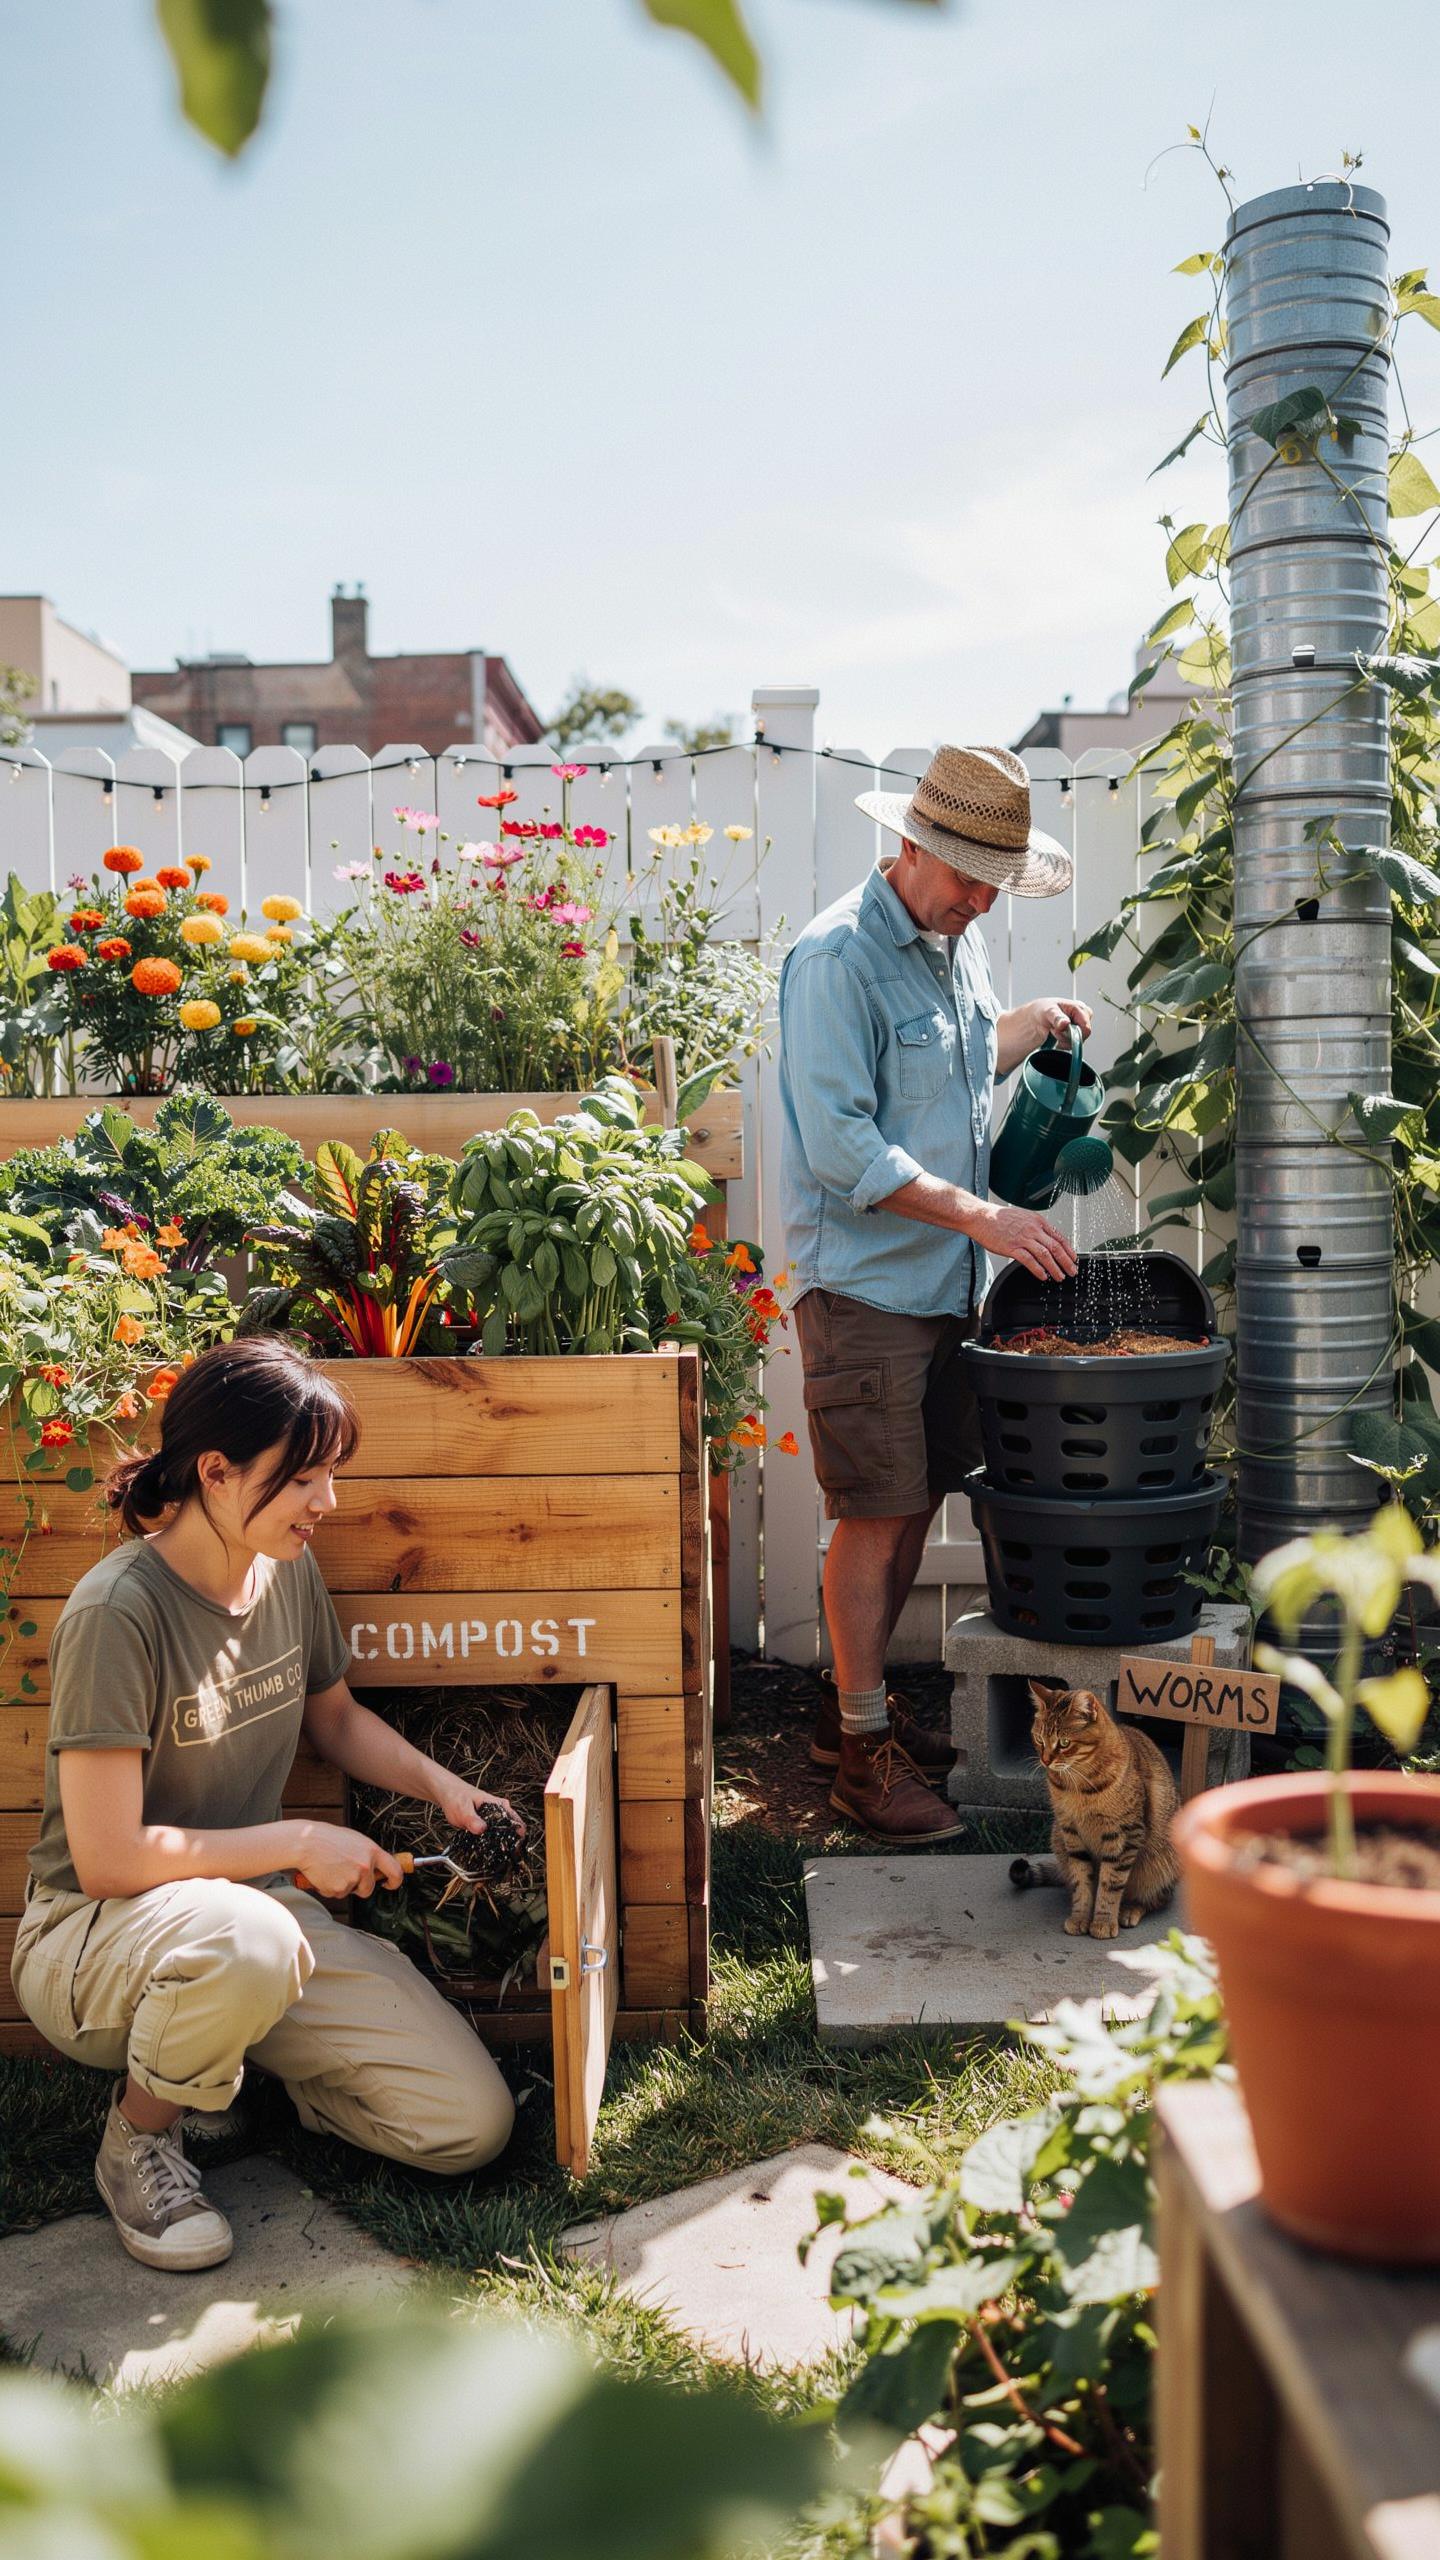
Red wiggler earthworms break down food scraps at rates three to five times faster than standard composting. You stack aerated bins in your apartment, basement, or garage to create castings without odor problems. The worms convert nitrogen-rich materials into a product with higher nutrient density than finished outdoor compost. This system works in any climate and produces usable compost in four to six months.
Feed your worm bin fruit peels, coffee grounds, and vegetable scraps while avoiding meat and dairy. Maintain moisture levels between 60 and 80 percent by adding shredded paper or cardboard. Temperature ranges of 55 to 77 degrees Fahrenheit keep worms active and productive. Harvest castings by moving worms to one side of the bin, removing castings from the other, then refilling with fresh bedding.
Utilizing Bokashi Fermentation For Kitchen Scraps
Bokashi systems use inoculated bran containing beneficial microorganisms to ferment all food waste through anaerobic breakdown. You layer scraps with bran in a sealed bucket over ten to fourteen days until material turns dark and compacted. Unlike worm bins, bokashi accepts meat, fish, dairy, and oils without creating odor or attracting pests. The fermented material then goes directly into garden soil where final decomposition completes in two to four weeks.

The bokashi method produces a pre-compost that enriches soil faster than traditional finished compost. You need two buckets to rotate fermentation cycles continuously without waiting between batches. Add one to two tablespoons of bran per layer of scraps to ensure proper microbial activity. This system handles up to 20 percent more total food waste volume compared to standard composting methods.
Capturing Your Progress Tips For Stunning Compost Photography
Using Natural Light To Show Soil Texture
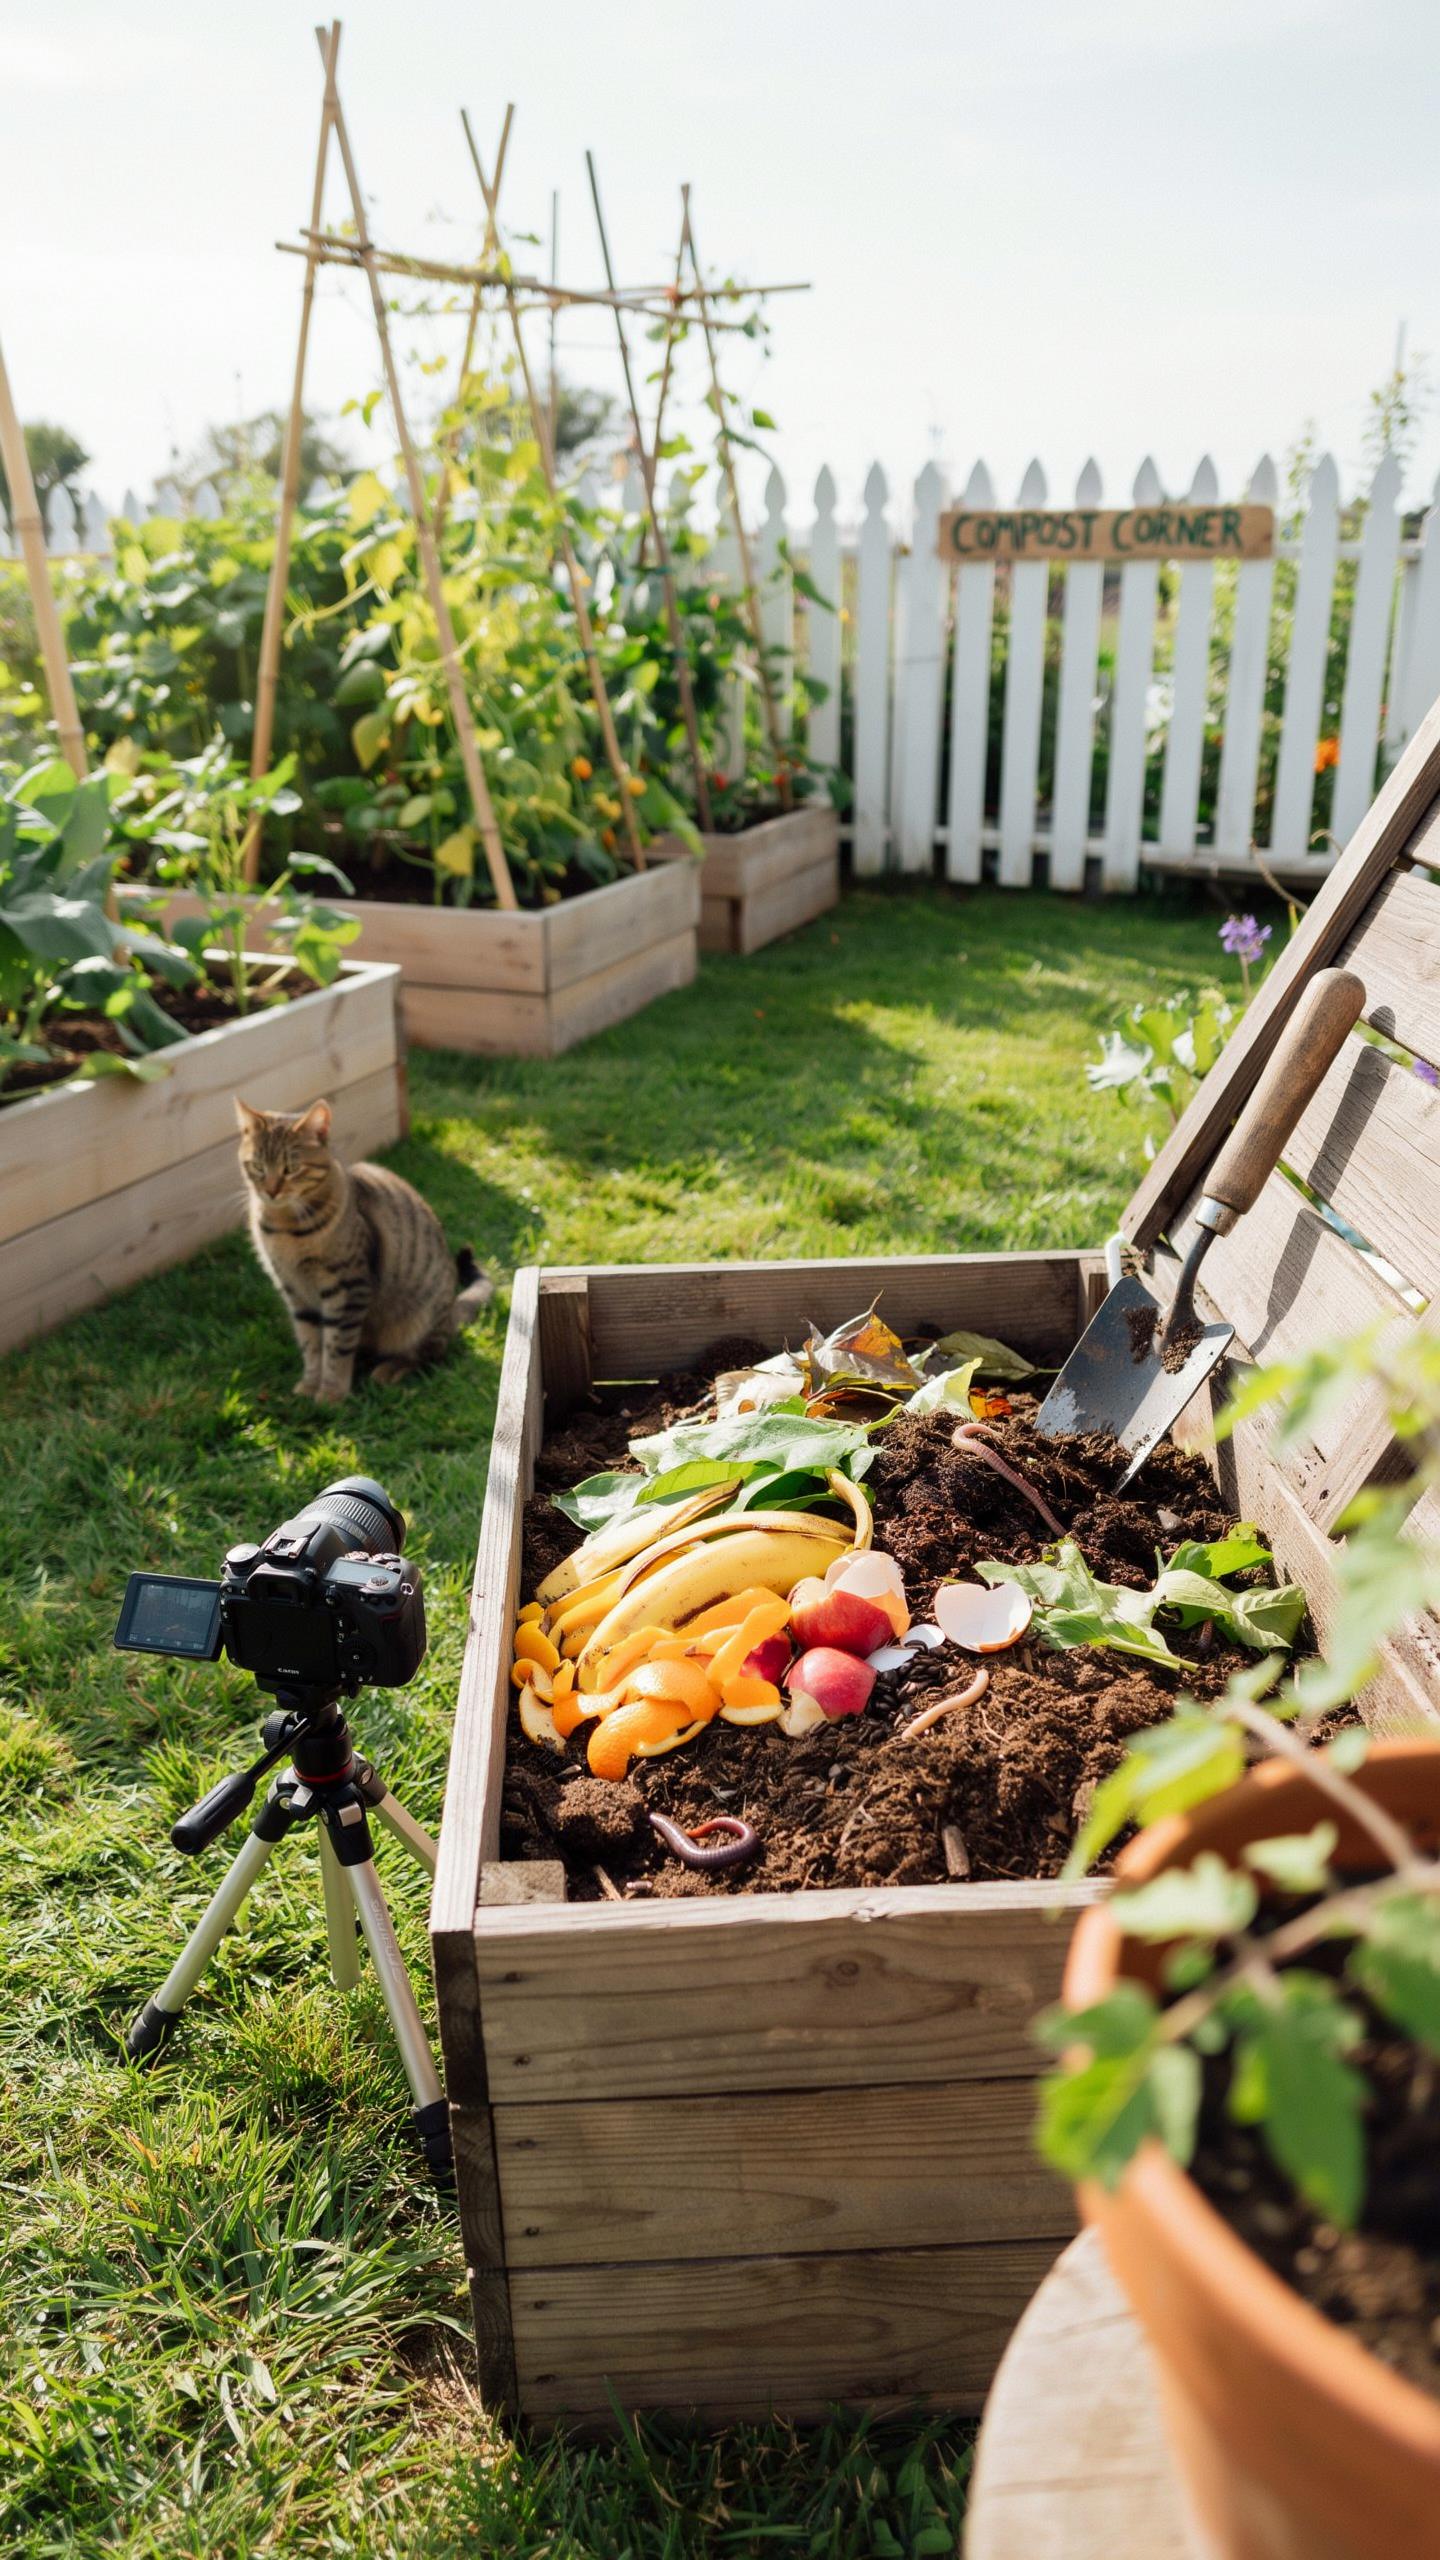
Photograph your compost and garden beds during golden hour, roughly one to two hours after sunrise or before sunset. Light hits soil at a low angle, which reveals surface structure and particle composition without washing out detail. This timing exposes the crumbly structure that indicates proper decomposition and microbial activity.
Texture visibility matters because it shows soil structure improvement over time. Dark, well-aggregated soil demonstrates that organic matter has broken down into stable humus. Consistent photography at the same time of day and location removes variables, making texture changes measurable rather than subjective.
Documenting Before And After Garden Successes
Take your first photo on day one before adding compost to your garden beds. Document soil color, plant size, and overall bed condition from the same angle and distance. Repeat photos at consistent intervals, such as monthly or quarterly, using identical camera positioning and lighting conditions.

Consistent documentation reveals the direct correlation between compost integration and plant performance. You will observe increased foliage density, deeper green coloration, and stronger root establishment as organic matter improves soil water retention and nutrient availability. This visual record provides evidence of soil amendment impact without relying on lab testing or assumptions.
Essential Composting Guidelines To Keep Pests And Odors Away
Kitchen Items To Keep Out Of Your Bin
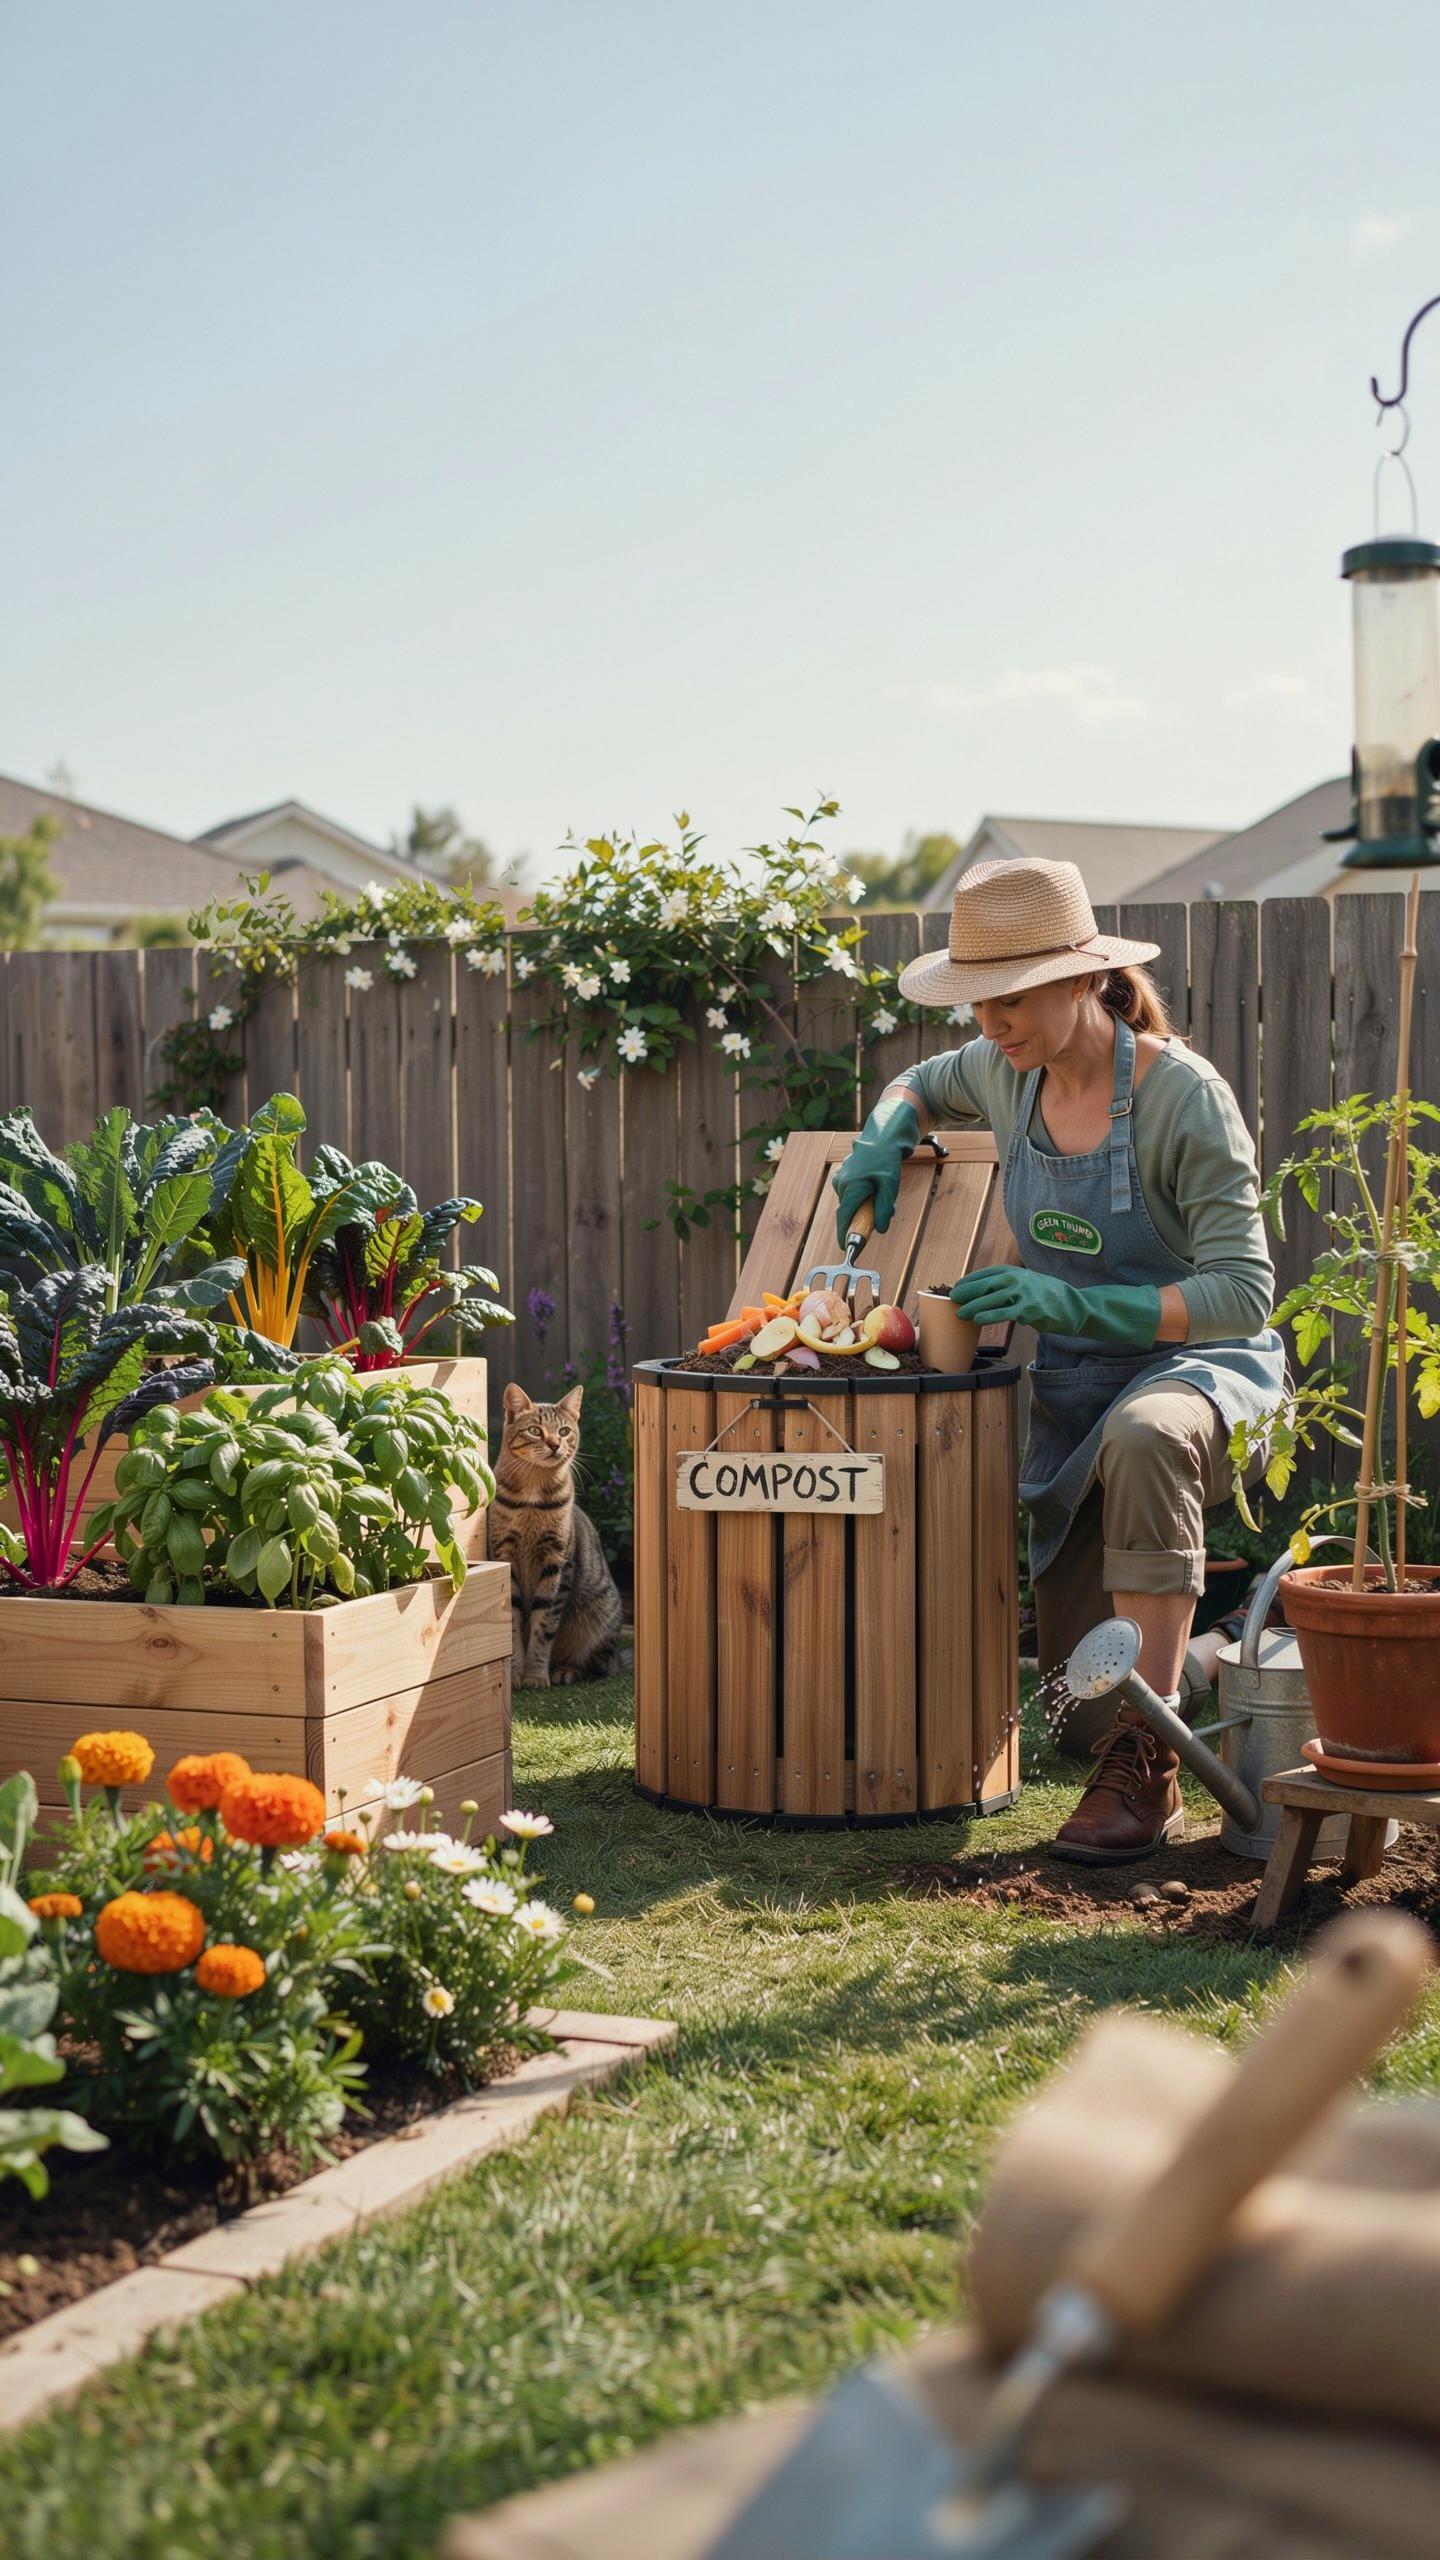
Certain kitchen waste creates problems in outdoor compost bins. These items break down differently than plant material and trigger specific issues. Animal products and fats decompose slowly and attract rodents, raccoons, and insects. Excluding them protects your compost system and prevents neighborhood pest problems entirely.
- Meat, poultry, and fish scraps: Animal proteins decompose anaerobically, creating foul odors that draw raccoons, rats, and flies to your bin within days of addition.
- Dairy products like cheese, butter, and milk: Dairy creates a breeding ground for pathogens and pests. The fats coat materials and slow decomposition rates significantly.
- Cooking oils, grease, and heavy fats: Oils repel water and create anaerobic pockets in your pile. These barrier zones prevent proper decomposition and cause persistent odor problems.
- Processed foods and sauces: Items with meat bases, oil content, or salt inhibit microbial activity. They also attract pests more aggressively than raw plant waste.
- Pet waste and litter: Cat and dog waste contains pathogens harmful to food gardens. These materials never belong in bins intended for growing food or ornamental plants.
Sticking to plant based materials keeps your bin functioning efficiently. Vegetable scraps, yard trimmings, and cardboard decompose predictably without attracting wildlife or creating health hazards.
The return of life to the soil through composting is a humble act of remembrance that turns yesterday’s garden into tomorrow’s brilliance.
Solving Common Moisture And Odor Issues
A waterlogged compost pile smells like rotten eggs or ammonia. This happens when moisture exceeds 60 percent and blocks oxygen from reaching decomposing materials. The pile shifts into anaerobic breakdown, which produces methane and hydrogen sulfide gas.

Add dry brown materials immediately to fix the problem. Shredded cardboard, dried leaves, or wood chips absorb excess water and restore airflow. Mix these materials thoroughly into the wet zones, then turn the entire pile within 24 hours. This action reintroduces oxygen and restores aerobic decomposition, eliminating odors within three to seven days.
An Introduction To Safe Compost In Garden Applications
Brewing And Applying Liquid Manure Teas
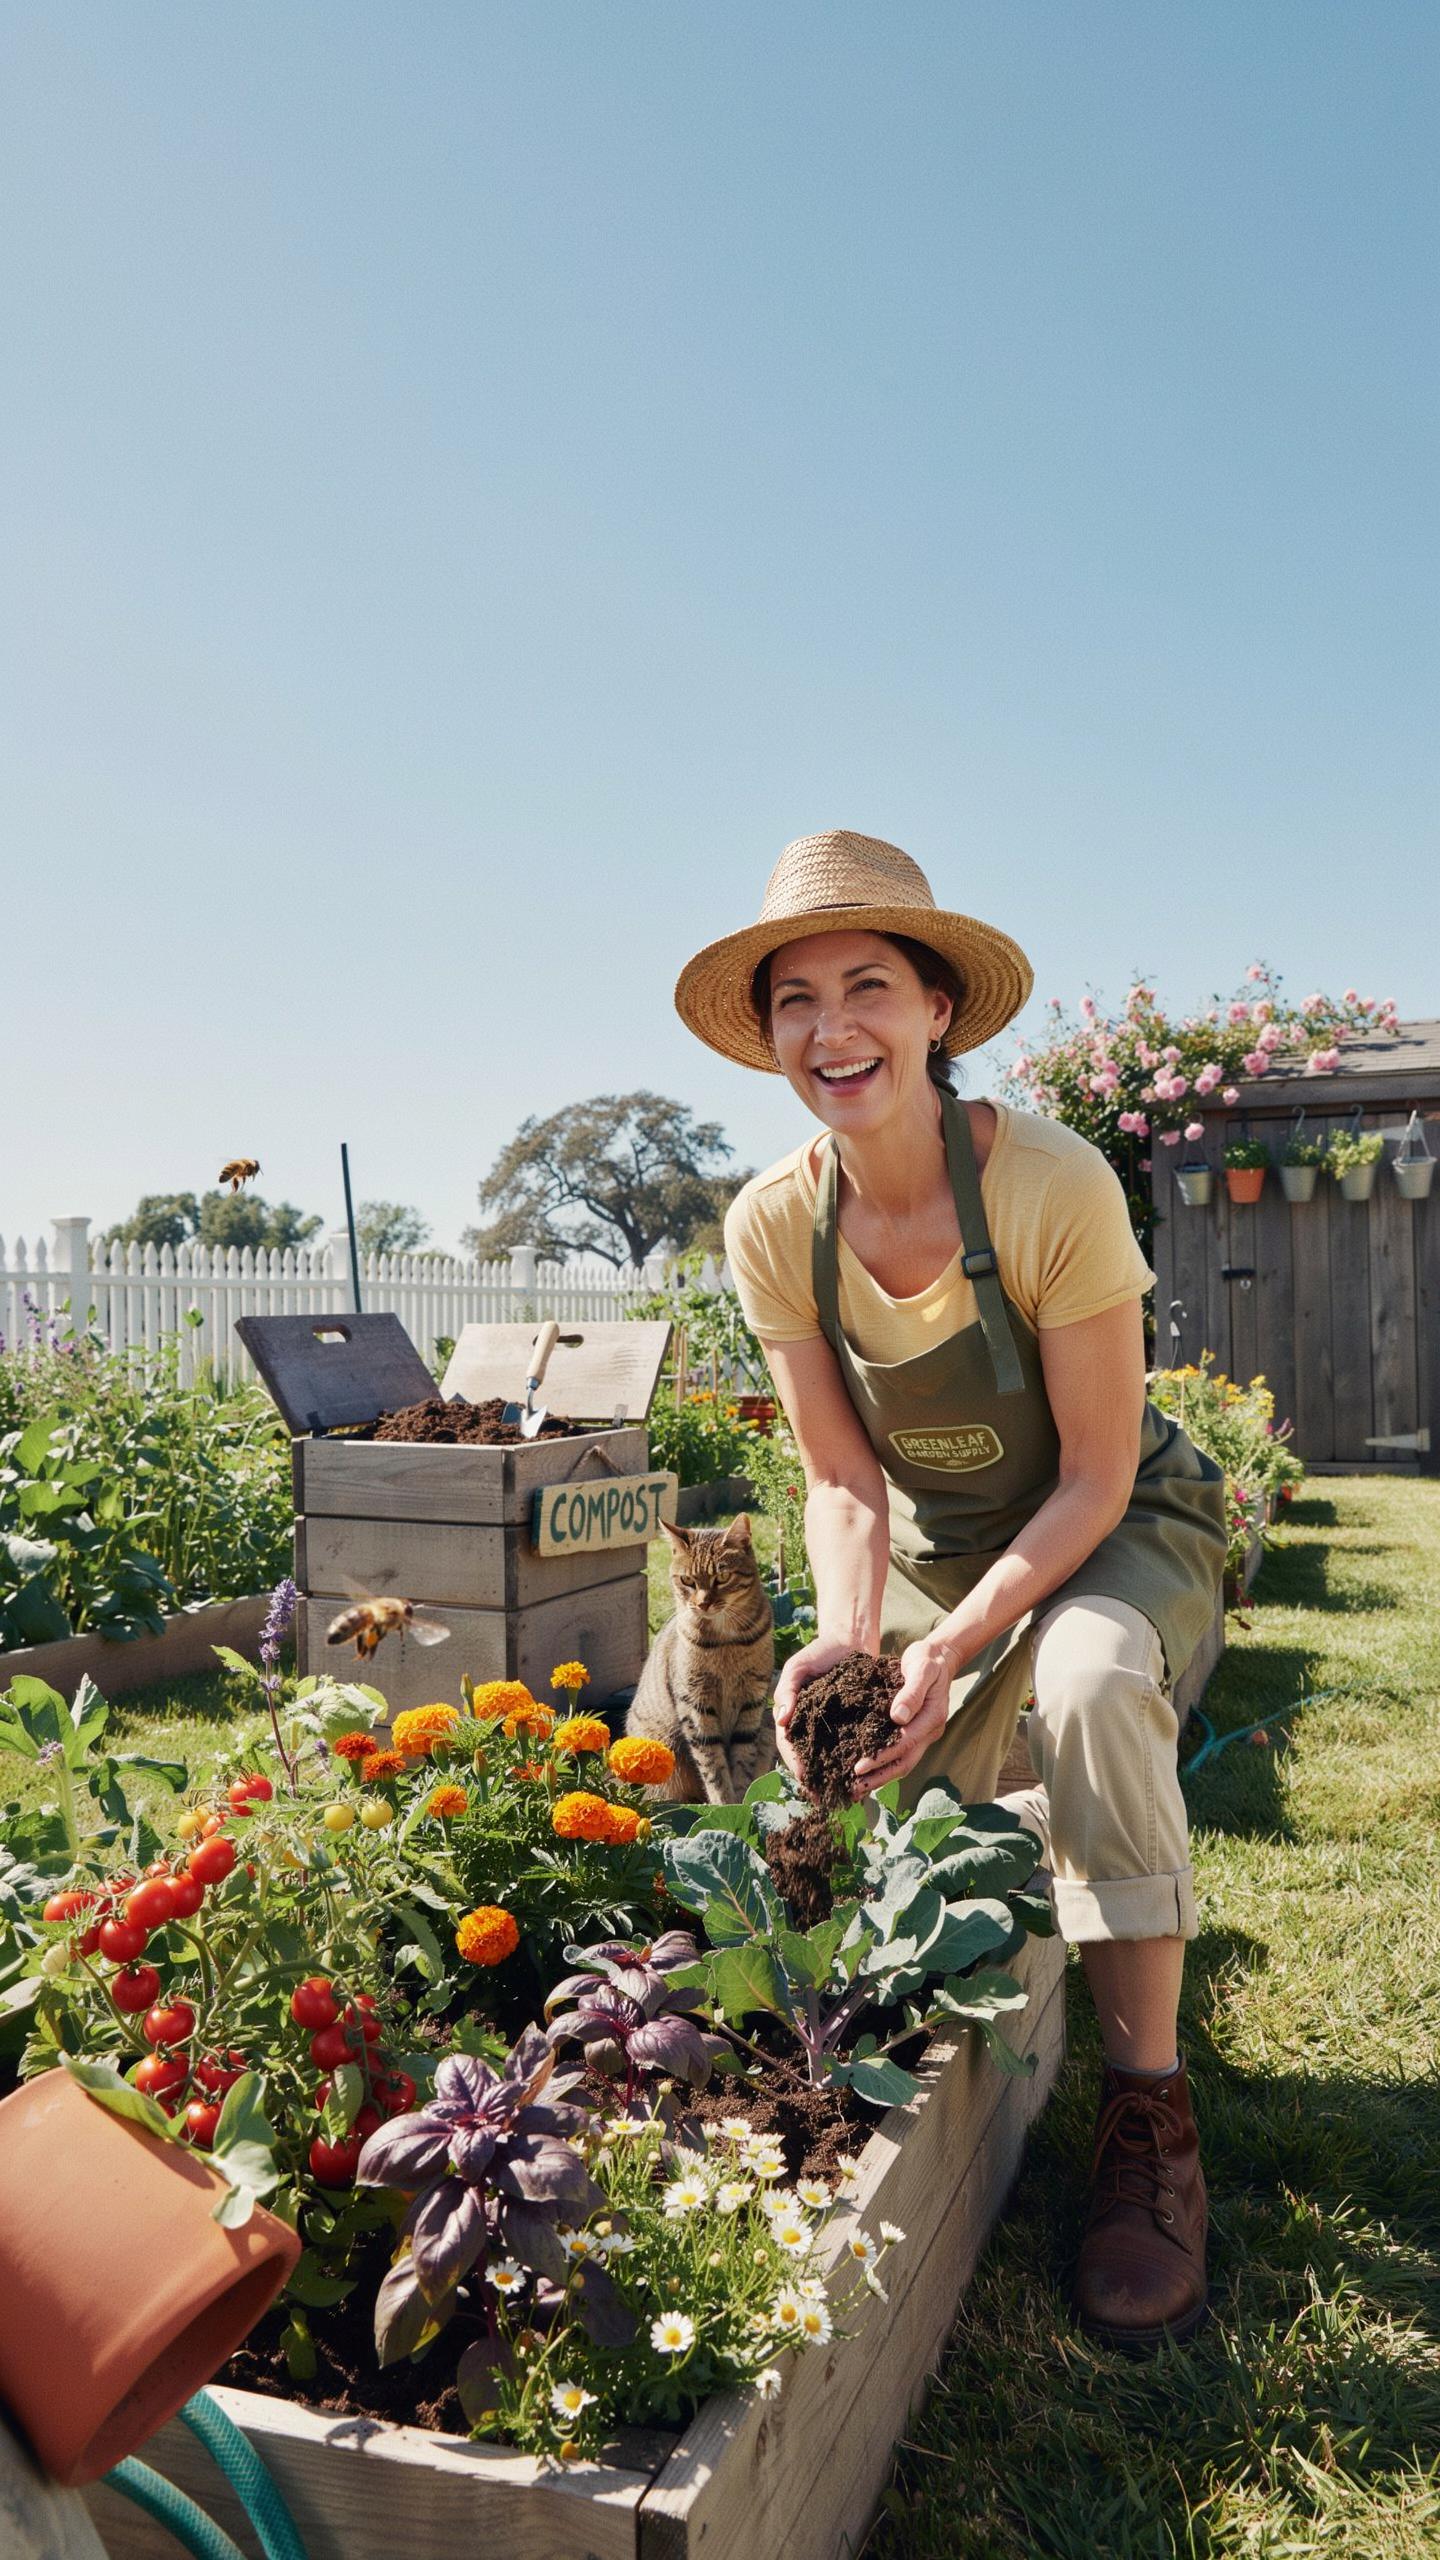
Steeping finished compost in water creates a concentrated nutrient solution for plants. This method extracts soluble nutrients and beneficial microorganisms from cured organic material. The resulting liquid reaches plant roots and foliage quickly, delivering immediate nutrient availability without requiring soil breakdown time.
Brew finished compost in a 1:5 ratio with water for 24 to 48 hours. Strain out solids before applying. Spray the liquid directly on leaves early morning or late evening to minimize evaporation and leaf burn risk. Apply to soil around plant bases for root absorption.
Establishing Safe Edible Crop Protocols
Only use fully decomposed compost on food crops. Raw or partially decomposed organic matter contains pathogens that contaminate edible vegetables. Temperature must reach 140 to 160 degrees Fahrenheit throughout the pile to destroy harmful bacteria, viruses, and weed seeds reliably.
Apply finished compost at least four months before harvest on crops where edible parts contact soil directly. Root vegetables and leafy greens require strict timing to eliminate pathogen survival risk. Hot composting methods accelerate pathogen elimination better than passive composting, making them the safer choice for edible gardens.
Frequently Asked Questions

What are the primary benefits of incorporating compost into my garden design?
Integrating organic matter into your yard does more than just feed your plants; it fundamentally improves soil structure and water retention. Through sustainable landscaping compost integration, you create a self-sustaining ecosystem that reduces the need for synthetic fertilizers and chemical pesticides. This natural approach encourages beneficial microbial activity, leading to more resilient flowers, shrubs, and turf that can better withstand local climate stressors and seasonal changes.
How can I seamlessly blend a composting system into a modern landscape design?
You can achieve a polished look by using decorative cedar bins, stylish sub-surface worm towers, or even “trench composting” hidden beneath mulch layers. The key to successful sustainable landscaping compost integration is placement and camouflaging. Try bordering your compost zone with tall ornamental grasses or a trellis of climbing vines. This keeps the decomposition process hidden while ensuring nutrient-rich humus is conveniently located right where your garden needs it most.
Is it possible to start a sustainable landscape on a very tight budget?
Absolutely! Sustainable landscaping is often cheaper than traditional methods because it focuses on recycling site resources. You can begin by repurposing kitchen scraps and yard trimmings to create “black gold” rather than purchasing expensive bagged soil. Using free wood chips from local arborists as mulch over your composted areas helps suppress weeds and retain moisture, drastically cutting down on your monthly water bills and future plant replacement costs.



