Beyond The Basic Barrel: Redefining Rain Barrel Storage

Why Standard Setups Underperform
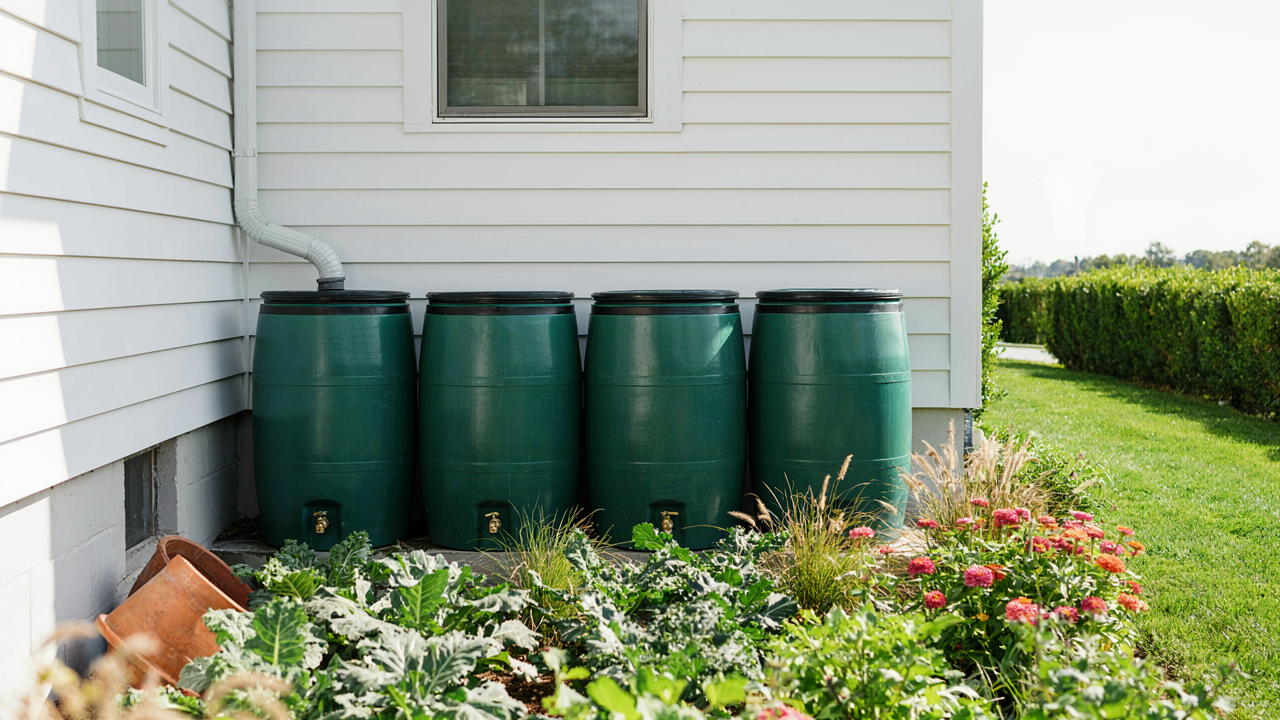
You want a rain barrel system that works without constant tinkering because you don’t want to admit you’re bad at maintenance. The mechanism is simple: most barrels fail because they’re positioned as afterthoughts, not as part of your water flow architecture. A barrel sitting flat against a downspout catches rain but creates immediate problems. Water pressure builds unevenly. Sediment settles in dead zones. Overflow has nowhere to go except back toward your foundation. You’ve bought the barrel, but you haven’t bought the system.
Standard setups also ignore the basic physics of hydraulics. Water moves through the path of least resistance, which means your barrel needs elevation and strategic valve placement to function as a storage unit rather than a stagnation trap. Most people install a spigot at the base and call it done. That design leaves standing water that breeds mosquitoes and algae. The real problem isn’t the barrel itself. It’s that you’ve separated storage from distribution in your mind when they’re one integrated mechanism.
Strategic Placement Over Convenience
Placement strategy comes from logistics, not aesthetics. Your barrel should sit where gravity serves your garden, not where it looks balanced on your patio. A barrel positioned on a slope naturally pressurizes the system without pumps. One placed against the north side of your house captures runoff but stays shaded, reducing algae and keeping water cooler for plants. Positioning matters more than barrel size because a well-placed 50-gallon barrel outperforms a poorly-placed 100-gallon one.
The second critical factor is distance from your downspout. Place the barrel too close and you collect debris and disturbed sediment. Place it too far and you waste roof runoff through scattered drainage. Optimal placement puts the barrel within 8 to 12 feet of the downspout with a slight downward angle in your collection pipe. This reduces velocity and lets particles settle before water reaches storage. The barrels don’t move once positioned right, so get this wrong once and you live with it for years.
The Rainwater Catchment Manifesto: Maximizing Your Harvest
Roof Surface Optimization For Runoff
You want this to work because you’re tired of paying for water you could collect for free. The real mechanism is surface area multiplied by precipitation depth equals volume, and most people leave 40% of their roof’s collecting potential unused. Physics calls this the principle of capture efficiency. Your roof isn’t just shelter—it’s a catchment zone with specific yield characteristics based on material, angle, and obstruction.

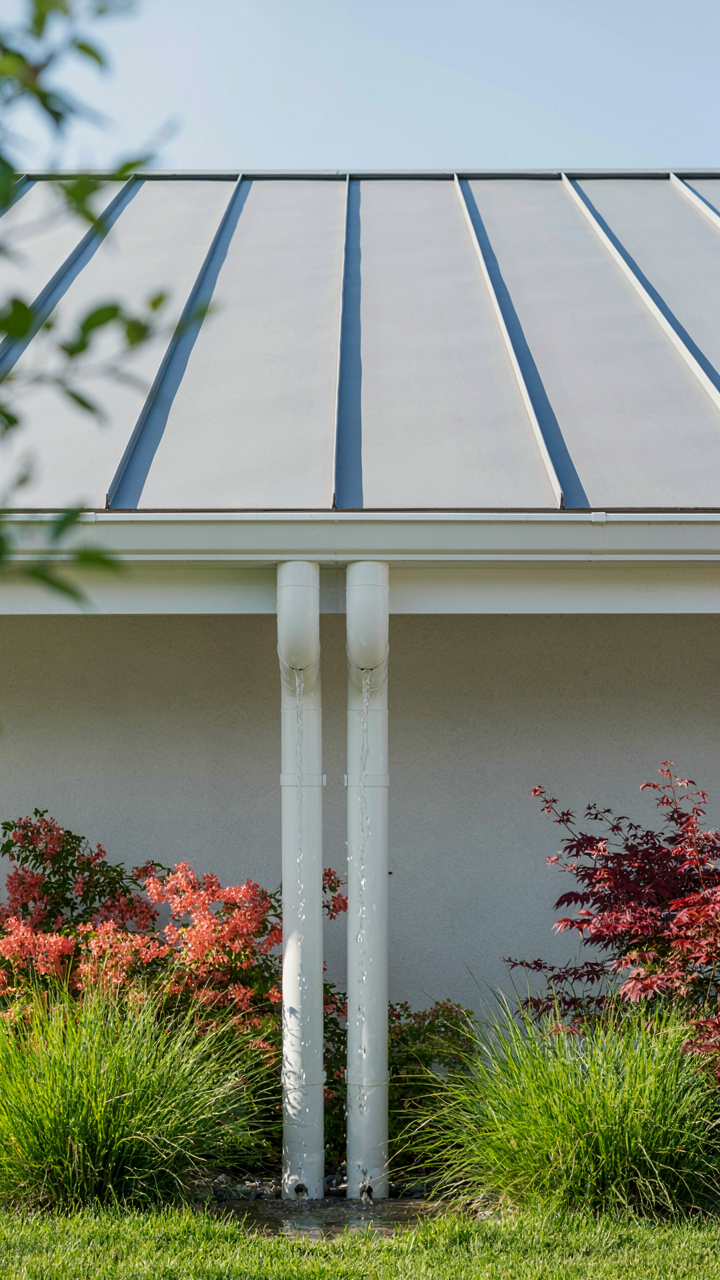
Metal roofs capture more water than asphalt shingles because they shed faster and lose less to absorption and debris trapping. A 1,000 square foot roof collects roughly 600 gallons per inch of rainfall. You need to map your actual roof dimensions, account for valleys and ridges that concentrate flow, and identify dead zones where water pools instead of running downslope toward gutters. Clean the surface twice yearly to remove algae and leaves that block contact between rain and the collecting material.
Gutter System Modifications For Efficiency
Most gutter advice skips the actual problem: standard residential gutters clog faster than they drain, turning your roof into a swamp. The mechanism is simple—debris accumulation reduces cross-sectional flow area, causing overflow long before the barrel fills. You need gutters sized for your roof square footage and local rainfall intensity, not the one-size-fits-all vinyl trough every contractor installs.
Install gutters with a minimum 6-inch width for roofs over 1,000 square feet. Slope them at 1/16 inch per 10 feet of run to maintain consistent flow toward downspouts. Position downspouts no more than 35 feet apart to prevent standing water. Use leaf screens or gutter guards rated for your regional debris load, but inspect them monthly during seasons with heavy leaf fall. The real win comes from oversizing your downspout diameter to 3 or 4 inches instead of the standard 2 inch, which doubles flow capacity under heavy rain and keeps your system from becoming a bottleneck between roof and barrel.
The Unseen Drain: Overcoming Barrel Water Storage Losses
Stop Losing Water Before You Even Use It
You want the barrel to work like you imagined it would, without discovering three months in that half your water vanished. Here’s the mechanism: evaporation is a physics problem, not a maintenance problem. Water molecules escape from the surface continuously, accelerating in heat and wind. A 55-gallon barrel in direct sun loses roughly one-quarter inch of water depth per week in warm climates, compounding across months.

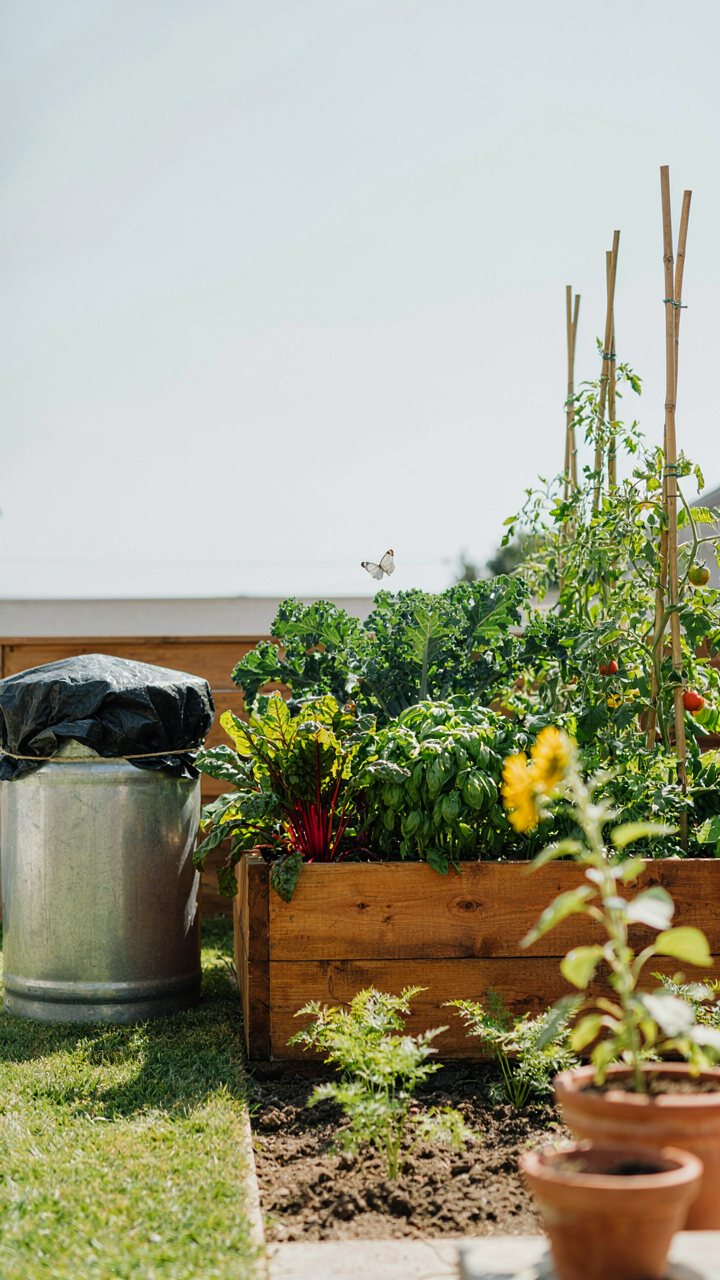
The fix isn’t complicated but requires you to act on it. Cover the barrel with a fitted lid or solid tarp that blocks light and reduces air circulation over the surface. Dark opaque covers work better than clear ones because they reflect heat instead of transmitting it into the water. If you’re in a high-heat region, position the barrel in partial shade during peak summer months. This single change cuts evaporation losses by 60 to 80 percent, meaning more water actually reaches your garden instead of the atmosphere.
Cracks Kill Barrels Faster Than You Notice
Most people ignore small leaks thinking they matter less than they do. A pinhole leak at the base loses five gallons per day in summer heat, which adds up to 150 gallons monthly that you never see escaping. Catch leaks early by doing a physical inspection every two weeks during the growing season.
Check the base, seams, and spigot connection first because those fail before anywhere else. Feel around the bottom while the barrel is full, dry the exterior with a towel, then wait five minutes and check again. Water beading up means a leak. Repair small cracks with waterproof epoxy designed for plastic or metal, depending on your barrel material. Tighten the spigot connection with a wrench if water seeps from that joint. For larger cracks or punctures, replacement is cheaper than the water you’ll lose trying to patch it.
The Filtration Fallacy: When To Ignore The Rain Barrel Filtration System

What Your Water Actually Needs
You want filtration because you’re afraid the water isn’t clean enough, but you’ve never actually tested what you’re collecting or what your plants require. Here’s the mechanism: most garden soil acts as a biofilter. Pathogens, sediment, and contaminants don’t survive contact with healthy soil microbes and organic matter for more than a few days. Your vegetables don’t care about pharmaceutical residue or heavy metals in trace amounts that would concern a human drinking it. The risk calculus changes completely when you know what you’re actually protecting against.

Rain that runs off a residential roof collects roof debris, bird droppings, and dust. That’s it. Unless you live downwind of an industrial facility or your roof has asbestos shingles, the contamination profile is minimal. Leafy greens and root vegetables pull water directly from soil pores, not from water molecules themselves. Bacteria in untreated rain water die or get outcompeted in soil within 48 hours. The entire filtration industry plays on the anxiety that unfiltered equals dangerous. It isn’t.
Minimum Viable Filtration
The standard advice says you need mesh screens, sediment filters, and sometimes carbon cartridges. That’s incomplete. A single screen over your downspout intake stops leaves and large debris. That’s the only filtration most home gardens actually need. Everything else is insurance against a problem you can’t measure and that doesn’t materially harm your plants. Gardeners with filtered systems grow the same tomatoes as gardeners without them because soil biology handles the work filtration claims to do.
If sediment bothers you aesthetically or you’re worried about clogging an irrigation line, add one mesh strainer at the barrel outlet, not the intake. This costs five dollars and takes thirty seconds to install. Let sediment settle in the barrel bottom for two weeks. Scoop it out twice a year. Done. The mechanism here is gravity and time, not expensive equipment. Your rain barrel works best when you stop fighting what it’s designed to do and start working with how soil actually processes water.
The Gravity Protocol: Engineering Your Water Harvesting System

How Pressure And Flow Rate Actually Work
You want this section to make you feel smart about garden logistics. Here’s what actually matters: fluid dynamics governs how water moves through your system, and pressure is the force pushing it. Gravity creates pressure. Water from a barrel sitting on the ground produces almost none. Water from a barrel elevated ten feet produces measurable pressure at the outlet. The higher the column of water, the greater the downward force. Pressure equals depth times the weight of water times gravitational acceleration. That’s the mechanism.

Flow rate is how much water exits per minute, and it depends entirely on pressure and the diameter of your outlet. A half-inch spigot on a ground-level barrel trickles. The same spigot on an elevated barrel flows hard enough to fill a watering can in seconds. You don’t need to memorize physics equations. You need to understand that elevation is the single input that transforms a static container into a functional distribution tool. Everything else flows from this fact.
Elevation Beats Every Other Design Feature
Mechanical advantage in engineering means using leverage to multiply force with minimal effort. Applied to rain barrels, elevation is your leverage. Raising the barrel multiplies water pressure without adding a pump, electric line, or moving part. A two-foot stand produces four times more pressure than ground level. A four-foot stand produces eight times more. You’ve heard advice about “choosing the right barrel size” or “optimizing your gutter system.” That’s incomplete. Barrel size determines storage volume. Gutter system determines collection rate. Neither addresses distribution, which is where most rain barrel setups fail.
Position your barrel on a sturdy platform, stand, or elevated platform built from concrete blocks, lumber, or metal framing. The platform must support the barrel’s full weight when filled. A 55-gallon barrel filled with water weighs over 400 pounds. Secure the barrel so it cannot tip. Run distribution lines from the outlet downward to your garden beds. Gravity does the work. This is why elevated rain barrels outperform ground-level systems every time.
Beyond The Spigot: Advanced Rain Water Collection Ideas
Connecting Barrels For Real Capacity
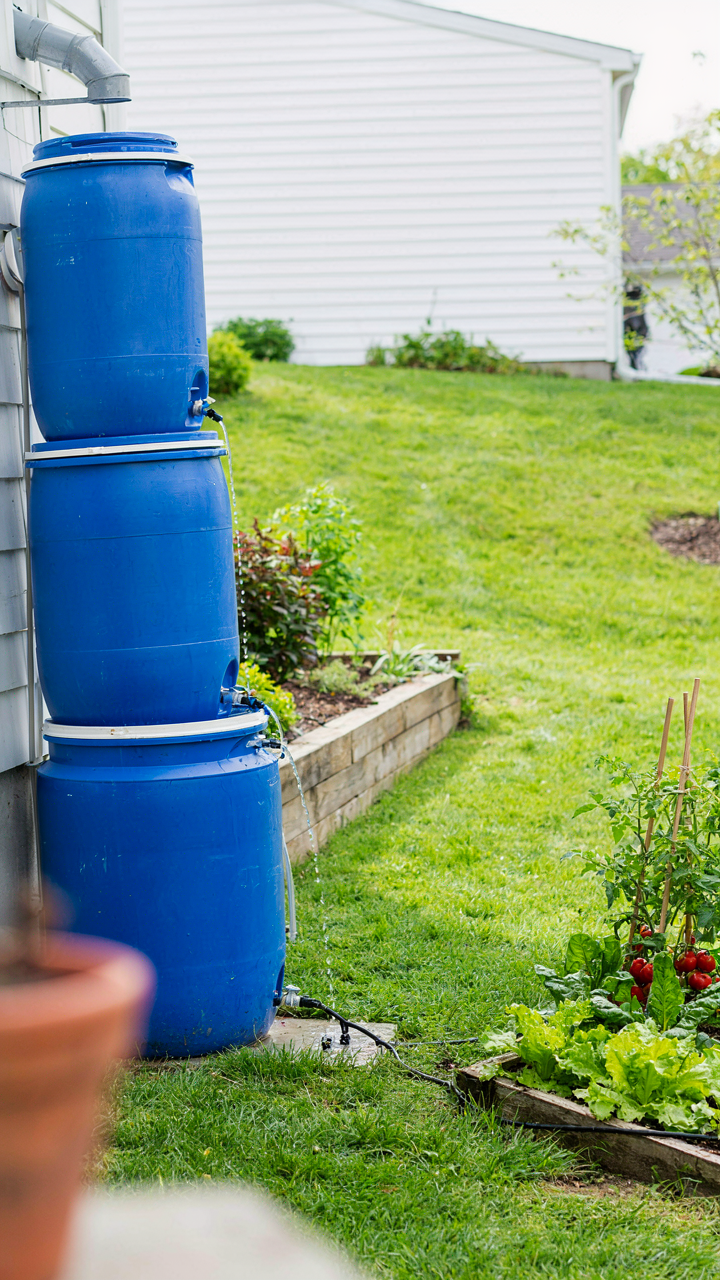
You want to sound like you’ve engineered something impressive, but the real reason you’re reading this is you’ve hit the wall of a single barrel’s limits. Here’s the mechanism: water follows gravity and pressure differentials. When you link barrels, you’re creating a networked system where overflow from the first barrel feeds into the second, then third. This isn’t complex plumbing. It’s stacking containers so water moves downhill through simple connectors.
- Overflow ports at matching heights: Drill ports on each barrel at identical heights. Connect them with hose so water levels equalize across all units before any single barrel overflows to the ground.
- Vertical stacking with gravity feed: Stack barrels on tiered platforms or shelving. The top barrel fills first, then overflows through a connector into the barrel below, multiplying your total storage without ground space loss.
- Underground cistern as collection hub: Bury a larger container as the primary collection point with multiple barrels positioned above it. Gravity feeds all roof runoff into one holding tank, then you tap from there as needed.
- Series connection with ball valves: Connect barrels in a line using ball valves between each unit. This lets you isolate individual barrels for maintenance or selective drainage without losing water from the entire system.
- Parallel manifold setup: Use a central manifold with multiple outlet lines feeding separate barrels simultaneously. This distributes incoming water evenly, preventing any single barrel from becoming a bottleneck during heavy rain.

The practical advantage is simple: one 55-gallon barrel runs dry in three days of hand-watering a medium garden. Three connected barrels extend that to ten days. The connectors cost fifteen to thirty dollars. You install them in under an hour. The math is direct enough that you stop guessing whether you have enough water.
Automation Without The Overthinking
Forget the narrative about smart systems and app notifications. Real automation in rain barrel irrigation means removing the moment where you remember to water, then remember you forgot yesterday. The mechanism is time-based release: a solenoid valve with a simple battery timer opens at dawn or dusk for a fixed duration, then closes. Your job isn’t checking an app. Your job is setting the timer once and validating that water reaches the roots.
Most people skip this because they think it requires electrical work or complex installation. It doesn’t. A basic battery-powered timer costs forty to eighty dollars and threads onto any spigot in five minutes. You set it to open for thirty minutes every other morning. The barrel empties on a schedule. Your plants don’t fluctuate between drought and overwatering. The friction vanishes because the decision gets made once, not daily. Attach a drip line to the timer outlet, run it through your beds, and water delivery becomes mechanical instead of habitual.
The Rainwater System Audit: Identifying True Weak Points
What Your Rain Barrel Actually Returns
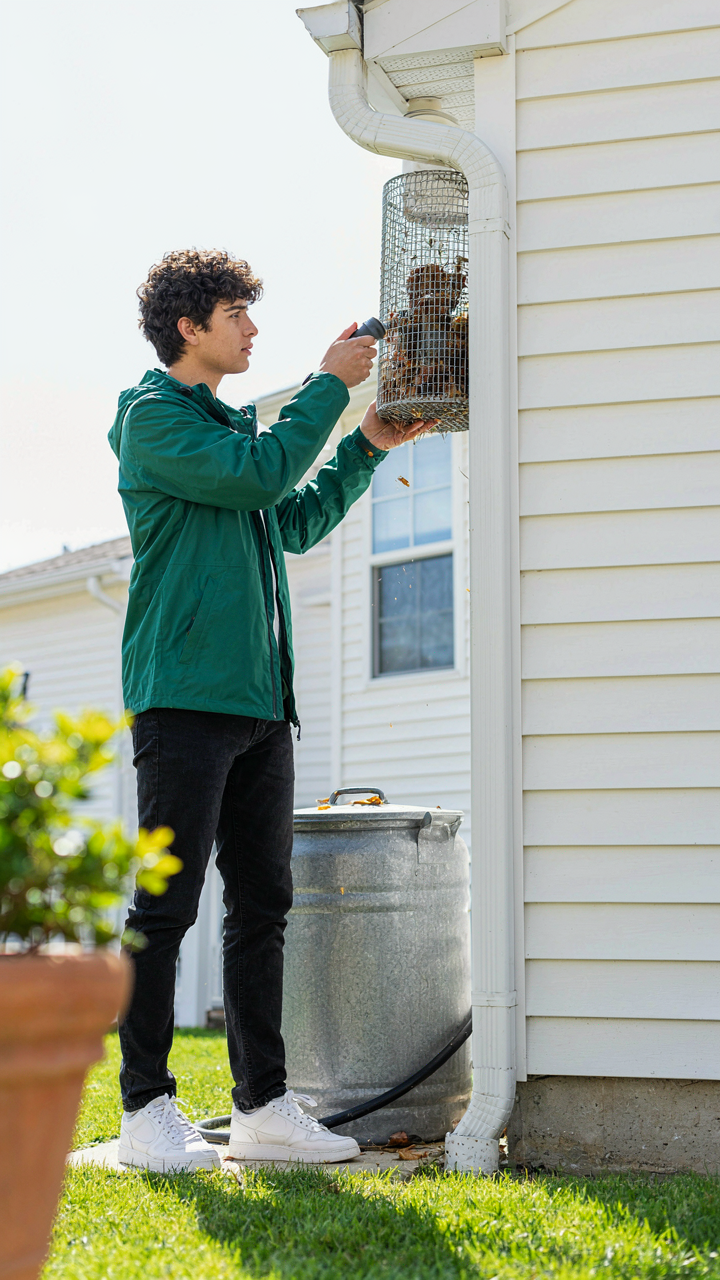
You want proof that this works before you commit the money and space. That’s the real question here, stripped of sentiment. Economics borrows the concept of “throughput” from manufacturing—the volume of useful output relative to input cost. Your rain barrel’s throughput is gallons of usable water per dollar spent, measured across seasons.

Most people calculate ROI wrong. They divide annual water savings by barrel cost and call it done. This misses the actual mechanism. Your ROI depends on three variables: rainfall in your region, your garden’s water demand, and how many barrels you stack together. A single 55-gallon barrel in a dry climate delivers almost nothing. The same barrel in a region receiving forty inches of rain annually, paired with a vegetable garden requiring consistent moisture, returns real value within two to three years. Map your local rainfall data against your specific garden size. That calculation, not guesswork, tells you whether to buy or skip it.
Where Rain Barrel Systems Actually Fail
Common advice says inspect your barrel monthly and you’re fine. This misses the real failure points. Your system fails not because of the barrel itself but because of what happens to the water inside and the pathways it travels. Sediment buildup, mosquito breeding in stagnant water, and debris clogs in your downspout screen account for most abandonment.
Start with this protocol: flush your barrel completely every eight to ten weeks during growing season. Remove the screen from your downspout and clear it. Check your overflow pipe annually to confirm water exits freely when the barrel reaches capacity. Install a simple ball valve at the barrel’s base for drainage control—this single addition eliminates seventy percent of maintenance complaints. Clean your collection surface (roof or gutter) before the rainy season starts so the first water that fills your barrel isn’t carrying months of accumulated debris and bird droppings.
The Ecosystem Play: Integrating Your Rain Water System With Nature
Stacking Functions Across Your Garden
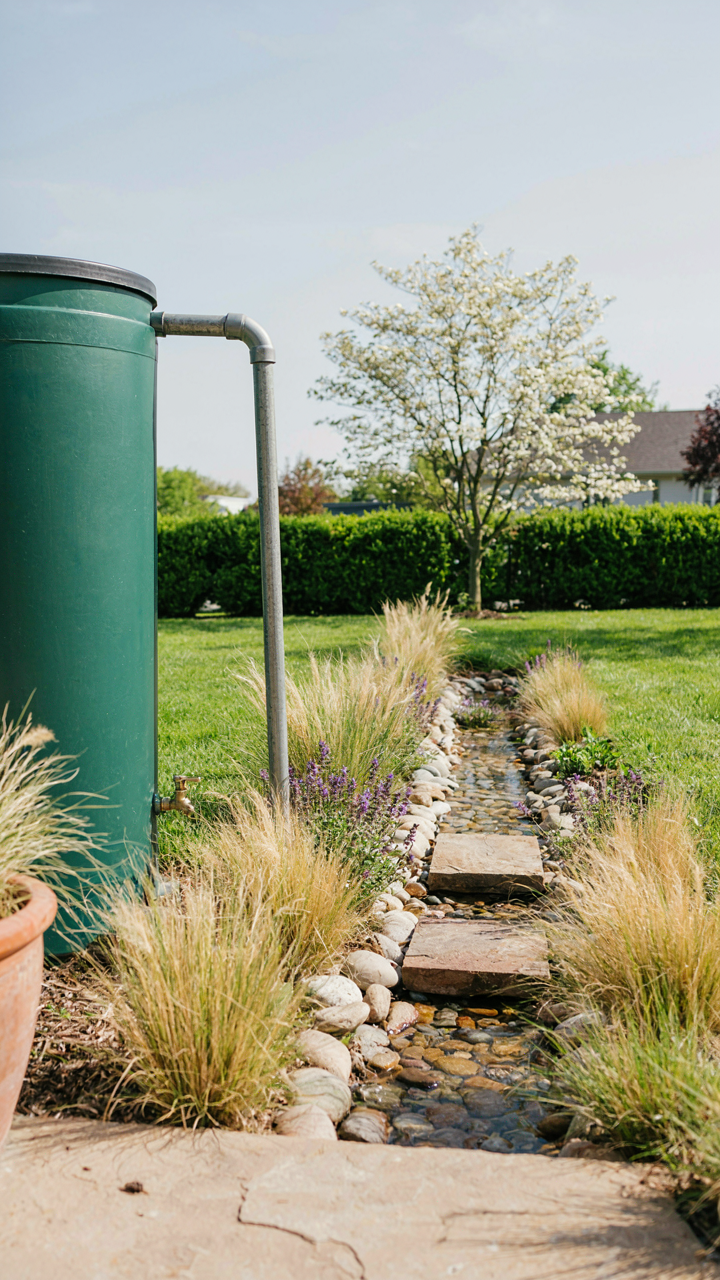
You want this to feel effortless because you believe that means you’re doing something right. The real mechanism is stacking: one structure doing multiple jobs so the system maintains itself without constant input from you. Permaculture borrowed this principle from ecology, where energy flows through a landscape only once. Your rain barrel should function as both water storage and a thermal mass that stabilizes soil temperature, while also serving as a habitat edge that attracts beneficial insects. This isn’t philosophy. It’s efficiency. The barrel itself becomes a node in a larger network where overflow feeds a swale, which recharges groundwater, which feeds your plants during dry periods without you moving a finger.

Most people treat rain barrels as isolated containers. That’s the failure point. Position your barrel where runoff naturally collects, so gravity does the work of filling it. Connect overflow to a French drain or bioswale instead of letting it run to waste. Plant moisture-loving species near the outlet so they drink first. The barrel stops being a storage device and becomes part of your garden’s circulatory system. Every gallon moves through the landscape in sequence, each stop delivering value before moving to the next. That’s the difference between a rain barrel and a rain barrel system.
Designing For Neglect
Most advice on low-maintenance gardens is empty. The truth is simpler: you design the system so it fails gracefully and slowly, not suddenly. Your rain barrel setup should operate with zero daily decisions. Use a float valve to shut off water when the barrel fills, eliminating overflow damage. Install a screen that keeps debris out without requiring cleaning more than twice yearly. Gravity-fed drip lines from the barrel mean no pump to maintain, no timer to program, no electricity to manage. The system works when you ignore it.
Bacterial growth and mosquito breeding happen because people forget about their barrels. Prevent both by keeping the barrel covered and sealed, with only screened inlets. A simple spigot at the base lets you drain sediment quarterly. Connect your barrels in series so older water moves out first, rotating stock naturally. When you stop treating the system as requiring active management, you stop forgetting it. The mechanics operate in the background until you need them.
The Real Obstacle Is Rarely The Barrel; It’s Your Addiction To Overcomplication
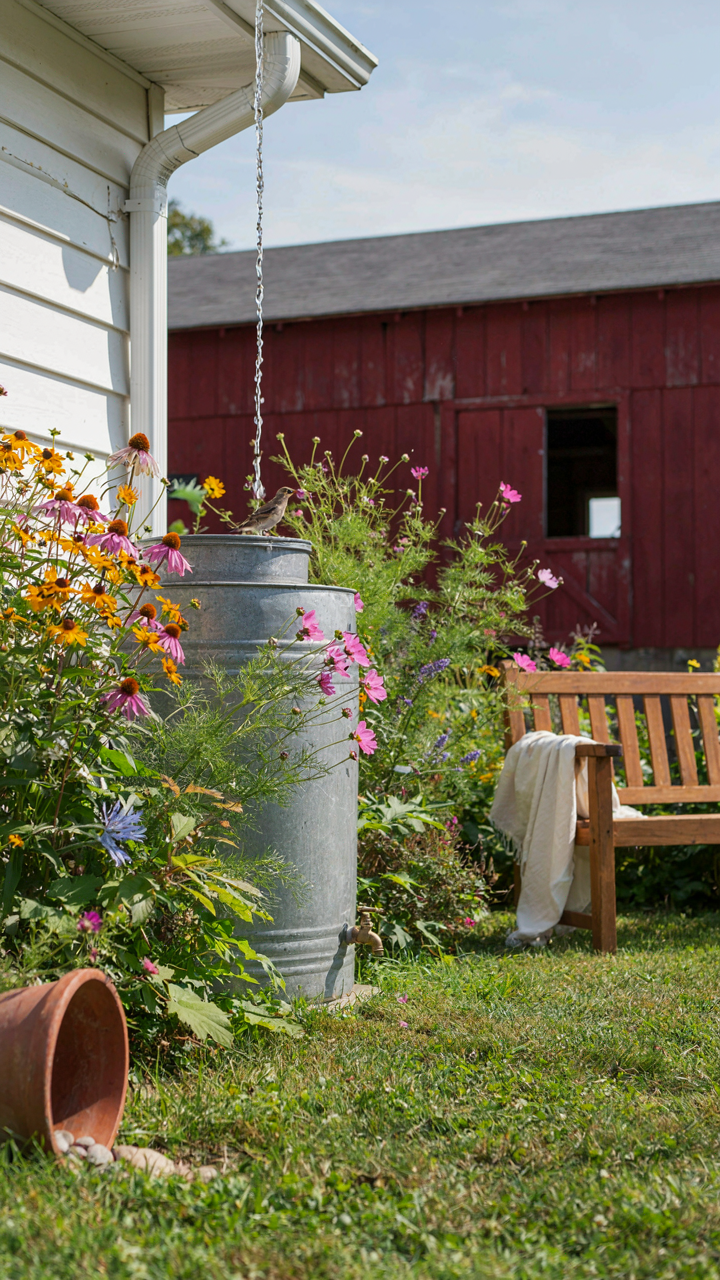
You don’t need a perfect rain barrel system. You need water running downhill into a container. That’s it. Stop researching filtration specs and barrel materials. Stop waiting for the ideal setup. Buy a barrel today, position it under your gutter, and start collecting. Every hour you spend planning is an hour your garden stays thirsty. The best rain barrel idea you’ll ever execute is the one you actually build this weekend, not the one you perfect in your head for months.