
Introduction
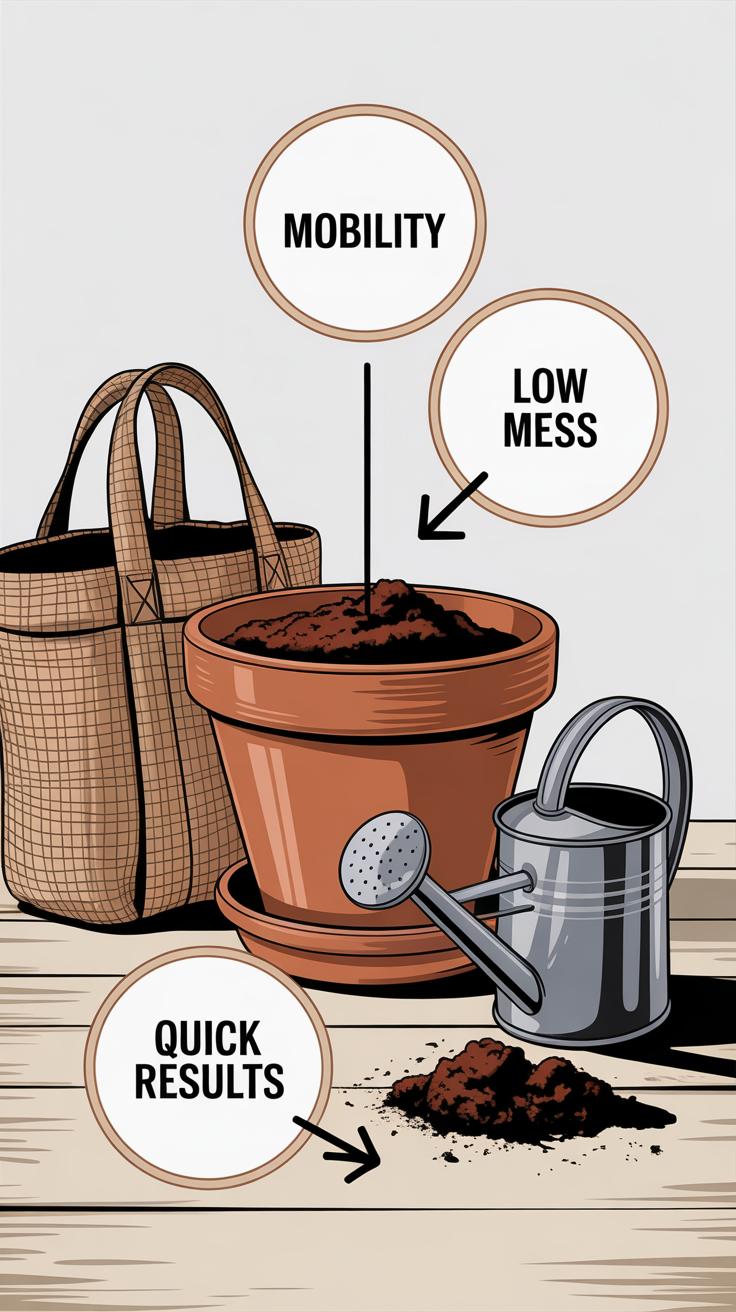
Raised garden boxes offer a smart way to grow more food in less space. By lifting the soil off the ground and enclosing it, you make caring for plants easier and more effective. These boxes help you create a neat garden area where plants can thrive with less weed and fewer pests.
This article explains how raised garden boxes work and shows you how to build and use them. You’ll learn how they save space, improve plant growth, and make gardening easier, especially if you have limited room or want a more organized garden.
What Are Raised Garden Boxes and How Do They Work
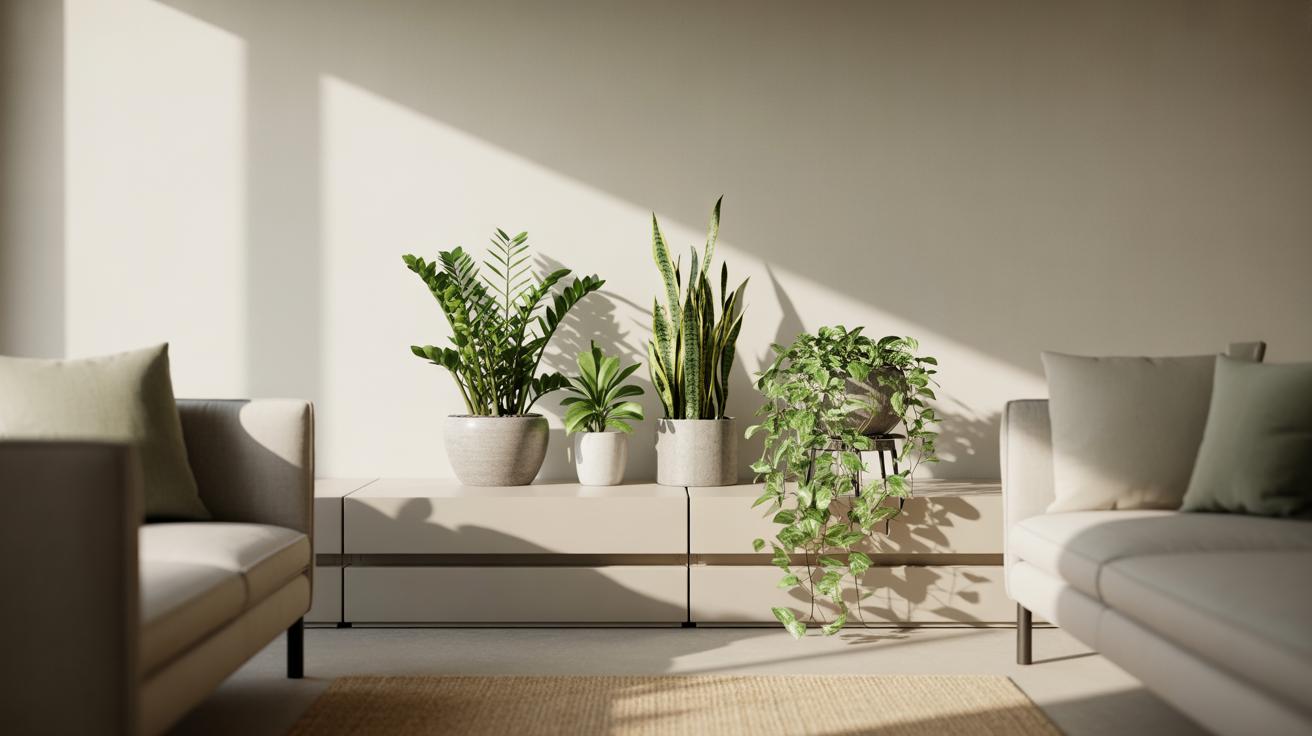
Raised garden boxes are simple structures that hold soil above the ground level, usually shaped into rectangular or square frames. Most often, they consist of four walls made from materials like wood or stone, creating a contained space to grow plants. Unlike traditional garden beds dug directly into the earth, these boxes lift your plants up, giving you more control over the soil inside.
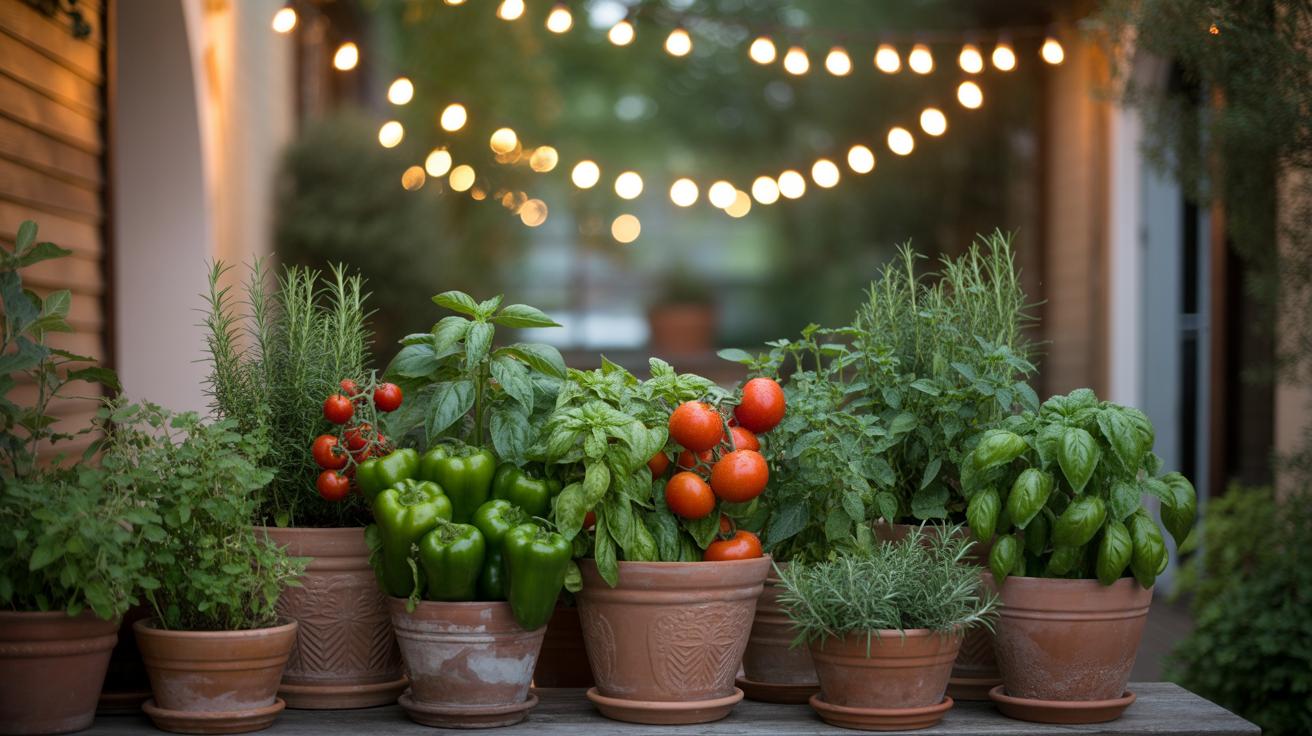
The benefits can be subtle but significant. For one, soil quality improves because you fill the box with a custom mix, often richer and better-draining than native soil. It also makes weed problems less frequent — since the boxes are separate from the surrounding dirt, invasive roots struggle to creep in. Plus, working with raised beds means less bending and kneeling, which, honestly, makes gardening feel less like a chore.
Key Materials for Building Raised Garden Boxes
Choosing materials for your boxes depends on your budget, style, and durability needs. Common options include:
- Wood: Cedar and redwood resist rot longer and look natural, but wood might eventually need replacing. Avoid treated lumber that can leach chemicals.
- Stone: Long-lasting and visually appealing but sometimes pricey and tricky to assemble without help.
- Concrete blocks: Durable and easy to stack but heavy and less attractive to some gardeners.
- Plastic or composite: Resistant to rot and insects, low maintenance, yet they can feel less “organic” and might trap heat.
Personally, I once used cedar and was happy with how long it lasted and how simple it was to shape. That said, your choice might depend on whether you want a quick setup or something permanent.
How Raised Garden Boxes Improve Growing Conditions
By lifting the soil, raised boxes improve drainage; water doesn’t pool around roots as it might in flat beds. This prevents root rot and other moisture-related issues. Also, because you can fill them with loose, well-amended soil, you reduce compaction—a common problem when walking on or tilling traditional beds.
Managing weeds becomes easier too, since the defined edges act as barriers. You notice weeds sooner and can pull them before they spread. Raised beds also create an environment less inviting to some pests; slugs or ground insects find it harder to climb the walls, though it’s not foolproof.
For example, I once noticed much better tomato growth in my raised box than in my conventional garden area nearby—likely due to better soil and fewer weed battles.
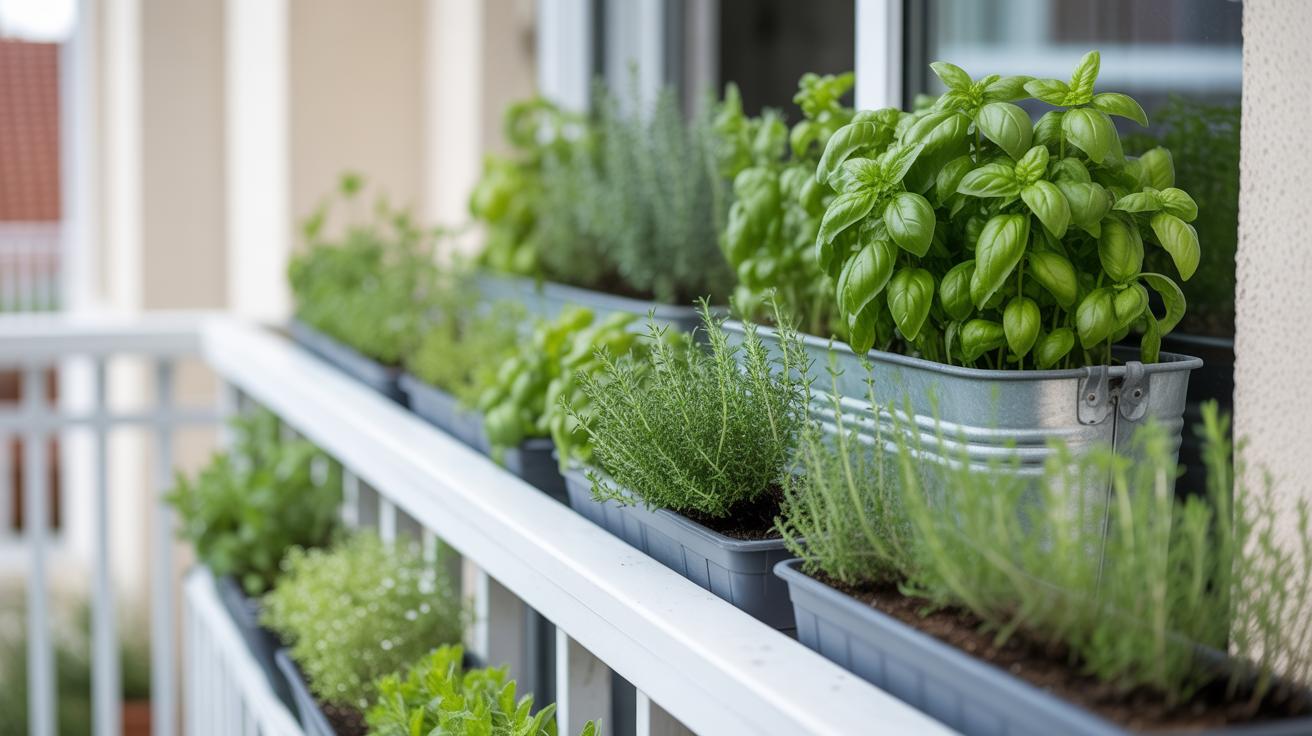
Choosing the Right Size and Location for Your Raised Garden Boxes
How Box Size Affects Plant Growth and Maintenance
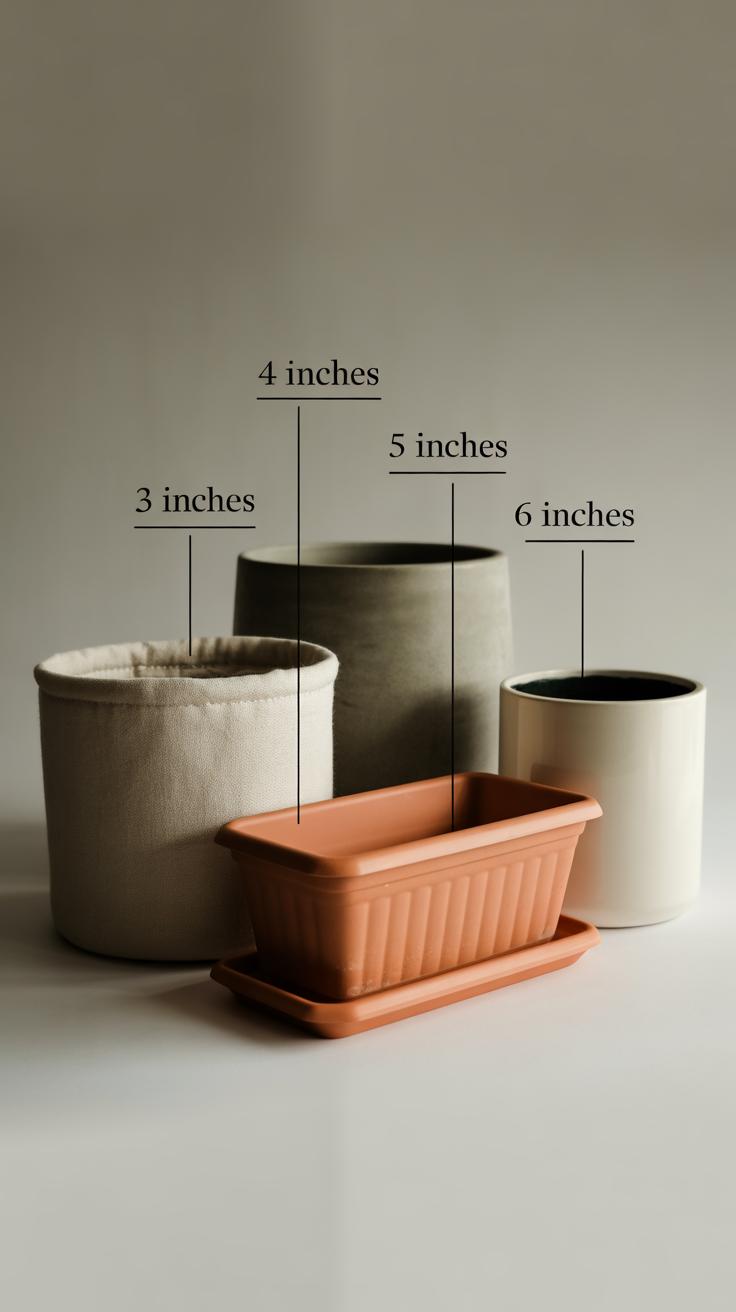
Picking the right size for your raised garden box isn’t just about fitting it into your space—it really shapes what you can grow and how easy it’ll be to care for. Smaller boxes, say around 2 by 3 feet, suit herbs and lettuces nicely. They’re easier to reach over, so maintenance feels less like a chore. But if you want to grow tomatoes, peppers, or even root vegetables like carrots, you’ll need deeper, larger boxes—something like 4 by 8 feet or at least 12 inches deep to allow roots to spread.
There’s a balance to strike. Smaller boxes mean less soil, which tends to dry out faster and might need more frequent watering. Larger boxes give plants room to thrive but demand more initial effort filling and prepping soil. On top of that, moving around big boxes isn’t easy, so think carefully about access paths—it can get frustrating if you need to stretch or step into the bed. I’ve seen folks struggle when their boxes are too wide because they can’t reach the center without stepping in.
Finding the Best Spot for Your Garden Boxes
Where you place your raised beds has a huge impact. Ideally, the spot should catch at least six hours of direct sunlight—vegetables aren’t very forgiving about shade, especially fruiting ones. East or south-facing areas often work best. But sunlight isn’t the whole story. Protecting your boxes from heavy wind helps prevent damage and keeps soil from drying out too fast.
Water access is another big deal. Running hoses back and forth is doable, but if there’s a spigot nearby, it makes the whole process far easier. Also, think about convenience—plunking the garden way out back might save space, but are you actually going to spend time there? Sometimes, closer to the house or on a patio means you’ll check on plants more often and catch issues early.
If your yard feels tight, stacking boxes vertically or using narrow boxes along fences can squeeze more growth out of limited real estate. Don’t overlook raised corner spots—they often receive good sun and tend to be underused. Making the most of a small yard means being a bit creative with angles and layering, even if it feels like a puzzle at first.
Preparing Soil and Planting in Raised Garden Boxes
Creating a Healthy Soil Mix
Your raised garden box thrives on its soil, so getting the mix right can make all the difference. Compost is the heart of it—rich, dark, teeming with life. Blend it with good-quality topsoil for bulk and texture. Some gardeners like to add perlite or coarse sand to improve drainage; too much moisture can drown roots, which plants dislike. A typical mix might be 40% compost, 40% topsoil, and 20% perlite or sand. But, honestly, there’s some room for trial—depending on what plants you choose.
Nutrients come mainly from compost, but a bit of aged manure or organic fertilizer gently folded in can remind the plants you care. Avoid packing your soil too tight; raised boxes are great because they give roots room to breathe. You’ll see better growth if roots don’t struggle under the weight of compaction. The key is balance—enough nutrients, good air, and steady moisture.
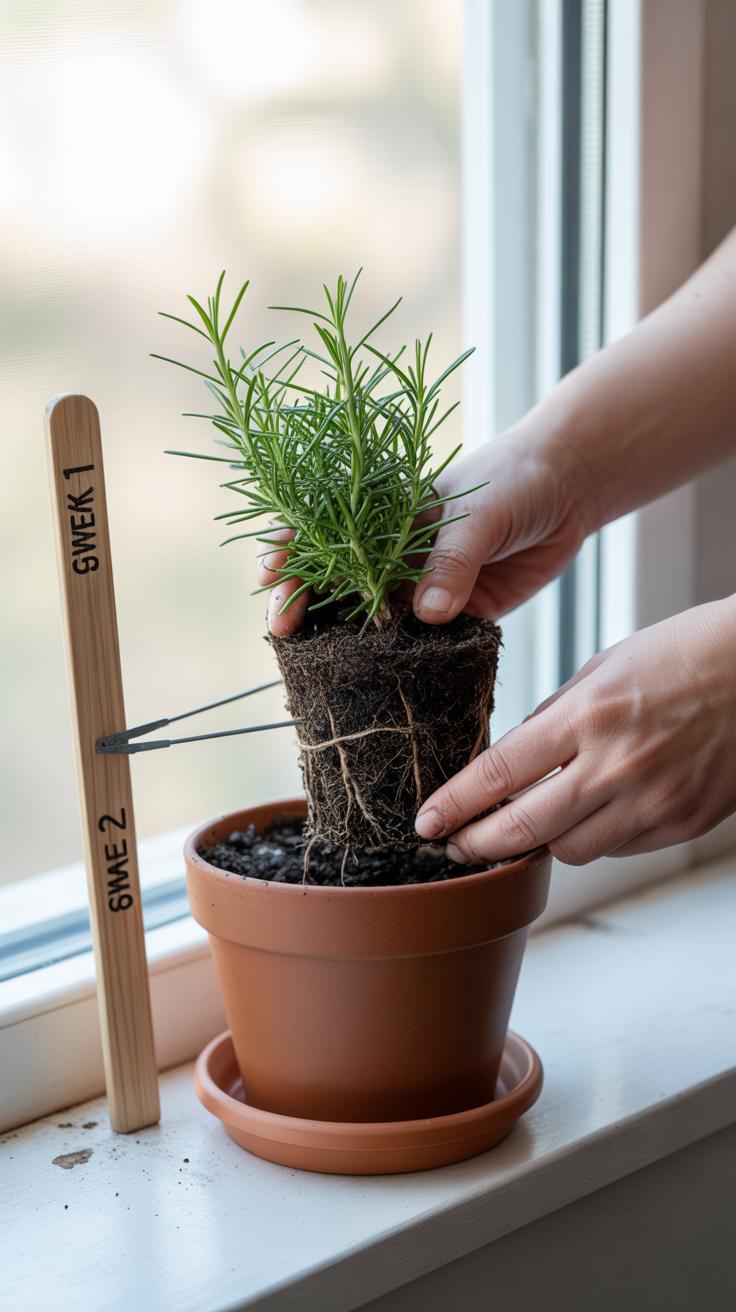
Tips for Planting Seeds and Seedlings
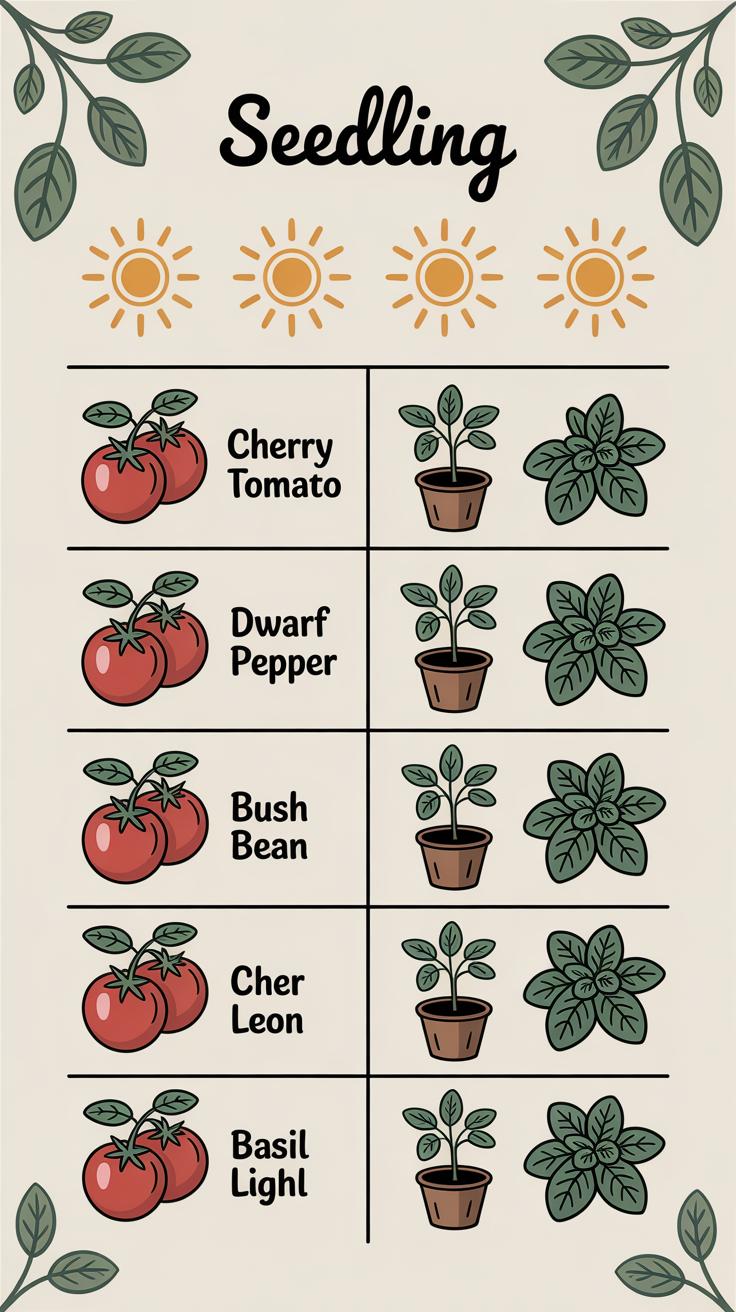
Planting in raised boxes feels a bit different from regular garden beds. The soil warms quicker, which helps seeds sprout sooner, but spacing remains critical. Think about the mature size of the plant. For instance, tomatoes need about 18 to 24 inches between each seedling for air and sunlight. Leafy greens can be closer, maybe 6 to 8 inches apart.
Depth matters too—generally, plant seeds twice as deep as their size. Tiny seeds on the surface, bigger ones deeper. When transplanting seedlings, dig a hole gently and firm the soil around the roots without squashing them. It helps to water right after planting to settle the soil. You might want to mark the rows or beds with labels to avoid crowding later, especially if you’re planting multiple types. Watching young plants establish themselves here is strangely satisfying; they seem to flourish because you control their world better.
Watering Practices for Raised Garden Boxes

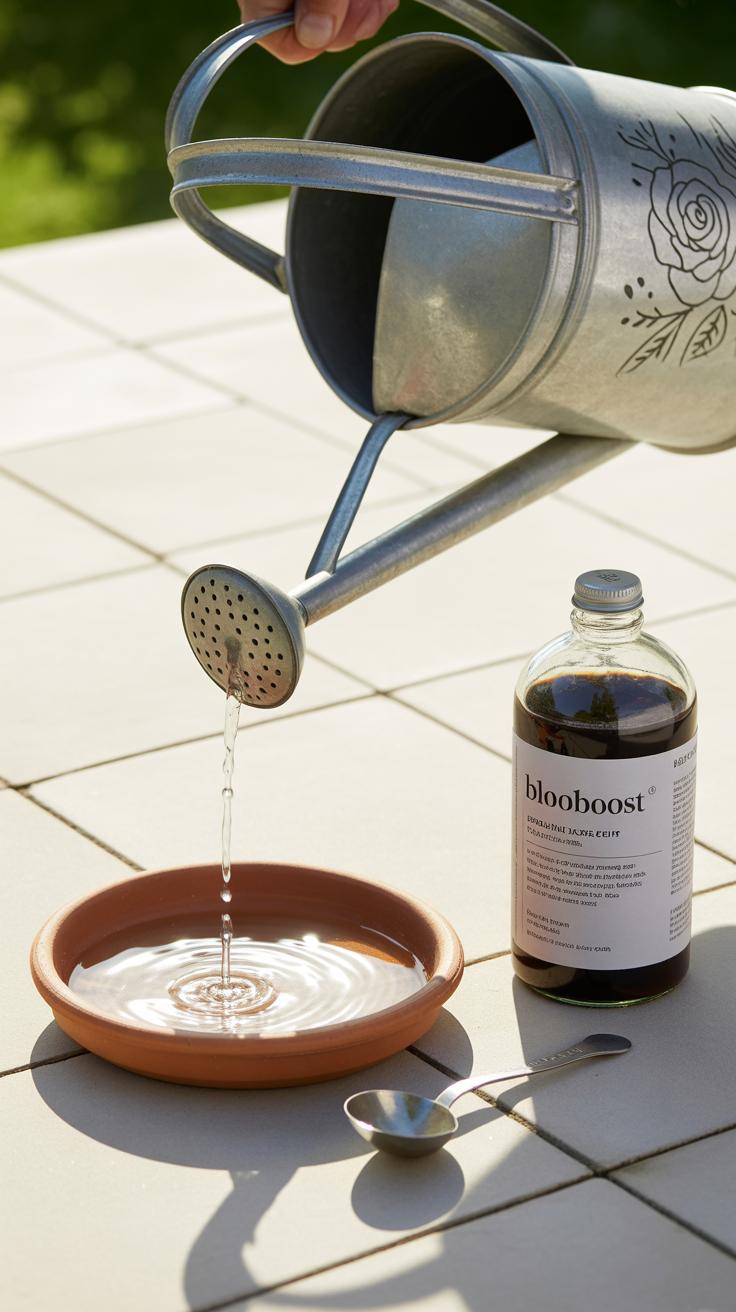
Watering raised garden boxes can feel a bit different from traditional in-ground beds. Because the soil is elevated and often lighter, it tends to dry out faster, especially during warm spells. You might find yourself checking moisture levels more often than you’d expect. The key is striking a balance—enough water to keep plants happy without drowning them.
Generally, raised beds need watering more frequently, but in smaller doses. This helps keep roots moist without oversaturating the soil. Daily quick checks can make a difference. But don’t rely solely on a schedule; feel the soil and observe your plants’ response instead.
How to Water Efficiently
There’s a handful of watering methods that work well with raised boxes. Drip irrigation is a favorite for many gardeners. It delivers water slowly right where plants need it, cutting down waste. I started using it last summer, and it really cut back on runoff and soggy leaves.
Hand watering gives more control, but it’s easy to overdo. You have to watch carefully and maybe use a watering can with a fine rose to avoid soil disruption. Some gardeners find self-watering systems handy, especially when away for short periods. These systems use a reservoir beneath the soil surface to supply moisture steadily.
It’s tempting to flood the beds “just in case.” But overwatering can invite fungal problems or cause roots to rot. Water deeply, but less often, and always check the soil depth for dryness before the next round.
Managing Water in Different Climates
In dry regions, raised beds can actually help conserve water because they drain quickly and don’t get waterlogged. Mulching helps here to hold moisture longer. Early morning watering also reduces evaporation loss, which I find makes a noticeable difference on hot days.
If you’re in a wetter climate, raised boxes help by providing better drainage. Excess water usually drains away faster, protecting sensitive plants. Still, sometimes heavy rains saturate the beds, so placing your boxes on slightly raised ground or adding drainage holes can save you stress later.
One odd thing I’ve noticed: sometimes in wetter seasons, raised beds dry out faster between rains than ground beds. It’s paradoxical but shows how microclimate and bed construction influence watering needs. It’s a bit of trial and error, and paying attention is your best tool.
Using Companion Planting and Crop Rotation in Raised Garden Boxes
Companion planting and crop rotation are two age-old gardening practices that fit surprisingly well in the confined space of raised garden boxes. You might wonder why bother when space is limited. Actually, these methods can work wonders, boosting yields and cutting down on pests without chemicals.
Benefits of Companion Planting
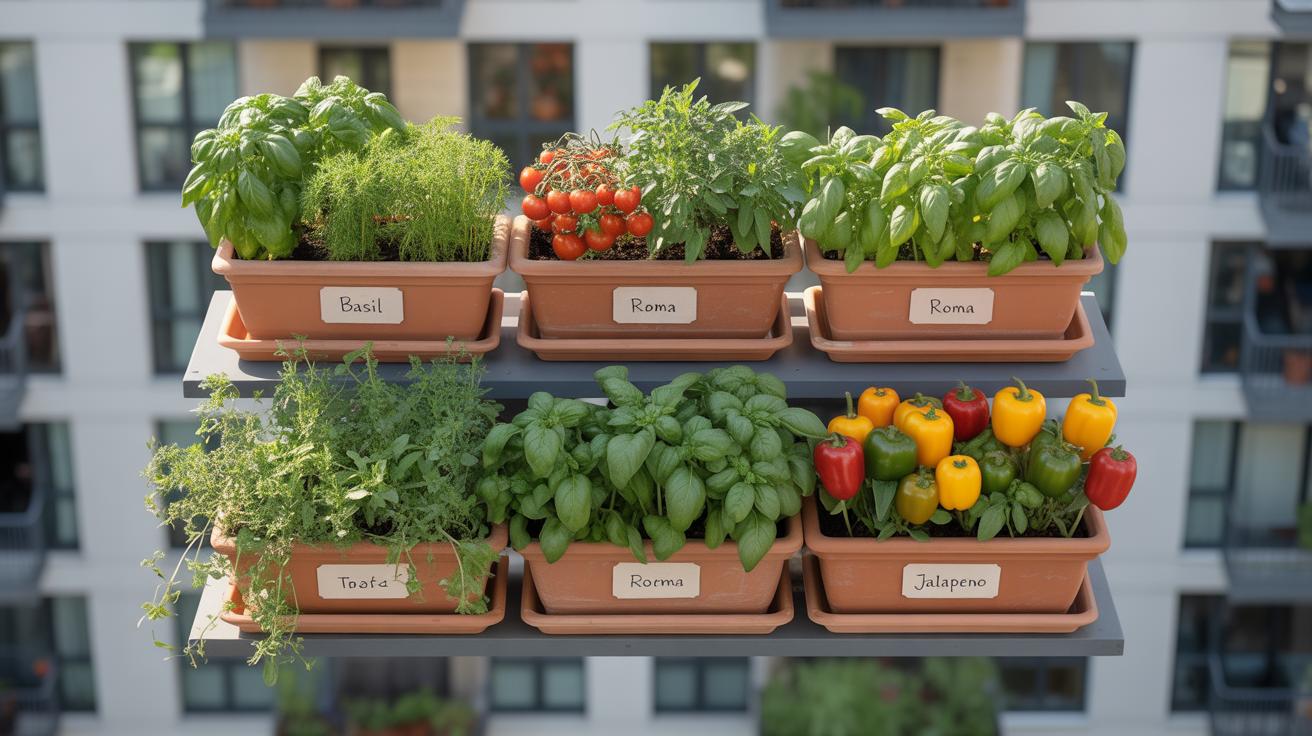
You’ll notice certain plants just seem happier when planted next to each other. For example, tomatoes and basil often thrive side by side — basil repels pests that bother tomatoes, while tomatoes provide some shade. Similarly, carrots and onions make a good pair, as onions can deter carrot flies. It’s a little like teamwork, but for plants.
In raised beds, this approach can save you space, too, since companions often have complementary root depths or nutrient needs. Plus, legumes like beans add nitrogen to the soil, benefiting neighbors without the need for synthetic fertilizers. It’s a simple way to keep the soil richer and pests fewer, but it takes some planning and observation.
How to Rotate Crops Year to Year
Crop rotation—switching plant families from bed to bed each year—helps keep the soil healthy and breaks pest and disease cycles. In raised beds, this practice is easier because you can clearly define sections. For example, you might plant leafy greens in one box this season and move them to another box the next year, while planting root crops where greens were before.
This approach reduces the risk of soil depletion—different crops consume and return different nutrients. It also helps control diseases that tend to linger when you plant the same thing repeatedly. It’s not a foolproof system, but using rotation thoughtfully can make a big difference over time, especially when combined with good composting and mulching.
Extending the Growing Season with Raised Garden Boxes

Raised garden boxes give you a bit of a head start in spring and hold on longer in fall than traditional garden beds. The soil in these boxes tends to warm up faster as it’s more exposed to the sun and air, which means you can plant sooner than you might expect. I’ve noticed my peas sprouting almost a week earlier when started in raised beds, which feels like a win when spring hangs around frozen for what seems too long.
Covering plants is one of the simplest ways to stretch the season further. You can use plastic sheets or hoops set over your boxes to form tunnels, or even old cloches you might have lying around. These covers trap heat and protect young plants from chilly nights. It’s a bit of extra work, sure, but the difference in growth speed and survival can be striking.
Here’s what you might consider trying:
- Clear plastic tunnels over a raised bed can raise soil temperature by several degrees, pushing back the last frost.
- Small cloches shield tender seedlings from cold snaps without needing complex setups.
- Using black or dark-colored mulch in the boxes helps absorb sunlight, adding that little extra warmth to the soil.
Raised beds also cool down more slowly in the fall, so you may find your lettuce and kale happily stick around longer. It’s not always foolproof—some years your covers might breeze off or the nights still bite deep—but with a bit of attention, you’ll definitely see plants staying healthy when those in ground start to struggle.
Maintaining Your Raised Garden Boxes for LongTerm Success
You’ve built your raised garden boxes and started planting, but keeping them productive over the years takes ongoing attention. So, what should you be doing regularly? First off, soil replenishment is critical. Over time, nutrients deplete, especially if you grow hungry vegetables. Adding compost or organic matter each season refreshes the soil. I usually spread a good layer of compost and then mulch on top to lock in moisture and suppress weeds. It’s a simple step but one that makes a big difference.
Next up, pest management. Raised beds don’t make your garden pest-proof, sadly. Watch for early signs of trouble—discolored leaves, tiny holes, or sticky residue. I find handpicking insects or using natural remedies like neem oil works well. Balancing this without turning to harsh chemicals keeps your garden in good shape without harming beneficial bugs.
The structure itself needs some love, too. Wood can rot or warp, plastic may crack. Check boxes each season and fix any loose joints or broken panels. Cleaning out dead leaves and old plant matter after harvest prevents diseases from settling in. It’s not the most fun task, but it can save you headaches later on. Have you noticed how a tidy bed just seems healthier? It’s probably not a coincidence.
Keeping Soil Rich and Healthy
Soil is the heart of your raised garden box. To keep it rich, I recommend mixing in compost early in the spring and again in fall. Mulch also helps by reducing evaporation and temperature swings that can stress plant roots. If your plants start looking dull or growth slows down, consider a light feeding of balanced organic fertilizer or worm castings.
You might wonder whether to turn or leave the soil alone. I think a gentle mix every year encourages air circulation, but don’t overdo it—you don’t want to disturb beneficial organisms. Also, rotating your crops can help maintain nutrient balance and reduce soil-borne problems. It’s a bit of a juggling act, but it pays off in healthier harvests.
Fixing and Cleaning Your Garden Boxes
Wooden boxes sometimes suffer from weather damage. If you spot loose screws or splitting boards, tighten or replace them before it gets worse. For plastic boxes, inspect for cracks or brittleness, especially after a harsh winter. Small repairs can often extend their life by a season or two.
After each growing cycle, clear out all plant debris. Leaving decayed leaves and stems invites fungal spores and insects. Some gardeners compost this material, but if disease was present, it’s better to discard it to avoid reinfection. I must admit, I don’t always catch everything right away, which can come back to haunt me later.
Are you watching your garden boxes with as much care as your plants? It might sound like extra work, but this routine maintains a clean, healthy space that helps your plants thrive season after season.
Planning Your Raised Garden Boxes Layout for Best Results
Designing your raised garden box layout takes some thought, but it pays off in easier care and better harvests. Start by thinking about how you move around your garden. Pathways between the boxes should be wide enough for comfortable walking and for carrying tools or a wheelbarrow. I’ve found that about 18 to 24 inches feels right—anything narrower, and you’ll feel cramped; wider, and you sacrifice precious growing space.
When placing plants, imagine their height and sunlight needs. Taller plants like tomatoes or sunflowers go on the north side (if you’re in the Northern Hemisphere) so they don’t cast long shadows over smaller neighbors. Lower-growing herbs or leafy greens fit nicely in front where they get full sun and stay easy to reach. You want everything accessible without stepping into the beds, which compacts the soil and slows growth.
Spacing between boxes isn’t just about movement. It also helps air flow, reducing mold and mildew risks. Straight rows work, but you might find staggered or zigzag layouts break monotony and make harvesting more pleasant. Think about how often you’ll tend each bed—frequent crops might deserve more accessible spots, so you’re not awkwardly stretching or bending every day.
- Keep pathways around 18-24 inches wide for ease.
- Place taller plants on the north or back edge to avoid shading shorter plants.
- Arrange shorter, sun-loving plants in front for easy care and harvest.
- Design spacing to promote good airflow and reduce plant diseases.
- Consider your routine: put high-maintenance beds in the most reachable spots.
None of these rules are absolute, though. Some gardeners mix tall crops throughout for a wild look, or adjust paths to fit awkward yard shapes. So, your layout might evolve with experience, which is fine. What matters is that you don’t create obstacles for yourself later on—at least, that’s what I keep trying to avoid.
Common Challenges and Solutions in Raised Garden Box Gardening
Dealing with Pests and Diseases
Pests can show up just when you least expect them. Raised garden boxes offer some defense, but bugs and diseases find their way inside anyway. Rather than reaching immediately for chemicals, try natural methods first. Introducing beneficial insects like ladybugs or lacewings can help keep aphids and other pests in check. You might also want to plant strong-scented herbs—basil or mint—that tend to repel unwanted visitors.
Sometimes pests are persistent, and it feels like they’re winning. If that’s the case, handpicking larger pests like slugs or caterpillars can make a surprising difference. Also, rotating crops can break pest cycles by confusing their usual feeding habits. A bit of patience and observation here goes a long way.
Preventing Soil Drying and Box Damage
Soil in raised boxes tends to dry out faster than in-ground gardens, especially during warmer periods. Mulching with organic matter like straw or shredded leaves helps keep moisture in. You could also water early in the morning or late afternoon to reduce evaporation, though sometimes it’s tempting to just pour water any time—resisting that is key.
As for the boxes themselves, wood is common but can wear down with weather exposure. Sealing untreated wood with a non-toxic, plant-safe sealant can extend its life. Keep an eye out for splits or loose joints and fix them promptly before the damage grows worse. Metal or stone options also exist but come with their own quirks, like heat retention or cost. So, deciding on materials isn’t always straightforward.
Balancing these challenges is part frustration, part discovery. You learn to read your garden’s subtle signs and tweak care routines just right. That process? It’s not perfect, but it’s rewarding nonetheless.
Conclusions
Raised garden boxes give you many ways to get better harvests while saving space. They help you control soil quality, water, and plant placement, which means healthier plants and higher yields. Plus, they keep your garden tidy and accessible, helping you enjoy gardening more.
Try using raised garden boxes in your garden. You’ll find they make your gardening easier and more productive. With simple materials and some effort, you can grow more plants in less space and enjoy fresh vegetables and flowers all year long.


