Introduction
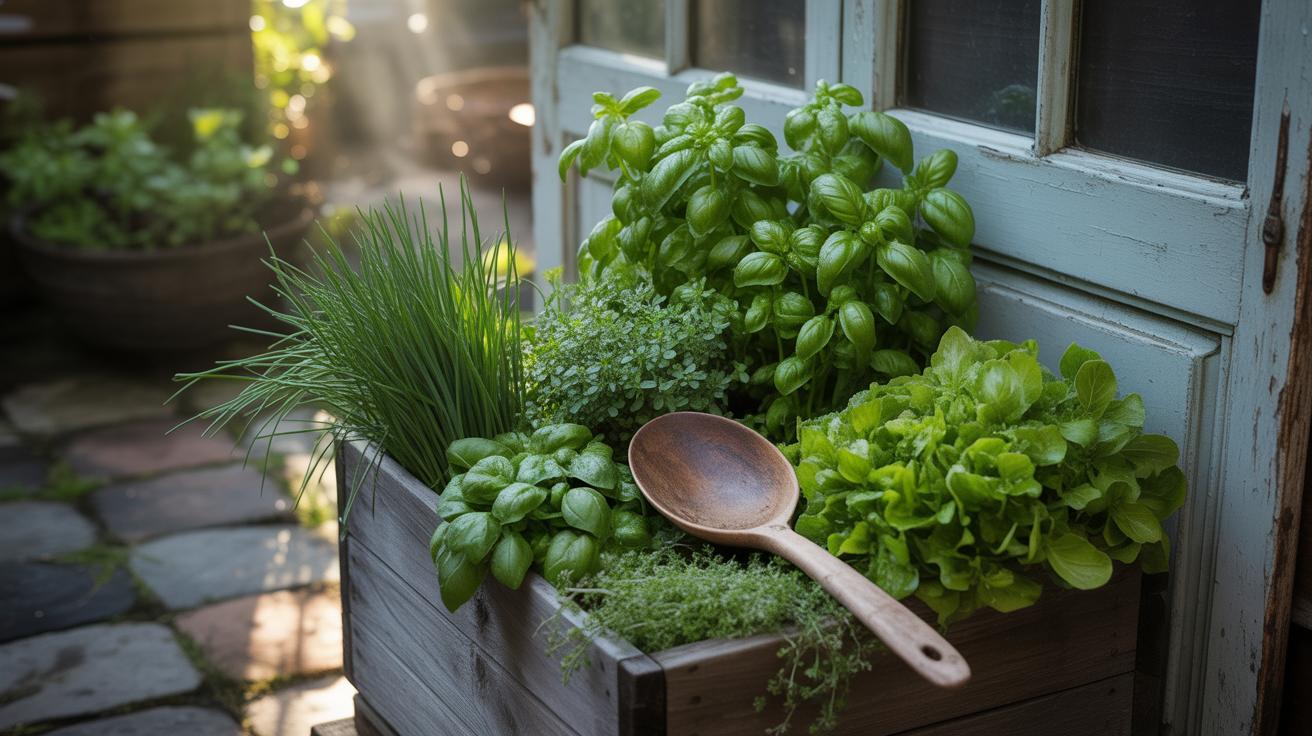
Garden boxes offer a simple way to grow fresh herbs and greens right in your kitchen. They save space and give you easy access to healthy, flavorful plants that make your meals better. Using garden boxes, anyone can enjoy the pleasure of gardening even with little room and time.
This article explores how to pick the best garden box, what to plant, and how to care for your indoor garden easily. You will learn useful tips on growing popular kitchen herbs and greens, helping you start your own fresh garden at home.
Why Garden Boxes Are Perfect For Kitchen Herbs
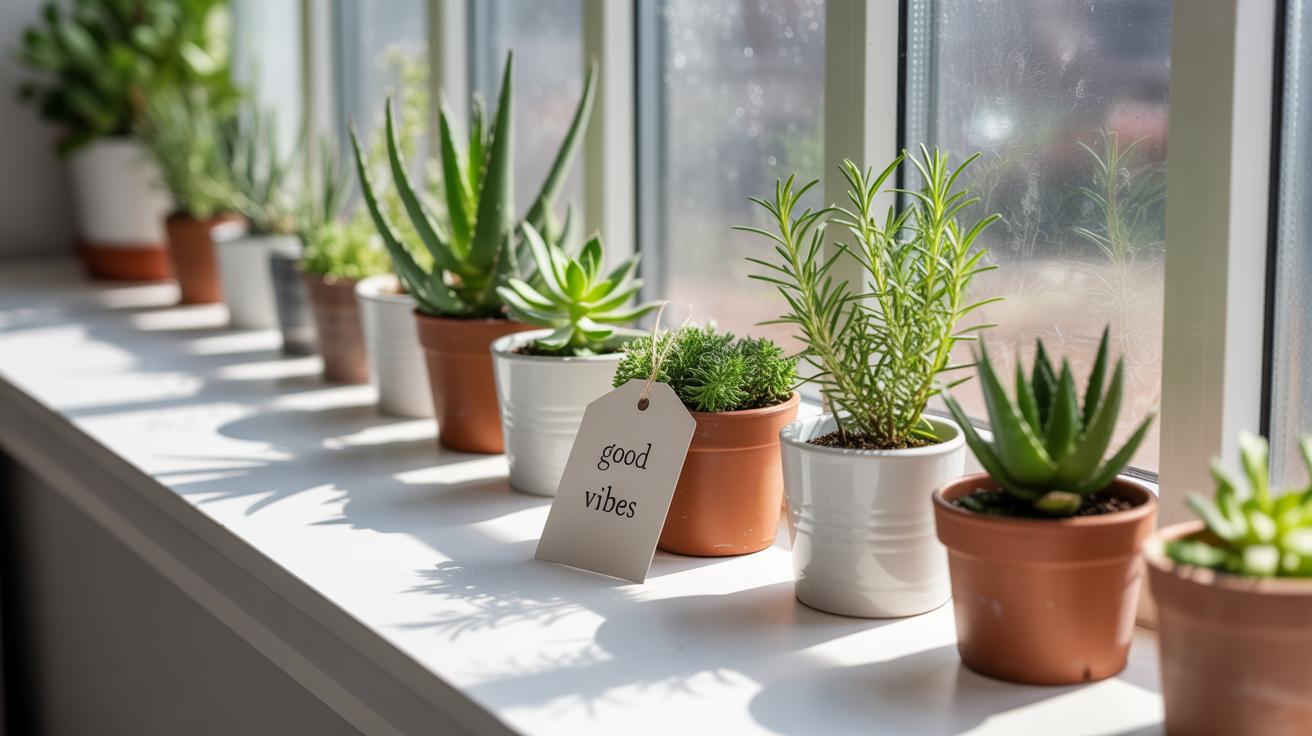
Garden boxes fit really well when growing kitchen herbs and greens. First, they save quite a bit of space compared to traditional pots or full garden beds. You can place them on window sills, counters, or even small shelves, which is a huge plus if you don’t have much room. It’s like having a small patch of green right inside your kitchen without crowding it.
They also make caring for your plants easier. Because garden boxes keep soil and roots contained, watering feels less messy, and managing plant health becomes simpler. Plus, some boxes can be lined or have built-in drainage, which helps avoid soggy soil or root rot. You don’t have to be a green thumb to make these work, so they’re good if you’re just starting out or tend to forget watering sometimes.
One thing I really like is how easy it is to grab fresh herbs anytime you want. Instead of running to the store for basil or parsley, you just reach over. There’s something satisfying about snipping your own greenery as you cook. It’s not just about freshness either; it encourages experimenting with flavors more spontaneously.
Space Savings In Small Homes
Garden boxes work especially well in tight spaces. Apartments, dorms, or even tiny kitchens can feel crowded fast, right? A garden box slots in neatly without needing a large footprint, which isn’t something every planter can claim. You’ll find that even narrow edges of a kitchen counter or the ledge of a sunny window can hold one.
If you have limited space but want to grow several types of herbs, stacking smaller boxes or arranging them vertically might be worth trying. It keeps plants close but not cluttered. Honestly, I’ve seen setups that look more intentional than just “I need to grow herbs” — they add a little life and color without taking over.
Easy Access To Fresh Ingredients
Having fresh herbs a few steps from your stove changes how you cook. It’s not always convenient to step outside or down to the market just to get a sprig of thyme or some chives. Garden boxes bring freshness within arm’s reach, so you can add herbs at the last minute for better taste.
This proximity also means you’re more likely to use what you grow instead of letting it wilt because it’s out of sight. It’s a bit like having a small helper in the kitchen that reminds you herbs aren’t just for garnish—they’re an important flavor boost if used right.
Pick The Right Garden Box For Your Kitchen

Choosing the right garden box for your kitchen herbs and greens means balancing several factors. Size matters quite a bit. A larger box lets you grow more varieties or larger quantities, but it also takes up more kitchen space. If your counter or windowsill area is limited, a smaller or narrower box might be smarter. That said, sometimes those narrow trough-like boxes fit awkward corners better than square or deep boxes.
Shape also influences how plants spread out. Wider boxes let plants grow side by side comfortably, while taller boxes can work if you want to layer herbs with varying root depths. But be careful: very deep boxes might hold too much soil, making the setup bulky and harder to move.
Size And Shape Options
Think about how many plants you want and where the box will sit. If you only want a few herbs—say, basil and parsley—a small, shallow box is enough. Trying to cram too many plants into a tiny box can stress them out, so don’t stretch your space just for style.
On the other hand, if you’re keen on lots of greens weekly, you might need something wider or even multiple boxes. Some folks place several boxes on a shelf by their kitchen window, mixing small and large ones. That flexibility can make your indoor garden more adaptable, even if it demands extra care managing all those boxes.
Materials Commonly Used
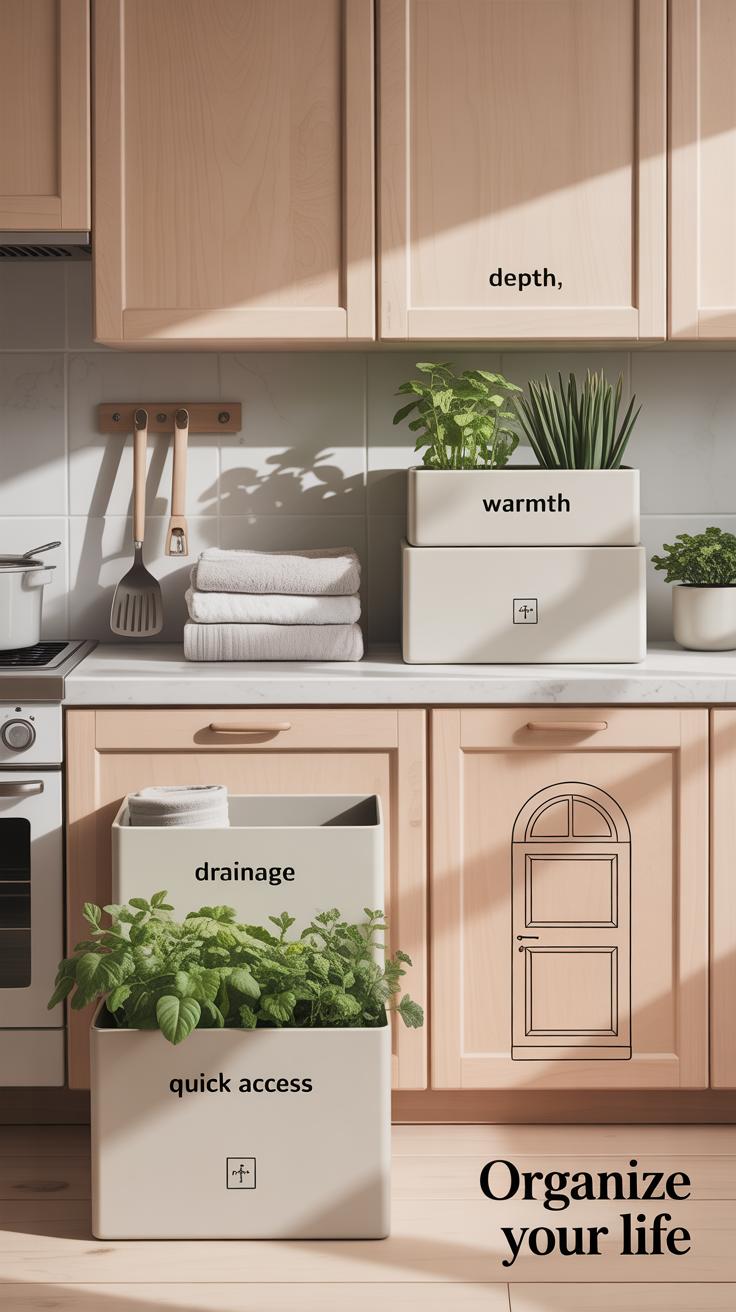
Next, material plays a big role in durability, appearance, and maintenance. Wooden boxes feel natural and look warm on a kitchen counter. Cedar and redwood resist moisture well, but untreated wood tends to degrade faster indoors—so treat or line it if possible. Wood can feel a bit heavy and may need more upkeep.
Plastic boxes often win for lightness and affordability. They’re easy to clean and don’t rot. But they can look cheap or artificial in some kitchen styles. Plus, some plastics don’t breathe well. You might notice water pooling unless the box has good drainage holes.
Metal boxes, like galvanized steel or aluminum, last long and bring a modern touch. They heat up quickly in sunlight though, which might stress roots. Also, metal can feel cold and less cozy. If you pick metal, taping the inside with a liner or fabric can protect roots and slow temperature swings.
Drainage is worth a moment on its own. Most boxes have holes or removable trays. Without good drainage, roots can drown. But if you’re limited by indoor mess worries, some boxes with trays catch excess water better, though you’ll need to empty those trays regularly. Finding that balance is key.
At the end of the day, your choice might come down to what fits your kitchen, style, and how much effort you want to spend on care. It’s okay to start with a simple plastic box and then try wood later if you get hooked on kitchen gardening. Try not to overthink—it’s about what works for you.
Best Herbs And Greens To Grow In Kitchen Boxes
When it comes to choosing what to grow in your kitchen garden box, the options can feel a bit overwhelming. But some herbs and greens consistently perform well in these compact spaces, making them great starting points or reliable staples. Maybe you want something that grows quickly or something you can harvest multiple times.
Easy Herbs For Beginners
Basil is one of those herbs that almost anyone can grow, even if you’ve never gardened before. It likes warmth and regular watering, but it doesn’t need fancy care. Parsley is another easy one—tick things off your to-do list with a hardy plant that bounces back well after trimming. Chives are forgiving, too. They thrive in smaller boxes, and snipping a few leaves for salads or dips is satisfying. Honestly, these herbs almost feel like they care for themselves, which is a relief if you’re busy or forgetful.
Leafy Greens You Can Harvest Often
Spinach is popular for a reason—it grows fast and loves cooler spots near your window. If you find yourself harvesting often, you’ll enjoy how it bounces back without replanting every time. Arugula shares that trait, with some added bite in flavor. Both can fit comfortably in shallower boxes, and you can cut leaves gradually instead of pulling whole plants. If you’re after fresh greens multiple times a week, these might suit your schedule better than slow growers, even though they can be a bit more sensitive about light.
Creating The Perfect Soil Mix For Your Garden Box

Choosing the right soil for herbs and greens in containers isn’t just about grabbing any potting soil off the shelf. You want something light yet nourishing, because kitchen herbs don’t thrive in heavy, compacted dirt. A well-balanced soil feels crumbly and airy, letting roots breathe while holding enough moisture for steady growth.
Importance Of Drainage
Drainage is crucial—too much water lingering around roots can lead to rot or fungal issues. Your garden box should have holes or a system to let excess water escape easily. Sometimes, people overlook this, and their plants end up soggy despite regular care. Adding a layer of small stones or broken pottery at the bottom can help prevent water from stagnating, which might save your herbs from drowning, literally.
Soil Ingredients To Use
A good soil mix often includes:
- Compost: For nutrients and beneficial microbes.
- Peat moss or coconut coir: These help retain moisture without making the soil heavy.
- Perlite or vermiculite: To improve aeration and drainage.
Mixing these in roughly equal parts usually works well, although you might want to tweak it based on humidity or how fast you water. Personally, I tend to lean a bit more on compost during winter when my plants seem less active. It’s a bit of trial and error—soil is more of a living thing than a static medium, don’t you think?
Positioning Your Garden Box For Optimal Growth
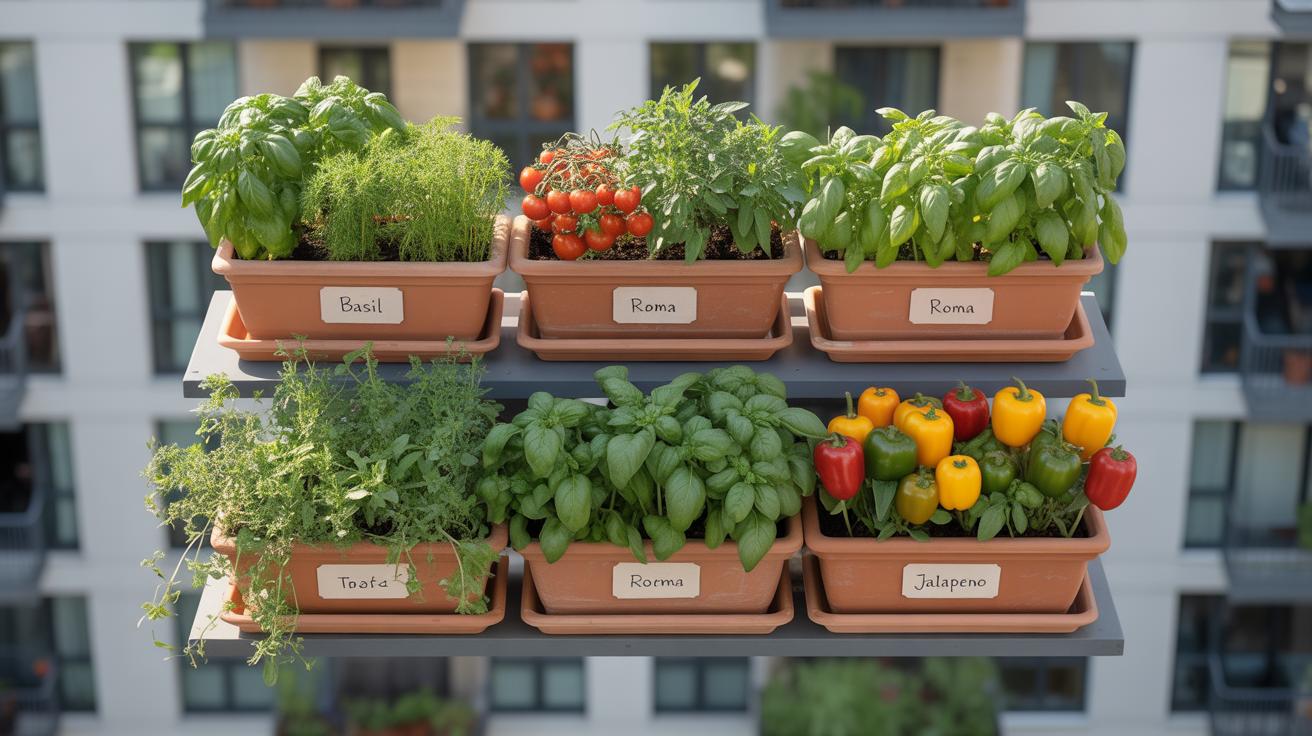
![]()
Finding the right spot for your garden box in the kitchen can be a bit tricky. Plants need light, but not all light is the same. Most kitchen windows face different directions, changing the amount and intensity of sunlight throughout the day. South-facing windows usually offer the most consistent light, but not every kitchen has one. If your kitchen only has a north-facing window, your plants may get less direct sun, which means you might have to rethink your lighting setup.
Herbs and greens generally need about 4 to 6 hours of direct sunlight daily. If your garden box sits near a window that only gets a few hours of sun, you might notice slower growth or leggy stems. It’s a subtle issue unless you pay attention, but it can be frustrating when things just don’t look quite right. Sometimes moving the box even a few inches can make a difference.
If you struggle to find a naturally sunny spot, artificial lighting is an option that many overlook at first. Grow lights come in different styles: fluorescent tubes, LED panels, and compact bulbs. I’ve had good experiences with LED grow lights because they use less energy and produce less heat, which is safer for small indoor spaces. Many people leave the light on for 12 to 16 hours a day to mimic a long summer day, but it depends on the specific plants and the natural light already available.
Here are a few quick points to consider when placing your garden box:
- Look for a spot with the most consistent light—usually near a south or west-facing window.
- If that isn’t possible, consider supplementing with a grow light placed about 6 to 12 inches above the box.
- Rotate your garden box occasionally to ensure even light exposure on all plants.
- Watch for signs of light stress—too little can cause stretching, and too much can scorch leaves.
Does your kitchen have a window that feels bright but your herbs still lag? It could be the quality or angle of the light, not just the quantity. Experiment a bit; light can be elusive indoors, but with some tweaking, you’ll find the sweet spot for your greenery. No one said it was always simple, right?
Watering Tips For Healthy Kitchen Herb Boxes
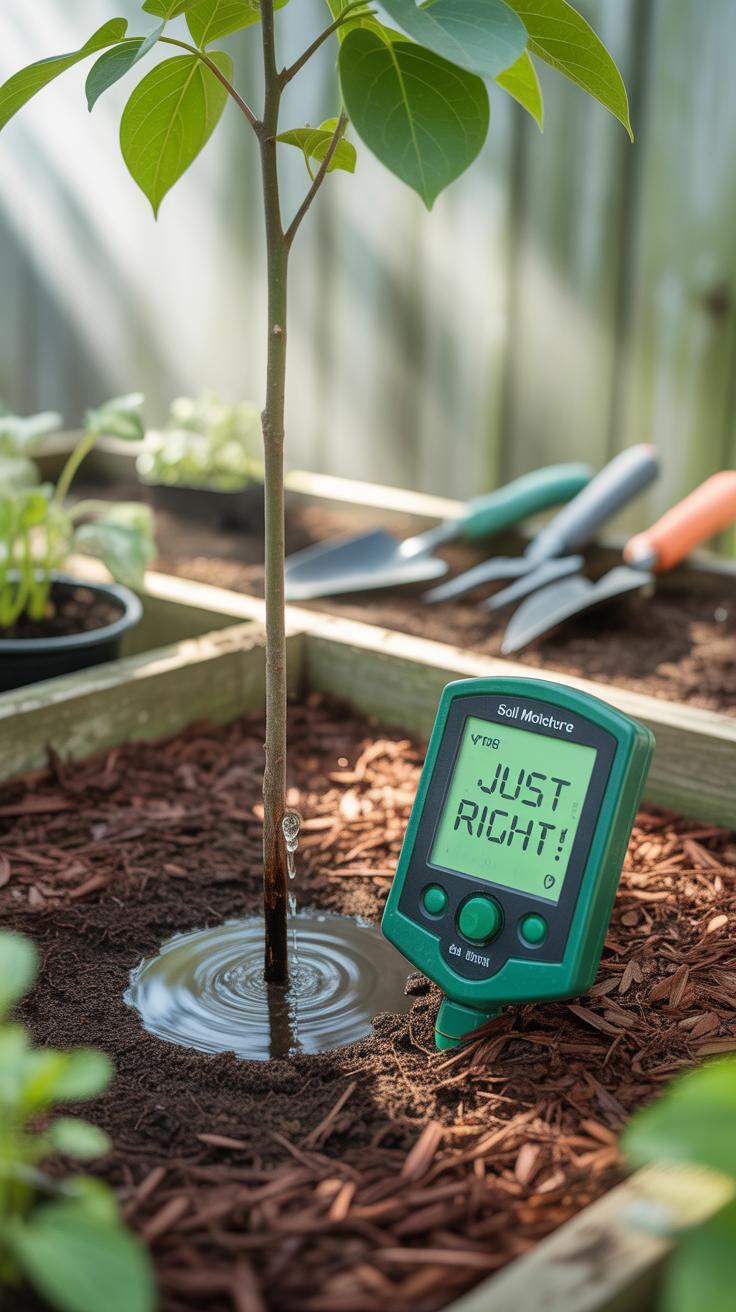
Getting the watering right for your kitchen garden box can be trickier than it seems. How often should you water? It depends on a few things—what you’re growing, the weather in your kitchen, and how the soil feels. For example, herbs like thyme or rosemary don’t need as much water as something leafy like spinach or basil. I tend to check the soil with my finger—if the top inch feels dry, it’s probably time. But sometimes the air indoors is dry in winter, so plants might need water a bit more often, even if the soil still looks okay.
Recognizing if you’re watering too much or too little isn’t always straightforward. Overwatered herbs often droop despite moist soil, and their leaves might turn yellow or soft. Meanwhile, underwatered ones look dry and shriveled, and the soil pulls away from the edges of the box. I once almost killed a basil plant by watering it daily regardless of soil—lesson learned. When in doubt, less watering is usually safer, but guesswork here can cost you. You might want to experiment, watch the plants closely, and adjust slowly rather than flooding or parching them.
Fertilizing Your Kitchen Garden Box For Best Results
Choosing The Right Fertilizer
When it comes to fertilizing your kitchen garden box, simpler usually works better. Your herbs and greens don’t require anything too heavy or complicated. In fact, light feeding with natural fertilizers often does the trick just fine. Compost teas, worm castings, or diluted fish emulsion are some good bets—they provide gentle nutrients without overwhelming the plants.
Some people swear by slow-release organic pellets, but in small boxes, those can sometimes cause uneven feeding or even burn delicate roots if used carelessly. A balanced liquid fertilizer with a mild nitrogen content also fits this setup well, encouraging leafy growth that herbs and greens thrive on.
Overall, look for fertilizer options labeled for herbs or leafy veggies. Avoid high-phosphorus blends that target flowers or fruit; that won’t do much good here and might confuse your plants.
How To Apply Fertilizer Safely
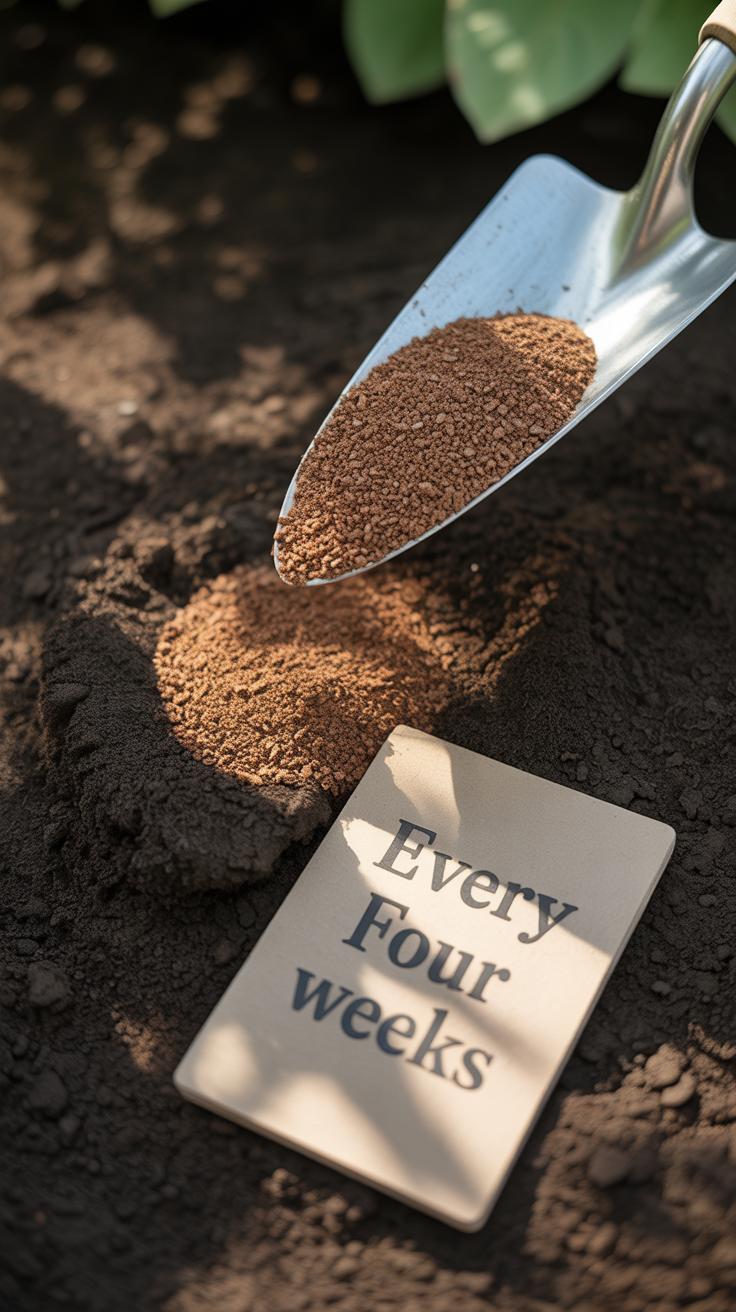
Applying fertilizer in kitchen garden boxes calls for a careful approach. Too much and you risk stressing your plants, too little and they might suffer nutrient deficiencies. A good practice is to dilute liquid fertilizers more than you think you need—better mild than strong.
Feed your plants during their active growth phase, usually every two to four weeks, but only after watering the soil first. That prevents root burn and helps nutrients soak in evenly. Avoid getting fertilizer on the leaves or stems directly; it’s safer to target the soil around the plants.
Also, consider your kitchen environment. Since these boxes are indoors, be mindful of spills or fumes. Use measured amounts, clean up promptly, and store fertilizers away from food prep areas. It’s a small step, but it maintains a healthy space for both your plants and you.
Harvesting Techniques To Keep Your Herbs Growing
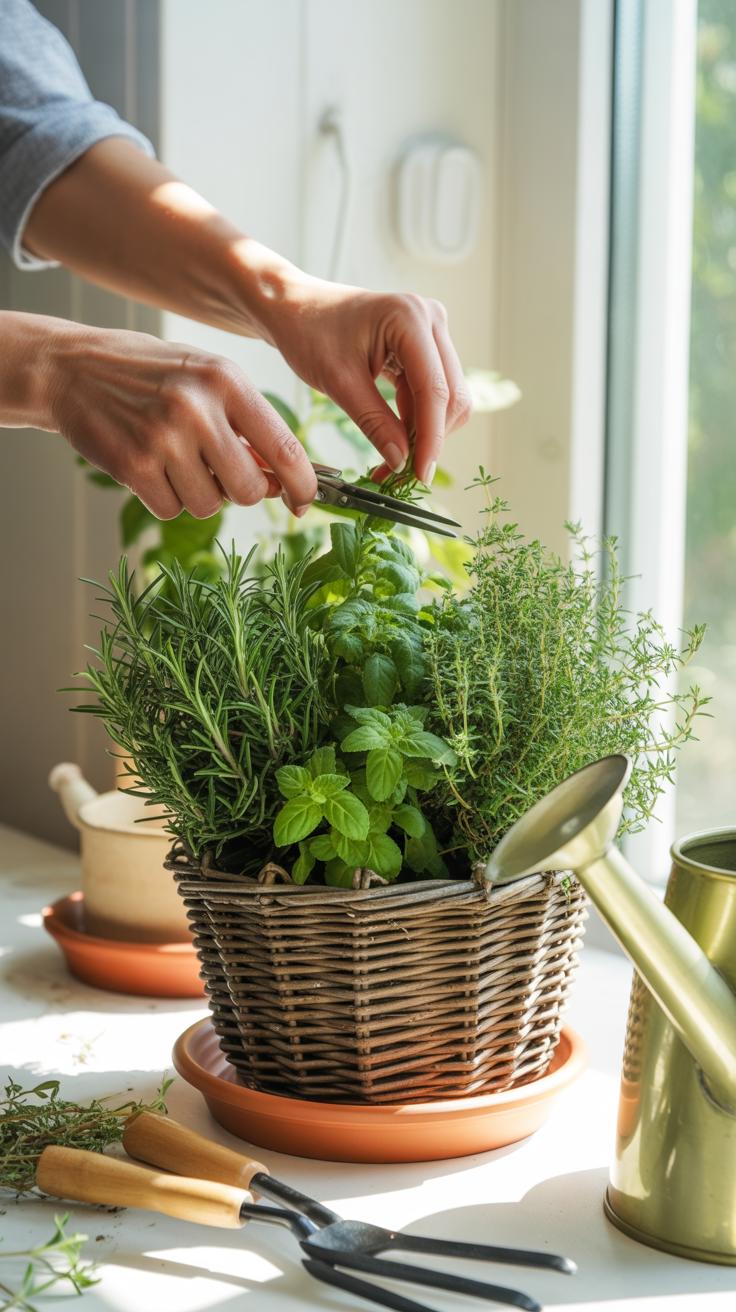
Knowing when to harvest your herbs and greens can feel a bit tricky at first. Usually, you’ll want to pick them just before they flower—this is when their flavor and aroma are strongest. Look for leaves that are fully grown but still fresh and vibrant. If you wait too long, the plants might become bitter or woody. Early morning is often the best time to harvest since the oils are most concentrated then, though I’ve found that mid-morning works fine too, especially if you’re in a hurry.
Cutting your herbs properly matters more than you might expect. Snipping leaves or stems just above a set of leaves encourages the plant to branch out and fill in rather than just growing taller. Avoid cutting too close to the base or stripping too many leaves at once—that stresses plants and slows new growth. For example, with basil, I like to pinch or cut the stem right above the leaf nodes to avoid harming the main stem. A quick pair of scissors or sharp garden shears works well here.
Don’t pick more than one-third of the plant at a time. It might be tempting to grab all the leaves you want in one go, but leaving enough foliage is key so your herbs can keep photosynthesizing. A neat tip I learned is to alternate where you cut, so the plant isn’t weakened in one spot. Does harvesting sometimes feel like a guessing game? You’re not alone—but with a bit of practice, it gets easier, and your plants will thank you by growing back stronger.
Troubleshooting Common Problems In Garden Boxes

When you start noticing your herbs or greens looking less lively, or if things just don’t seem to be growing as they should, it can feel a bit frustrating. Sometimes, the problems are subtle—and a few pests or signs of disease might sneak up when you least expect them. Let’s look at a few typical issues you might face in your garden boxes and what you could try to fix them.
Natural Pest Control
If you spot tiny insects or holes in leaves, pests have probably made themselves at home. You don’t have to rush for harsh chemicals—especially in your kitchen. Instead, try these gentle yet effective methods:
- Introduce natural deterrents like neem oil or diluted soap sprays—spray sparingly on leaves and stems.
- Use a small brush or cloth to gently remove aphids or mites by hand when you see them—kind of tedious but it works.
- Set out small dishes of soapy water nearby to trap flying pests like fungus gnats.
- Encourage beneficial insects if you have a spot near a window that allows some outside air—ladybugs can help keep aphid populations down.
It’s tempting to think pests will disappear on their own, but a little intervention pays off. Just be careful not to overdo it—you want your herbs safe for cooking, after all.
Dealing With Diseases Or Fungal Issues
Sometimes, garden boxes get suffering plants from fungal infections or other diseases. You might spot yellowing leaves, black spots, or a powdery substance on foliage. Early recognition is key to keeping things under control.
- Remove and discard any affected leaves immediately. Don’t compost them—it can spread spores.
- Make sure your garden box has good drainage and avoid overwatering. Wet soil often invites mildew and root rot.
- Improve air circulation by spacing plants slightly farther apart—tight clusters trap moisture and encourage fungus.
- Consider using a natural fungicide like a diluted baking soda solution or a garlic spray to help clear mild infections.
It can be tricky sometimes to say if yellow leaves mean too much water or a disease creeping in. Watch your plants closely. You might find yourself peeling back layers of problems—and that’s okay. The more you observe, the better you get at recognizing what each issue needs.
Extending Your Kitchen Garden With Creative Garden Boxes

Vertical Garden Boxes For Small Spaces
If space is tight, vertical garden boxes can open up new possibilities. Instead of spreading plants across your counters or floor, you grow upwards—literally. Think of narrow racks, hanging pockets, or even stackable planters attached to a wall. They free up surface area but still give your herbs and greens plenty of room to thrive.
One thing I’ve noticed is the variety in these setups. Some use built-in drip irrigation, which really cuts down on watering chores. Others rely on simple plastic pots hung from hooks. You can pick what suits your kitchen’s style and light availability. The trick is balancing weight and light exposure; too many plants in one spot and things get shady fast.
Could a vertical garden survive in a less sunny corner? That depends on your plants, really. Leafy greens like spinach or lettuce might tolerate lower light better, while herbs such as basil prefer brightness. It’s a bit of trial and error, but that’s part of the fun. Plus, watching your garden climb upwards feels oddly rewarding.
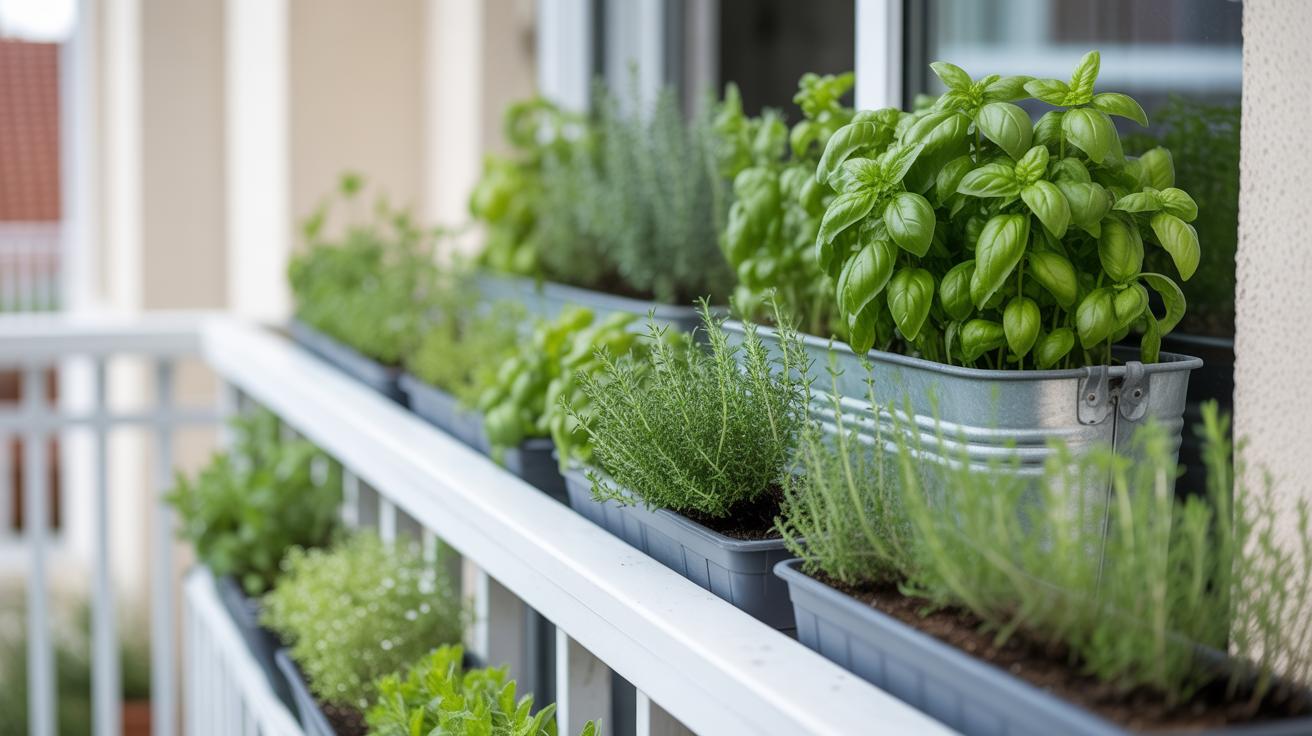
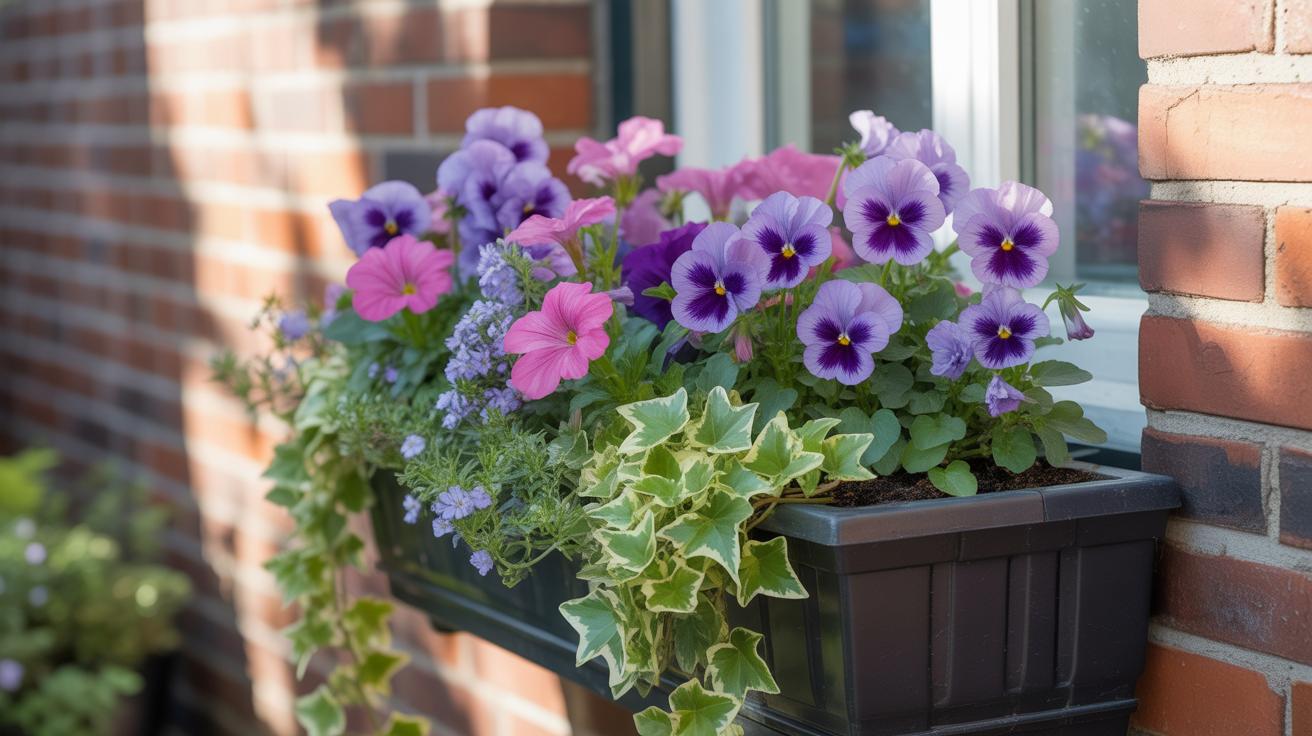
Window Boxes To Brighten Your Kitchen
Window boxes are a classic for good reason. They fit neatly on a sill, bringing plants close to natural light and right into your line of sight. I find they add a kind of quiet satisfaction—fresh greenery peeking through the kitchen window makes cooking feel more connected to nature.
These boxes don’t have to be big or fancy. Even a simple wooden box with good drainage can hold a selection of herbs like parsley, chives, or thyme. The key is access to direct sunlight, which windows often provide more reliably than indoor spots further from the glass.
One slightly frustrating thing is watering. Since window boxes drain freely, they need more frequent attention. Still, with practice, it becomes routine. You might even discover that herbs grown here taste fresher, since you can snip them just before tossing into a dish. It’s easy to overlook but makes a subtle difference.
Conclusions
Garden boxes make growing kitchen herbs and greens easy and fun. With the right box and simple care, you can enjoy fresh plants year-round inside your home. These boxes fit well in small spaces and let you control conditions so herbs thrive.
Try different herbs to find your favorites. Keep learning how to nurture your plants better. Creating your indoor herb garden with garden boxes puts fresh flavors at your fingertips and supports healthy eating habits.


