Introduction
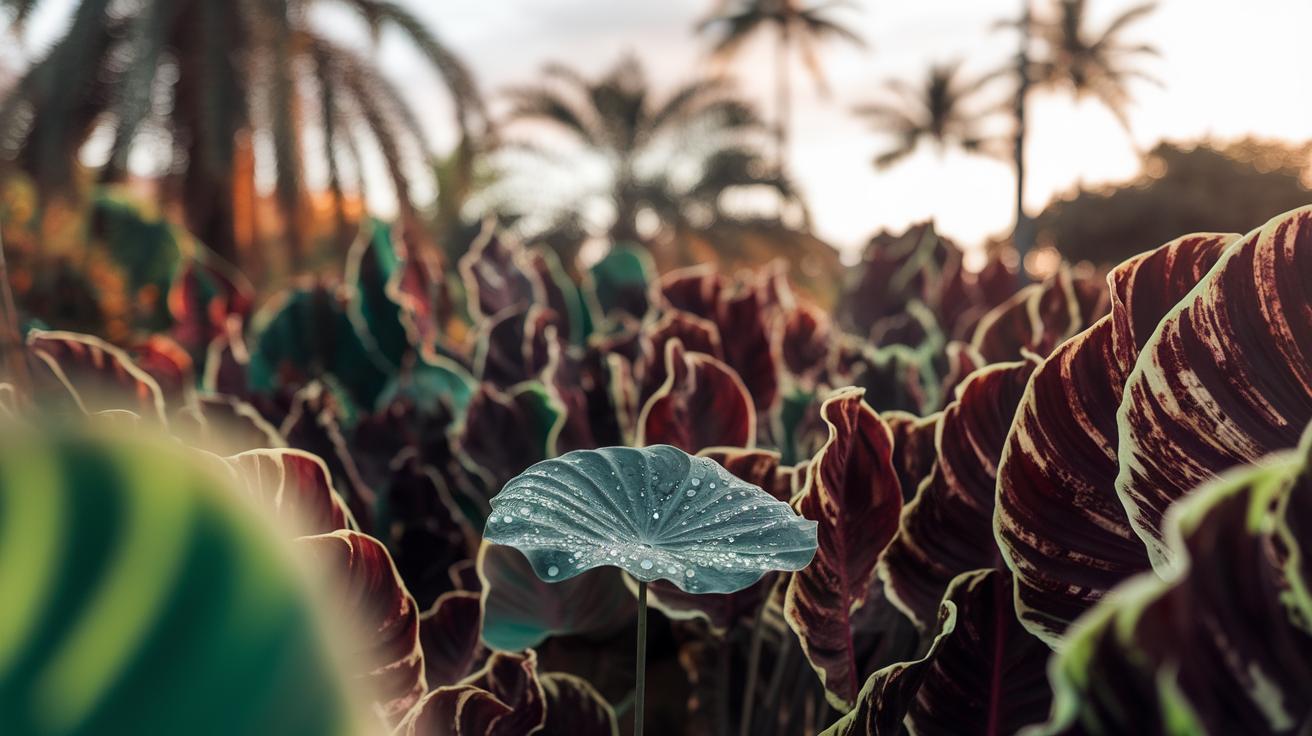
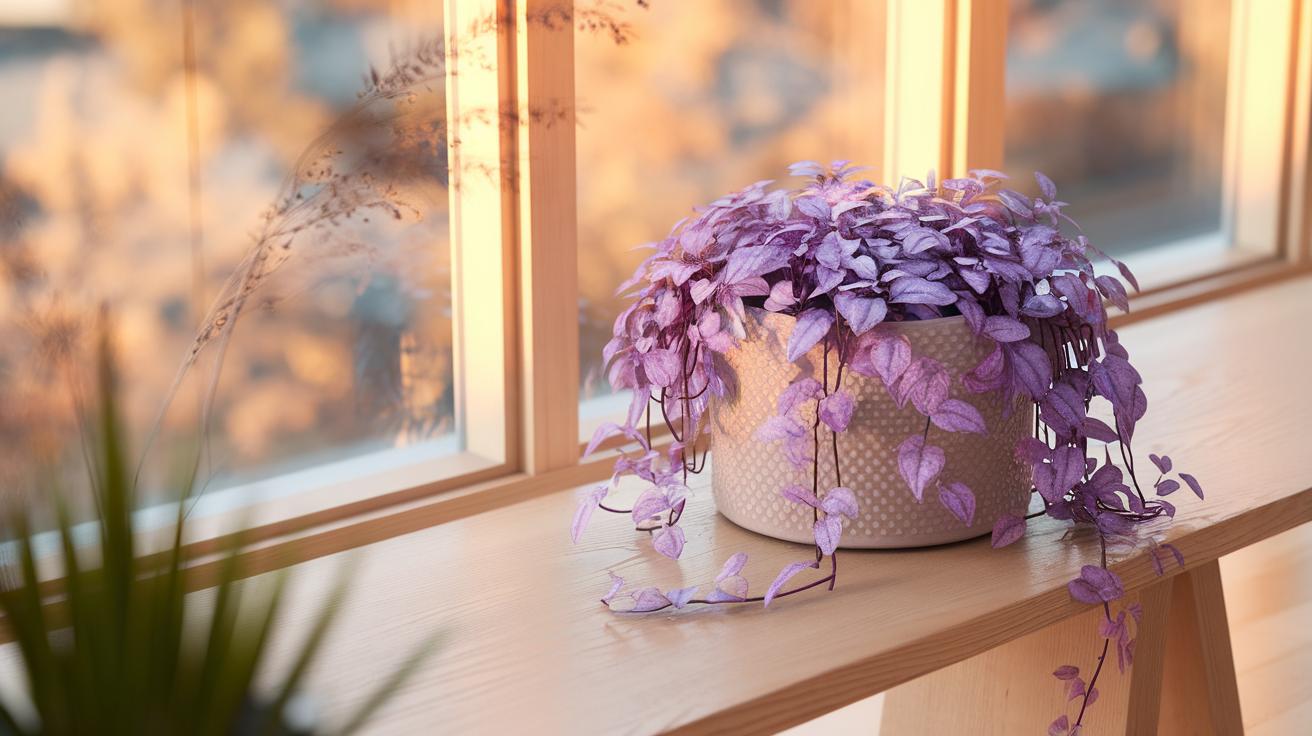
The elephant ear plant belongs to several genera of large-leaved plants in the family Araceae. These plants are native mainly to tropical and subtropical Asia, Polynesia, and parts of the Americas. The name ‘elephant ear’ comes from their large leaves that resemble the shape of an elephant’s ear. The three main genera known for elephant ear plants include Colocasia, Alocasia, and Caladium. Each of these plants has unique features but shares common traits such as broad leaves and a tropical origin.
If you have ever wondered how to grow and care for elephant ear plants, this guide will answer your questions. You will learn about their natural habitat, growing conditions, proper care techniques, and potential challenges. Whether you want to grow these plants indoors or outdoors, this guide will help you make the right choices for healthy growth and vibrant leaves.
Identification and Varieties of Elephant Ear Plants
Elephant ear plants belong primarily to three genera: Colocasia, Alocasia, and Caladium. These genera are often confused but have distinct traits that help you tell them apart. Each genus has unique leaf shapes, sizes, and growing habits that influence where and how you can grow them.
Colocasia originates mainly from Southeast Asia and the Indian subcontinent. Its leaves are large, heart-shaped, and typically point downward. People call these “taro” plants in many regions. Colocasia’s leaves often have a waxy texture and a smooth surface.
Alocasia also comes from Asia and the Pacific Islands but usually features more upright, arrow-shaped leaves with prominent veins. Their leaves tend to be thicker and have a sharper, more defined shape than Colocasias. These plants often appeal with their dramatic leaf forms.
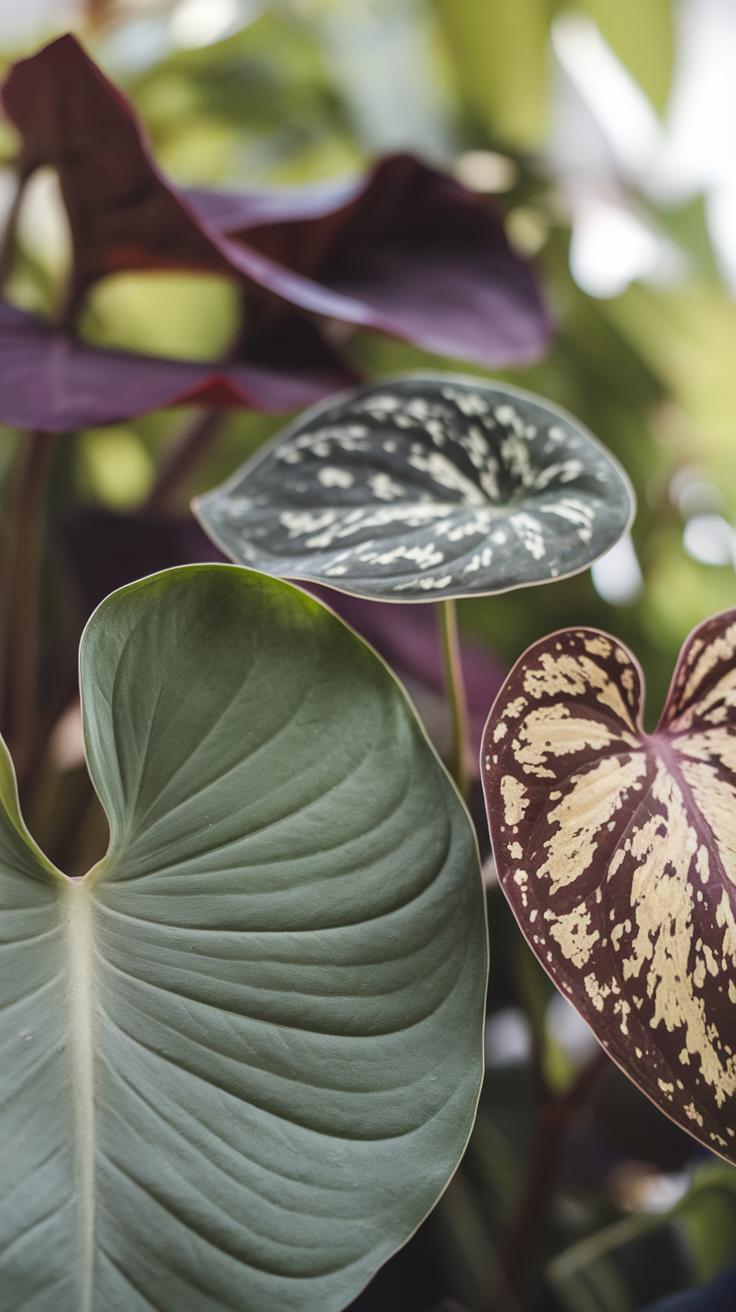
Caladium is native to South America, particularly Brazil. Unlike the other two, Caladium’s leaves are more variable in color, shape, and pattern. They often have striking variegation in pink, white, red, and green. Their leaves are generally smaller and thinner than Colocasia and Alocasia.
Popular Genera Explained
Colocasia grows best in wet, shaded environments. It thrives with plenty of water and warmth, producing large leaves that can reach up to three feet long. These plants often spread via tubers and can survive in standing water.
Alocasia prefers well-drained soil and bright indirect light. They grow upright, often reaching heights between two to six feet. You’ll notice their leaves have a sharp, angular shape and glossy finish. Alocasia can tolerate drier conditions more than Colocasia.
Caladium usually stays smaller, around one to two feet tall. It favors partial shade and moist, well-draining soil. Caladium’s colorful, patterned leaves often make it a favorite for decorative planting. Unlike Colocasia and Alocasia, Caladiums are grown mainly for their foliage rather than their size.
Recognizing Different Species
Within Colocasia, Colocasia esculenta is the most common, known for its large, smooth, dark green leaves. Some cultivars have nearly black foliage, such as ‘Black Magic’. You might also see smaller-leaved types like Colocasia ‘Illustris’ with glossy leaves and purple veins.
Alocasia species vary widely. Alocasia macrorrhizos has huge leaves with a deep green color and thick stems. Alocasia amazonica, or African mask plant, is popular for its narrowly shaped, dark green leaves with bold white veins. The size and shape differences are key to recognizing species.
Caladium’s species include Caladium bicolor, which presents the classic mix of red, pink, and white in leaf patterns. ‘Fannie Munson’ has white leaves with green edges, while ‘Red Flash’ shows striking red leaves. Their colorful display helps distinguish them easily from the greener Colocasia and Alocasia.
Ideal Growing Conditions for Elephant Ear Plants
Elephant ear plants thrive when you provide the right environment. You need to think about light, soil, temperature, and humidity to help these plants grow well.
Light and Temperature Needs
Elephant ears prefer bright, indirect sunlight. If grown outdoors, they do well in partial shade, where they avoid harsh midday sun. Too much direct sun can scorch their large leaves, while too little light slows growth.
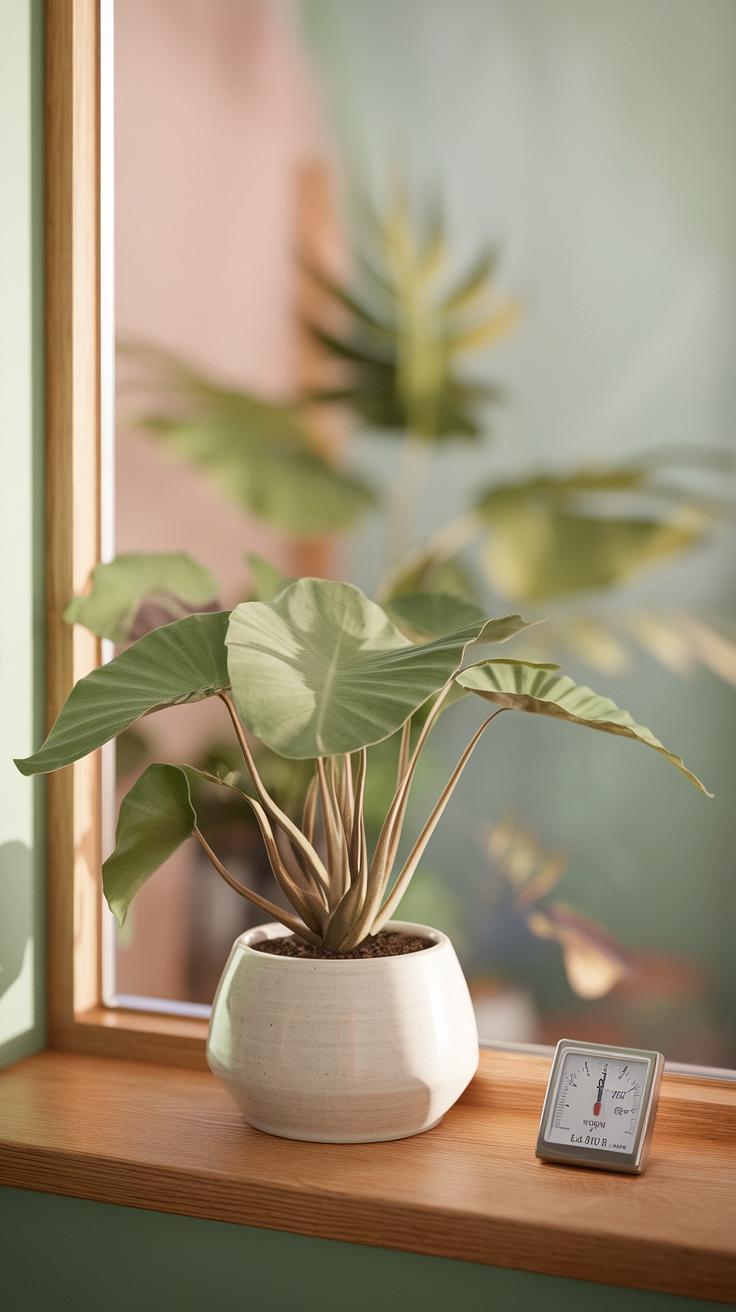
Indoor plants should be placed near a window with filtered light. Aim for temperatures between 65°F and 75°F. These plants do not handle cold well. Outdoor elephant ears survive best in zones where temperatures stay above 50°F at night. When temperatures drop, the plant may go dormant or suffer damage.
Soil and Humidity Preferences
These plants grow best in rich, well-drained soil with plenty of organic material. You want soil that holds moisture but does not stay soggy. A mix of garden soil, compost, and sand works well to provide drainage and nutrients.
Elephant ears flourish in high humidity. You can increase humidity indoors with a humidifier or by placing the pot on a tray of water and pebbles. Outdoors, planting near a water source or in shady spots helps maintain the moisture these plants crave. Do you notice your leaves curling or browning? This might signal low humidity.
Planting Your Elephant Ear
Preparing for Planting
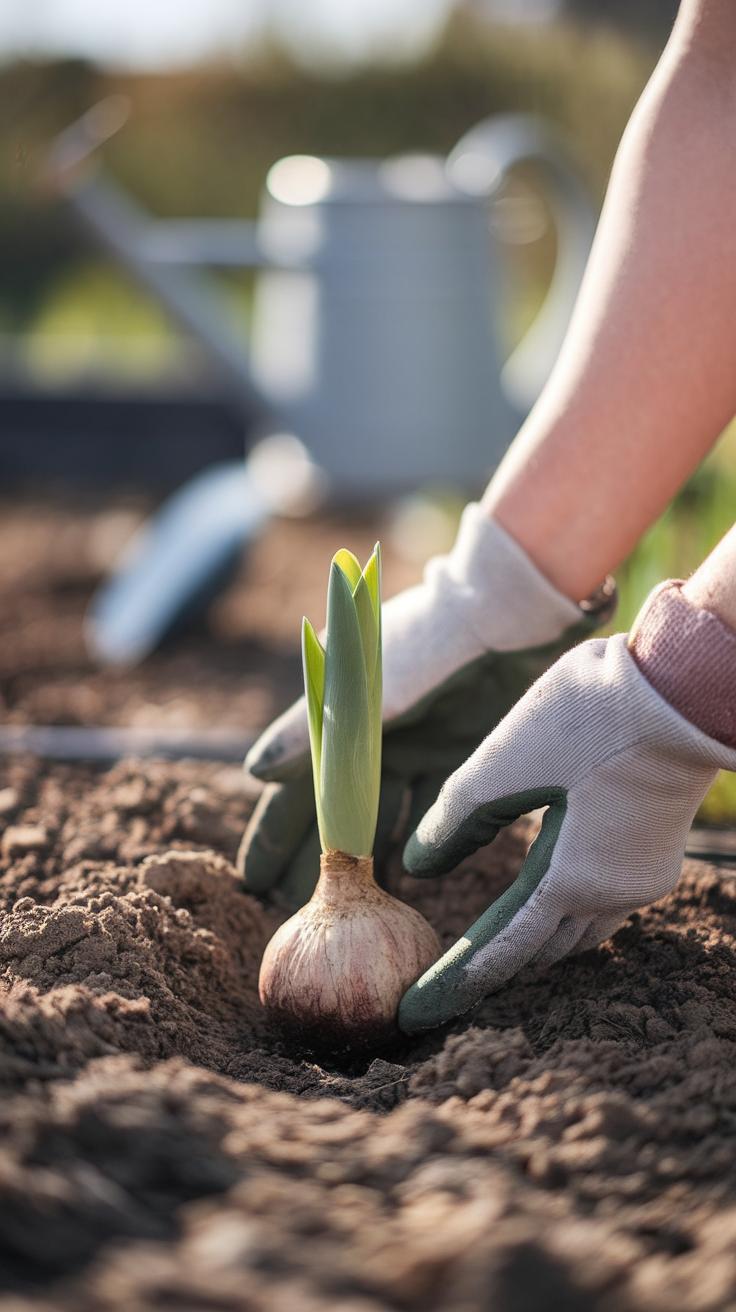
Choose a spot that gets partial to full sunlight and offers rich, well-draining soil. If planting in a container, select one at least 16 inches wide and deep. The potting mix should hold moisture but drain excess water quickly. Use a blend of garden soil, peat moss, and perlite to create a balanced mix. Before planting, loosen the soil to a depth of about 12 inches to encourage root growth. Clear away any weeds or debris that compete for nutrients. If the area is prone to heavy rain, consider raising the bed slightly to prevent waterlogging. Think about how much space your elephant ear will need to spread and avoid crowded locations. This preparation helps your plant establish strong roots and grow vigorously.
Planting Techniques
Plant corms or tubers with the pointed end facing up, about 2 to 4 inches deep. Space them 24 to 36 inches apart to give leaves room to expand. For seedlings, dig a hole large enough to fit the root ball comfortably without bending roots. Place seedlings so the soil line matches the base of the plant stem. Water the soil lightly after planting to settle it but avoid soaking. You can plant in spring once the ground stays above 60°F to ensure active growth. Does your planting site drain well to keep roots from rotting? Keeping proper depth and spacing influences how healthy and full your elephant ear plants grow over the season.
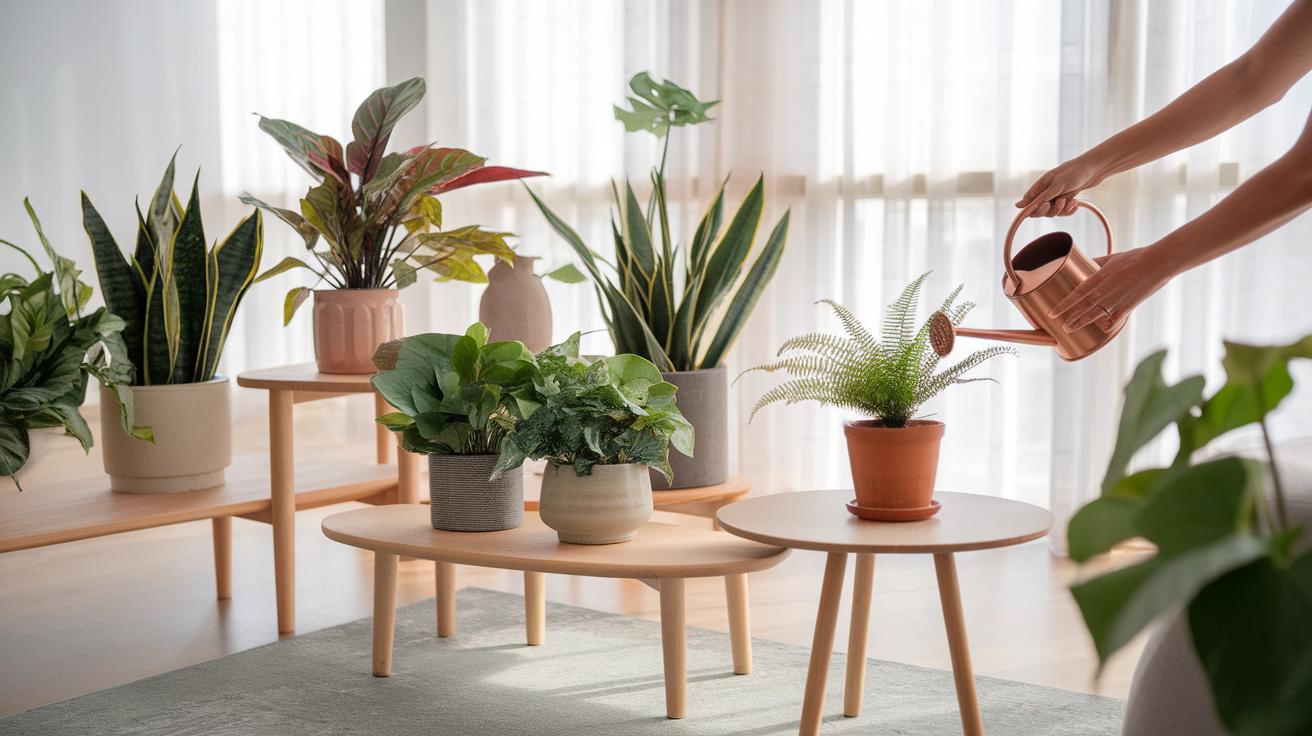
Watering and Feeding Elephant Ear Plants

Watering Practices
Elephant ear plants need consistent moisture to thrive. During the growing season, water your plant deeply every few days, allowing the soil to stay evenly moist but not waterlogged. In hot weather, you may need to water daily. In cooler months, reduce watering to prevent soggy soil, which can cause root rot. Check soil moisture by sticking your finger about an inch into the soil; if it feels dry, it’s time to water. Pay attention to wilting leaves—they often signal your plant needs water. Avoid letting the soil dry out completely, as this stresses the plant and slows growth. How often do you check your plant’s soil? Regular monitoring helps prevent both underwatering and overwatering.
Feeding Your Plant
Feeding elephant ear plants boosts their large leaf growth. Use a balanced, water-soluble fertilizer with equal parts nitrogen, phosphorus, and potassium, such as a 10-10-10 formula. Fertilize every 2-3 weeks during spring and summer when the plant is actively growing. High nitrogen content helps create lush, green leaves, but too much can cause weak stems. When growth slows in fall and winter, stop fertilizing to let the plant rest. Organic options, like compost tea, also work well and improve soil health. Have you noticed how feeding schedules change with seasons? Adjusting fertilizer timing supports your plant’s natural growth cycle and keeps it vibrant.
Dealing with Pests and Diseases
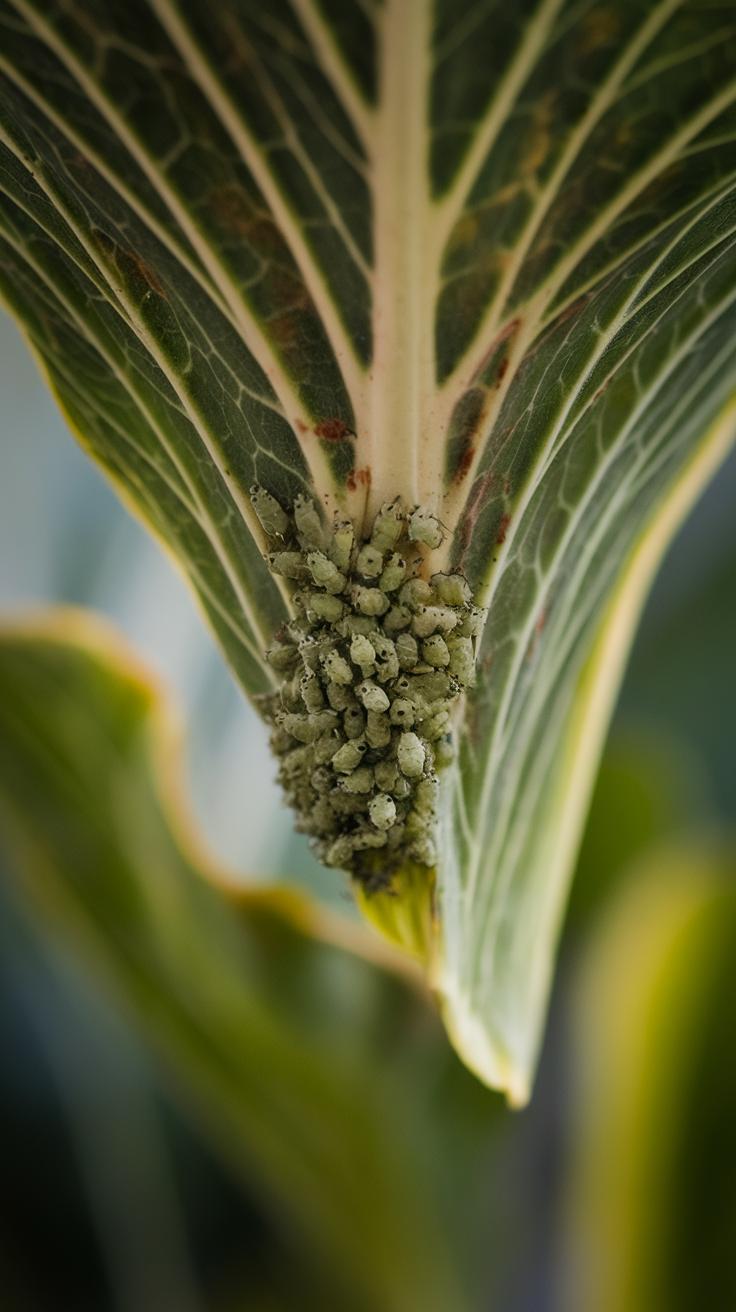
Keeping elephant ear plants healthy means watching out for pests and diseases that can harm them. Common pests include aphids, spider mites, and caterpillars. Aphids cluster on new leaves and stems, often leaving behind sticky residue. Spider mites create tiny webs on the underside of leaves and cause speckled yellow spots. Caterpillars chew holes in the foliage and might leave droppings behind. You can control these pests by rinsing the leaves with water or using insecticidal soap. Introducing natural predators like ladybugs can also reduce aphid populations.
Diseases such as leaf spot and root rot also affect elephant ears. Leaf spot shows as brown or black patches on leaves, often from poor air circulation or water sitting on leaves too long. Root rot causes leaves to wilt and roots to turn mushy, mainly due to overwatering and poorly drained soil. Removing affected leaves and improving drainage prevents these problems. Fungicides help control leaf spot, while adjusting your watering schedule prevents root rot. How often do you check your plant for signs of trouble? Early detection can save your elephant ear from serious damage.
Common Pests
Aphids appear as small, soft-bodied insects, usually green or black, gathering on new plant growth. Look for distorted or sticky leaves to spot aphid problems early. Spider mites are tiny and hard to see but cause fine webs on leaves and yellow spotting. Gently tap a leaf over white paper to check for tiny moving dots. Caterpillars leave ragged holes and chew marks on leaves. You can handpick them or spray affected areas with neem oil to control infestations. Keep your plant clean by removing dead leaves, as pests hide there. What safe pest control methods do you prefer for your garden?
Disease Management
Leaf spot disease starts as small brown or black spots on elephant ear leaves that gradually grow larger. These spots can merge, damaging the leaf’s surface. To manage leaf spot, improve air movement around your plant by spacing it out and avoid wetting leaves when watering. Remove infected leaves promptly. Root rot symptoms include yellowing leaves that wilt and a foul smell from the soil. This usually happens if the soil stays soggy. Avoid root rot by using well-draining soil and watering only when the top inch of soil feels dry. Fungicides may help control leaf spot but are less effective if the environment stays wet. How frequently do you inspect your plant’s roots and leaves for disease signs?
Pruning and Maintenance Tips
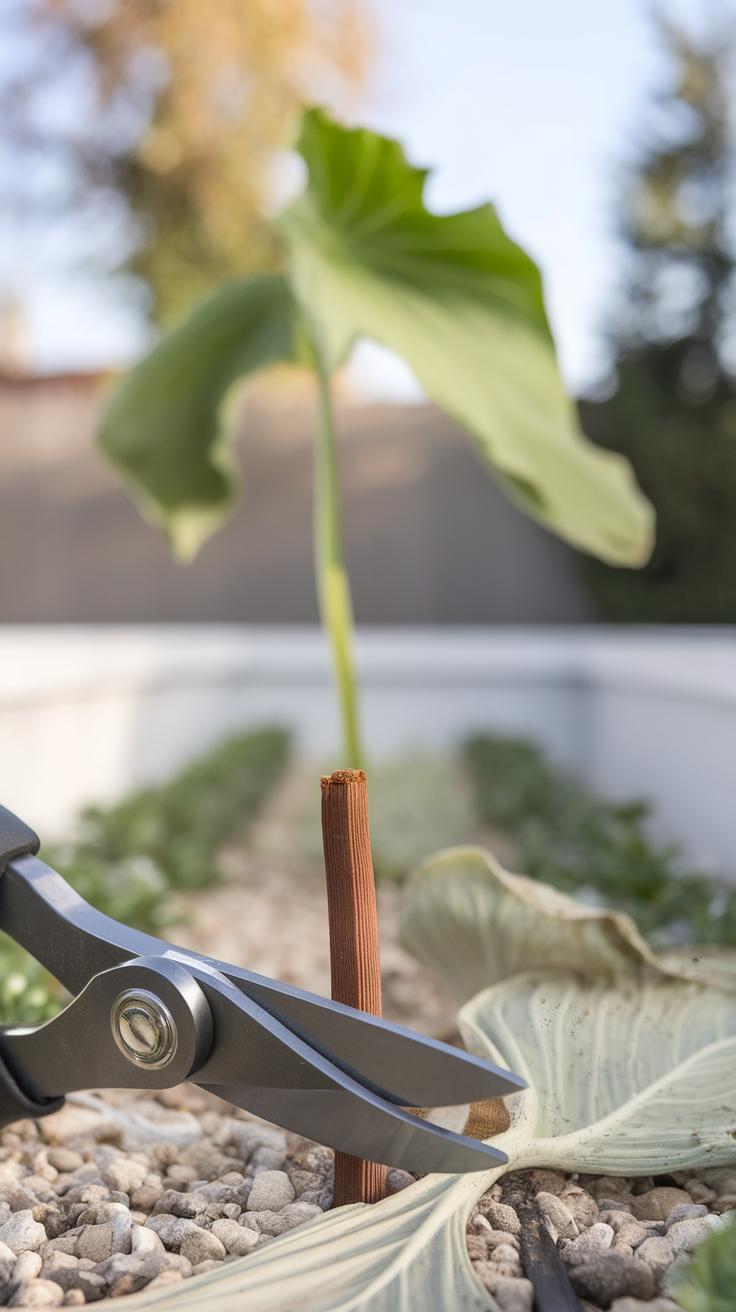
Pruning Dead or Damaged Leaves
Removing dead or damaged leaves helps your elephant ear plant stay healthy and look its best. Use clean scissors or pruning shears to cut leaves at the base near the soil. If leaves are brown, yellowed, or torn, removing them prevents pests and diseases from settling in. Doing this also allows the plant to focus energy on new growth rather than trying to repair old leaves. Check your plant weekly to spot any unhealthy foliage. Removing these leaves improves air circulation around the plant, reducing the chance of fungal problems. Are you keeping an eye on your plant’s leaves for early signs of damage or disease? This simple step can make a big difference in the plant’s overall vigor.
Pruning Dead or Damaged Leaves
Dead or damaged leaves take nutrients away from healthy parts of the elephant ear. When you spot a leaf that is wilted, torn, or has brown edges, cut it off completely at the stem. Avoid letting these leaves decay on the plant since they attract pests and mold. Removing unhealthy leaves also opens space for sunlight to reach new shoots. You don’t need to prune too often, but regular checks will keep your plant growing strong. How often does your plant need a leaf check? Every week or two works well, depending on its growing speed and environment.
Seasonal Care Adjustments
As temperatures drop in fall and winter, elephant ear plants need different care. If you grow them outside, cut back the foliage once it shows signs of yellowing or dying. This signals the plant is preparing for dormancy. Dig up the corms and store them in a cool, dry place indoors to protect from frost. If you keep elephant ears in a pot, move them inside where temperatures stay above 50°F. Water less often but keep the soil slightly moist to avoid drying out the corms. Is your location prone to frost? Taking precautions early can save your plant for next season. Adjusting watering, light, and temperature during cooler months helps elephant ears rest and prepares them to grow vigorously in spring.
Propagation Methods for Elephant Ear Plants
Propagating elephant ear plants allows you to grow new plants from healthy mature specimens. You can expand your collection using division, corms, or seeds. Each method suits different situations and offers unique advantages.
Division works well if you already have large clumps of elephant ears. You separate the root ball into smaller sections, each with leaves and roots, then plant these divisions into fresh soil. This method produces faster-growing plants because you start with established roots.
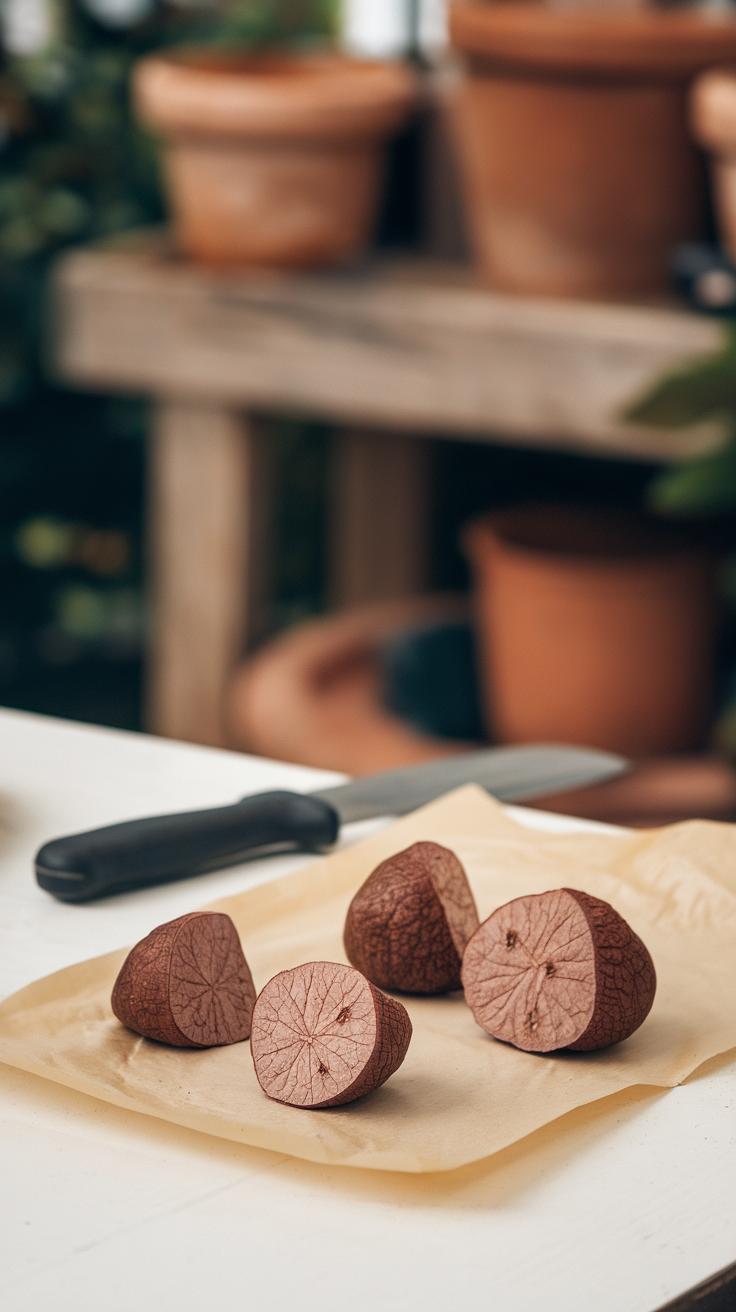
Working with corms involves planting the bulb-like structures beneath the soil. Corms naturally form around the main plant and store energy for new growth. Harvest them during dormancy and plant them about 2 to 4 inches deep in warm soil for best results.
Growing from seeds takes more time and patience. Seeds need warmth, moisture, and light to sprout. While less common for home gardeners, seed propagation helps maintain genetic variety. Knowing how to handle each method can boost the health and size of your elephant ear collection.
Division and Corm Propagation
Start division by carefully digging up the mature elephant ear after the growing season. Gently separate the clump into smaller sections using your hands or a clean knife. Each section should have several leaves and healthy roots.
Plant divided sections immediately into well-draining soil and water thoroughly. Keep the new plants shaded for a few days to reduce stress. New growth should appear within weeks.
If you prefer corms, wait until the plant enters dormancy. Dig around the base to find the corms. Remove loose soil and separate the smaller corms from the main one. Plant them right away, covering with 2-4 inches of soil and watering to keep the ground moist.
Both division and corm propagation increase the number of plants quickly and maintain the parent plant’s qualities. You can revive aging plants and share them with friends through these methods.
Seed Propagation
Start with fresh elephant ear seeds, which need to be soaked in warm water for 24 hours before planting. This softens the seed coat and improves germination.
Plant seeds one inch deep in a seed-starting mix that drains well. Maintain soil temperatures between 70 and 85 degrees Fahrenheit to encourage sprouting. Use a clear cover or plastic wrap to keep humidity high until the seeds germinate.
Sprouting can take anywhere from two weeks to a month. Once seedlings appear, remove the cover and place them in bright, indirect light. Thin the seedlings to the strongest plants, and transplant them outdoors once they reach 6 inches tall and after the last frost date.
Growing elephant ears from seed takes longer than division but allows you to experiment with different varieties. Patience and consistent care yield rewarding results over time.
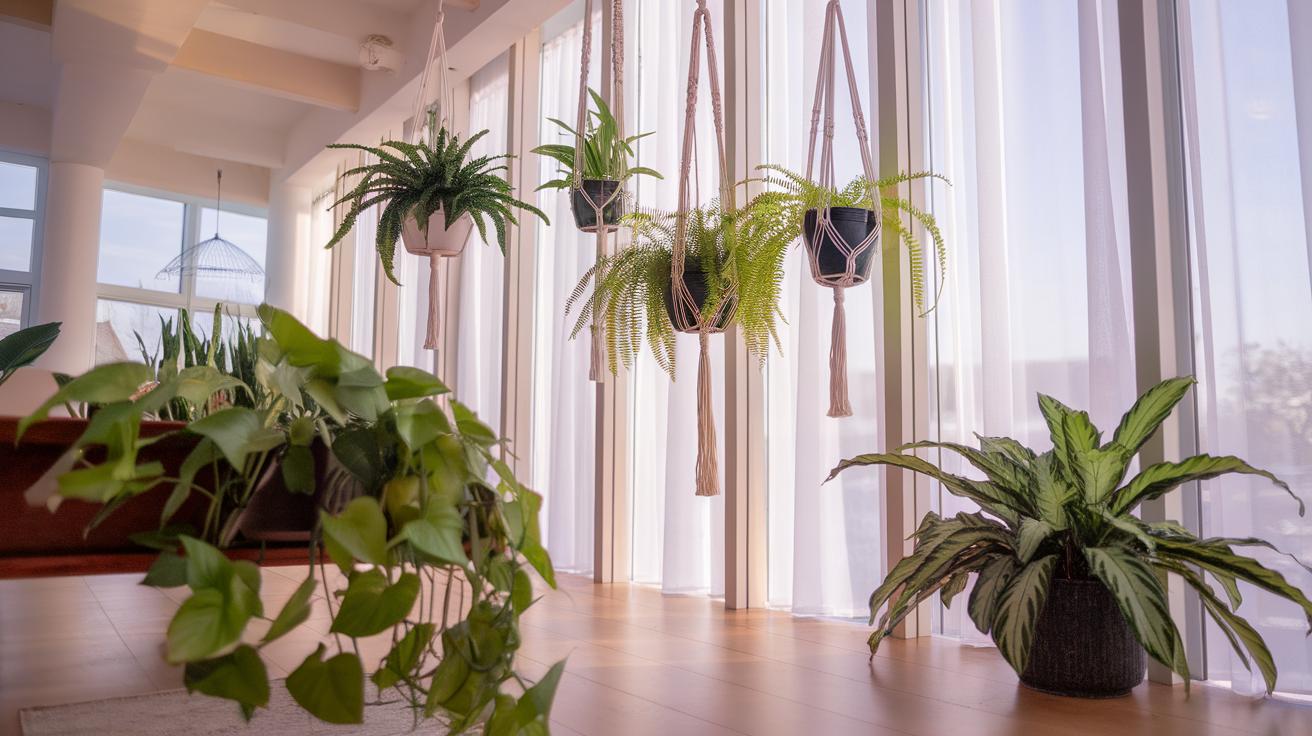
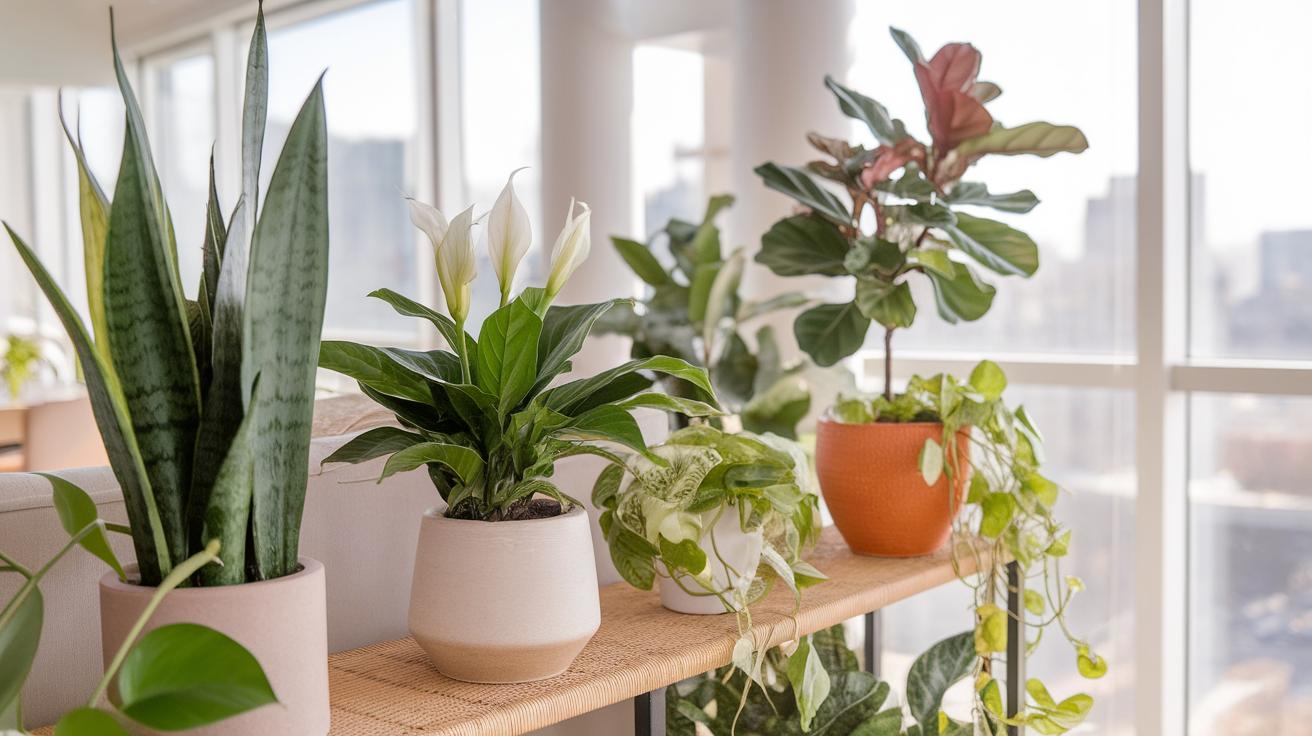
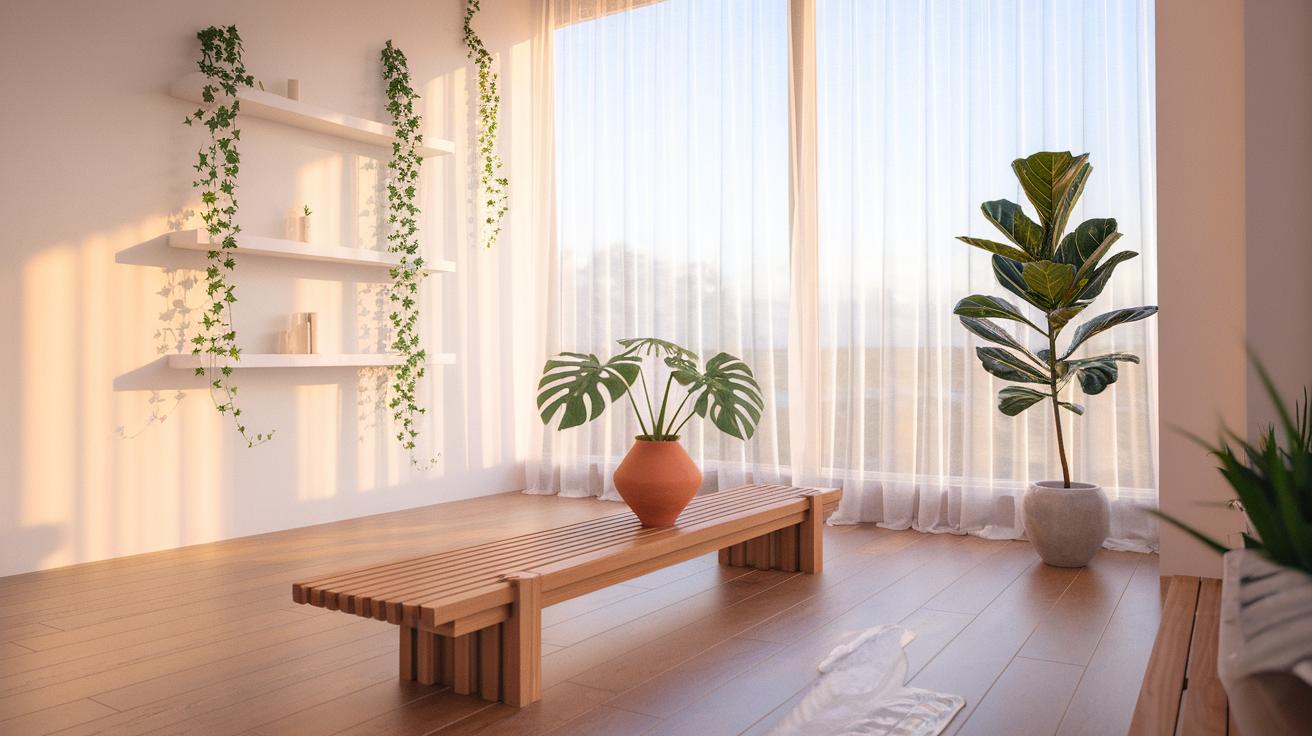
Using Elephant Ear Plants in Your Garden or Home
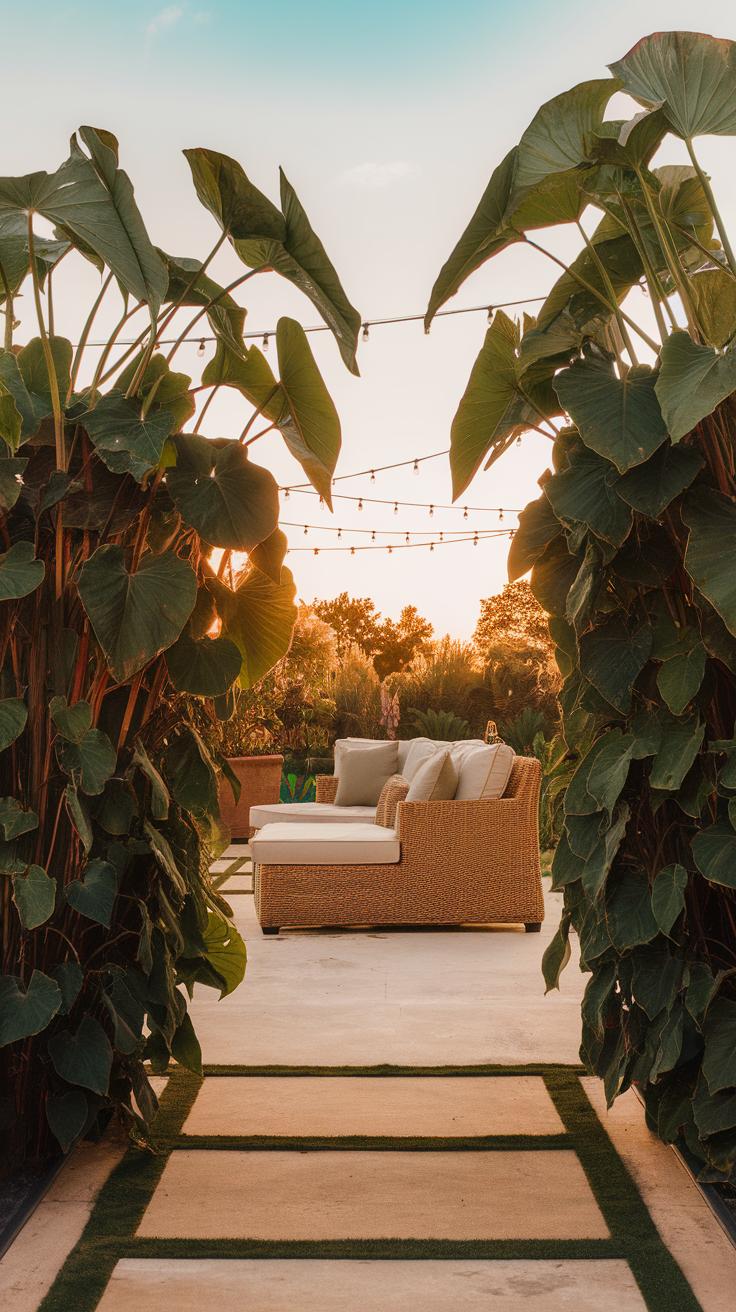
Elephant ear plants bring bold shapes and strong texture to any space you place them in. Consider how their large leaves create natural shades and draw the eye, making them perfect for adding interest to your garden or room.
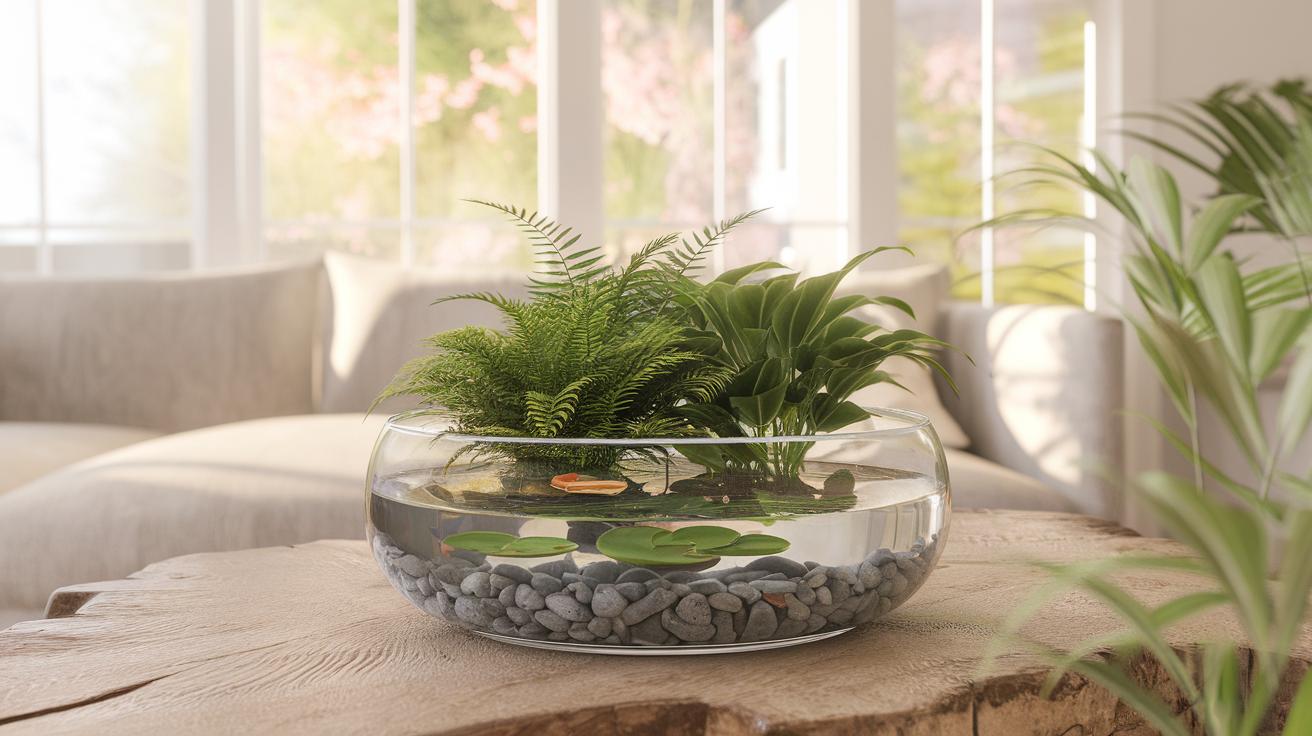
You might place elephant ears by a pond or water feature to create a lush, tropical feel. Their tall stalks work well as a backdrop behind smaller plants, giving your garden depth and structure. Think about pairing them with flowering plants to highlight their green leaves.
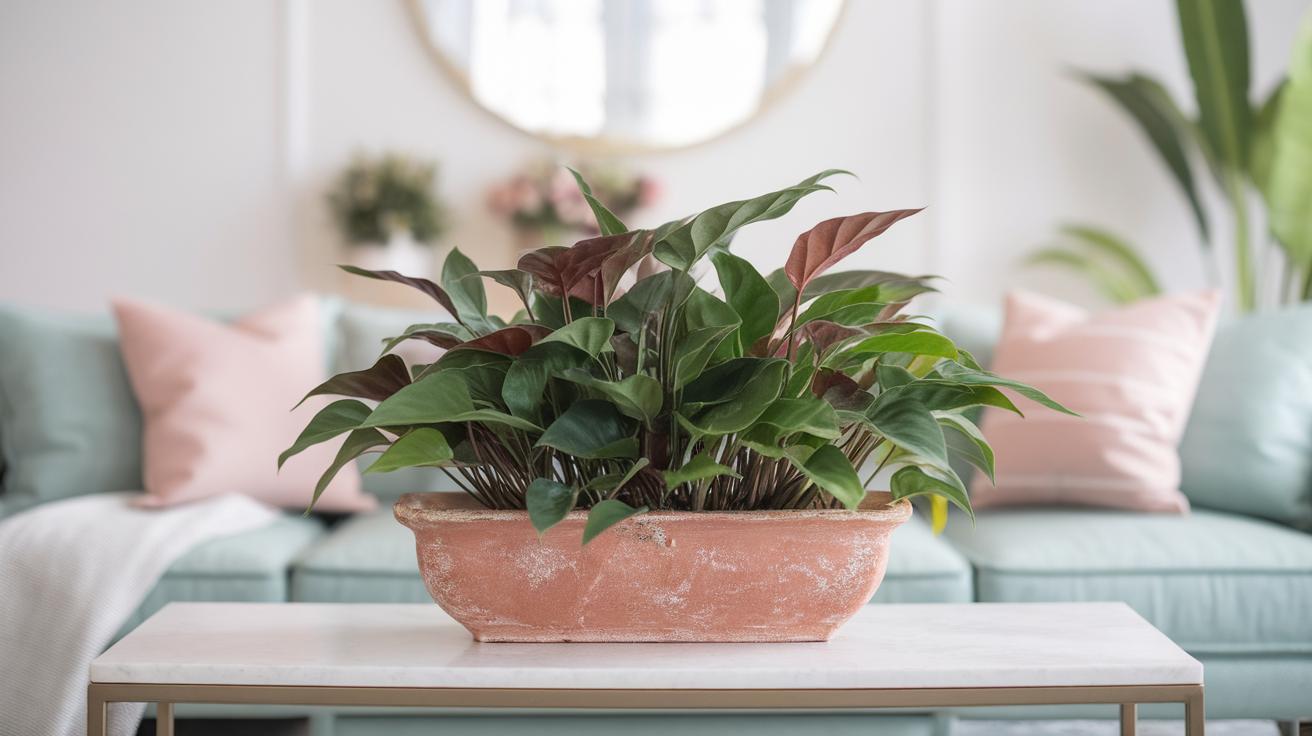
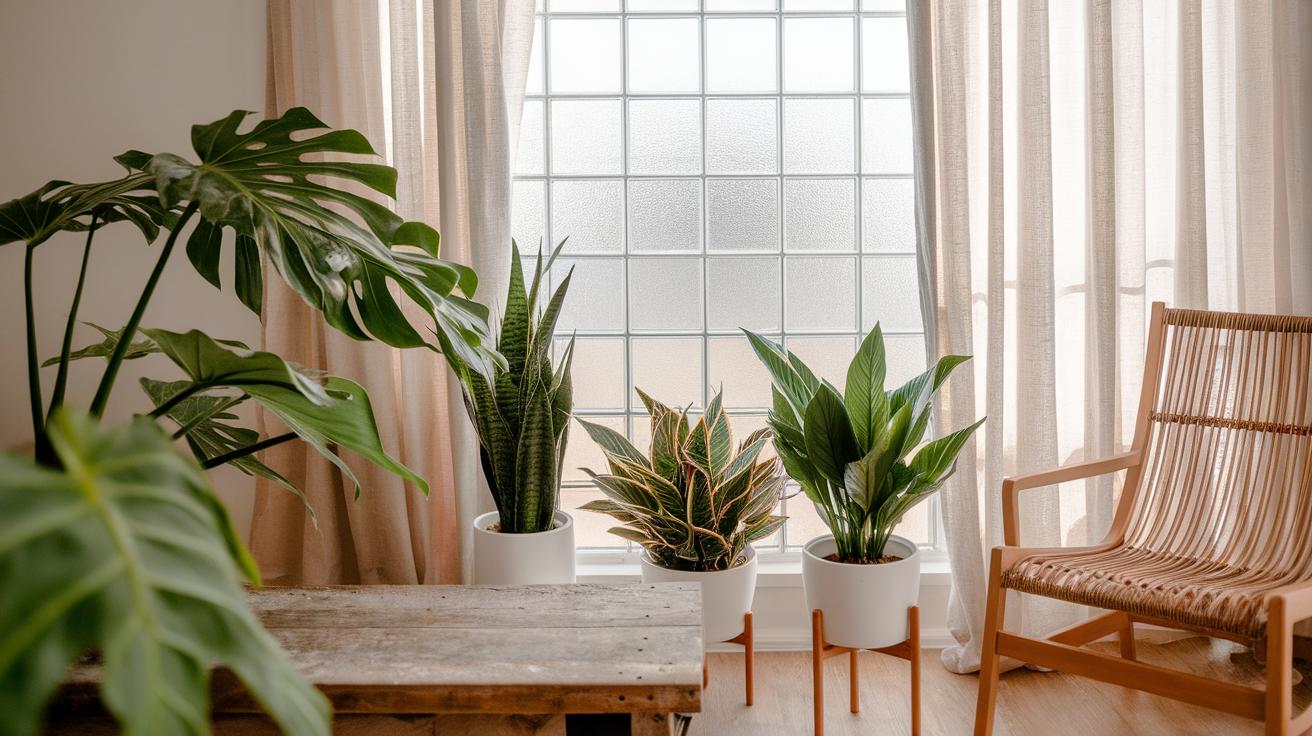
Indoors, these plants can transform corners or large open areas where visual impact matters. You need to find spots that offer bright, indirect light and enough space for their leaves to spread. How will you balance your room to keep the elephant ear from crowding other items?
When choosing a location, consider your climate and sunlight. Elephant ears thrive in warm conditions but need protection from direct afternoon sun outdoors. Inside, they appreciate humidity and consistent moisture. Reflect on the mood you want to create—do you want a calm, green oasis or a dramatic, statement piece?
Outdoor Garden Uses
Elephant ear plants work well as focal points in garden beds due to their large, eye-catching leaves. Place them where people can walk close and admire their texture and size up close. They also provide strong background foliage to support smaller flowering plants. This arrangement helps your garden feel full and balanced.
Near water features, elephant ears add a soft edge to pond banks or fountains. Their moisture-loving nature suits these damp areas, enhancing the sense of lushness. Consider grouping different elephant ear varieties together for varied leaf colors and shapes. Do you have space to create a tropical-inspired section in your yard?
Using elephant ears in mass plantings or with tall grasses can create a natural screen, adding privacy to your garden. You can also plant them along paths to guide visitors with their dramatic leaves.
Indoor Plant Placement
Putting elephant ears indoors requires thoughtful spot selection. A bright corner with filtered sunlight works best. They need enough light to keep their leaves healthy without burning. Rooms with large windows facing east or north are ideal.
Keep the plant away from drafts or heat vents, which can dry the air and harm the leaves. Bathrooms or kitchens with windows often have humidity that helps these plants thrive. You might use a large pot or decorative planter to enhance its presence.
Consider the size of your plant. Young elephant ears can live on tables, but mature ones need floor space to spread. Adjust watering and humidity based on the room’s environment. Have you thought about how your plant’s size affects your furniture layout?
Elephant ears also react well to being moved occasionally, which lets you change the look of a room while keeping the plant’s needs in mind. You might experiment with different spots until you find the perfect balance between aesthetics and care.
Conclusions
Elephant ear plants can bring unique greenery and striking visual appeal to your garden or home. Understanding their growing needs such as moisture, light, soil type, and temperature will help you provide the right environment for these large-leaved plants. Paying close attention to watering and fertilizing routines can make a significant difference in their health. These plants also need protection from pests and diseases, which requires regular observation and quick action when problems arise.
By following practical care tips and selecting suitable species for your climate and space, you can enjoy elephant ear plants for many years. Ask yourself what kind of space you have and how much time you can dedicate to plant care. The answers will guide your choices and improve your success in growing elephant ear plants. Start your elephant ear plant journey with confidence and watch these impressive plants thrive in your care.