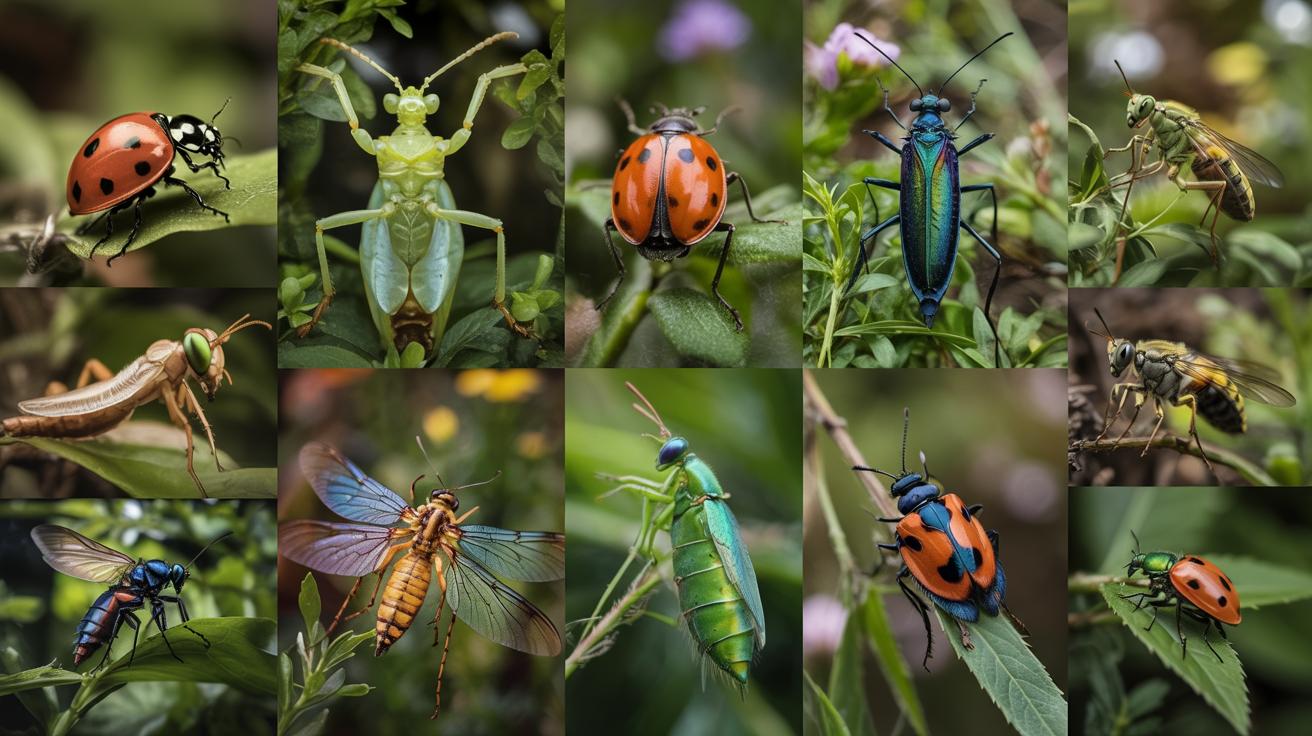
Introduction
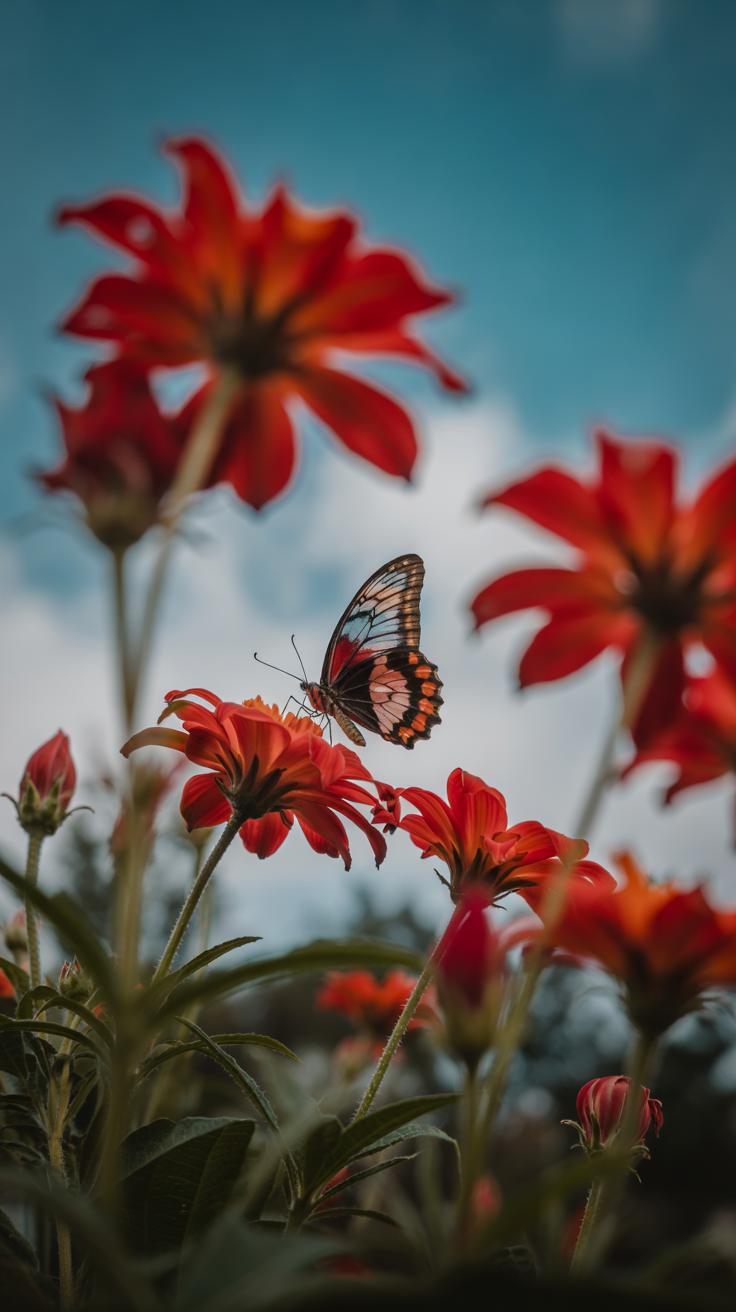
Butterflies fascinate us with their delicate wings and vibrant colors. Capturing their beauty in photos offers a unique challenge and a rewarding experience. You can enhance your photography skills by learning how to photograph these insects effectively. It requires patience, timing, and understanding of your camera settings. This article guides you through practical steps to get sharp, colorful, and captivating butterfly photos. Whether you are a beginner or looking to improve, these insights help you achieve the results you want.
Butterflies move swiftly and unpredictably, making them difficult subjects. Finding the right location, choosing the right moment, and mastering light and focus matters. You will discover how to prepare, shoot, and edit butterfly photos. You will also learn how to observe butterflies’ habits and habitats to increase your chances of success. Photography gear, composition, and techniques best suited for butterfly photography are explained clearly for you to try immediately.
Understanding Butterfly Behavior and Habitat
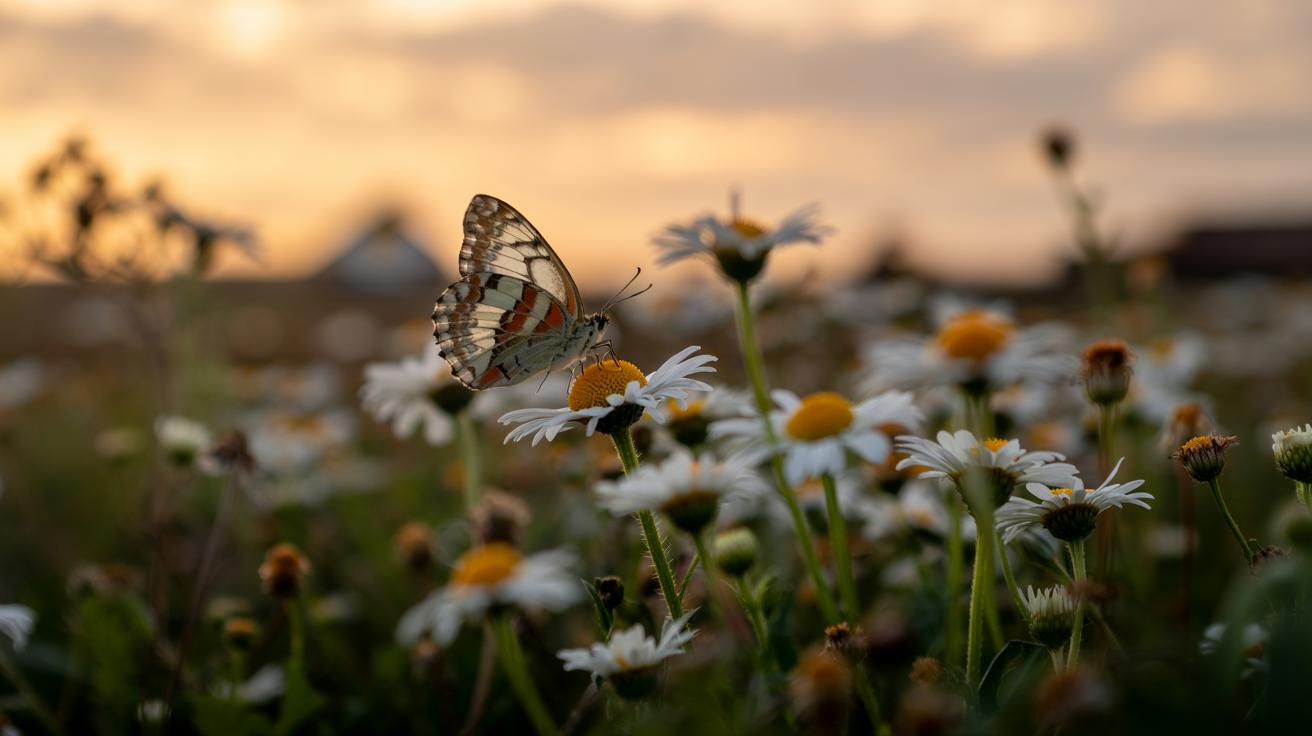
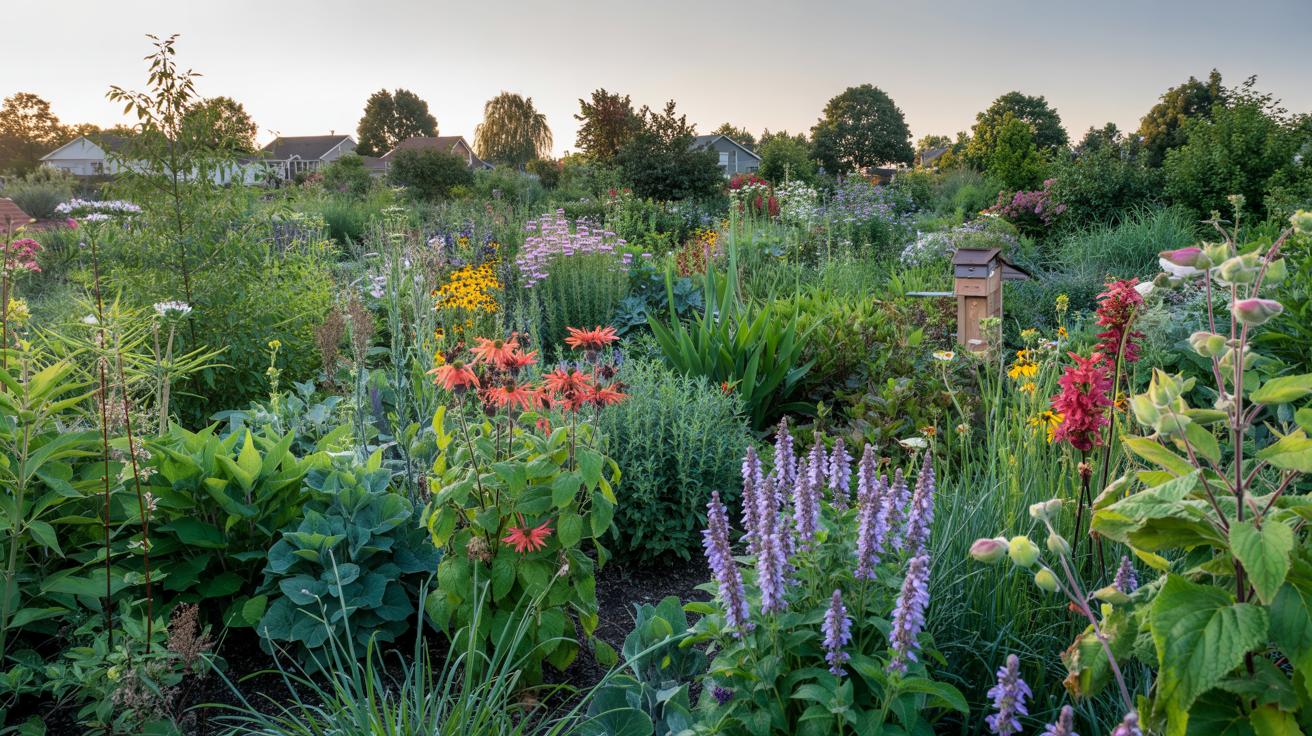
Knowing where and when to find butterflies improves your chances of capturing great photos. Butterflies prefer certain habitats like gardens filled with flowers, sunny meadows, and areas near water. They tend to stay where they can find nectar and places to rest. Observing their behavior helps you predict their movements.
Watch how they move from flower to flower when feeding or how they settle on leaves to rest. Butterflies are most active during warm, sunny parts of the day, usually between mid-morning and mid-afternoon. Pay attention to wind and weather, since butterflies fly less during strong winds or rain.

Try spending time quietly in these habitats. See how butterflies respond to your presence. What flowers attract them? When do they rest? Your answers guide your decisions on when and where to wait for that perfect shot.
Observing Flight Patterns
Butterflies rarely fly in straight lines. Their flight is often erratic but usually concentrated around certain areas. By watching their flight paths, you can find spots where they frequently return. Many butterflies hover briefly over flowers before settling down to feed or rest.
When you notice where a butterfly tends to stop, position yourself nearby but move slowly to avoid startling it. Some butterflies prefer to stay low near ground vegetation, while others may perch on higher plants. Pay attention to these habits to plan your shots in advance.
Ask yourself: How does the butterfly react to shadows or sudden movements? Do they fly higher or stick close to the ground? Answers help you time your shots and anticipate where they will land next.
Best Times and Places to Photograph
Morning light often offers softer shadows and cooler temperatures when butterflies are settling after the night. Late morning to early afternoon is when many butterflies feed actively on nectar. Plan your shoot during these times for better action shots.
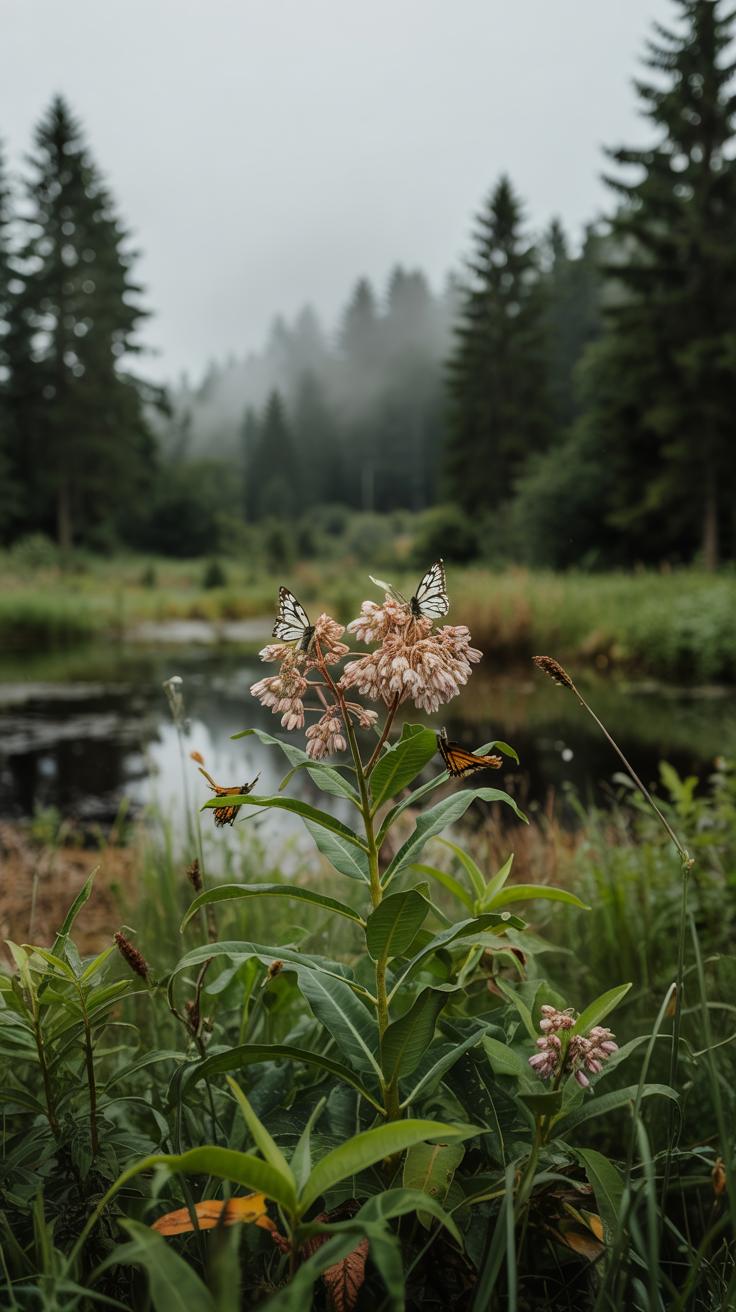
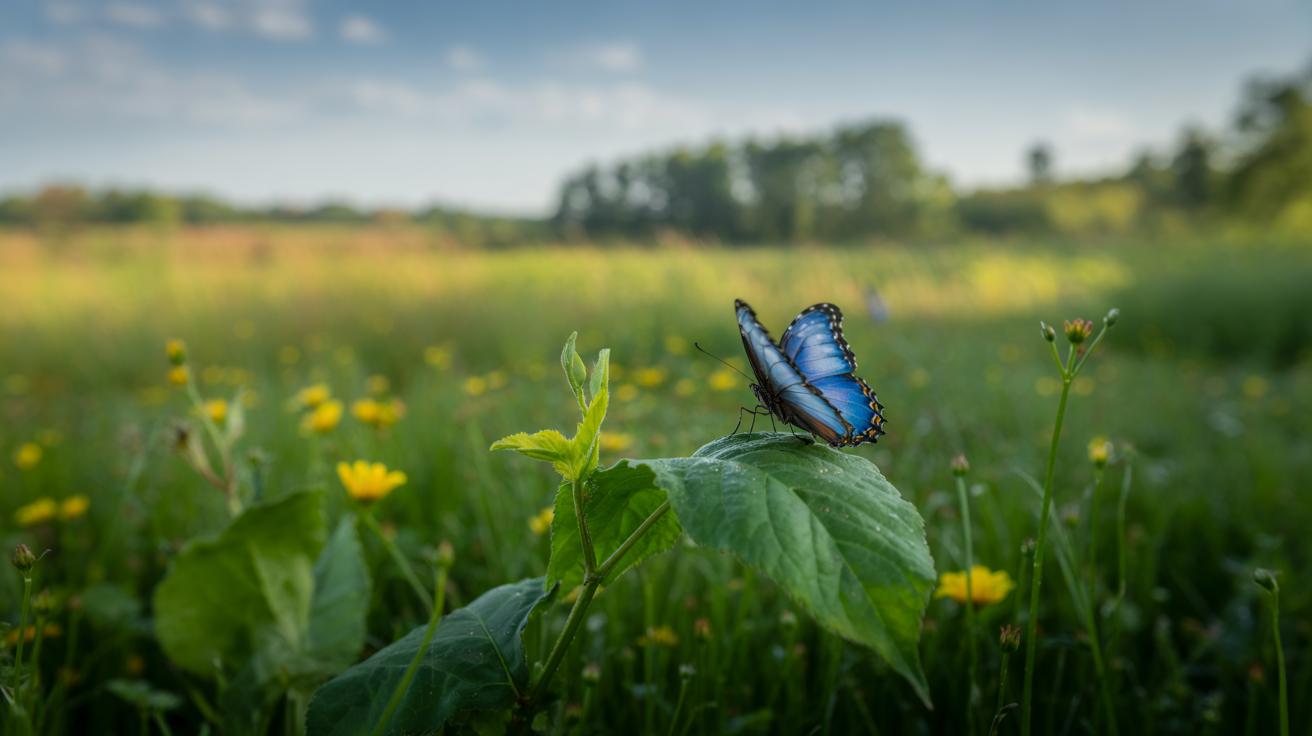
Choose locations like gardens with diverse flowers, open meadows, and streams or ponds where butterflies gather for water and minerals. Areas with native plants tend to attract more species.
Visit the same spot multiple times to learn its butterfly activity. Does the light change the patterns through the day? Are some species more common in certain spots? By understanding these factors, you improve your chances of getting clear, focused photos every time.
Choosing the Right Camera and Lenses
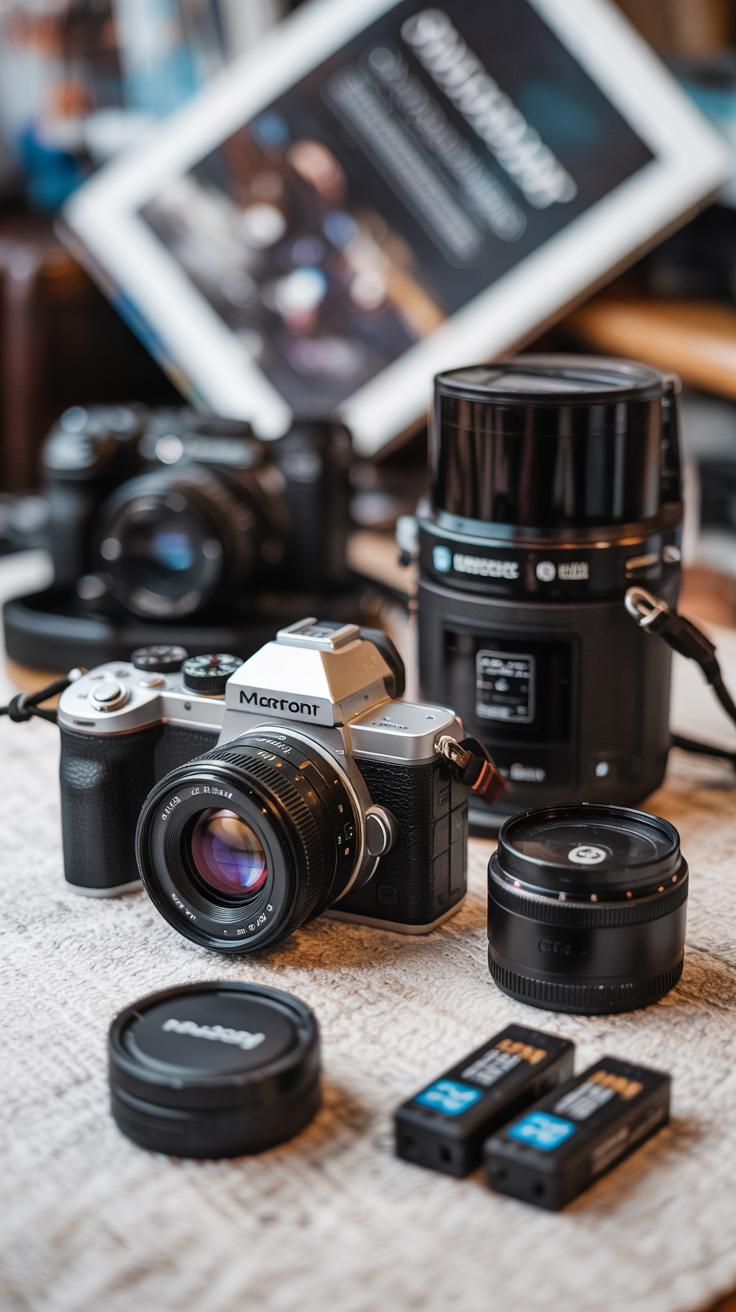
Selecting the right camera and lenses shapes how well you capture butterfly photos. DSLRs offer fast autofocus and abundant lens choices, which helps when butterflies move quickly. Mirrorless cameras also focus fast, but they are lighter, making them easier to carry during long shoots. Point-and-shoot cameras are more compact and simple but often lack the zoom and manual controls needed for sharp close-ups.
Choosing lenses matters just as much. A macro lens lets you get very close to a butterfly, capturing tiny wing details clearly. Telephoto lenses bring distant butterflies close without disturbing them, allowing natural poses. You might wonder, which lens fits your style and budget? Experimenting with both can reveal what works best for your preferred way to shoot.
Camera Settings for Butterfly Photos
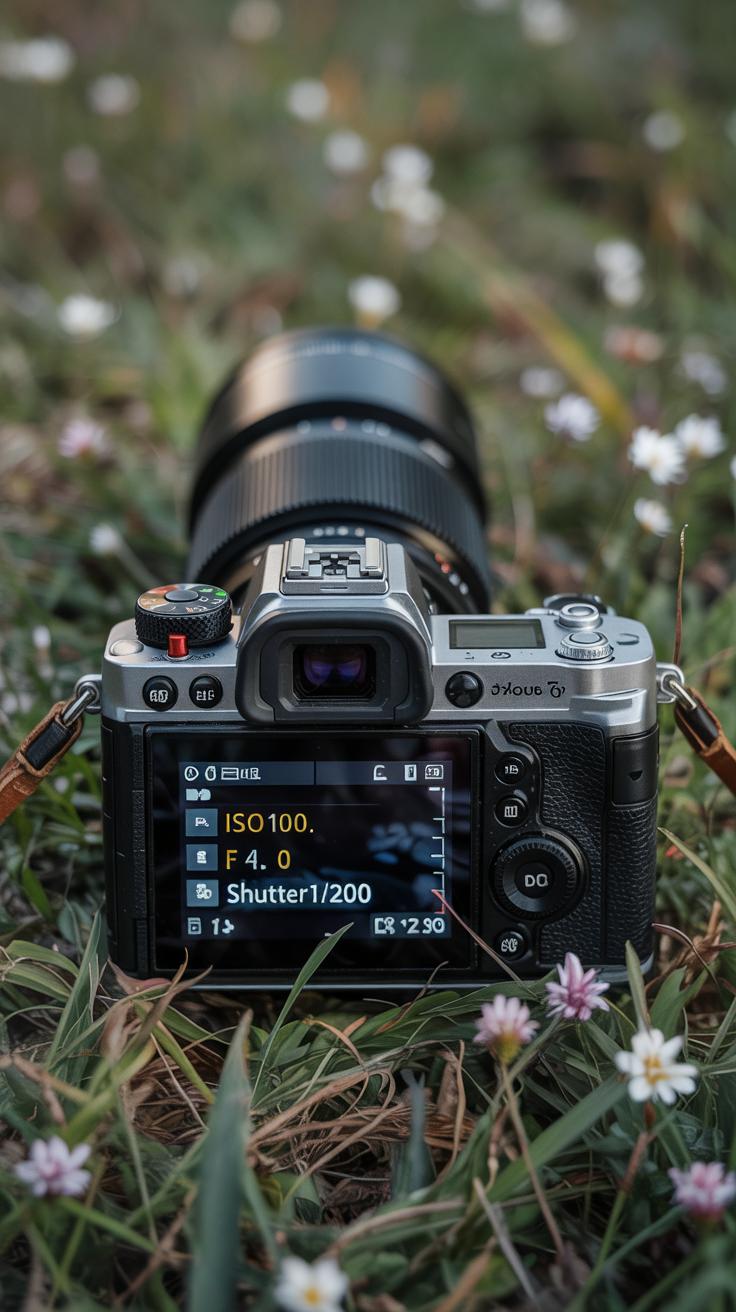
Fast shutter speed is key to freezing butterfly motion. Aim for at least 1/1000 second to catch wings without blur. To get enough light at fast speeds, open your aperture wide, like f/4 or lower. This also creates a blurred background that makes butterflies stand out.
ISO controls how sensitive your camera is to light. On bright days, keep ISO low (100-400) to reduce noise. In shade or cloudy weather, raise ISO but avoid going too high to keep the image clean. Adjust these three settings together to balance sharpness and exposure. Try different combos and watch your photos improve quickly.
Lenses Perfect for Close-ups
Macro lenses specialize in close focus and detail. They allow you to fill the frame with the butterfly without scaring it away. A 100mm or 105mm macro lens offers a safe distance while keeping your images sharp. This lens type brings out wing patterns, textures, and even tiny scales.
Telephoto lenses between 200mm and 400mm help when butterflies are shy or perched high. They capture clear photos without getting too close and disturbing the scene. Some telephoto lenses also include macro modes for flexibility. Choosing the right lens depends on your patience and shooting style. Which lens will help you connect with your butterfly subjects most effectively?
Mastering Lighting for Butterfly Photography
Light shapes every butterfly photo you take. Using natural light well brings out the rich colors and delicate shapes of your subject. Look for soft, even light that avoids harsh shadows and blown-out highlights. The direction of light matters; side lighting can reveal texture on wings, while backlighting highlights silhouette and translucence.
Reflectors bounce light onto darker areas without startling the butterfly. White or silver reflectors work best to brighten shadows gently. Diffusers help soften direct sunlight, reducing glare and preventing colors from washing out. Carry a small, foldable diffuser or use a piece of white fabric when the sun is strong.
Ask yourself: How can you position yourself and your butterfly so natural light enhances details without overexposing your shot? Experiment with angles and tools to control light. The more you observe how light affects each butterfly, the easier it gets to capture stunning photos every time.
Using Morning and Evening Light
Early mornings and late afternoons offer a warm, gentle light that suits butterfly photography. At these times, the sun sits low, creating soft light and long shadows that add depth to your images. Colors appear more saturated, showing the butterfly’s patterns clearly.
Butterflies tend to be less active in the cool morning, giving you a better chance to approach and shoot them calmly. The lower light minimizes glare on wings and helps maintain fine details. Using this light can make your photos look more natural and inviting.
Think about planning your outings around these hours. How could shifting your schedule improve the quality of your shots? Testing different times might reveal which light best highlights the butterflies in your favorite spots.
Managing Harsh Sunlight
Shooting under bright midday sun can be tricky because harsh light creates strong shadows and washed-out colors. Look for shaded areas, like under tree leaves or near shrubs, where light is softer and more balanced. This helps keep details visible across the butterfly’s wings.
If shade is scarce, use a diffuser to filter the sunlight. Position yourself so the sun falls from the side or behind the insect to prevent squinting and glare. This angle reduces contrast and adds subtle texture.
Consider placing a reflector on the opposite side of your light source to brighten shadows. Can you spot locations where natural elements act as diffusers or reflectors? Being aware of your environment helps you adapt quickly to bright conditions and keeps your butterfly photos sharp and colorful.
Composing Your Butterfly Photos
Effective composition shapes how viewers see your butterfly photos. Position the butterfly thoughtfully within the frame rather than placing it at the center every time. Try using the rule of thirds by placing the butterfly along the lines or intersections. This creates balance and draws the eye naturally.
Framing plays a big role too. Include nearby leaves or flowers to add context and depth without cluttering the image. Look for natural frames that guide attention directly to your subject.

Consider the butterfly’s pose and direction. If it’s facing sideways or flying, leave space in front so it looks like it has room to move. This creates a more dynamic feel.
Background and Focus
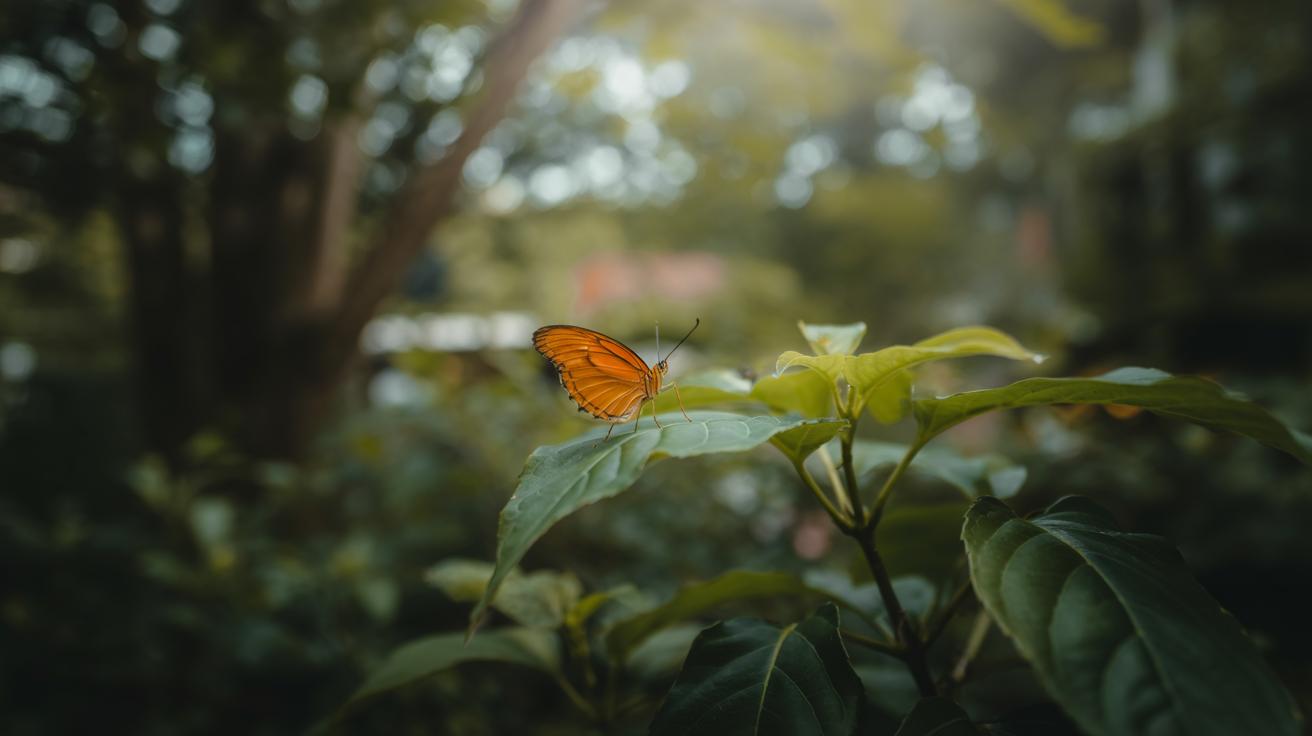
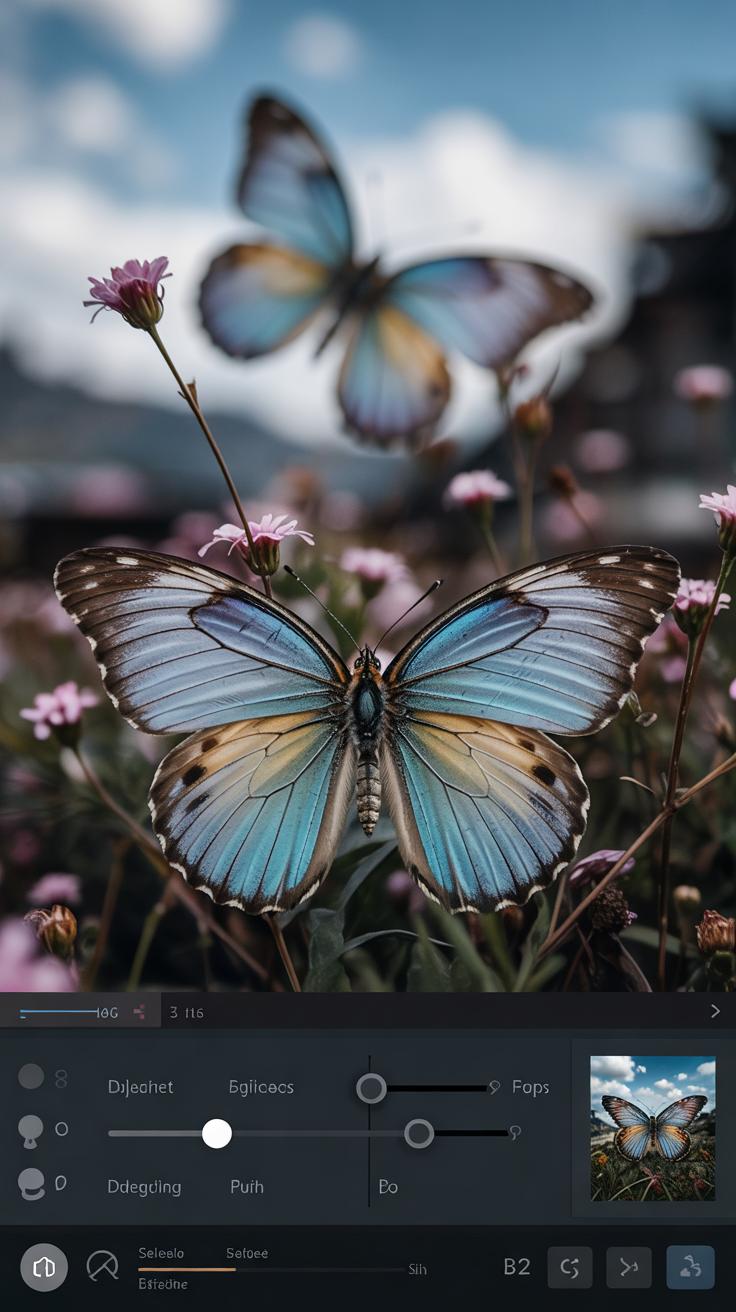
A simple background helps your butterfly kick out from the photo. Choose one that contrasts with the butterfly’s colors. A bright monarch stands out beautifully against dark green leaves, for example.
Avoid busy or cluttered backgrounds. They distract from the details you want to show. Using a shallow depth of field with a wide aperture blurs the background, keeping focus on your butterfly’s wings and body.
Using Angles and Perspectives
Try shooting from different angles to add interest. A side view reveals wing patterns, while a top-down shot shows symmetrical details. Getting low to shoot up can capture the sky behind and give a fresh feel.
Move around your subject. Is a head-on view better or a profile? What happens if you tilt the camera?
Changing perspective helps you see your subject in new ways and invites your audience to notice features they might otherwise miss. What angle could uncover a hidden detail today?
Getting Close Without Disturbing the Butterfly
Approaching butterflies requires a calm and steady approach to avoid startling them. Move slowly and smoothly, keeping your movements deliberate rather than sudden. Many butterflies react to quick gestures or shadows, so avoid casting large shadows on them as you get closer. Keep your gaze soft and steady, making sure not to rush.
Using a zoom lens allows you to stay further away while still capturing fine details. This reduces the risk of disturbing the butterfly. Patience is key—wait for the butterfly to settle rather than forcing it to hold still.
Camouflage or neutral colors help you blend into the environment. Consider wearing earth tones or clothing that matches the background. You might also use a lightweight, breathable cover or netting to break up your outline.
Approach Techniques
When moving toward a butterfly, keep your body low and slow. Lift your camera steadily and avoid sudden head or hand movements. You can sometimes approach from behind since butterflies rarely look directly backward.
Try to avoid directly approaching their feeding or resting spots from above. Instead, circle around slowly, giving them a chance to notice you without panic. If you feel tension or sense a butterfly fluttering, pause and wait for it to calm down before continuing.
Have you tried controlling your breathing? Gentle, regular breathing helps maintain calmness, which transfers into smoother actions. Quietness matters—avoid loud noises or talking while getting close.
Use of Remote Triggers and Tripods
A tripod stabilizes your camera and lets you stay still for longer periods near butterflies. This support means you don’t have to rely on handholding, which can cause sudden movements and frighten your subject. When you set up your composition and wait quietly, butterflies may come closer on their own.
Remote triggers let you fire the shutter from a distance. You can set the camera nearby and trigger it without walking too close. This way, butterflies behave naturally, unaware of your presence. Using a remote trigger combined with a zoom lens magnifies this advantage.
Have you tested time-delay shutter release? It’s another tool that can reduce vibrations and keep you hidden slightly farther away. Try different setups to match the behavior of the species you are photographing.
Setting Your Camera for the Perfect Shot
Your camera’s settings can make or break a butterfly photo. Start by choosing the right autofocus mode. Use continuous autofocus (AF-C) to keep the butterfly sharp as it moves. This mode adjusts focus as your subject shifts, making it easier to capture fleeting moments. Single autofocus works better if your butterfly stays still, but most butterflies don’t stay put for long.
Burst shooting helps you catch several frames quickly, increasing the chance of a perfect shot. Set your camera to shoot multiple images per second, then pick the sharpest one later. This is especially useful when butterflies flap their wings or flutter between flowers.
Manual overrides give you control over exposure and focus when auto settings struggle, like in tricky lighting or with distracting backgrounds. Practice switching between auto and manual to learn when to rely on your judgment. How often do you check your settings before shooting? Make it a habit to avoid missed shots.
Focusing Techniques
Choosing the right focus point is key to sharp butterfly photos. Many cameras let you select a single focus point, which you should place on the butterfly’s eye or the closest wing edge. This helps your camera know exactly where to lock focus.
For moving butterflies, use continuous autofocus. The camera will track your subject as it moves through the frame. Pan your camera smoothly to stay with the butterfly and keep the focus point on its body.
If your camera has focus tracking, enable it. This feature follows your subject even if it moves erratically. Practice holding your focus steady while the butterfly moves. Can you keep the focus point on the butterfly for several seconds? This skill improves with time and patience.
Exposure and Shutter Speed
Freezing butterfly movement needs fast shutter speeds. Aim for at least 1/1000th of a second to avoid blur from wing flaps. Slower speeds can create motion blur, which may be artistic but usually lose sharpness.
Your aperture controls how much of the butterfly will be in focus. Use a mid-range aperture like f/5.6 to f/8 for a sharp subject and a softly blurred background. Adjust ISO to compensate for light—higher ISO helps maintain fast shutter speeds in shade or cloudy conditions.
Try different exposure settings to see what works best. Does your butterfly look sharp and clear, or too dark or bright? Experimenting helps you find the balance between shutter speed, aperture, and ISO for every situation you face in the field.
Techniques for Capturing Motion and Details

Capturing a butterfly in flight requires balancing sharpness with motion, while close shots reveal the fine textures and patterns on its wings. Using panning techniques lets you smoothly follow the butterfly’s movement. Set a moderate shutter speed—around 1/60 to 1/125 seconds—and move your camera along with the butterfly. This can create a sharp subject against a softly blurred background, highlighting motion. Experiment with different speeds to find the right balance for your scene.
Macro photography brings out details like wing veins, scales, and colors. Use a dedicated macro lens and get close, but stay patient. Focus on small areas like the edge of a wing or the patterns on the wings. Adjust your aperture to keep enough depth of field so details remain sharp. How small can you go while keeping the butterfly steady enough to shoot?
Try varying your distance and angles. Combining panning with macro shots expands your creative options. These techniques help you capture both the dynamic and delicate sides of butterflies in a single photo session.
Freezing Motion vs. Motion Blur
Freezing wing movement requires a fast shutter speed—try 1/1000 seconds or faster. This stops the wings in mid-flap, capturing fine details like wing shape and patterns as if paused in time. Use burst mode to increase your chances of nailing the perfect frozen shot.
Motion blur gives a different effect by showing wing movement. Slow your shutter speed to about 1/30 to 1/60 seconds and hold your camera steady or move it slightly to follow the butterfly. The wings will blur, suggesting movement while keeping the body sharp. What mood do you want your photo to convey—energy or stillness?
Both methods have strengths. Freezing motion suits crisp, detailed wings. Motion blur creates a more dynamic, artistic feel. Try both to see which fits your vision.
Close Detail Shots
Macro shots focus on capturing the intricate details on butterfly wings that often go unnoticed. Use a macro lens with at least 1:1 magnification. This lets you reveal tiny scales, textures, and vibrant colors closely. Set a smaller aperture, like f/8 to f/16, to increase depth of field and keep the details sharp.
Work on steadying your camera with a tripod or steady hand. Focus carefully on specific wing sections. Lighting matters—soft, natural light prevents harsh shadows that hide details. Consider using a reflector to bounce light evenly onto your subject.
Take multiple shots at slightly different focus points to choose the sharpest later. How sharply can you capture the wing’s texture? Look closely. These detailed images show the beauty behind the butterfly’s delicate structure, making your photos stand out in any collection.
Editing Butterfly Photos for Impact
Editing your butterfly photos can transform a good shot into an impressive one. Start by adjusting the exposure to ensure the image is bright enough without losing detail in the highlights or shadows. Increasing contrast can help the butterfly stand out from the background, making its delicate wings more visible.
Sharpening the image enhances wing patterns and textures, but don’t overdo it. Too much sharpness creates unnatural edges. Noise reduction softens grain, especially if you raised ISO during shooting, but keep it subtle to avoid losing fine details.
Consider cropping your photo carefully. Tightening the frame can remove distracting elements and improve the butterfly’s placement according to the rule of thirds. Think about what part of the image you want viewers to focus on and crop to highlight that.
How can simple tweaks in editing bring your butterfly photos to life? Try making these adjustments and compare before and after versions to see what works best for your images.
Color Correction and Enhancement
Butterflies often have vibrant colors that can lose their impact in photos. Adjusting white balance helps ensure colors look natural and accurate. If your photo appears too cool or warm, correcting this can restore the true vibrancy.
Boosting saturation carefully highlights the butterfly’s colors without making them look fake. Target specific color tones with selective adjustments to enhance wings without affecting the background too much. This makes the butterfly pop in the frame.
Check if any colors appear dull or washed out and bring them back to life without overdoing it. Have you noticed how subtle color edits improve the mood and realism in your shots? Try it next time you edit.
Sharpening and Noise Reduction
Maintaining clarity while keeping a natural look is key in butterfly photography. Use sharpening tools to bring out fine wing details like veins and scales, but avoid creating harsh outlines. A gentle touch is better than heavy sharpening.
High ISO settings can introduce noise, especially in low-light photos. Apply noise reduction to smooth out unwanted grain while preserving textures. Focus on reducing noise in the background more than on the butterfly itself to keep details sharp.
Experiment with different levels of sharpening and noise reduction to find a balance that enhances your image without making it look artificial. Could adjusting these settings be the final step your photos need to shine?
Sharing and Protecting Your Butterfly Images

Sharing your butterfly photos online helps you connect with other nature lovers and get feedback on your work. You want your images to reach the right audience while keeping control over how they are used. Simple steps like watermarking can mark your photos with your name or logo, making it clear who owns the image. This does not stop people from viewing or appreciating your photos, but it discourages unauthorized use.
Sharing platforms that support high-quality images and active communities allow your photos to be discussed and admired. Consider adding your copyright information in the photo description or metadata. This alerts viewers that you hold the rights and expect respect for your work. How do you feel about balancing sharing your art with protecting it? The right approach lets you showcase your shots while maintaining ownership.
Online Sharing Platforms
Several websites welcome photographers who focus on nature and wildlife. Flickr offers groups specifically for butterfly and insect photography, where members exchange tips and showcase images. Instagram allows fast sharing and reaching a wide audience, especially with hashtags related to butterflies and nature photography. Viewbug and 500px are also popular for high-quality, competitive photography communities.
Specialized forums like ButterflyIdentification or nature photography groups on Facebook encourage discussion and learning. When you join these platforms, read their rules about image use and sharing. Where does your photo fit best? Try multiple sites to find communities that appreciate your style and provide constructive feedback.
Protecting Your Work
Watermarking is an easy way to protect your butterfly photos. Use a small but visible mark placed where it doesn’t block the subject. Some photographers add semi-transparent watermarks so the image details remain clear. Another method is uploading lower-resolution images for online sharing, making it difficult for others to print or misuse them.
Embedding copyright info in your photo’s metadata adds silent protection. Many camera apps or editing software let you add author and copyright details. Registering your work with copyright offices offers legal protection if your photos get stolen. Sharing still encourages appreciation but stay aware of your rights.
Which methods fit your sharing goals? Simple protection can keep your images safe while opening doors to new connections and growth in butterfly photography. What tools will you use to protect your art as you share it widely?
Conclusions
Stunning butterfly photos depend on understanding your subject and environment. You need to prepare equipment and practice patience. Use natural light to highlight colors and details. Get close without disturbing the butterfly to capture sharp images. Focus on composition, using backgrounds that make the butterfly stand out. Try different angles and be ready for the perfect shot. These approaches will improve your photography and provide satisfying results.
Improving your butterfly photos happens gradually as you apply the tips shared here. Watch their behavior, adapt your technique, and experiment with settings. Each outing offers new chances to learn. Keep practicing and asking yourself how you can get better photos. Your dedication will pay off with images that reflect the beauty and grace of butterflies. Go out and start capturing the world of butterflies clearly and beautifully.


